
Kyle’s Guitar – day 6 – complete
After four coats of High-gloss Tung oil, the guitar is looking good. Time to move on to the installation of the hardware.
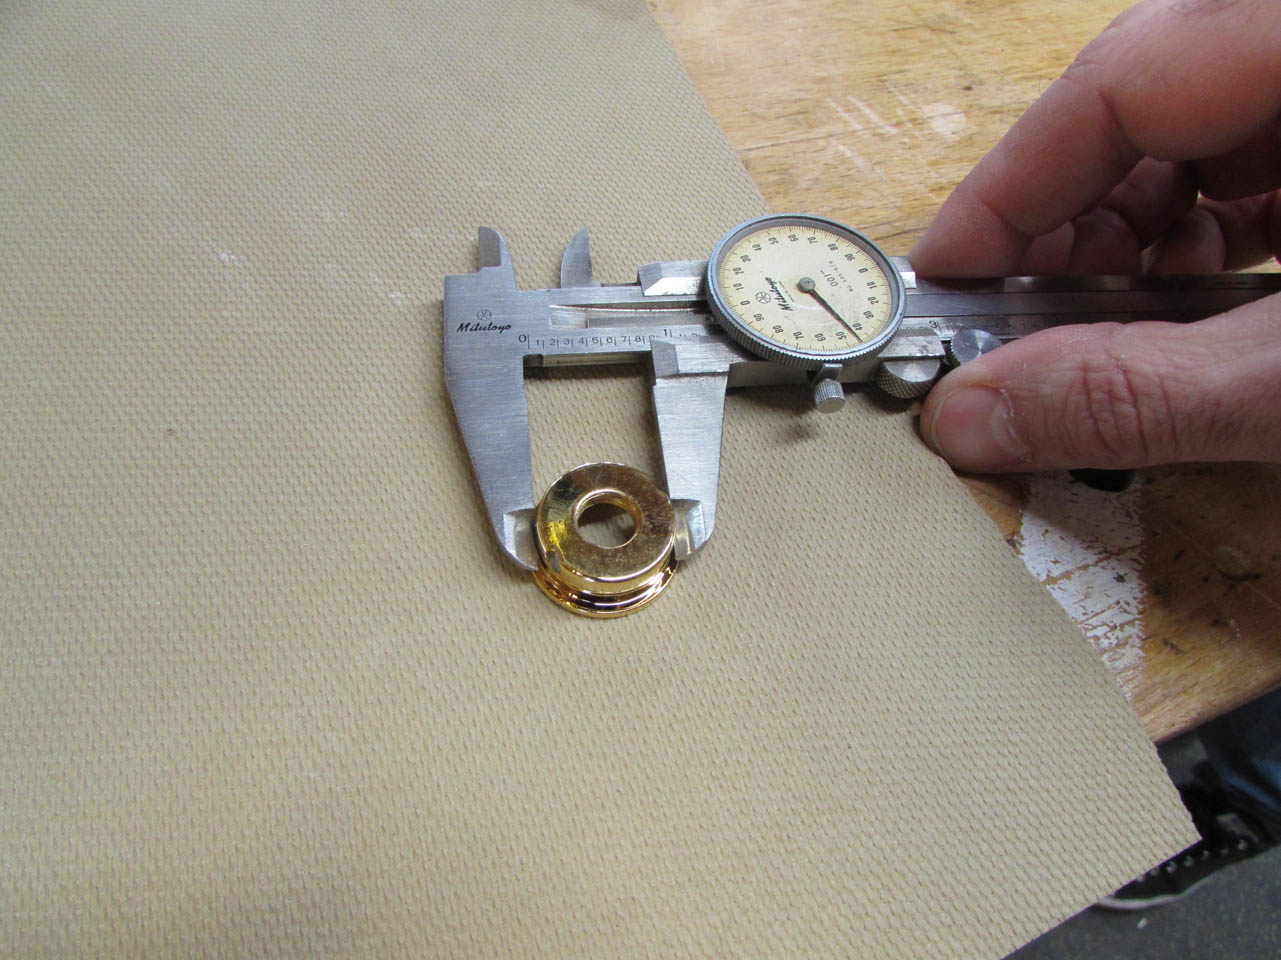
I measured the output jack, and drilled a hole for it.

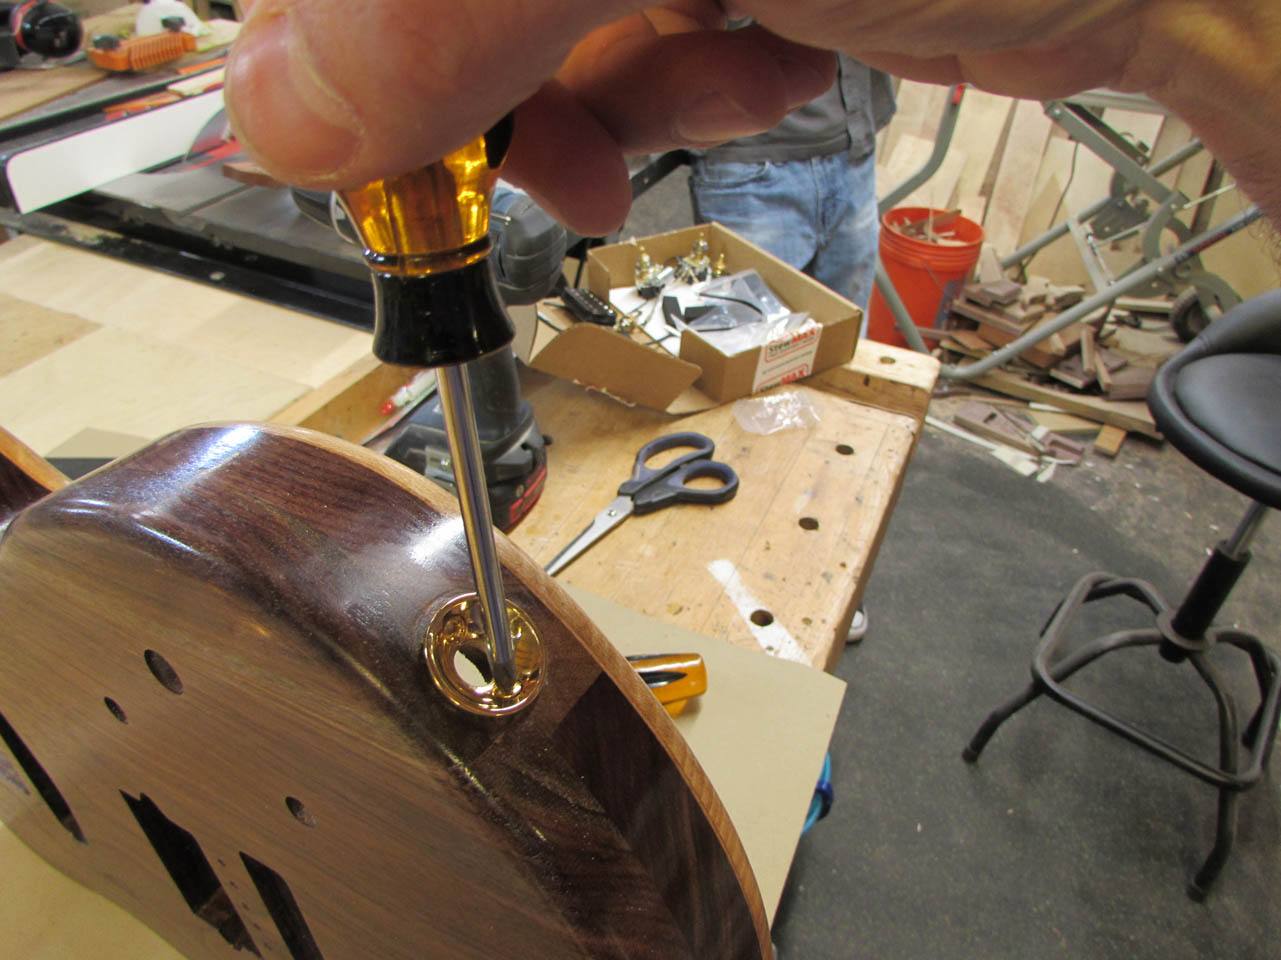
This style of jack was installed with two screws.
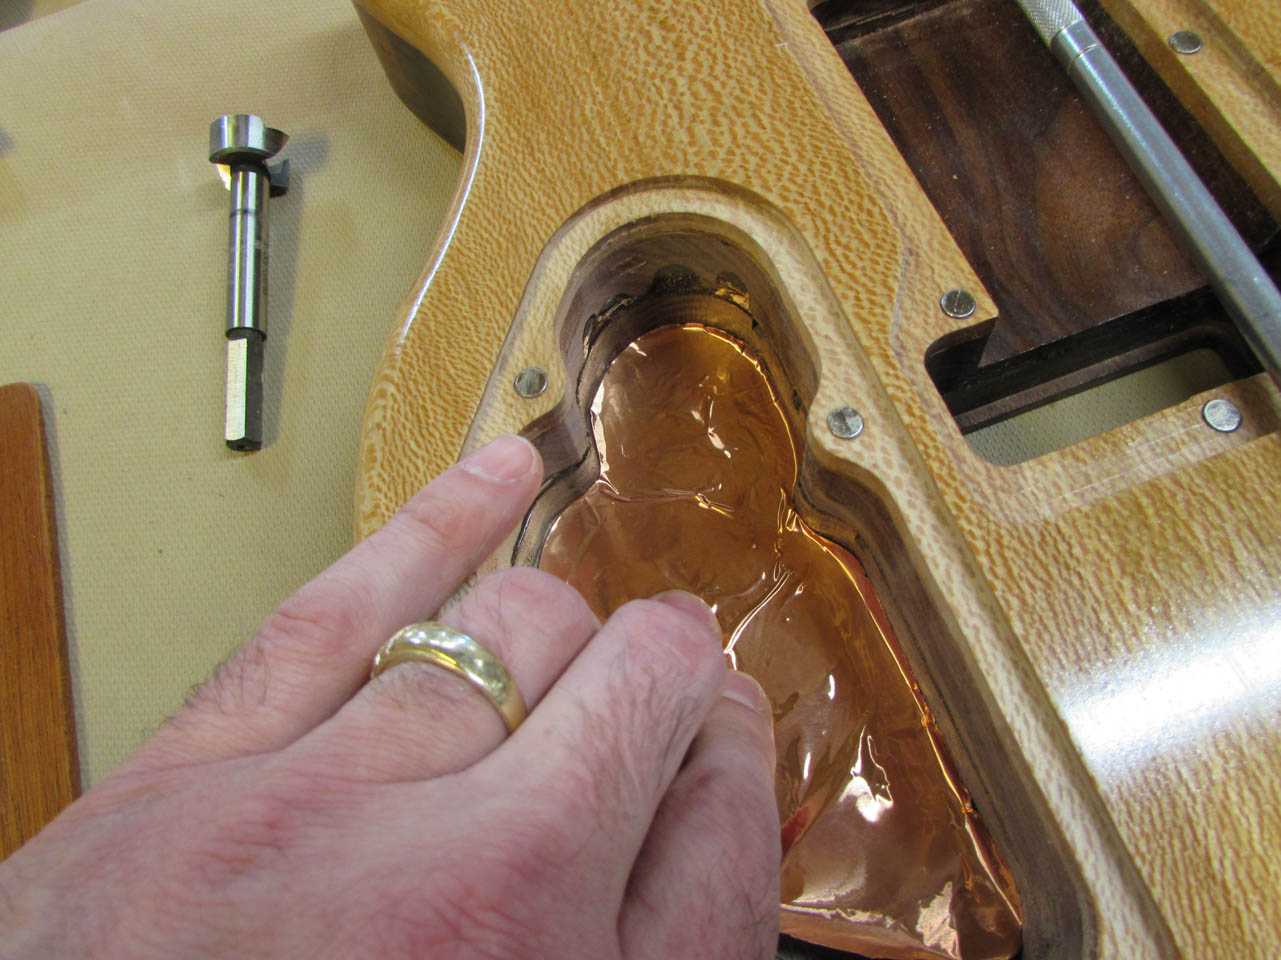
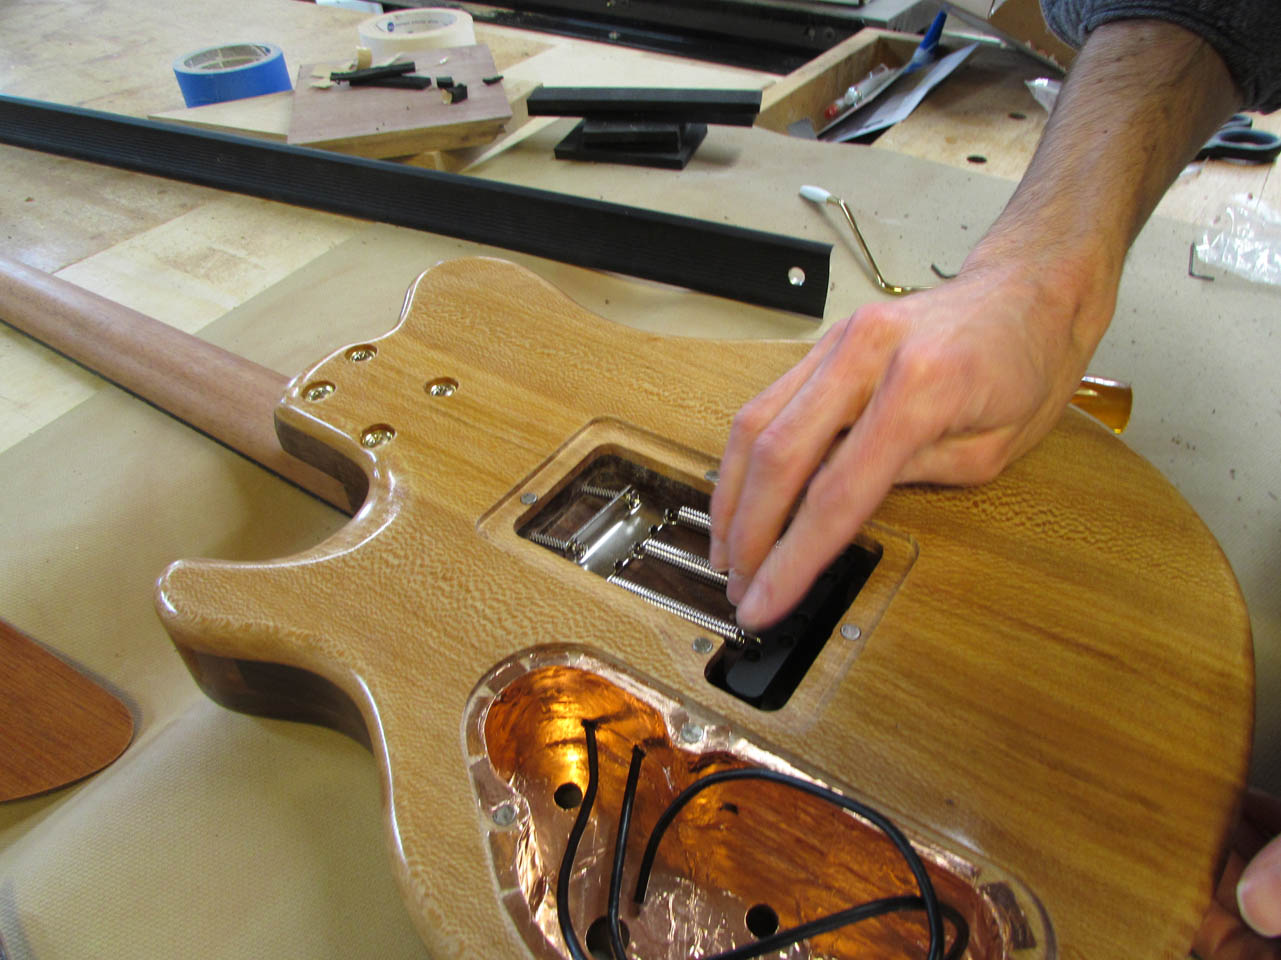
Then on to the fun job of lining the control cavity with copper foil.


I folded it over the top edges so the copper on the cover plate will make contact and the entire cavity will be shielded.


Kyle wants to mount the pickups directly to the body instead of using pickup rings. He applied adhesive foam to the back of the pickups so there is a constant upward pressure as the screws draw the mount down. This makes it easier to adjust later.

After the pickups were mounted, we attached the neck.


The tail piece was added so we could check the pickup elevations with a straight edge that spanned from the nut to the tail piece.
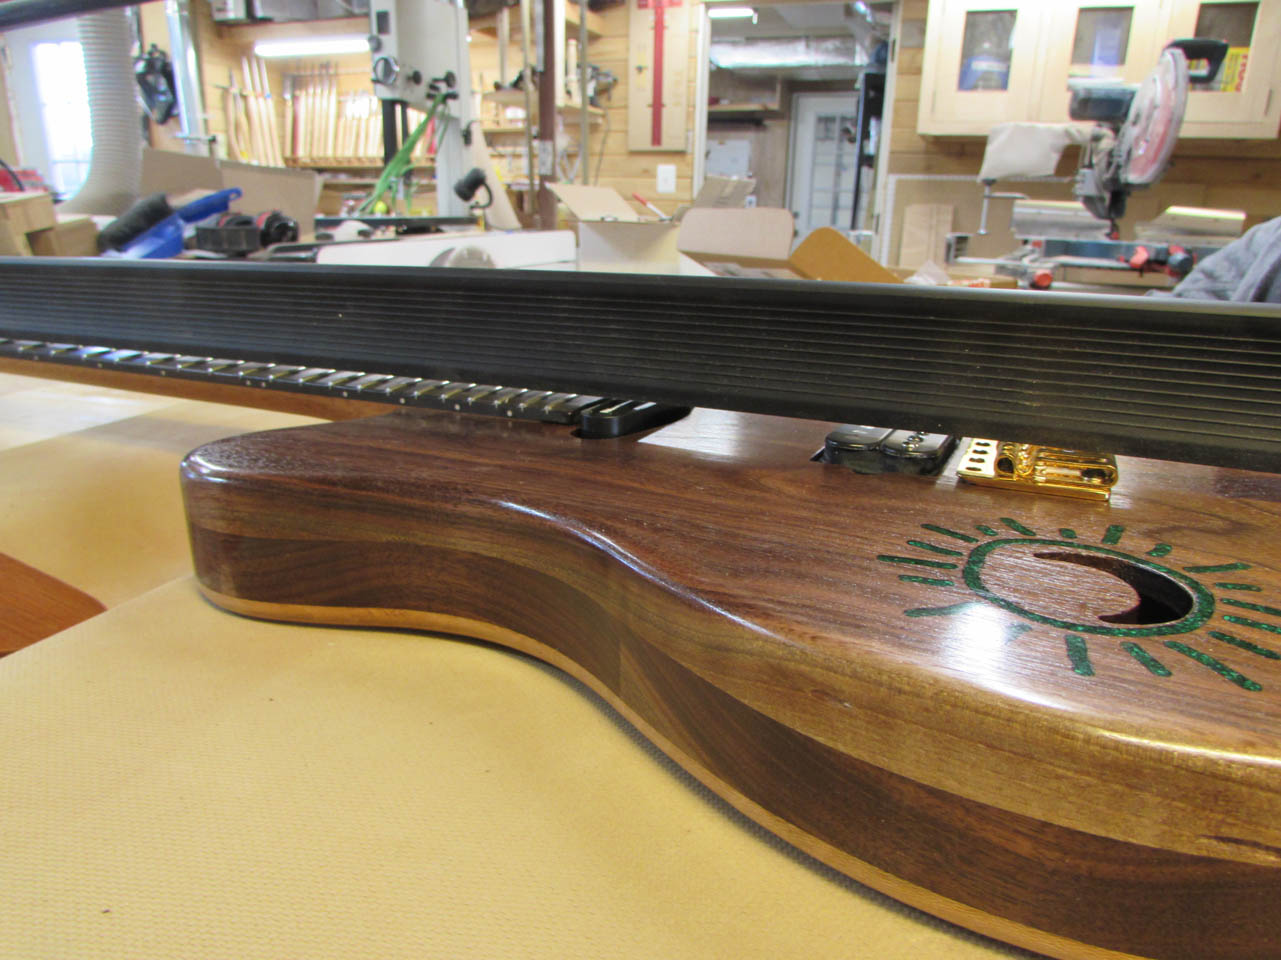
We pre-drilled and hand set all of the screws for the tail piece.


Next, we used a long 1/8″ bit to drill the holes for the tremolo claw, and attached the springs.
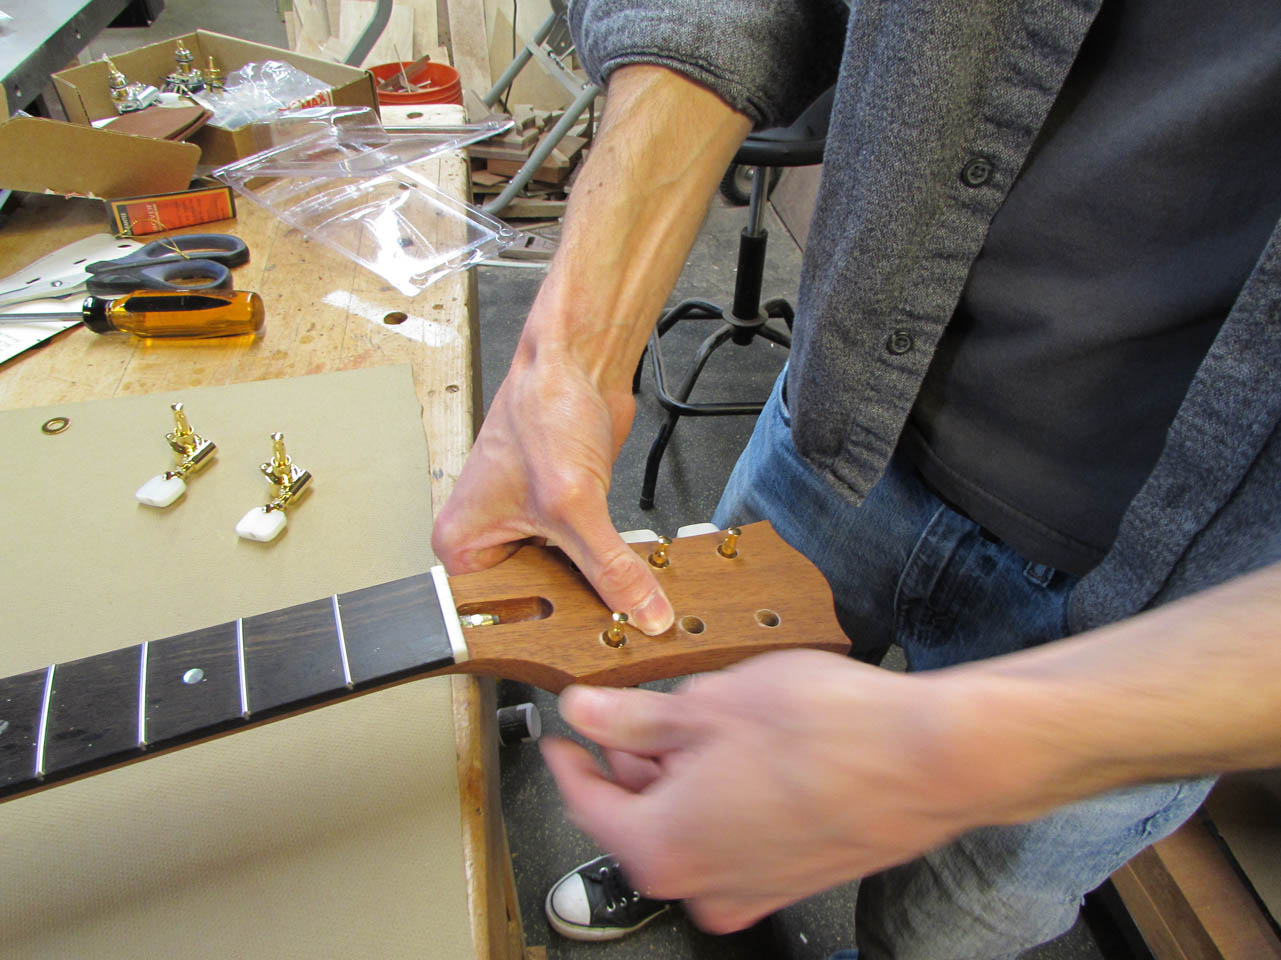
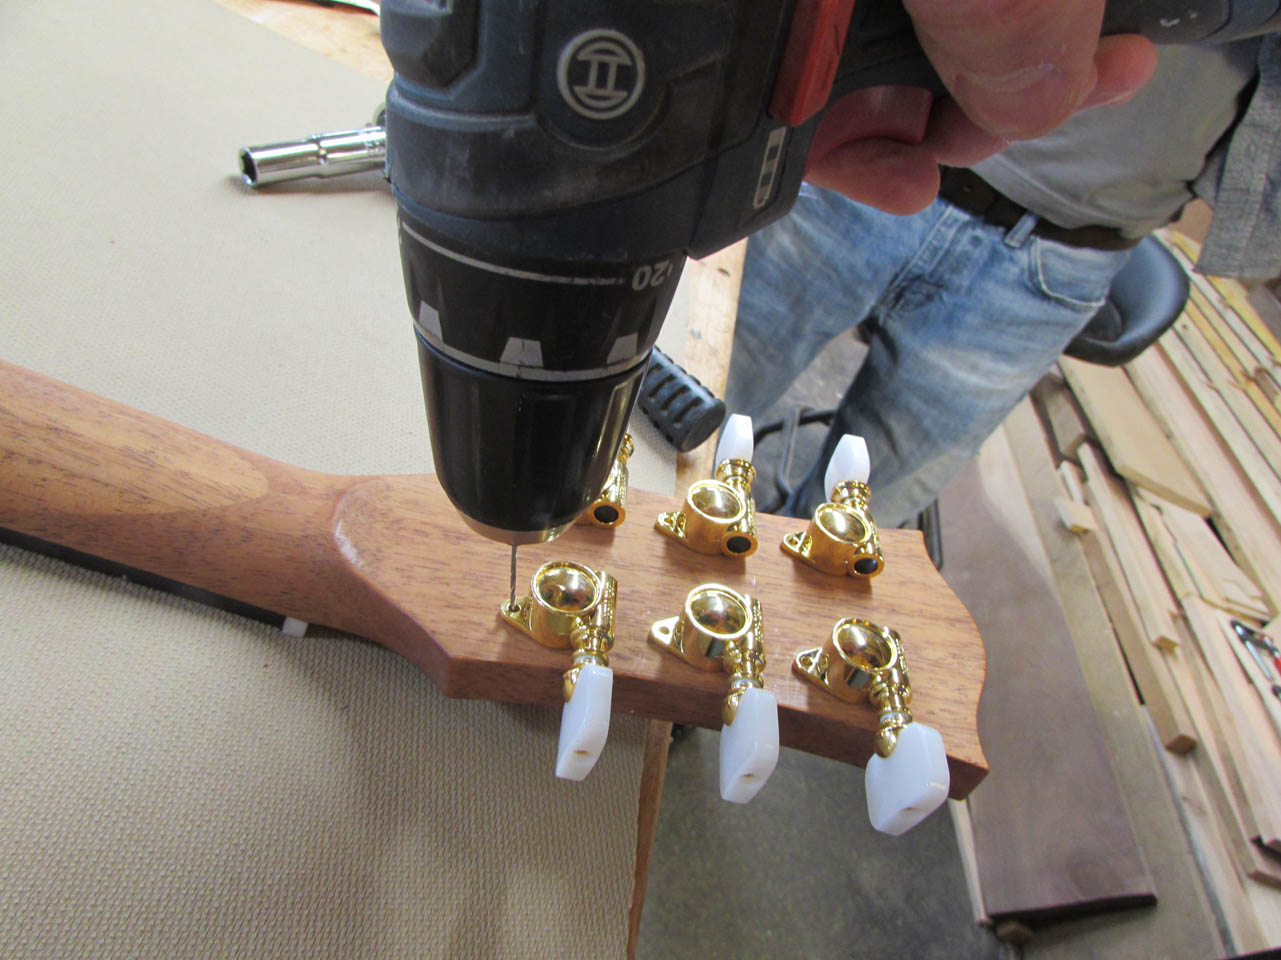
The tuners went in next. We lined them up, pre-drilled, then attached the small screw that keeps them from spinning.

Last thing we installed was the strap buttons.

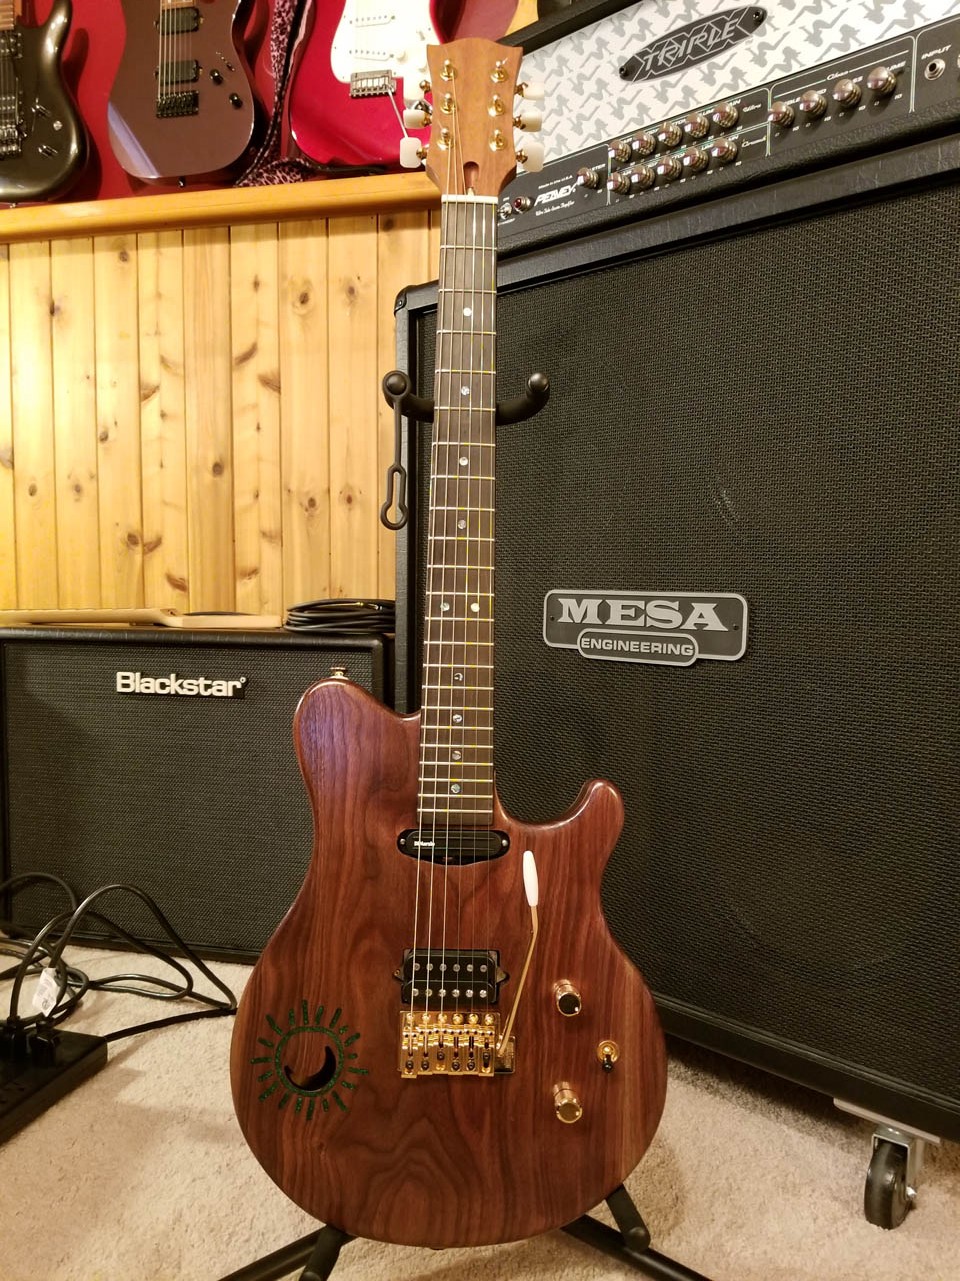
The body is done and the hardware installed, Now I will hand it off to Kyle to do the electronics.
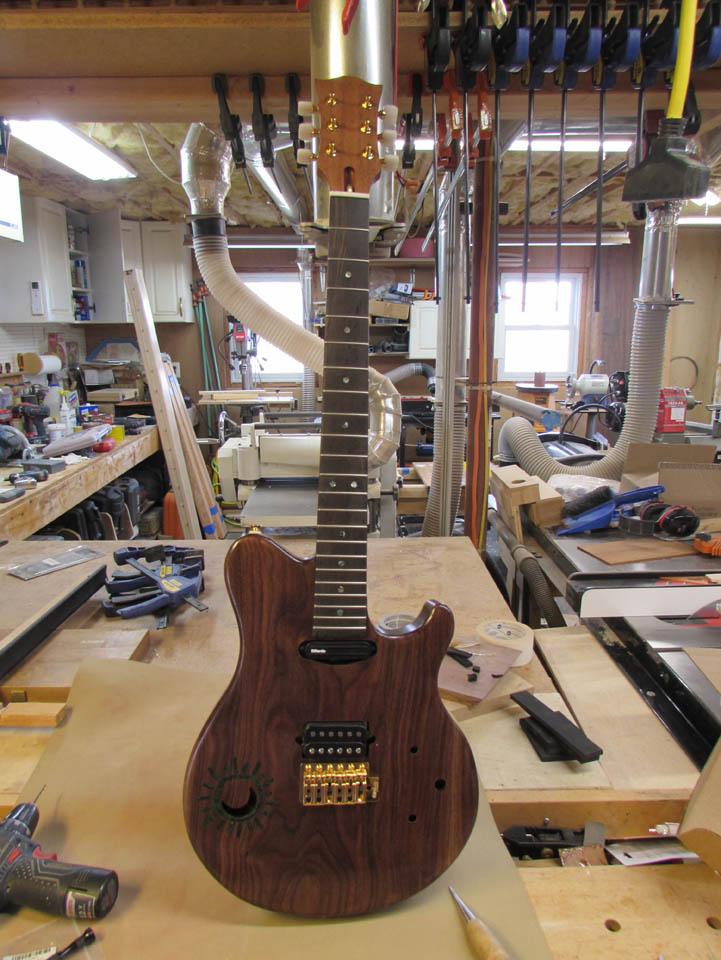
Looks like two completely different guitars from the front to the back.


I printed out a full size image of the control cavity for Kyle to figure out wire lengths.
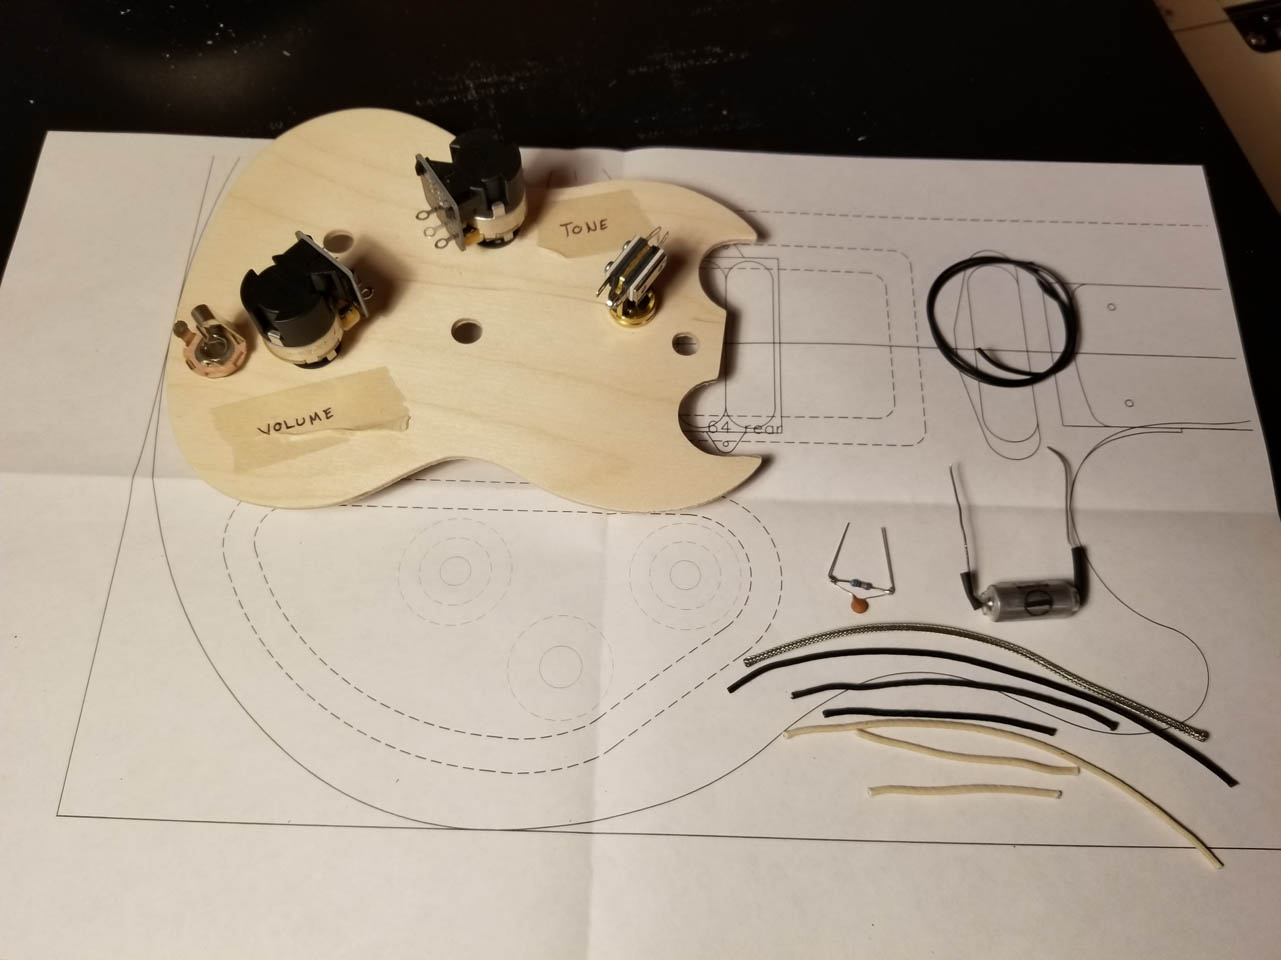
Then he mounted his components on his setup board and started soldering.
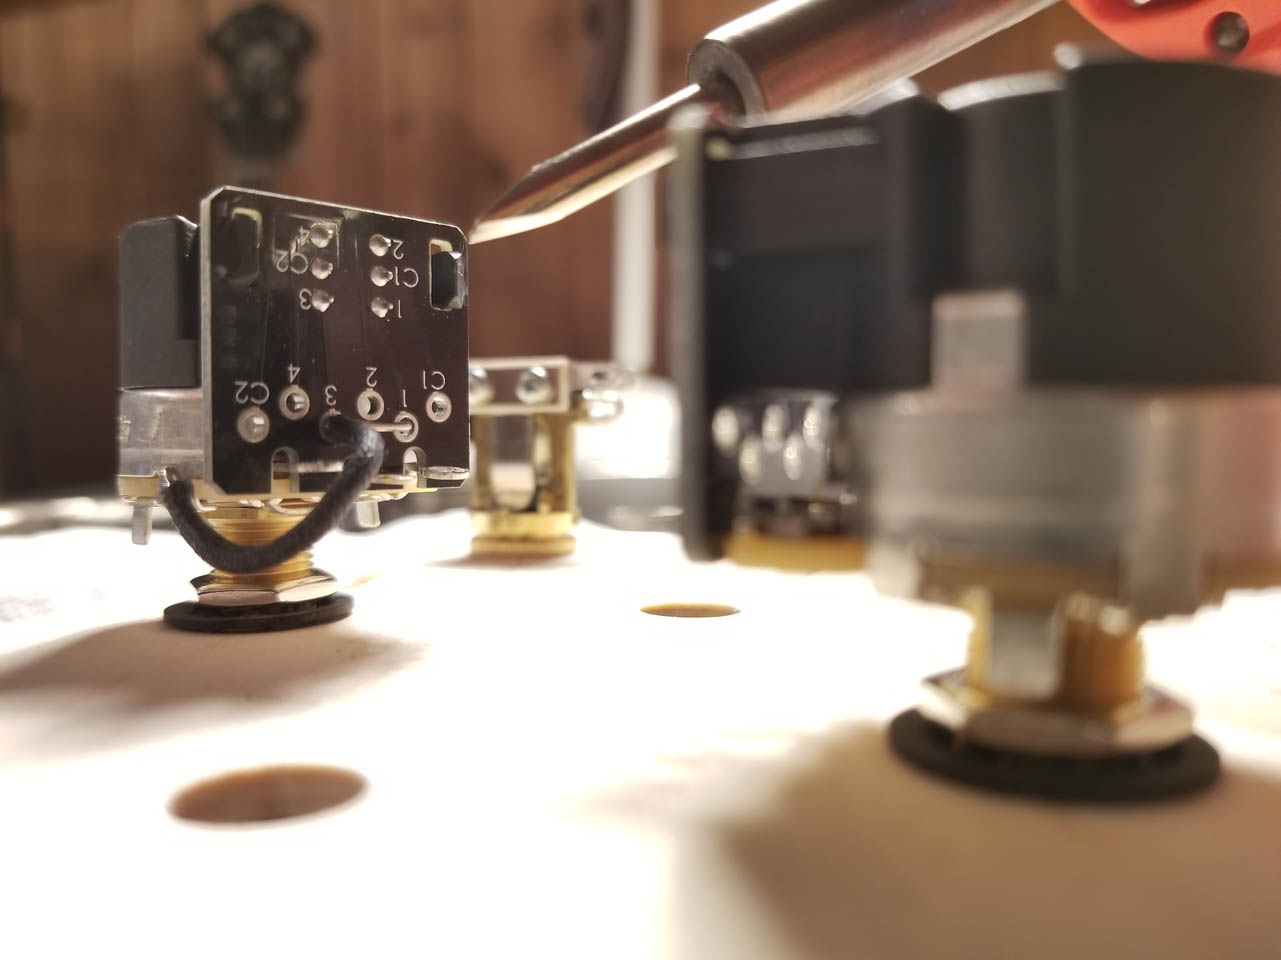
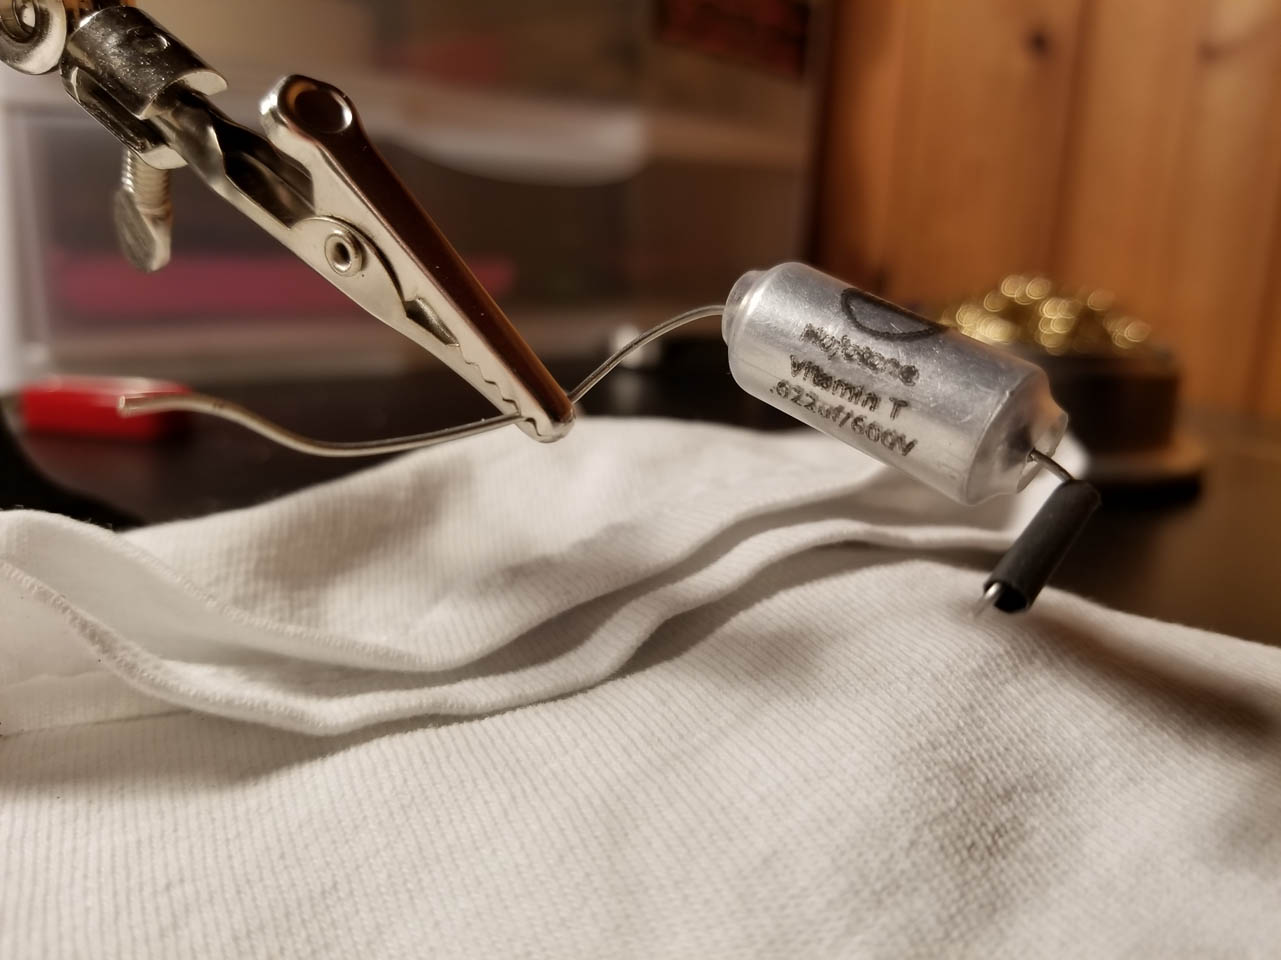

He likes complicated setups like this Push-Pull activated Treble-Bleed Circuit… I just stayed out of it and let him play.

He completed the wiring and set up the guitar.
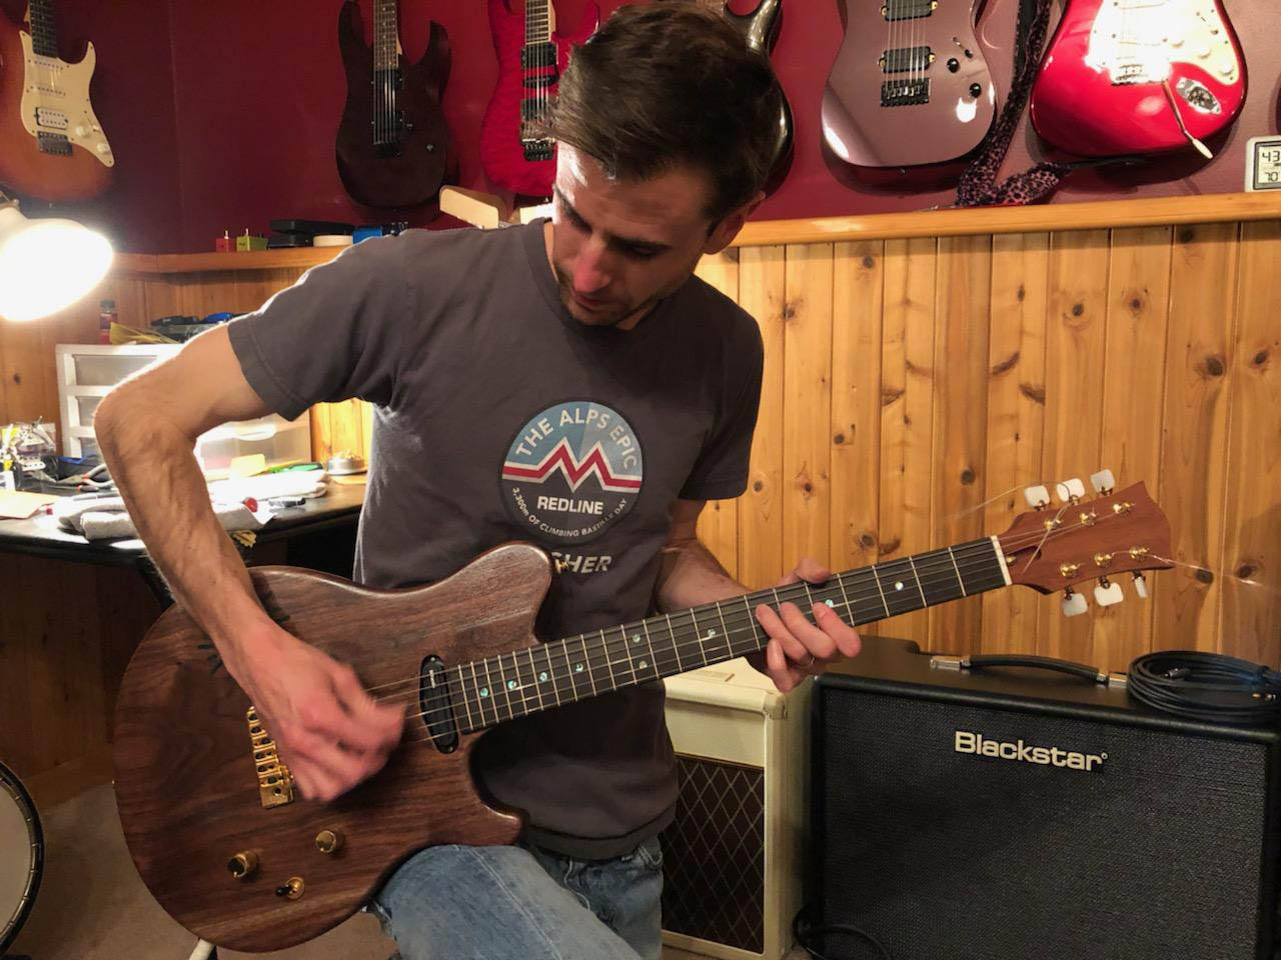
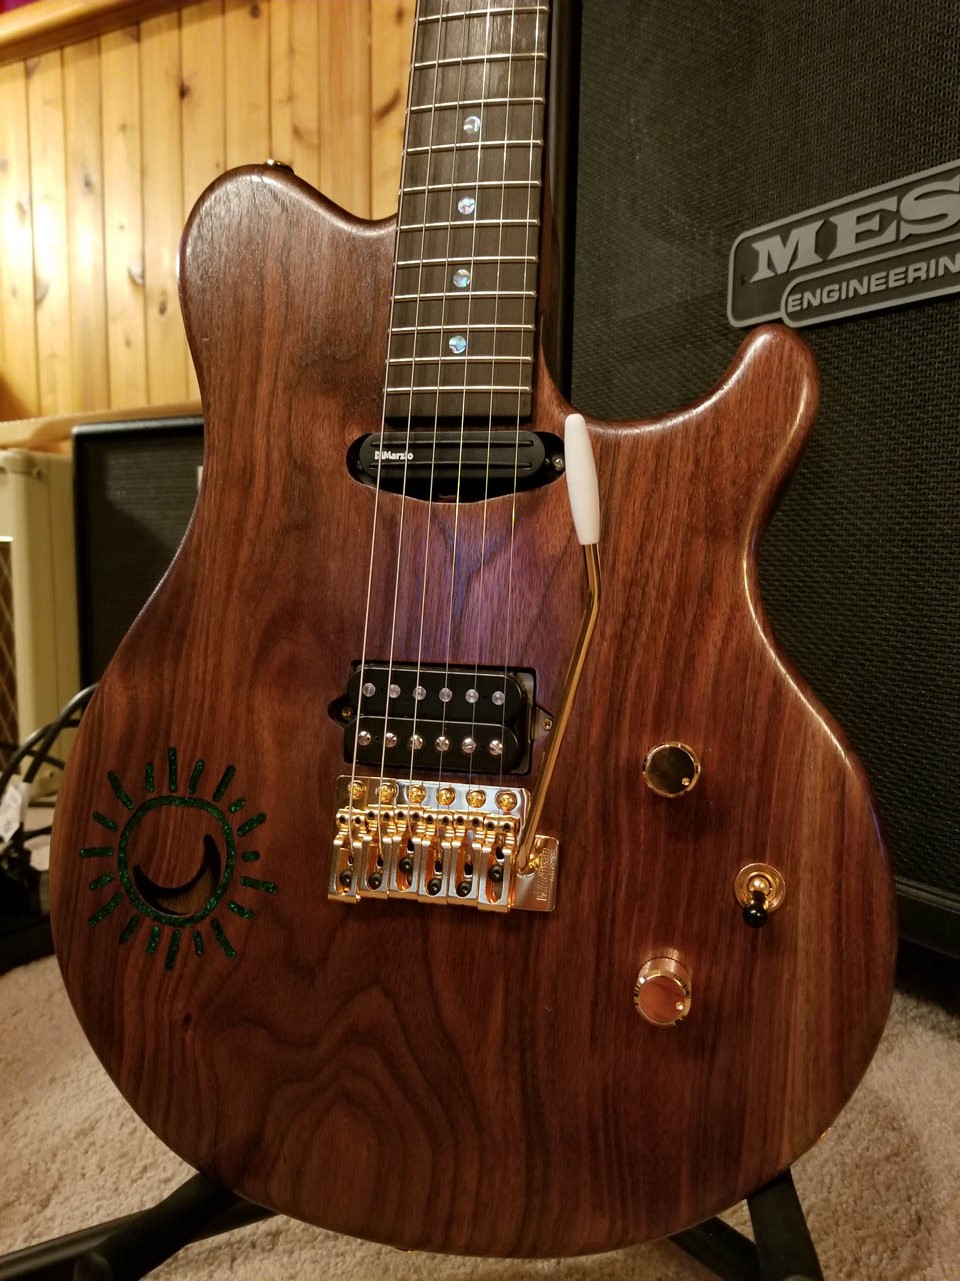
Looks pretty good. I think his grandfather’s walnut was put to good use. I am sure that we will be able to make a few more guitars from what he has left.
I asked Kyle for a quick video clip just to hear what it sounds like.
Turned out very nice. I think I have Kyle hooked and we will be seeing him a lot more in the shop.
