
Holy Oils case
I was given a project to do for my church, about a year ago. They requested that a box be made to transport the holy oils that are consecrated at chrism Mass during Holy week. The request came a week or two before Holy week last year, so I didn’t have time to make it before it was needed. That meant I had an entire year to make it, before it would be needed again. The design of the box was fairly simple. I measured the bottles and sketched up something fairly quickly: oil box.pdf
The problem I had with getting started was that since it was such a simple design, I wanted to use something really special to construct the box with. I have access to a lot of walnut and oak, but I wanted something that would stand out in its simplicity. Perhaps a nice burl or an interesting looking exotic? I spent 6 months mulling it over. Nothing I had seen seemed quite right. I couldn’t figure out why. Something just seemed missing, every time I thought about a piece of wood.
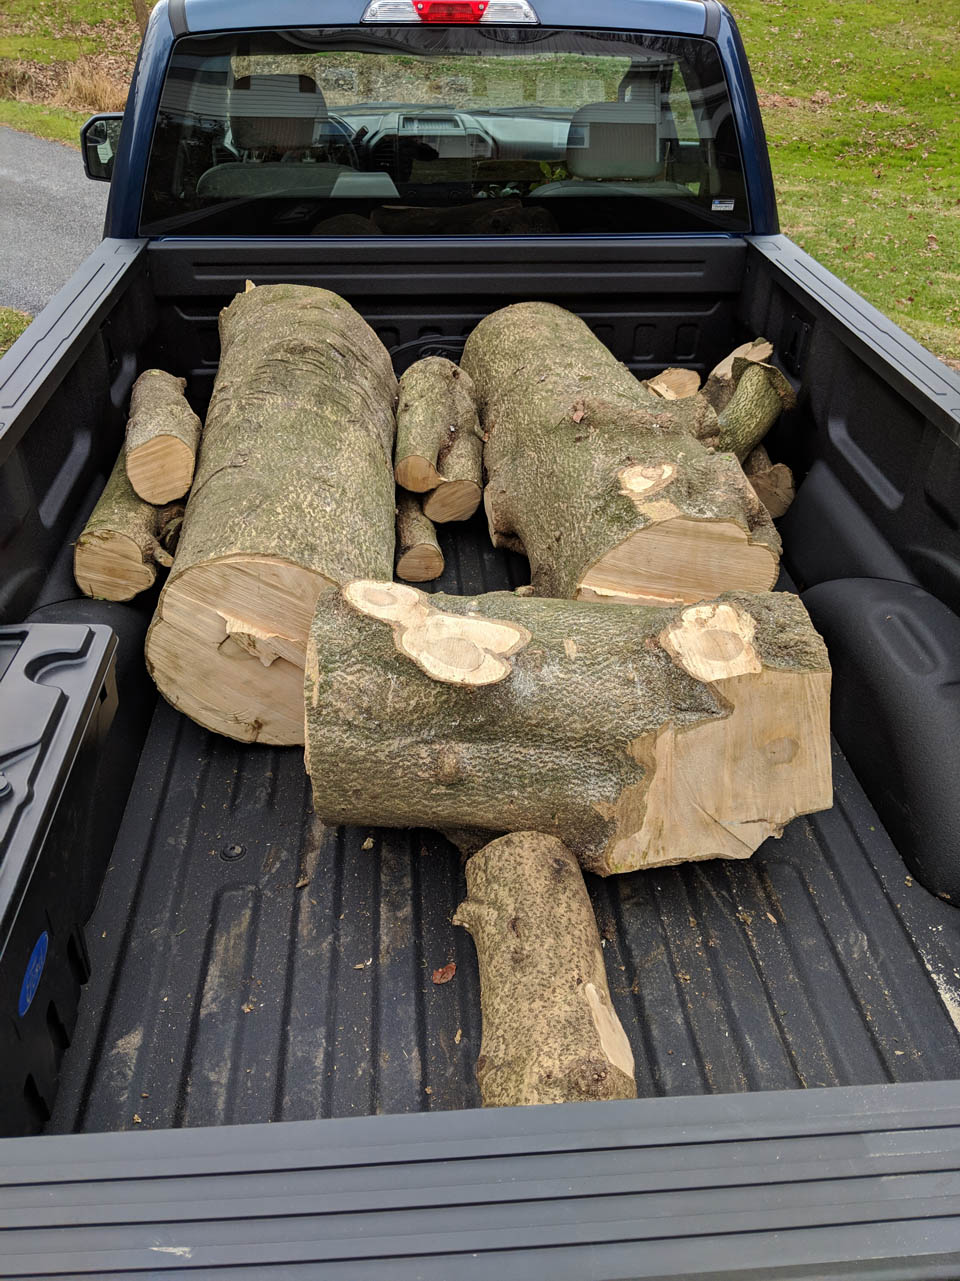
One day, after church, a gentleman came up to me and asked if I would be interested in a holly tree that he was cutting down. Since I occasionally build pieces of furniture for the church, he wanted to know if I could use it. I love the look of holly, it can be pure white or mottled with green. I immediately thought that it would be perfect for the holy oil case. I made a phone call to my buddy Dave and asked if he would be willing to saw up the holly logs into boards and he agreed. Then I set up a time to go to John’s house and get the logs. The tree was huge, approximately 24″ in diameter at the base. We cut the bottom ten feet of the tree into two sections for the saw mill. The rest of the larger stuff was cut up for possible lathe projects. It took three of us just to get the logs into my truck. The larger two chunks weighed approximately 300 pounds each, but we managed to get them loaded. I thanked John and headed home.
The next day, I dropped the logs off at my friend’s sawmill, and a month or so later the weather cooperated enough that he could saw them up for me. He primarily made quarter-sawn boards since holly tends to twist.

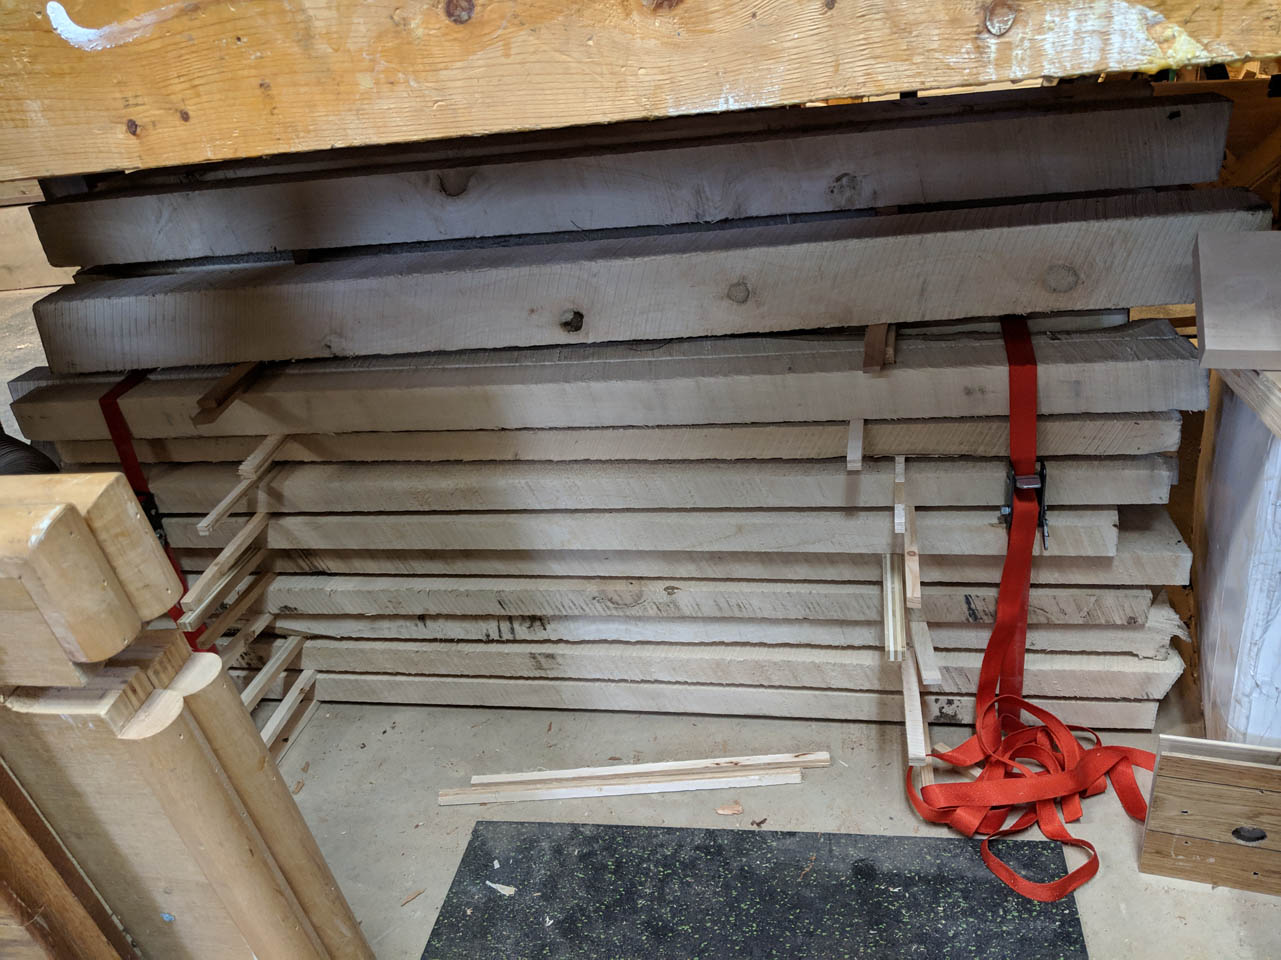
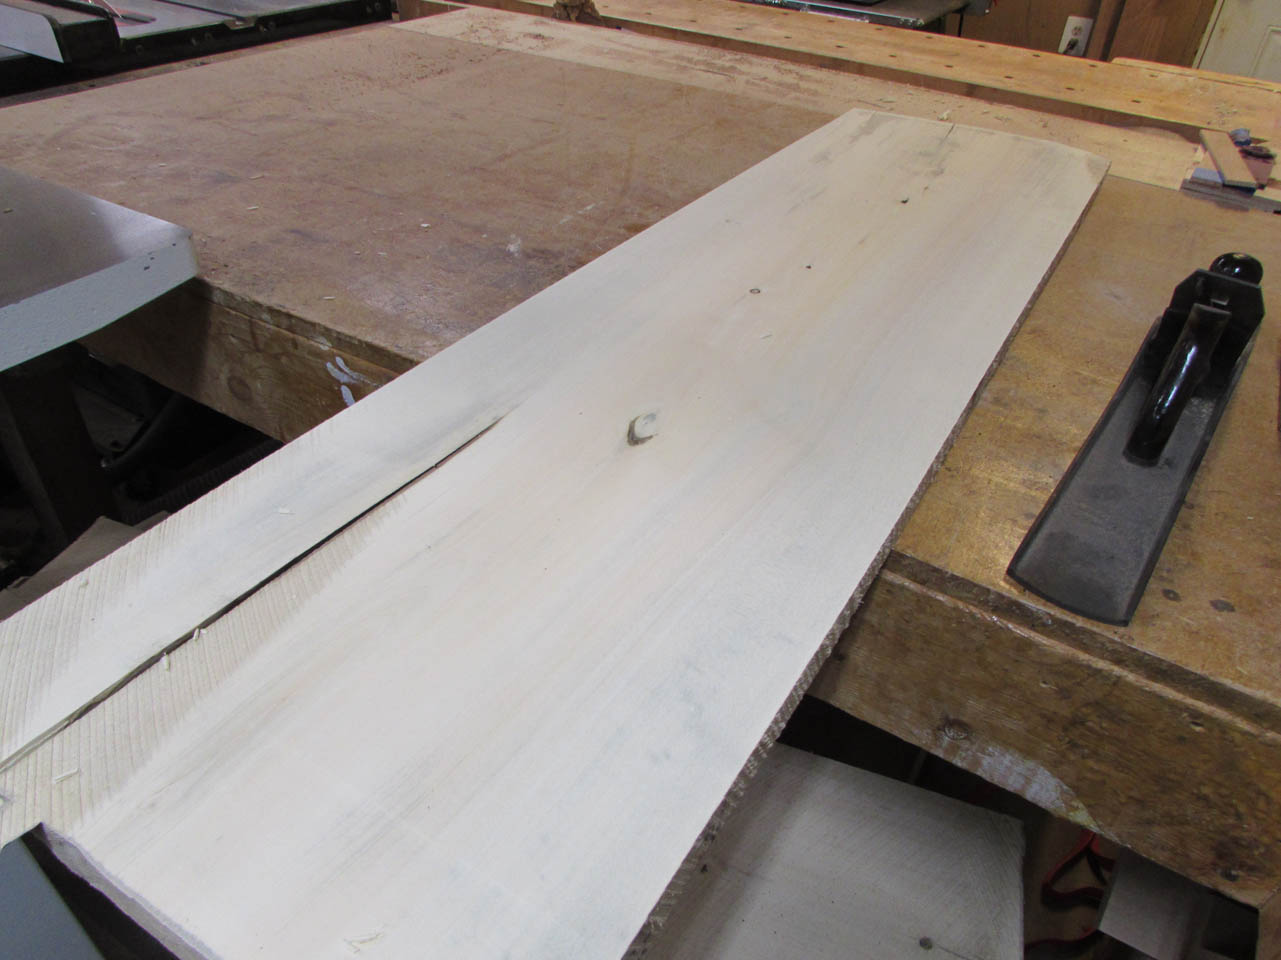
I literally have only one spot to dry wood, in my shop, and that is under my out-feed bench. I stickered and stacked the pile as flatly as I could, Then gently strapped the ends, hoping to keep everything moderately straight. Since I was hoping to have it dry in just a couple of months, I placed a fan in front of the pile. This will accelerate the drying, and probably cause more twist, but you don’t know until you try…
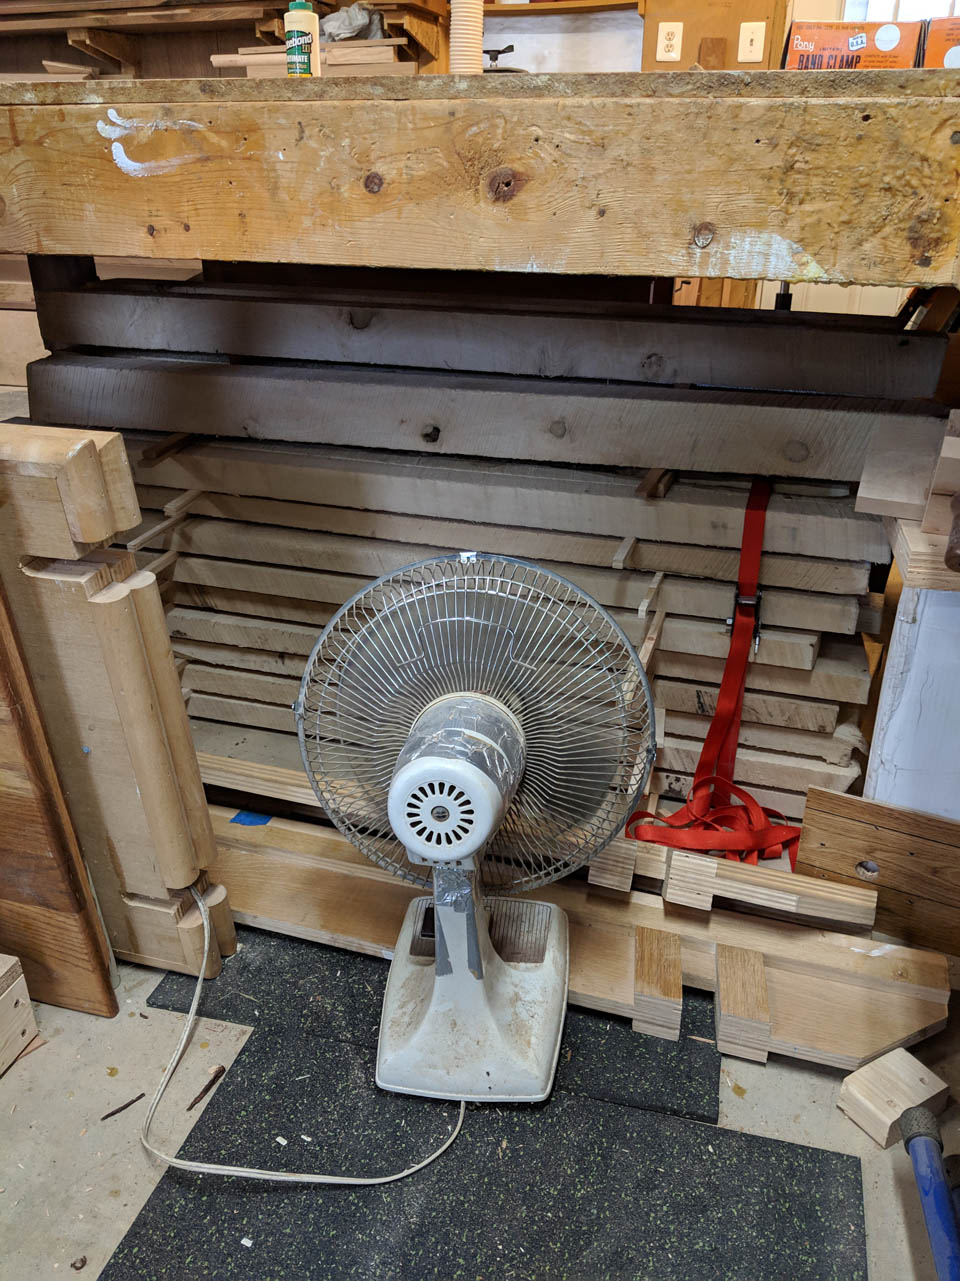
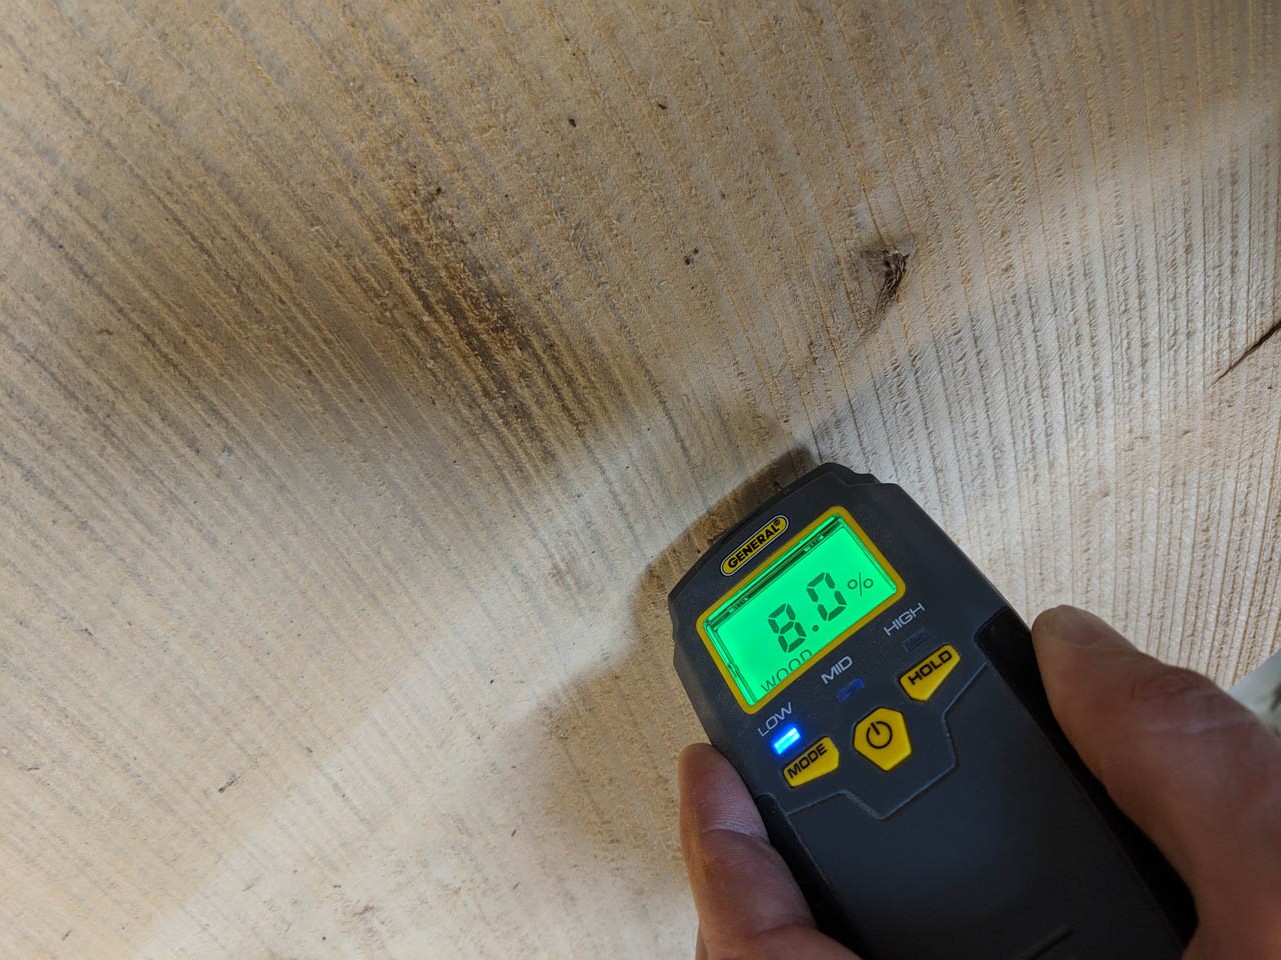
I moved the fan to the opposite side a couple of weeks later to help dry the other side evenly. I also had to tighten up the straps. The boards were shrinking. When I was ready to start work on the case, I pulled off the straps. The moisture meter read 8% on the center of the bottom board, I decided that it would be good to try.

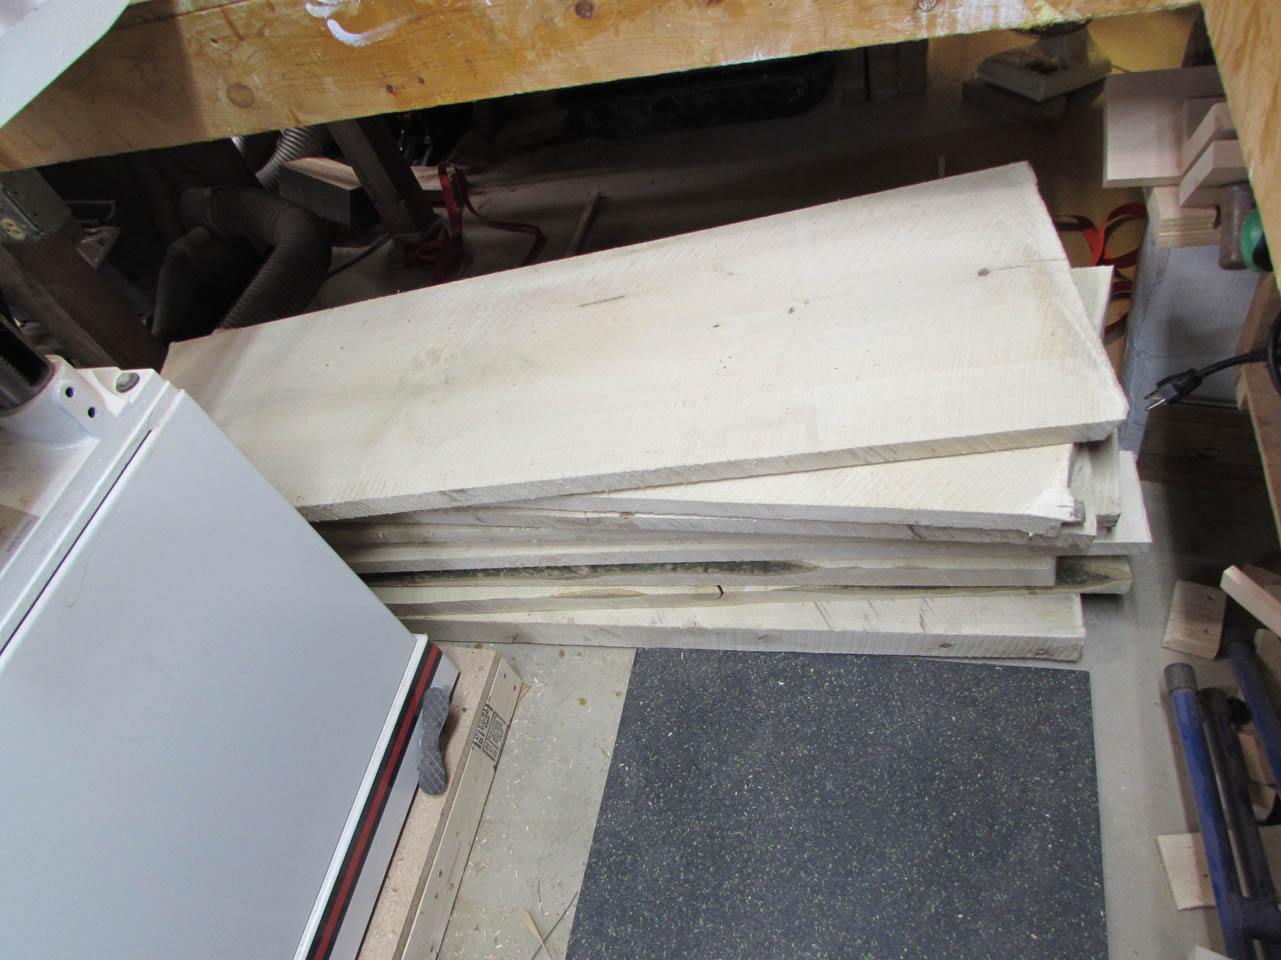
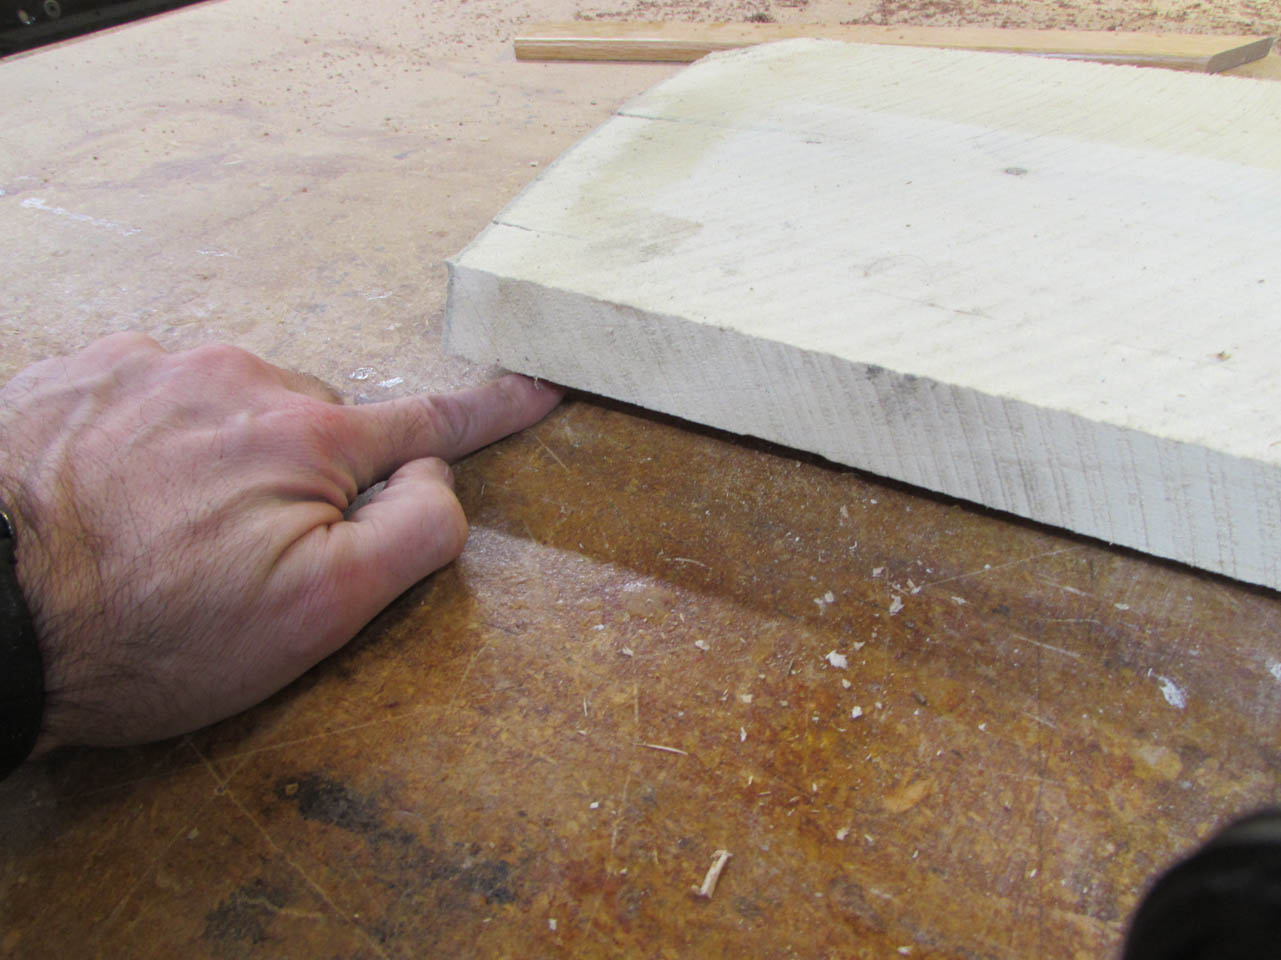
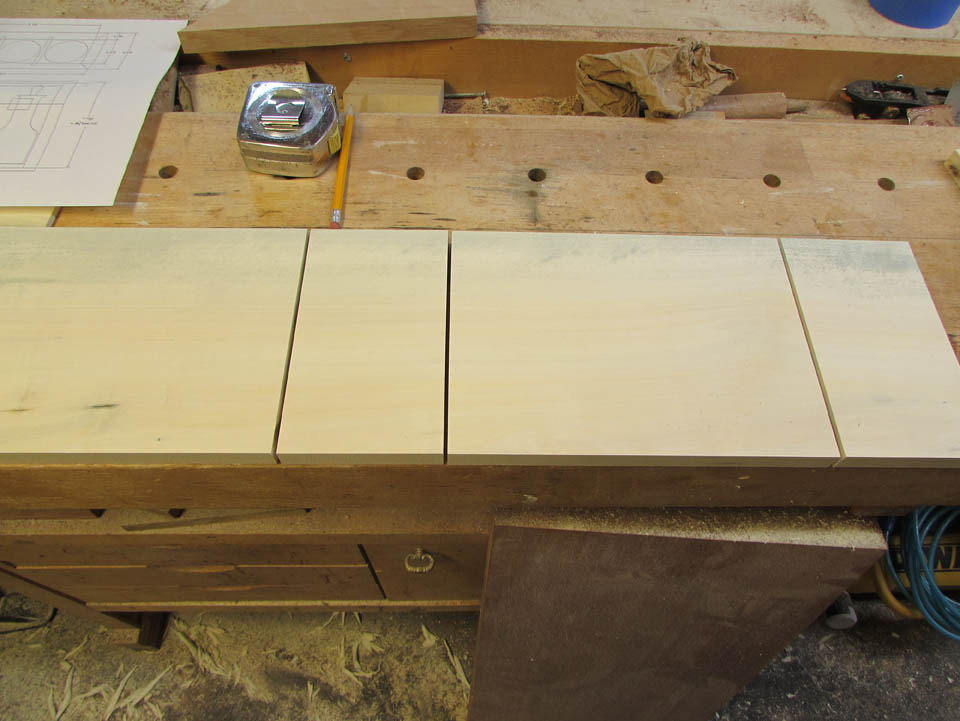
The straightest board in the pile had about a 5/8″ twist to it. Since these boards were rough-sawn to 1-1/4″ thick and I only needed it to be 3/4″ thick, I figured I could work with it.
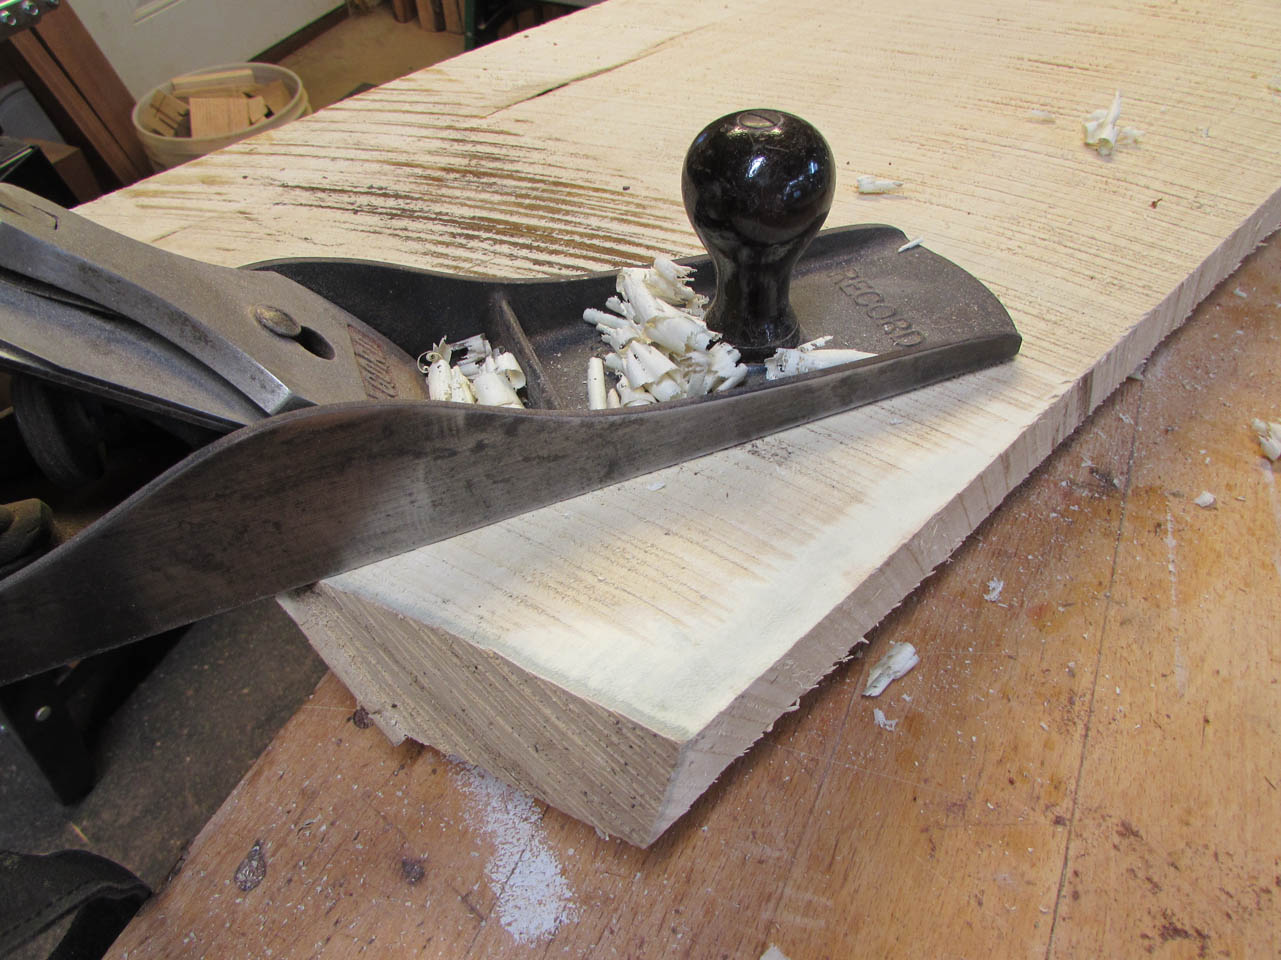
The first thing I did was flip the board over and planed down the high corners by hand.
This quickly reduced the twist to about 3/8″. I could work with that.
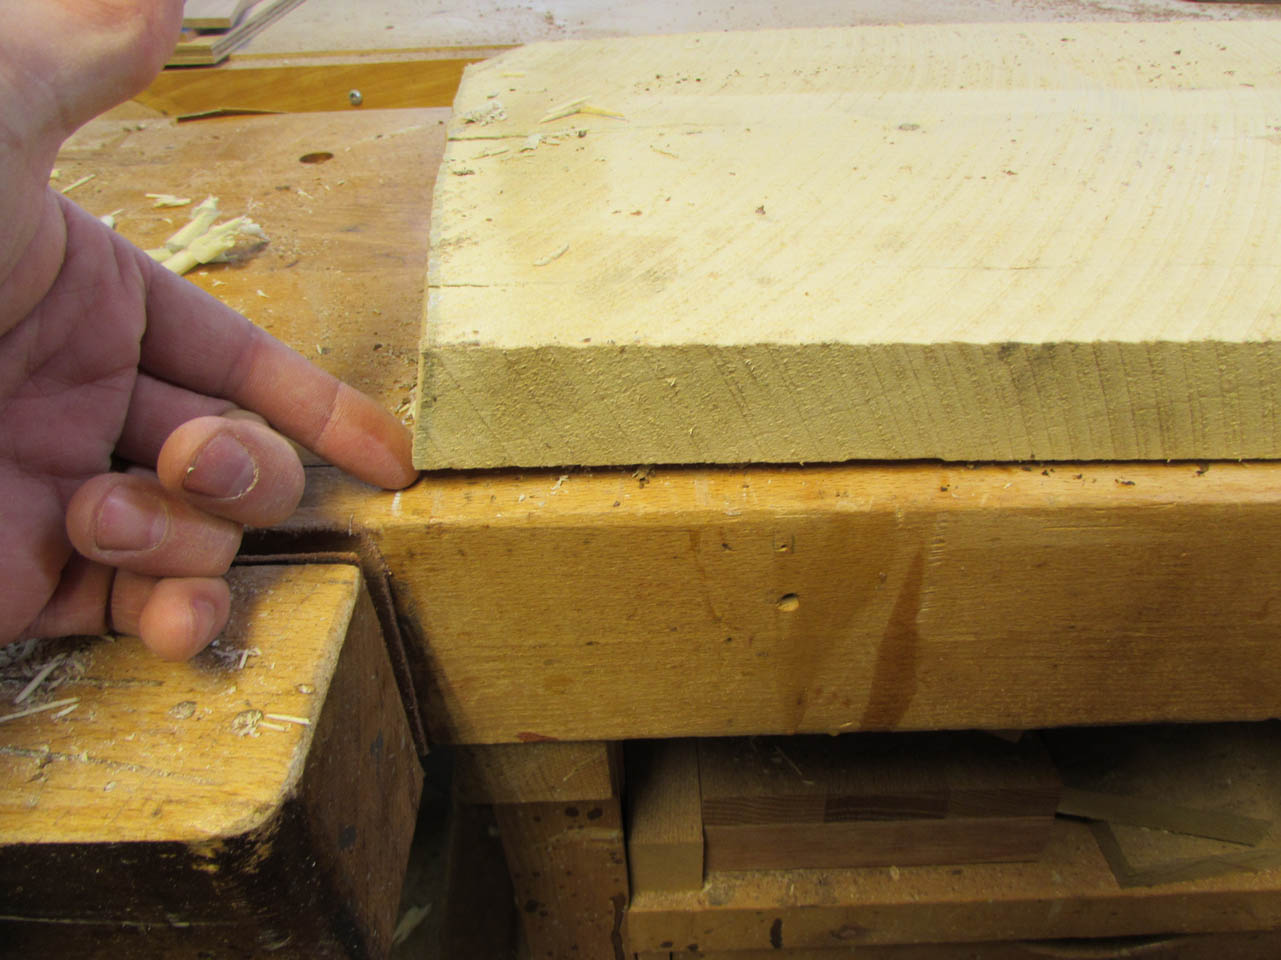

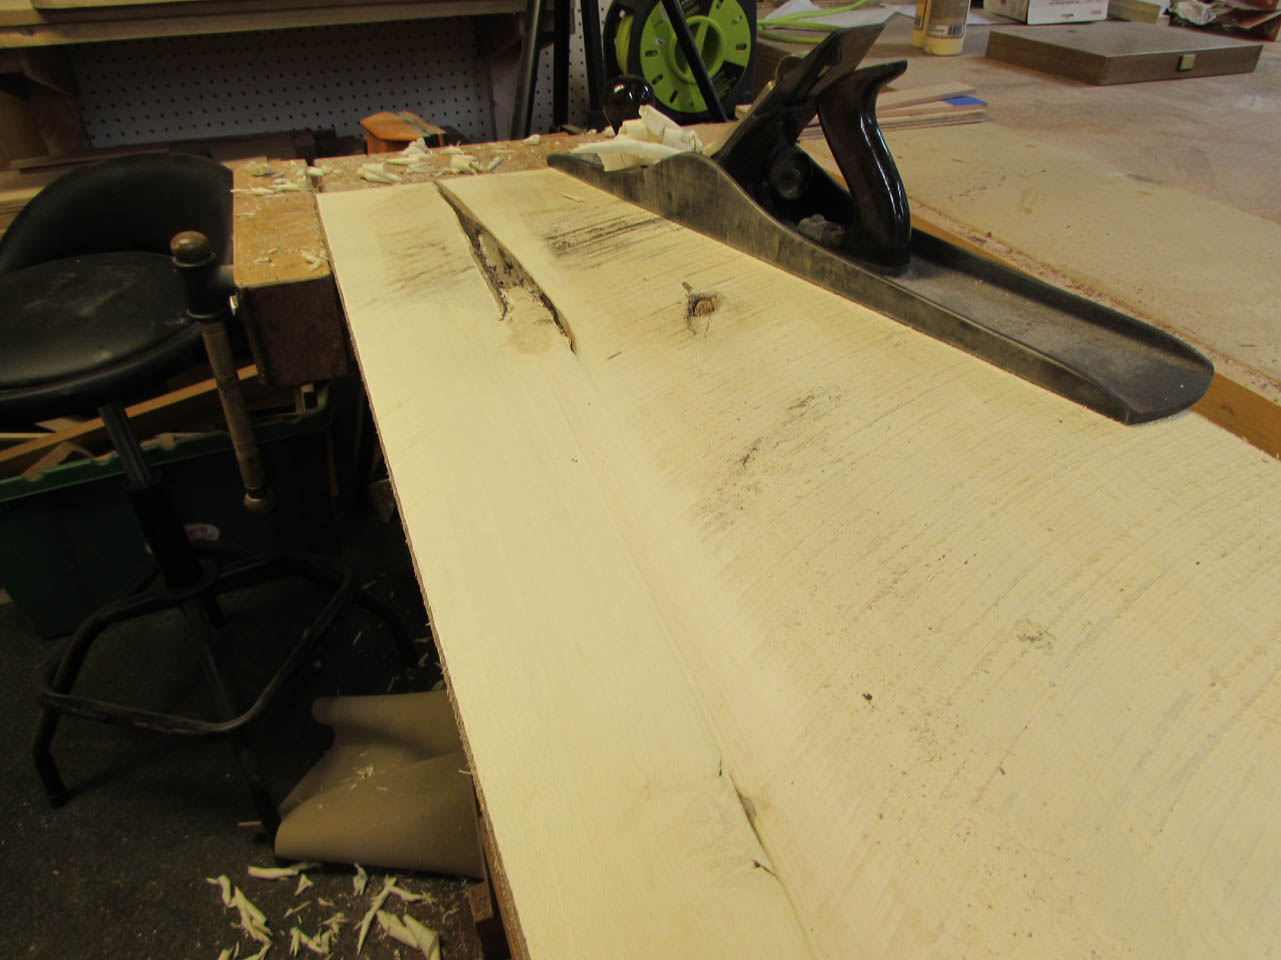
I cleaned up one of the low corners with a plane, then used CA glue to attach a temporary block to keep that end up for the planer. Most of the board was flatter, but this corner turned up. The block would assure that the planer didn’t just roll the board along the twist.
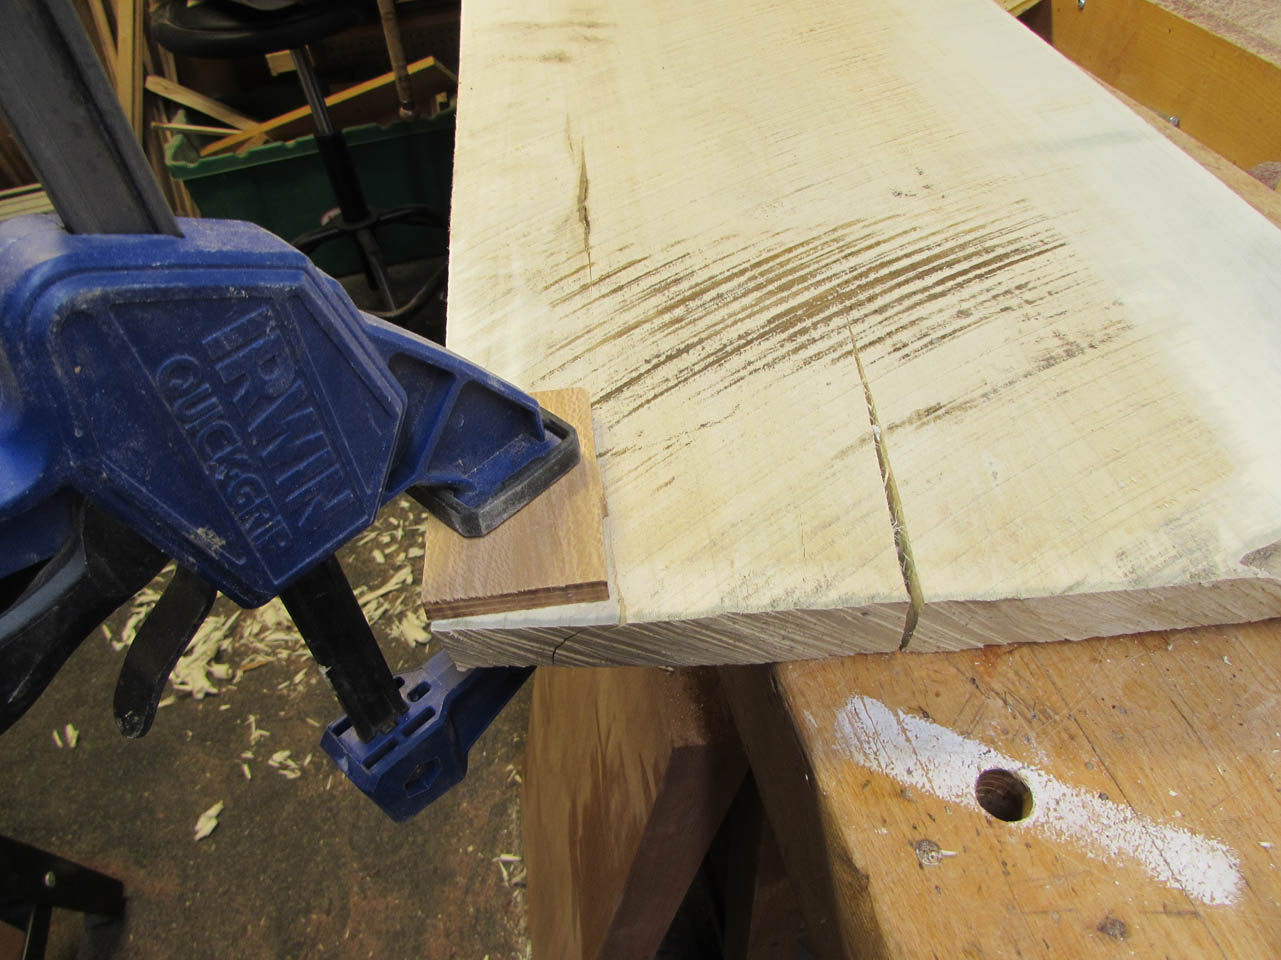
After the glue had dried, I fed the board through the planer, leading with the block. Just a few cuts and you can already see the subtle, but beautiful grain emerging.
Several passes later, I had a flat side. I thought to knock off my temporary block with a smack from my hammer…

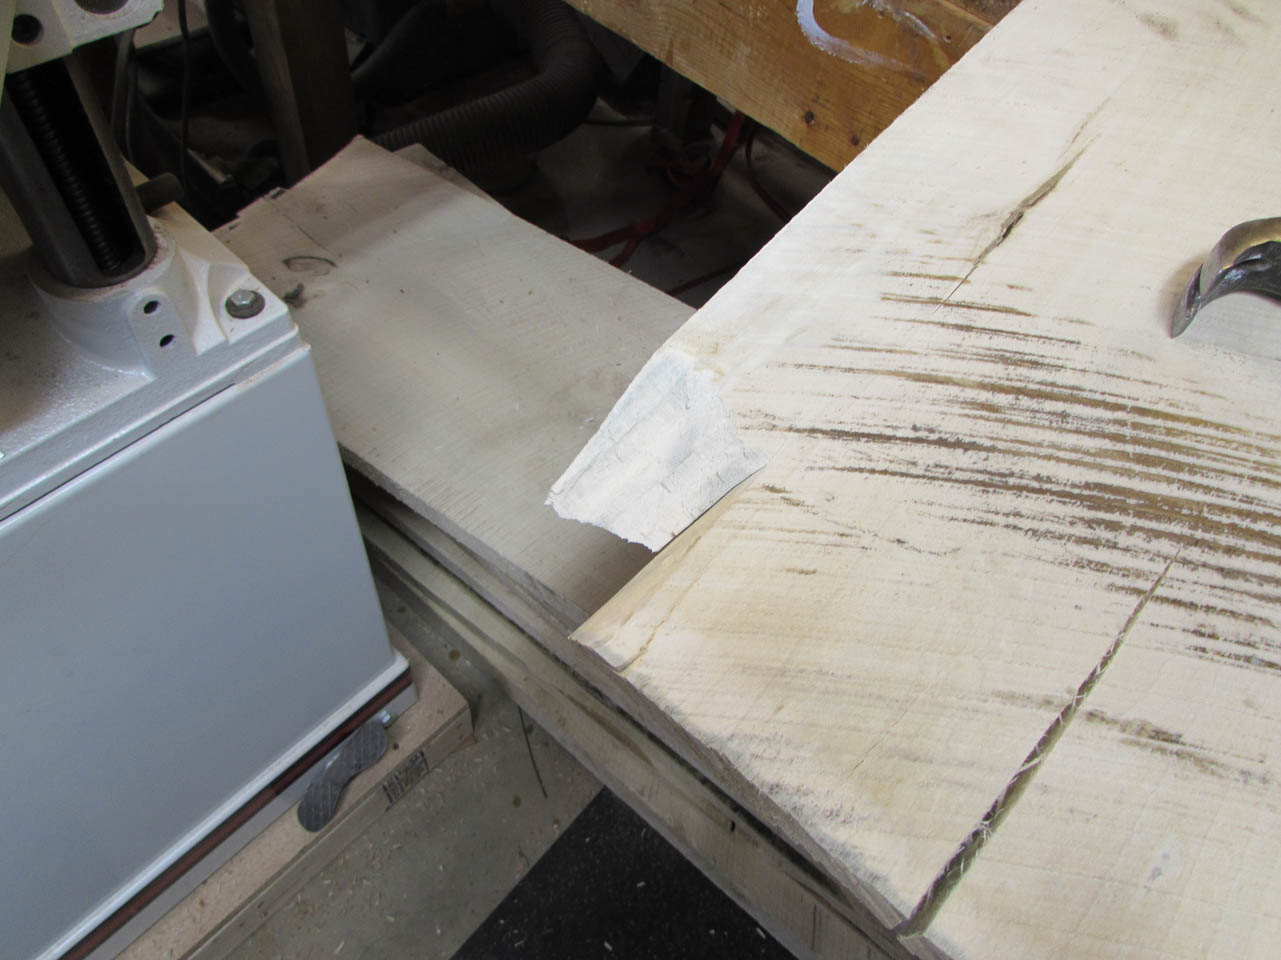
But that was some pretty good glue and I knocked off the entire corner. Oh well. that was at the split end so I couldn’t use it anyway.
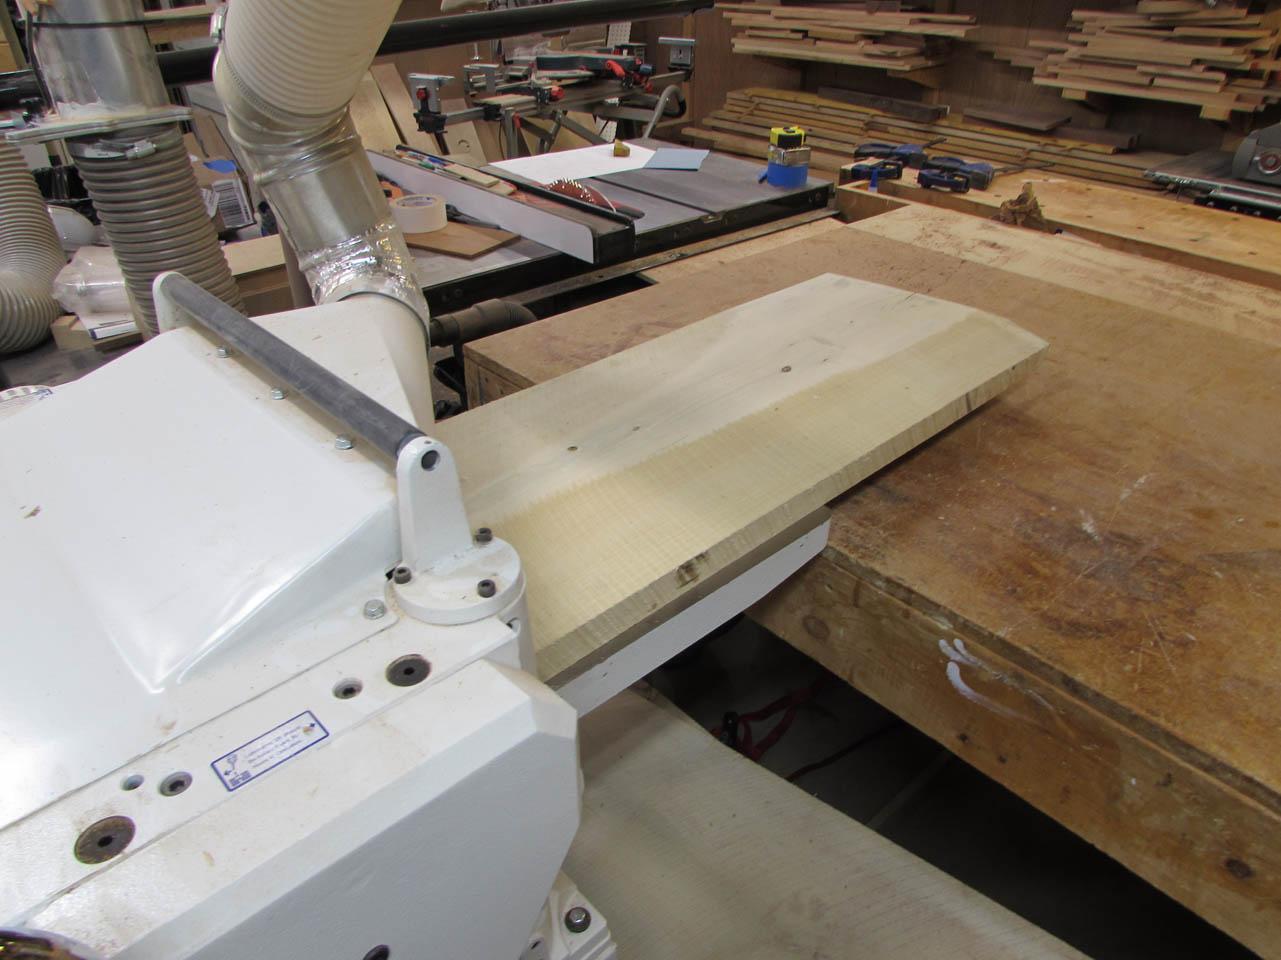
I flipped the board over and proceeded to plane the other side down until I had my 3/4″ thick board.

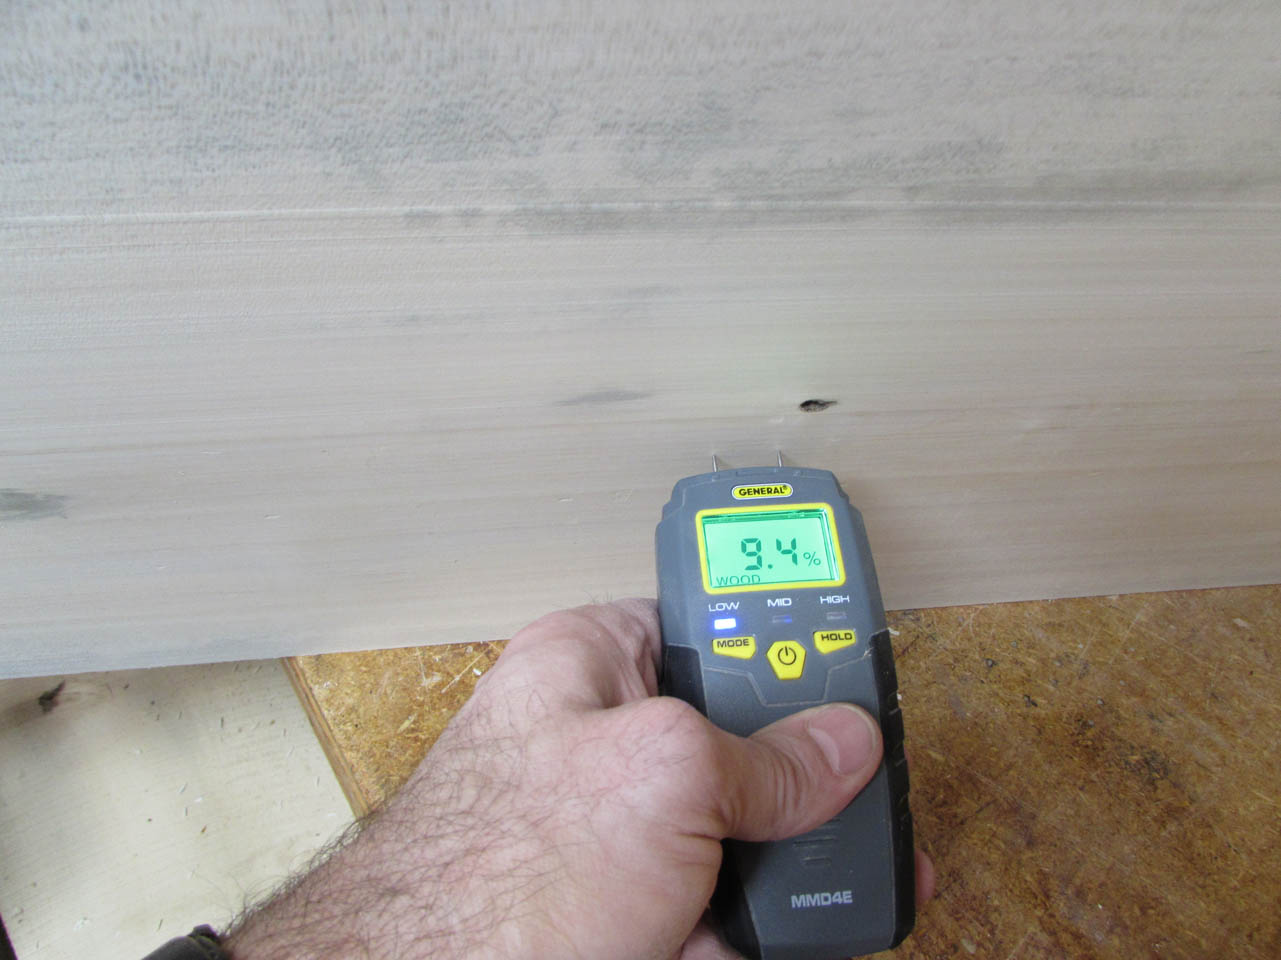
I tested the center of the board with my moisture meter to see how much wetter it was further down into the board, and it was still dry enough to keep working. To avoid any further twisting, I clamped the newly planed board flat until I was ready to cut it up.

Since I planed away 1/2″ of the thickness of that board, I thought it might be wise to empty my dust collector…


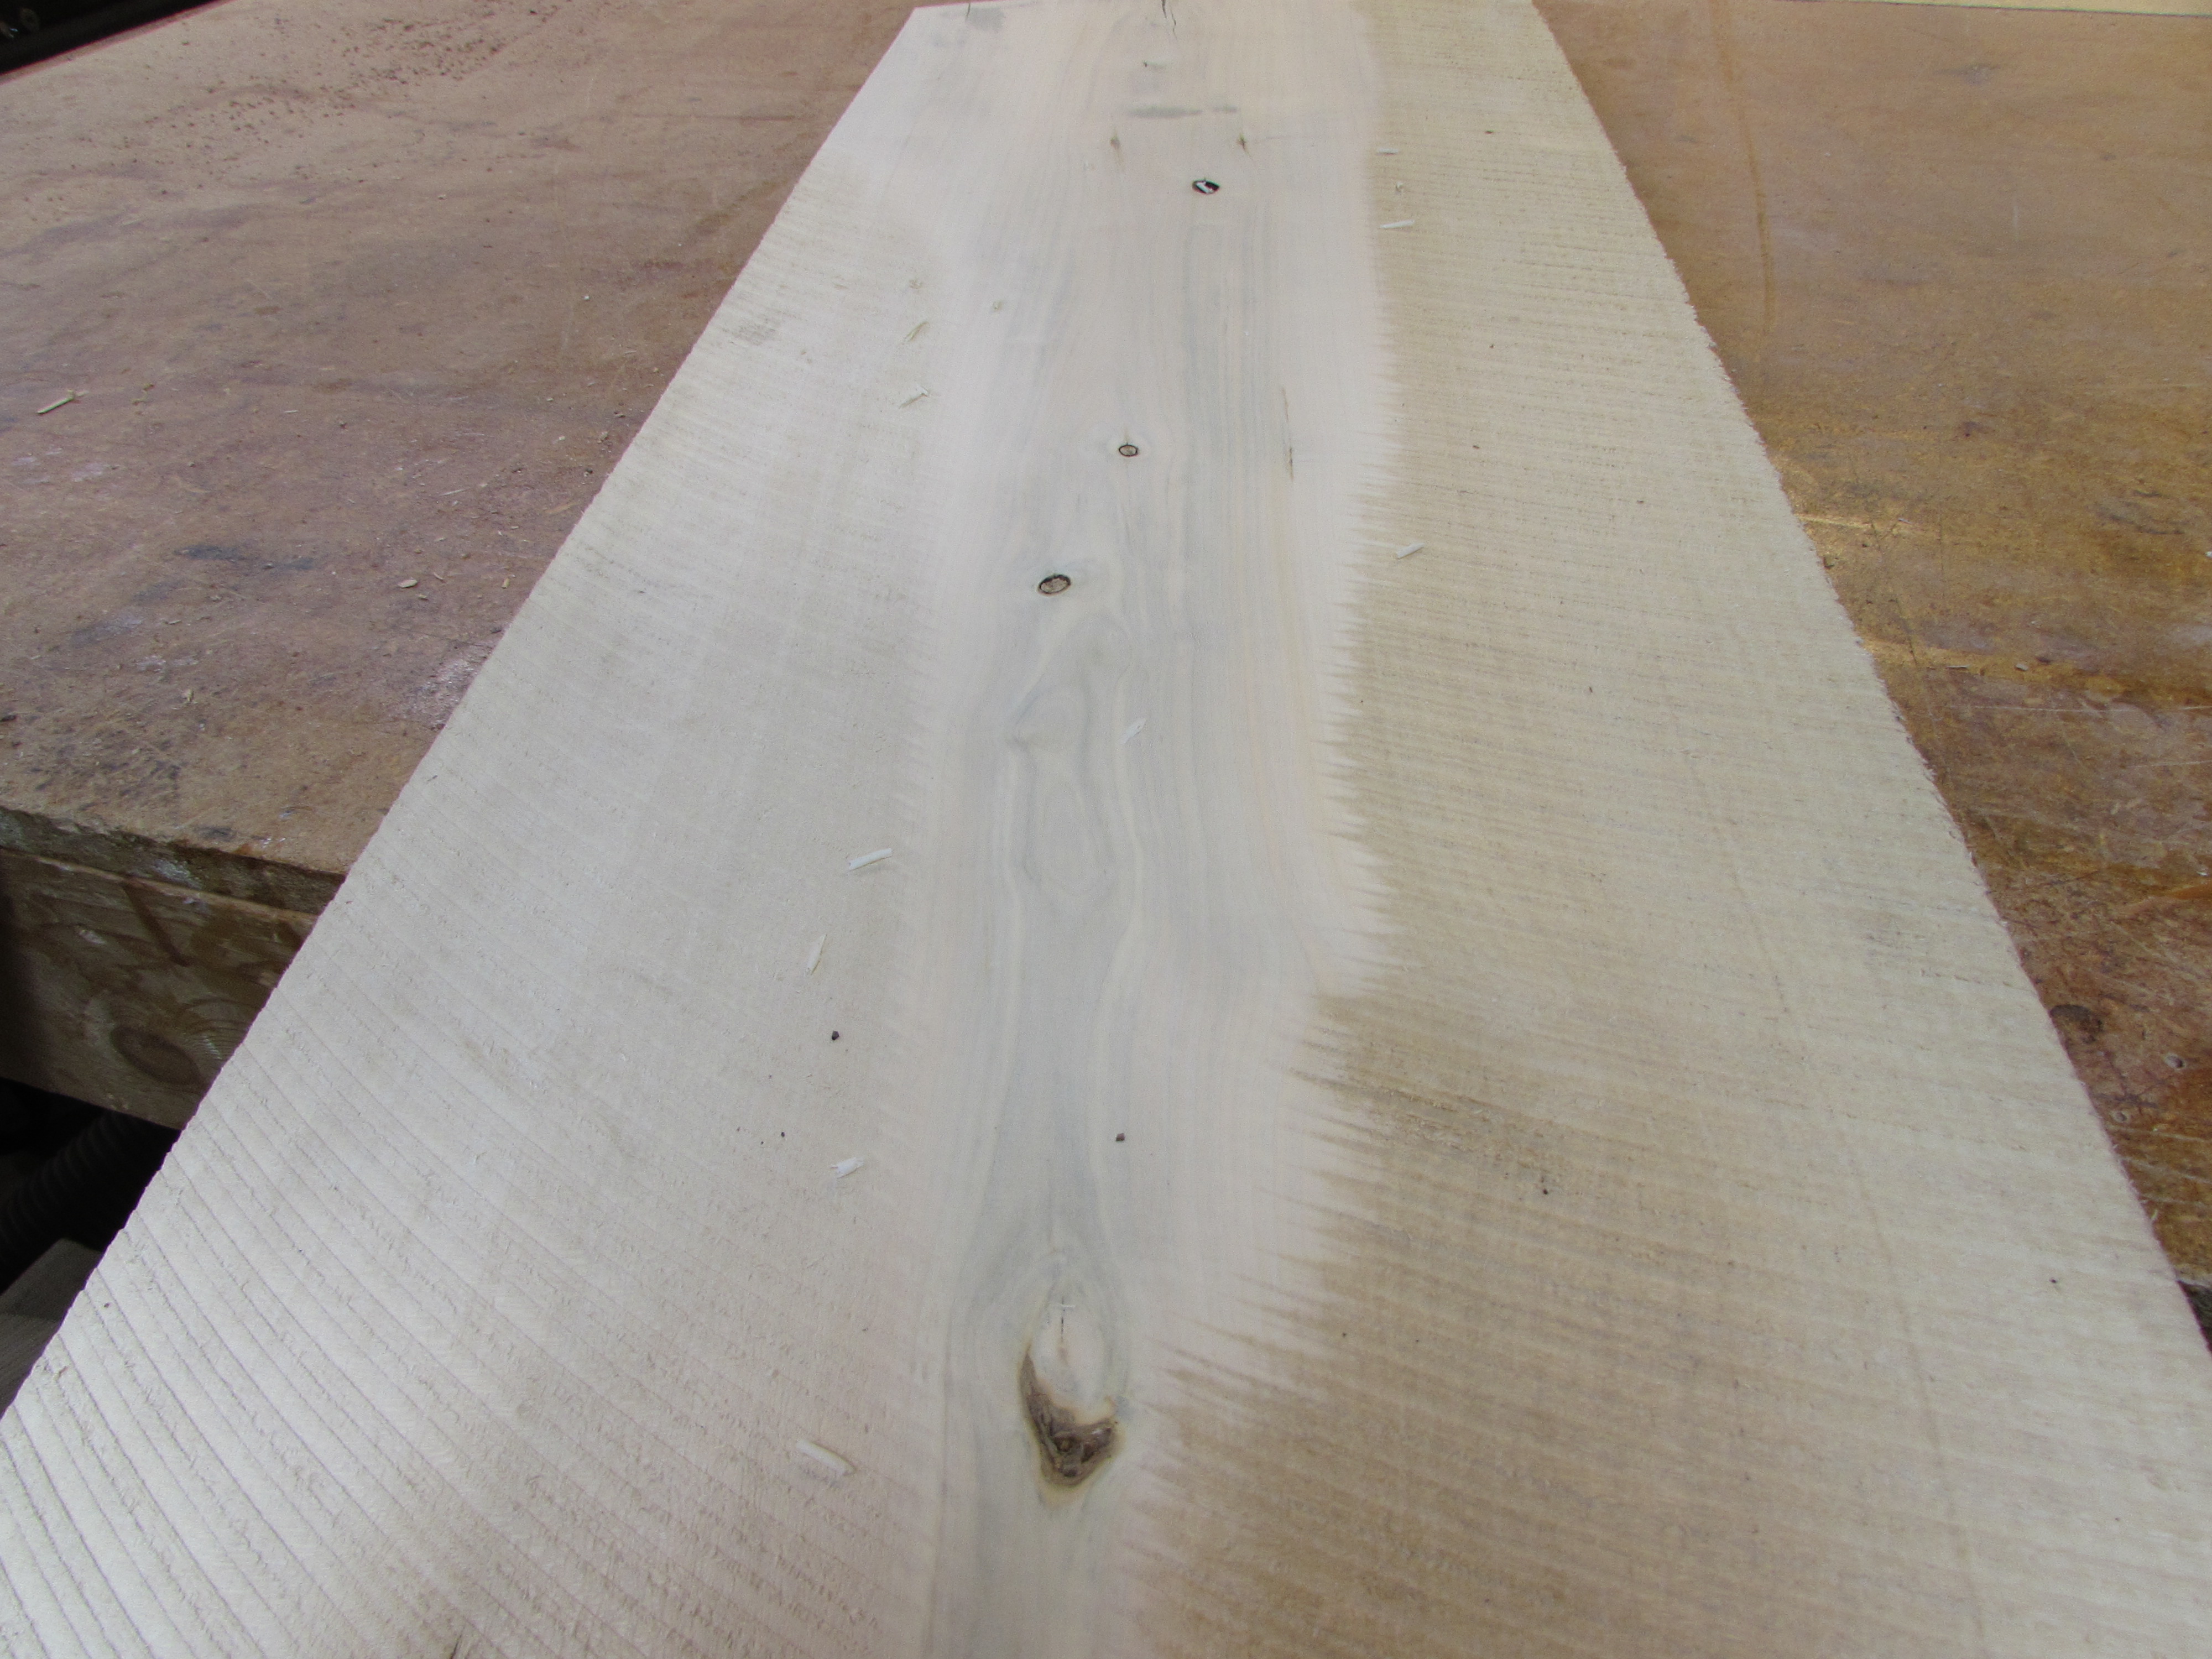
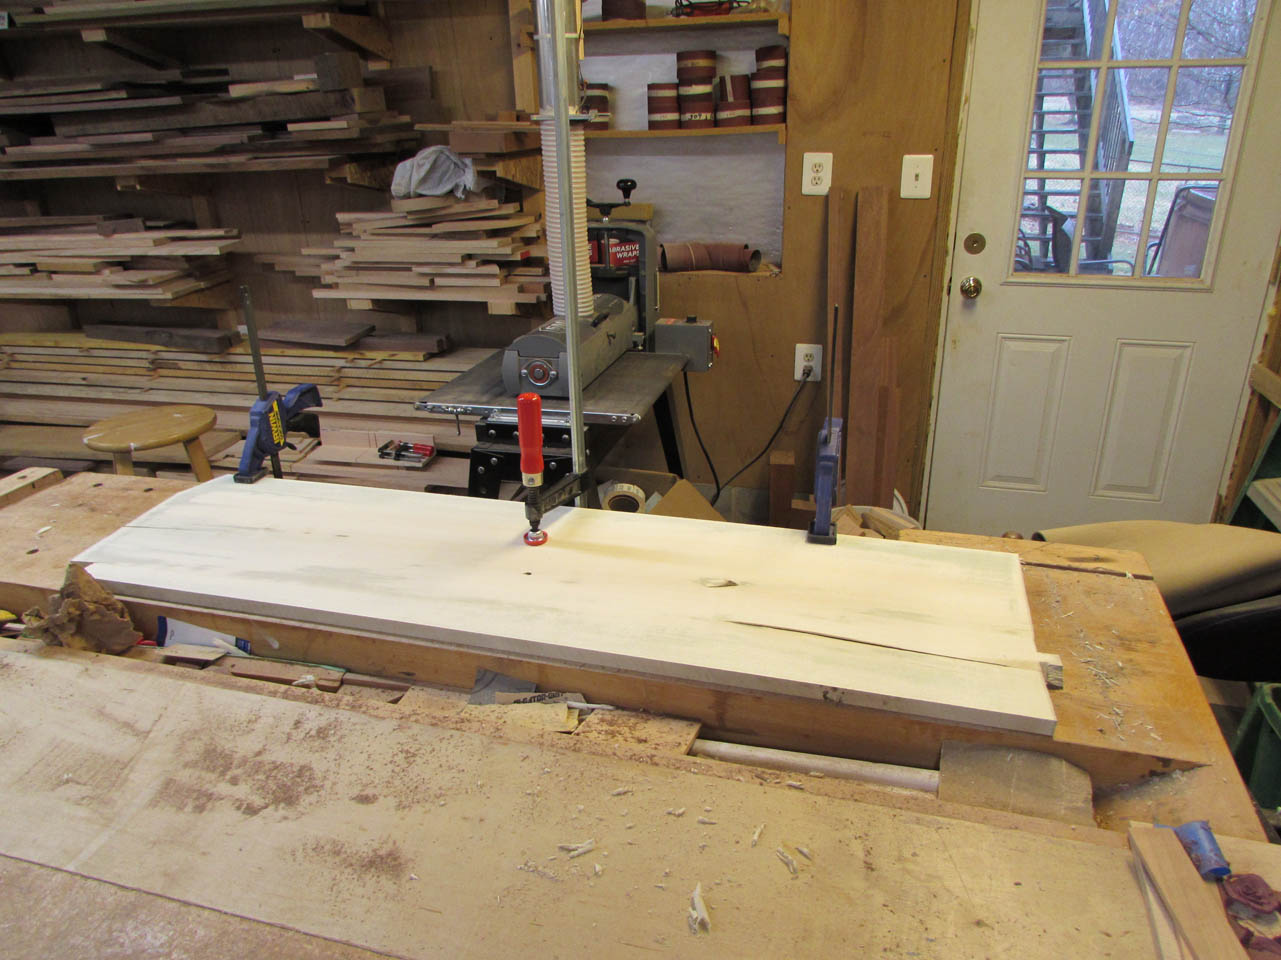
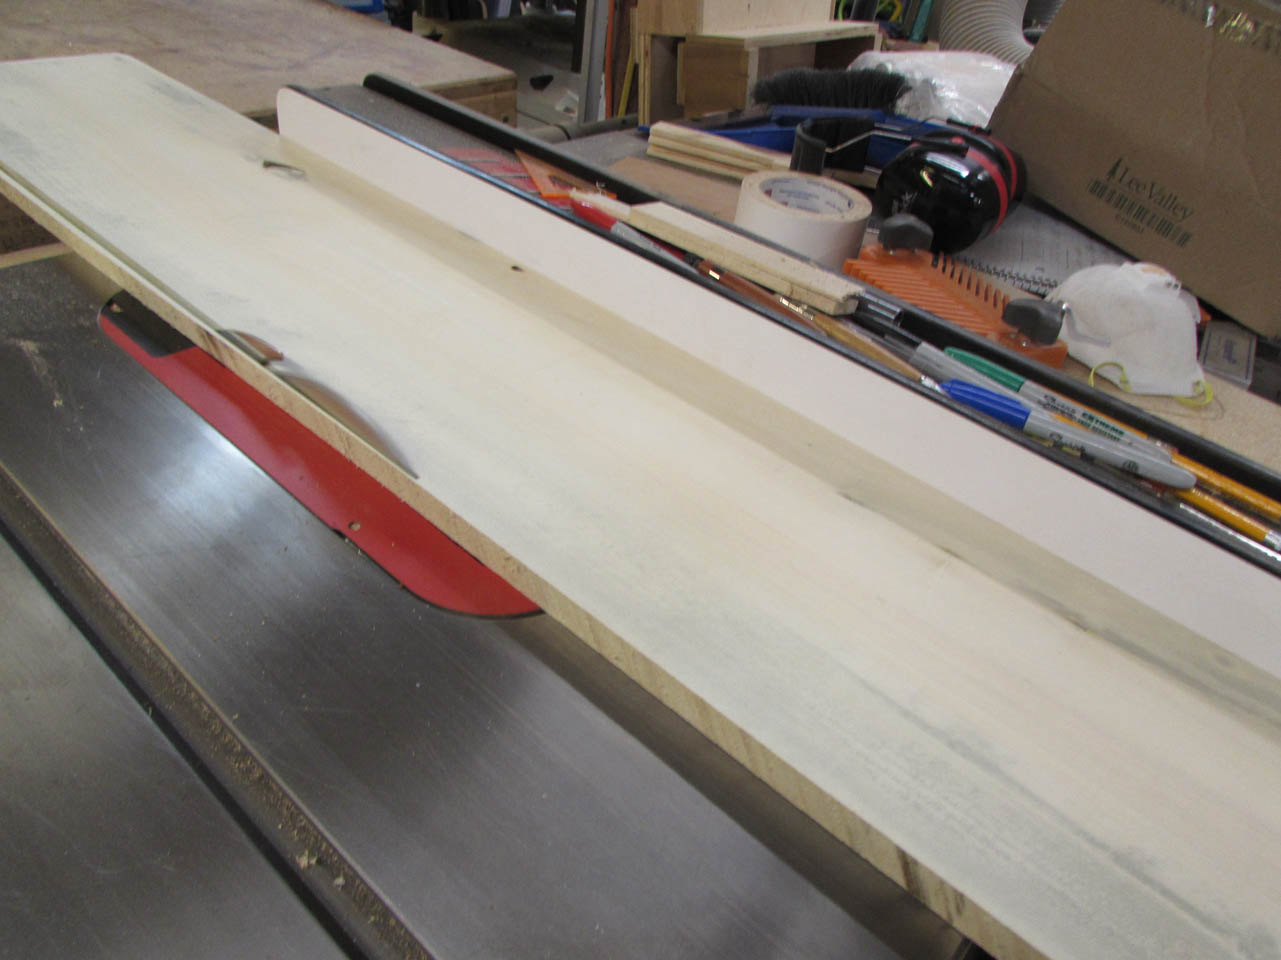
This board is just the right size for the box I designed. the least blemished half will be used for the box sides and the rest will be re-sawn down for the top and bottom. I set up my track saw to make the first cut, down the middle.

Once I had a straight edge, it was easy to cut the opposite side on my table saw.
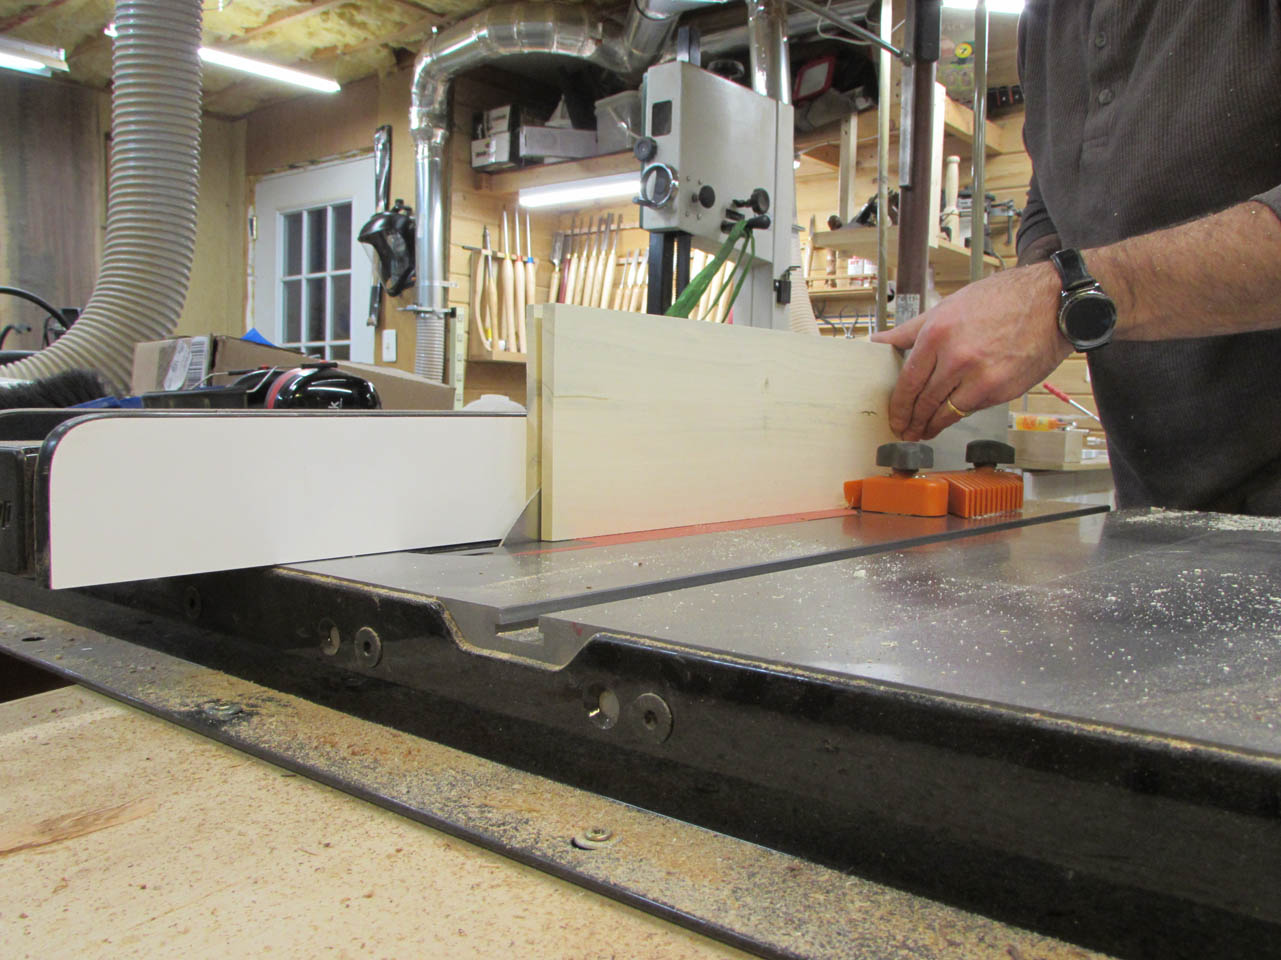
The thinner piece was re-sawn on the table saw.
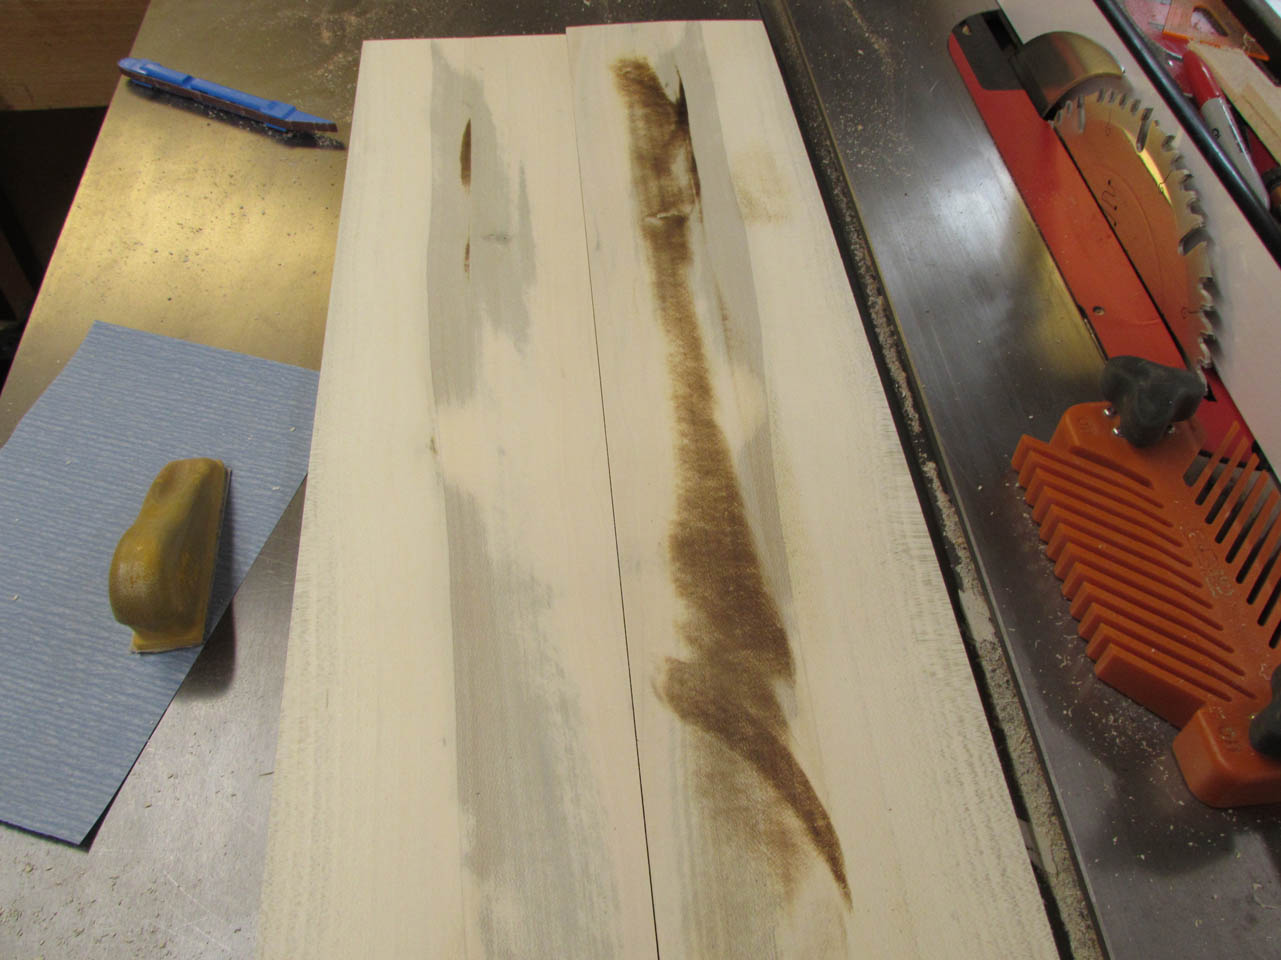
Then sanded down smooth. Those pieces were set aside to make the top and bottom later.


After all the twist problems I had with my last project, I wanted to join the corners in a way that would reduce the possibility of twist. I decided on using my lock miter bit to create a very strong glue joint.
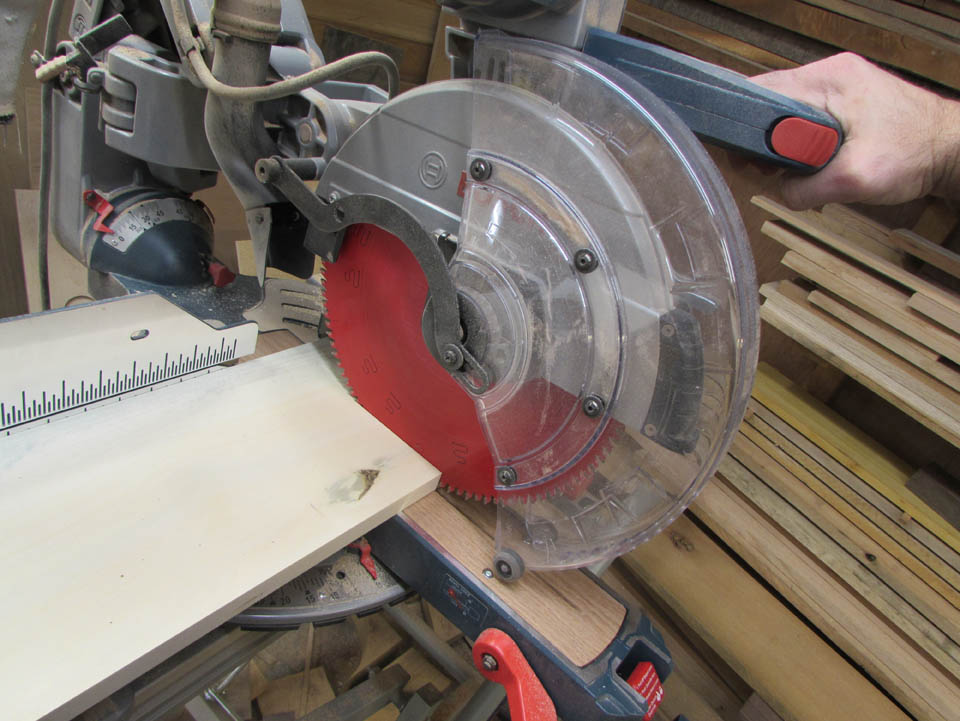
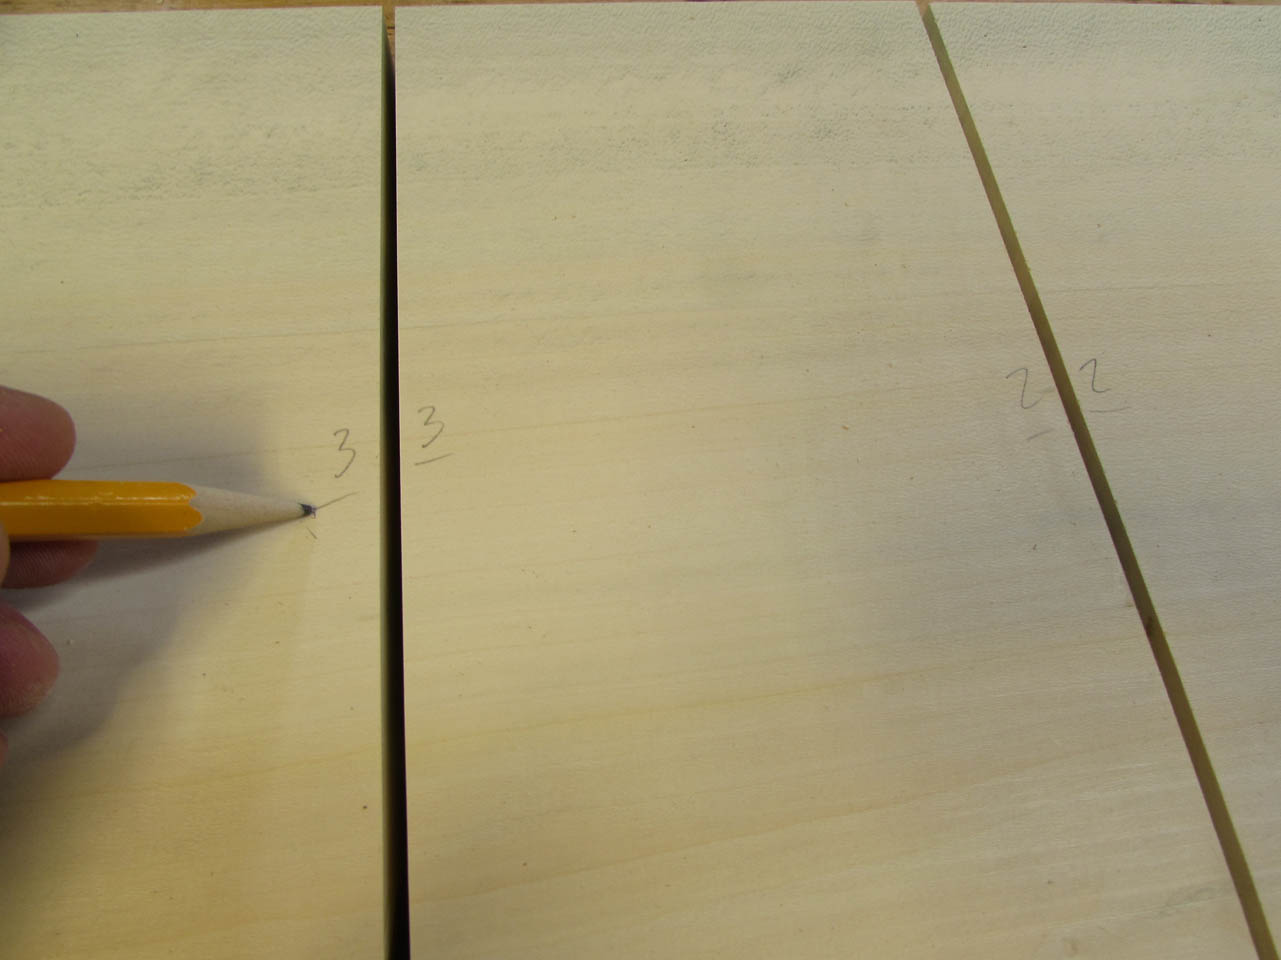
I used my miter saw to cut the side pieces down to size, taking great care to keep the grain in sequential order so that when assembled, the grain will flow around each corner as if it was still one piece.
To make it easy to keep track, I marked each adjoining side.

Since the lock miter bit is set for a full miter at 3/4″, I used double-sided tape to add a piece of oak above each of the mitered ends. This will ride along the fence of my router table and prevent the board from being pushed too far into the blade.


I pre-cut some of the miter away before taking it to the router, and I even clamped a sacrificial block to each side to help prevent tear-out.

The oak blocks worked perfectly, but the extra pieces to prevent tear-out were not good. They were nearly ripped from my hand.

I promptly got rid of them and the holly surprised me by cutting well with no tear-out.

The two narrow sides were cut with the board held vertically against the fence. The wider two sides were laid flat on the table to be cut.


This gave me opposing tongues and grooves which can be locked together very well.


Before doing any glue-ups, I marked the location of the two center dividers.

I set up my tee-square jig to cut the grooves with a 1/4″ spiral bit in the router.


When the grooves were cut, I used a small chisel to square off the ends to receive the dividers.


Everything was dry-fit and seemed to be working well.

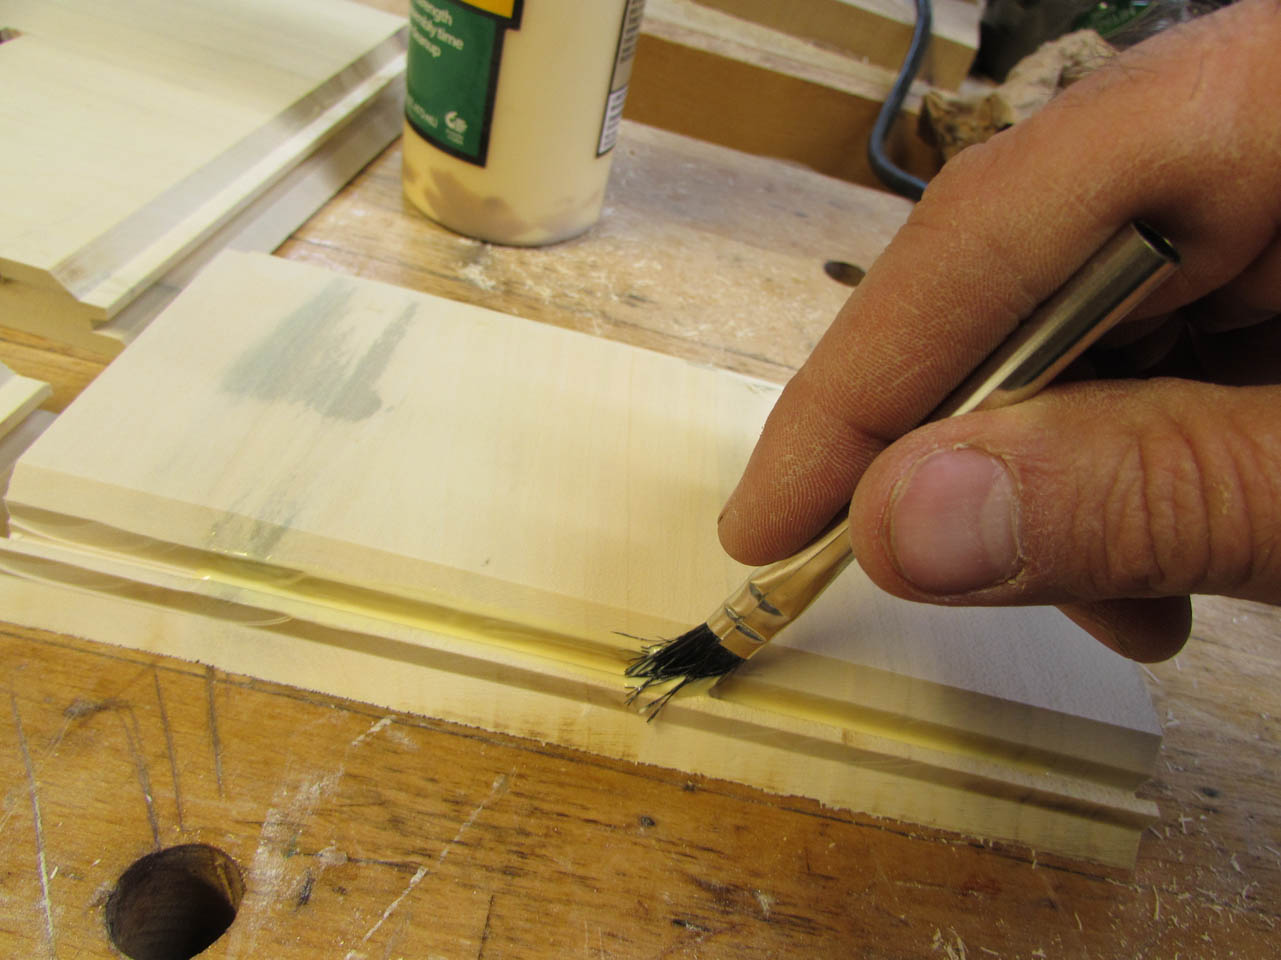
I quickly applied glue to all the miters as well as the divider grooves.

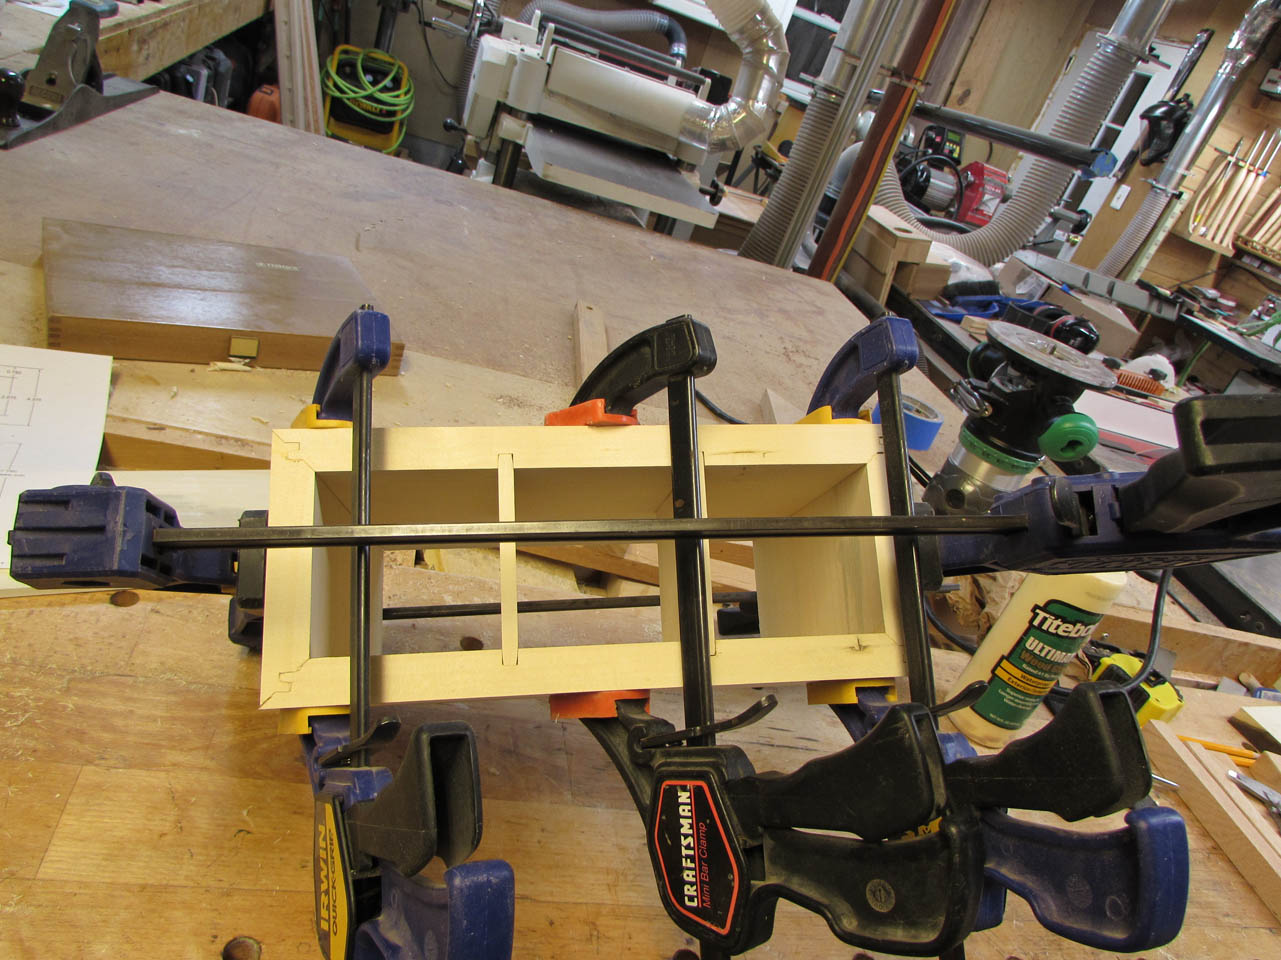
I clamped everything up and checked for square. Perfect!


I let that dry as I started refining the dimensions of the top and bottom pieces to have a very small overhang to accommodate for any slippage during clamping.


After pulling the clamps, I used my block plane to flush up the bottom of the dividers.

Before gluing on the top and bottom, I marked which was the bottom. I wouldn’t be able to tell later…

I brushed on more wood glue and clamped the top and bottom plates in place.


I flushed up the edges, then sanded everything down to 220 grit.


Paying special attention to which end was the bottom, I cut off the top on the table saw.
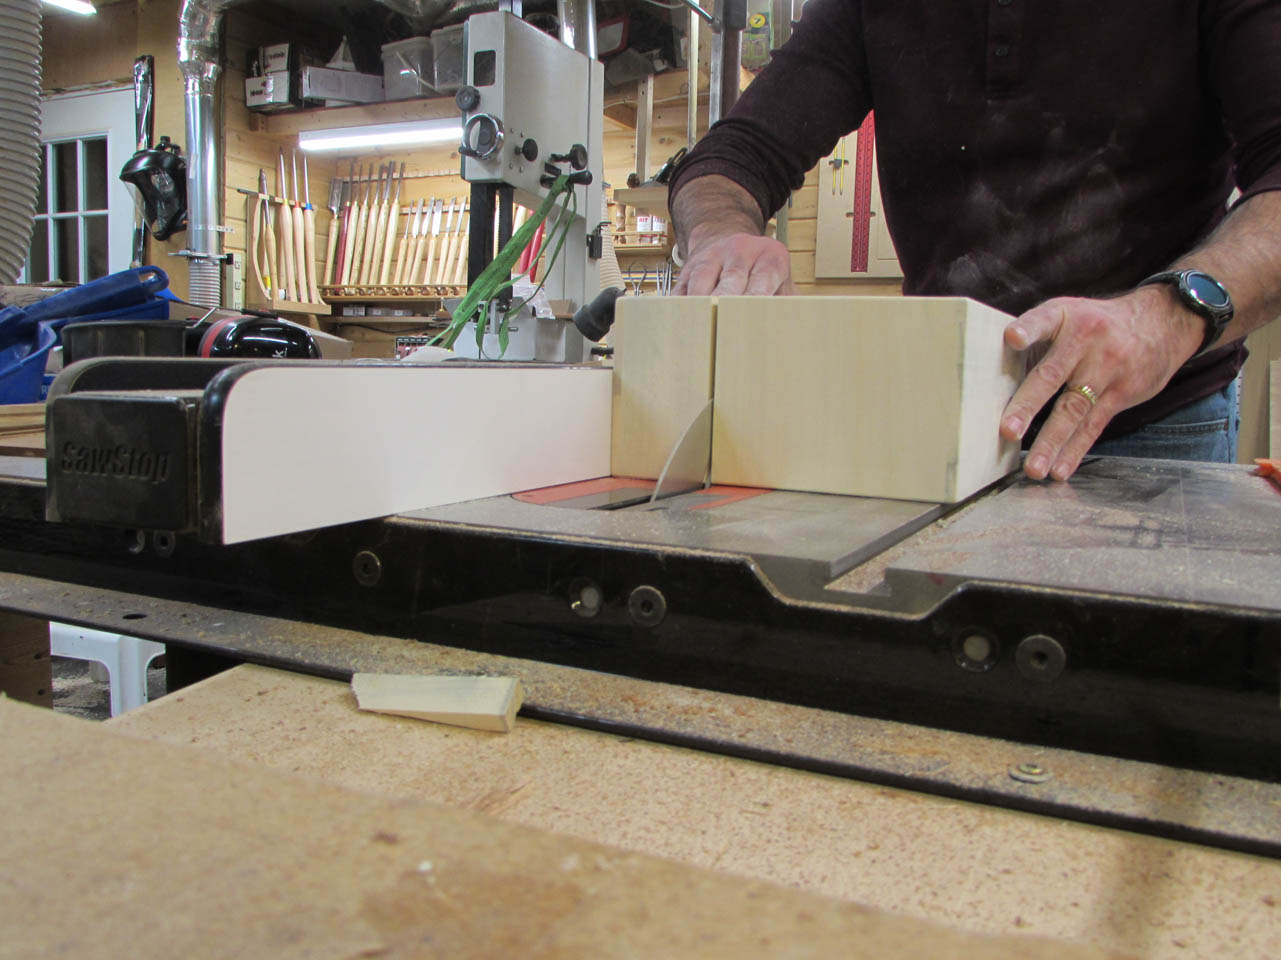


A little more sanding and it was time to install the hardware.

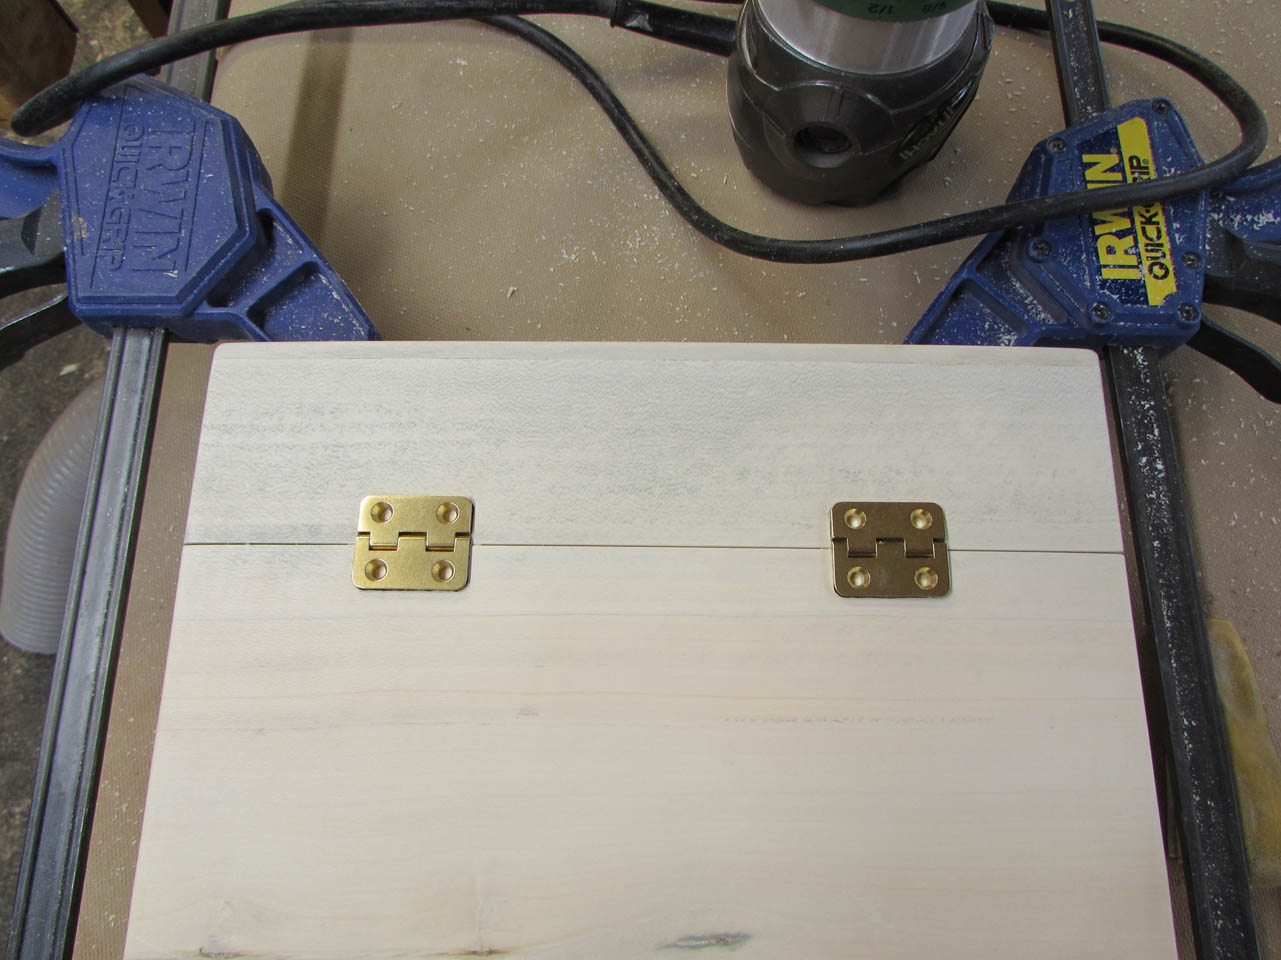
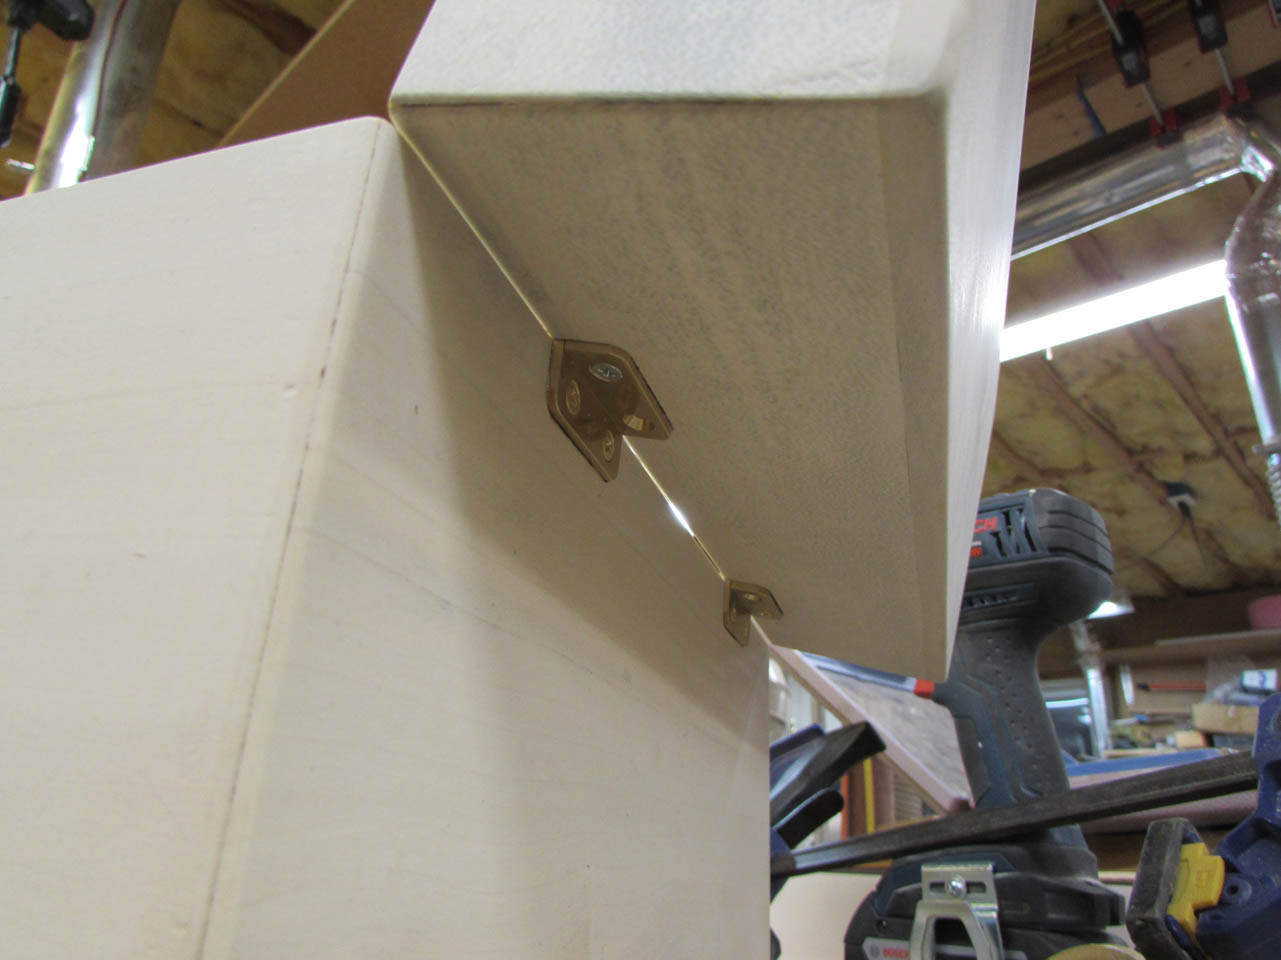
The weak point to most boxes will be the hardware. I decided to use the best hinges I could find for this box. Milled solid brass, 3/16″ thick.
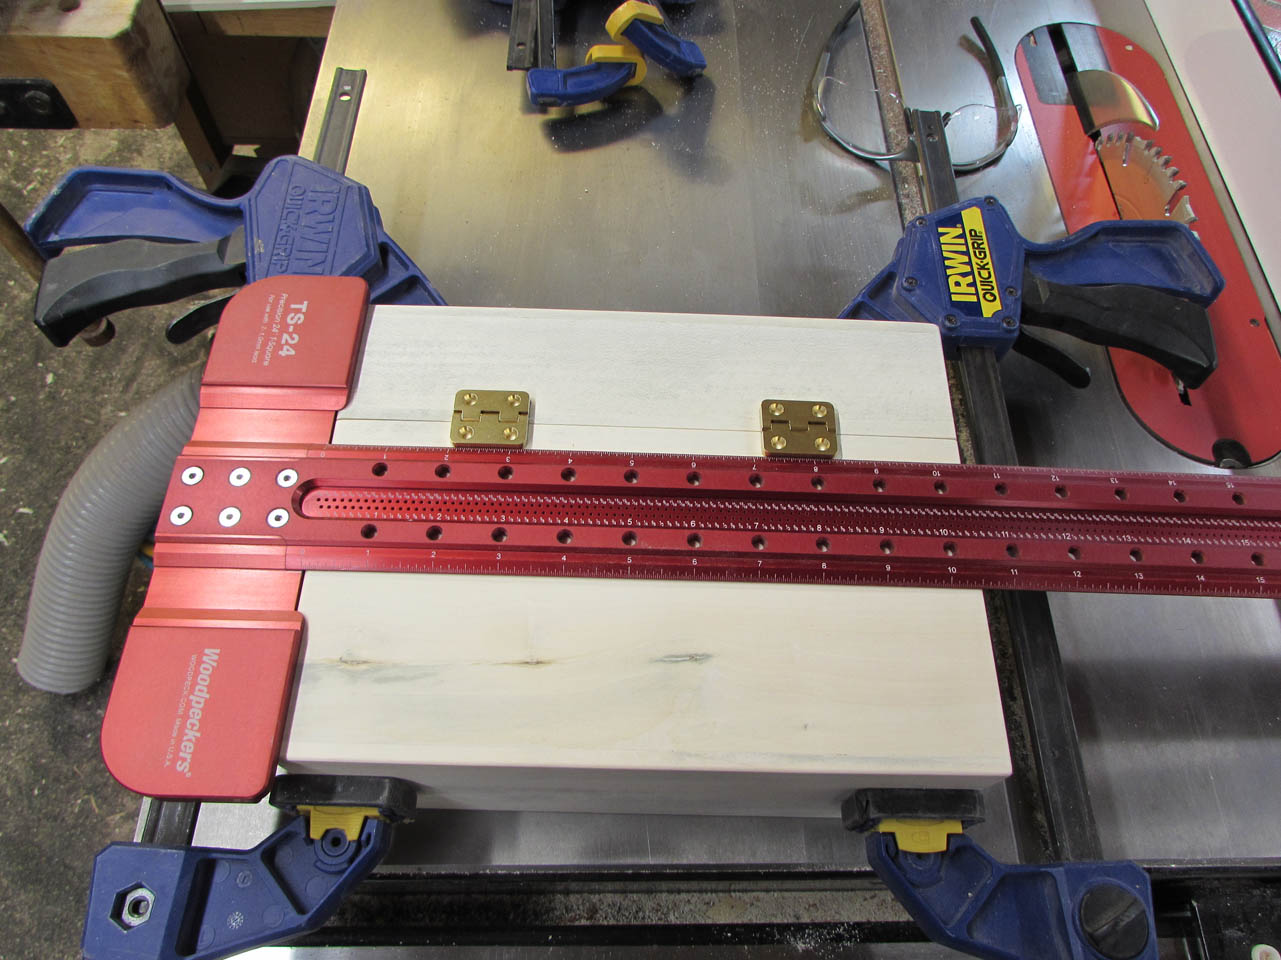
I clamped the box tightly shut, then used my tee square to give me a straight line to work from and centered the hinges. Then I used a sharp pencil to mark the hinge locations.

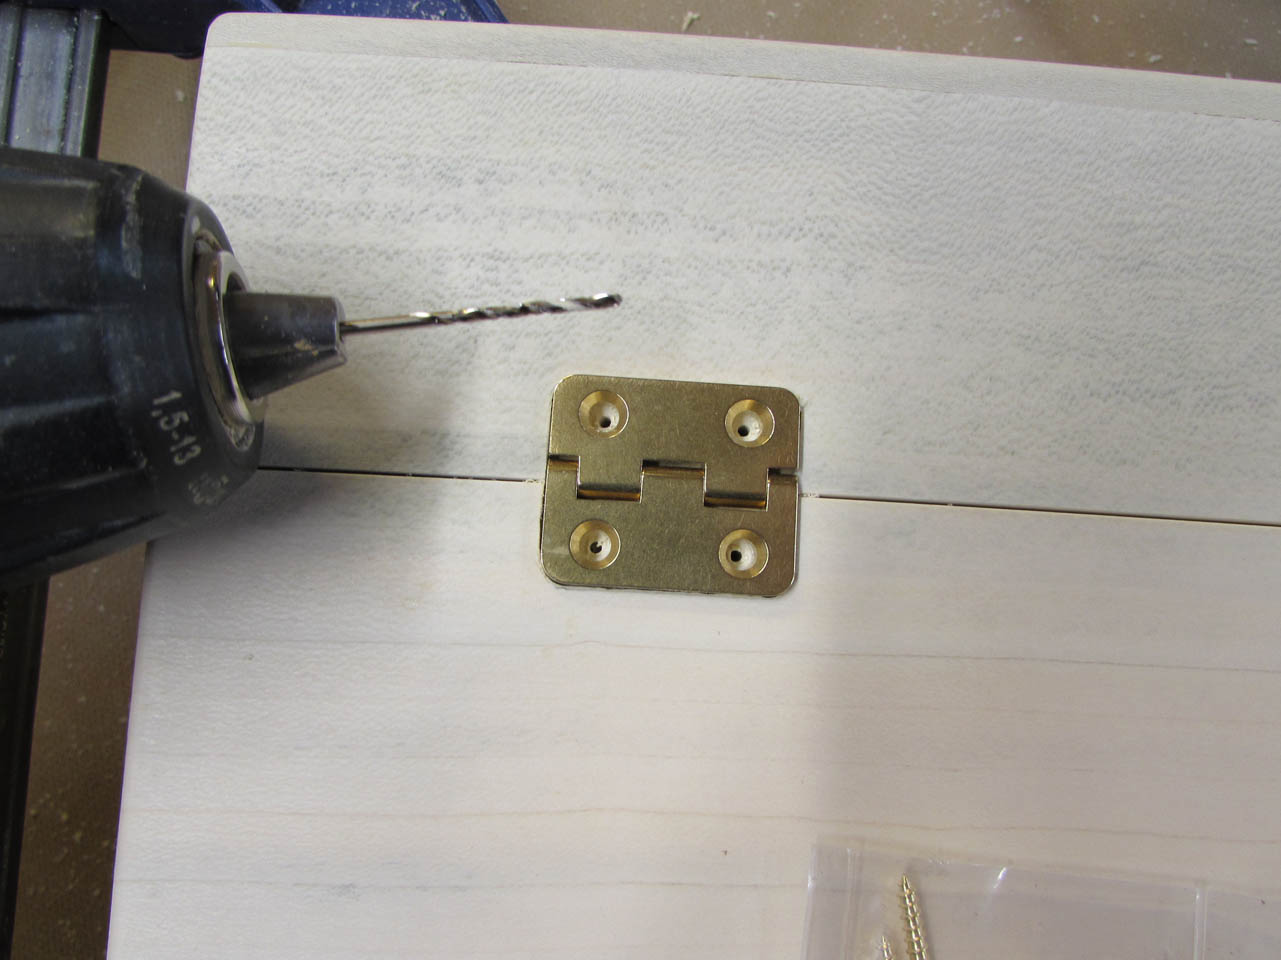
I set my 1/4″ spiral bit to 1/8″ deep. I took my time and free-hand cut the mortise with the router.

I got as close to the line as I could and used a chisel to clean up the rest.

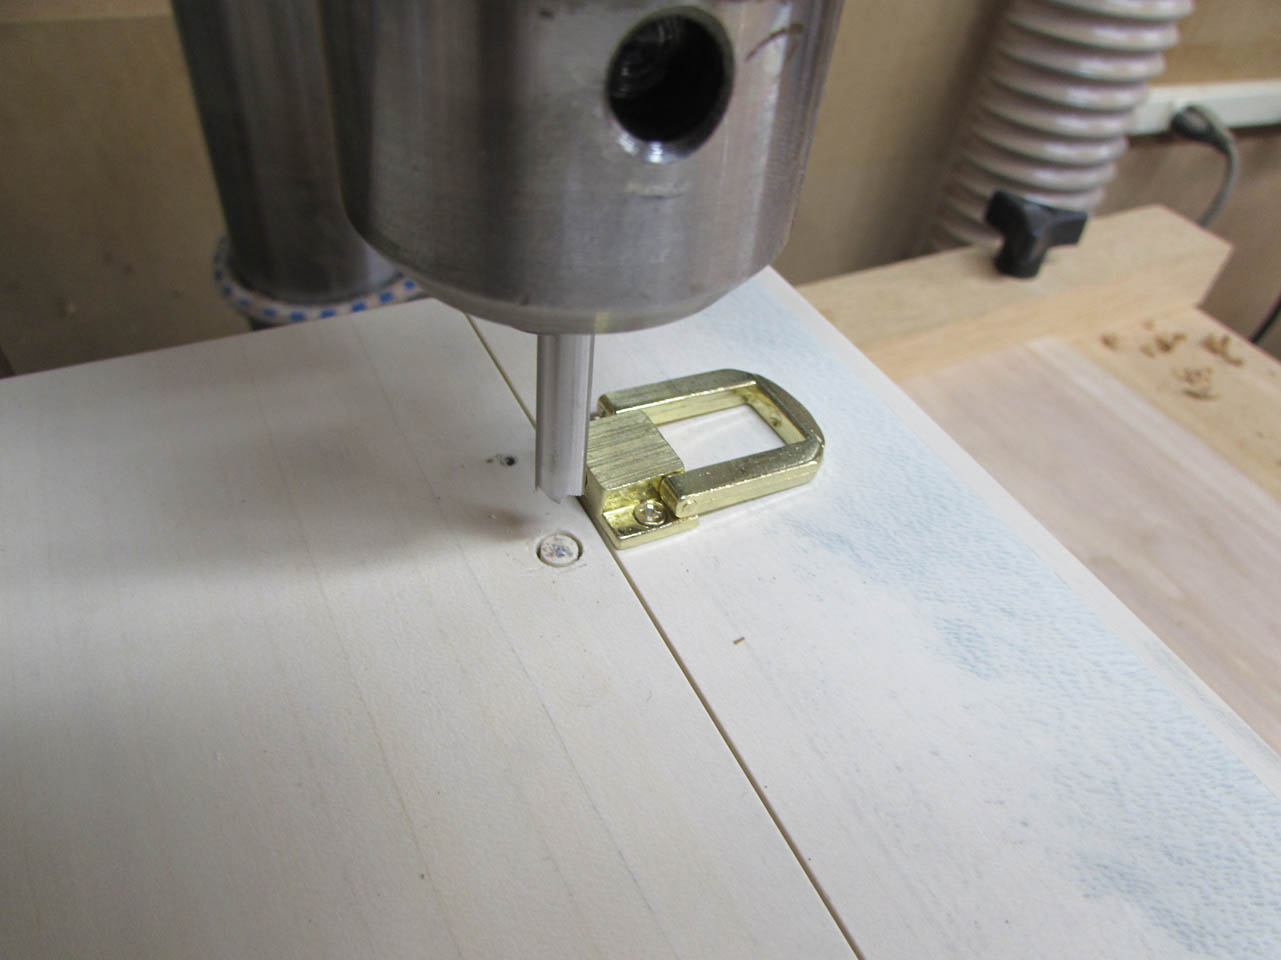
I pressed the hinges tightly into place, then used a bit exactly the same size as the mounting holes to create a dimple at the center of each hole.

This gives me a good center point to pre-drill for mounting with a much smaller bit.

Brass screws are very soft. Brusso tries to accommodate this by giving you one steel screw to pre-thread each hole.

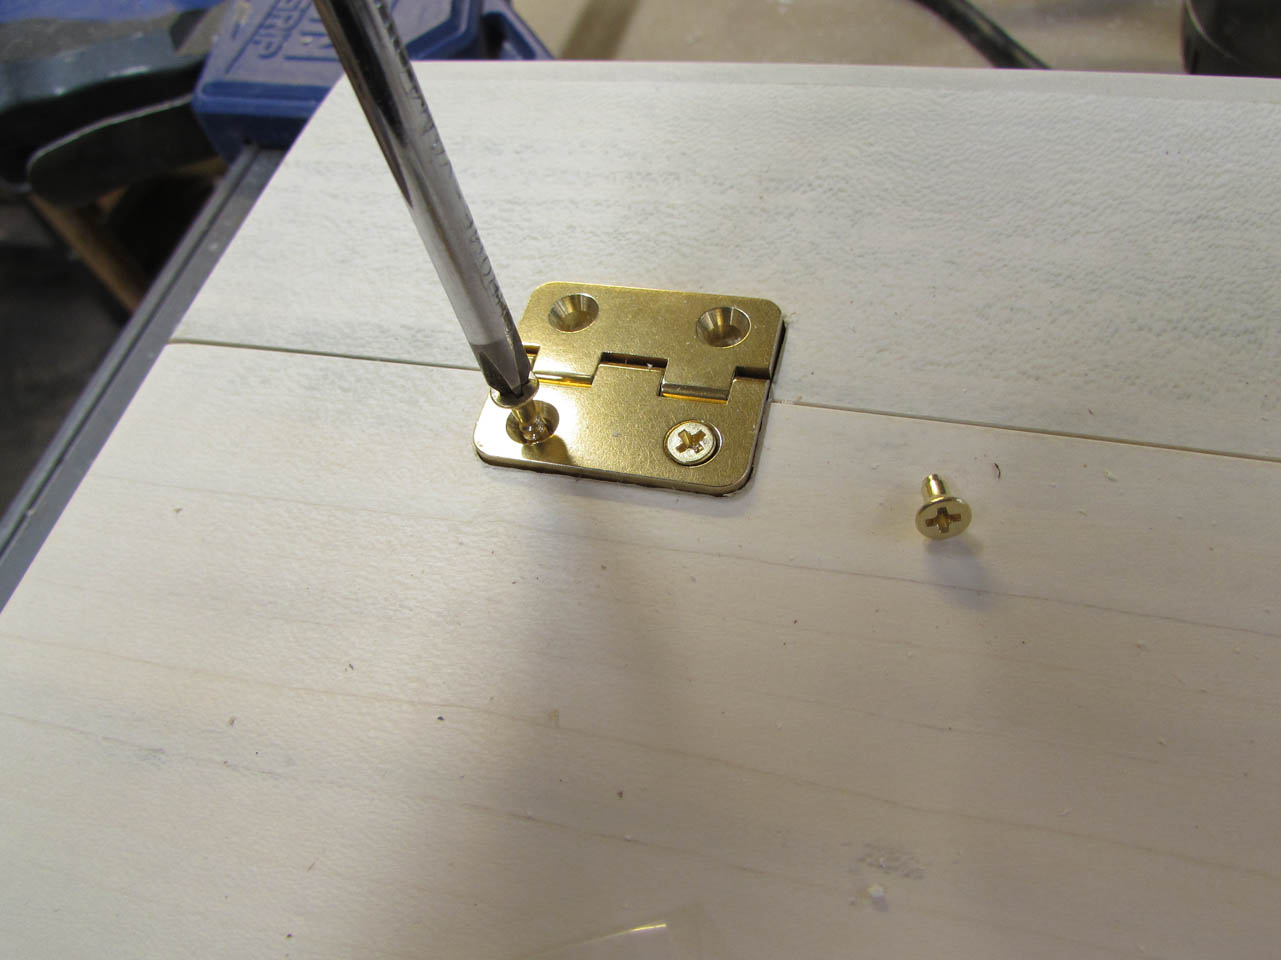
I tried using their screws, but I still managed to break off two screws. This is frustrating because they are extremely difficult to remove.

With three screws in each, I tested the stopped hinges. They worked perfectly, opening 95 degrees, just enough to stay open.
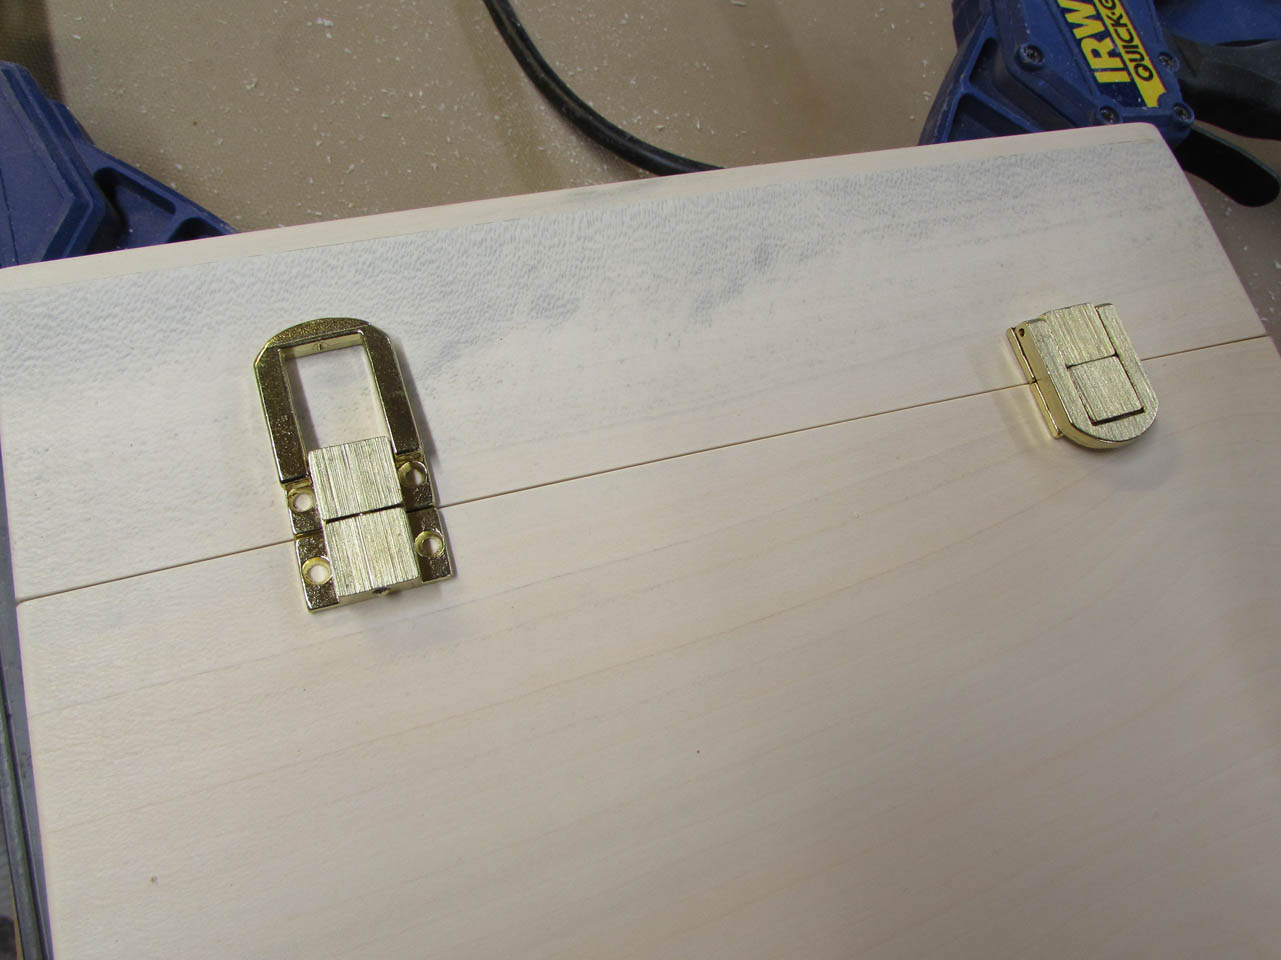
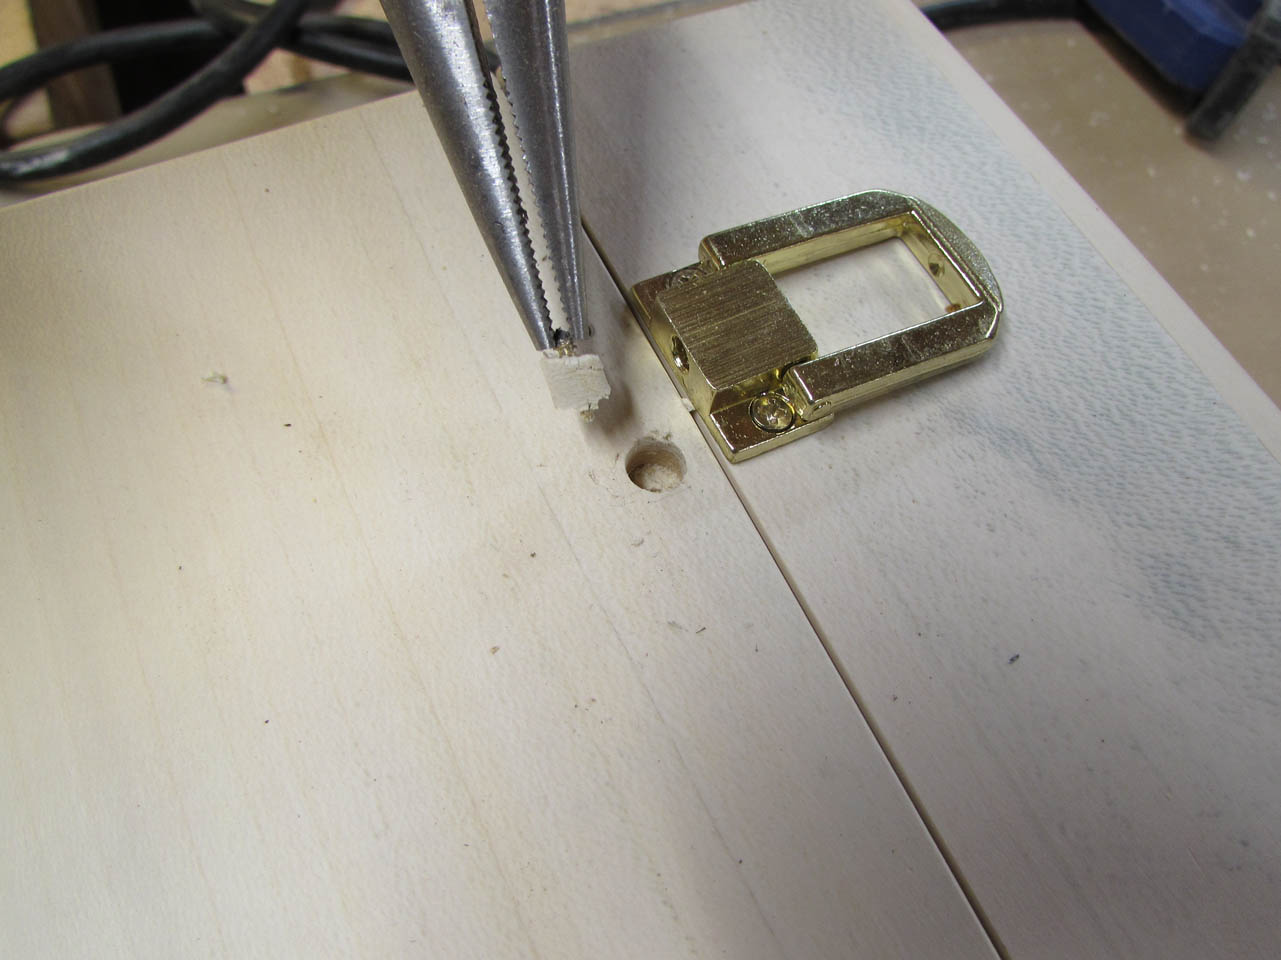
I decided to ignore the frustrating screws and install the latches, but then I discovered that the latches did not even come with screws and they required very small ones indeed. I guarantee that they will not be brass…

I routed around my stash of guitar hardware and found a bag of brass plated steel screws for the rear hinges and replaced all the brass ones. for the two broken ones, I was able to drill a new hole at a slight angle to avoid the brass screw and drive in the new steel one. The head has to deform slightly to seat properly, but they will only need to be removed for finishing so it will be fine.

The hinges are installed and they look good.

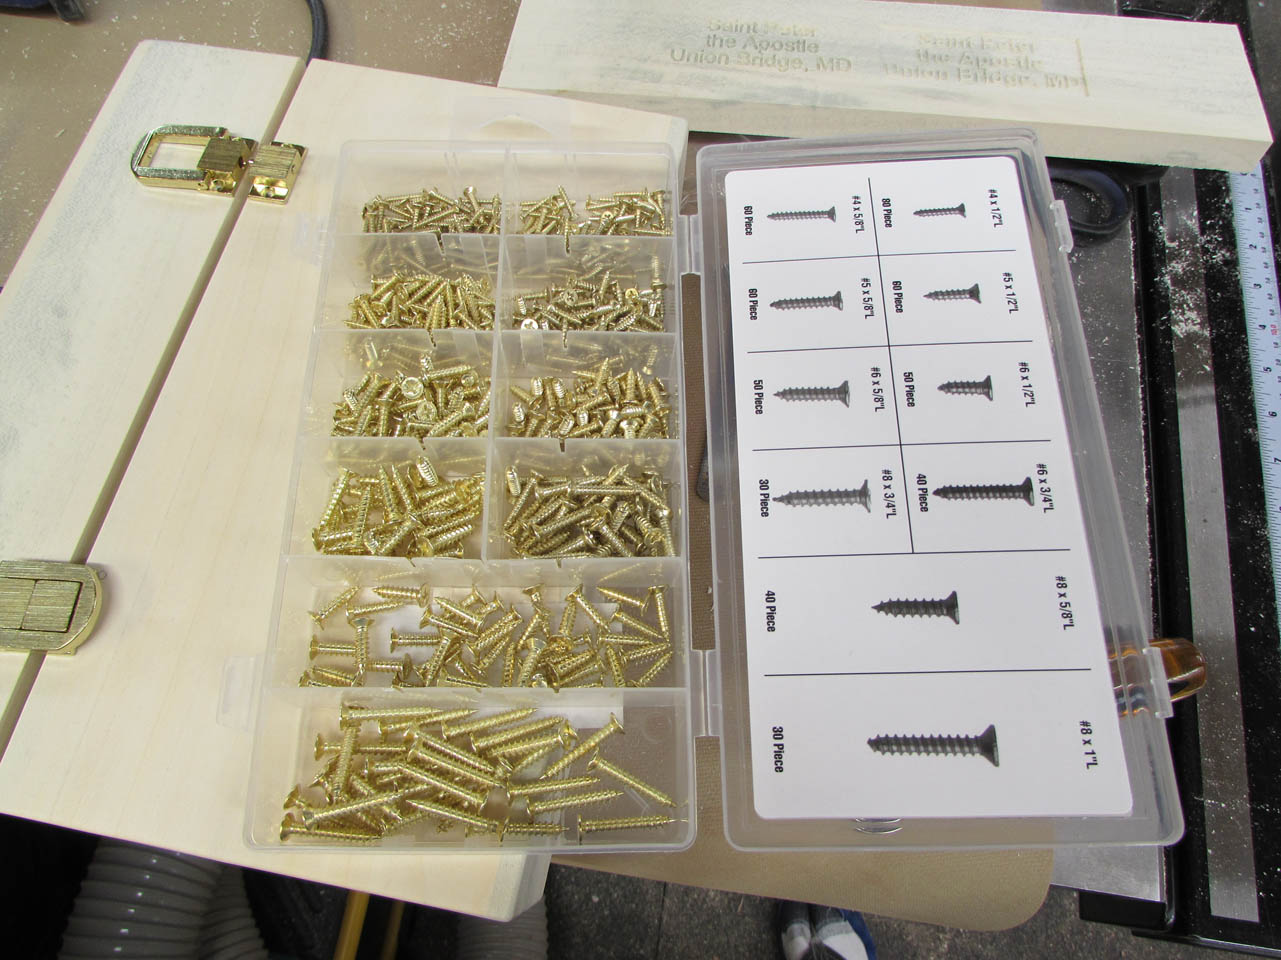
The next day I took a trip to Harbor Freight to pick up some epoxy and I happened to find a large assortment of 500 brass plated steel screws for $4.99. I couldn’t pass it up. There was bound to be some small enough to work on my latches…
And there was, about 80 of them…

Of course, one of them had to break. Since they are so thin and the head so small, I couldn’t angle a new one in like I did on the back, it would have just broken another one.


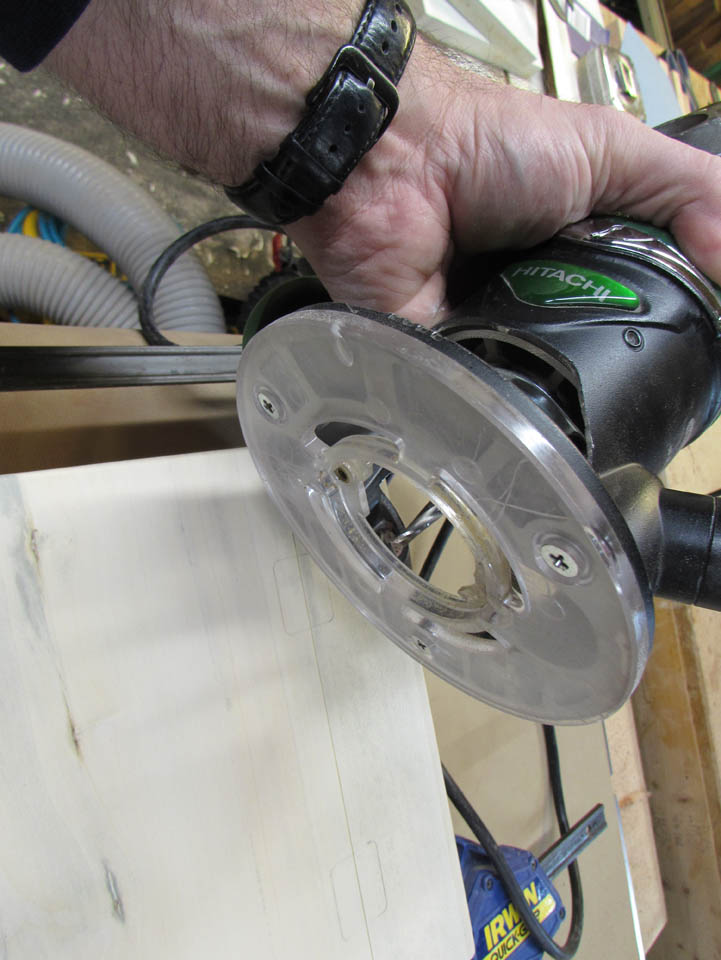
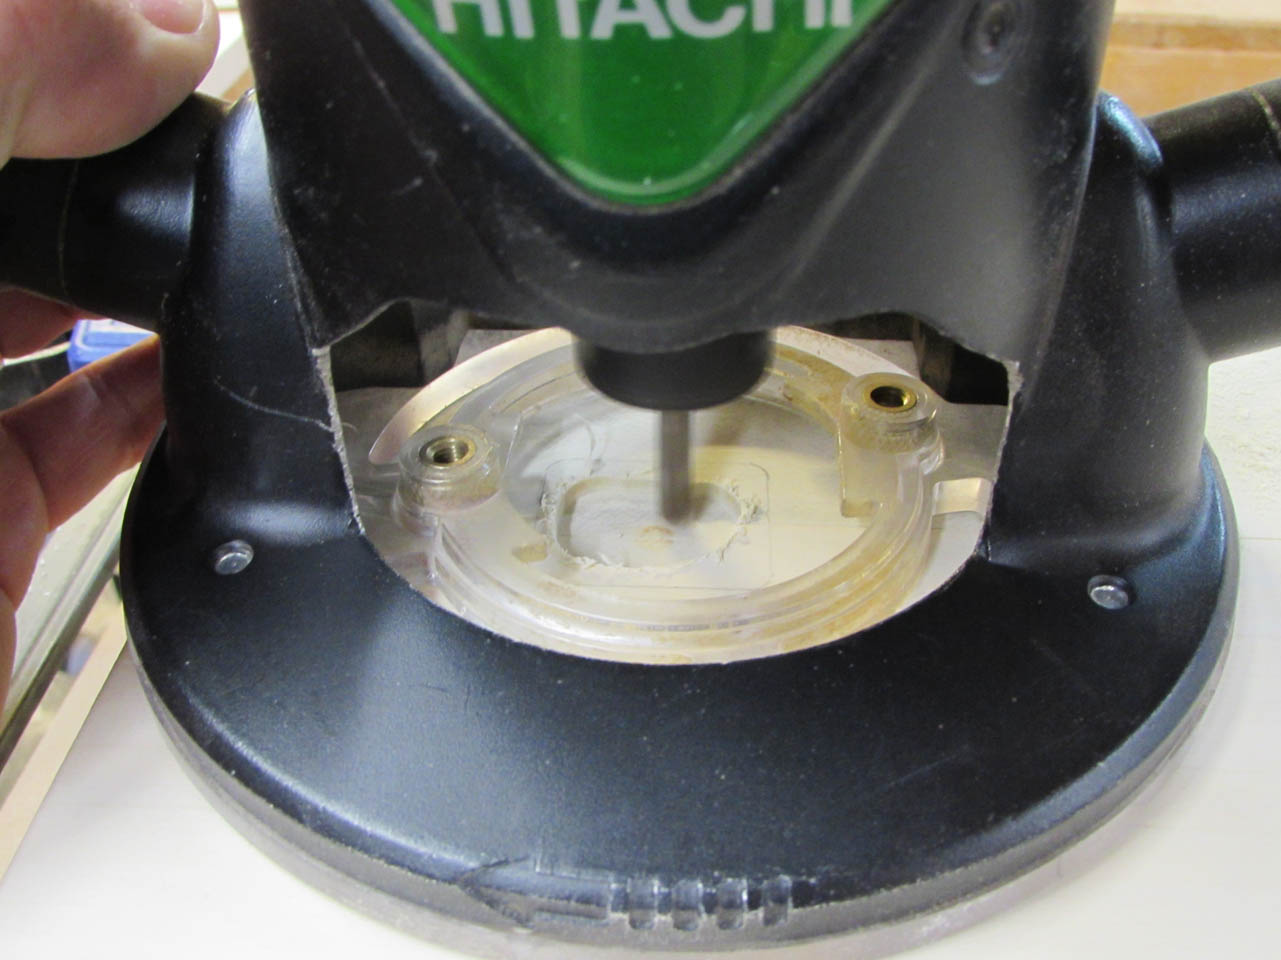
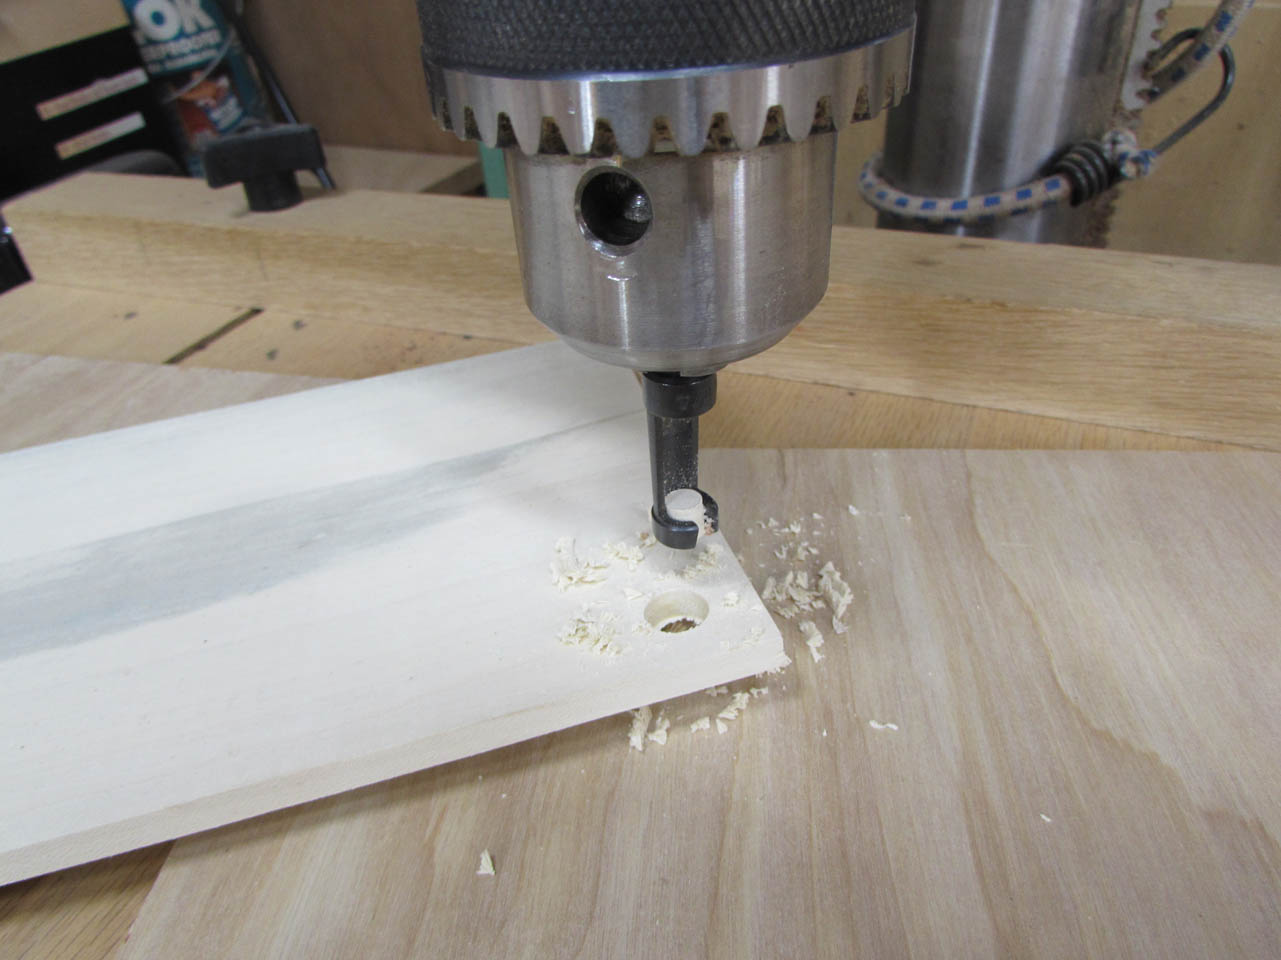
Time for more drastic measures. I have a screw extractor that is basically a 1/4″ diameter hole saw. It drills around the broken screw and then you dig the offending section out and plug the hole.

That is exactly what I did.
I used my 1/4″ plug cutter and glued in a holy plug.
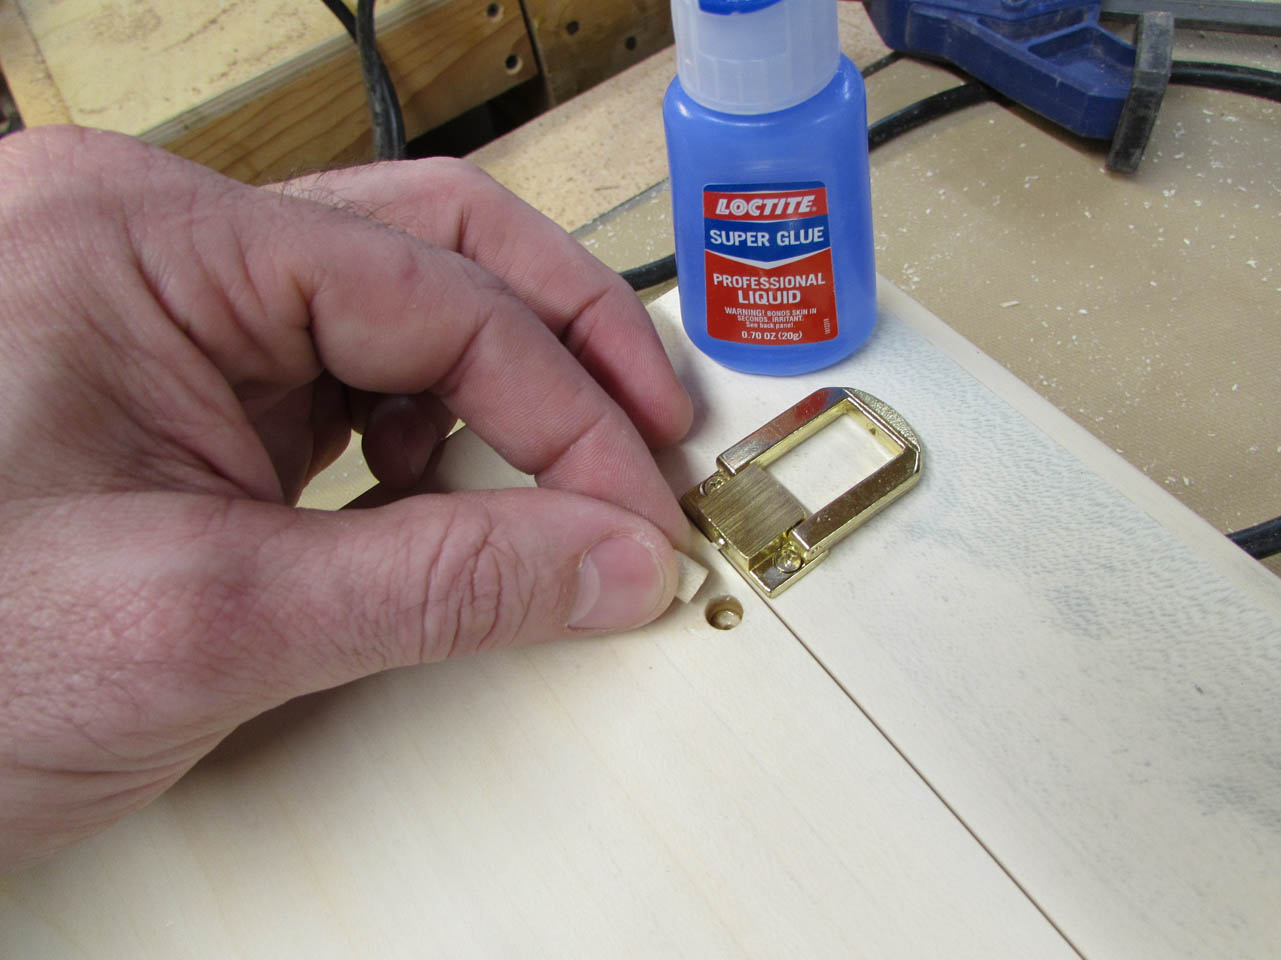

I tapped it firmly in place then let the glue dry.
A little paring with a chisel and the surface was smooth and ready to try another screw.


This time things went smoother and I had two functional latches and the plug was completely covered by the latch.

I cannot really blame the screws, they had to be really thin, but $5 for 500 tiny screws was still a really good deal.

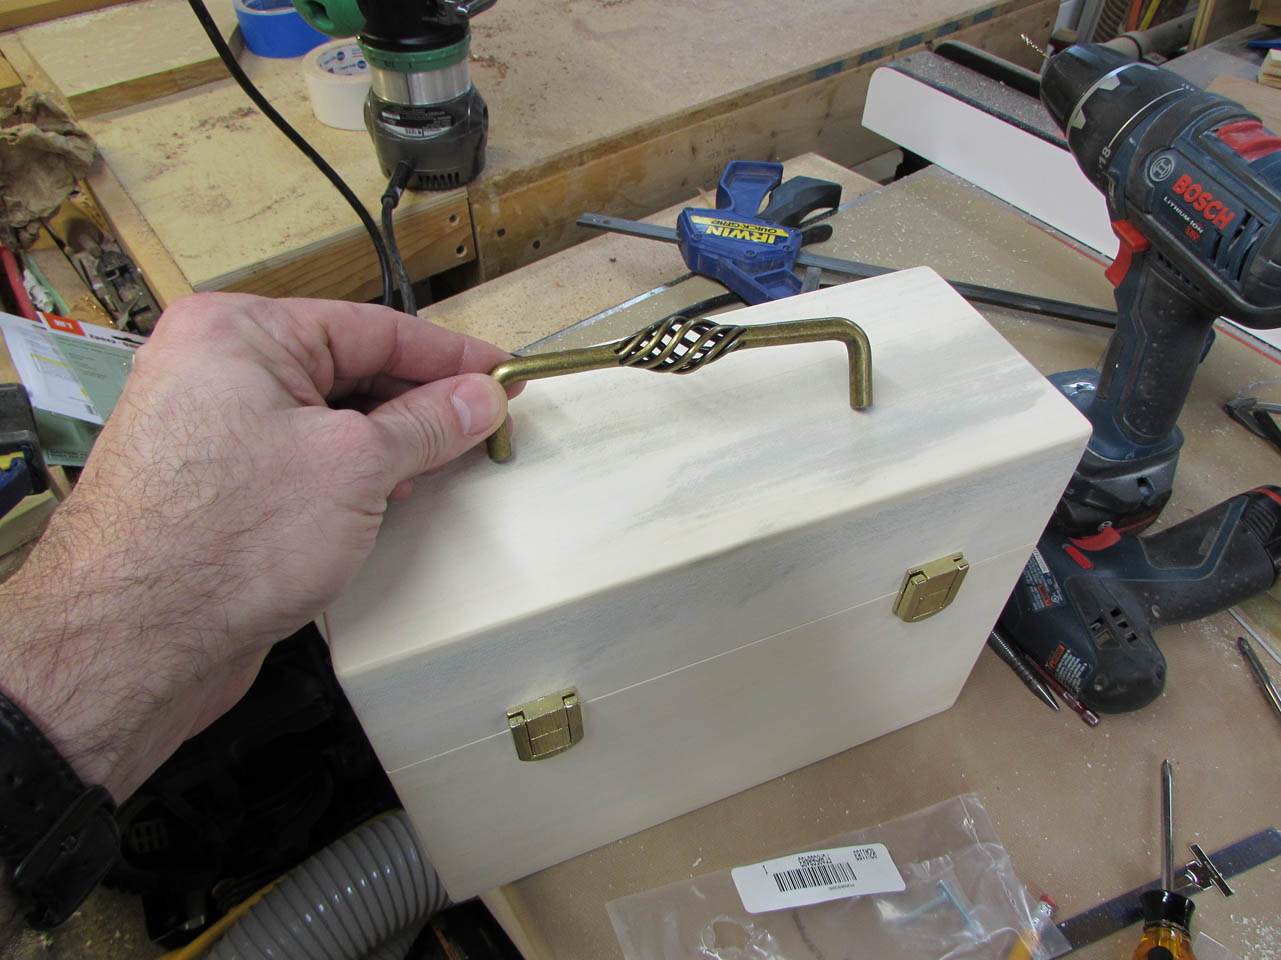
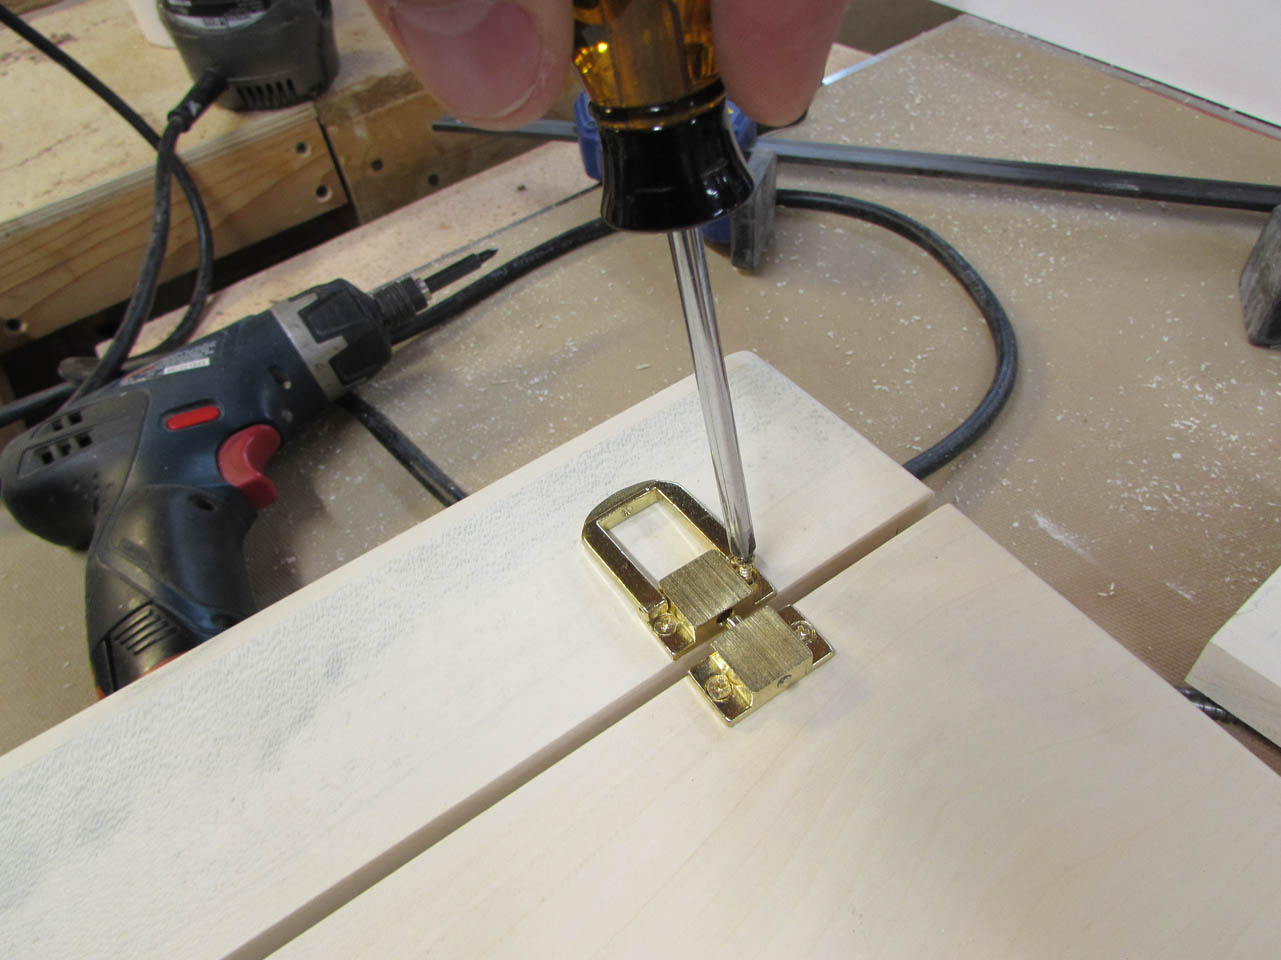
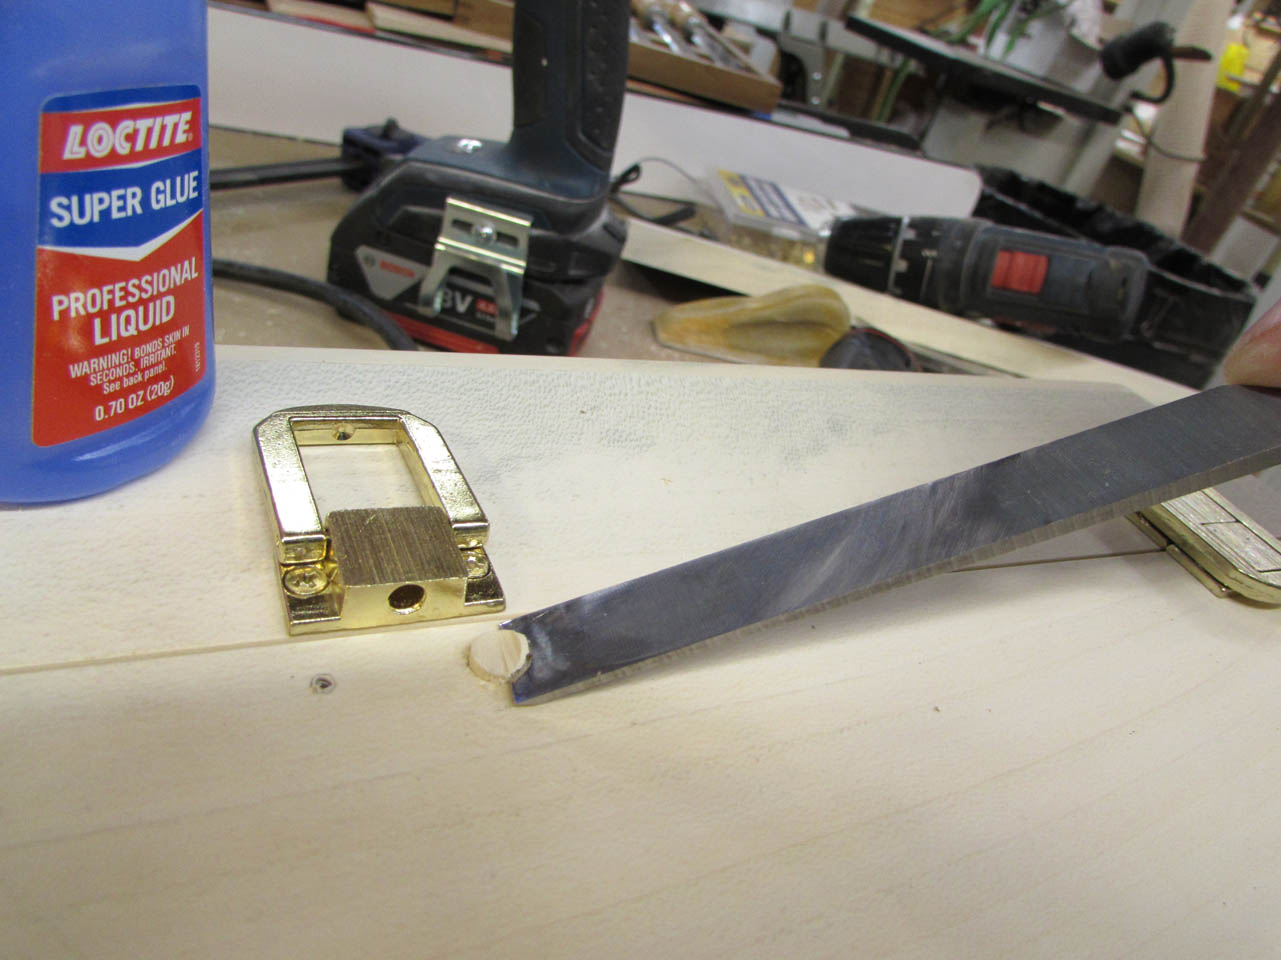
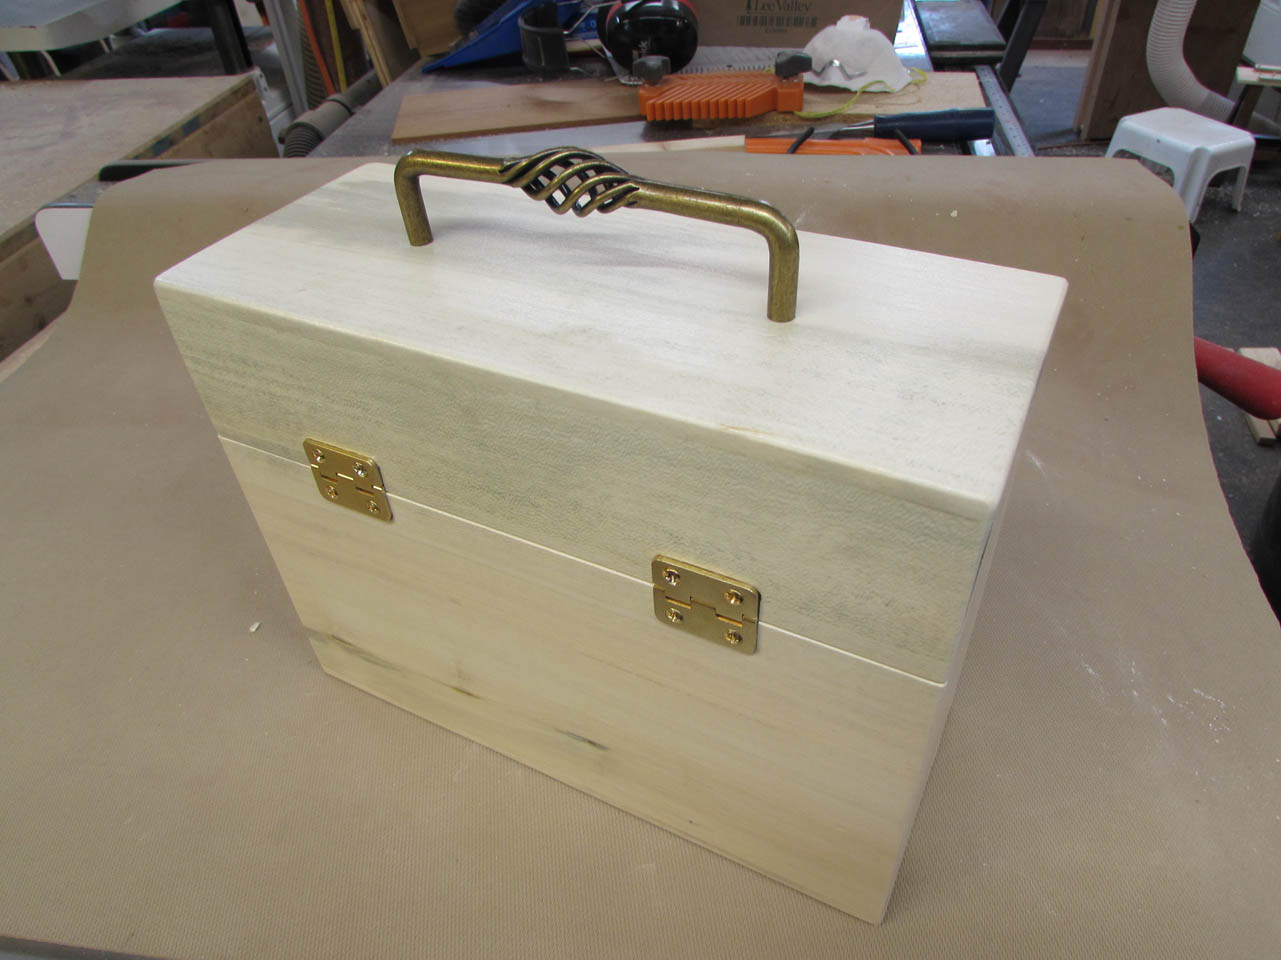
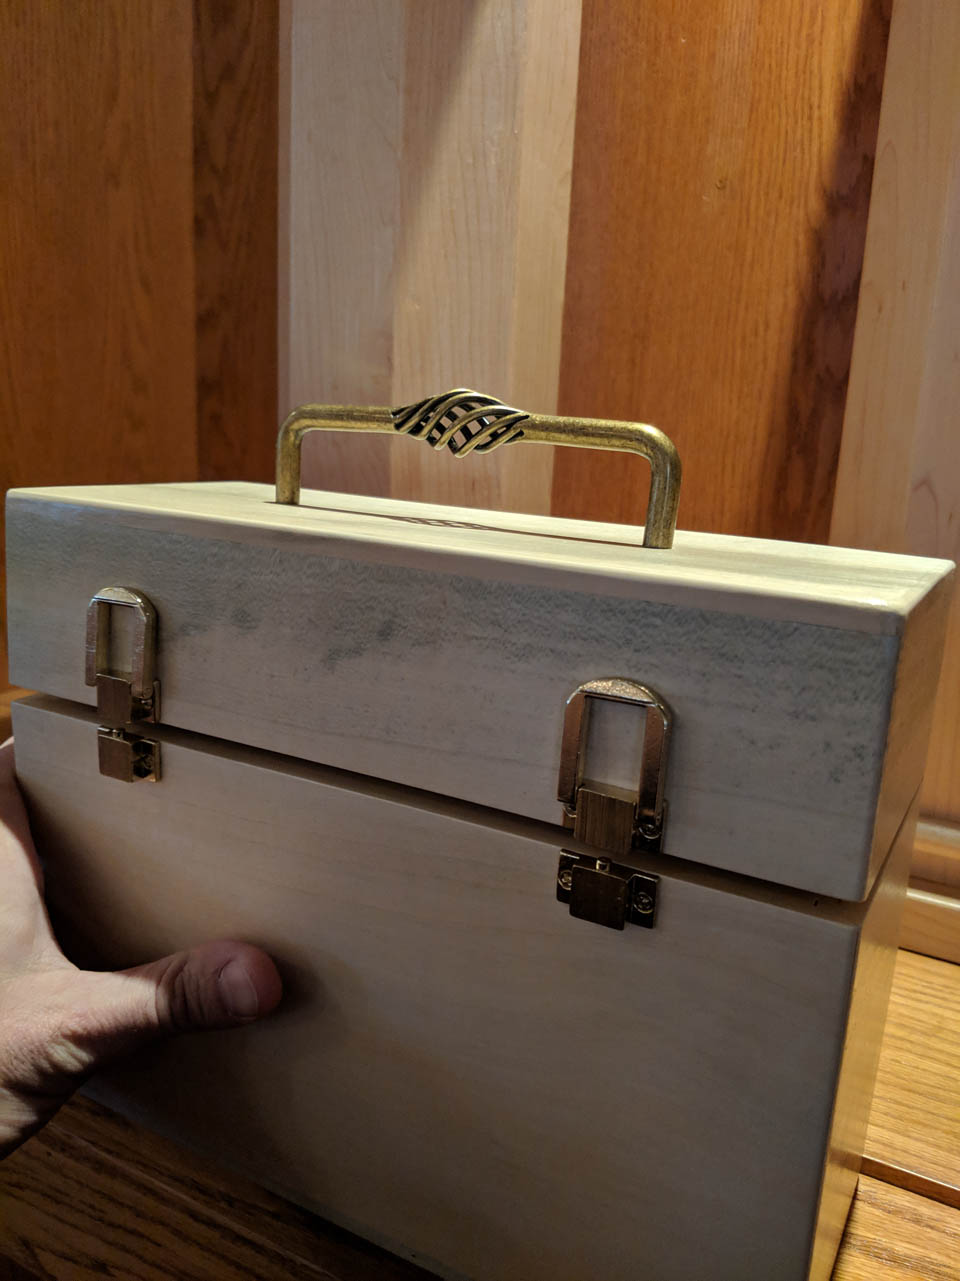
The last piece of hardware was the handle. I measured and centered it, then center punched some pilot holes.


I pre-drilled the holes for the screws, but of course the included screws were too long for the 1/4″ thick top… I had to route through my boxes of old screws to find a couple that would work instead.

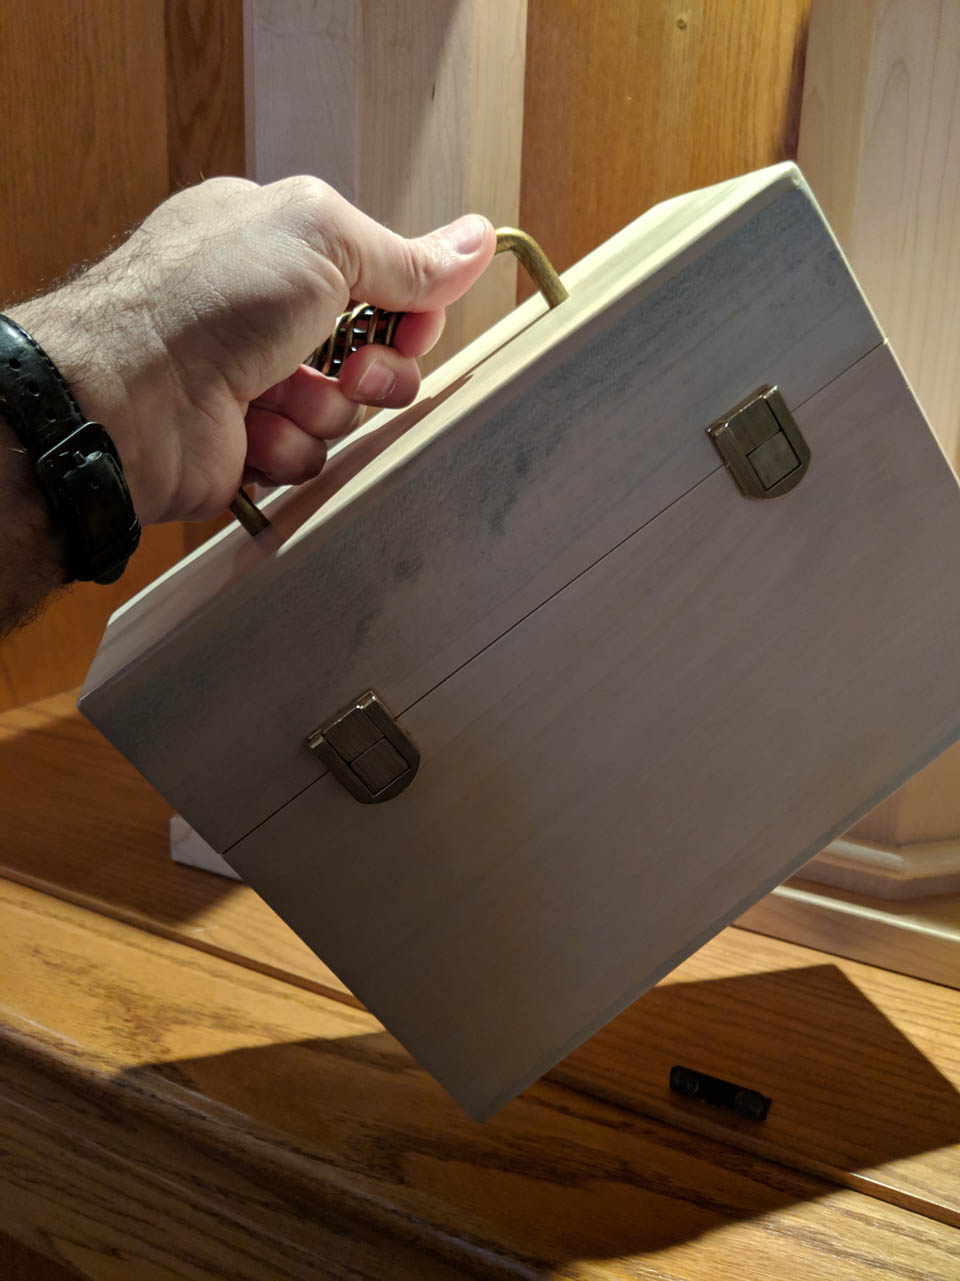
Then the hardware was installed.
The finish on each of the three pieces of hardware was different, but they still look nice together. I could not find anything I liked that would match perfectly.

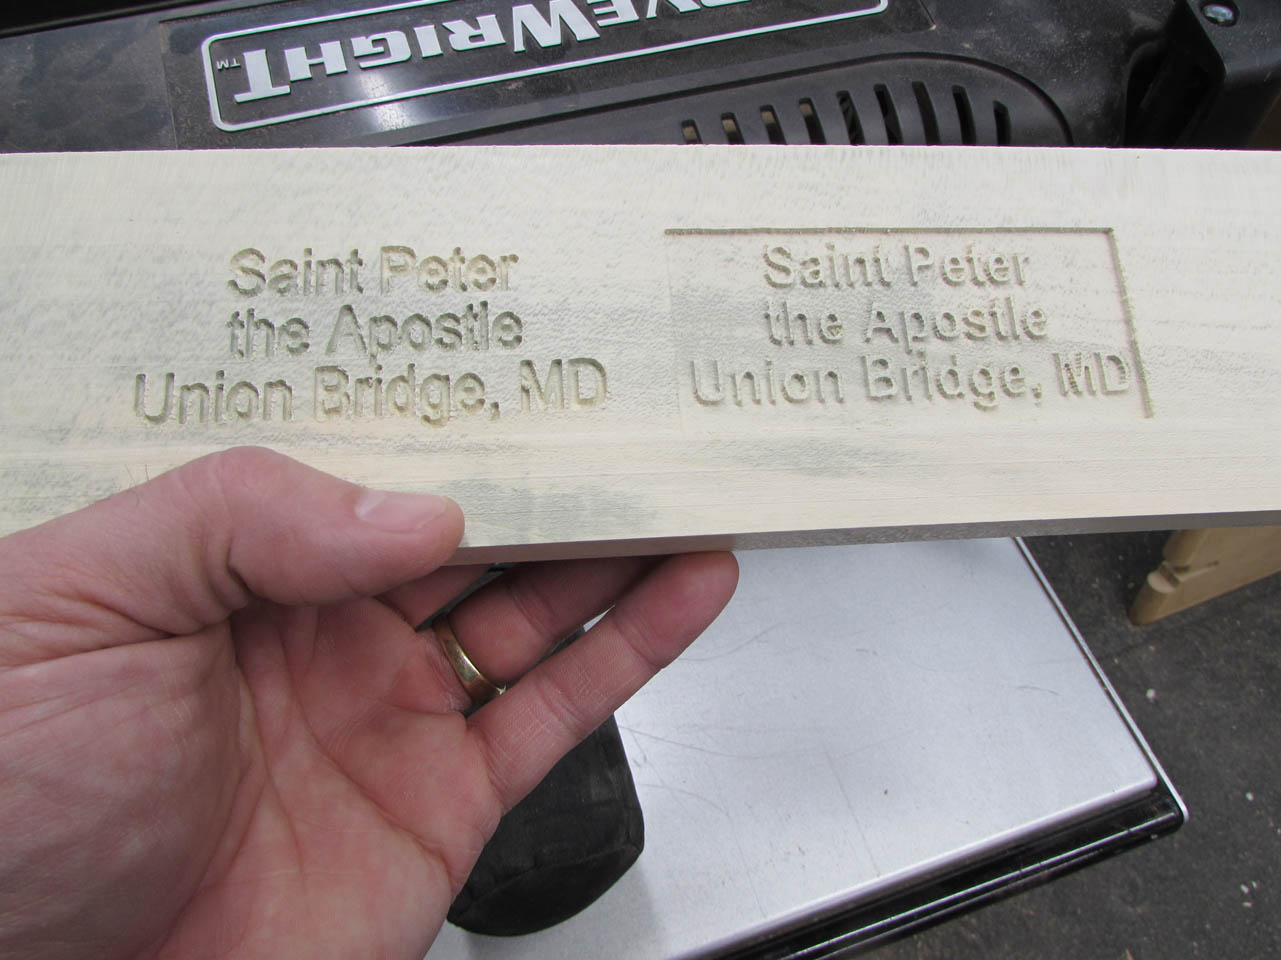
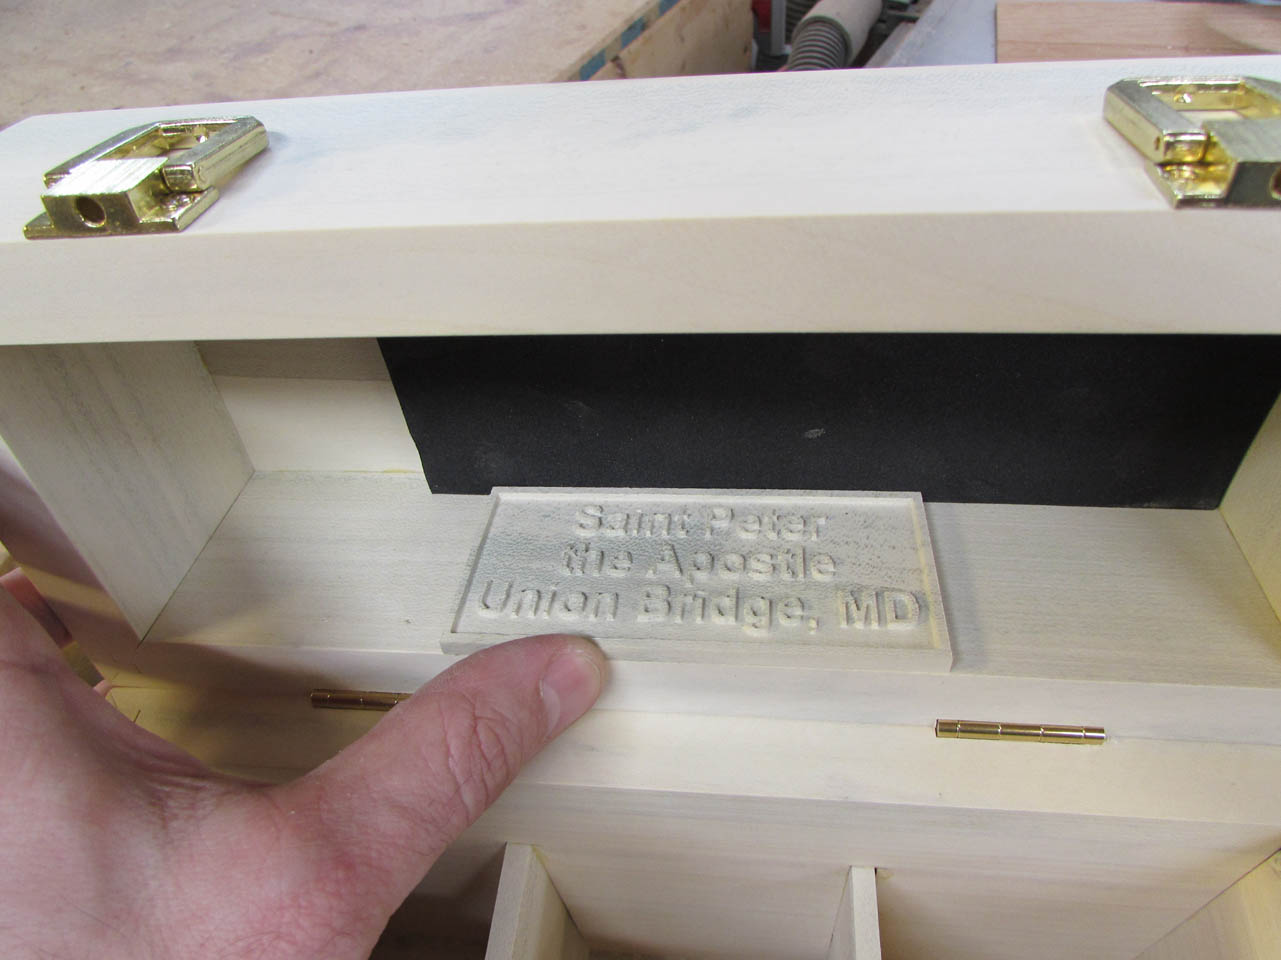
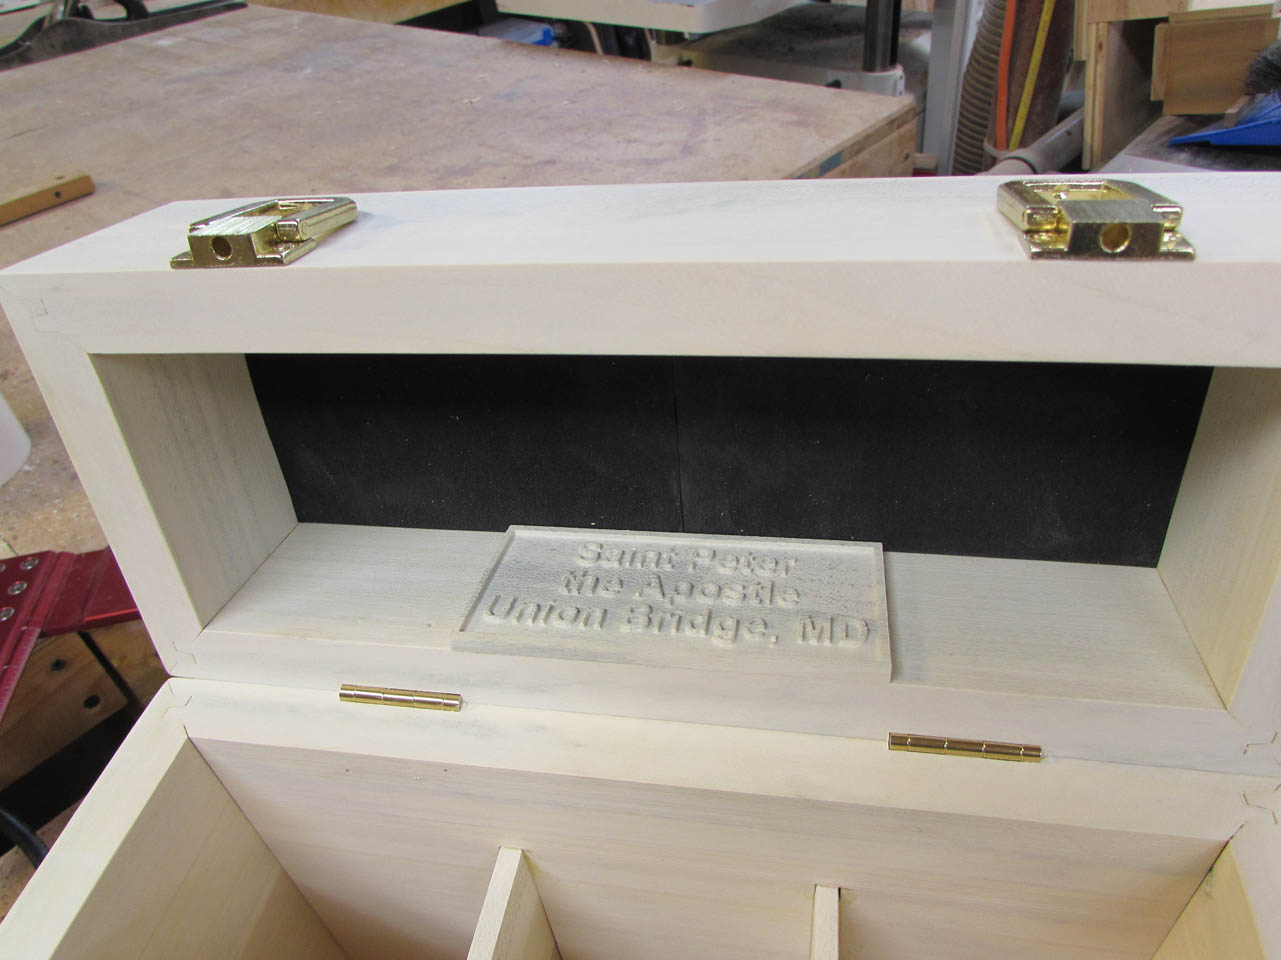
I was asked to include the name and location of our parish so I carved a couple of options so I could see how the text carved in the softer holly. I prefer the relief carved version on the right. The centers of the letters were missing in places on the other one.
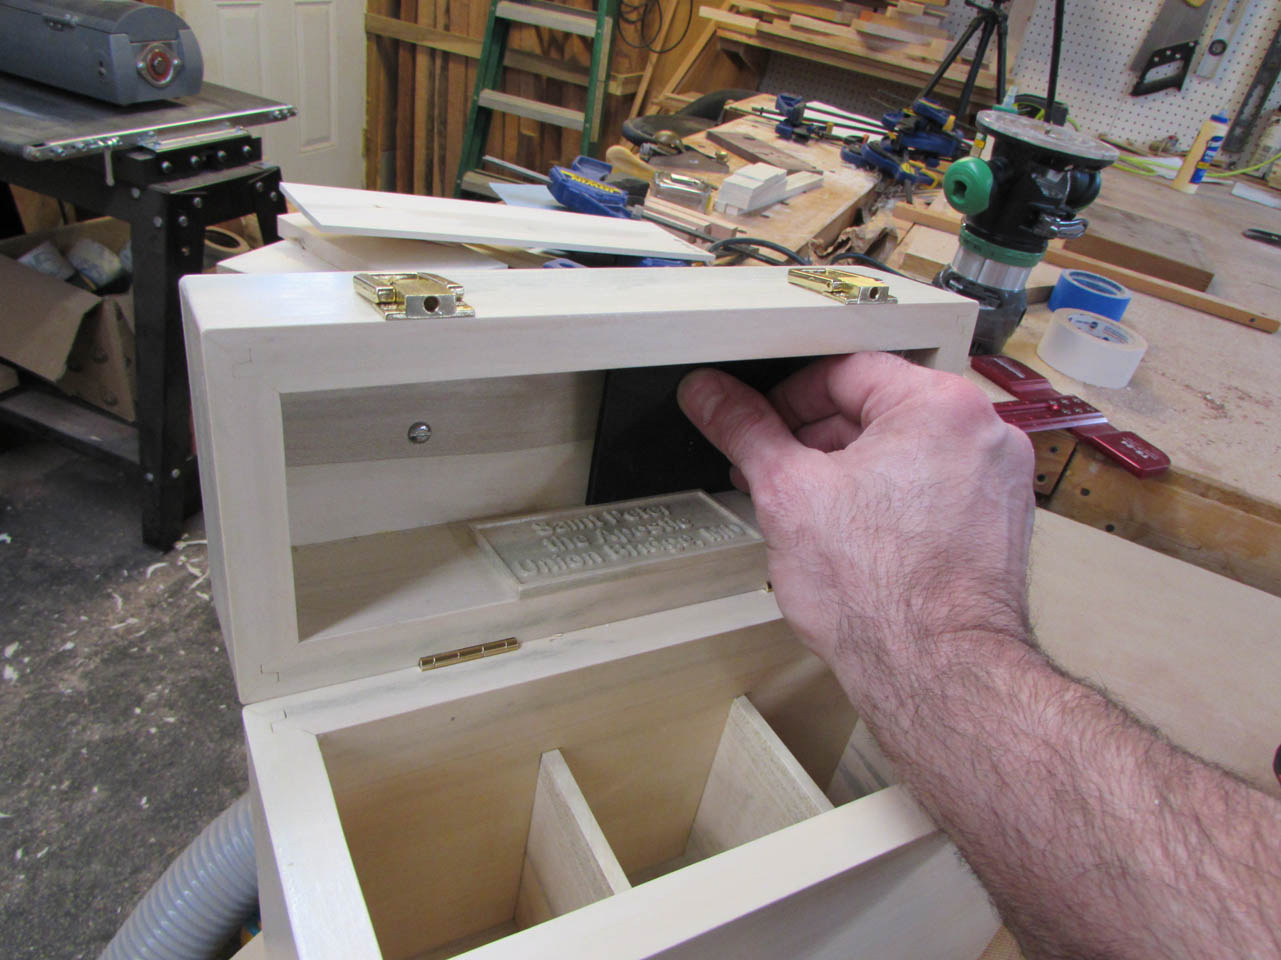
I had originally thought to carve the name on the back of the box, but I decided not to. I really like the simplicity of the box so I decided to mount a plate inside instead.
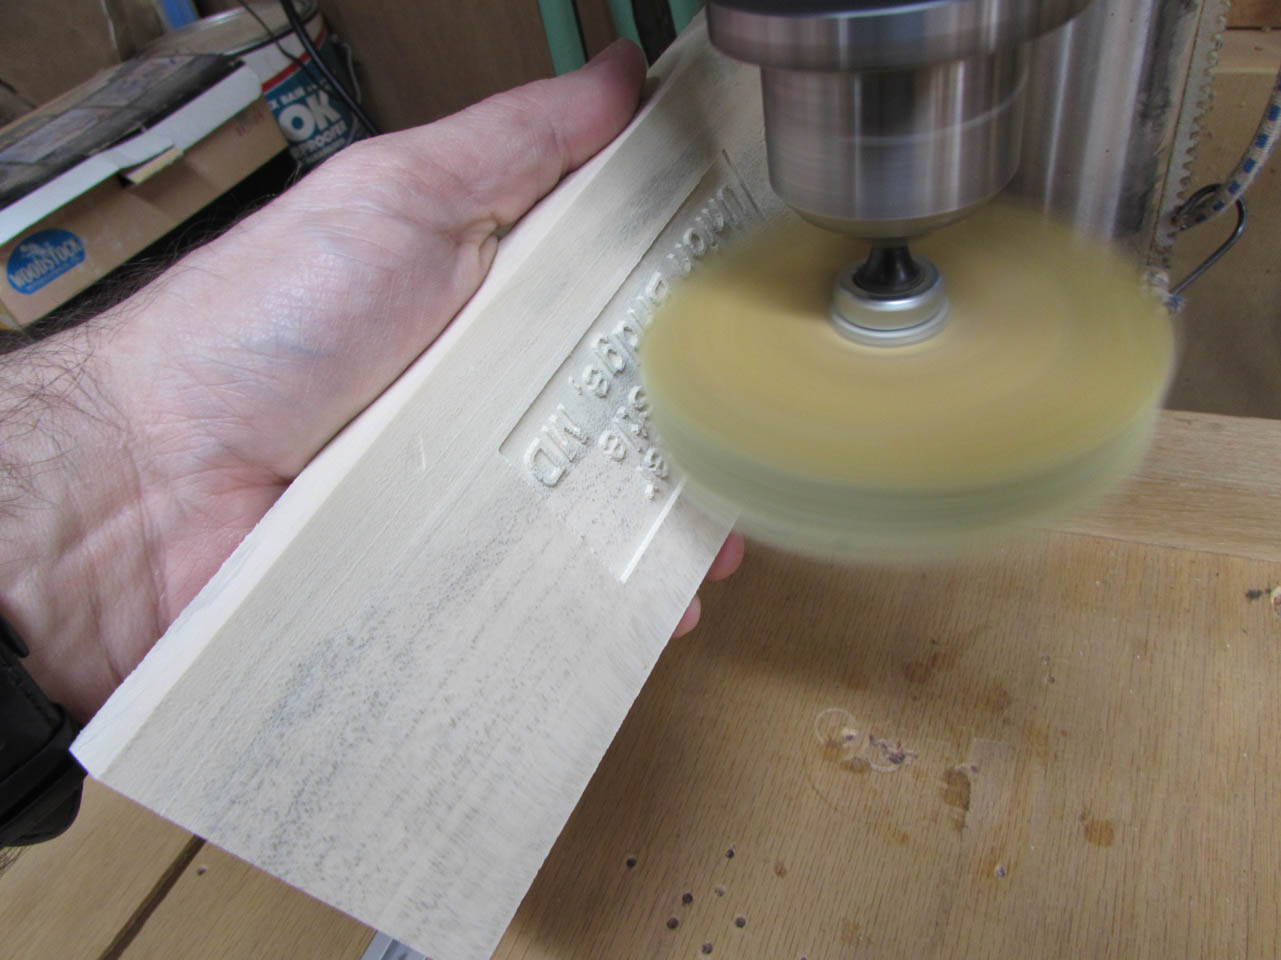
I cleaned the plate up with my mop sander.

Then cut it down leaving one side on for now to make it easier to hold as I cut it.

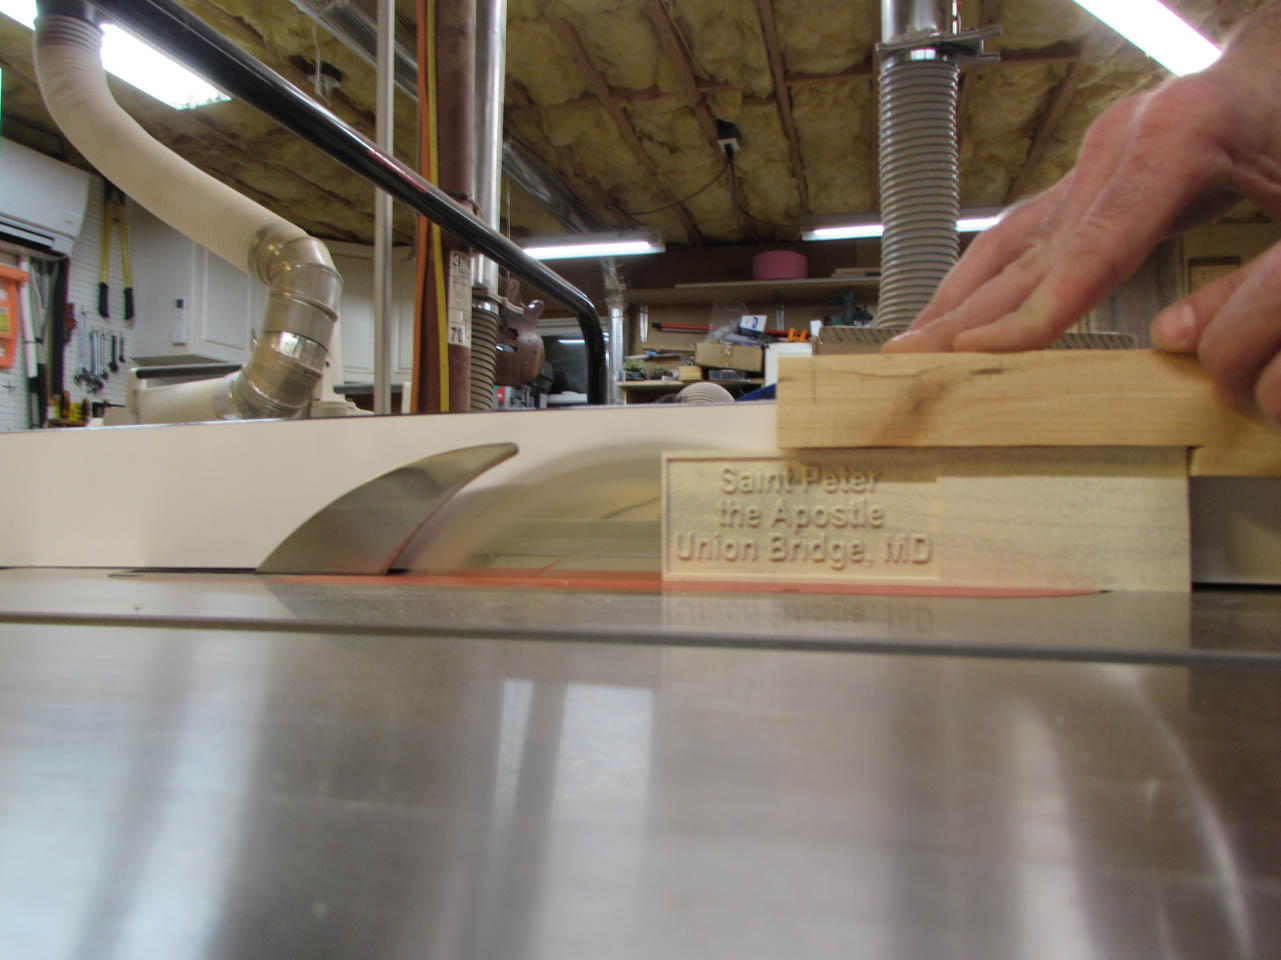
I re-sawed the face off leaving it about 1/8″ thick with the text relief carved in 1/16″ deep. Then I cut off the extra on the right.


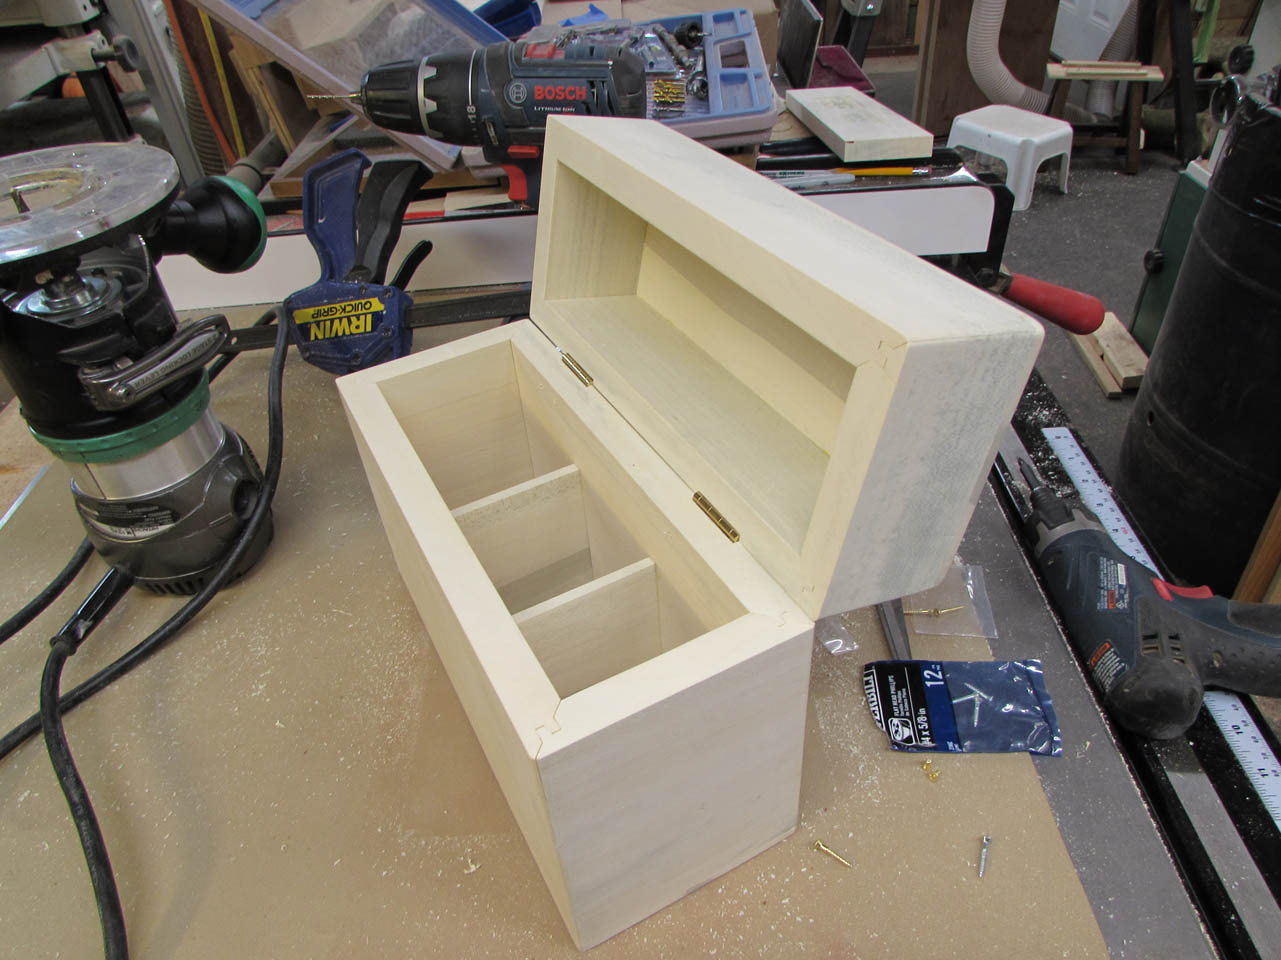
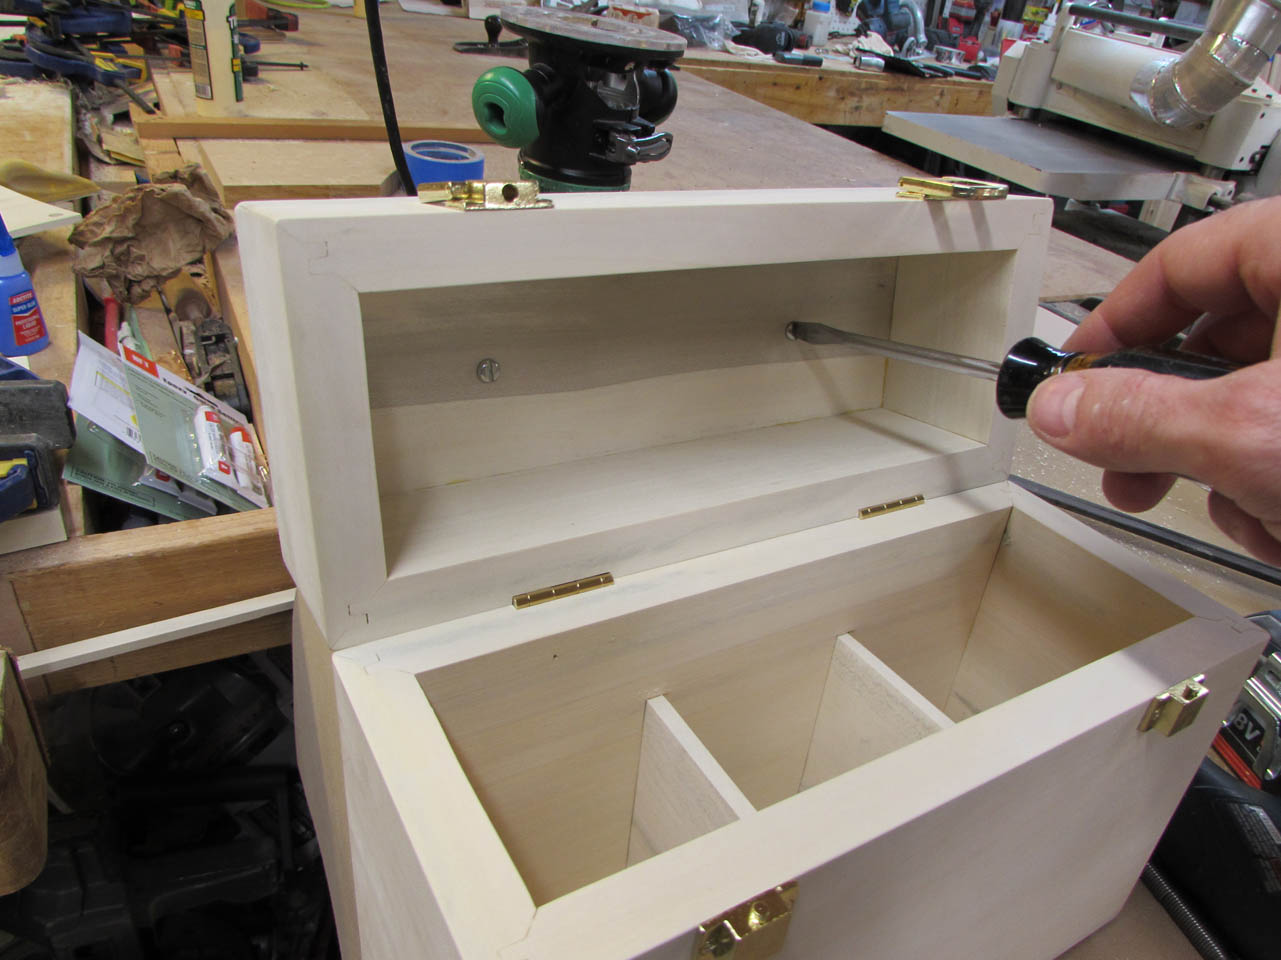
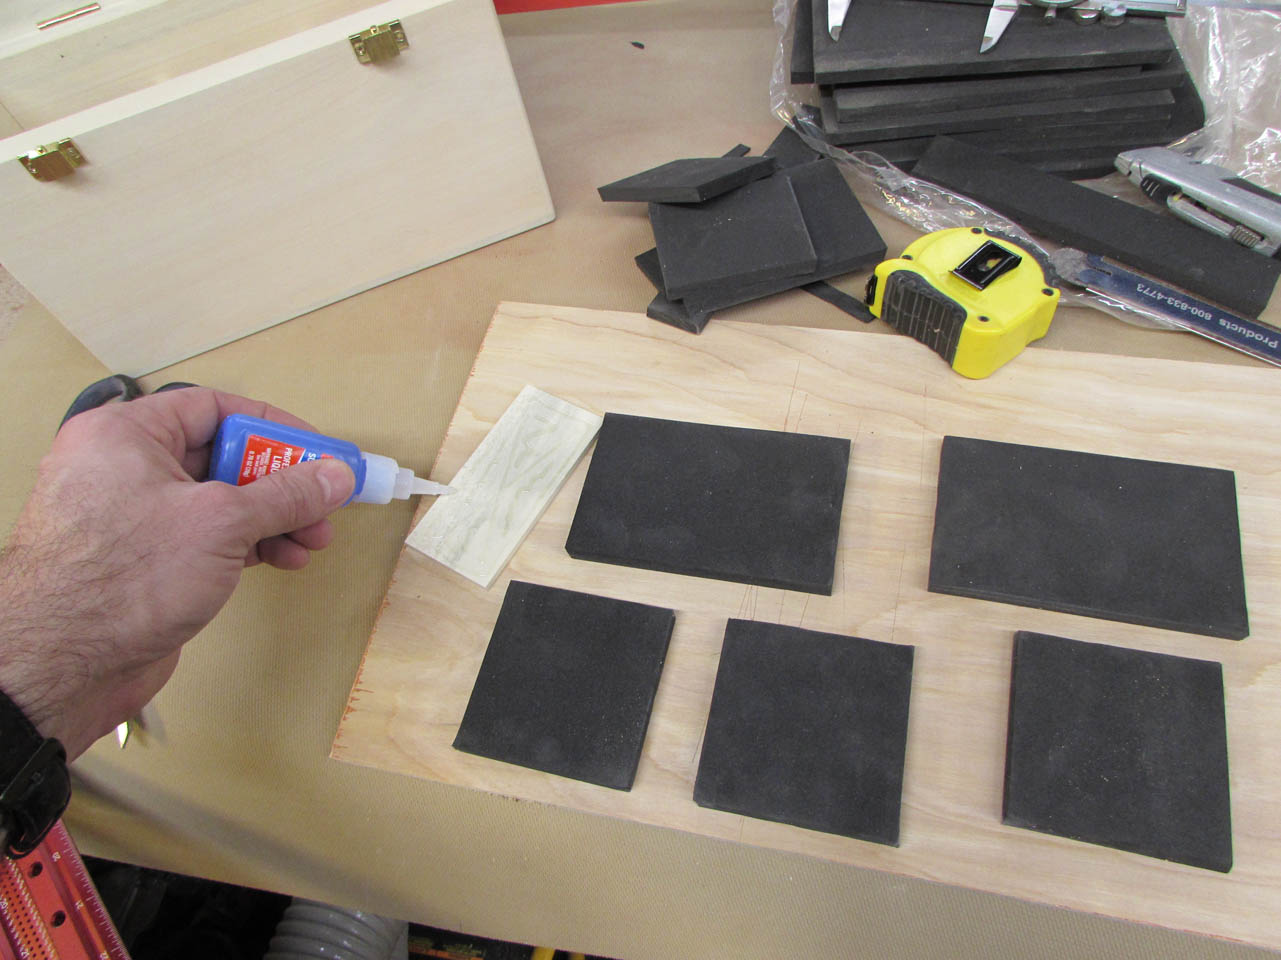
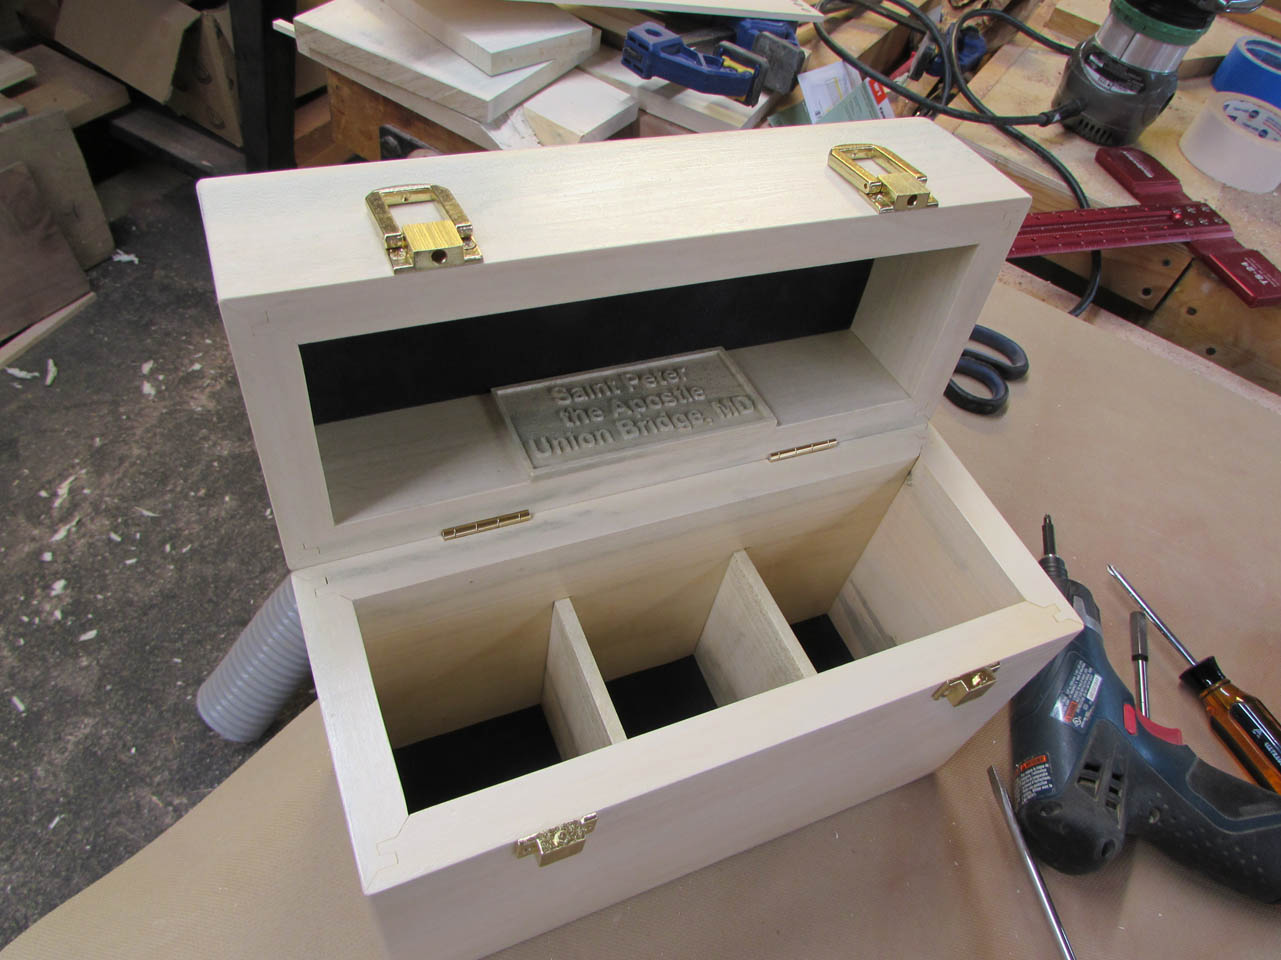
This box is used to transport the oils so my design includes a dense foam on the top and bottom to press and hold the bottles in place when the lid is closed. I purchased a pack of foam that was just under 3/8″ thick. It was dense, but should give just enough to do what I need.
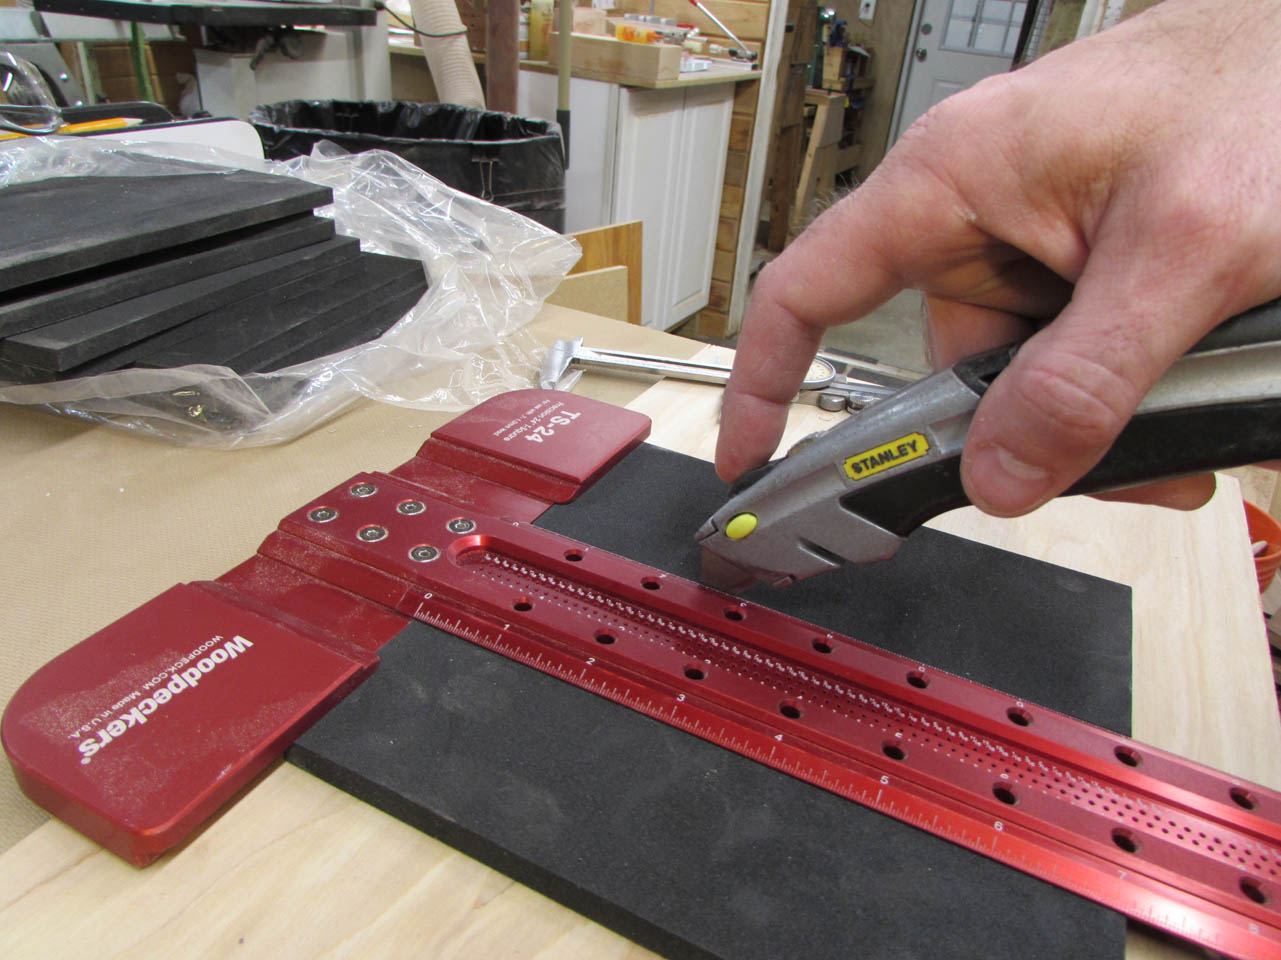
I used a knife and a straight edge to cut a test piece.

I pressed the foam in place to test fit my plaque inside the lid.
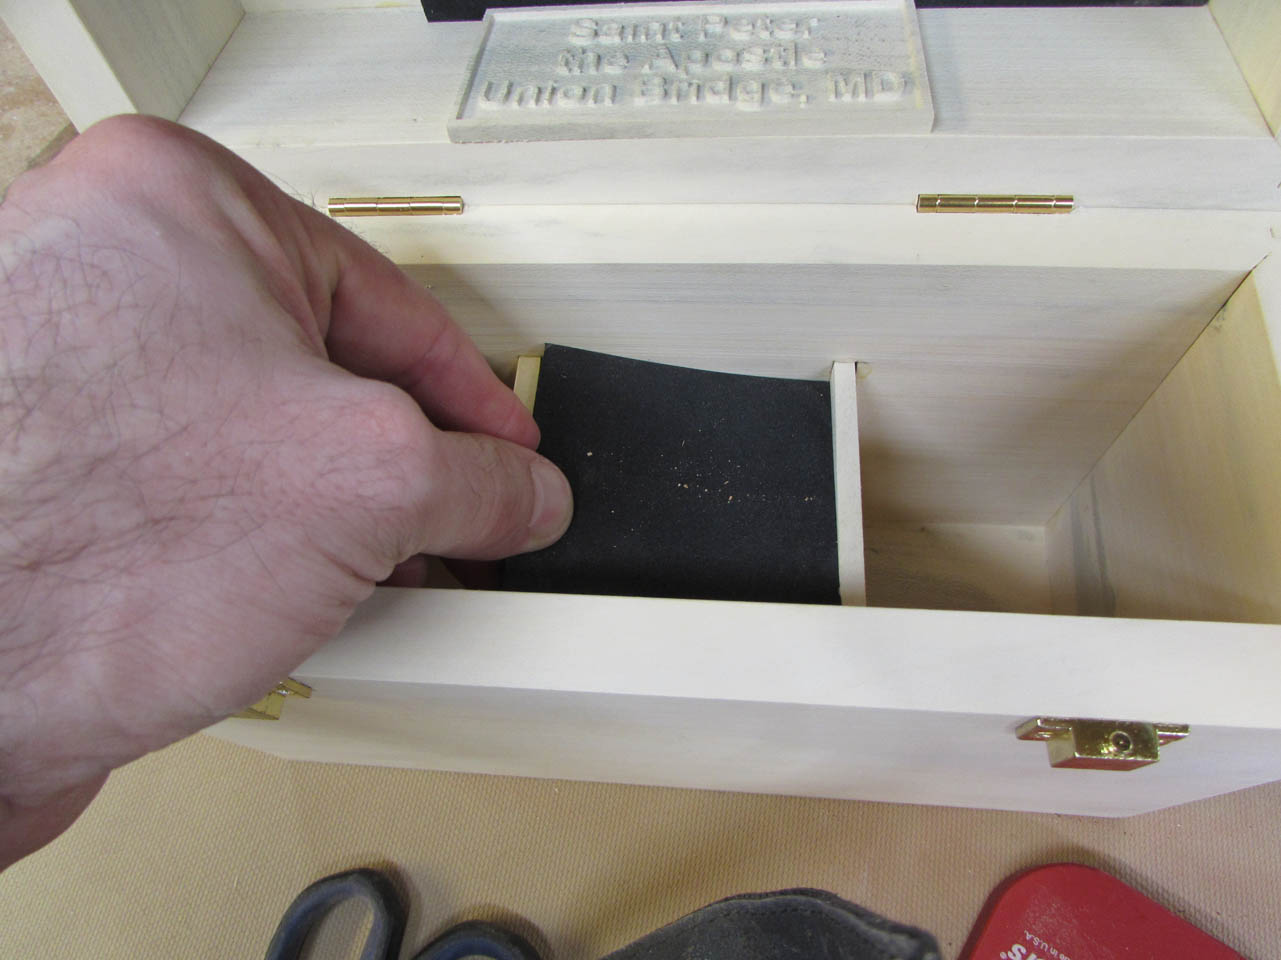
I then proceeded to cut and test fit all of the rest of the foam pieces.
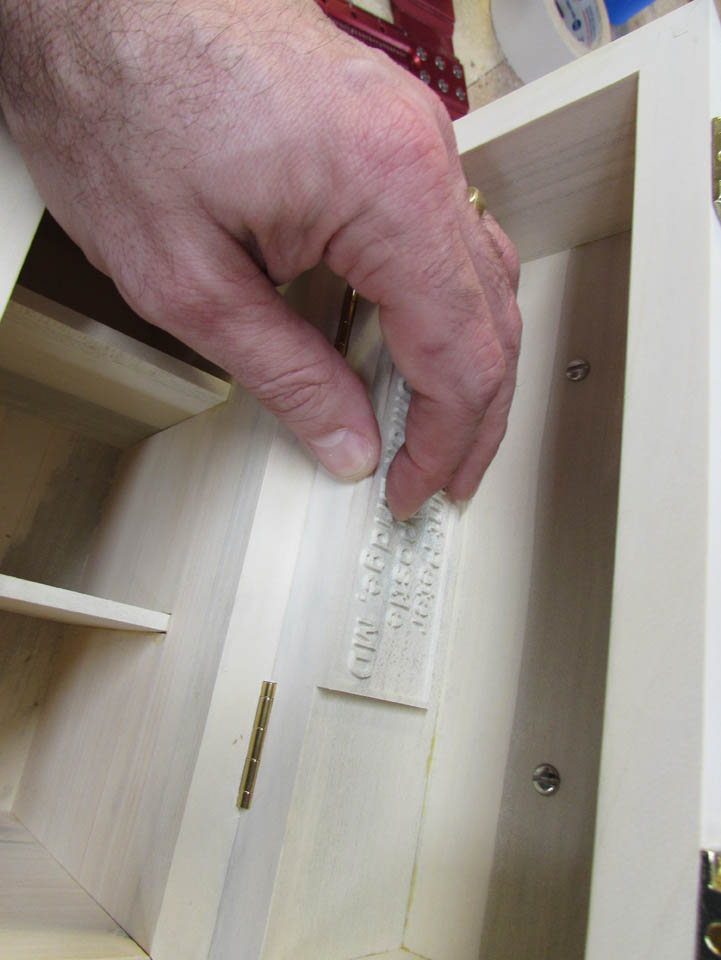
I used some CA glue to attach the plaque.
Everything fit really well. I was planning on gluing the foam in place, but it presses in perfectly and holds just fine so I will leave it as is.

Time to pull the hardware back off and start applying finish.
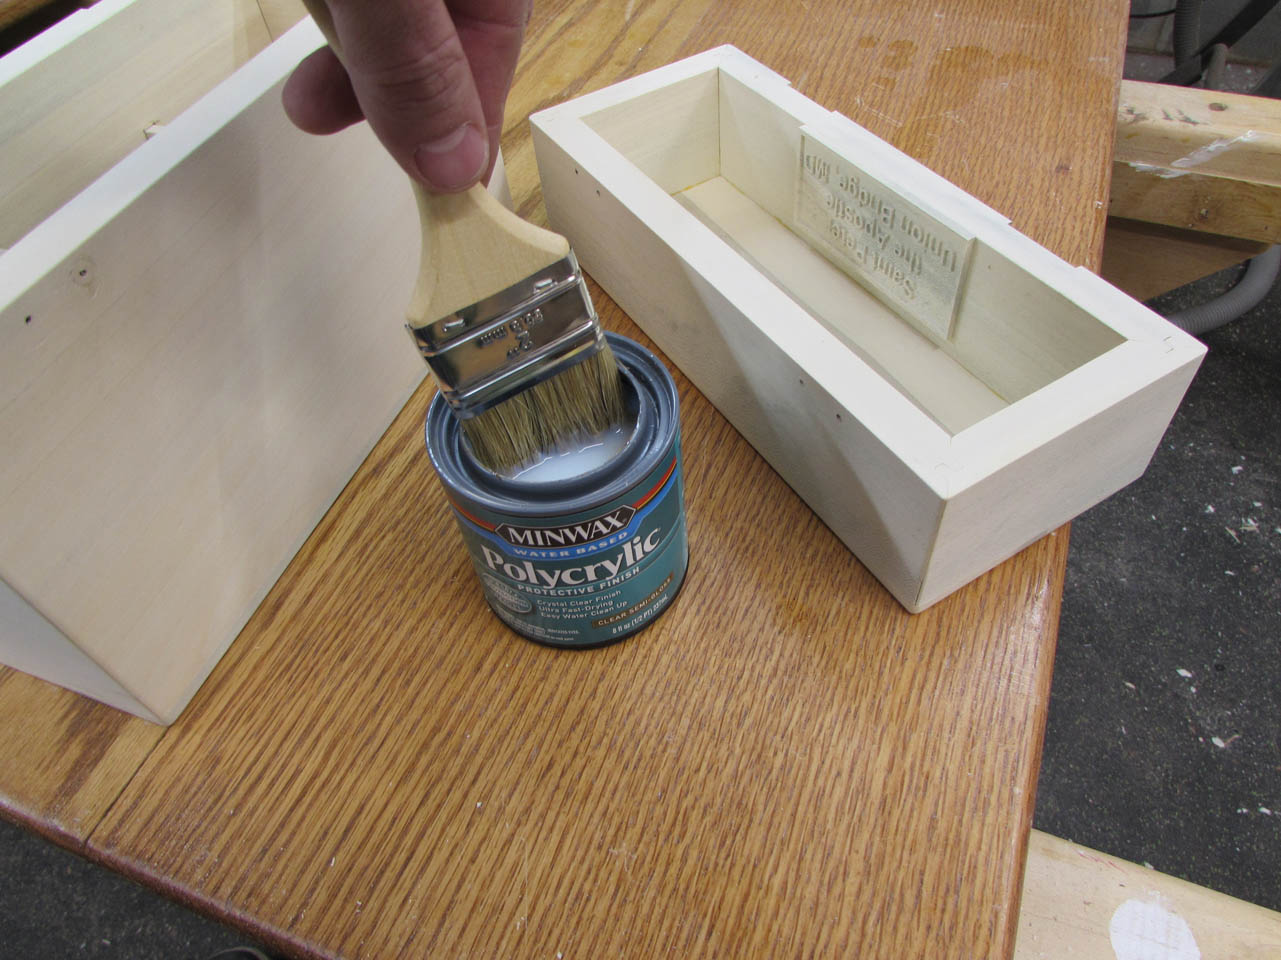
I am using a water-based poly for the finish because it will not change the tone or color of the wood at all. I wish I could spray this one but I don’t have anywhere to set up a spray booth at the moment.

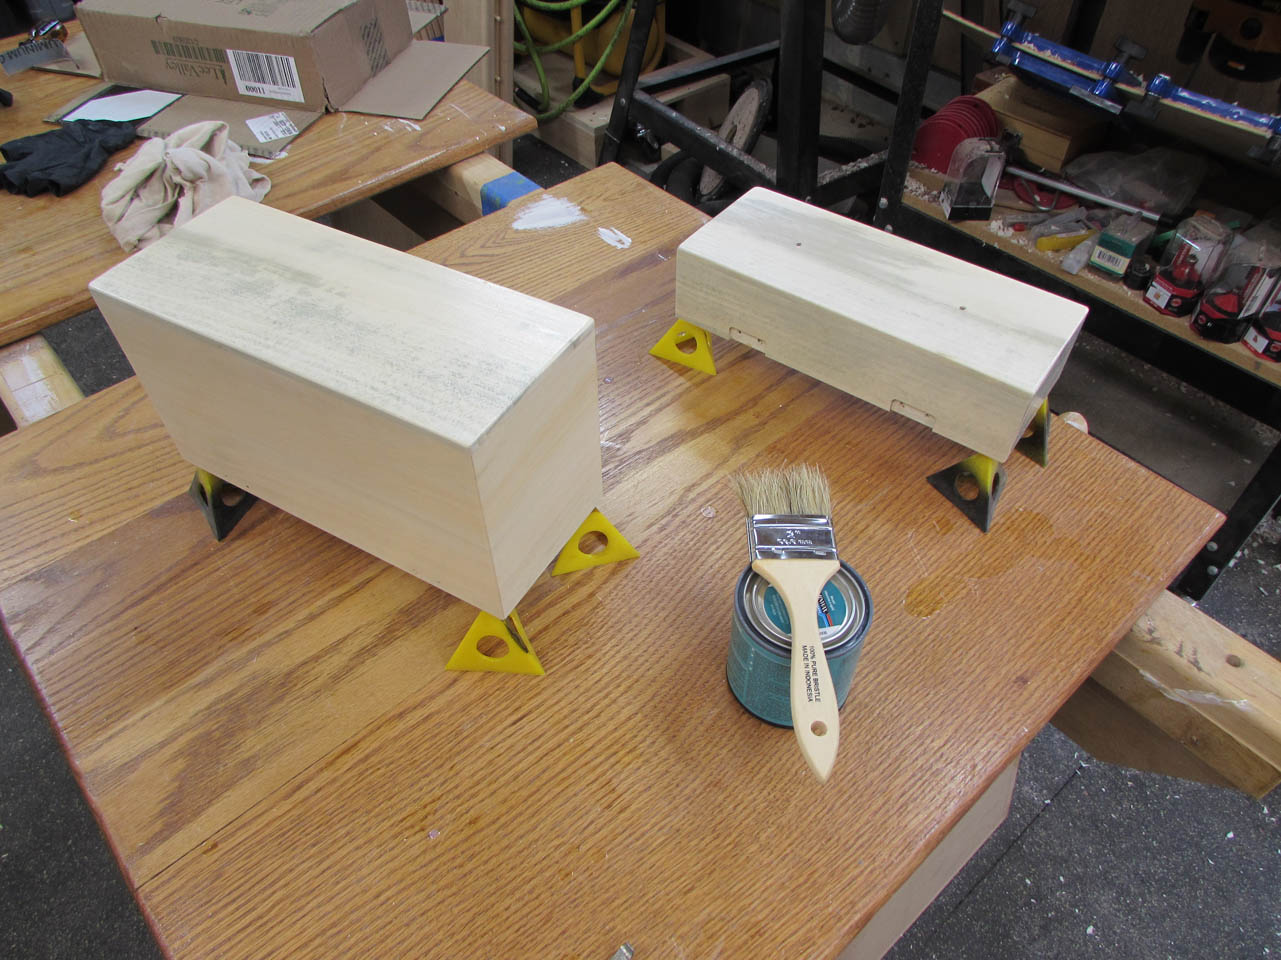
So I used a 2″ brush and applied the first coat.

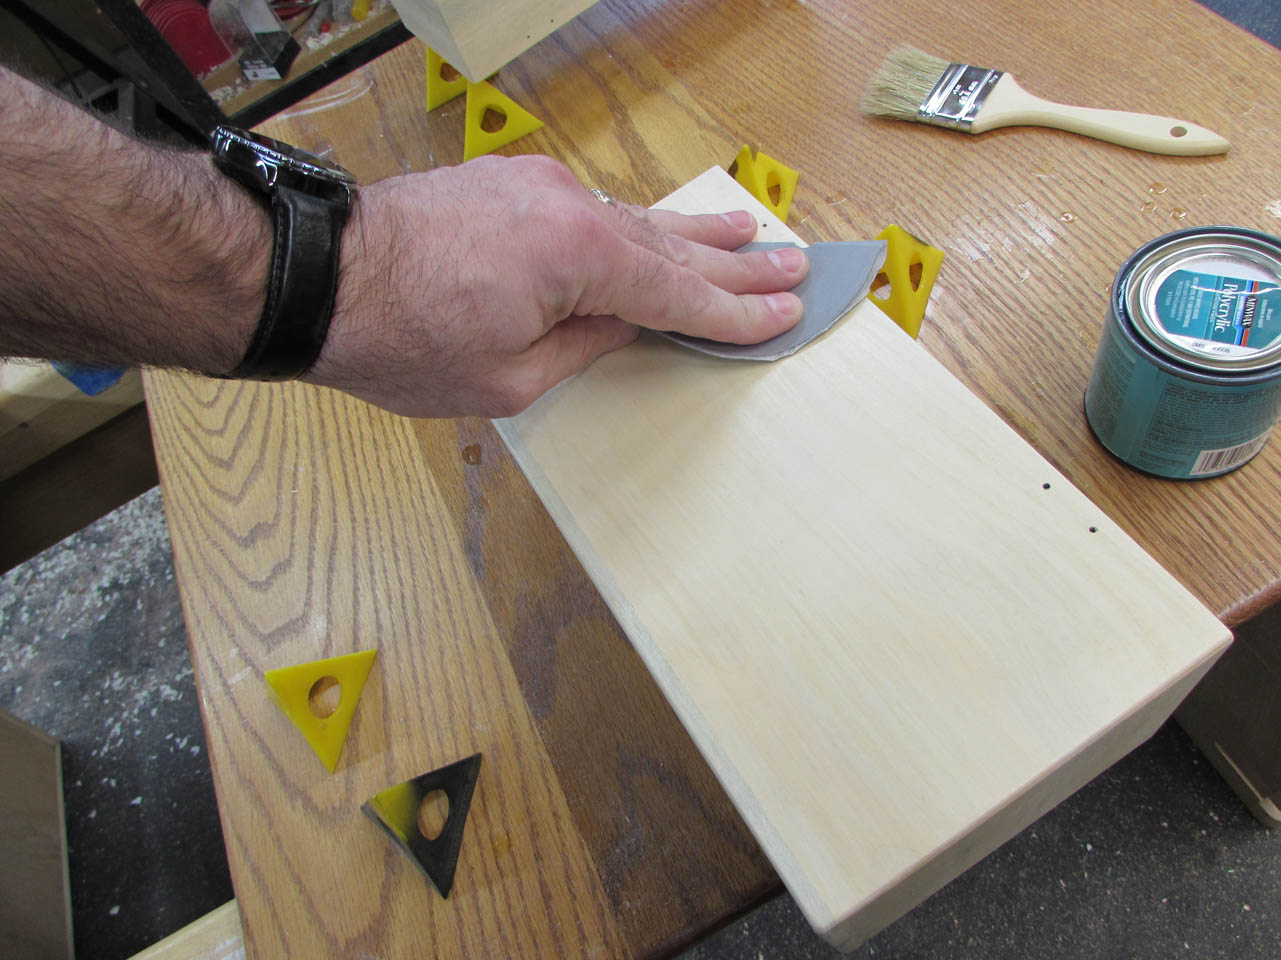
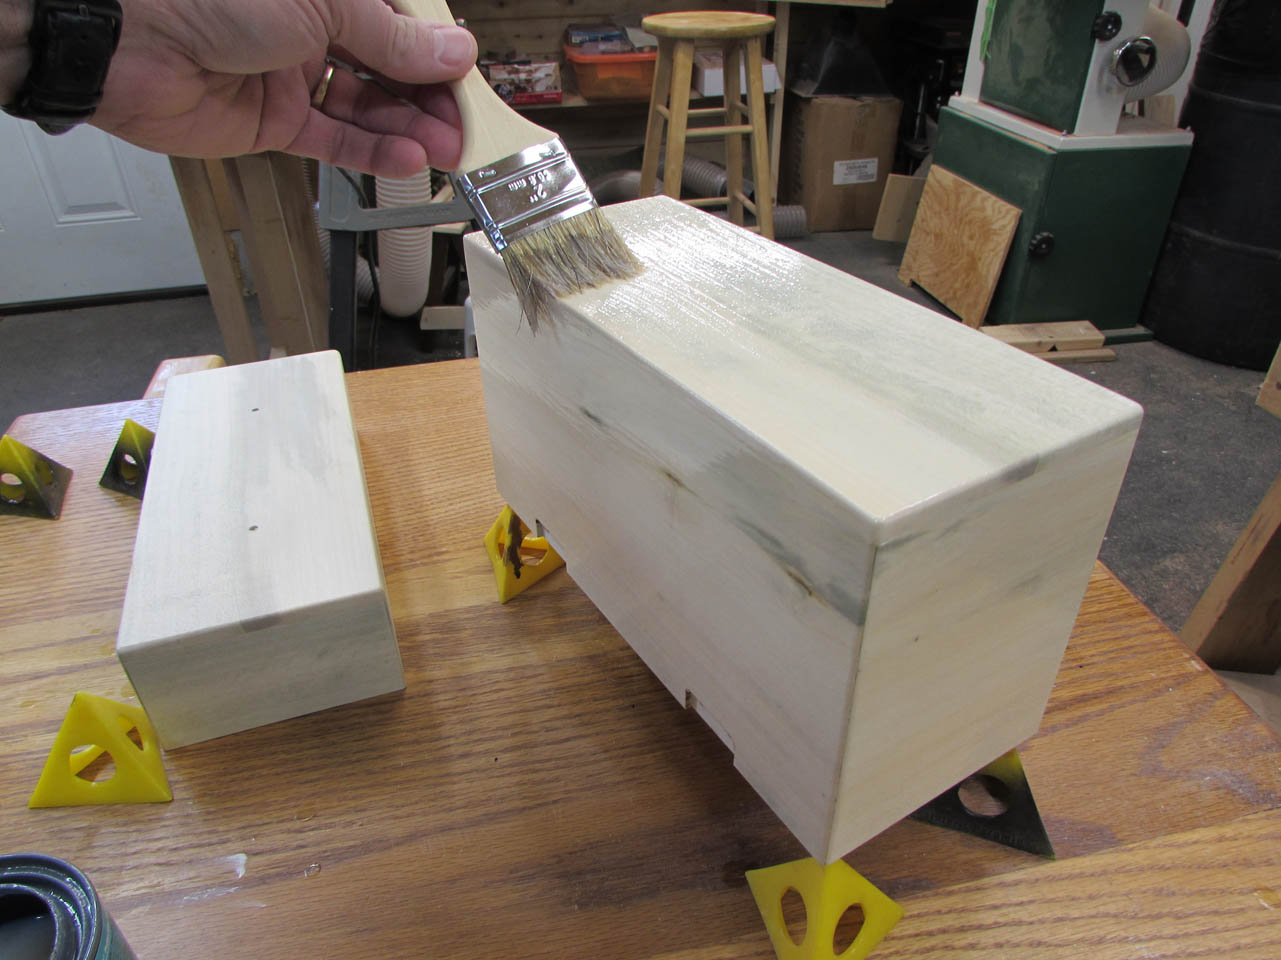
When dry, I sanded everything back with 320 grit and added the second coat.
When that dried, it was time to install the foam and re-install the hardware.

You would think that this was the easy part, but the same screw broke off in the latch and had to be extracted and plugged two more times before it was successfully installed. On a good note, I am getting really good at it after all that practice…
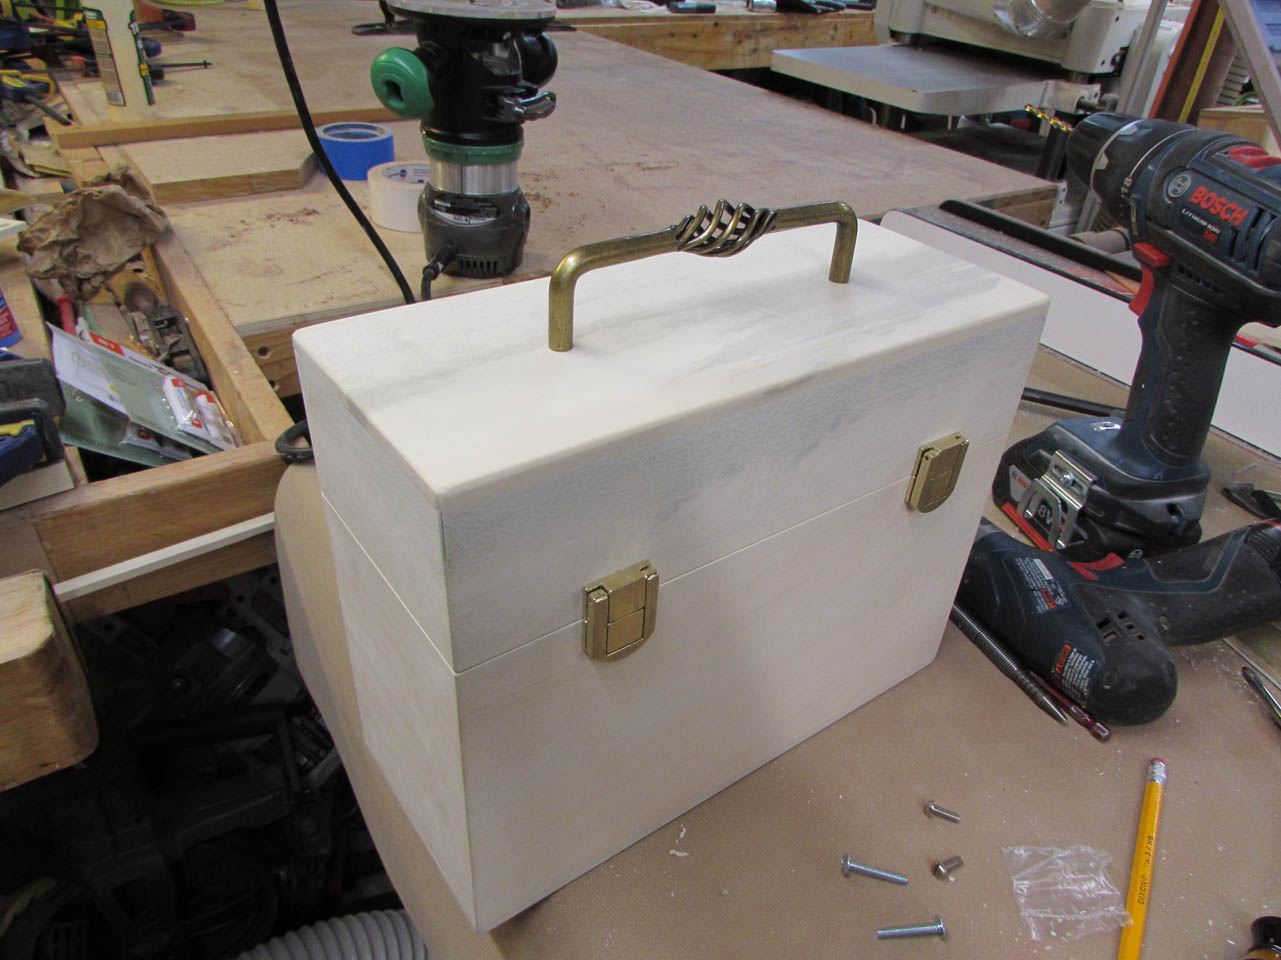
Anyway, the box was complete, and it only took about 6 months from when John cut down the tree… For such a quick build, this was the longest I have ever spent on one project.


After church this morning, I had the opportunity to test the fit of the bottles that I had measured over a year ago. I was praying that I didn’t miss anything and the dimensions were correct.

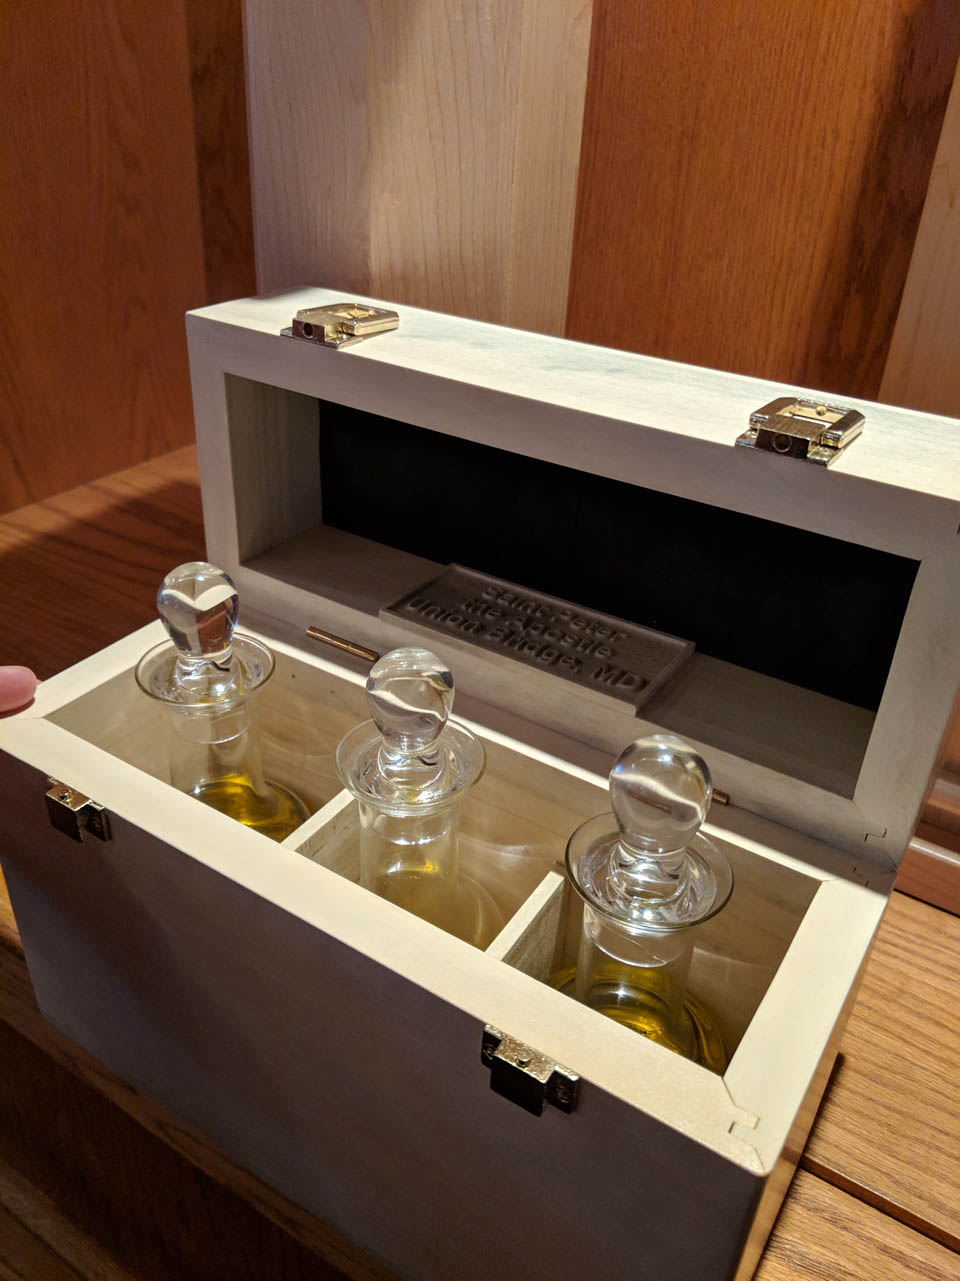
Perfect fit with about 1/32″ clearance around each bottle. When the lid was dropped, it stayed open about 1/4″ I had to press the foam down onto the bottle tops just like I planned.
The bottles were held firmly in place and I could swing the case and even turn it upside down without spilling the contents.
This small project was a very satisfying one. I was able to start with a tree and go through every step of the process. The wood was beautiful and very enjoyable to work with. I look forward to doing a lot more projects with the rest of the holly. Thanks again John for the opportunity to do something special with your tree.
