
Kyle’s Guitar – day 4/5

I cut some more walnut to make a new back panel. I took care to try to match the sap wood on the front half. It won’t be a perfect match, but the color is close.
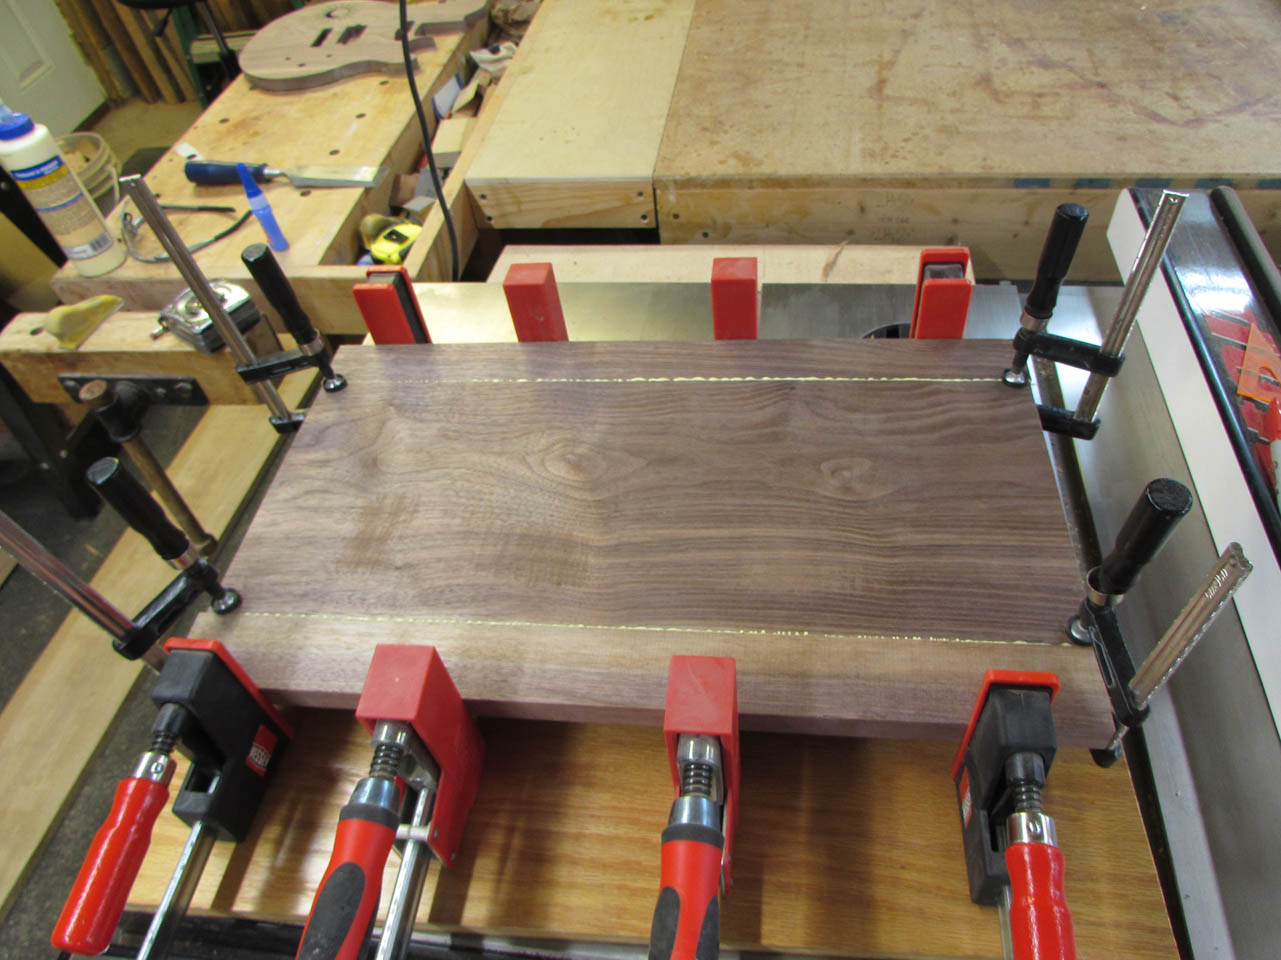
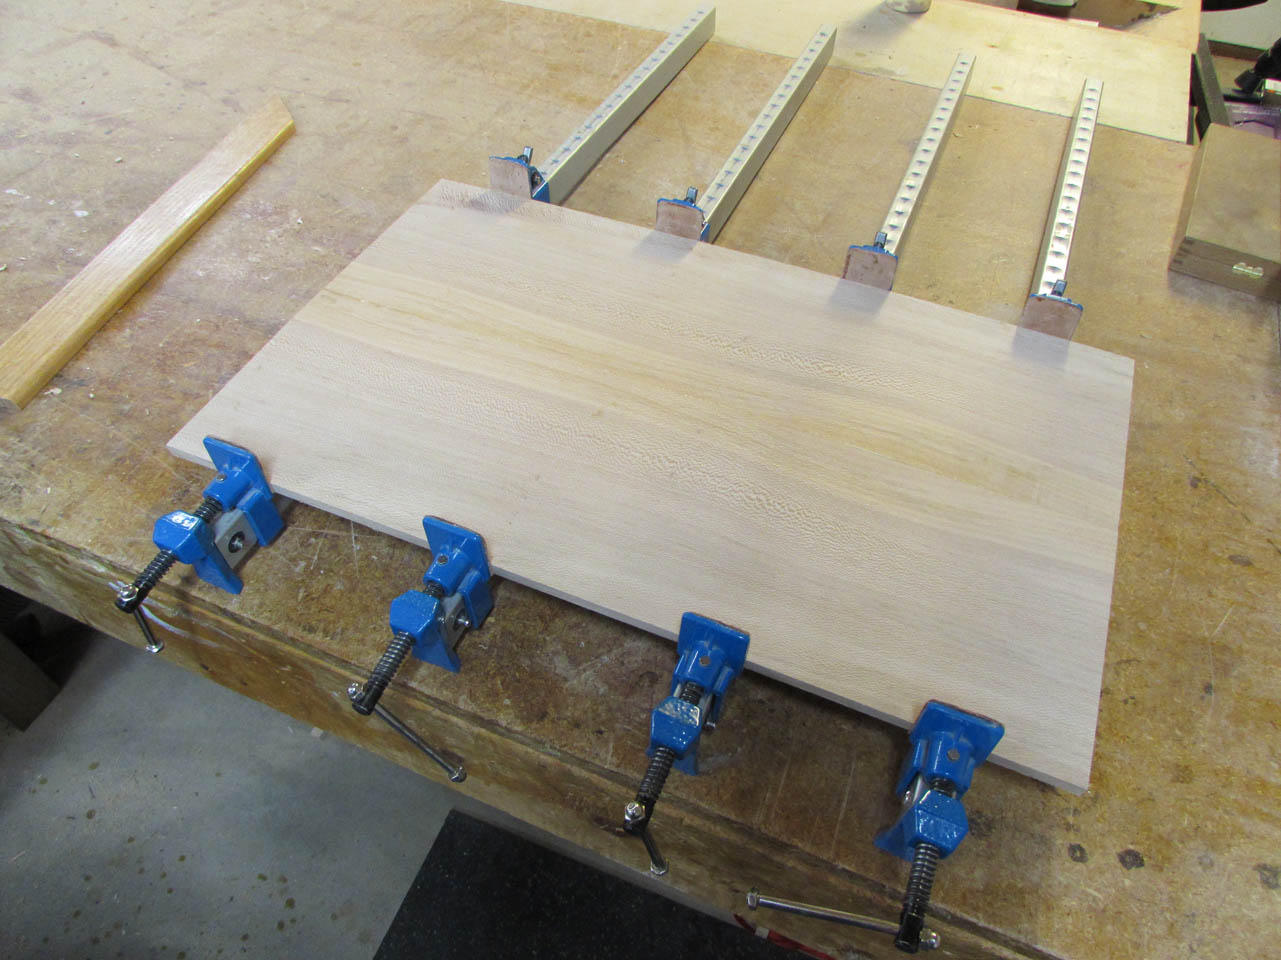
I glued the panel up and after it had dried, then sanded it flat.
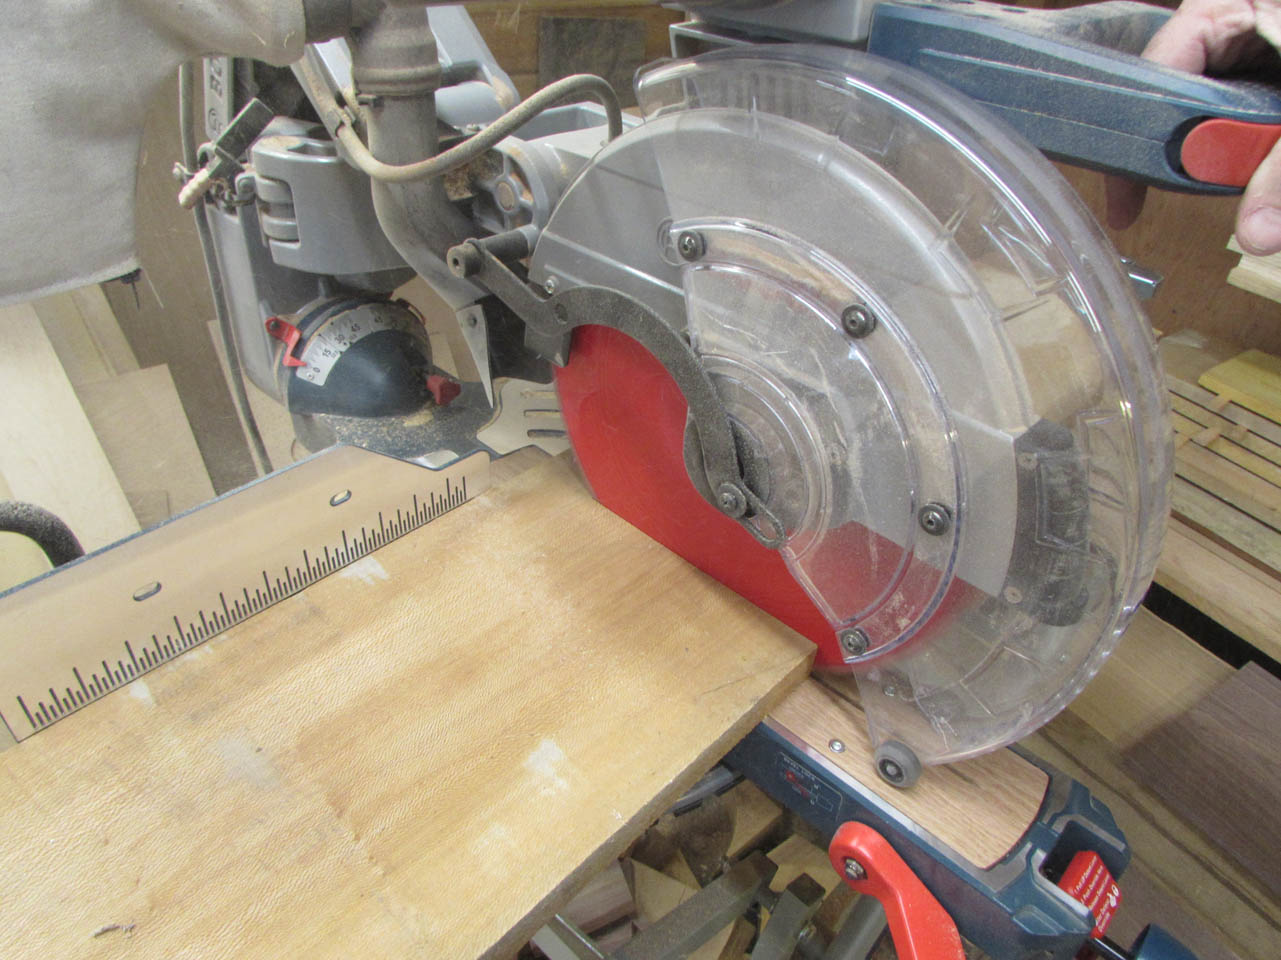
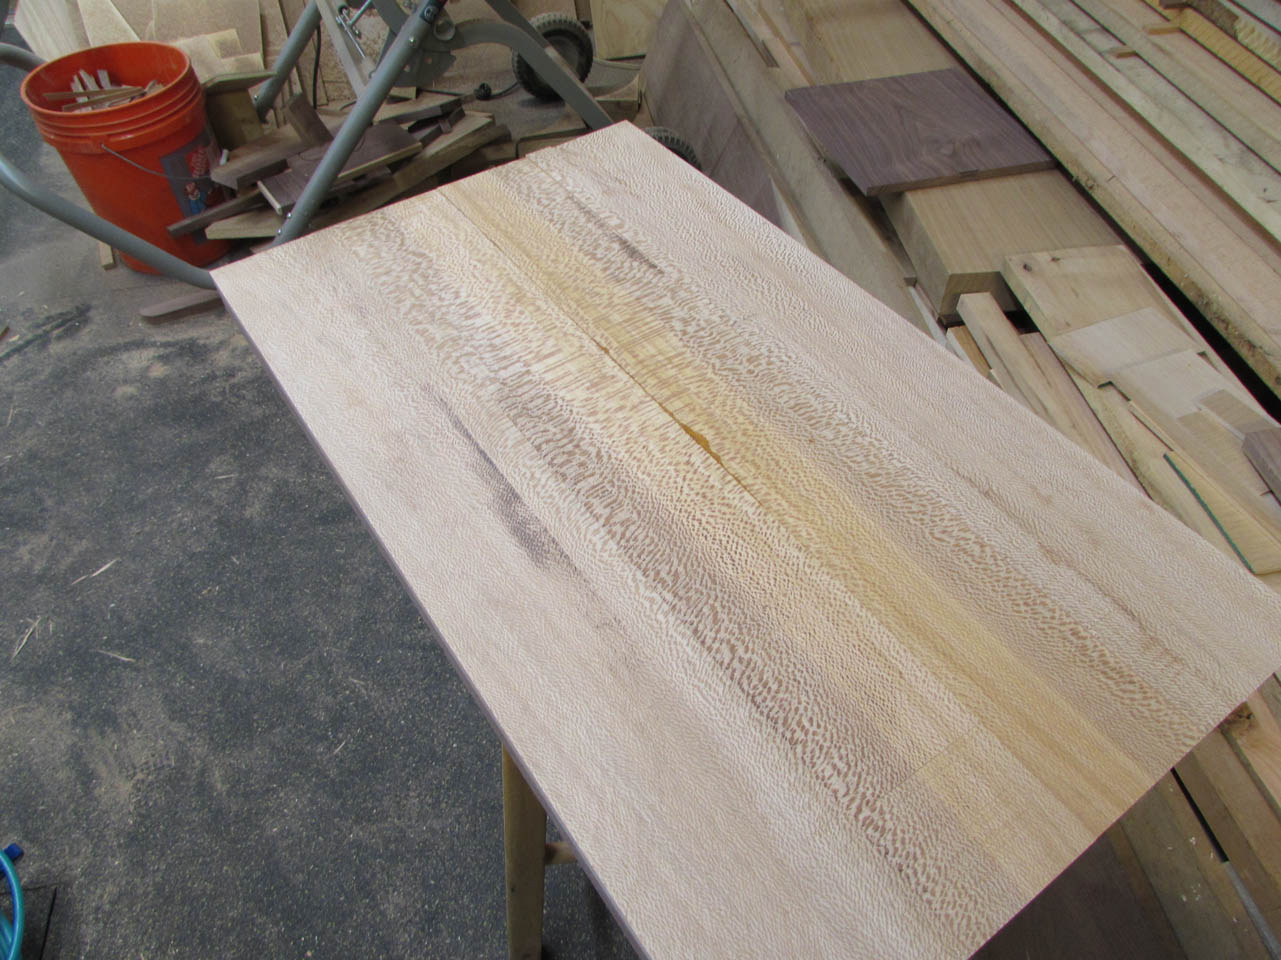
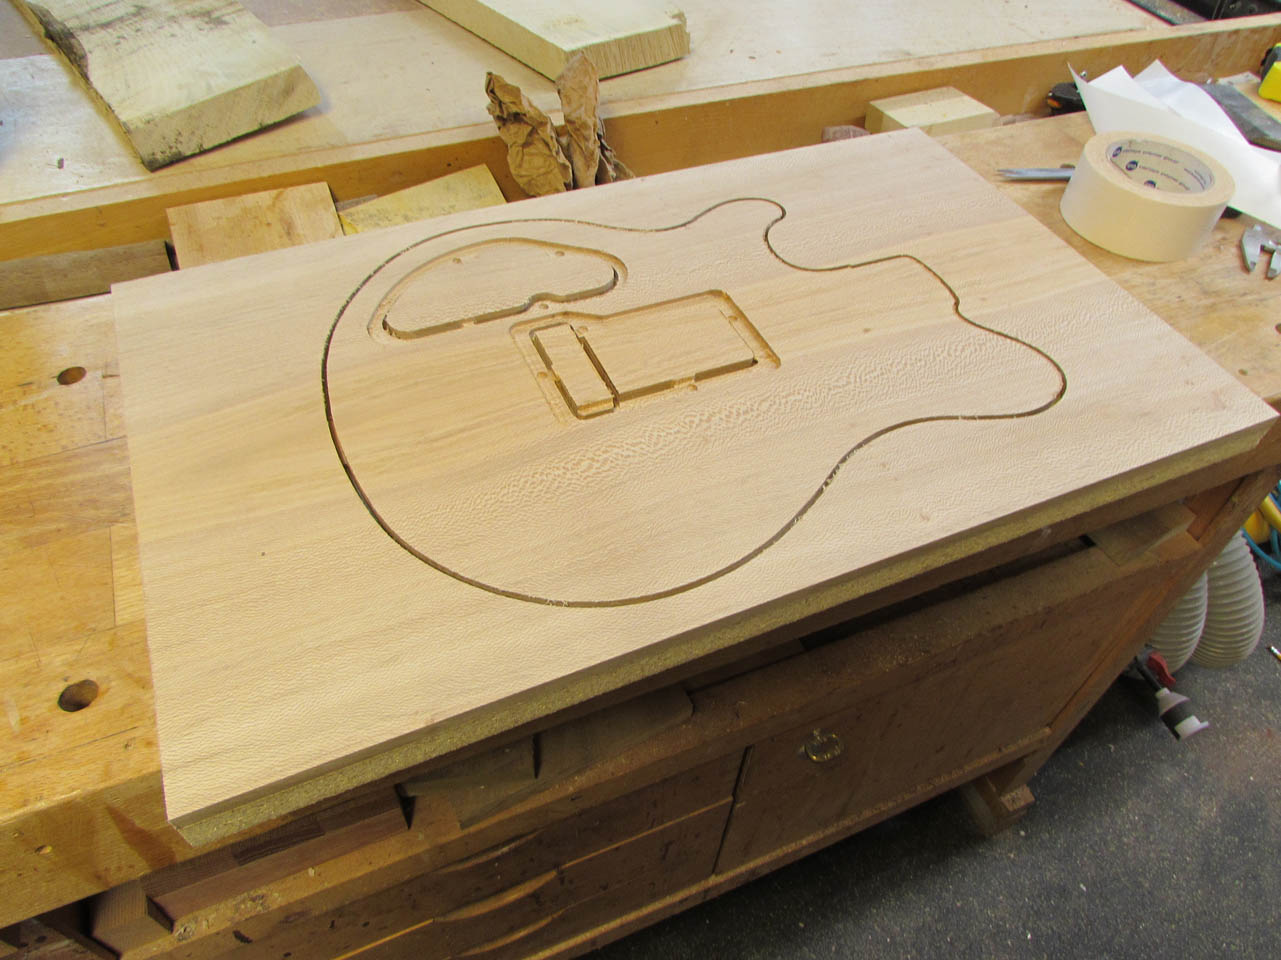
I pulled out the sycamore piece that Kyle had picked out and cut off a 24″ long section.
I sanded both sides smooth, then started the re-saw process on my table saw.

Then I moved to my band saw to finish the cut.

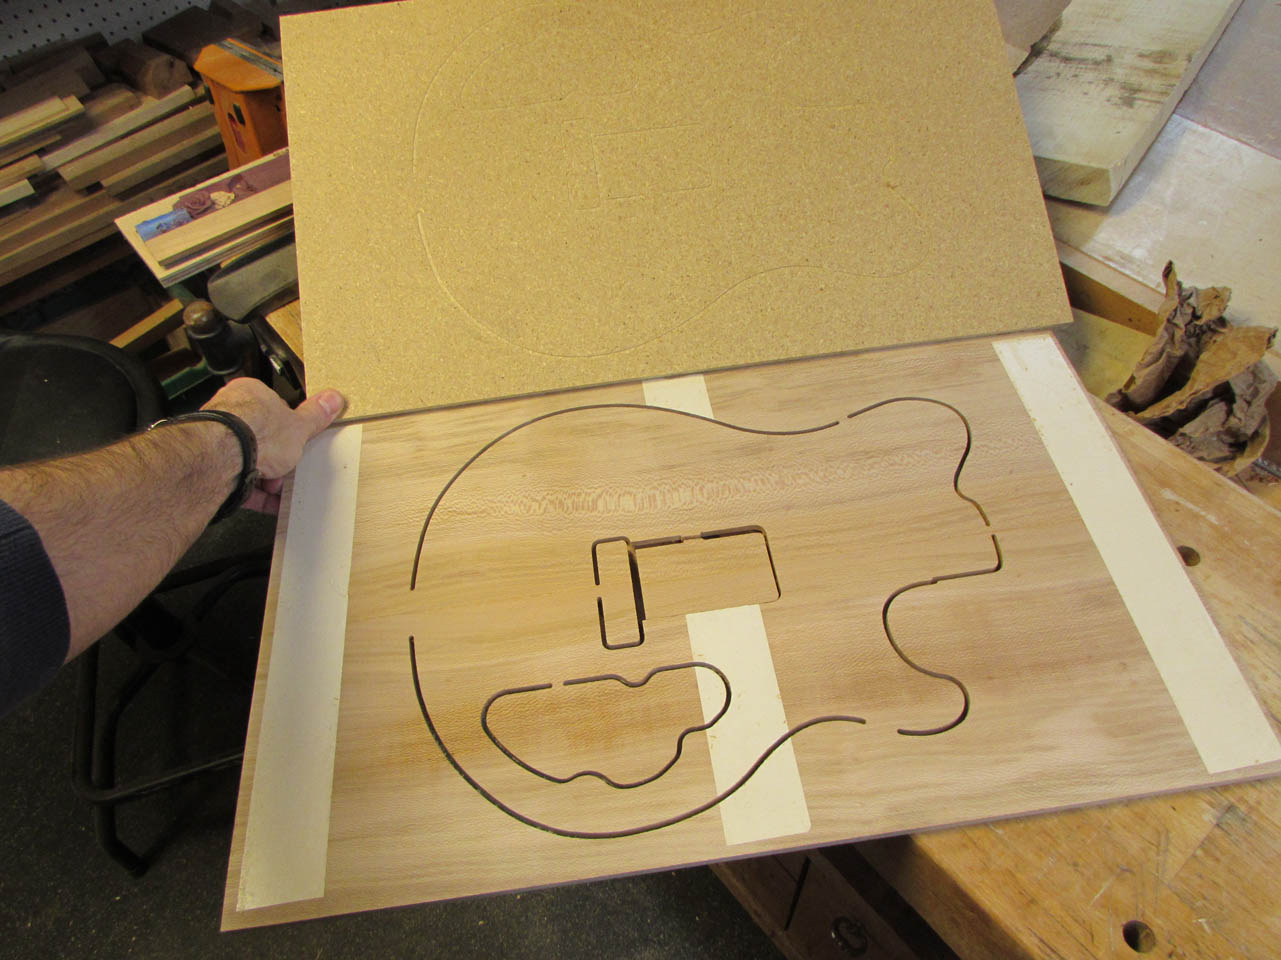
I wound up with a beautiful book match. I didn’t bother to plane the cut side down. I will do that after it is glued to the walnut panel.


To do this, I mixed up some more West Systems epoxy and spread it evenly on the walnut.
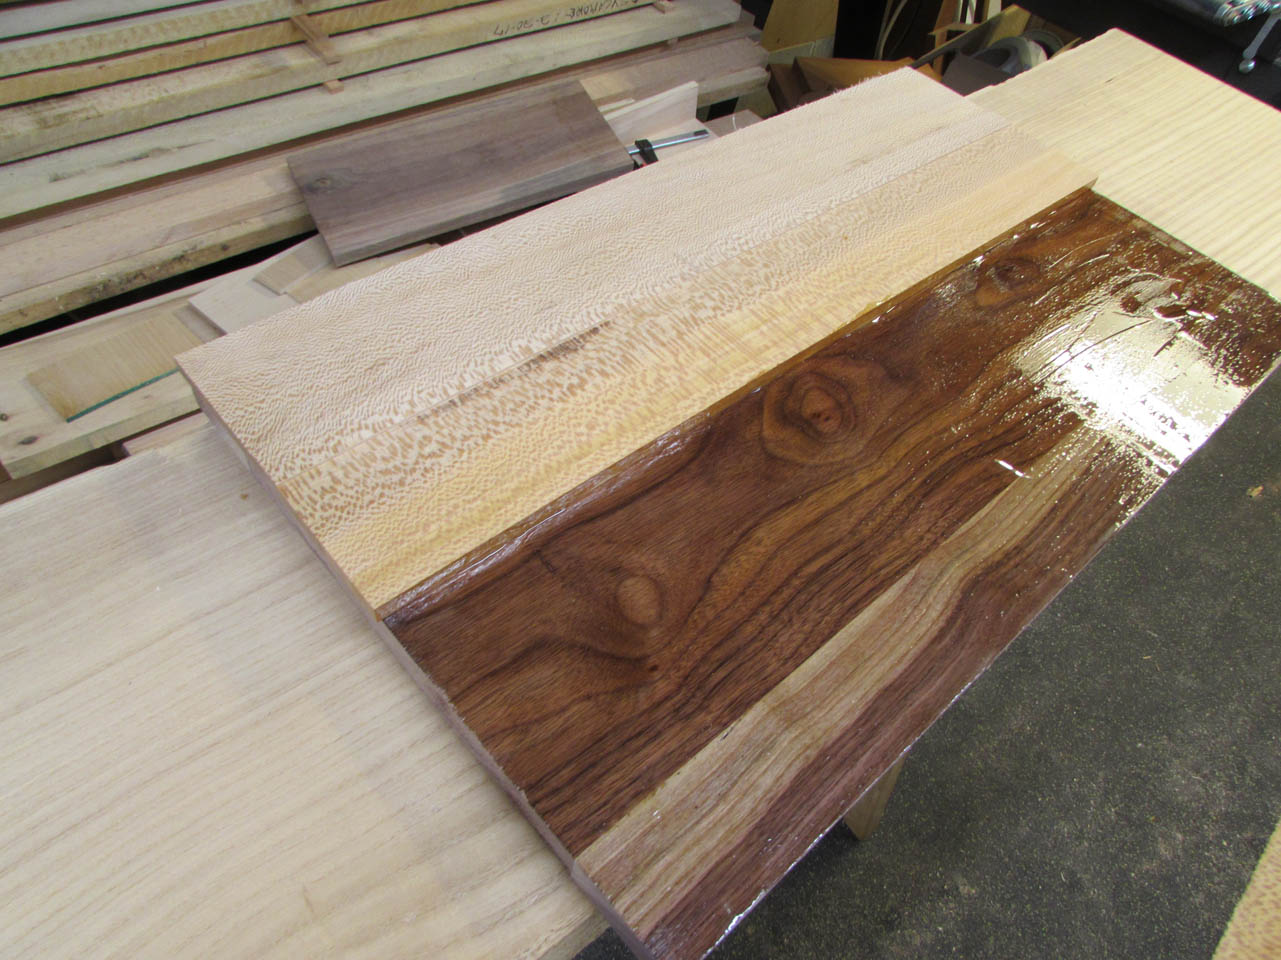
Next, I laid down the sycamore and clamped it down the best that I could.

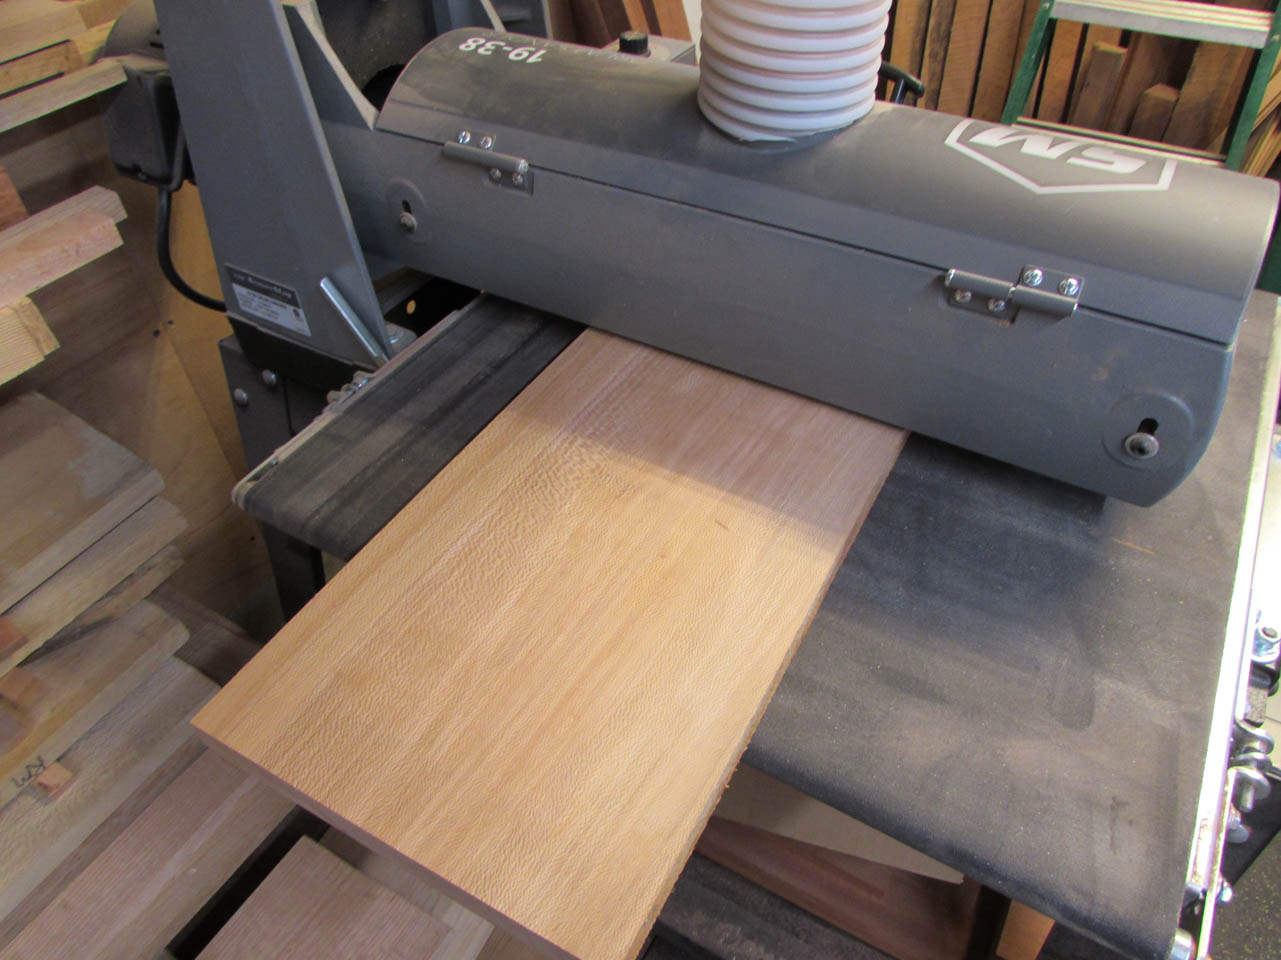
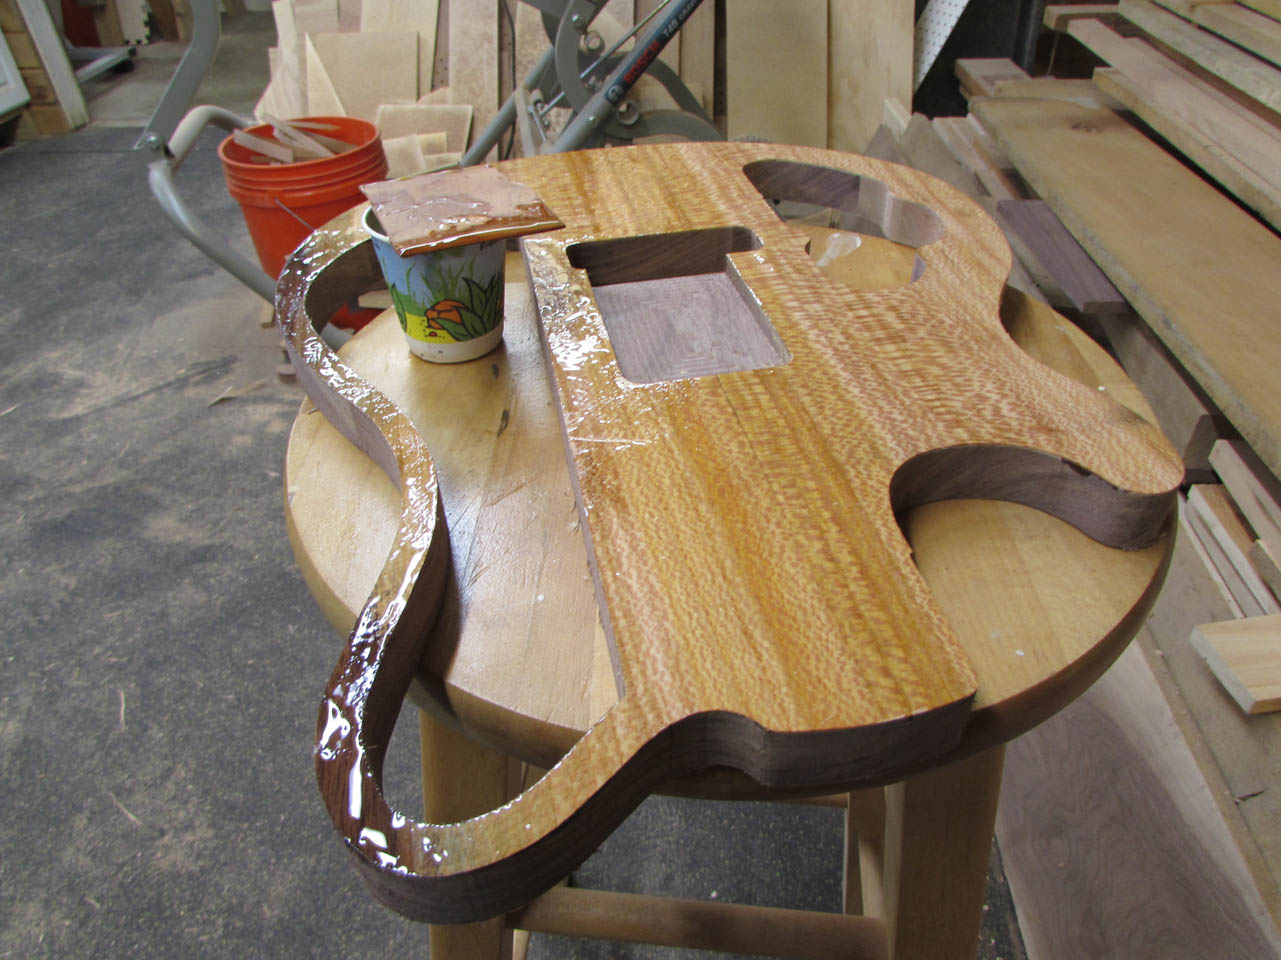
After that had dried, I ran it through the drum sander a few times until that side was flat.

It sure looked pretty.
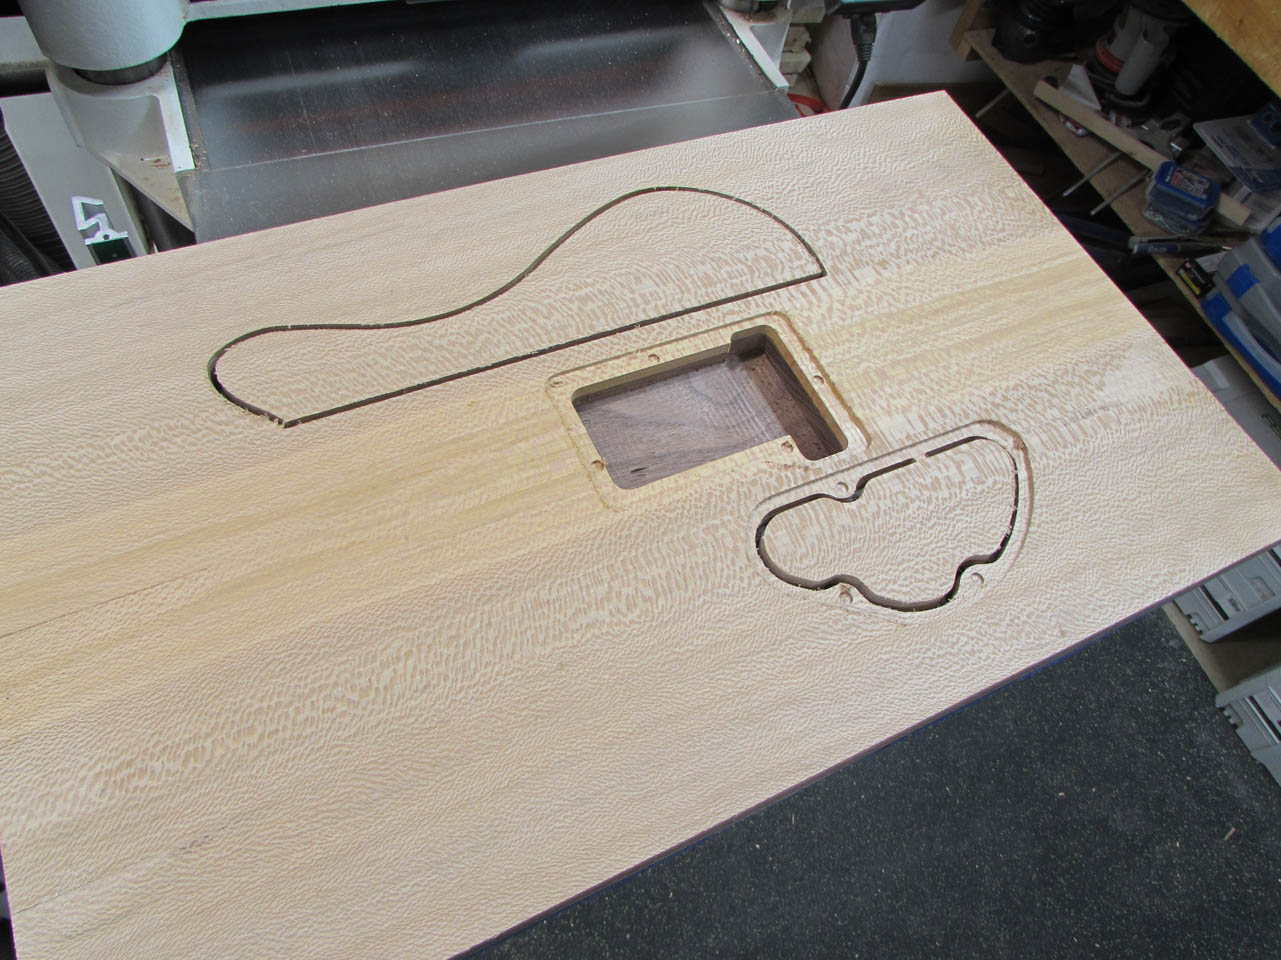
Until I started carving…

That was when I realized that the section was supposed to be a pocket, not a thru hole. I had messed up the program and copied the pocket outline instead of the body outline to the sycamore side.
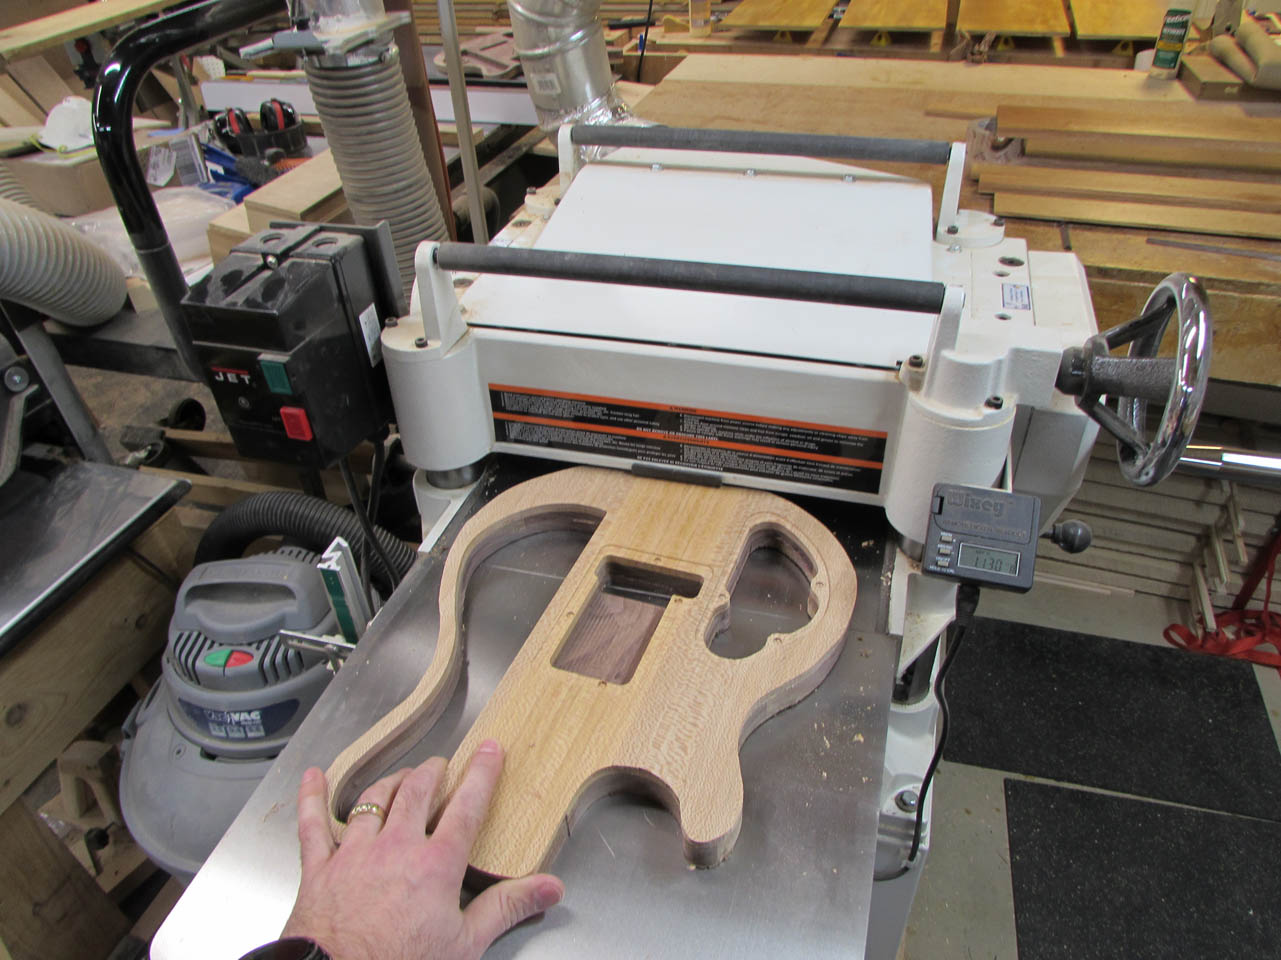
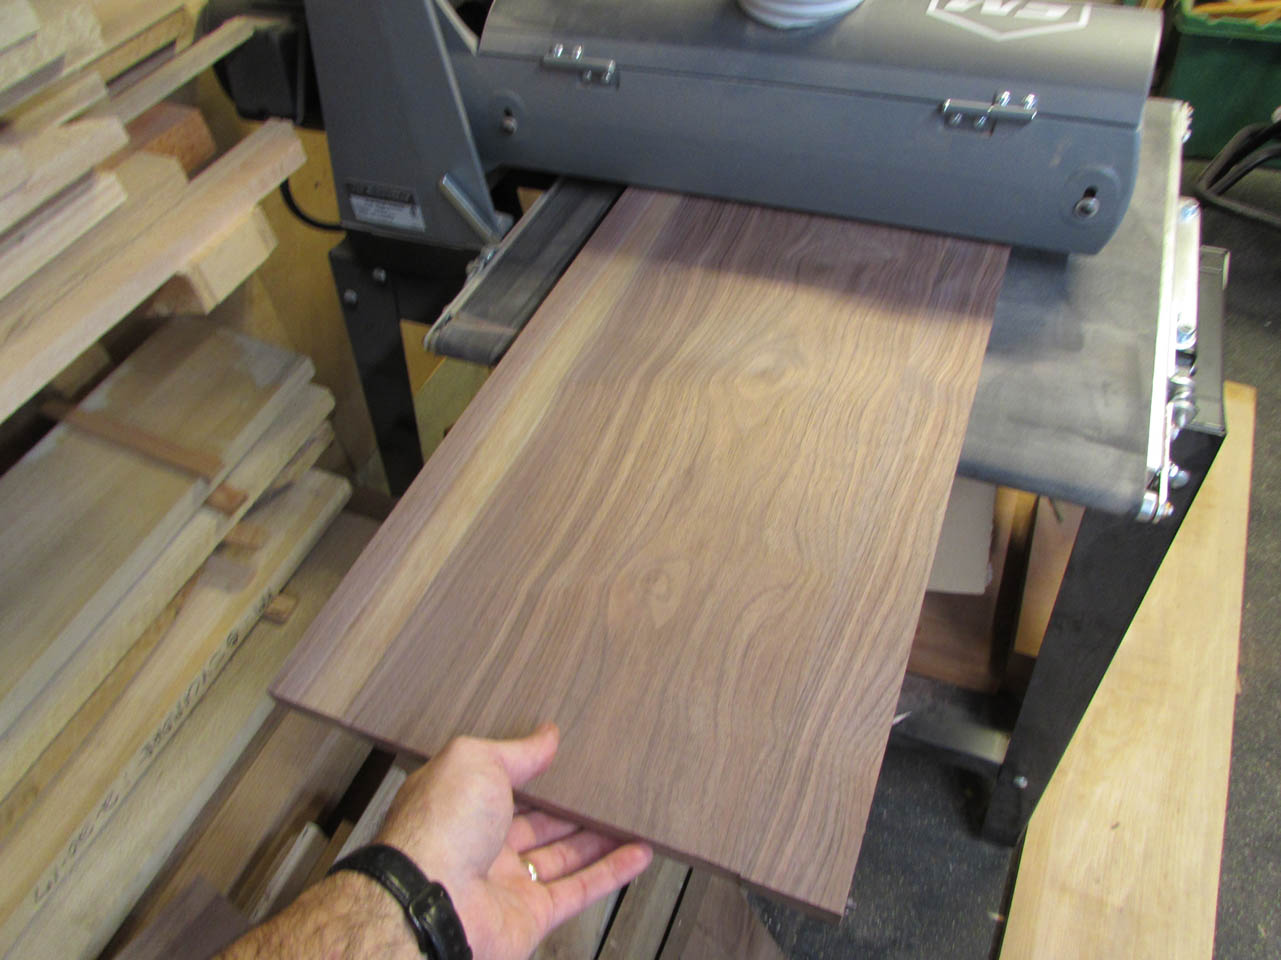
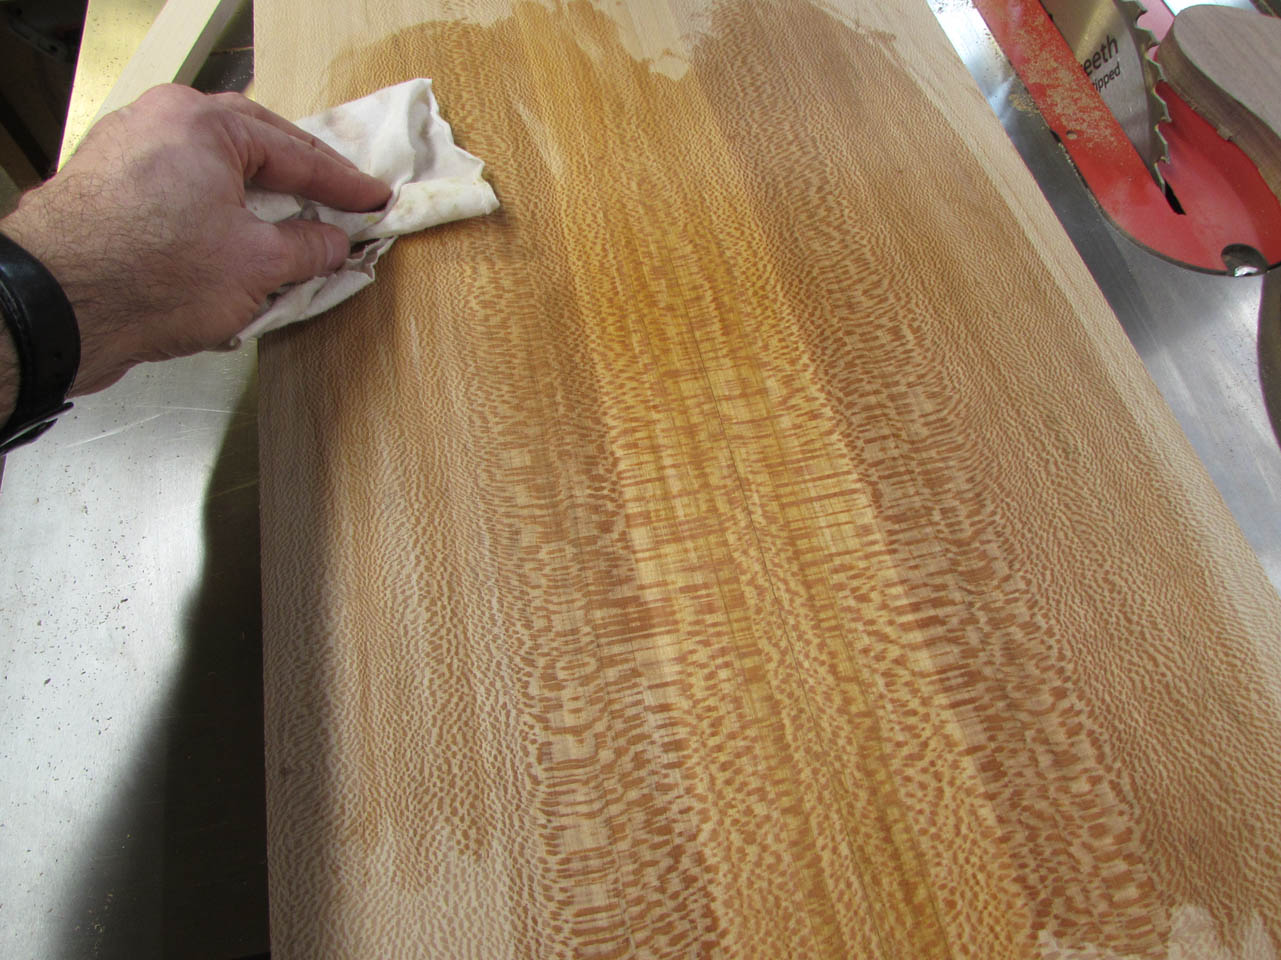
Just another bump in the road. I have another 34′ of sycamore, I can do it again… With the helical head cutter in the planer, I thought I would try planning down the sycamore. It worked perfectly, with just a bit of snipe on the end.


That was cleaned up on the drum sander.
I then cut the next 24″ section off the sycamore board and glued up another book matched panel.
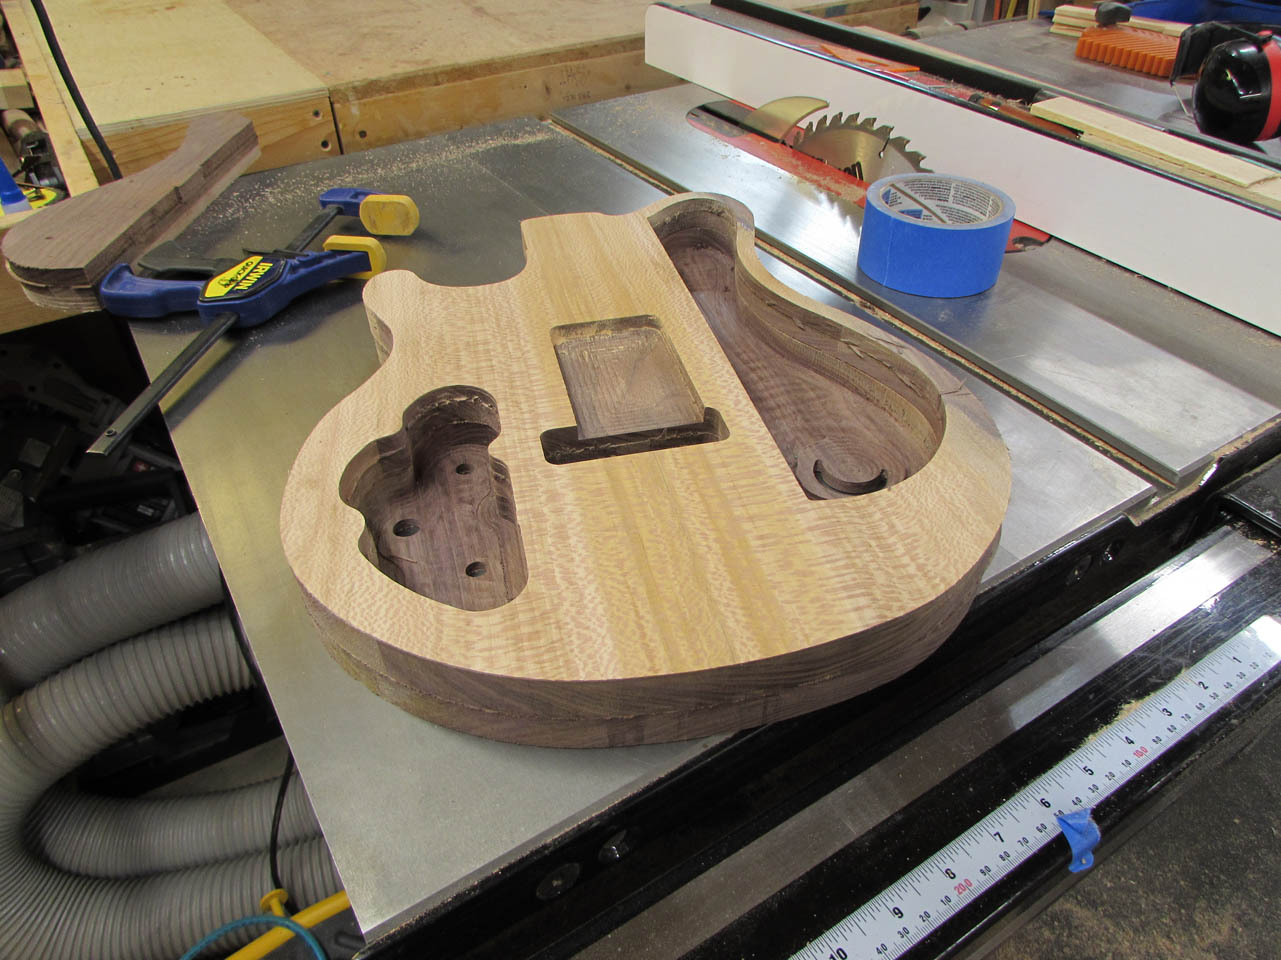
While I set that in the CNC to carve a new back, I cleaned up the walnut panel it would be attached to.


The carve was successful. Third time’s a charm.
I pulled the new panel off the backer board and cut the tabs holding the carved section in place.


Dry fit was perfect so I mixed up more epoxy and started applying it to the body.

Then the new back panel was attached and clamped in place to dry.


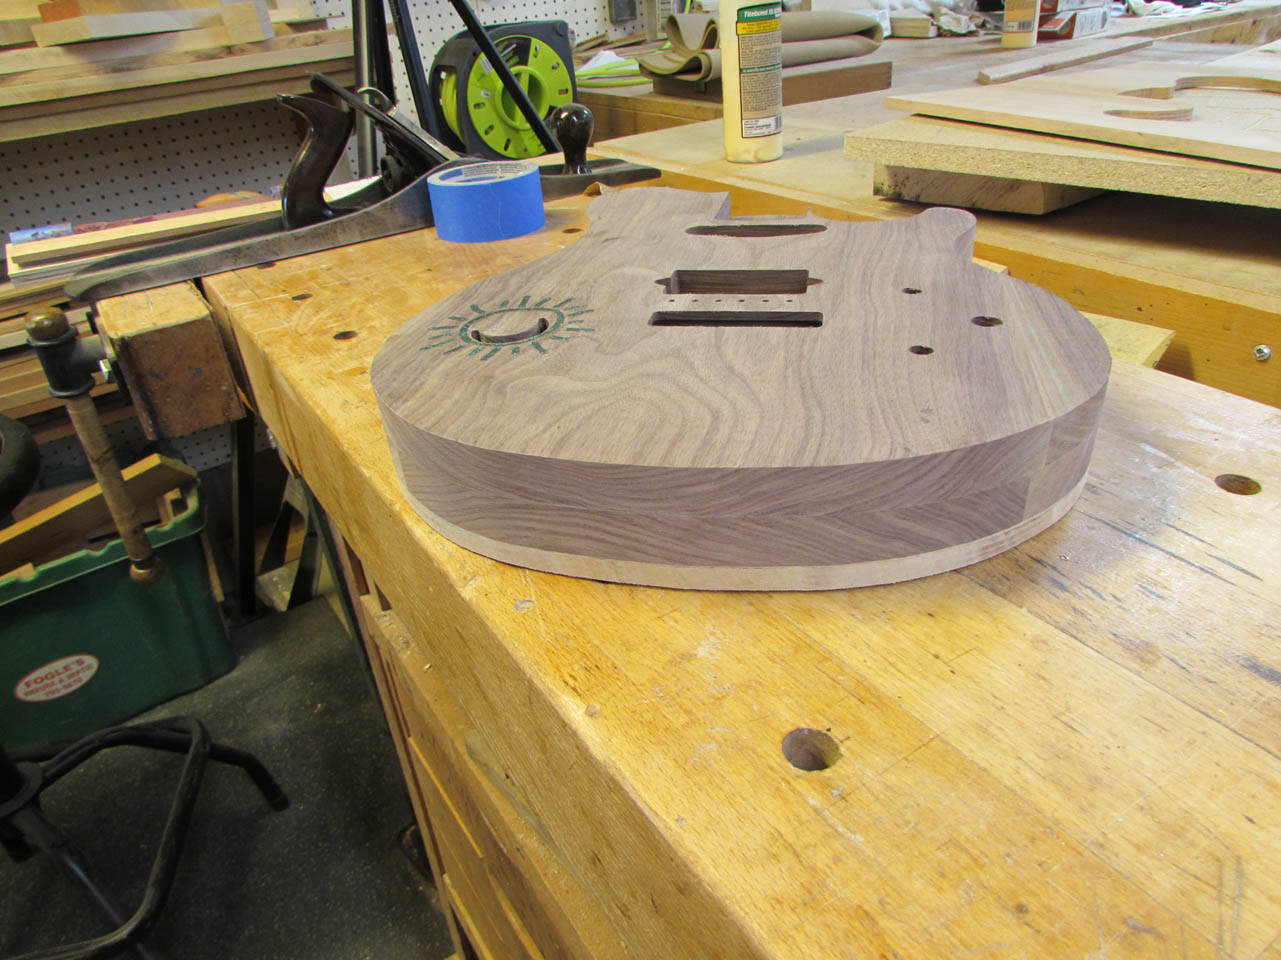
When the clamps were pulled, everything finally looked good.

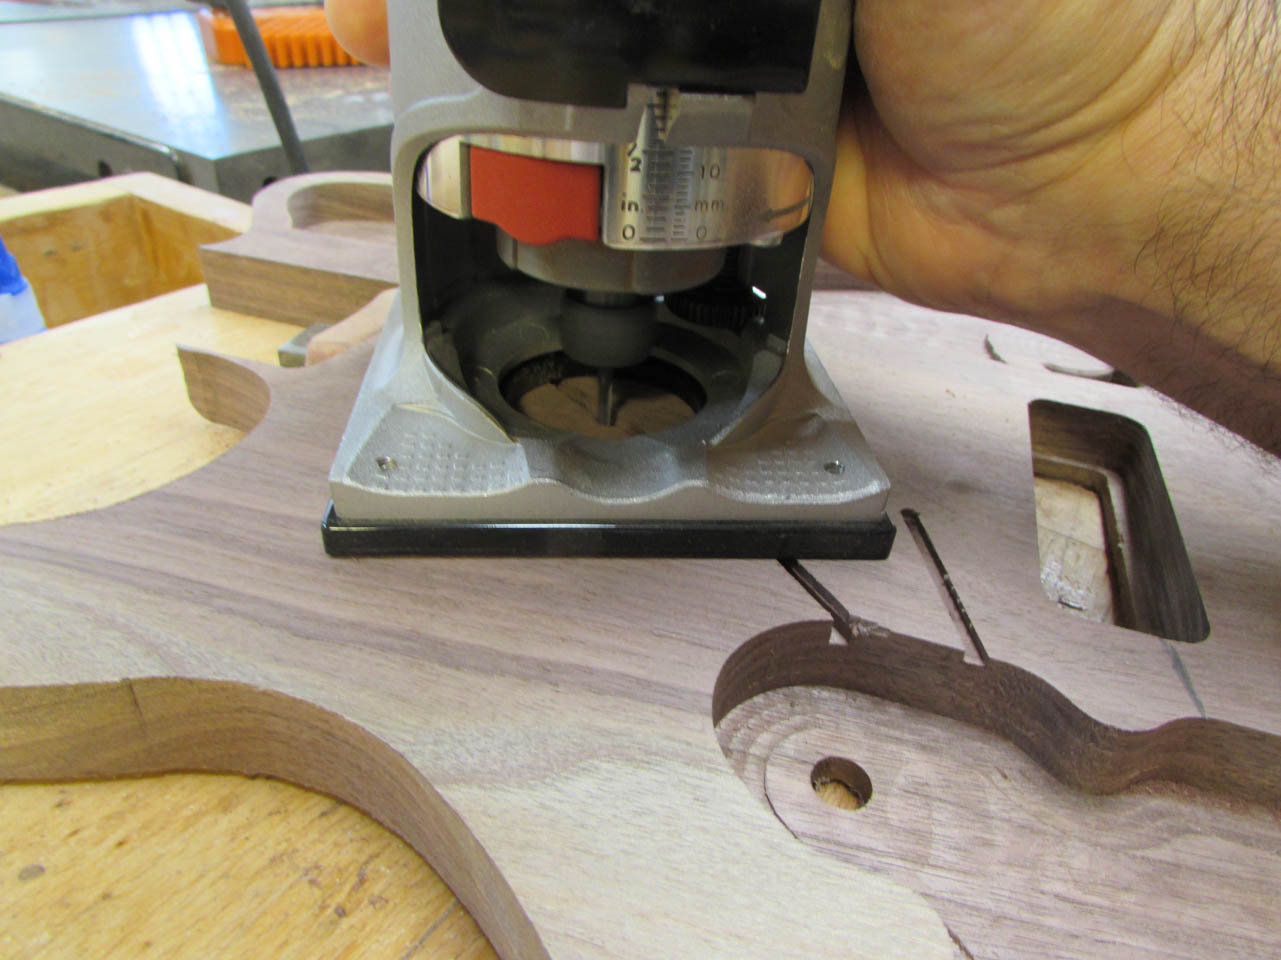
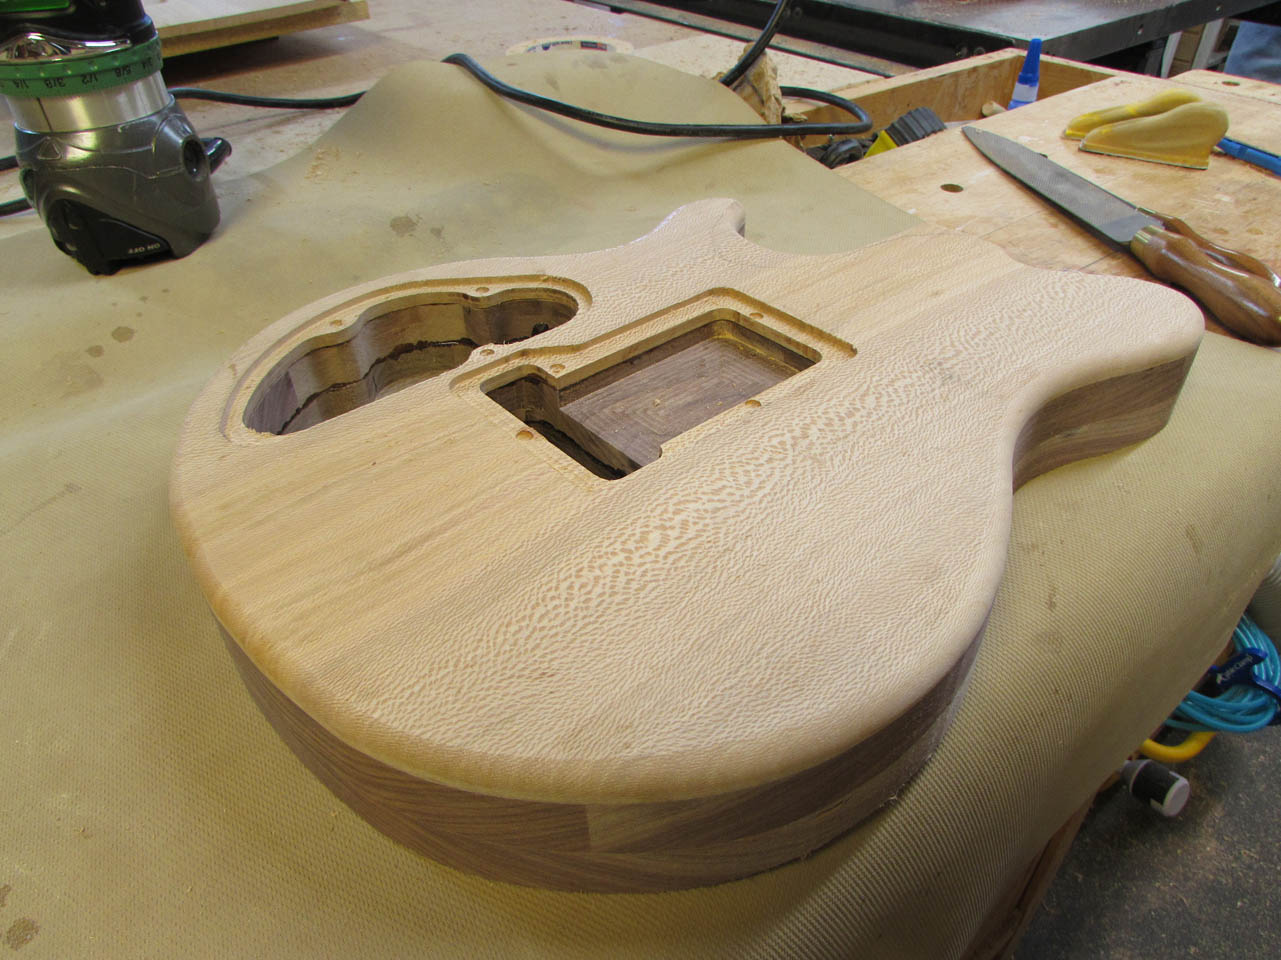
I took some time to do some touch up sanding in the areas that would not be accessible once both halves of the guitar was glued together.

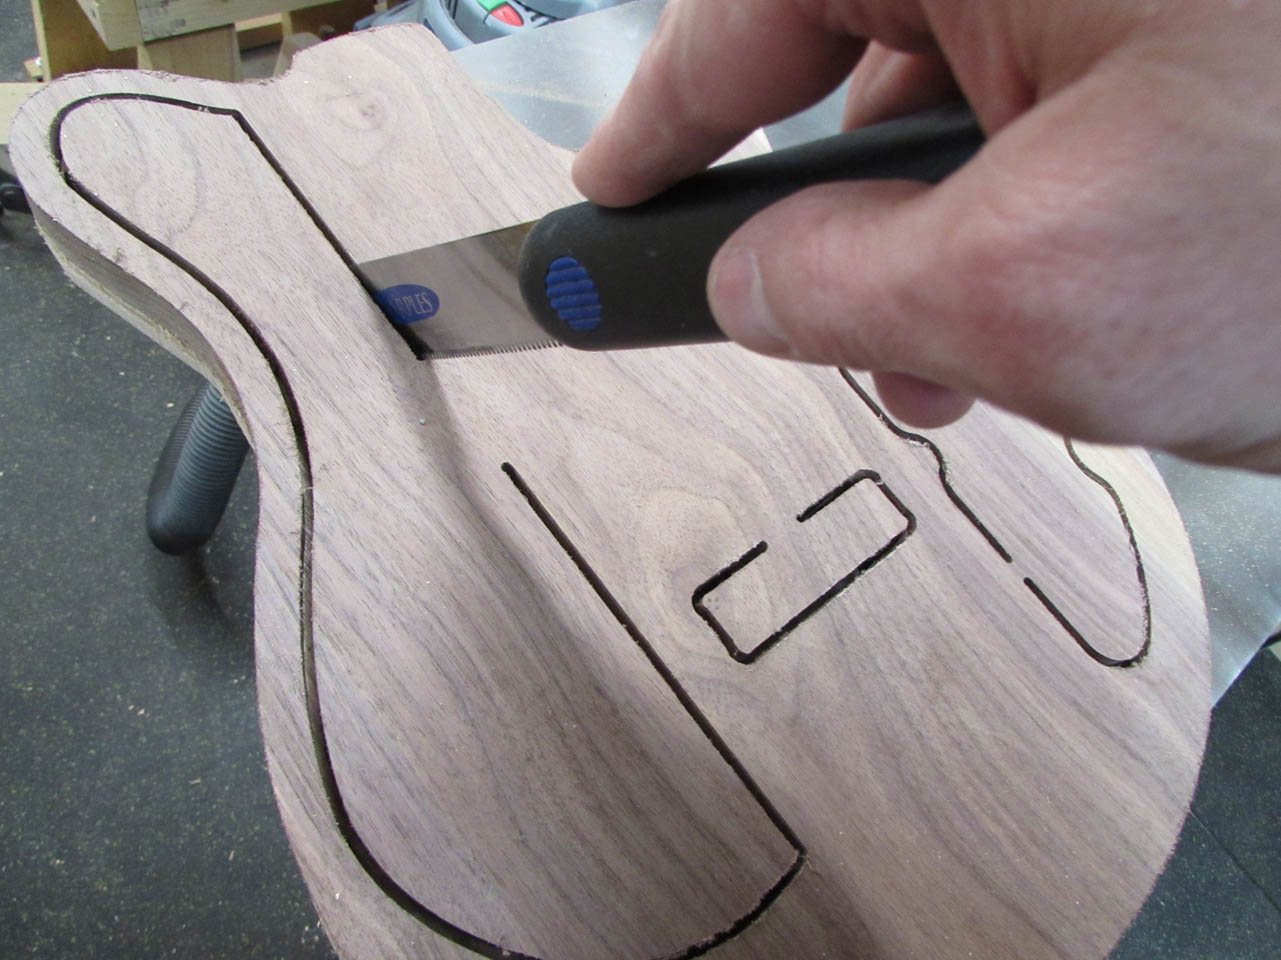
I also decided to deepen and widen the wire channels, and I added one more that I forgot, to ground the tremolo.


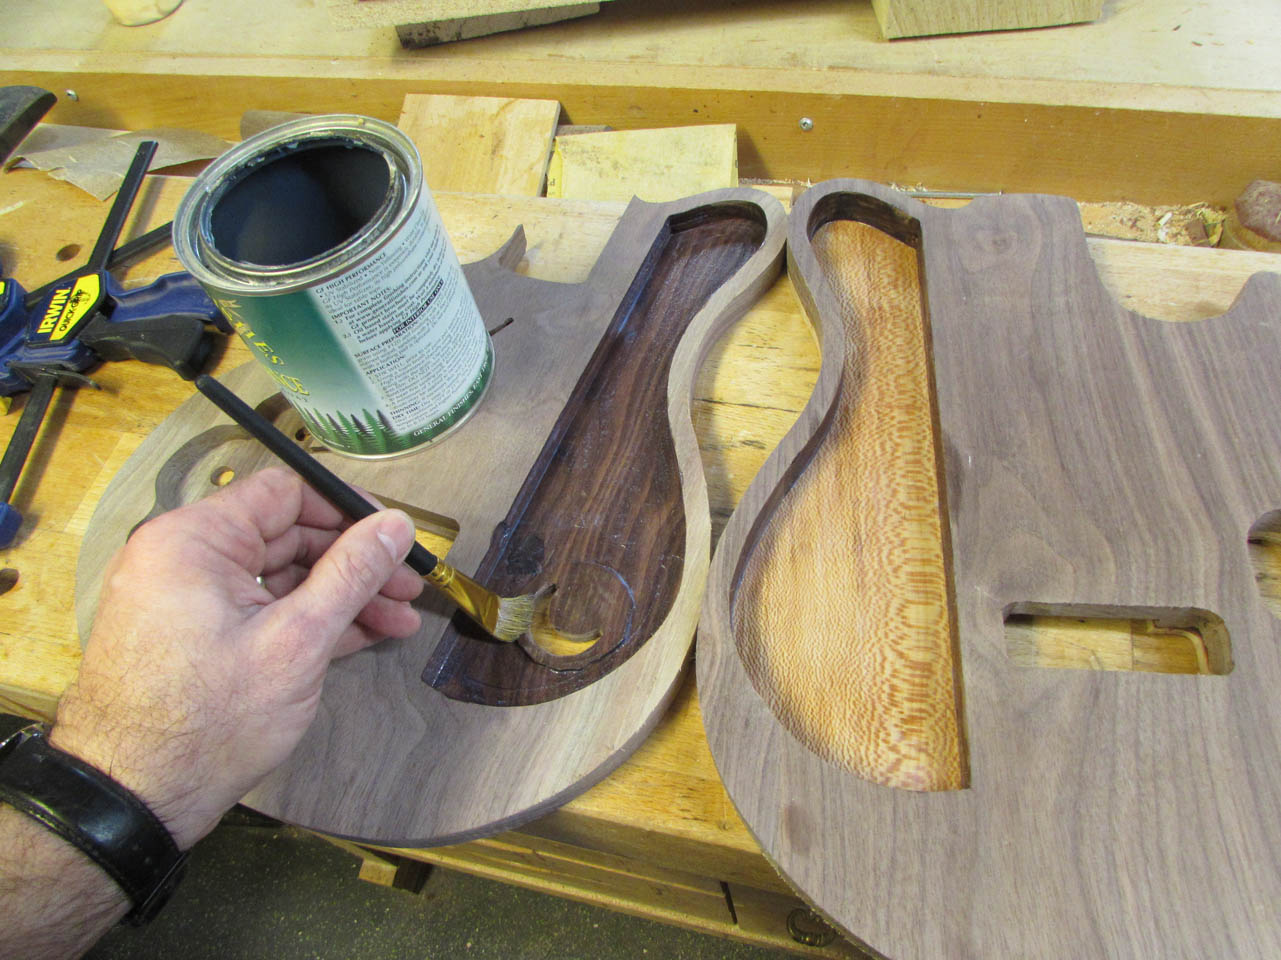
After everything was ready, I painted the inside of the F-hole pocket. Normally this area is painted black, but since the sycamore looked so nice, we opted to use a clear coat instead.
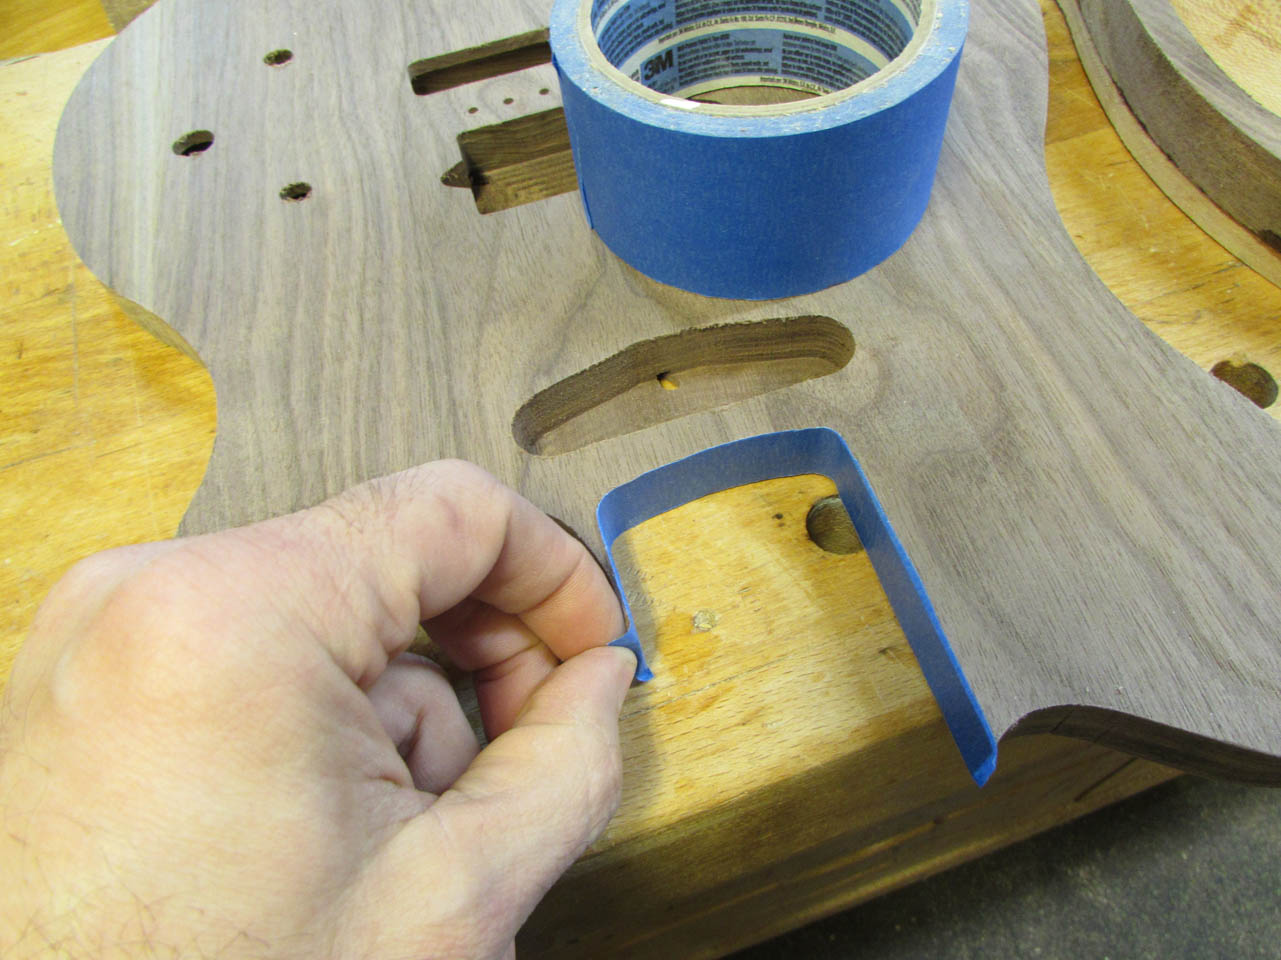
Before epoxying the panels together, I also masked off the inside of the neck pocket. It is a very tight fit and I didn’t want epoxy to drip anywhere that would be difficult to clean away.
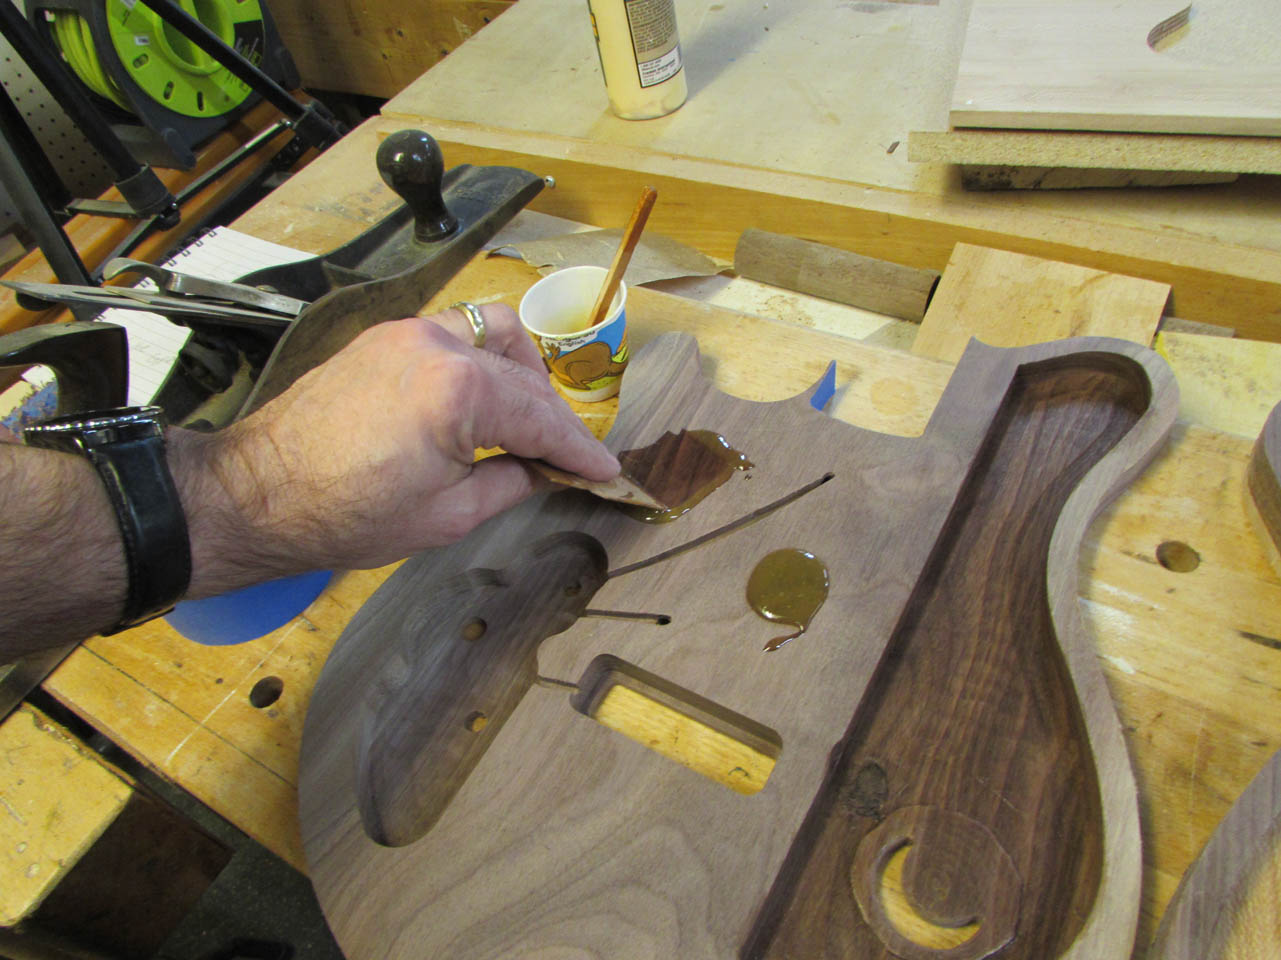

Then it was time for more epoxy and clamps.

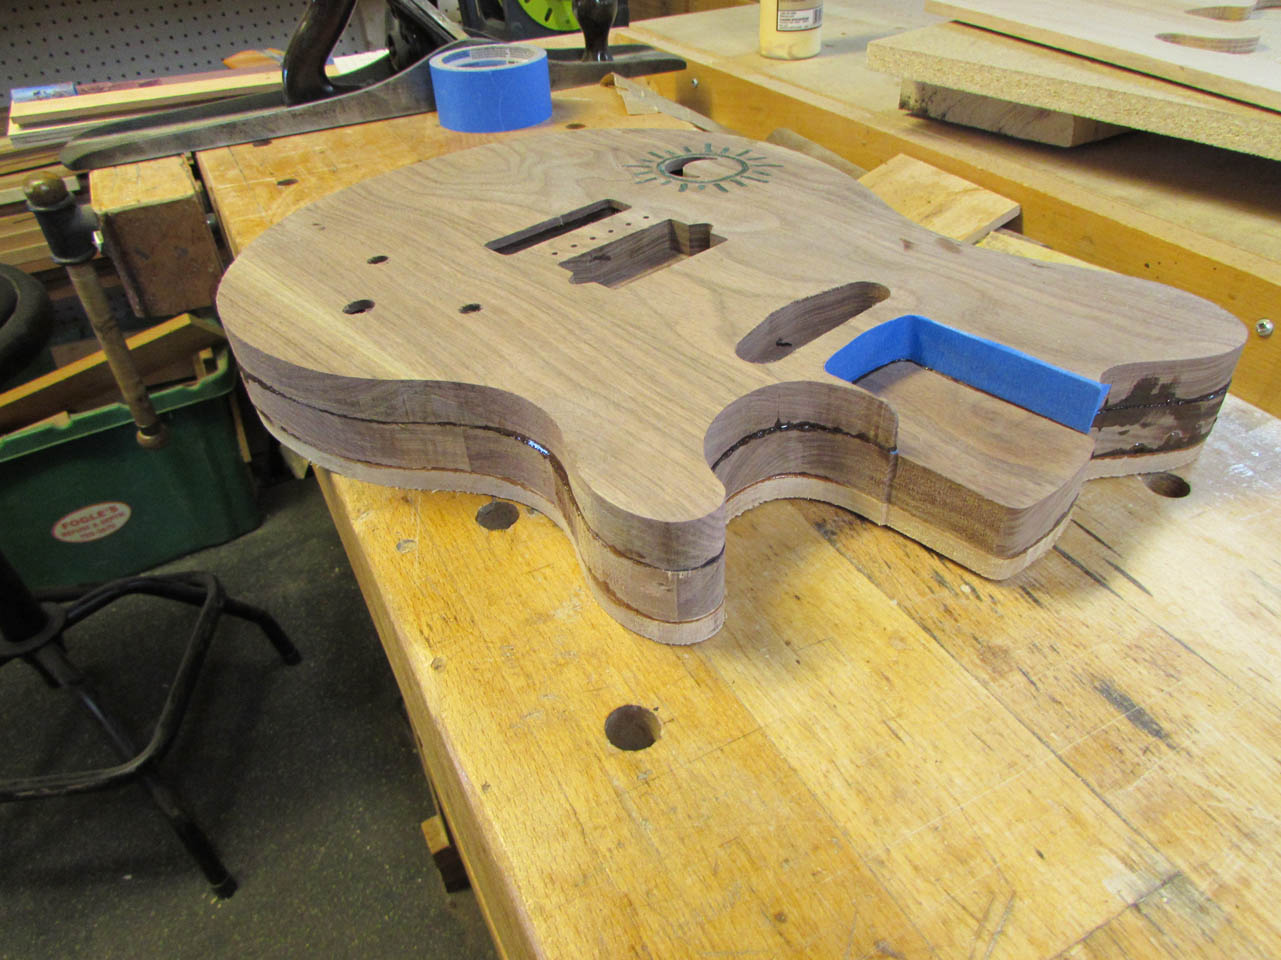
When the clamps were pulled, the guitar body was finally united.

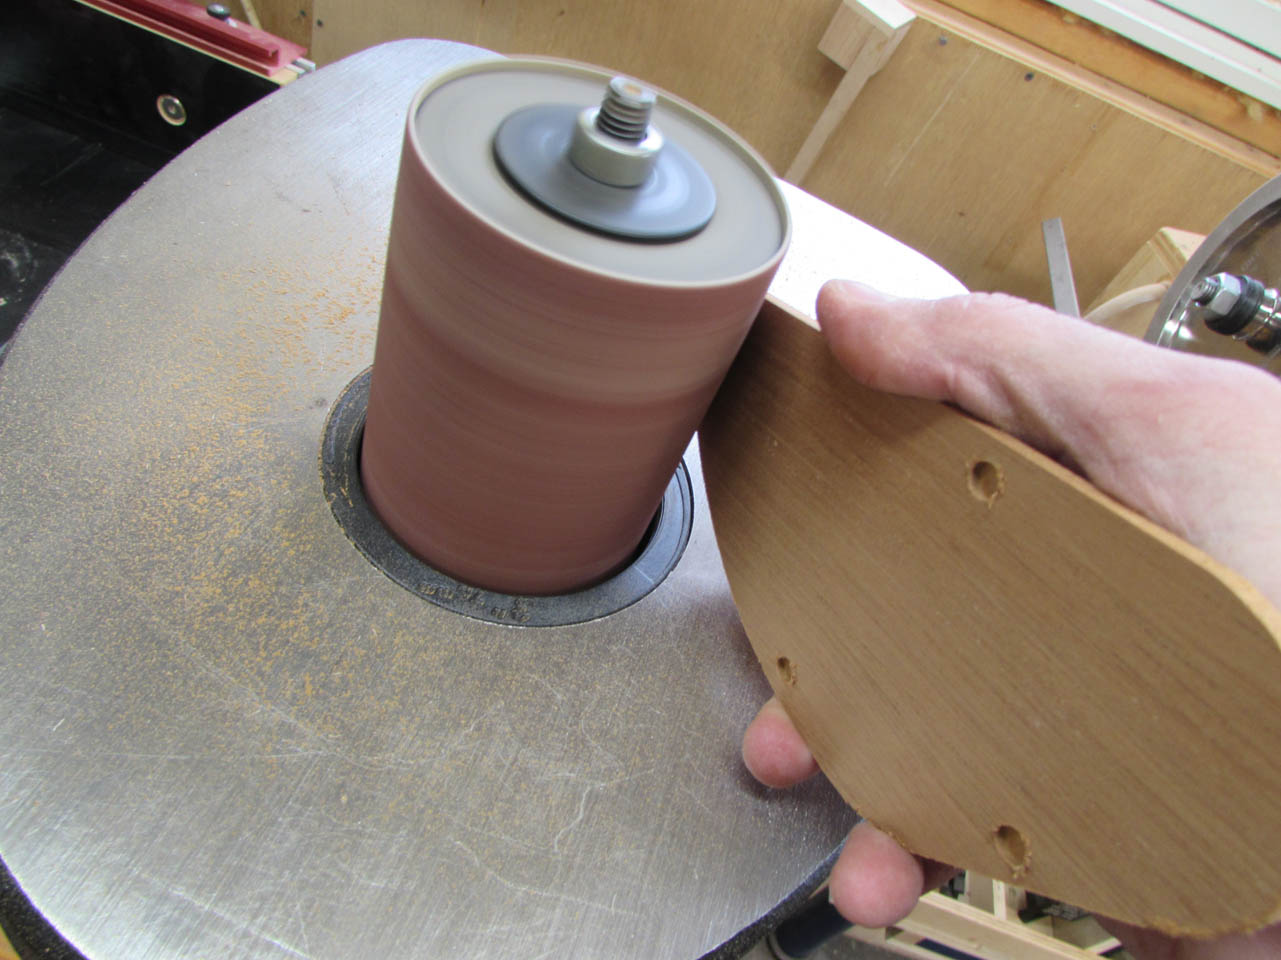
I made a quick pass around the body on the spindle sander to clean up all of the epoxy squeeze-out.

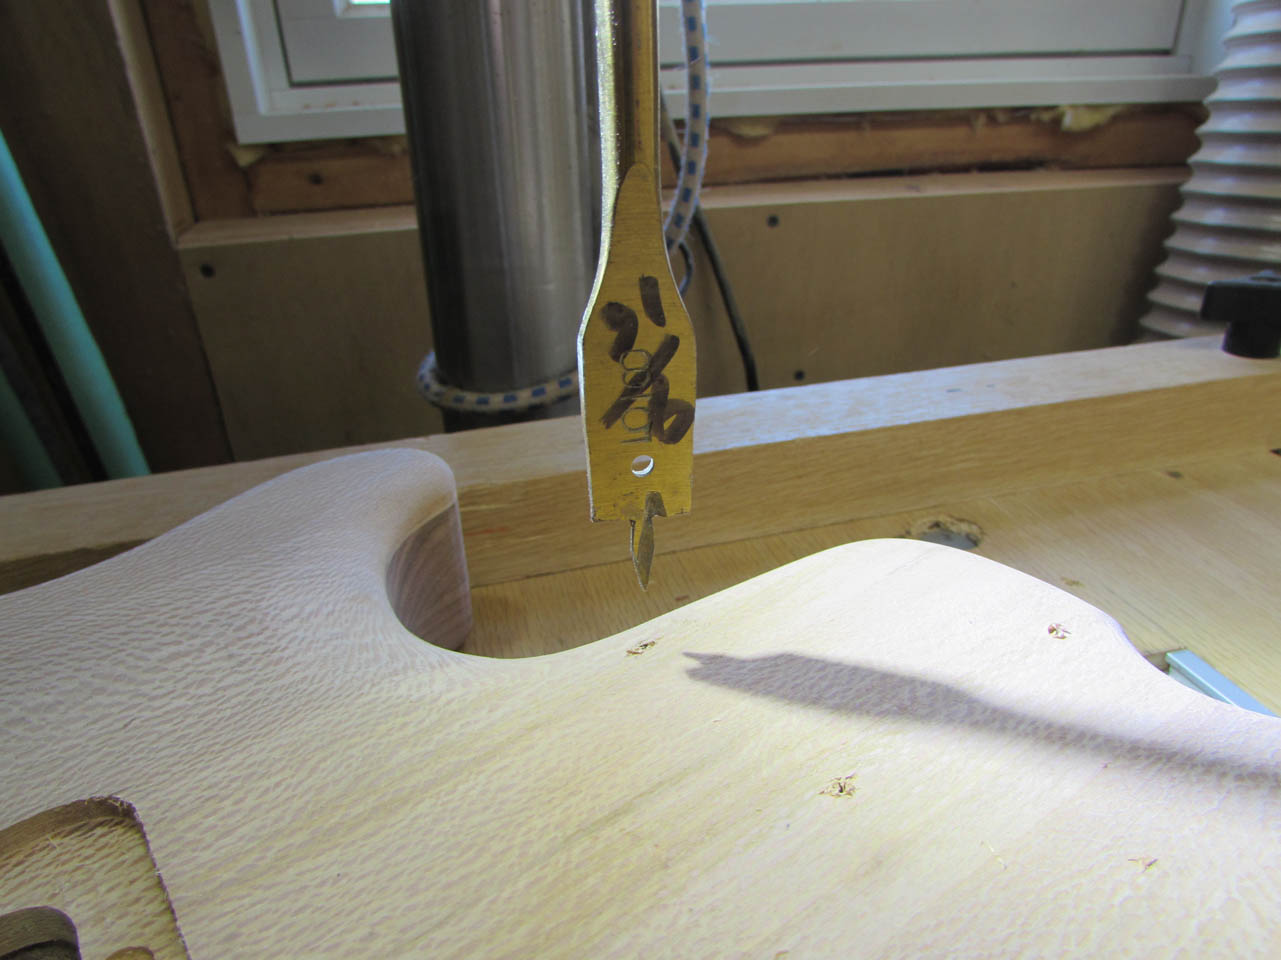
The next step was to mark the screw holes for the neck. My method is to cut down nails that fit tightly into the holes pre-drilled into the neck.

I sand down the cut end so that they are all the same length.

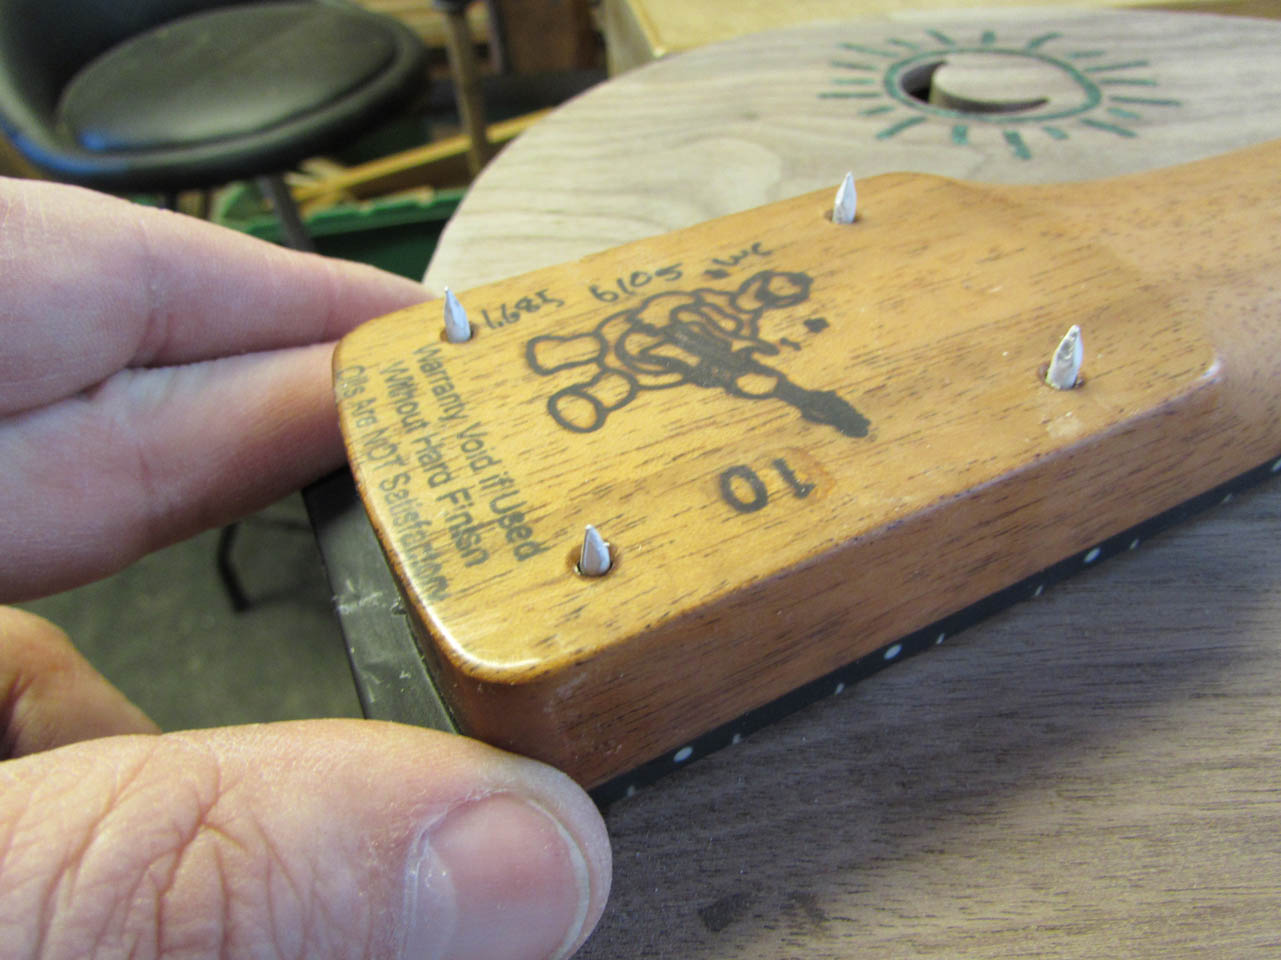
Then I re-insert them with the pointy parts sticking up and clamp the neck tightly in place.

If done correctly, you will have four punch marks where you need to drill some holes.

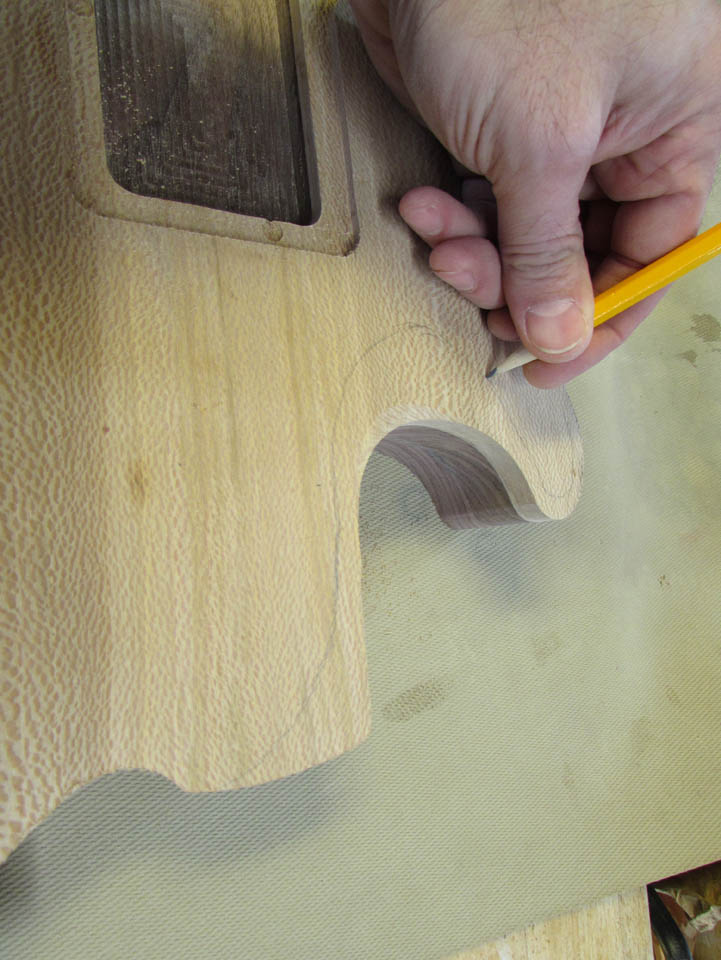
Kyle came over to help figure out the shape of the body. I sketched out a pocket that needed to be cut away, then loaded up a 5/16″ round-over bit into the router.

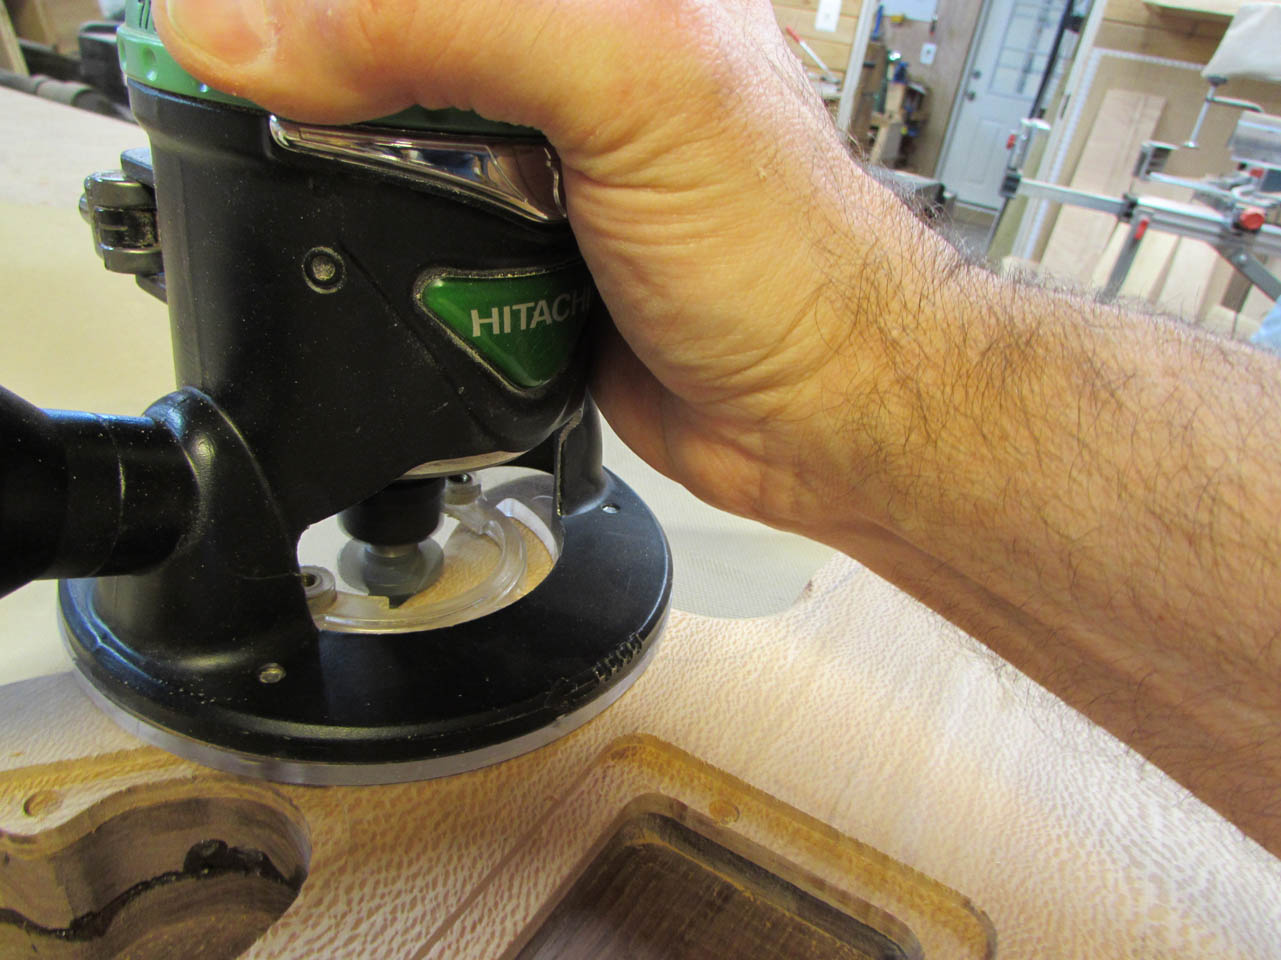
I carved this radius around the bottom of the guitar.
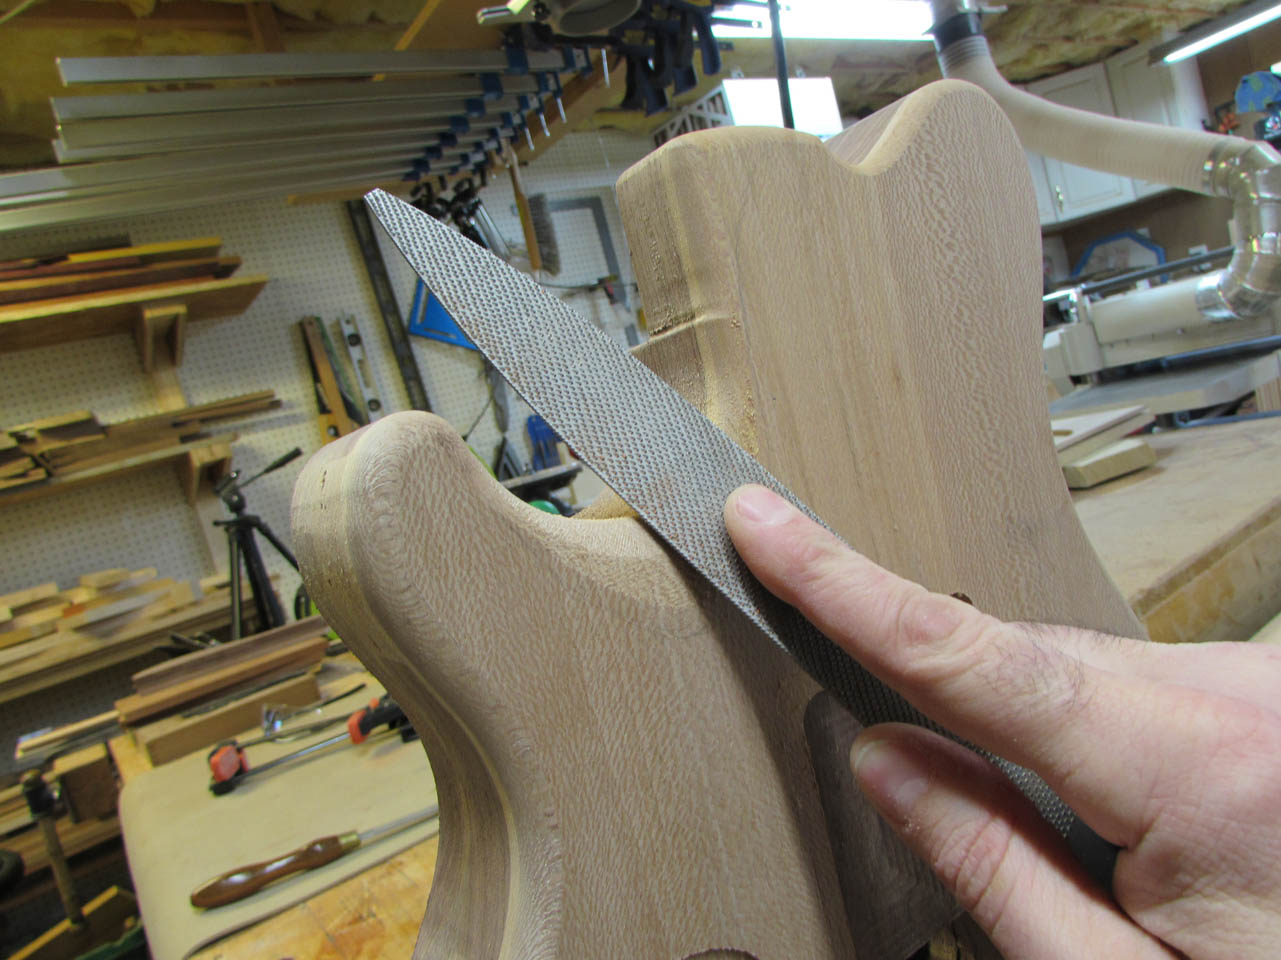
Then I used my rasps to carve away the area we marked.

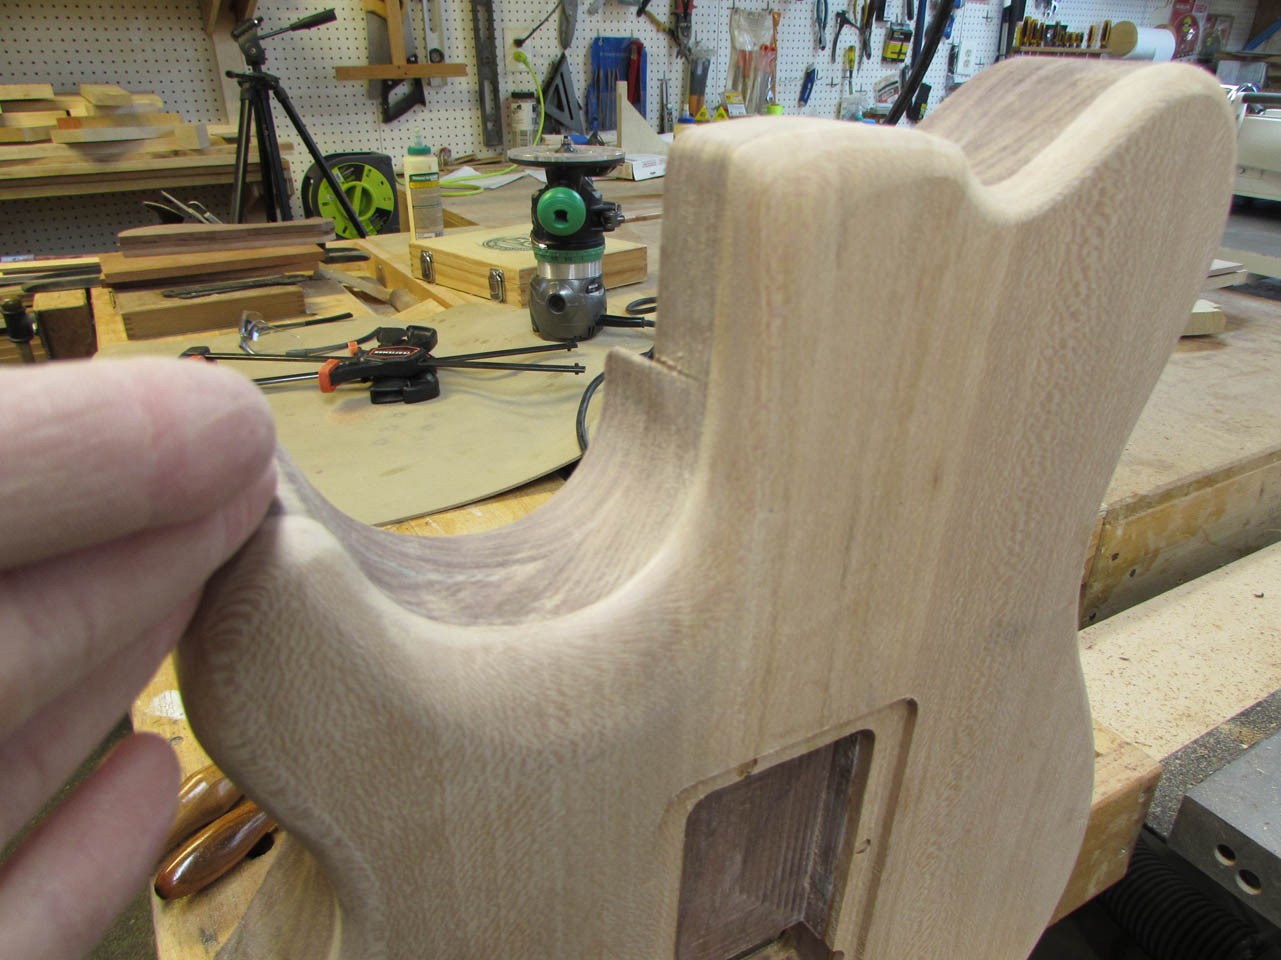
When Kyle was happy with the curves on the back we flipped the body over and routed a 1/4″ radius around the front.


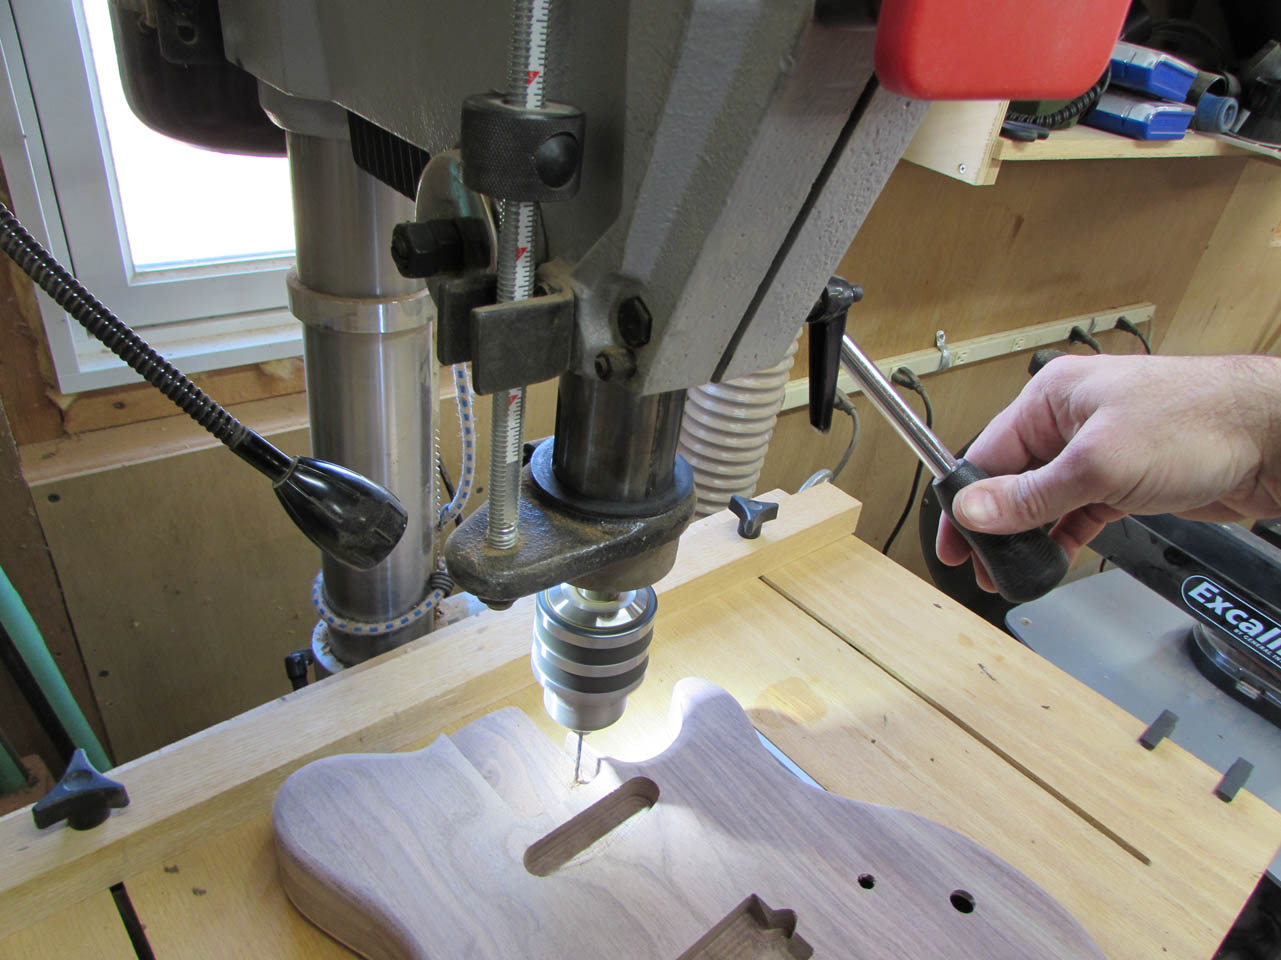
Next I moved over to the drill press and drilled some pilot holes for the neck mounting screws.
We flipped the body over and drilled counter-bores to receive the mounting hardware.

Once the counter-bores were correct, we drilled the larger thru-hole for the screws.


We attached the neck screws and Kyle was able to test our shaping of the body for comfort.
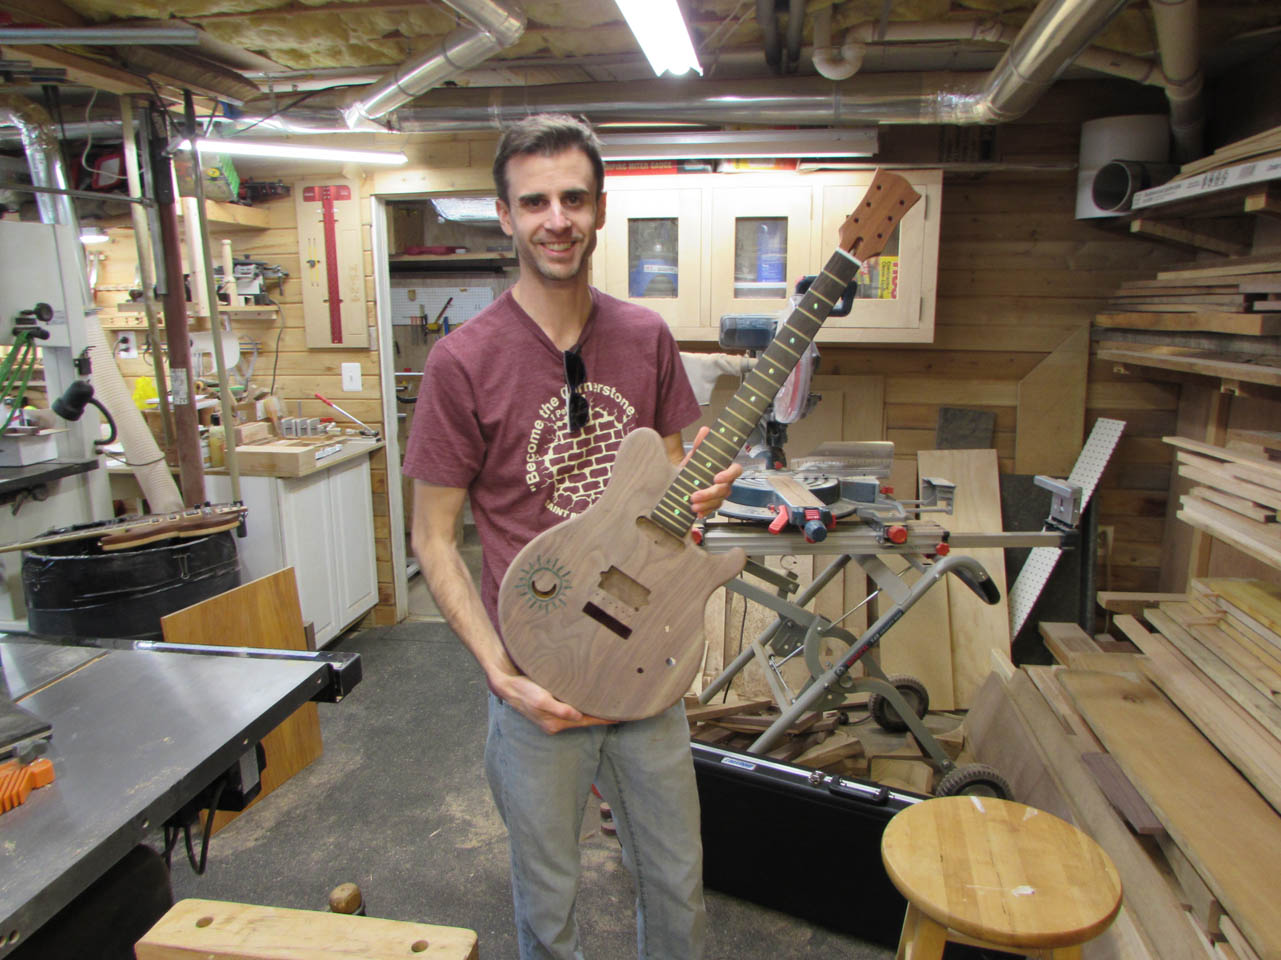
I think he was happy.

We also did a test fit of the rest of the hardware to make sure everything else fit well before finishing.

When everything was working well, I handed Kyle a sanding block and left him alone for an hour or two of sanding. Lots of sanding…

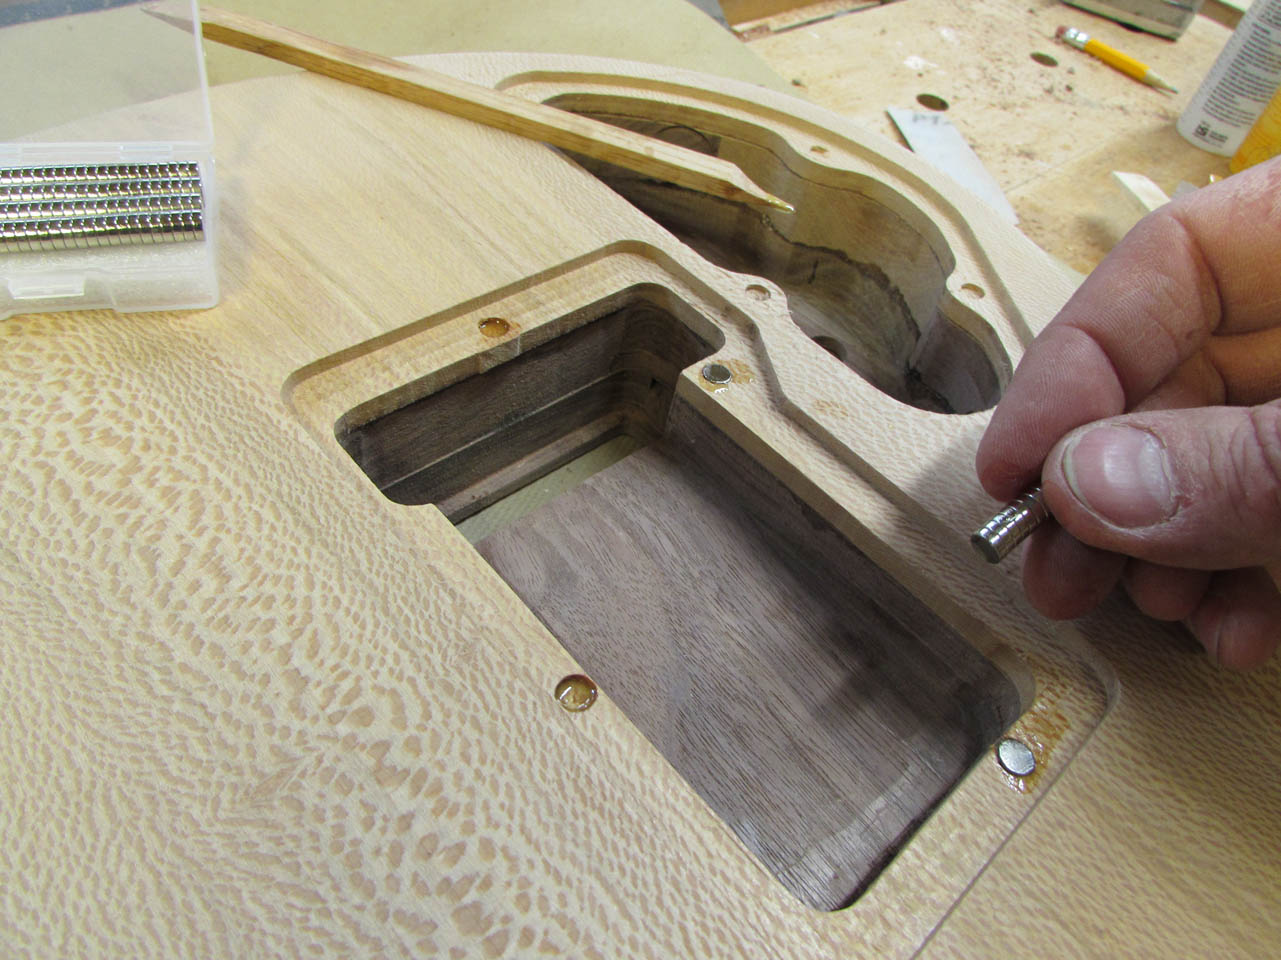
When he needed a break, I mixed up some epoxy and glued the magnets in place. Then I handed him some finer sand paper and made him sand some more…

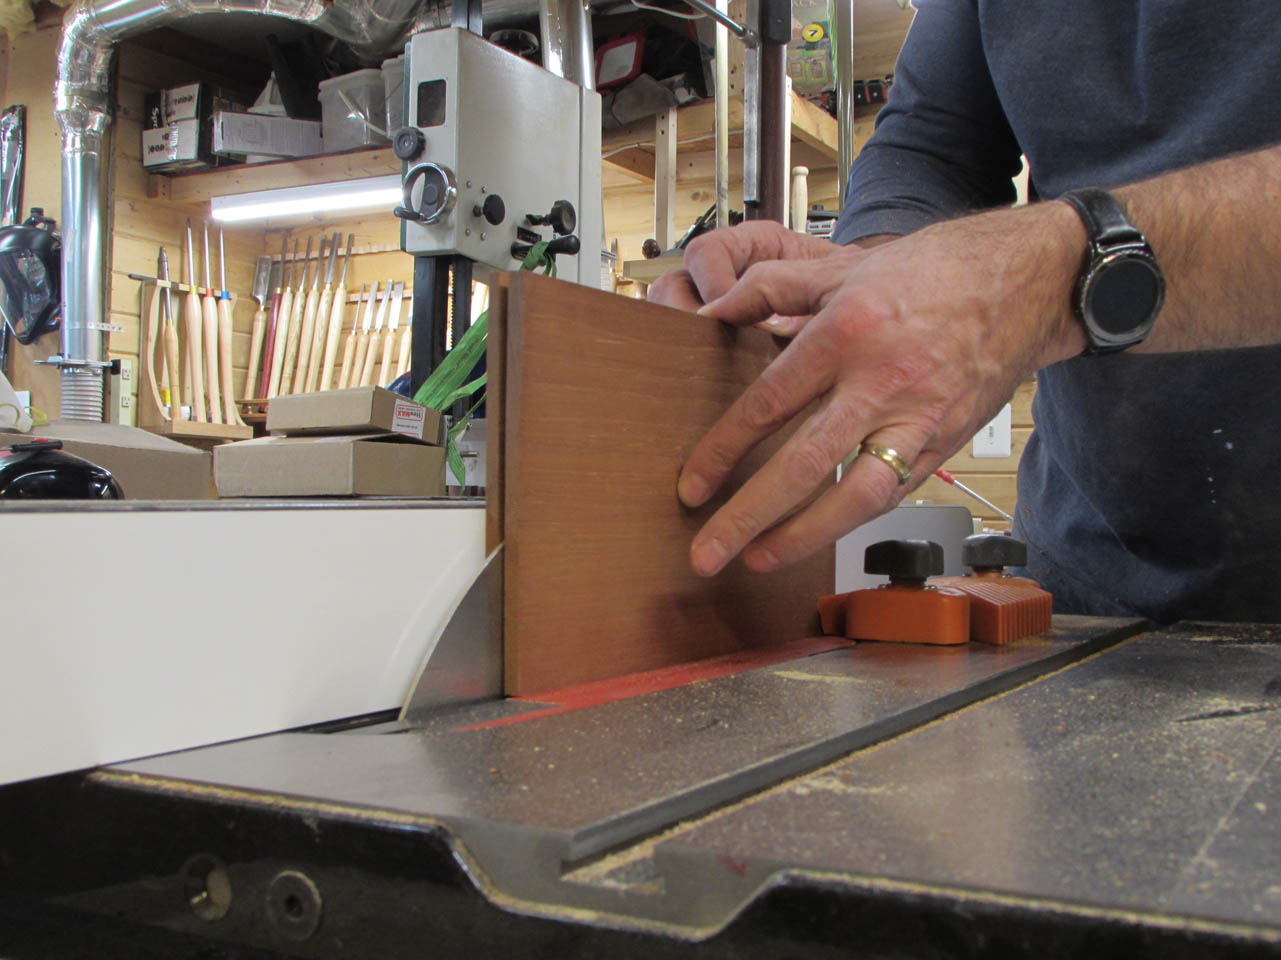
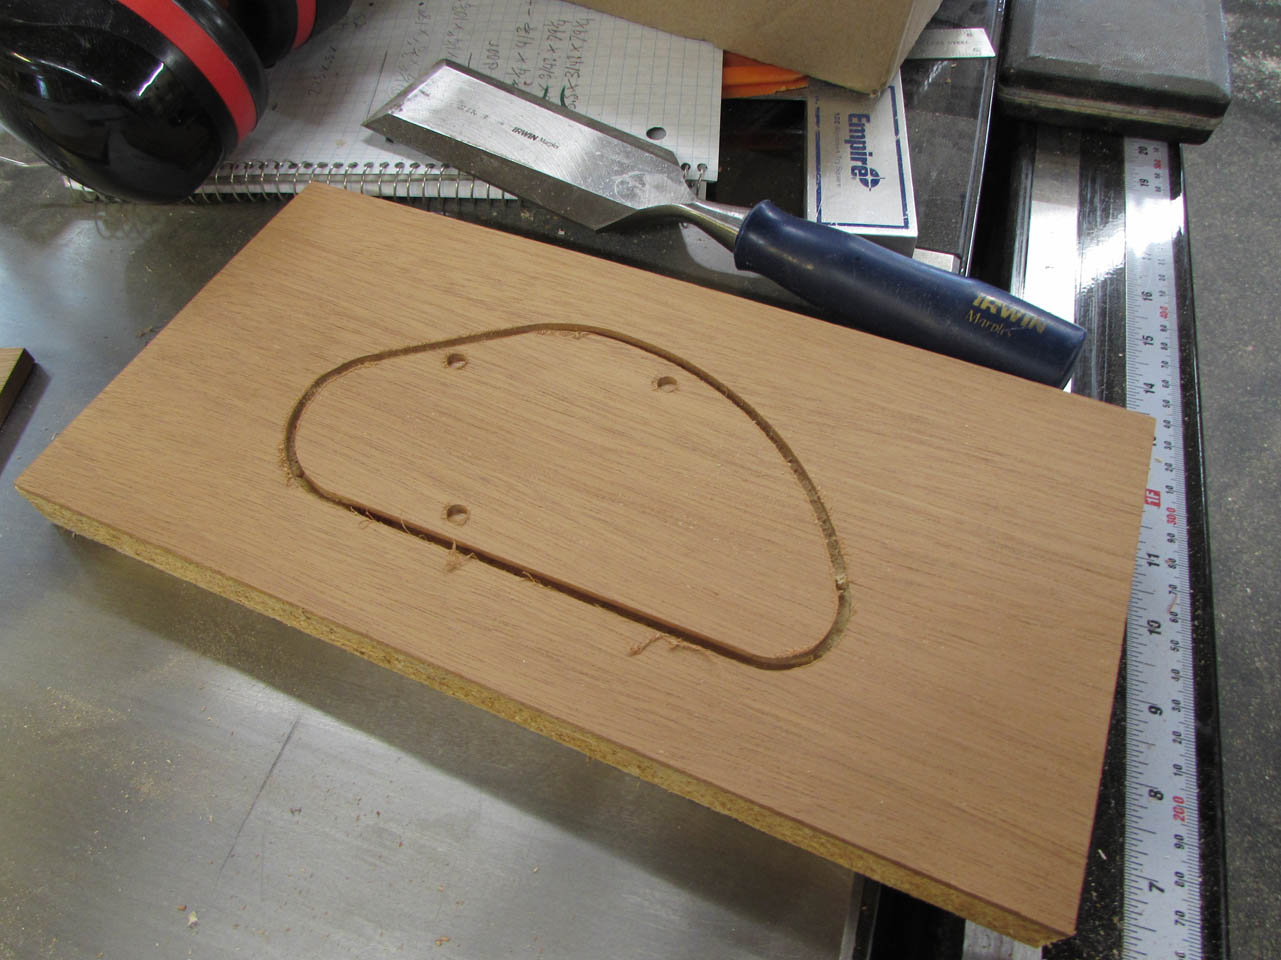
I have a couple of small pieces of mahogany left that match the neck well so we decided to use them to make the covers for the control cavity and the tremolo. I re-sawed one of the pieces in half and sanded it down to 1/8″ thick, then taped it down to a nice backer board and started carving the covers.


While the second one was carving, I started installing the magnets on the first cover.

First, I attached a second magnet to the first to make sure they were in the correct polar alignment. Then I marked the top of the magnets. That will be the side that gets epoxied down into the recesses in the covers.

I also remembered to sand a small taper onto one end of the covers. This is where you will press to release the covers from the magnets on the body.
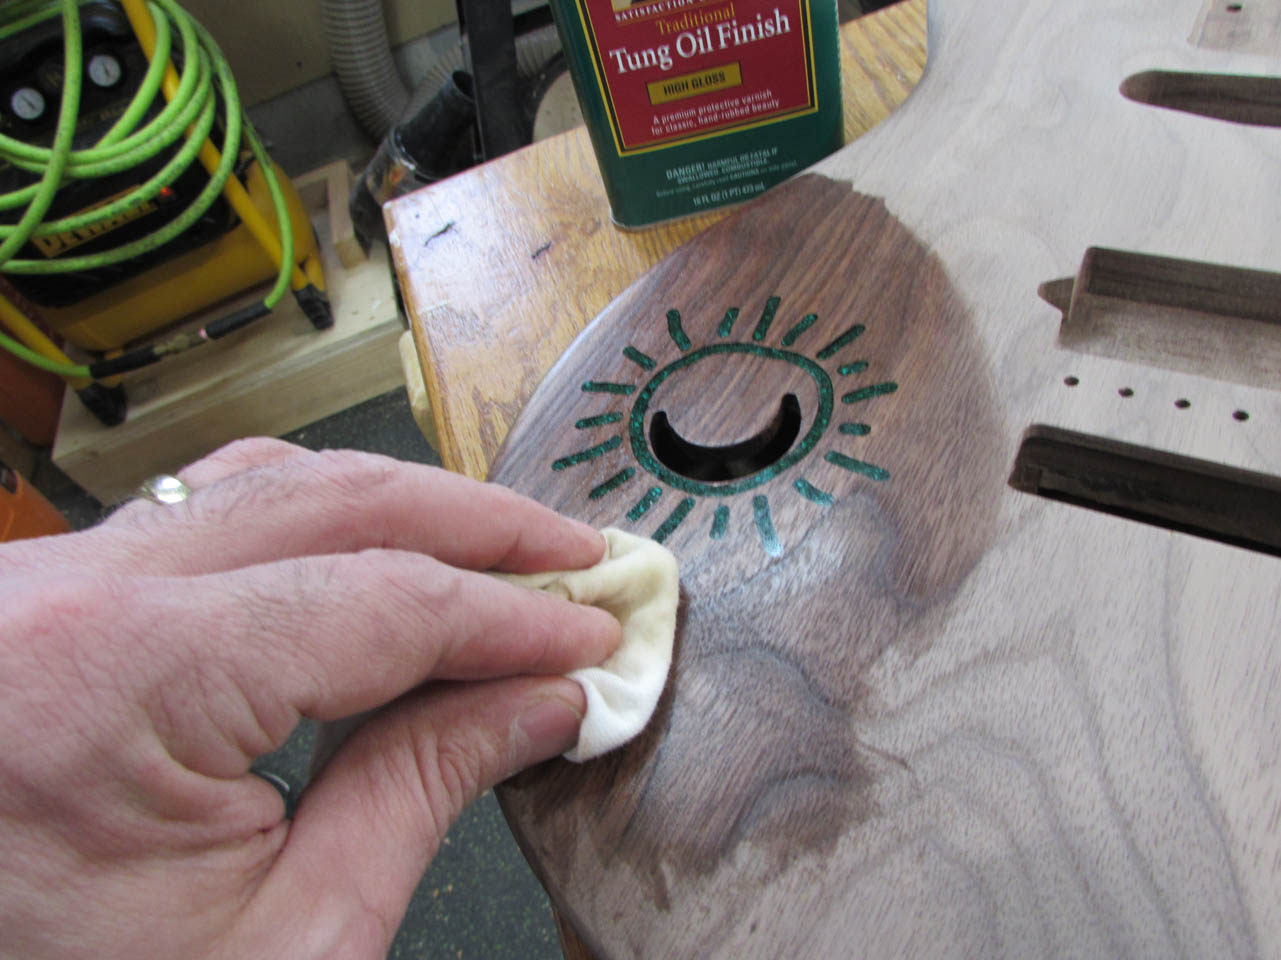
Then it was finally time to start applying finish. Kyle selected a high gloss Tung oil, so I handed him the gloves and a piece of cloth and let him start applying oil.


The walnut darkened up very nicely. The sycamore did not darken too much, but the grain did pop nicely with the addition of the oil.

And we almost forgot the cover plates, but Kyle put his glove back on and coated them as well.

We will probably spend the next couple of days applying repeated layers of Tung oil until we have a nice glossy sheen on the surface. Kyle will also be working on pre-wiring the electronics.
