
Bier build – day 1
I was asked to build a bier for the May procession at the National Shrine Grotto of Lourdes in Emmitsburg, MD. That gave me about two weeks to pull something together.

This is the 40″ tall statue that the bier will carry. The challenge will be to capture the base so the statue held firmly in place while it is carried around on the bier. The statue appears to be a resin cast from something that was originally hand carved. That means the base is not square or even the same height all the way around. The statue will have to be clamped into place for the procession, then afterwards, the rails will be removed and the statue rotated so that it can sit below an altar, on the main body of the bier. It stays on the bier because the bier will be wrapped in cloth then covered in flowers.

After some discussion and a couple of iterations, this is the design I came up with: bier Layout.pdf. I will be using magnets to attach the rails with a couple of thumb screws to make sure they stay there while in use. I am also using hinged cleats to fix the base. One of the challenges is that the statue is in use throughout the week and I can only have access to it in the evenings. Since the Grotto is an hour away from my house, I traced the base and took some detailed notes and measurements. If I had the time, I would have built a mock-up of the base for test fitting, but I don’t.

Choosing materials for something like this is difficult for me. I prefer to work with hardwoods like oak and walnut but this bier has to be light but strong. To reduce weight while maintaining structural strength, I am going to have to use pine and plywood. I am not fond of staining pine, it tends to be blotchy, but I remembered that the main body will be covered in cloth and flowers.
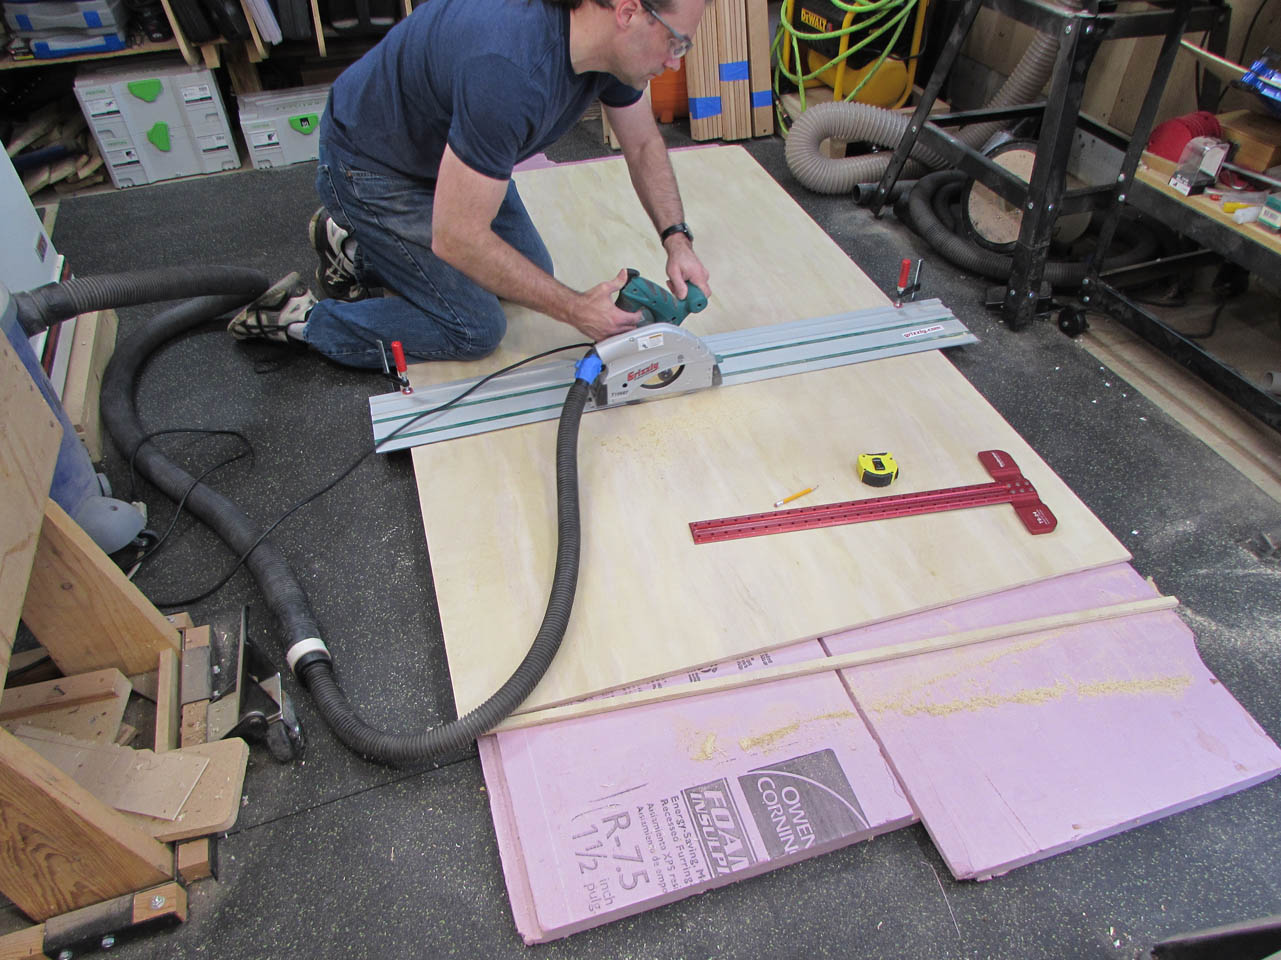
To get started, I broke down the 1/2″ plywood with my track saw, then proceeded to lay out the top as accurately as possible.


I carefully trimmed out the tracing of the base and used some foam to get the overall size of the socket.


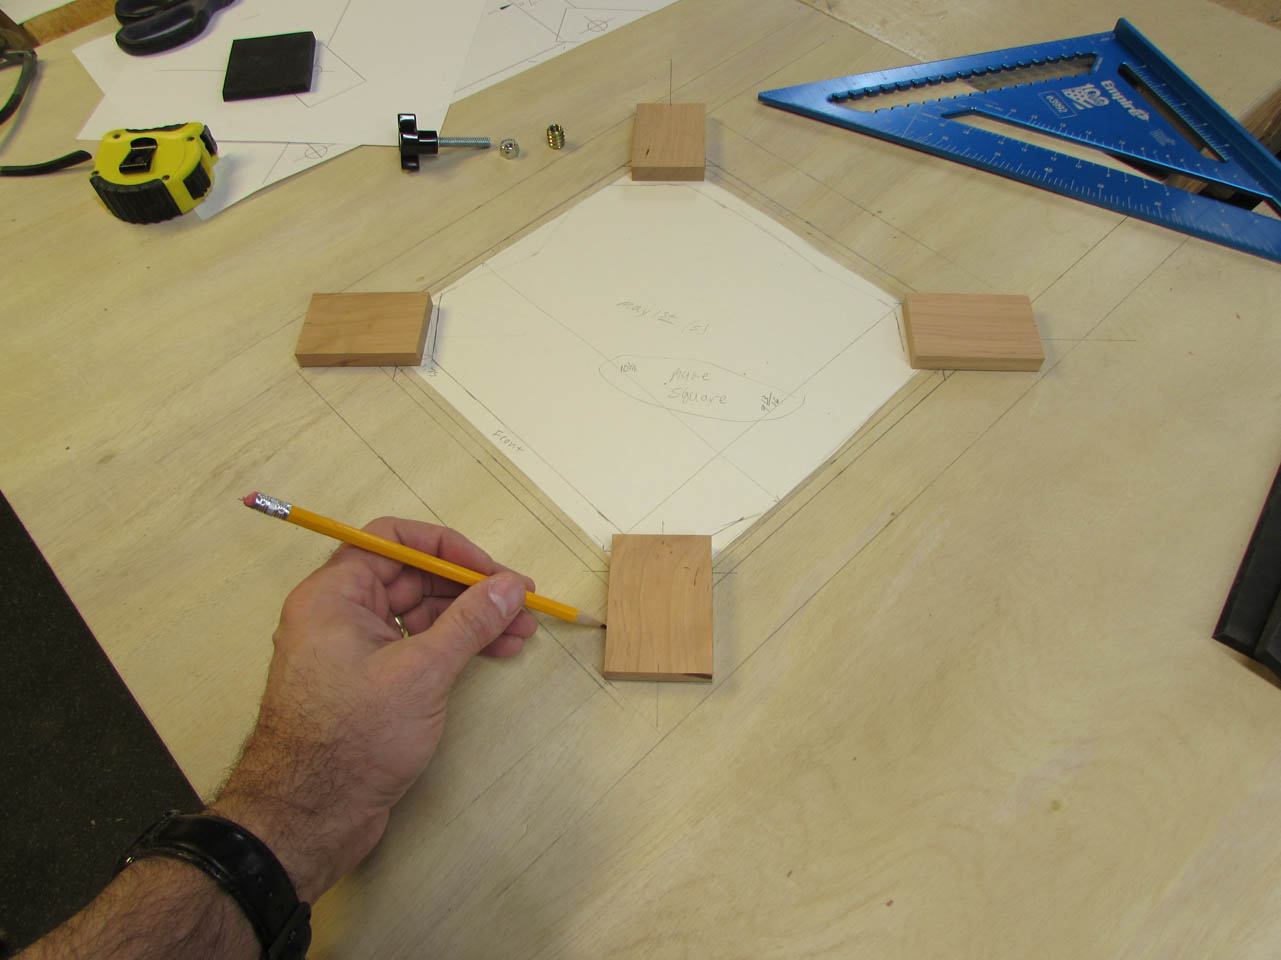
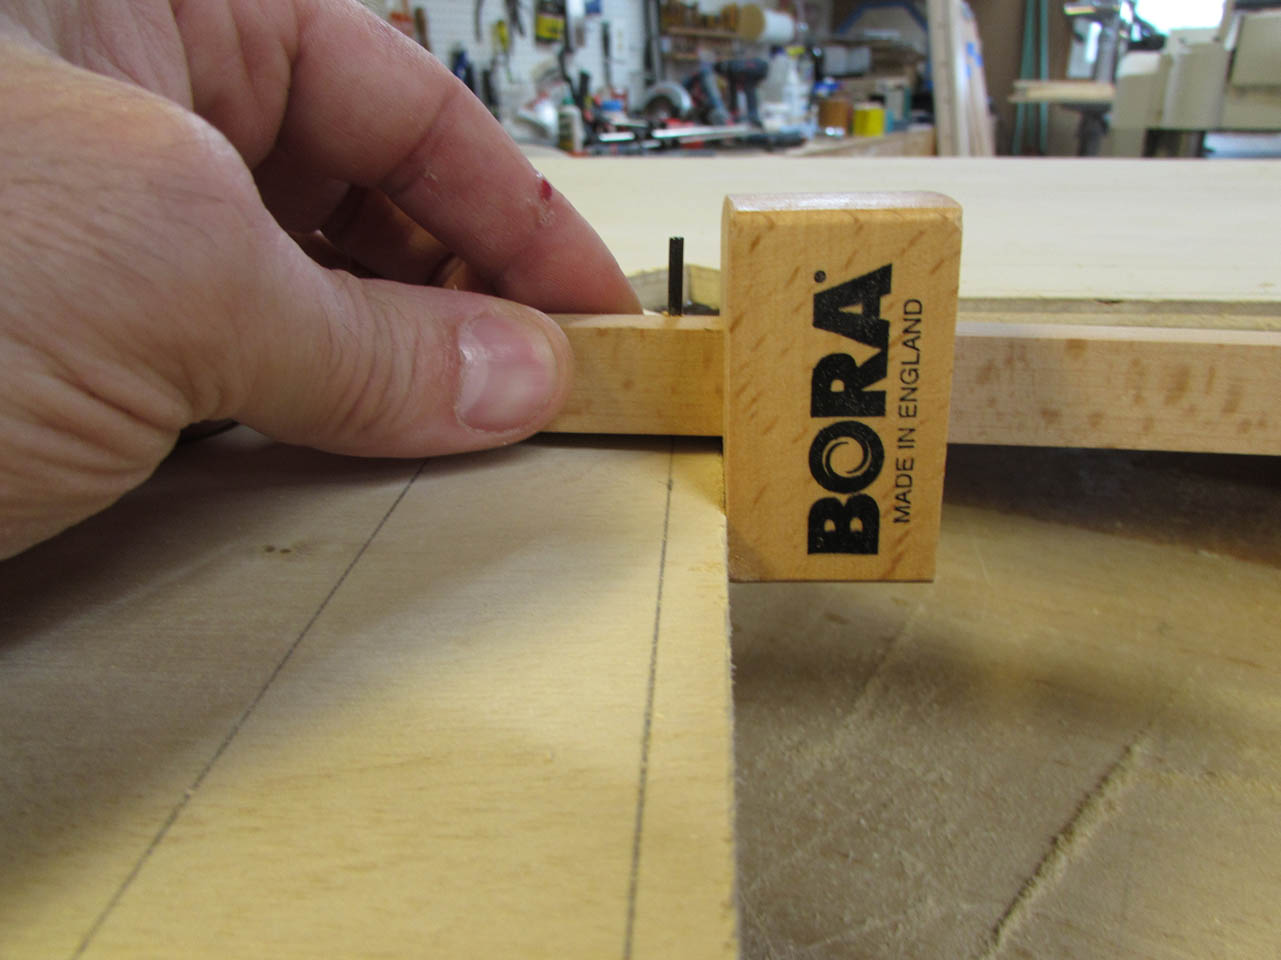
It was requested that I use cherry stain for the bier so I decided to use cherry for the cleats that hold down the base. They will have to be more durable than the pine since I will be holding them down with some heavy knobs. I cut out the cleats and laid them in place. Using my traced base and my layout lines, I determined the best location for the hole in the cleat. Then I traced their locations leaving about 1/32″ clearance, all the way around.
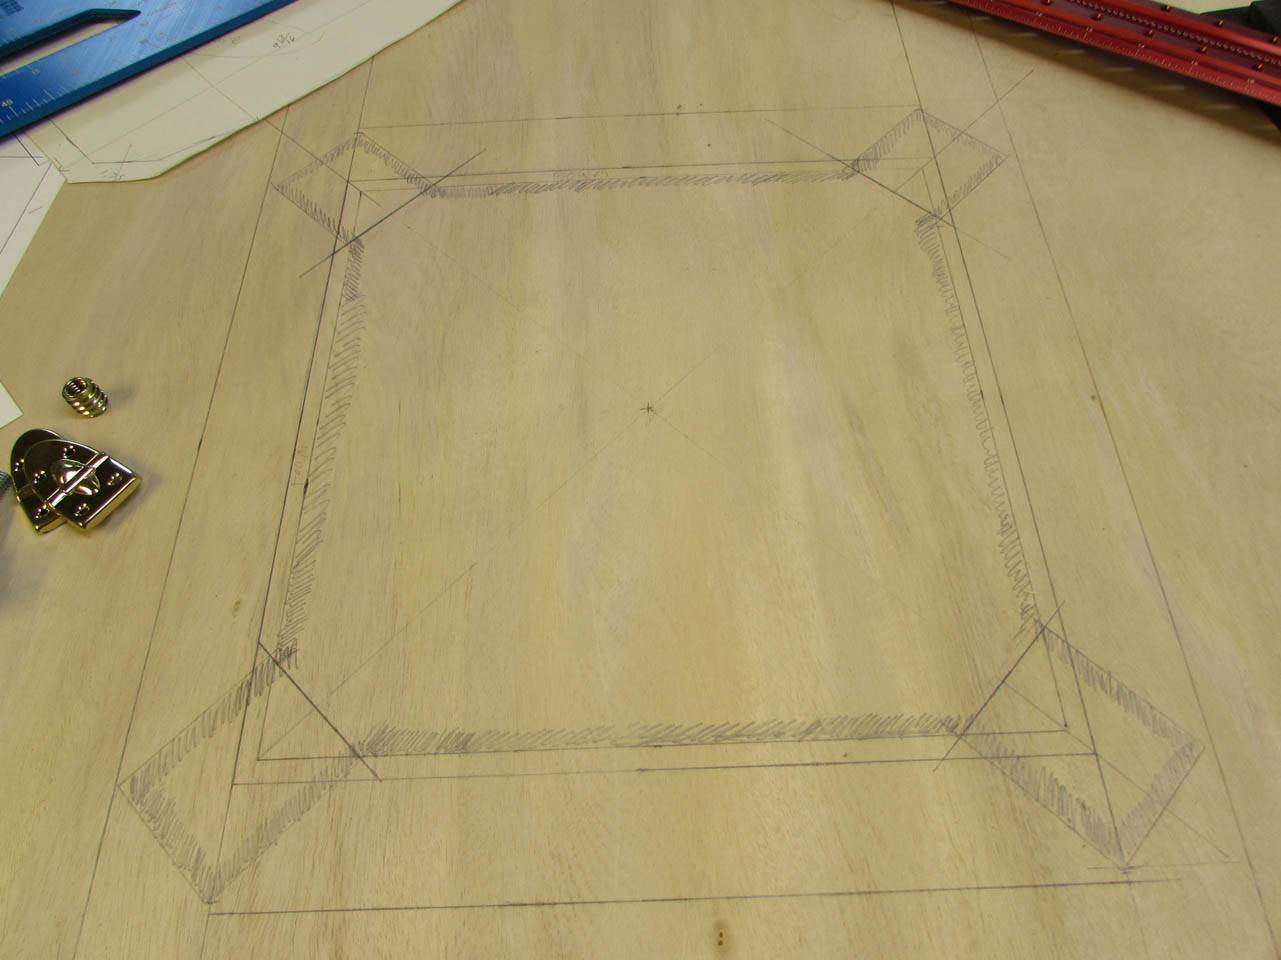
With the layout complete, I shaded the edges of where I would need to cut.

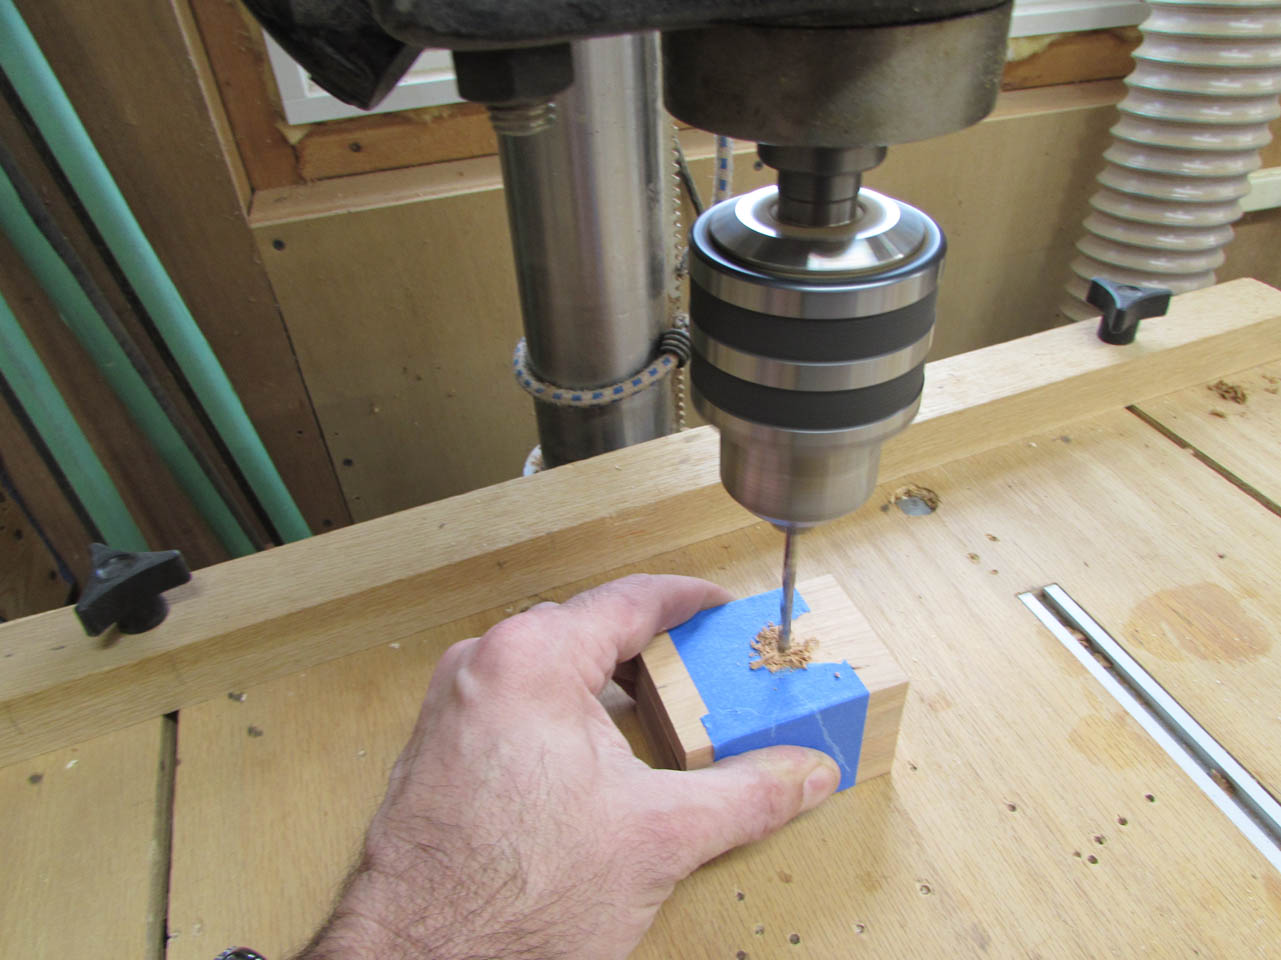
While thinking about how I would cut that odd-shaped hole out accurately, I taped all of the cleats together and drilled a pilot hole to located the through hole. I want all of these cleats to be exactly the same so that they can be used at any position.
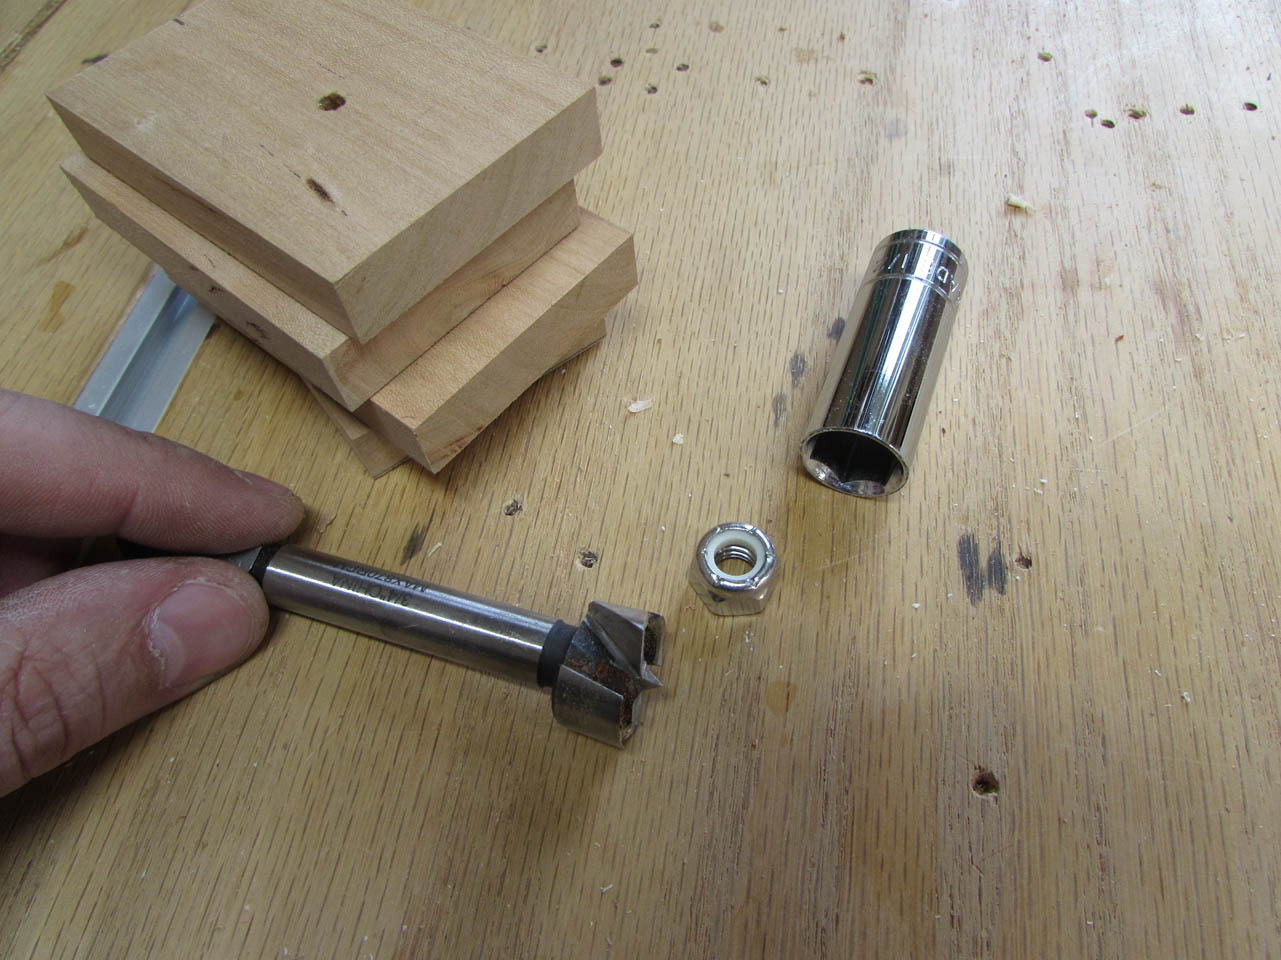
My plan is to make the thumb screws captive so I drilled a counter-bore on the bottom side, large enough for a socket.


Then I drilled the clearance hole through from the other side. I plan to put a threaded insert into the bier and a lock-nut on the screw to hold it captive to the cleat. I am not sure if there will be enough clearance for this, but I will have to wait and see.

I was going to use some 2″x8″ material to create the 8′ long rails, but I couldn’t find any that was dead straight and I did not have any confidence that it would stay that way over time. I did have some beautiful straight-grained Douglas fir wood flooring though.
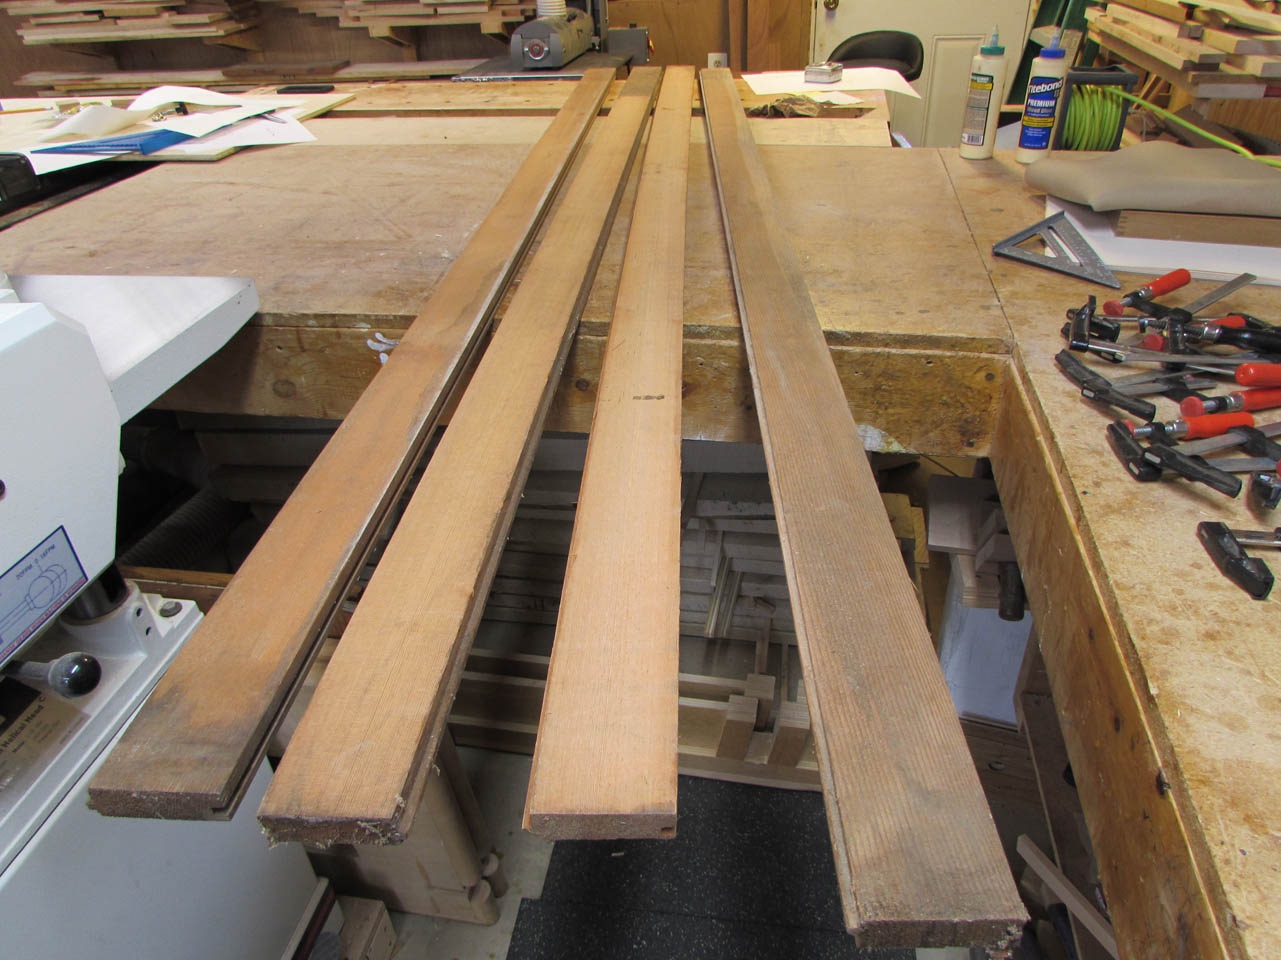
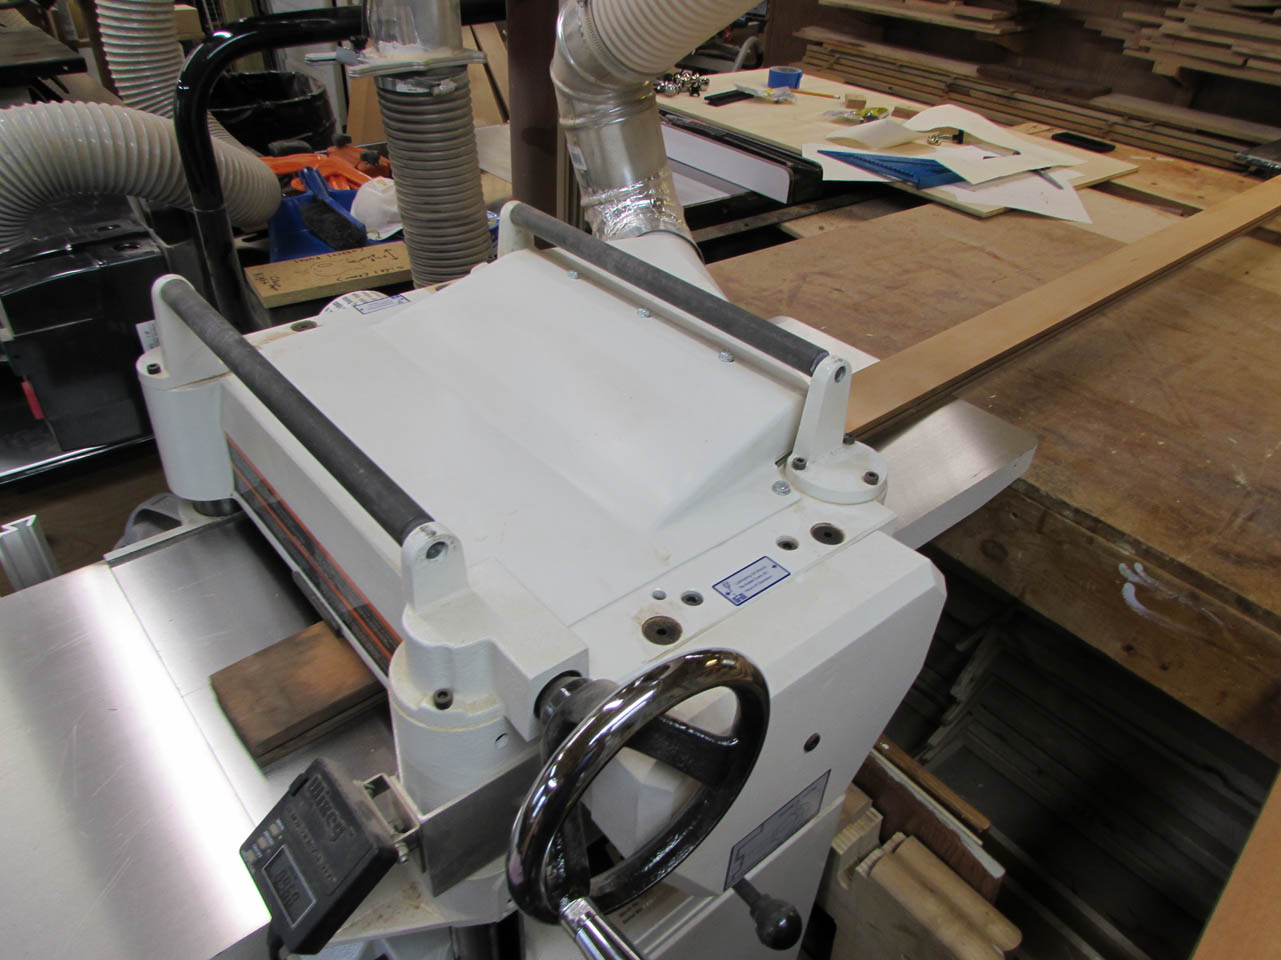
I planed this down to 7/8″ thick, then ripped it down to 1-3/4″ wide.


I spread some wood glue along two of the boards and used a piece of veneer to make sure the glue covered the entire surface.

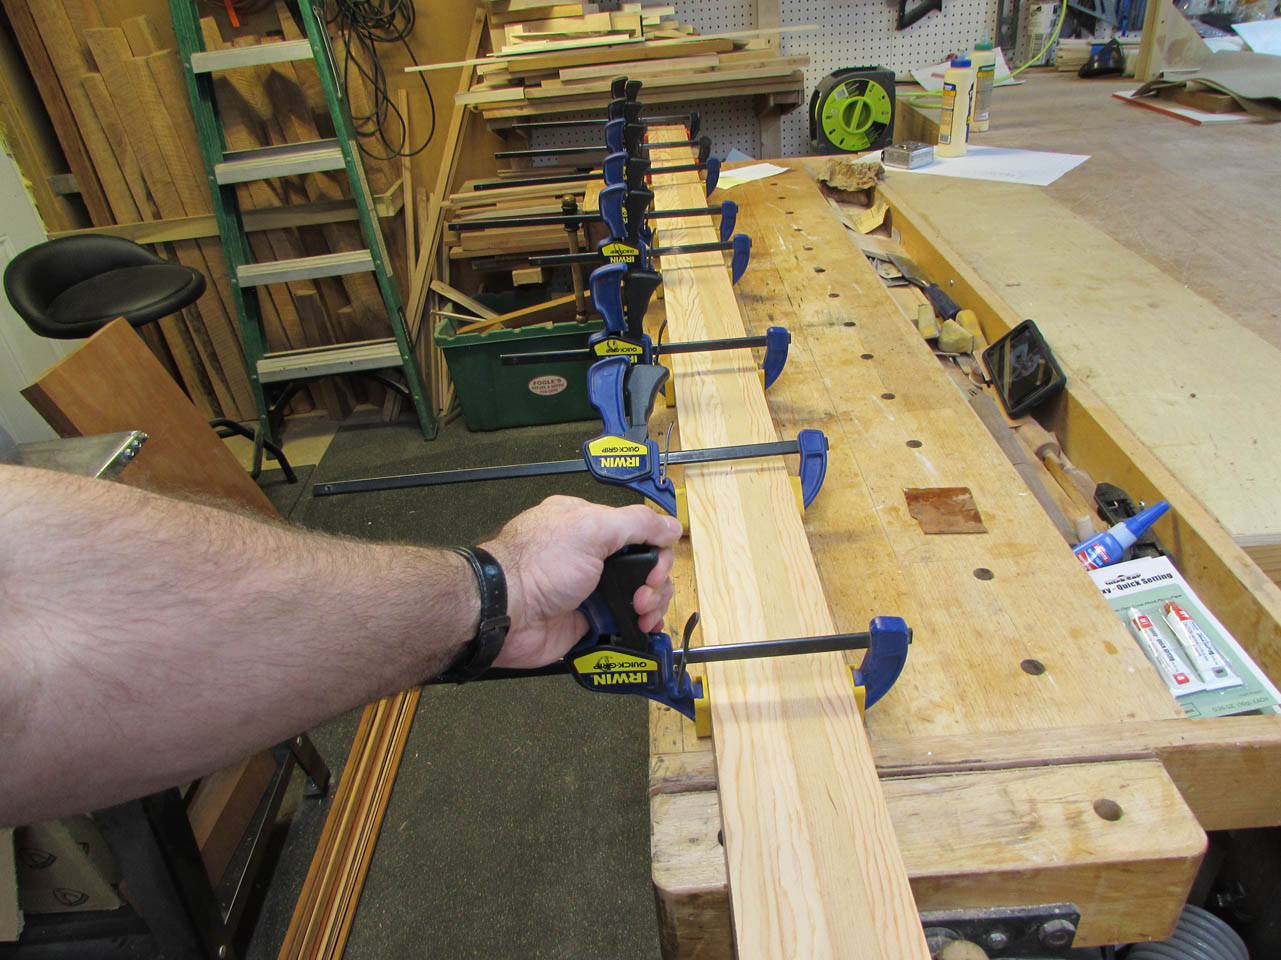
Then clamped both rails together back to back. When they were dry, I made a single pass through the planer to clean up the glue joint and make the rails perfectly square. I am happy to say that they were dead straight as well.


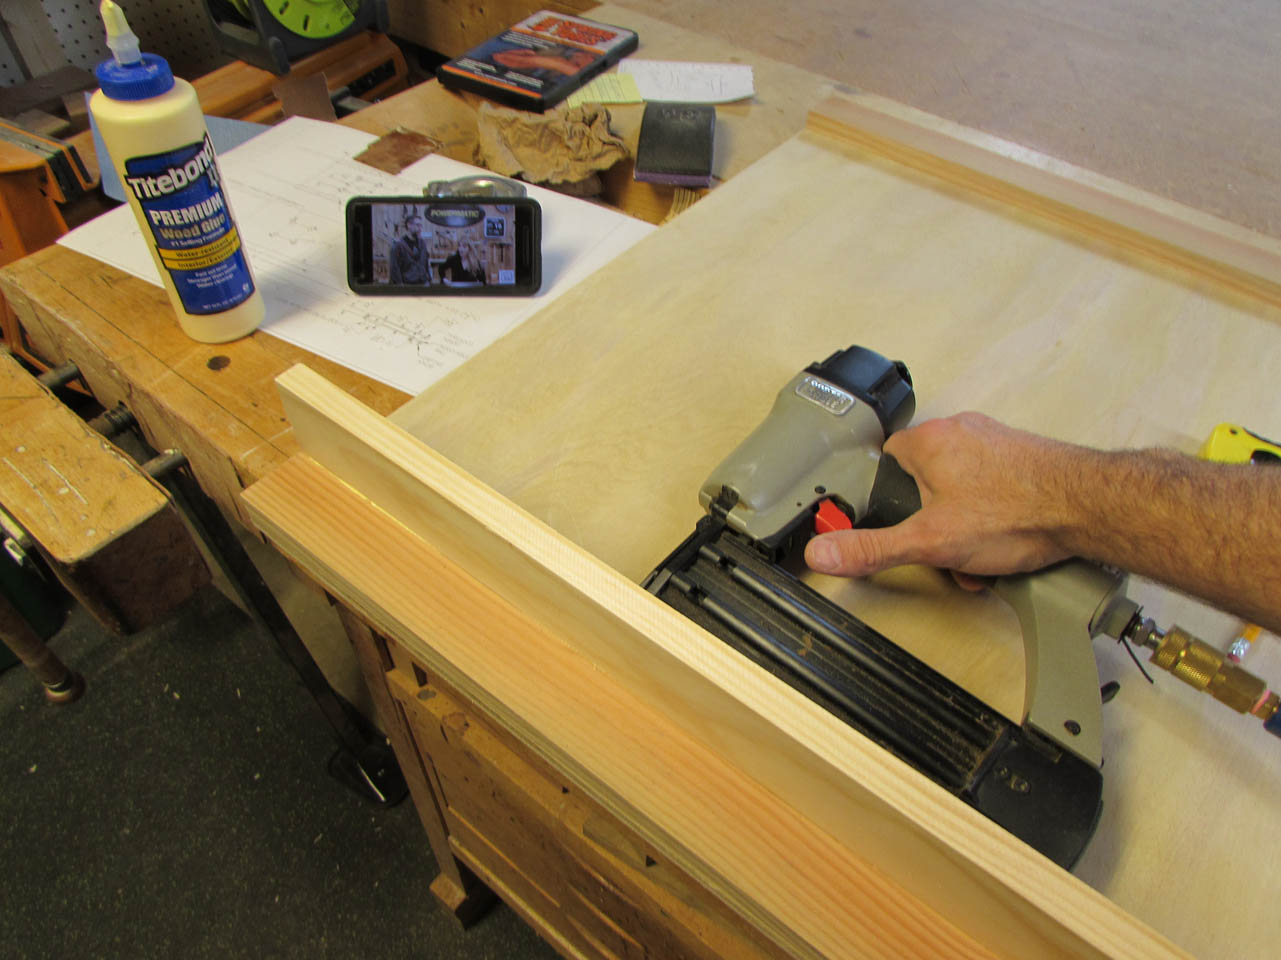
Getting back to the body of the bier, I cut out all of my side pieces that will create the channel for the rails to hook into. I cut them all together on my miter saw so that they would all be exactly the same length.

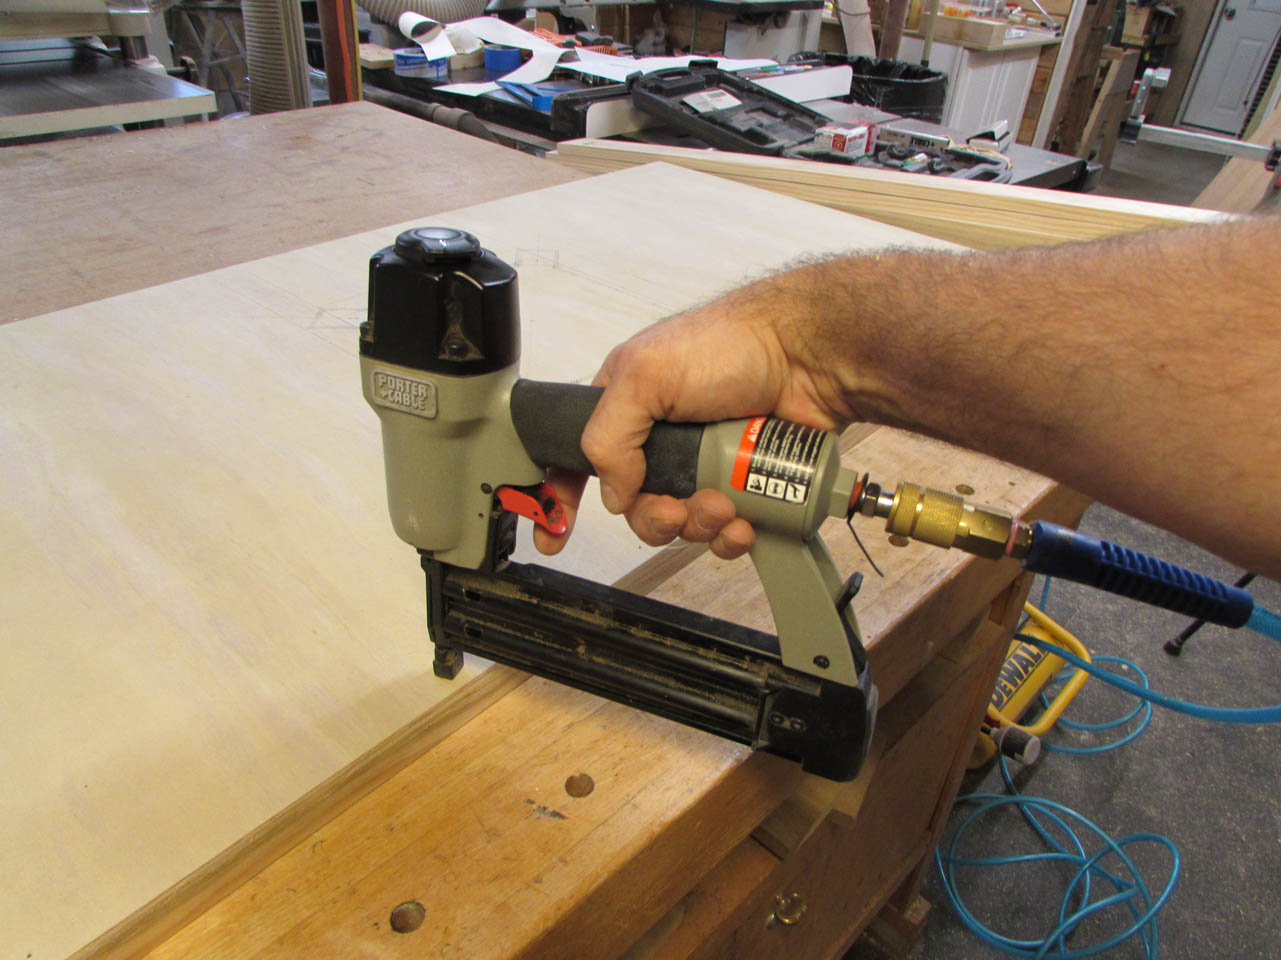
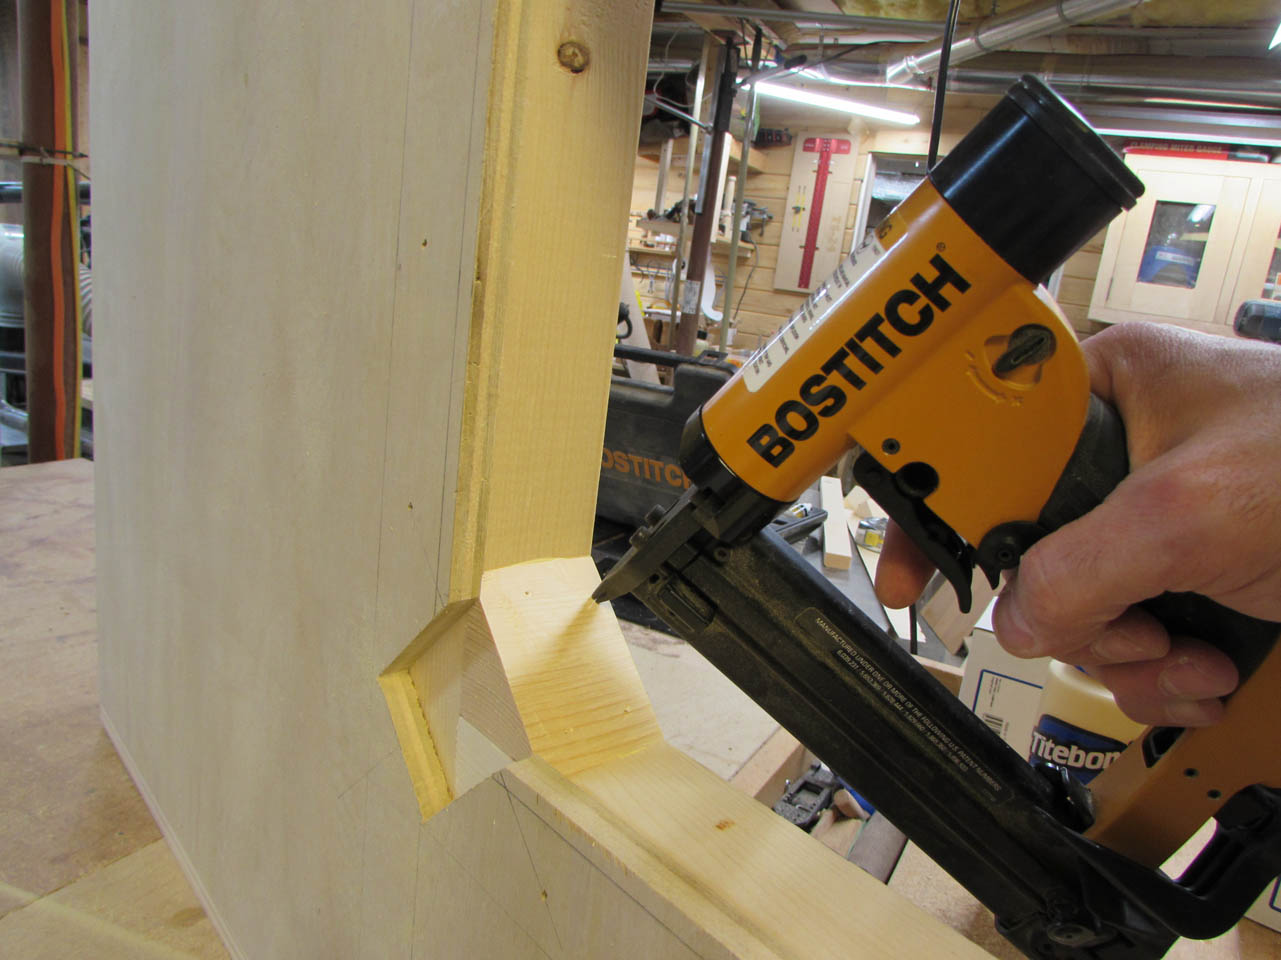
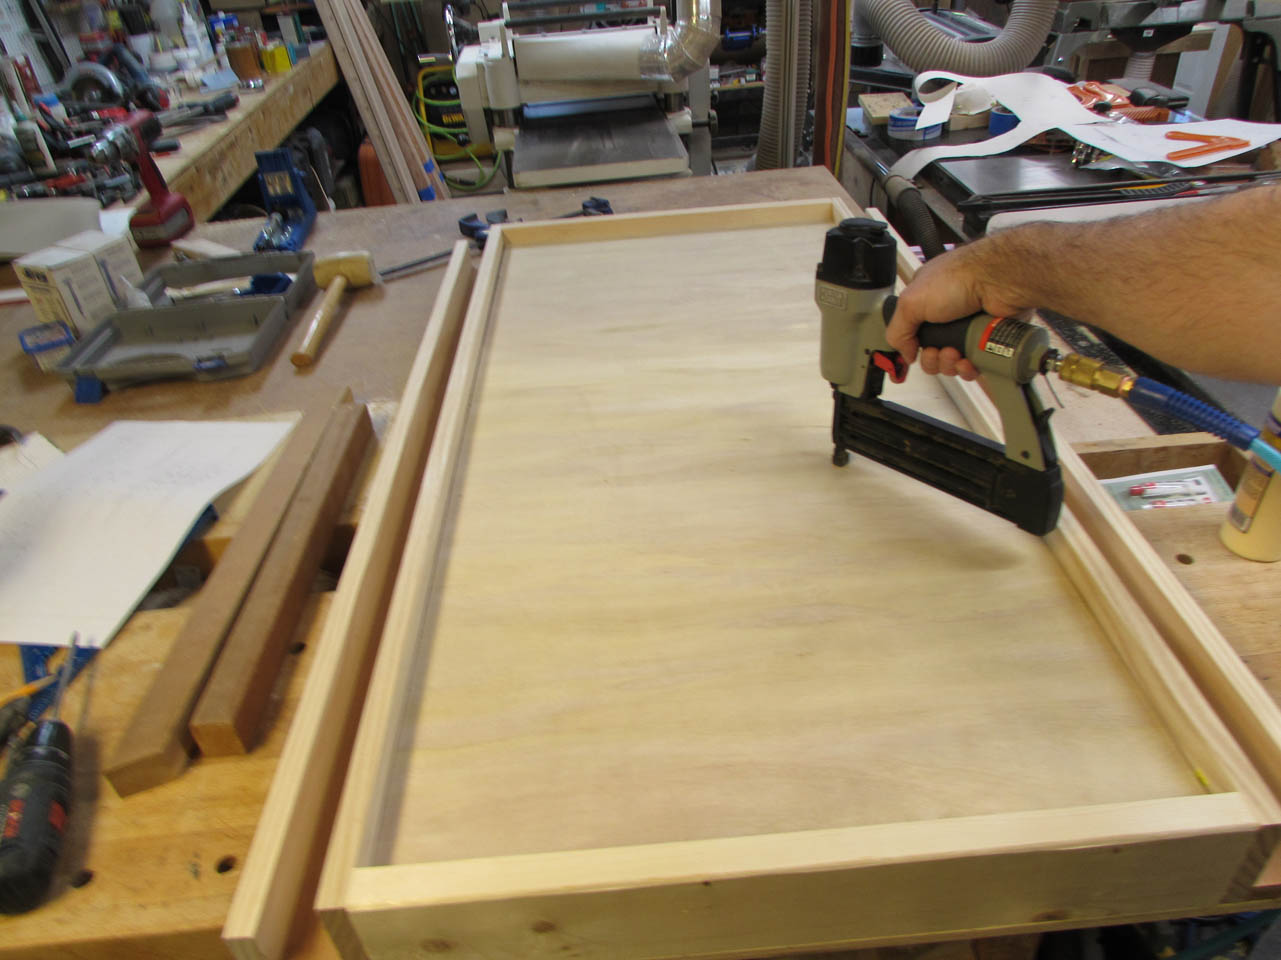
Then I used wood glue and 18 gauge brad nails to attach the sides.

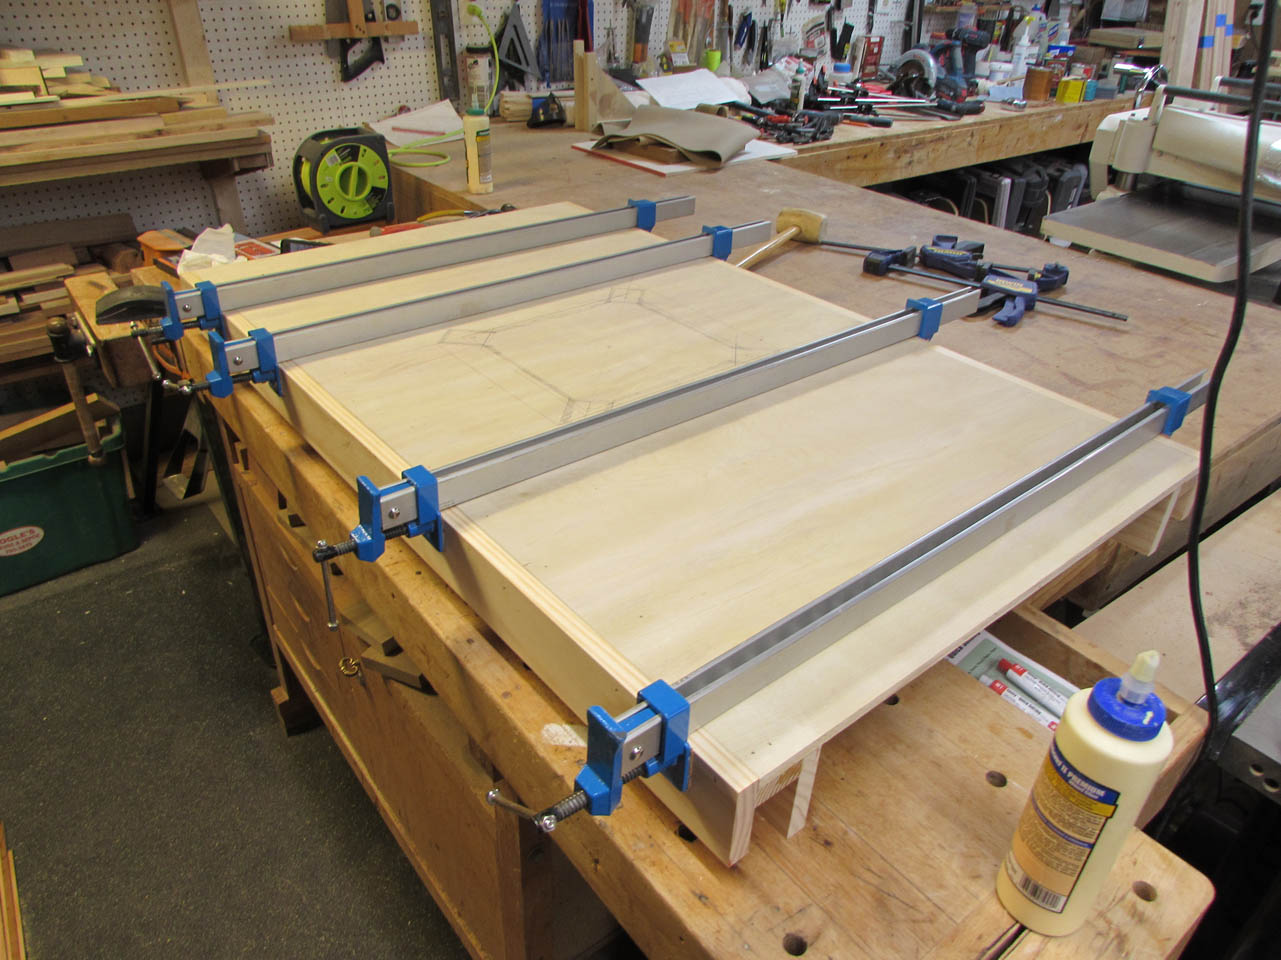
I used the rails to test the width of the channels before the glue had set, just to verify that 1/32″ clearance I planned on was enough.

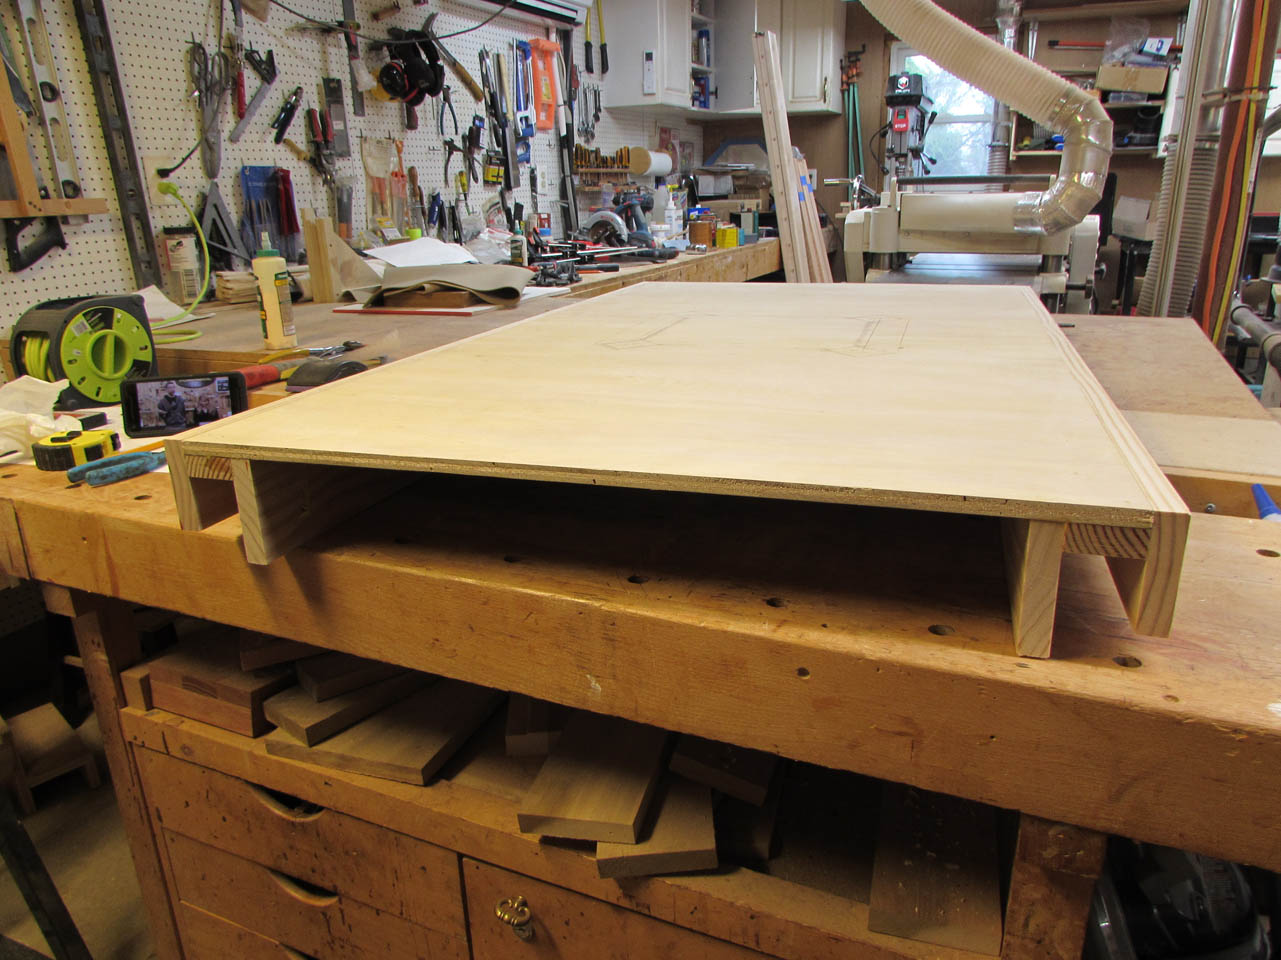
When everything was attached, I flipped the body over and added some clamps to make sure I had good contact while the glue dried.
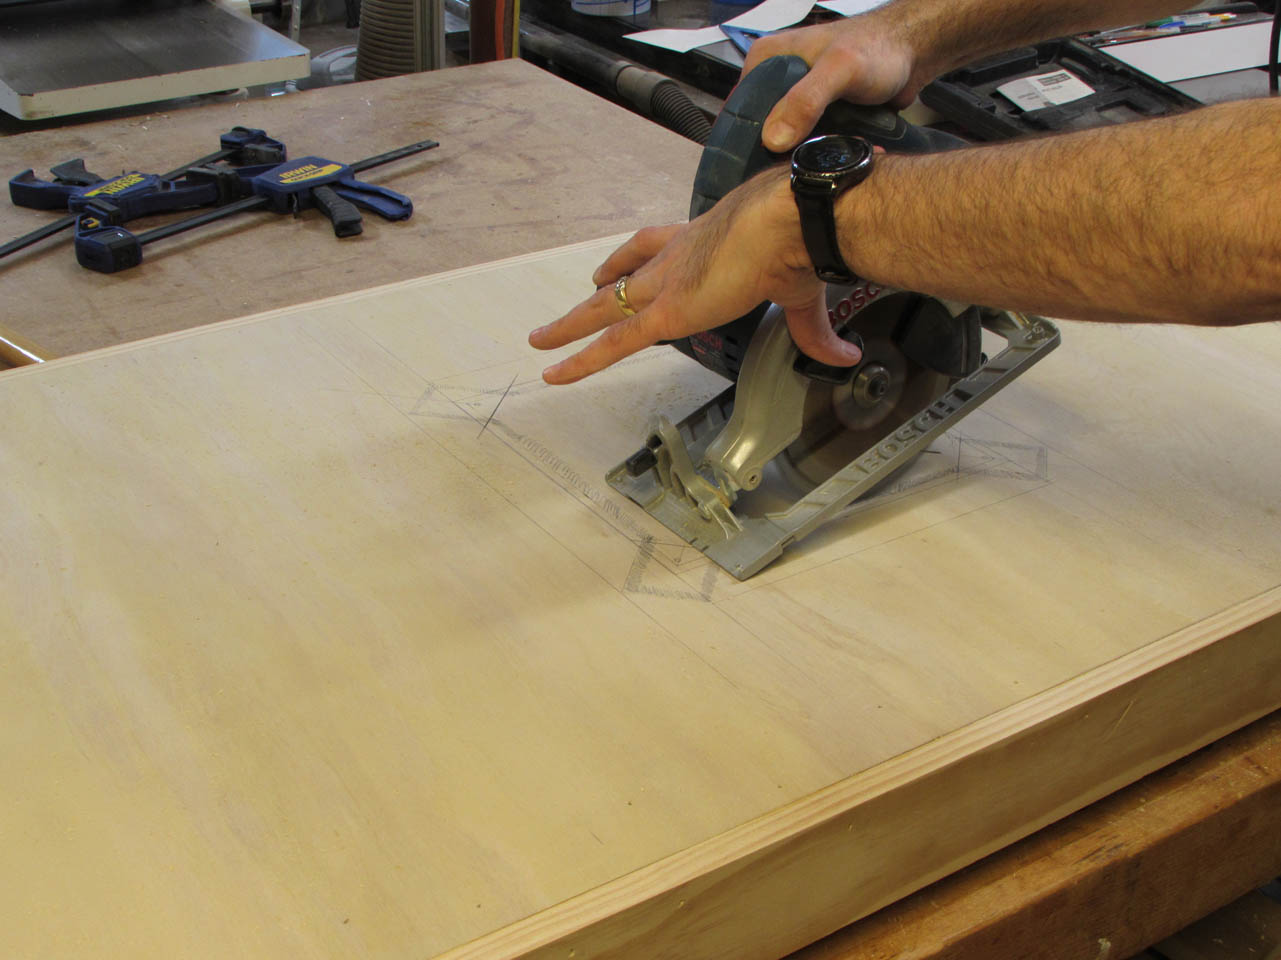
Now that my plywood was elevated above my bench, I decided to cut out the hole for the socket. I used my circular saw to cut out the main square, carefully dropped down onto the line.


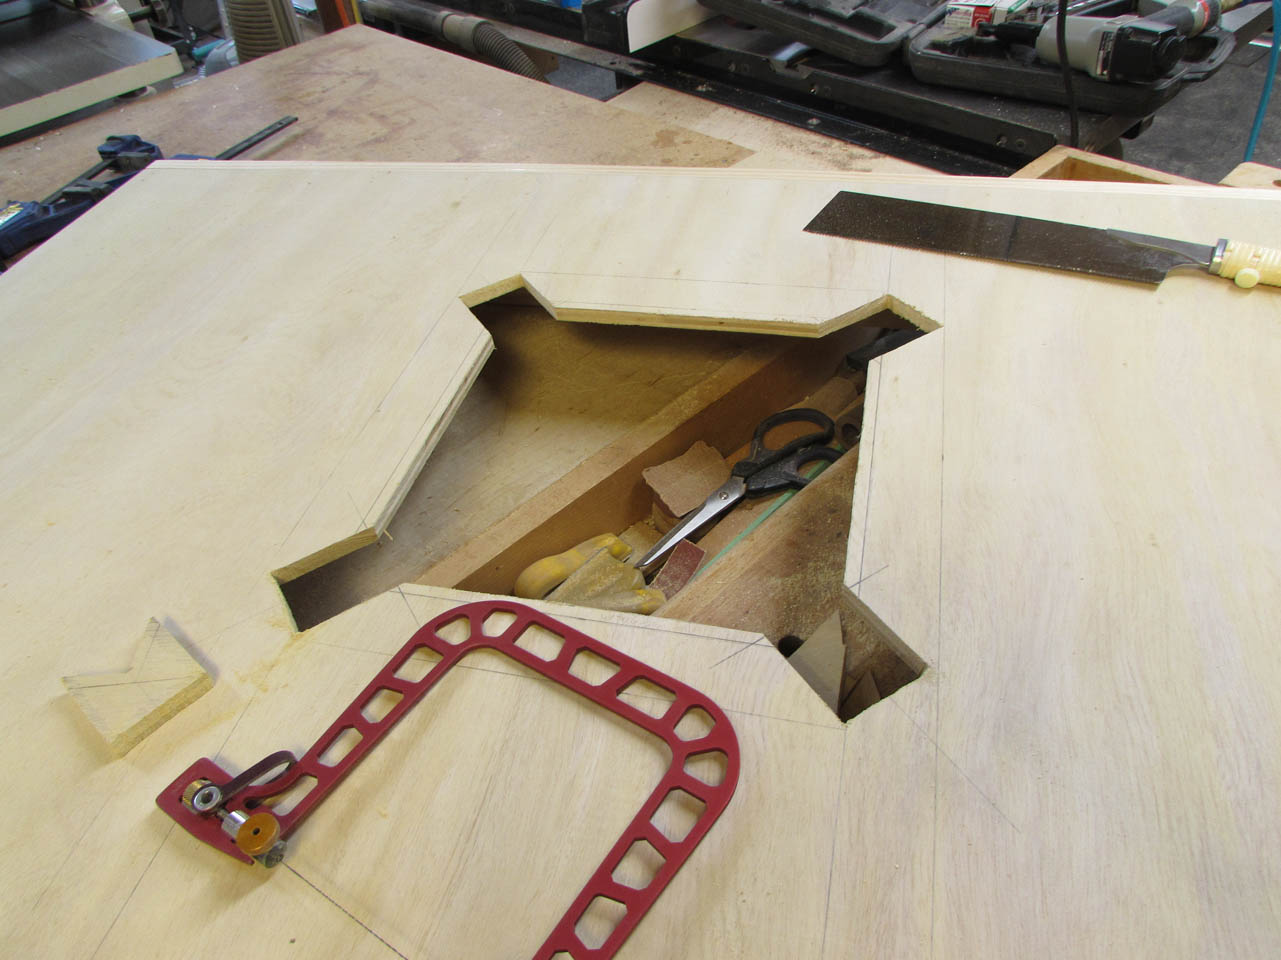
I cleared the corners with my pull saw, then decided to use the pull saw to cut the sides of the cleat pockets as well.


I made an additional relief cut to give me more room to access the bottom line for cutting.
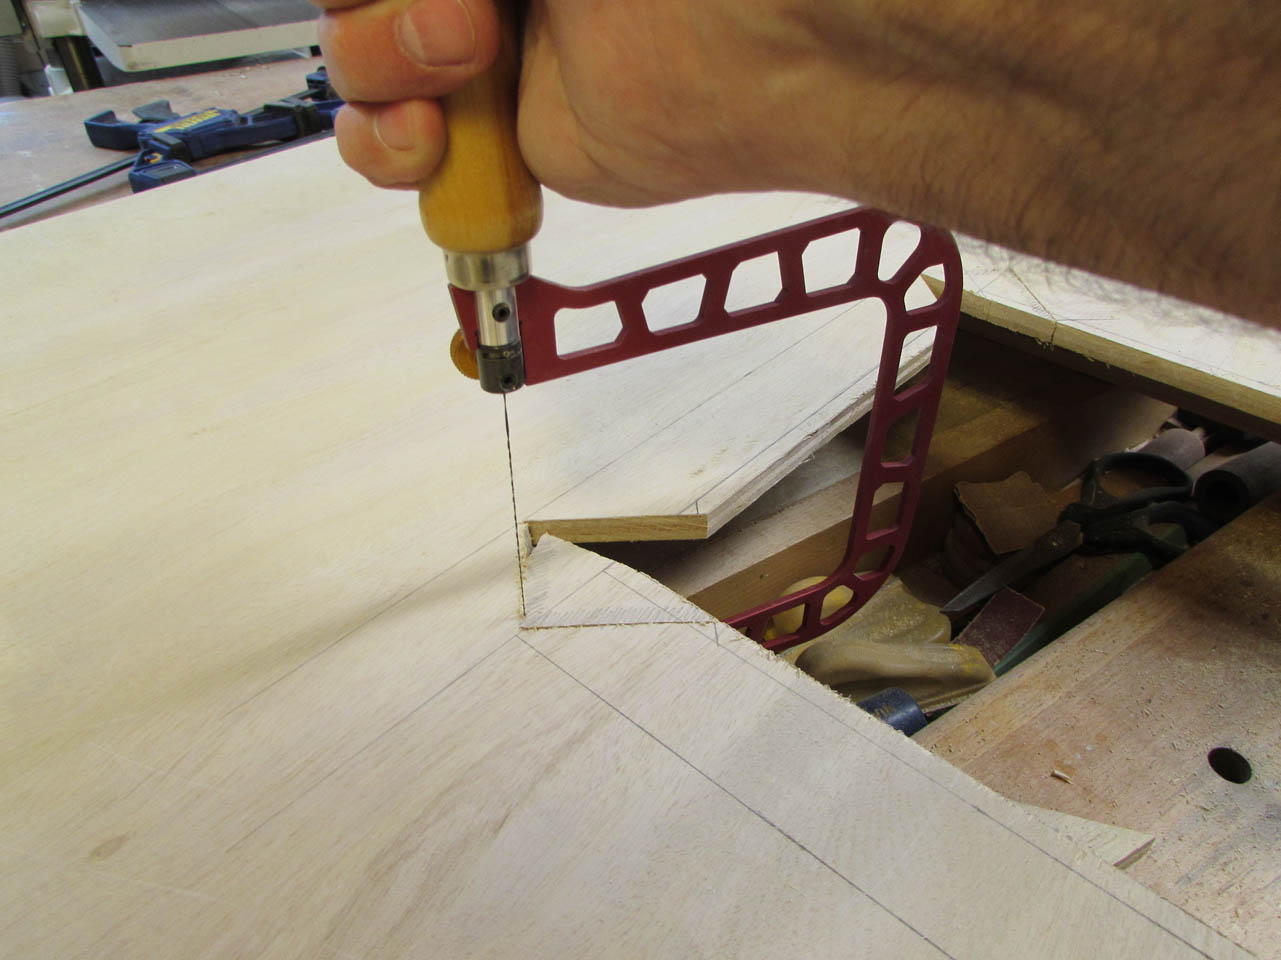
Since I couldn’t get the correct angle with my coping saw, I grabbed a multi-directional blade from my scroll saw and fitted it into the saw to try. Cutting sideways was a bit weird, but it was fairly effective.
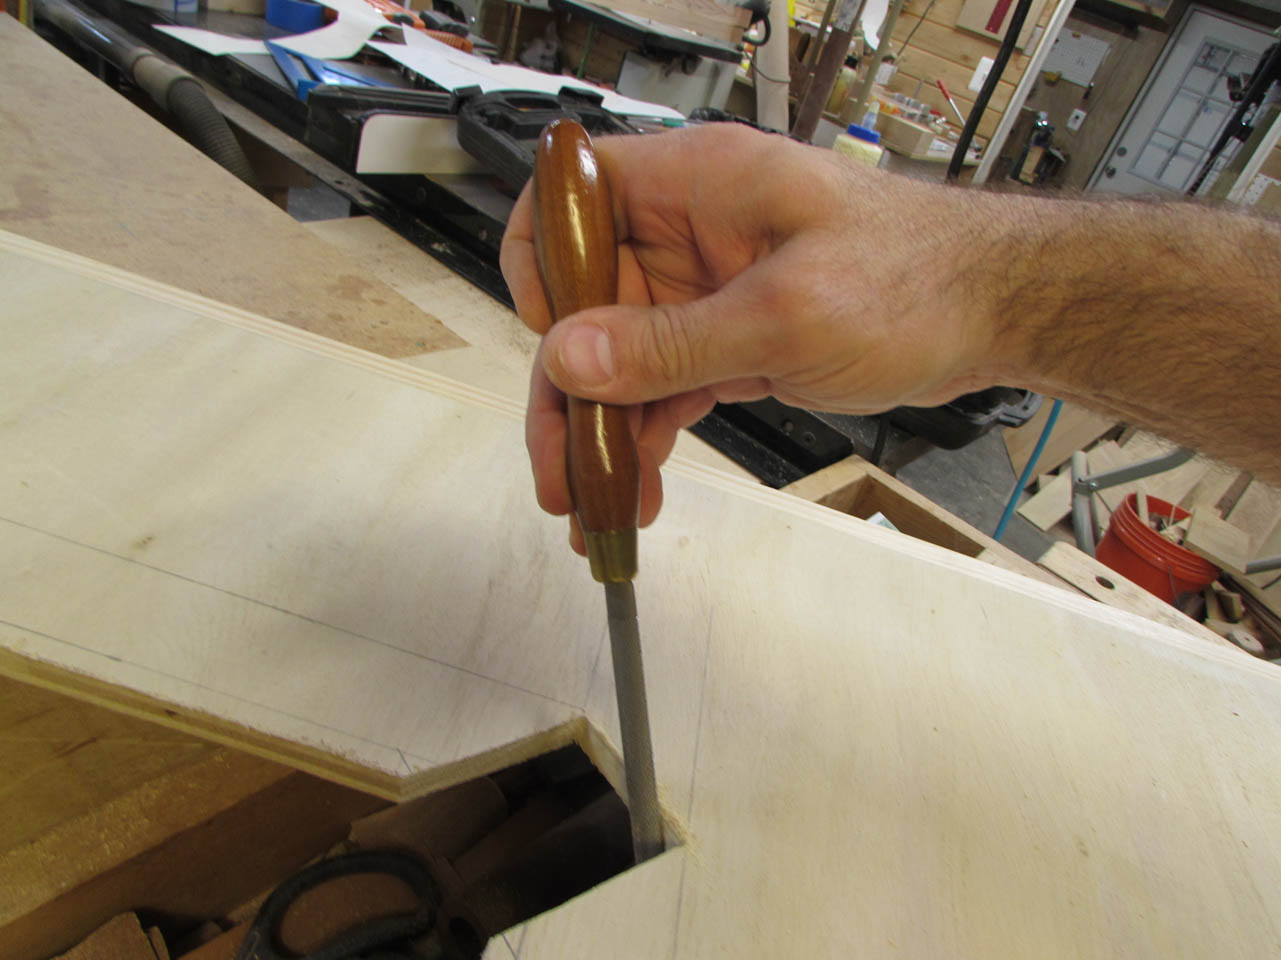
The rough cut required a bit of clean-up with a file, but it looks pretty good.
On the reverse side of the plywood, I used my marking gauge to lay out the back side of the foam that will line the socket, then marked 1-1/2″ past to locate the structural supports.


I ripped down a 2″x8″ to create framing for the socket.
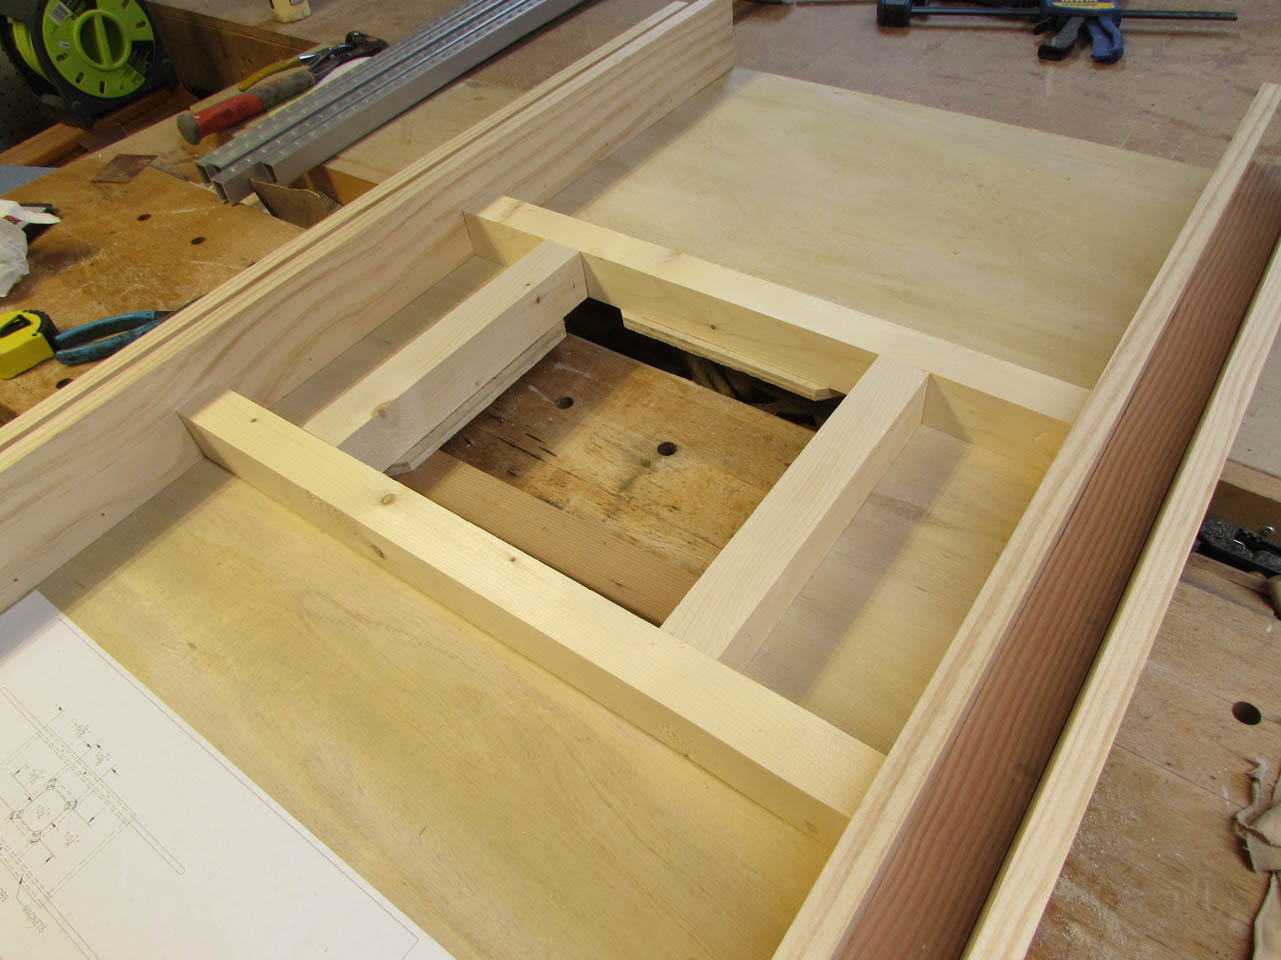

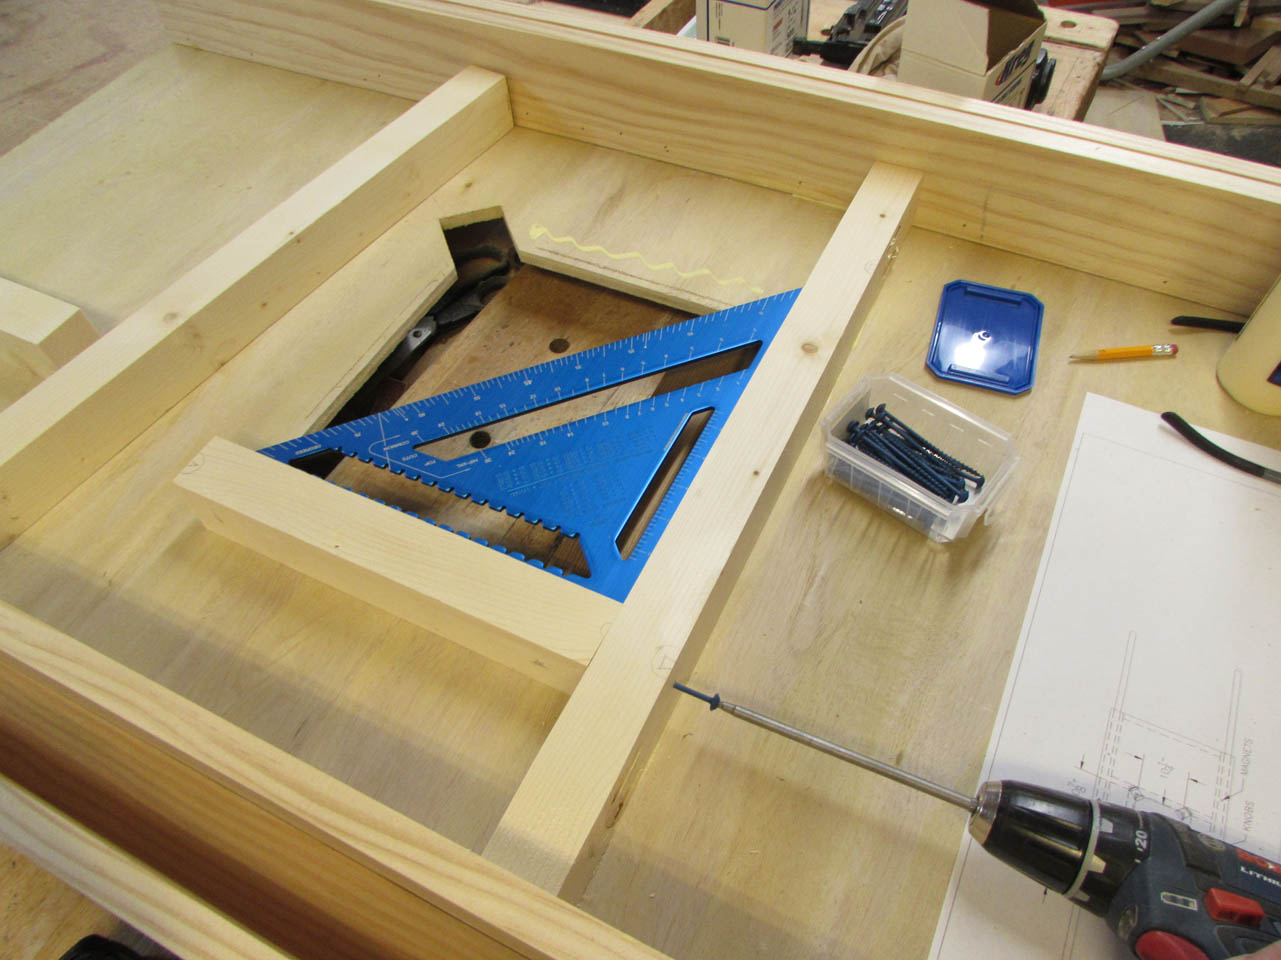
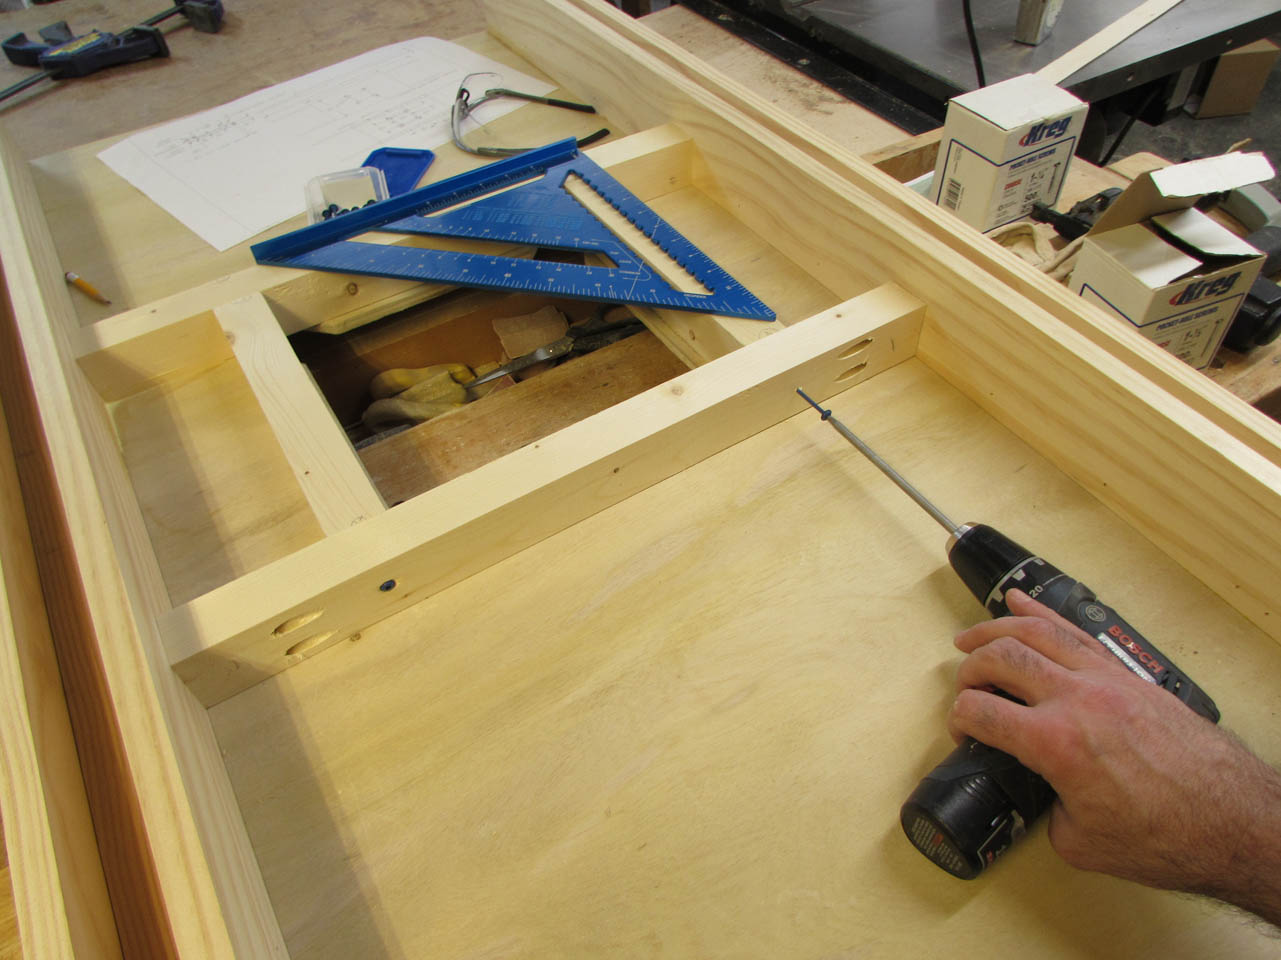
I used pocket holes and screws, along with glue to attach the long support pieces.


Then I attached the short members with screws through the side of the longer ones, making sure the boards stayed square.
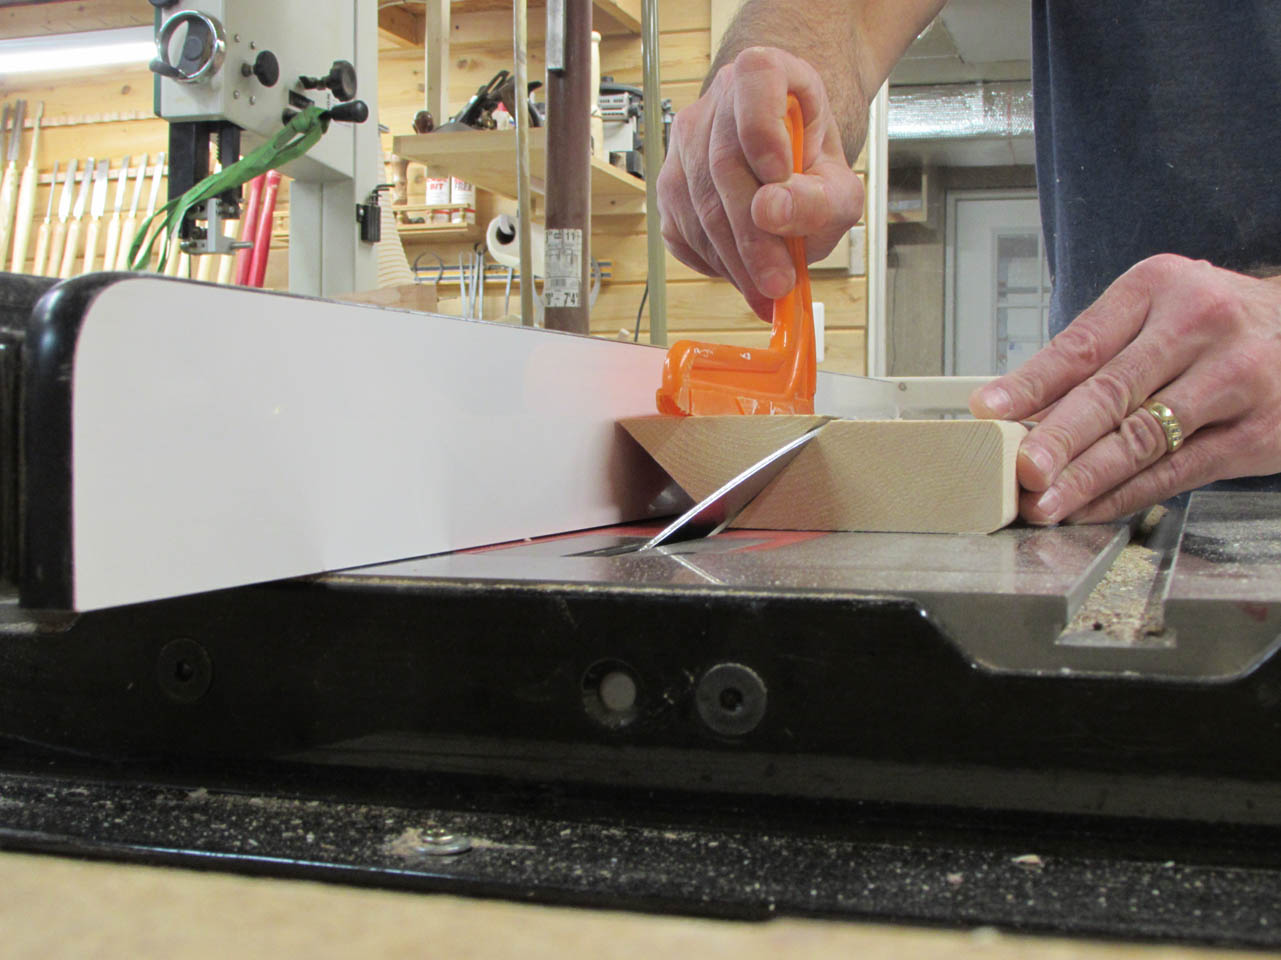
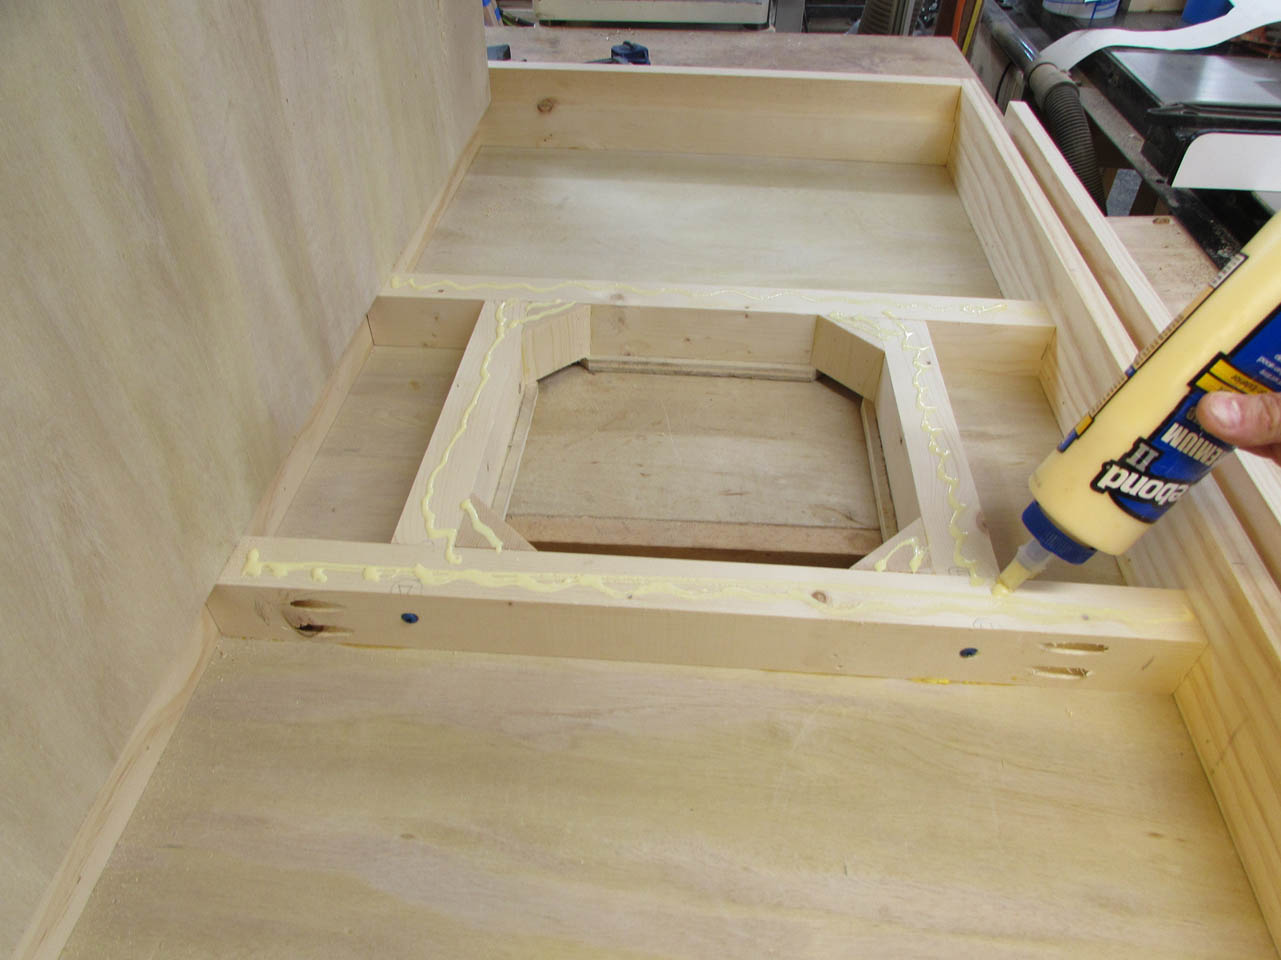
To give myself a place to attach the threaded inserts, I cut a 45 degree block. This probably could have been done in a safer fashion, but I couldn’t think of a way at the time…

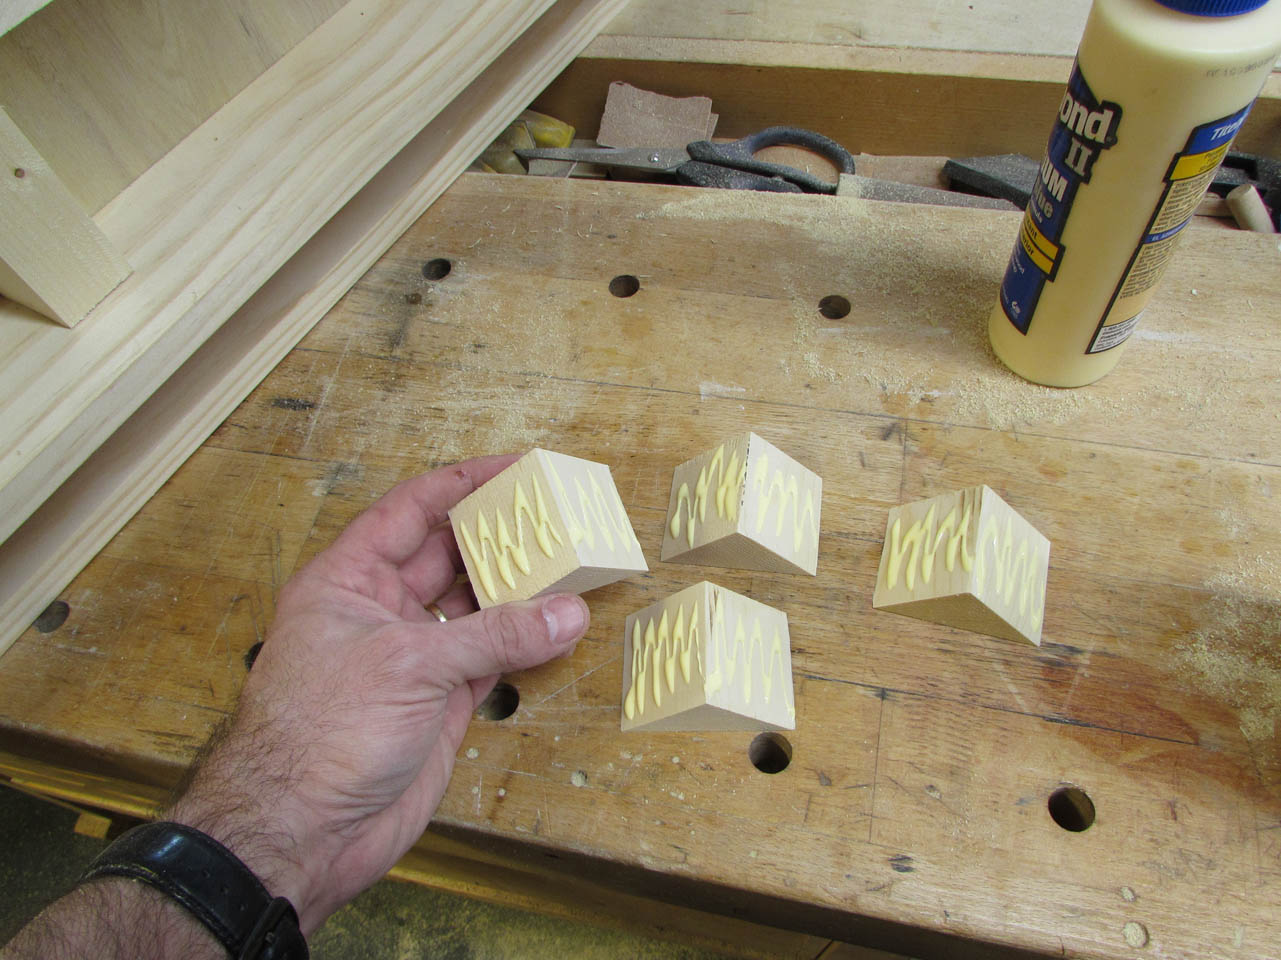
I used glue to attach the blocks and a couple of pin nails to hold them in place while they dried.

For the ends of the bier, I used more pieces cut from the 2″x8″ and cut a ledge to match the height of the structure in the middle.
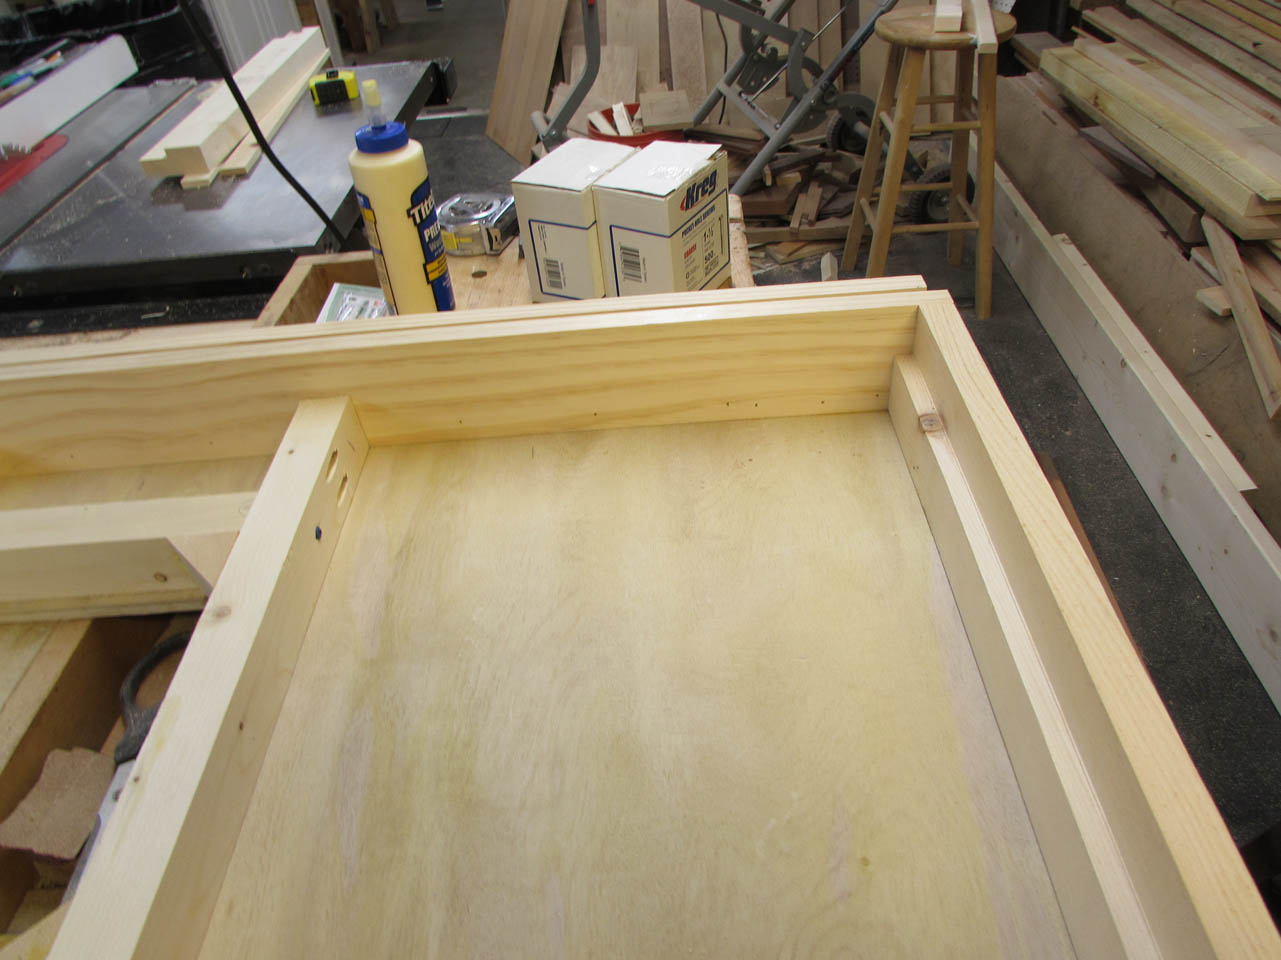
This gave me a ledge on either end to attach the bottom plate to.
After a good 10-hour day in the shop, I have everything roughed out. Seems like it shouldn’t have taken that long…

