
St. Kilian chapel – Ambry – part 3
To fit the door into place, I first had to measure the width of the piano hinge, then subtract a bit more to allow the door a bit of room for expansion.

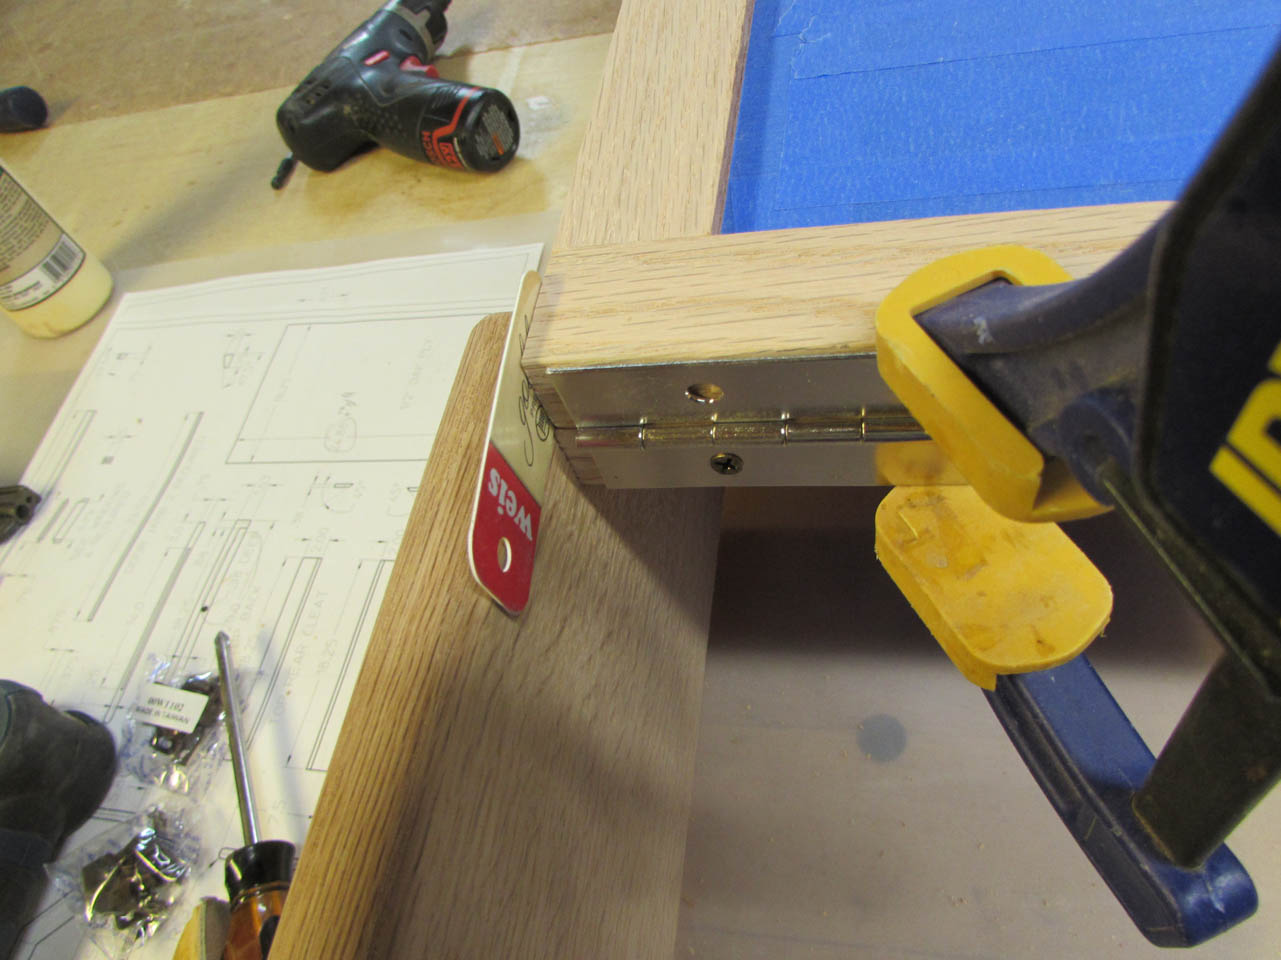
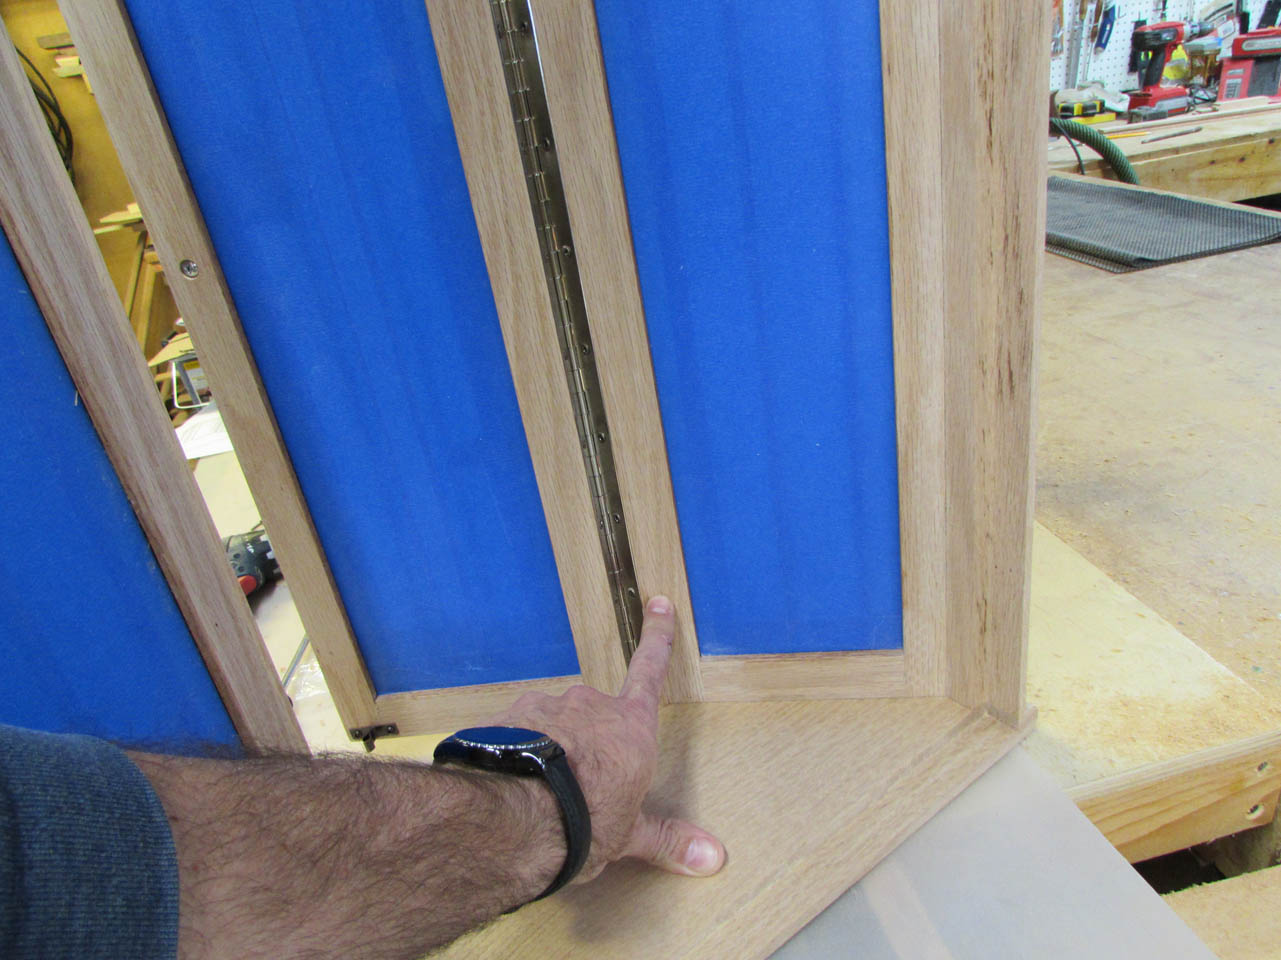
Once I had my final dimension, I cut equal amounts off of each side of the door. I even cut a slight angle on the side that opens to allow a bit more space in case my expansion gap was not enough. I did a dry-fit with the door panel and hinge. Looks pretty good.

I cut down the hinge with some sheet metal snips earlier, leaving the hinge about 1/4″ shorter than the opening, then I filed the ends smooth. Centering the piano hinge on the door opening, I marked the center hole.

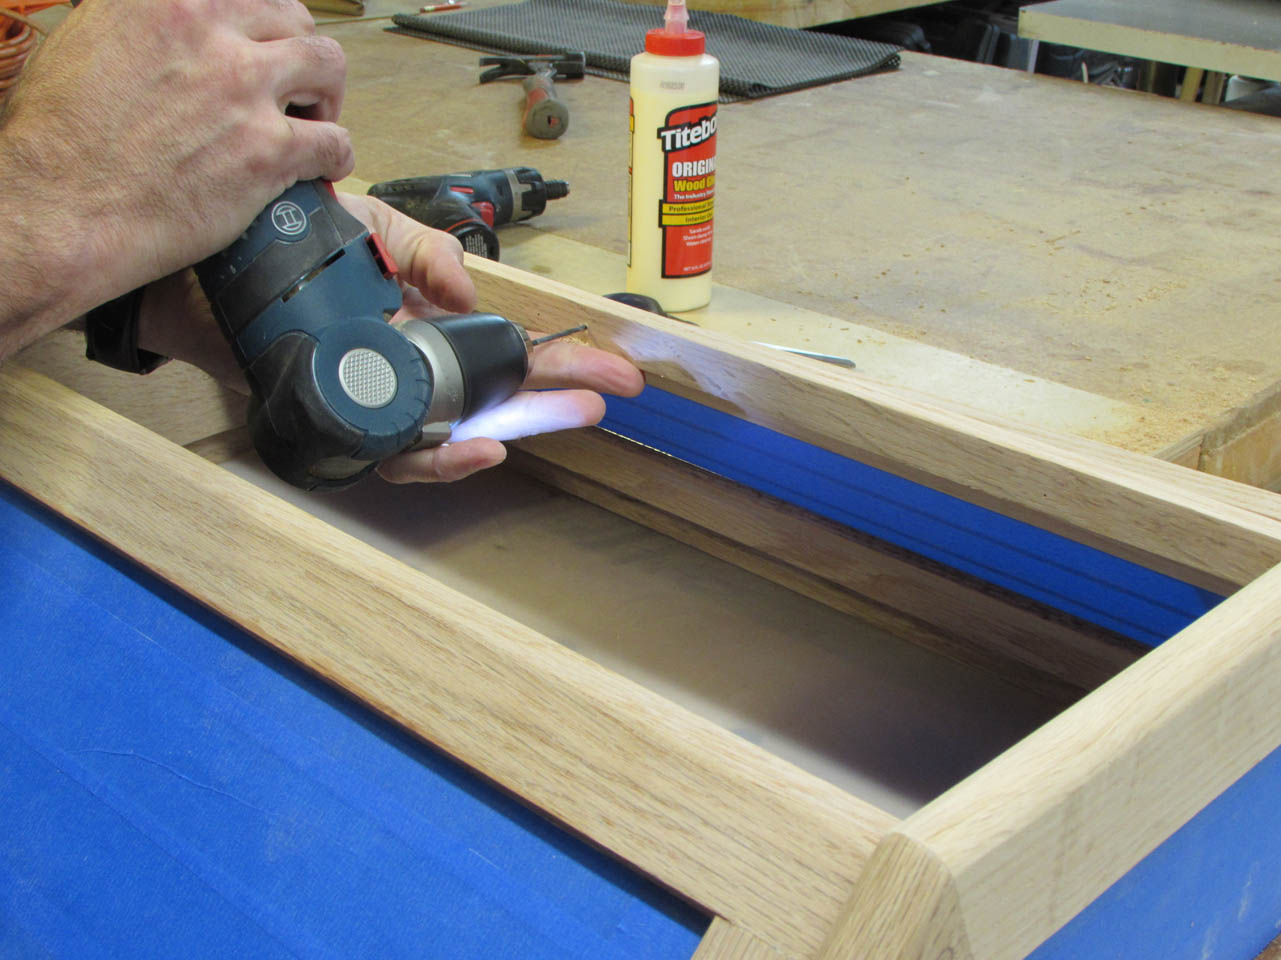
I used my angle-head drill to fit into the opening and pre-drilled a pilot hole, then installed the first screw.

With the screw holding the hinge in place I marked either end and put a screw in both of those holes as well.
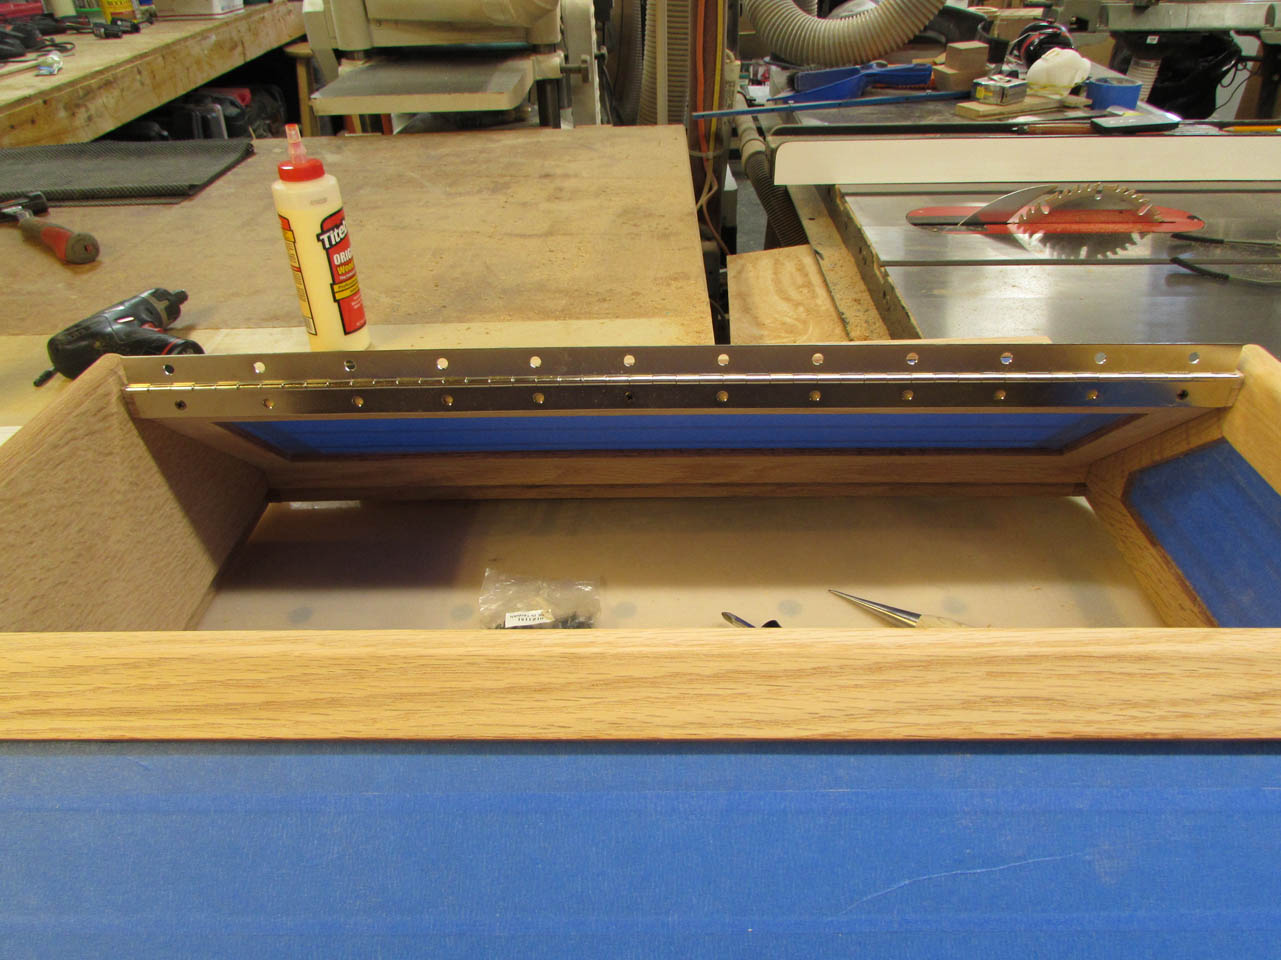
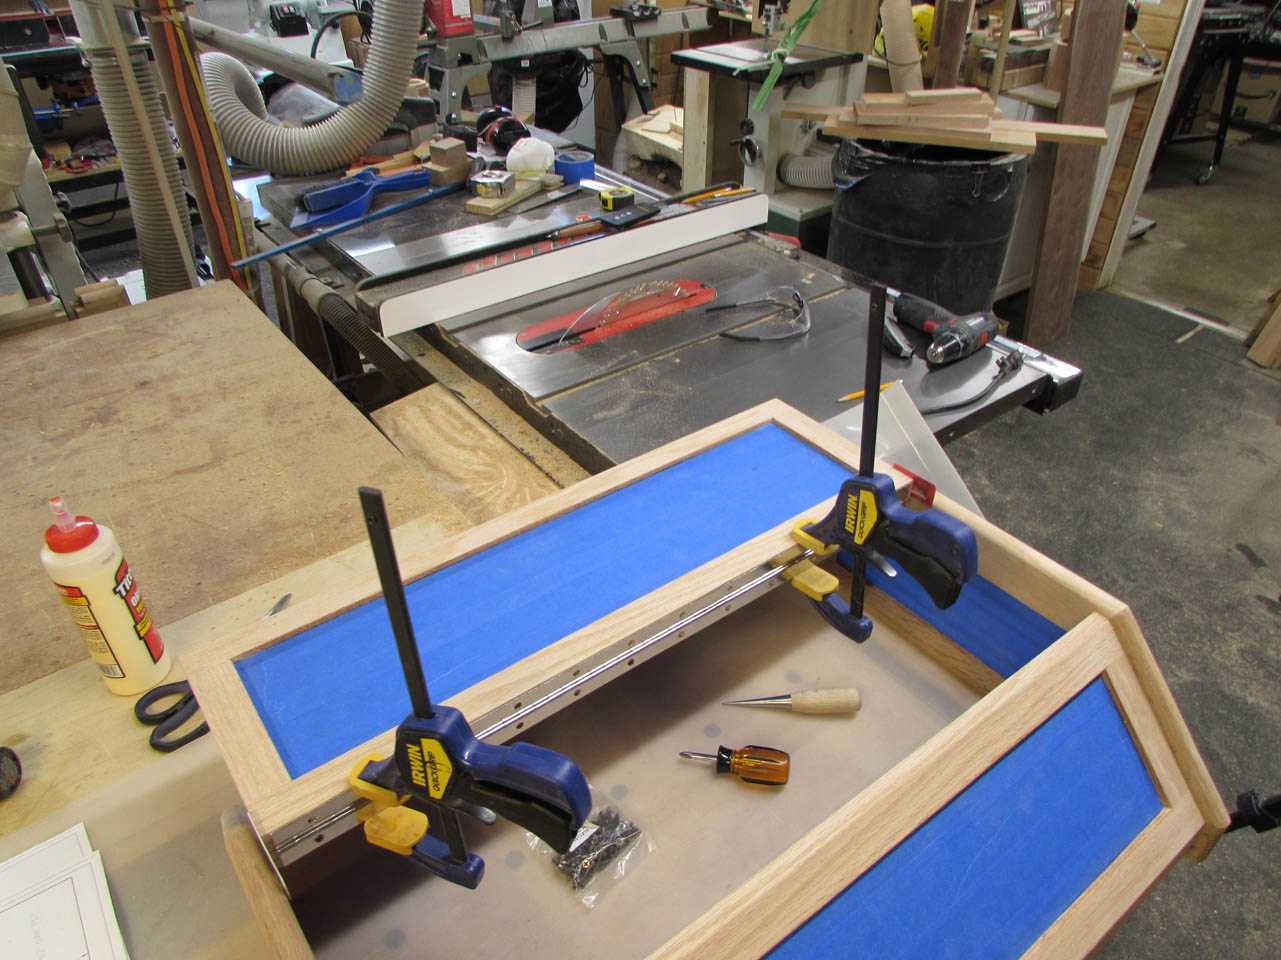
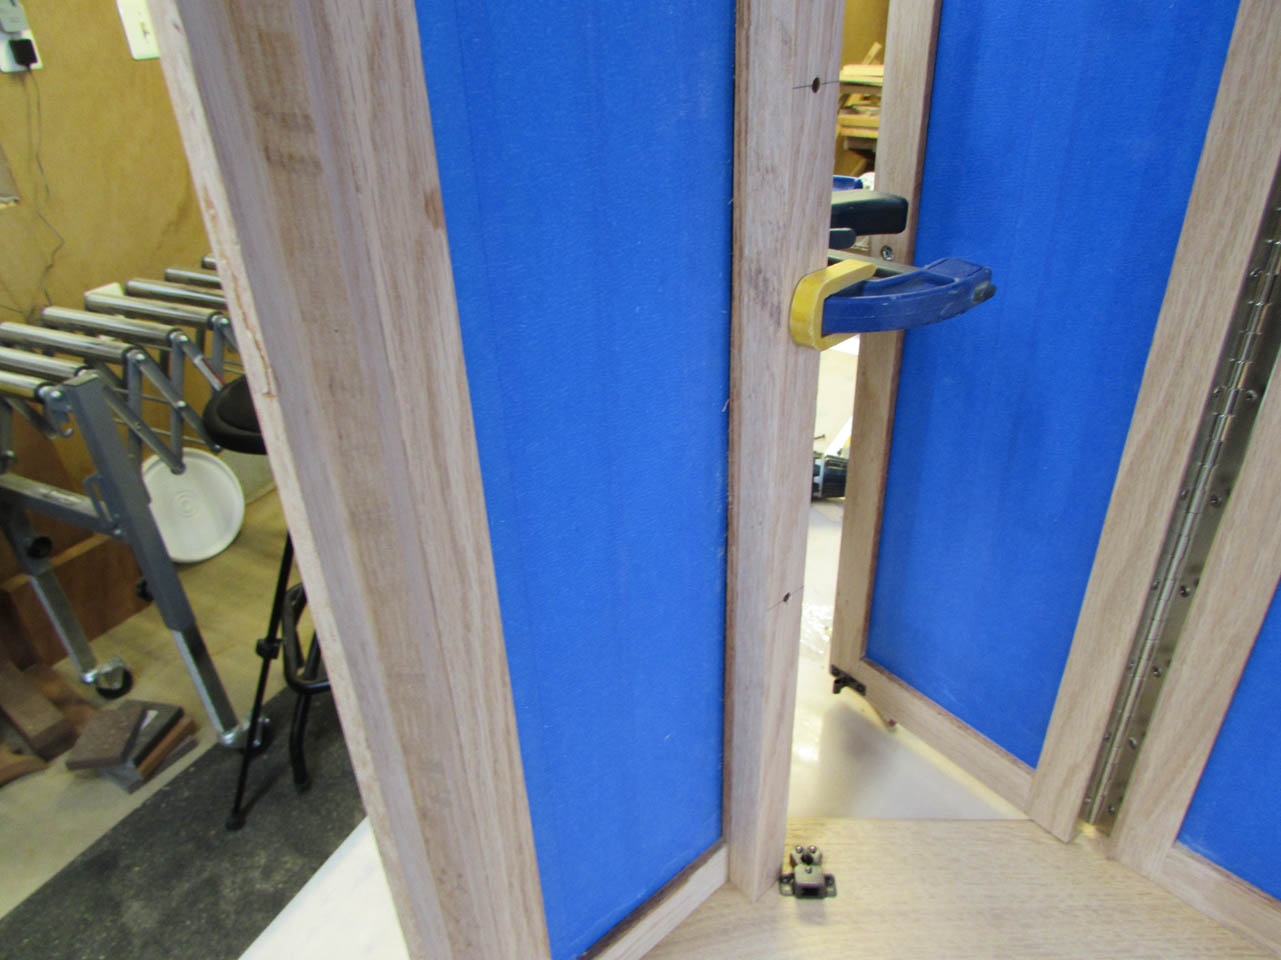
Next, I clamped the door into the open position, using a credit card thick spacer at each end, then drilled and added three more screws to the door.

A quick test showed that the door opened and closed fairly well. It was a little snug at the top, but I can trim off a bit when I take the door off.


After installing all of the 24 screws, I shut the door to see if it sat flush to the jamb. It was good everywhere but the top, right corner.

There, it sat out almost 1/16″. I removed the door and grabbed a couple of 1/32″ thick shims.
I placed a short one at the end and a longer one on top and taped them both into place.
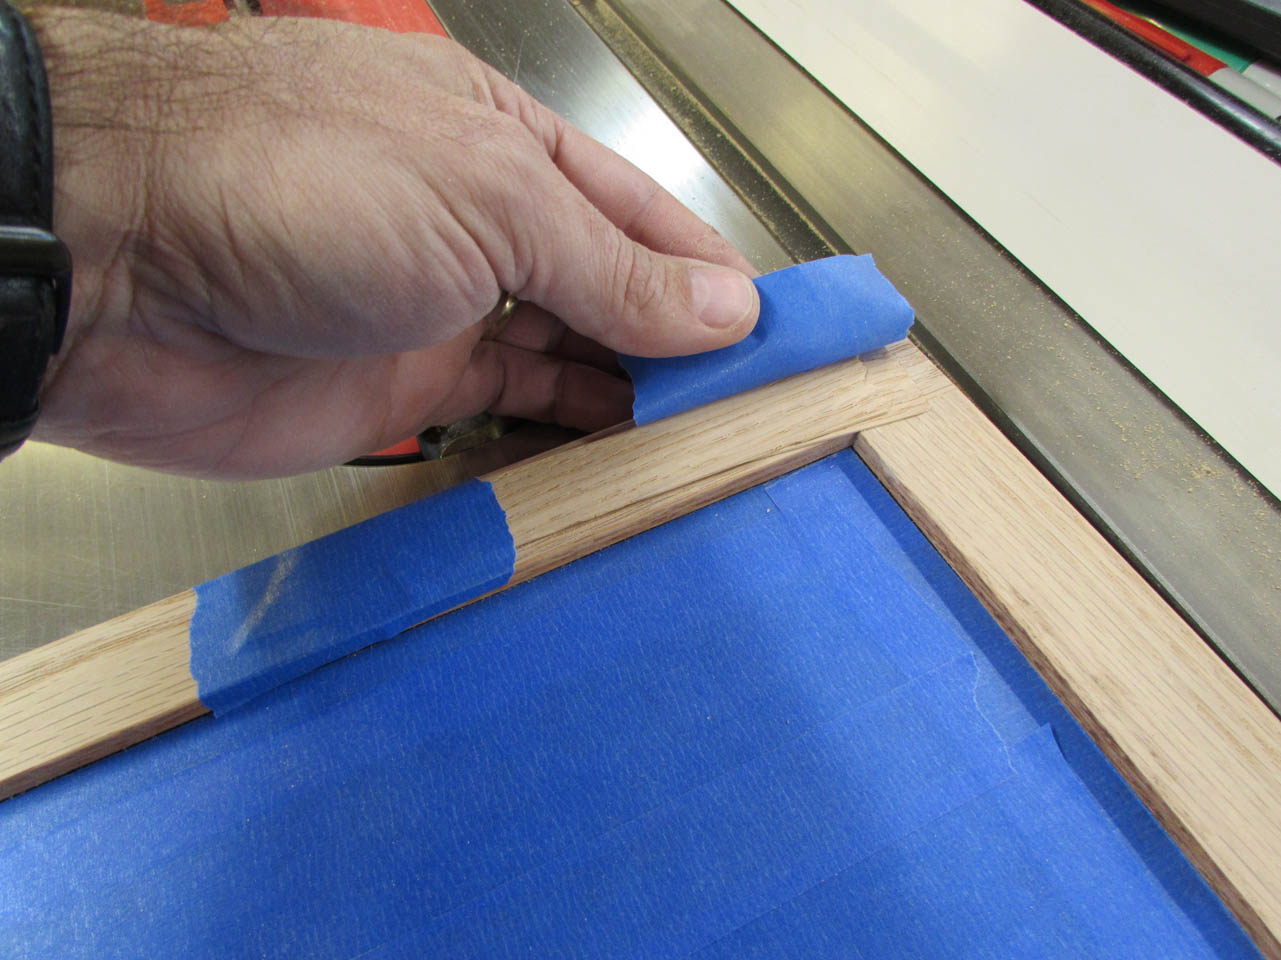
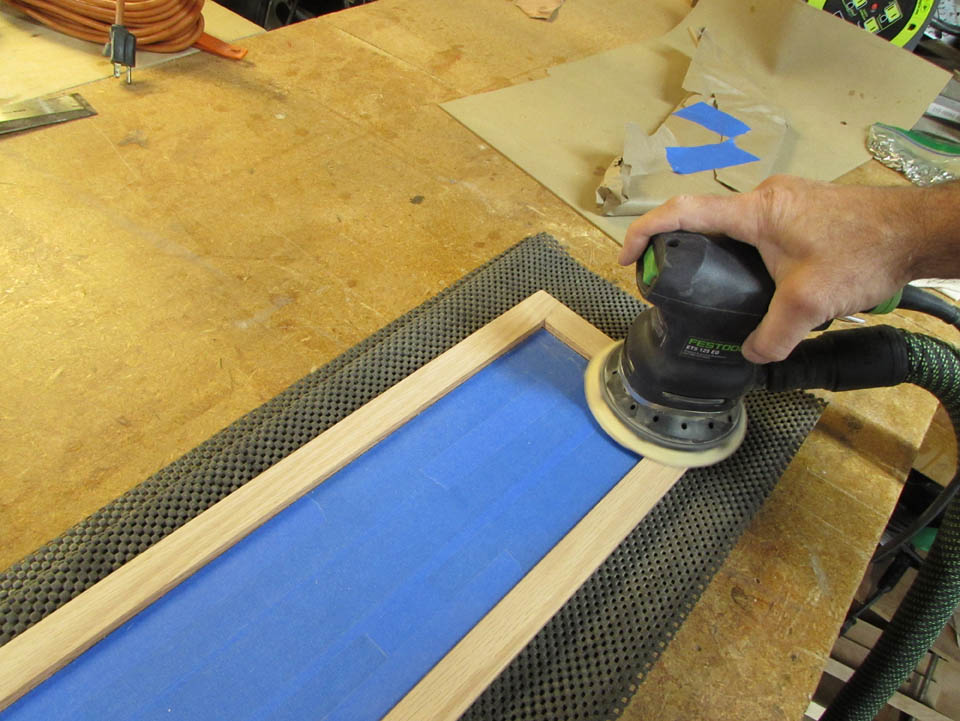
This created a slight ramp in the high corner, so that when I ran it through the drum sander, it sanded off only that corner.

I ran it through the sander a couple of times, lowering it a tiny bit each time until the shimmed corner was the exact same thickness as the bottom, unsanded corner.

Then I cleaned up the drum sander lines with my orbital sander.
After re-installing the hinge, the door sat perfectly flush.


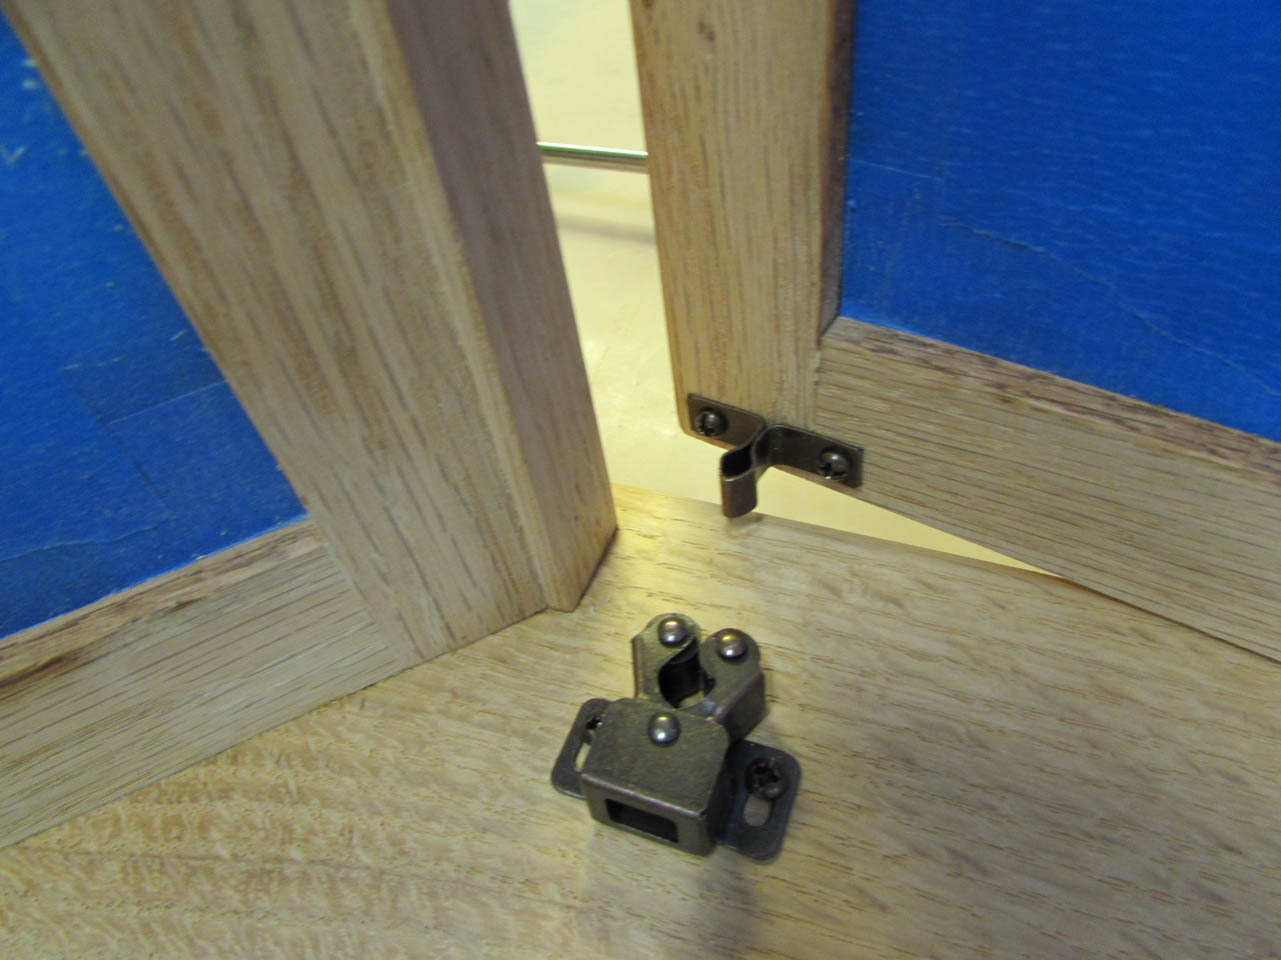
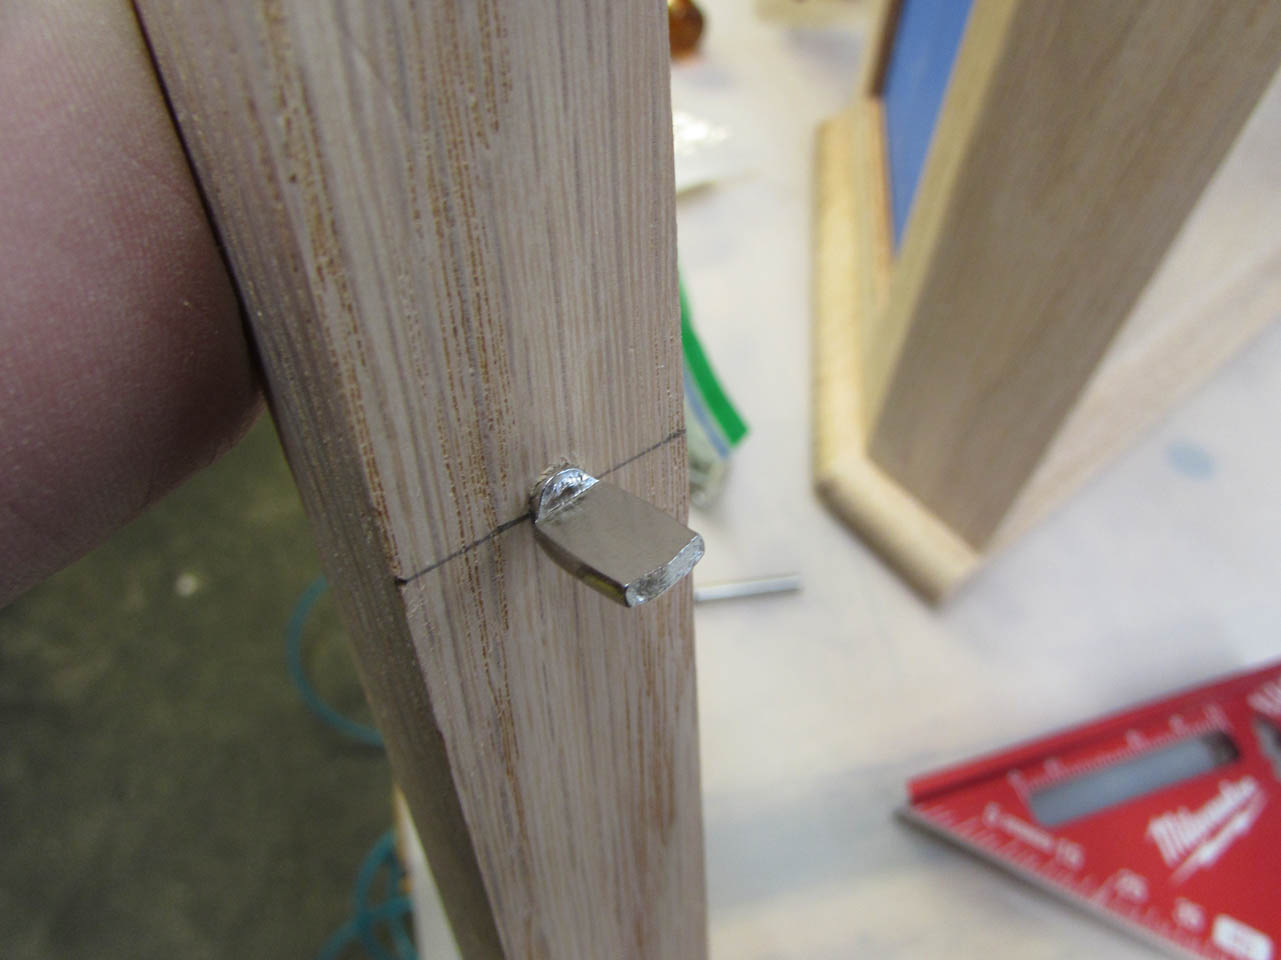
I bought several different types of catches for holding the door closed, and this is what I decided to use.

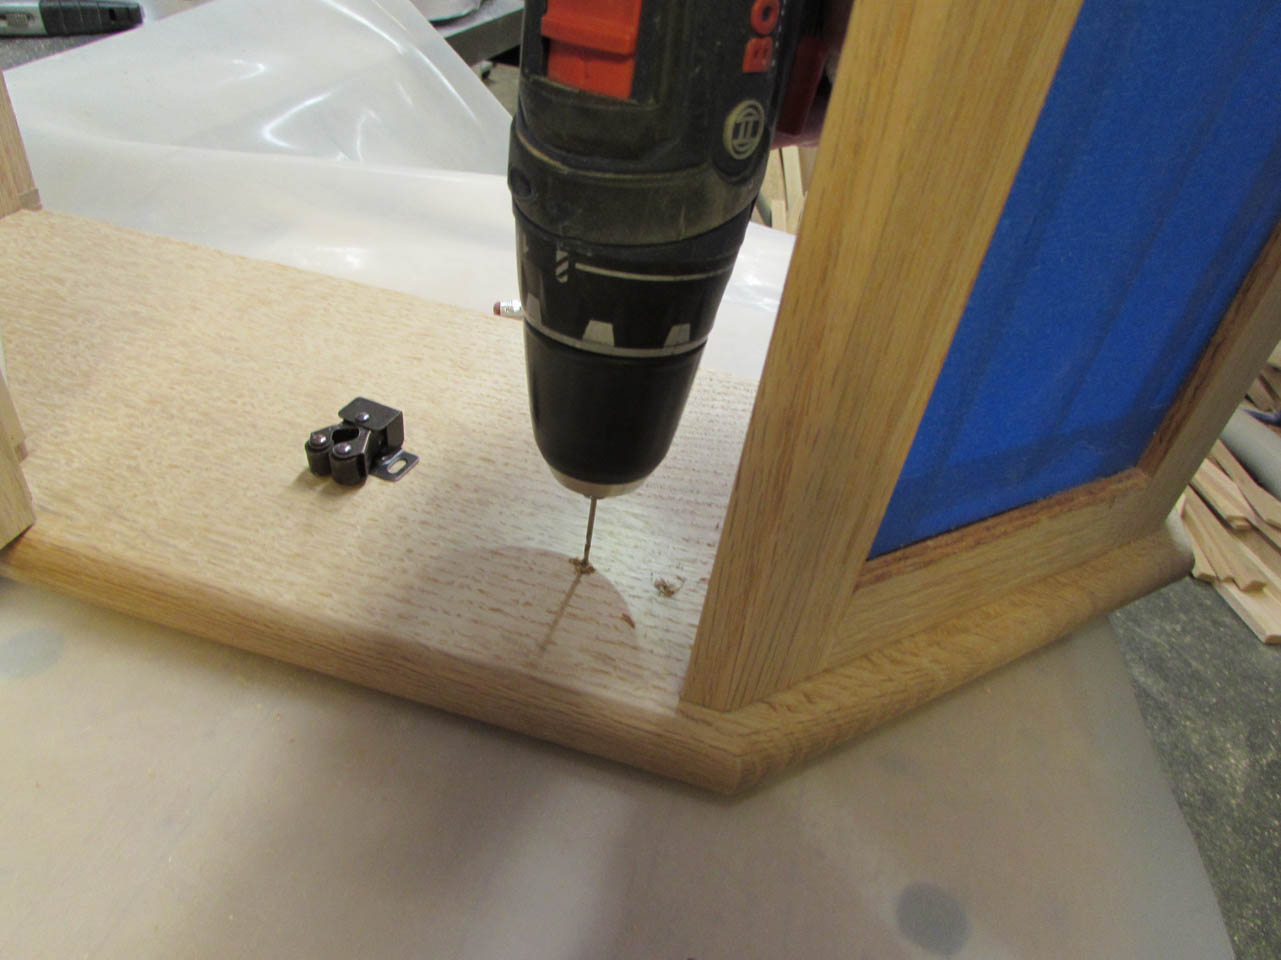
Not having made the back of the cabinet yet makes laying out the catch location very easy. I can just shut the door and walk around to the back and mark my mounting holes.
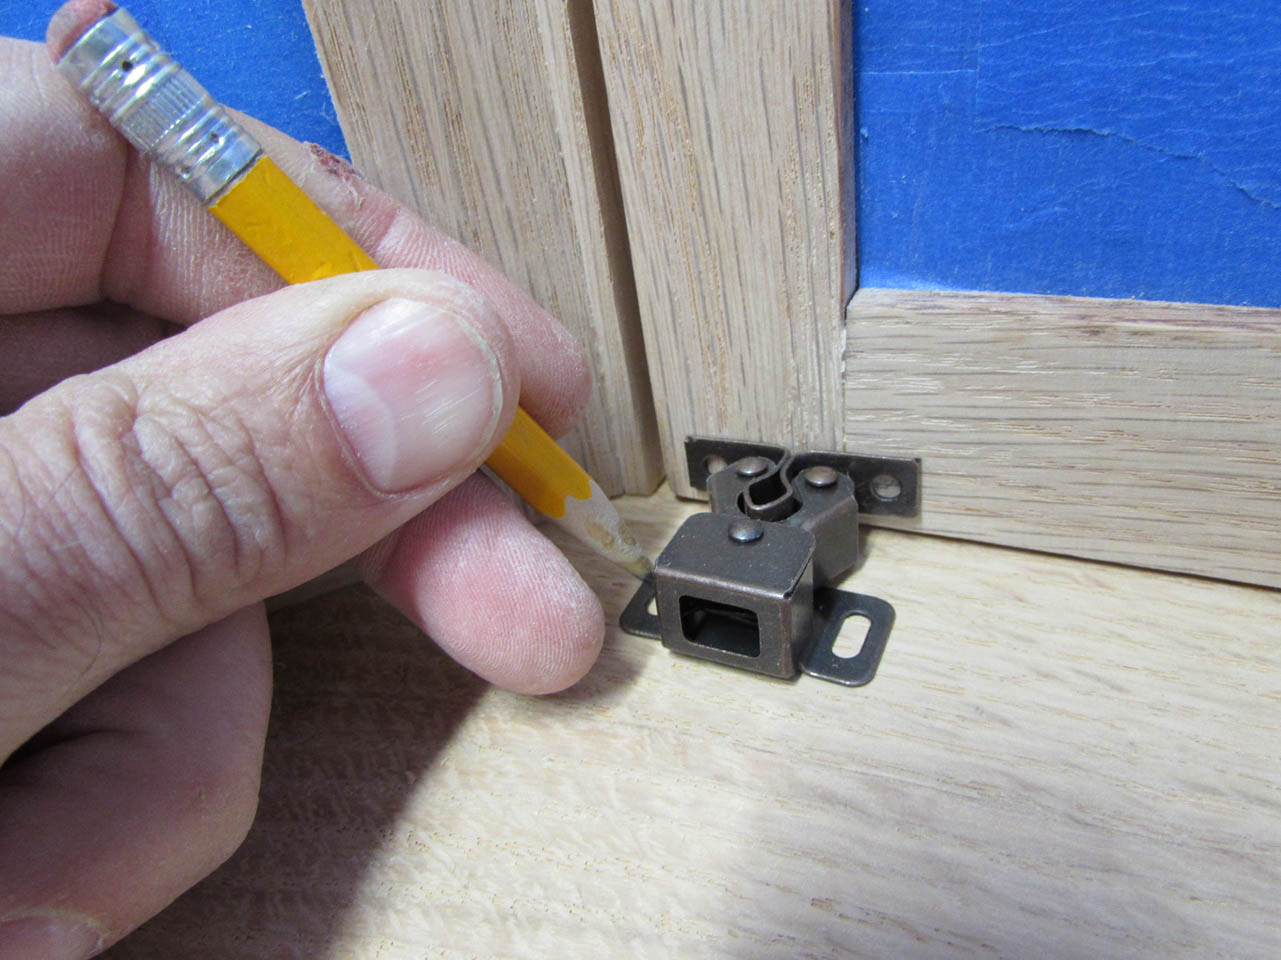

These screws are very thin and delicate. I pre-drill pilot holes, making sure not to drill through the door… Then I very carefully screwed them in by hand, backing the screws out repeatedly to make sure they did not bind.


I did the door first because it sets the location of the catch. If I break off a screw, I can shift the tongue sideways a bit and cover the broken screw with the plate, but if I set the catch first and break a screw on the door, I have to move everything. Even though the catch is adjustable, I placed the screws at the end that ensures it won’t move in further when the door is closed. This also leaves room to add more screws if needed.
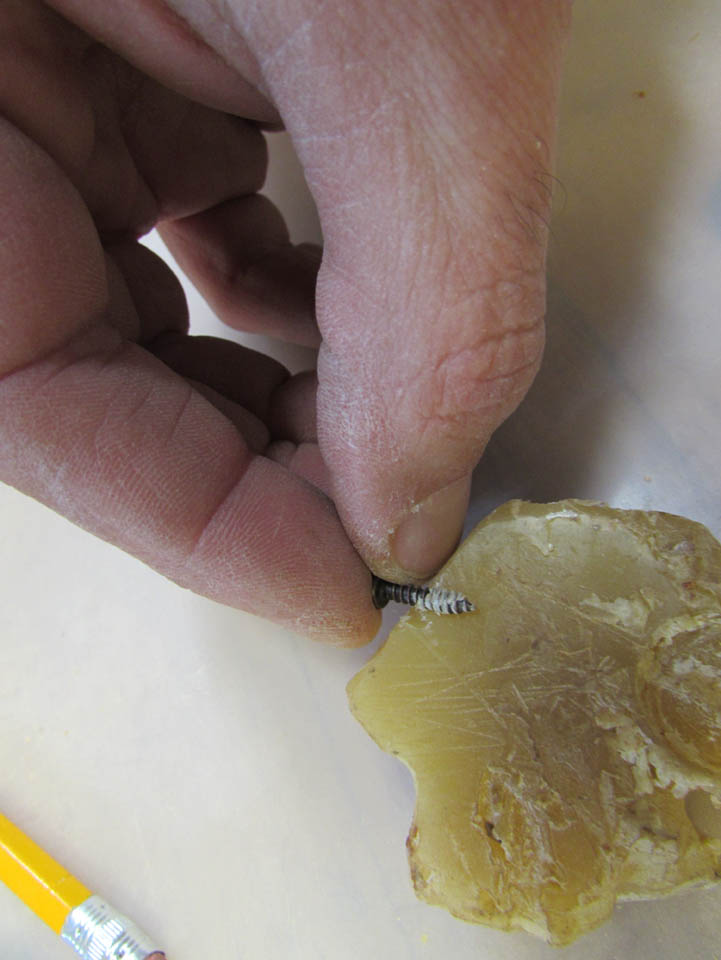
Another trick I use is to rub some bee’s wax on the screw so it moves easier.
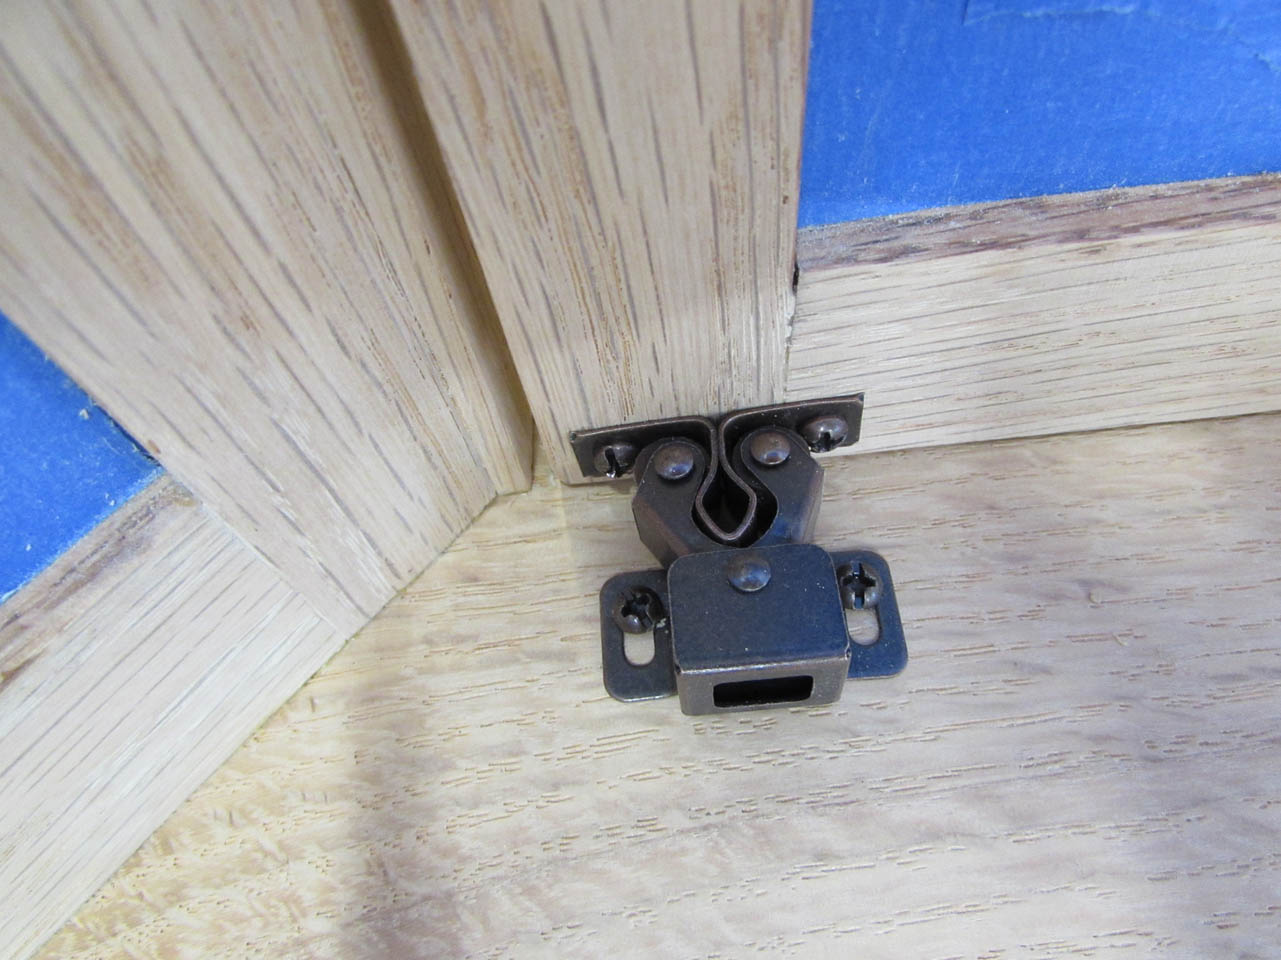
After installation, a few tests showed the door closes great and stays where it should.
I had trimmed a bit off of the top so my gap is even all the way around.

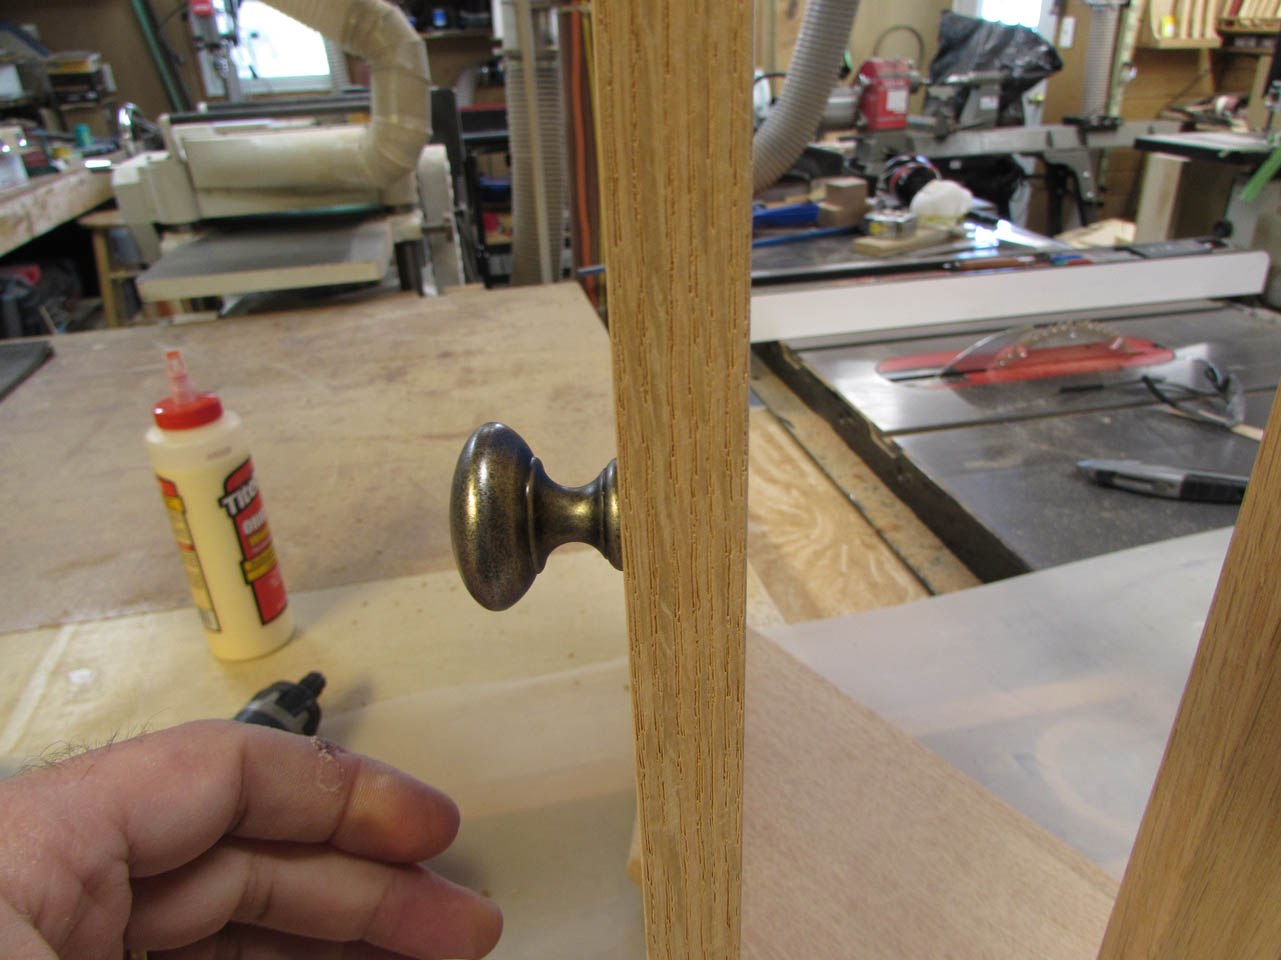
Picking hardware is always fun. Most people cannot visualize very well. Monsignor gave me a general idea of color and shape, then I bought a selection of knobs in the general area of what was desired, then sent a picture.

Here is the winning knob, so the rest go back in the hardware box for the next project…


I located the center of the door frame and pre-drilled a small pilot hole.

To achieve the maximum amount of thread engagement, I need to create a counter-bore on the back side.
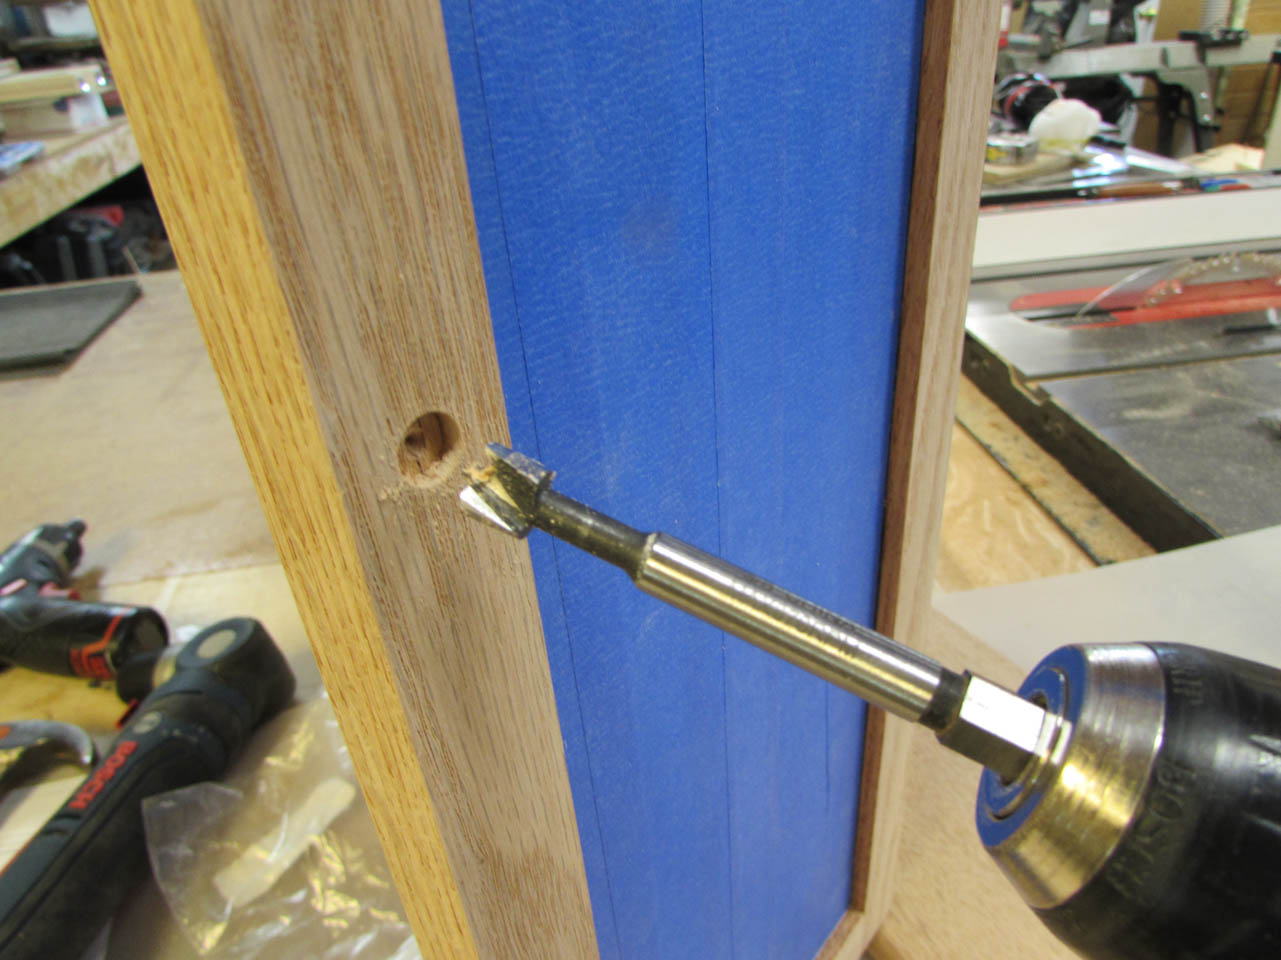
I use a 3/8″ forstner bit to drill a shallow pocket. This will receive the head of the screw.

Then I drill a much larger through hole to allow the screw to pass through.


After tightening the screw fully, the head is completely recessed, and the knob looks great.
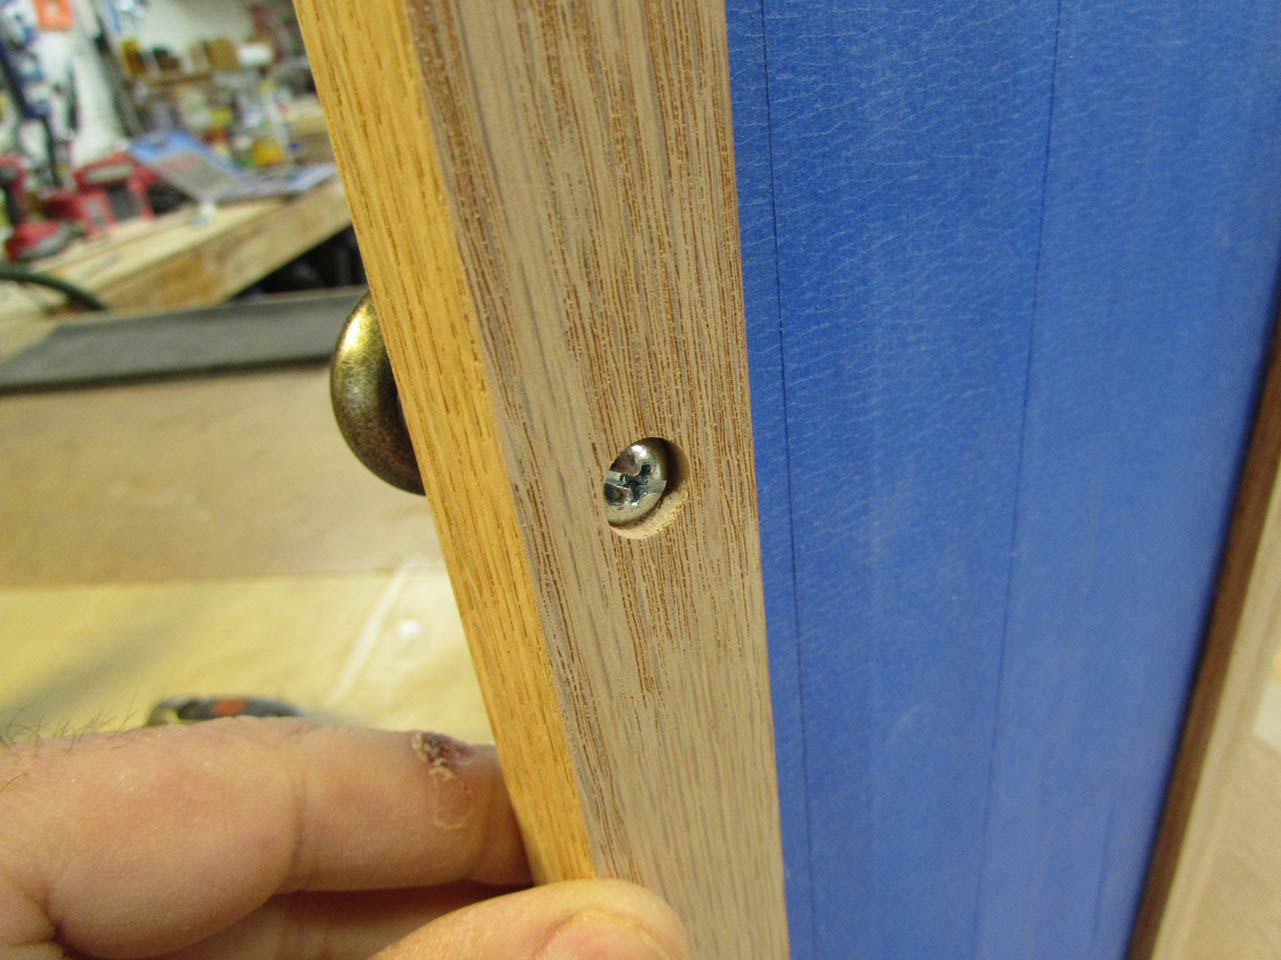
You cannot even see the head from the side.
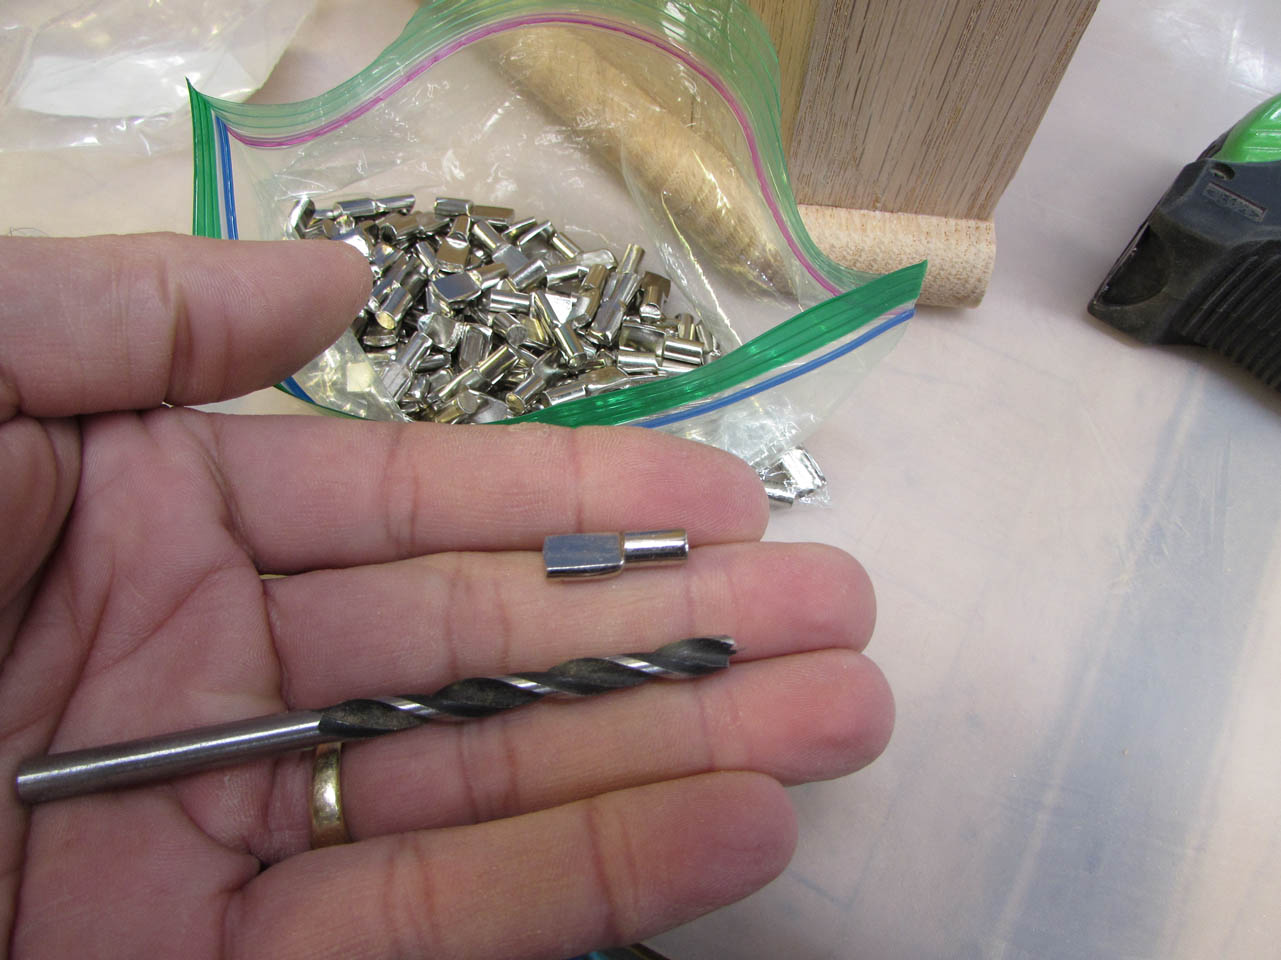
I bought some small shelf spoons to hold up the glass shelves. I measured the cylinder side and found a 5mm drill bit to match it exactly. It has to be a tight hole or the supports could fall out.
So the shelves sit perfectly flat, I need to place the holes at the exact same height at every location.

I cut a piece of oak the exact same width as my window frames and the exact height of the inside of the box. This will be my drill template for all of the support holes.

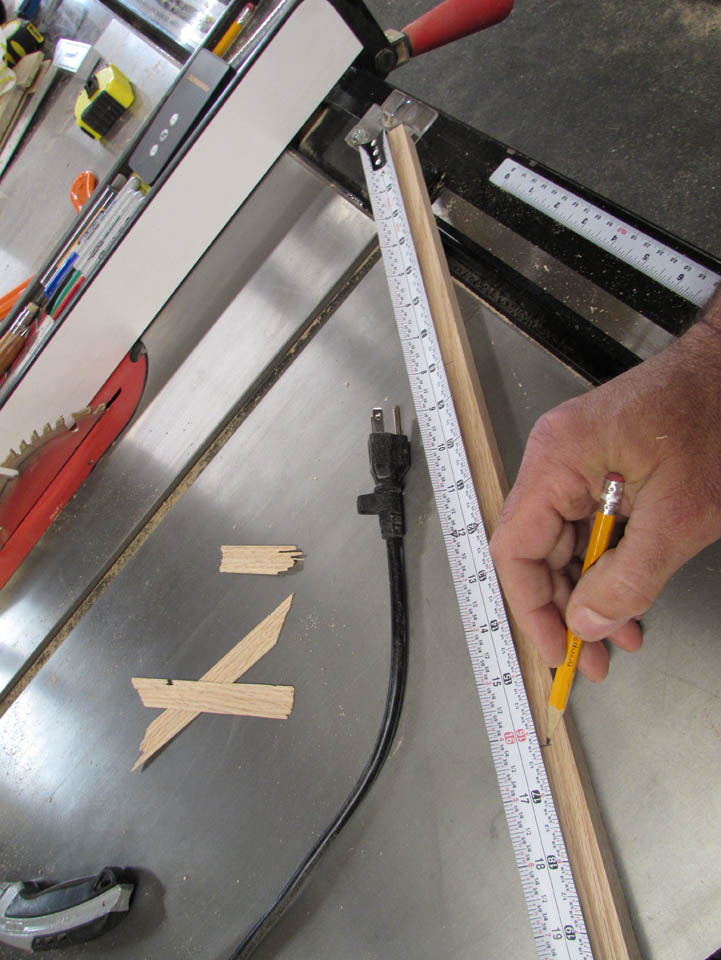
I divided it evenly, accounting for the 1/4″ thick shelves.
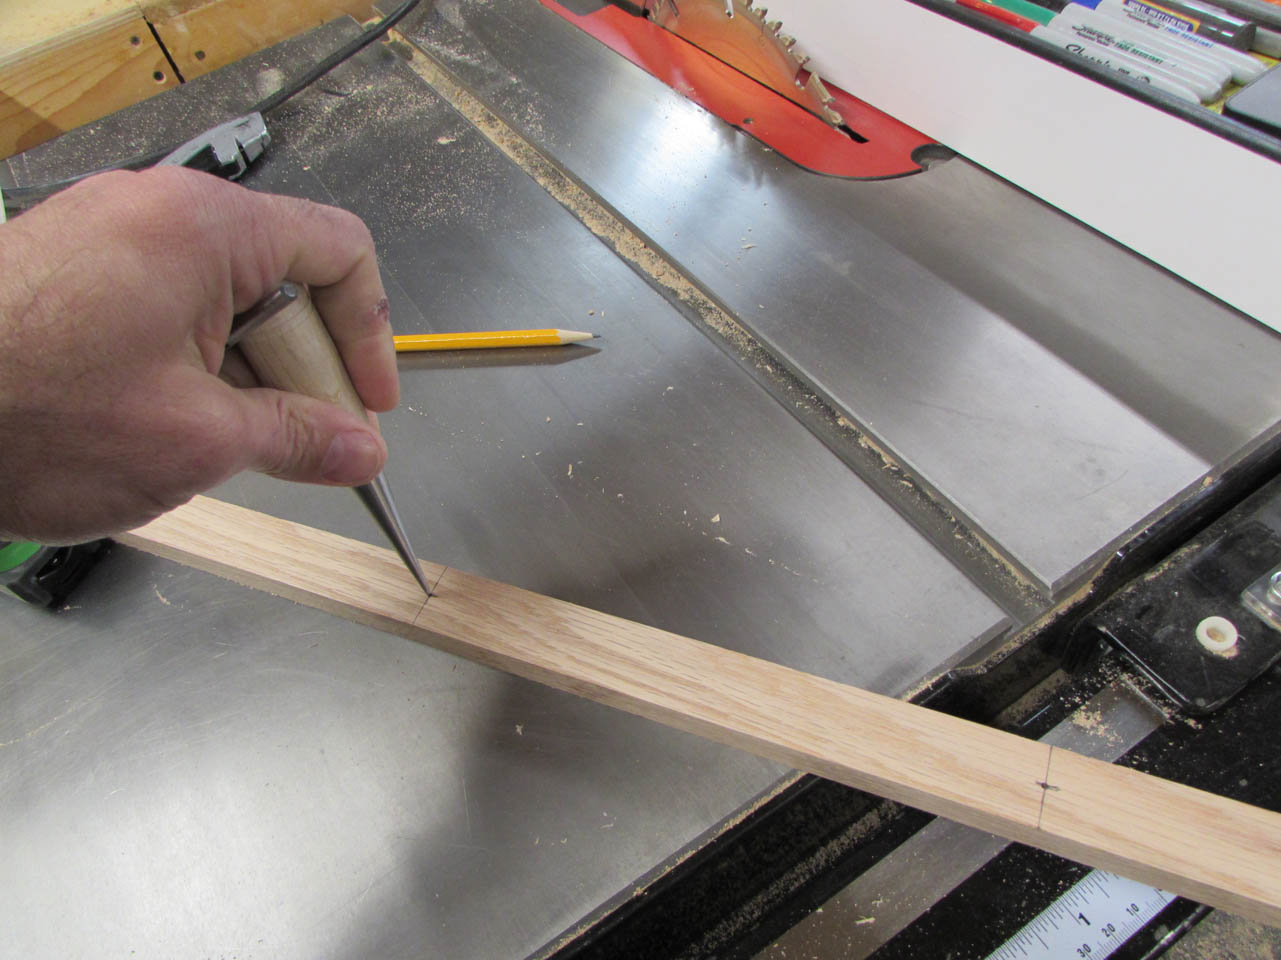
Then pre-drilled two 5mm holes. I also marked the bottom of the board so I used the same orientation for each hole.
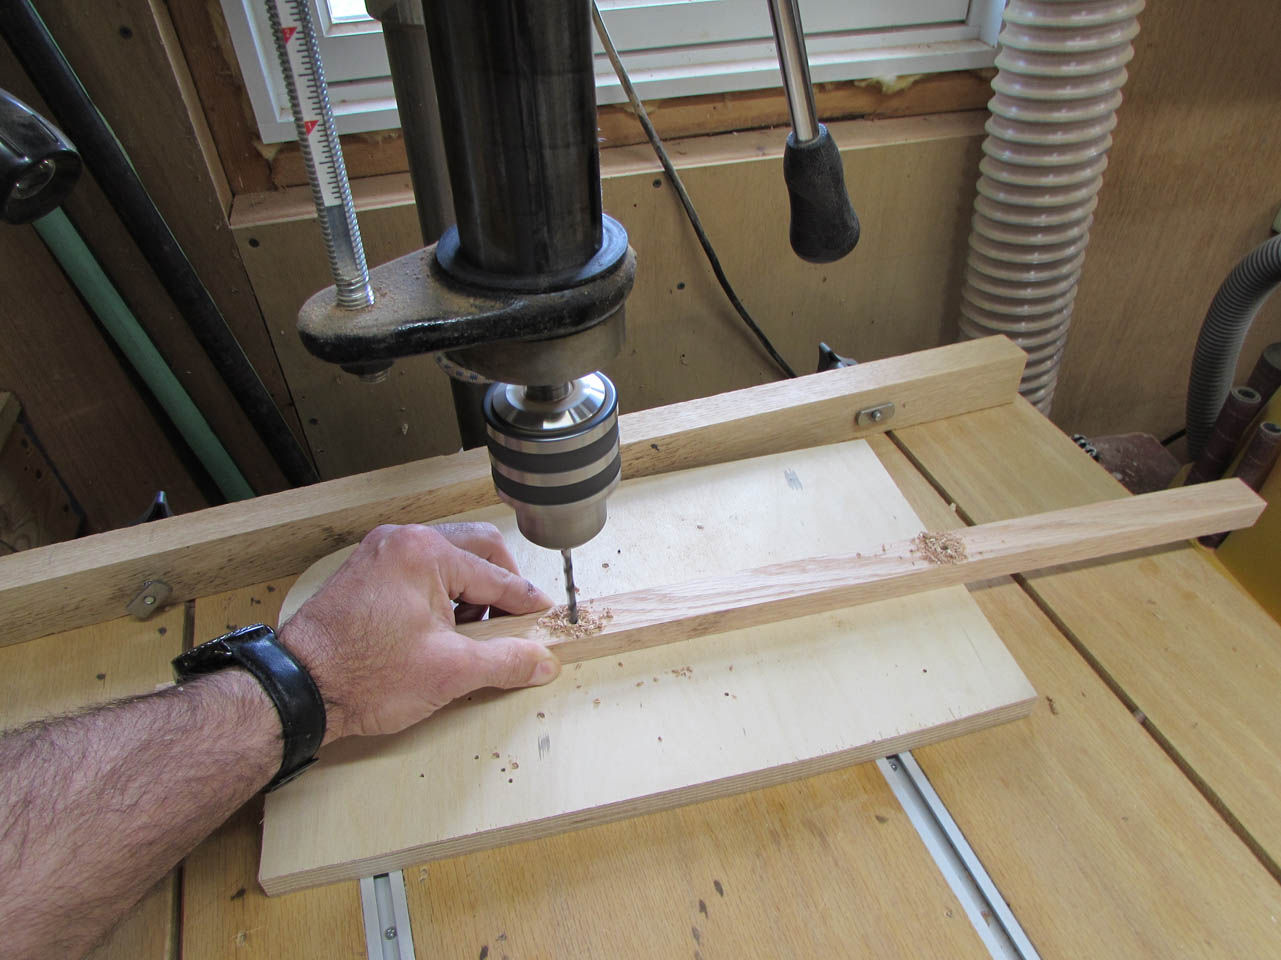
After a test-fit of the shelf spoon, I was ready to drill.
I lined the template up with the inside edge of the window frame and clamped it in place. Then I marked the depth of the hole on my drill bit before drilling out each one.

After moving to all four sides of the windows and repeating the process, I installed eight shelf spoons and the shelves.

They sit perfectly with no rattles.
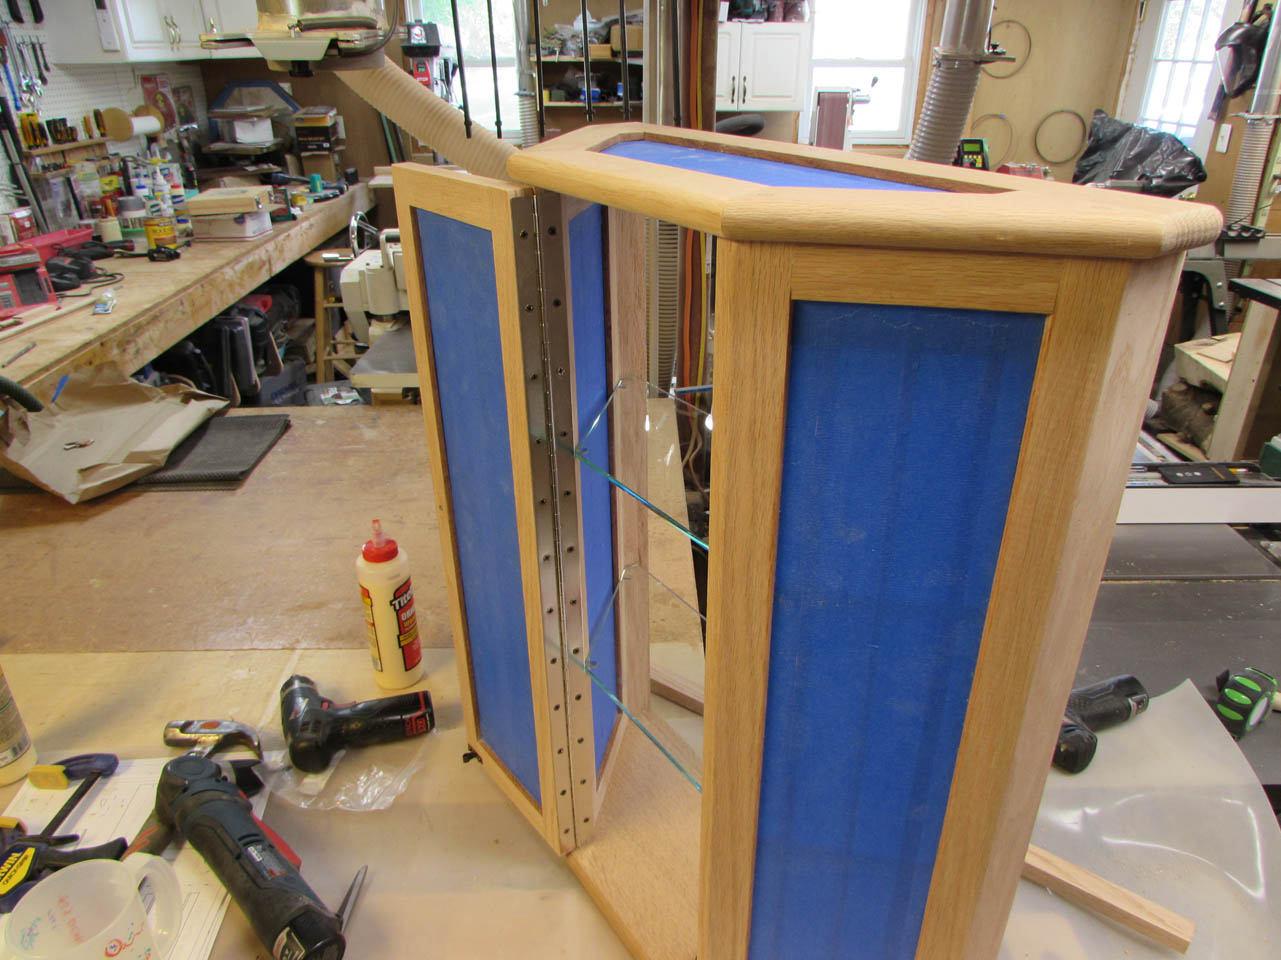
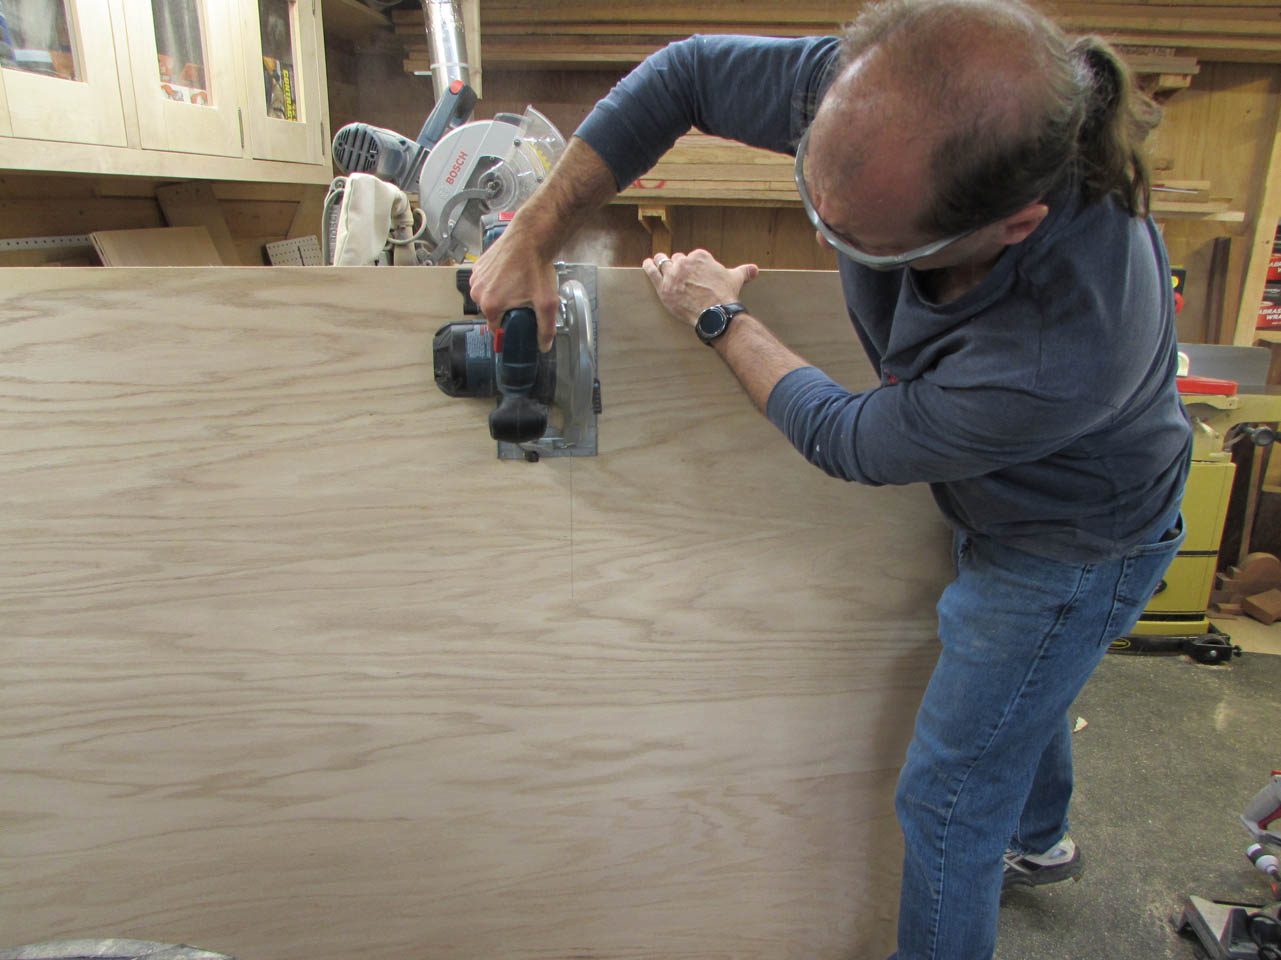
The next piece to make is the back panel. I pulled a sheet of 1/2″ oak plywood and marked a line about 1/2″ longer than I needed and made a quick cut with my circular saw.

This piece is small enough to cut to the proper size on my table saw so I did not bother setting up my track saw to do a more precise cut.
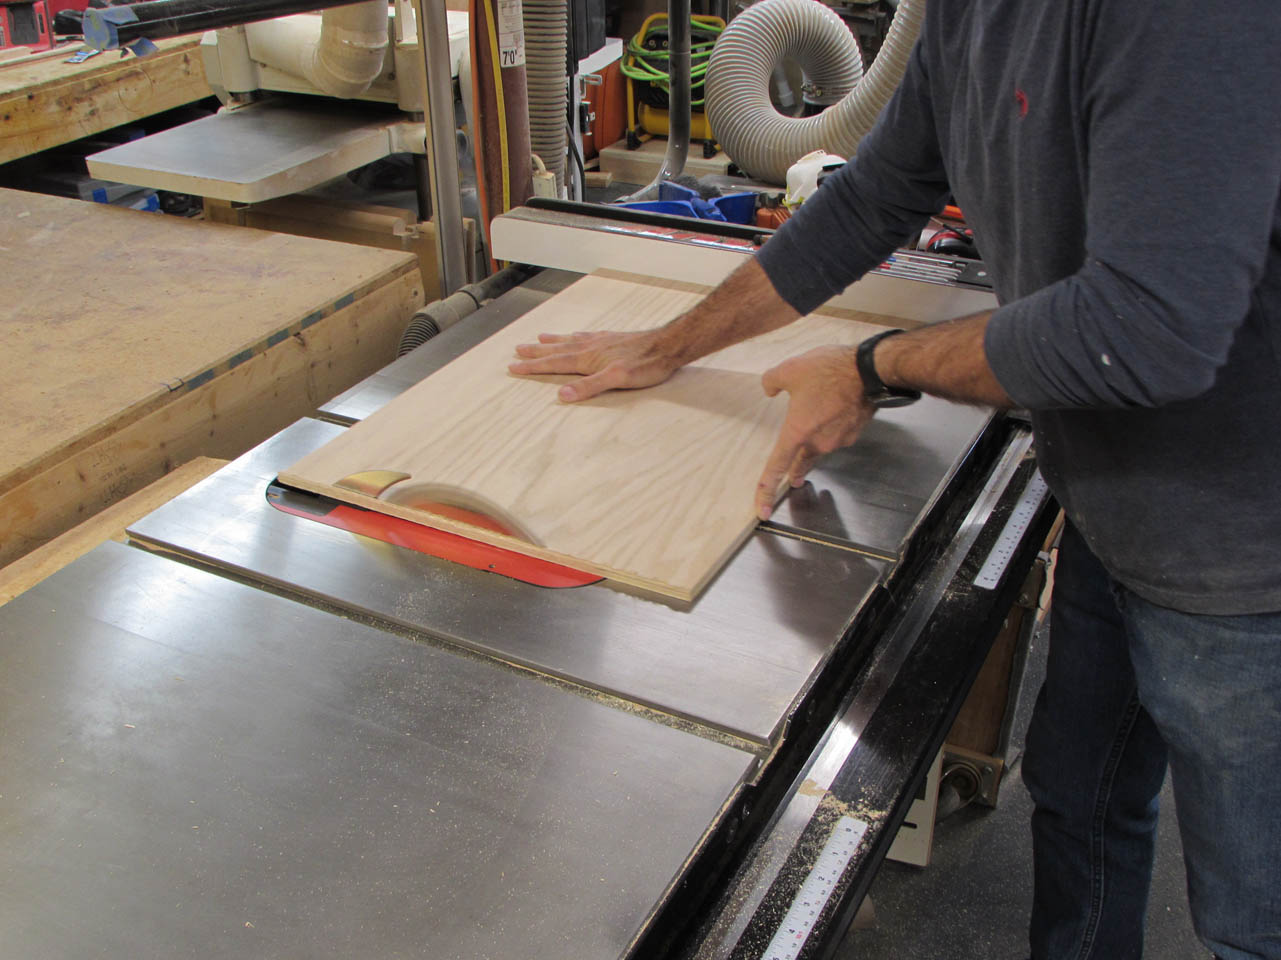

Perfectly snug test fit.

Being in a difficult location to clamp, I will be gluing and screwing the back panel on. I pre-drilled holes around the back and screwed the panel on for now to do a dry-fit and make sure the shelves fit well, before adding any glue.

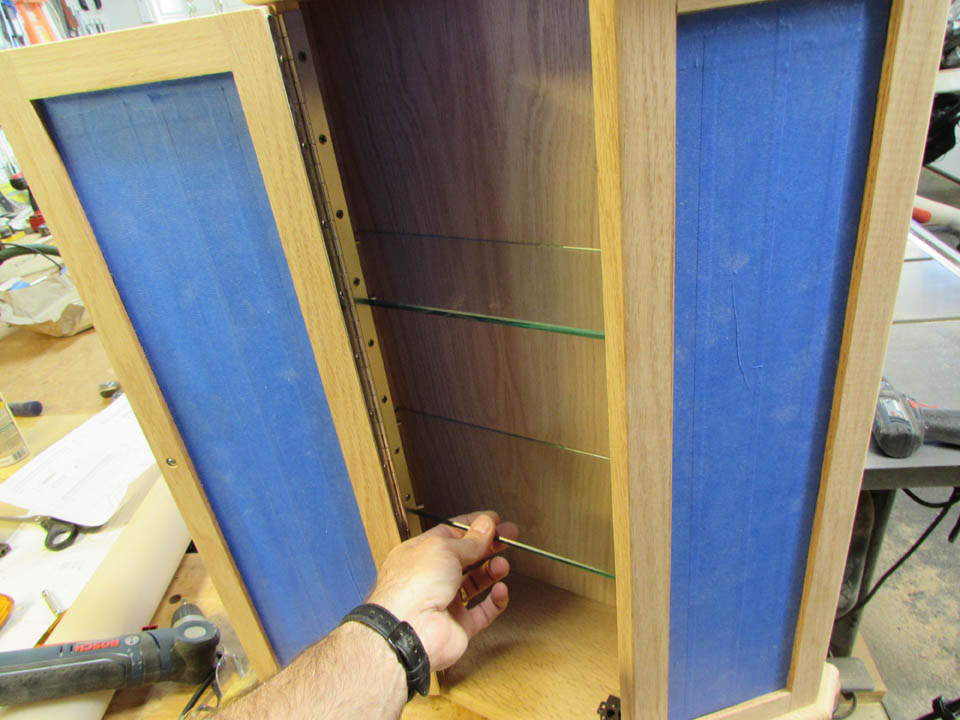
The shelves fit perfectly with only about 1/32″ of wiggle room.
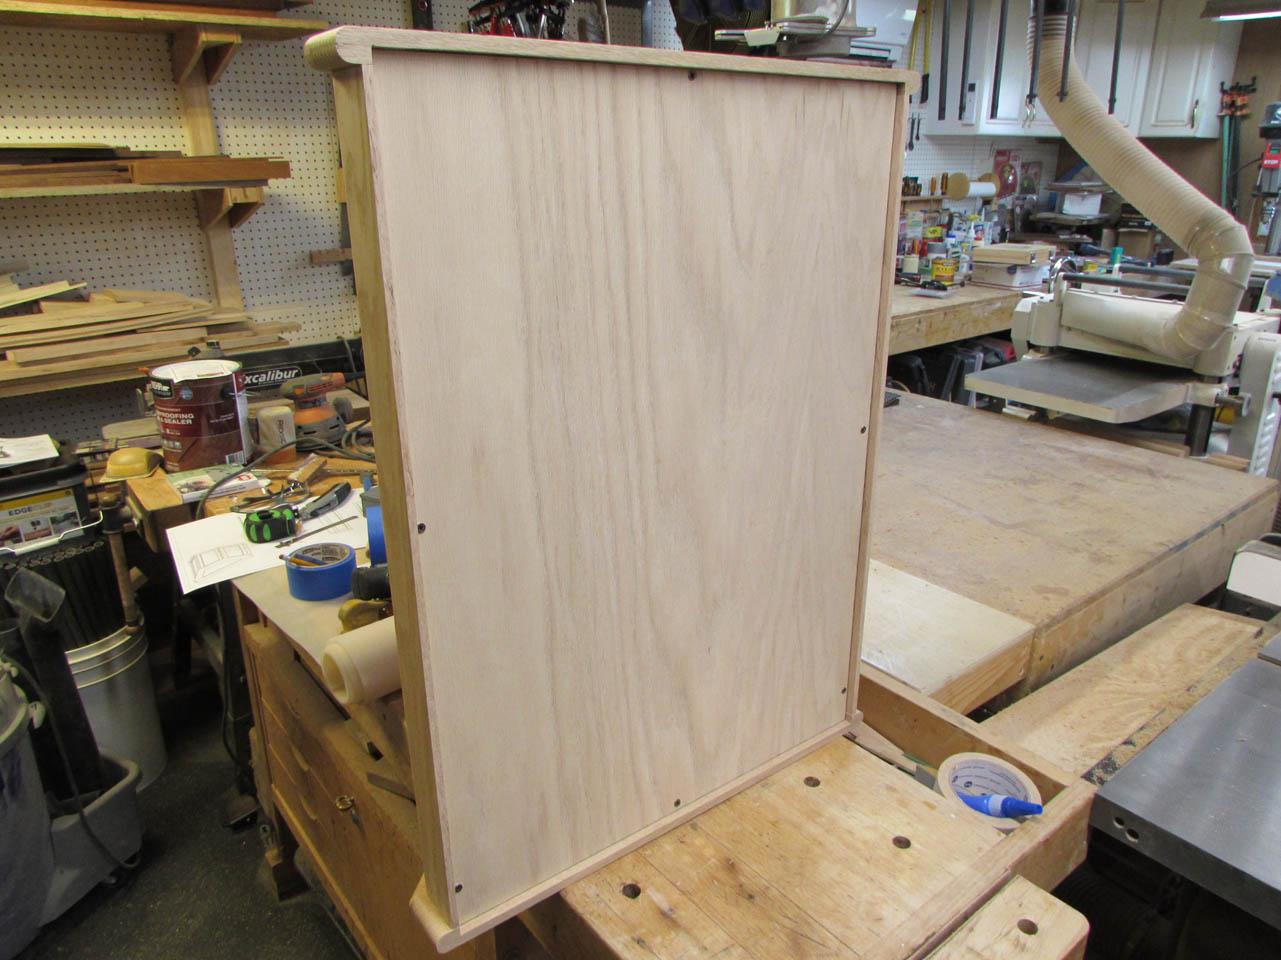
The back panel is recessed in about 3/8″ so I can create a french cleat to hang it on the wall.

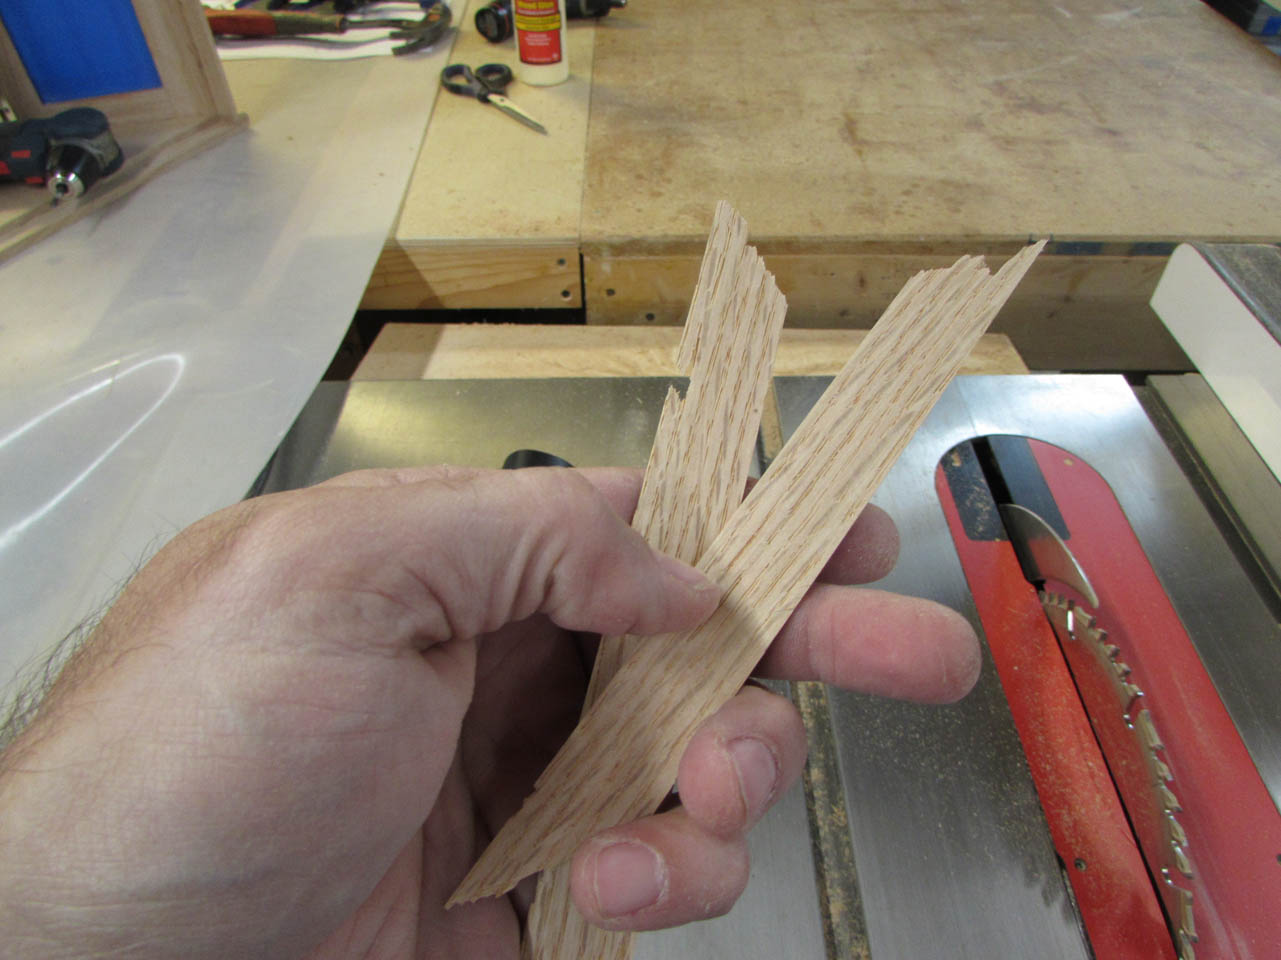
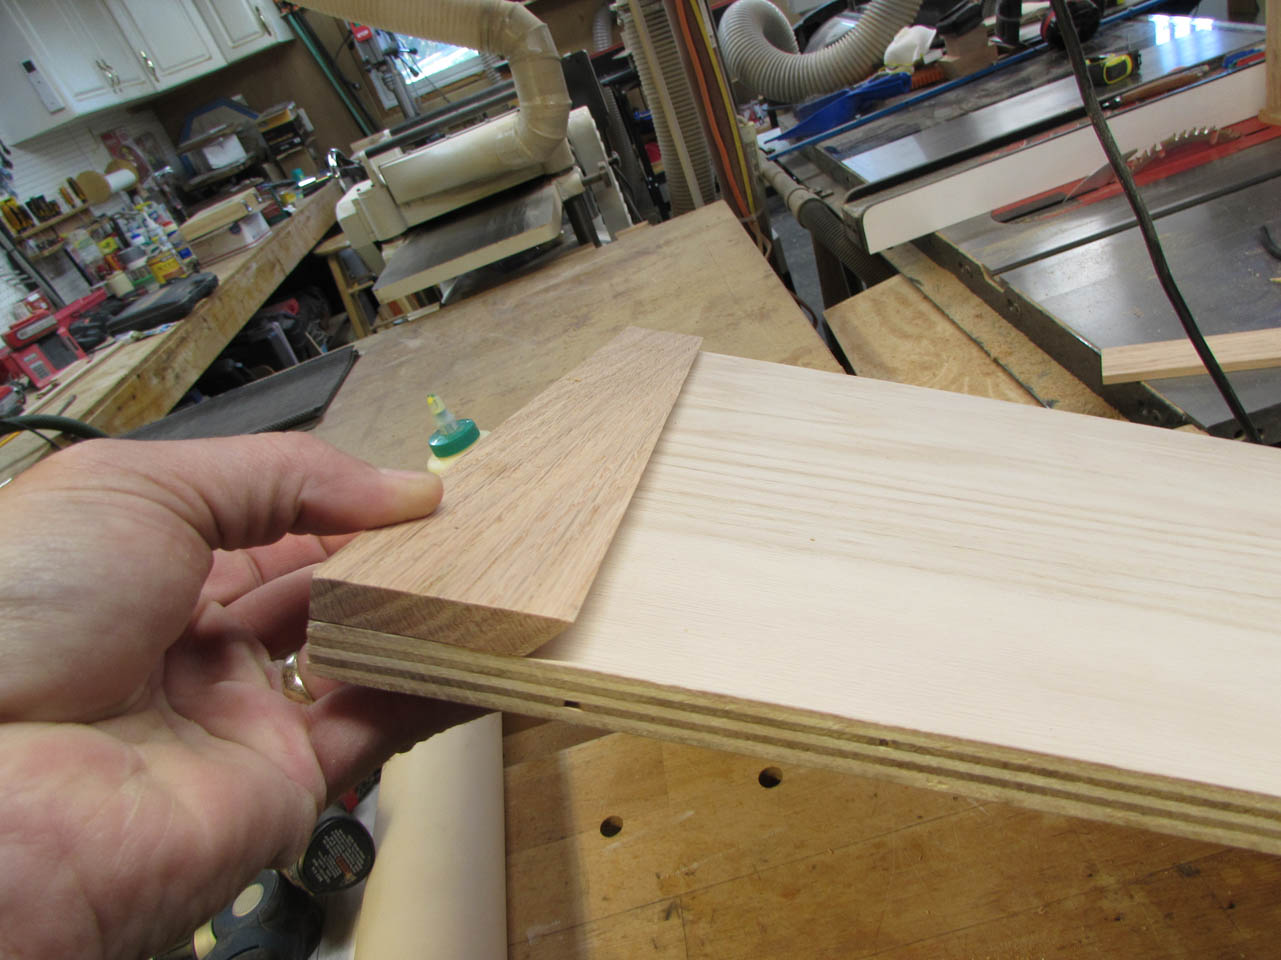
I grabbed a 4″ wide board and planed it down to 3/8″ thick.

Then cut a 45° angle down the center and cut the strips to length.

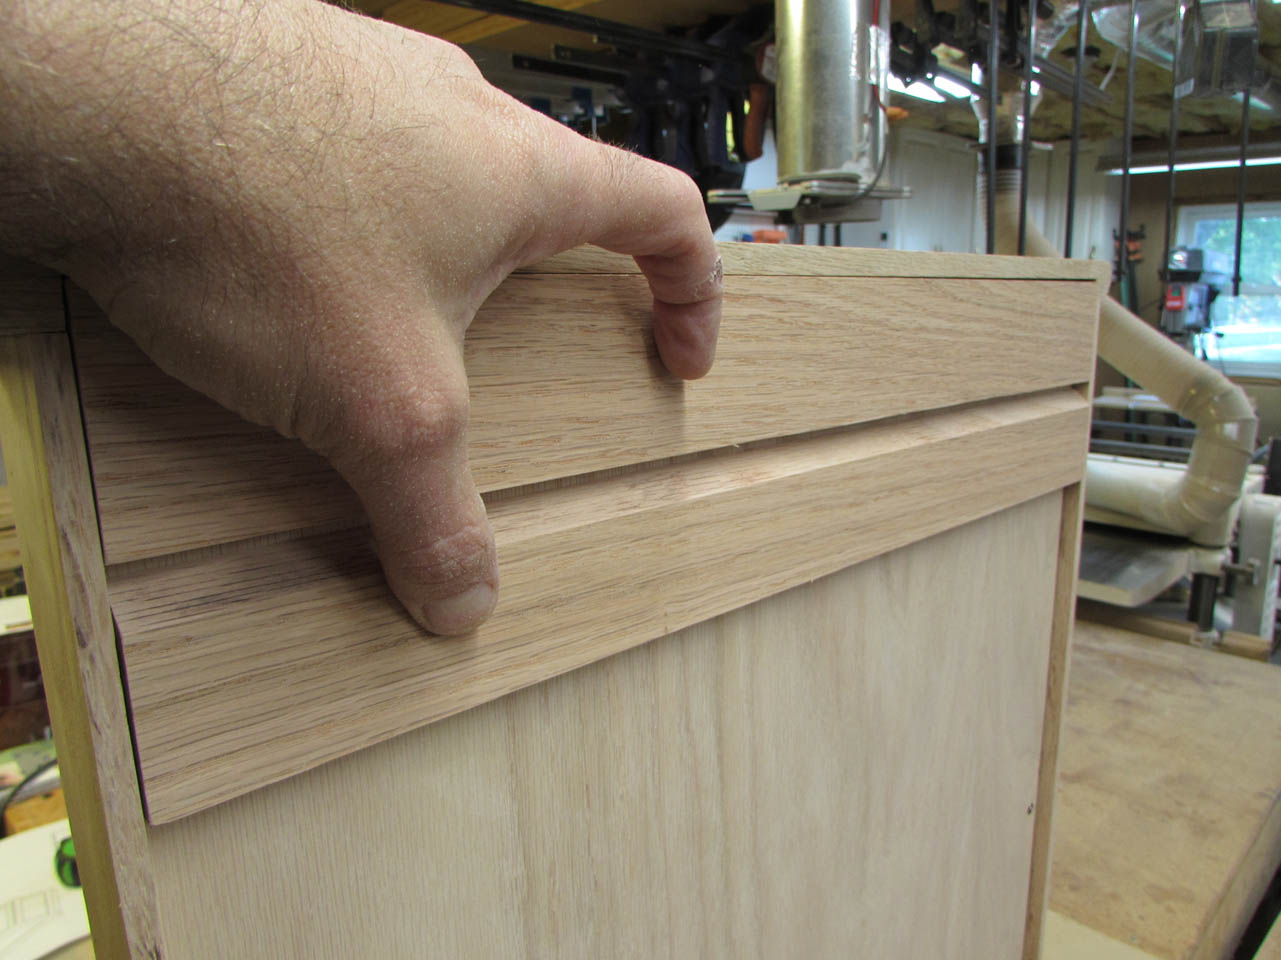
This will give me my top cleat and perfectly matched bottom cleat that will be mounted to the wall.

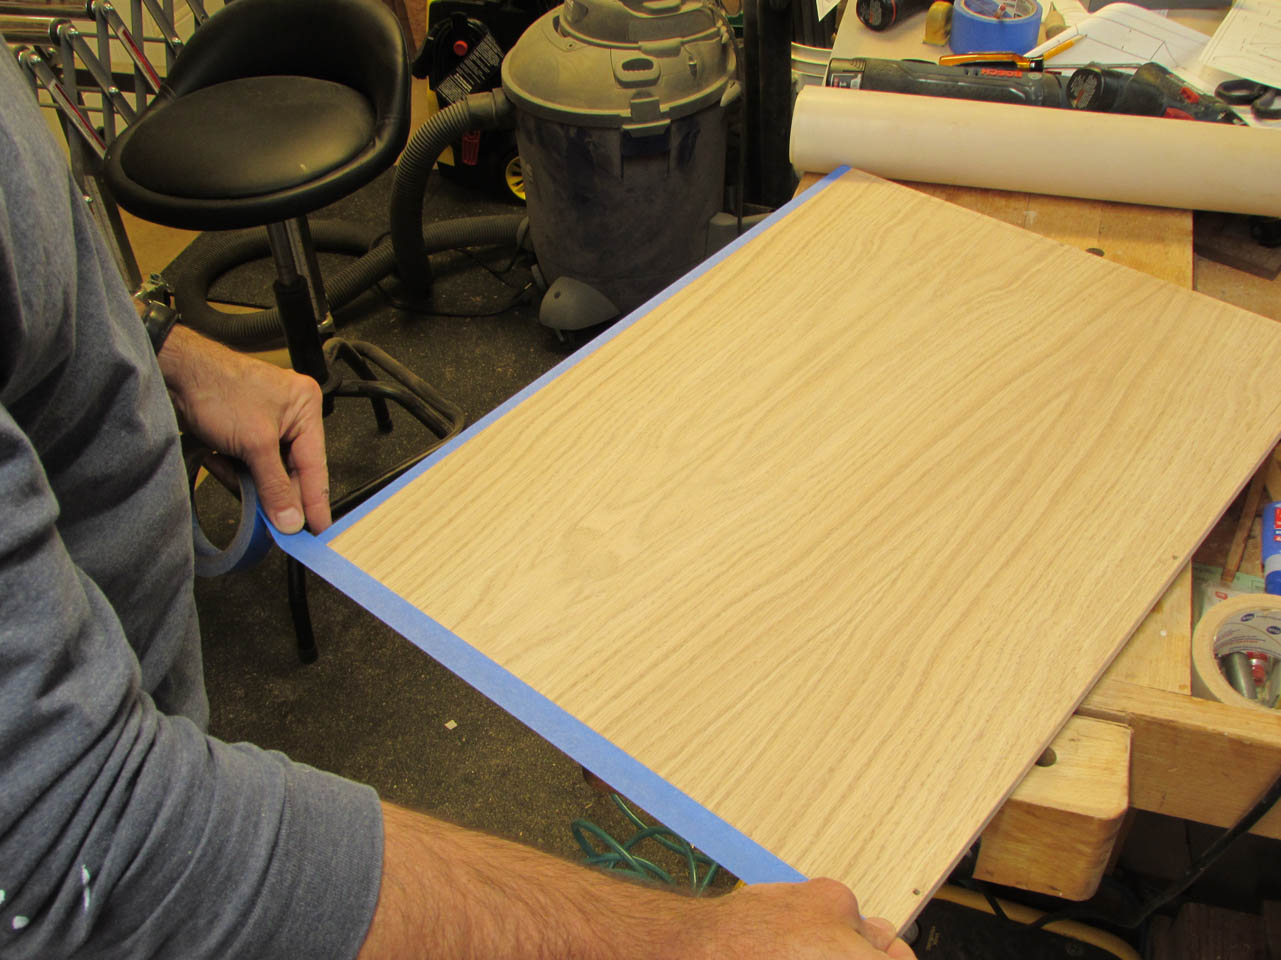
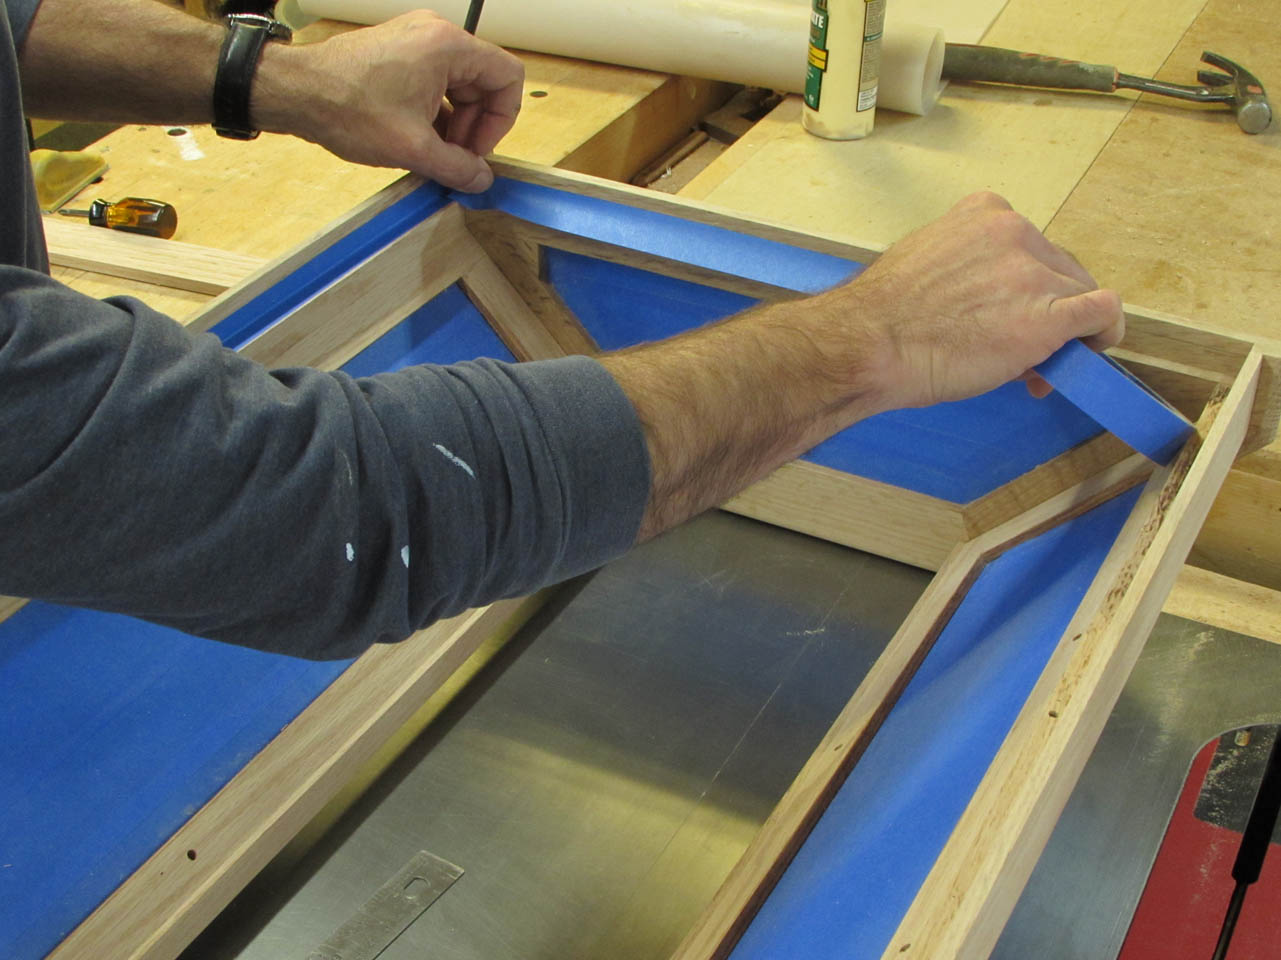
Before removing the back panel, I traced around the front and back to mark lines that will need to be masked off before pre-finishing. The glue needs to be on unfinished wood for the best bond.


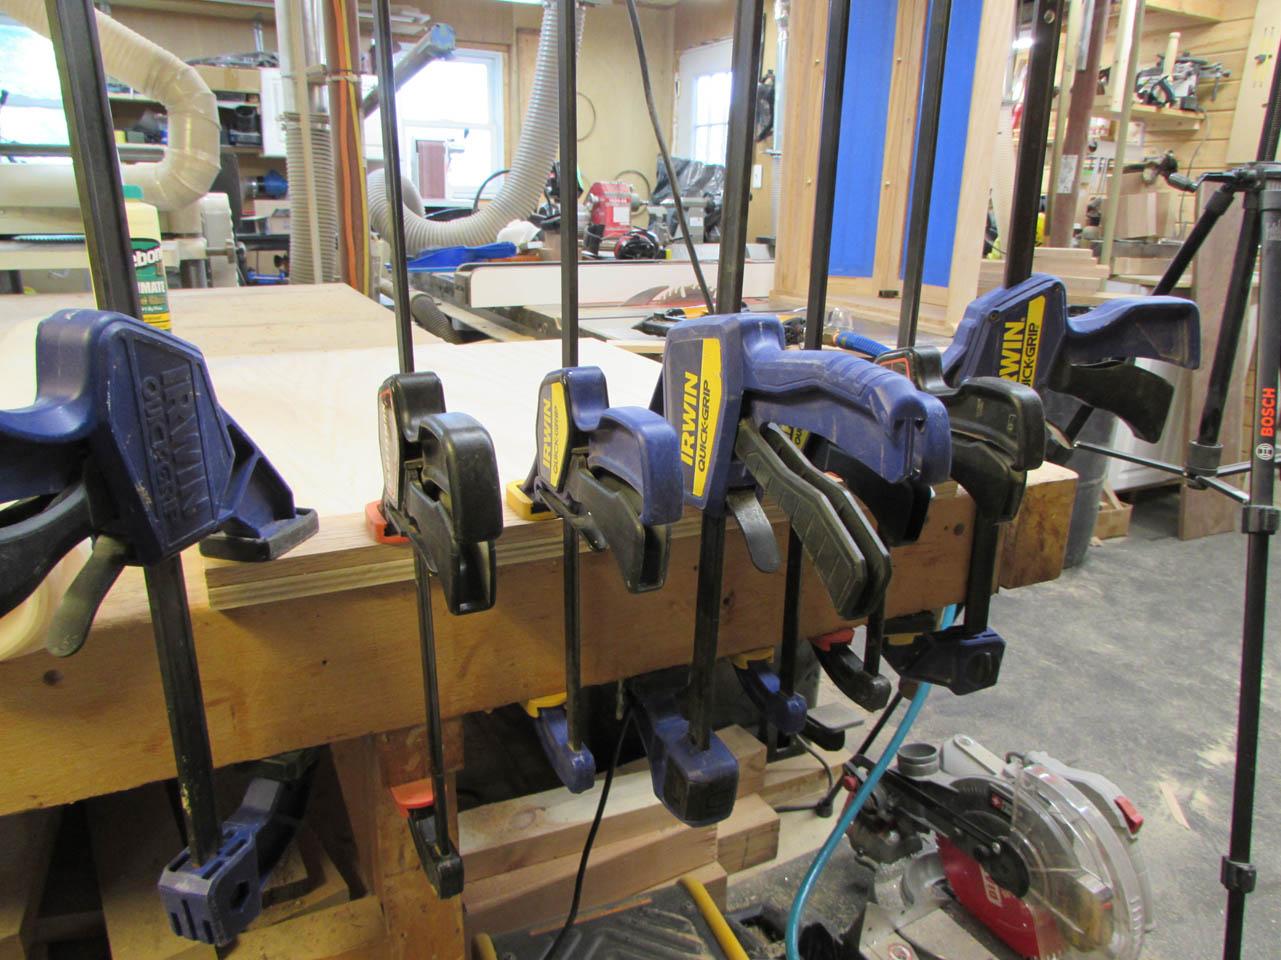
I applied wood glue to the back of the top cleat, then used my pin nailer to hold it in place. Just a couple of pins prevent the board from slipping around as you clamp it up.

I used as many clamps as I could to get an even amount of pressure along the strip.
A few hours later, the glue was dry and I could extend the top mounting hole through the cleat.

Then I took everything apart and set all of the hardware and screws in a box.
Time to mask everything off and get set up for finishing.

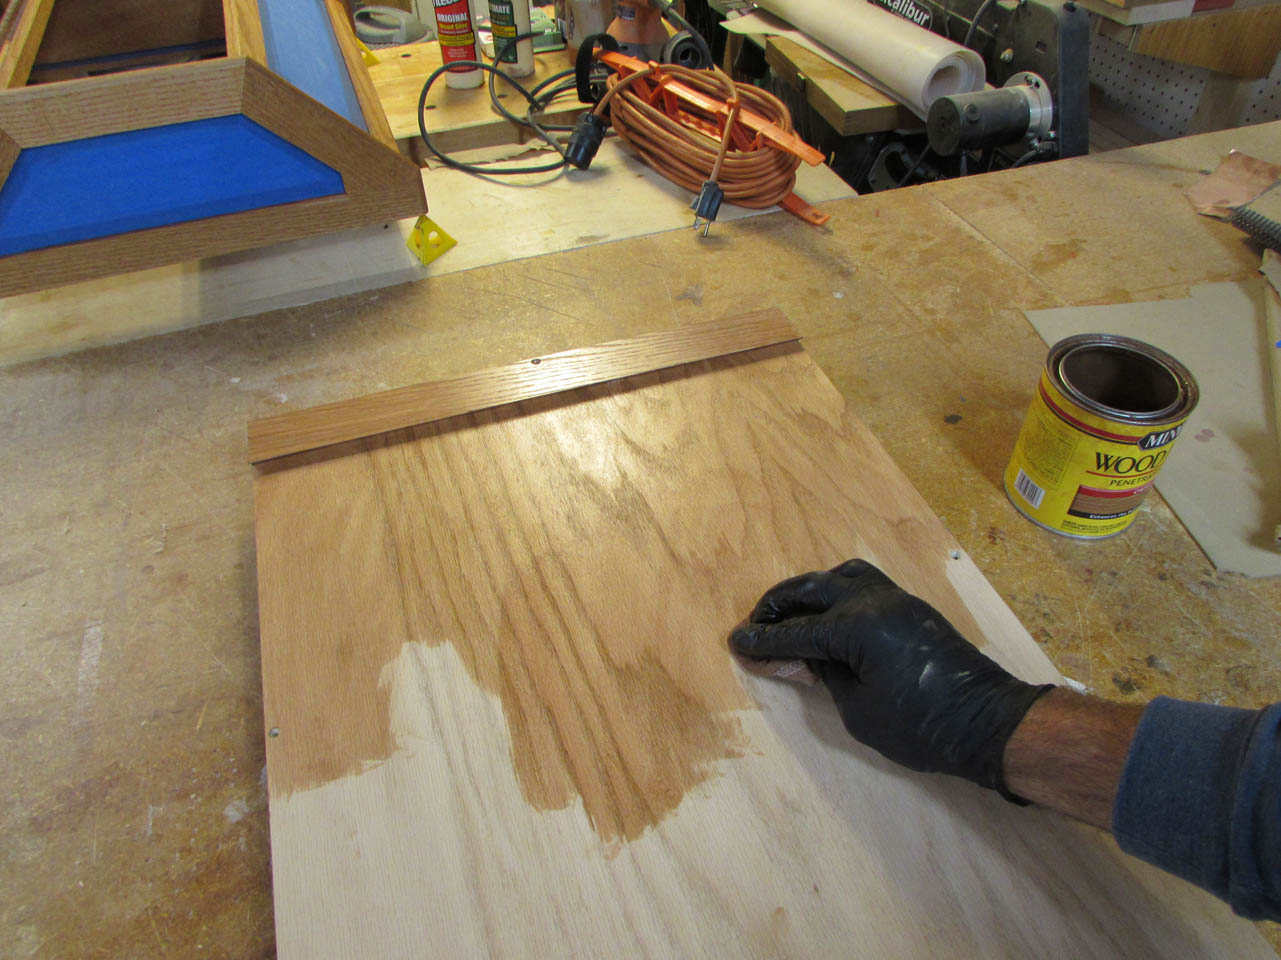
I am using the same cherry stain that I used an the rest of the pieces, Minwax Cherry 235. I stained the inside of the cabinet first then flipped it over onto painter’s pyramids to do the outside. So much easier to do without the back installed.


Just rub it on with a piece of lint-free cloth and it is all looking great.

The last piece to do is the back panel.

Tomorrow, when it is all dry,I will set up my spray booth.
