St. Kilian chapel – Ambry – part 2
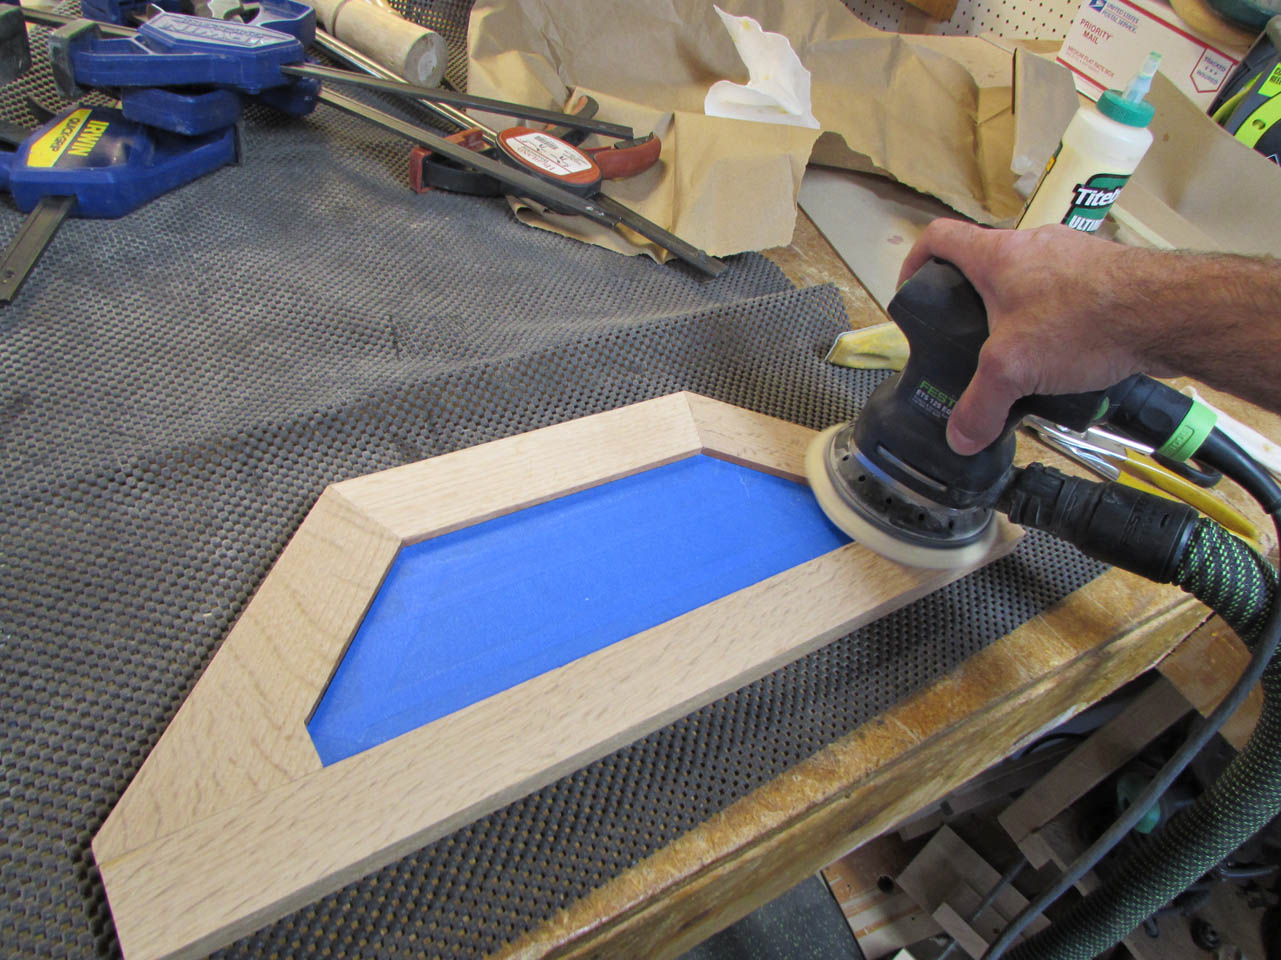
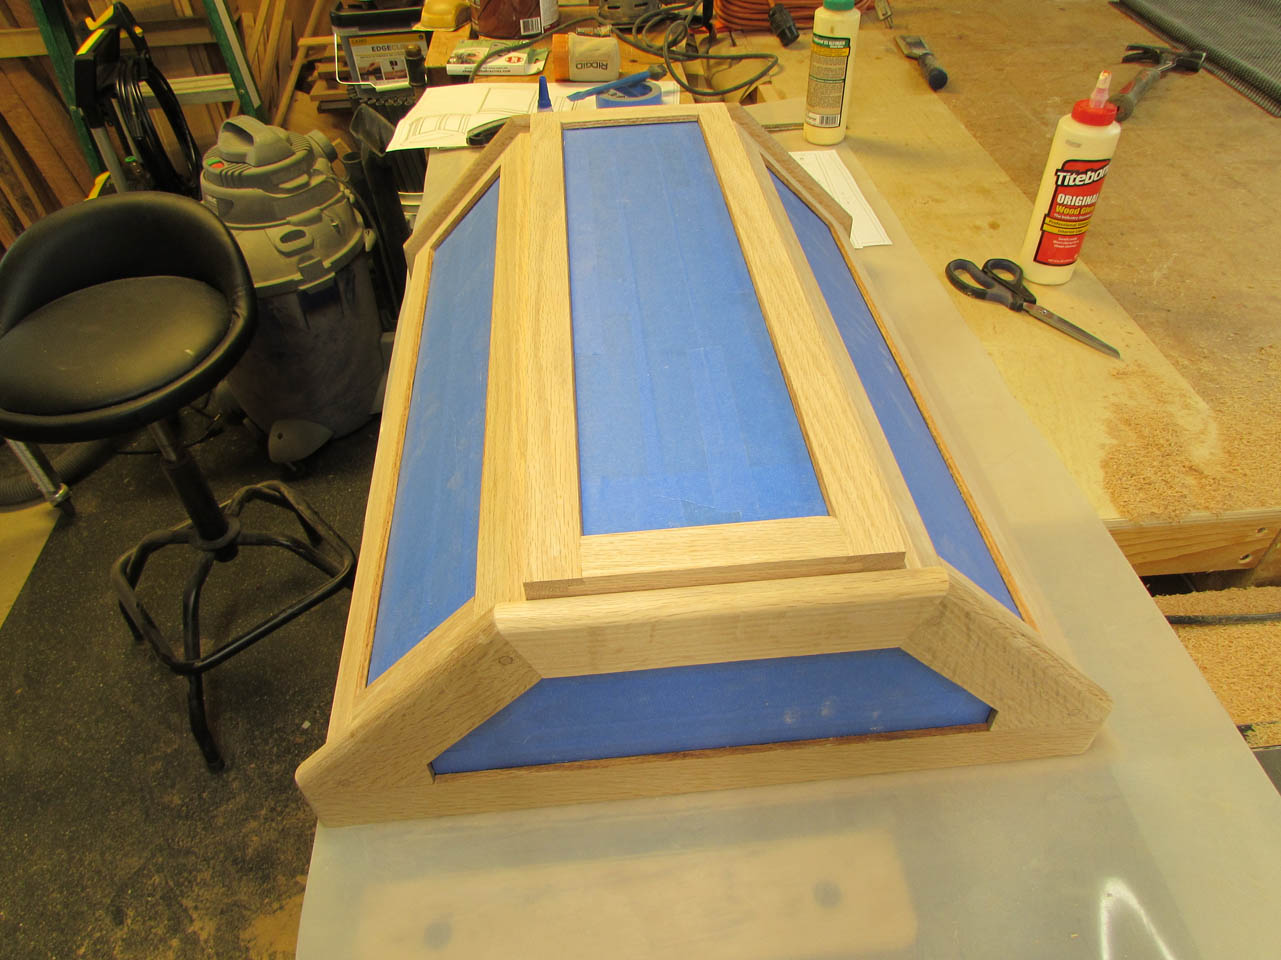
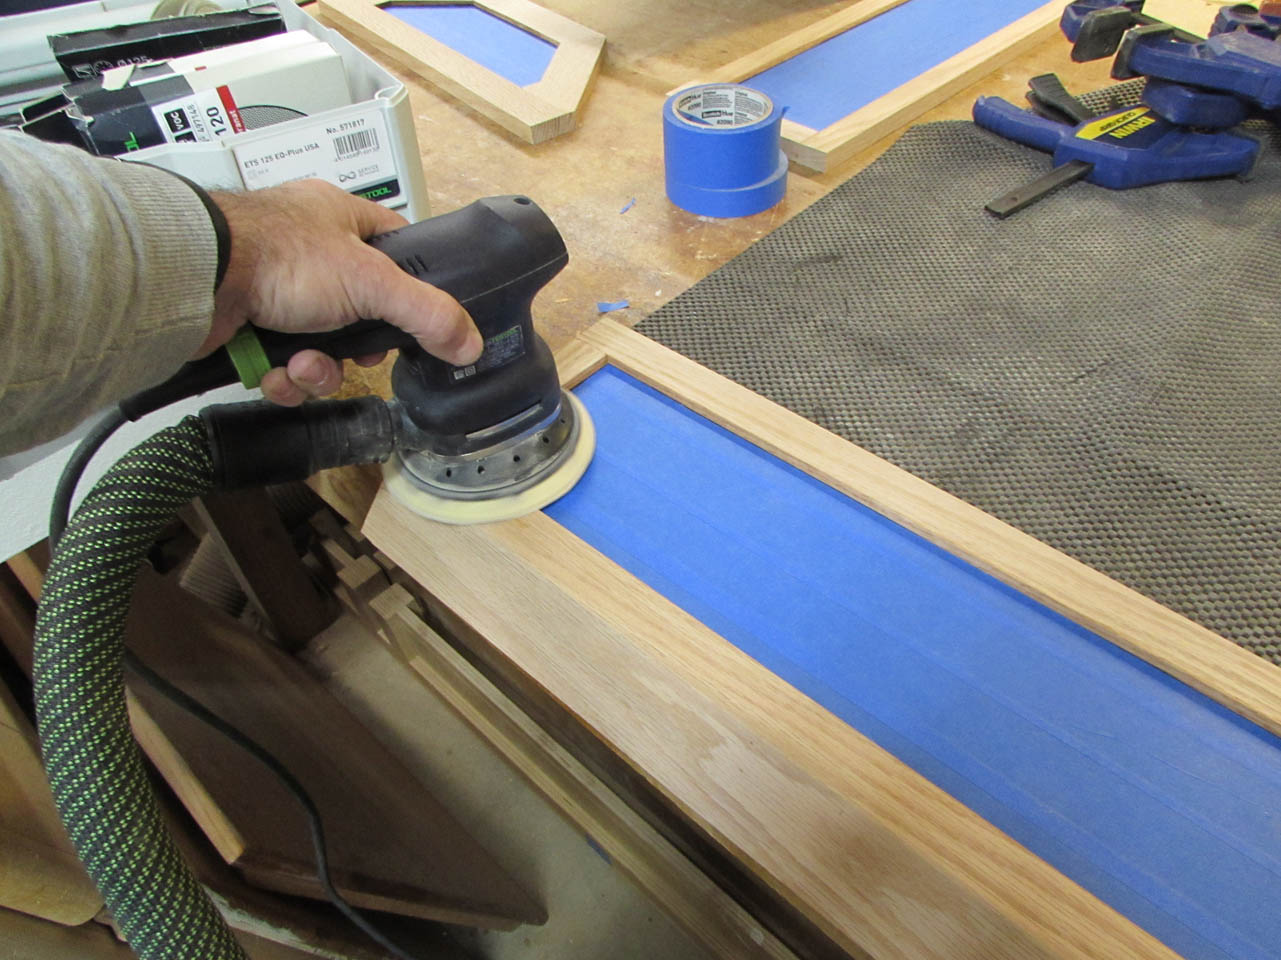
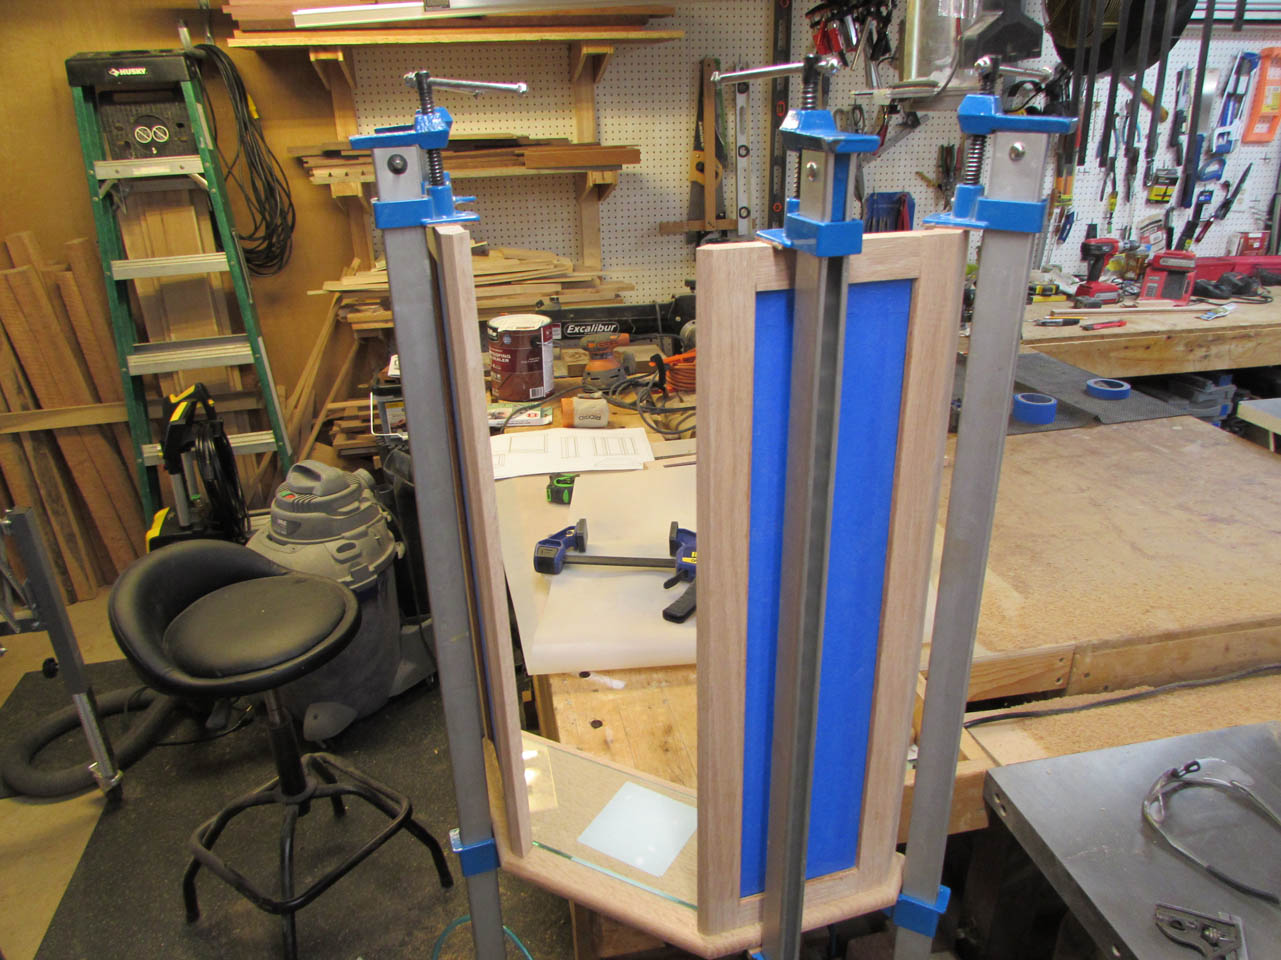
I started today with pulling clamps and sanding all the glass panels.
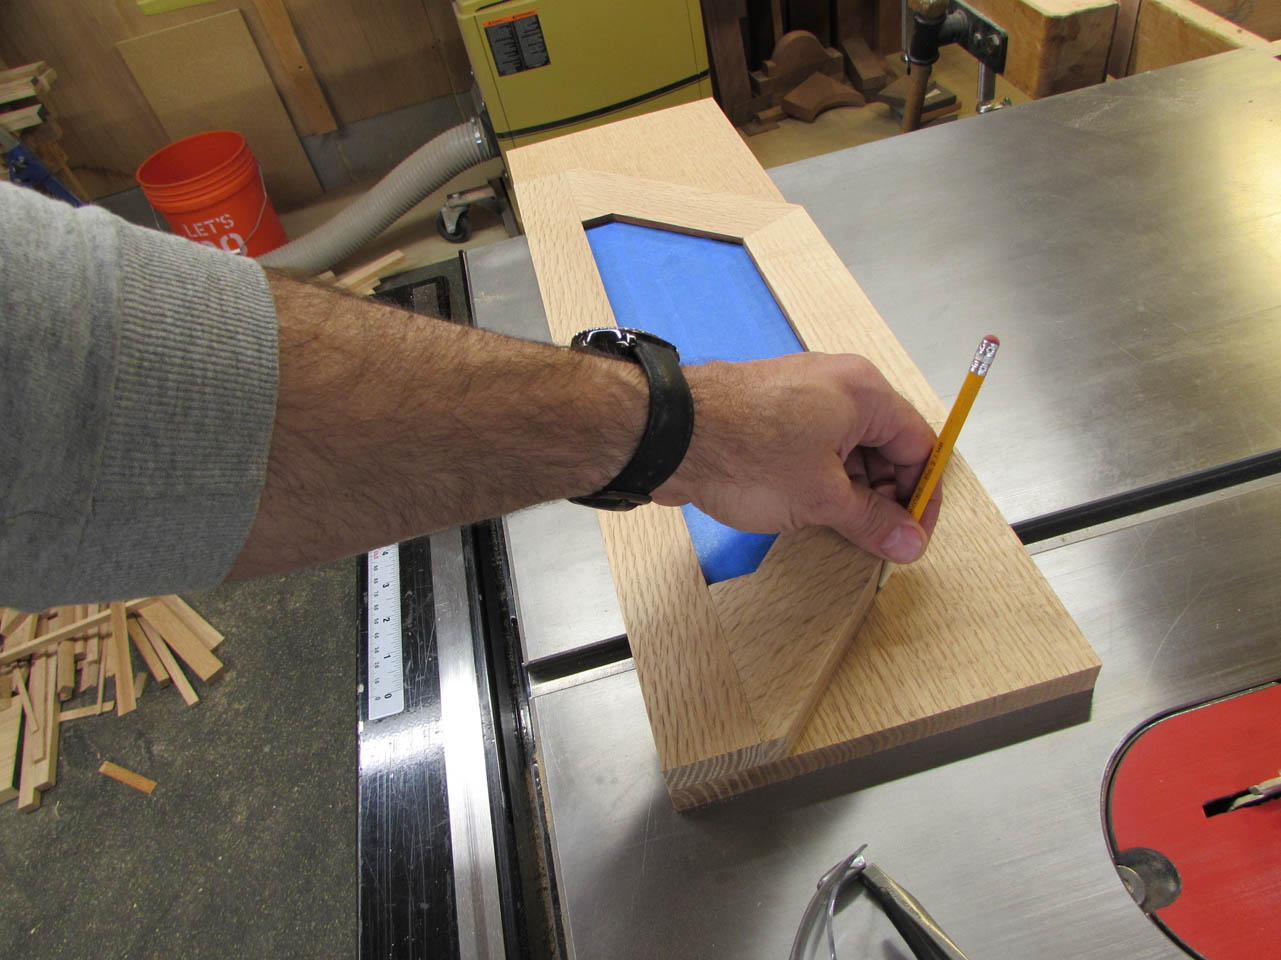
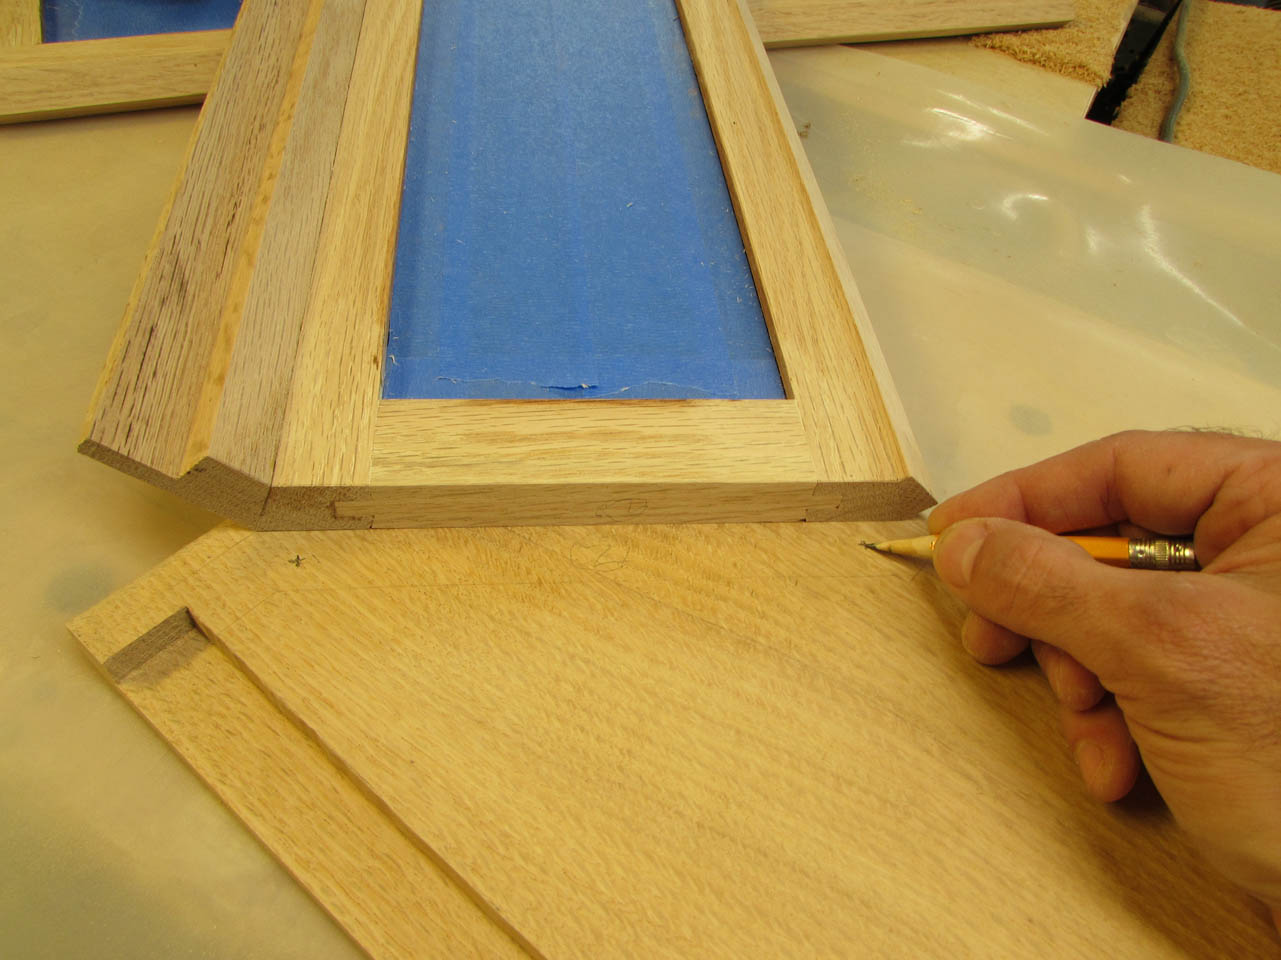
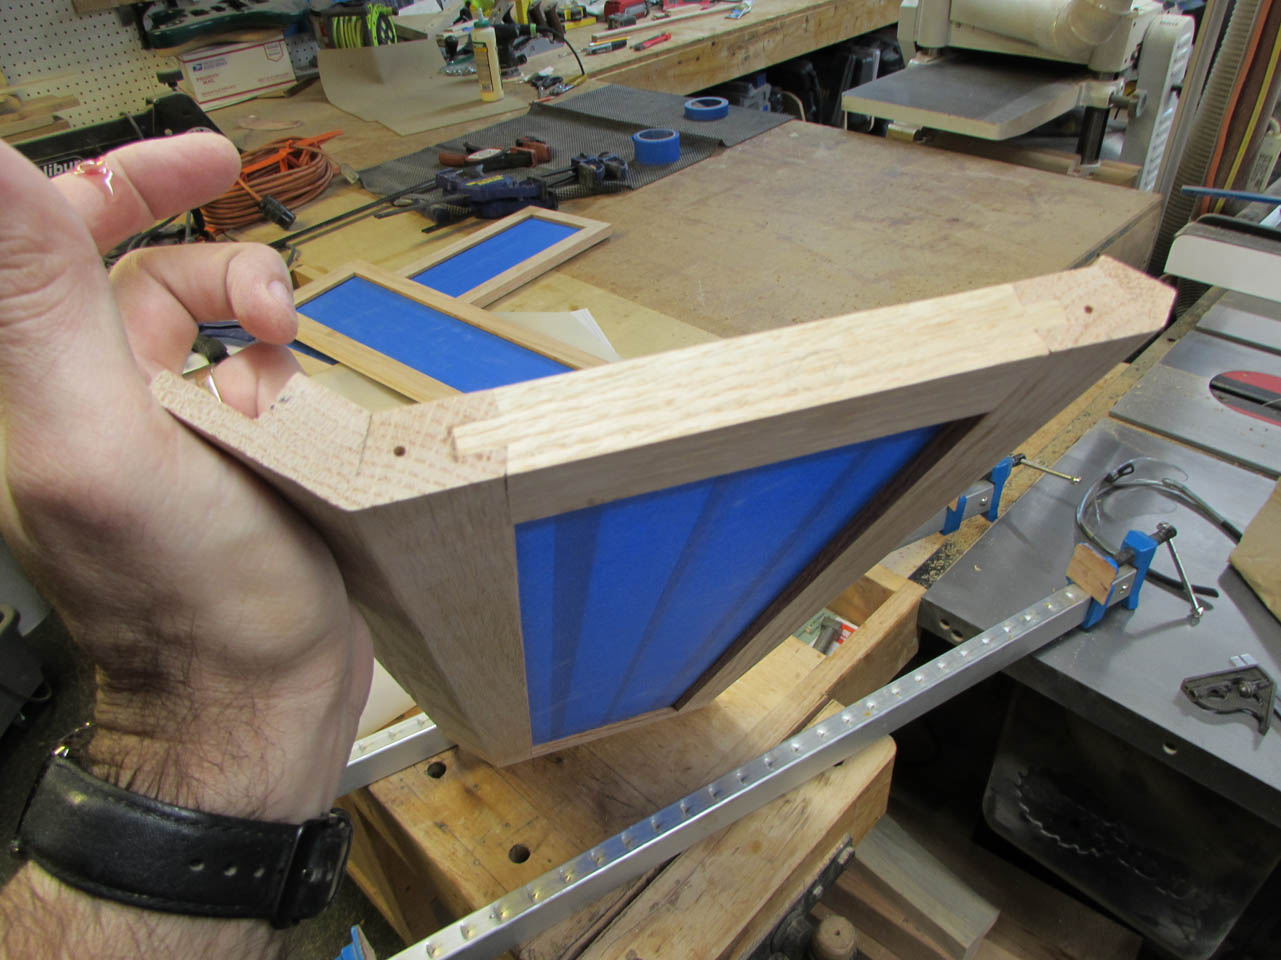
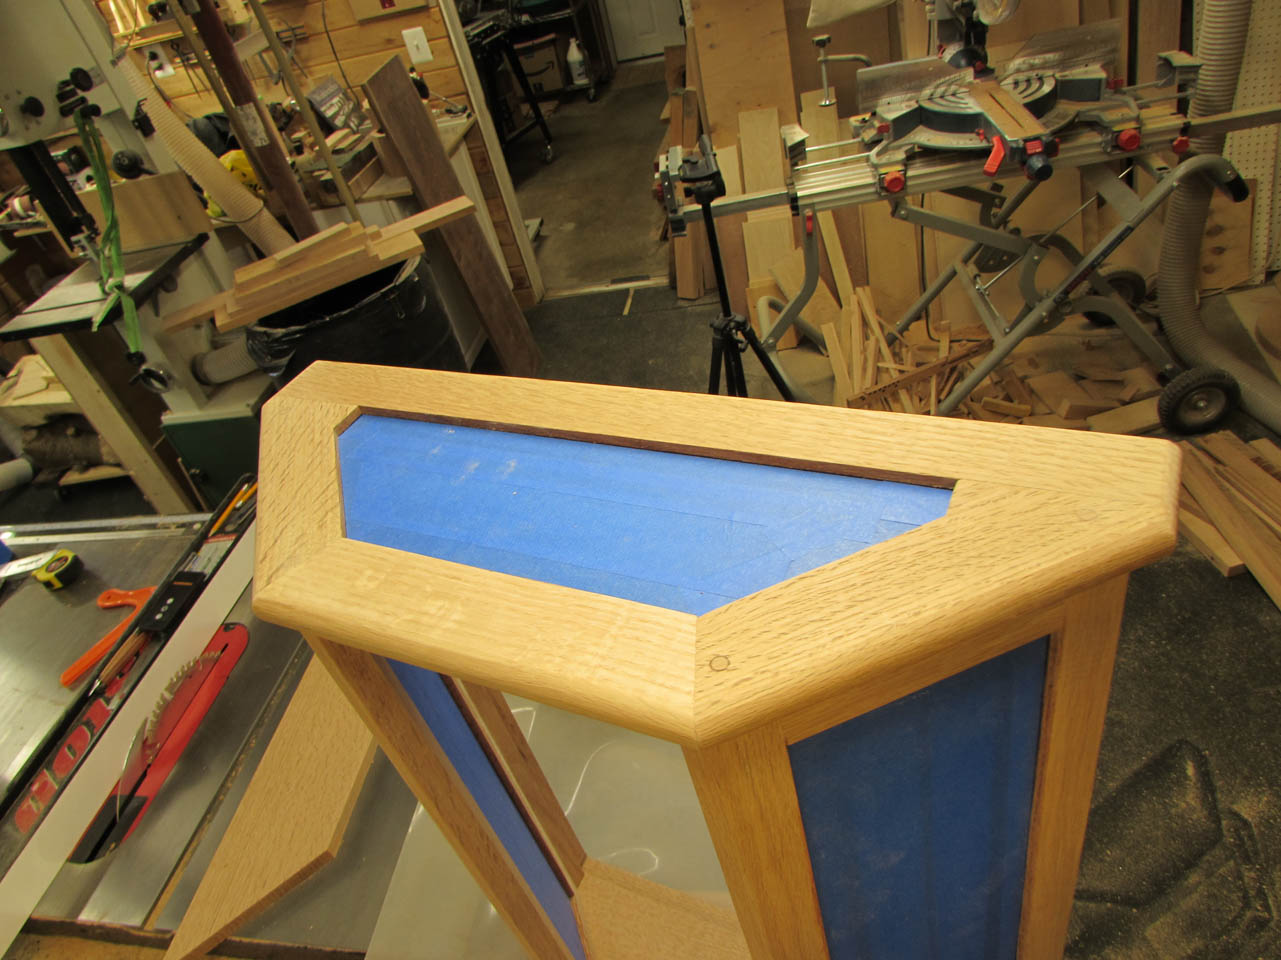
With the top piece done, I can trace it to get an exact match for the bottom.

I used my miter saw to cut it down to the proper length and then cut off the mitered corners.
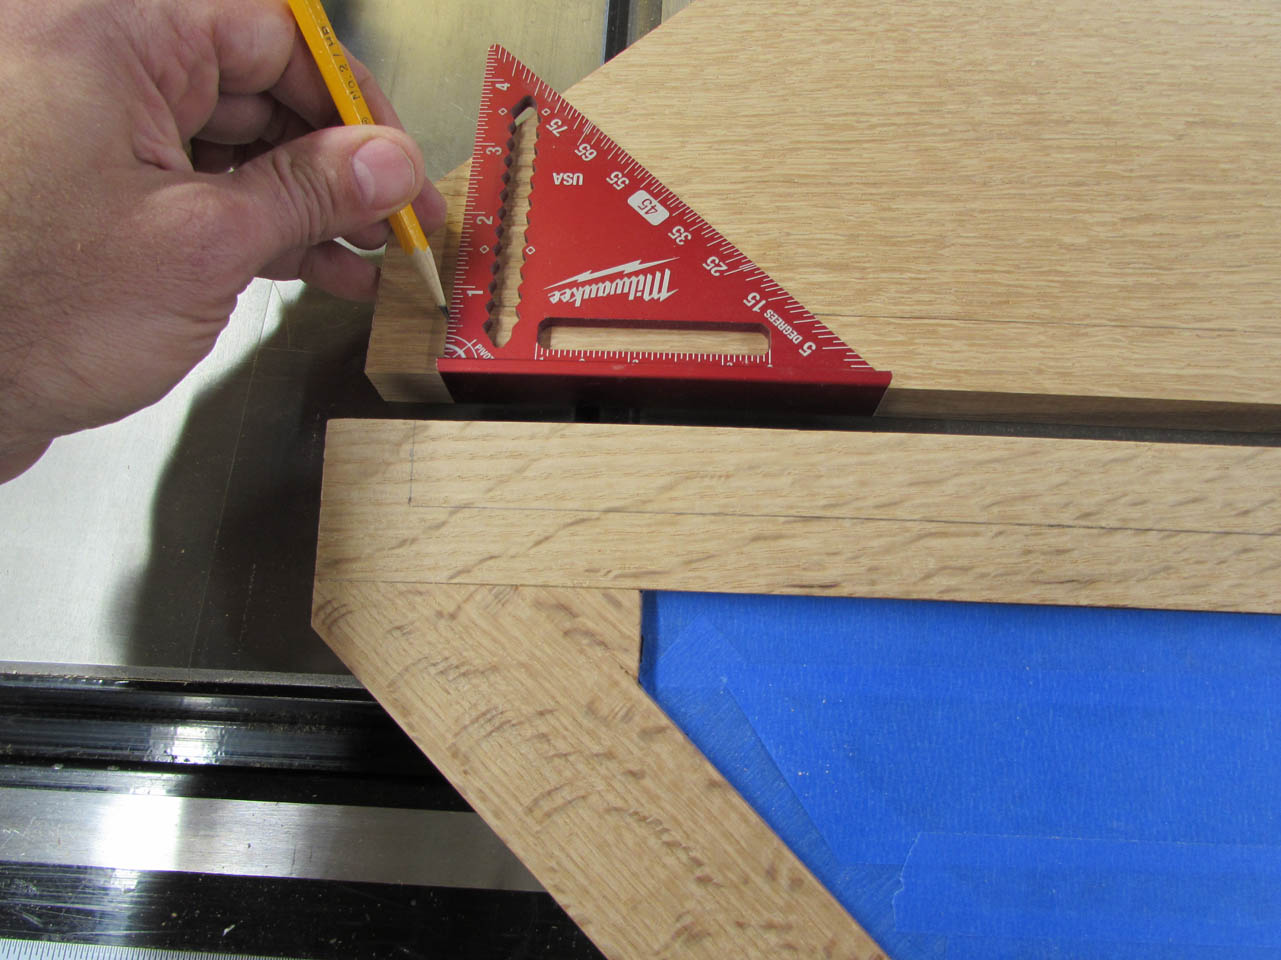
I measured and marked the top and bottom for a groove to receive the back panel.

I decided to use my router table and a 1/2″ spiral bit to get a nice even cut. Normally I free-hand this sort of cut with a router, but I thought I would give this method a try.
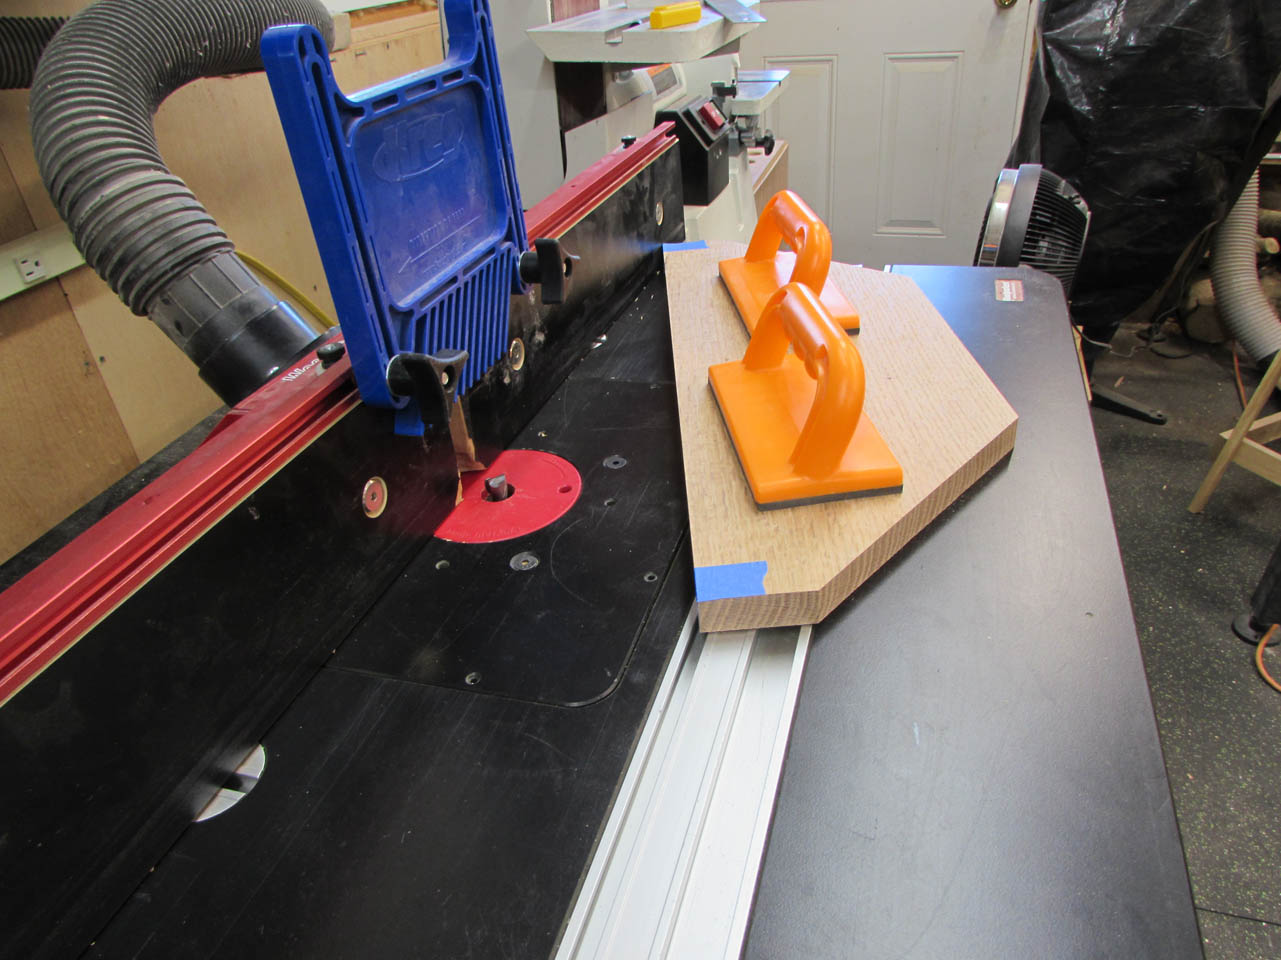

This method was unsuccessful. The large bit kept wanting to grab my board and throw it. Also, for some reason the bit loosened up and started to rise. Well, this piece is no good, I will have to make a new one.

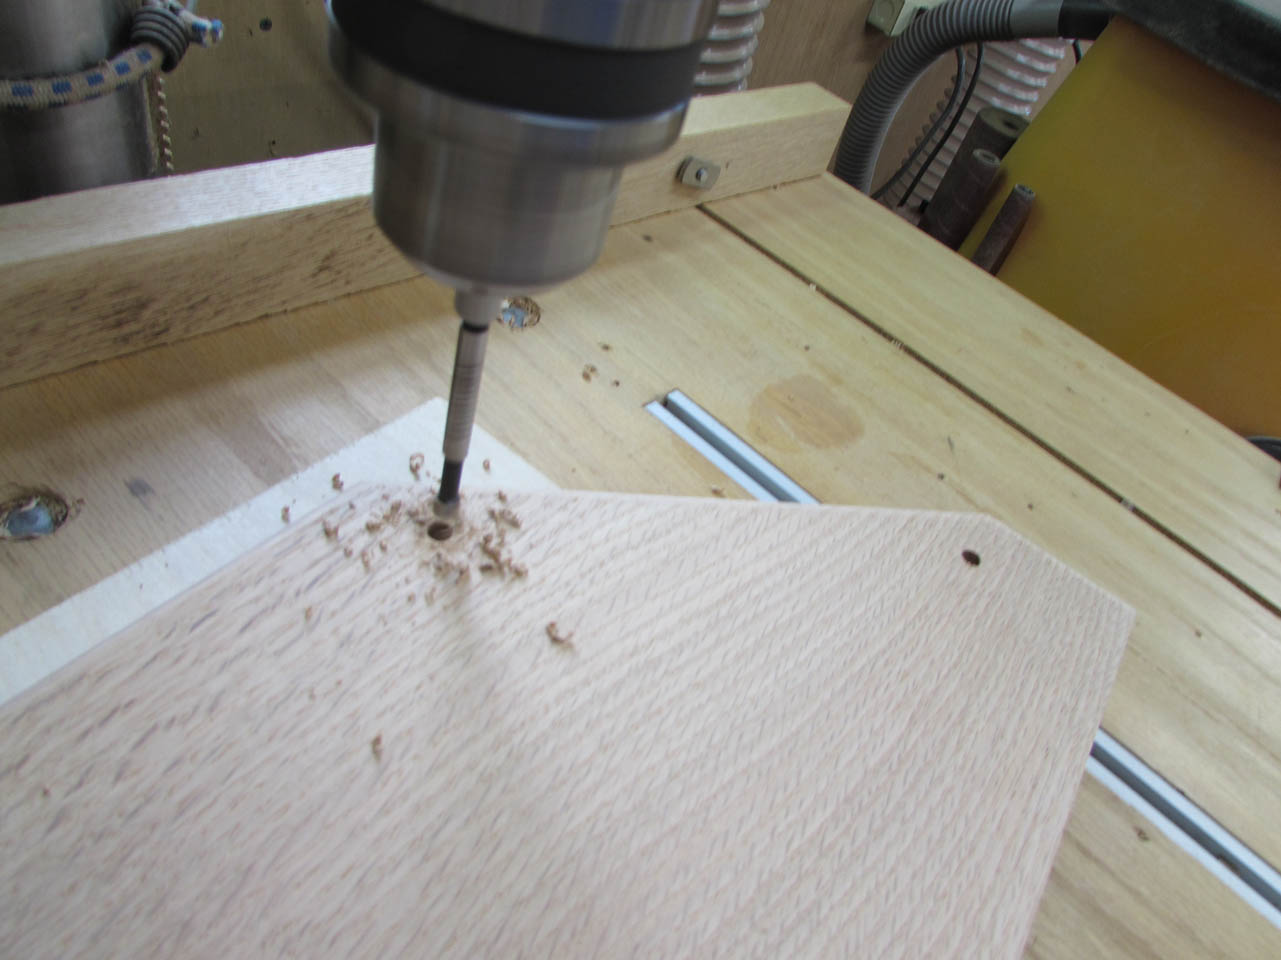
I loaded a 1/4″ spiral bit into my hand router. Guess I am free-handing it after all…

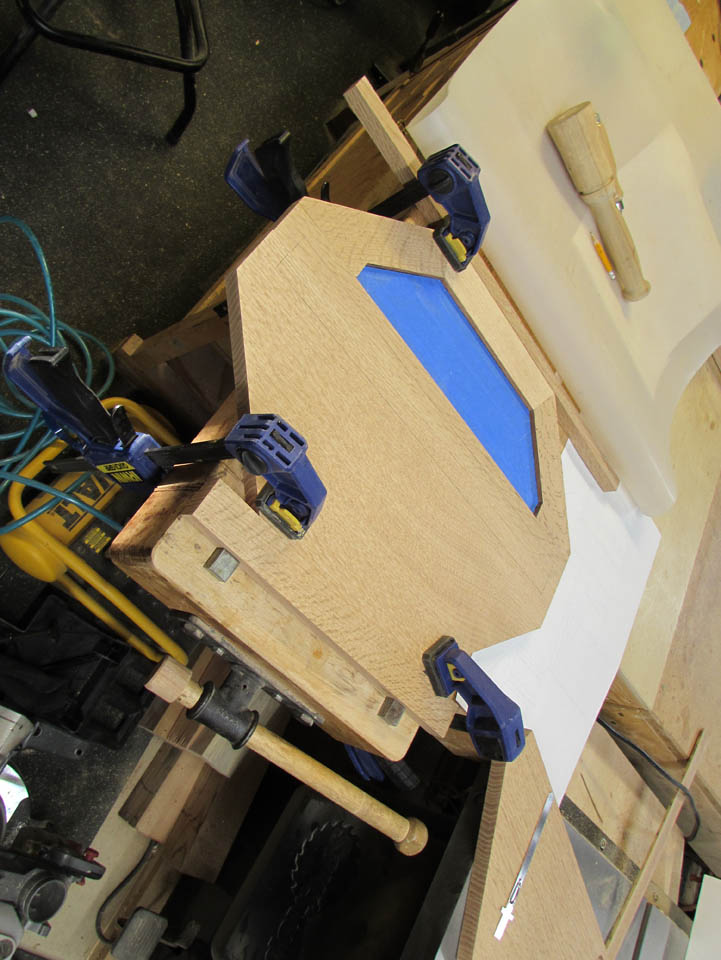
I decided to but both boards together so that I have a wider surface to work on. I used clamps and bench dogs to hold everything flat.
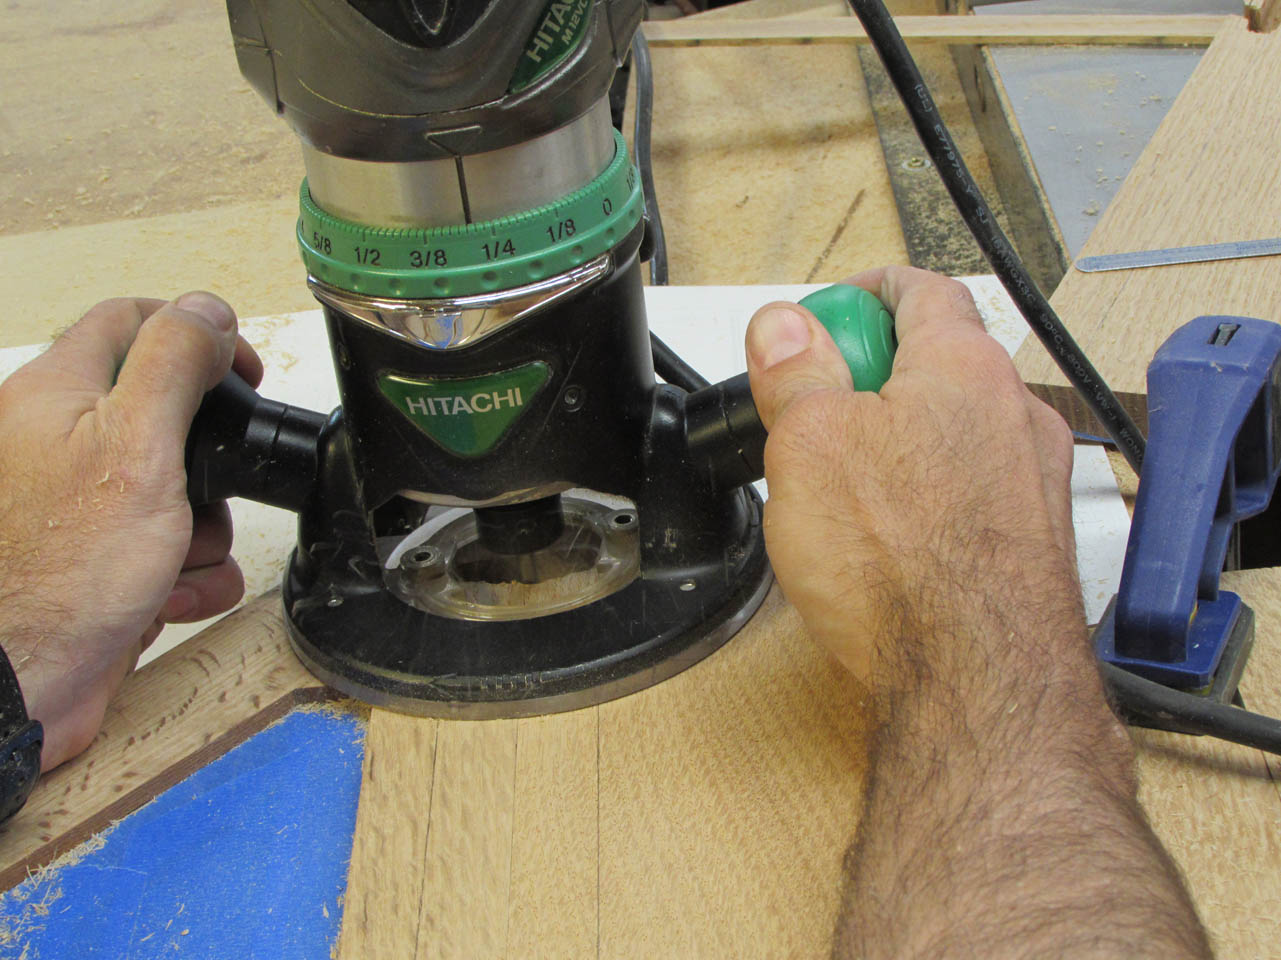
If you take your time, you can usually do a nice job free-hand. I usually plant the heels of my hands and draw the router towards myself slowly, with my fingers. This seems to give me the most control.
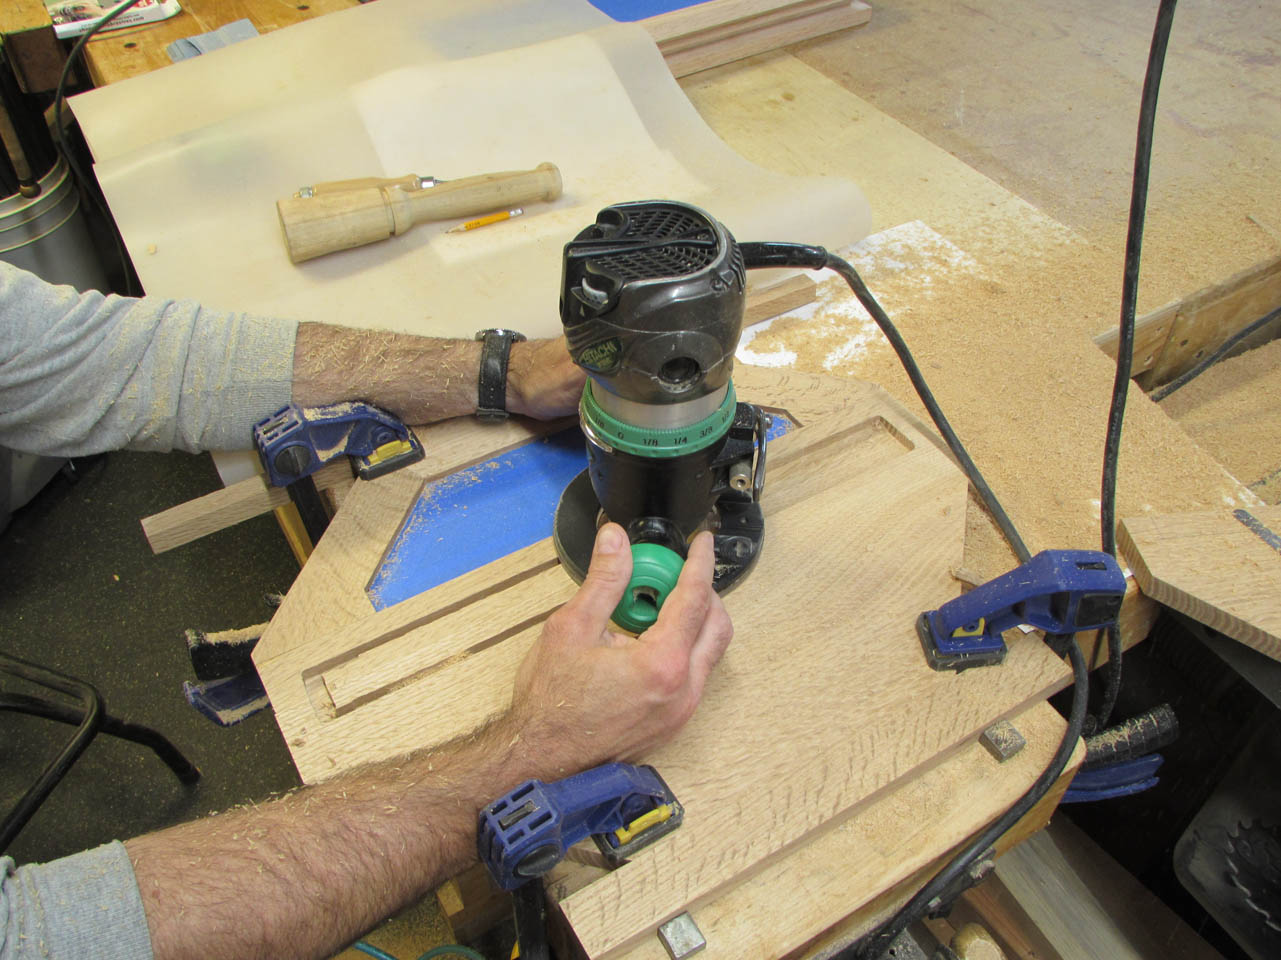
I started by carefully following the outline, then I nibbled away the left-over center section without having to worry about hitting the sides.

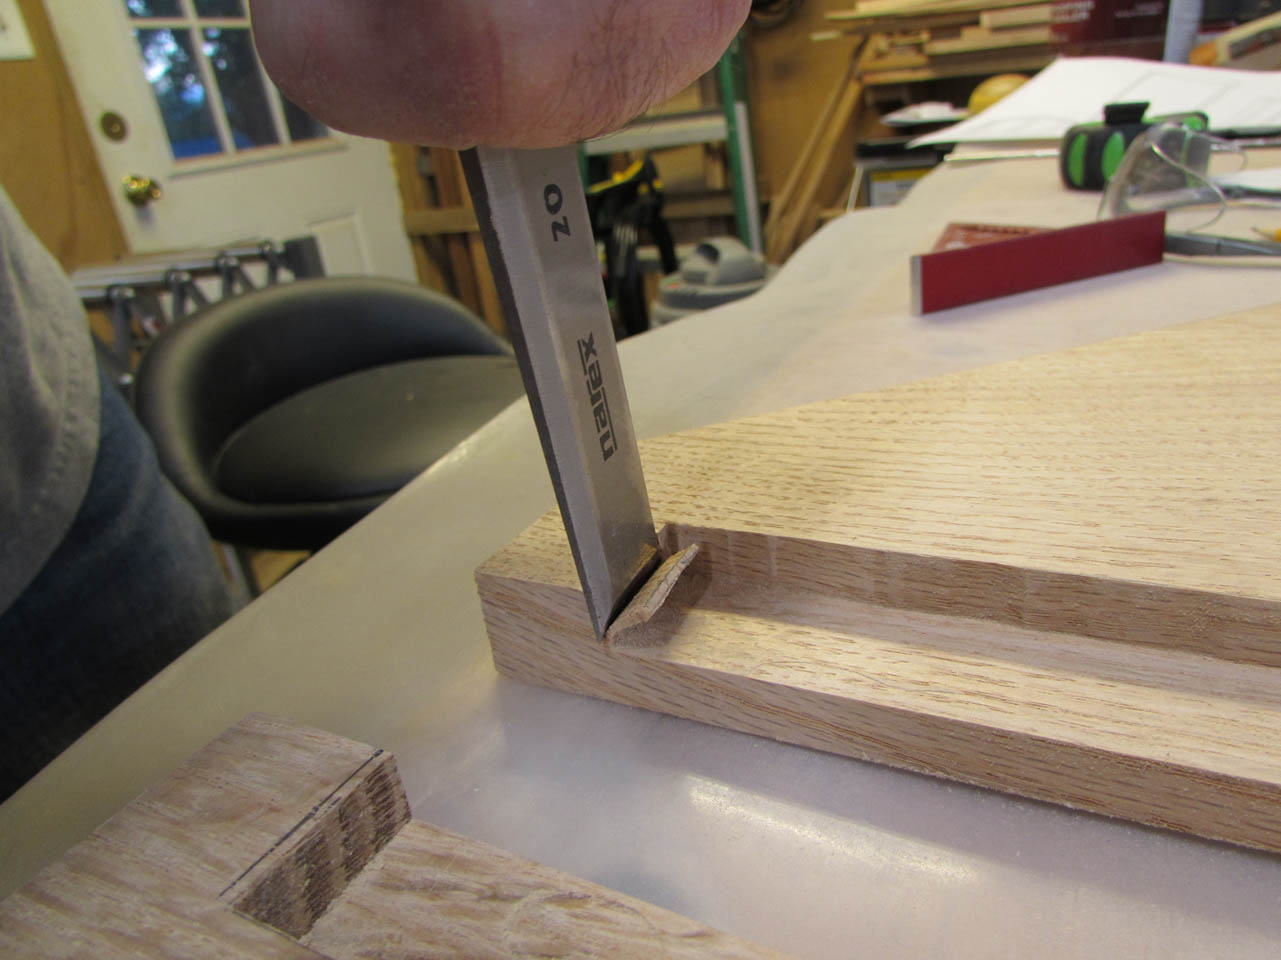
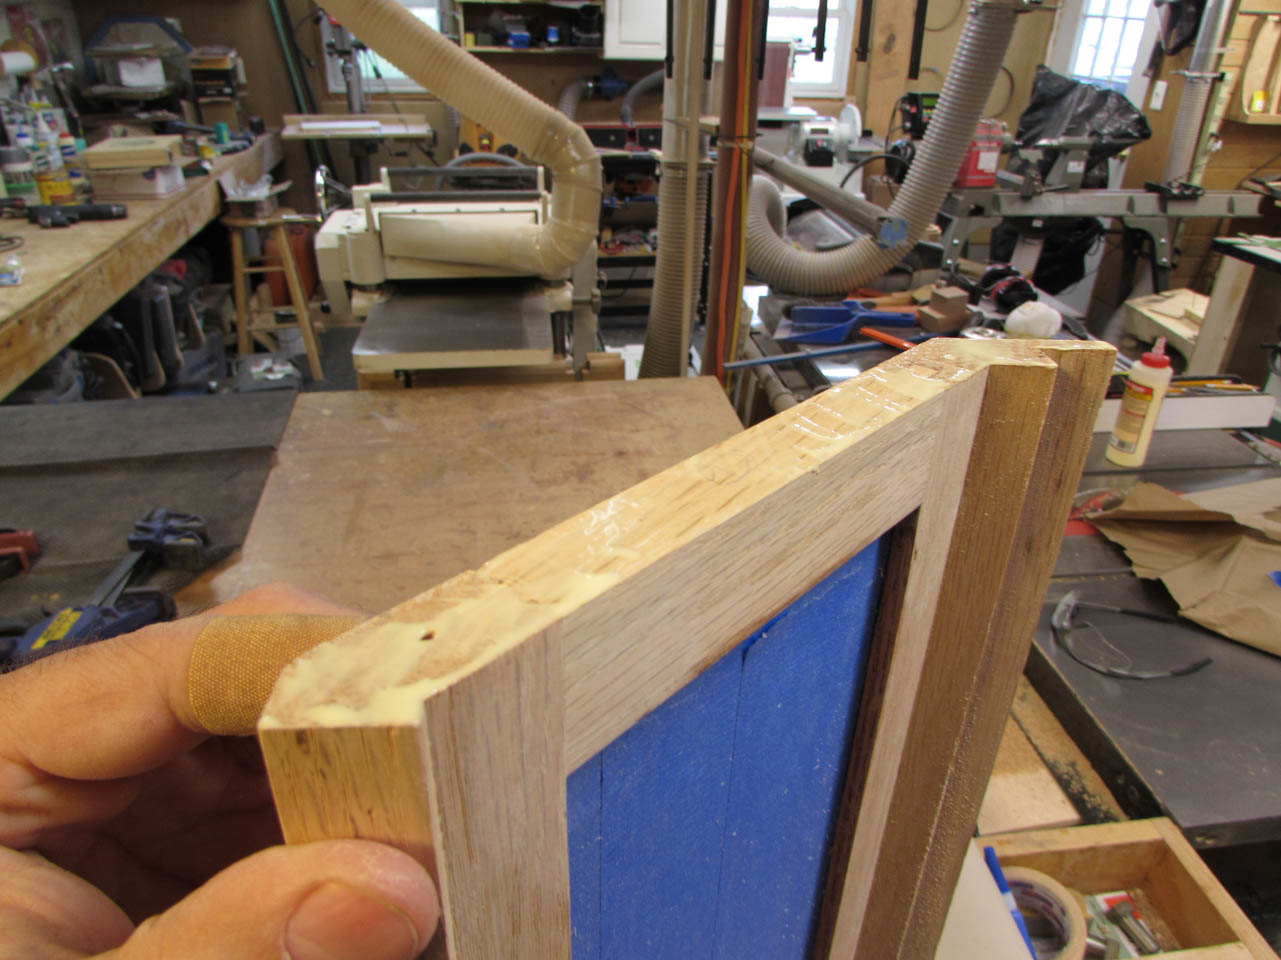
After the cut was made, I squared up the corners with a sharp chisel.

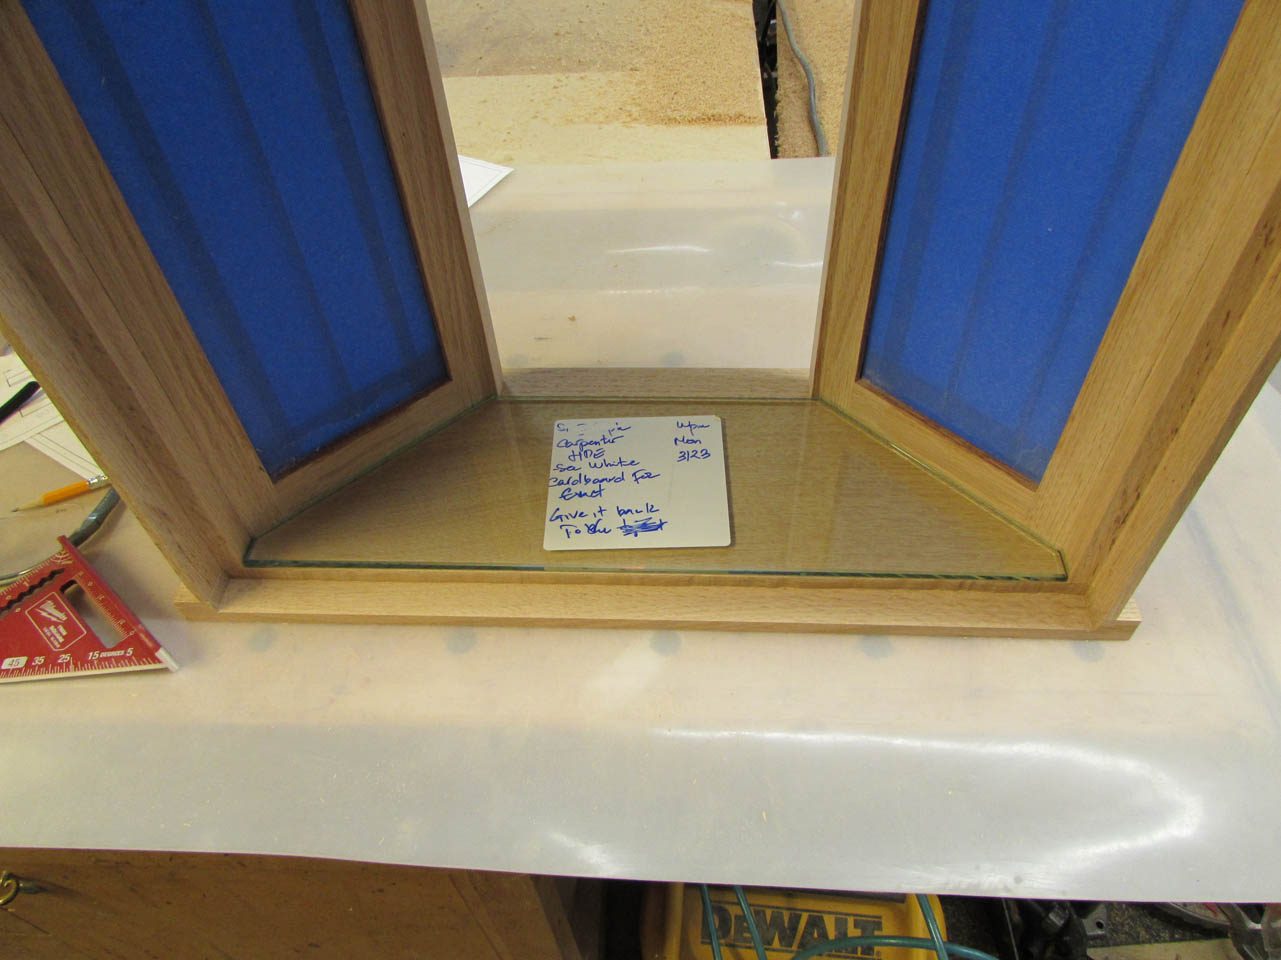
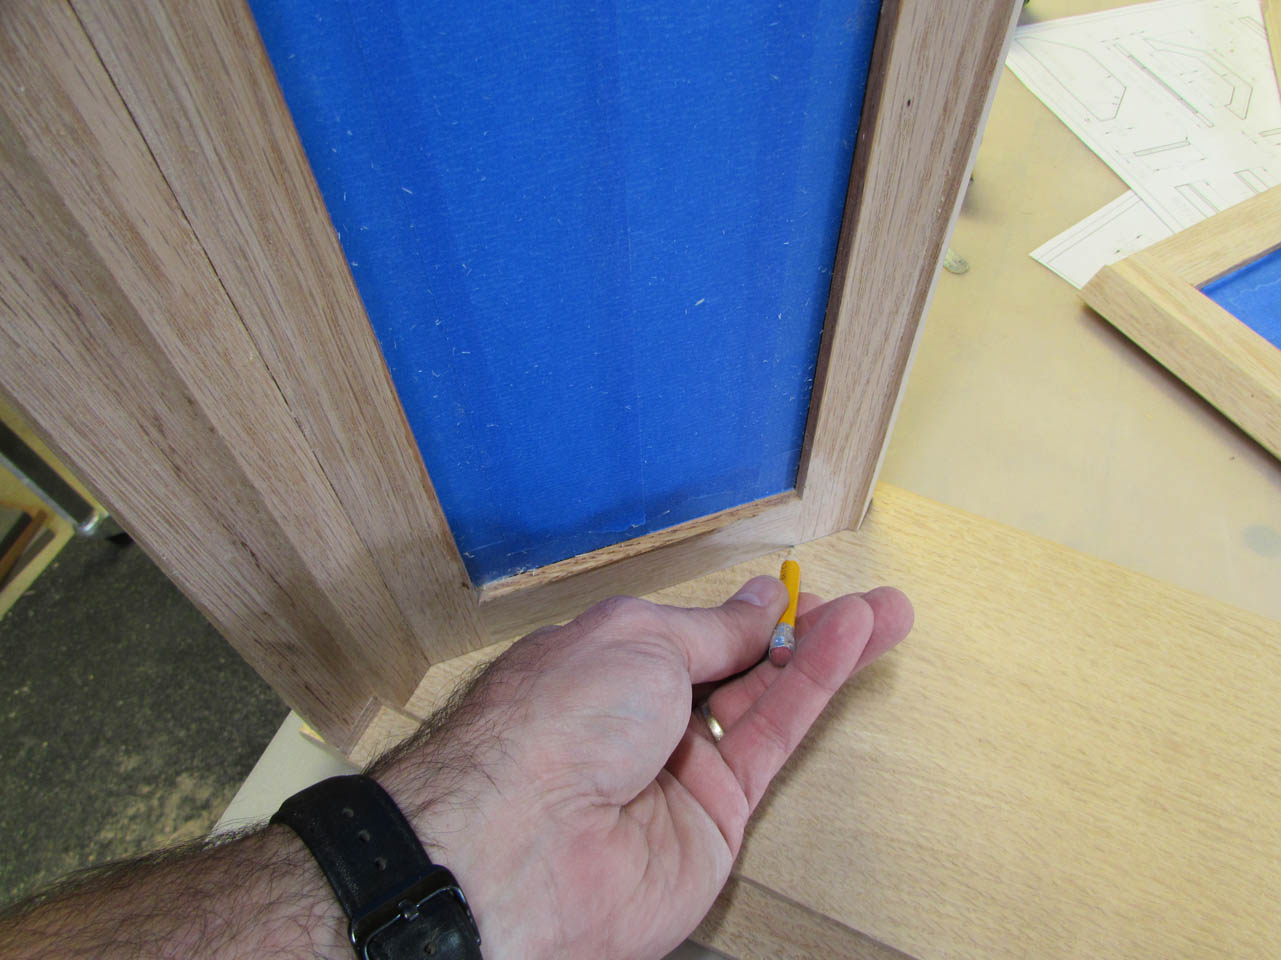
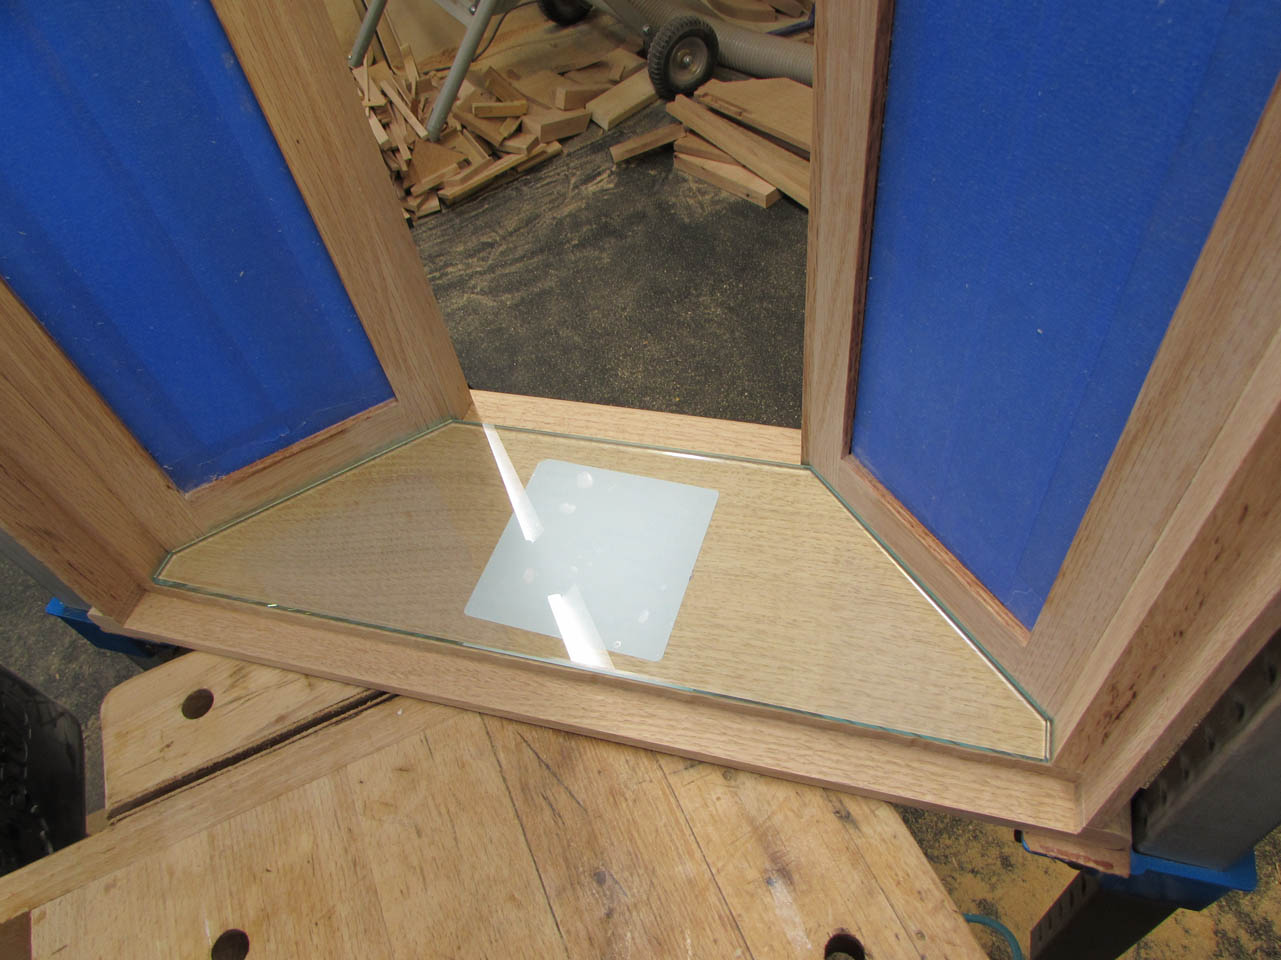
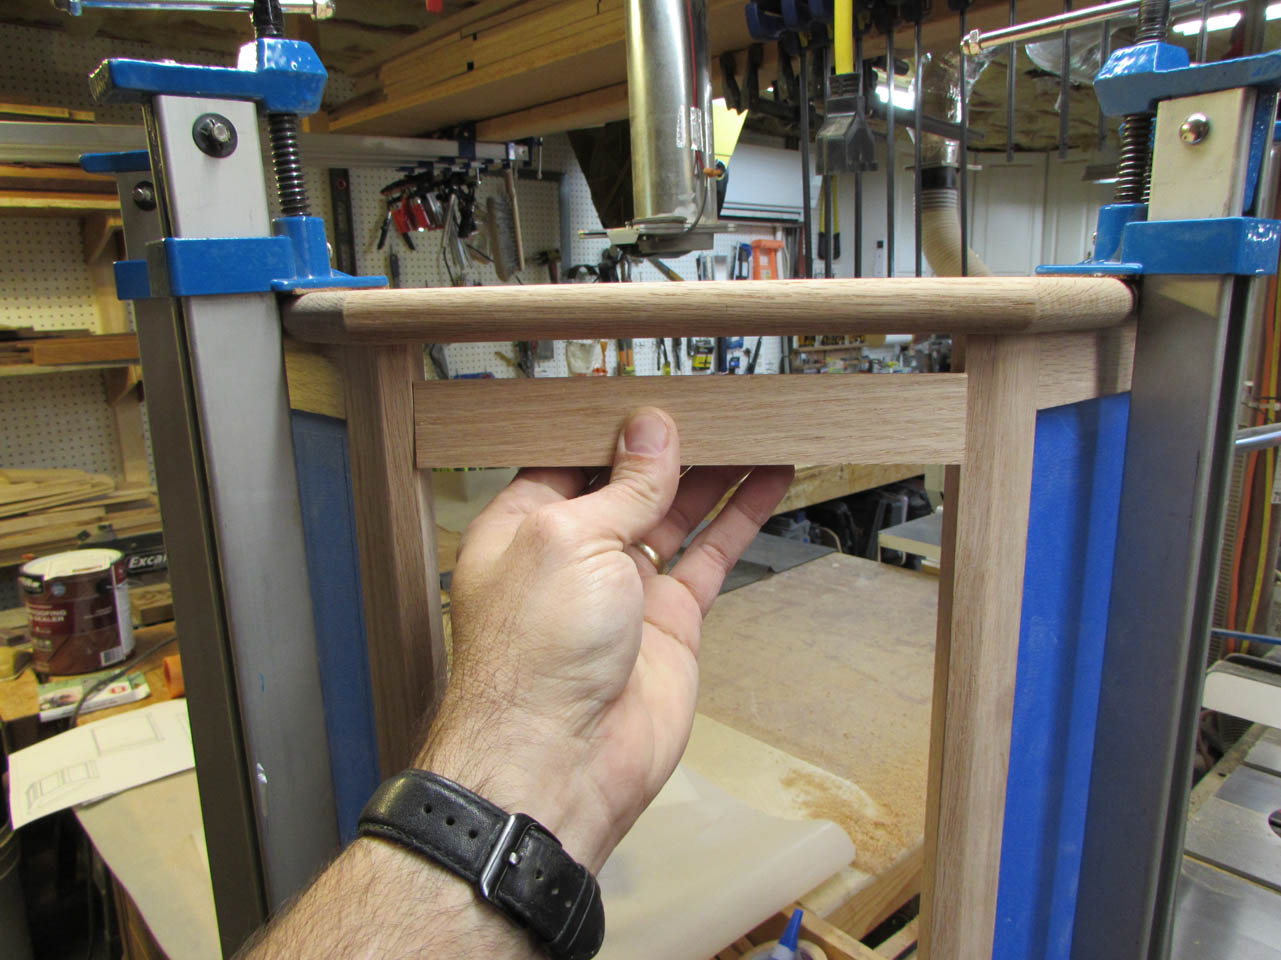
I put the sides and the bottom together, then added the top piece to see how it all fit.
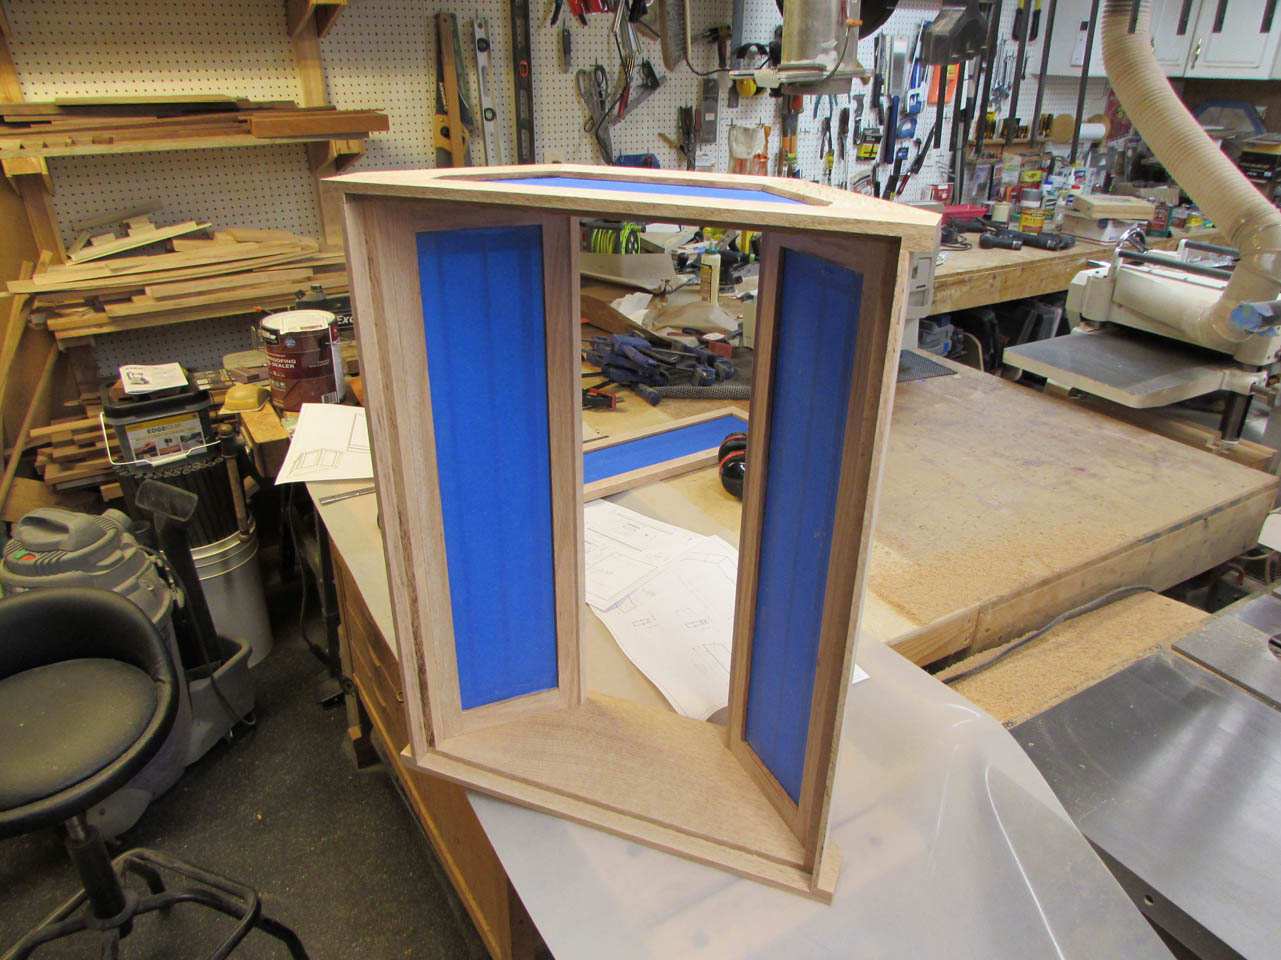
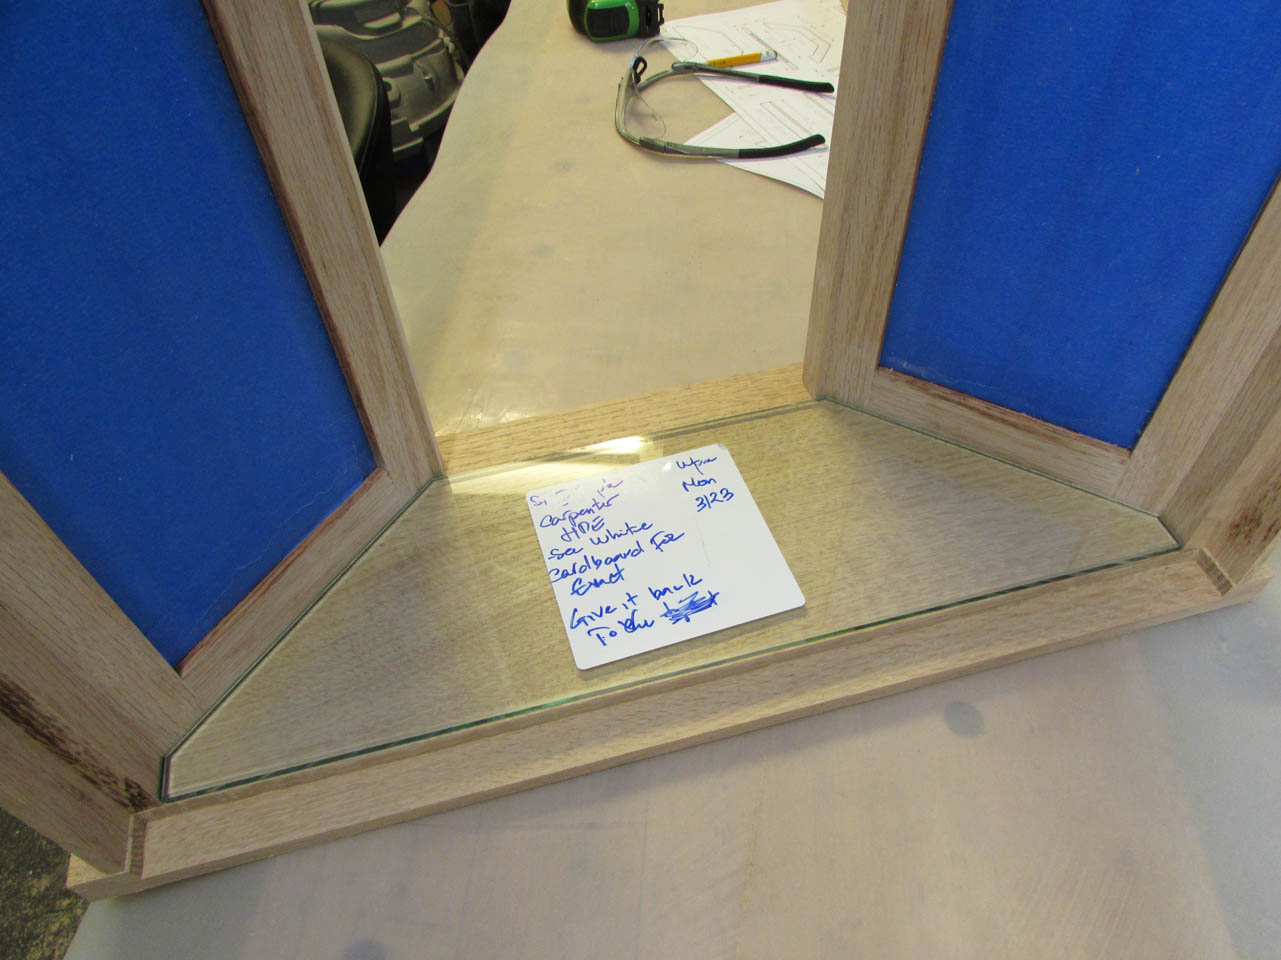
It looked really good until I added a shelf, just to verify the space between the walls.
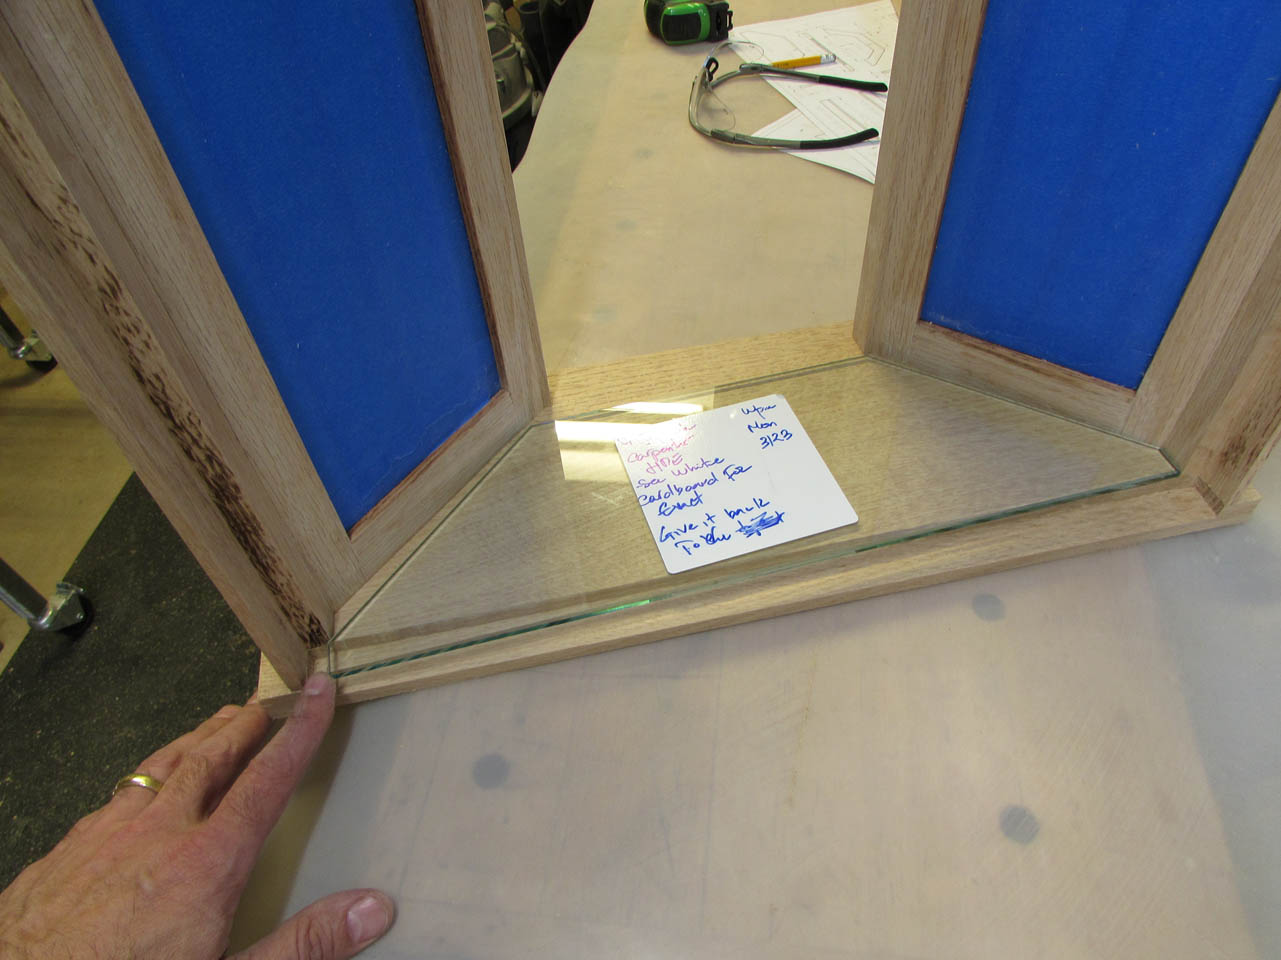
Somehow it was 1/8″ longer than planned. Probably because the edges were beveled and the glass cutter did not account for the 1/16″ bevel all the way around.
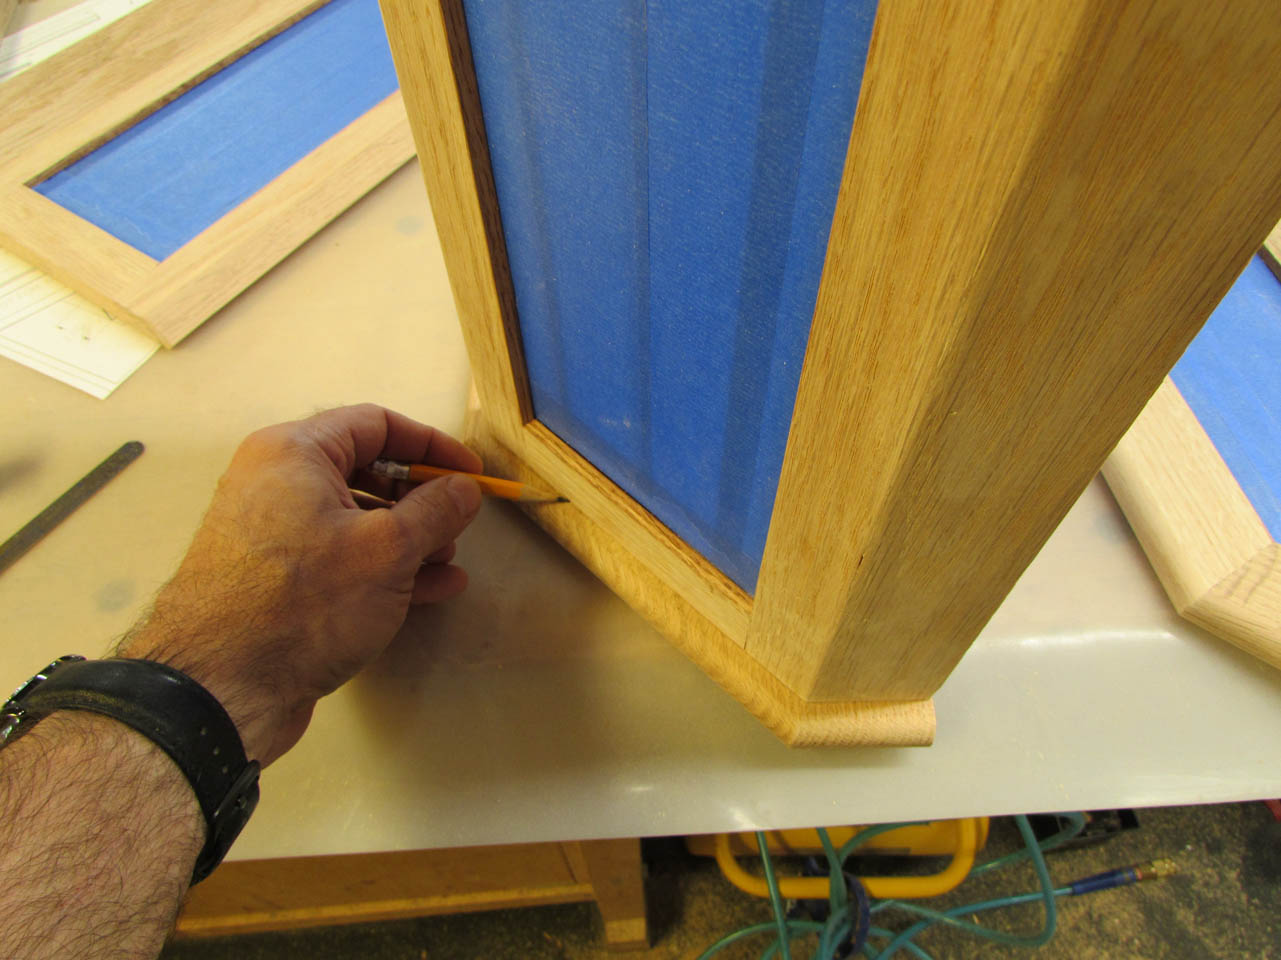
The simple solution is to nudge the walls apart by another 1/16″ each side.
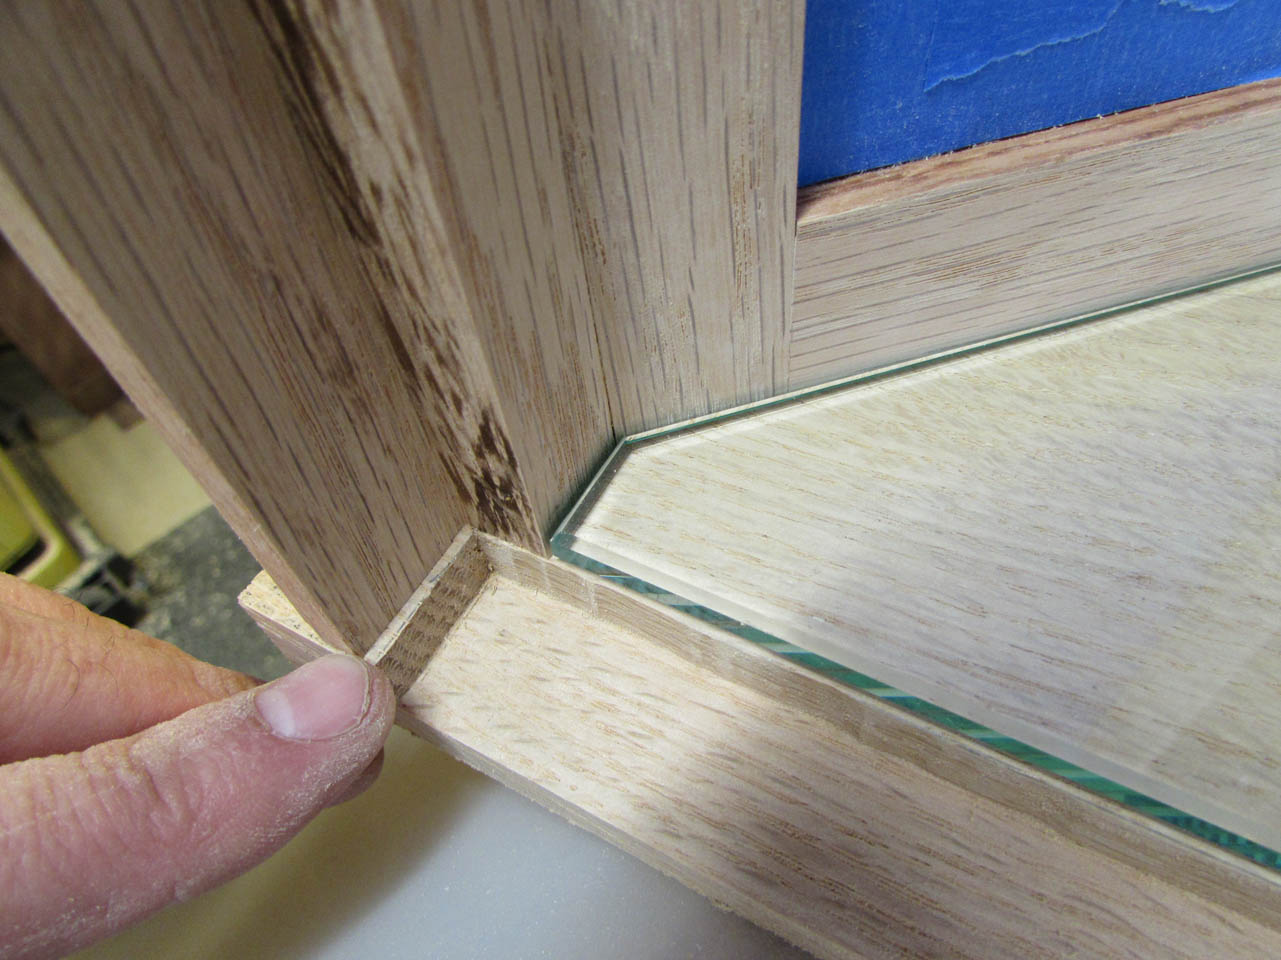
Once everything fit comfortably, I marked the new location and chiseled away the excess.
One more dry-fit and then I flipped it over and repeated the process on the top as well.
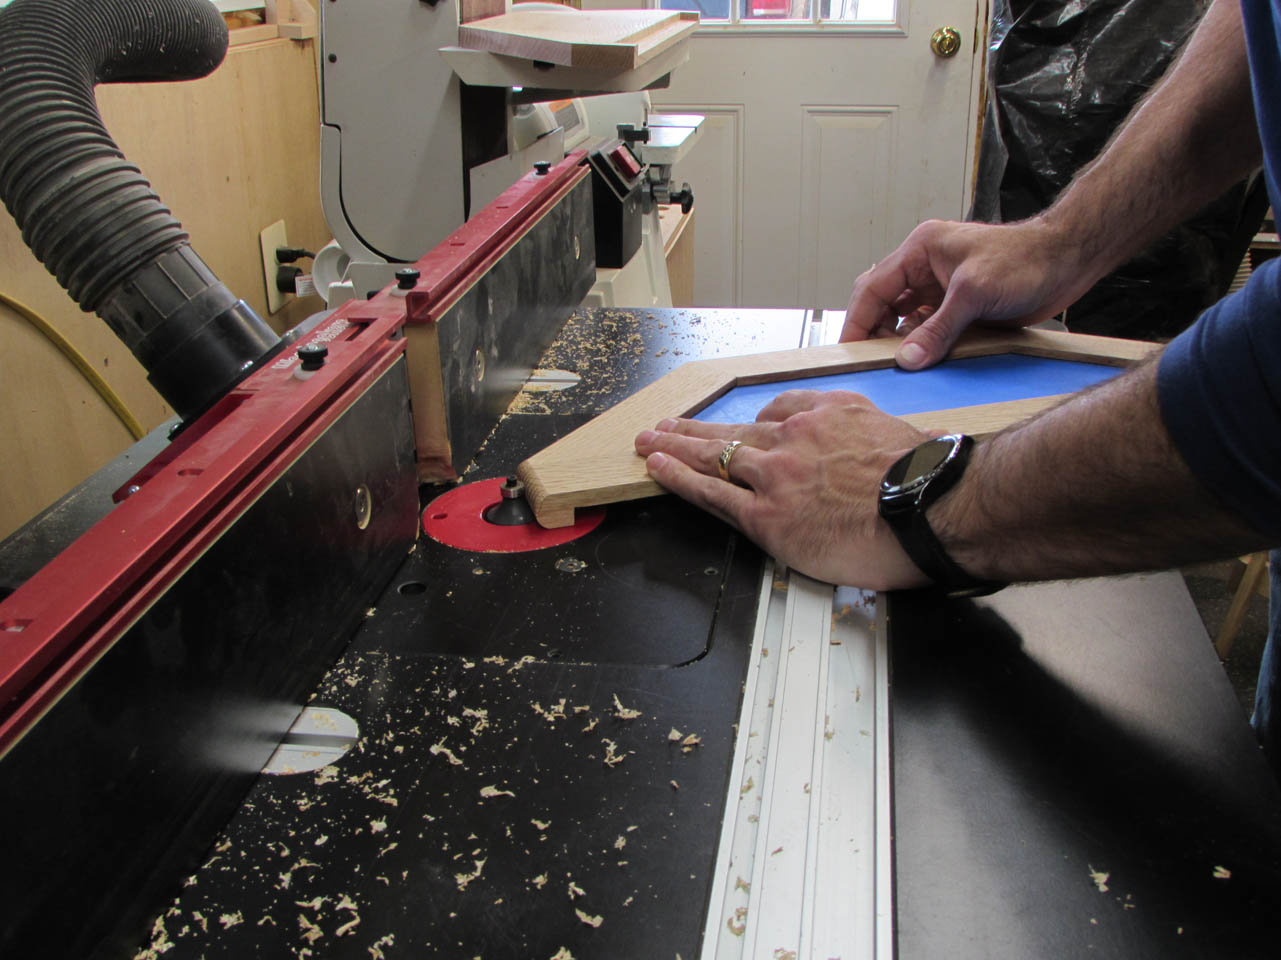
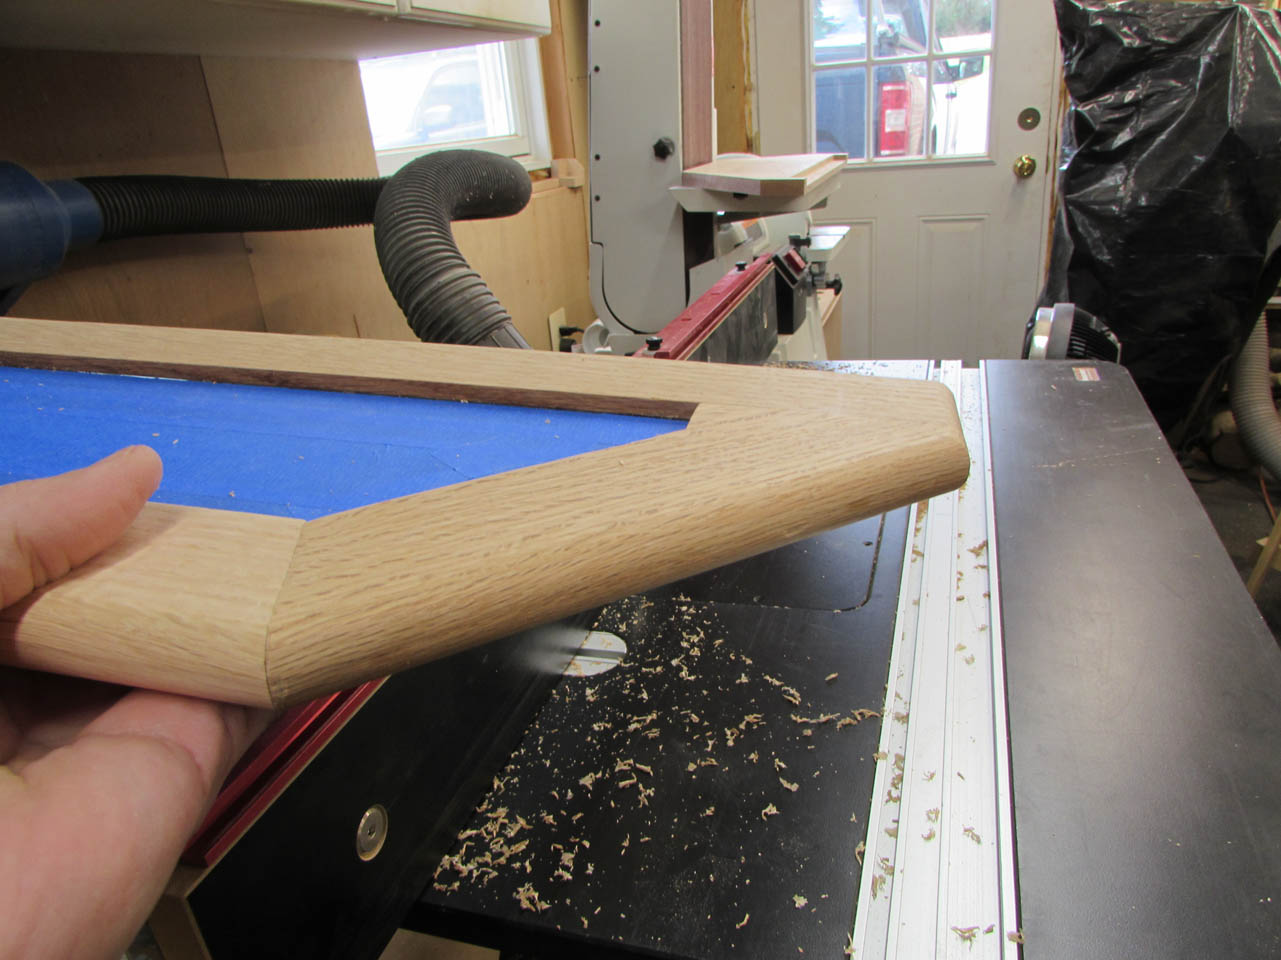
Before assembly, I need to add a full bull-nose to the top and bottom piece. For this, I inserted a 3/8″ round-over bit into the router table and made one pass on each side.
I set the sides back in place and marked the locations.
I will be gluing the top and bottom on, but I want to back it up with screws in a couple locations. I marked two holes at each panel, in a location that would not hit the glass. I am going to use trim screws then plug the holes.

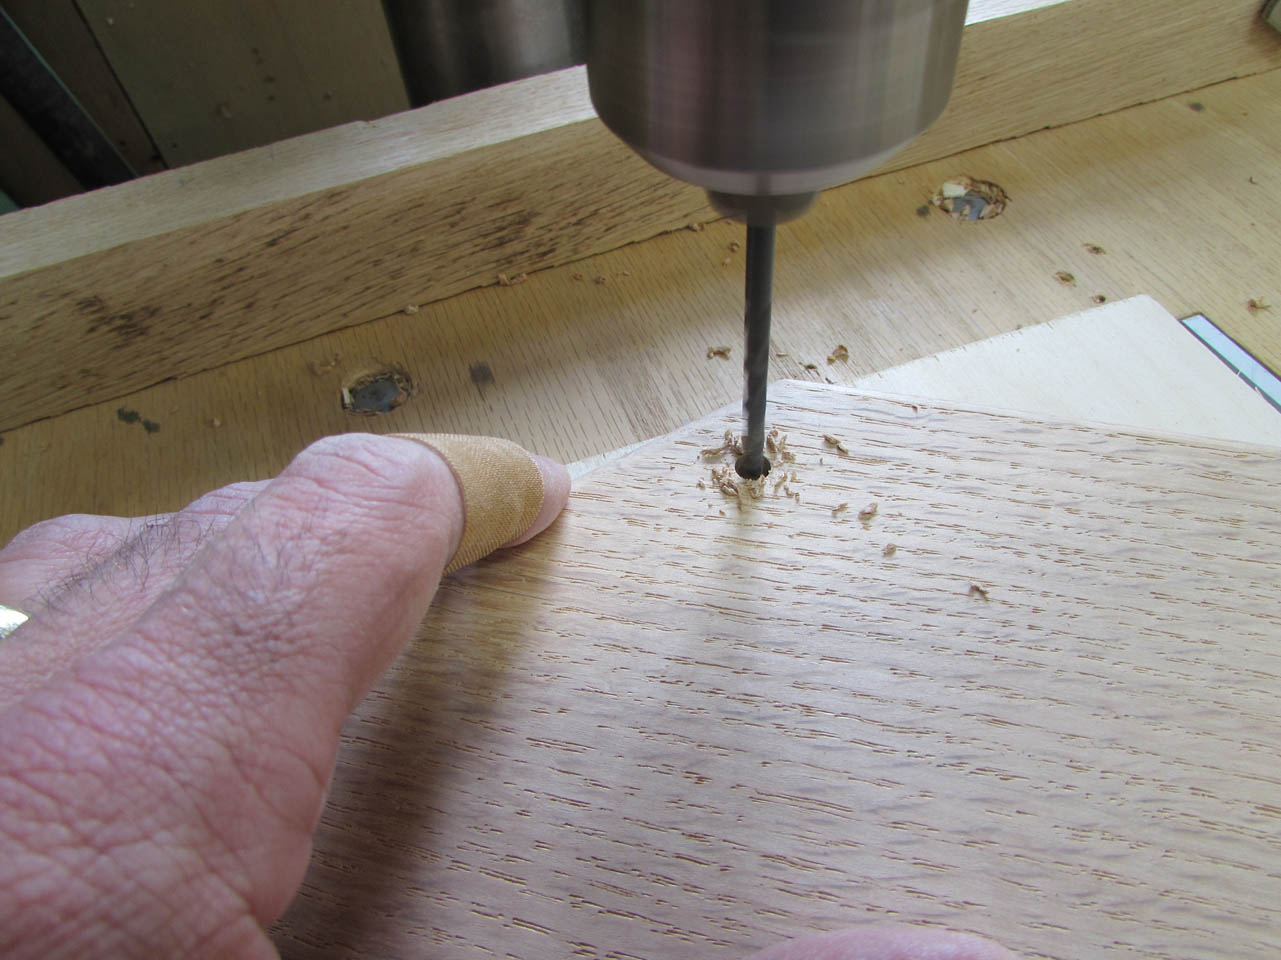
I start with a thin pilot bit, drilling out each of my marks on the top and bottom.

Then I added a 1/4″ deep counter-bore with a 1/4″ forstner bit.
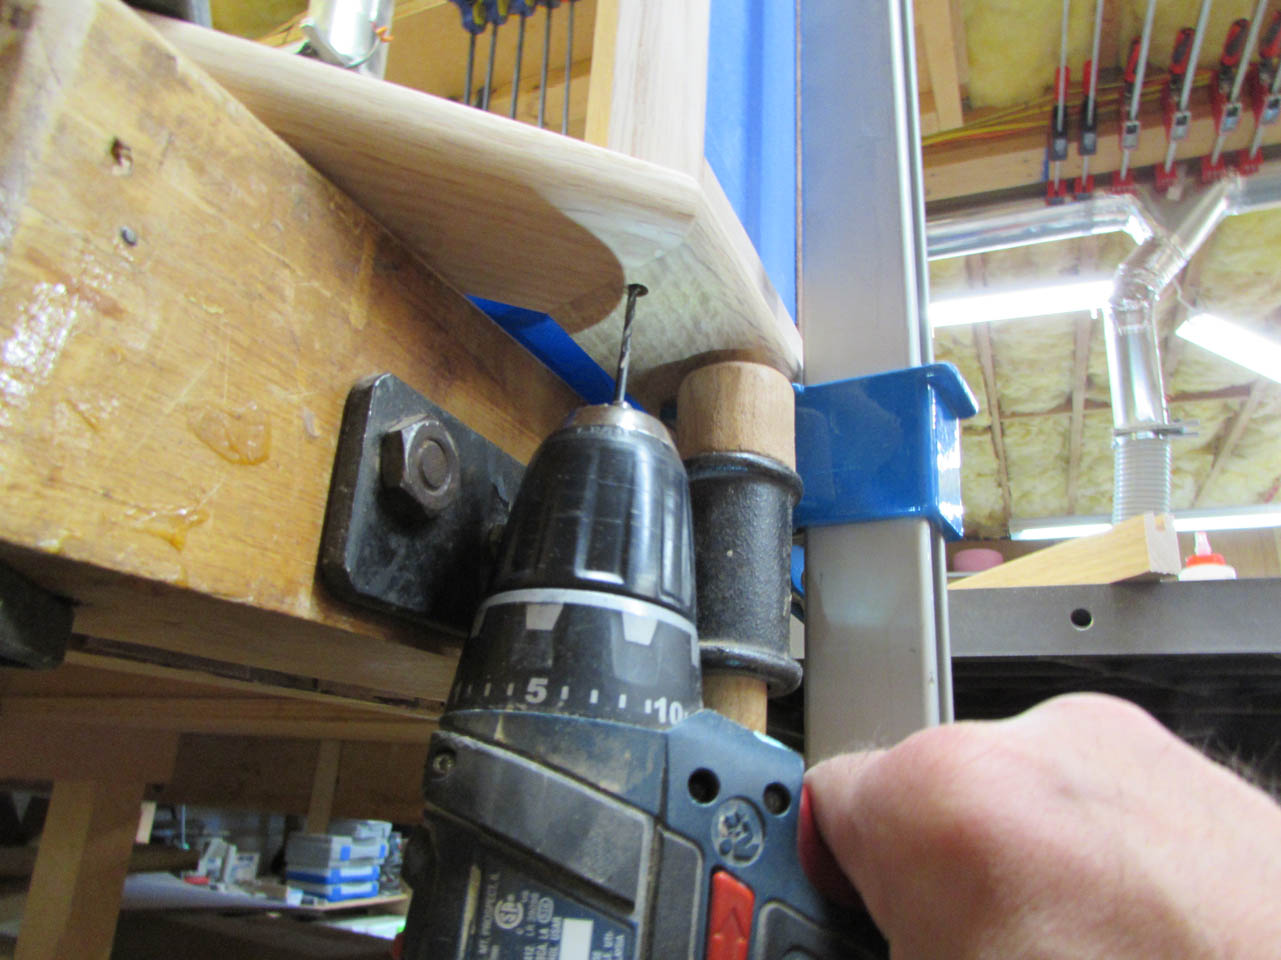
I carefully relocated the sides and clamped them in place.
I used the shelf again to verify the walls were at the correct location, then I flipped the assembly over and match-drilled the pilot holes through into the walls.

After this was done, I drilled a larger hole through the pilot holes on the bottom that would allow the screw to pass through.

After setting the screws in place, I masked off around my marks to prevent glue from getting on the surface.

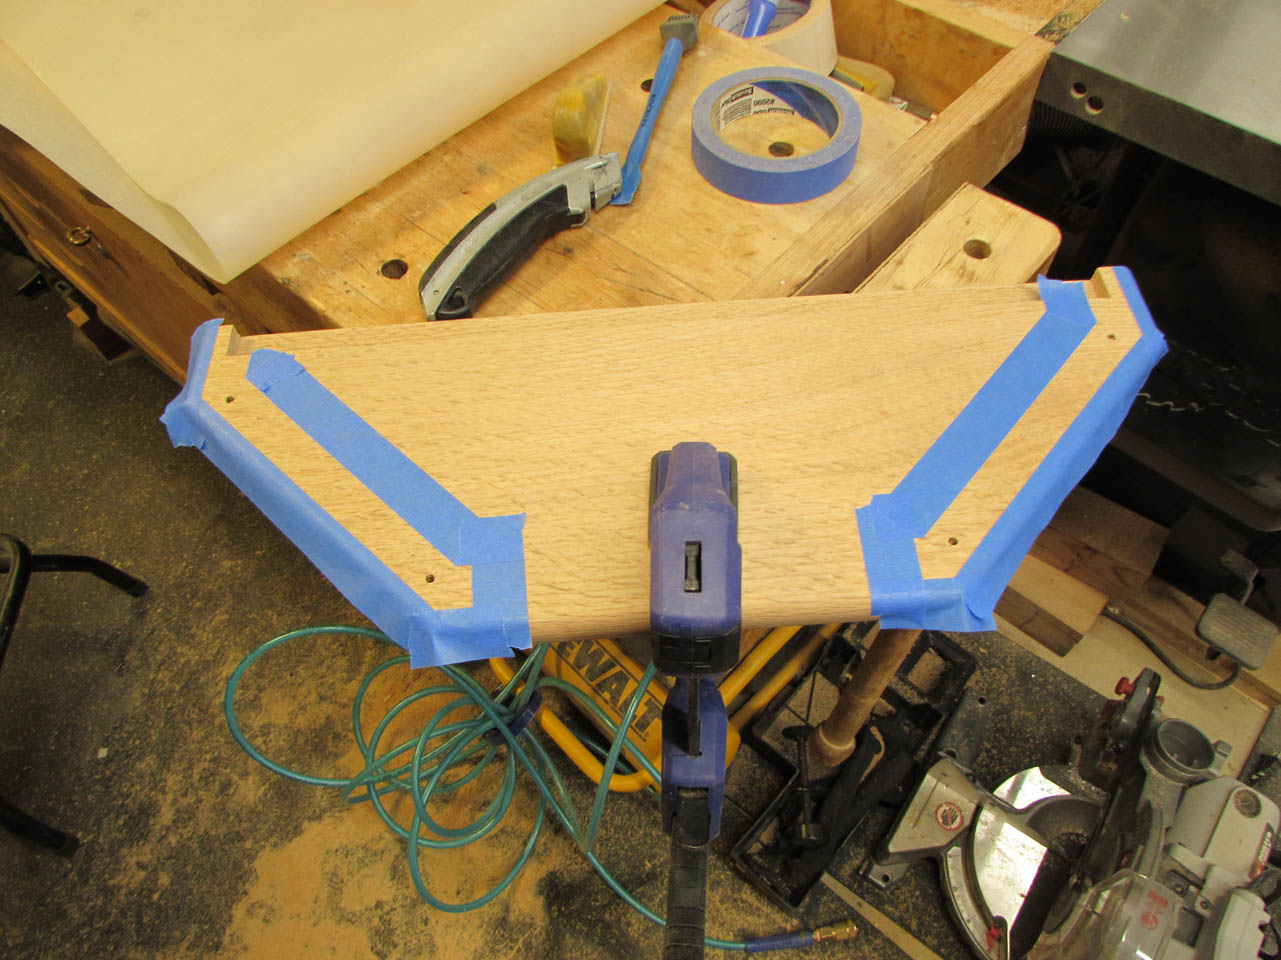
I applied glue to the bottom of the wall and set it in place, then attached the screws, through the pilot holes.

I repeated the process for the top, then clamped it all together before attaching the screws.
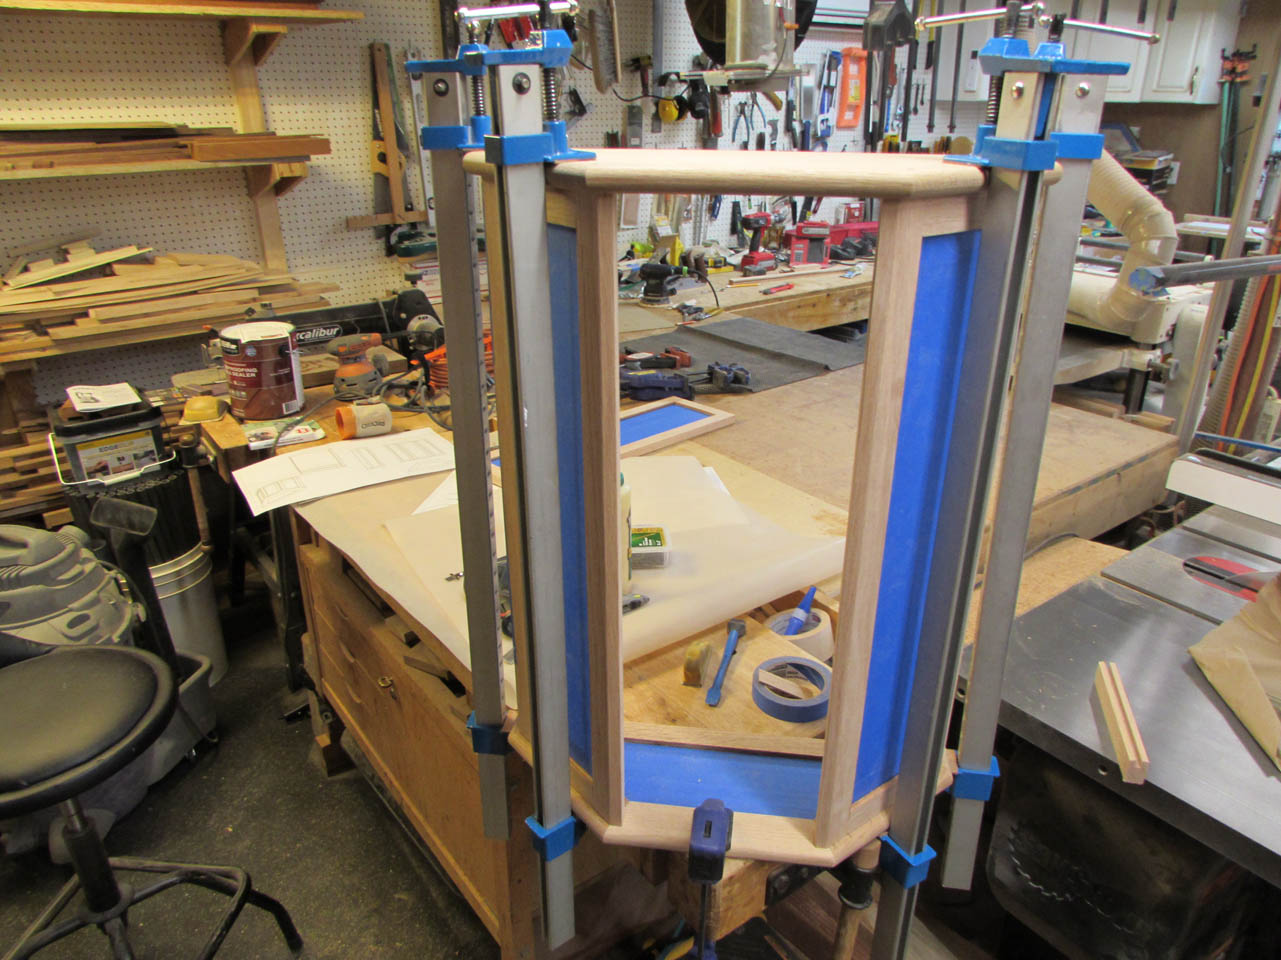

I cut a block to be the exact width of the door opening at the side that was already attached, then moved the block to the other side and adjusted the clamps until the width of the door opening was exactly the same all the way down.
Then I attached the final four screws.
And before everything dried, I double-checked that the door was still square…


Now I have to plug the holes.

Since the board, that I screwed up, was from the same board as the current bottom piece, I decided to use it to make the plugs. I ripped the messed-up section off and took it to the drill press.
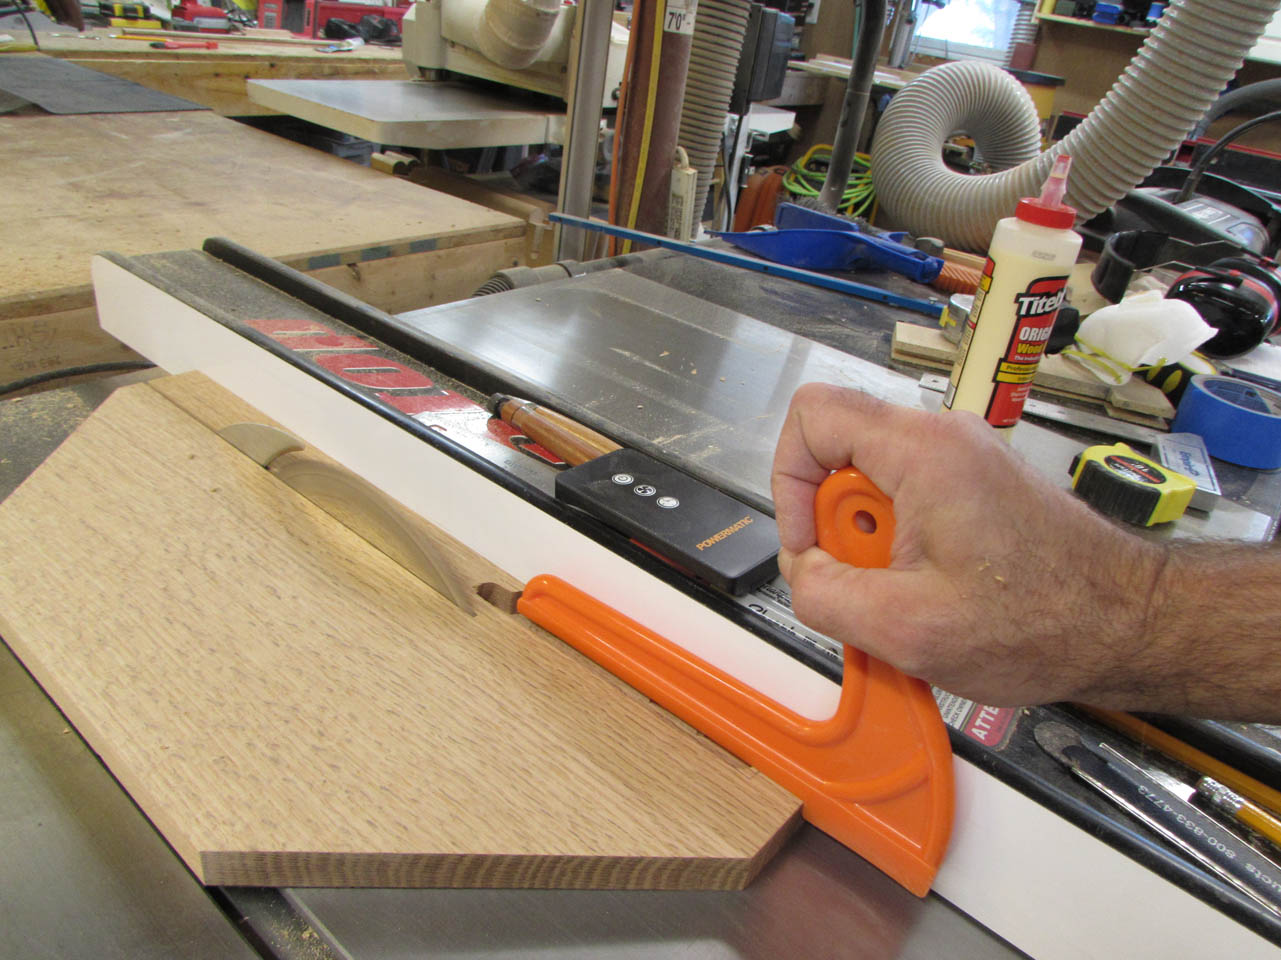

I installed a 1/4″ plug cutter and made a about a dozen plugs. I drilled 90% of the way through the board, leaving them attached.

Then I cut the bottom off the board, freeing up the plugs.

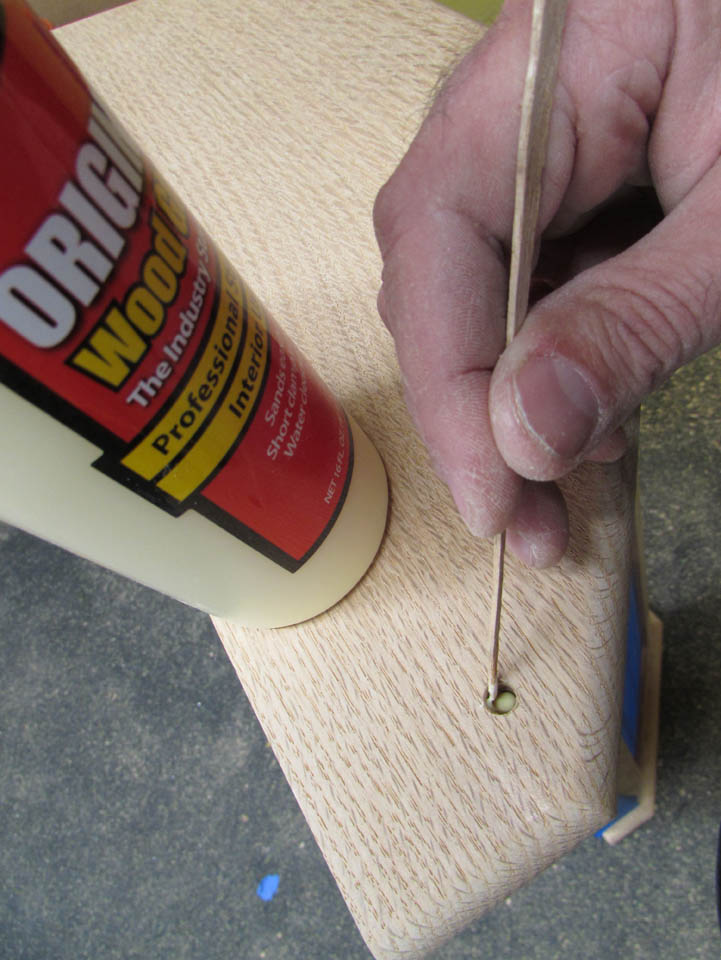
I added a drop of wood glue to the bottom of the hole and some CA glue around the rim.

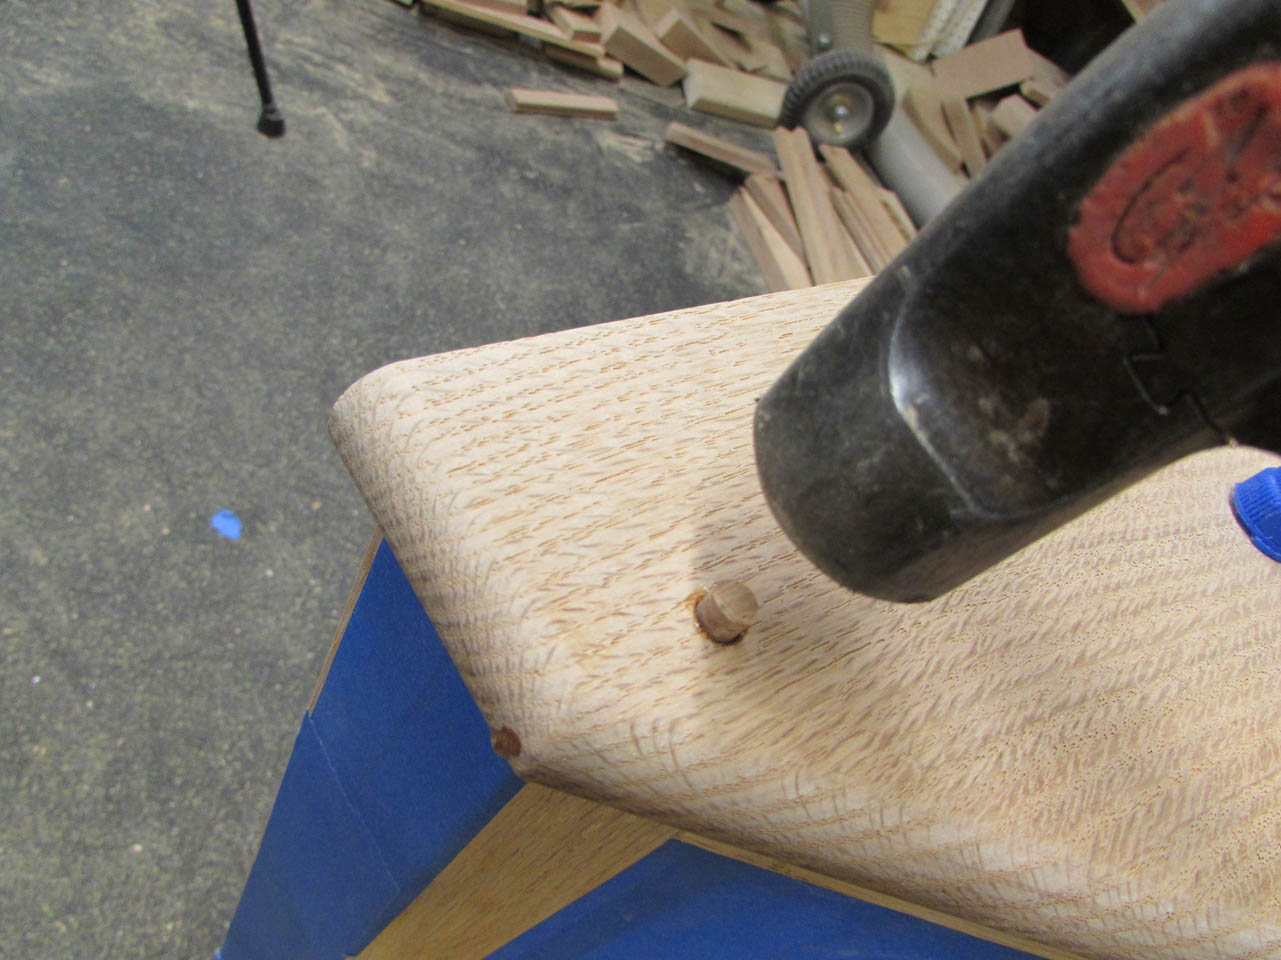
I tapped in a plug and sawed off the top while the glue was still wet.
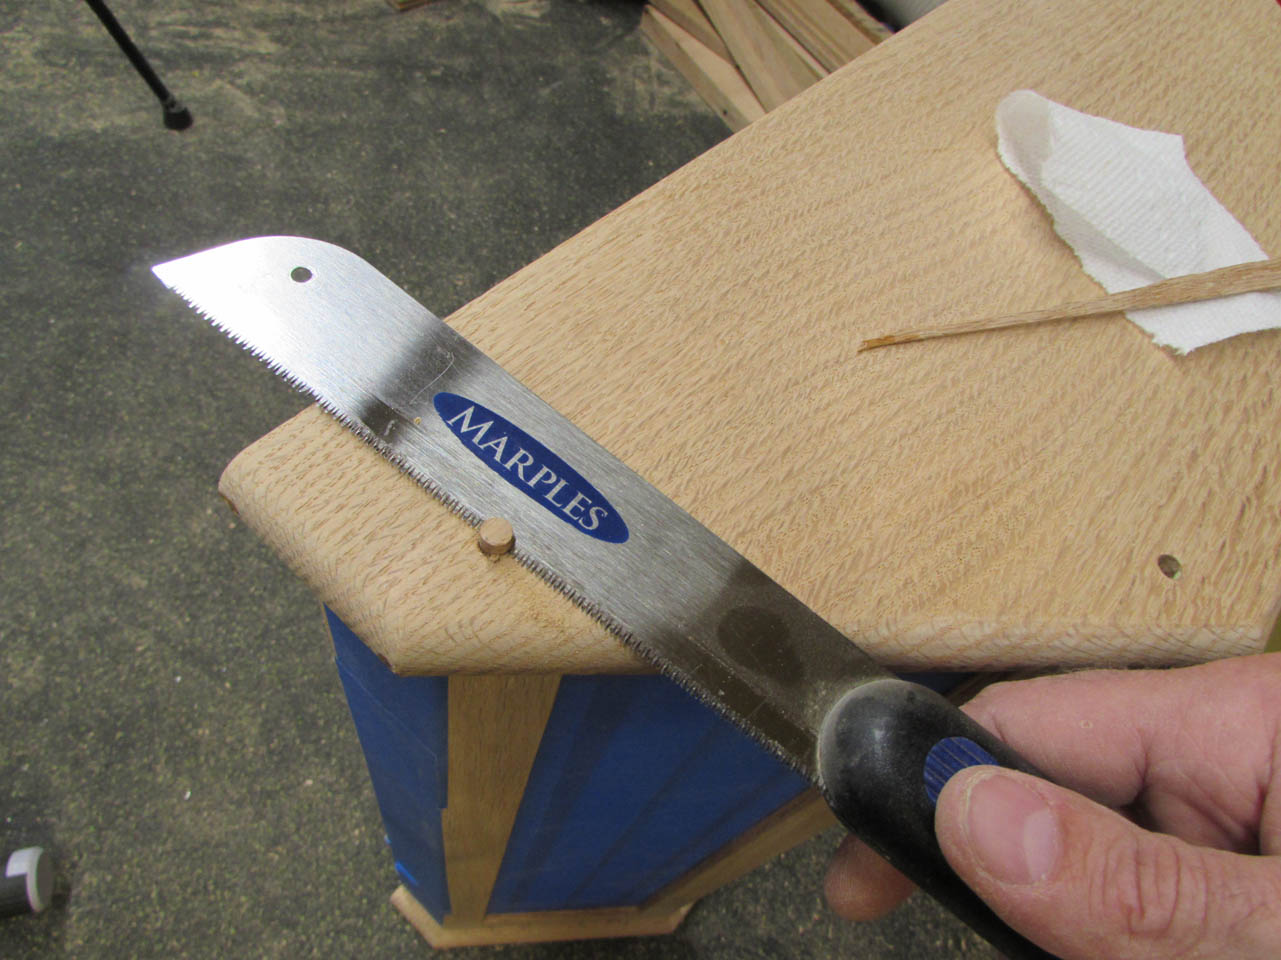
That way, when I sanded it flat, the dust would embed in the glue.

The plug should blend in even better when the stain is applied.
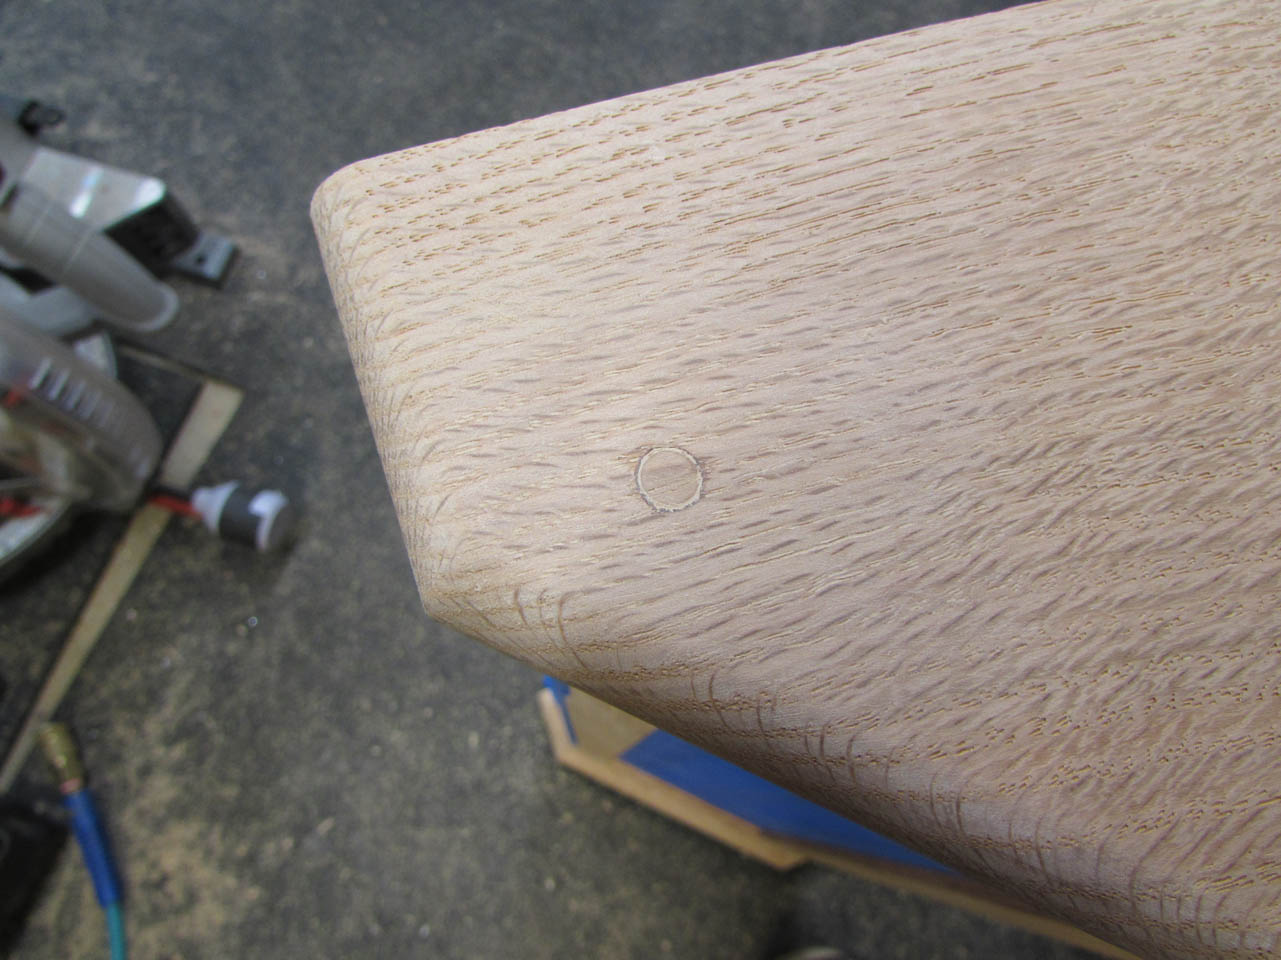
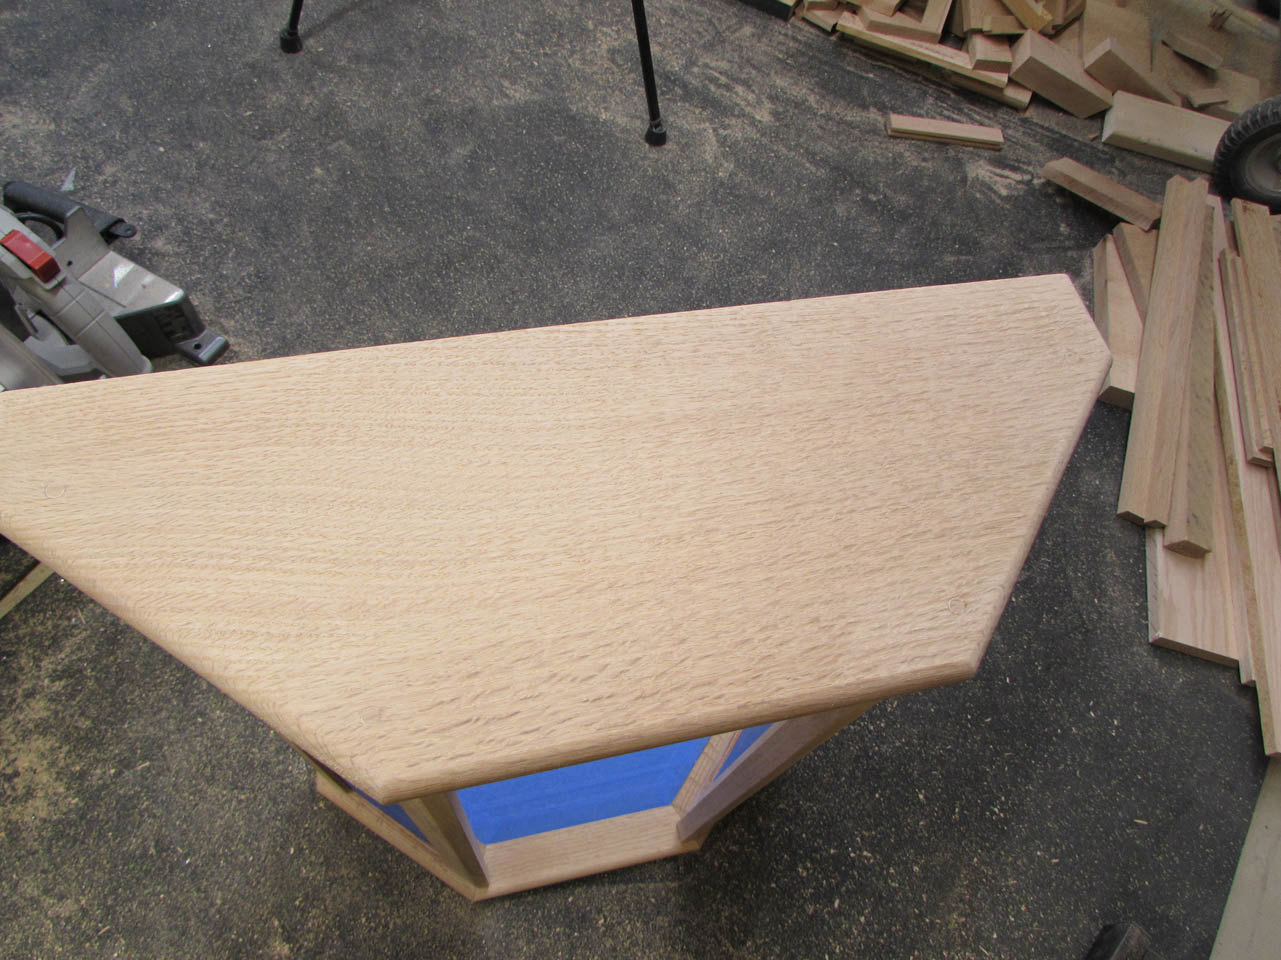
I only had one that I wasn’t happy with, but it will be above everyone’s line of sight, so I am not worried about it.
Tomorrow’s project will be to cut down the door and install the hardware, than maybe the back and shelves if I have the time.