
St. Kilian chapel – Credence table – part 1
Next piece of furniture on my “to do” list is a credence table. This table will sit next to the priest’s chair and be the same height as the arm of the chair. The top of the table will be 3/4″ thick to match the chair arm and it will have four octagonal legs and a small shelf. Here is my design: CREDENCE TABLE PARTS.pdf
The columns that I made today turned out fine, but I went back to the plans for the Ambo and saw that I had instructions for making the columns that I had forgotten about. I made a new set so that I can print it out and have it for the next set of columns that I will need to make. 4 INCH COLUMN INSTRUCTIONS.pdf
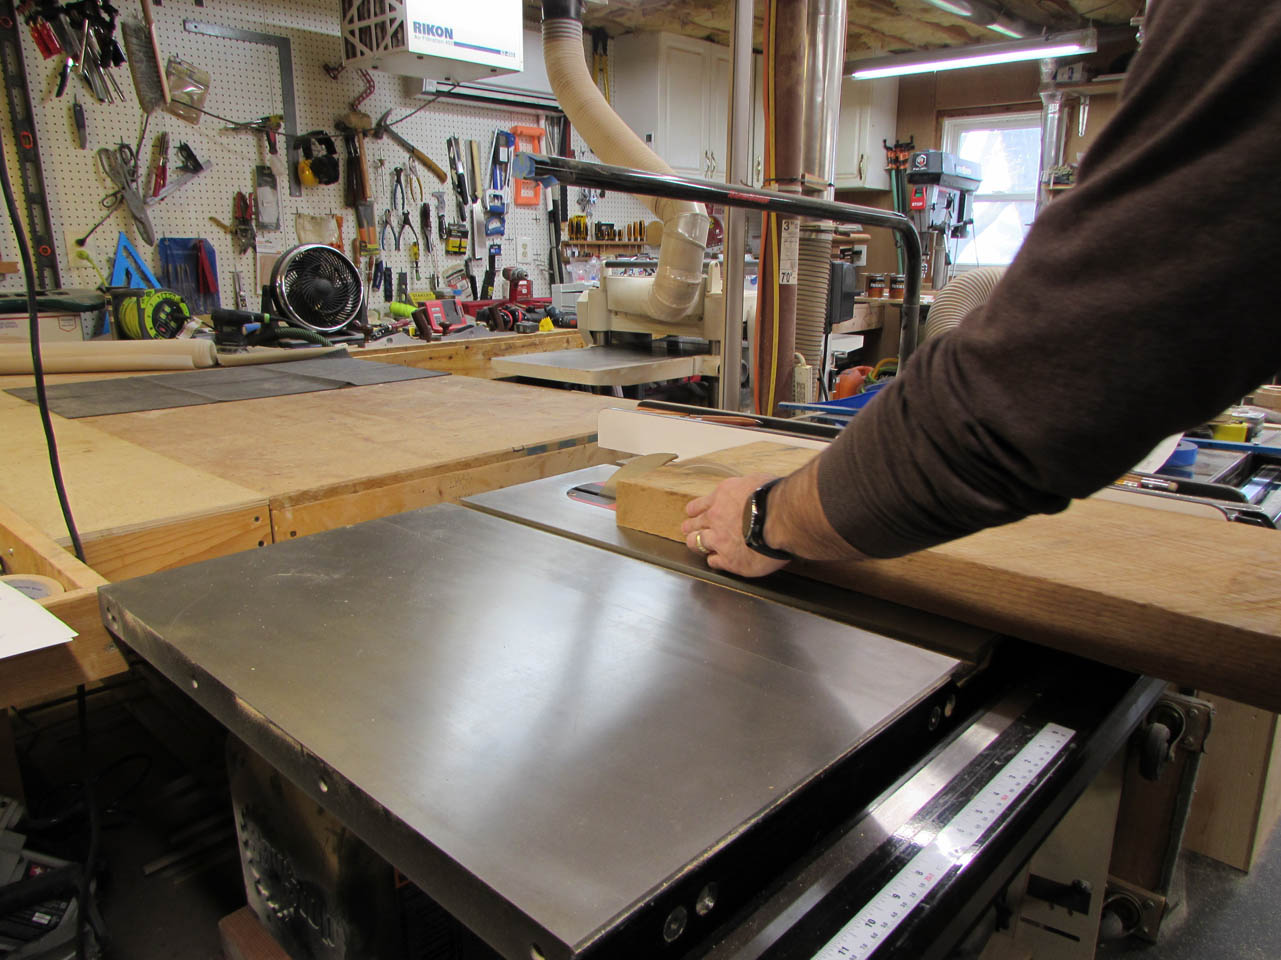
I have a few shorter pieces of 8/4 oak which will be perfect for the 24″ long legs. I cut them down to 8″ wide so that I could run them through the jointer.
I also cut them down to just a few inches longer than I needed. No point milling down stuff that I am just going to cut off.
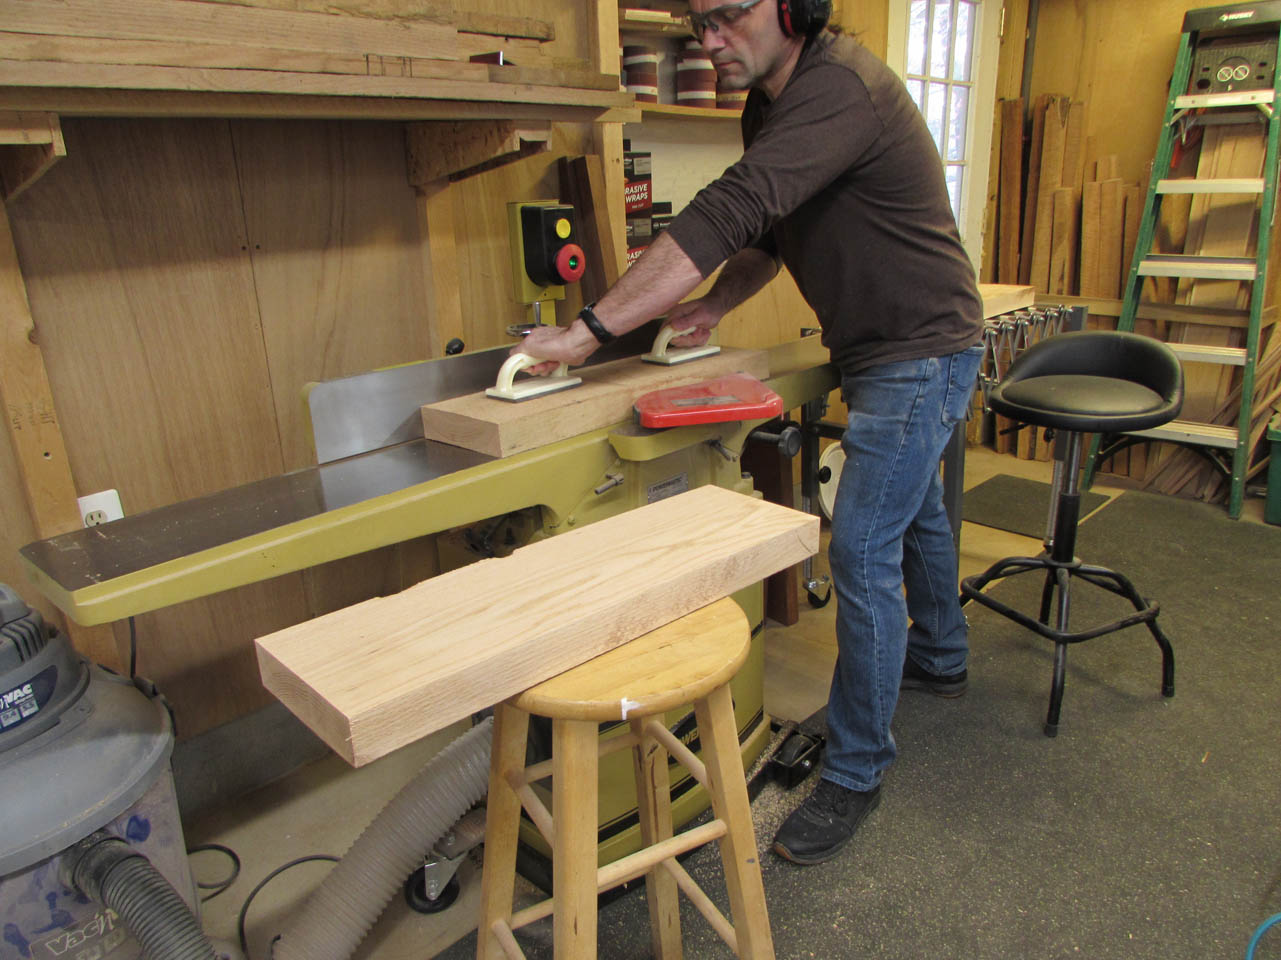
I ran each of the four boards across the jointer to flatten one face, then flipped them on their sides and jointed one edge as well.
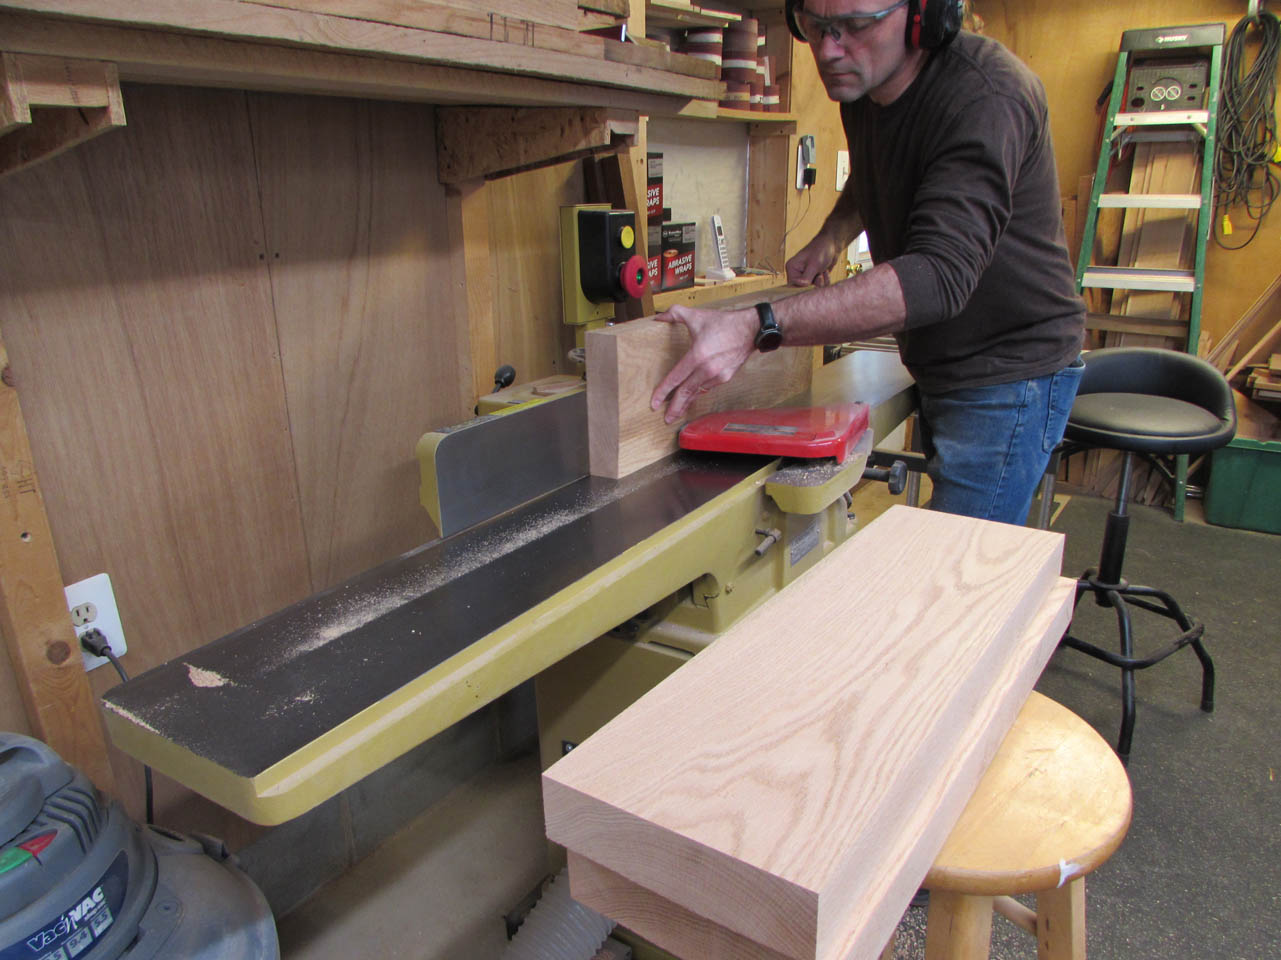
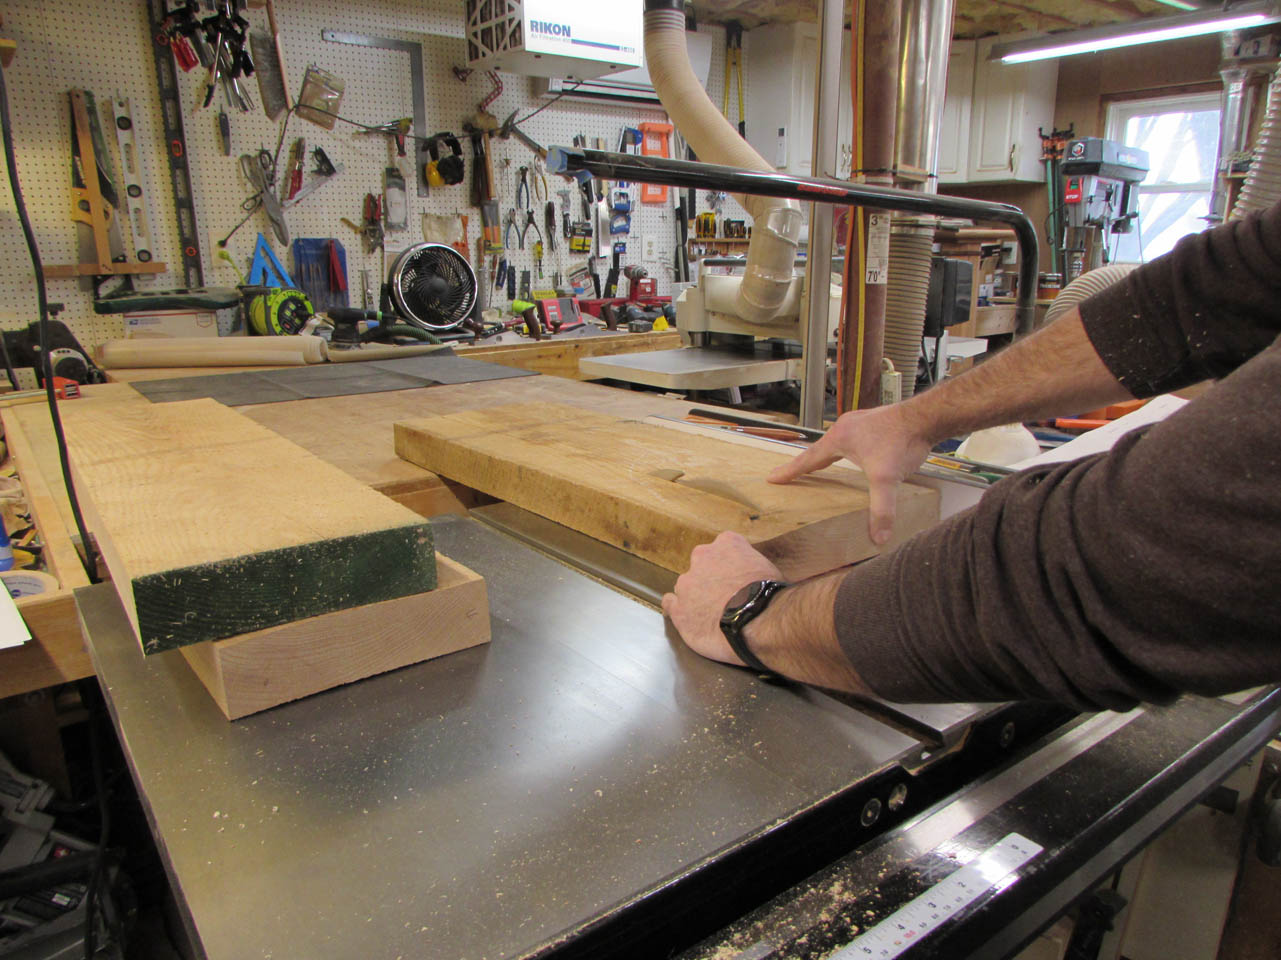
Next, I ran the boards through the planer to flatten the opposite side and take them down to the final thickness.


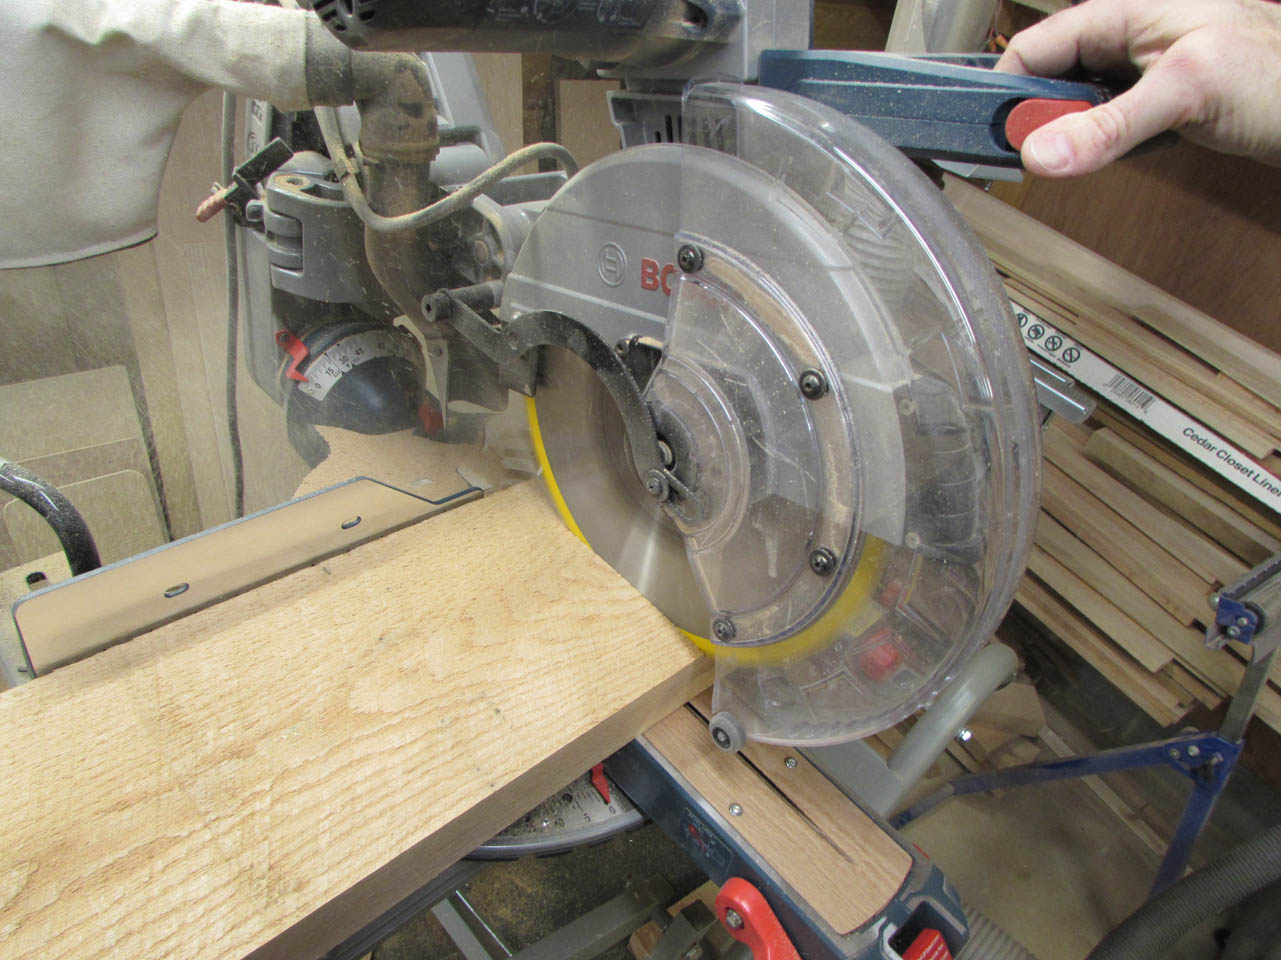
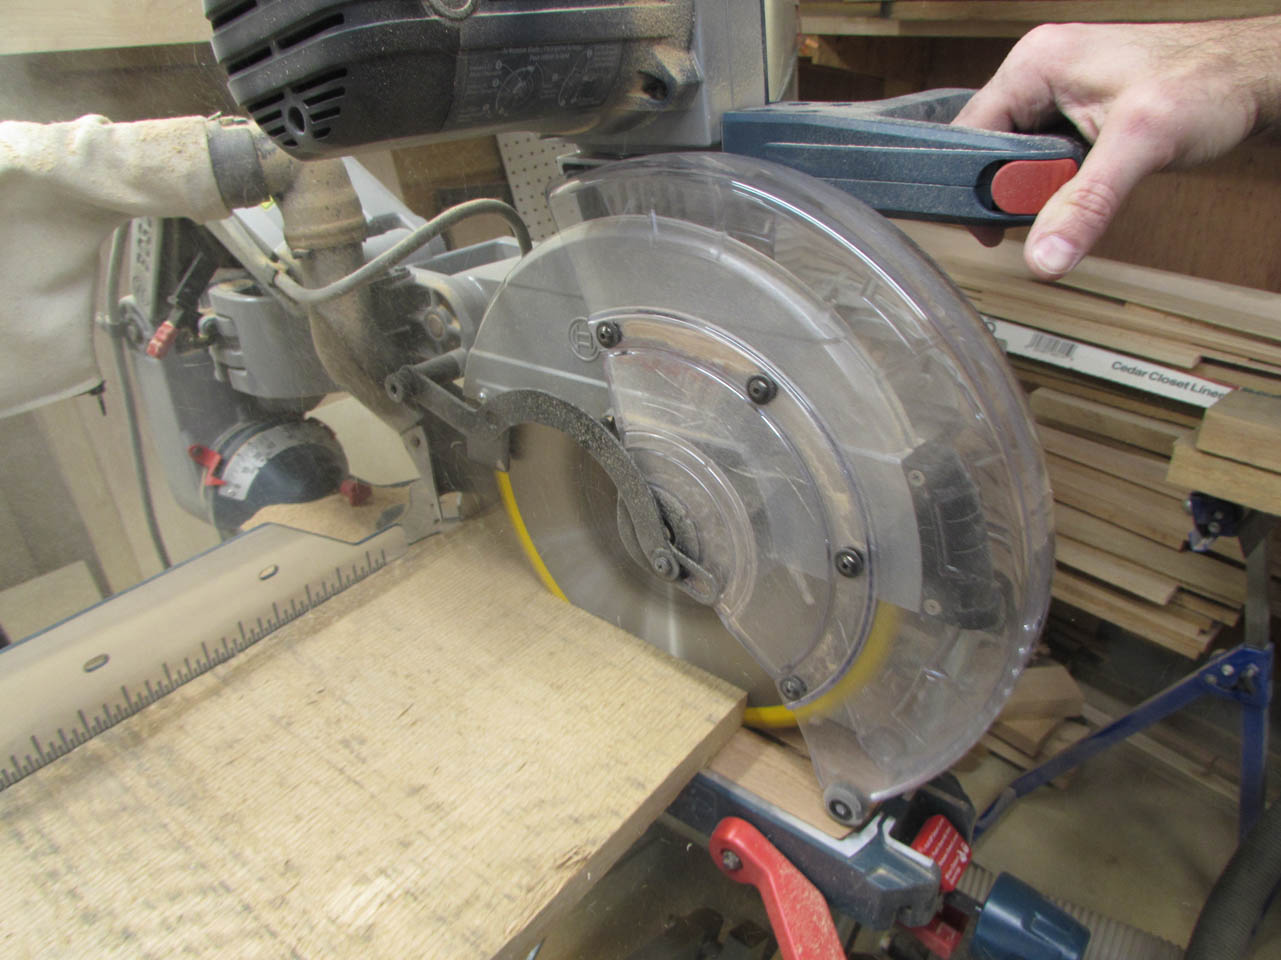
I set my blade to 67.5° and adjusted my fence
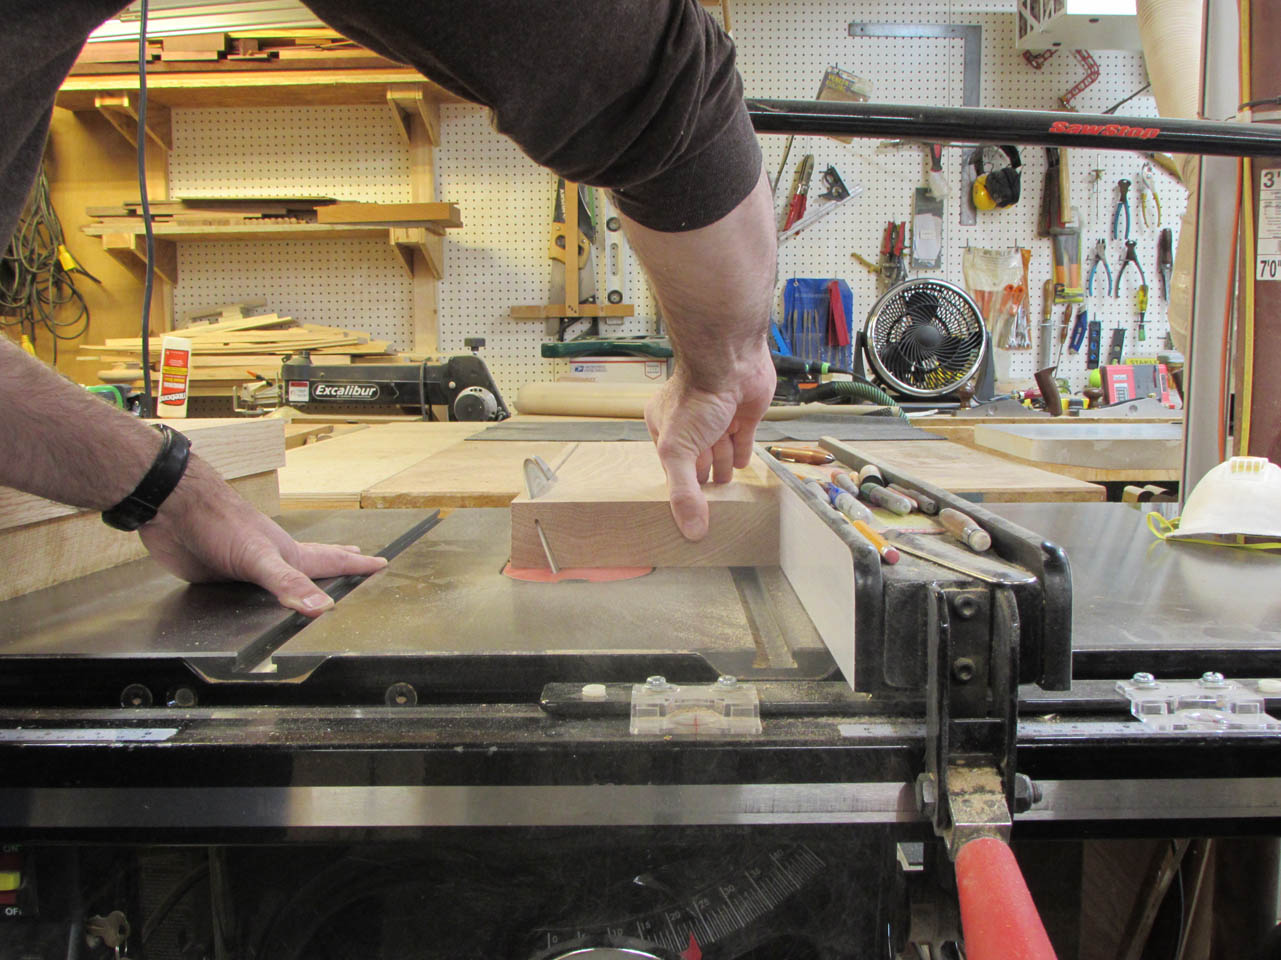
I cut off the side then slid the fence over, and flipped the board, to cut the middle. This gives me two pieces that will mate. This way is not ideal since the thin angled edge will wind up running against the fence of the router table. I put better instructions in the PDF at the beginning of this post. Basically, I should have made the first cut at 90°.


Next step was to set up the 2″ core box bit in my router table and adjust it to 1/2″ high. Then I marked my start and stop point, with tape, on my fence, and dropped the board slowly onto the bit to start the cut about 1″ in and finish it about 1″ from the other end.
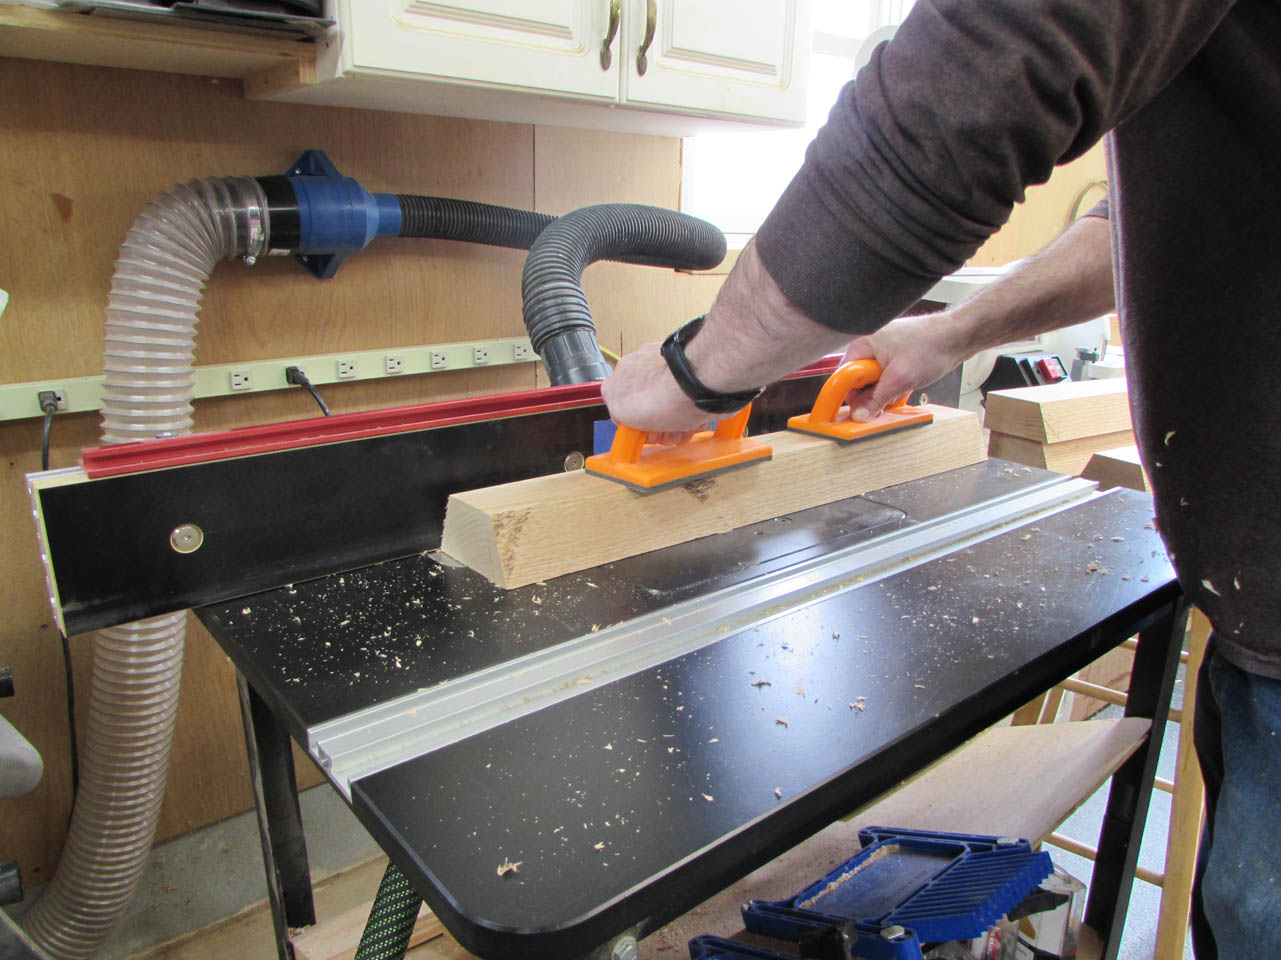

After the first pass, I raised the bit to 1″ high and ran the cut again.

It is not the most comfortable cut to make, the bit was not designed for plunge cuts. I have to hold the board firmly so it doesn’t get pulled out of my hands…


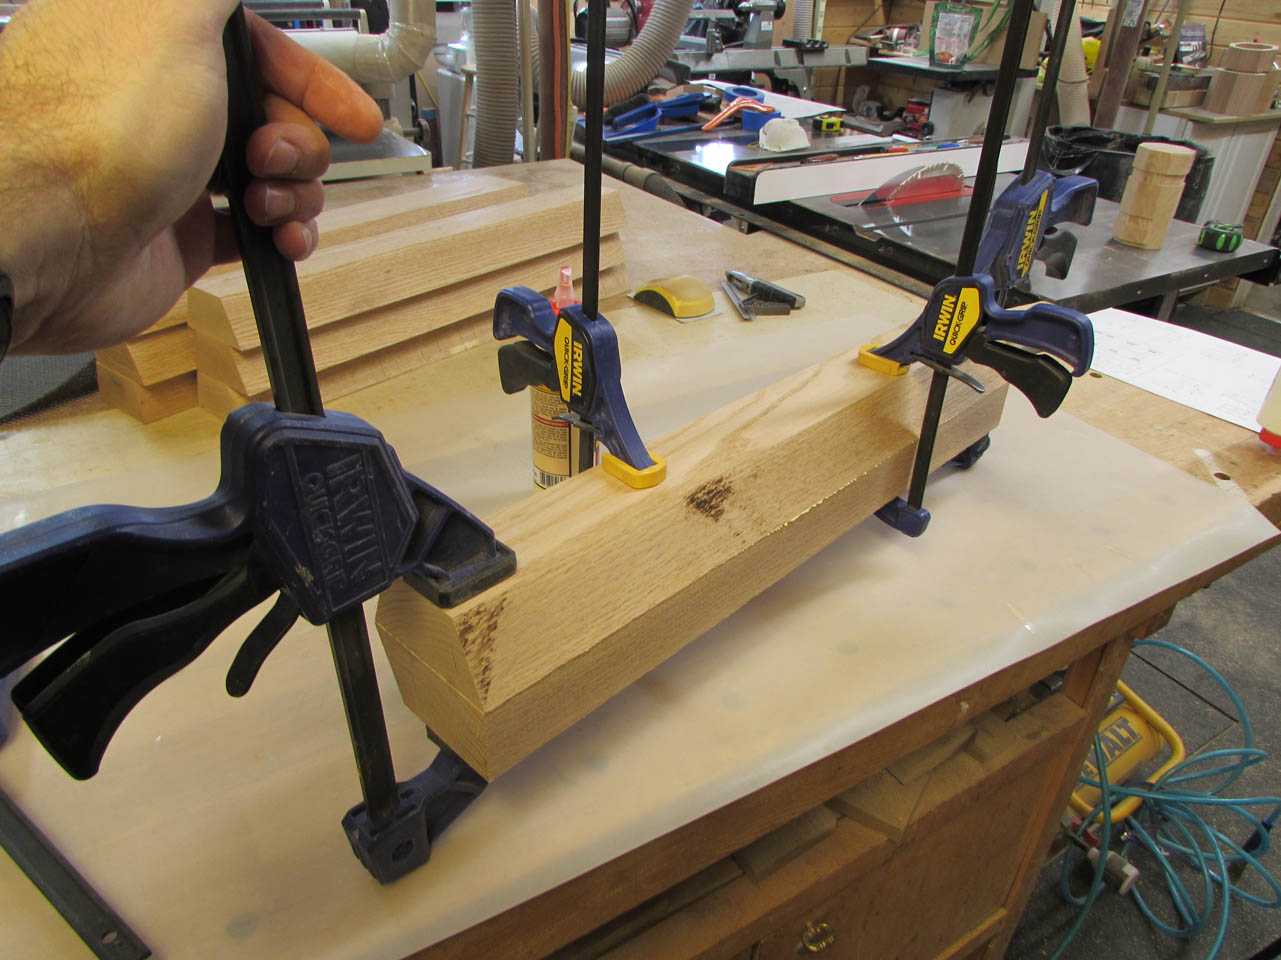
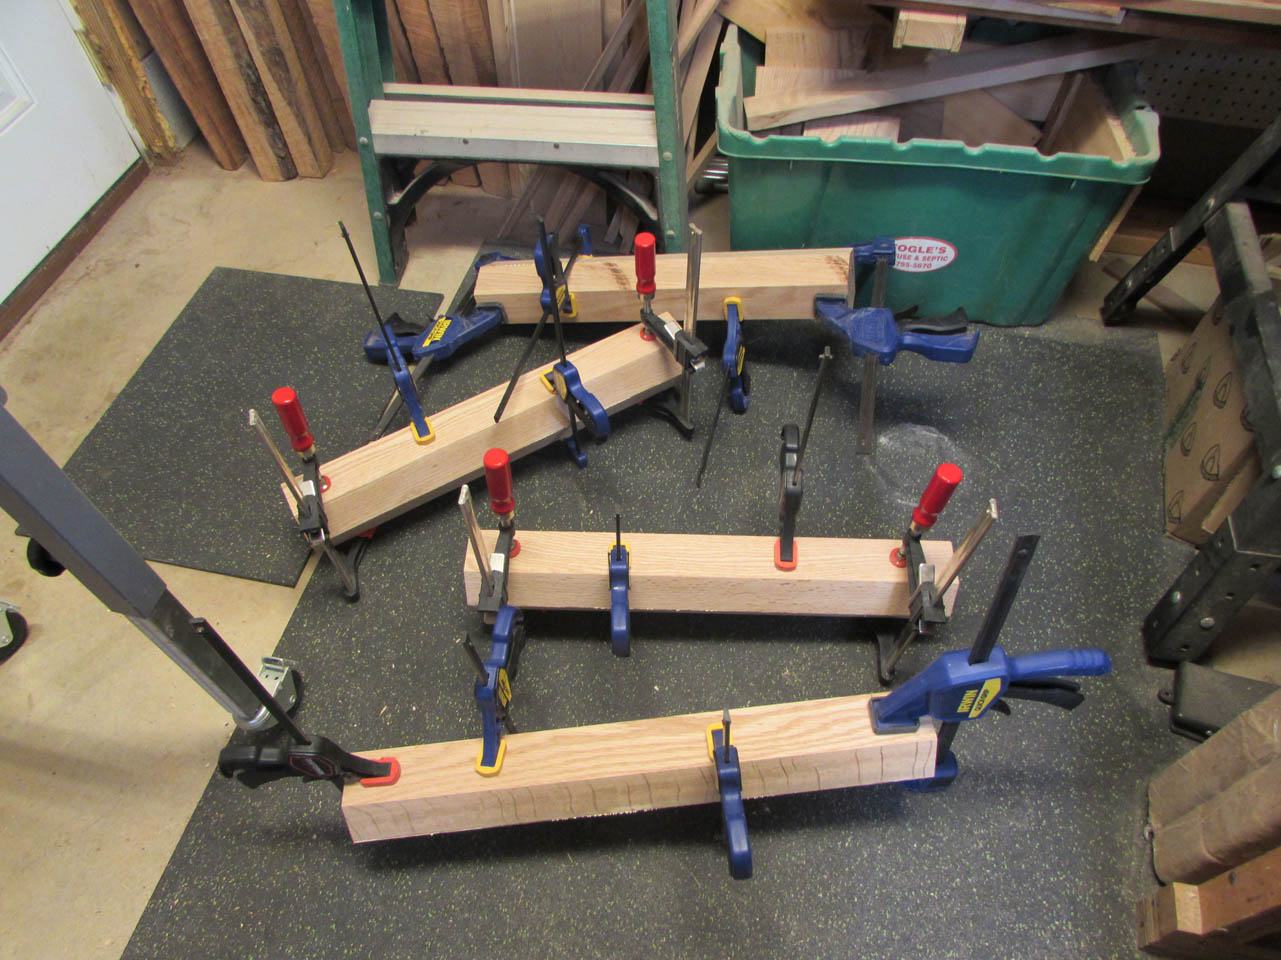
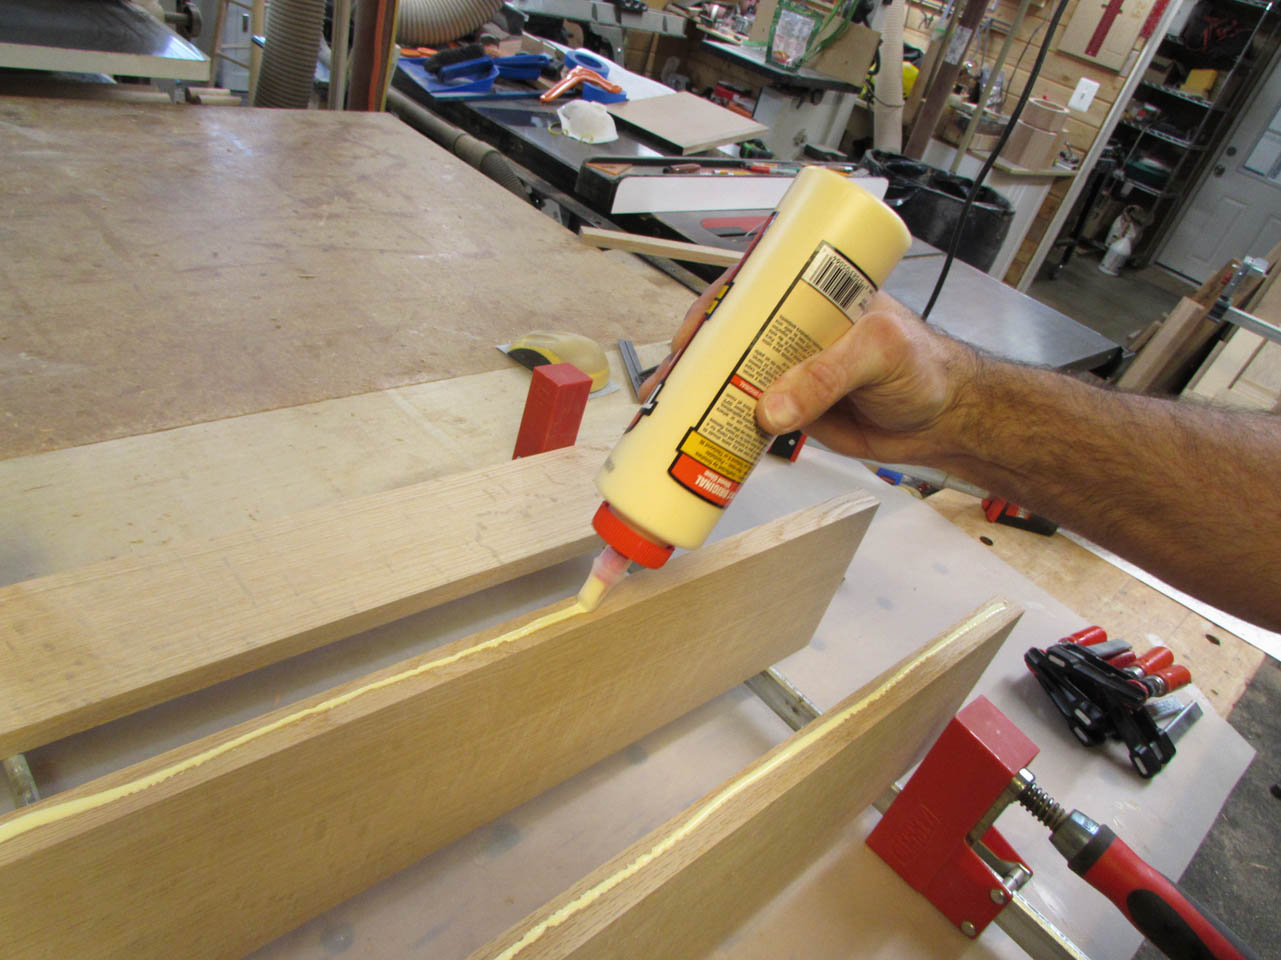
After all eight boards are cut, I apply wood glue and clamp them together.
While I let them dry, I got started on the shelves.
For the small shelf, I cut a 10-1/2″ wide board about 12″ long and planed it down to 3/4″ thick.

After cutting that to size, I grabbed some off-cuts from the chair build to create a panel for the table top.

I glued up the edges and clamped the three boards together, being careful to keep one side straight and the faces all aligned.

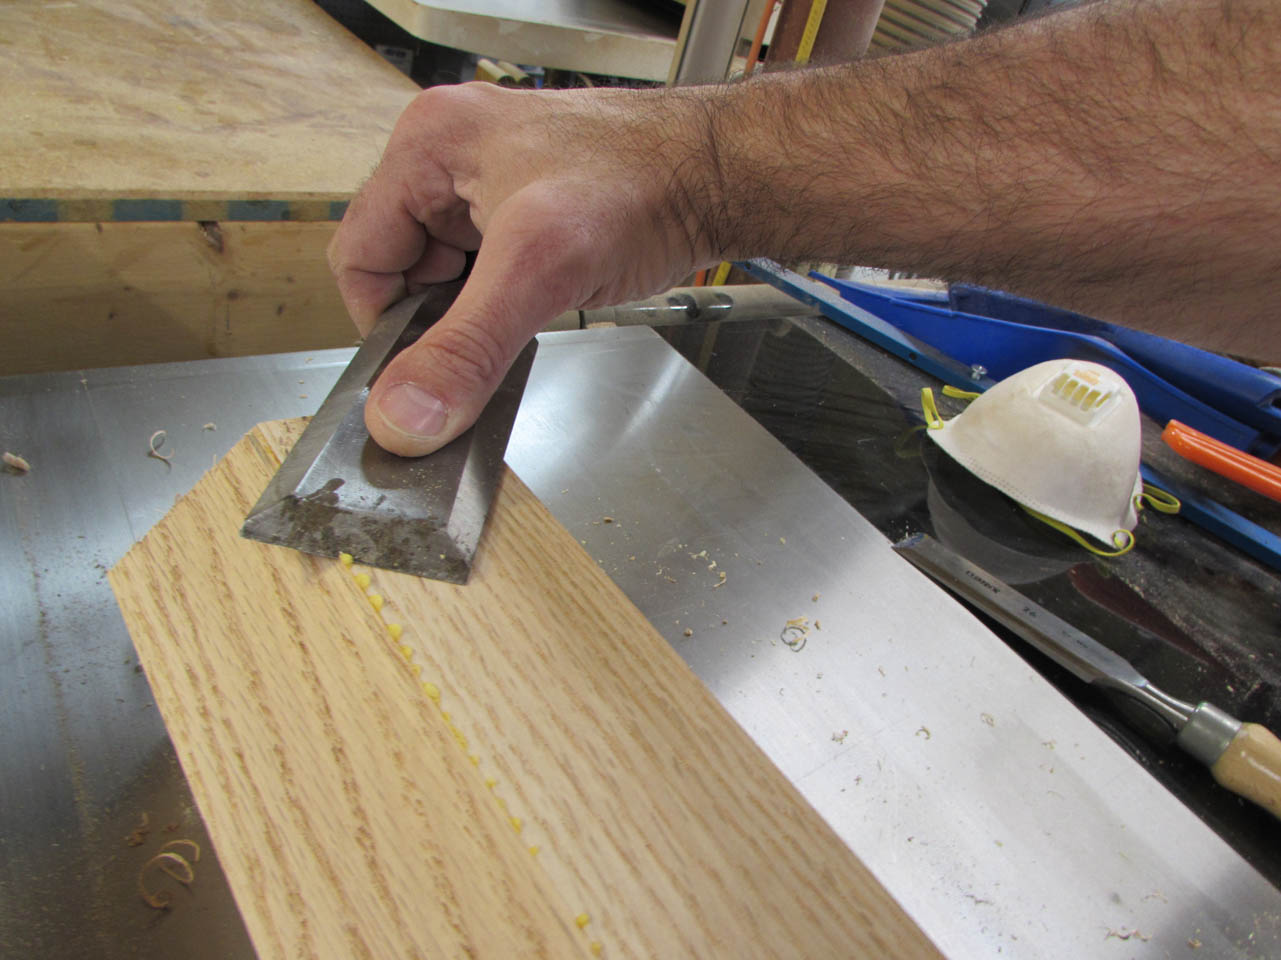
While that dried, I switched back to the columns that were now set and pulled the clamps. I scraped away the glue squeeze-out with my 2″ wide chisel.
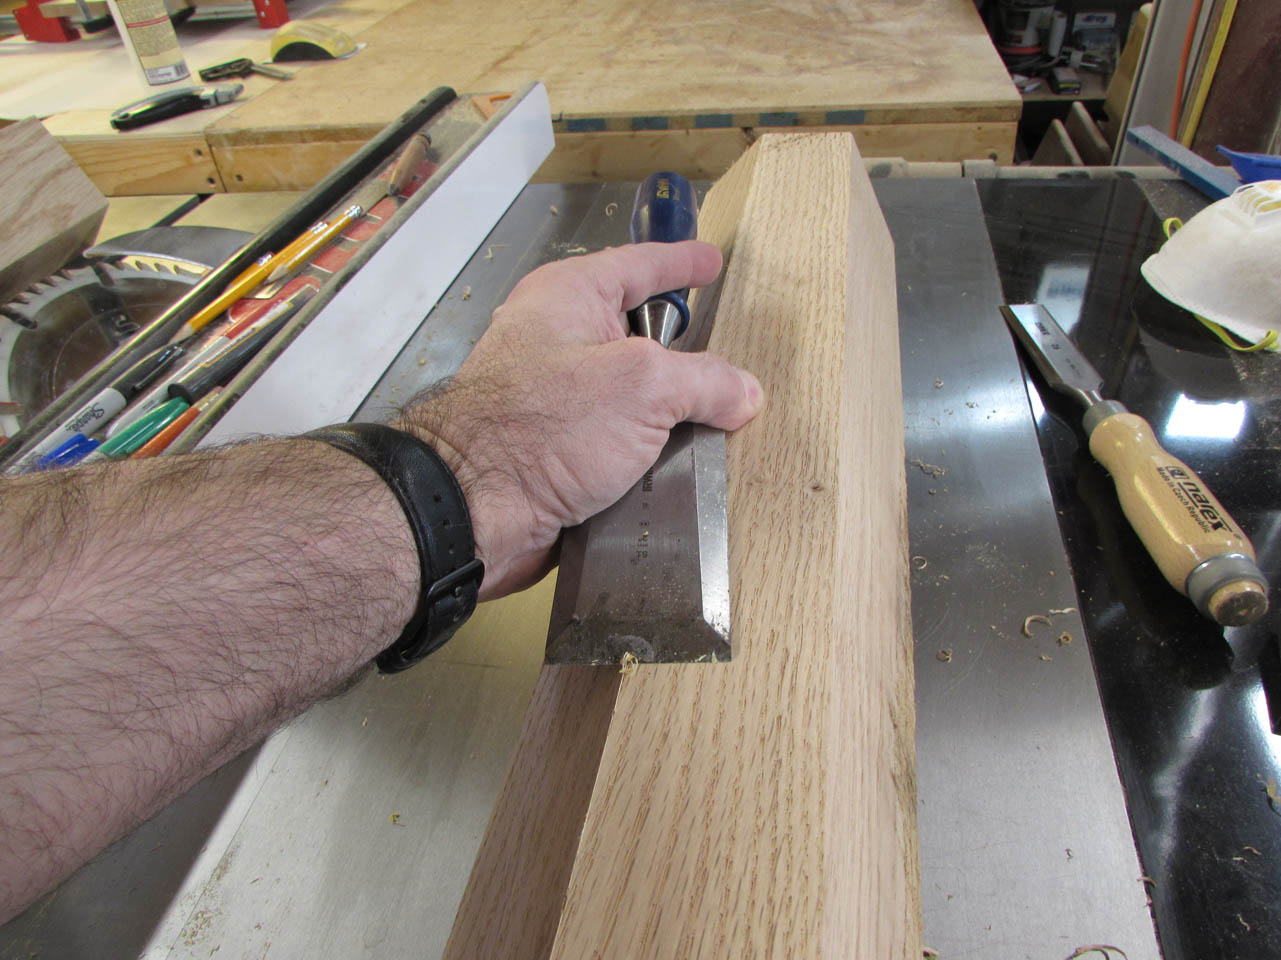

Then I proceeded to rotate and cut the columns per the instruction PDF above.


After a lot of cuts I had four nice little columns.

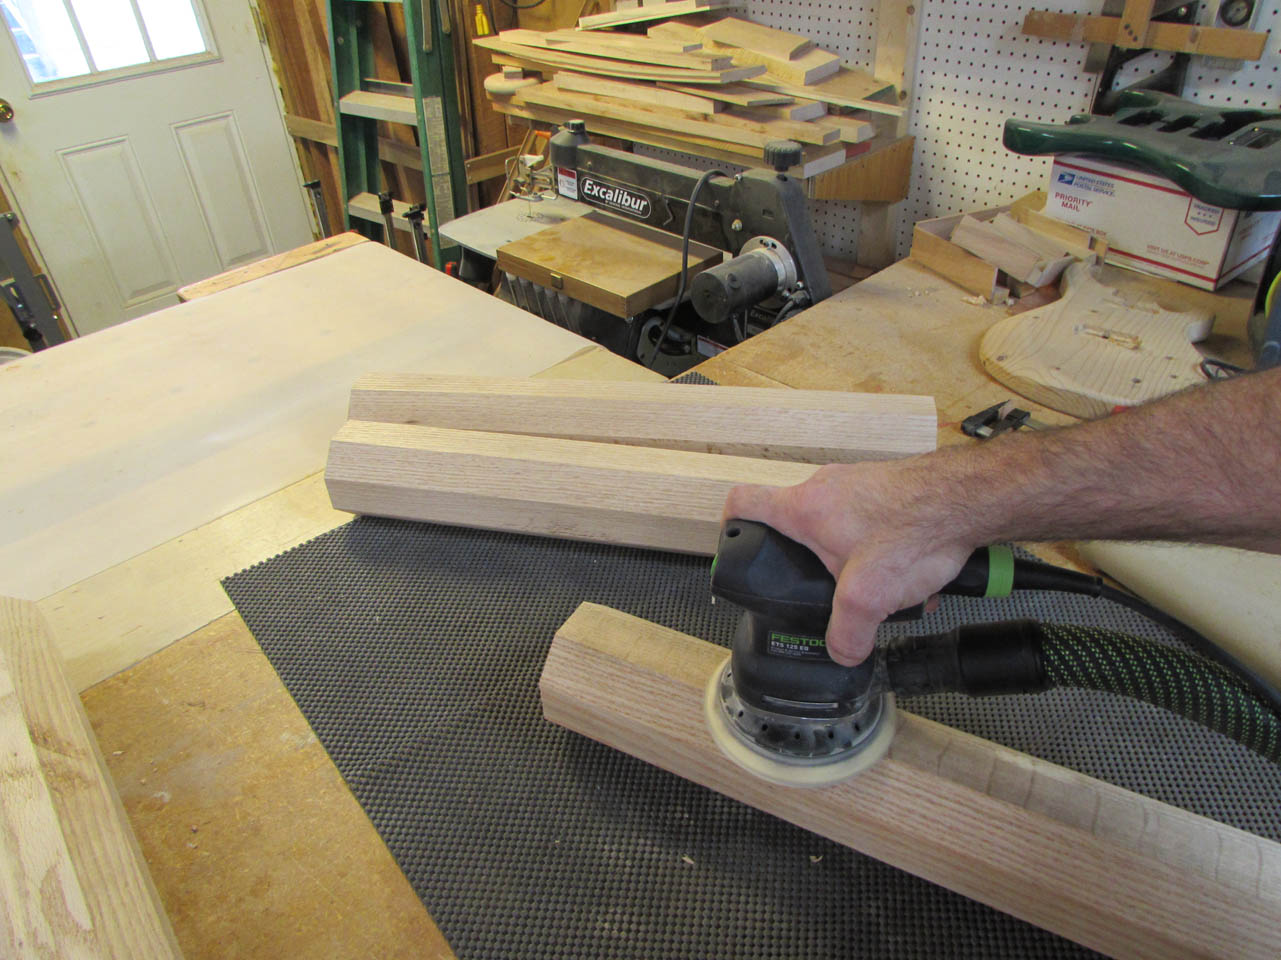
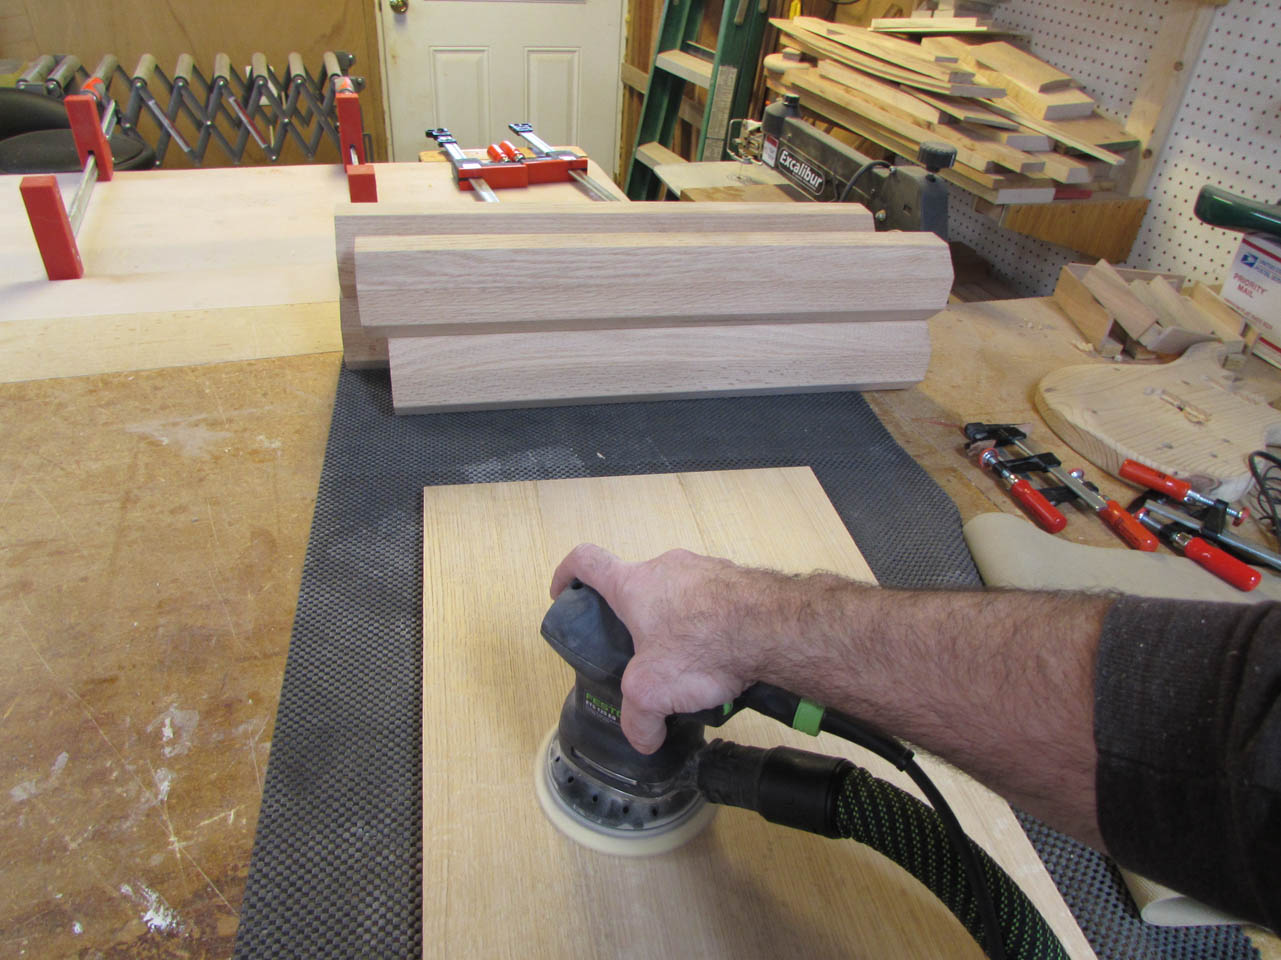
Next step was to sand down all of the columns, pull the clamps on the panel, then sand the shelves as well.
The last thing I did for the day was to cut a very small amount off of each end of the columns to make them smooth and flat. I also made sure they were all exactly the same length.

That is enough for today, I will be back at it tomorrow.
