
St. Kilian chapel – Credence table – part 2
With the columns put together, I can now mill up all the rest of the column parts.

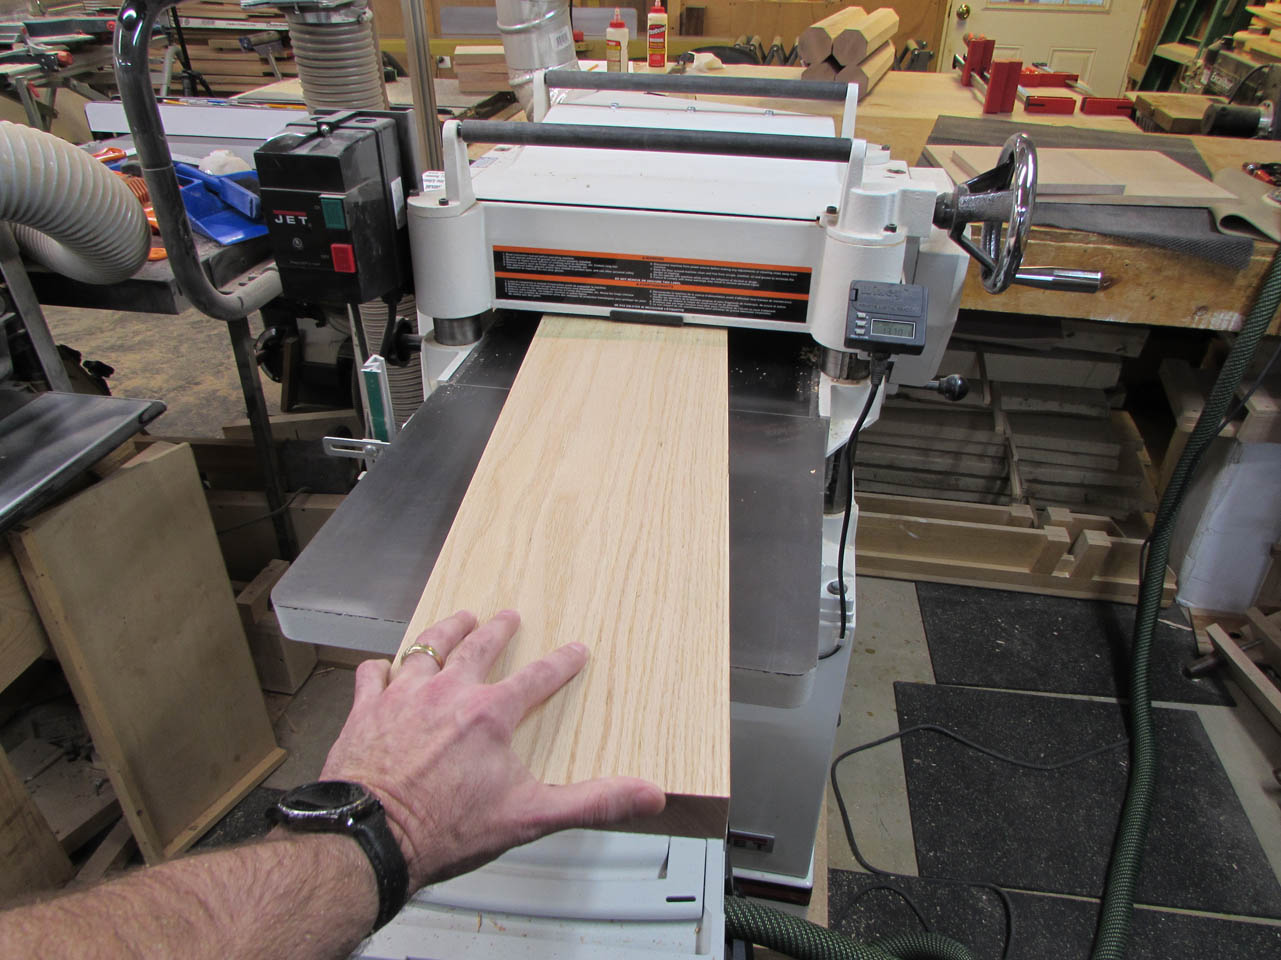
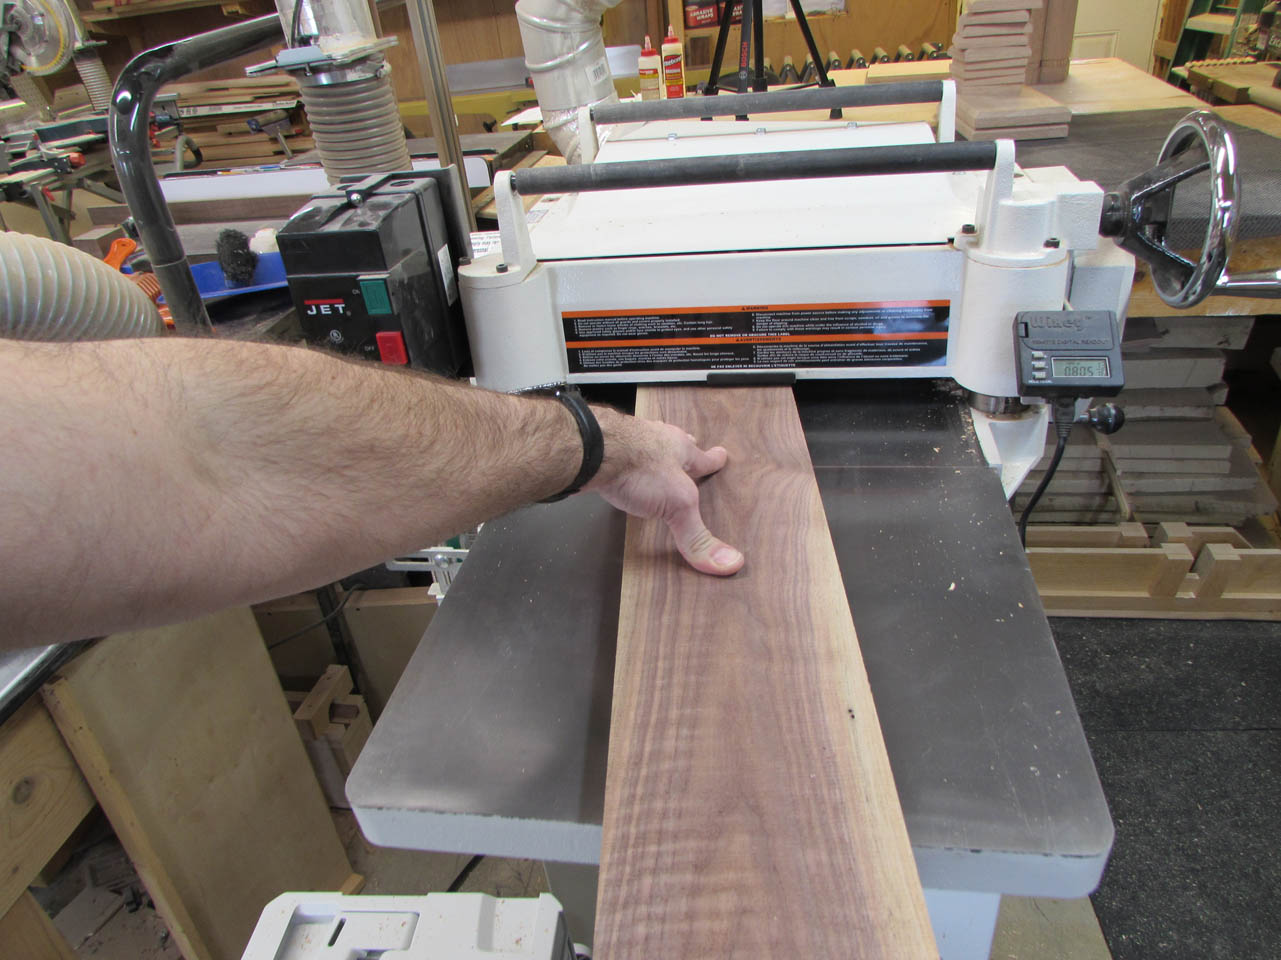
Starting with the base, I cut down some 8″ wide 6/4 oak to be long enough to make both pieces.

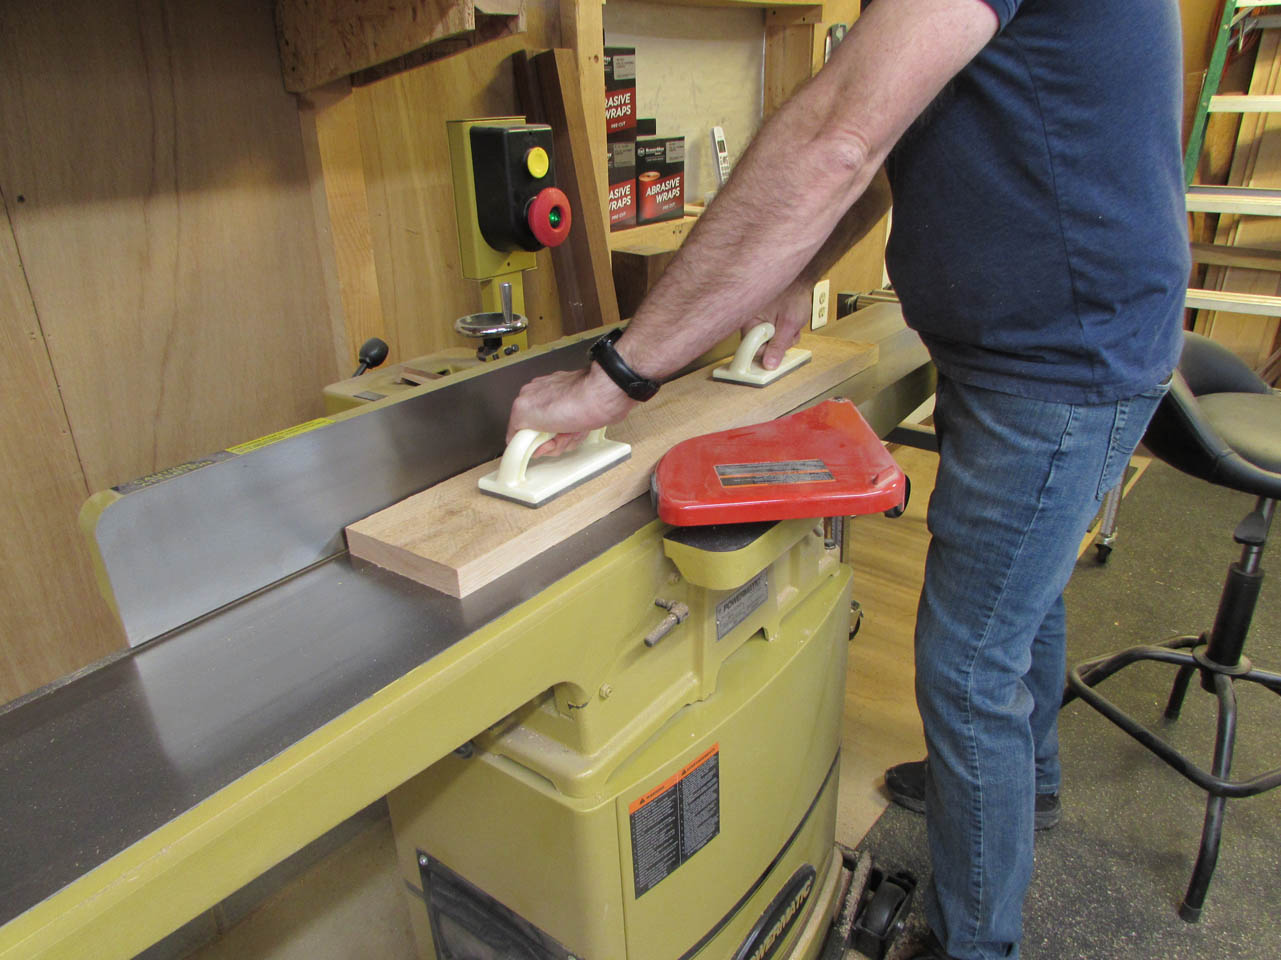
Then I joint the edges and plane them down to the correct thickness.
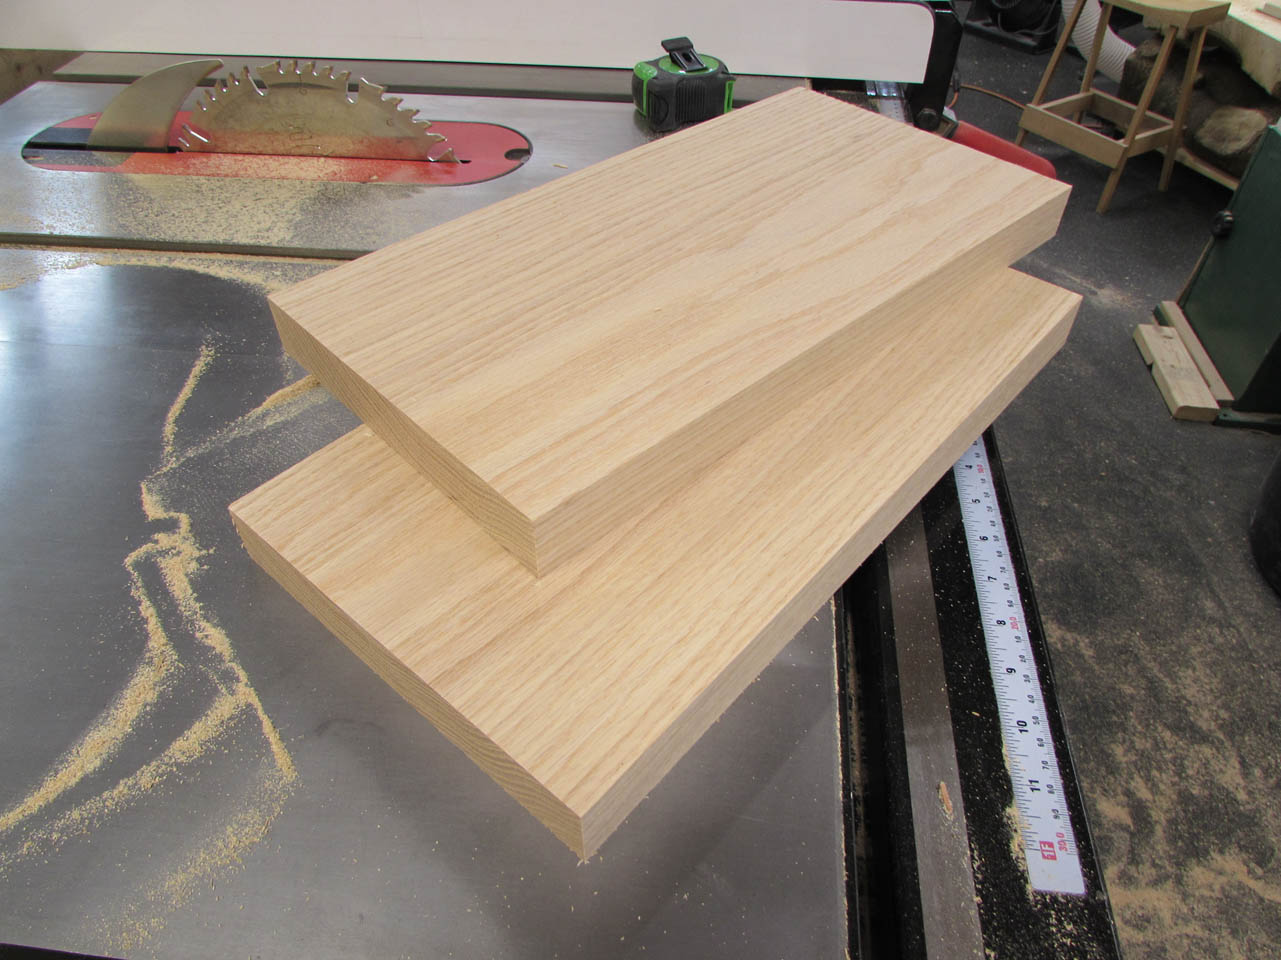
After the base blanks are cut, I make a 1″ thick board to cut the base caps from and a 3/4″ thick board to make the column caps with.
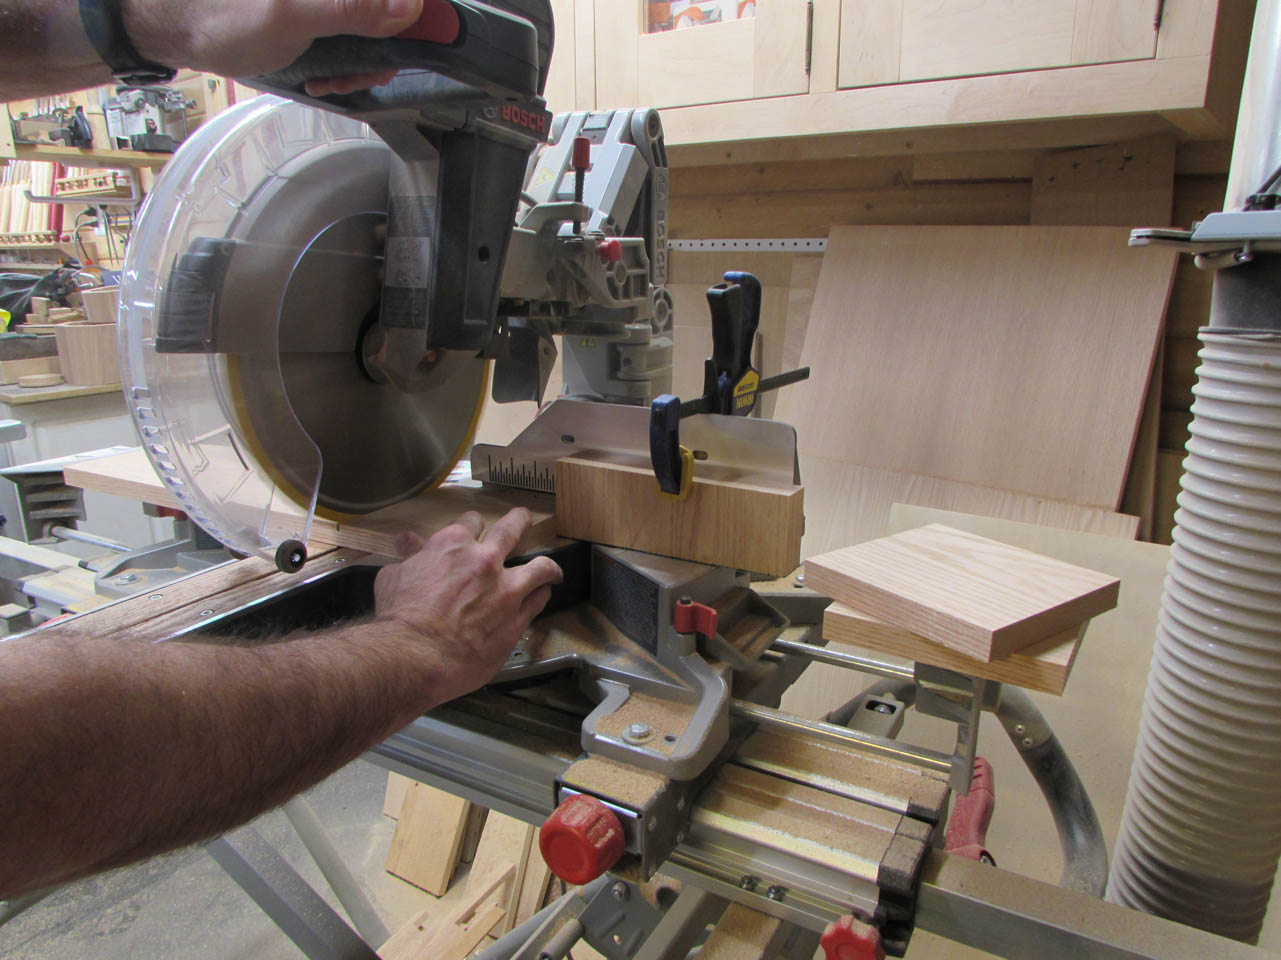
After they are milled straight and flat, I set up a stop block on my miter saw and cut them into little squares.
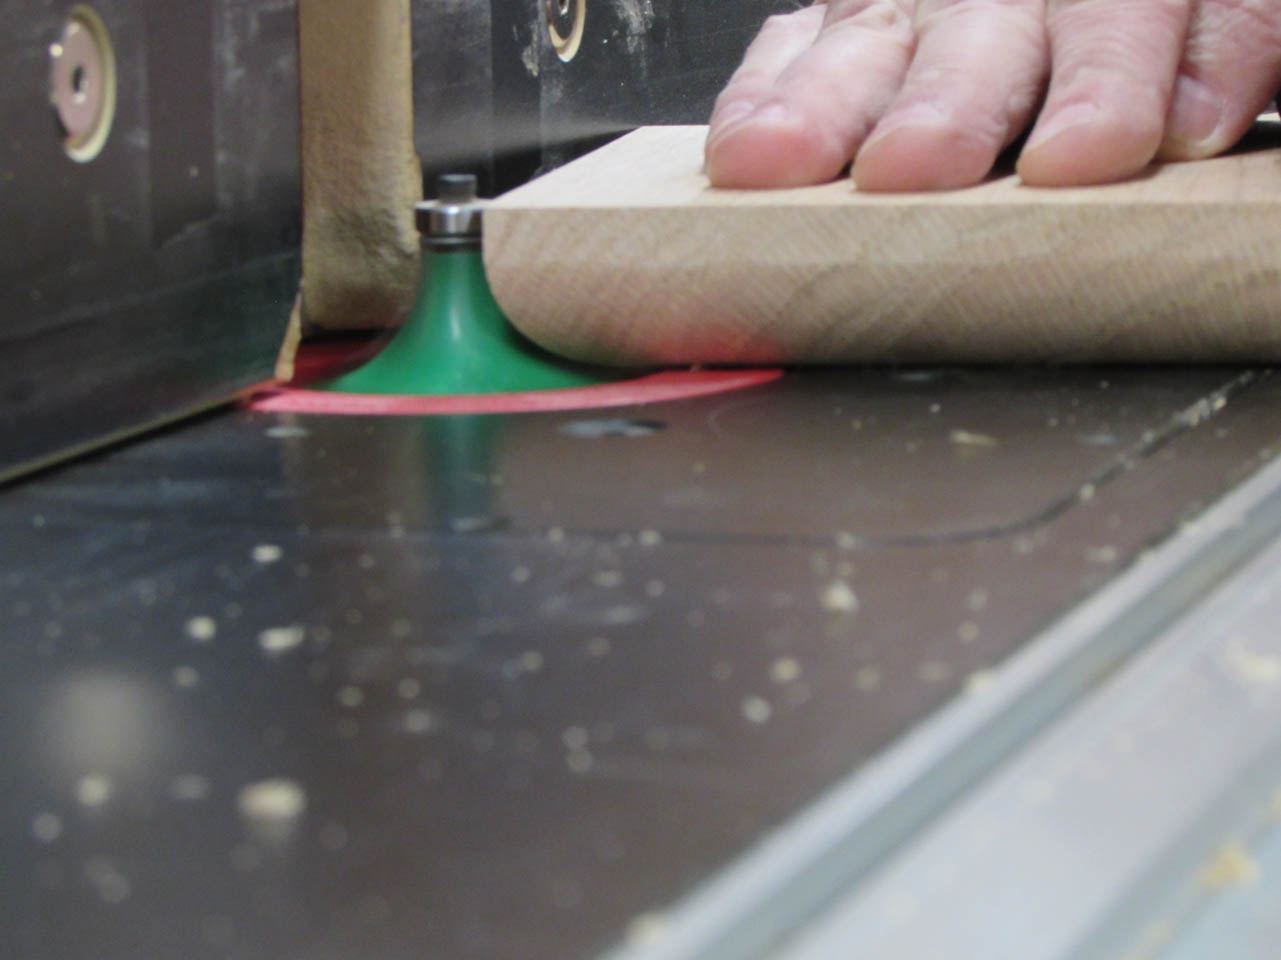
After a quick dry-fit to make sure that everything looks right, I take the bases to the router table to mill the 1/2″ chamfer around the top.

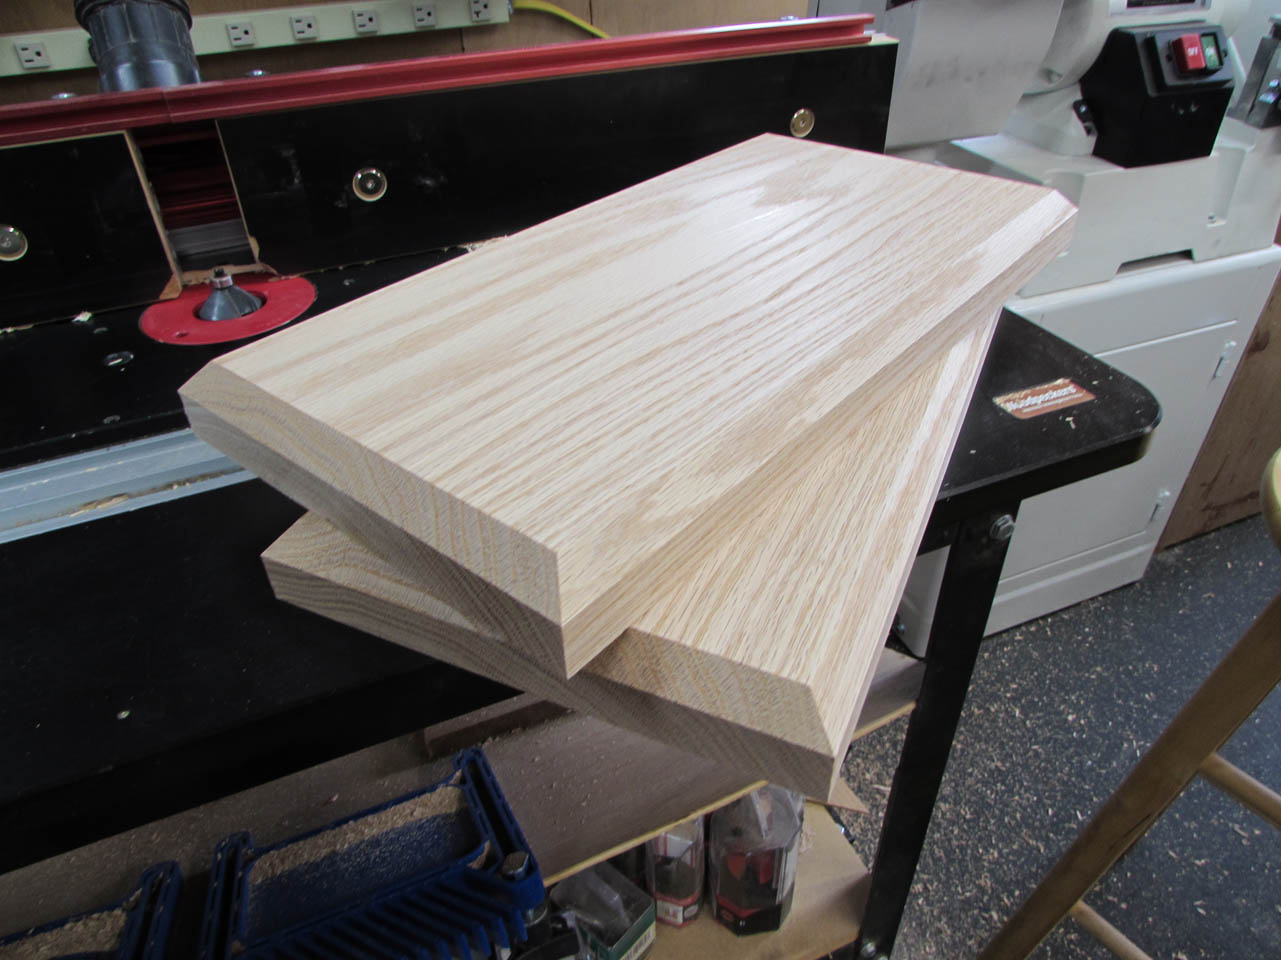
I switched the bit, after they were done, to the 3/4″ round-over bit, then radiused the top of the base caps.
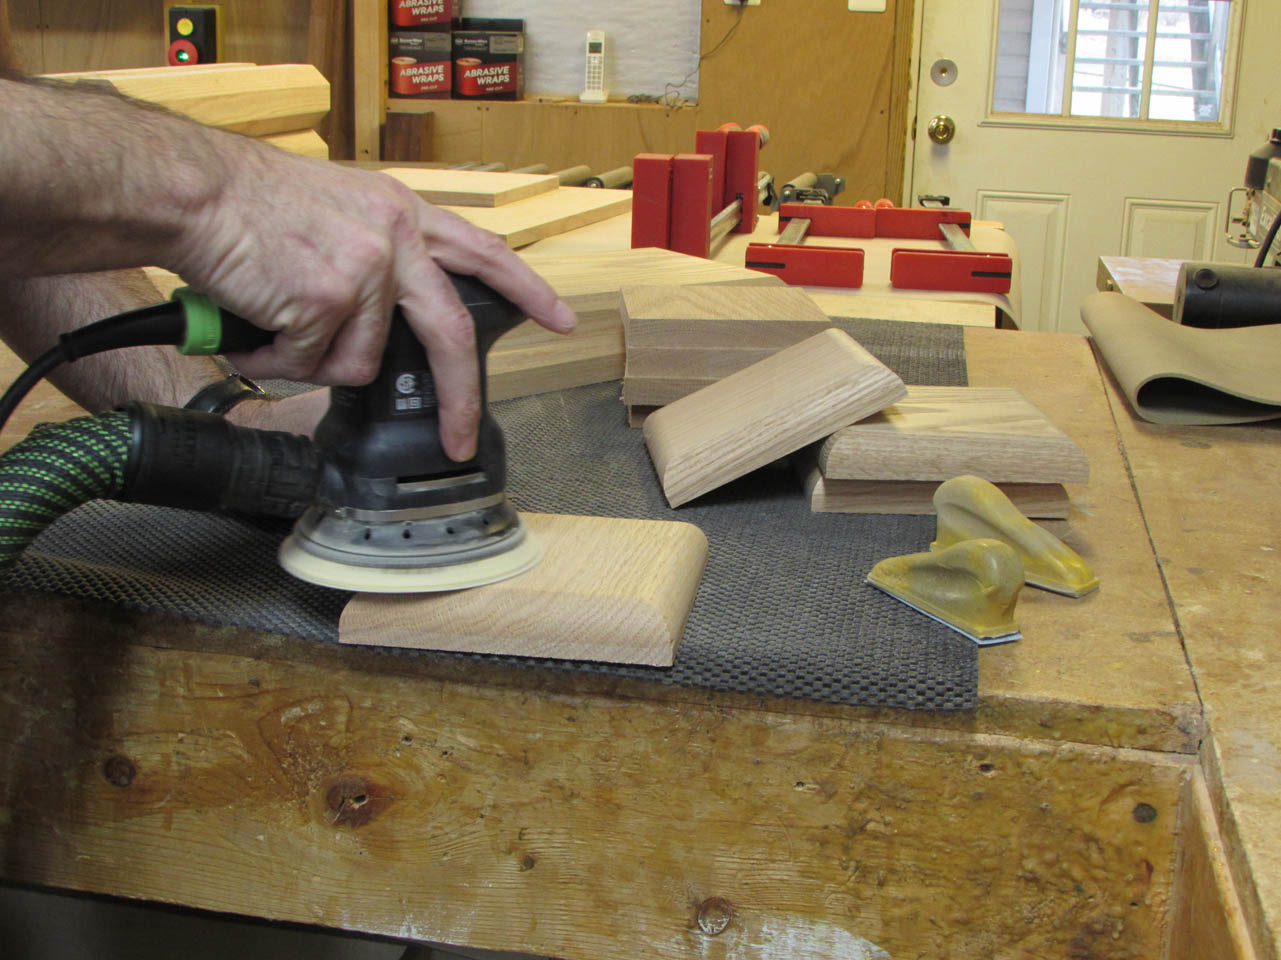
Then I took everything over to the bench and started sanding…
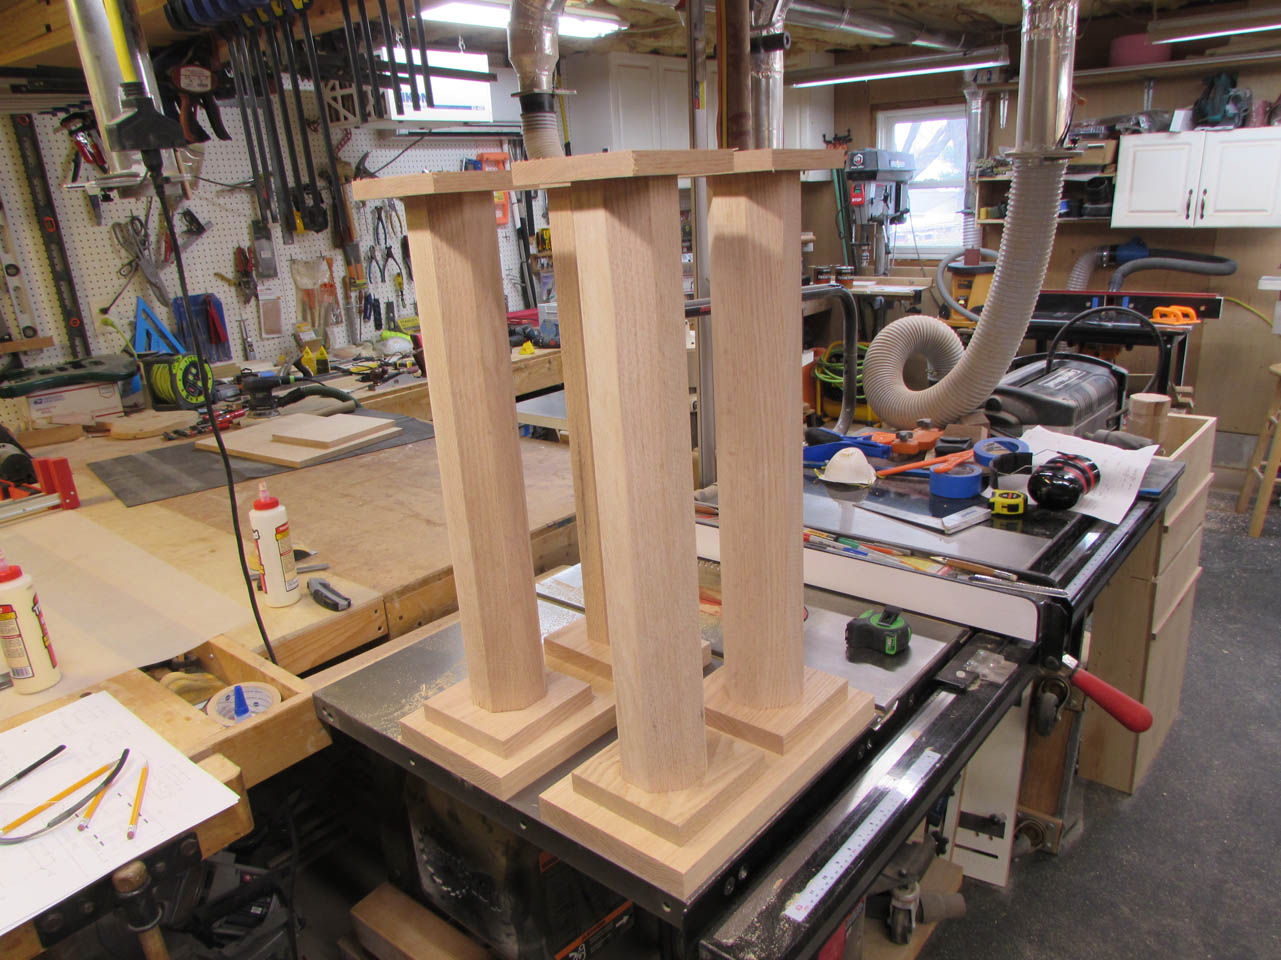
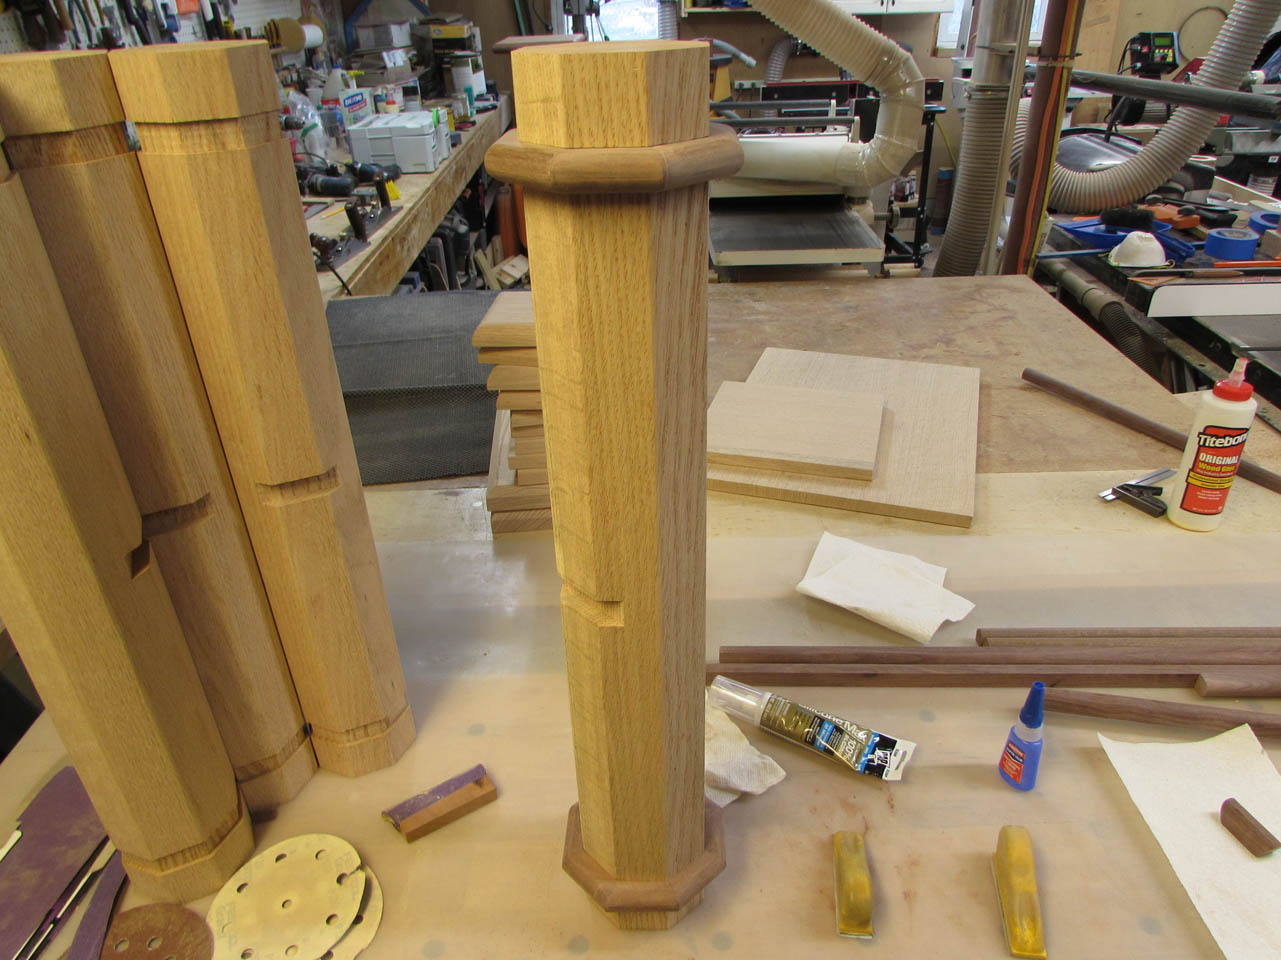
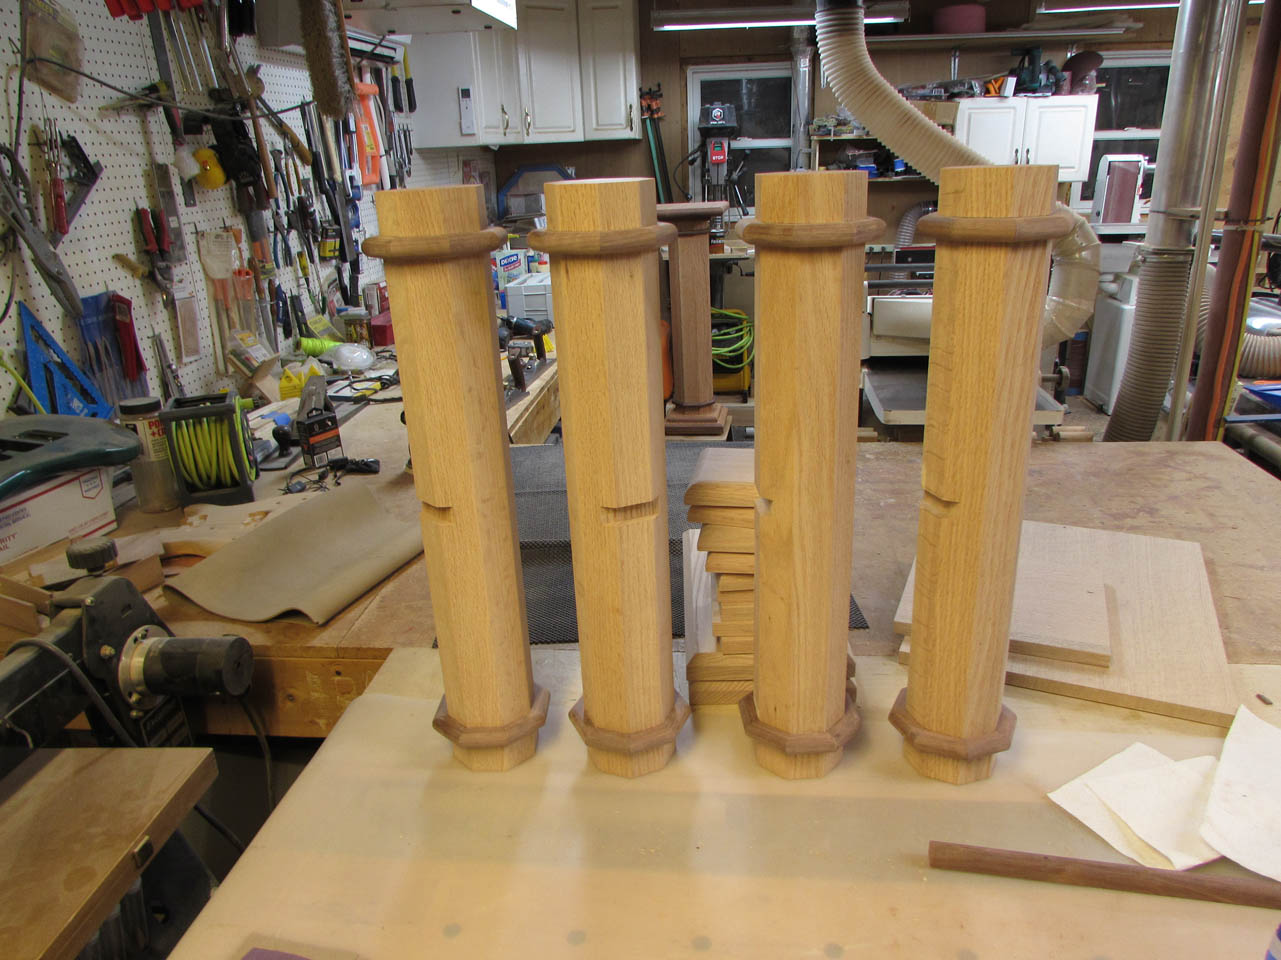
With all the extra pieces done, it was time to get back to the columns.
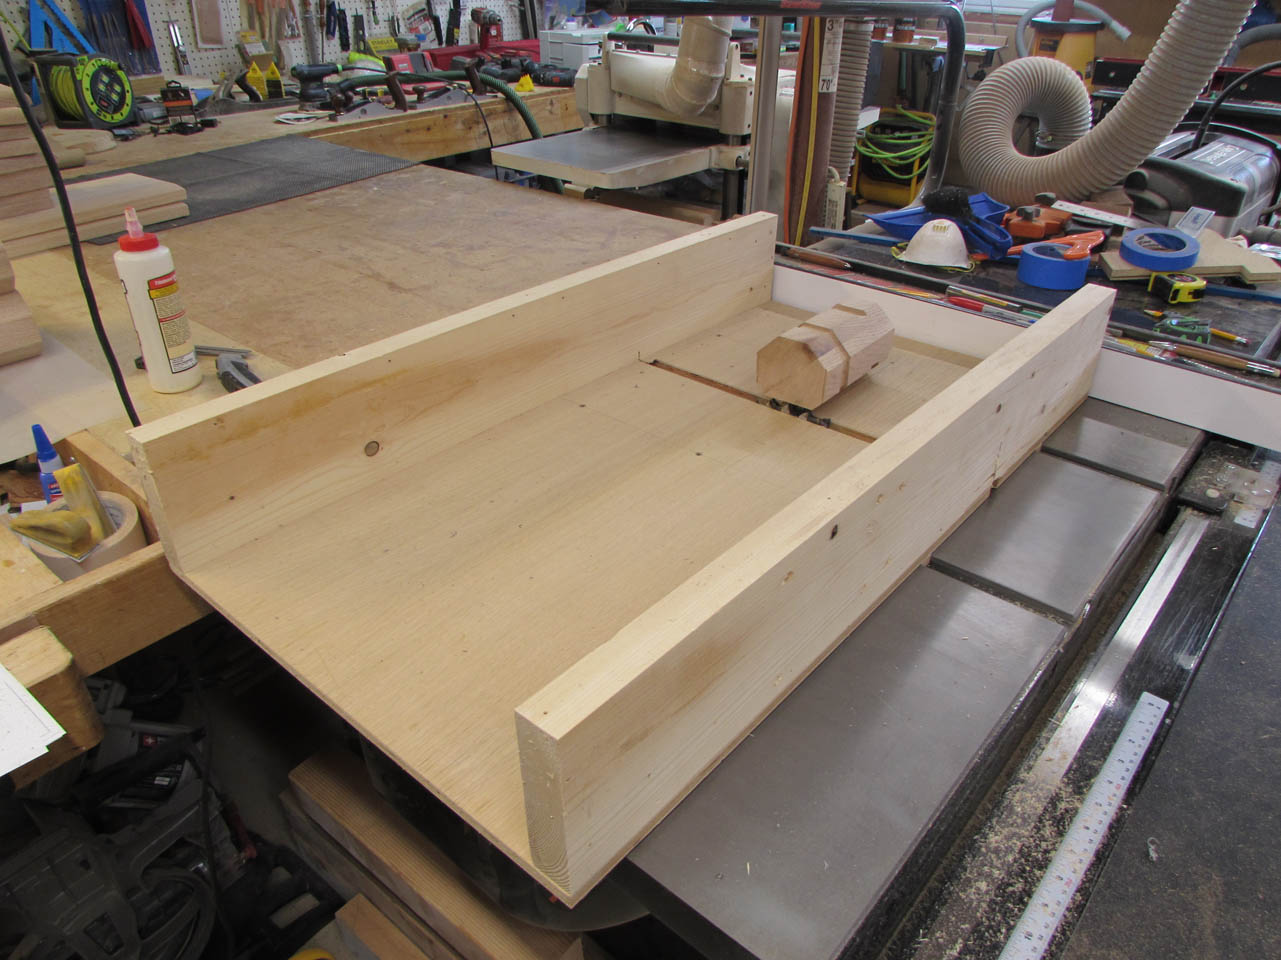
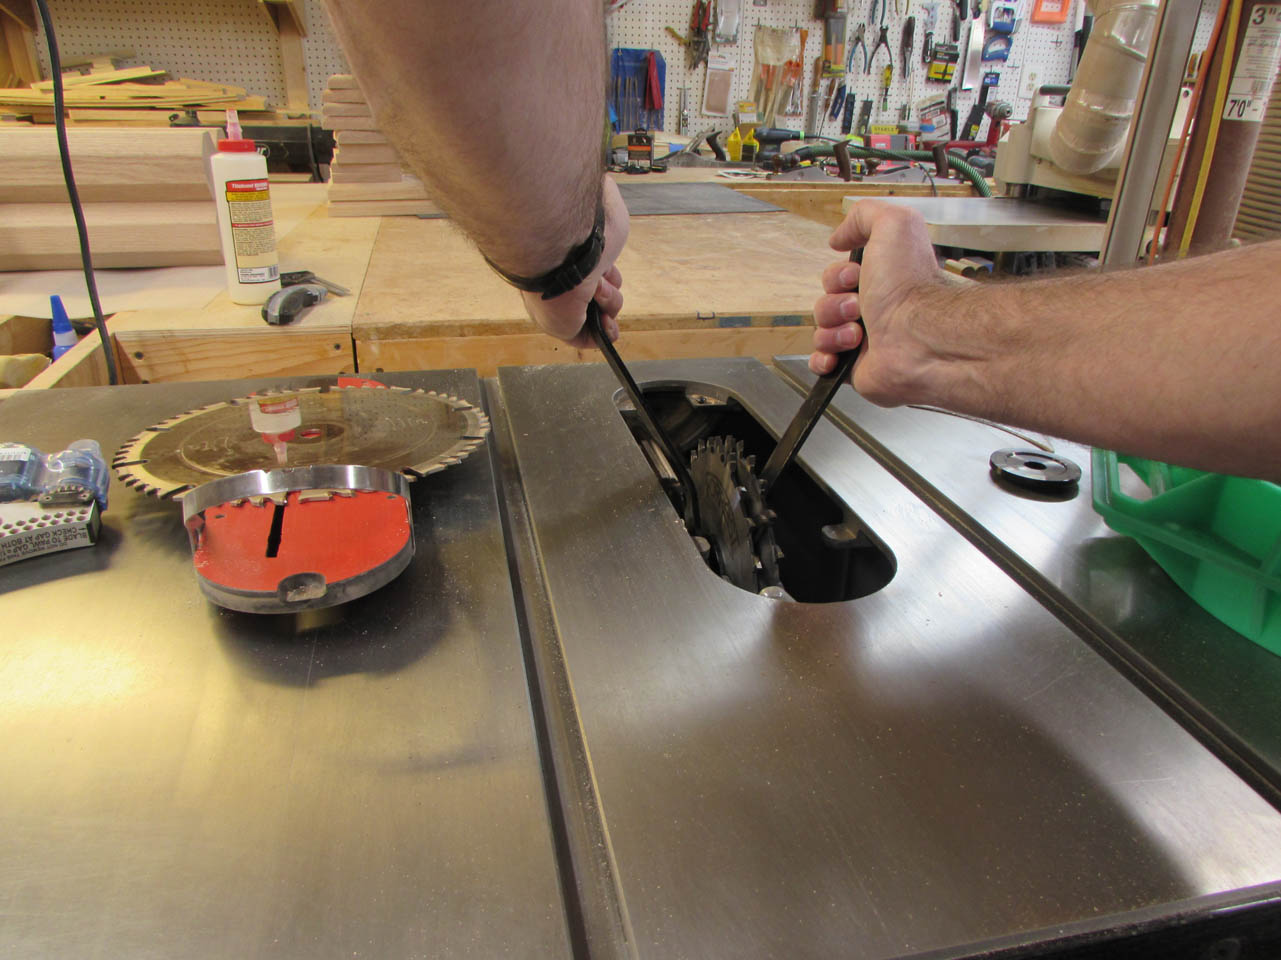
I set up the 3/4″ dado blade and grabbed my large cross-cut sled, then set the blade height to 1/2″.

This groove was cut directly in the center of the columns to create a slot to hold the small shelf.

I did a test fit of the small shelf, just to make sure it fit right. Nice and snug, perfect fit.
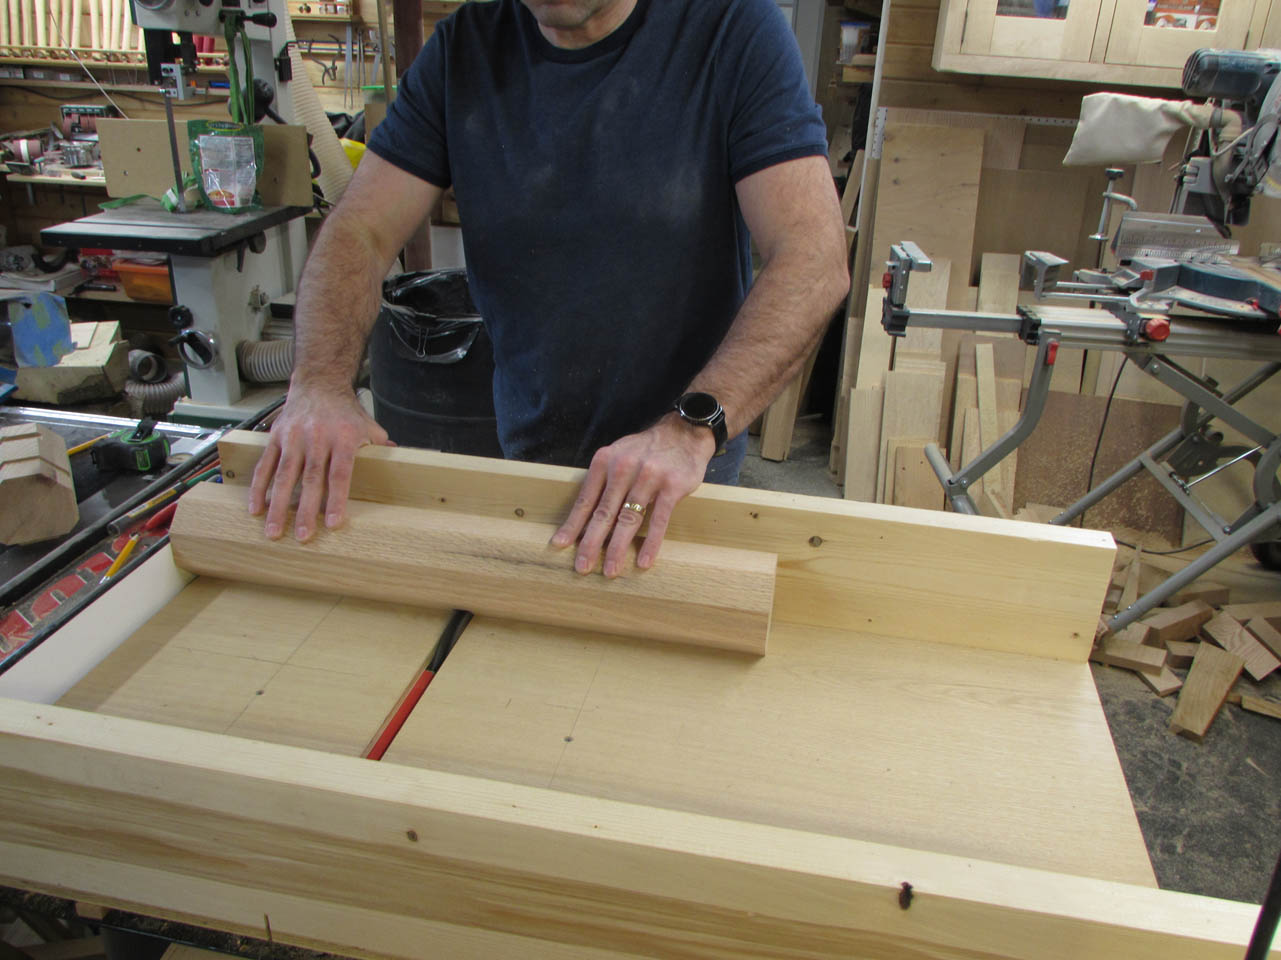
Then I dropped the blade height down to 1/8″ high and cut the trim channel for all of the walnut trim.

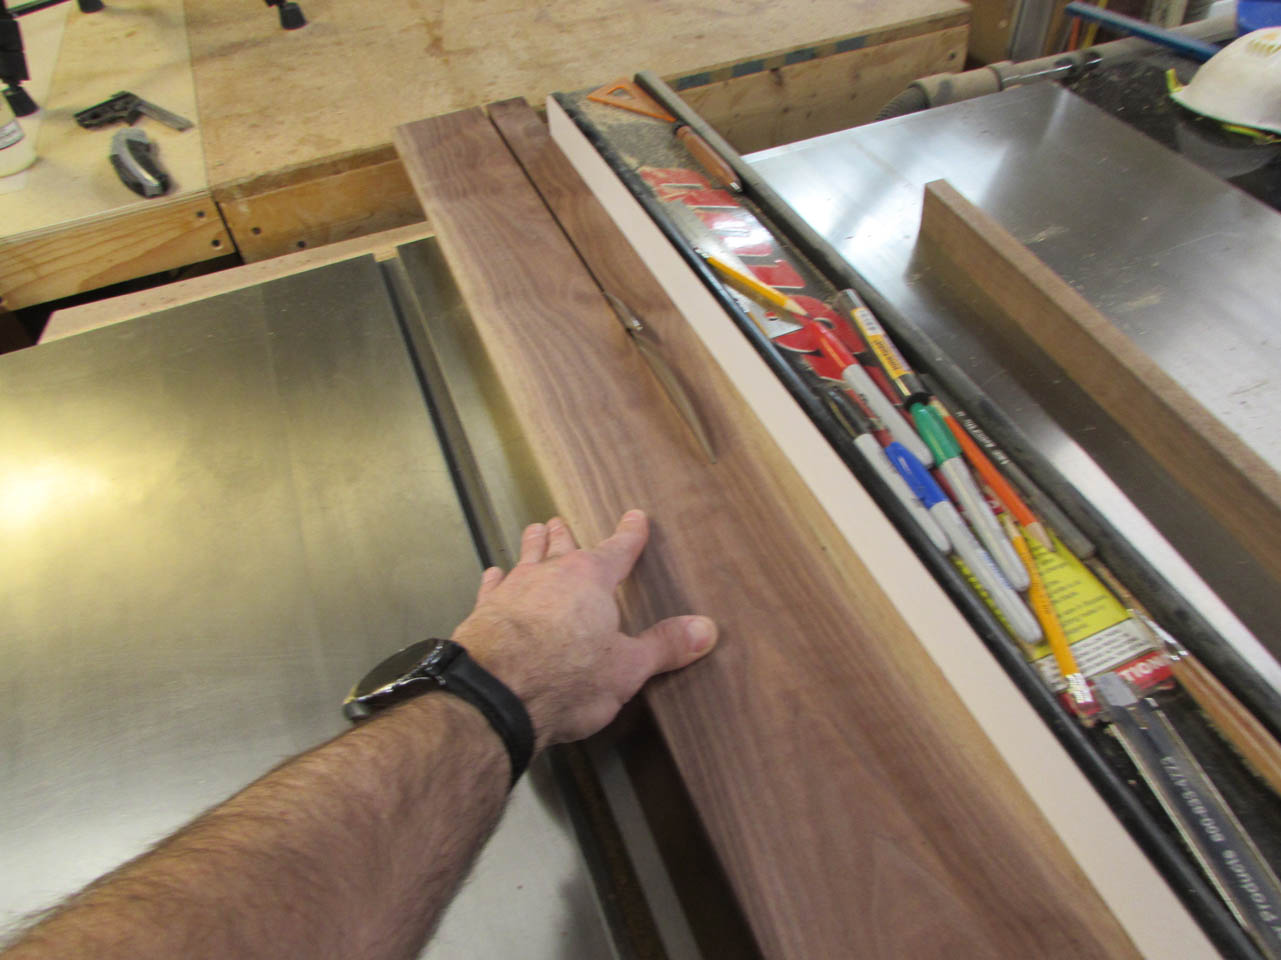
Speaking of walnut trim, I need to make some more bull-nose trim. I grabbed a nice piece of walnut and milled it down to 3/4″ thick, then cut it into strips 1-5/8″ wide.
I applied a 3/8″ round-over to each of the four edges to create a full bull-nose on each side.
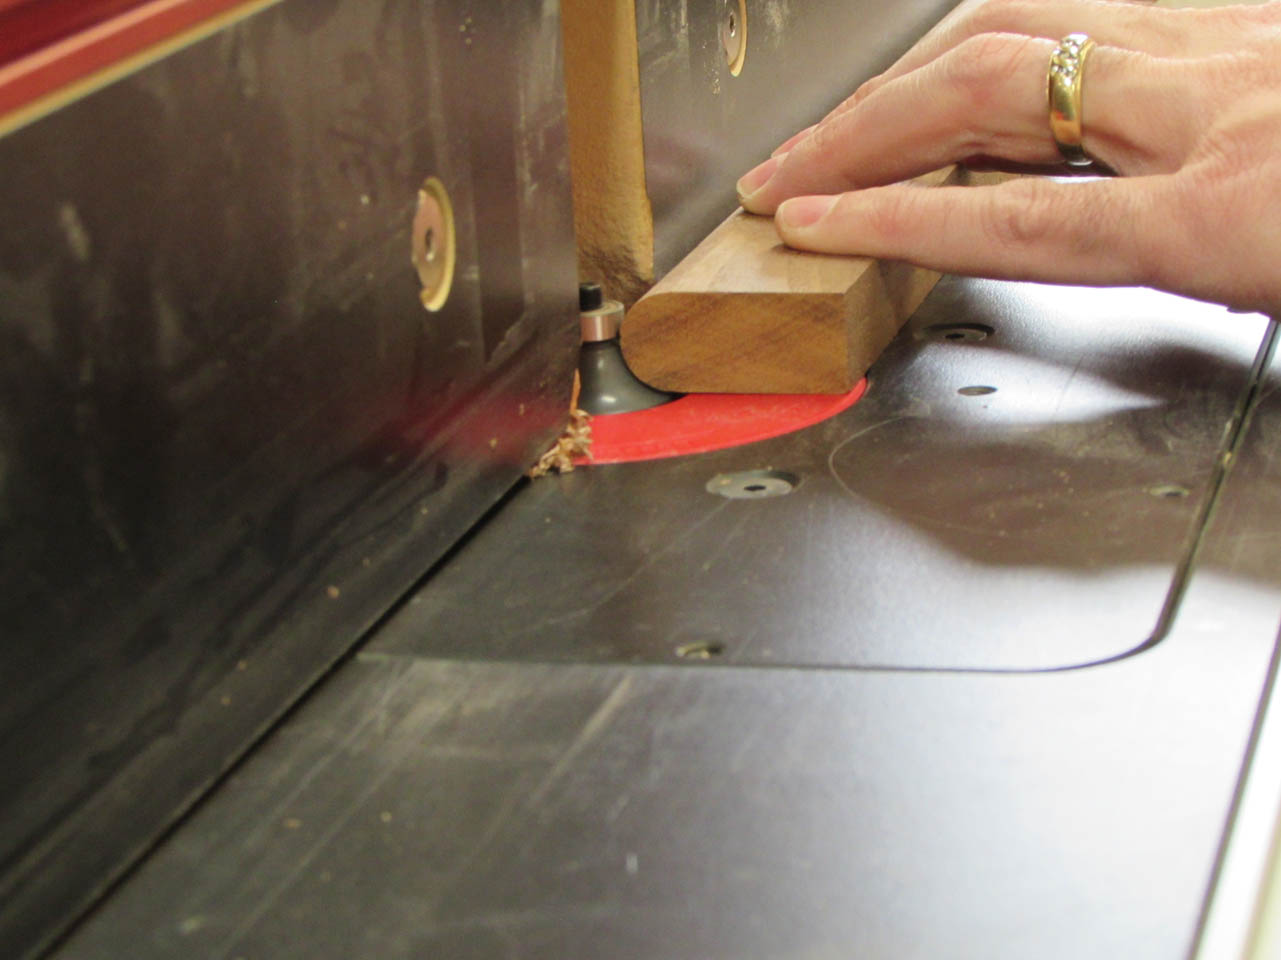
It is safer to create a double-wide piece, then cut it in half, rather than to try and a single bull-nose from a 3/4″ square piece.

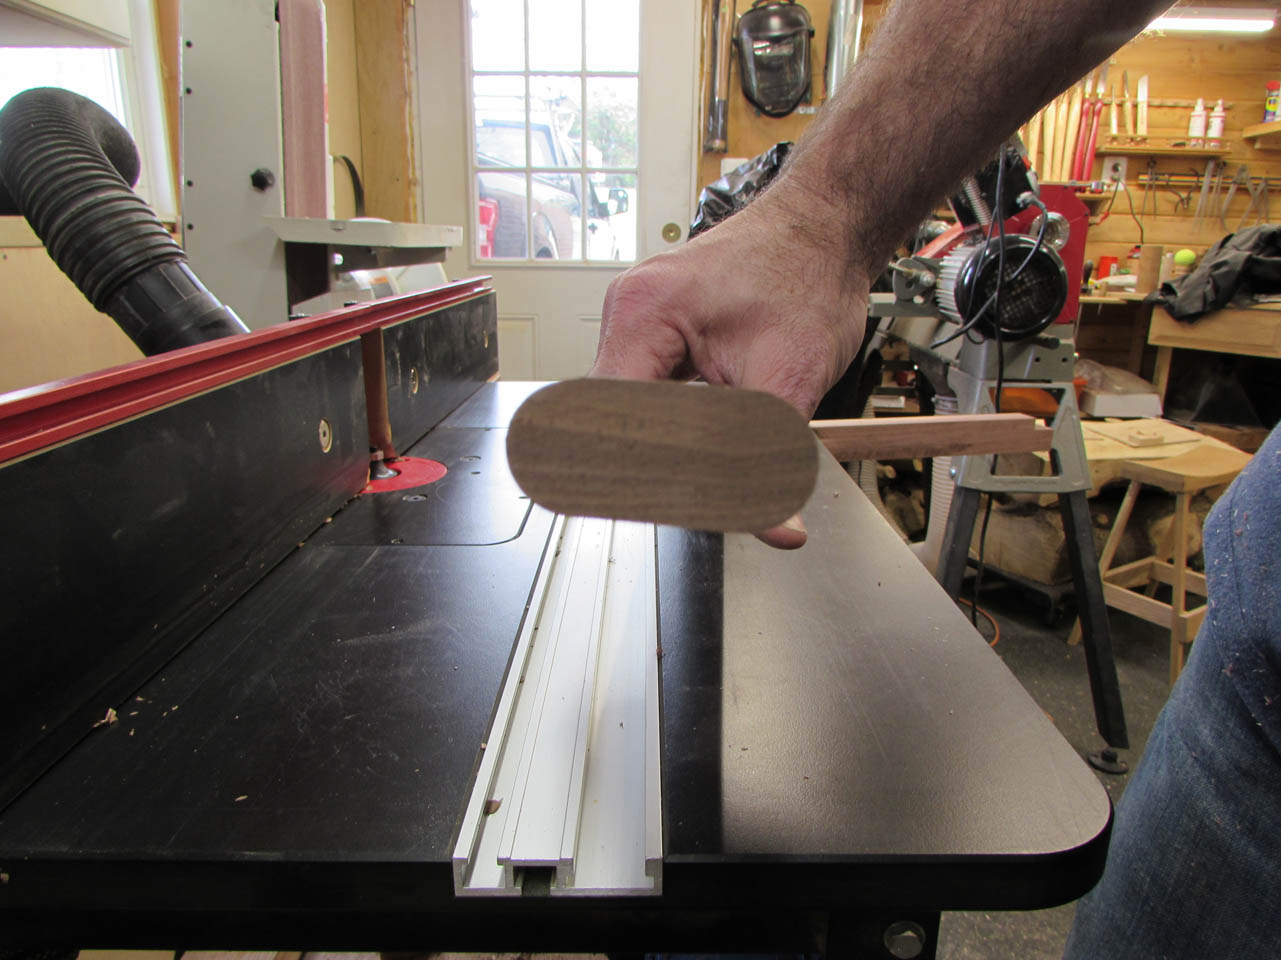
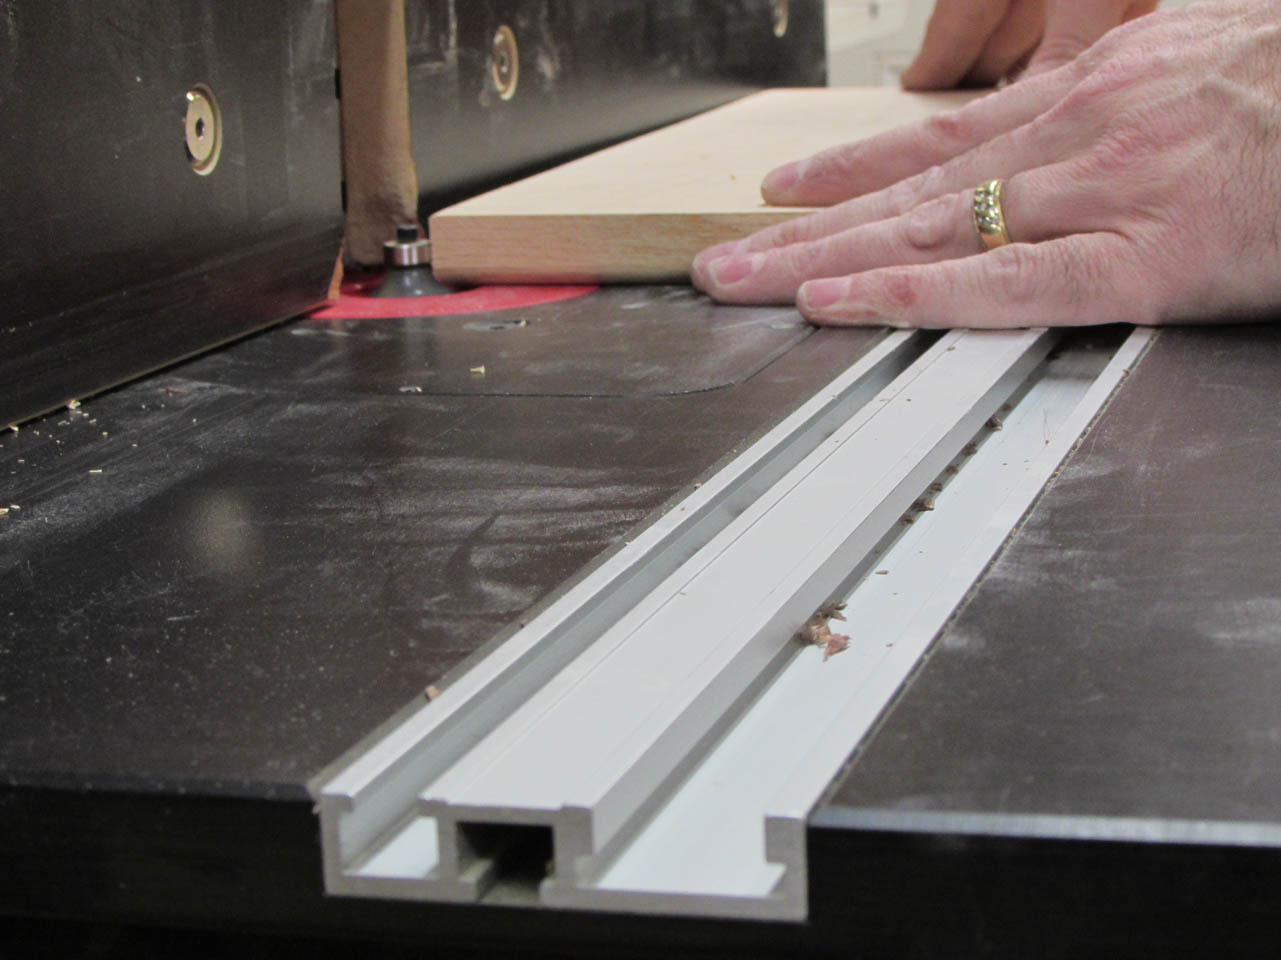
After ripping all of the strips in half, I replaced the large cross-cut sled with the smaller one that has my trim cutting jig installed.
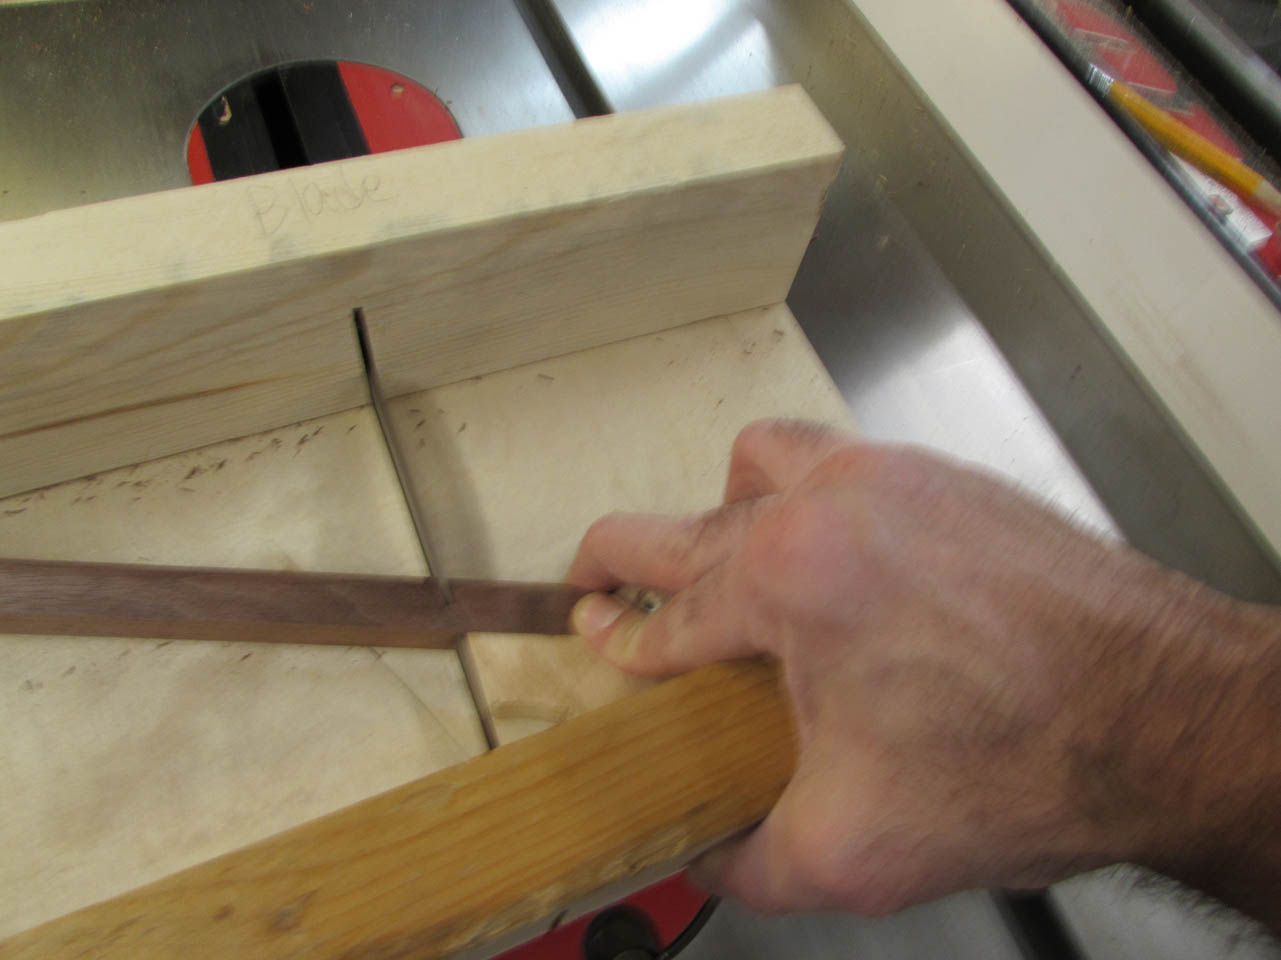
I cut the first piece from the long strip, then flip the piece around and cut the matching angle on the opposite side.

I made eight of these to check that my size was good.

Using quick-setting CA glue to glue the miters together.


I do four at a time to create half of the trim piece for each end.

While the glue is still tacky on the exposed areas, I sand the joints forcing sawdust into any exposed gaps, filling them in and smoothing them over.


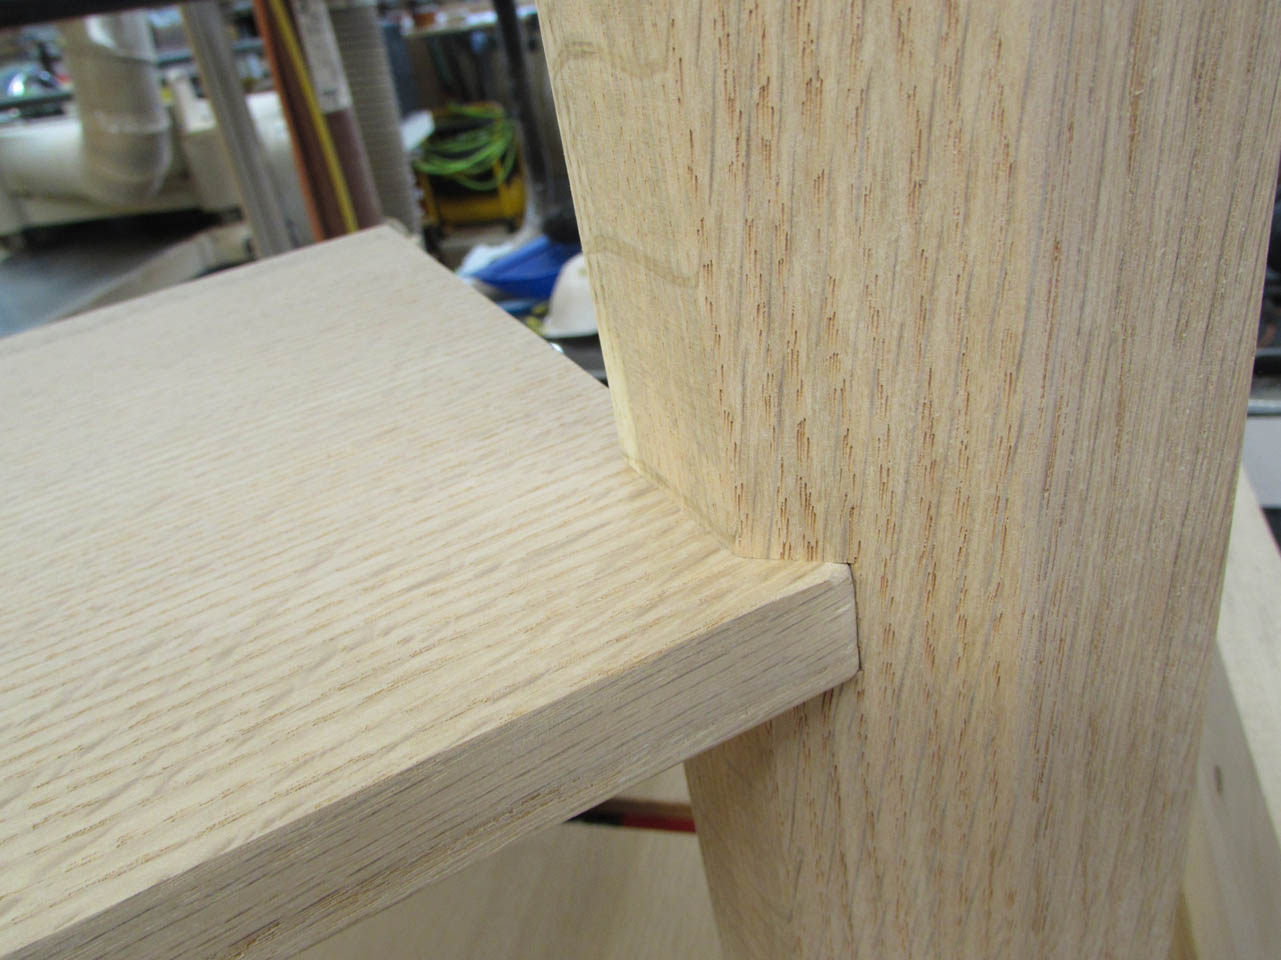
So that the column has a tiny bit of room to expand and contract, I use a flexible adhesive on the inside of the trim and CA glue on the miters.
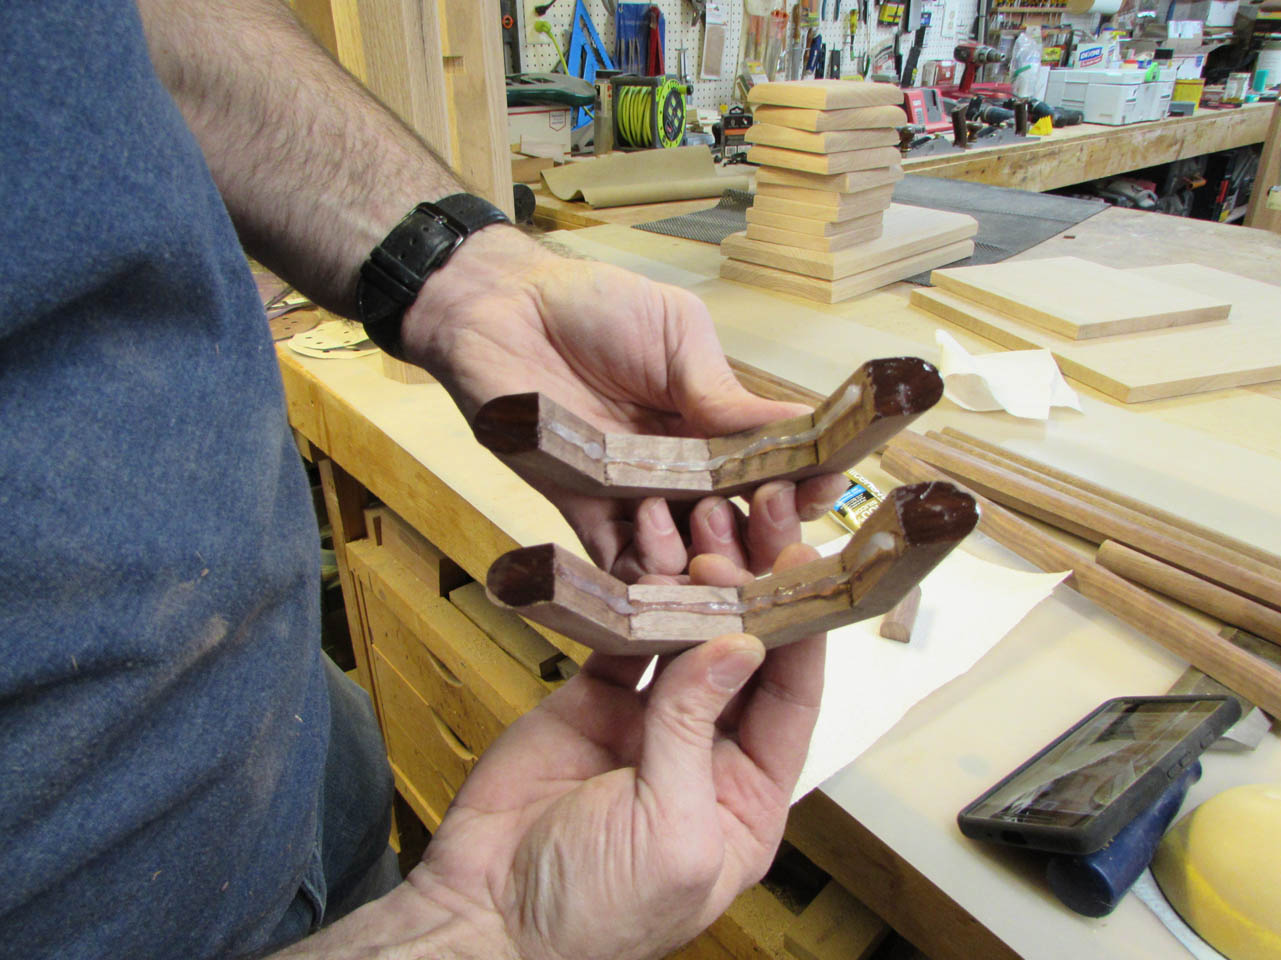
I press them together till they set. There is a small gap between the walnut and the oak column. Hopefully this will allow the column to expand slightly without putting stress on the walnut trim.

Then I sand the two joints to smooth and fill them as well.

The first column was trimmed successfully so I cranked out the rest of the trim pieces to do the other three.
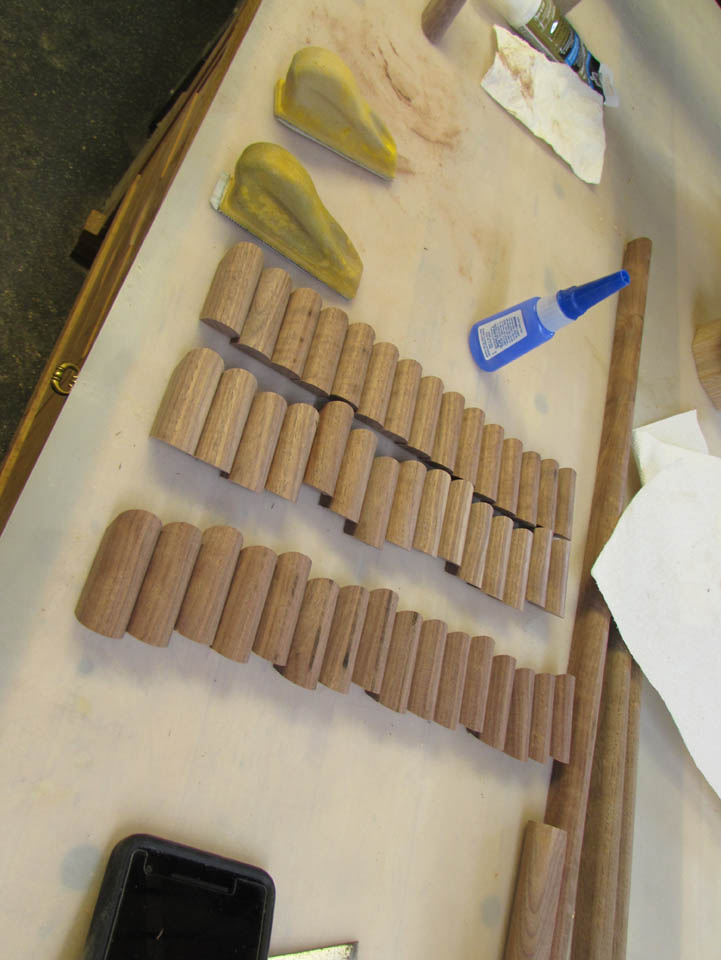

About three or four hours later, those were done as well…
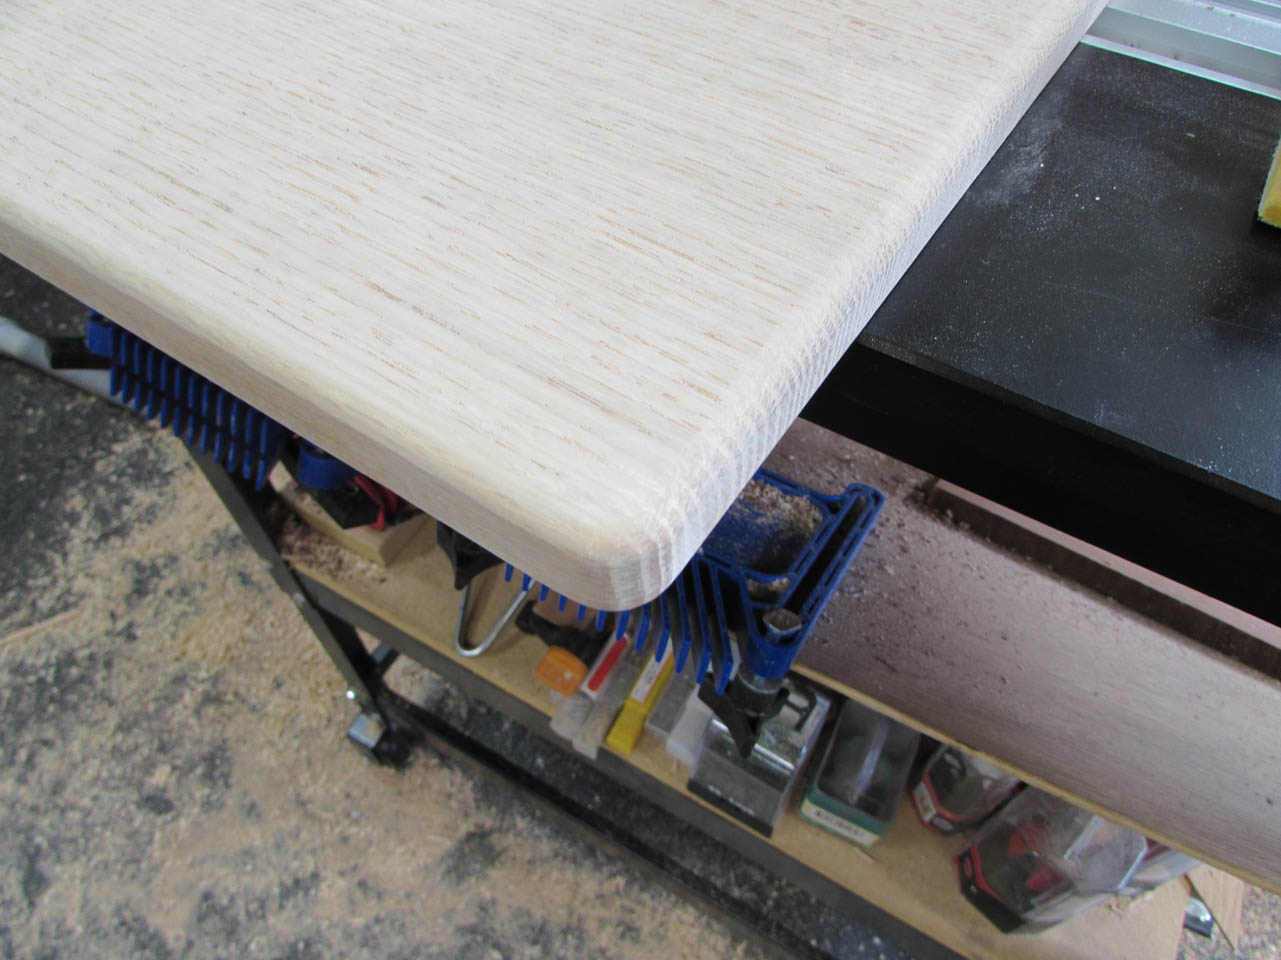
Just before putting it all together, I remembered to apply a 1/4″ radius to the top edge of the table top to match the arms of the chair.
Then it was time for a dry-fit.
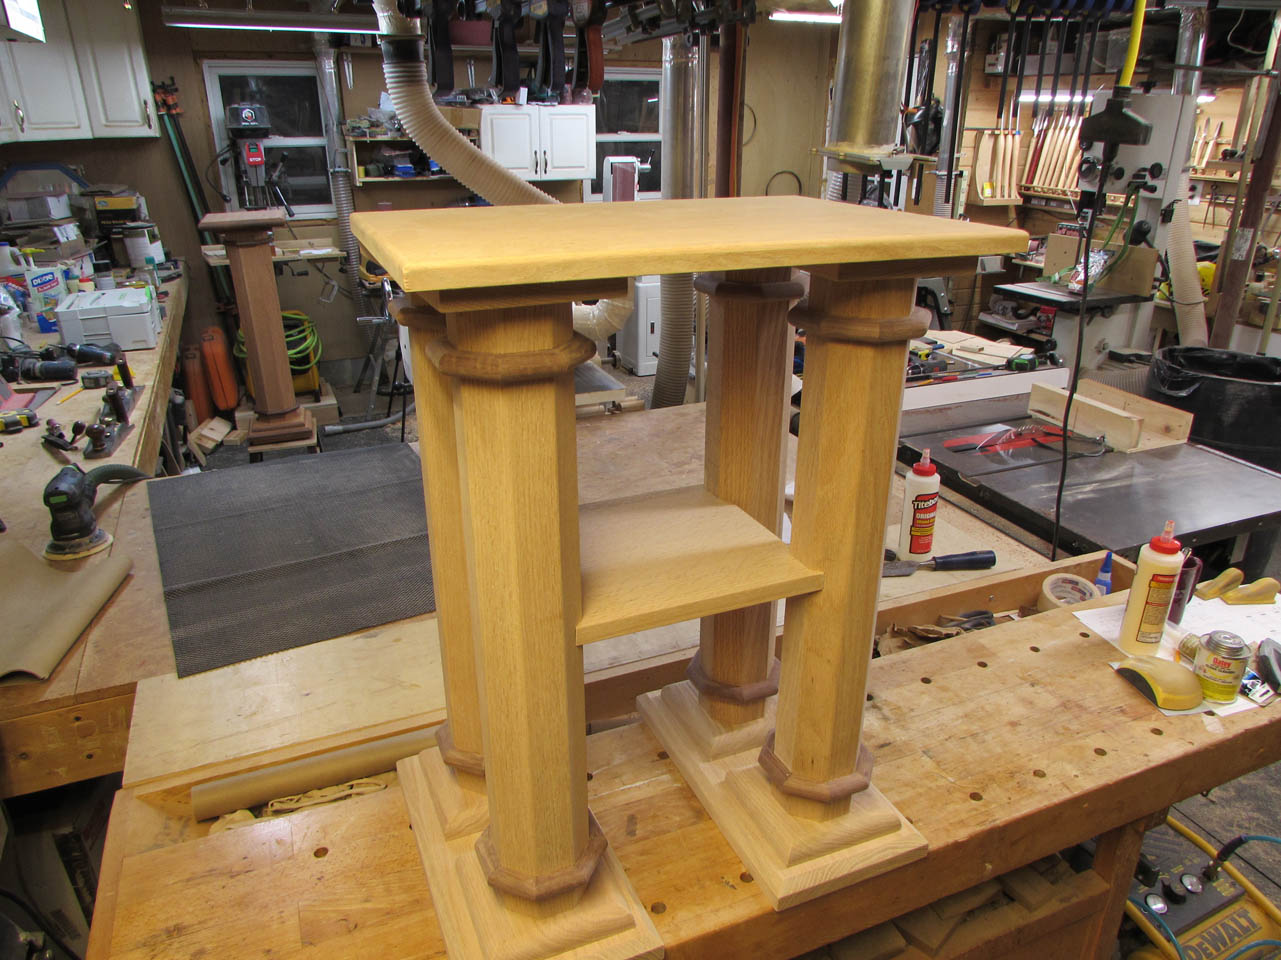
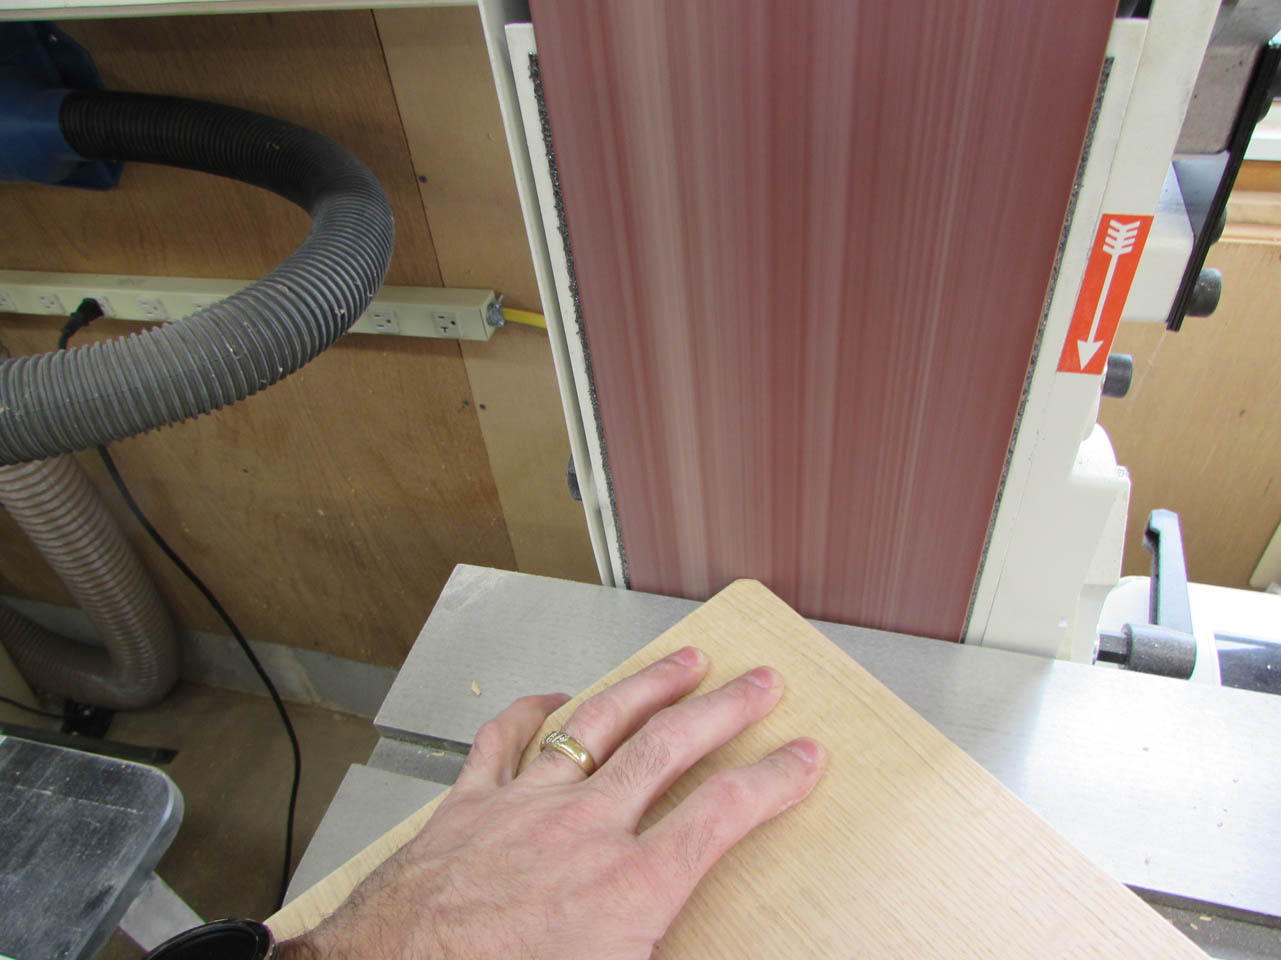
I noticed that one thing was missing. I forgot to radius the corners of the top to match the arms.

I used a coin to trace the radius at each corner, then sanded the curve onto the corners with my belt/disc sander.
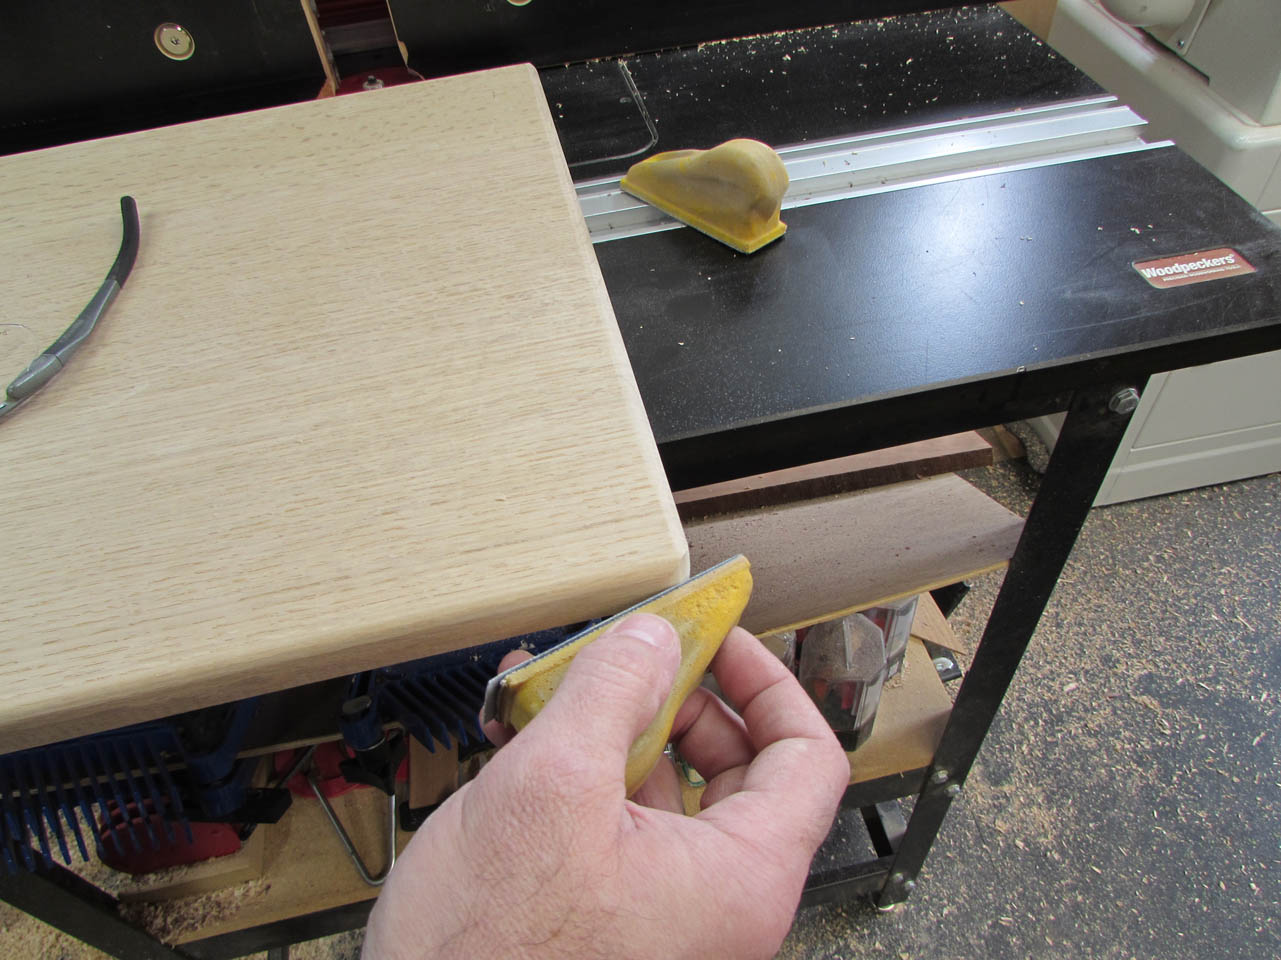
This was a little rough so I finessed the curve and blended the top radius in with my foam sanding blocks.
Now everything was ready for assembly, but it was getting late so I will save the rest for tomorrow.
