
St. Kilian chapel – Gift table – part 1
I was planning on working on the credence table this weekend, but when I started on the design, it did not seem like it would look right. Originally we had decided on a single column design, similar to the candle stand, with a larger top. Since it would be sitting next to the chair, which has thinner legs, I came up with a new 4-leg design that matches the chair. The problem with this is that I made an extra column and related components, when making the same parts for the altar. Now I had a full column and nothing to do with it. I asked Monsignor if he could think of a use for it and he suggested a gift table, which would only require a small (12″x12″) top. I quickly sketched up the plans for it and got to work. Here is my design: gift table parts.PDF .
The hard part of this assembly is already complete. For details on how these parts were made, refer back to my Altar – part 1 post.

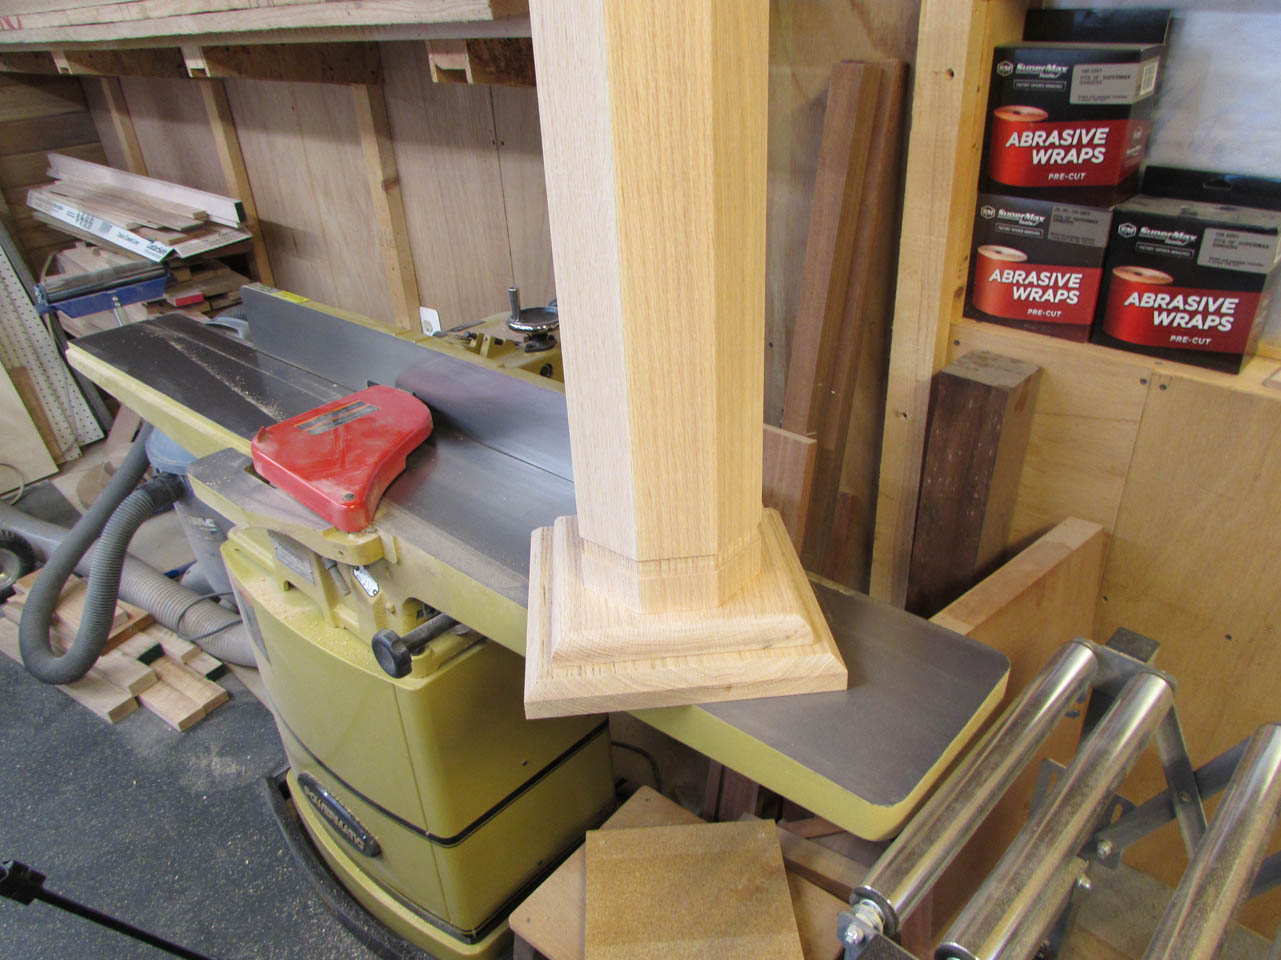
Besides assembly of all the parts, I only needed to add a 3/4″ radius to the top of the base plate and make the 1-1/2″ thick top.

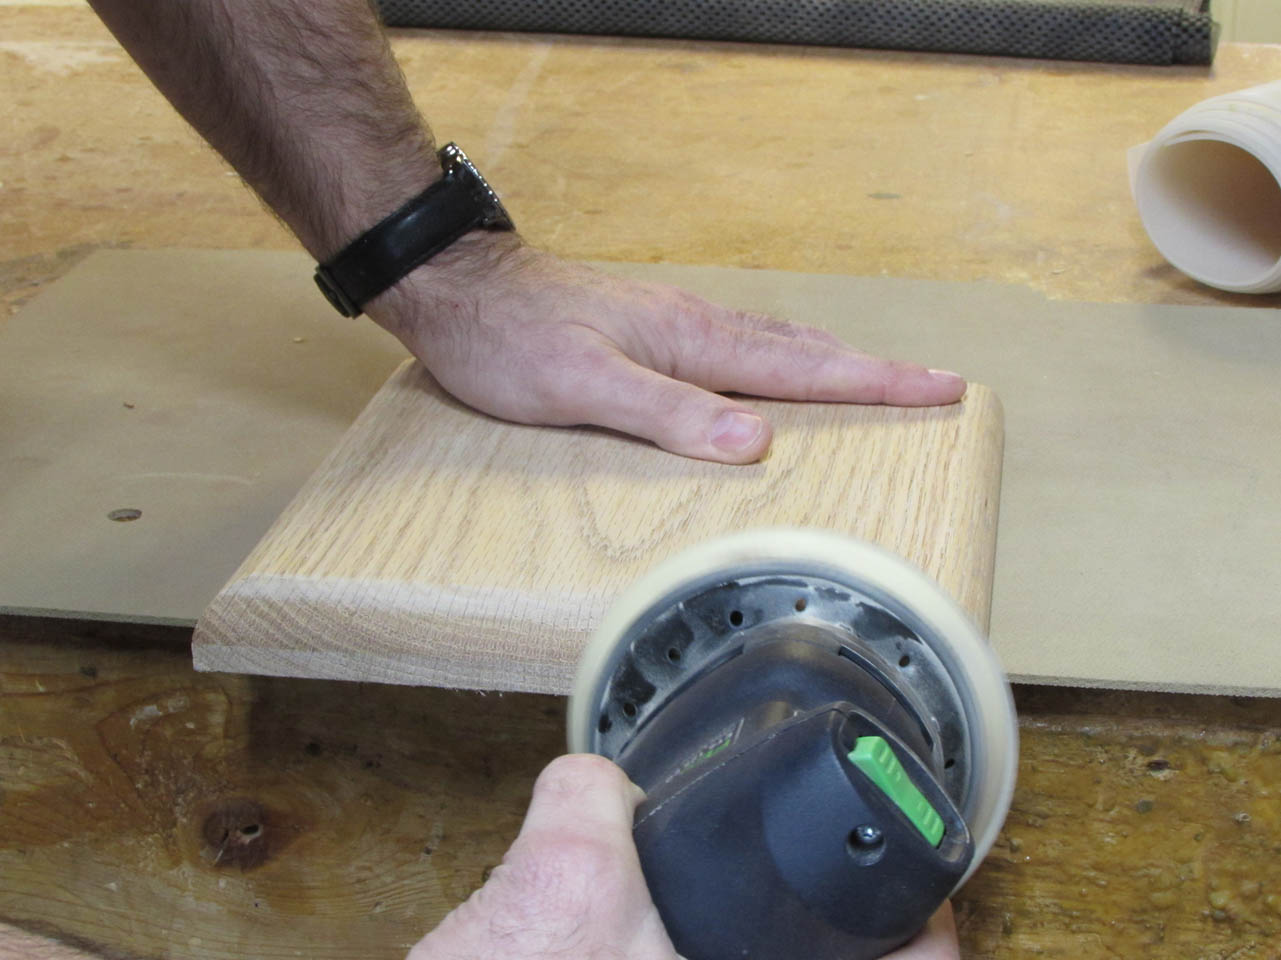
I routed the radius onto the base plate and sanded it smooth. All the other parts were already sanded.
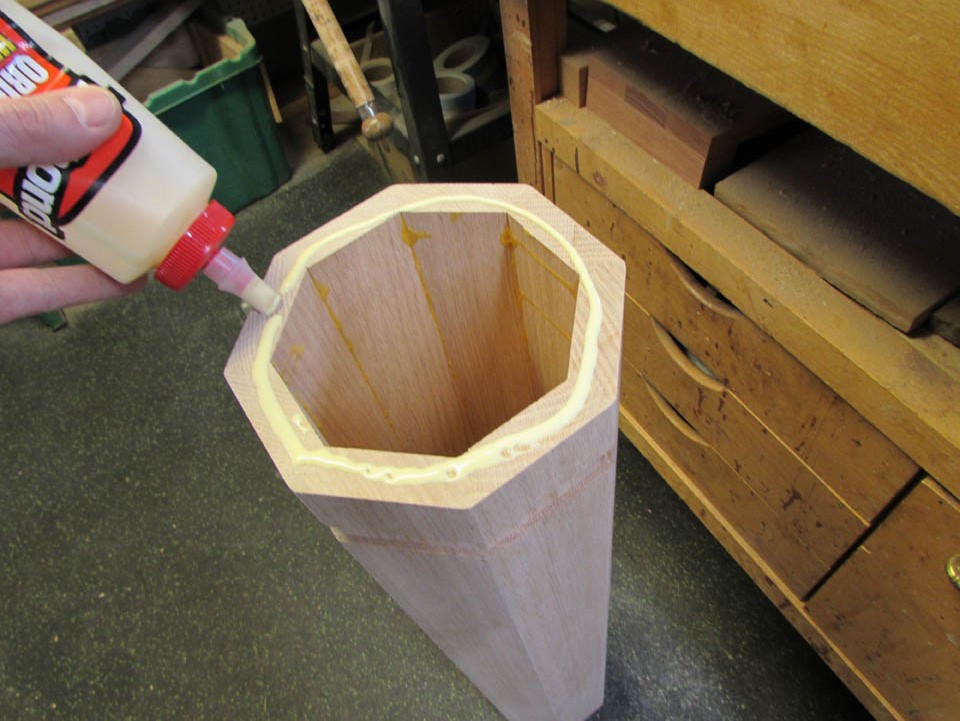
To create the top panel, I cut down some quarter-sawn 8/4 red oak then jointed one face flat.


I flipped the board on its side and made the side flat as well and perpendicular to the flat face.
Then I cut the opposite side parallel and planed the opposite face down to 1-1/2″ thick.

I cut this board into 13-1/2″ lengths and matched the grain as well as I could. They are a bit longer and wider then I need, so I will cut them down later.


I applied glue to the faces that will be joined and clamped it all together to dry.

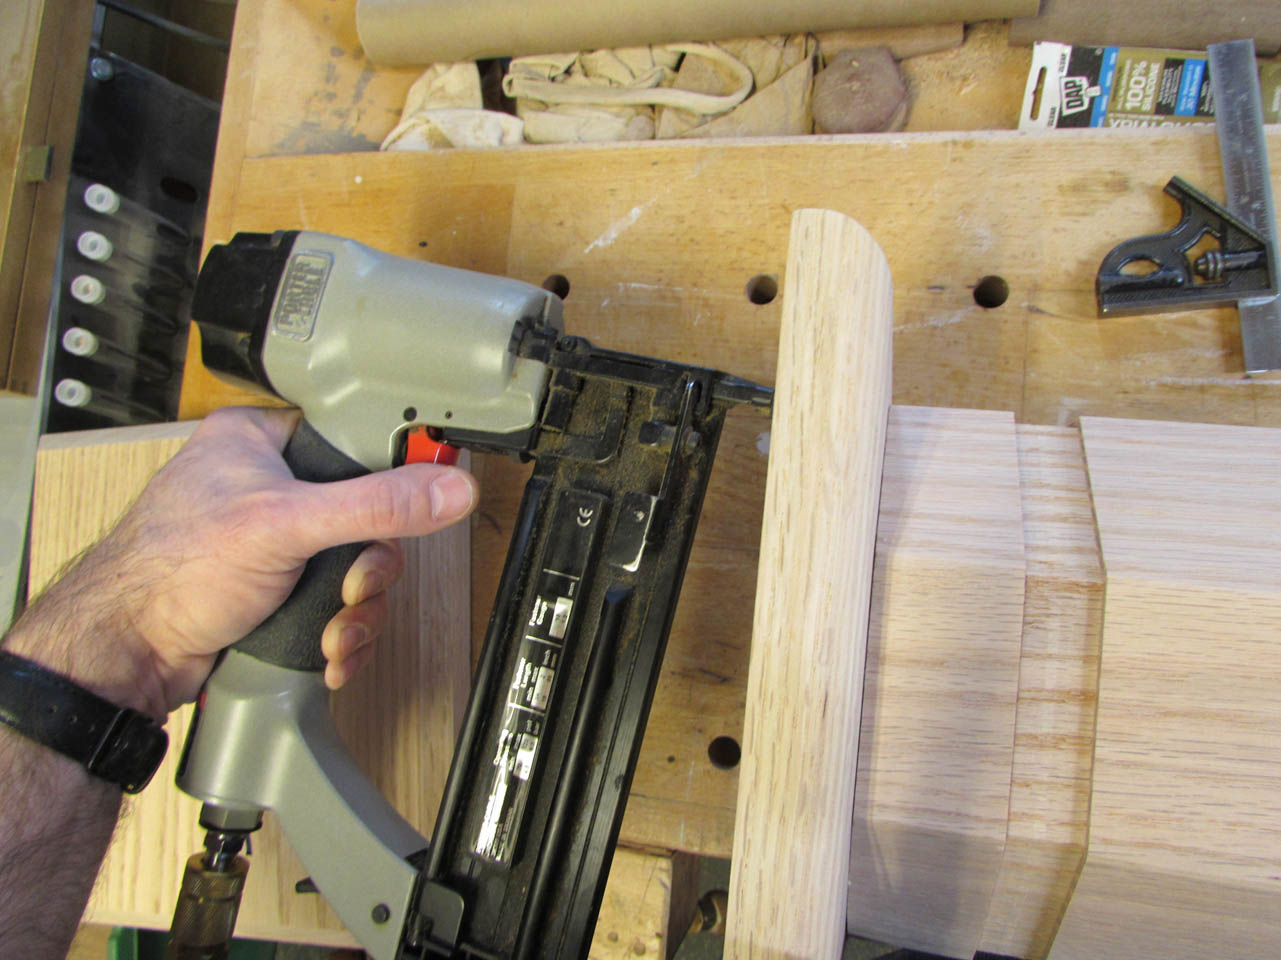
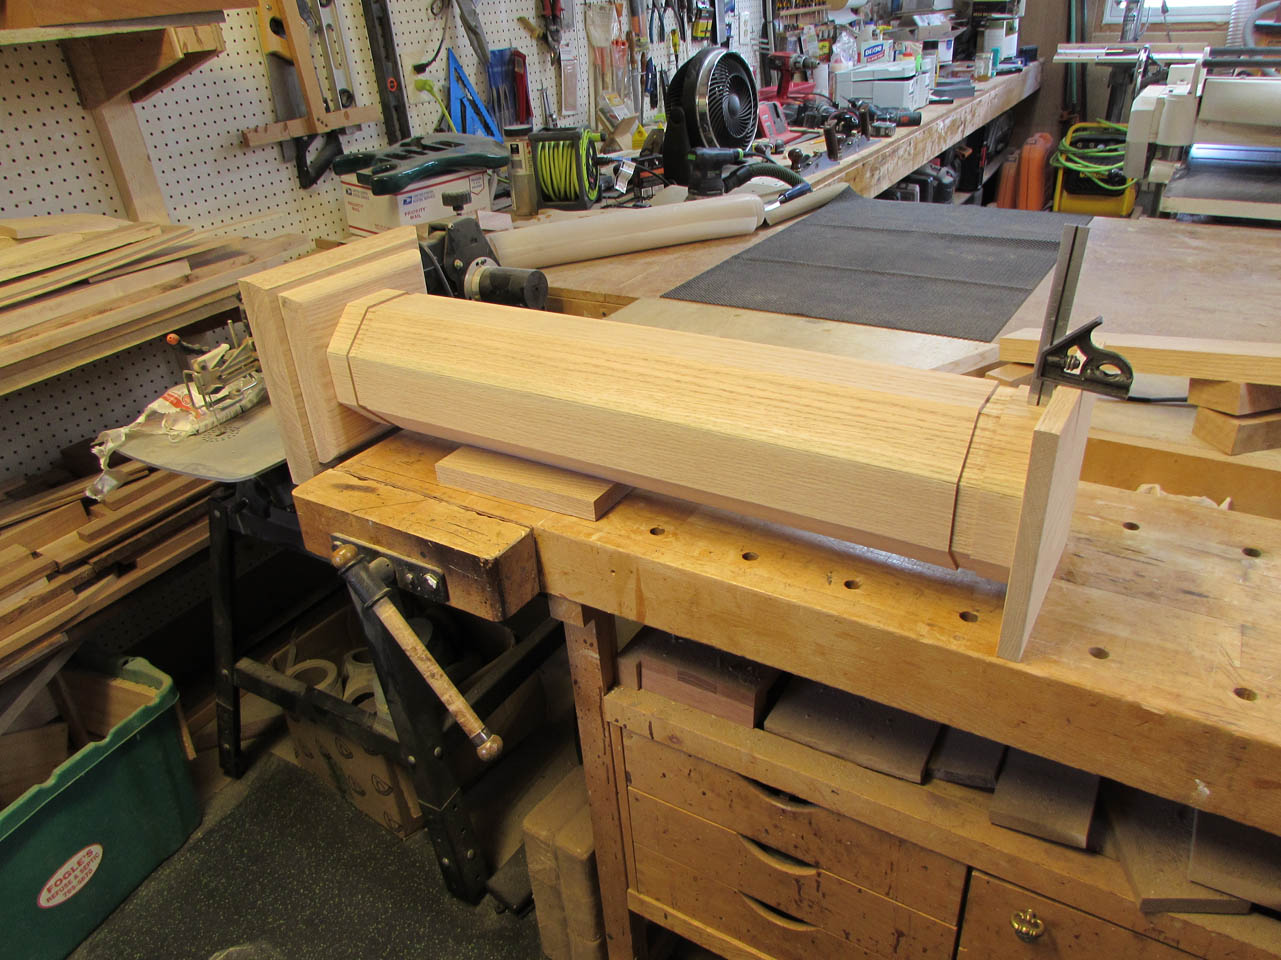
While that was drying, I started assembling the base cap to the column.

I raised the column up on a block and used my combination square as a depth gauge to make sure it was centered all the way around.

Leaving the square set, I applied glue to the end of the column and spread it smooth.
Then I used the square again to set the location and attached the board with a few 2″ brad nails to hold it while it dried.
Then I added a couple more spacer blocks and repeated the process for the base as well.


I tacked the base in place and clamped the corners to insure good surface contact while the glue dried.
The base is now attached and drying so I moved back to the top panel. I pulled the clamps and scraped off any glue squeeze-out.


Then I cut the panel down to 13″x13″ square and moved over to the router table to round over all of the edges, top and bottom.


Next, a quick sanding all over, including hand-sanding the sharp edges to make them a little less dangerous to bump into.

After that was done, it was back to the column. I added different spacers and located the top plate.
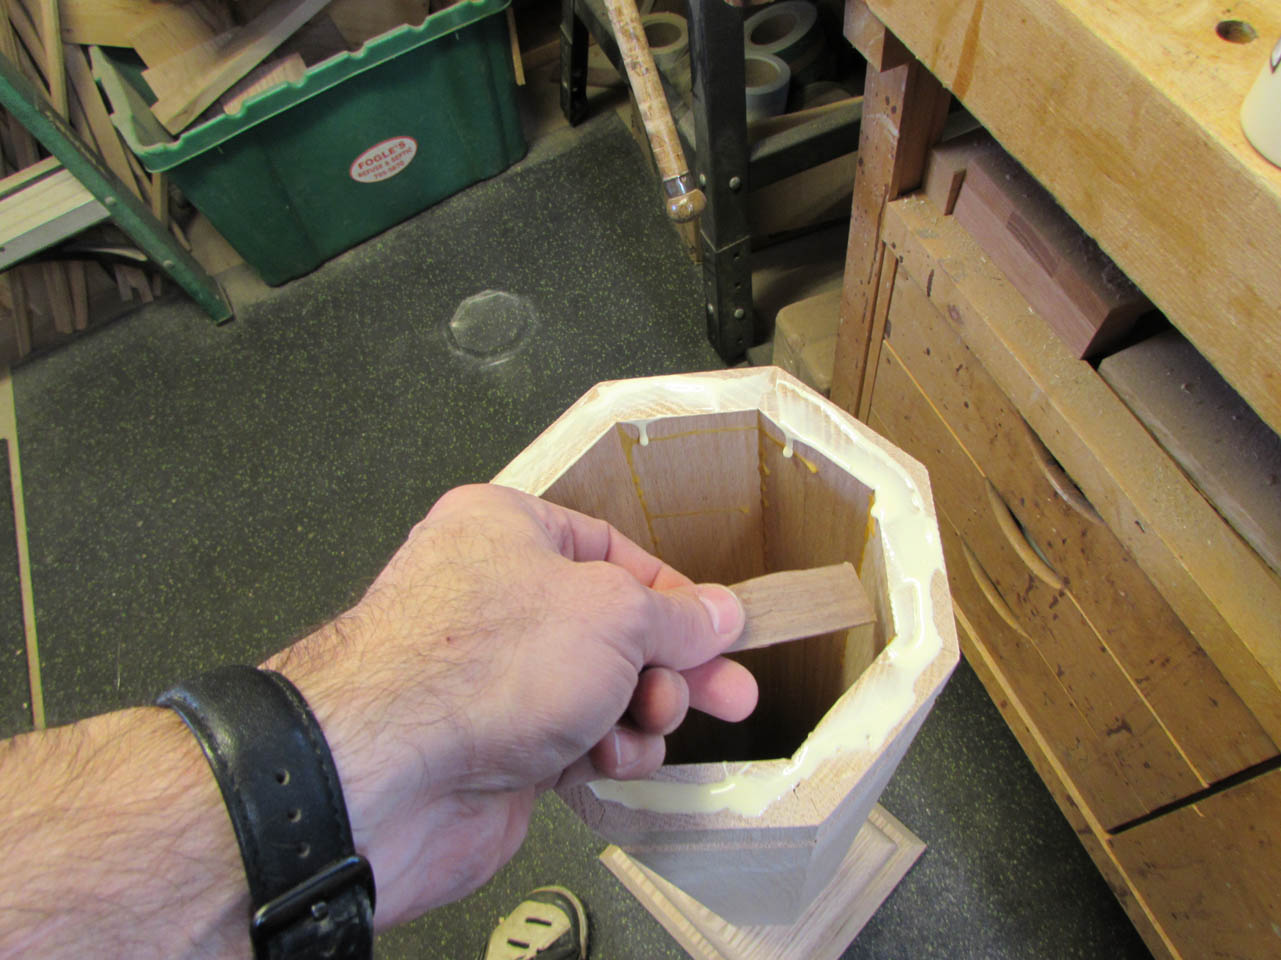
Some glue and a few brads, and that was in place and drying.

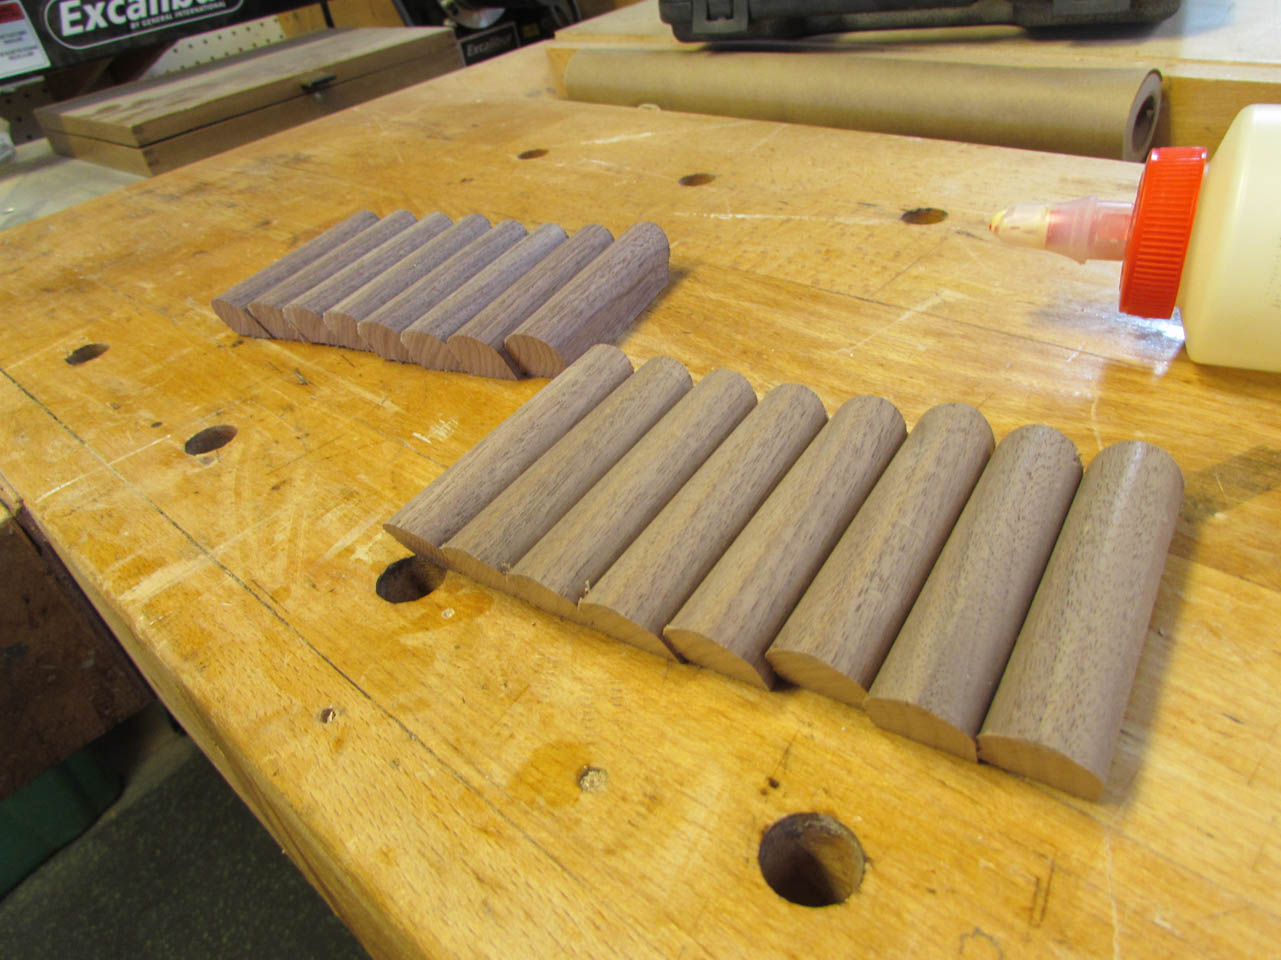
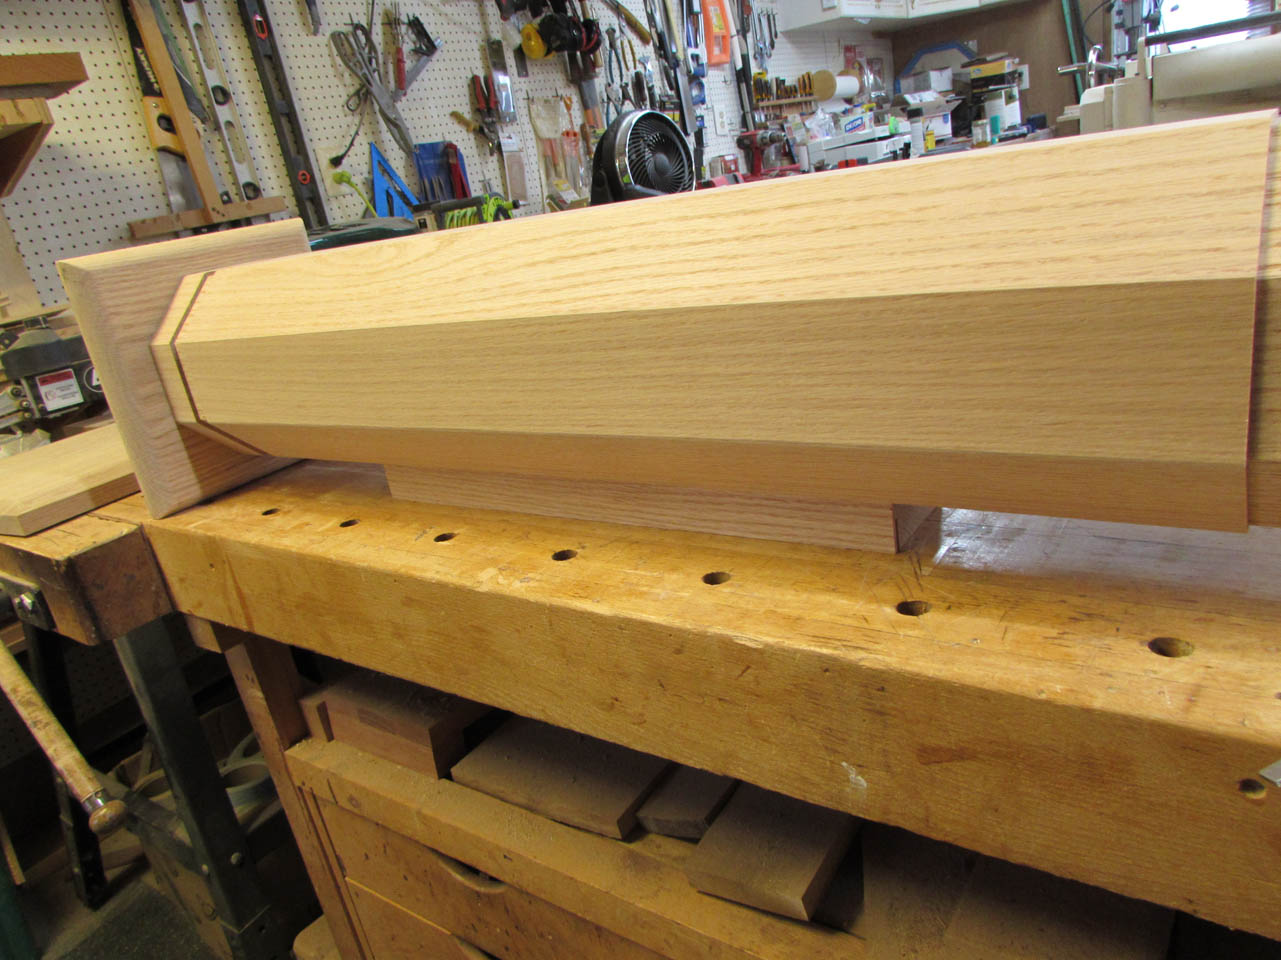
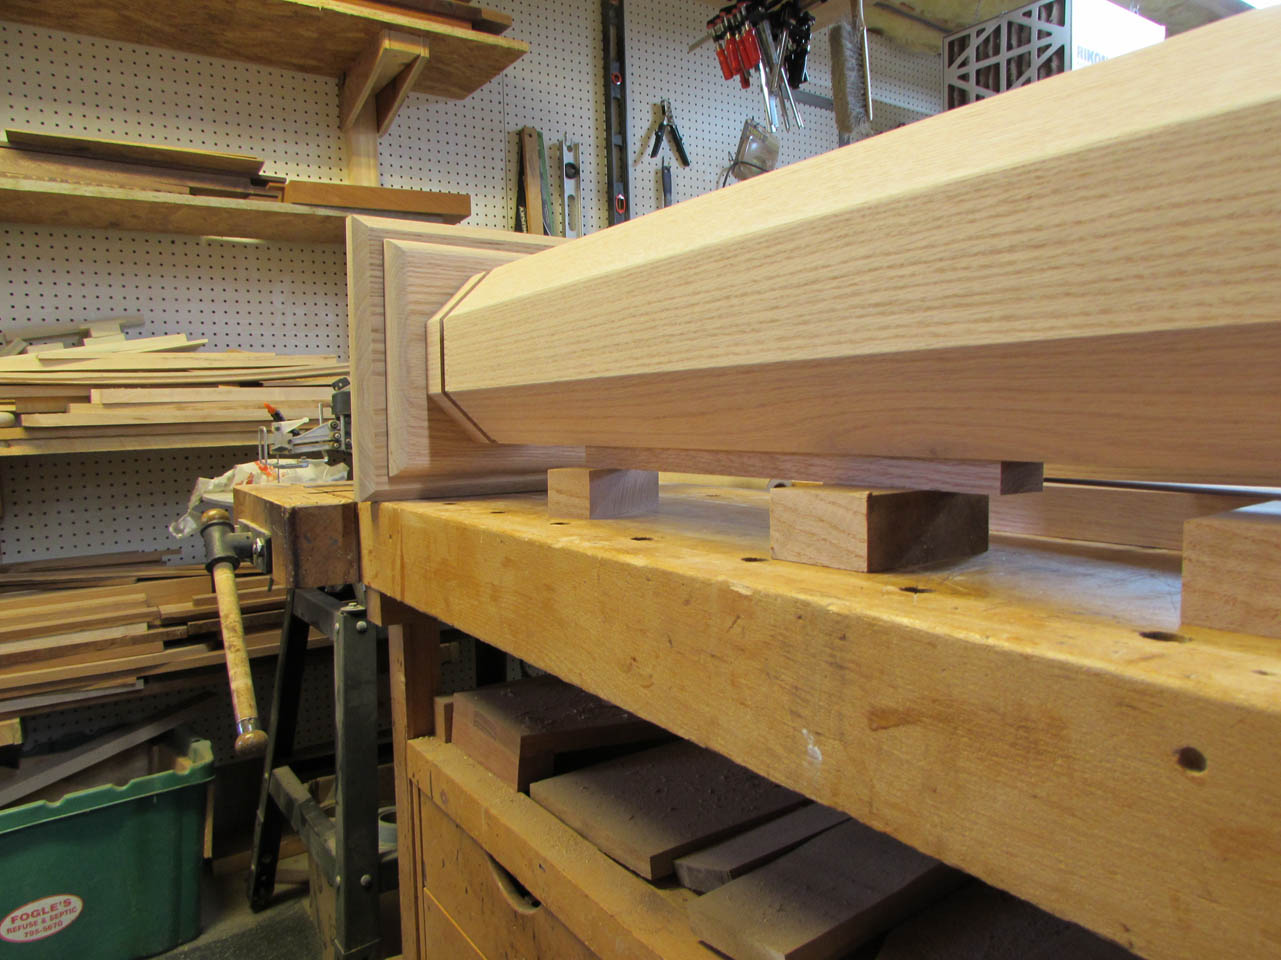
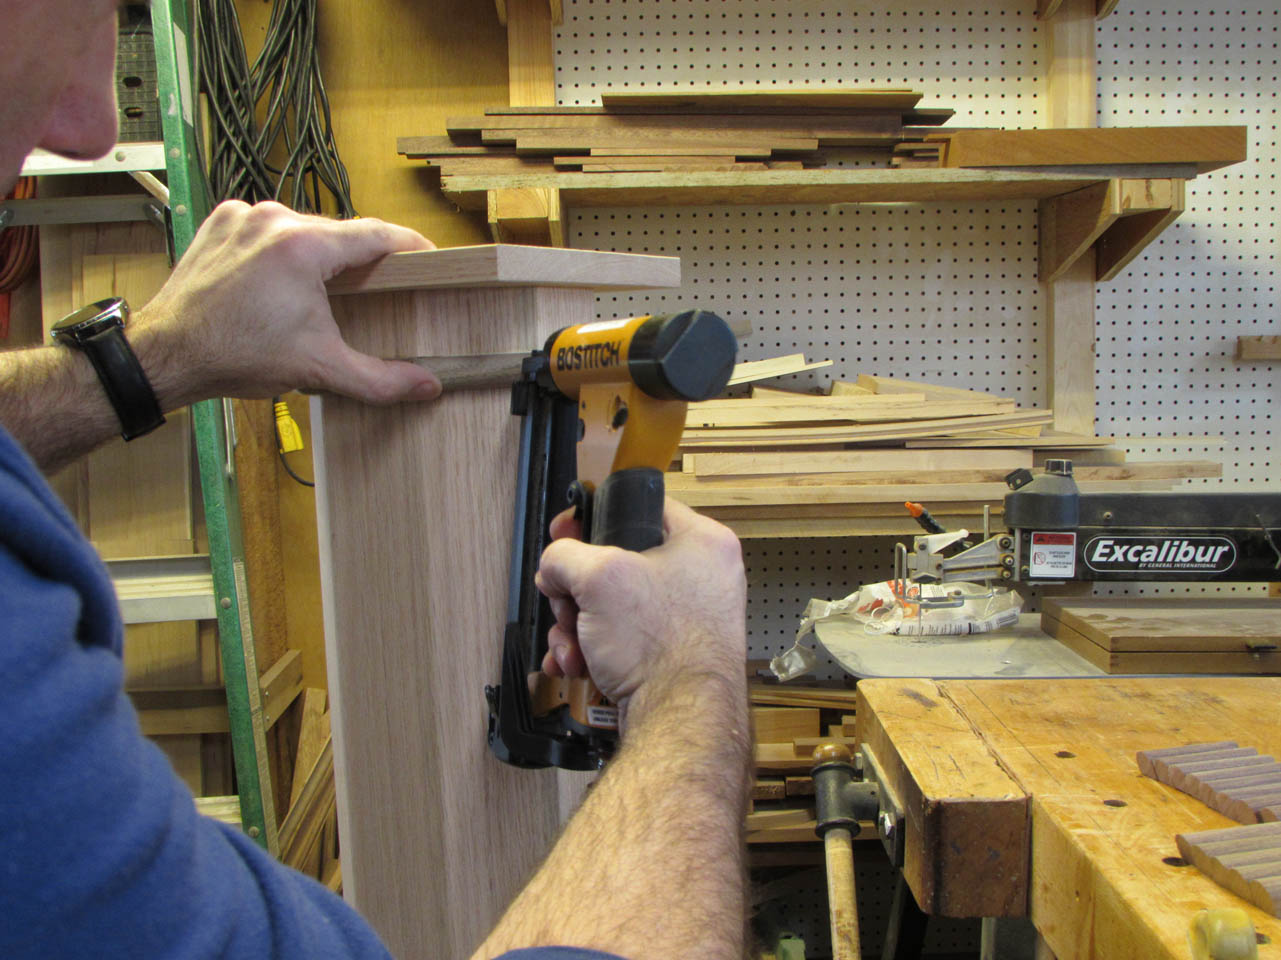
I had also made up the trim pieces for the column so it was time to attach them as well.

I used wood glue along the back and CA glue on the miters as usual.

I held each one in place with two pin nails and moved on the the next.

While the CA glue was still wet, I sanded each joint, forcing sawdust into the exposed glue to fill any gaps in the joint.

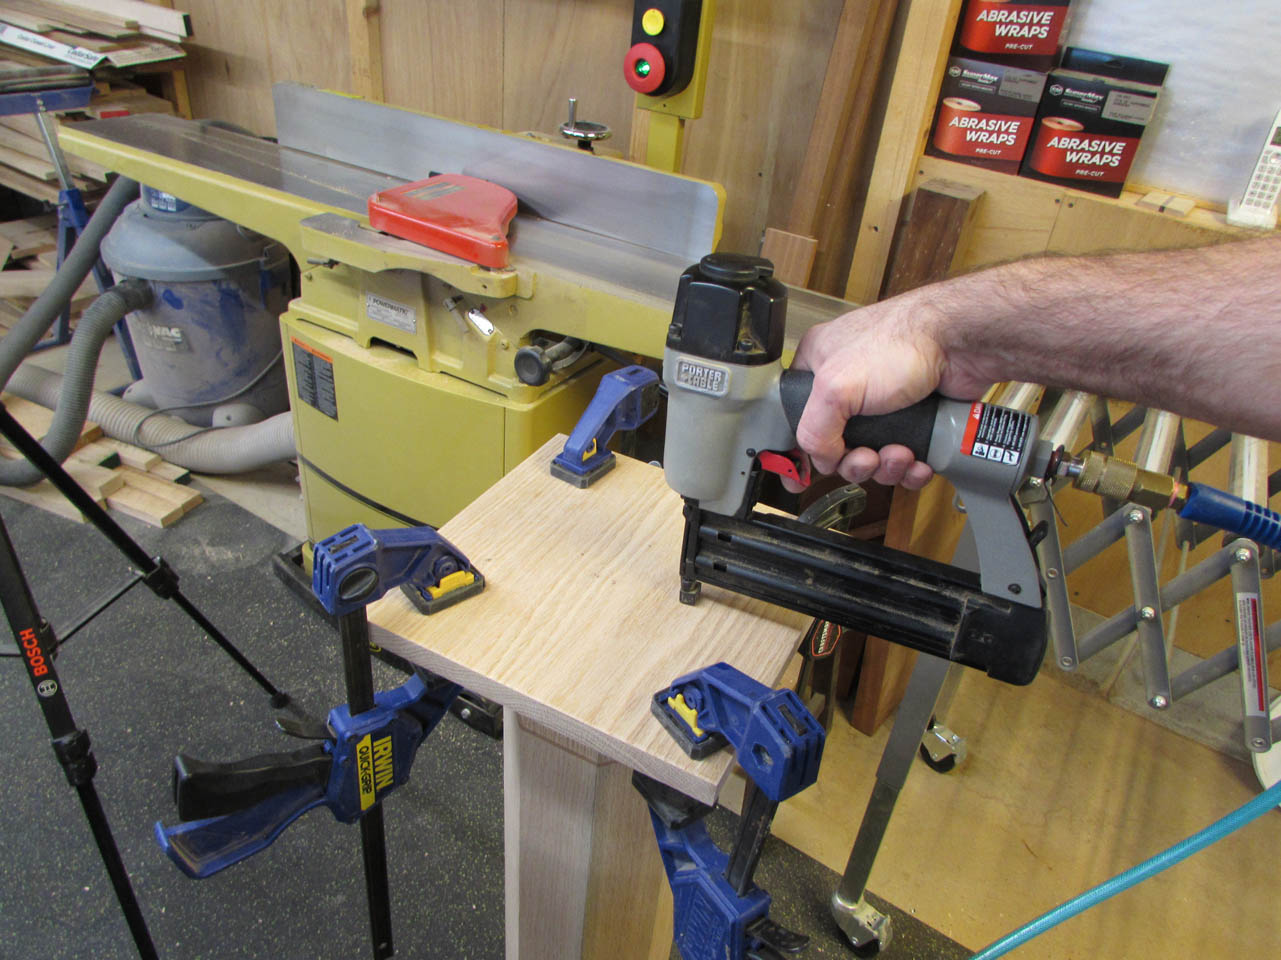
After both rings of trim were installed, I measured the top plate and the top panel, I just made, to find the difference in width. I divided that number in half and came up with 2-1/4″. I cut two strips to that width and lined them up with the edge of the top.


I clamped both strips down to give me an edge to sit against the top plate for locating it during the glue-up.
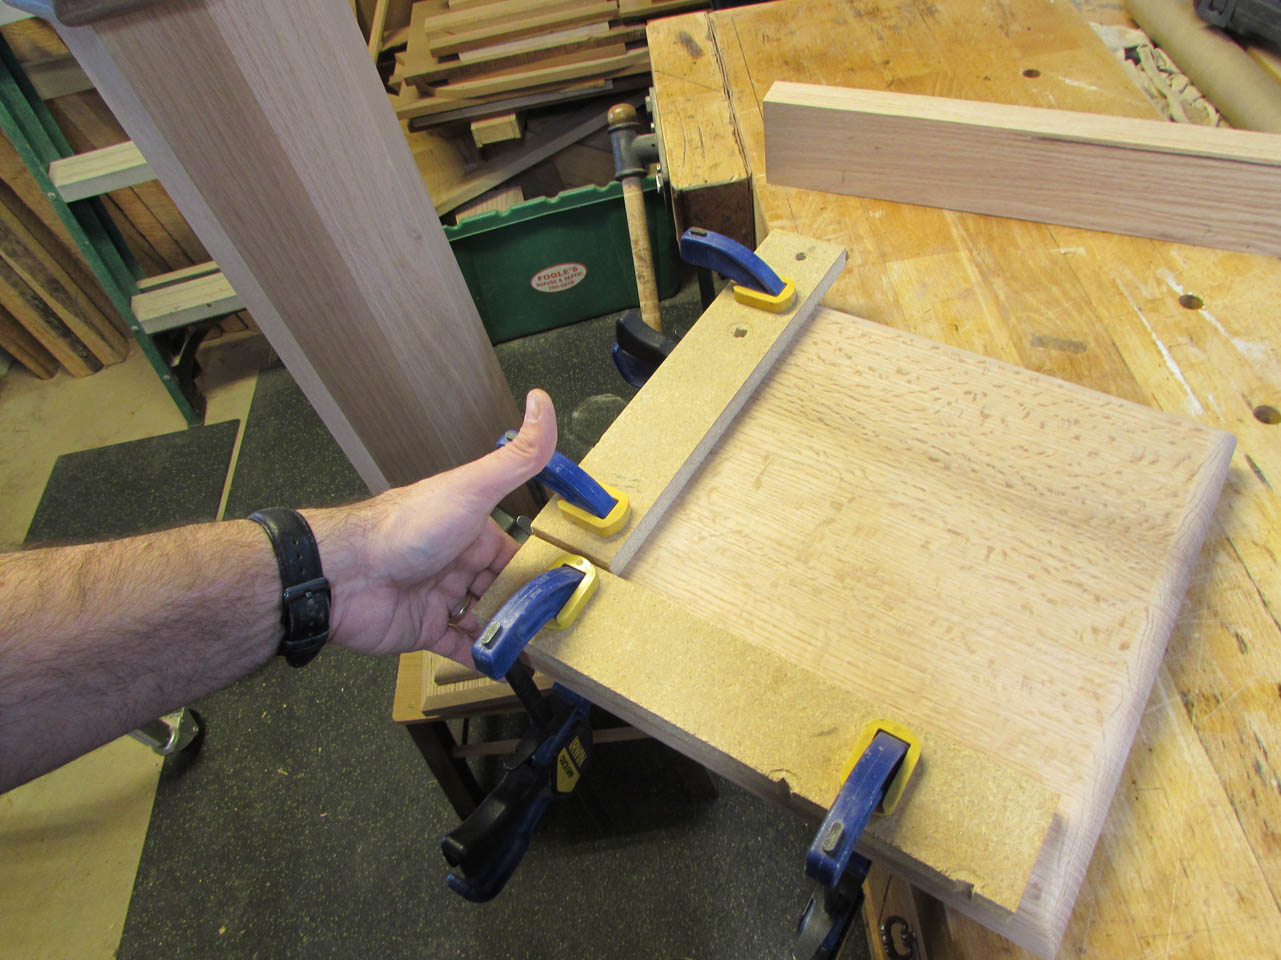

I applied glue to the top plate and set the thicker top panel on it. The two strips prevent me from moving the top around to locate it.


Once located, I clamped the top on firmly and removed the spacers.


When the glue had set up enough, I started staining. I stained the bottom first, then set it on some painter’s pyramids, on my lazy Susan stool to stain the rest.

After staining the top, I could sit down and take my time staining the middle section and the more detailed trim areas.

Not a bad one-day project, since all of the hard parts were already done on the previous project…

I don’t think I will set up the spray booth just to urethane this piece. I will probably wait until the next piece is done and finish them together.
