St. Kilian chapel – Altar – part 6
I spent a long weekend finishing the parts of the altar. Since I don’t have enough room to set up a temporary spray booth that is large enough to hold all of the pieces, I set up two different ones.
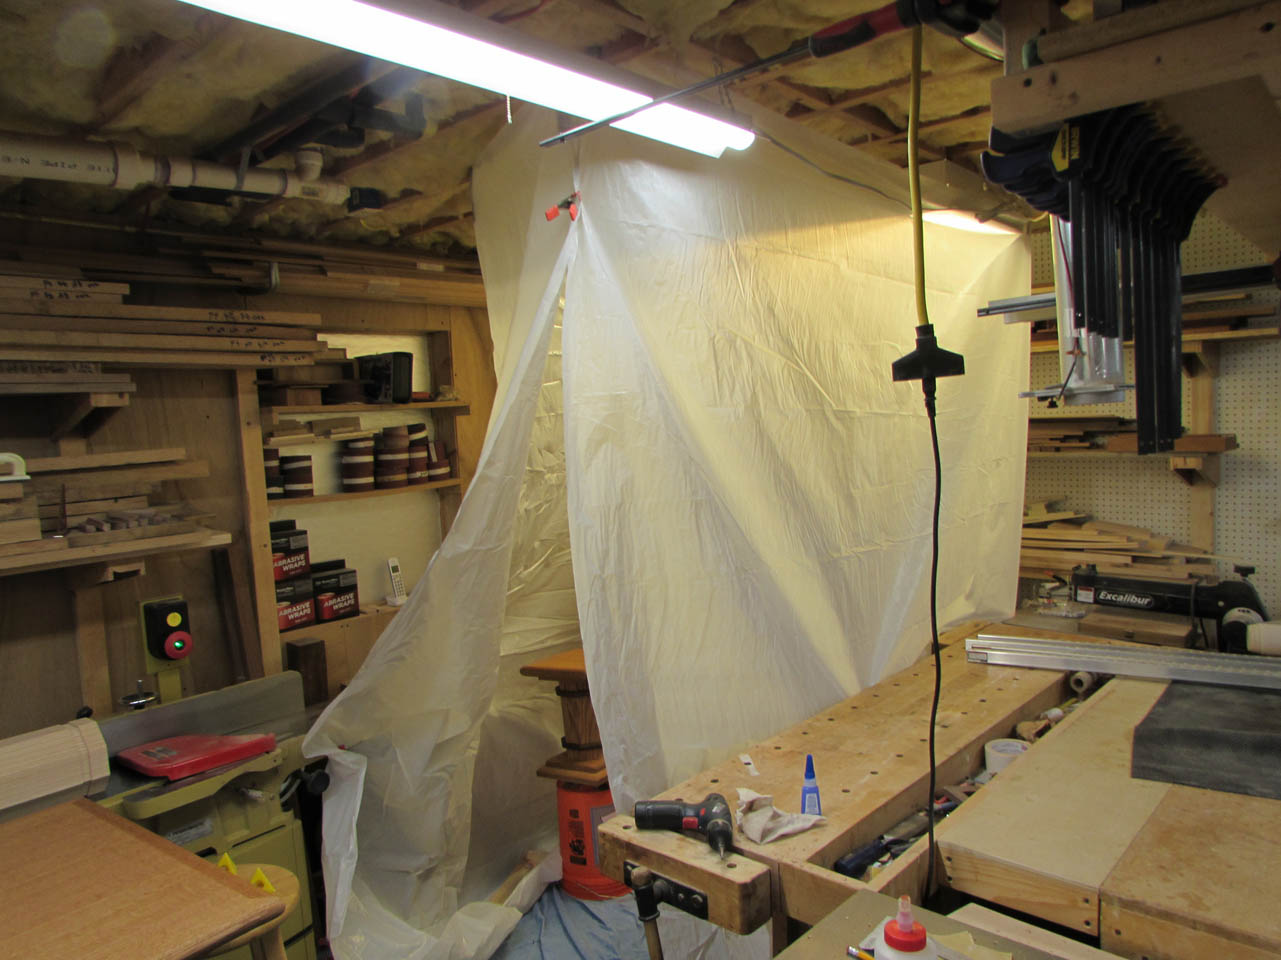
I set up the smaller one on the left side of my shop to hold all of the columns and my lazy Susan stool.
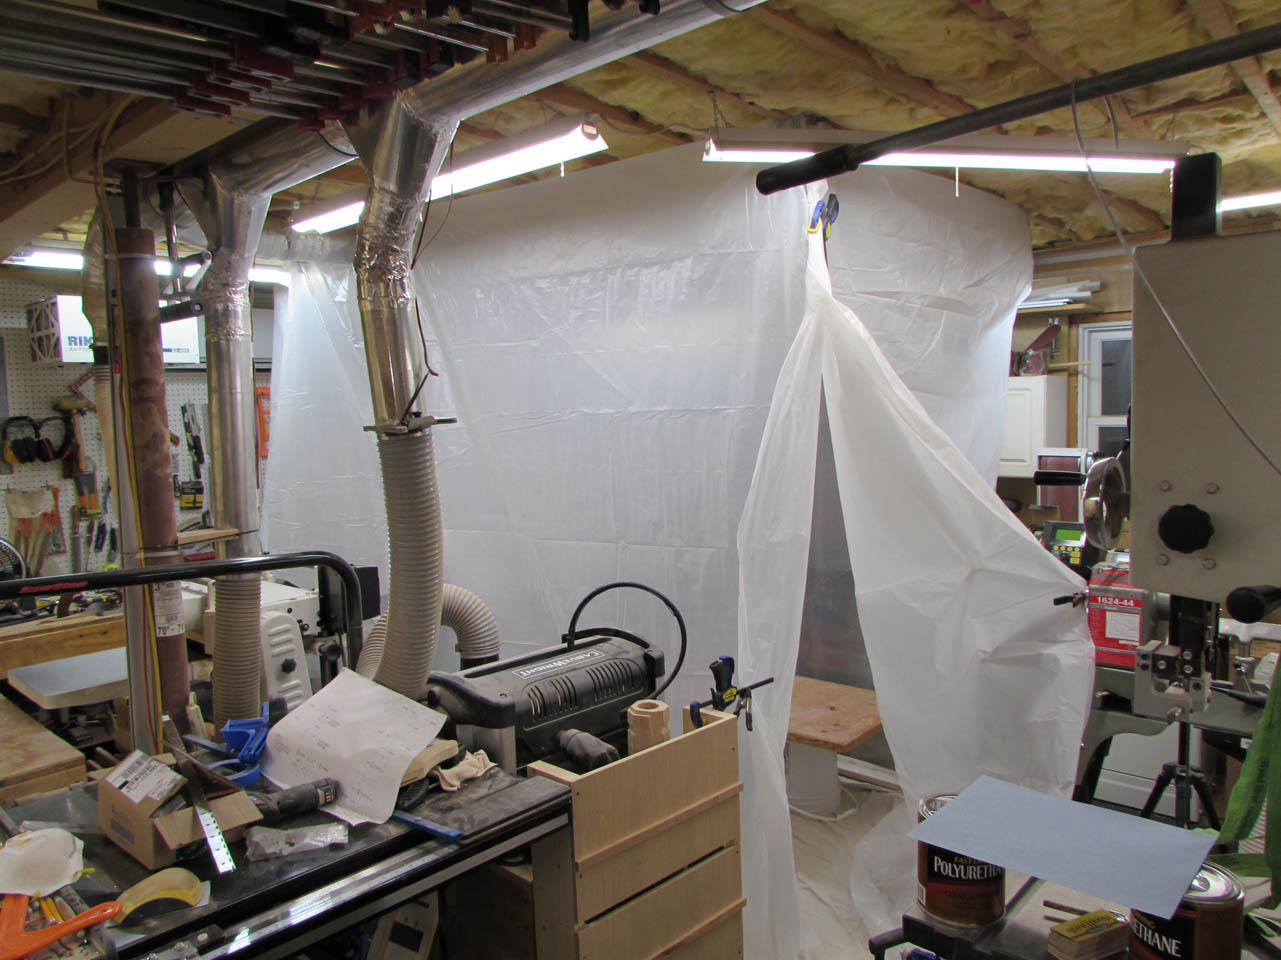
Then I set up the larger booth on the right side of my shop to house the top and transition plate.
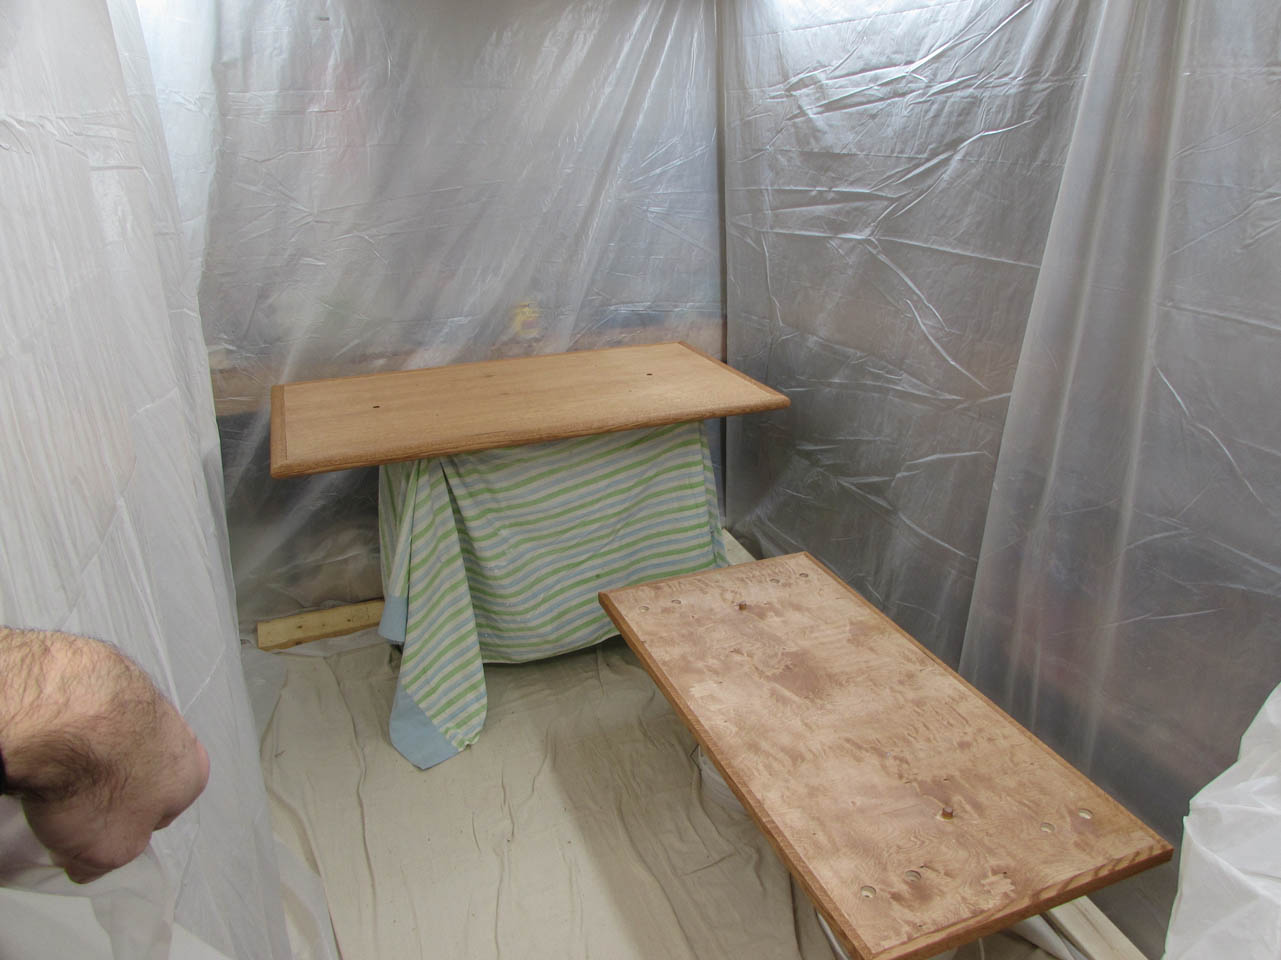
The shop was getting kind of crowded by the time both tents were set up…

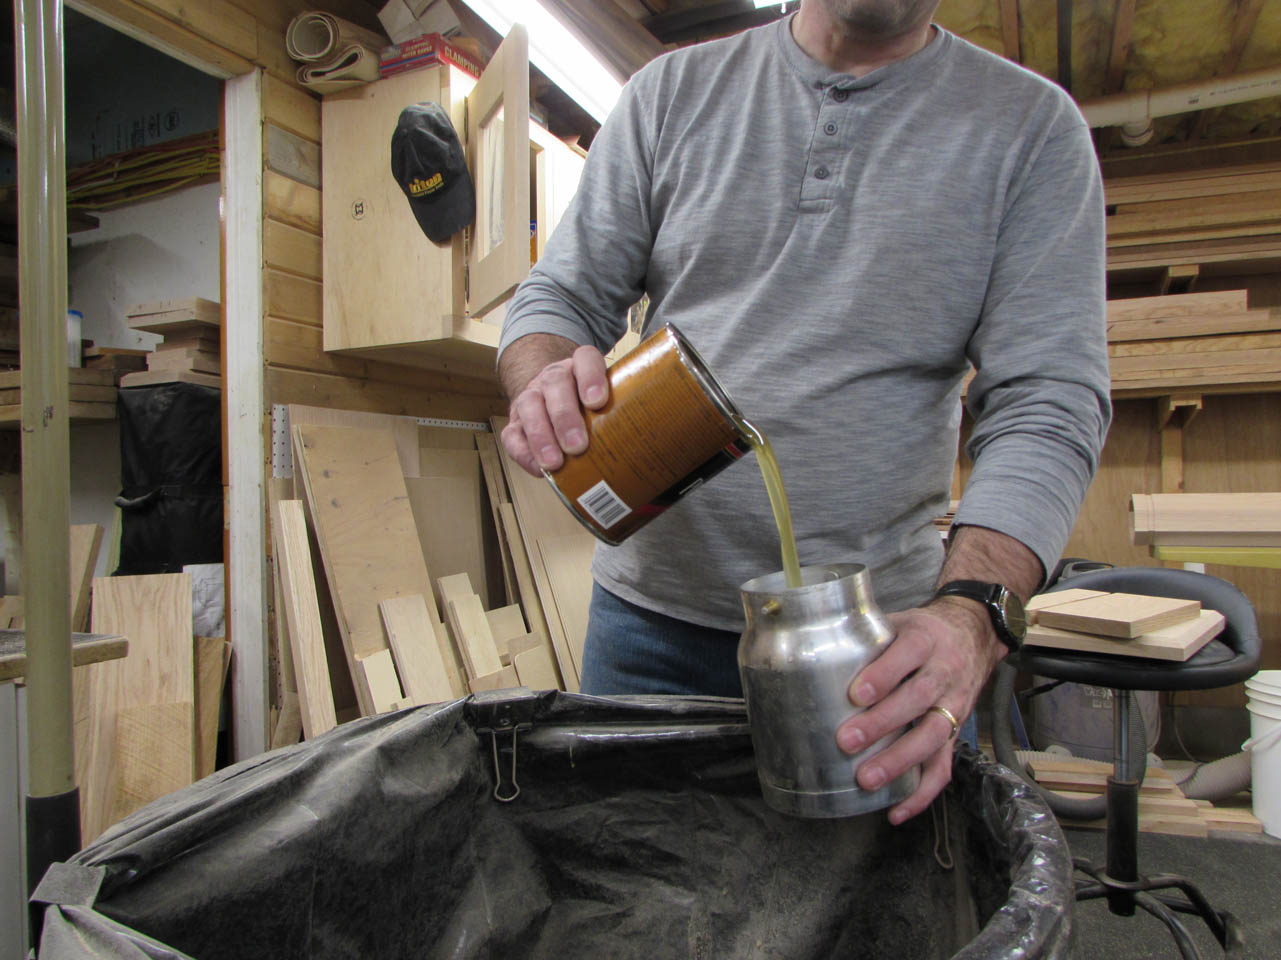
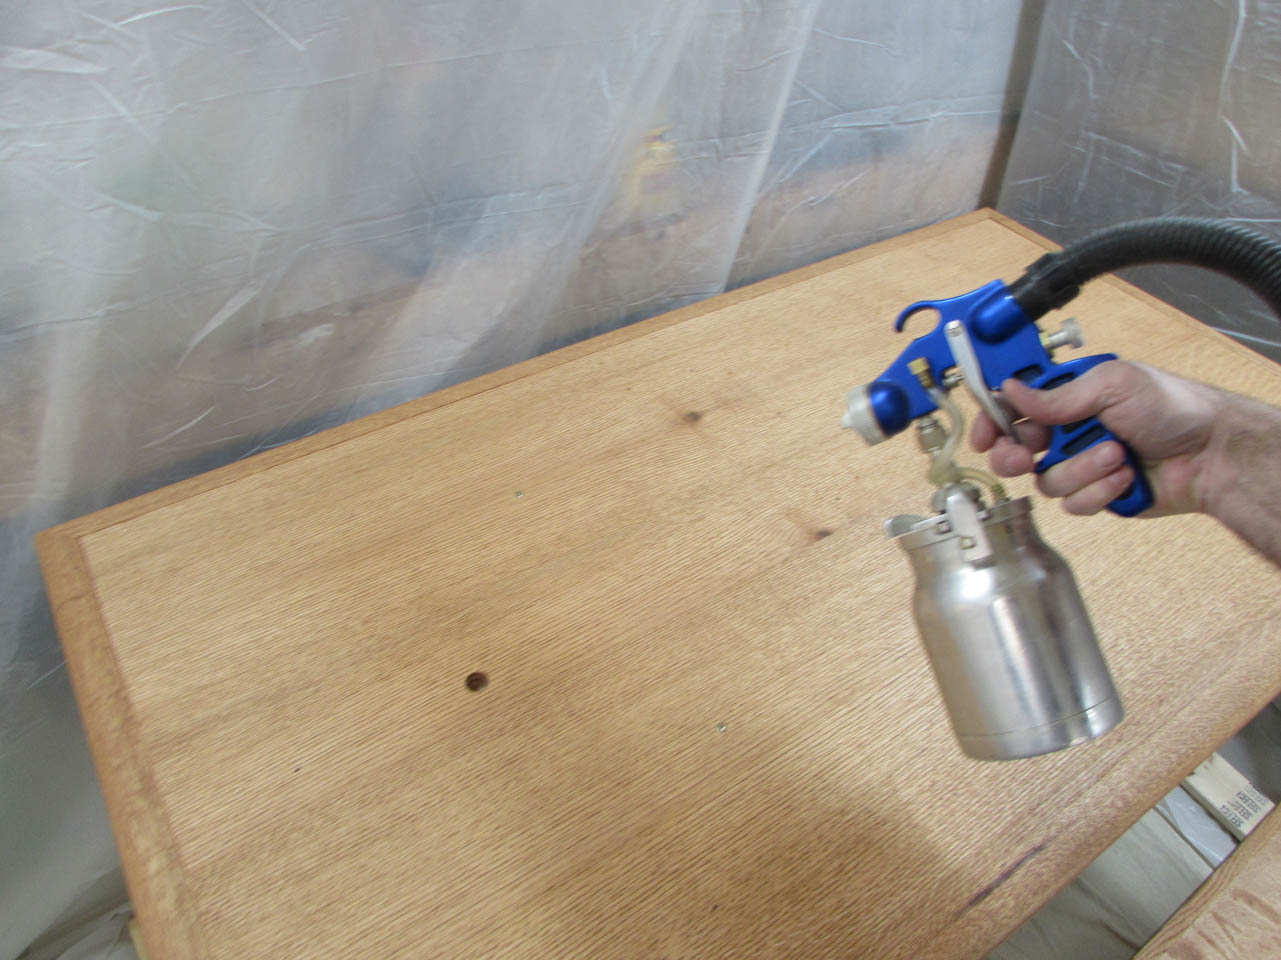
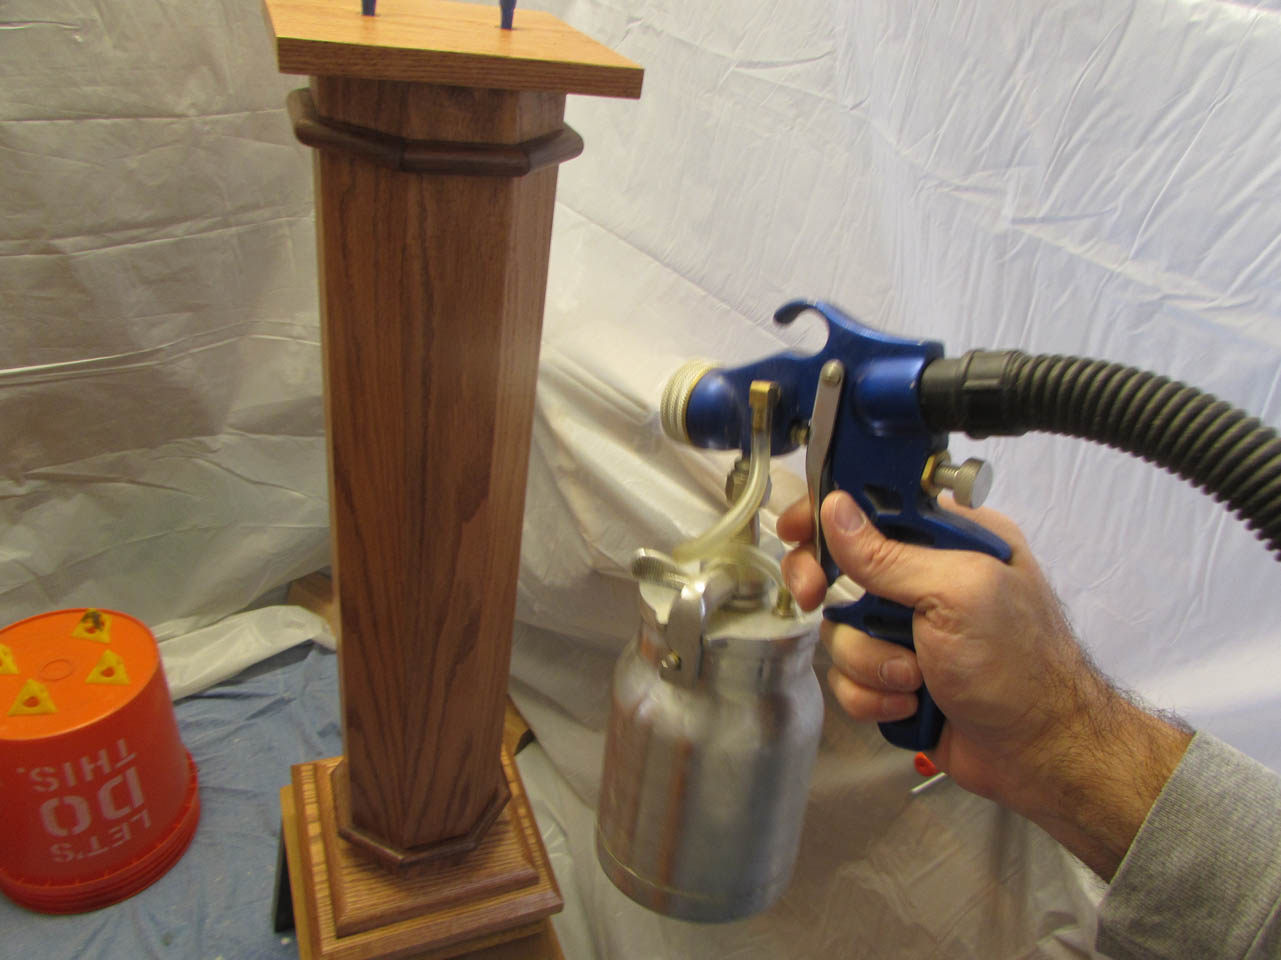
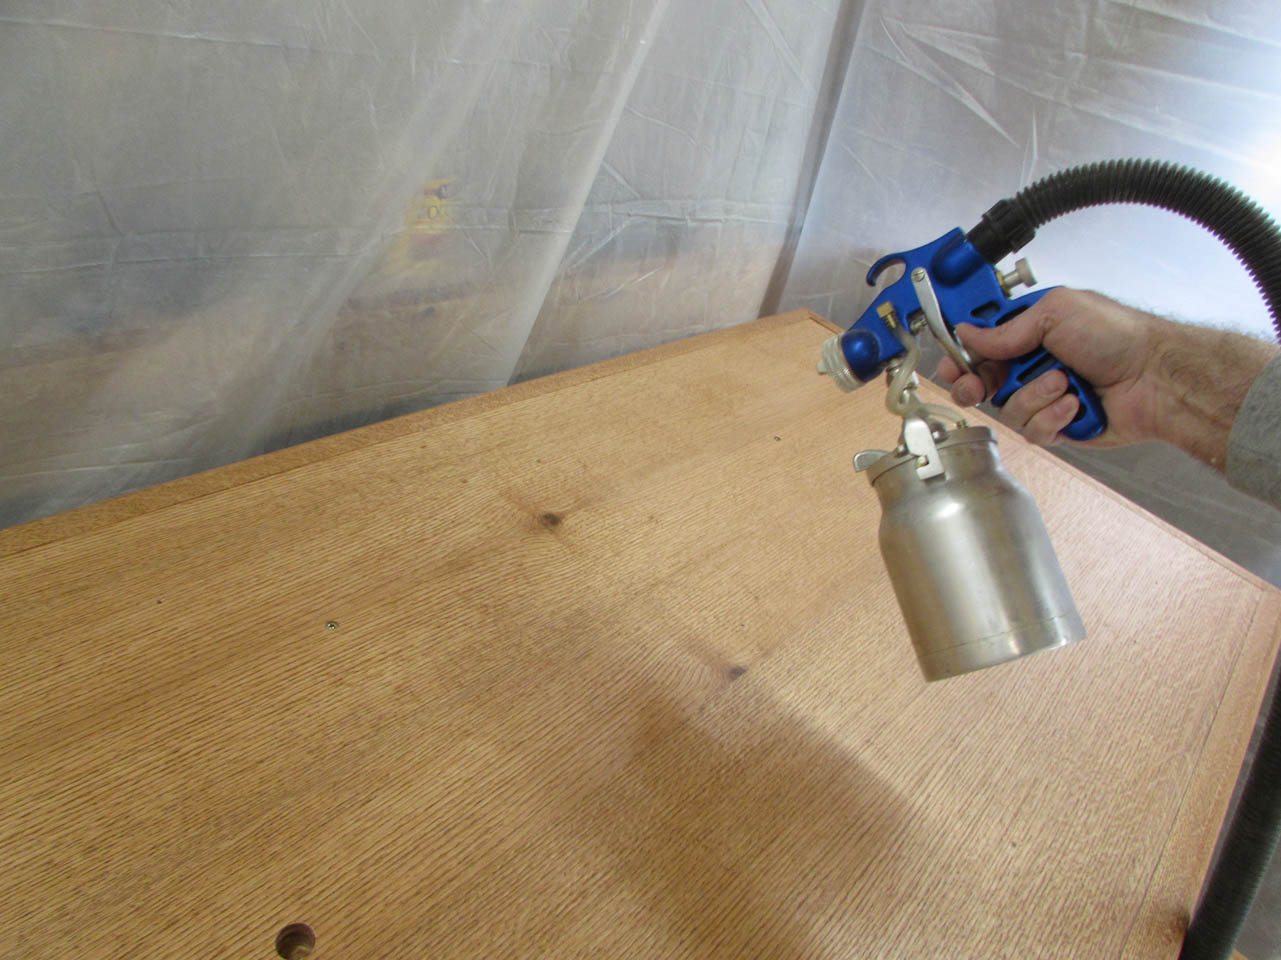
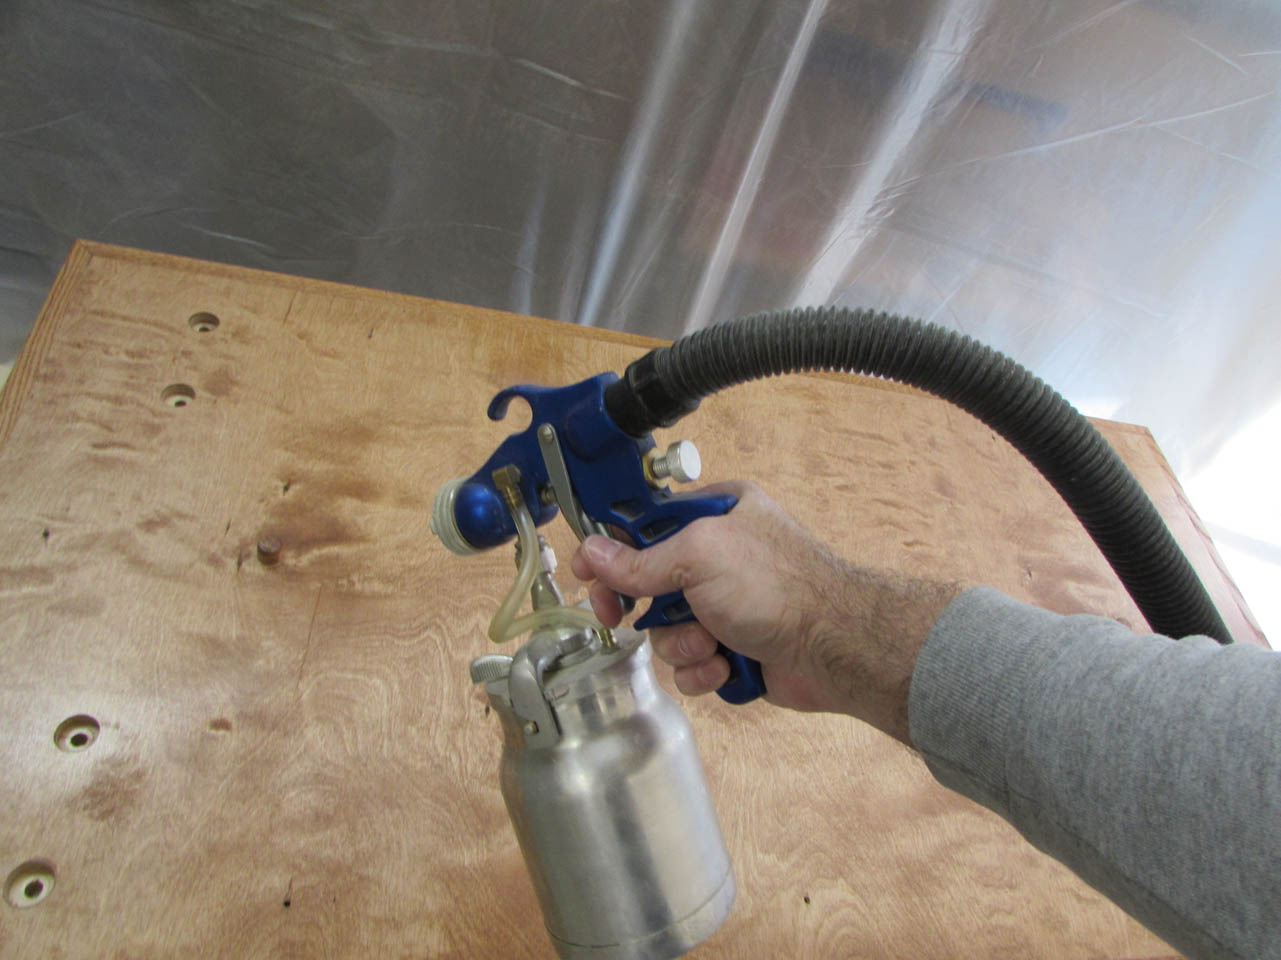
I loaded up a can of polyurethane into my HVLP sprayer and started with the back sides of the top and transition plates.
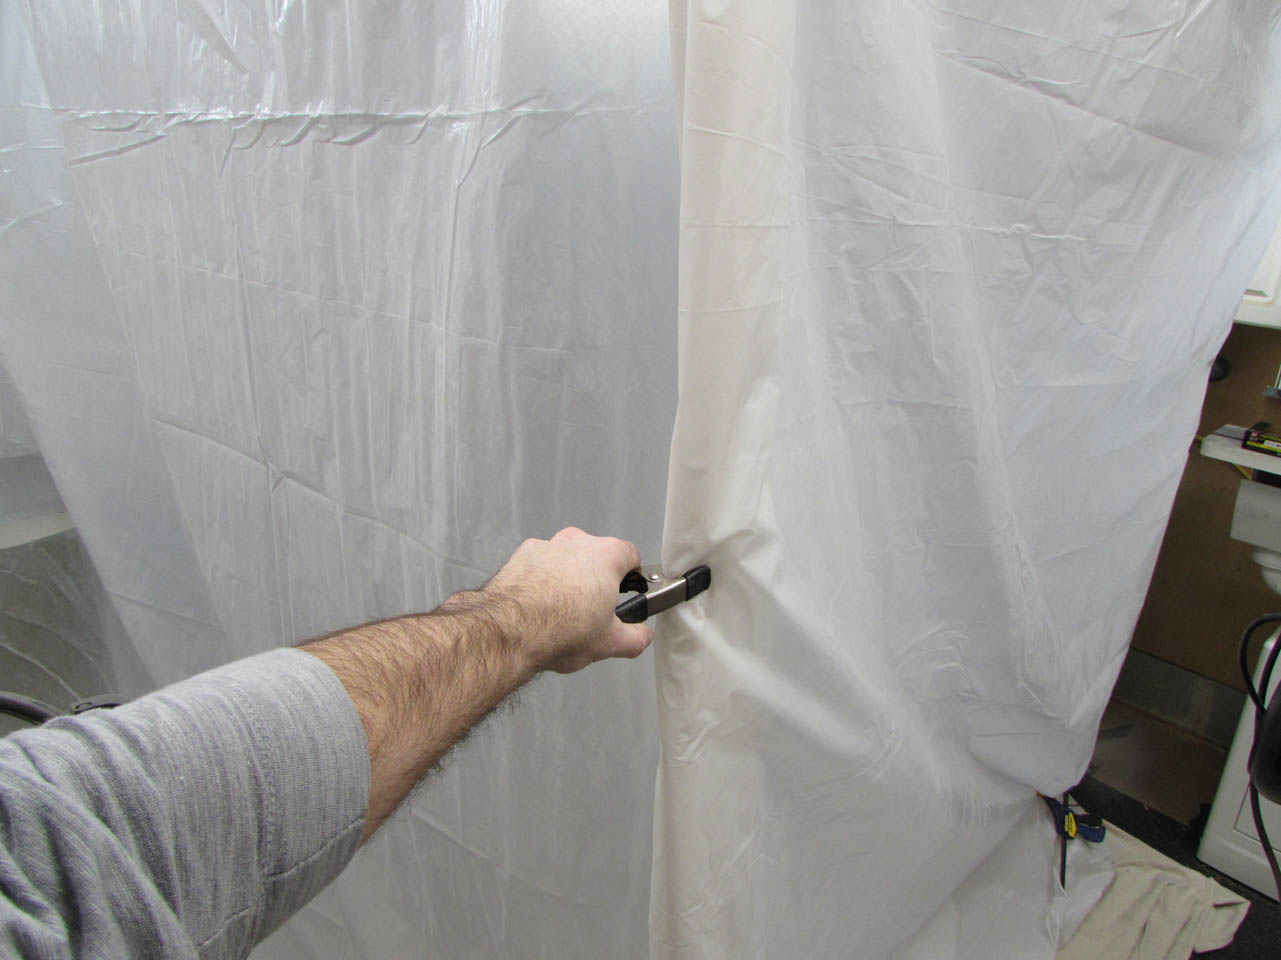
Then I clamped the plastic shut to trap all of the over-spray and prevent more dust from entering the booth.
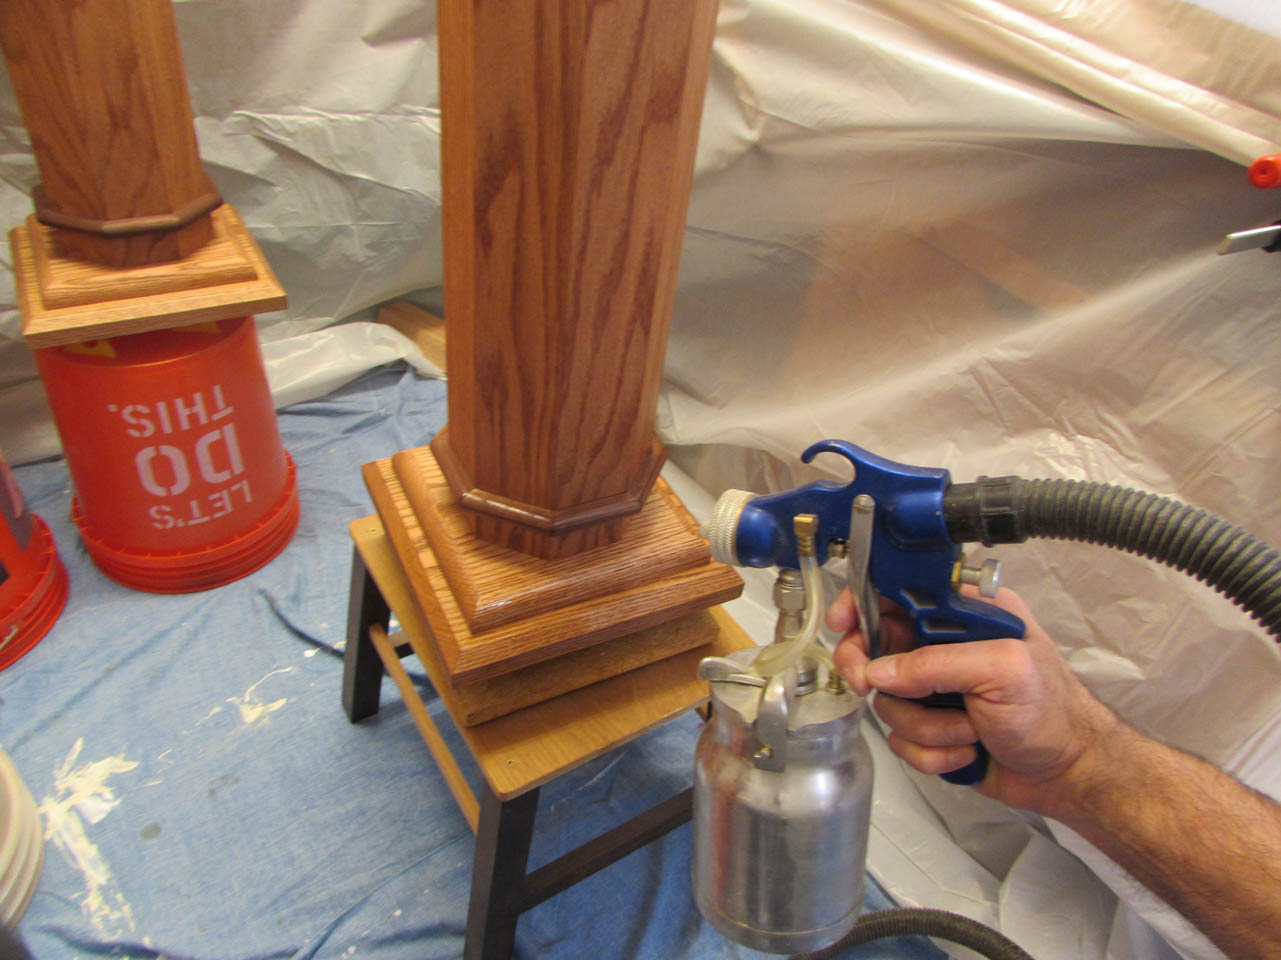
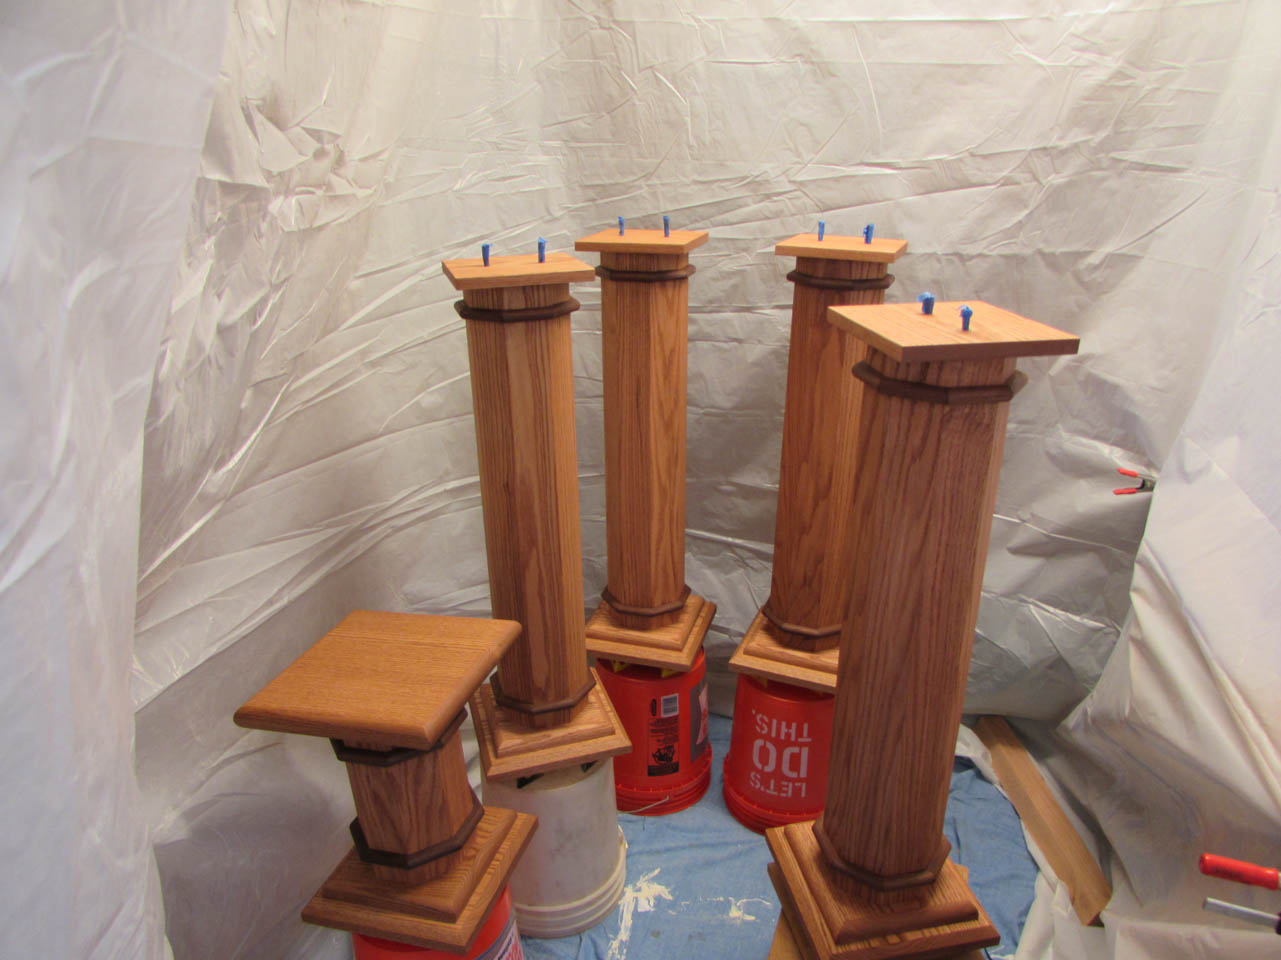
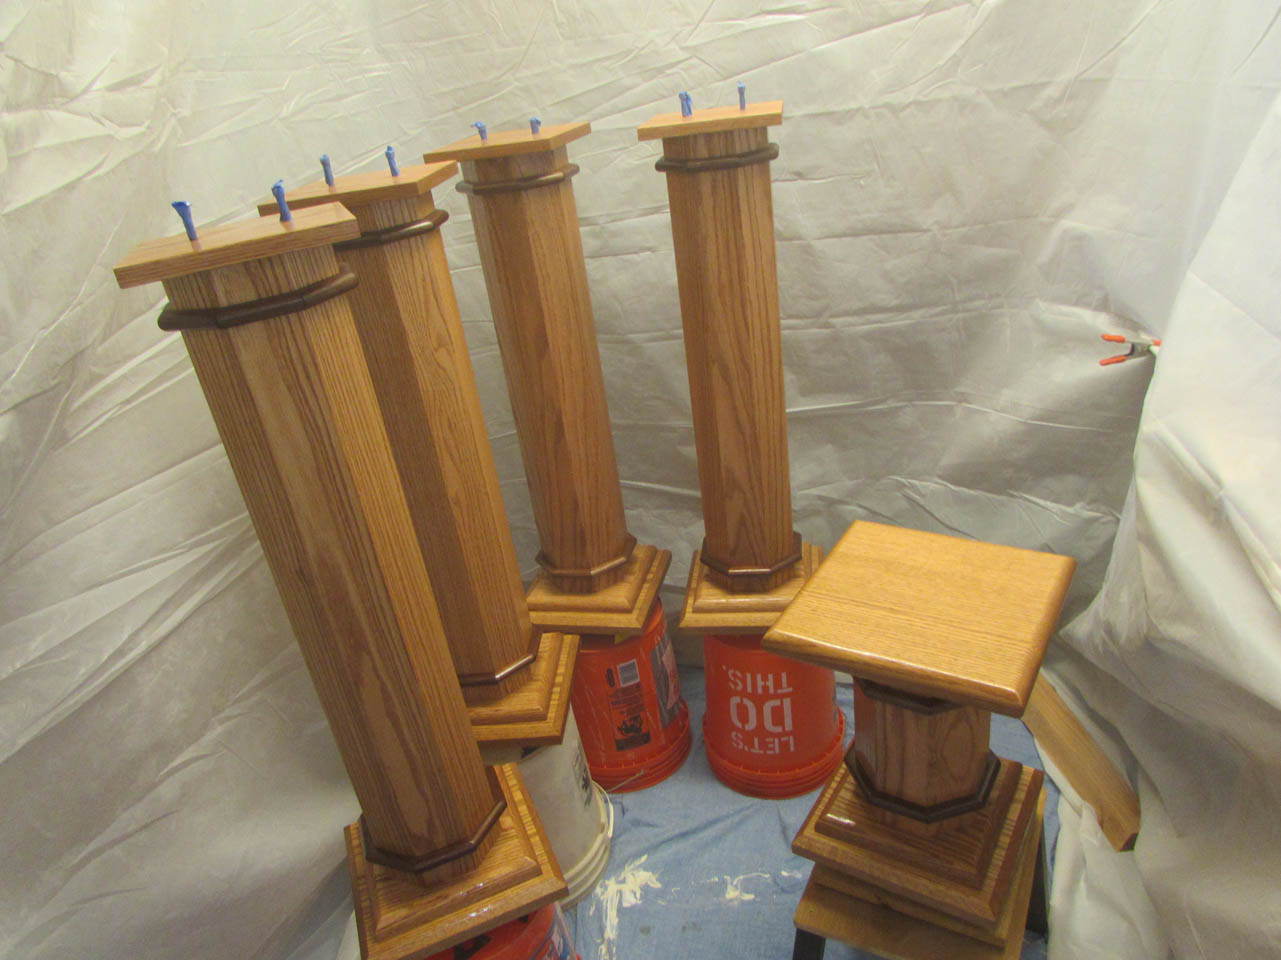
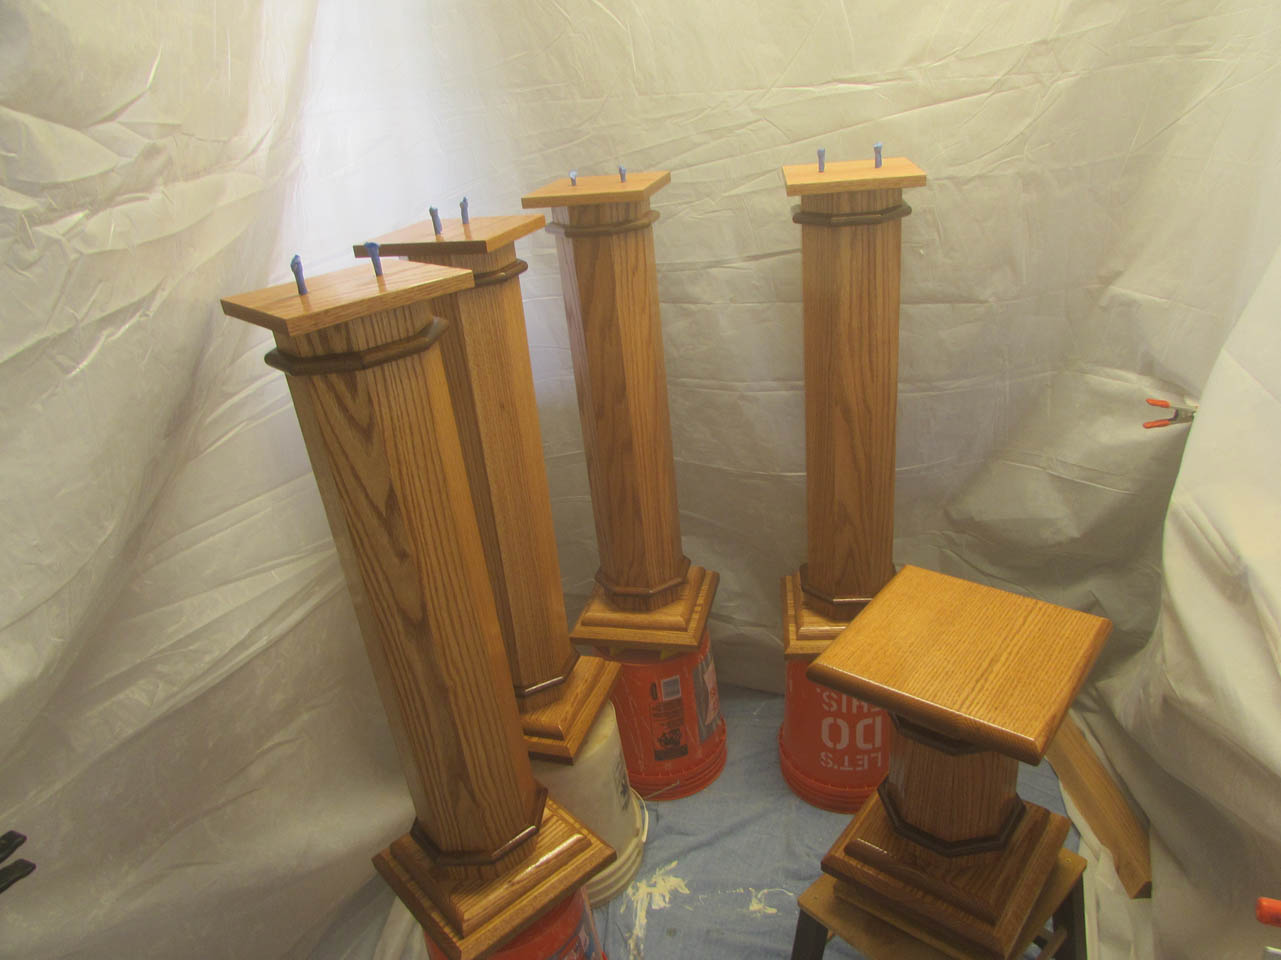
Then I spent a lot of time in the more cramped spray booth, working on the columns. I started with the tall, altar legs, picking them up by the bolts sticking out of the top and sitting them on painter’s pyramids, on 5-gallon buckets, after they were sprayed. I rotated through each of them, spraying them on the lazy Susan stool. This allowed me to stay in one location and just turn the column until it was done. The last column I sprayed was the short one because it did not have any bolts to move it with. I just left it on the stool to dry.
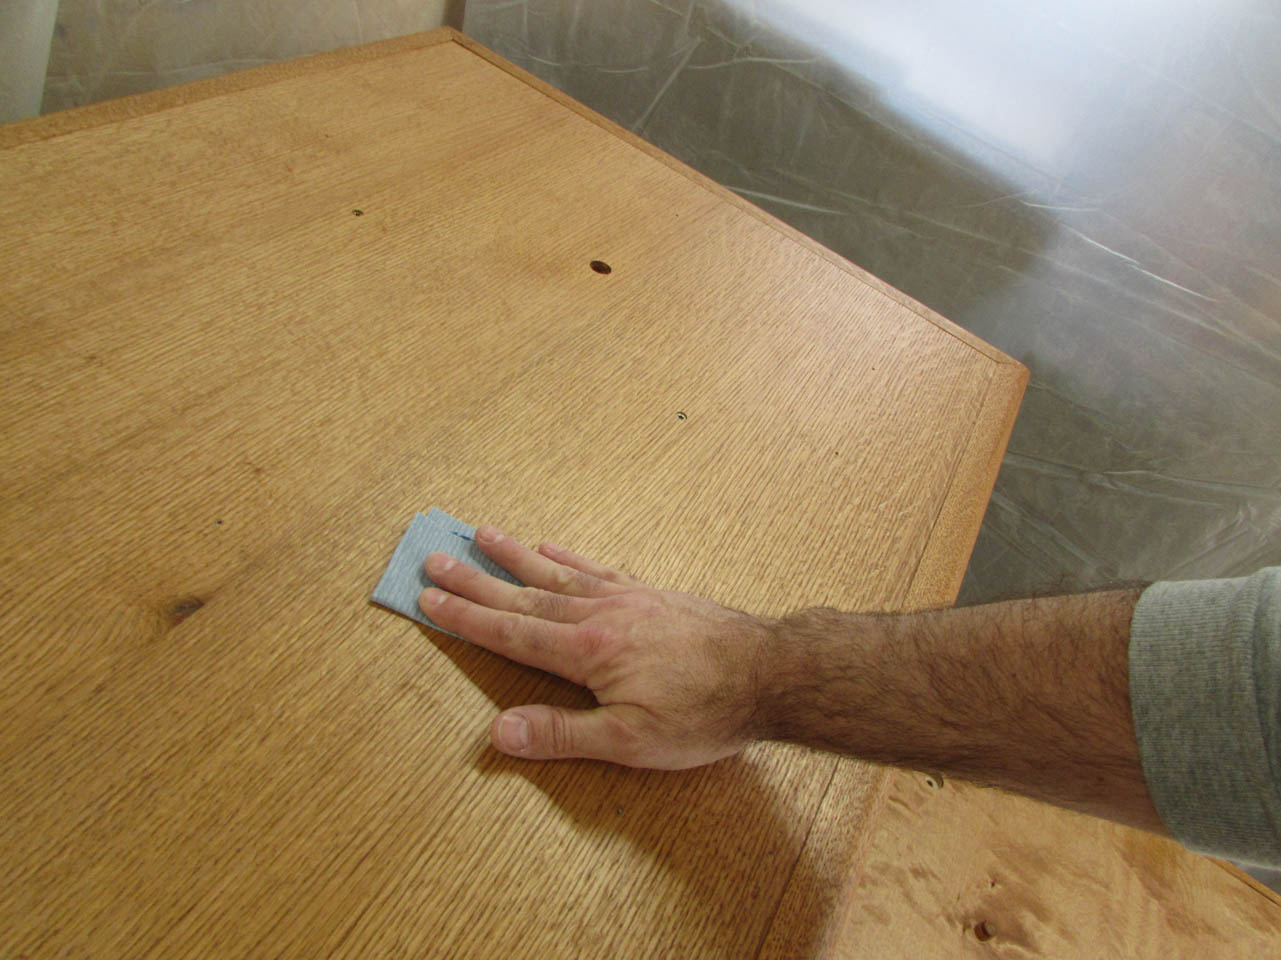
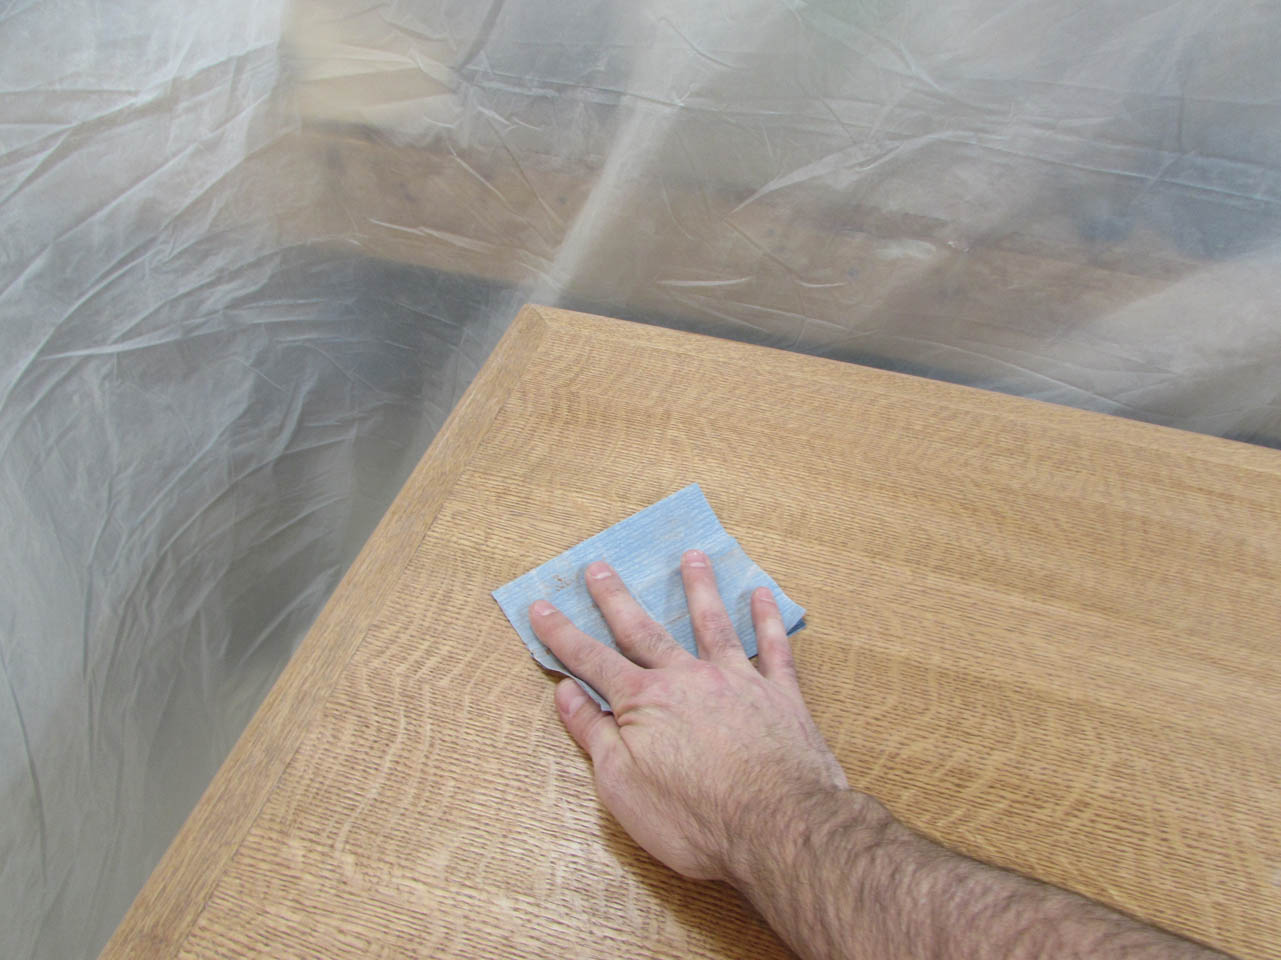
After allowing them to dry overnight, I gently sanded down all of the sprayed surfaces with 400 grit sand paper, then wiped all of the dust away, being careful not to get much of it floating in the air.
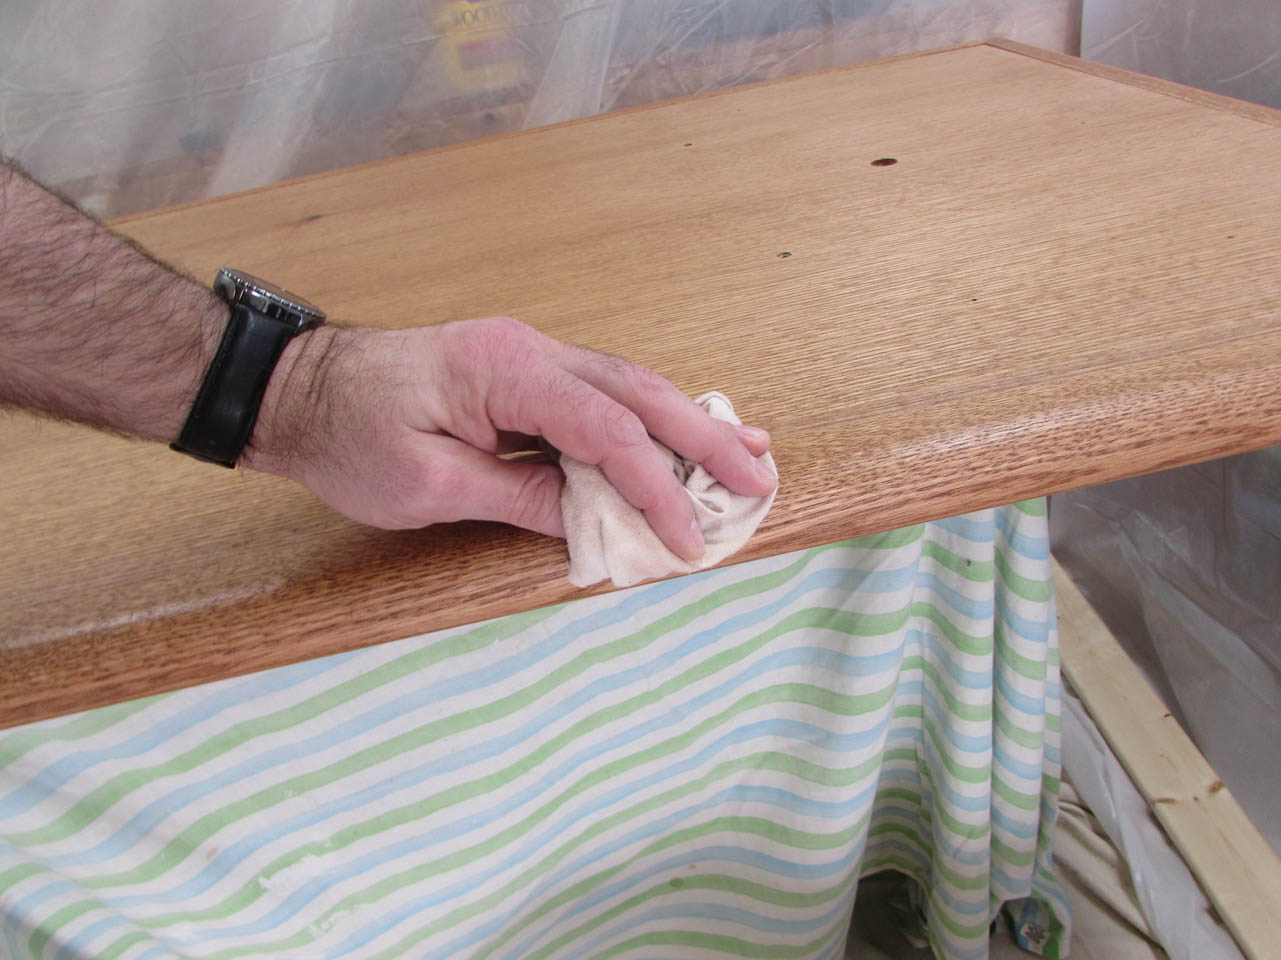
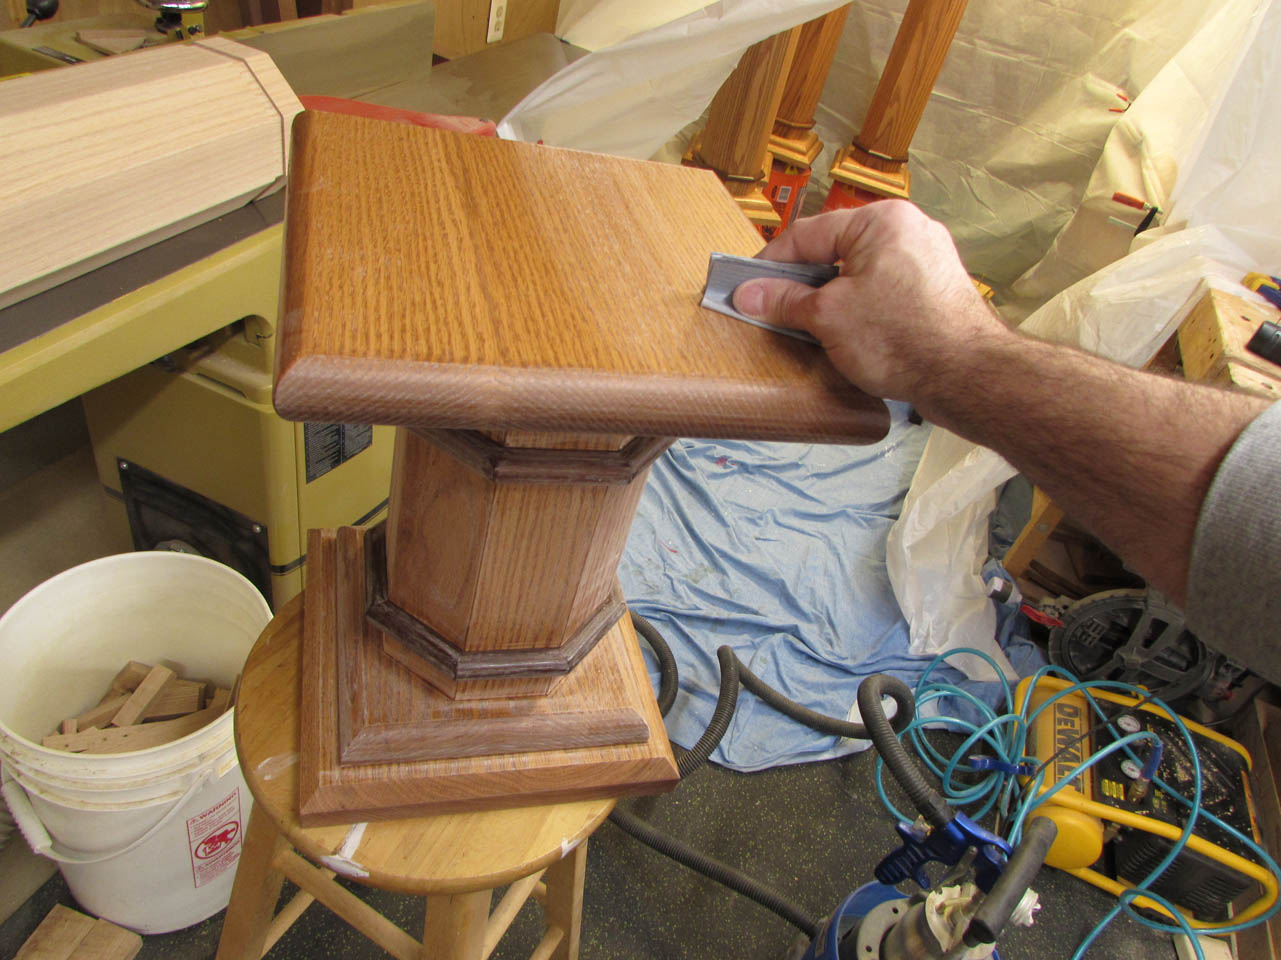
I was able to pull the columns out of the tent to sand down and wipe off. This helps to keep the dust out of the booth entirely. The whole point to sanding is to remove the dust from the column. No point reintroducing it back into the spray booth just before applying the final coat.
And, then it was time for round two.
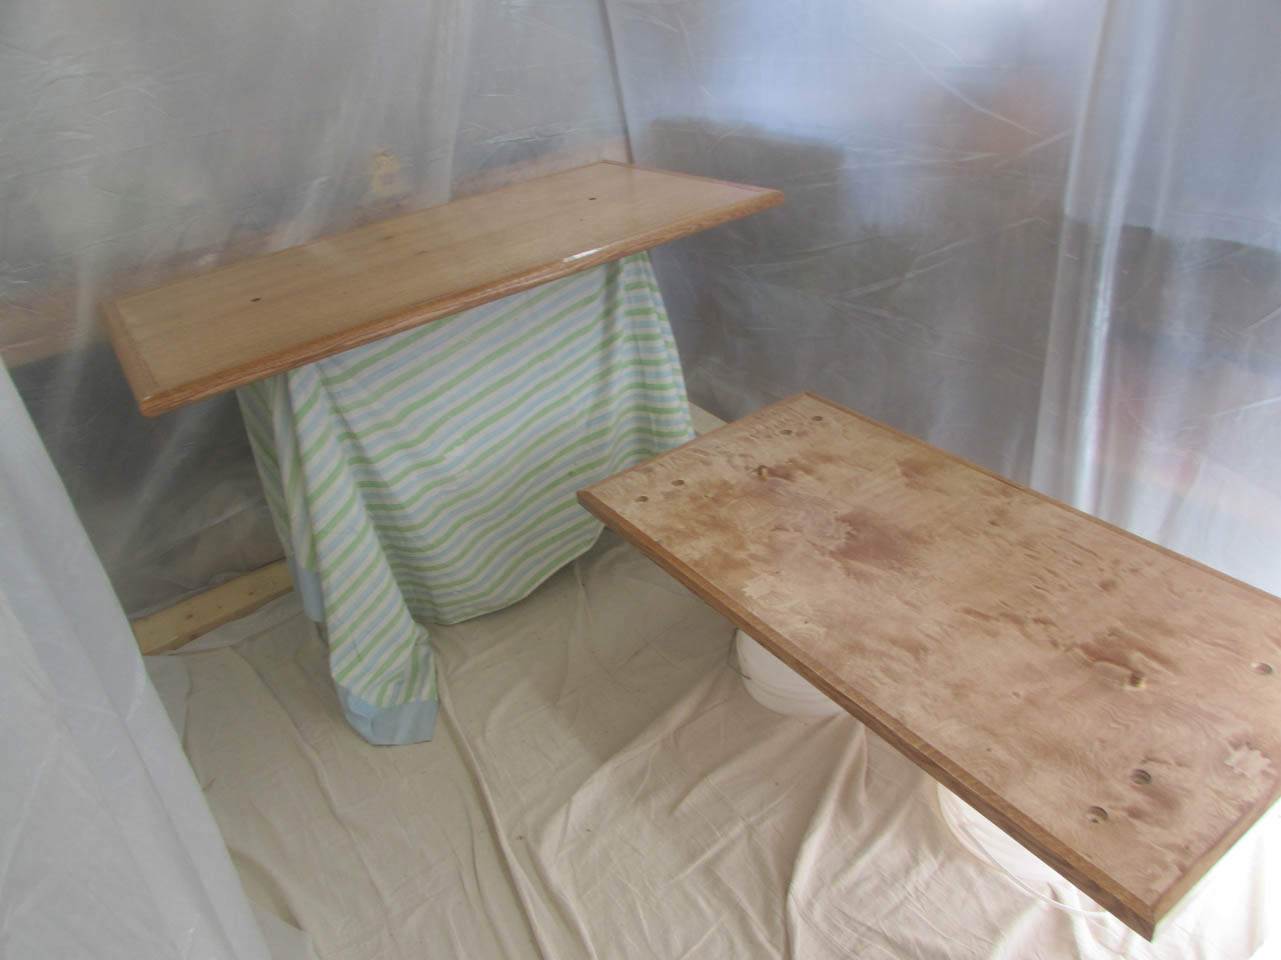
The columns are done at this point but I spent another two days on the top and transition plate.
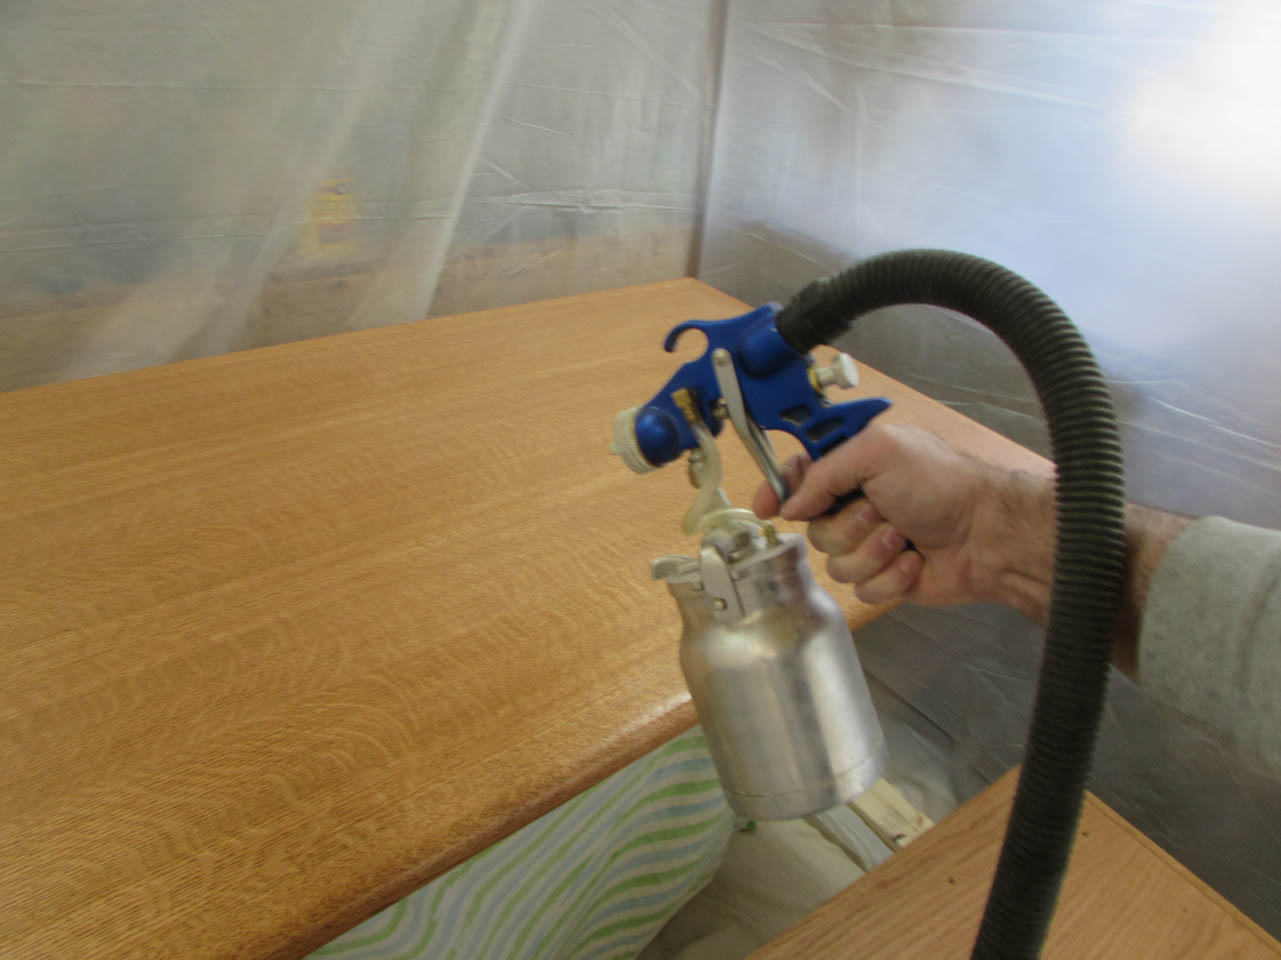
With two coats on the bottoms, I could flip the two over and work on their top sides. I really like how the top turned out with the quarter-sawn grain popping out.
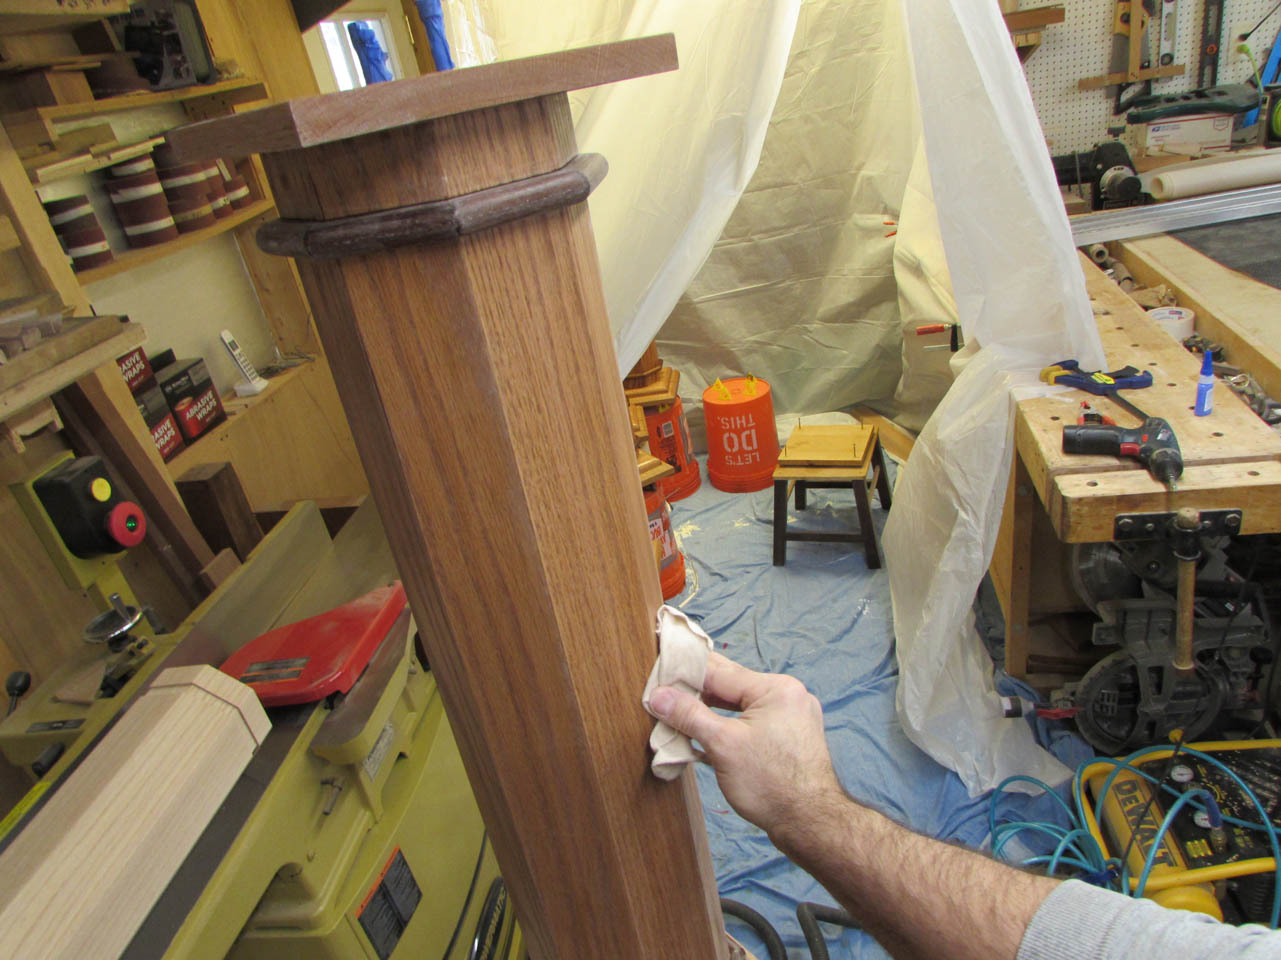
When everything had cured, I buffed down all of the finished surfaces with some crumpled brown paper. It really smooths out any remaining dust nibs and leaves a smooth, soft surface behind.

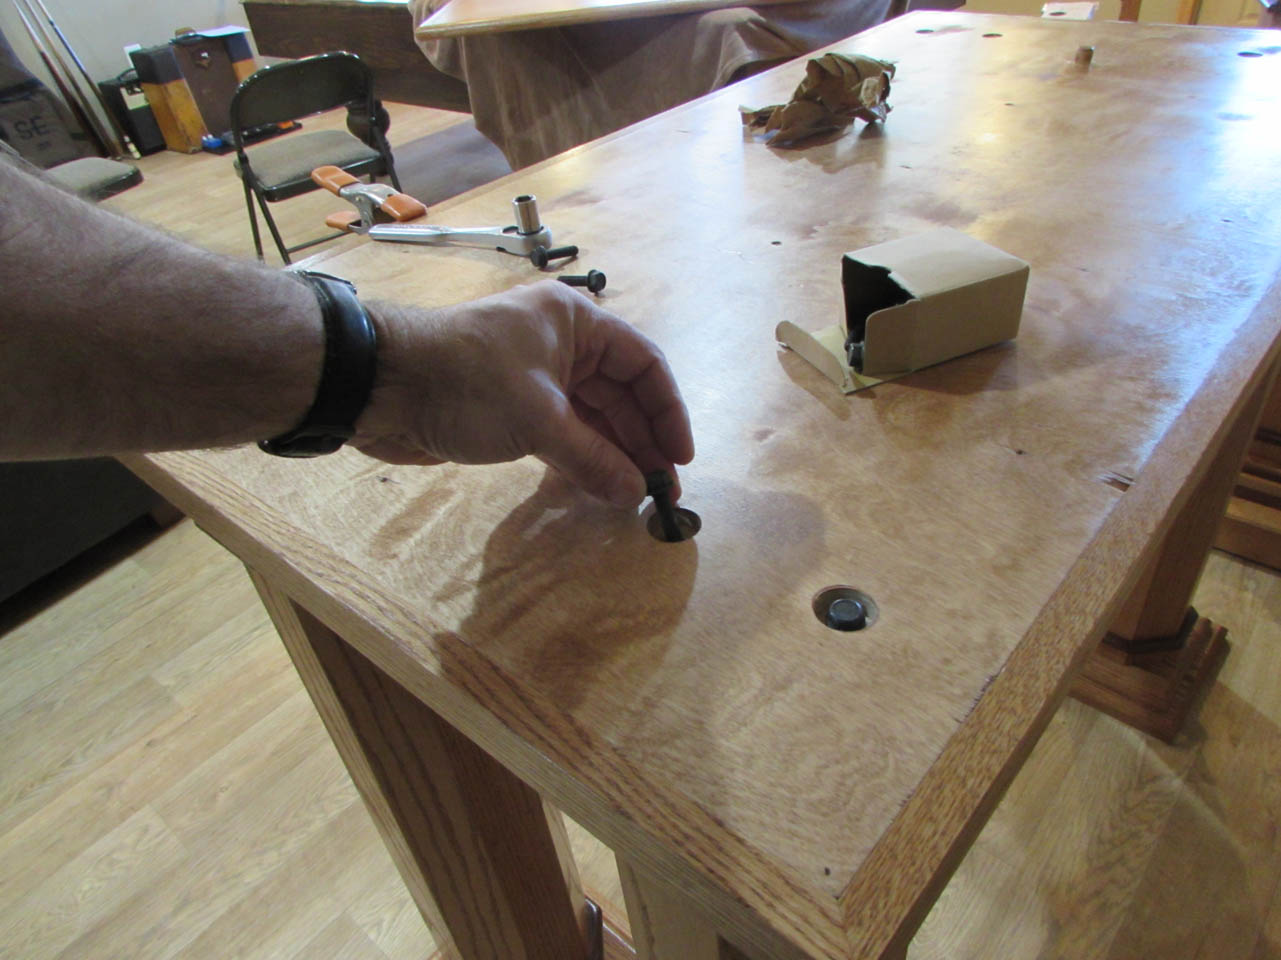
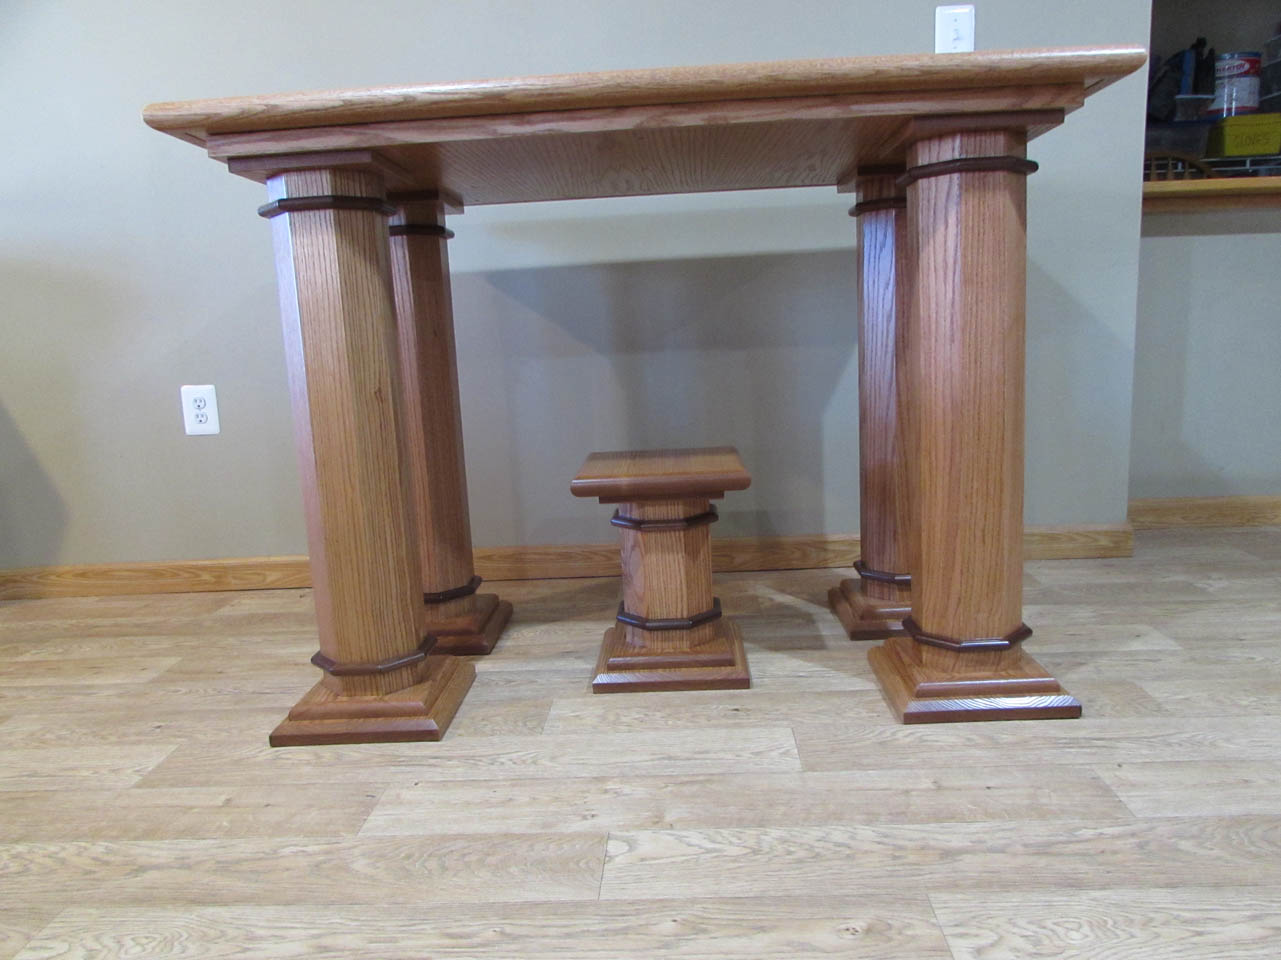
Then it was time to assemble everything.
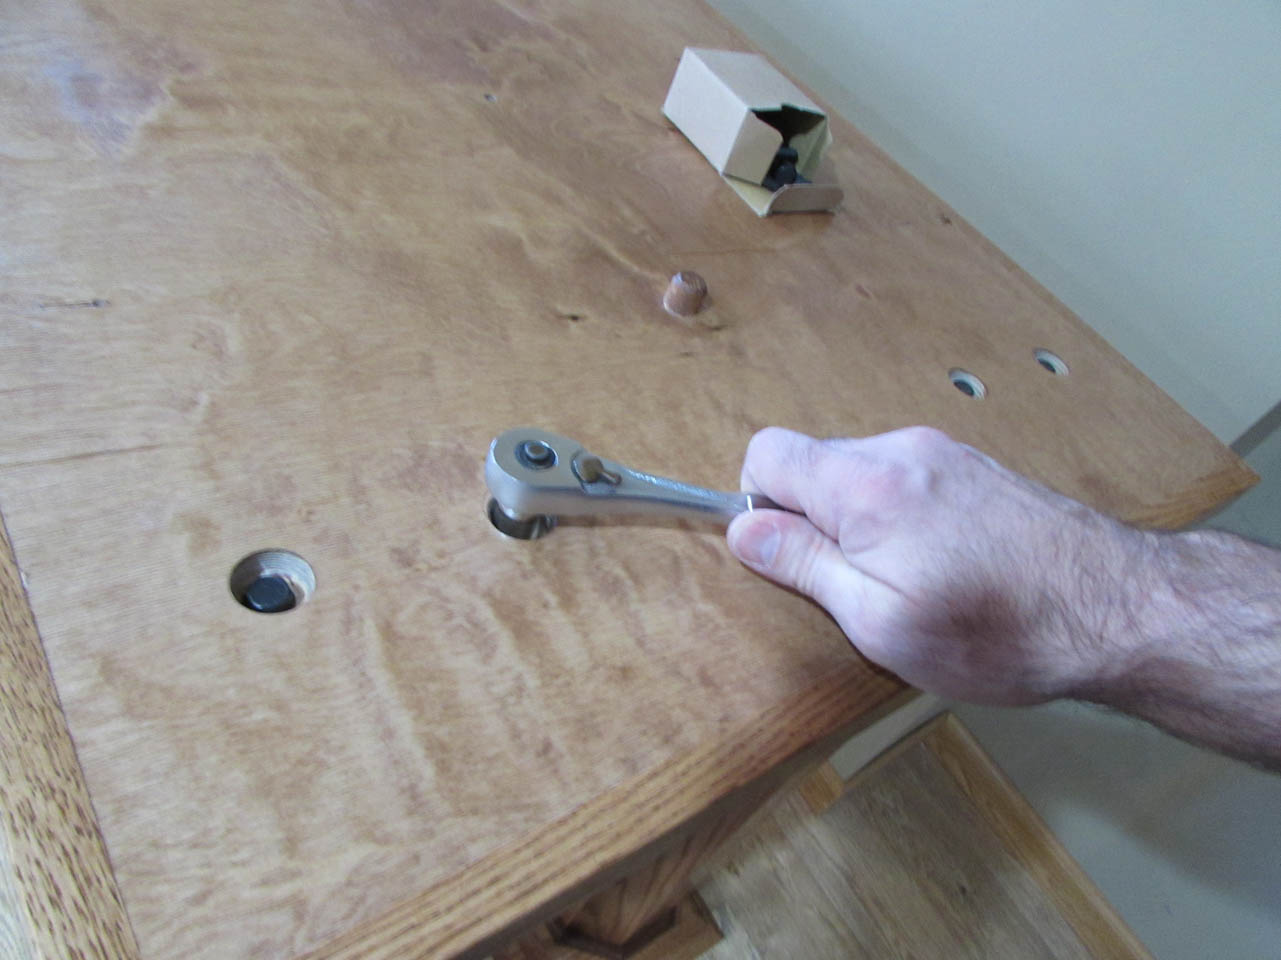
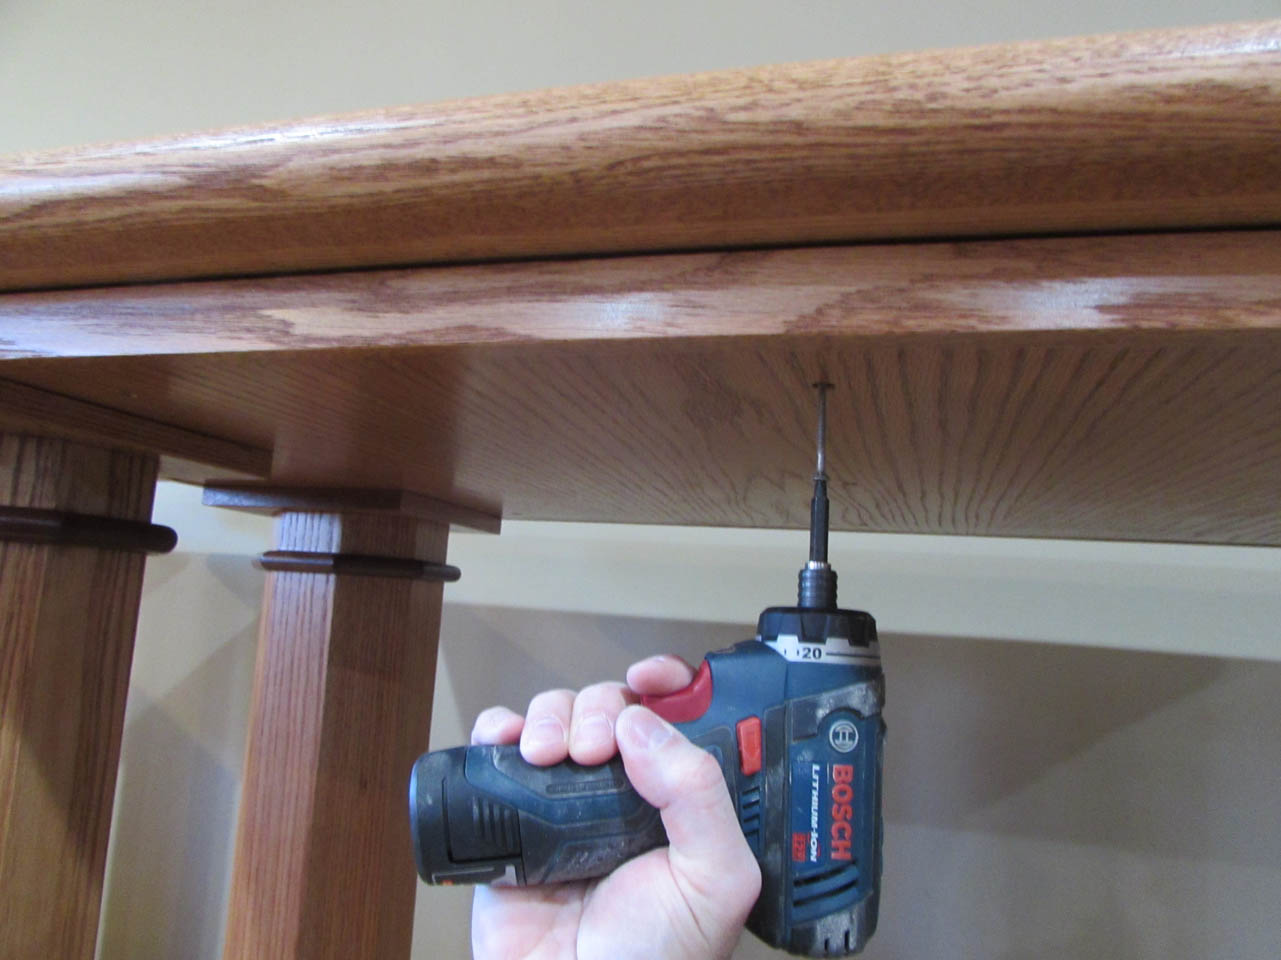
I bolted the transition plate to the legs, then attached the top to the transition plate with wood screws.
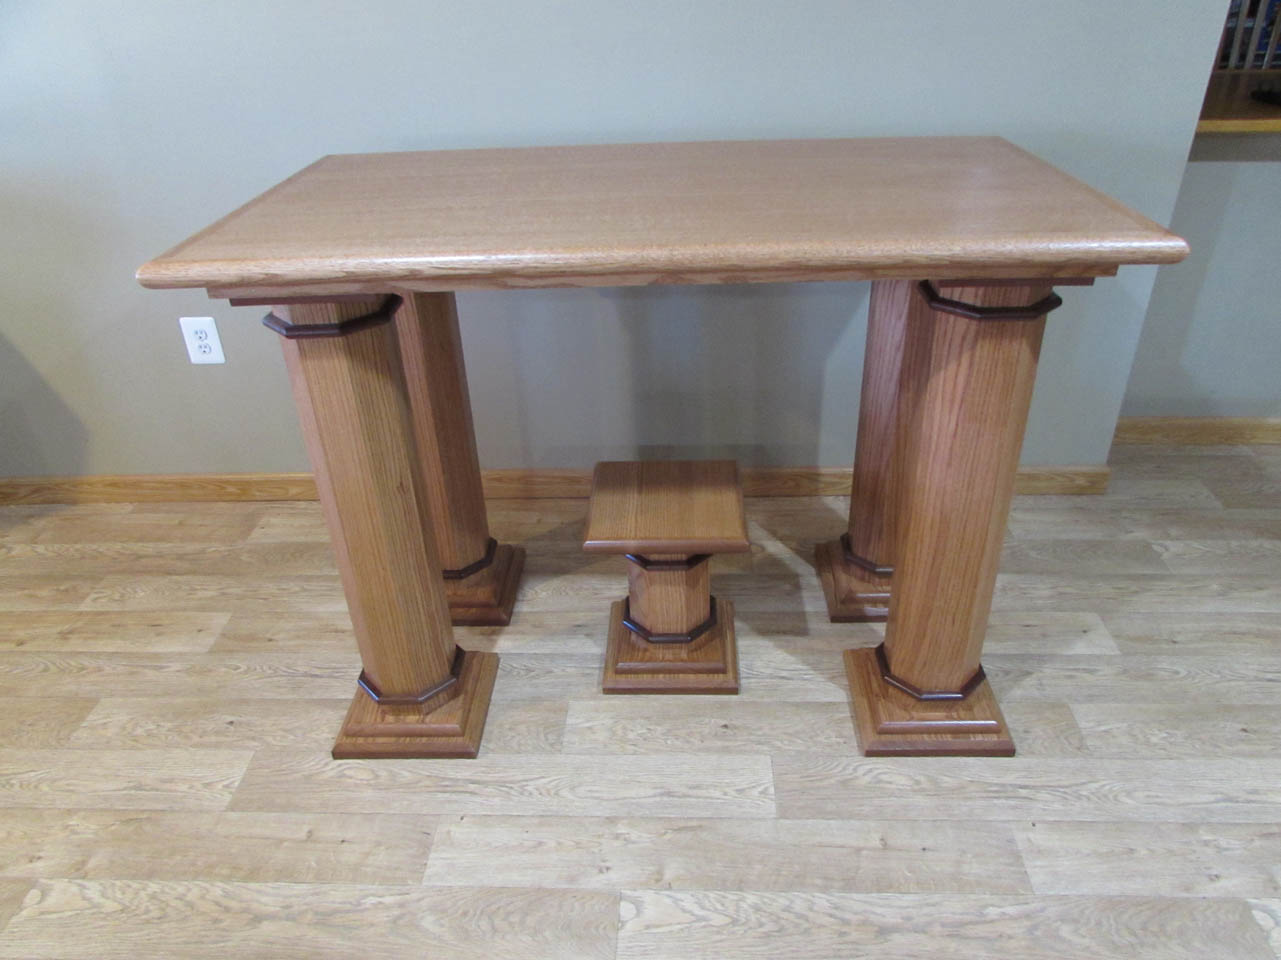
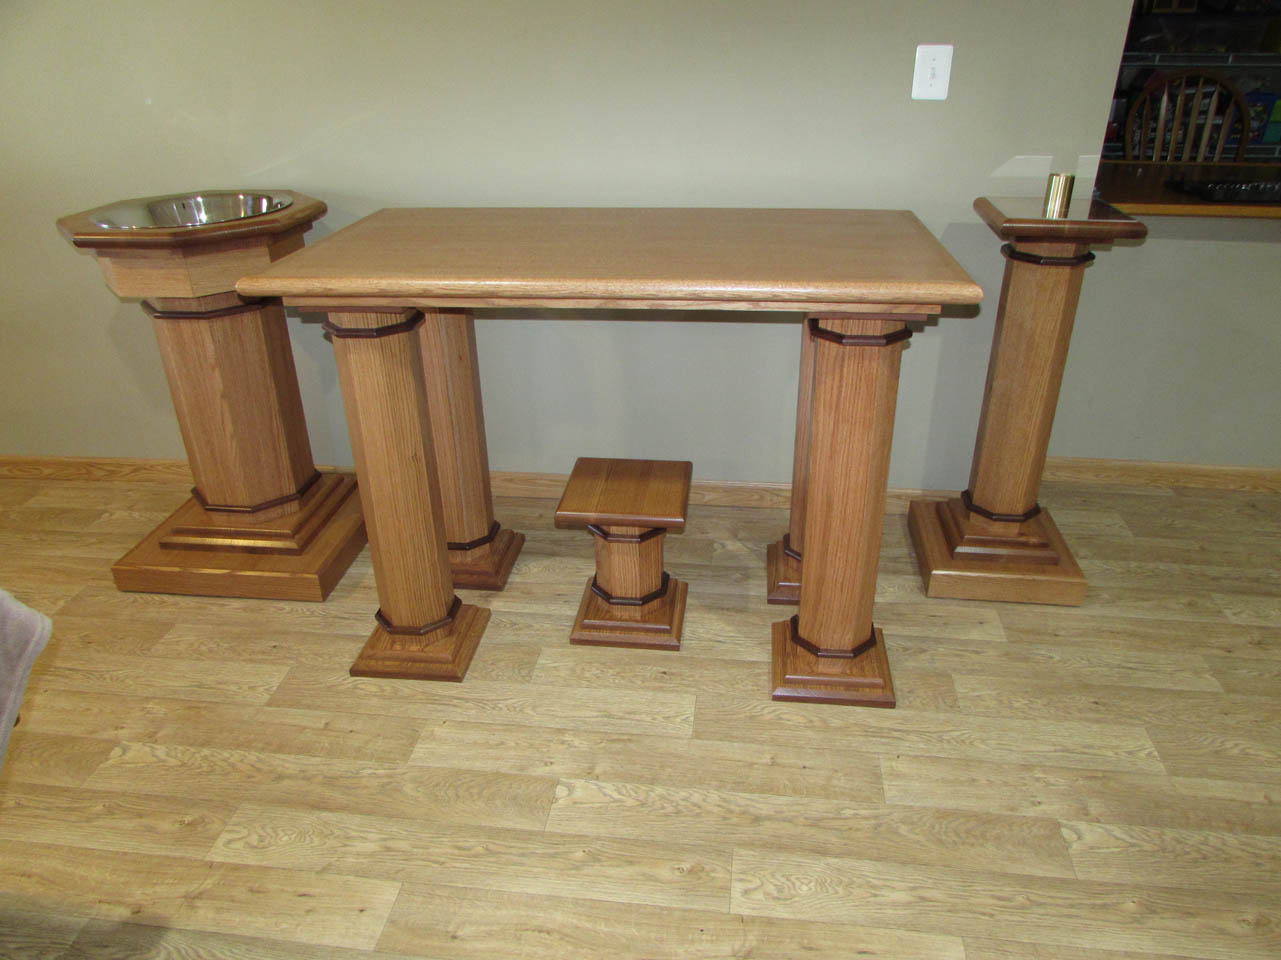
The altar is complete. Time to get rolling on the next piece…
Here is a shot of it next to the Baptismal font and the Paschal candle stand.