
St. Kilian chapel – Altar – part 1
This weekend I got started on the sixth piece of furniture for the Saint kilian chapel, the altar. It seems like it would be a fairly simple build, just four legs and a top but each column has 27 parts and a dozen pieces to make up the top. That will be about 120 pieces total… Here is my design: ALTAR PARTS.pdf
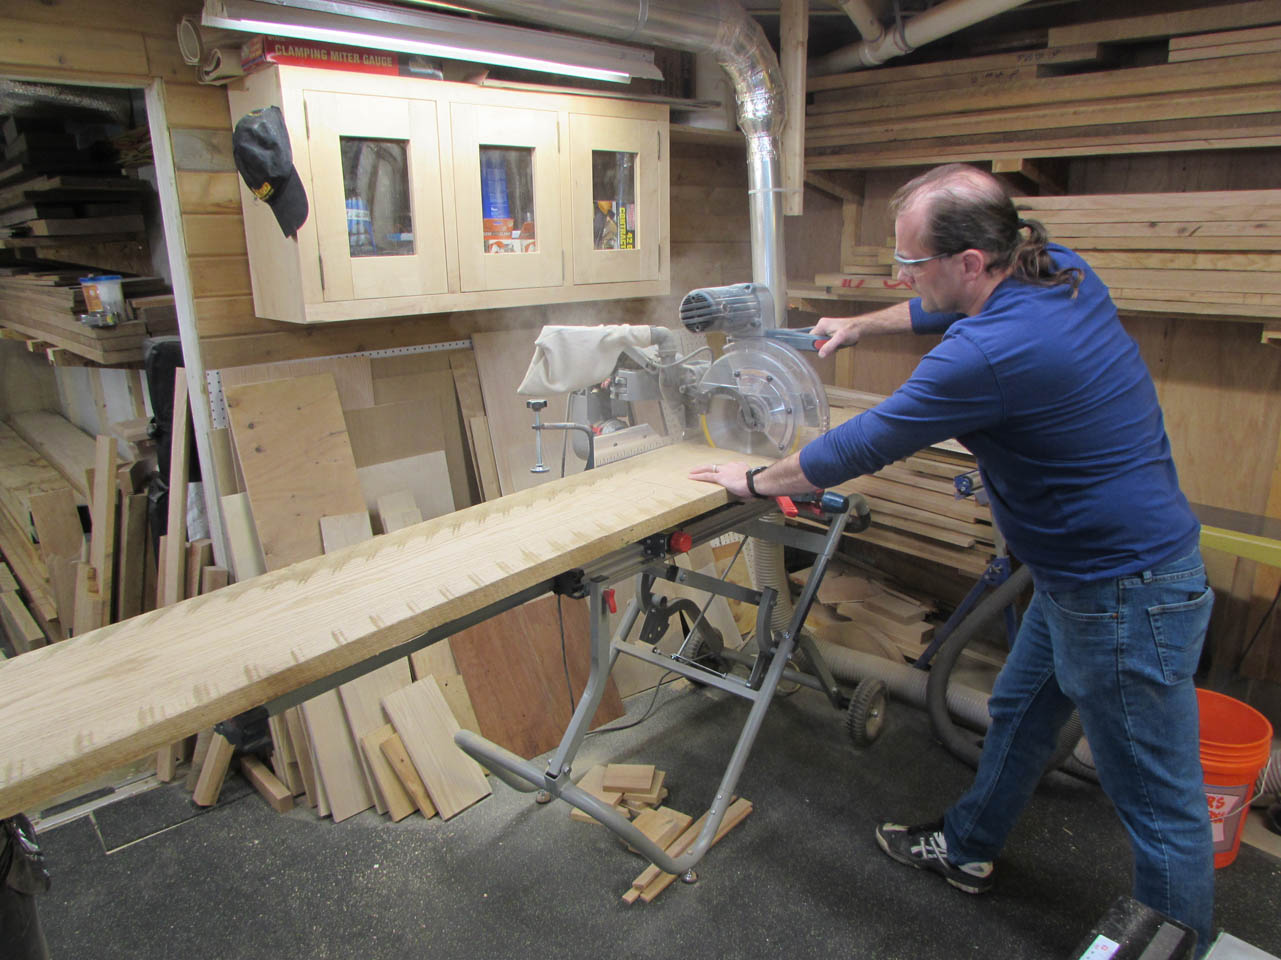
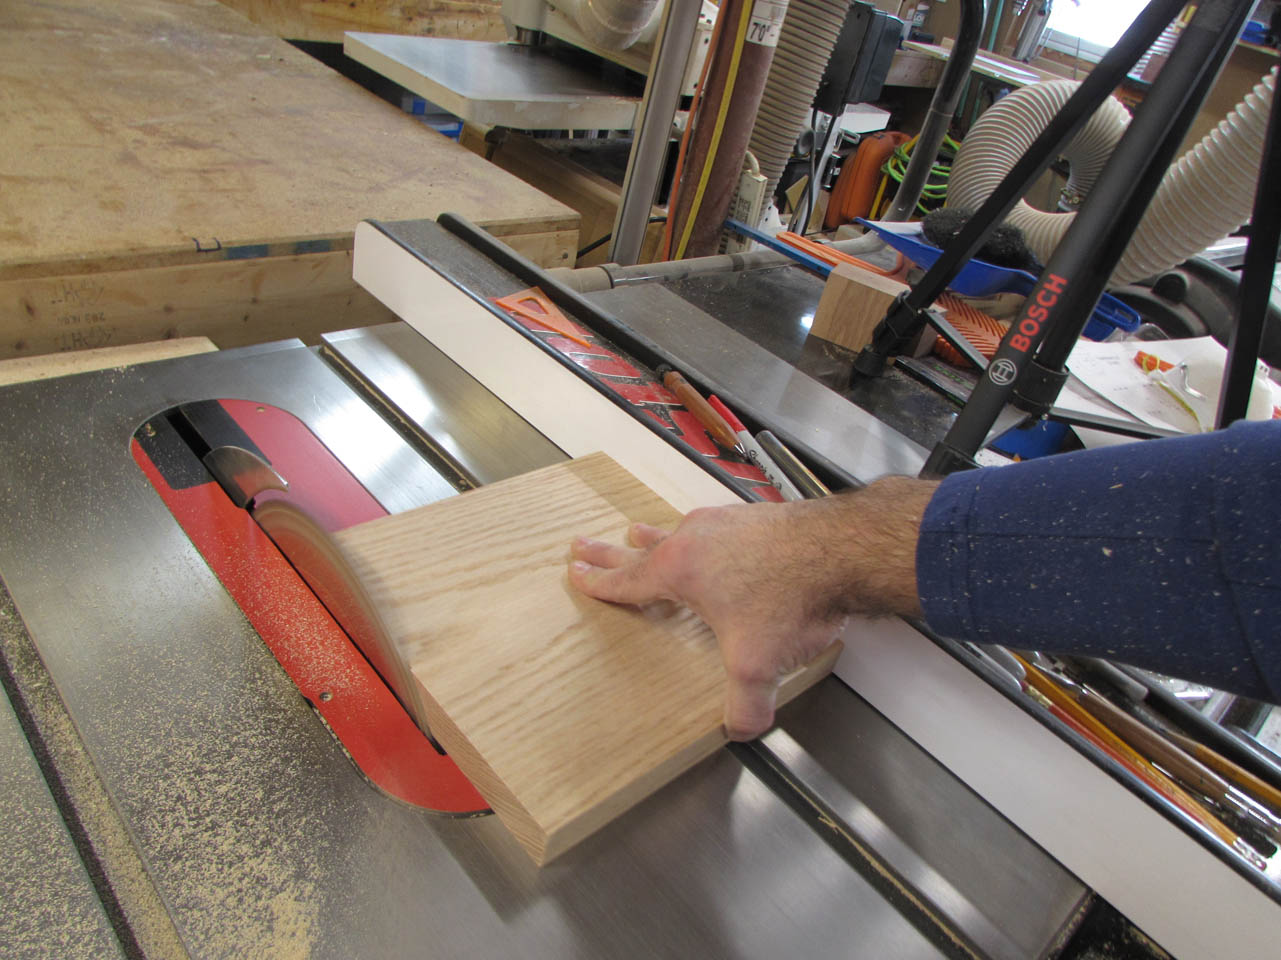
I got started cutting up a piece of 6/4 red oak to make the bases for all four legs.

I cut a couple of pieces long enough to get two bases each, then jointed one edge to get a straight line.
I cut the opposite edge parallel to get my 11″ width.

Then I ran it through the planer to get my final thickness.
I cut the 11″ length off on the table saw and I had my four bases. I will route the chamfer onto them later.
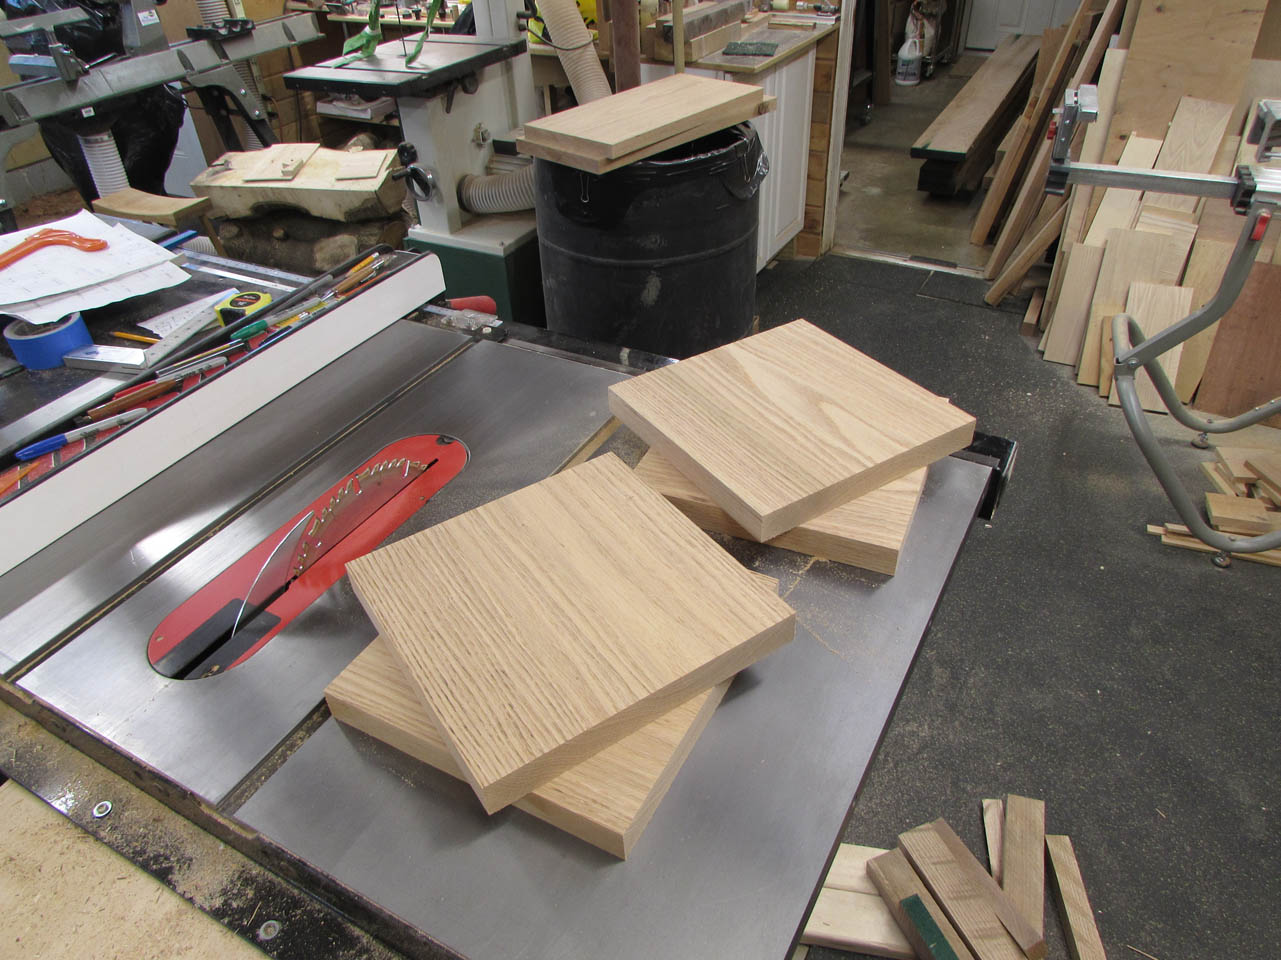

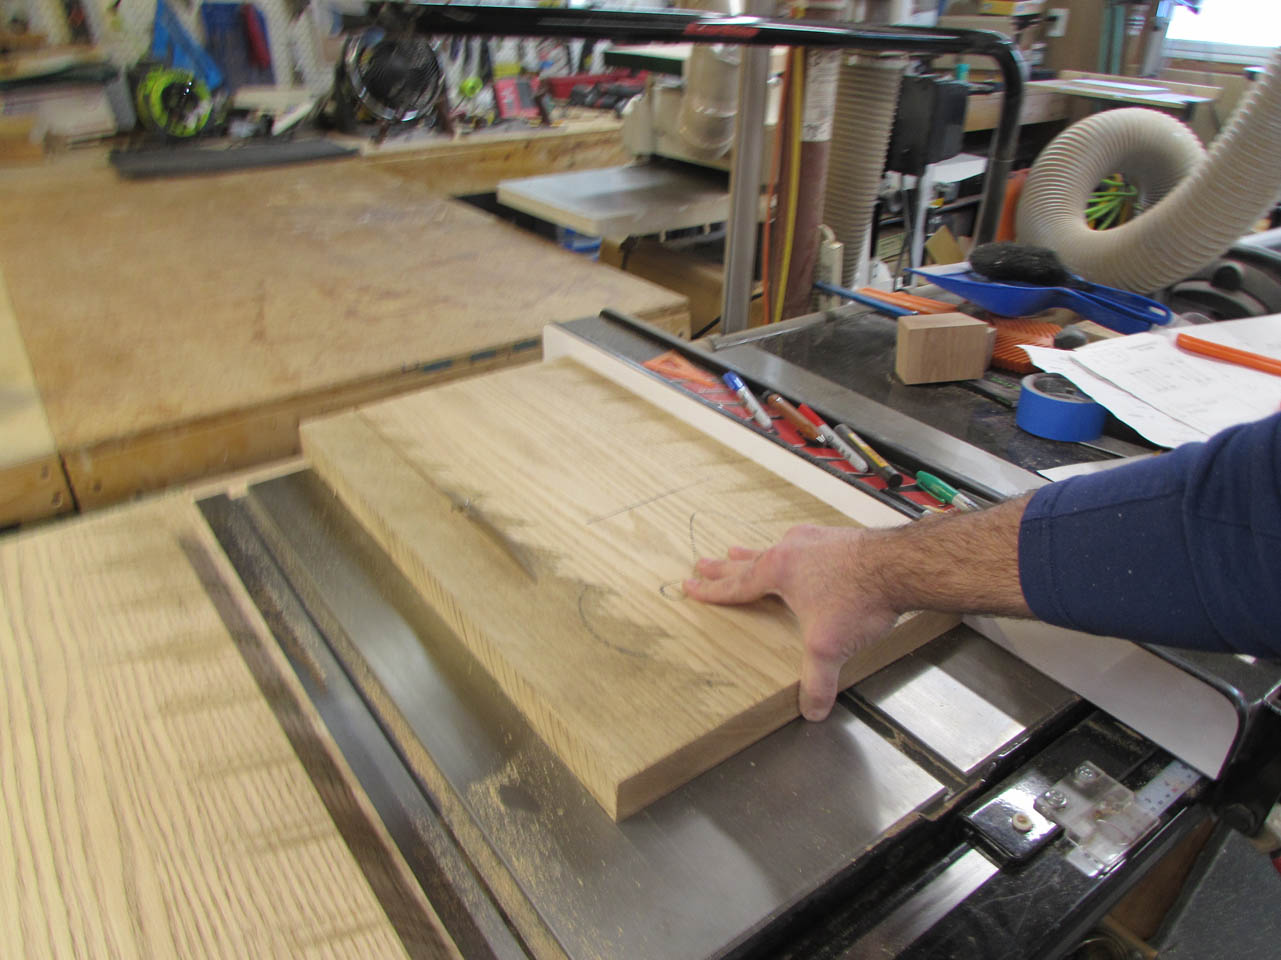
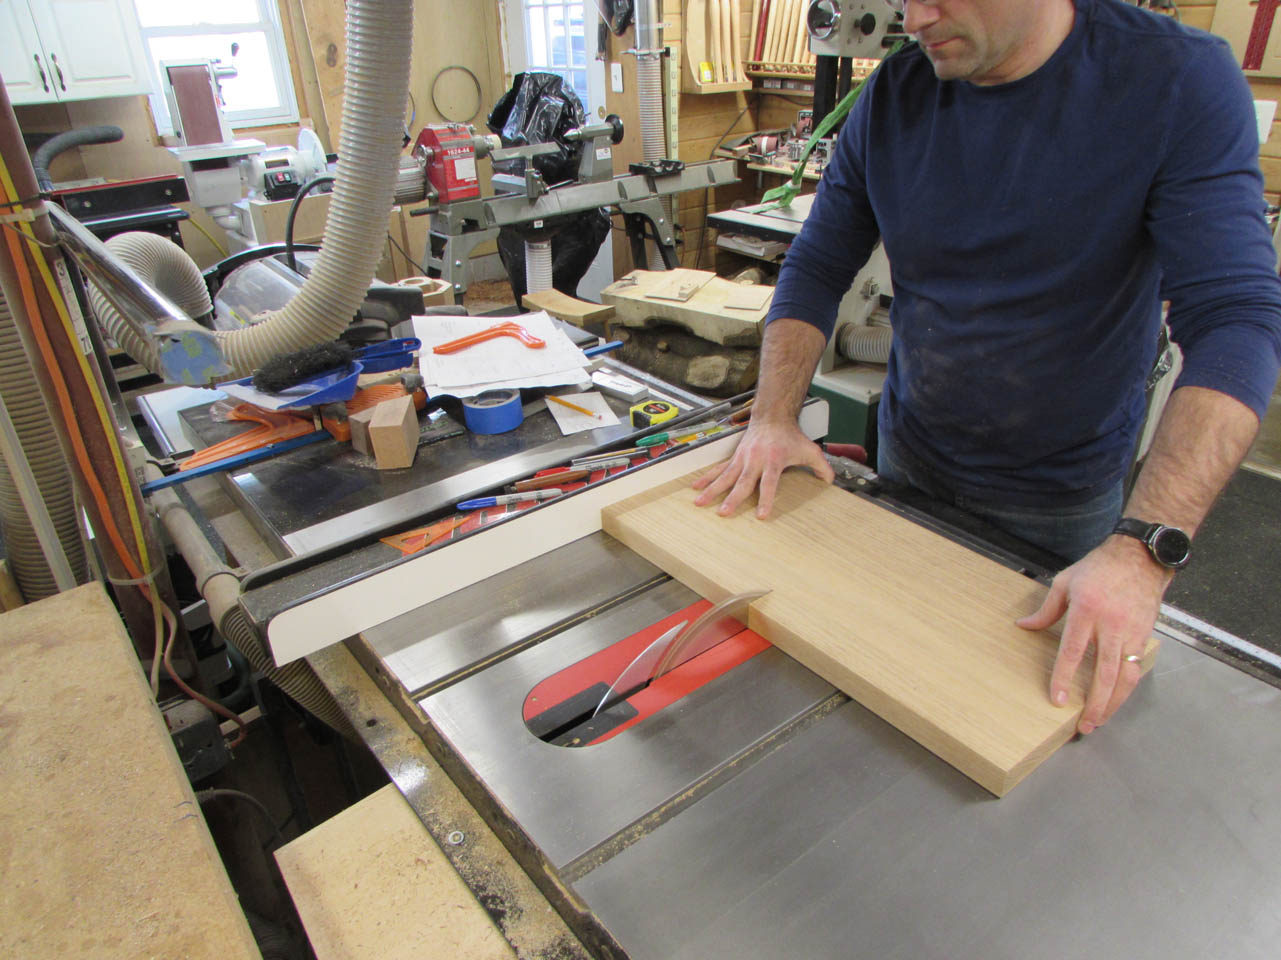
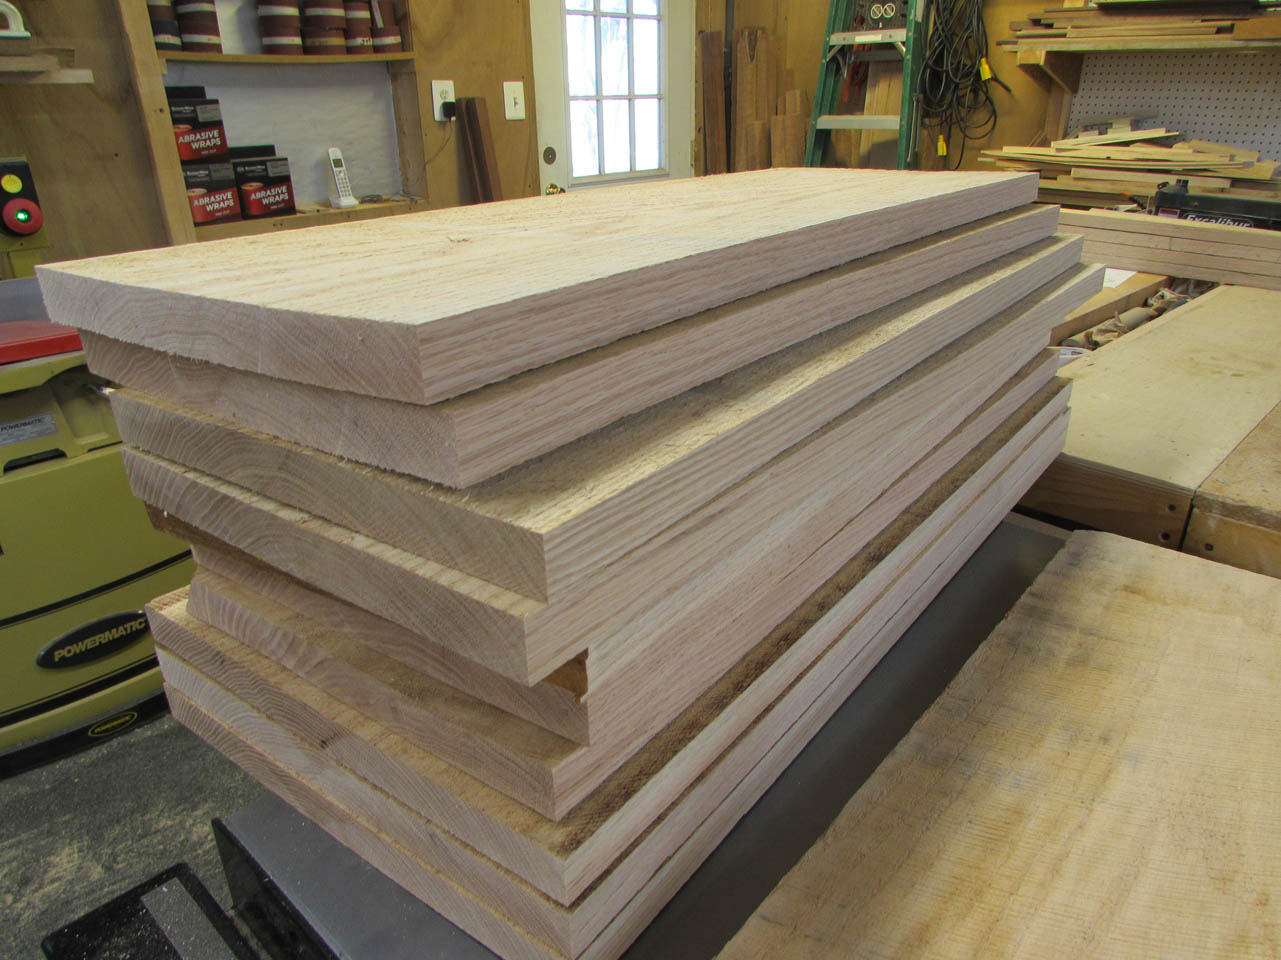
Then I repeated the process with a piece of 5/4 oak to get the four 1″ thick base caps.


And, again with a piece of 4/4 oak to get four column caps.

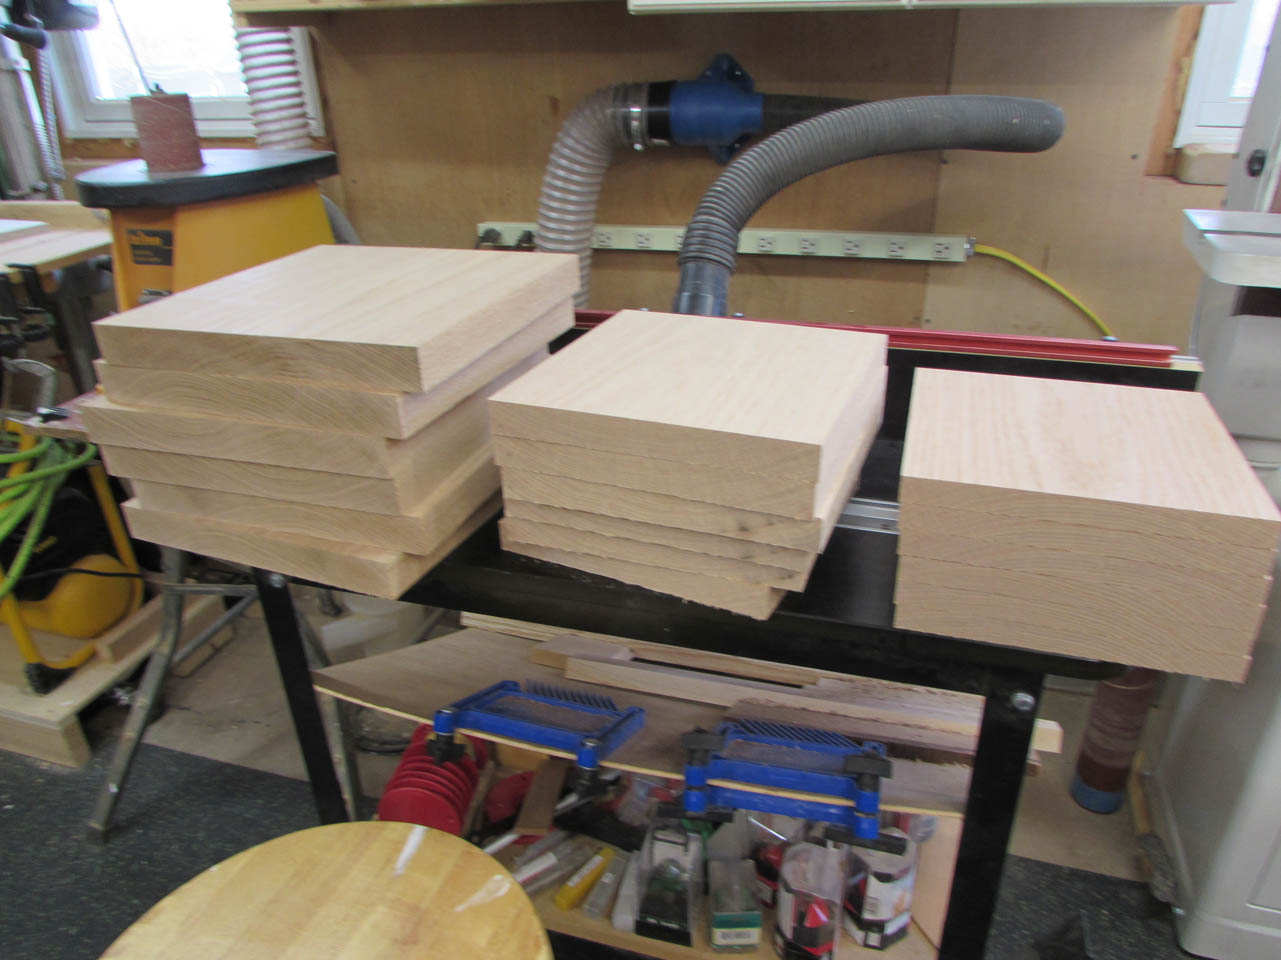
All of the easy parts for the columns are now prepped for edge routing, time to get started on the columns themselves.

The plan is to have four legs, then possibly a fifth column in the center to display the relic. I will also be making a credence table that may have a column of the same size so I am going to make enough 3/4″ strips to make six columns. It just makes sense to batch out the extra while I am already set up for the first four.
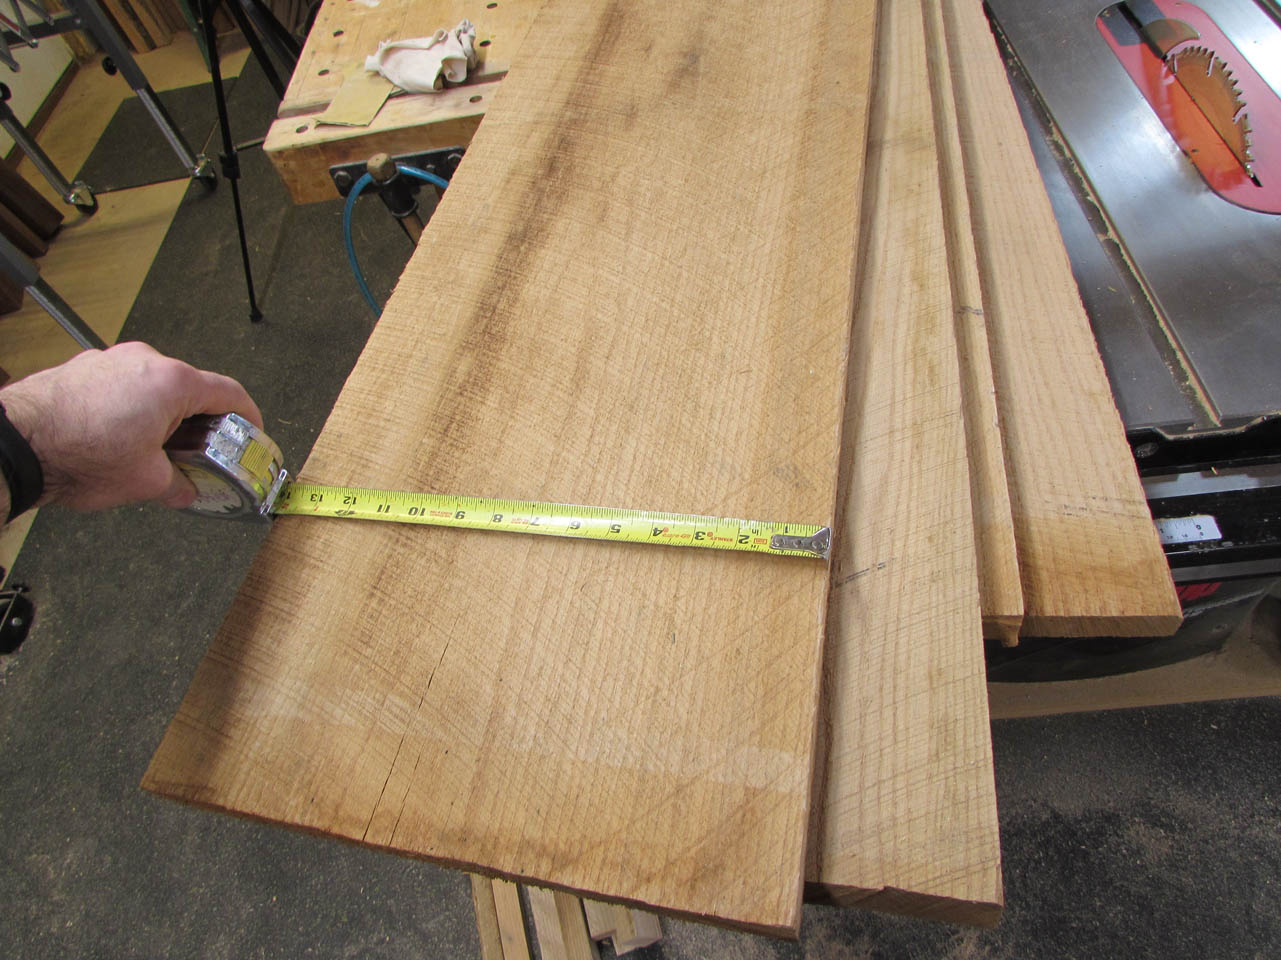
I start with a pile of 4/4 oak that is 12″-14″ wide x 9′ long.

My finished column sides are 33″ long so I divide my boards up into 34″ -36″ long pieces to start.

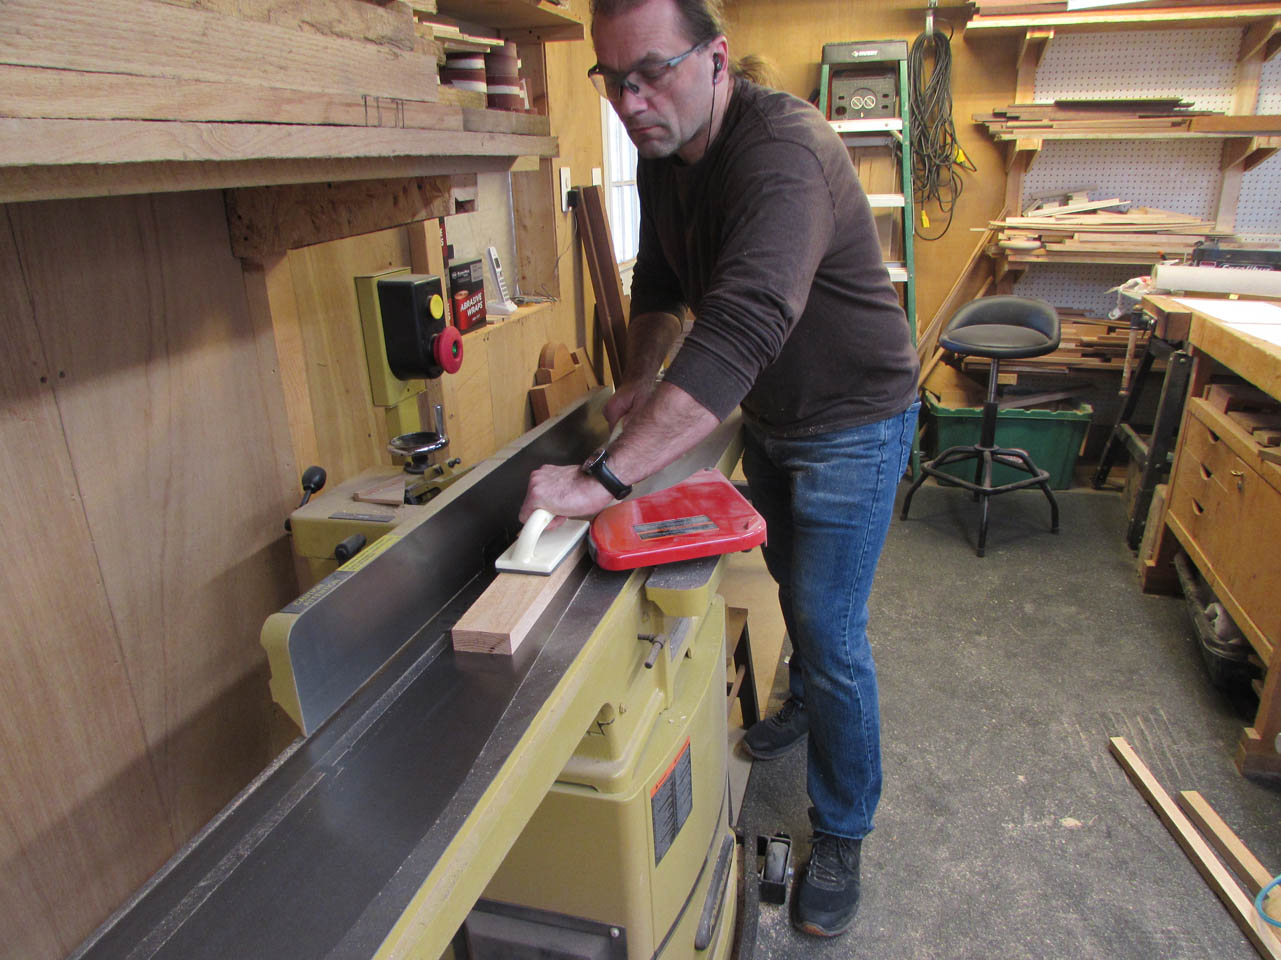
They are too wide to flatten on my jointer so I joint one edge and take them to the table saw to cut into narrower strips.

As I cut my 2-3/4″ wide strips, I mark them in sequence so that I can maintain grain continuity during final assembly.


Next, I flatten one side of the strips on the jointer.
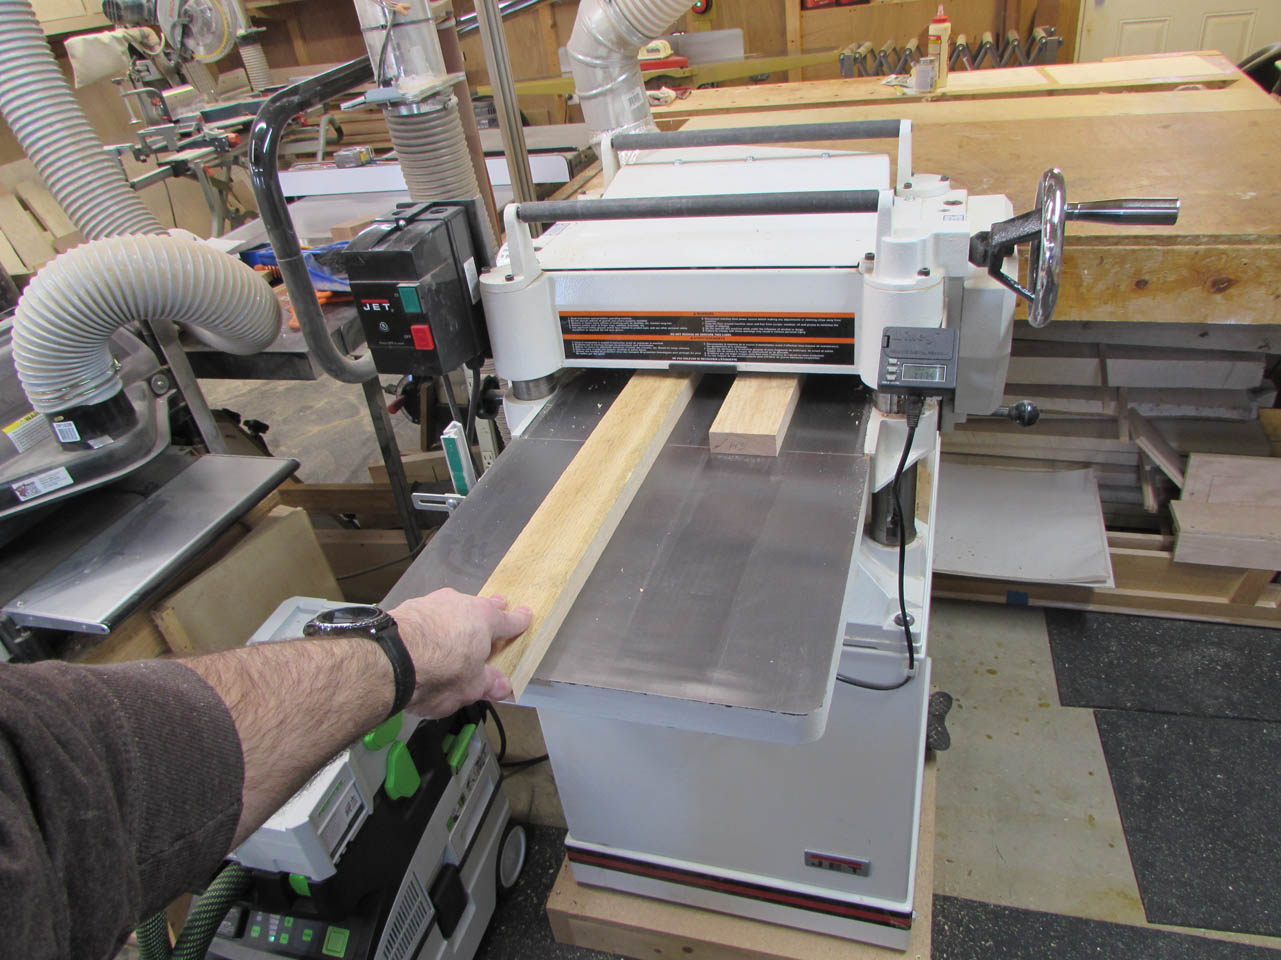
Then plane the other side down to the final thickness on the planer.

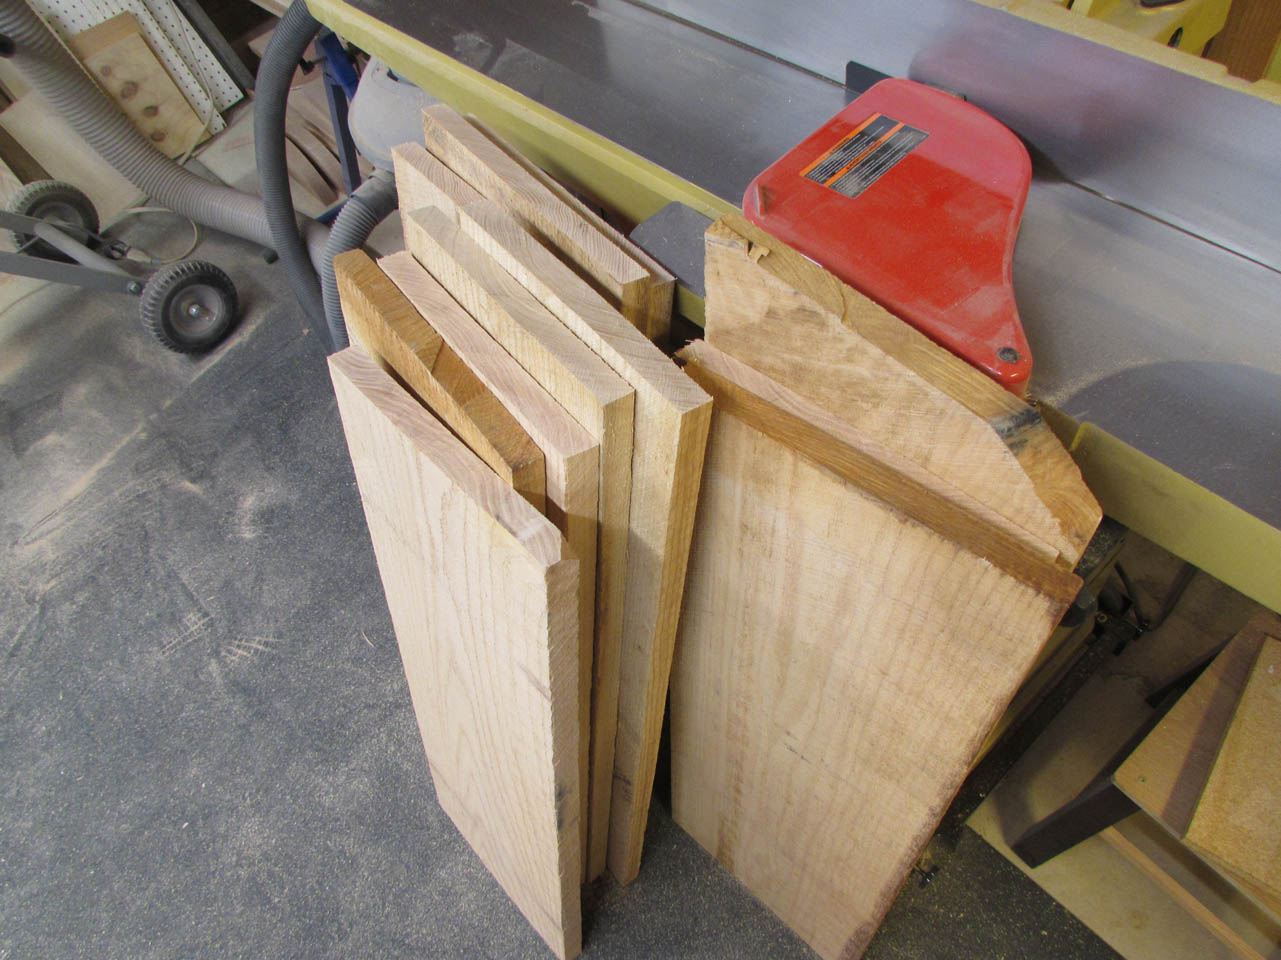
I find that running the boards through the helical head planer, at a slight angle, prevents the planer from sniping the ends of the board. That is good since I don’t have a lot extra length to waste on these pieces.

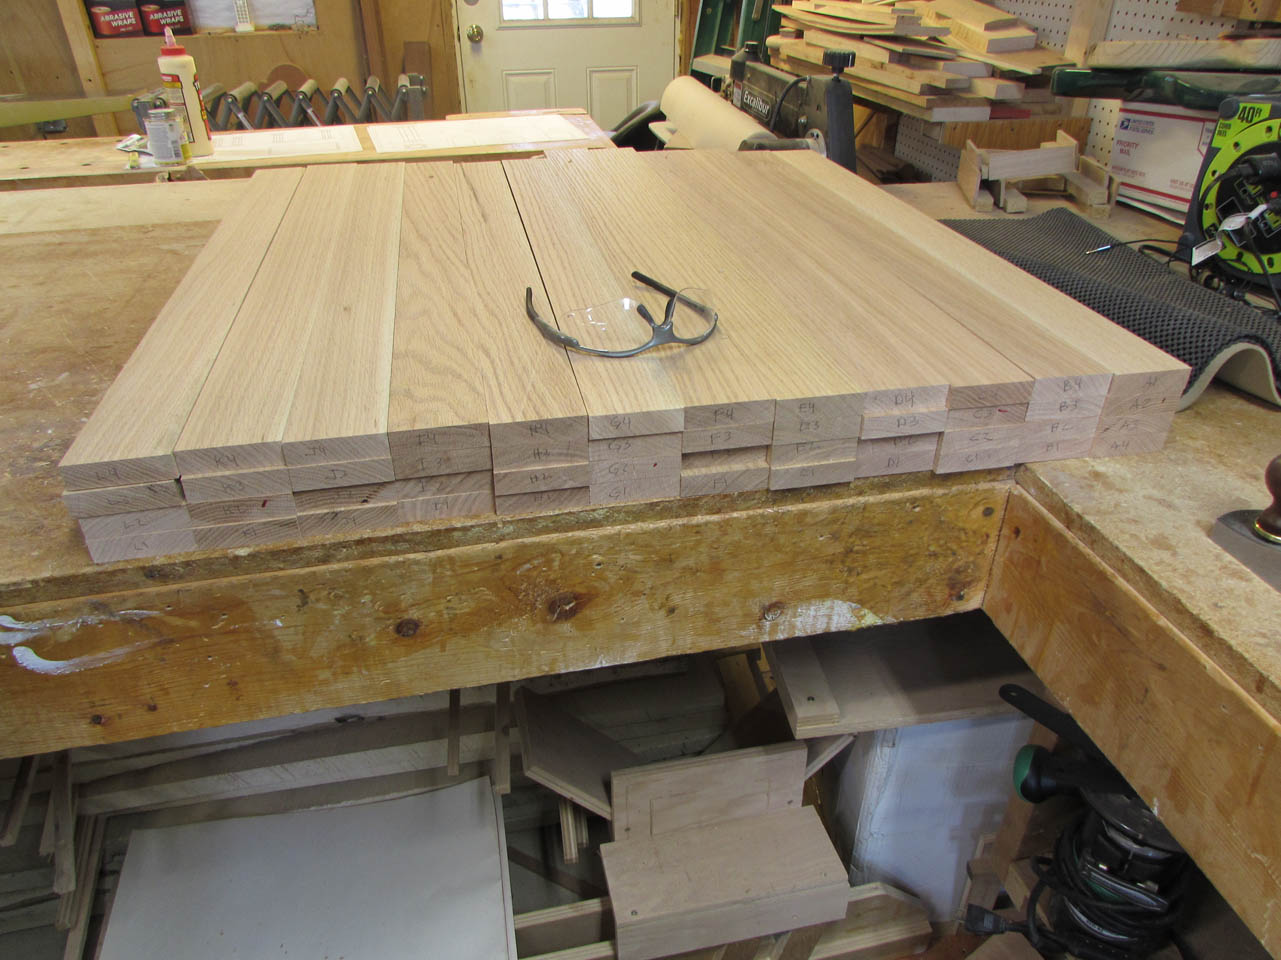
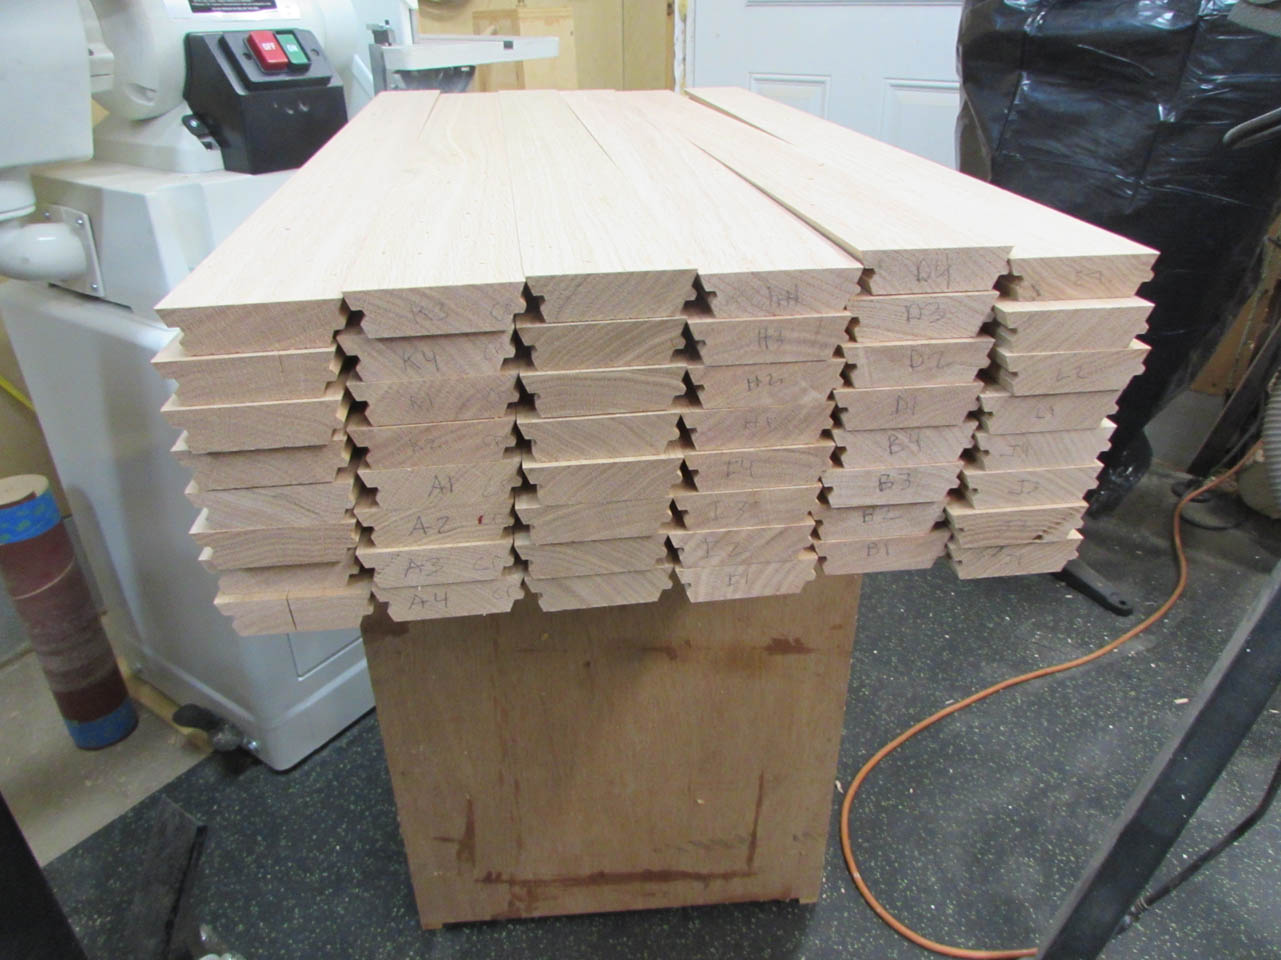
This is enough slats to make six columns. I did notice that three or four pieces had splits on one end. I moved these all into the same pile to be used on the shorter center column when I get around to making it.

Clamping the boards together to insure equal length, I cut all of the remaining sides to 33″ long.

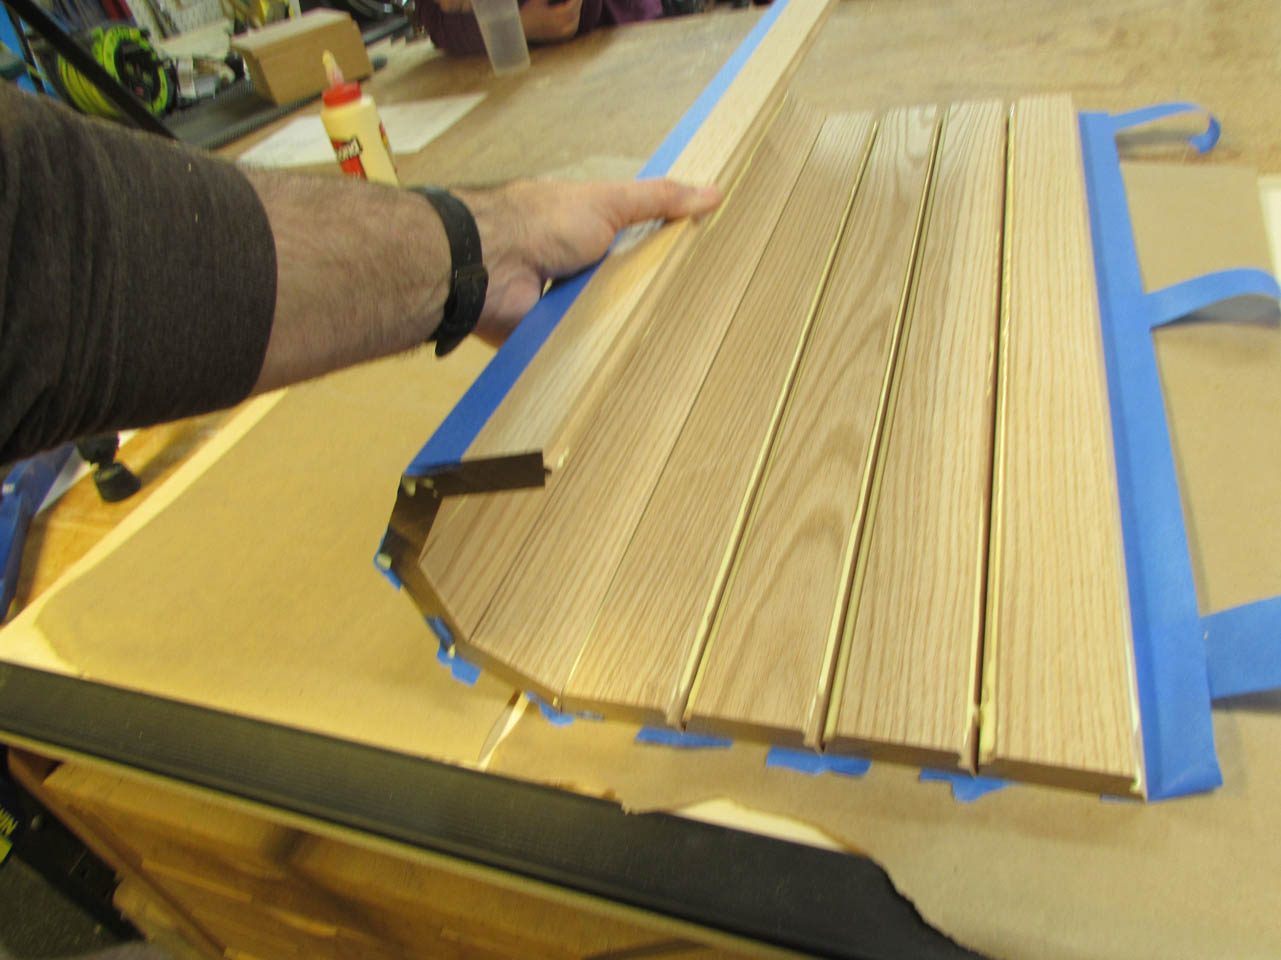
To make assembly of the columns easier and more uniform, I am using a pair of 22.5° lock miter bits to apply an angled tounge and groove feature to the sides of each of the slats.
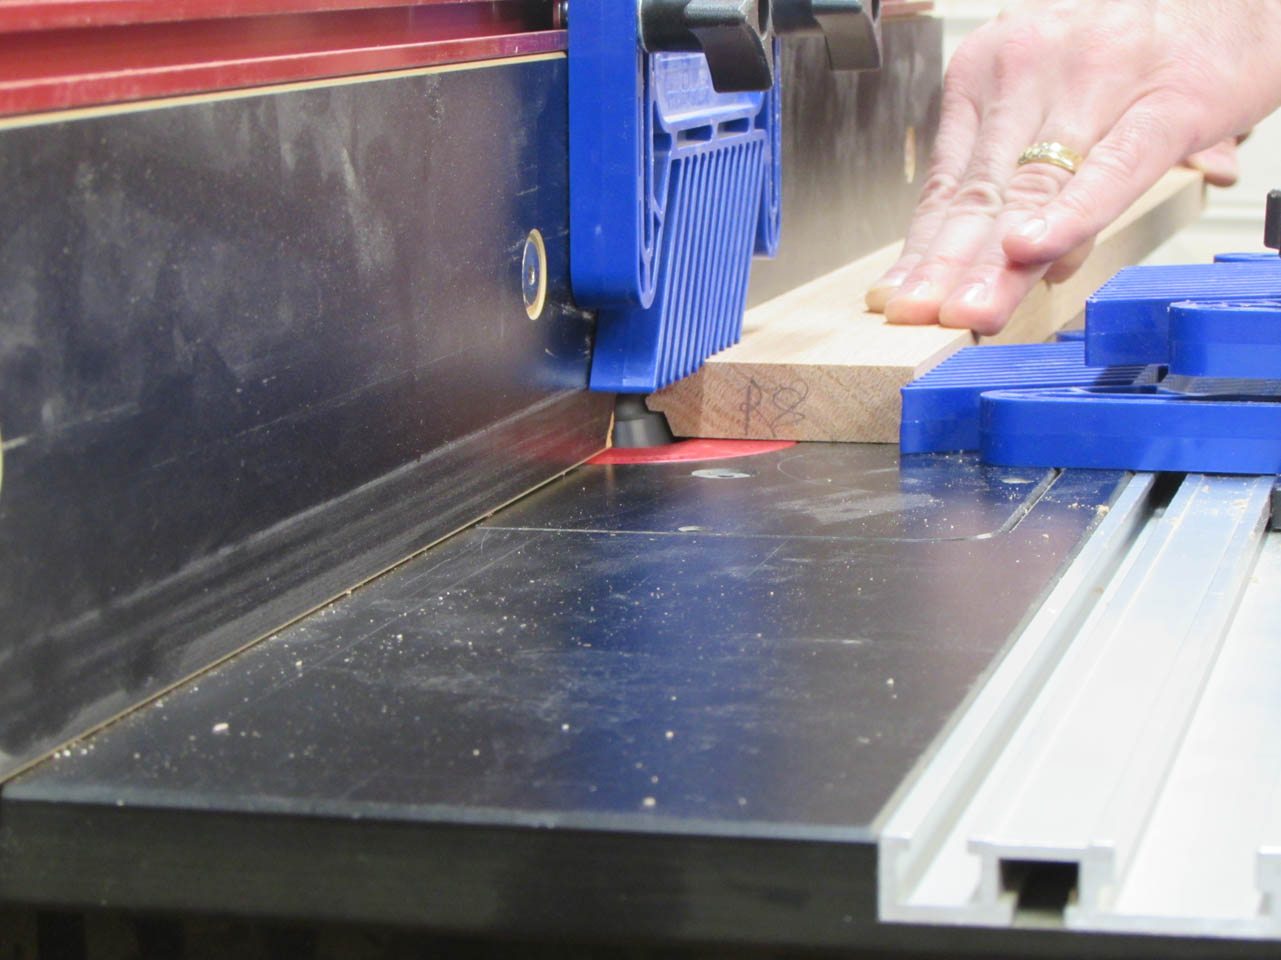
I set up the tongue bit first and cut one side of each of the slats.

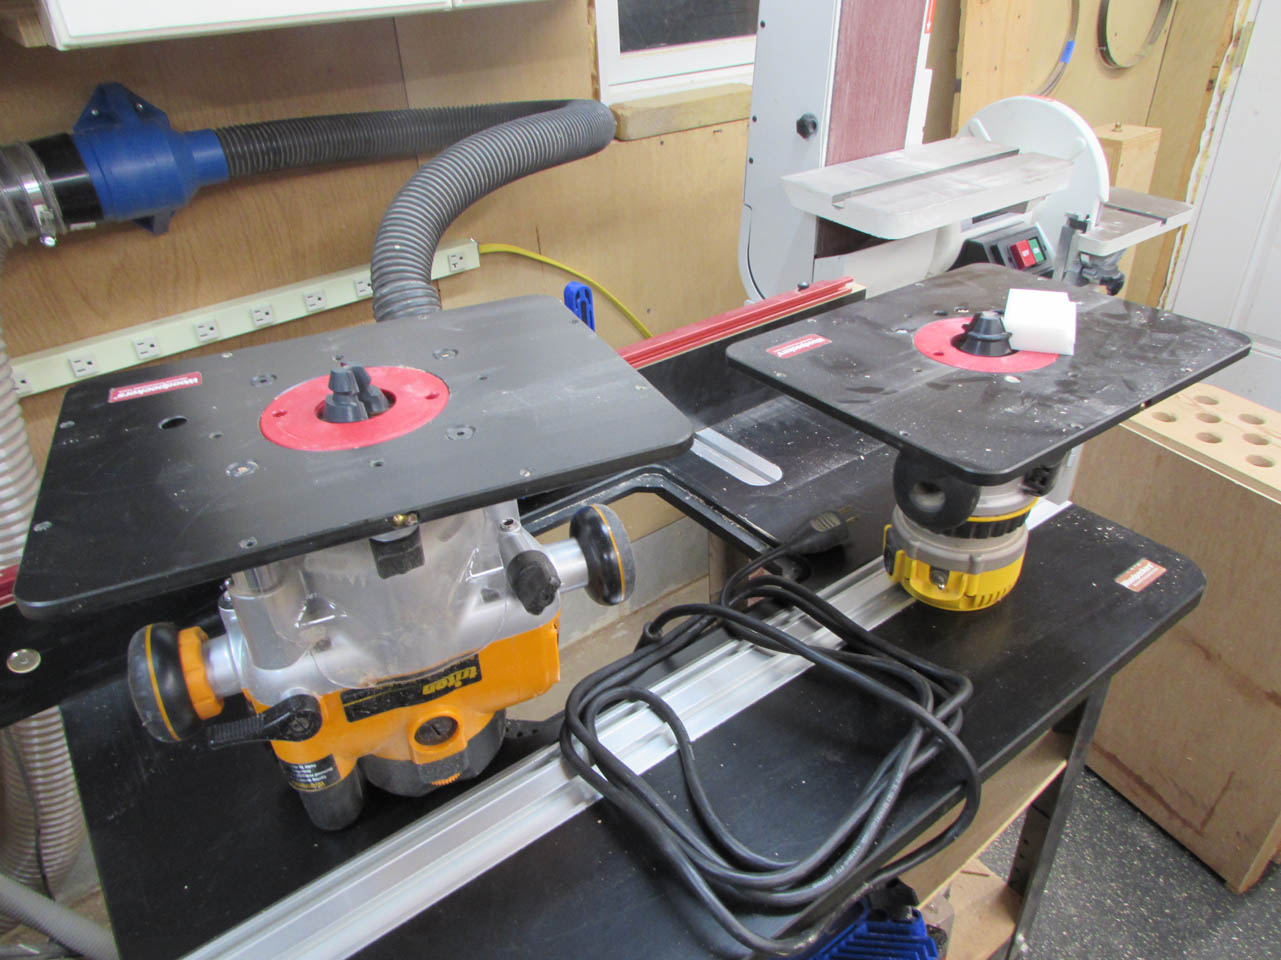
Then I swapped out my routers to set up the groove side.
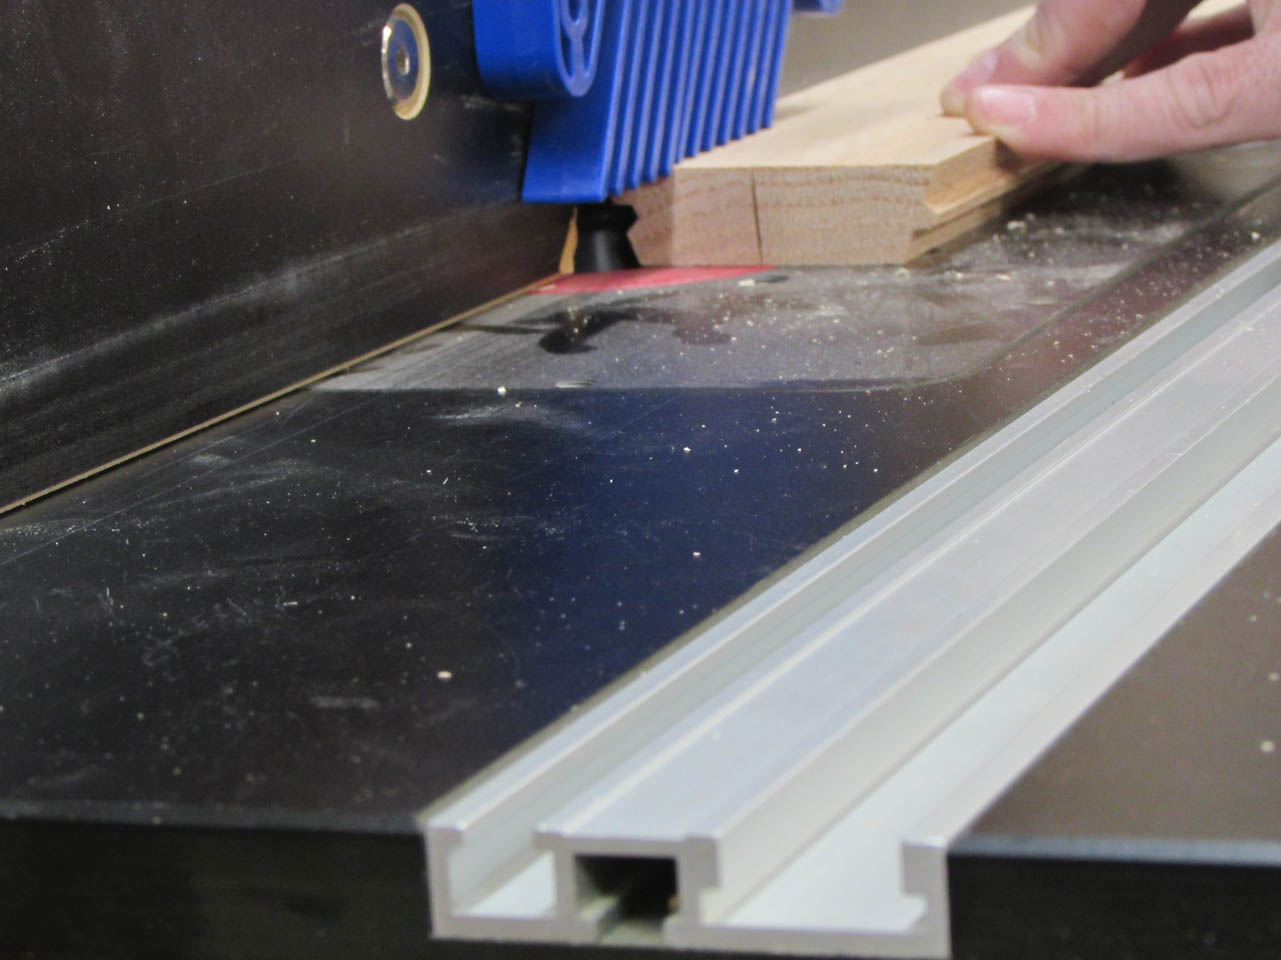
I ran each board through again cutting the opposite face this time.
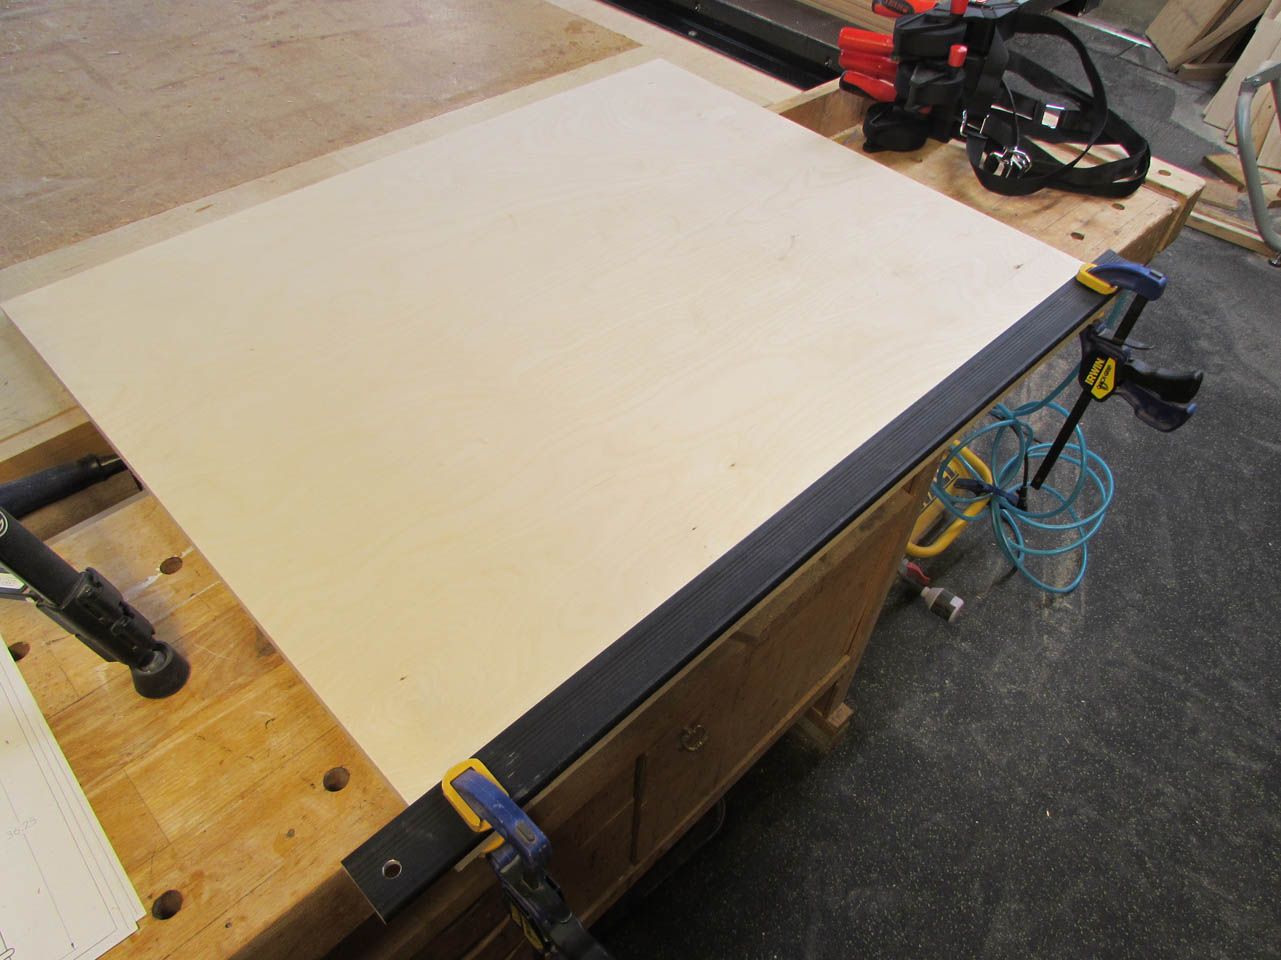
To assemble these columns, I clamp a straight edge to a perfectly flat piece of plywood.
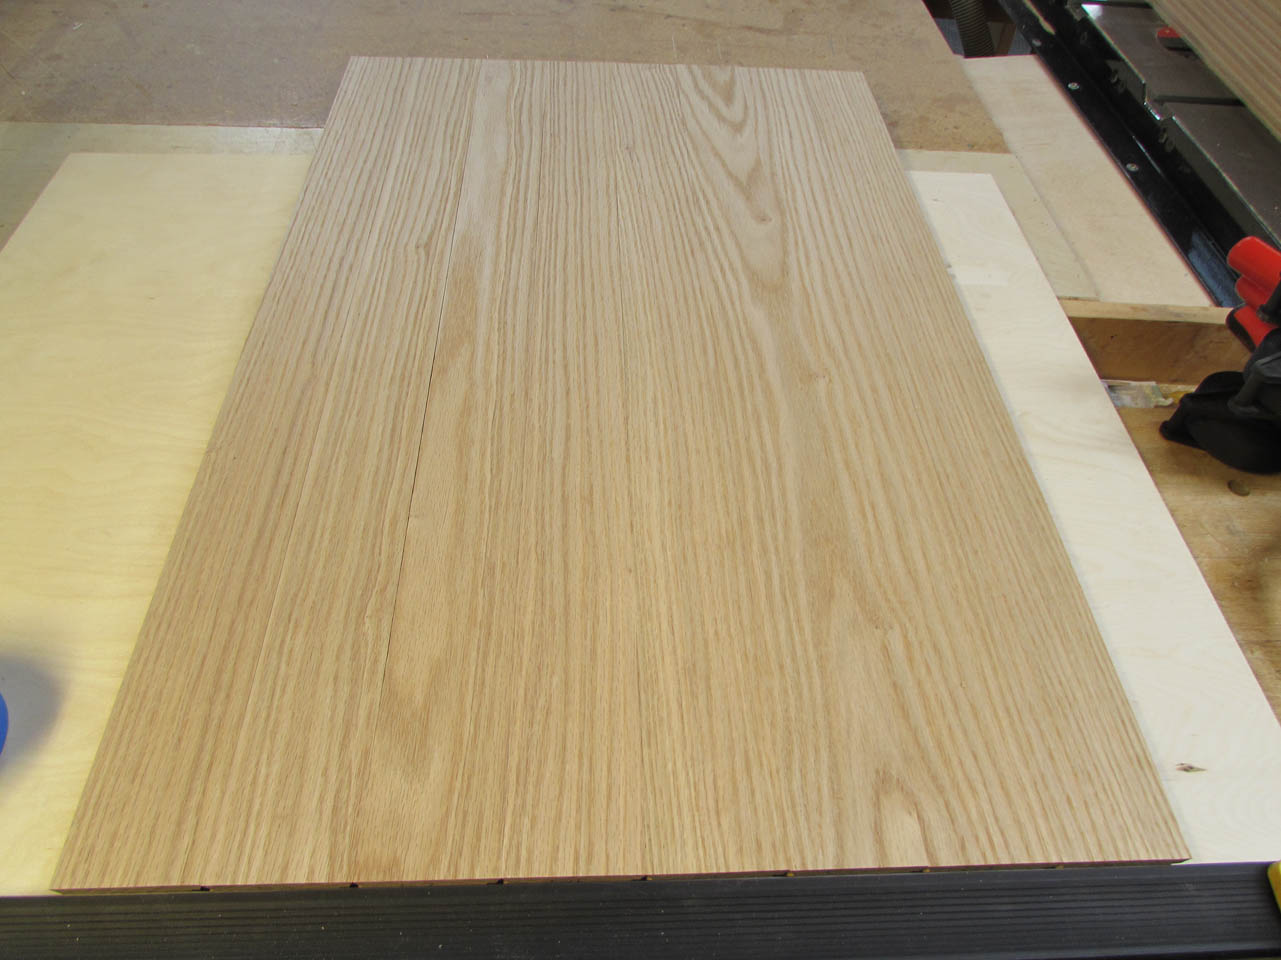
I align 8 slats in sequence, so the grain matches.
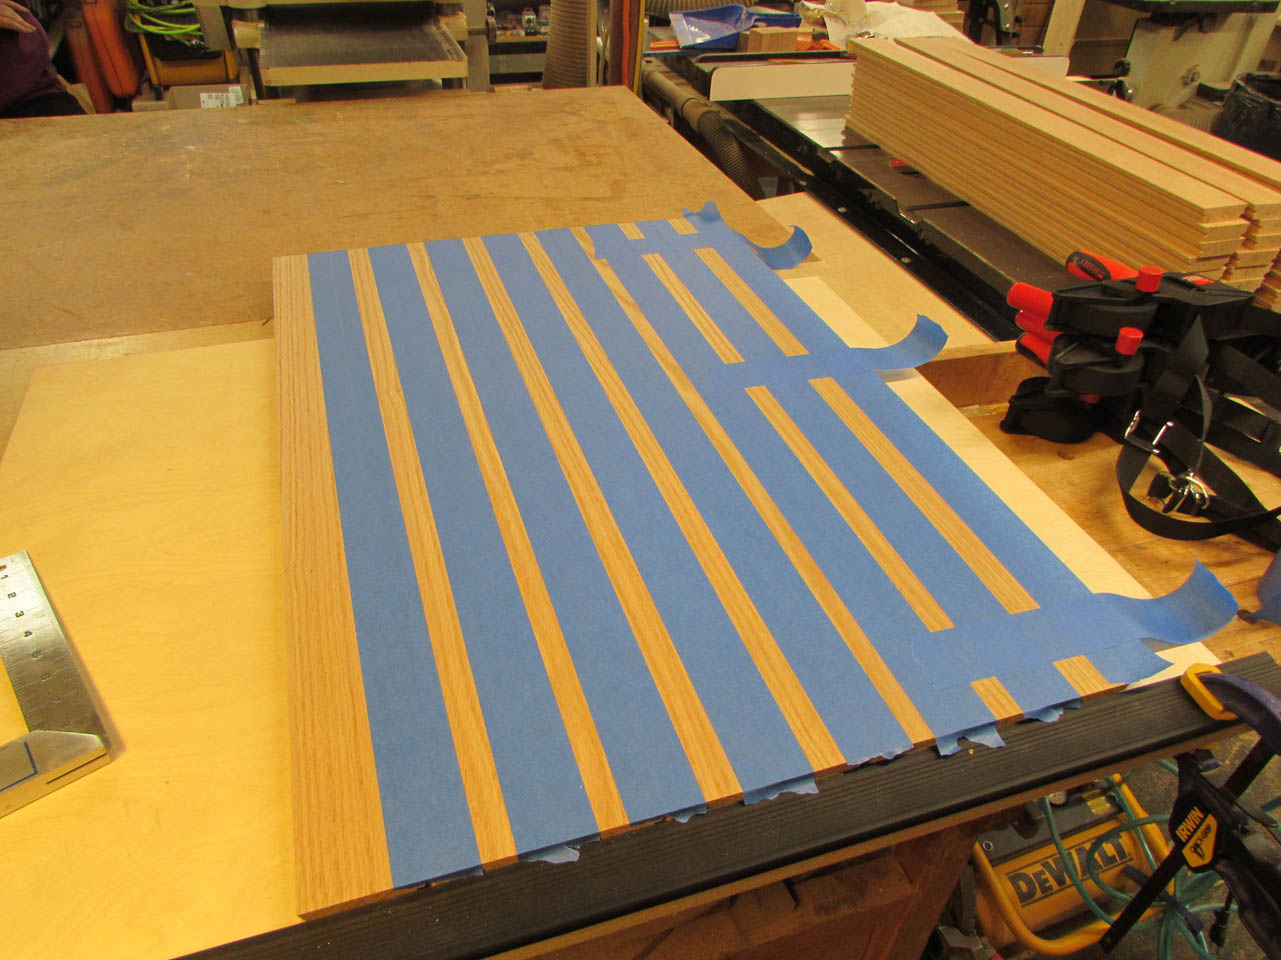
Then I apply 2″ wide painter’s tape to each of the joints. This acts as a hinge and prevents most of the glue from squeezing through to the outside of the column.
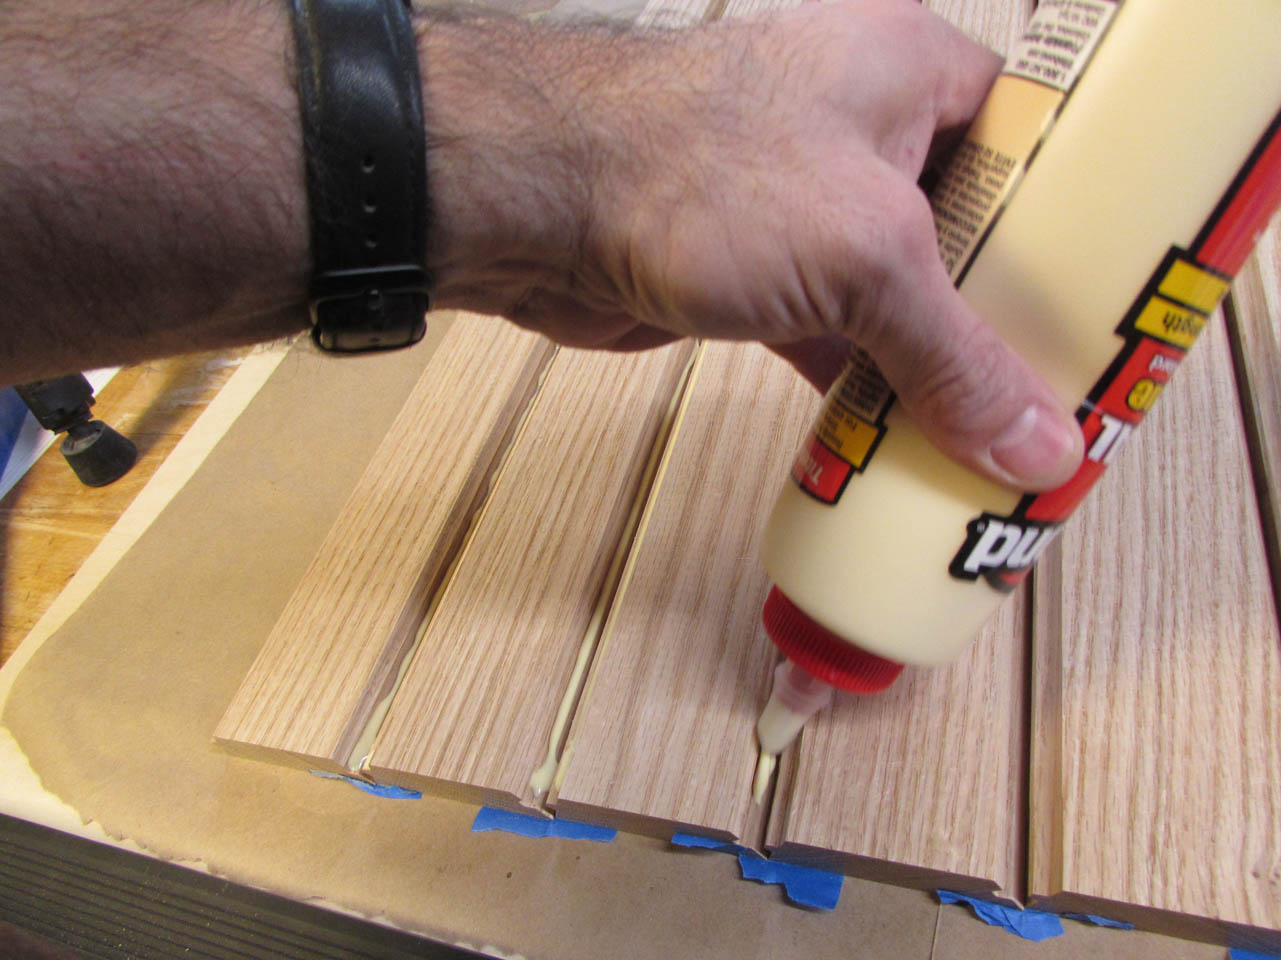
I flip the entire assembly over and flood each of the joints with glue, then start rolling the columns up.
I pull the final joint together as tightly as possible, then tape it.

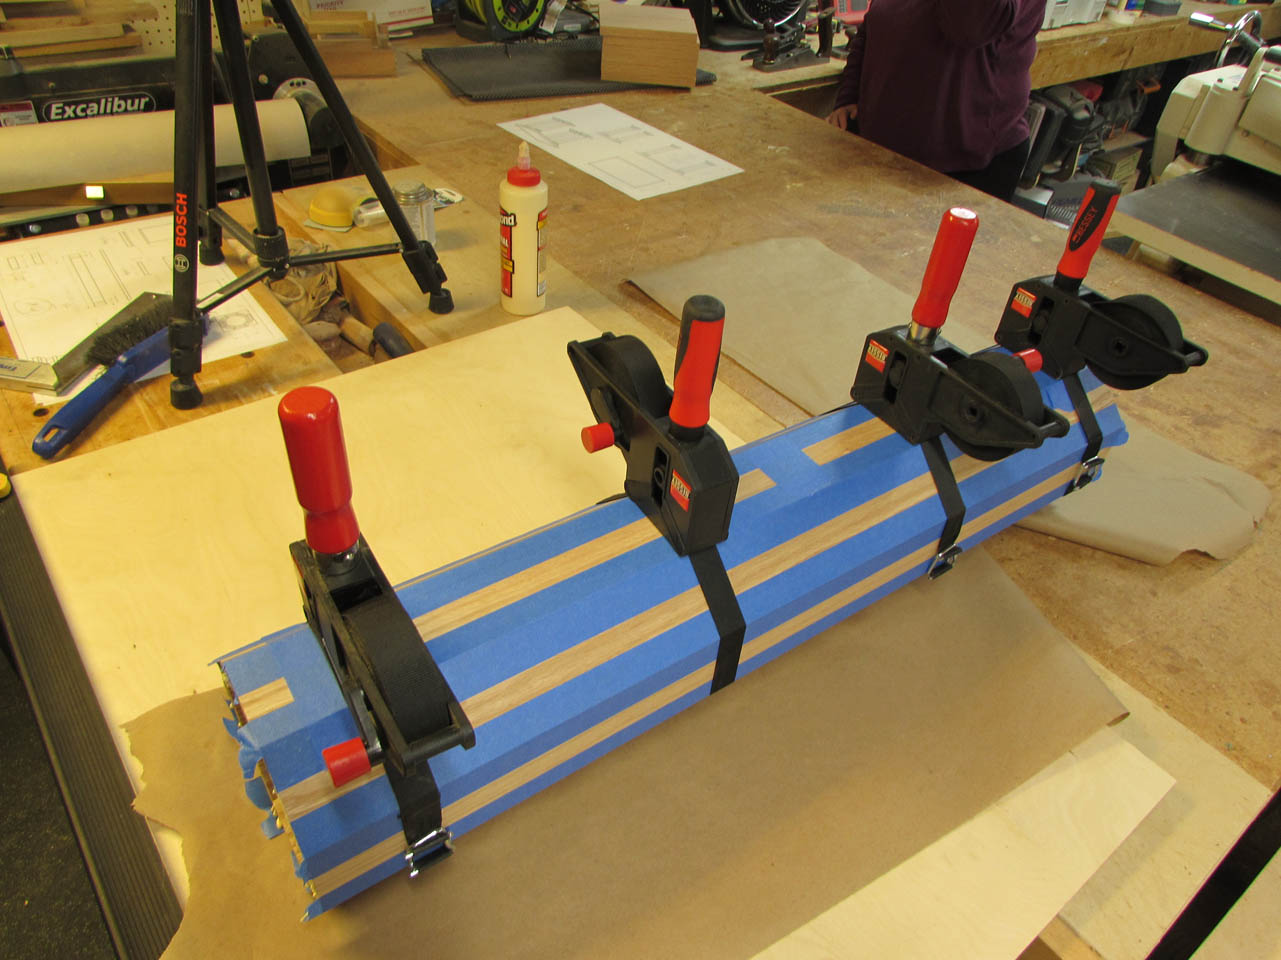
This holds everything in place long enough to get four band clamps tightly in place, spaced evenly along the column.
Since I only have four of these clamps. I leave them clamped up for a half hour to an hour, then pull the clamps and start assembling the next one.


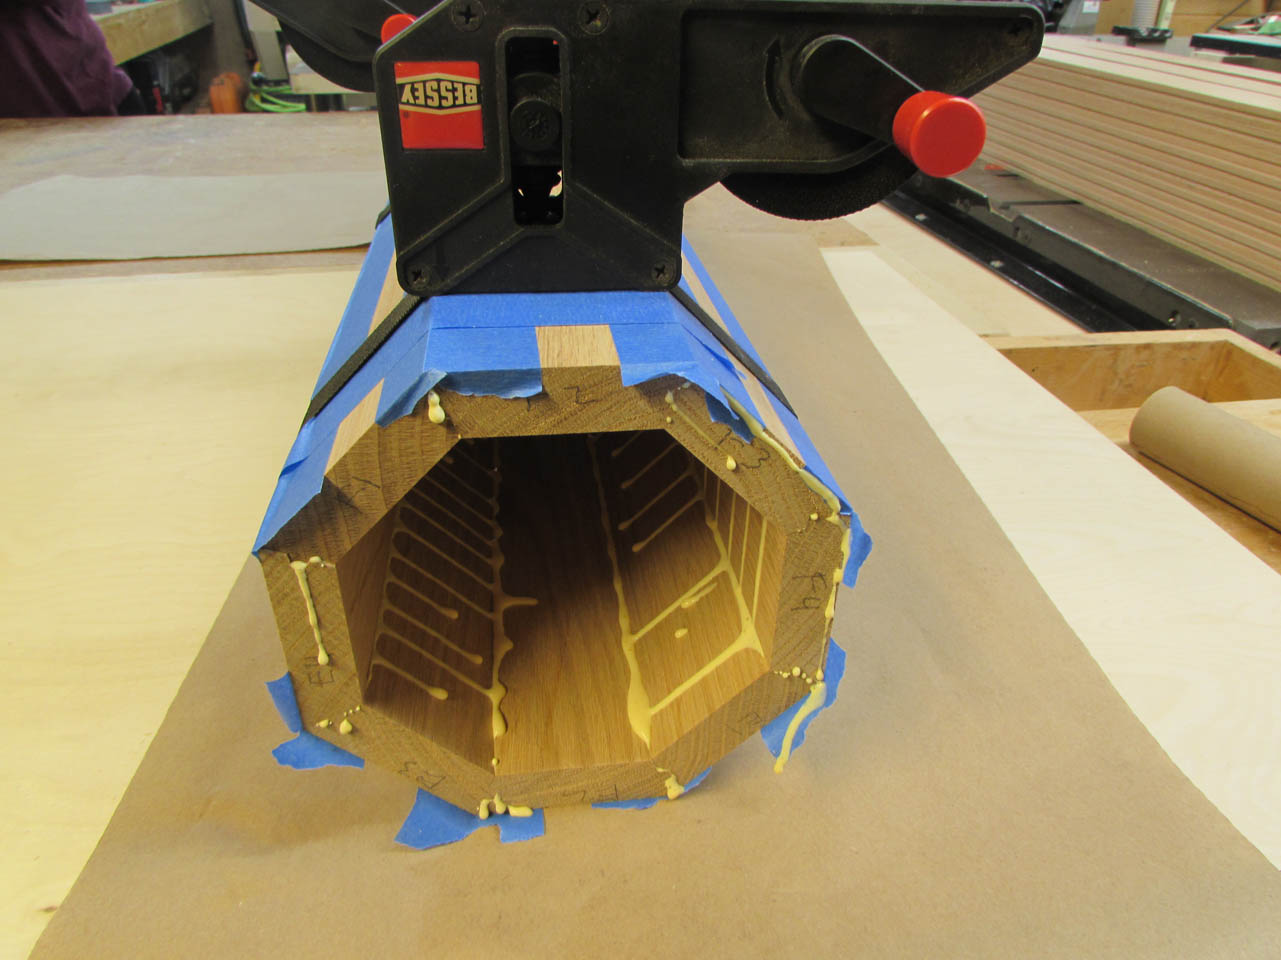
A couple of hours later all four of the main columns are done. If you look in the background of the last picture, I clamped the other two stacks of column sides down to my work bench until I have time to get to them. If I just let them sit for a couple of days, after all of that milling, they would probably start twisting or curling as the grain tried to reassert itself. Better to lock it all down until it can be glued up.

Well, it doesn’t seem like much got done this weekend, but there was a lot of milling involved. I emptied my dust collector several times and generated about 80 gallons of saw dust in just two days. I am going to give the columns a day or so for all of the glue to dry, then get back to work.

Pingback: St. Kilian chapel – Gift table – part 1 | Midnight Woodworking