
St. Kilian chapel – Paschal candle stand – part 4
Before I start applying finish, I need something to protect the threads of my mounting screw from getting clogged up with stain or polyurethane. I found a wire nut that was the perfect size. It will thread onto the bolt and stay in place throughout the finishing process.
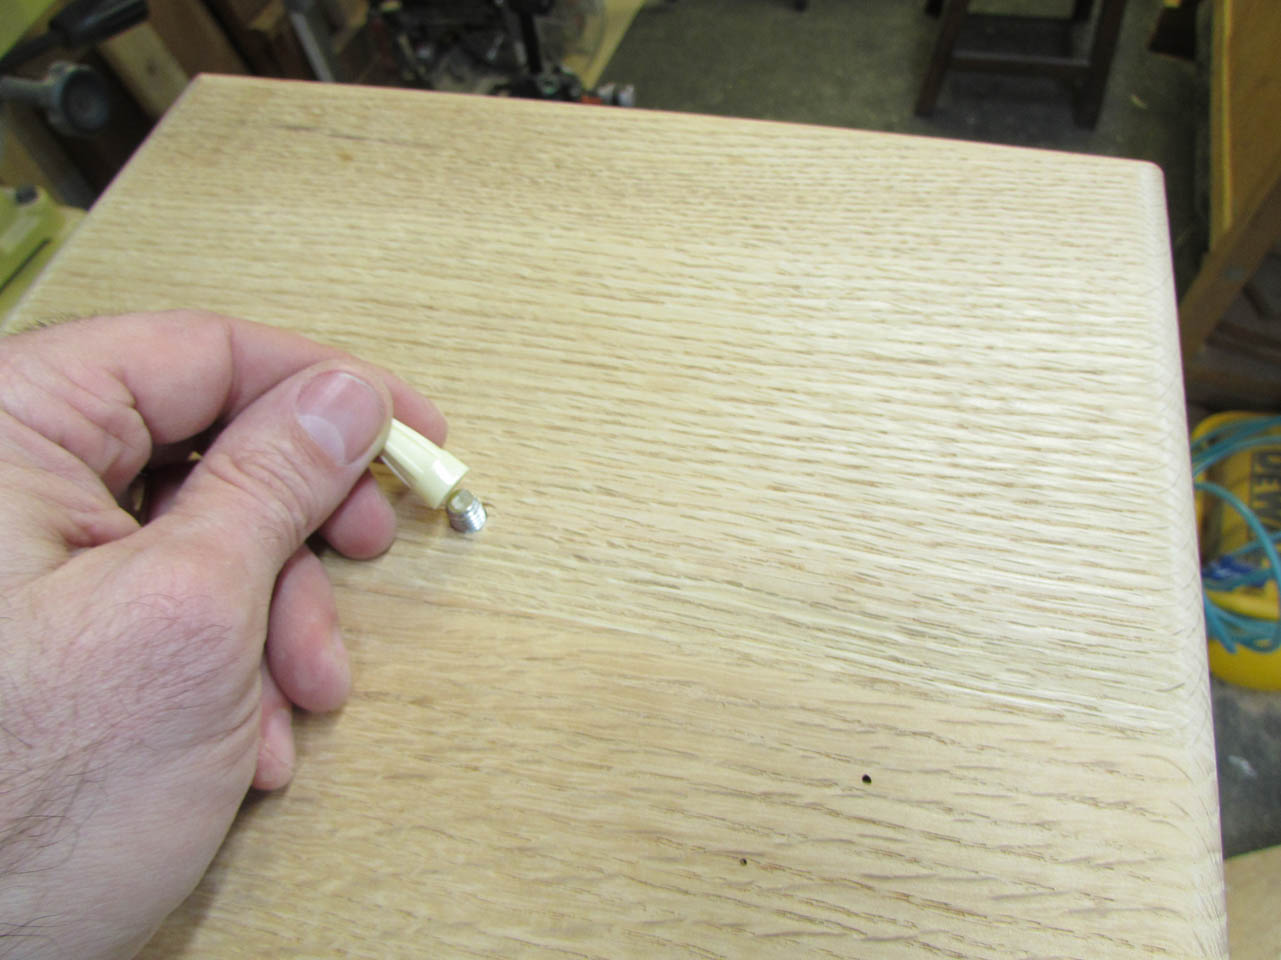
A piece of tape would also do in a pinch.


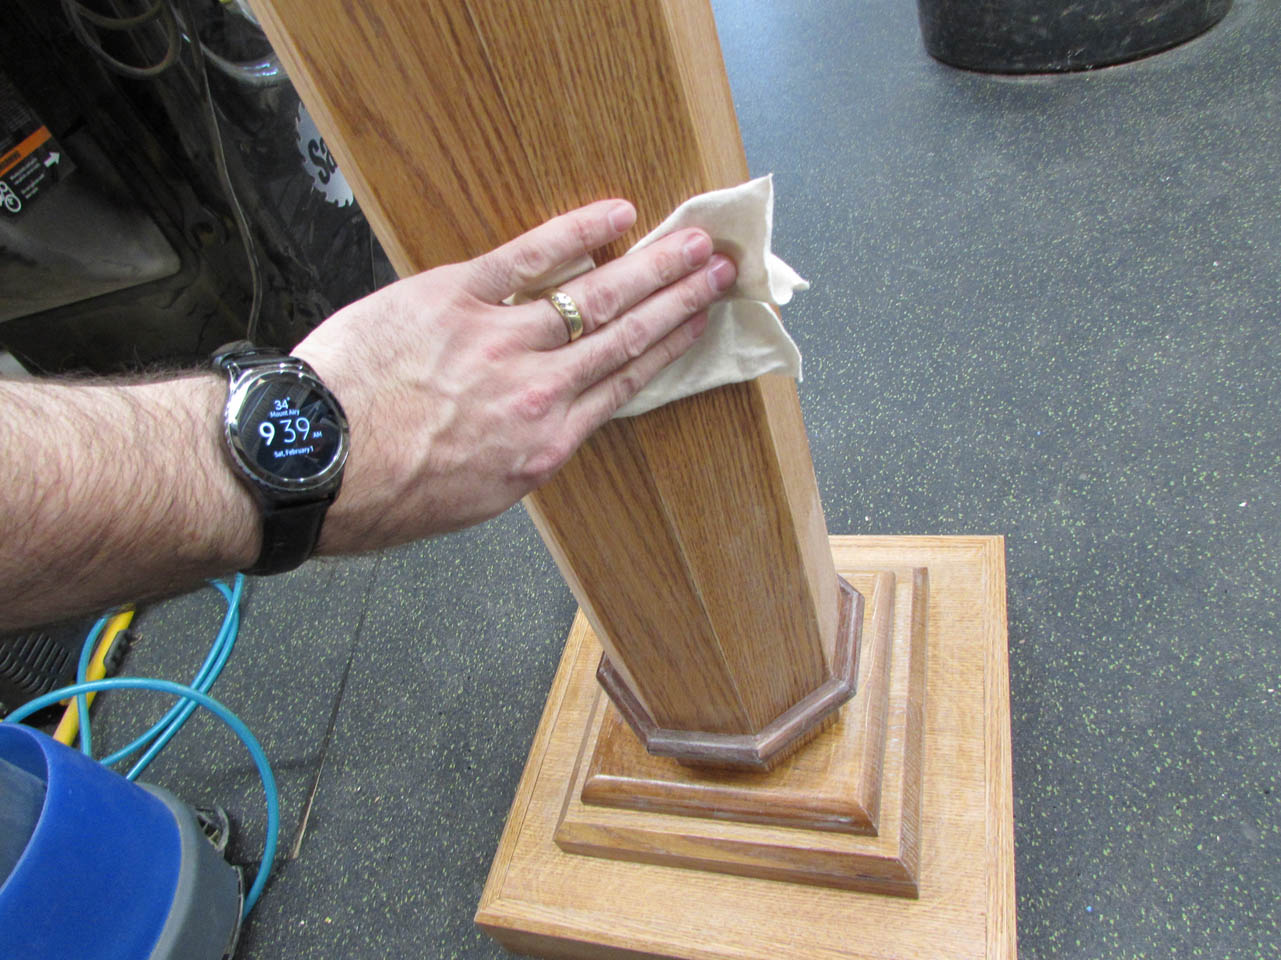
I flipped the candle stand upside down to start applying stain to the bottom first.

Then I set up my stool with a turn table, and put some painter’s pyramids on it.
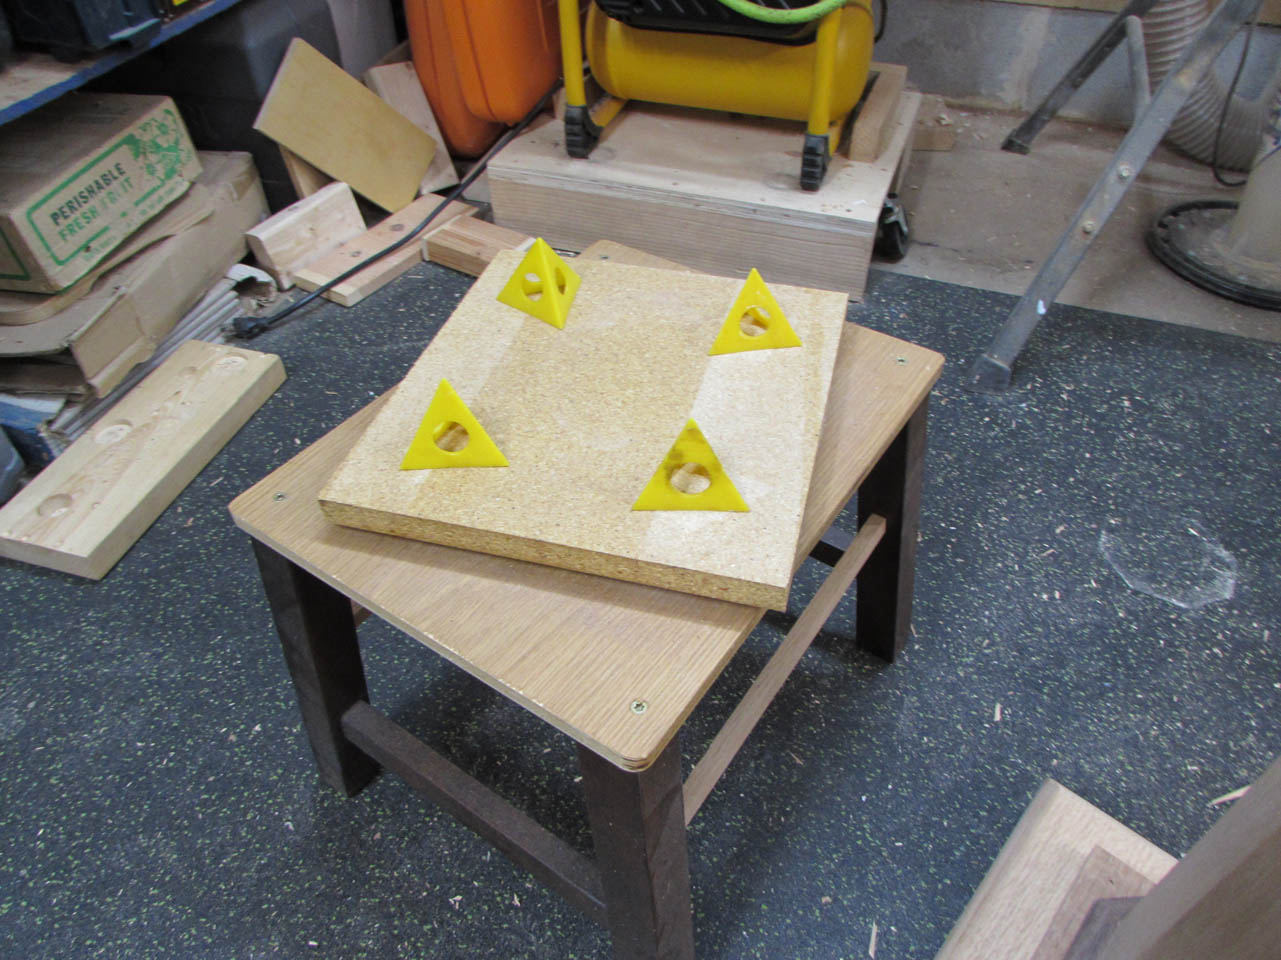
I flipped the candle stand back over and set it on the pyramids.

Now I can stain the entire base without having to get up and down, I can just spin it in place to get to a new area.

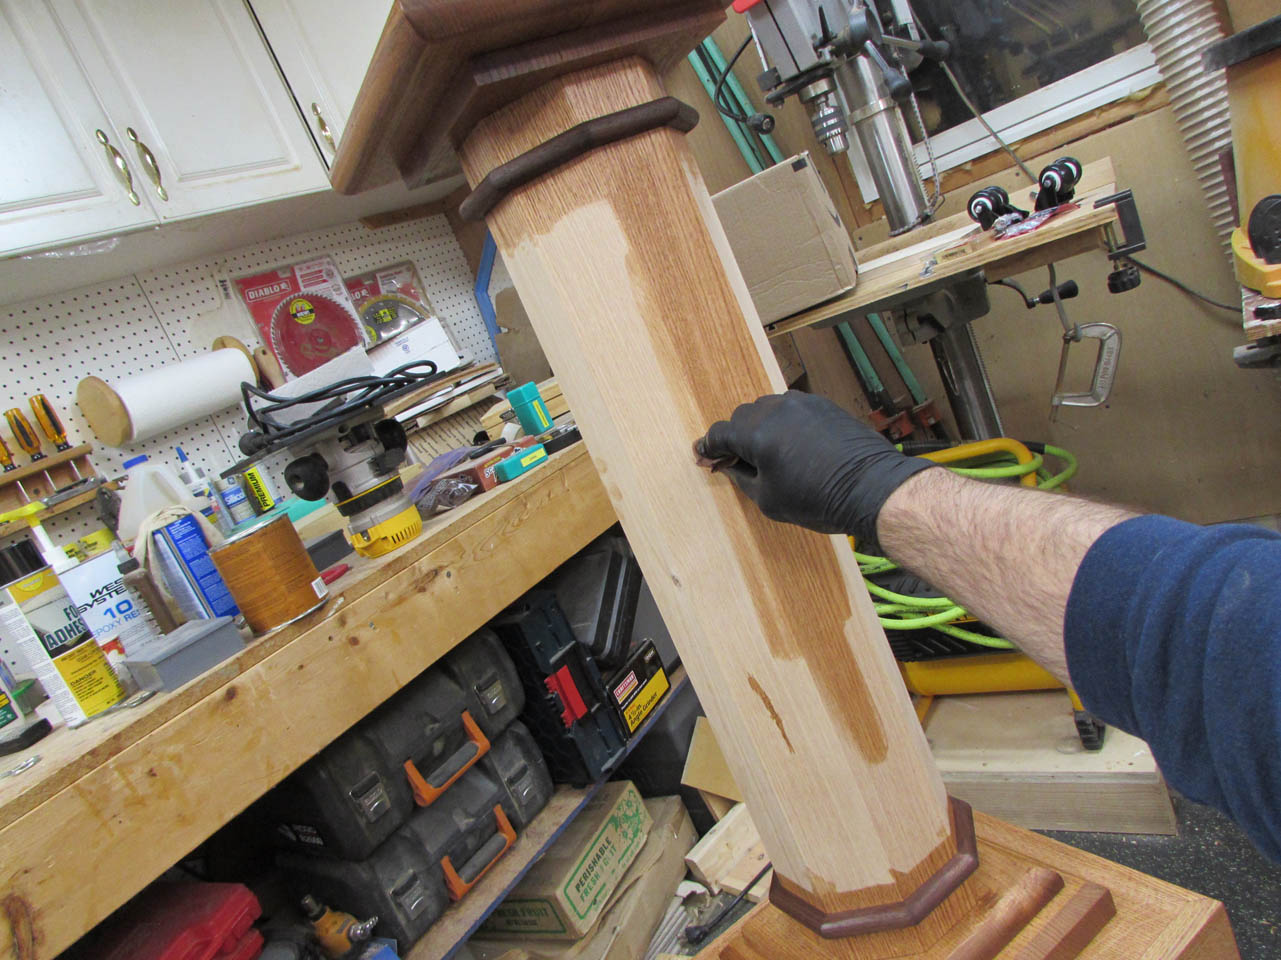
After carefully applying stain to the more detailed base and top, I finished up the main column,
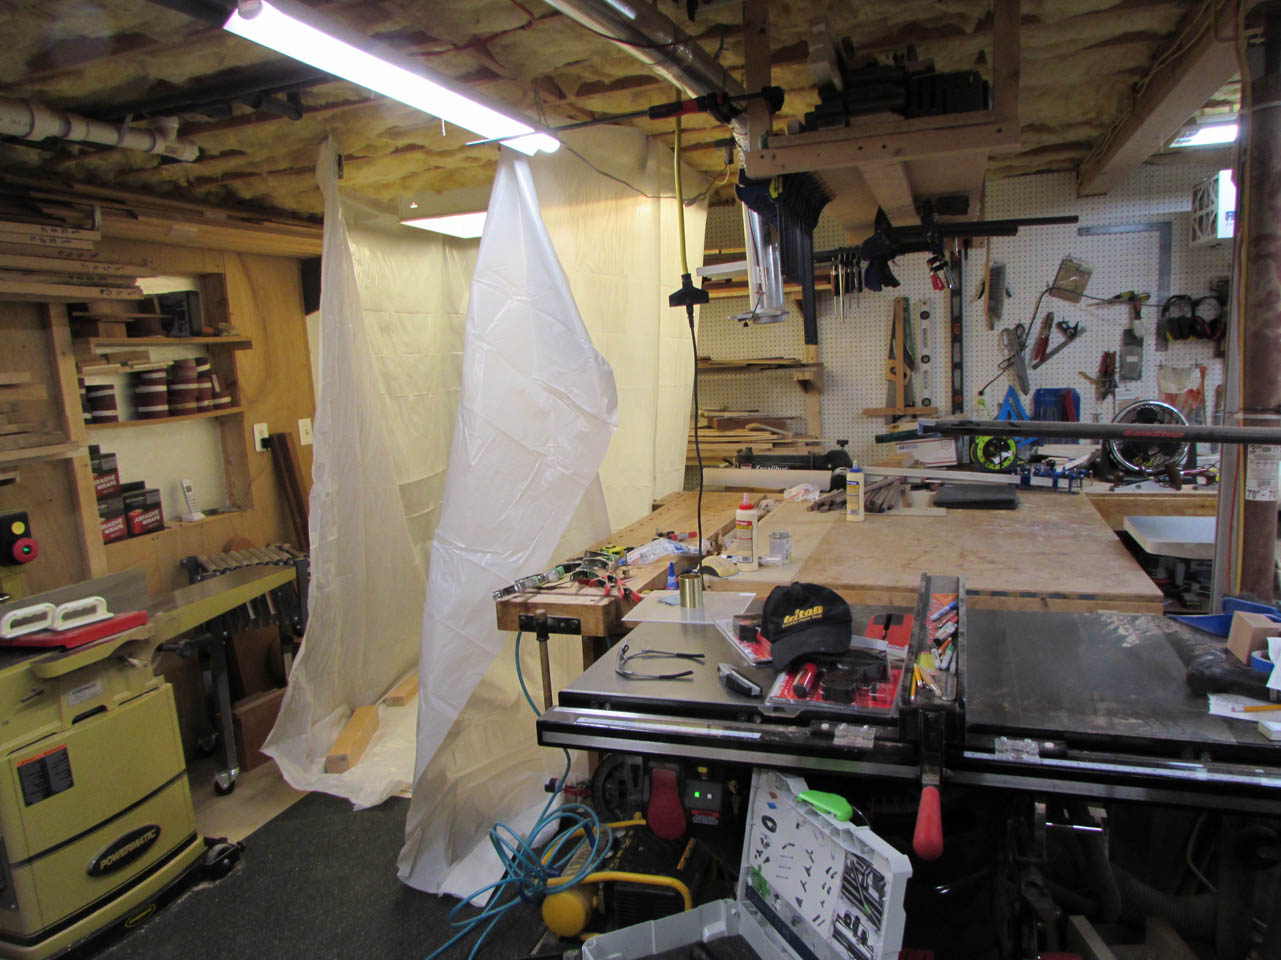
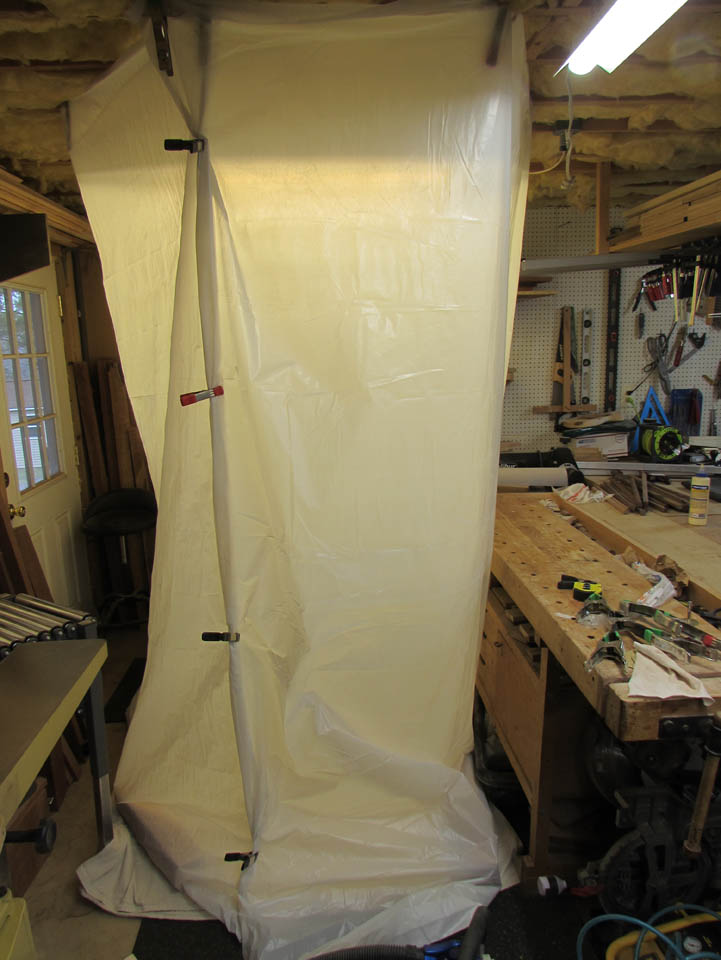
Leaving that to cure overnight, I set up a small temporary spray booth on the other side of the shop.

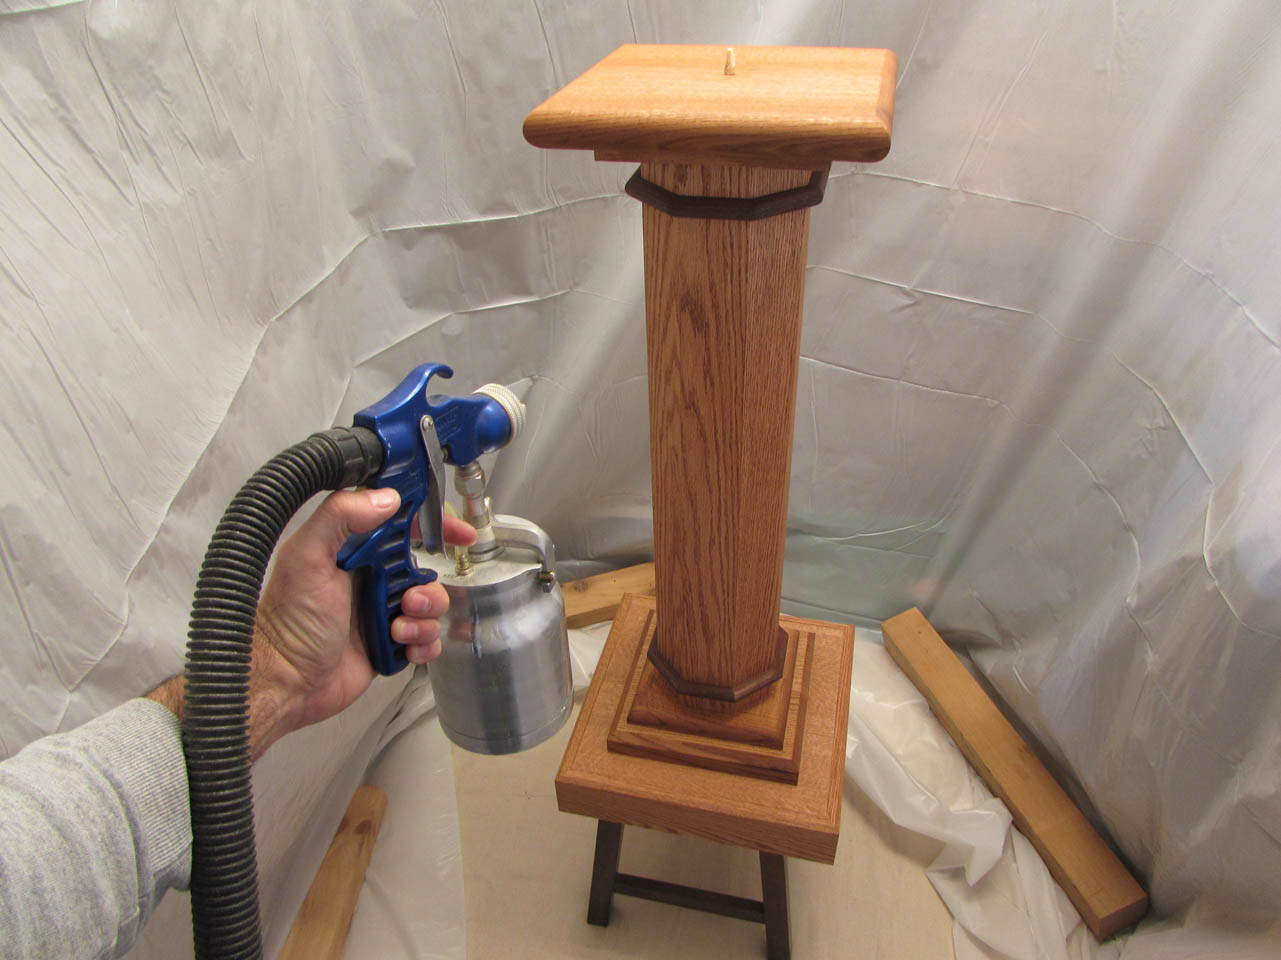
I will repeat the process of finishing the bottom first, then flip the stand over and set it on the turn table.

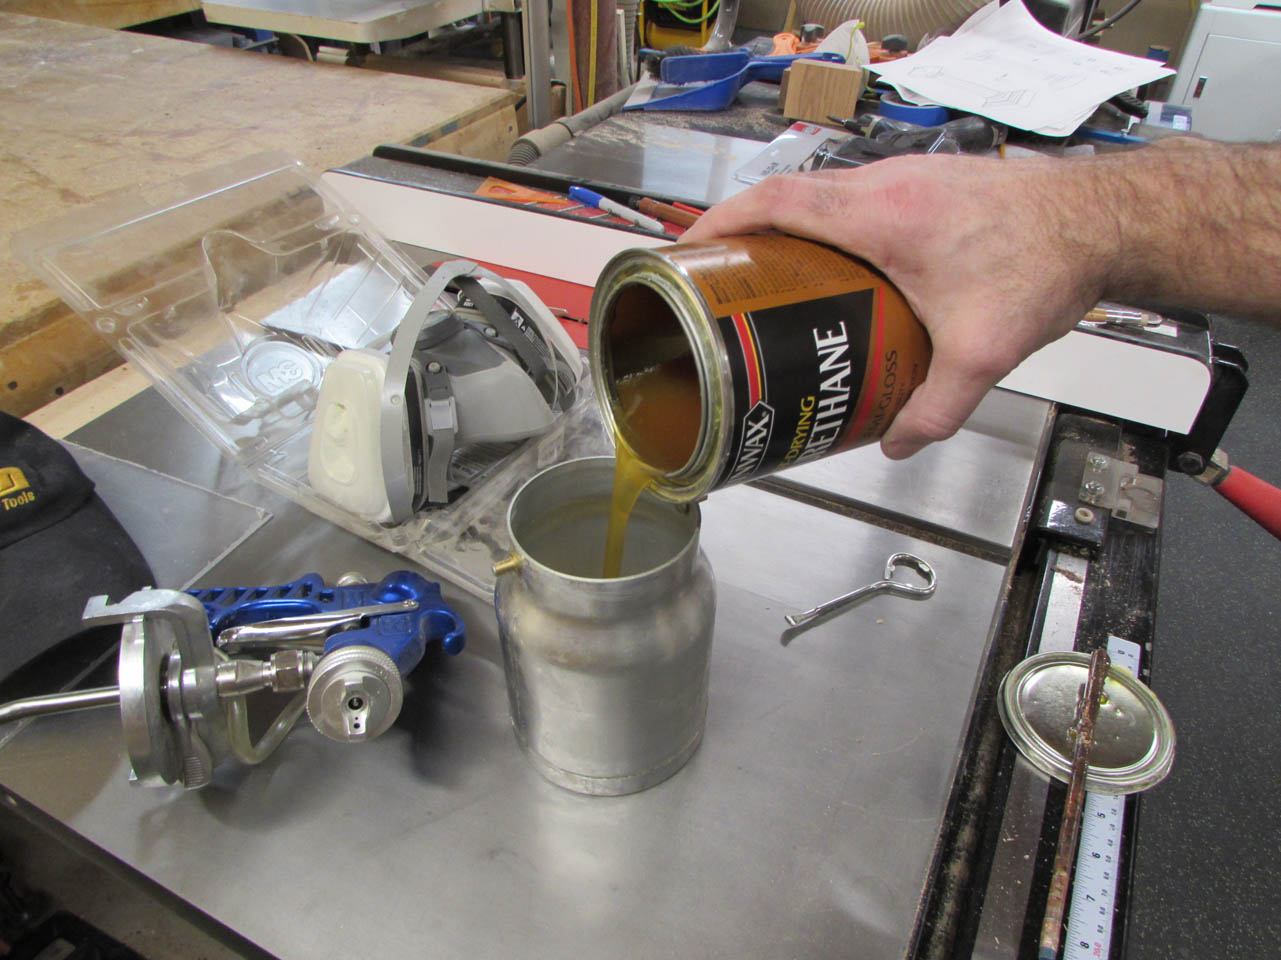
I loaded up my HVLP sprayer with semi-gloss polyurethane and put on my hat and respirator.

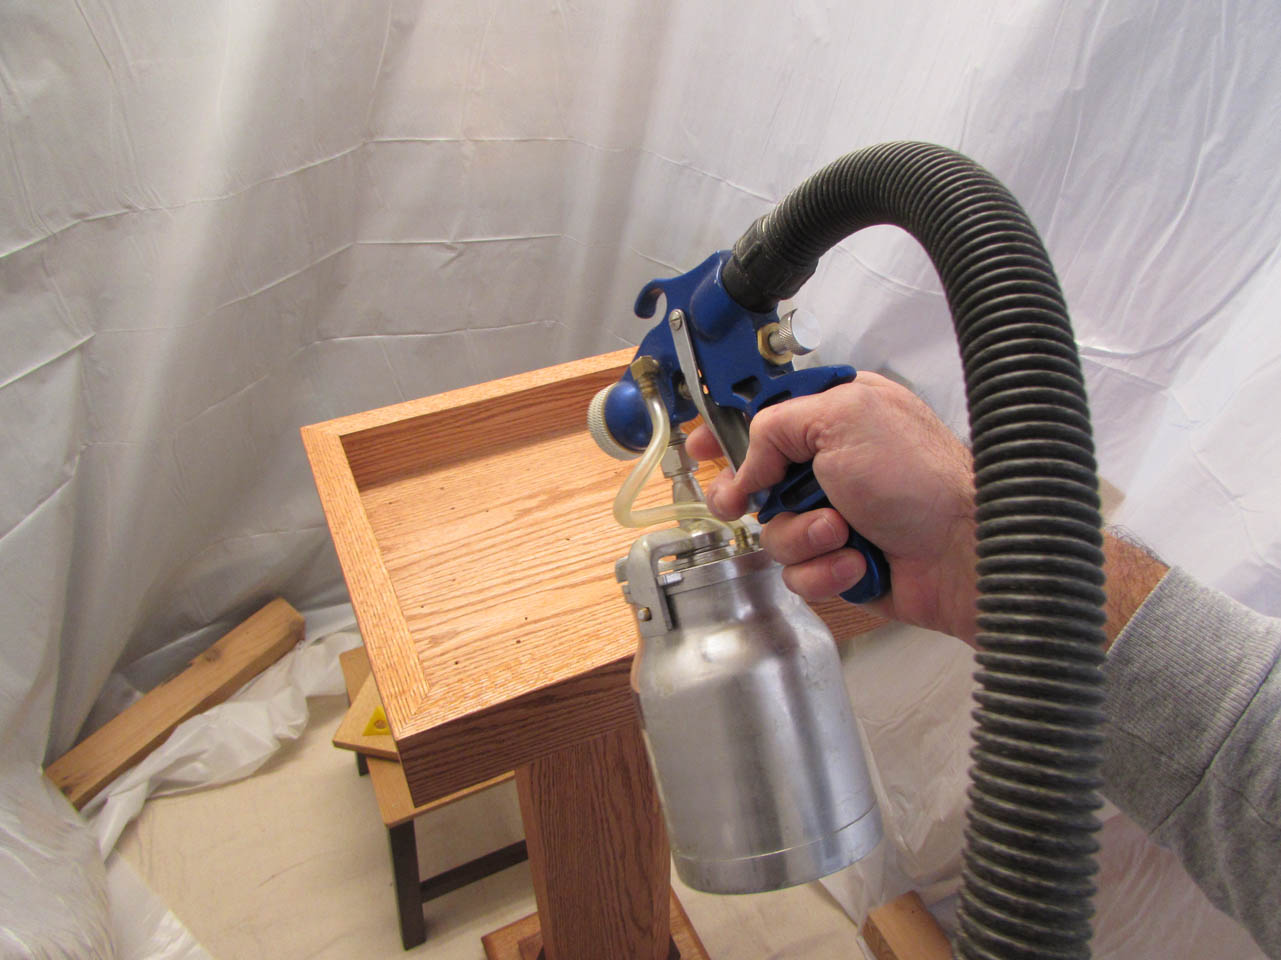
I really like the turn table in the tight confines of the smaller spray booth. I can stand in one spot, not having to worry about dragging my cords and hoses around.

After the first coat is dry, I sand down the entire surface, with 400 grit paper, to smooth away any dust that settled while the finish was curing. I do this outside the spray booth to prevent dust particles from floating in the air where I am spraying.

Then after a good wipe-down, the stand goes back in the booth for another coat.


Finally, I clamp the opening to the spray booth shut and leave it sit overnight again.
The next day, when it is dry, I start attaching the wheels to the base.
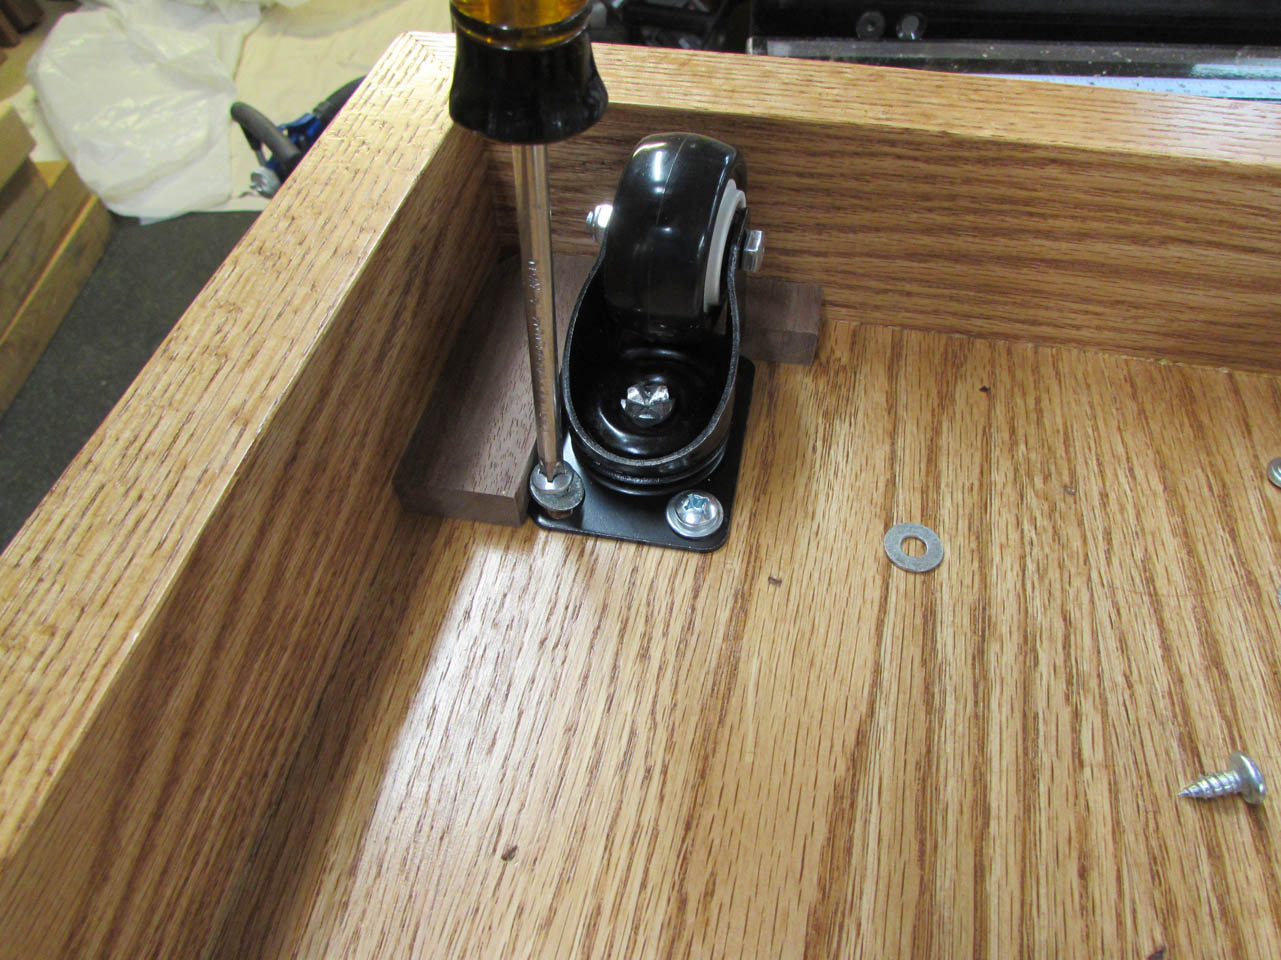
I use the same spacer block I used on the baptismal font, to locate them.
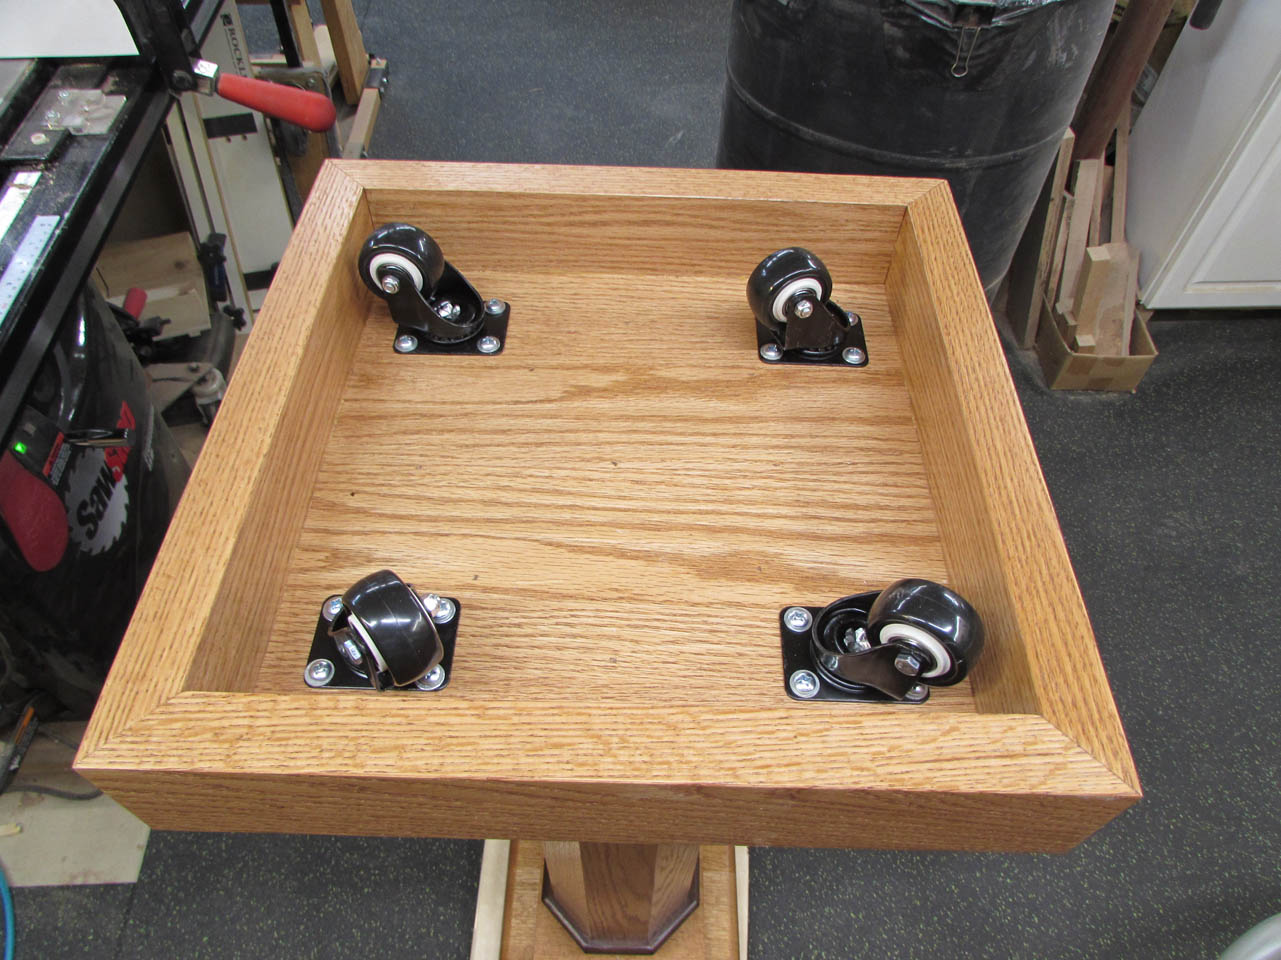
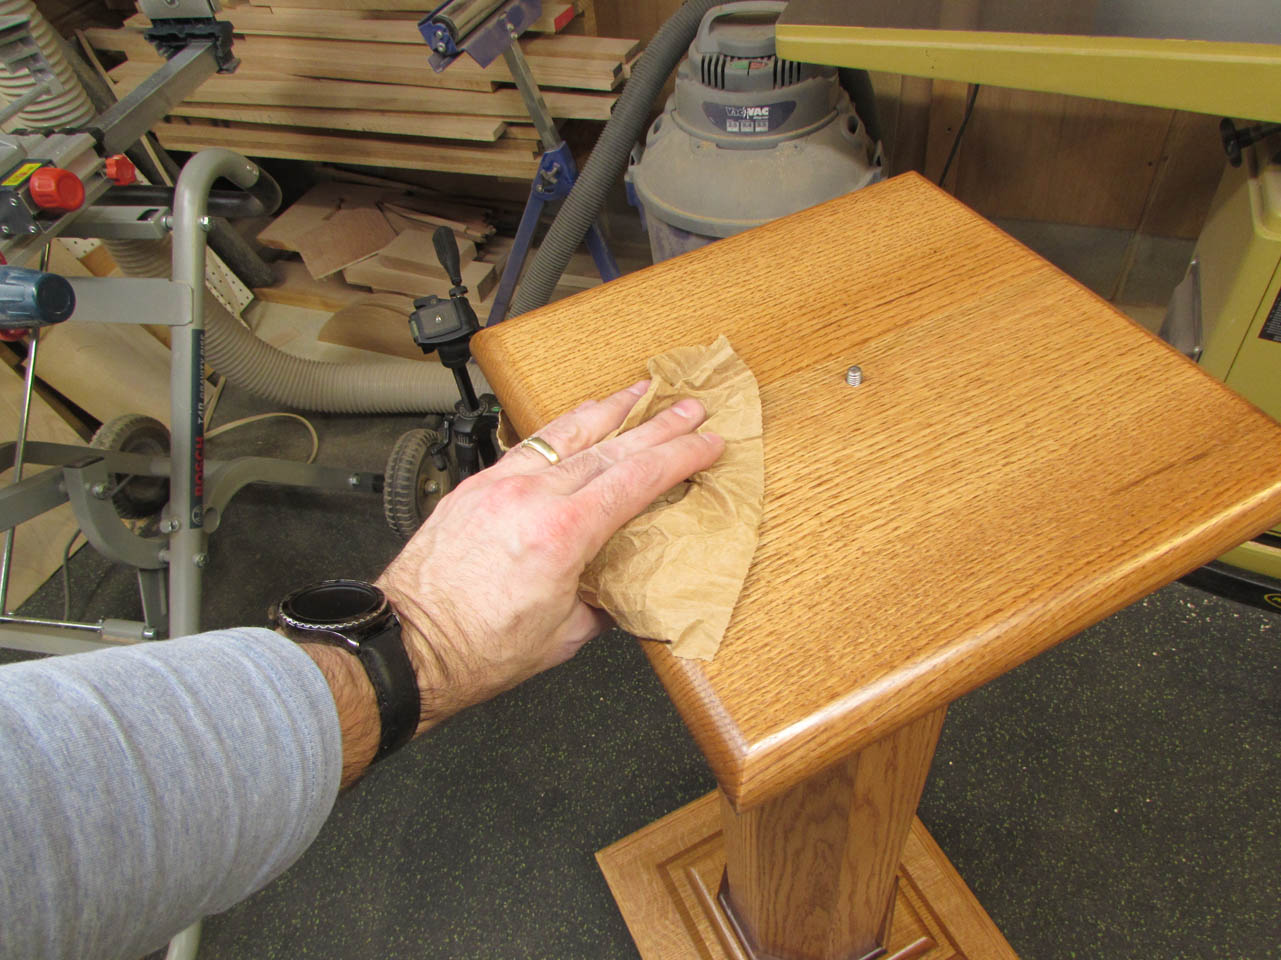
After they were attached, I flipped it back over and buffed the entire surface with brown paper. It removes any remaining dust nibs and leaves behind a soft, smooth finish.

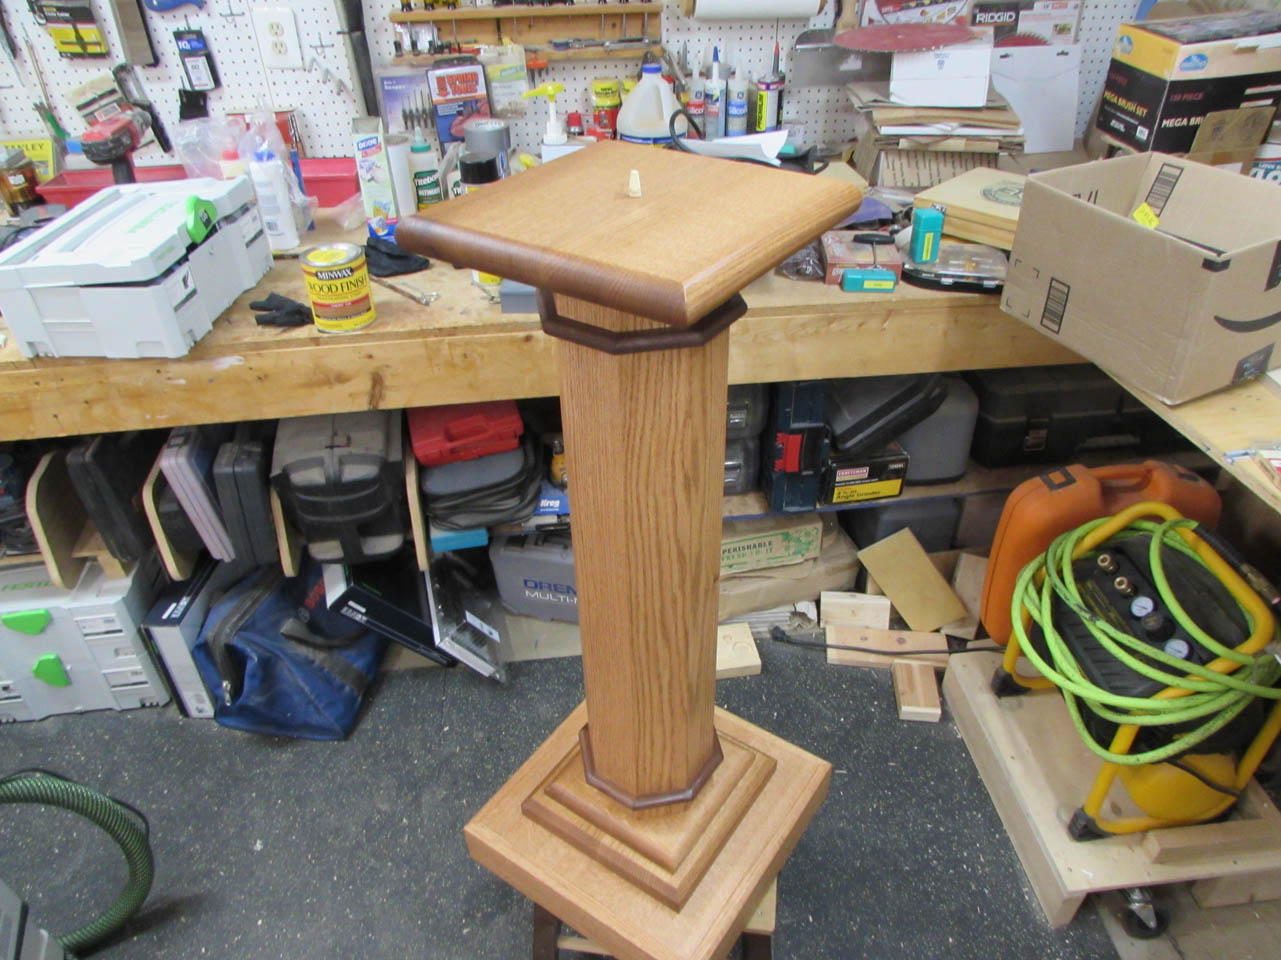
Final step is to add the candle socket and remove the protective plastic from the drip guard.
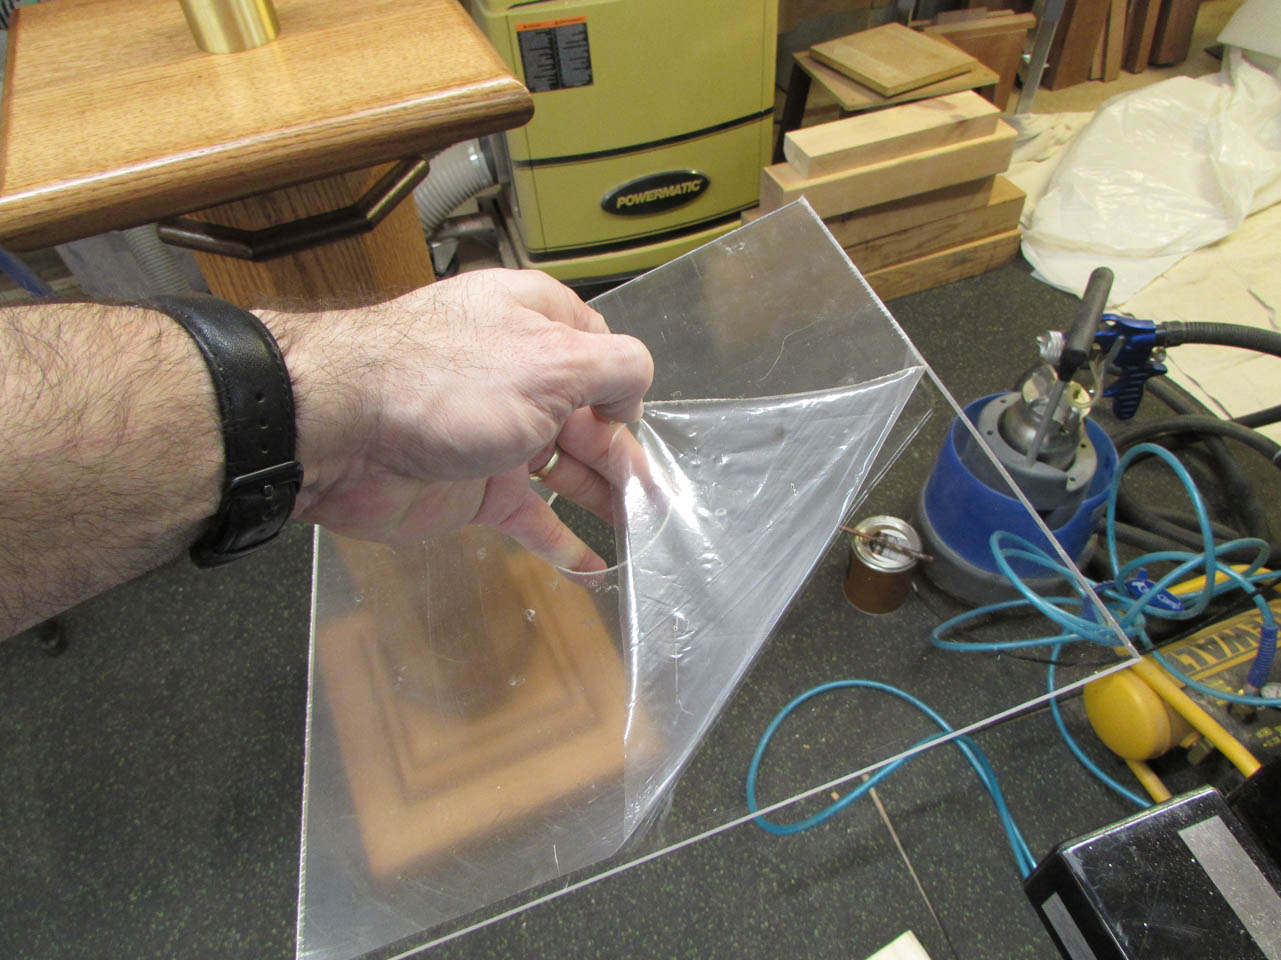

The thin, clear acrylic is barely visible, once set in place.
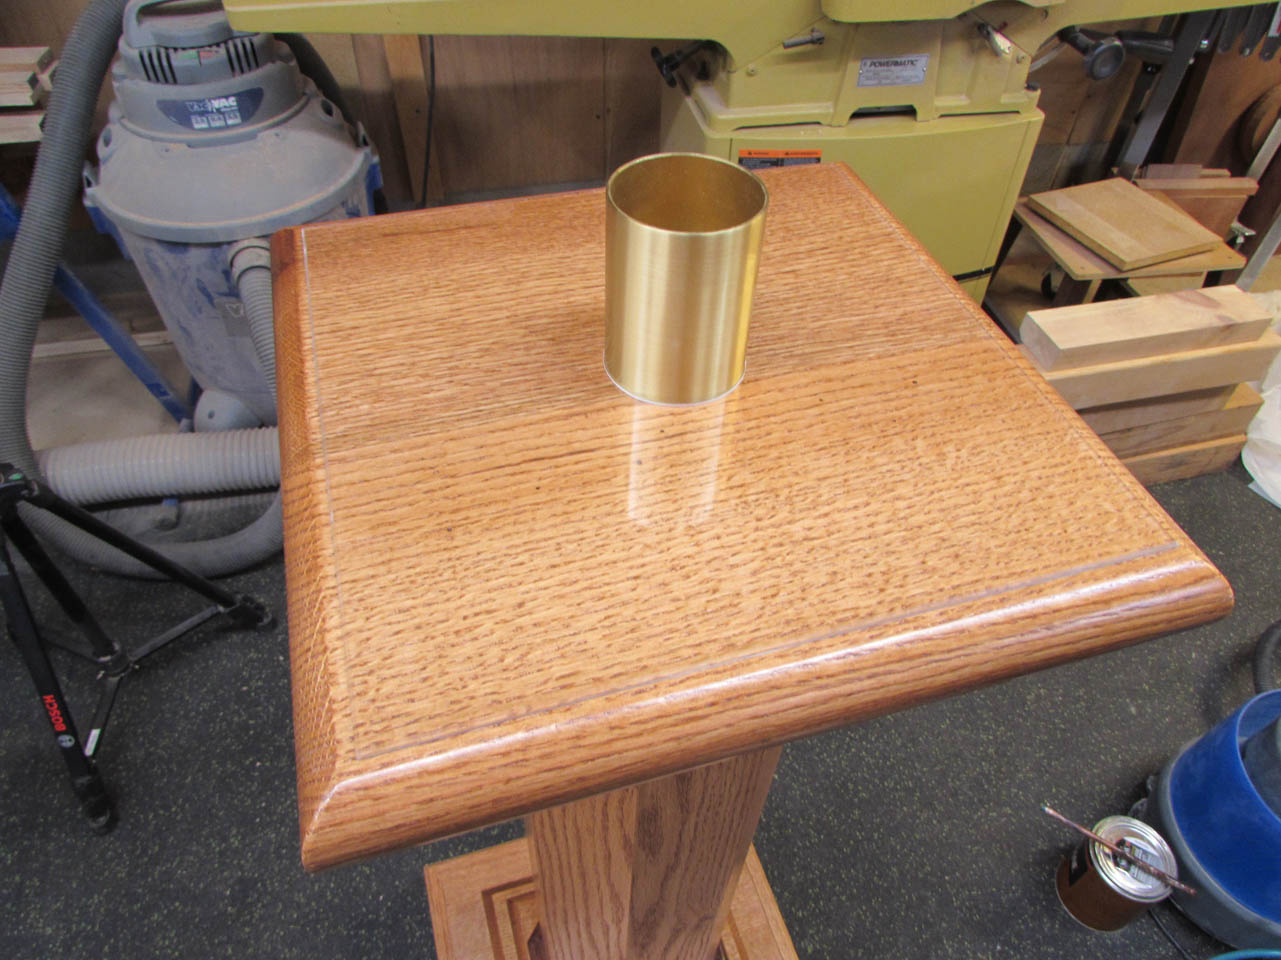

Candle stand is done. Time to move on to the next piece…

