
St. Kilian chapel – Paschal candle stand – part 3
I have a few odds and ends to accomplish before final assembly. Since this stand is on wheels, I need to add a bit of weight to the bottom to lower the center of gravity.

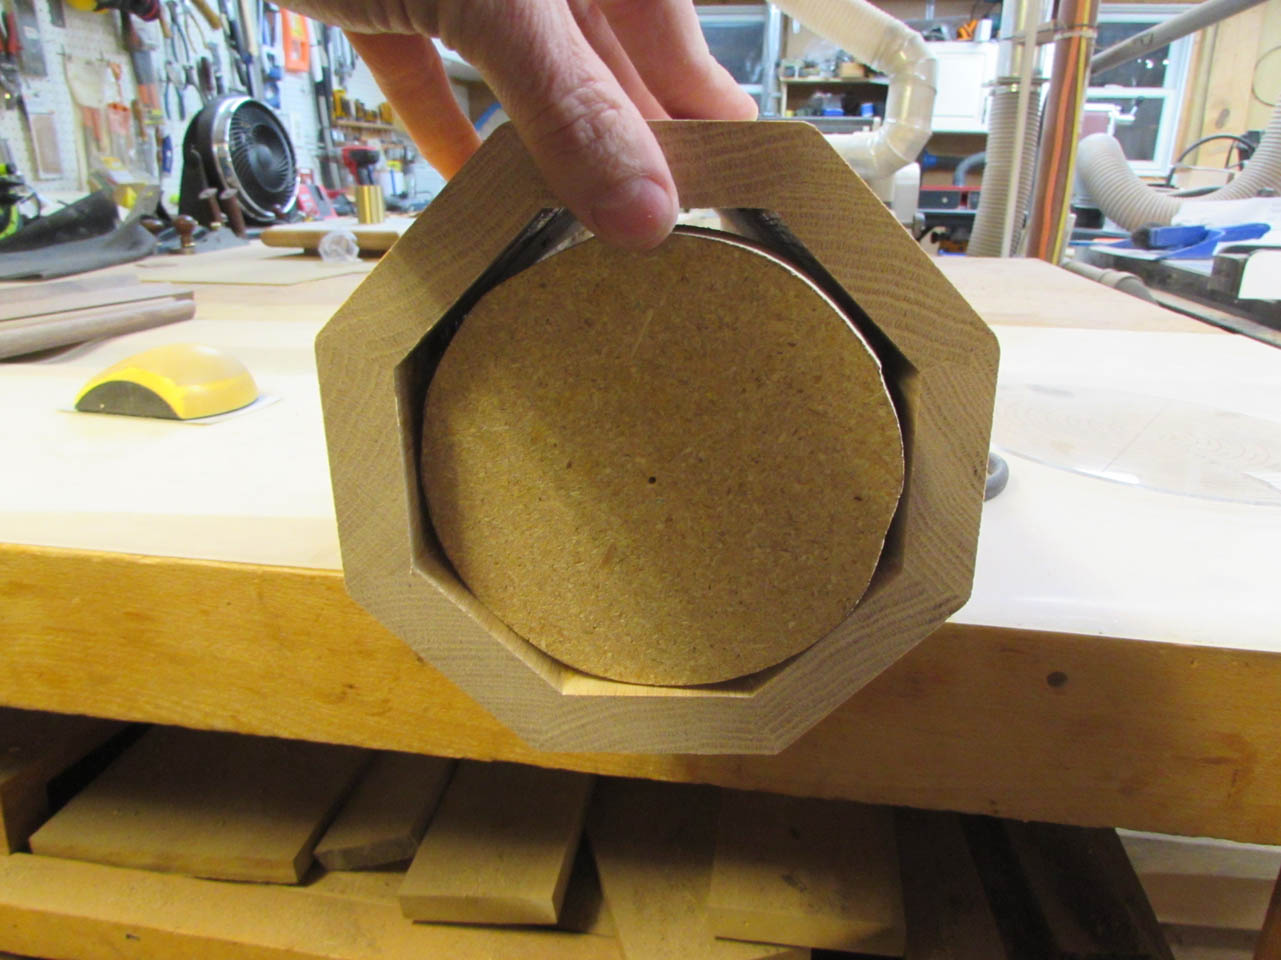
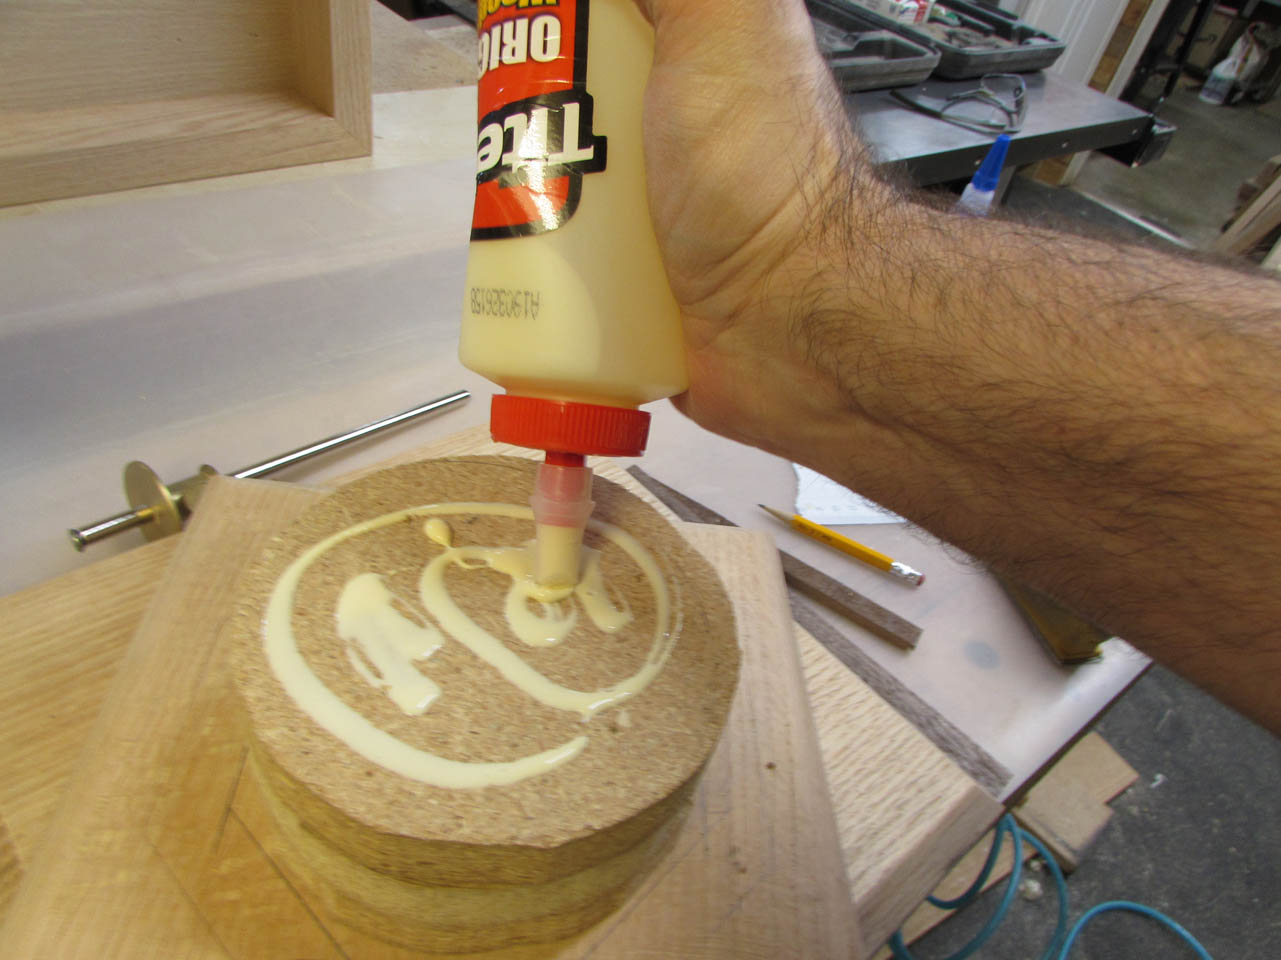
I grabbed several pieces of scrap particle board and laid out some 5″ circles then cut them out on my band saw.

They will fit just inside the column when I attach them to the base later.
The next step was to give everything a final sanding.

The bolt that holds the candle socket could just float in place but it will be less likely to wiggle around if I hold it in place with some quick-set epoxy.
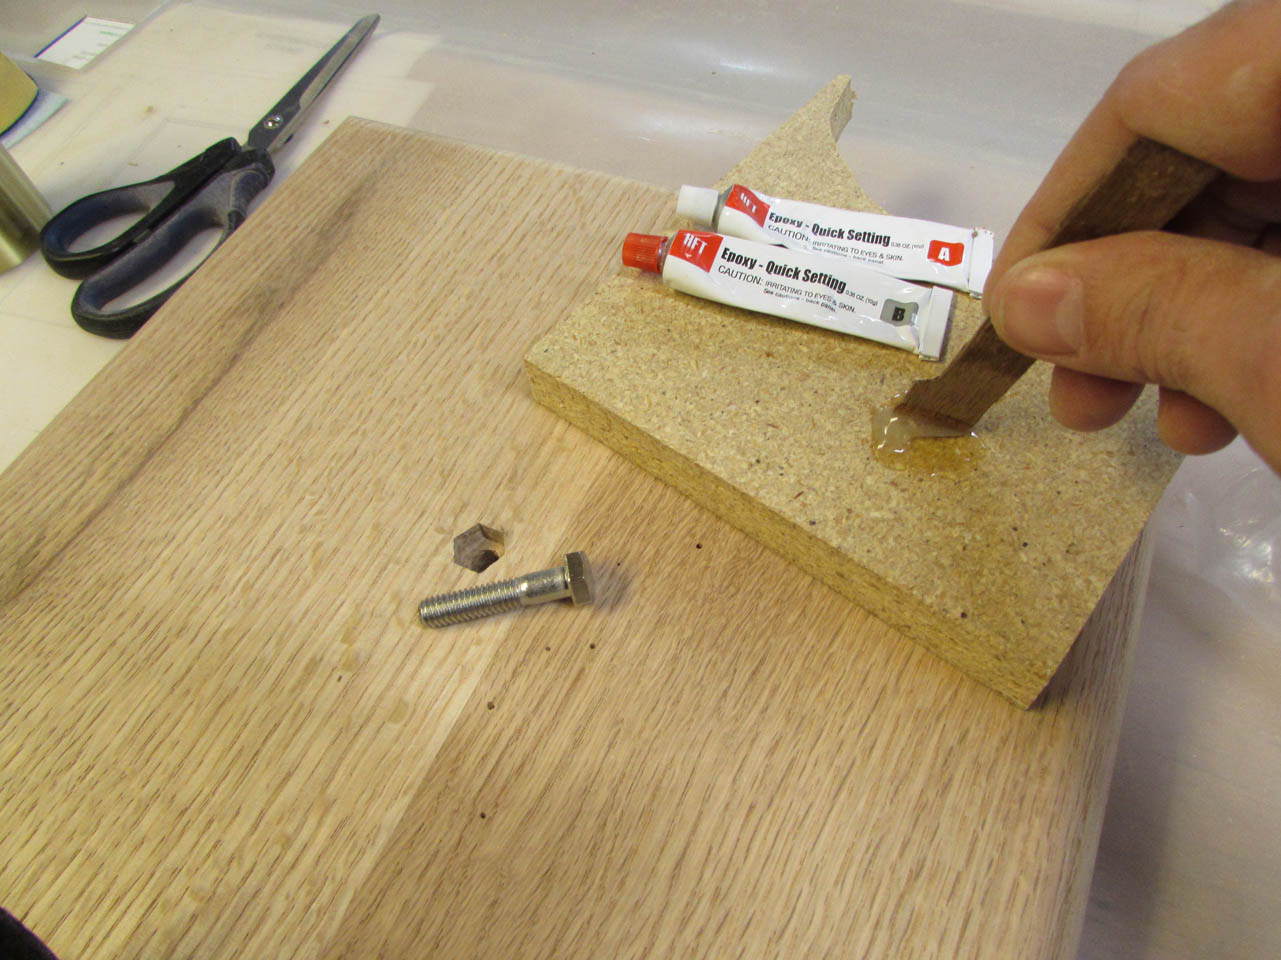

I mixed some up and applied it to the head of the bolt after the threads were inserted. This prevents epoxy from getting onto the threads.

I placed a piece of fabric over the other end of the bolt and screwed the cup tightly in place to draw the bolt in tightly. The fabric prevents the brass cup from scratching the wood or leaving any brass particles embedded in the wood.
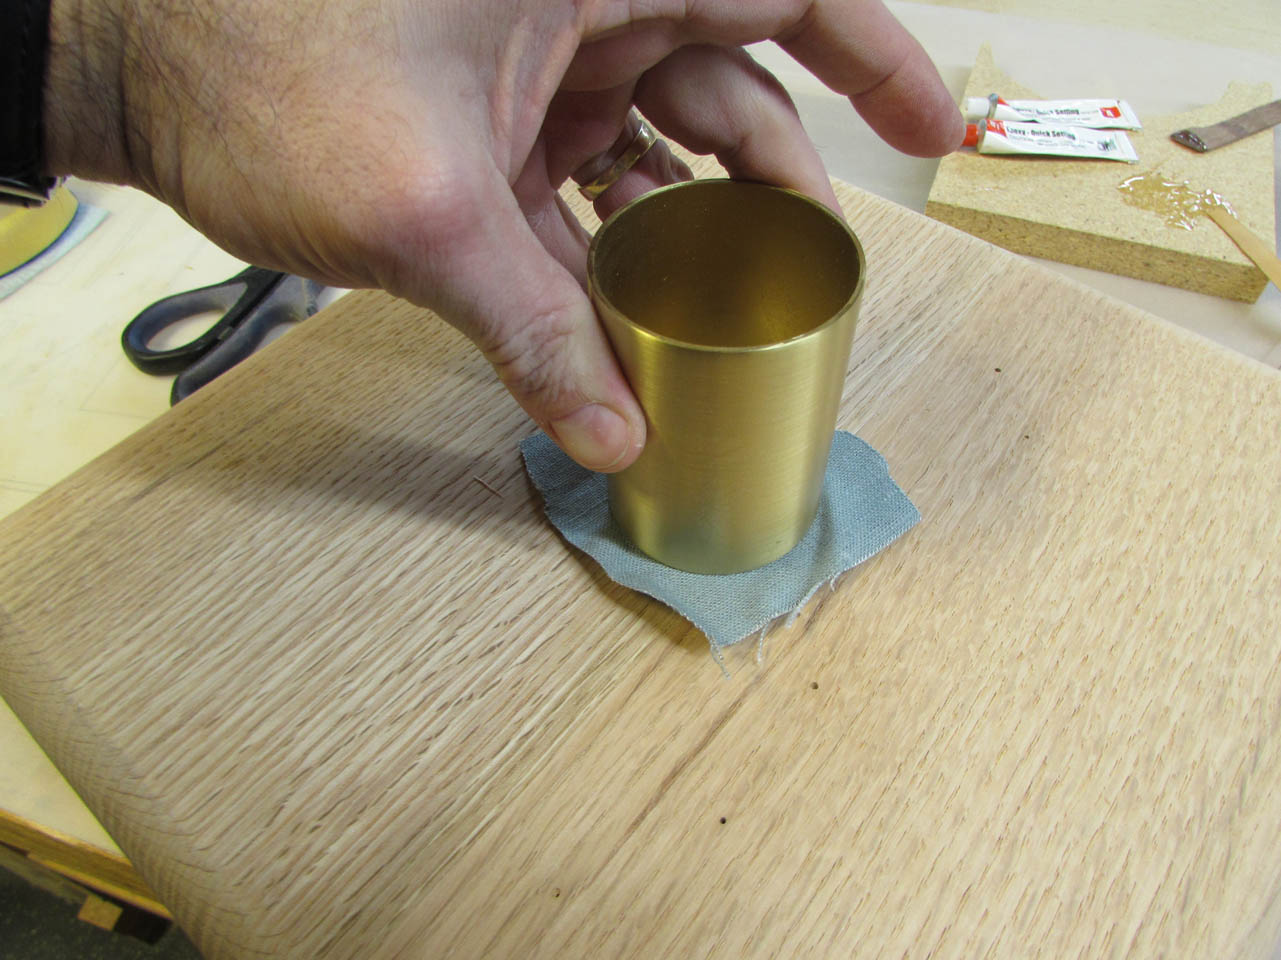
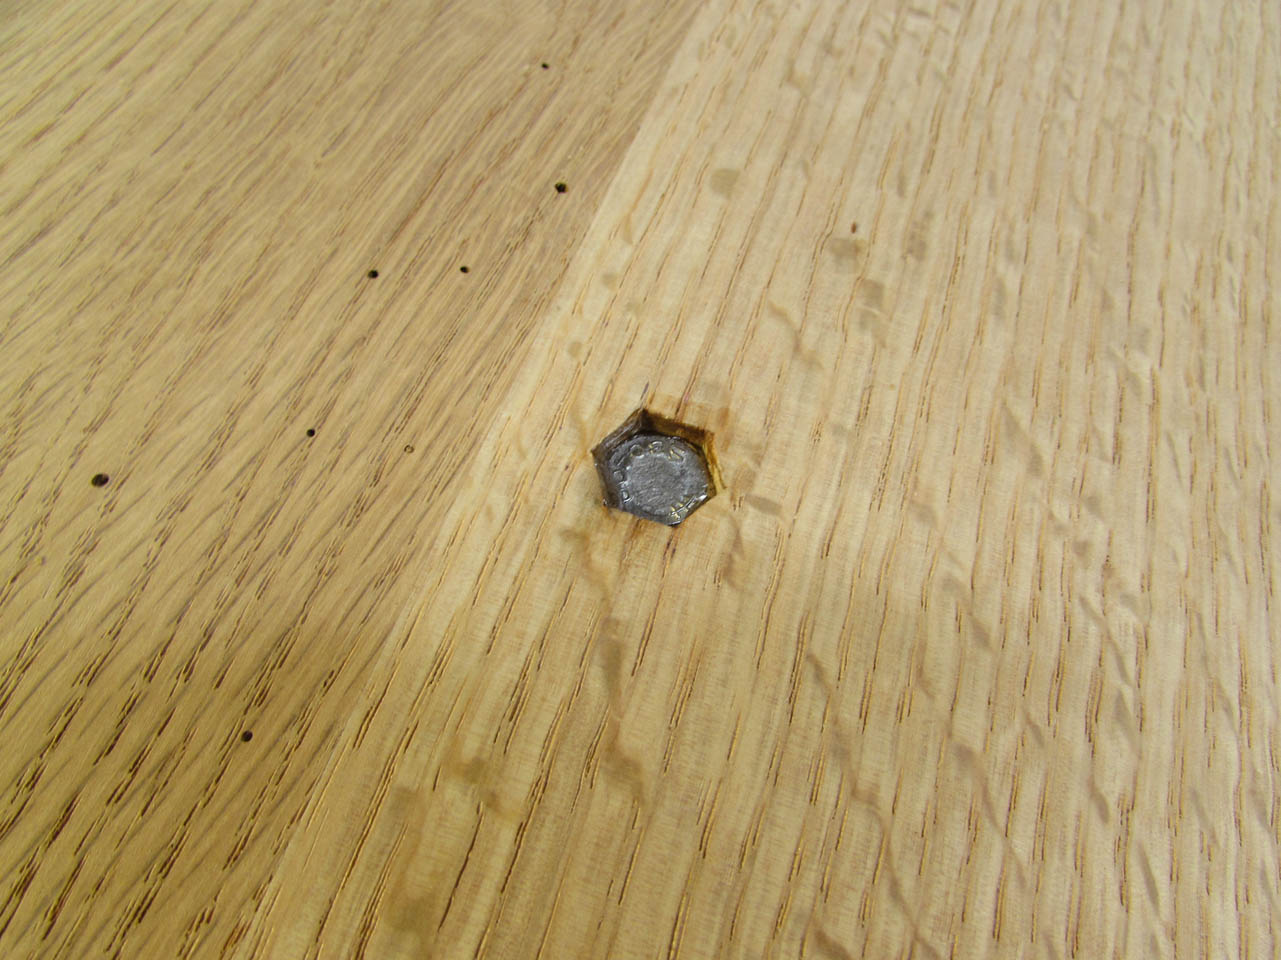
This sucked the head down into the socket even further. I left it like this for about an hour to set up, then removed the brass cup to prep for assembly.
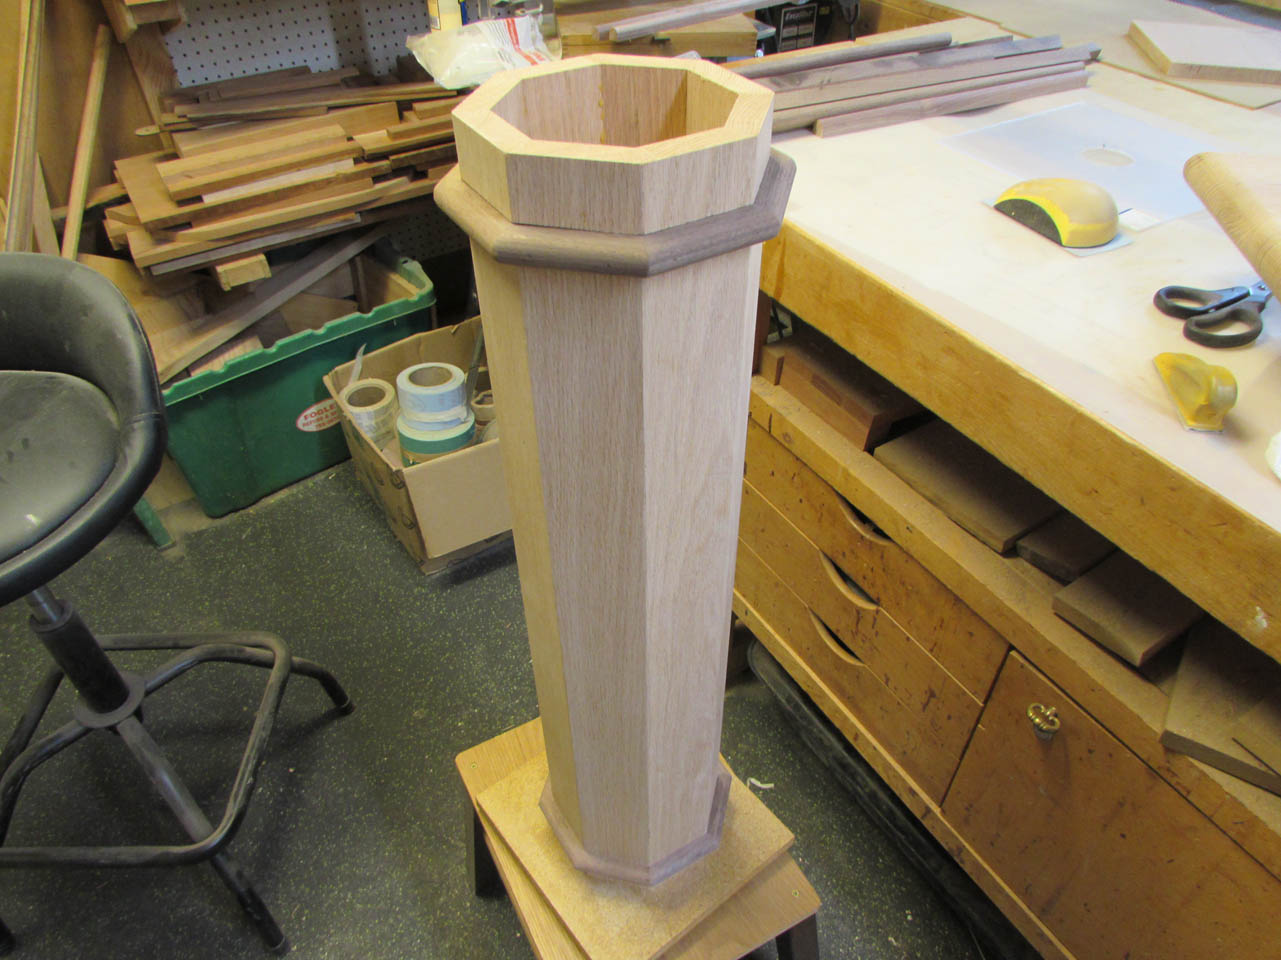
Before I get too far ahead of myself and start assembling, I did remember to finish adding the walnut trim to the column. This would be way more difficult to do after assembly…
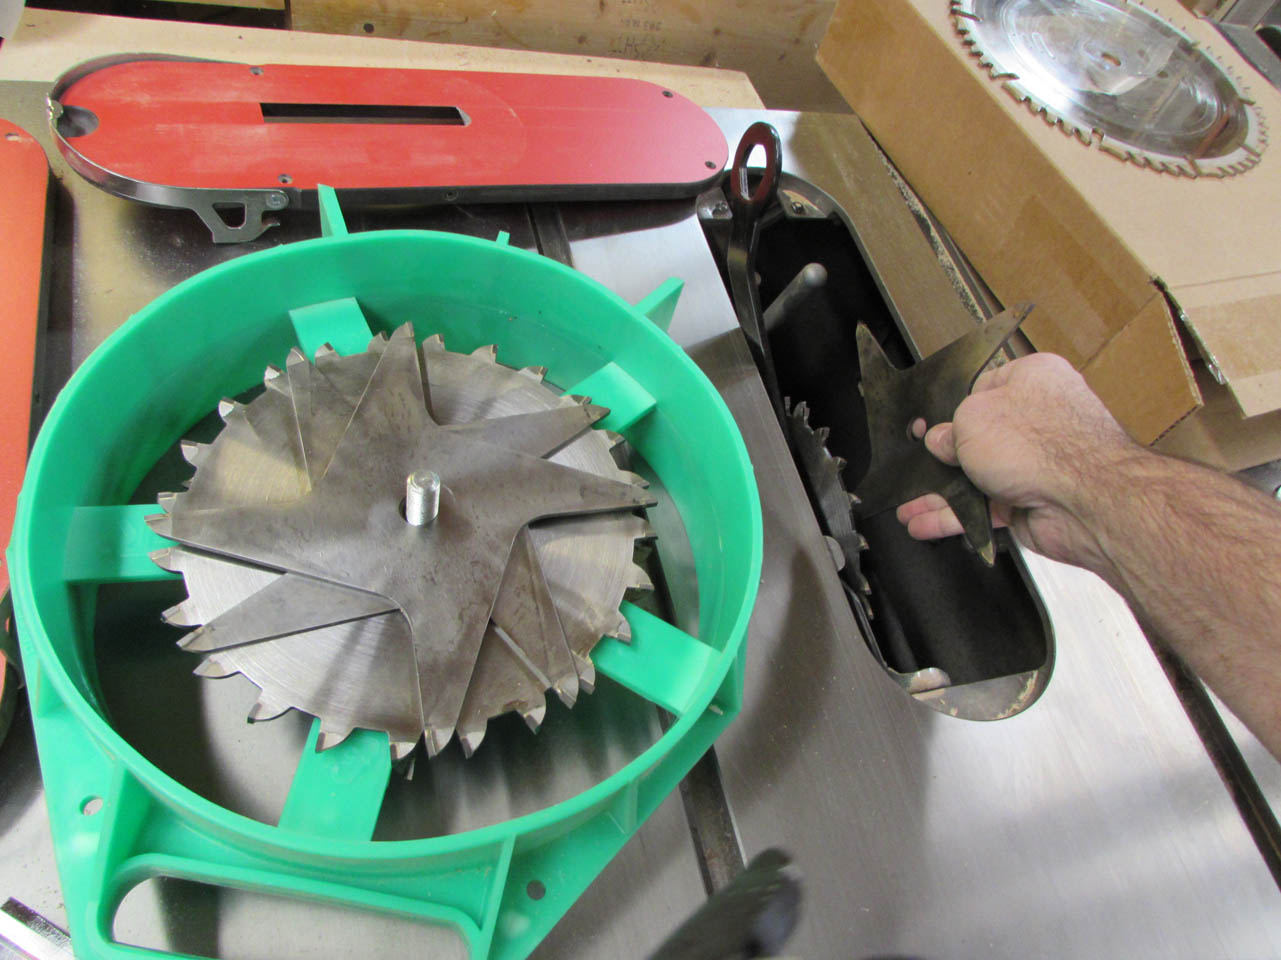
I installed my dado blade into my table saw and made the blade 3/4″ wide.
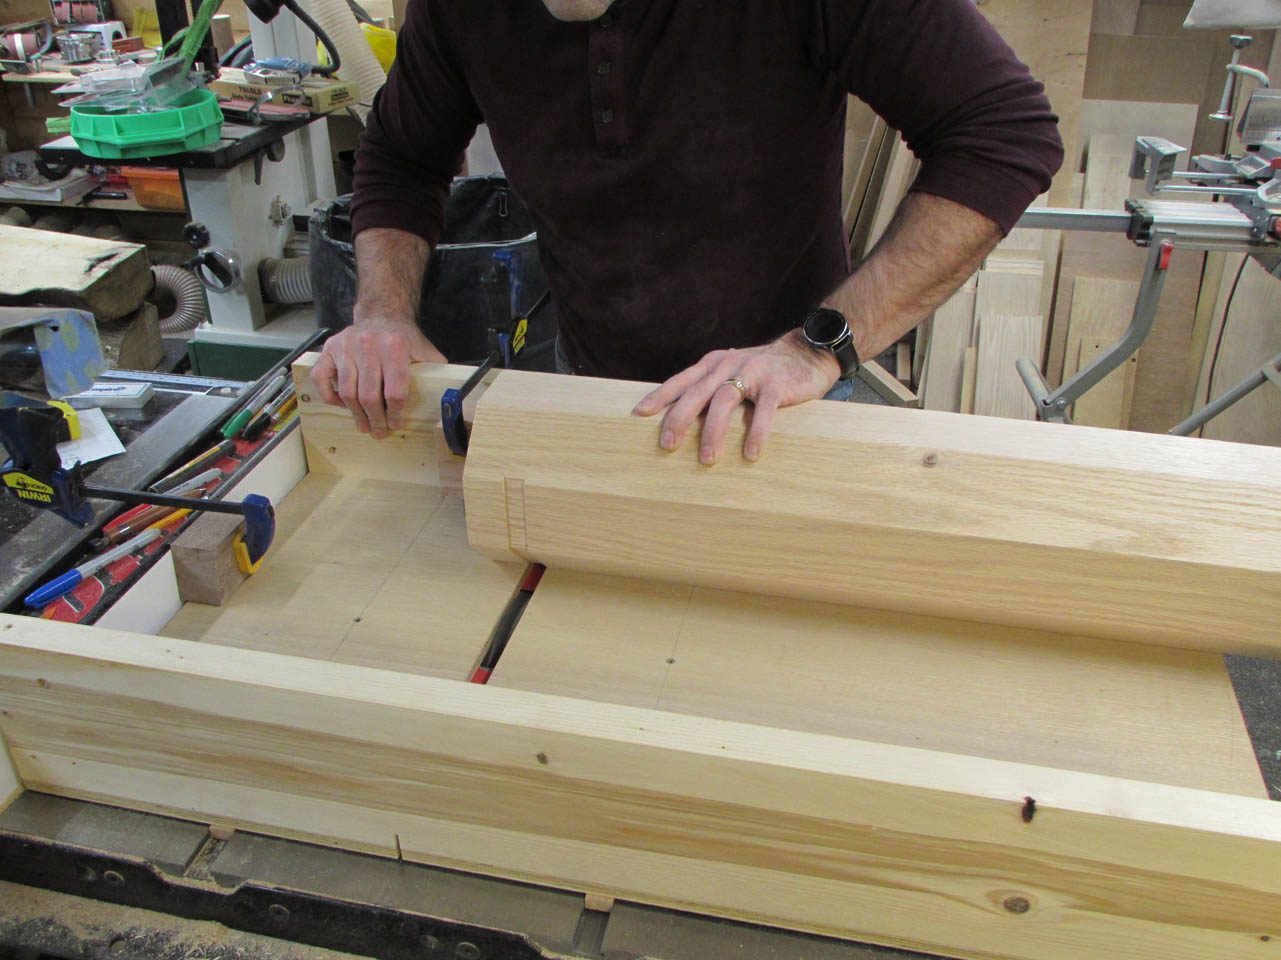
I set up my cross-cut sled, raised the blade to make a 1/8″ deep cut into the column, then added my stop blocks. I made eight passes to create the 3/4″ wide groove all the way around one end, then flipped the column and repeated the process.

Then I replaced the dado blade with a regular blade and installed my jig for cutting the trim with a 67.5° angle. After a little trial and error, I found the suitable length to cut the trim for this size column.

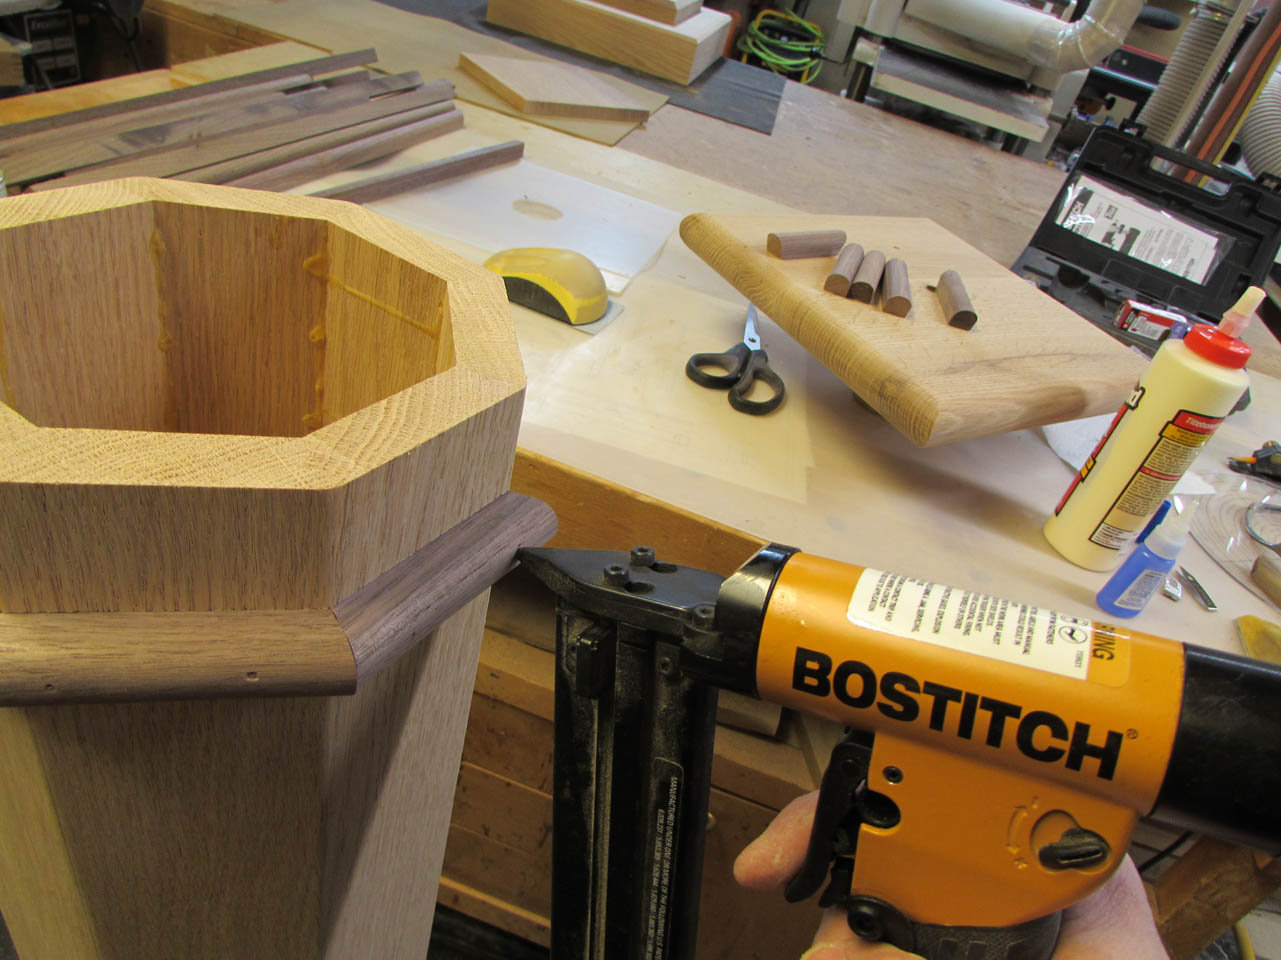
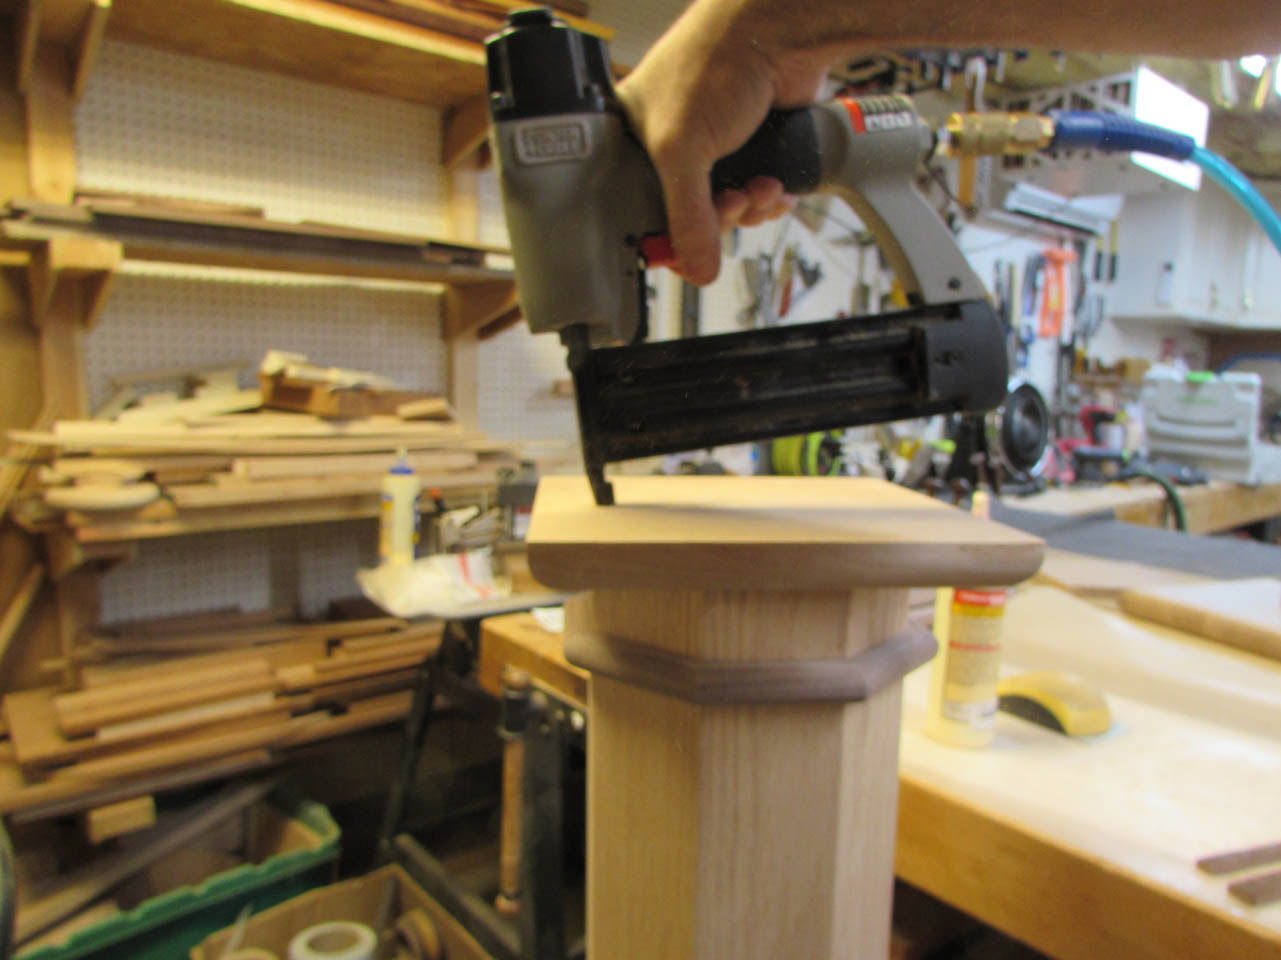
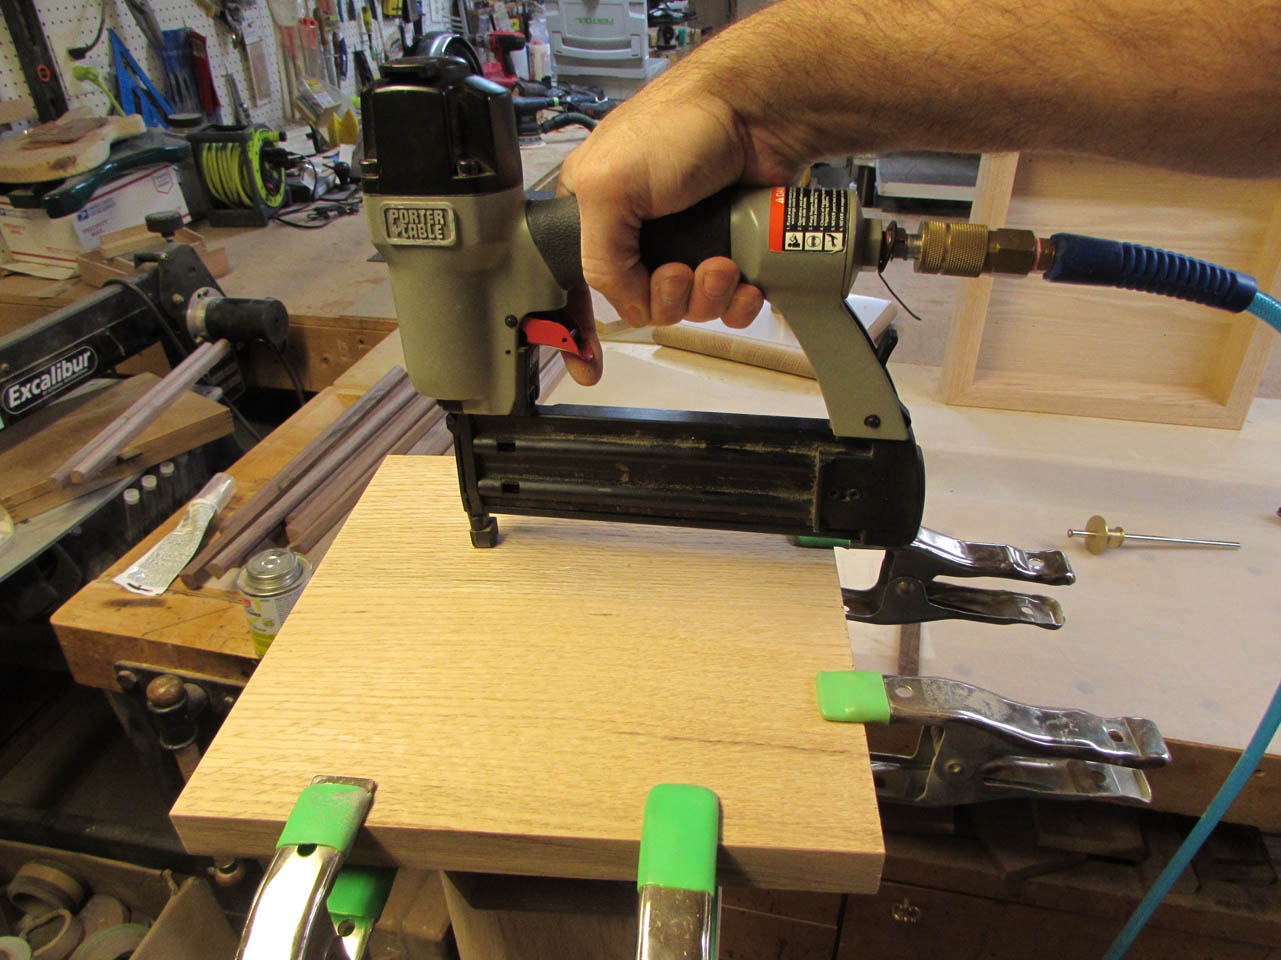
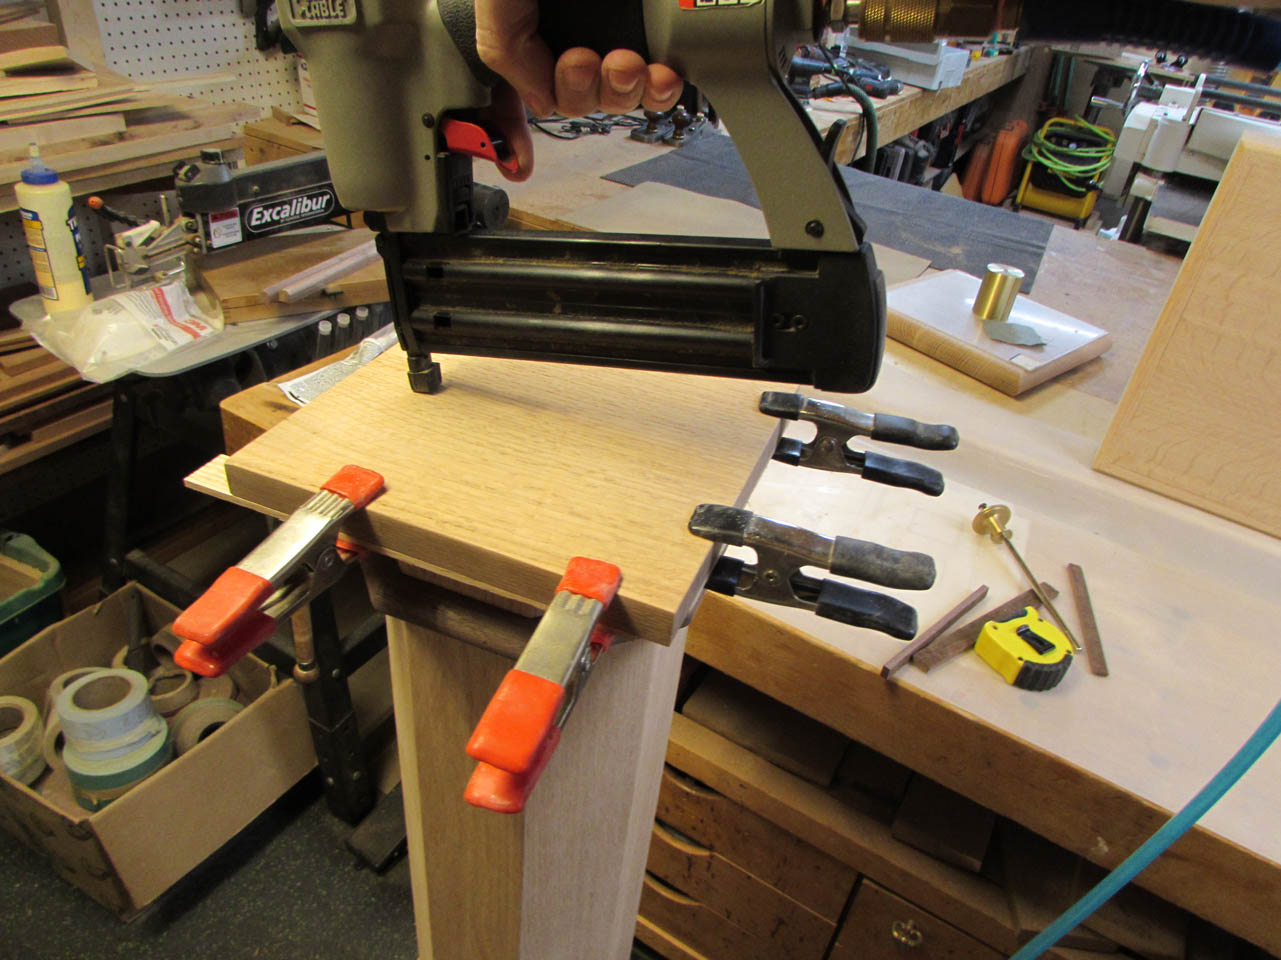
Then, like the column on the baptismal font, I applied wood glue to the back of the bullnose and CA glue to the miters then used my pin nailer to hold it in place until the glue dries.
As I assemble each piece, I sand the miter joint to force fine saw dust into any glue-filled gaps, effectively filling them.
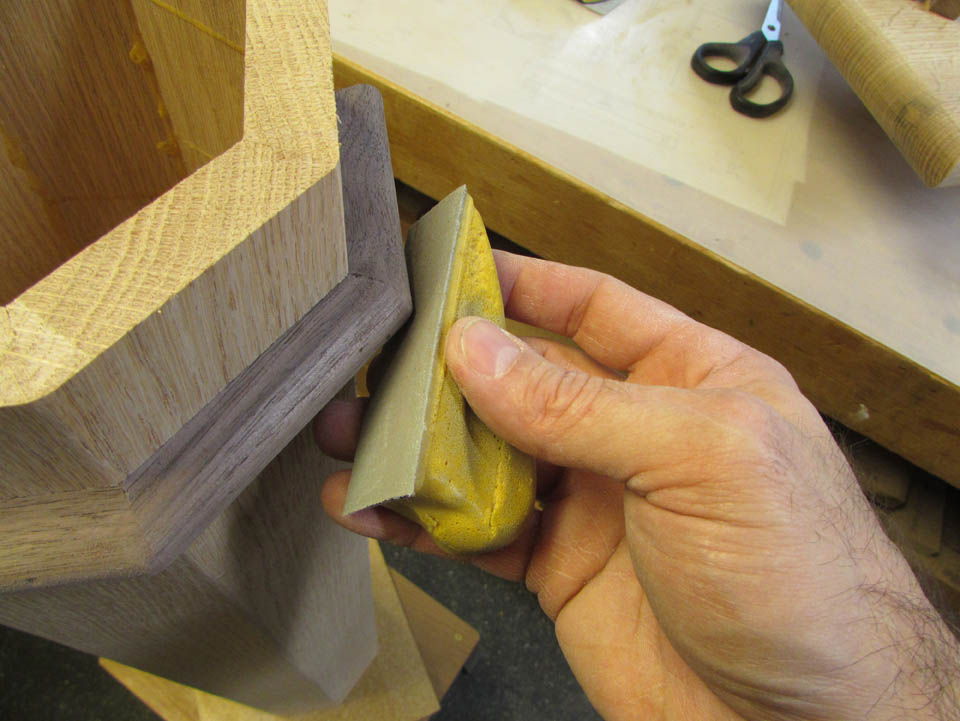
I had to cut about 1/64″ off of the last piece to get a perfect fit, then that end was done.

I flipped the column over and repeated the process on the other side.

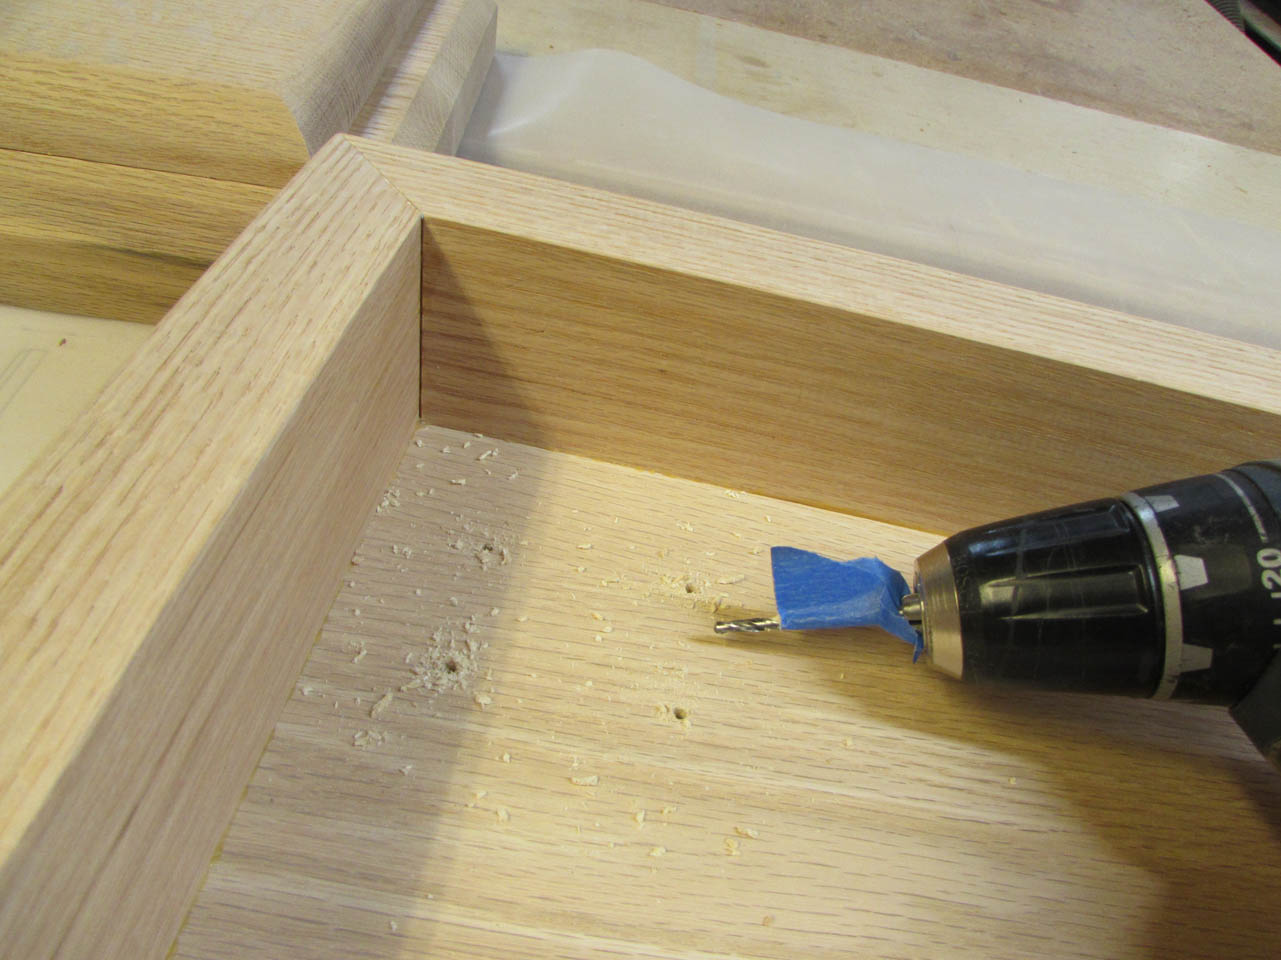
The last thing to do before final assembly is to pre-drill pilot holes for the screws attaching the casters. I used my setup block to locate each caster far enough from the side skirt to allow the wheels to spin all the way around freely. Then I marked the center of each mounting hole with an awl. I marked the depth on my drill bit with a piece of tape to prevent the hole from being drilled all the way through the face of the base, and then drilled each of the pilot holes.
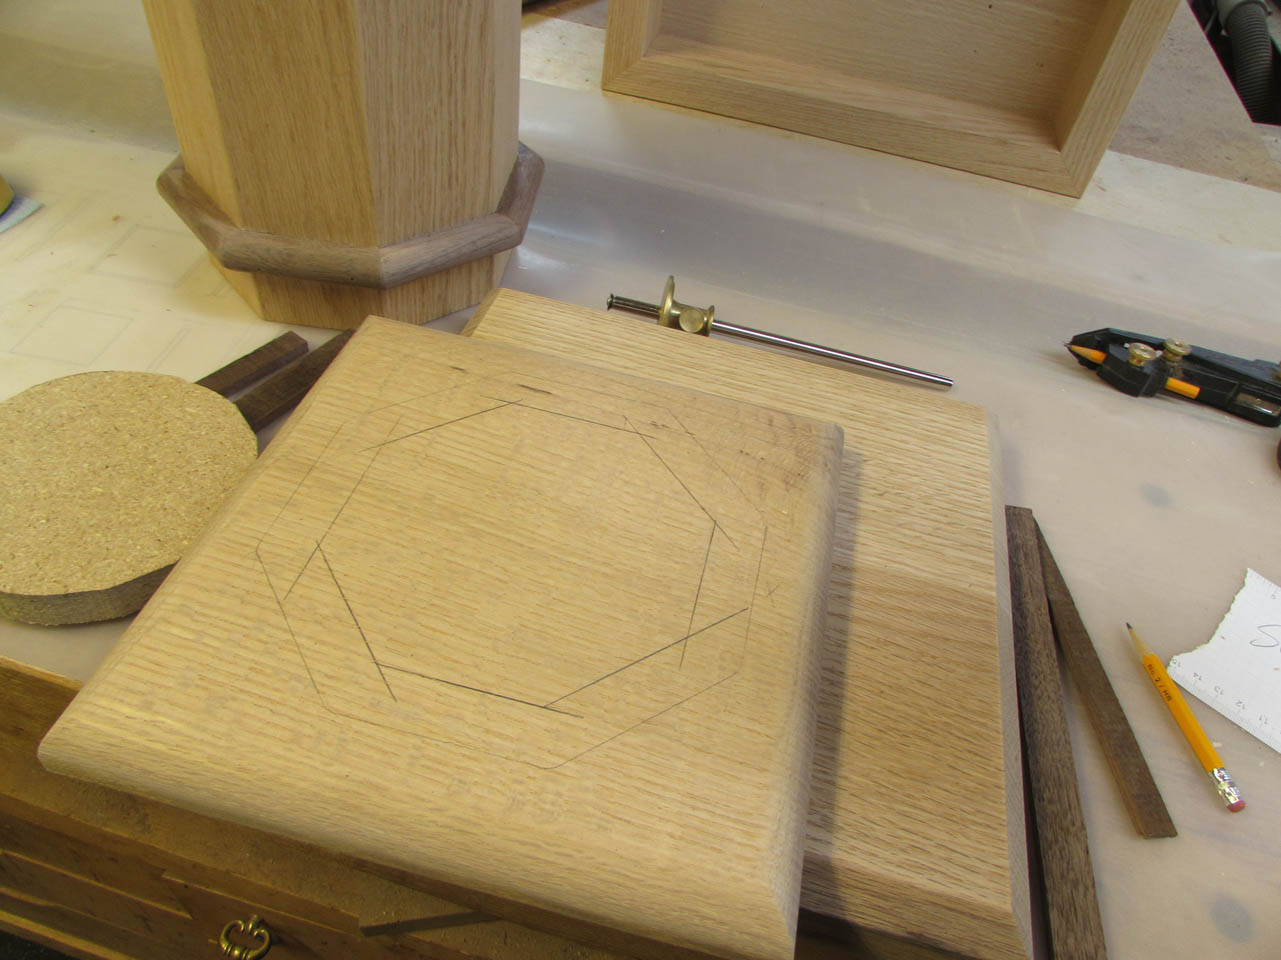
Next, I centered the column onto the base cap and marked it’s location. Then I used a 3/4″ wide strip of wood to locate and trace the inside edge of the column. This shows me where to start installing my pieces of particle board for added weight.
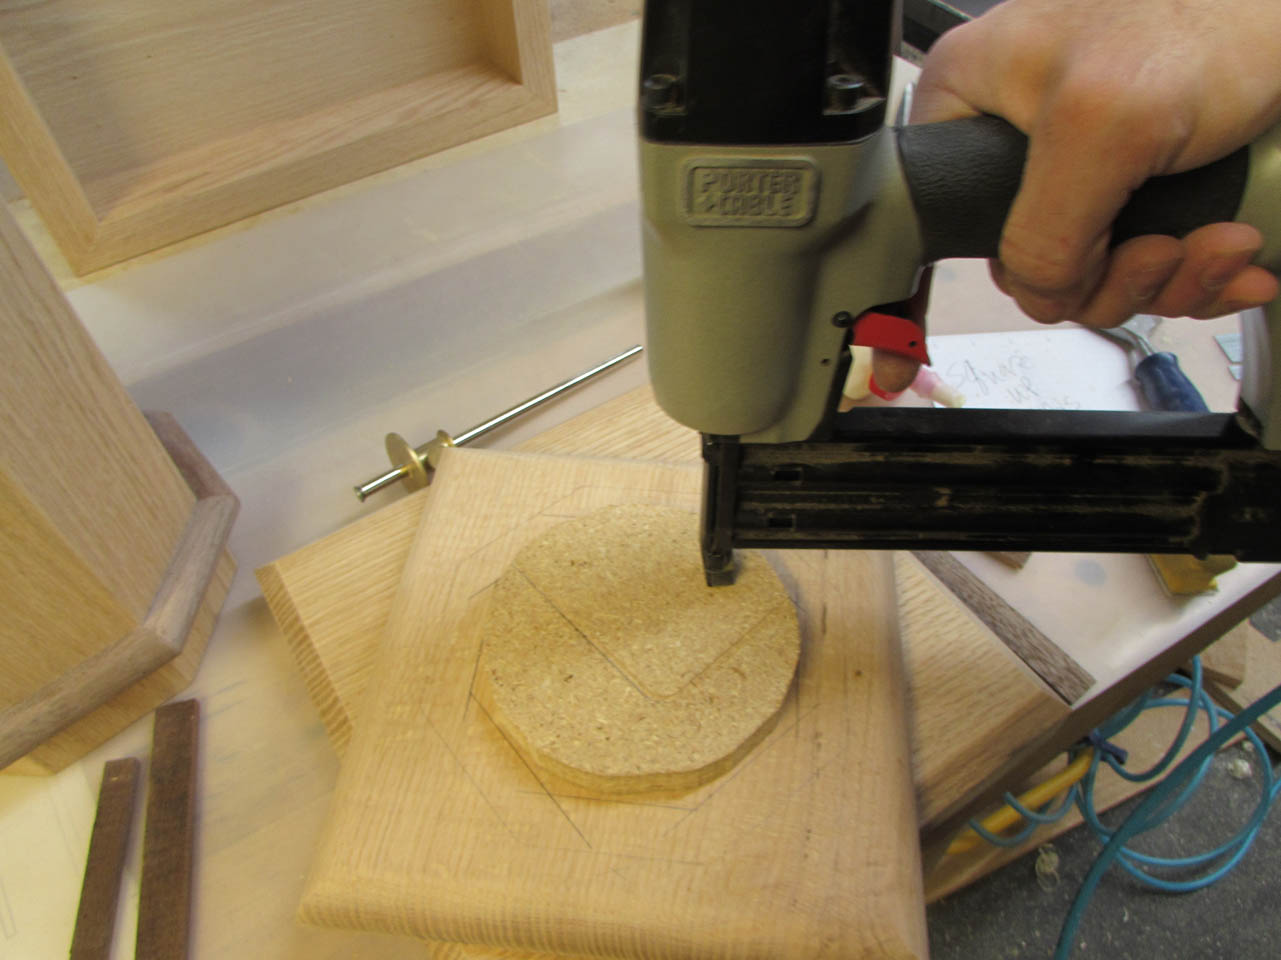
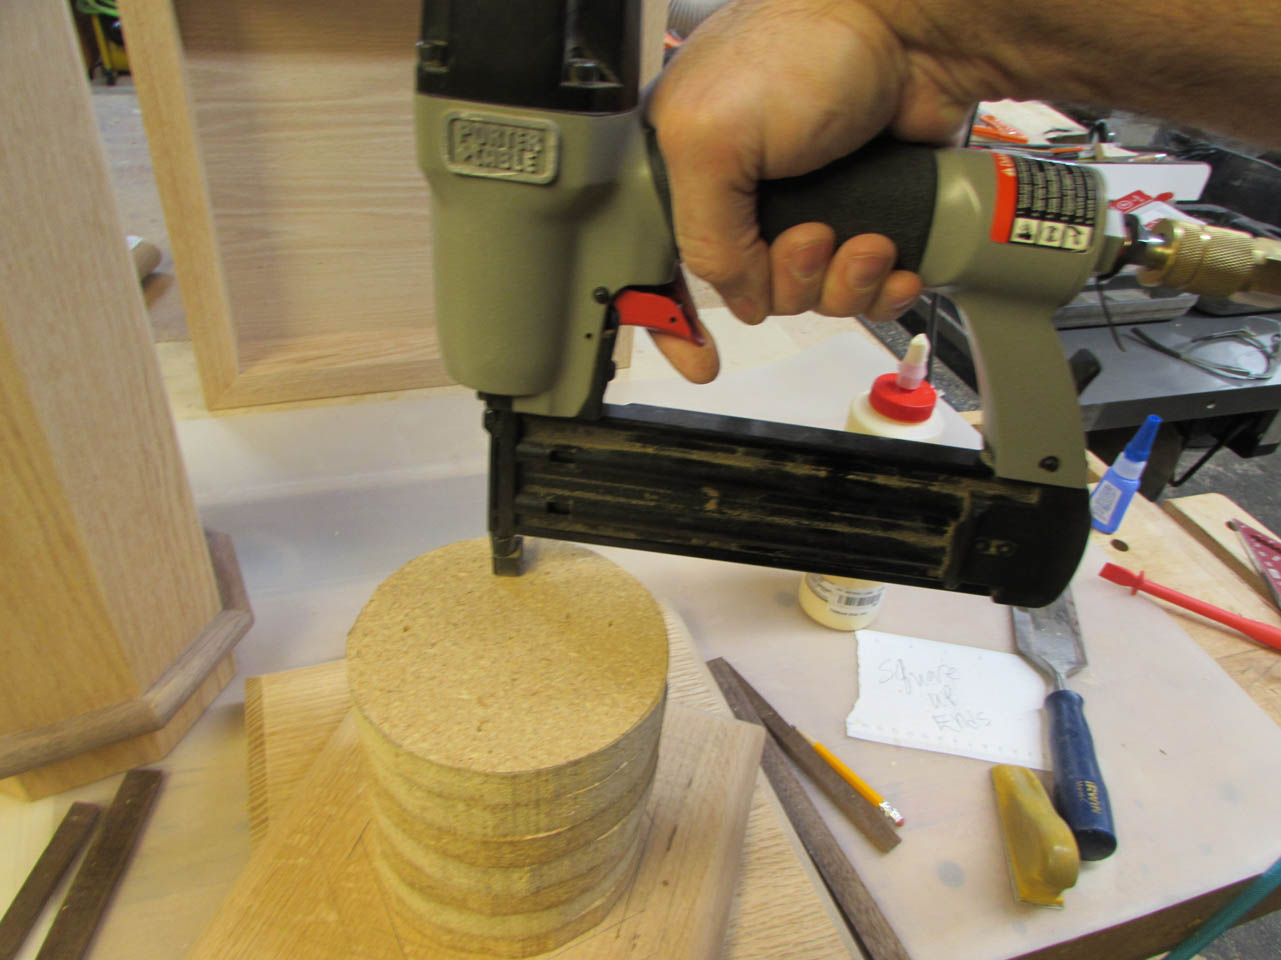
I use wood glue and four brad nails to hold each circle in place.
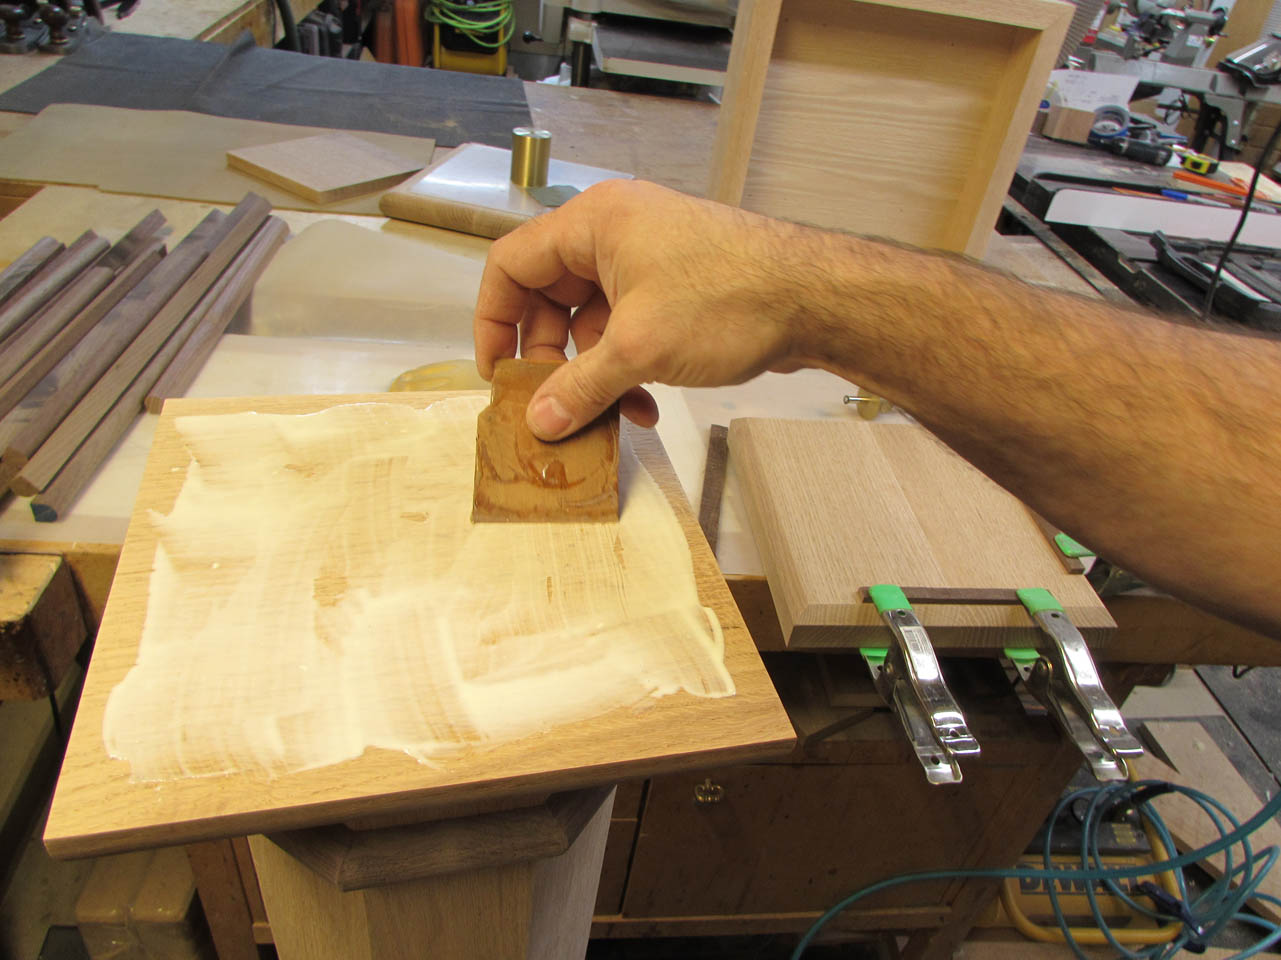
After the last one is placed, I apply glue to the end of the column where it will sit.
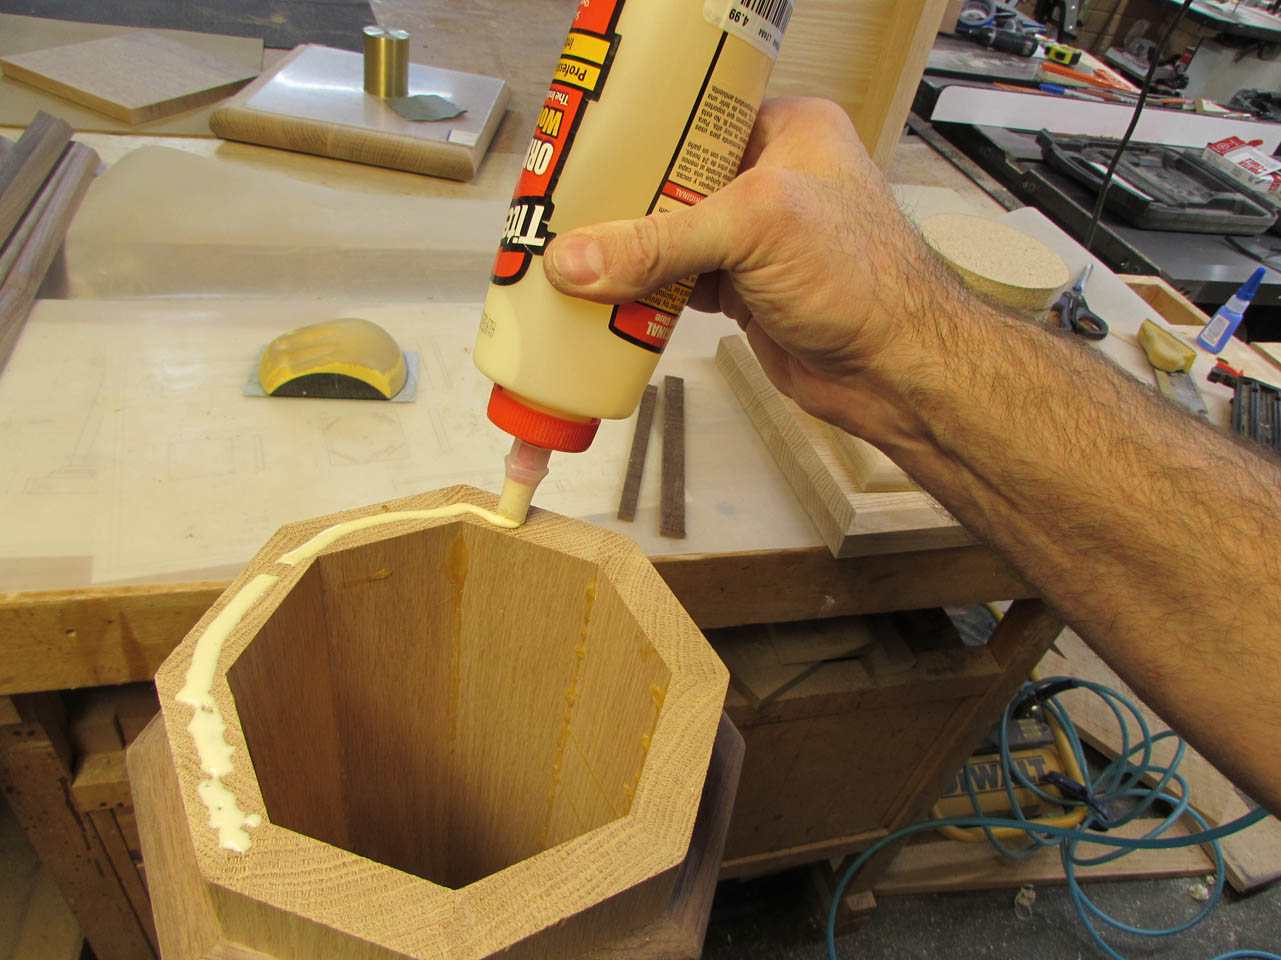
I set the base cap into place by sliding the stack of circles into the base of the column, then after centering and aligning the plate, I attached it from the bottom with some 2″ brad nails. One into each side of the column, angled slightly so the nails would point inward.
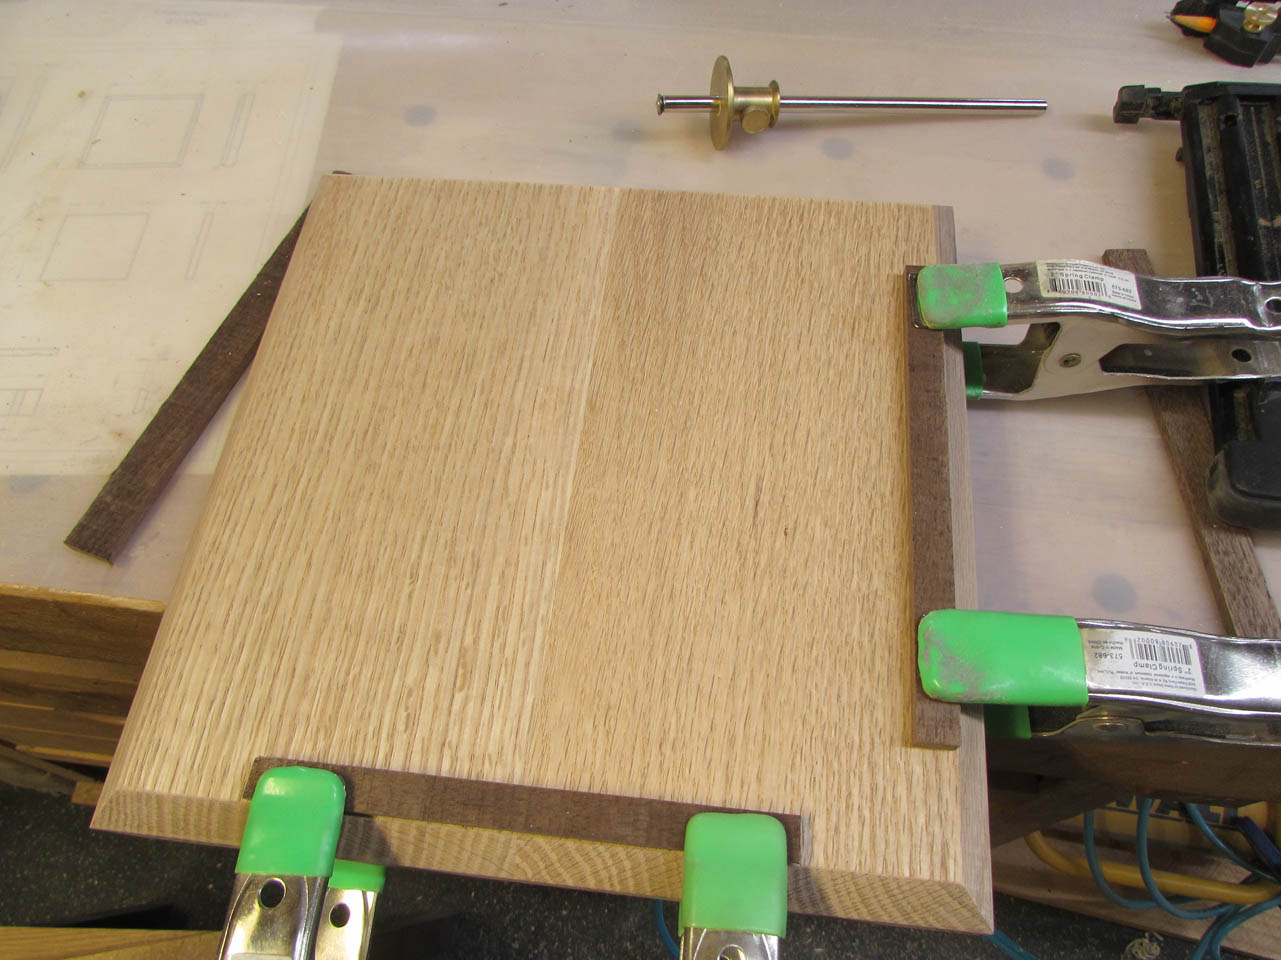
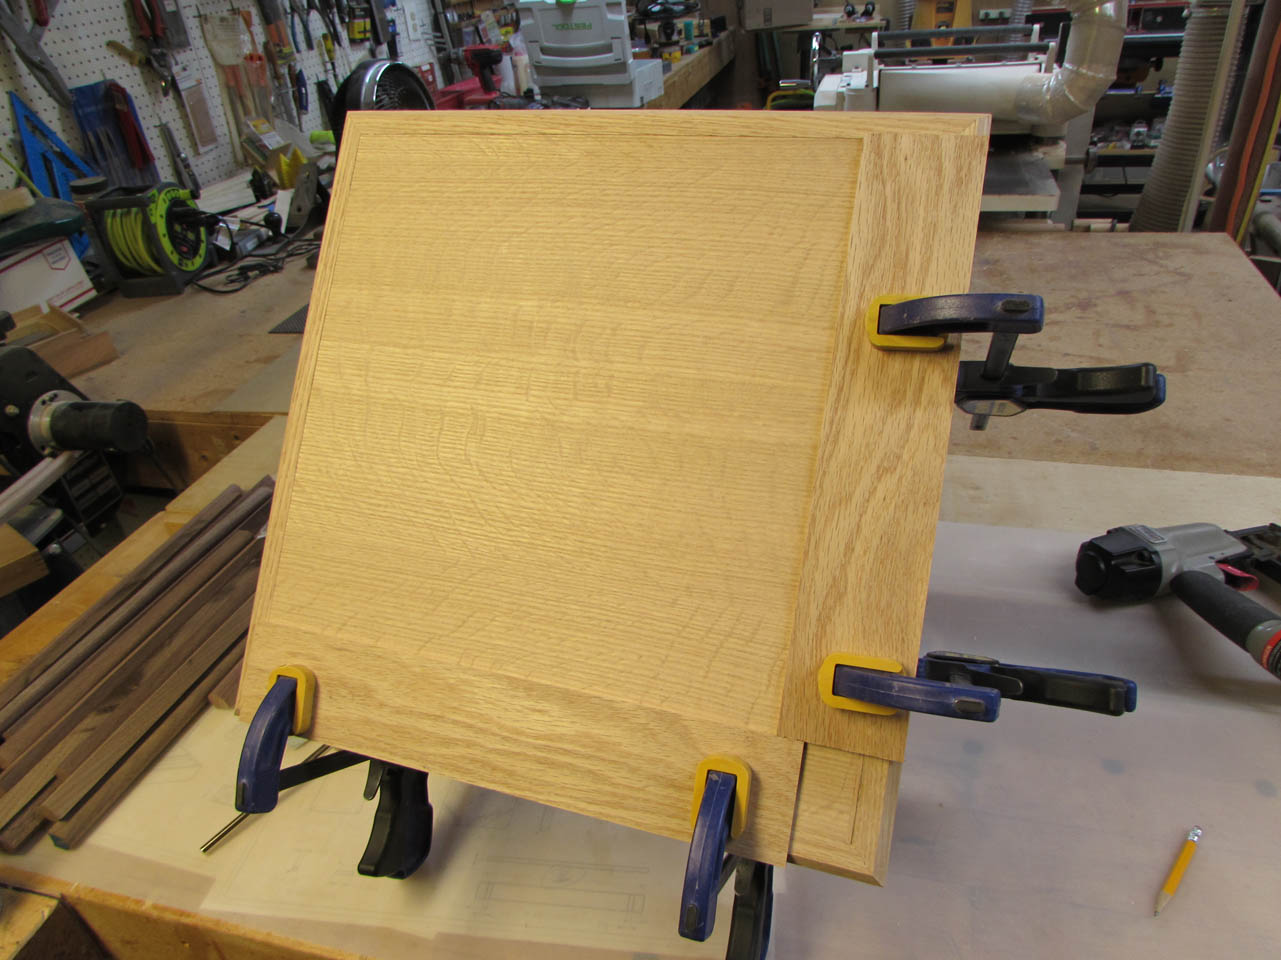
I clamped two strips to adjacent sides of the base to mark the location of it on the base cap, then applied glue to the base cap.
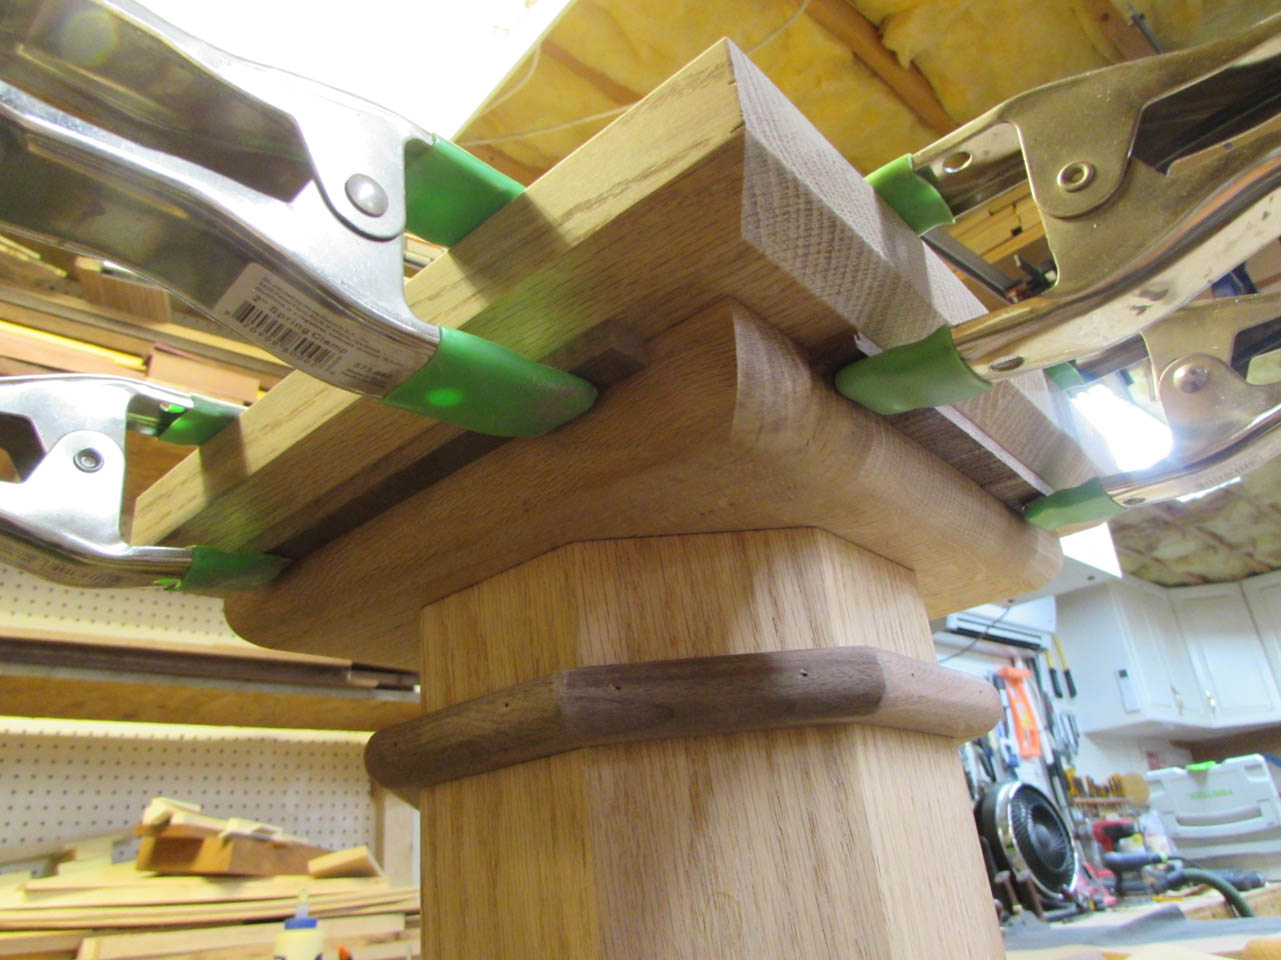
After it was gently set in place, brad nails were used to attach it as well.
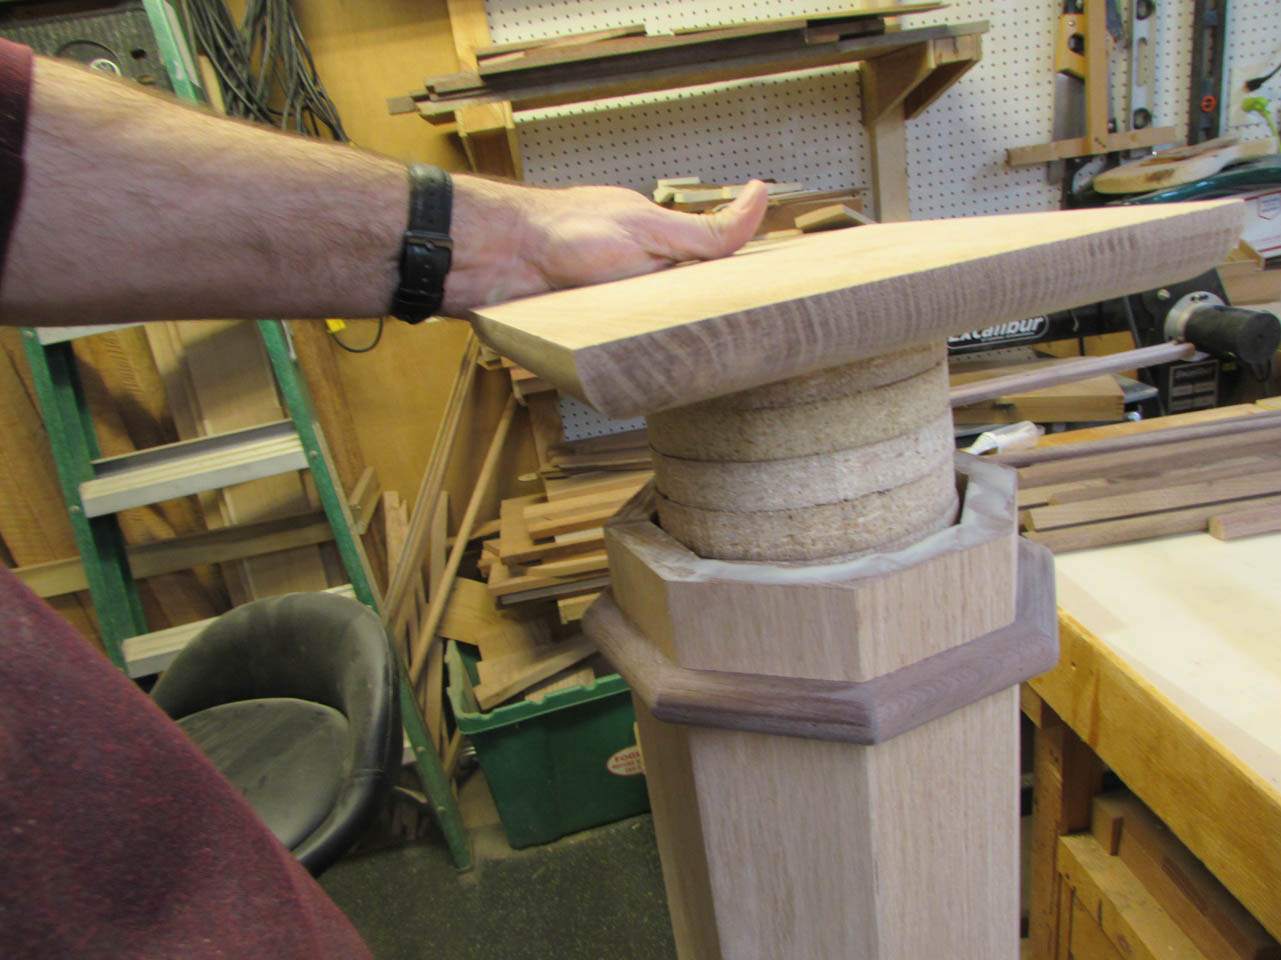
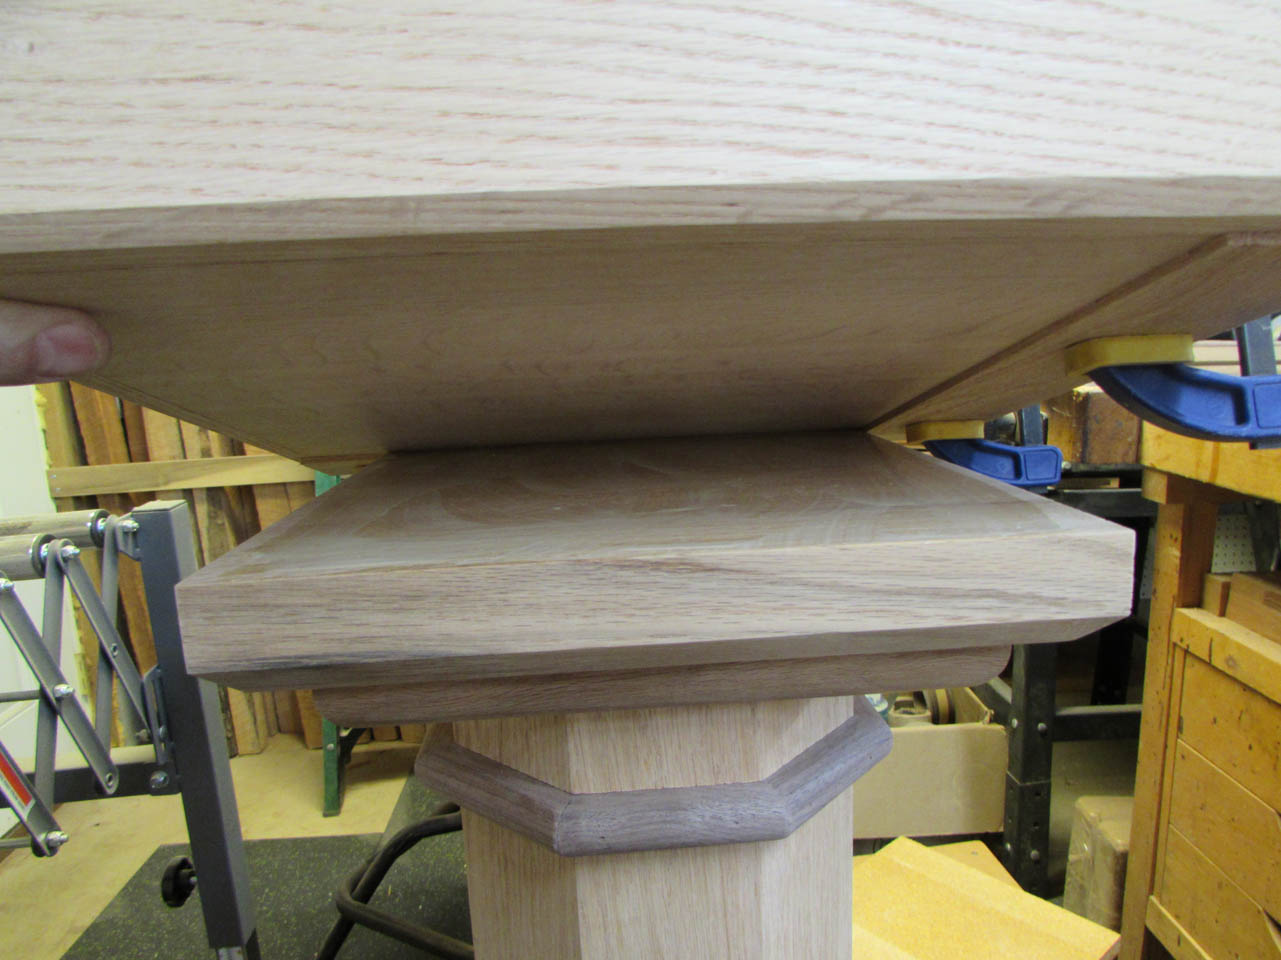
I flipped the column over and repeated the process on the top cap of the column.

Then the thick top plate (with the bolt epoxied to it) was attached in a similar fashion using glue and brads after carefully being centered in place.

Finally, the mobile base was attached in the same fashion.
And, the column is now assembled. Over the next couple of days I will apply the stain and finish.

Then it will be on to the next piece…
