
St. Kilian chapel – Paschal candle stand – part 2
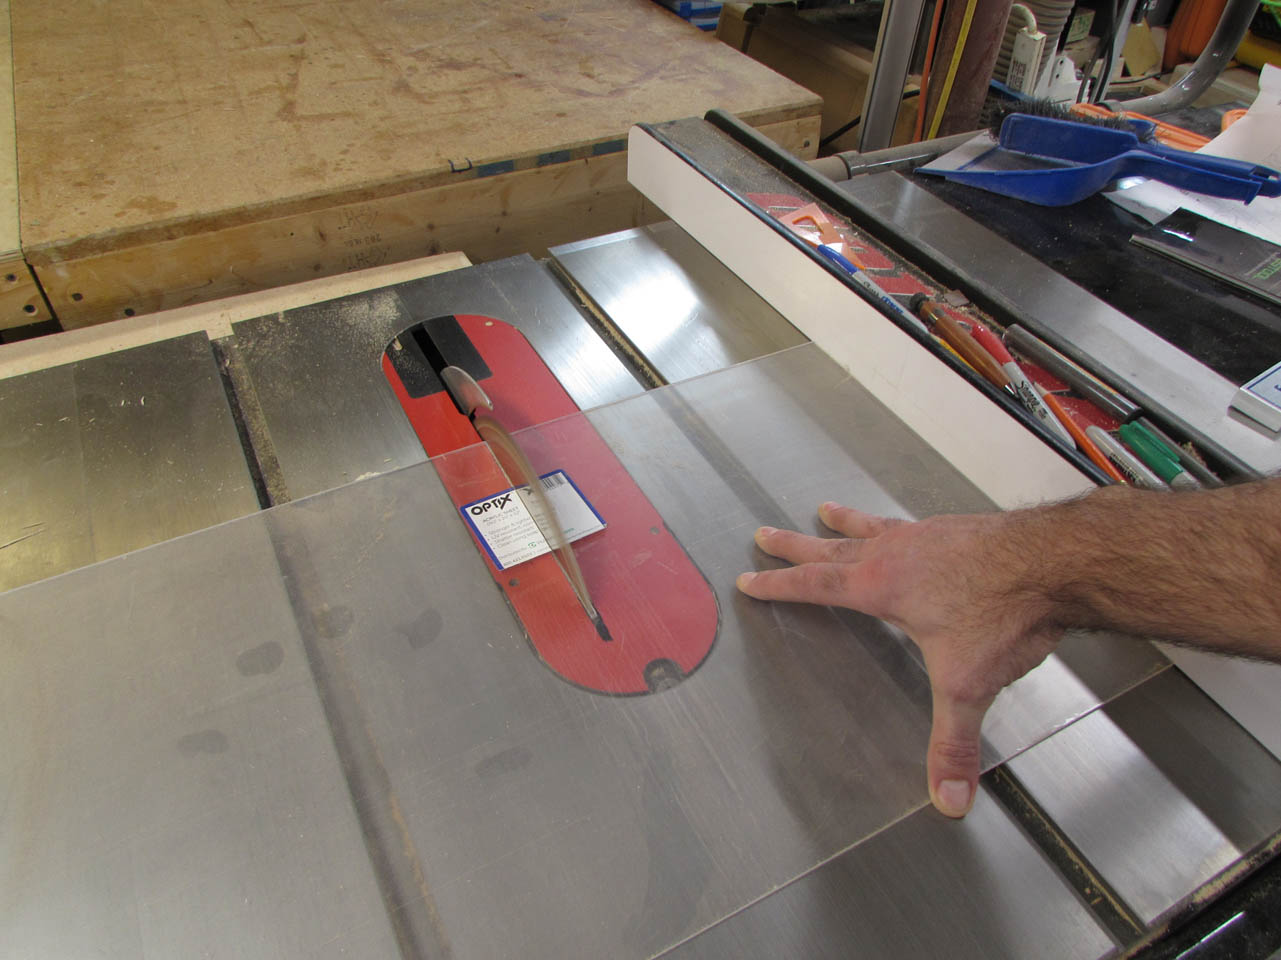
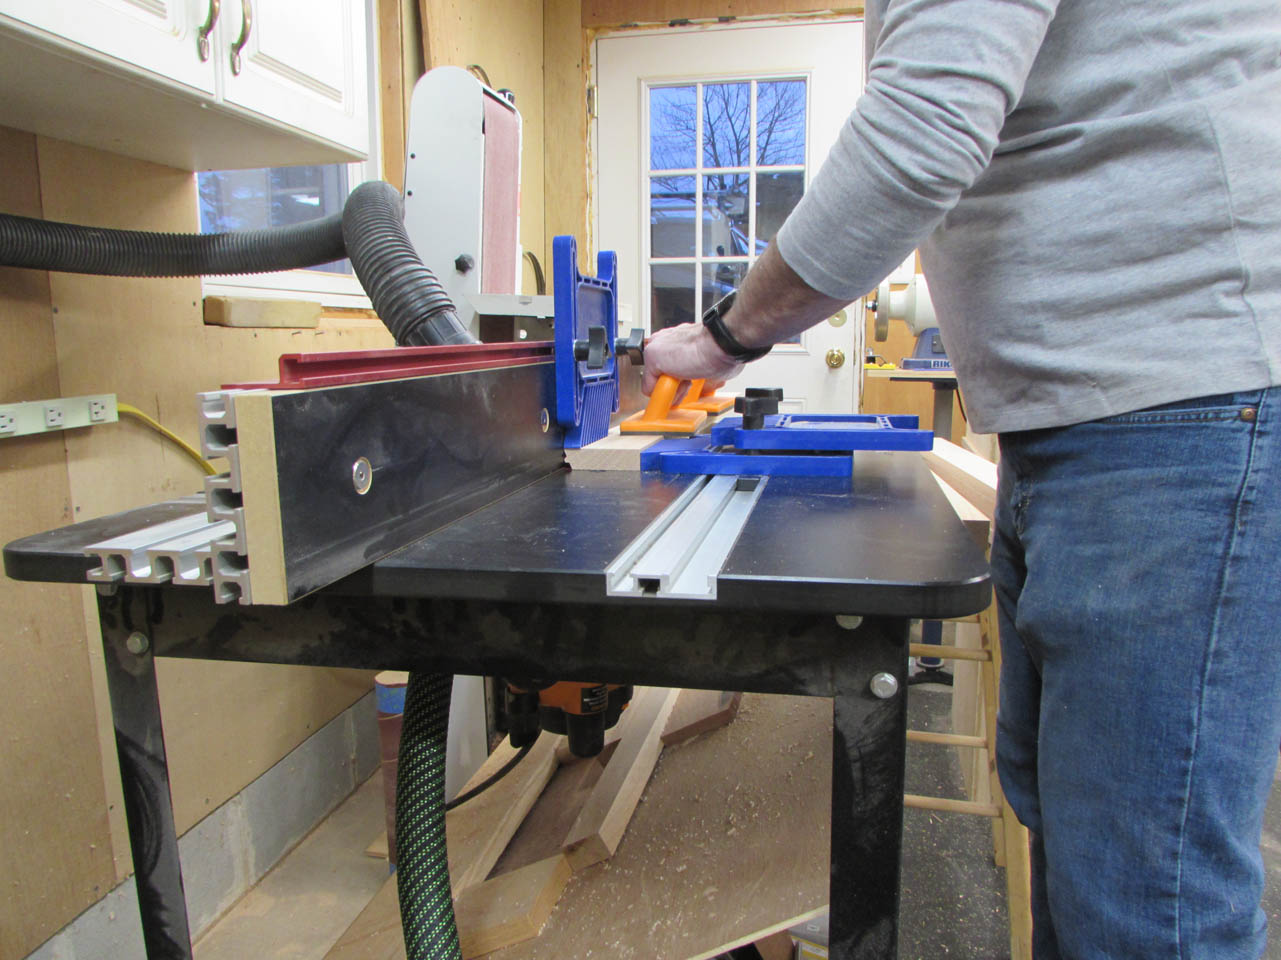
I pulled the clamps on the base and took it to the router table to put a 1/4″ chamfer around the top.

This just takes the sharp edge off in case someone puts a foot on it. Hopefully the edge will last longer this way.

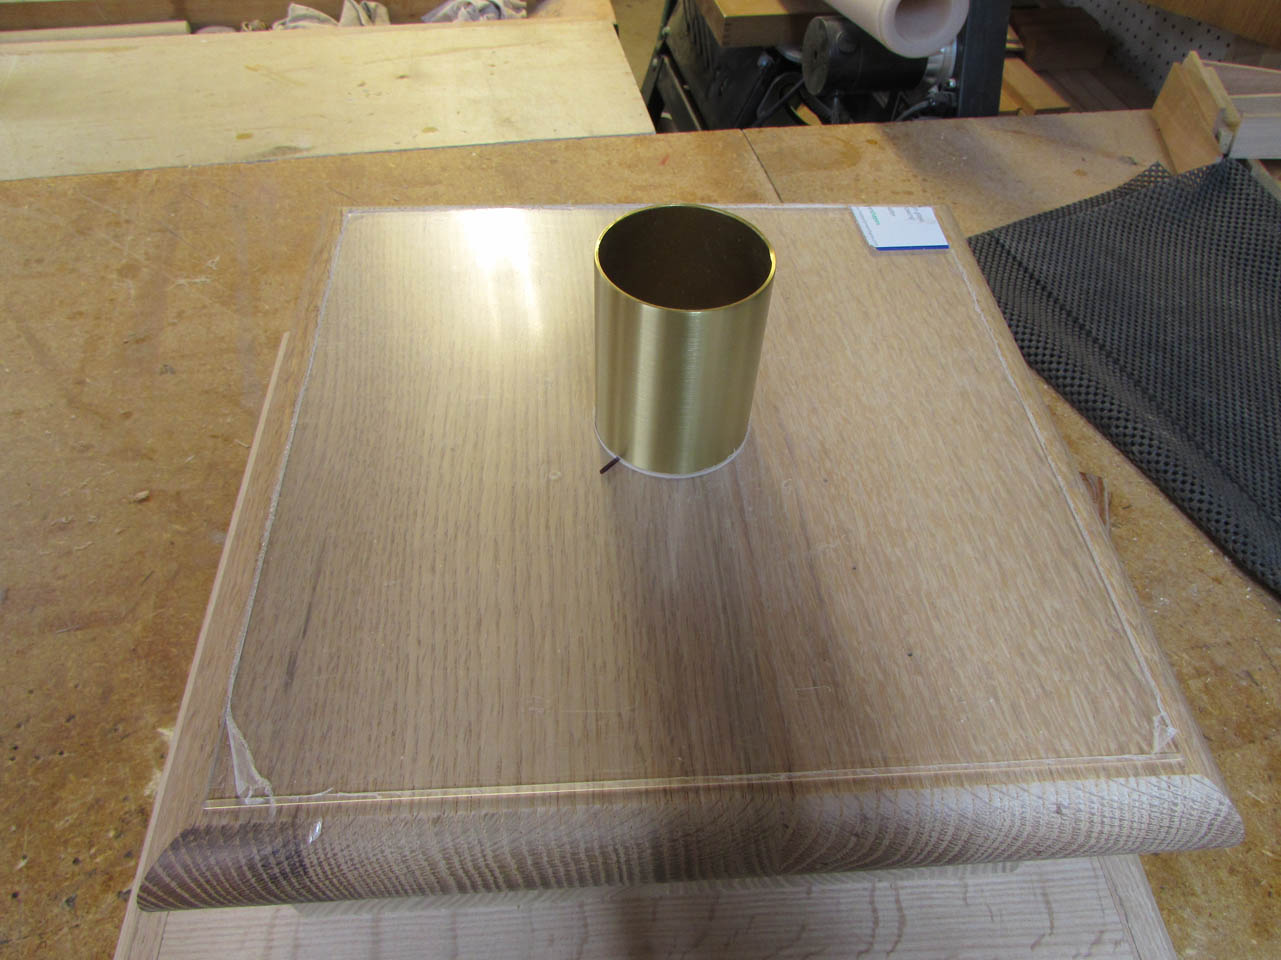
I had a request for a clear plate to sit on the top to catch any wax dripping down the candle. I have a piece of clear acrylic that I cut down to an 11″ square.
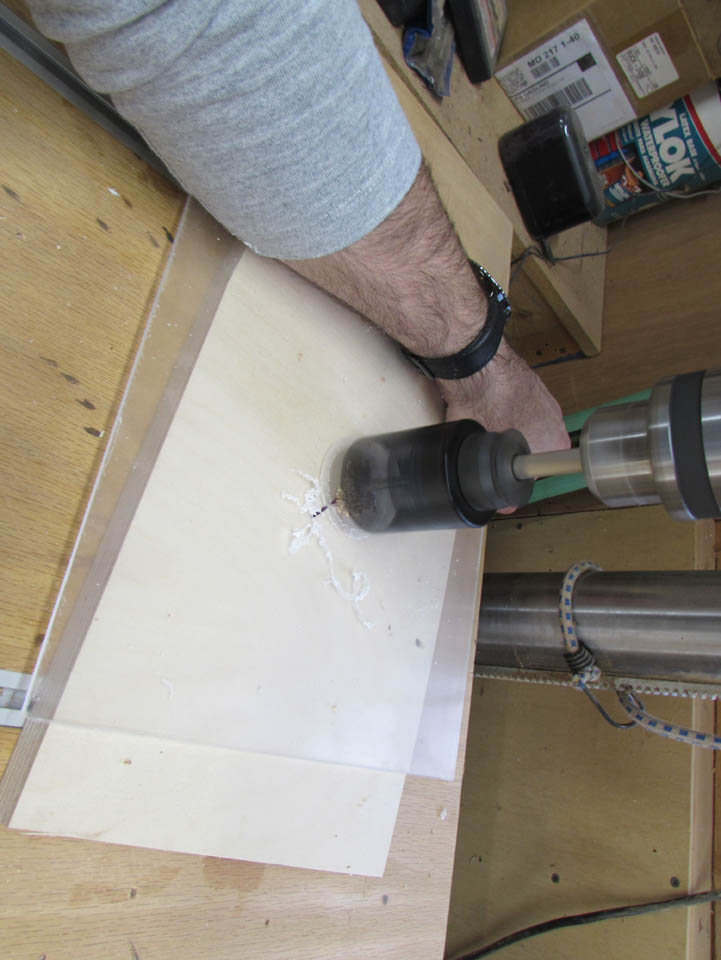
I marked the center and used a 2-1/8″ hole saw to cut a hole right in the middle.

Unfortunately it wasn’t a perfect fit over the brass cup.

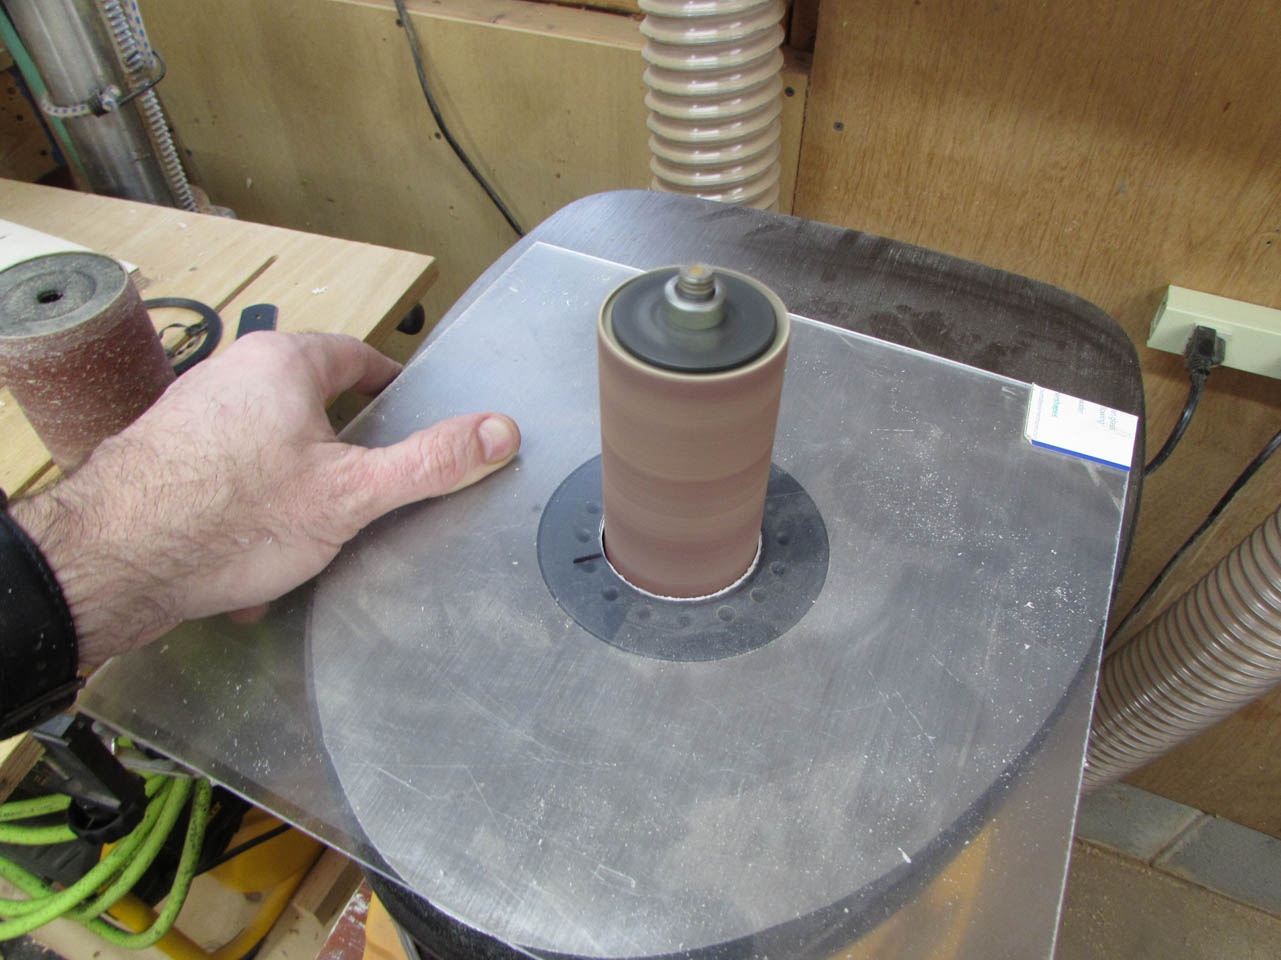
I put the 2″ spindle in my spindle sander and opened up the hole slightly. This gives a much better fit.

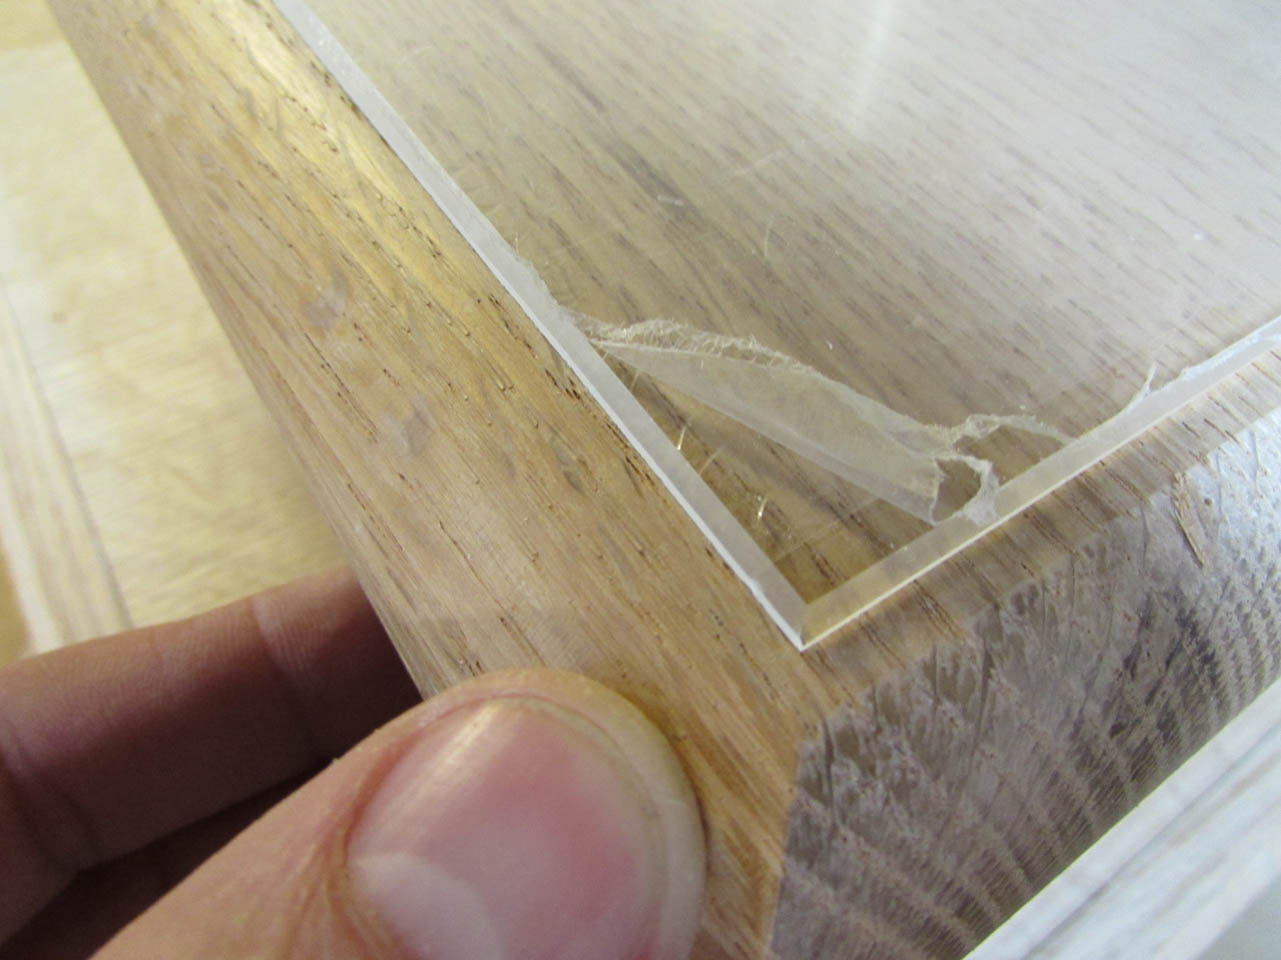
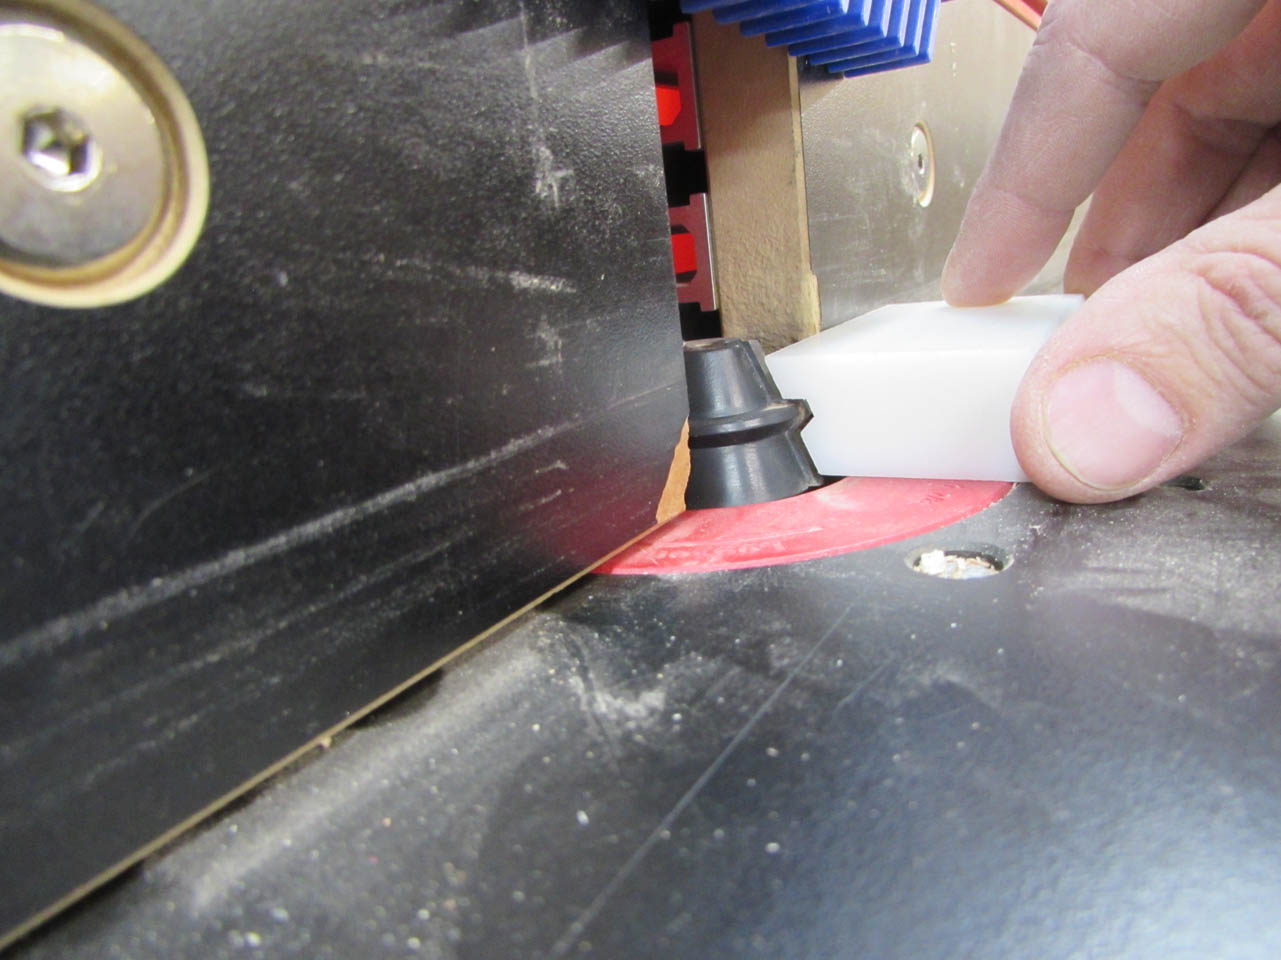
Next, I lowered the 45° bit down to make a 1/16″ bevel on the edge of the plate.
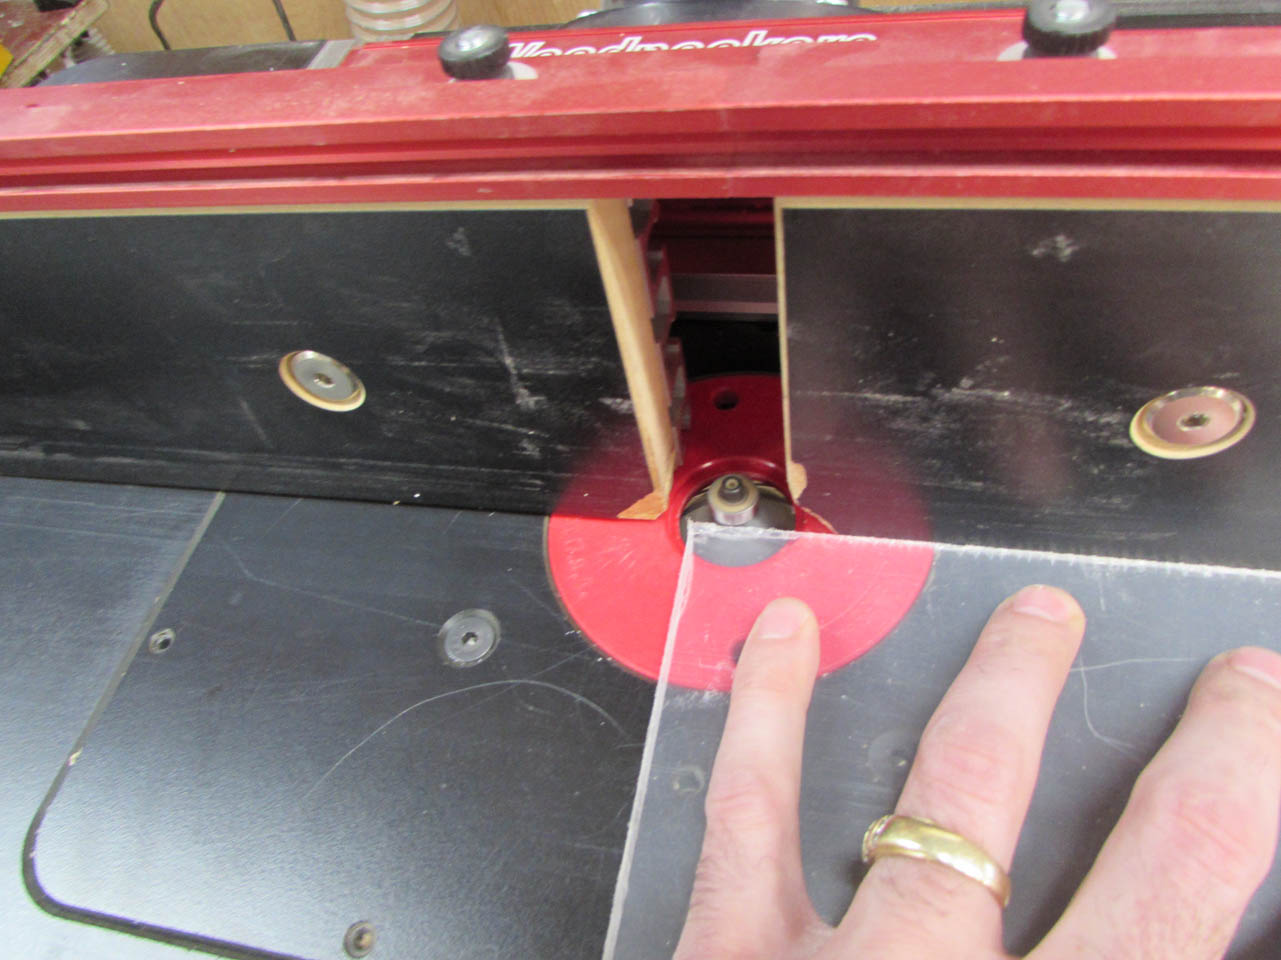
That turned out nice.
All the flat pieces are now done except for sanding. Its time to start on the column.
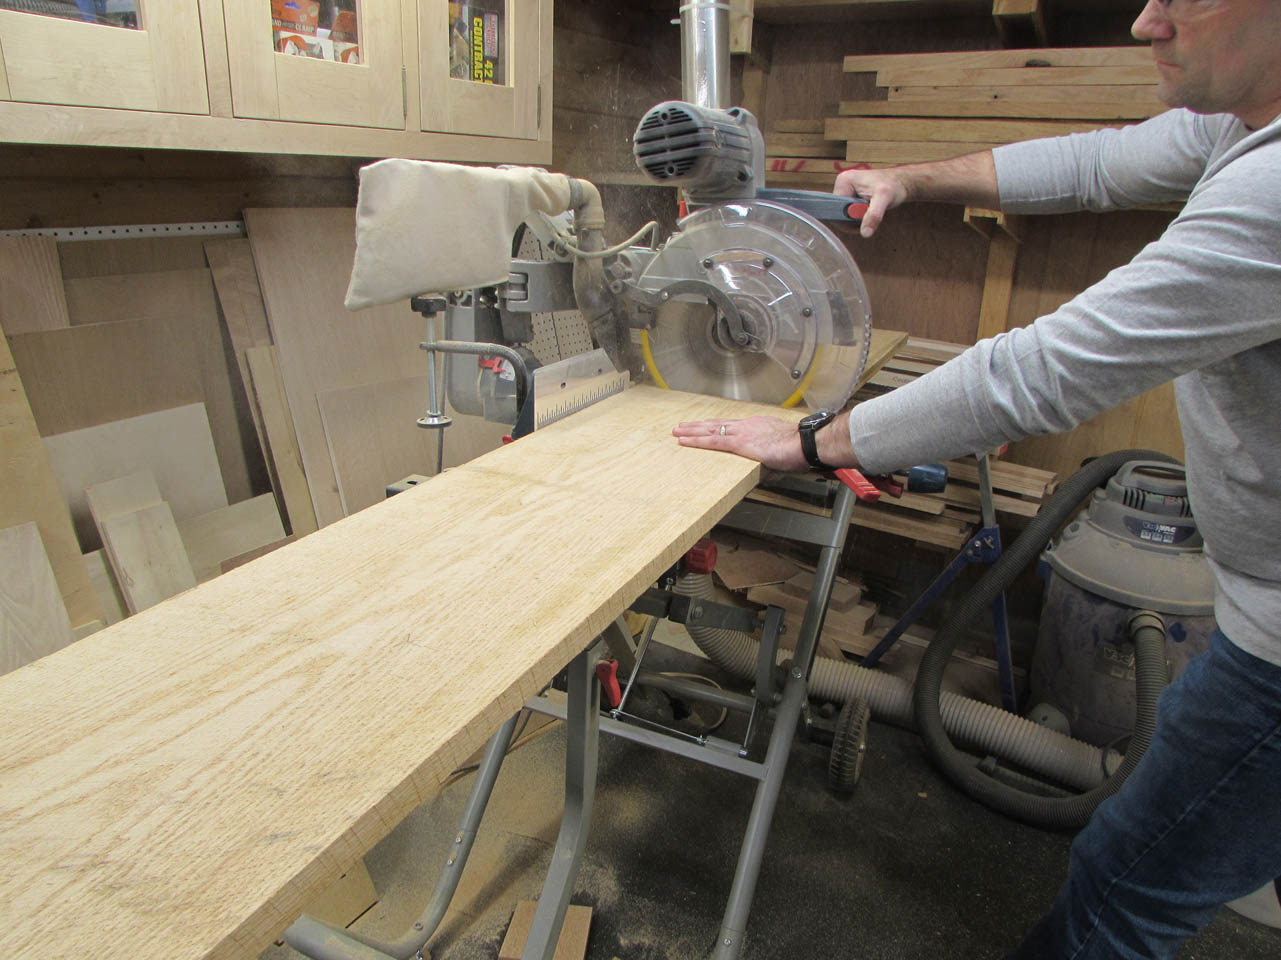
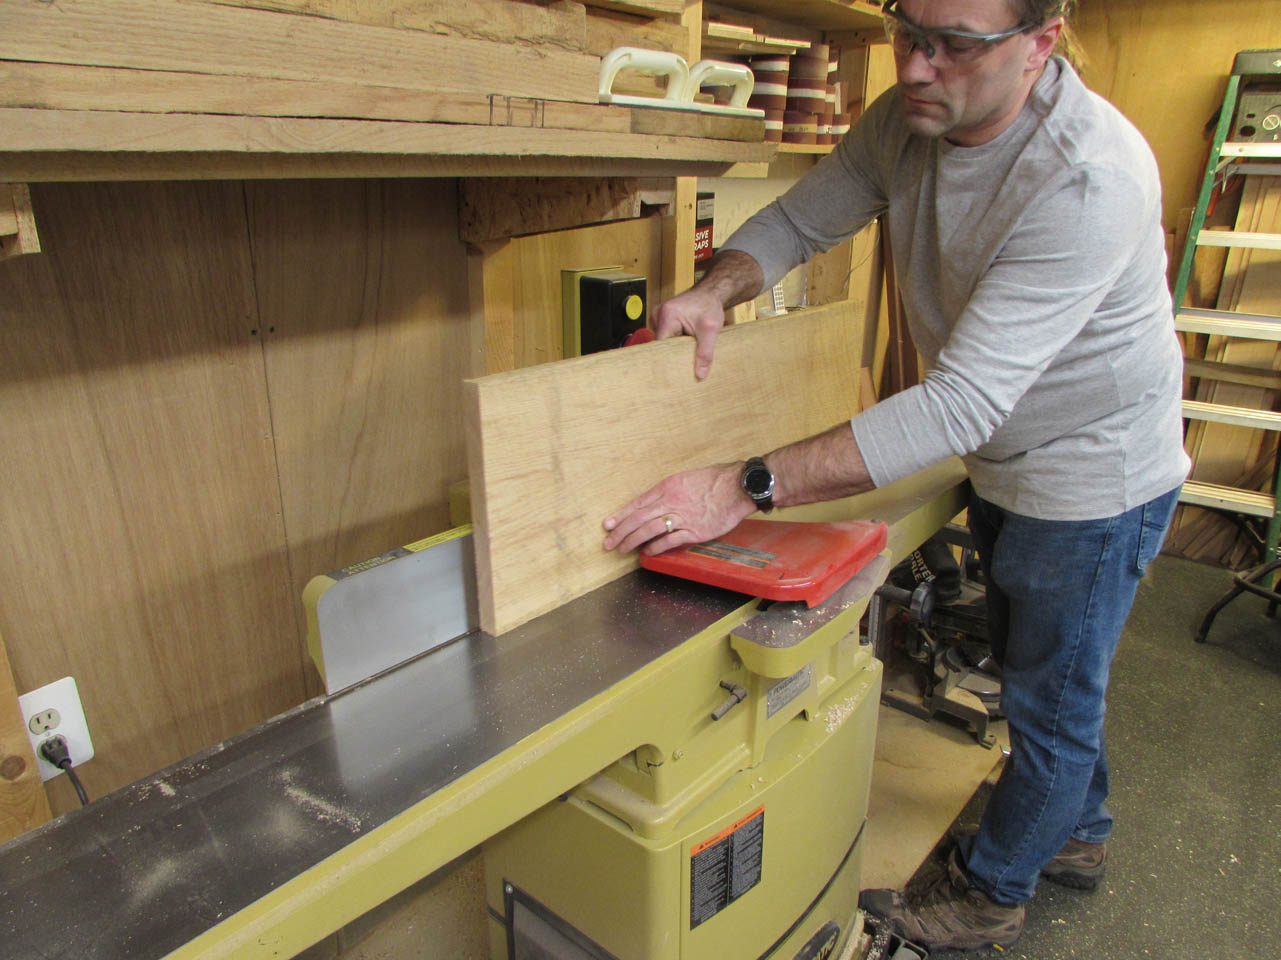
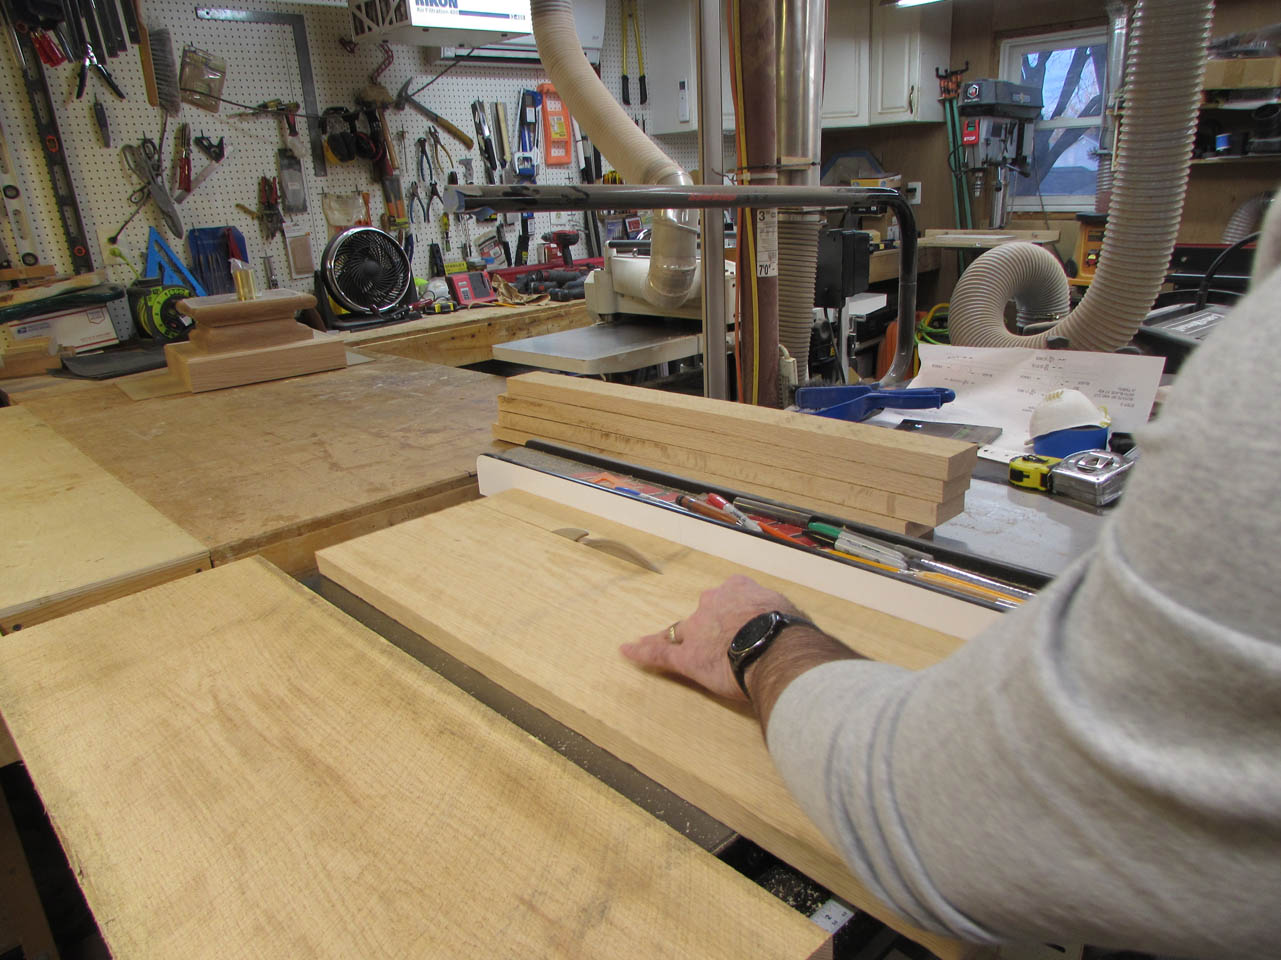
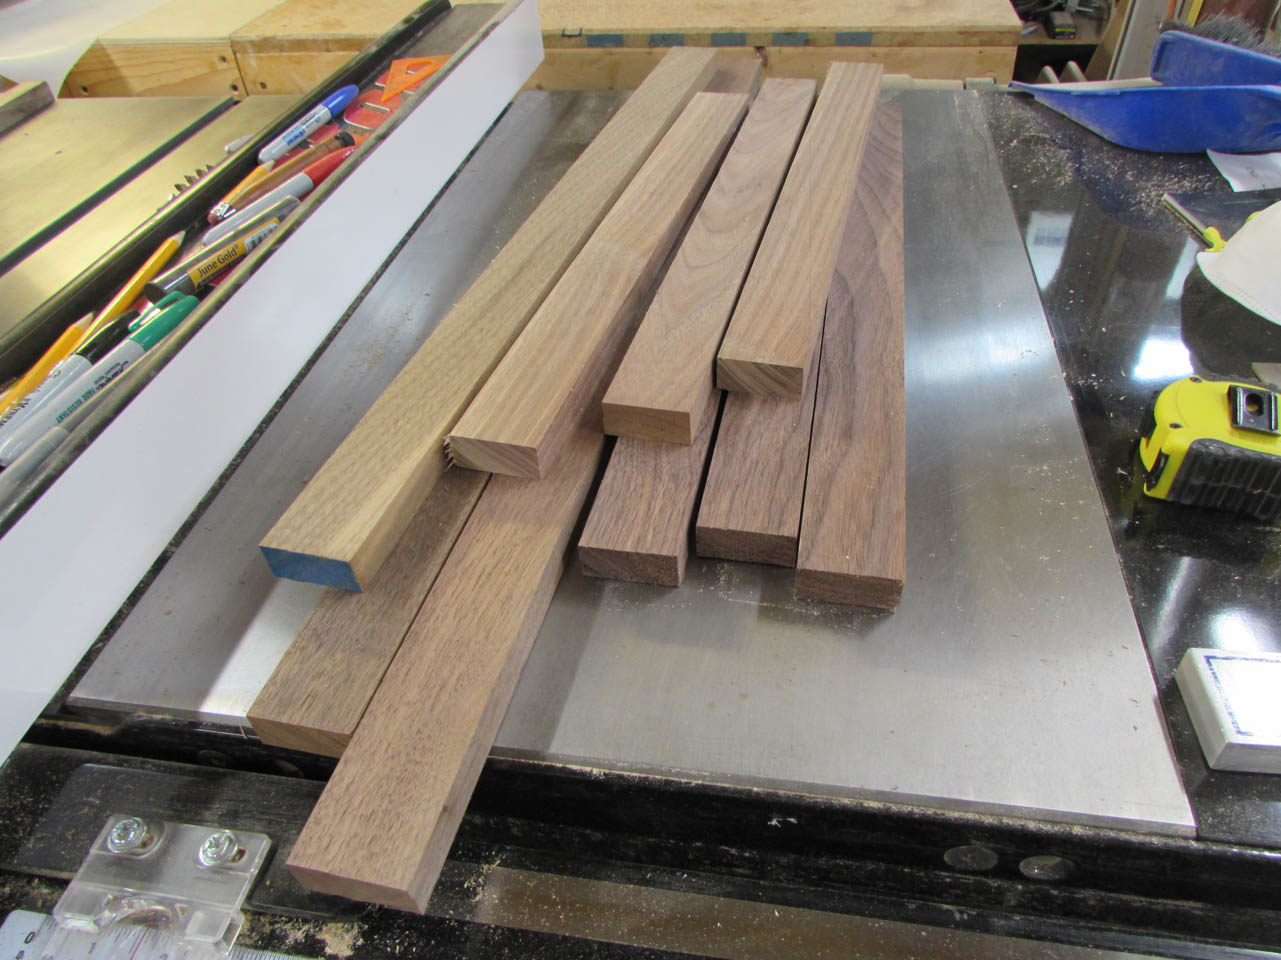
I start by cutting down a 12-1/2″ wide board to a few inches longer than my column sides need to be, then I joint one edge perfectly straight.
I set my table saw fence to 2-3/4″ and cut eight strips being careful to stack them in the order I cut them so I can more easily match the grain later.
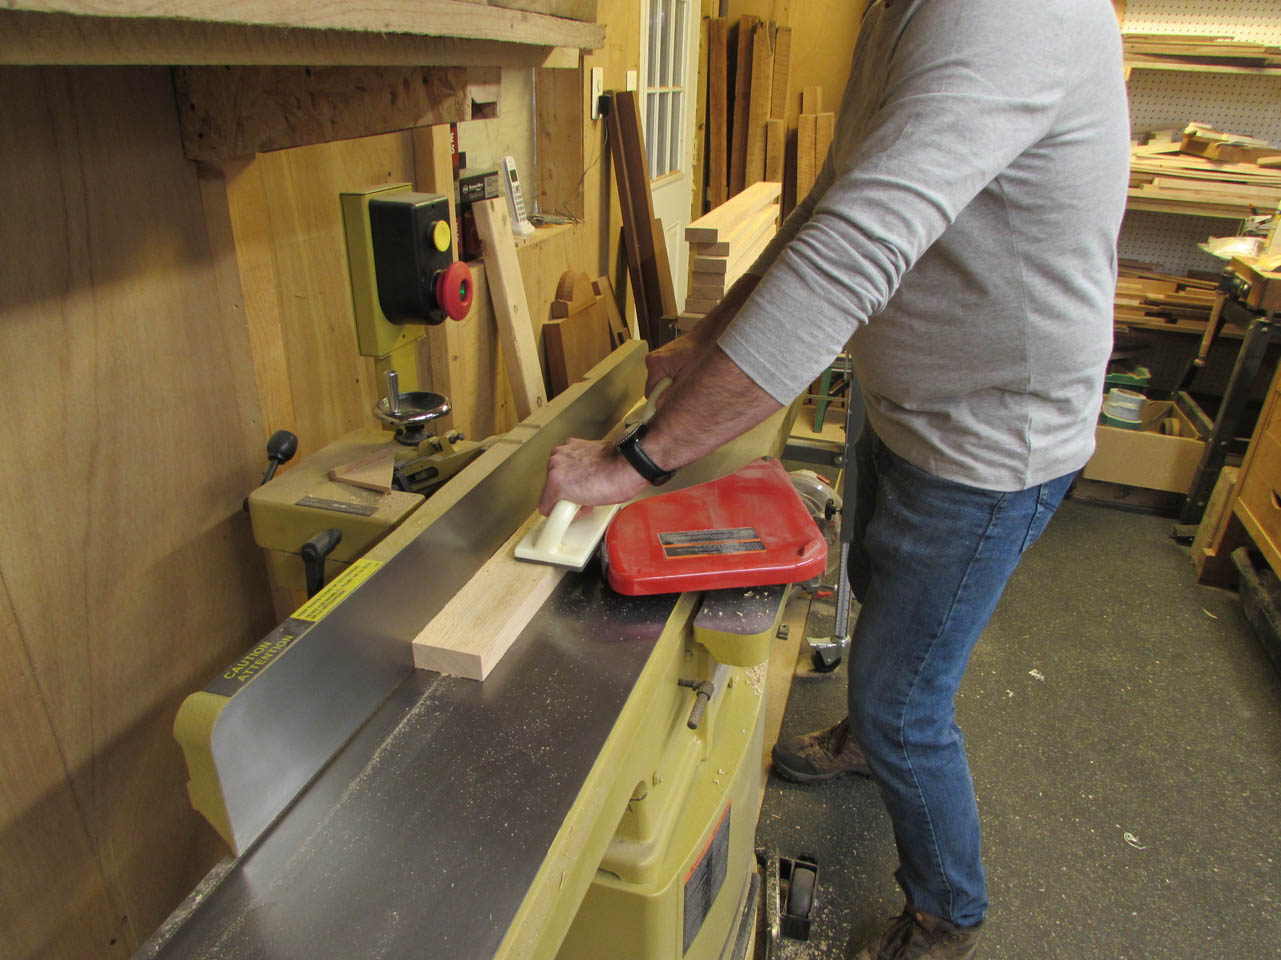
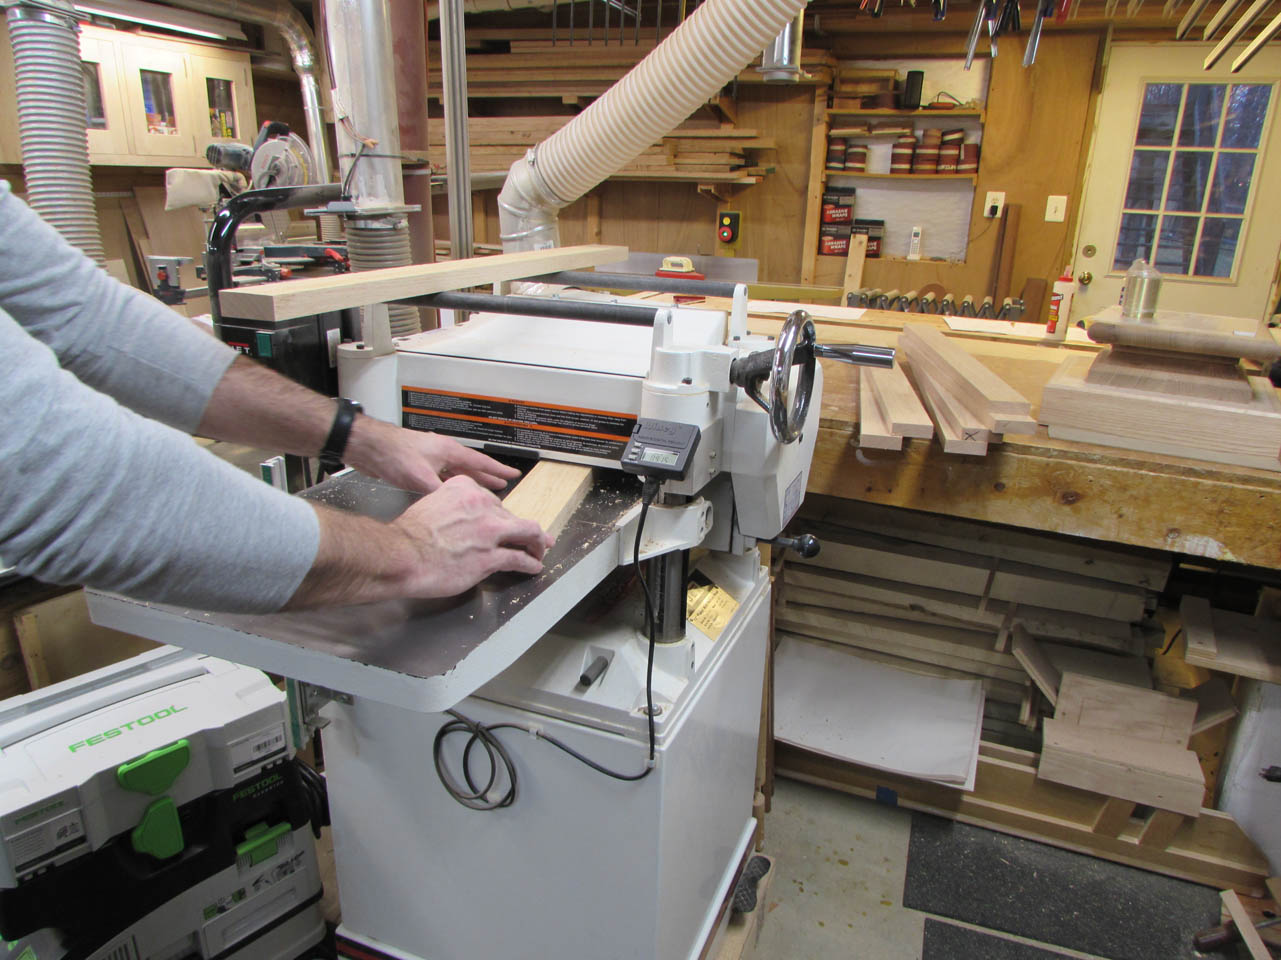
Then I joint one face and plane the other down till my boards are 3/4″ thick.
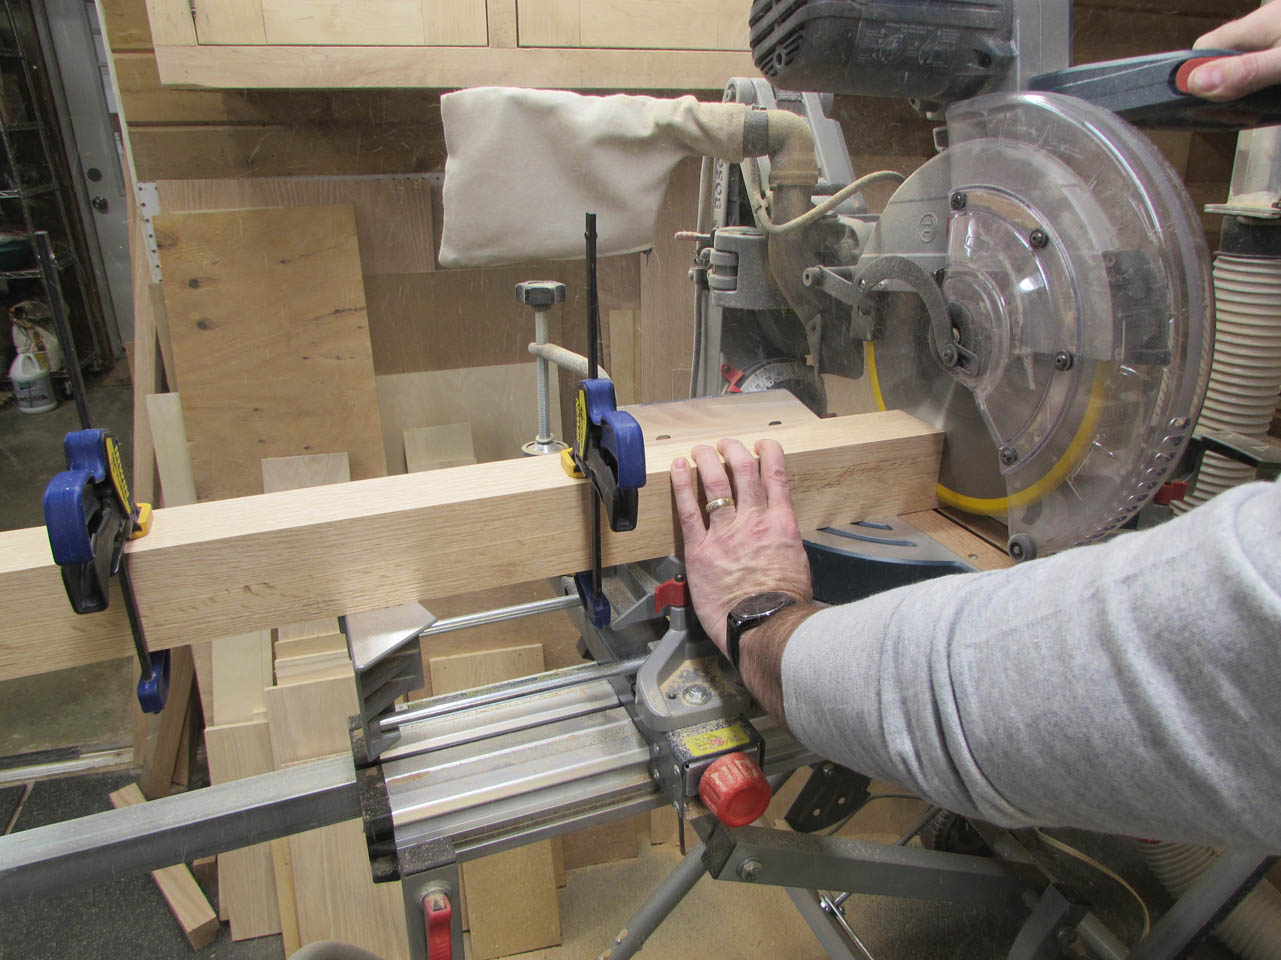
Next, I clamp them up and cut them to exactly 31″ long, removing any cracks or snipe.
I set up my 22.5° lock miter bits in the two routers I have for my router table.
I start with the male bit and cut the tongue side of all eight boards.

Then I swap routers to cut the groove side.


I have a poly set-up block that helps me set the bits to the correct depth and to help me make sure I have the right orientation for my cuts.
I ran all the boards through again and now I have eight complete sides for my column.


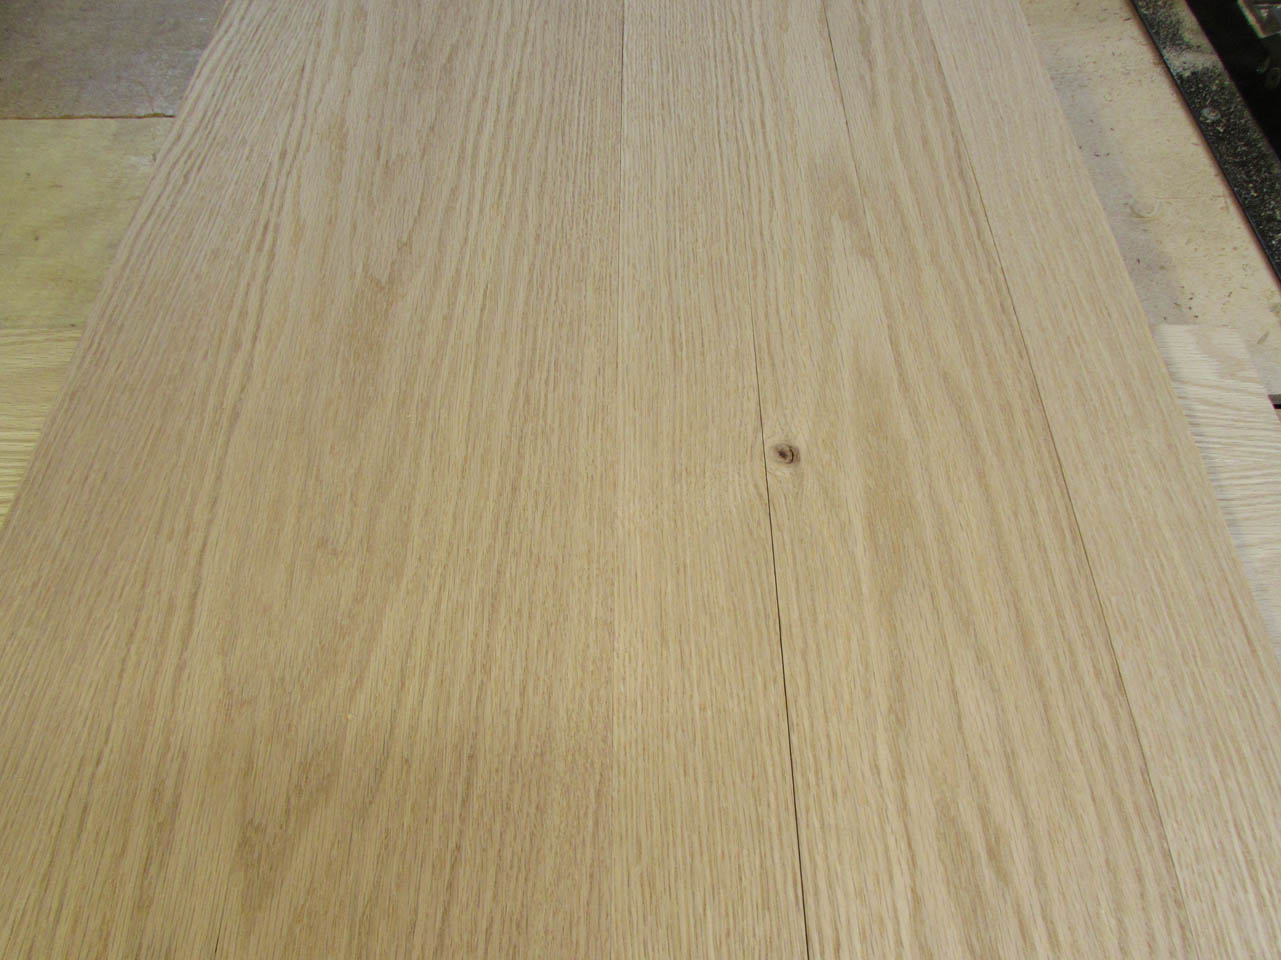
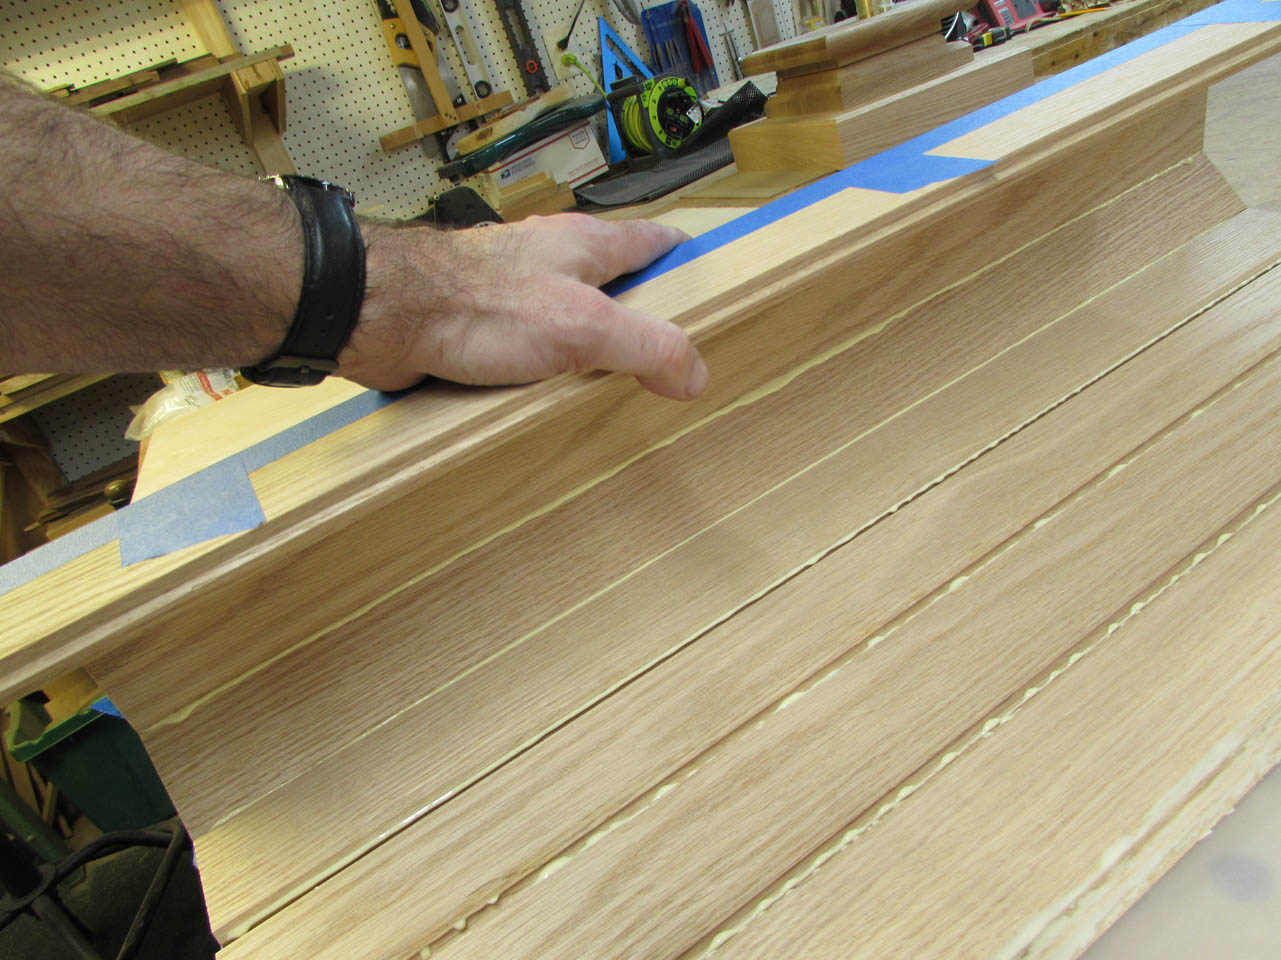
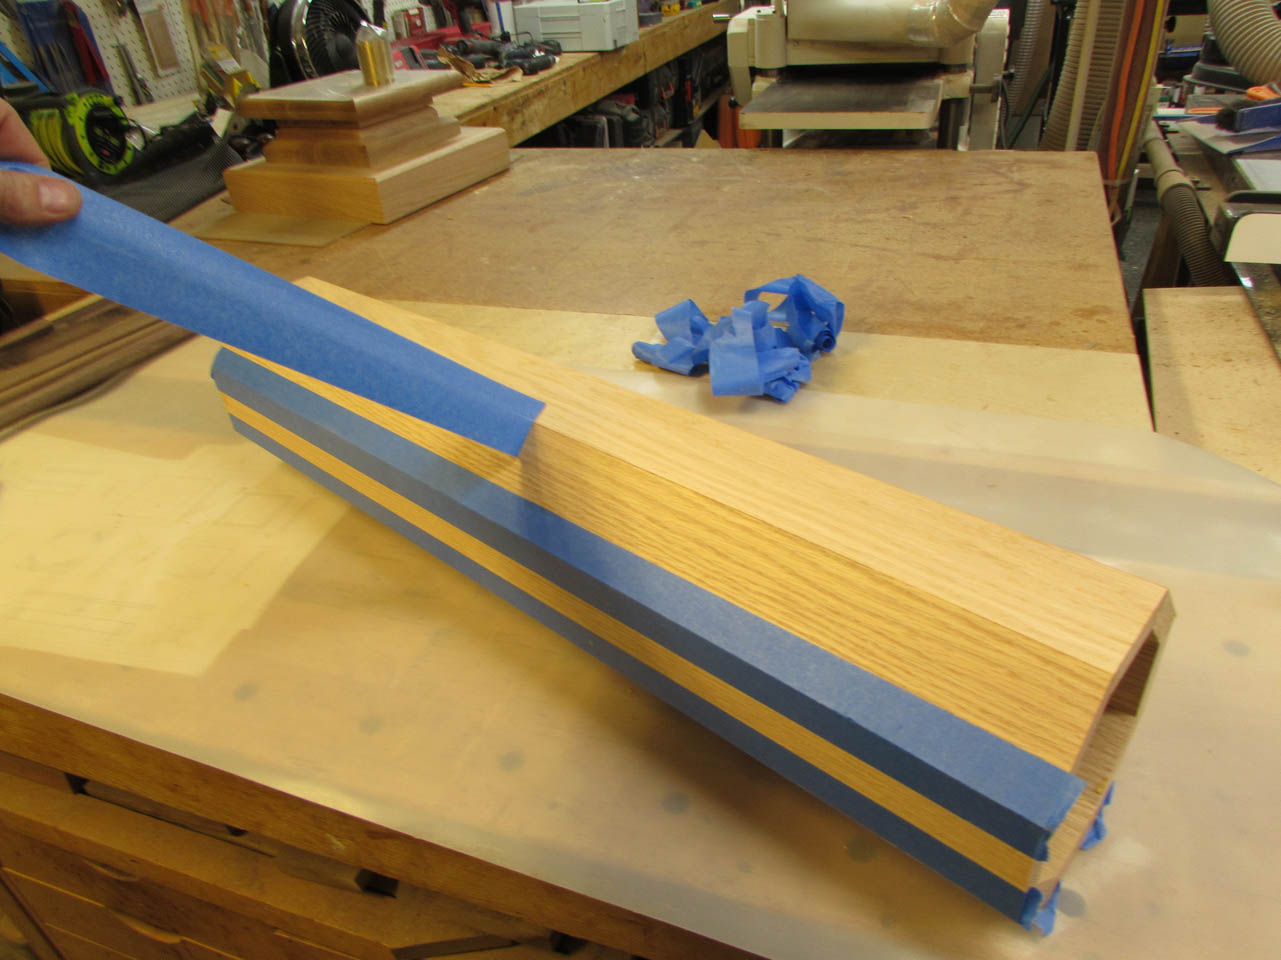
I clamped my straight edge down to a scrap piece of 3/4″ plywood and aligned all my boards. Please note how the grain matches up so perfectly. The column will look like it was cut from a log.

With everything square and lined up, I attach a piece of 2″ wide painter’s tape to each joint to create a hinge for glue-up.
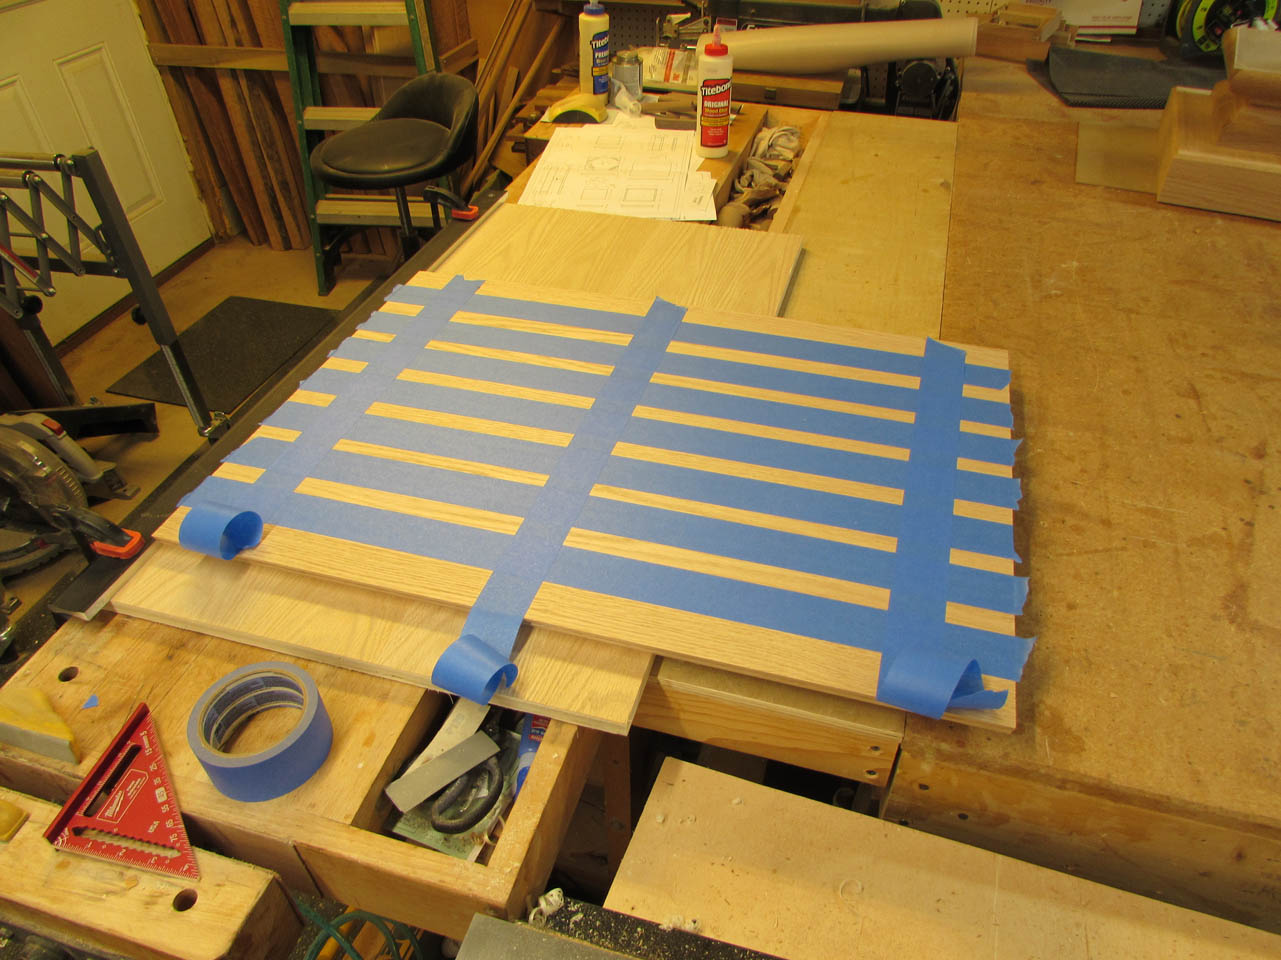
I also ran three strips in the opposite direction for additional strength.
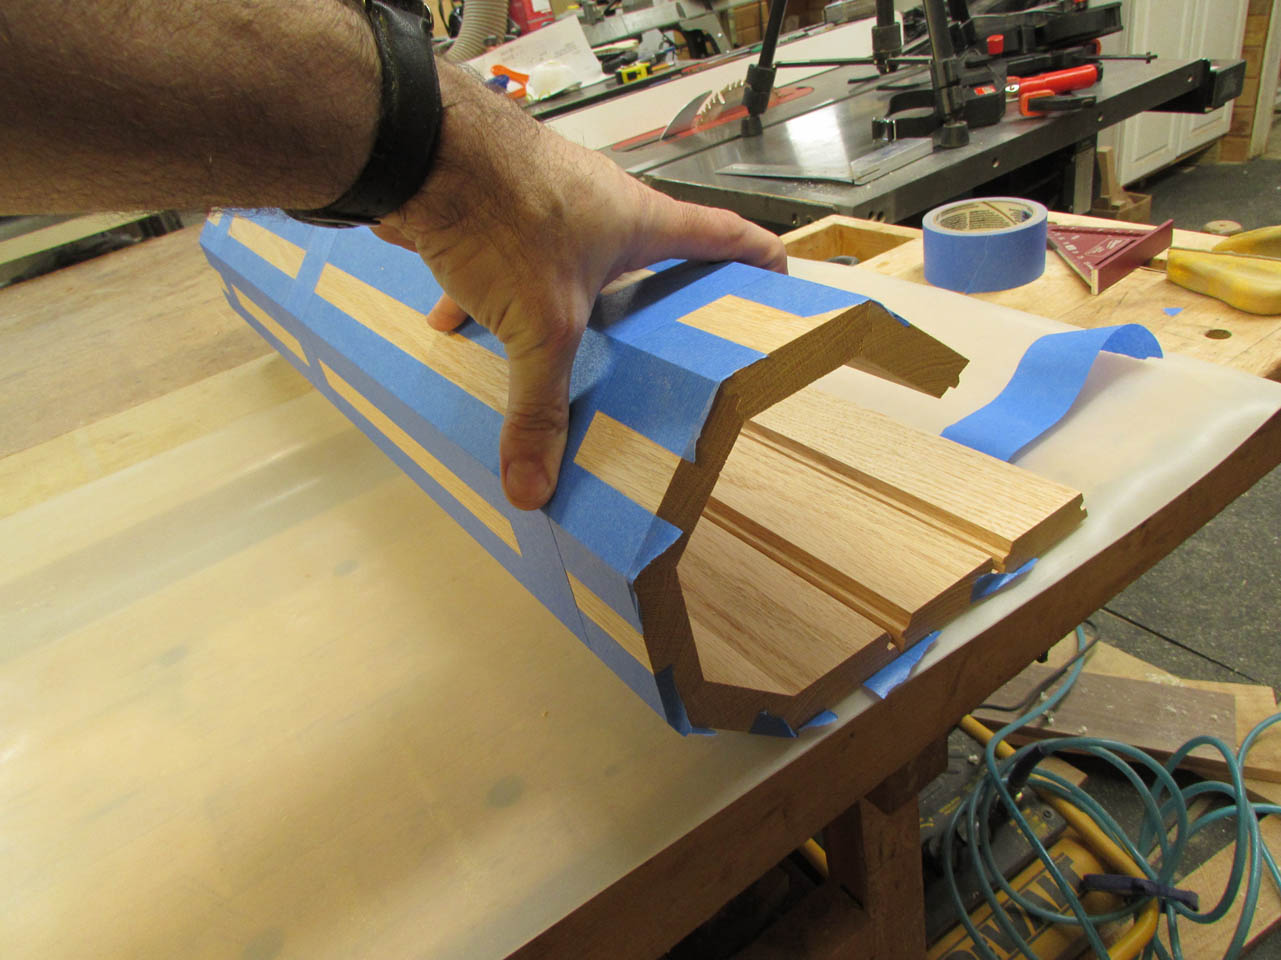
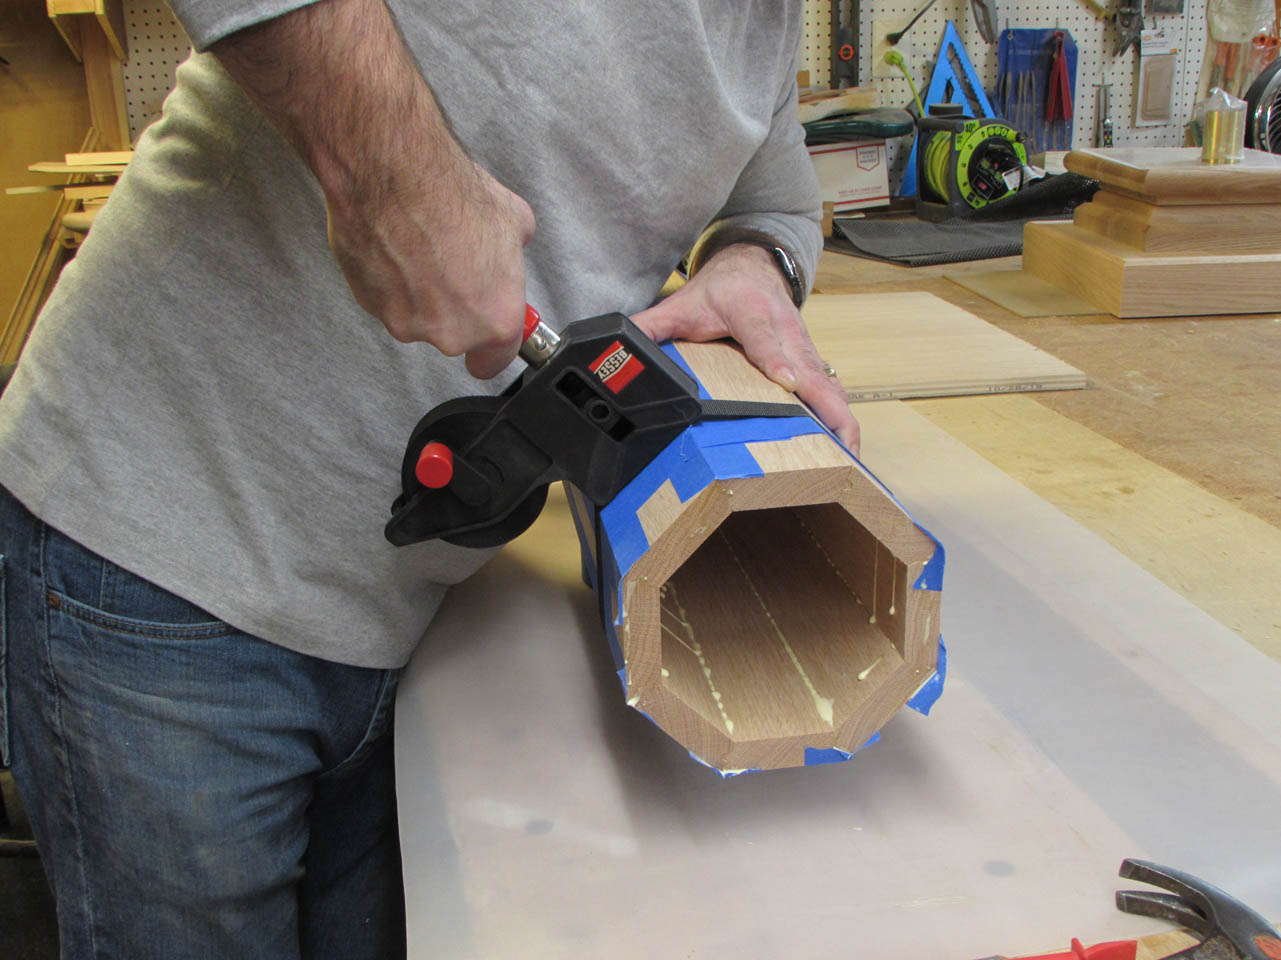
This allows me to flip the boards over and roll them up into a perfect octagonal column.
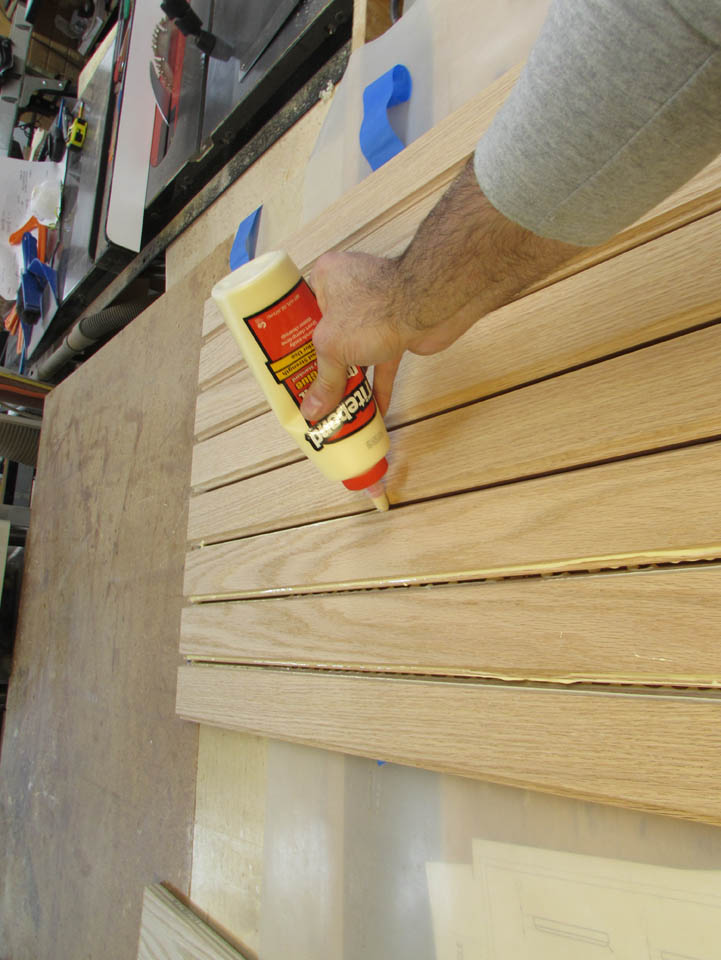
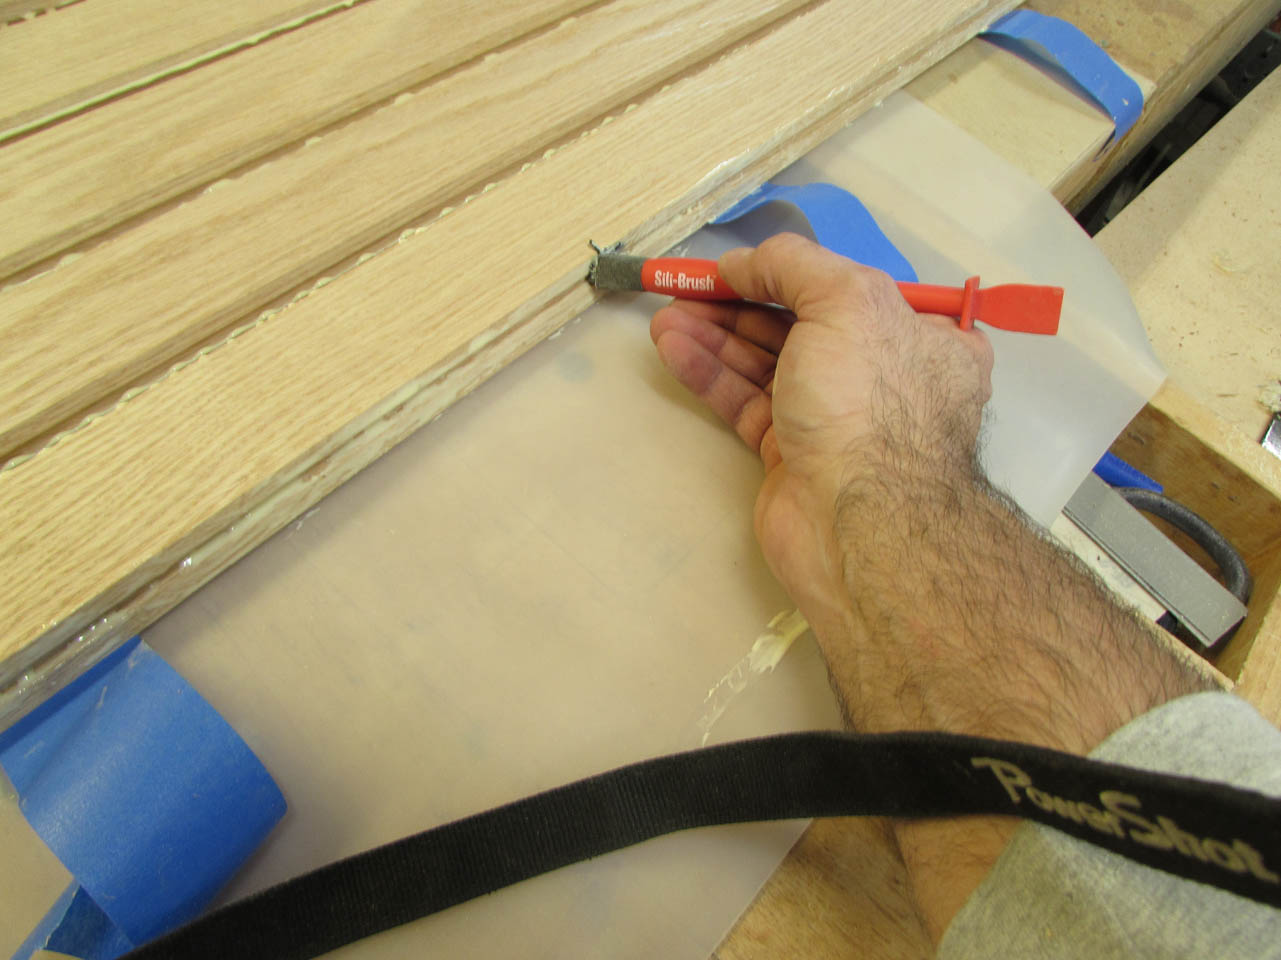
I liberally apply glue to each tongue & groove joint and brush glue onto the end joint as well.
Then I rolled it up and taped it shut.

I used two strap clamps to apply even pressure all the way around and draw the sides more tightly together. Another thing that the tape does is prevent glue squeeze-out on the outside of the column.

While that is drying, it is time to create more walnut bullnose trim.
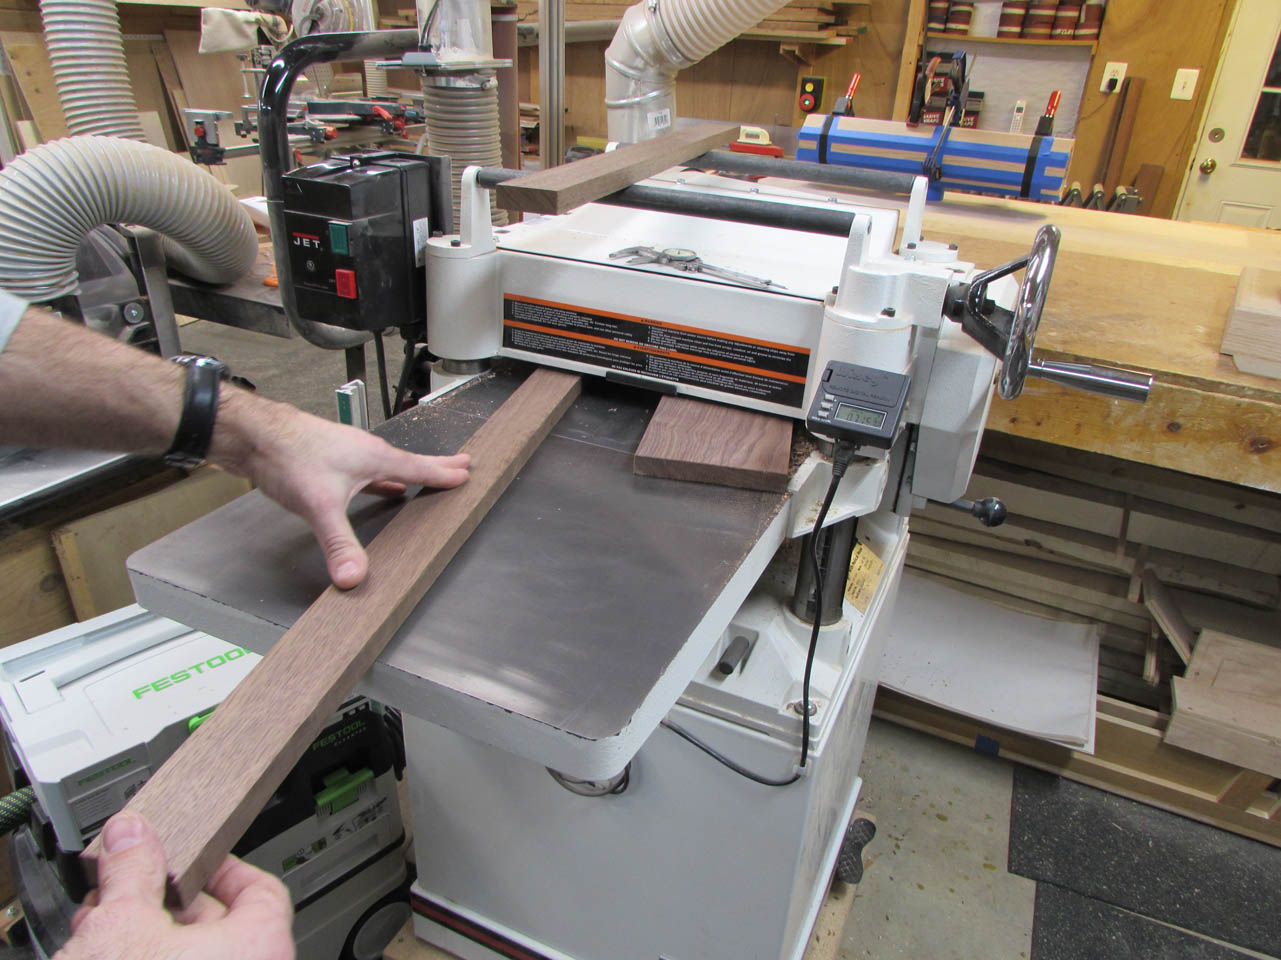
I grabbed all of my scrap walnut over 3/4″ thick and planed it down to just under 3/4″ (.730″).
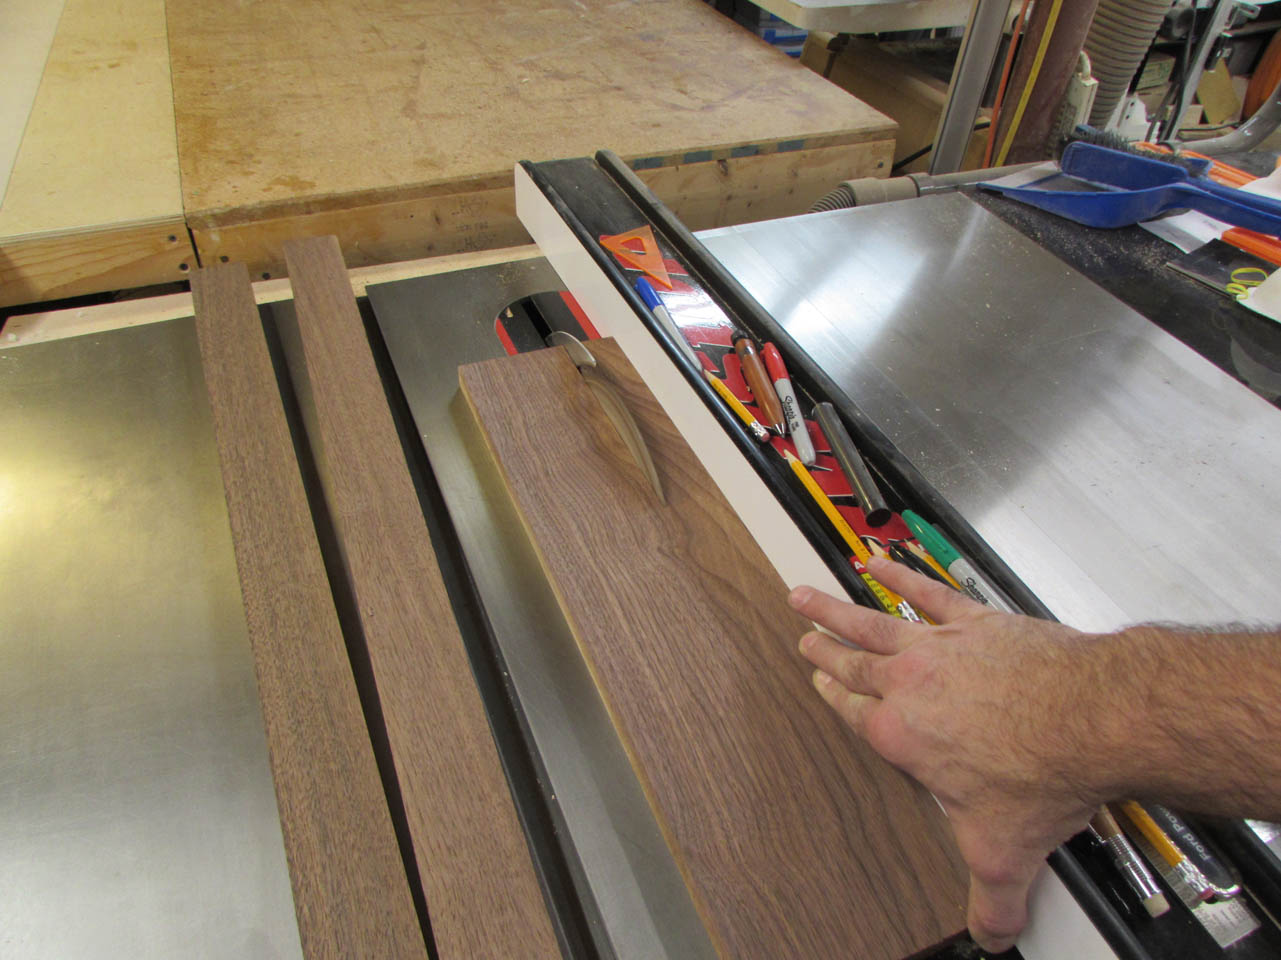
Then I cut them into 1-5/8″ wide strips.
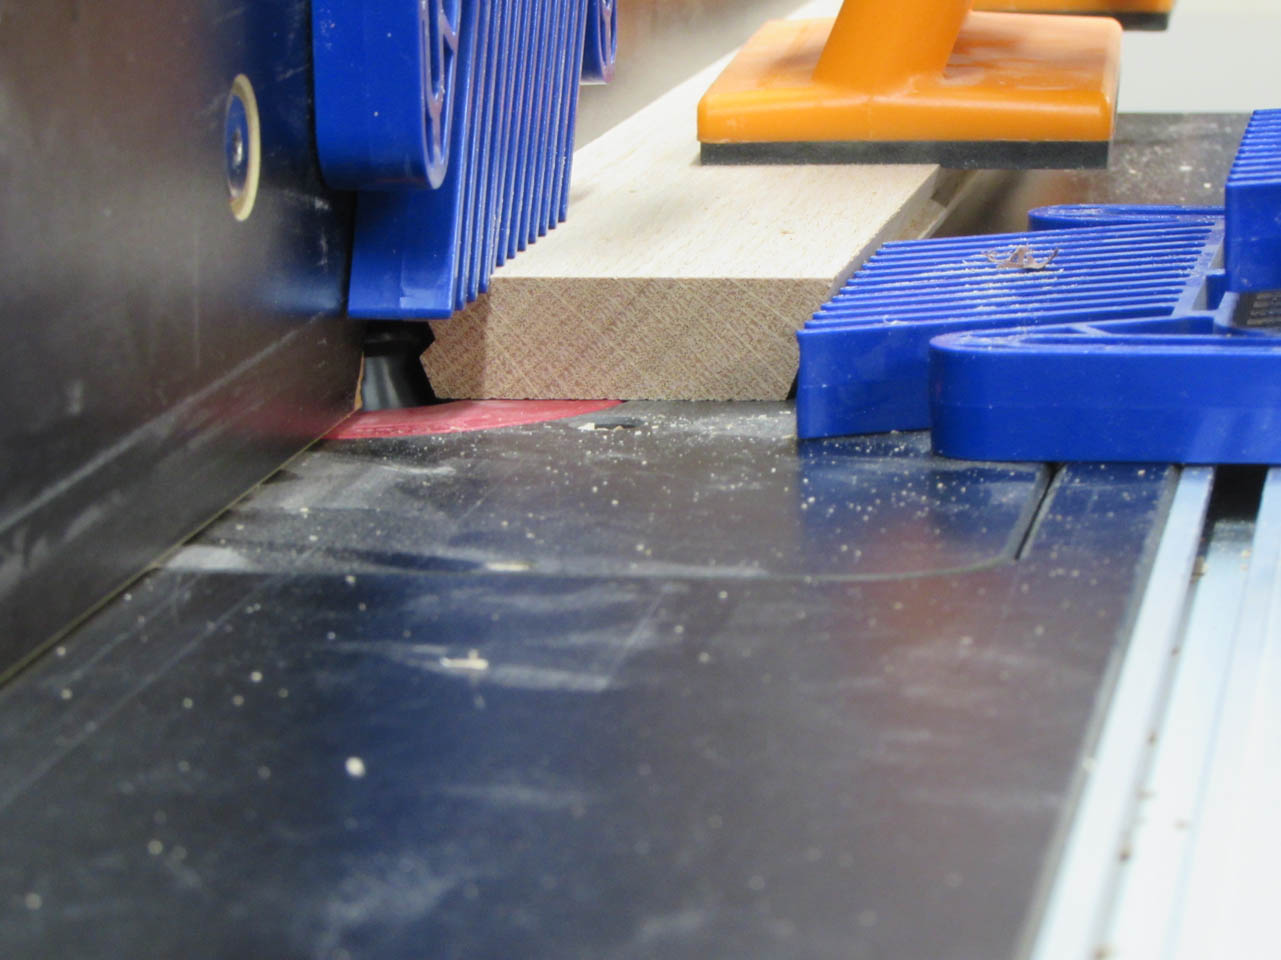
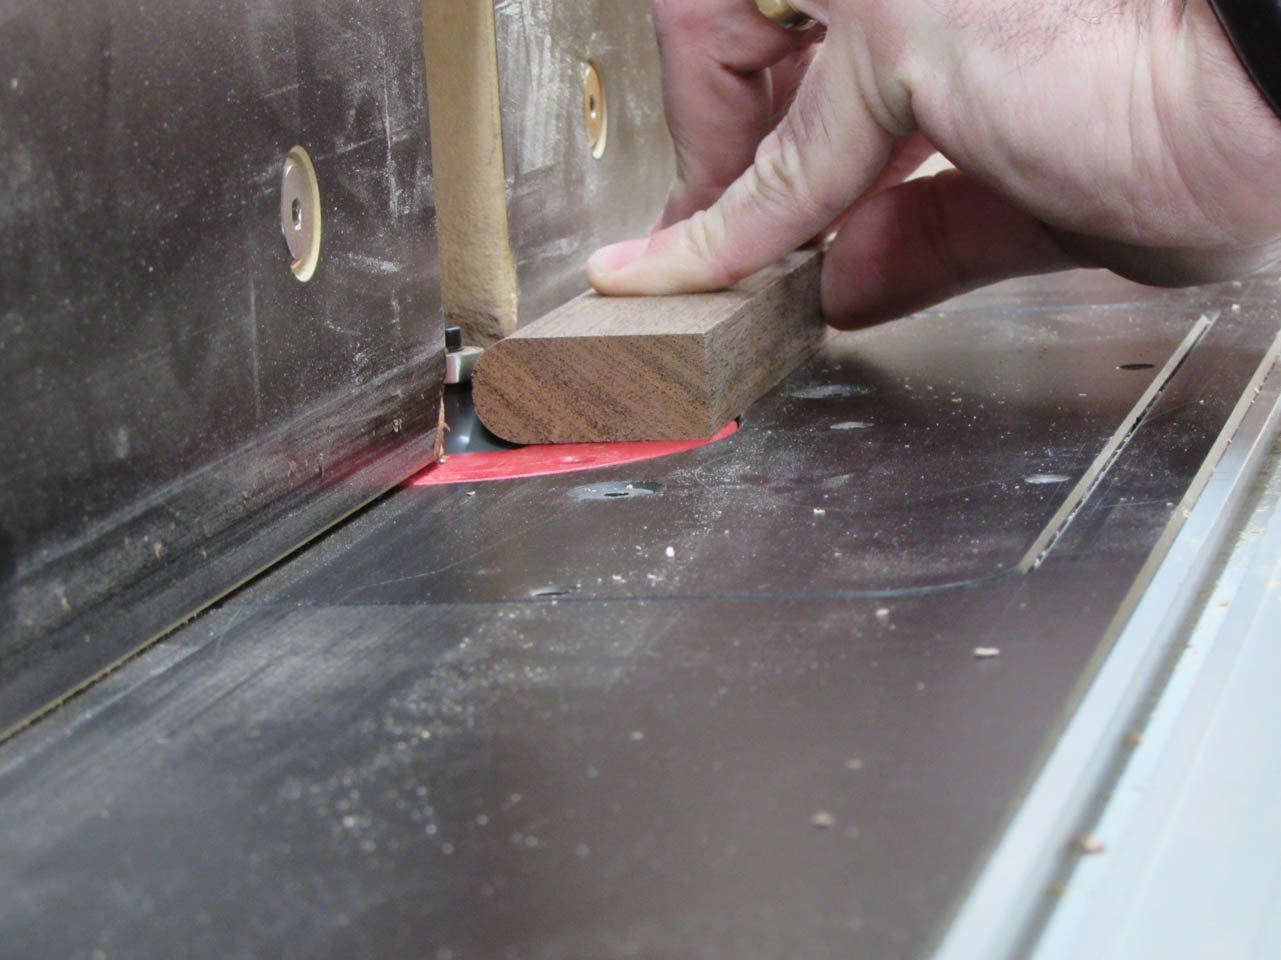
I took these to my router table and ran them across a 3/8″ round-over bit.

I flipped the board and repeated three more times to get a full bullnose on both sides.

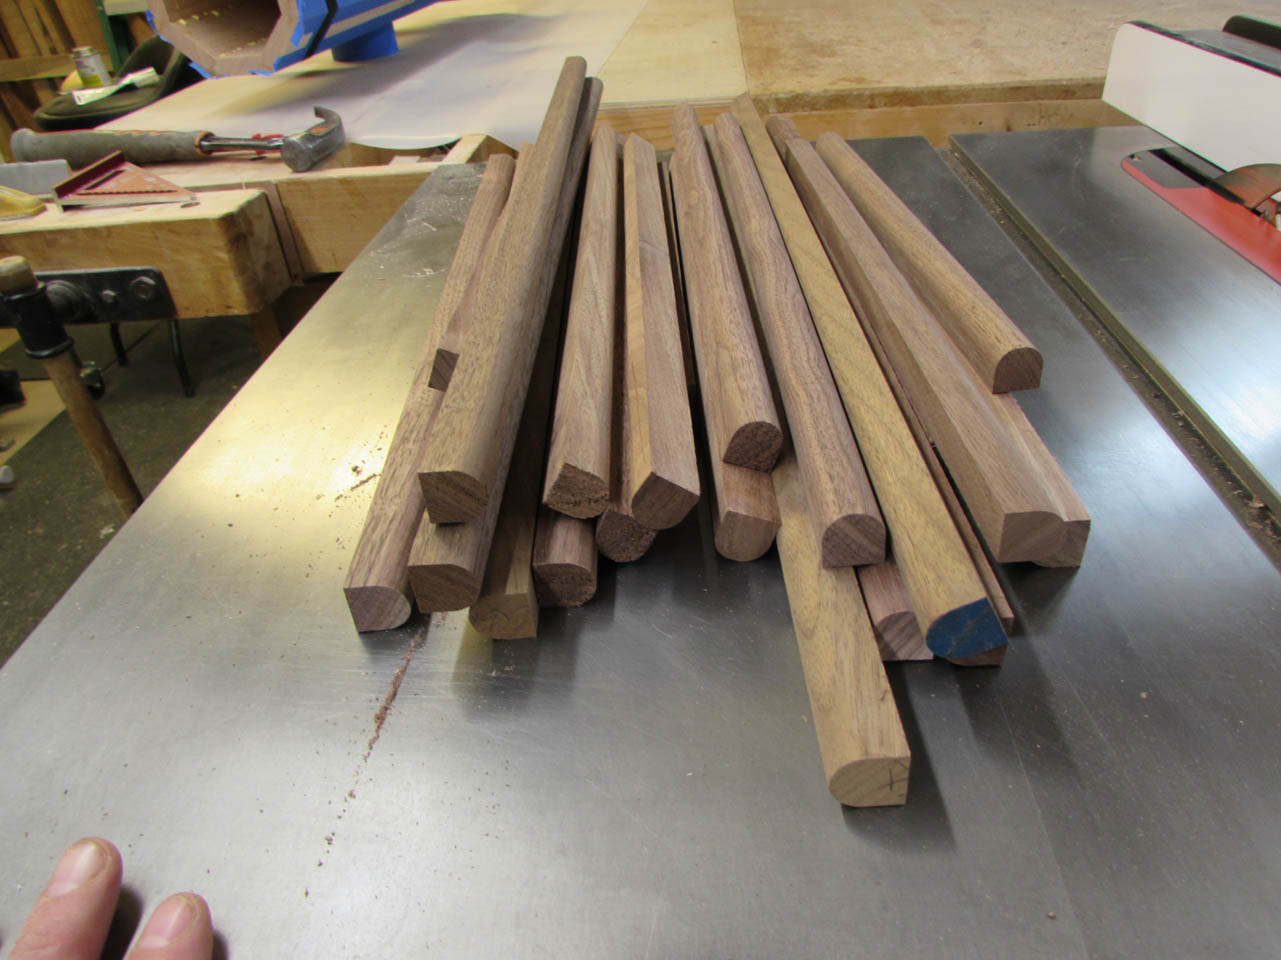
Then I went back to the table saw and set the fence to 3/4″ off the blade and cut each strip in half.

Hopefully this will be enough trim for the rest of the columns that I have to do for Saint Kilians…
About the time I finished with those, the glue on the column was set up enough that I could pull the clamps and the tape.
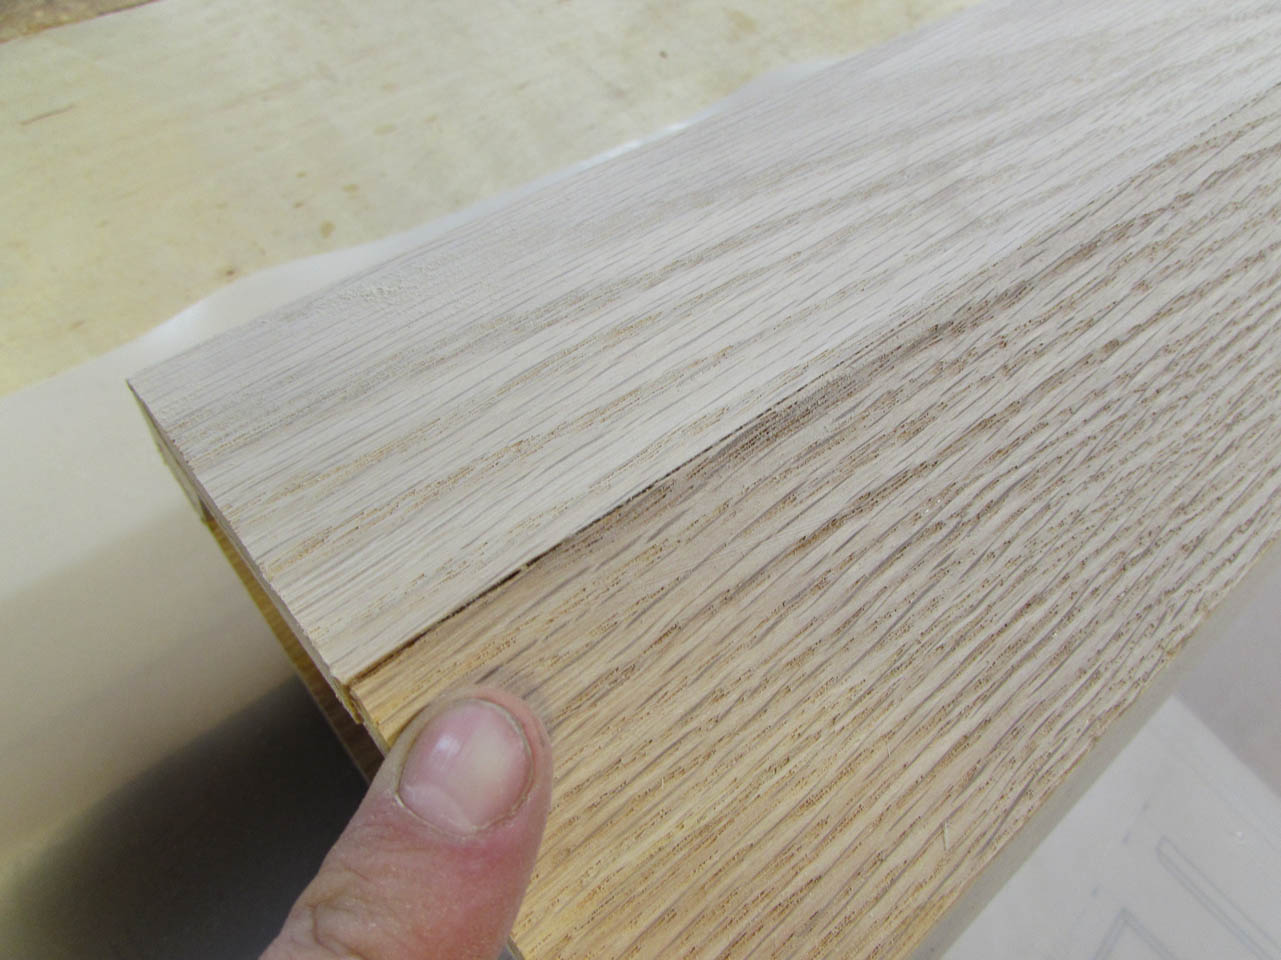
What few gaps there were were easily filled.
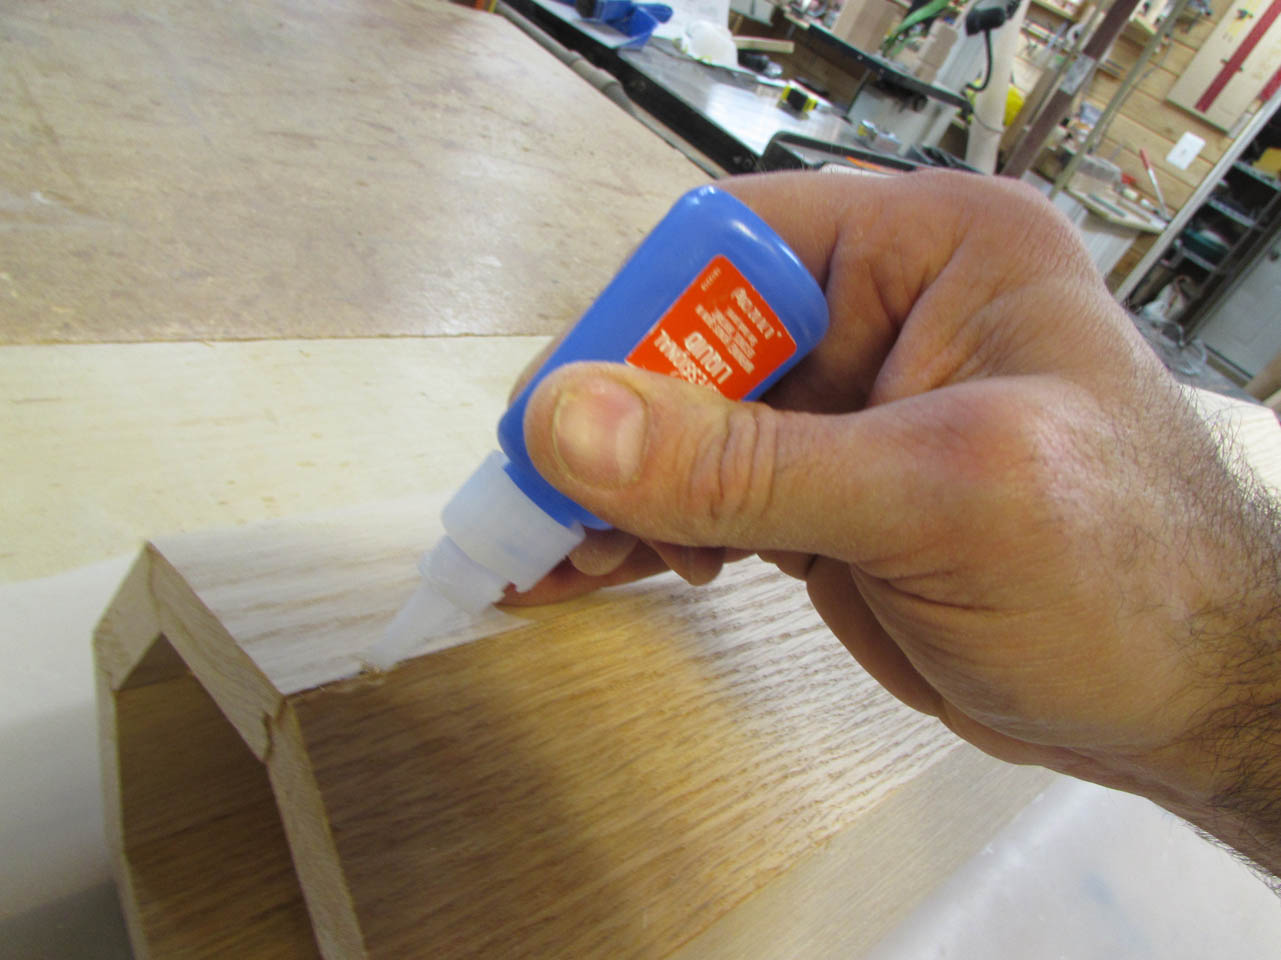
I apply a bit of CA glue to the gap then sand fine dust onto the drying glue.
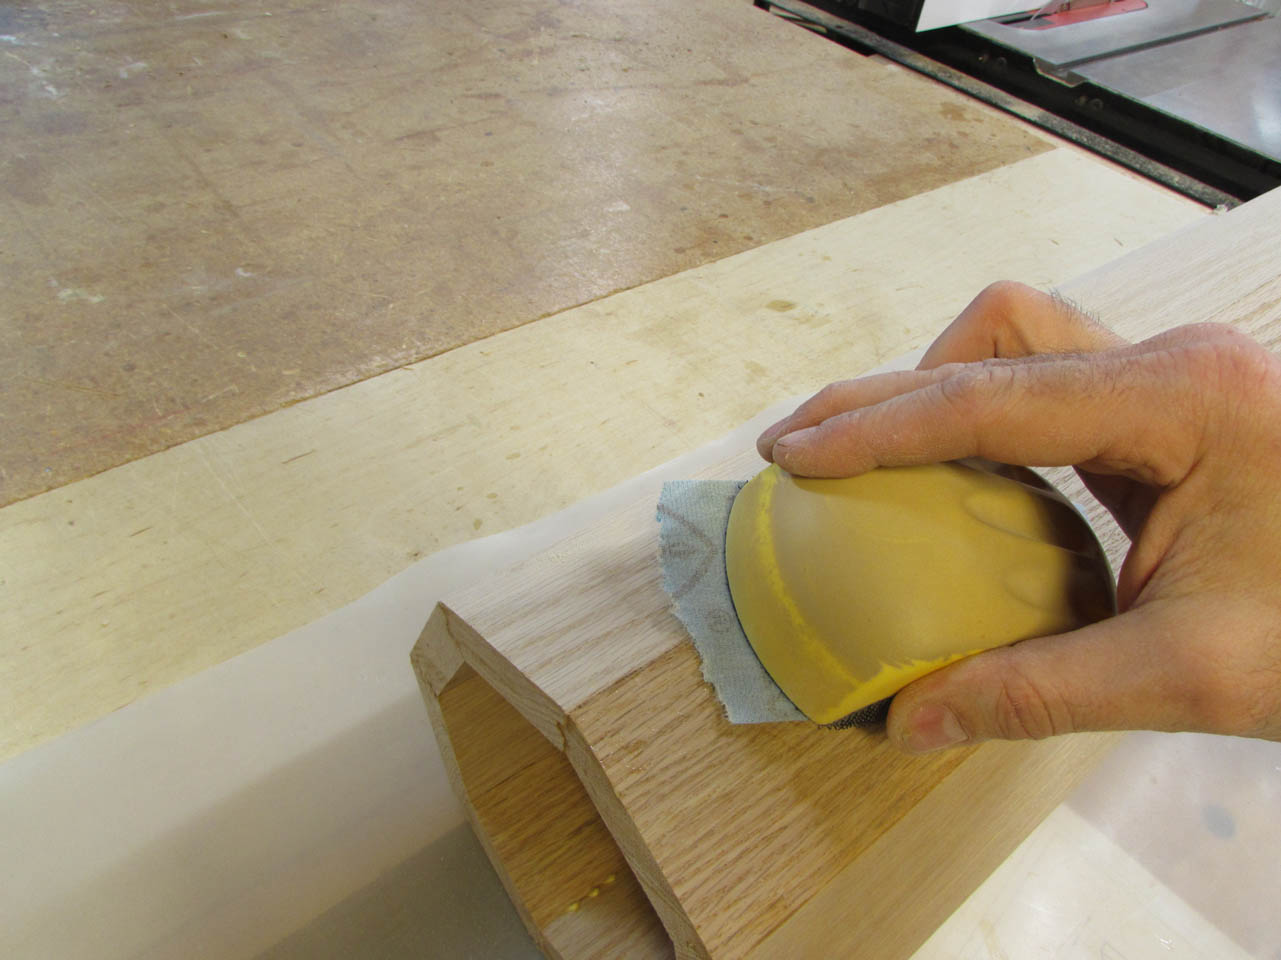
This seals up the gap and gives me some dust to hold stain and blend the gap into the rest of the wood.
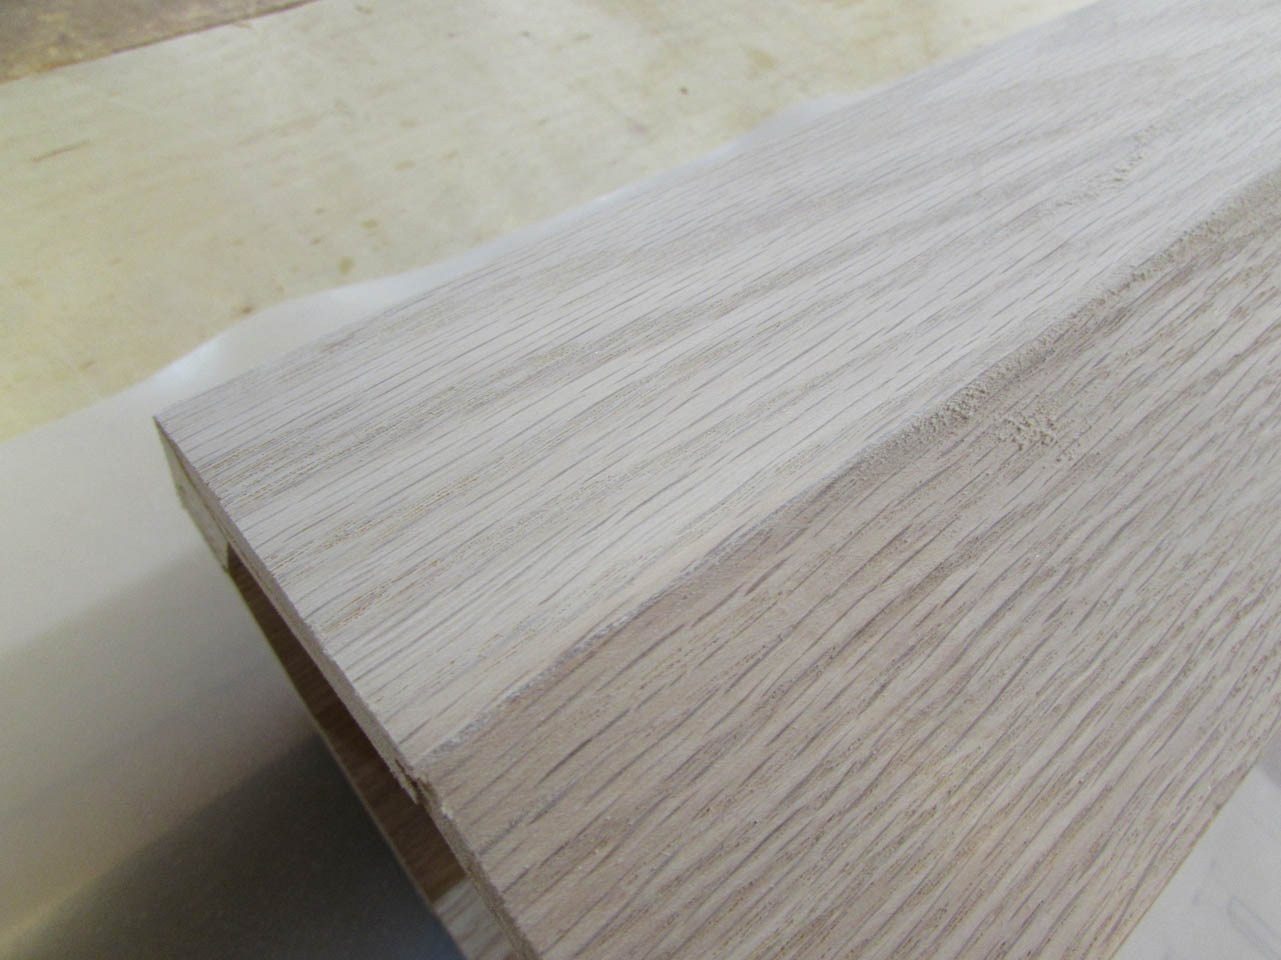
It has been a long weekend, but the candle stand is starting to take shape. I did a dry-fit of everything just to see how the stand would look.

Next I will add the walnut trim, assemble everything, and start applying finish.
