
St. Kilian chapel – Paschal candle stand – part 1
The font is done so it is time to move on to the next piece. My design for the Paschal candle stand is similar to the font, but the base and column are smaller. The columns on the candle stand will be the same size as the columns on the altar, and like the font, this piece will also have a mobile base. Here is my design: CANDLE STAND.pdf
I decided to start with all of the flat pieces first so I grabbed enough 8/4 oak to make the two 1-1/2″ thick pieces.
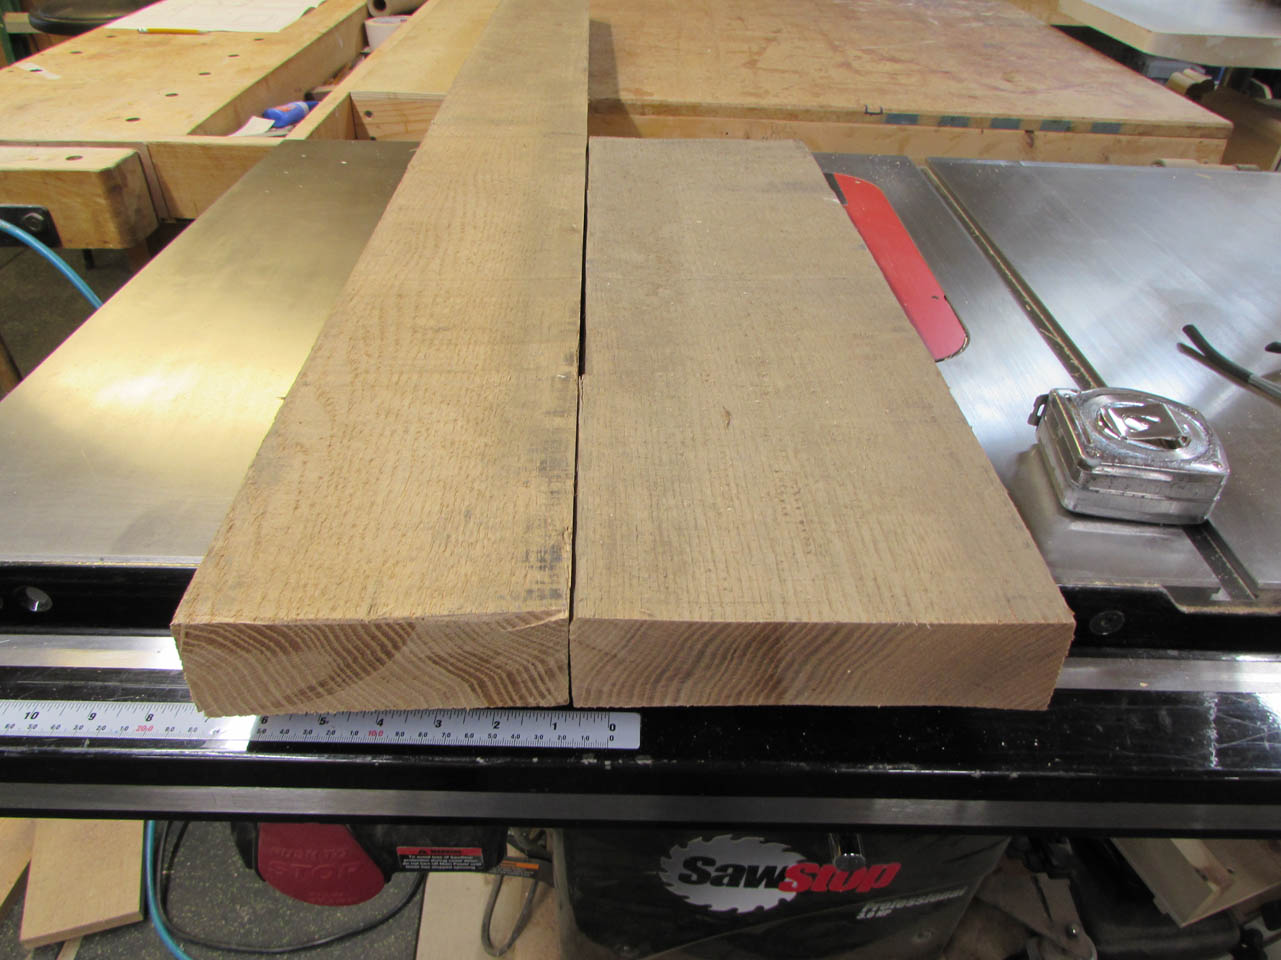
I need an 11″ and a 12.5″ square so I cut a couple of pieces just over 24″ long so I have enough for both.

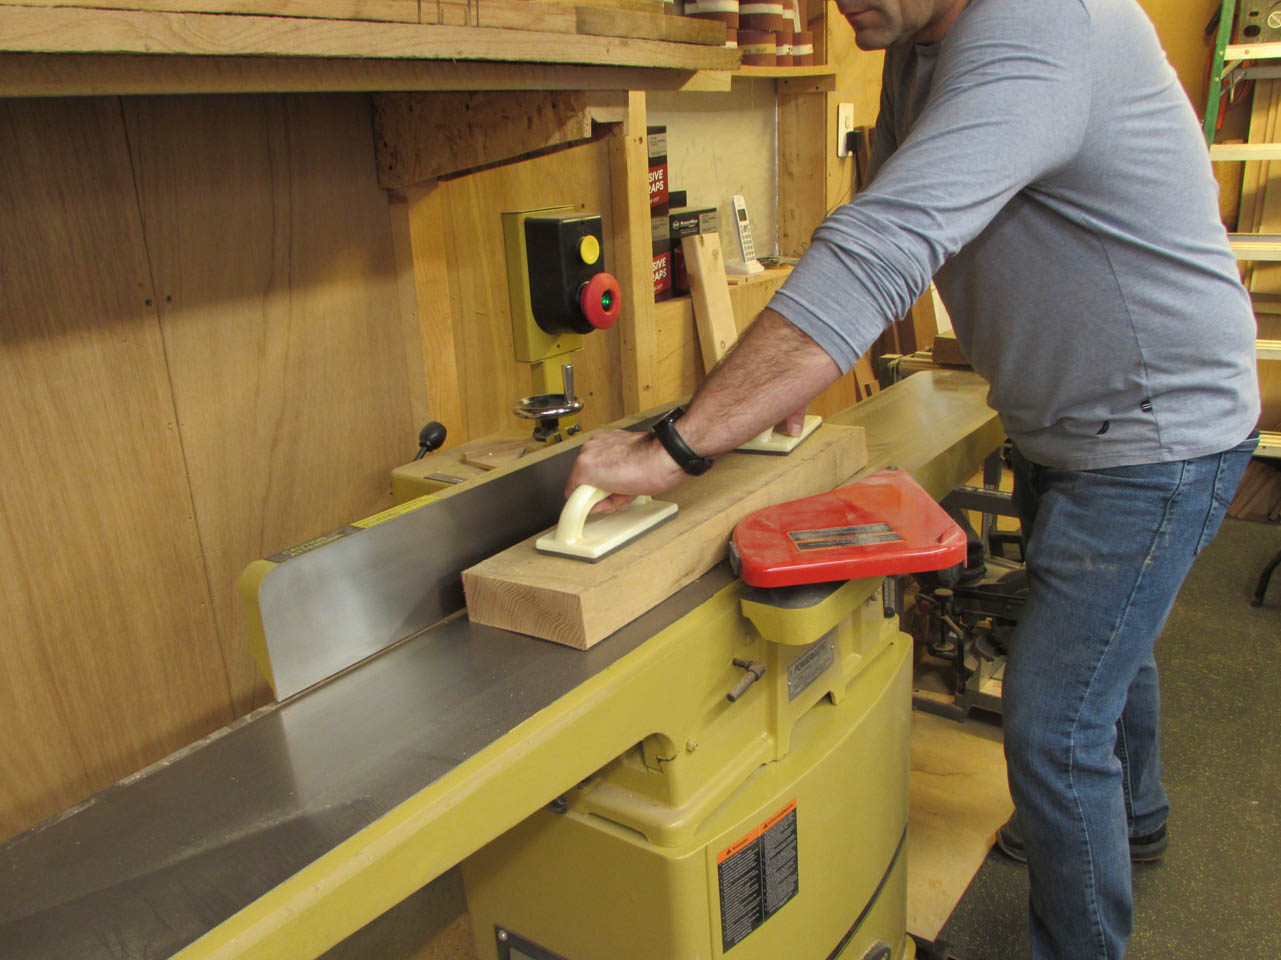
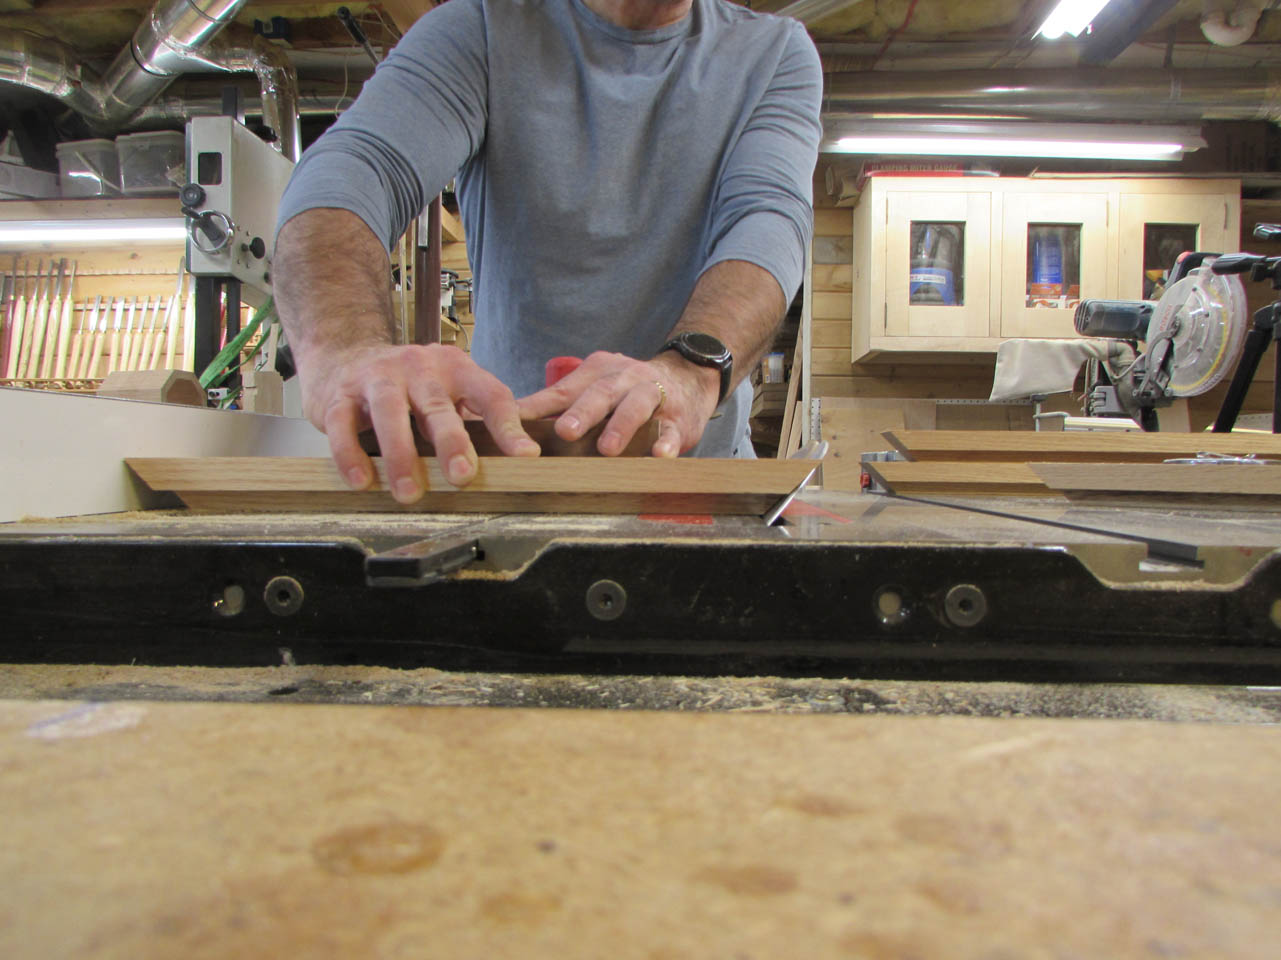
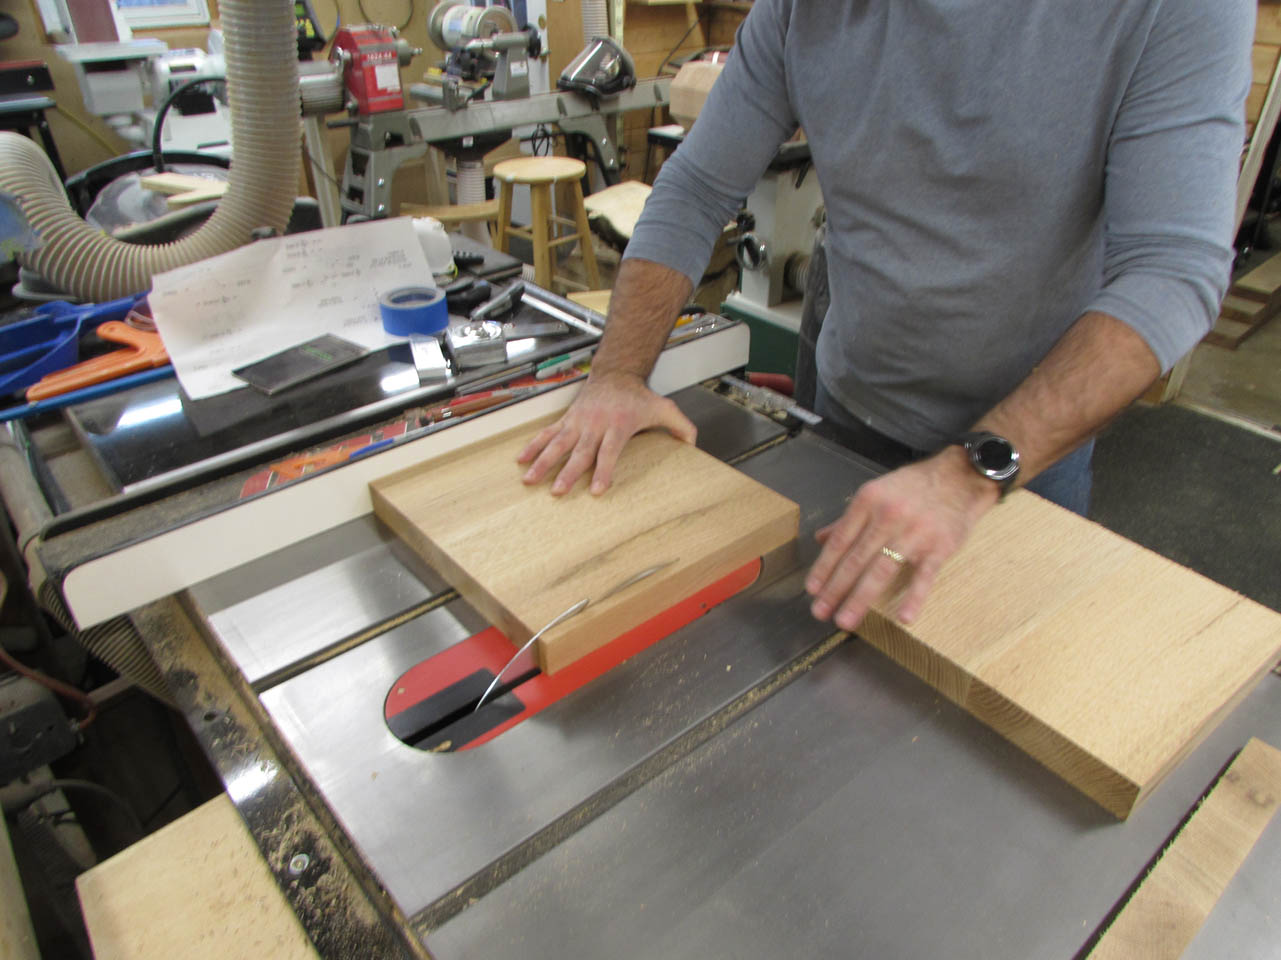
I planed and jointed the two pieces, then cut a parallel face on the table saw.

Next I planed both of the boards down to 1-1/2″ thick.

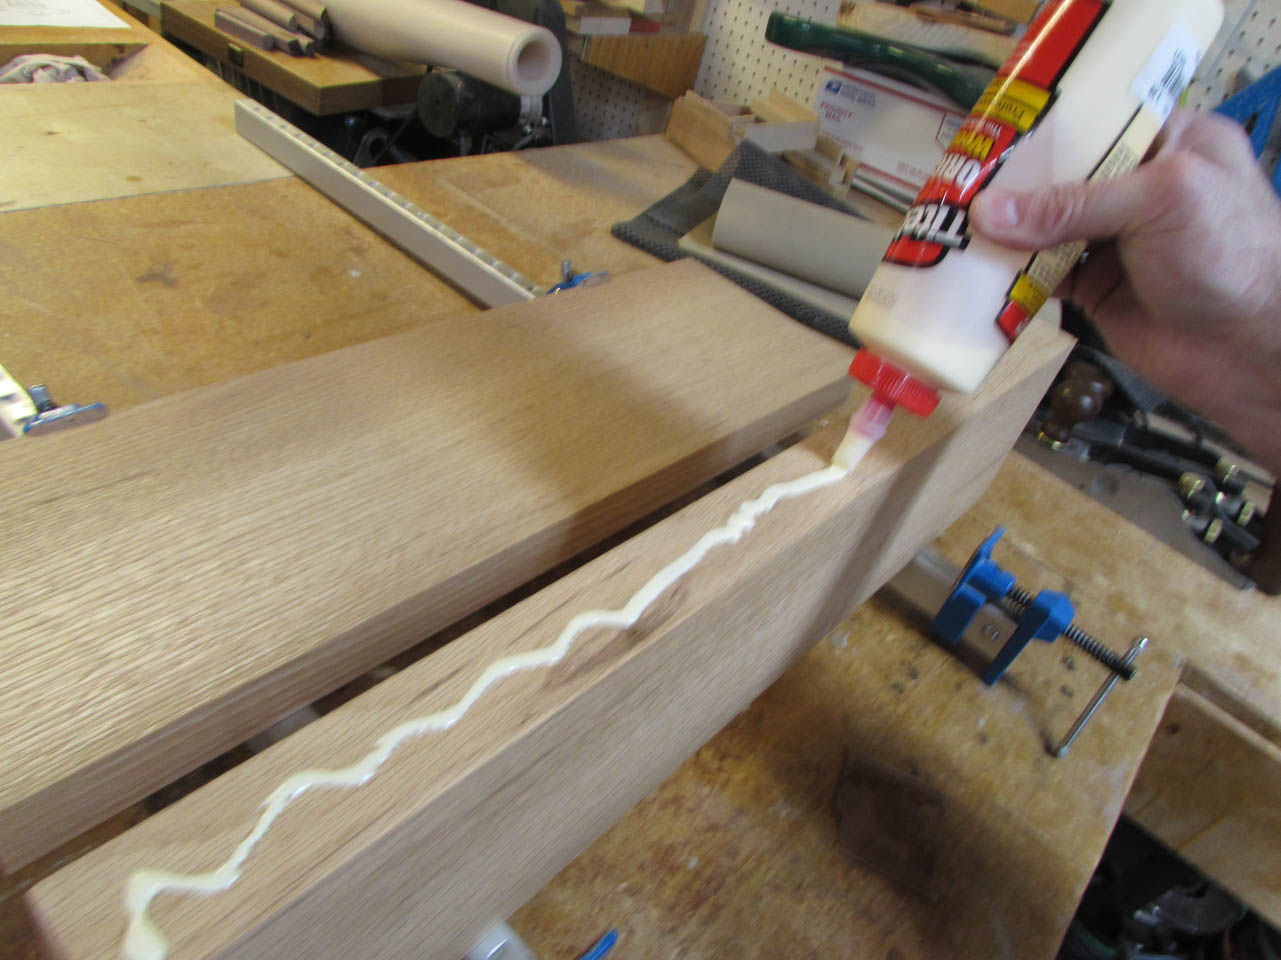
Then I spread some glue and clamped them up.


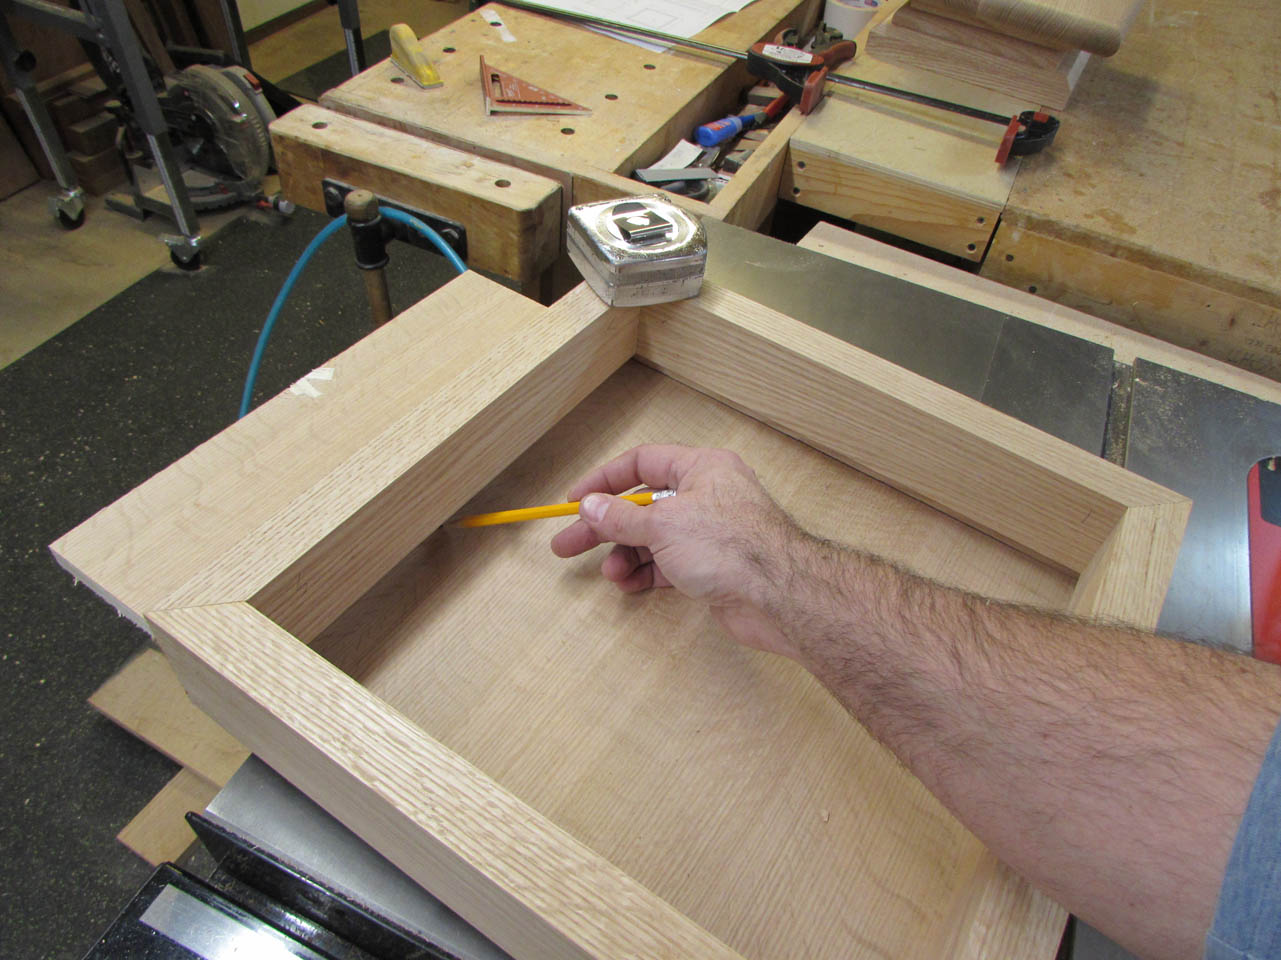
While that is drying, I will be cutting down the skirt for the mobile base.

I have a piece of 6/4 oak that I cut roughly to 3-1/2″ and placed a mark about every 16-1/2″.

Ultimately, I need the sides to be 16″, but I left a little extra that I will cut away later.
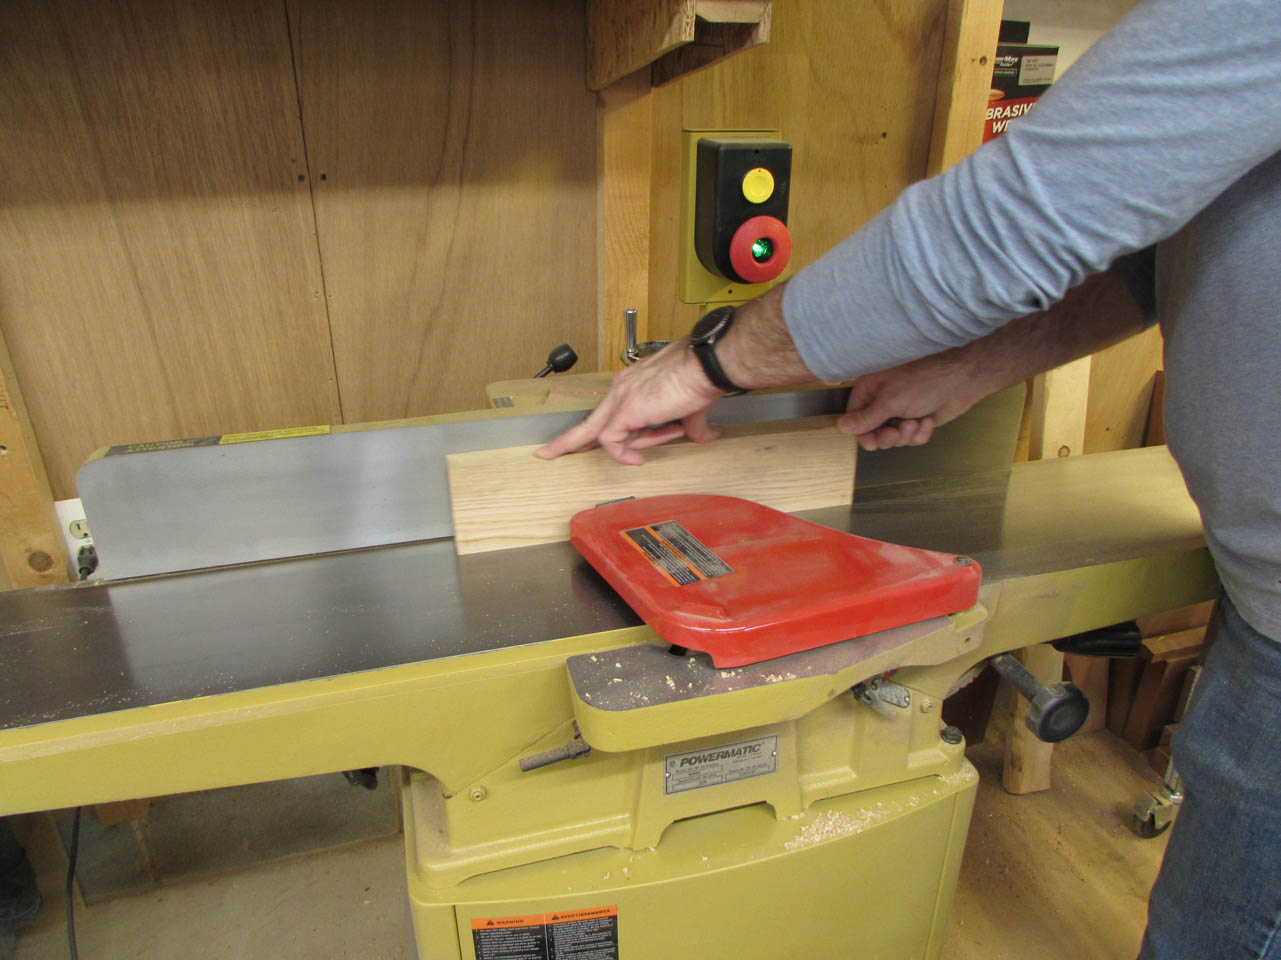
These boards were then jointed and planed down to the correct thickness and width.

Using the table saw, I cut a rabbet along the top edge to receive a piece of 3/4″ thick oak plywood.


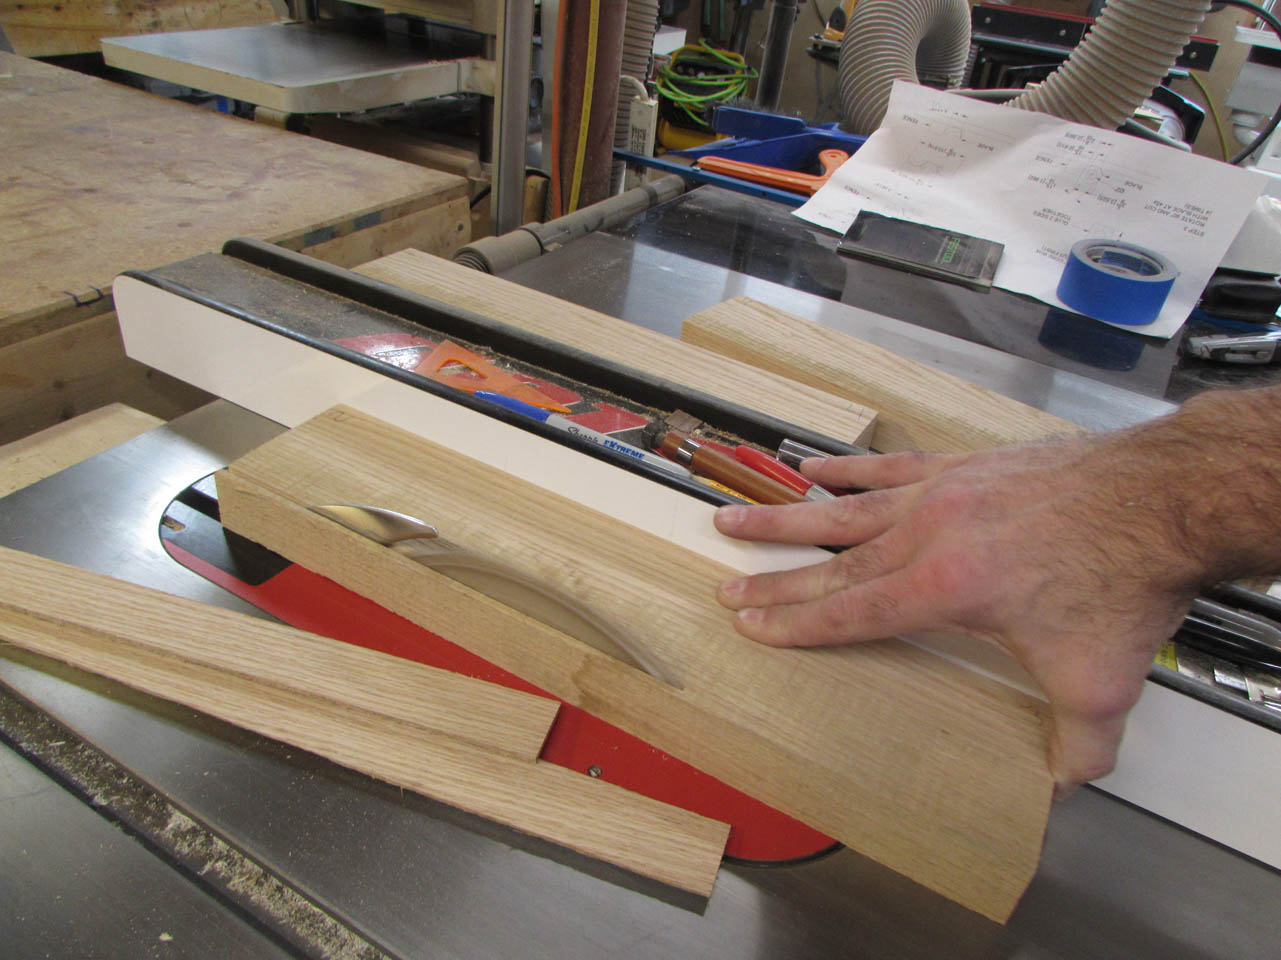
After the rabbet was cut, I set the blade to 45° then used my miter gauge to cut the miter on the first end.
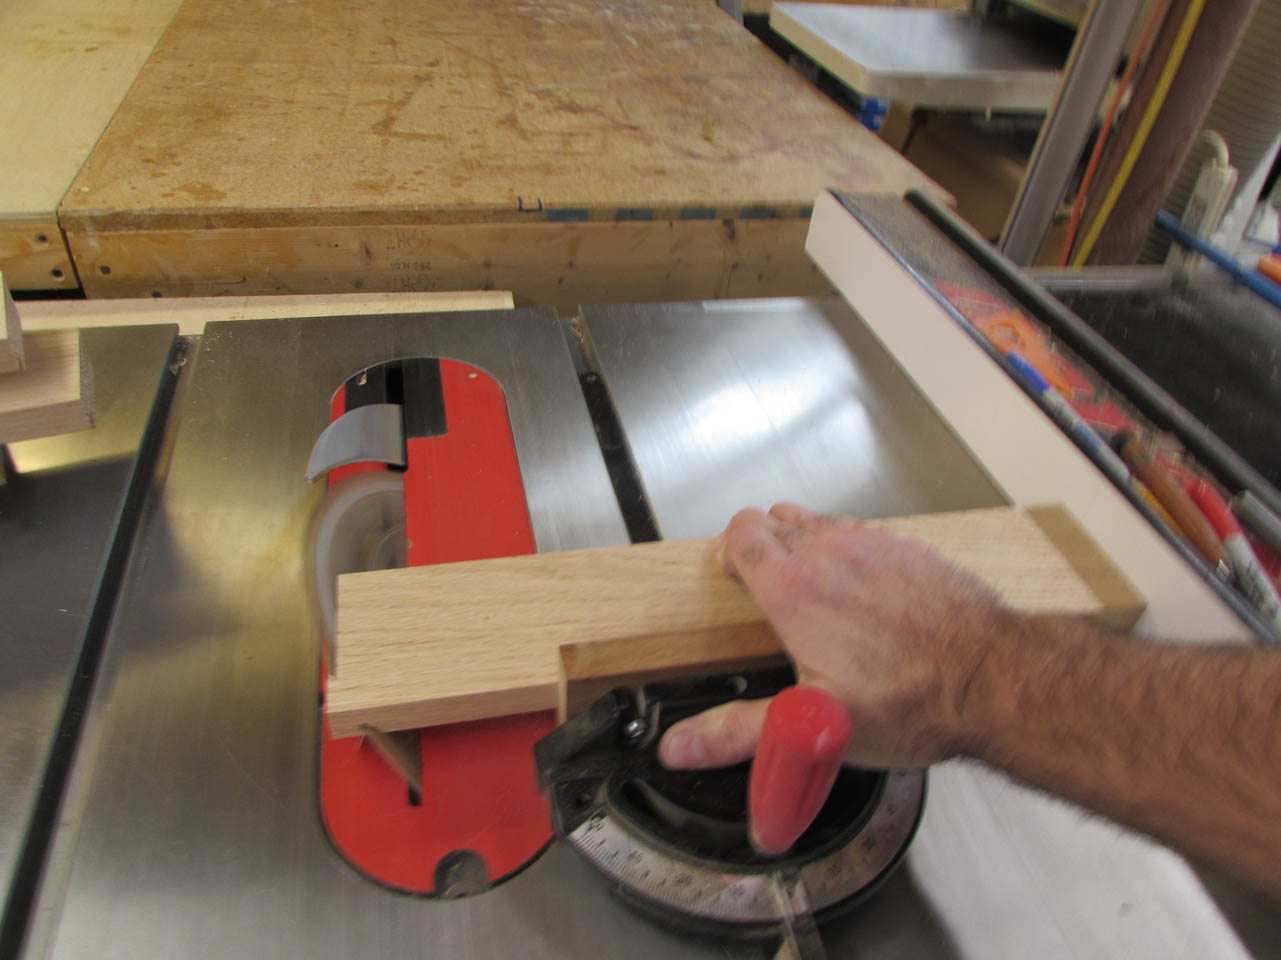
Then I flipped the board around and adjusted my fence so that I could cut the opposite miter and keep all of the sides exactly the same length.
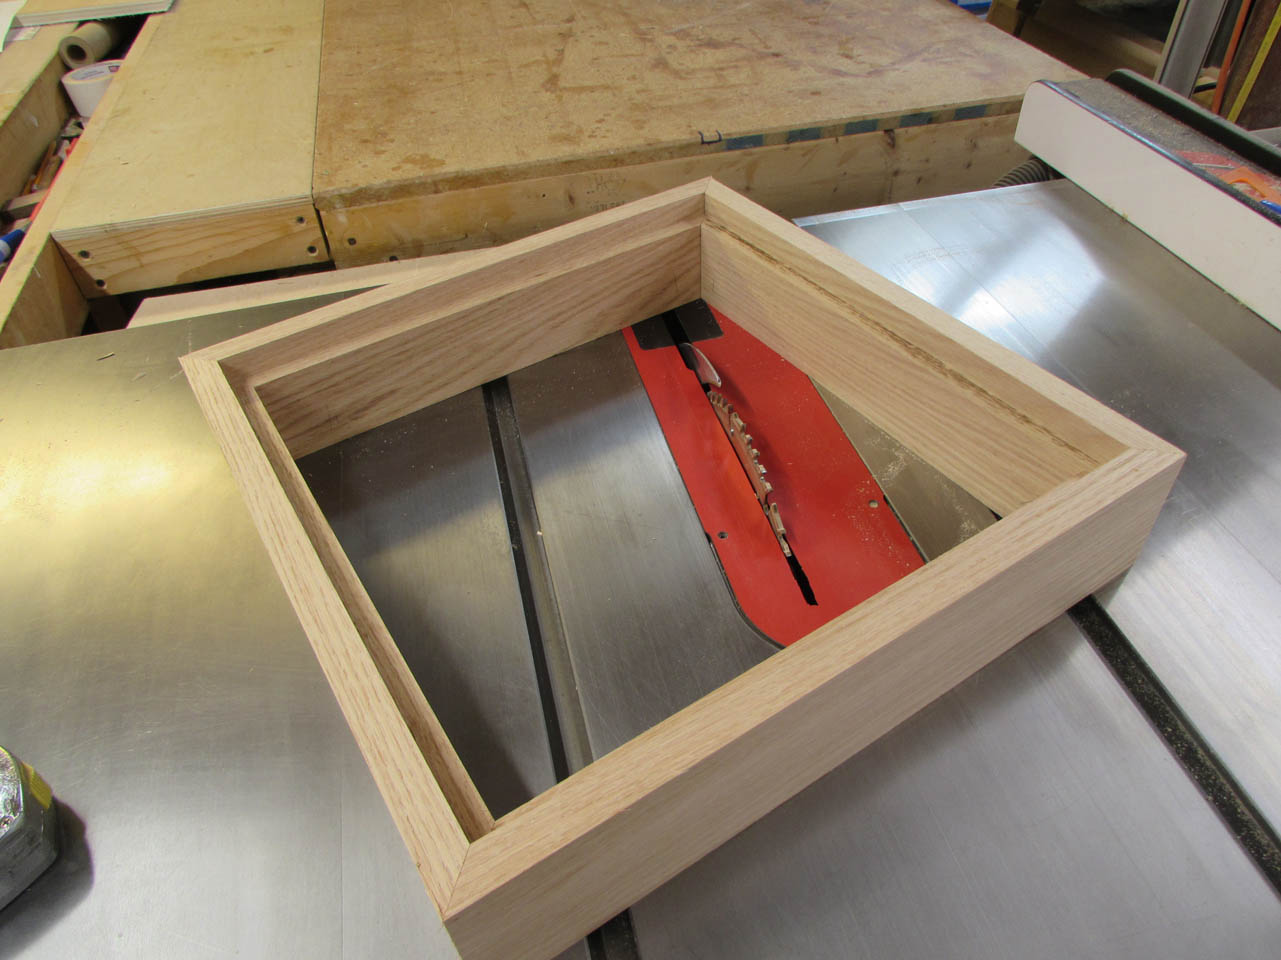
The dry-fit looks good.

I used my Festool Domino jointer to create a single mortise on each of the 45° faces.
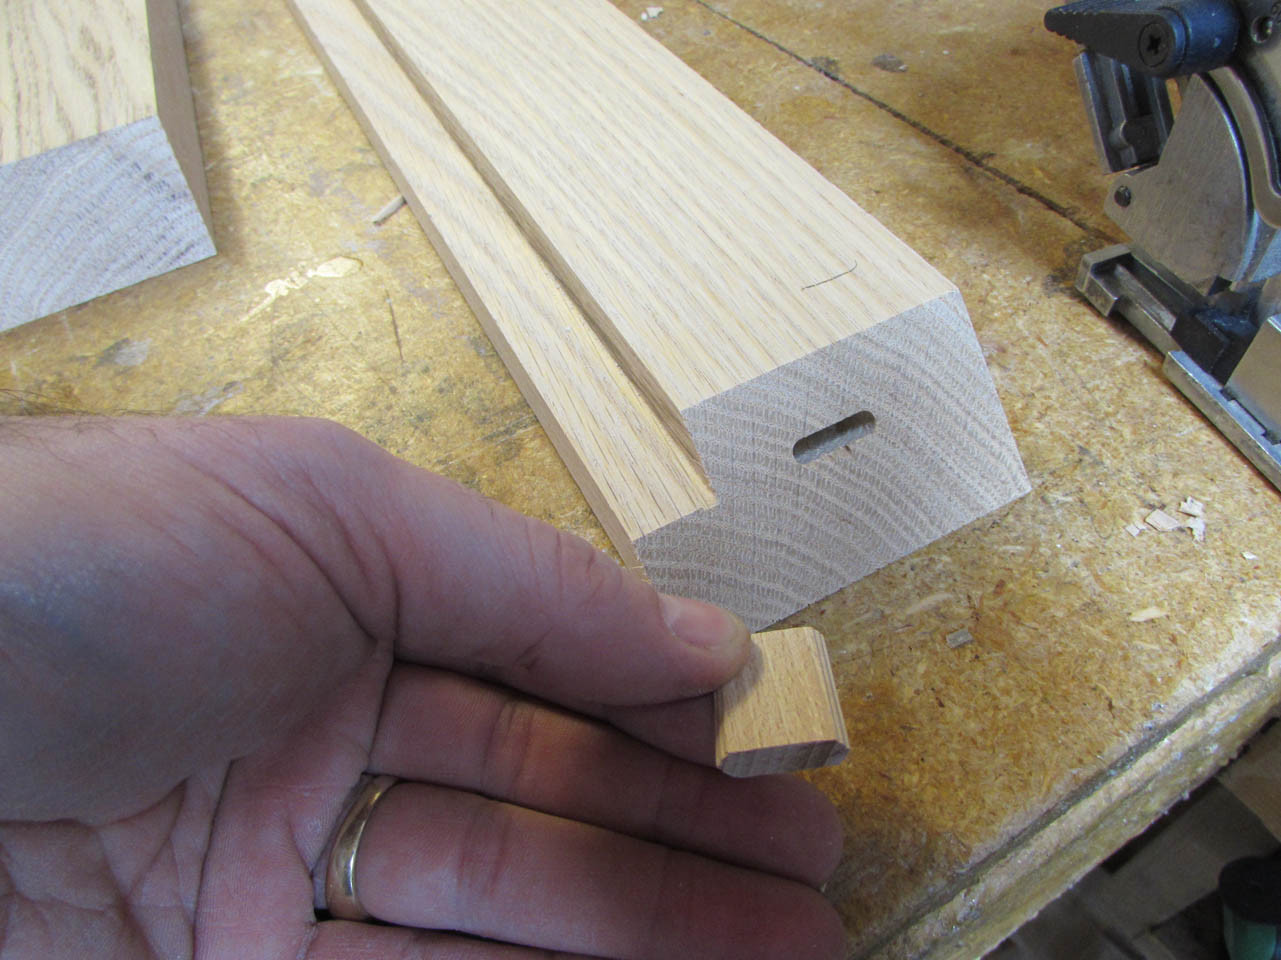

This will allow me to install a tenon at each corner.

After another dry-fit, I applied glue and installed the tenons.

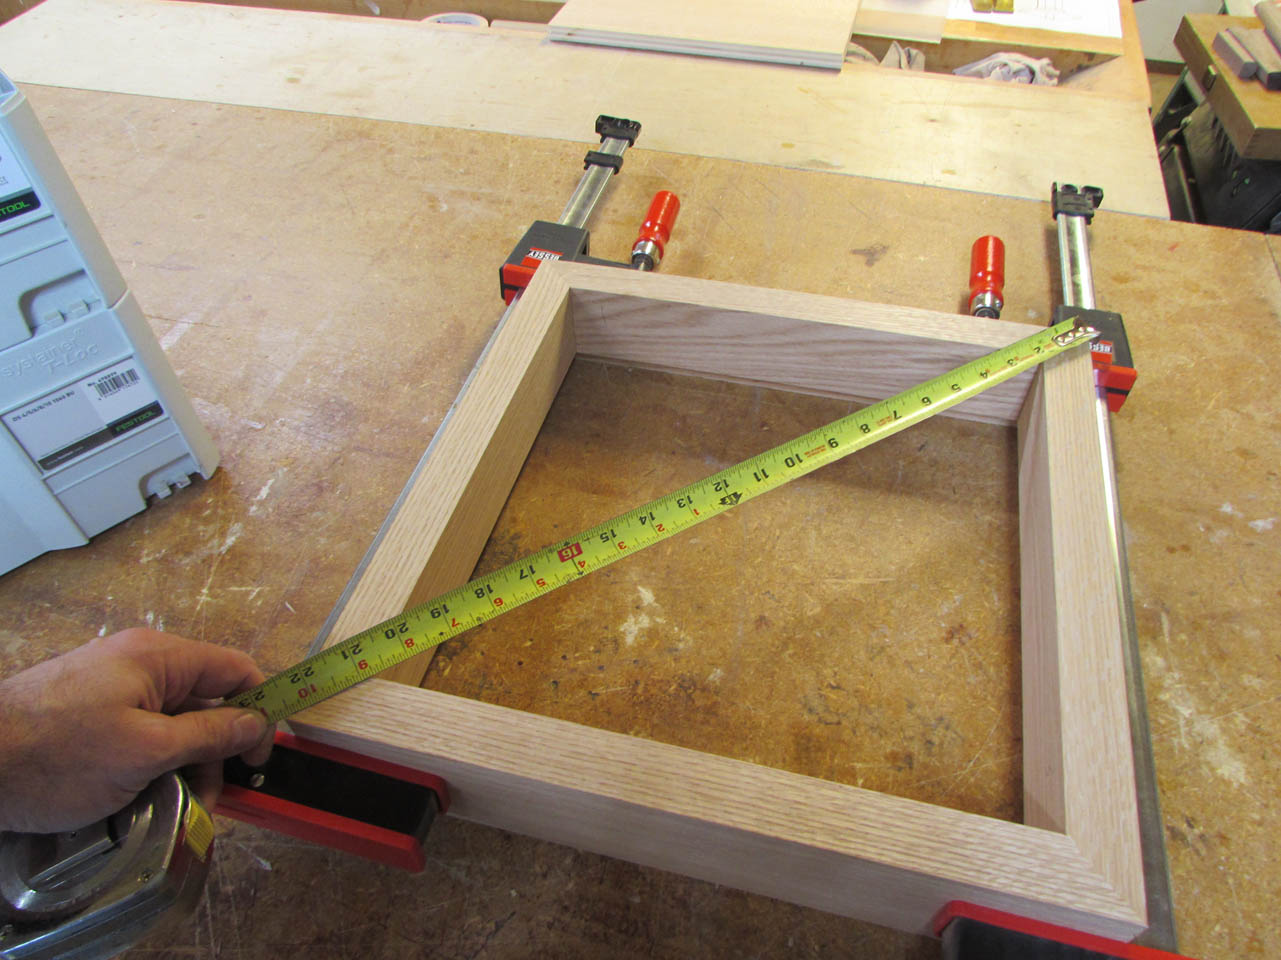
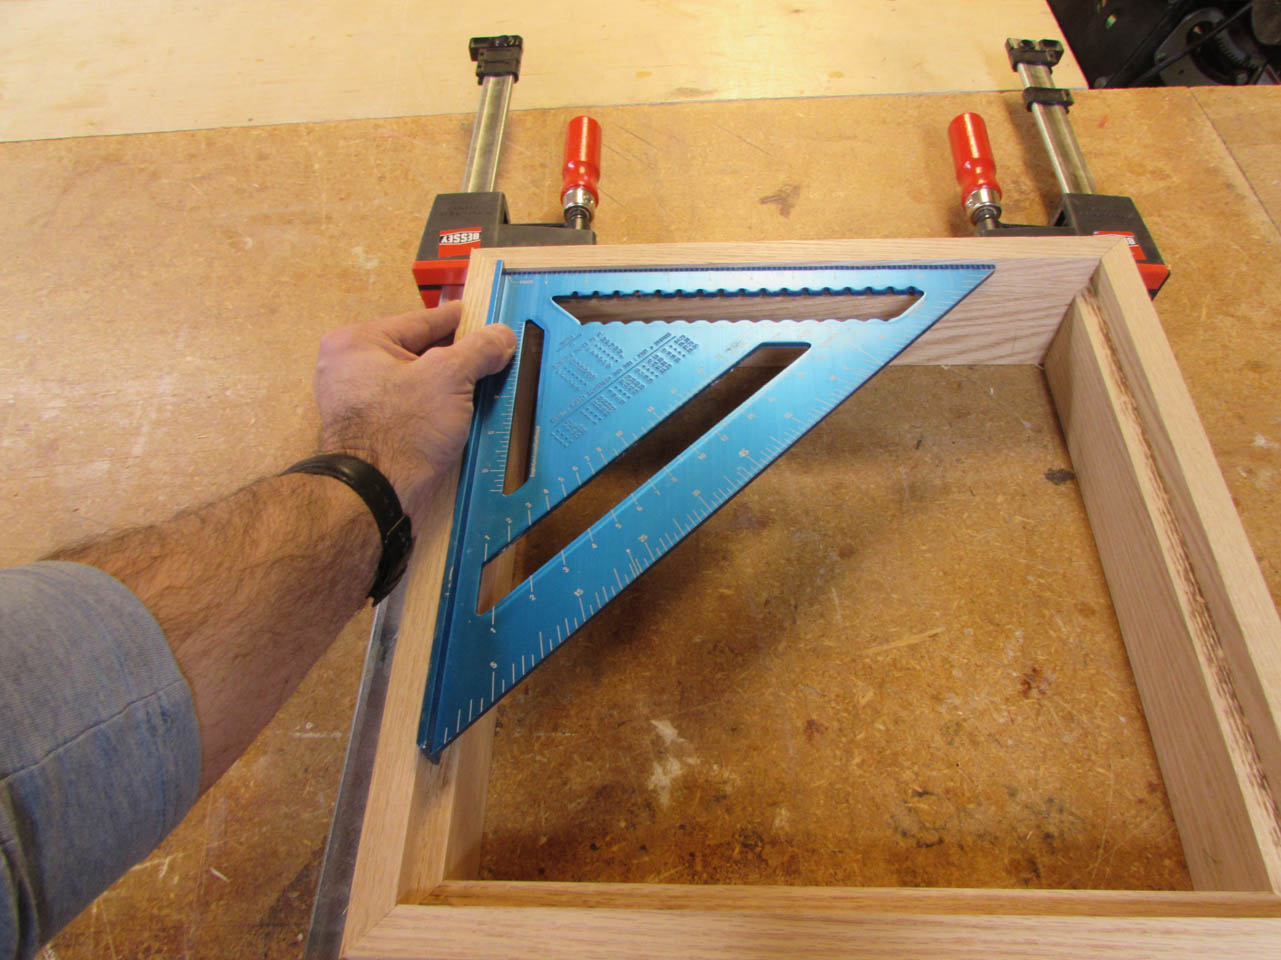
I worked quickly, before any of the glue could set up, then got some clamps on it. I checked for square before setting it aside to dry.
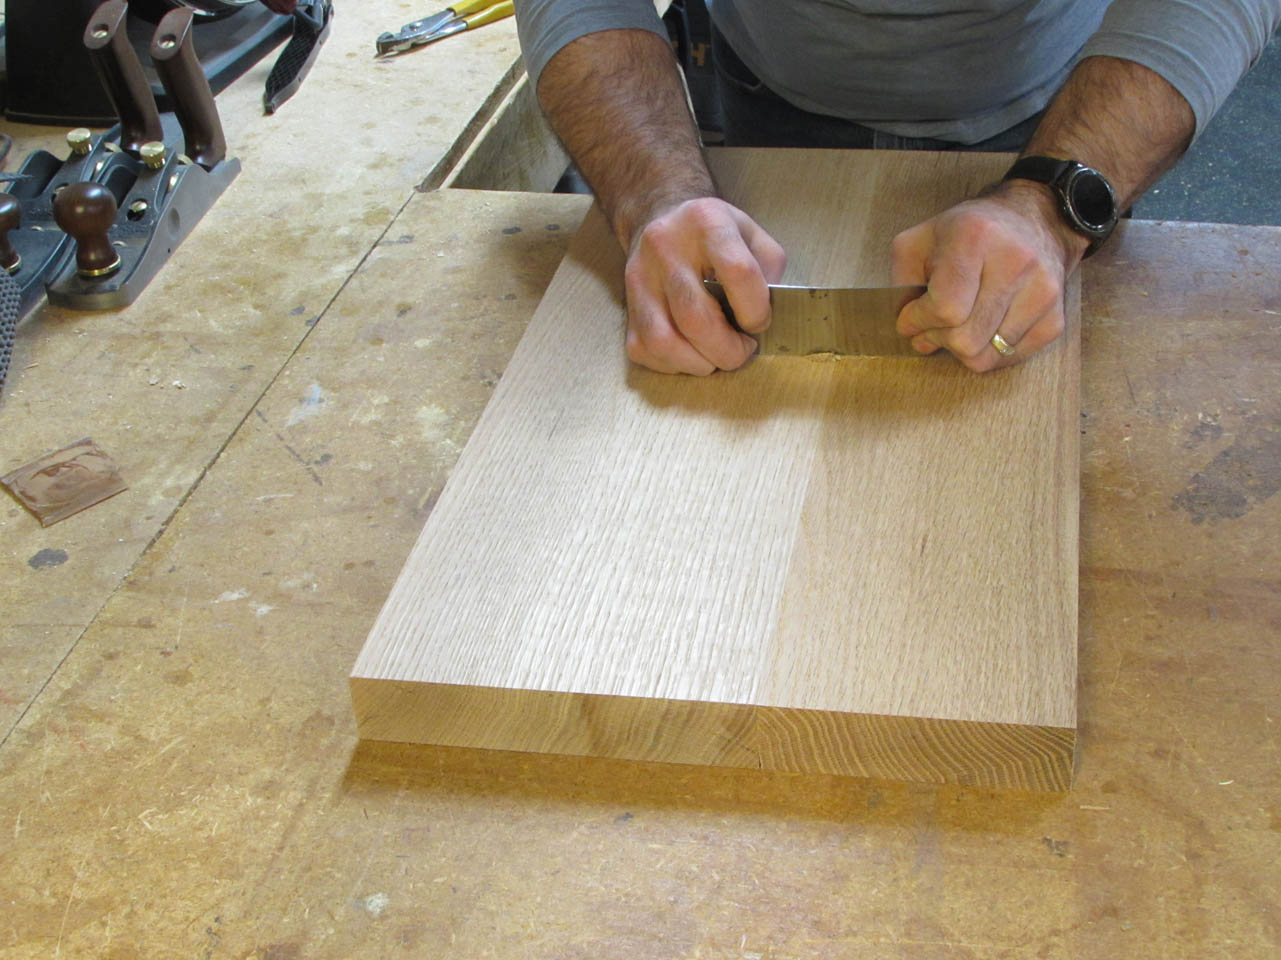
While that was drying, I pulled the clamps on the first panel and scraped the excess glue away with a card scraper.

Then I cut both pieces down to their final length and width.
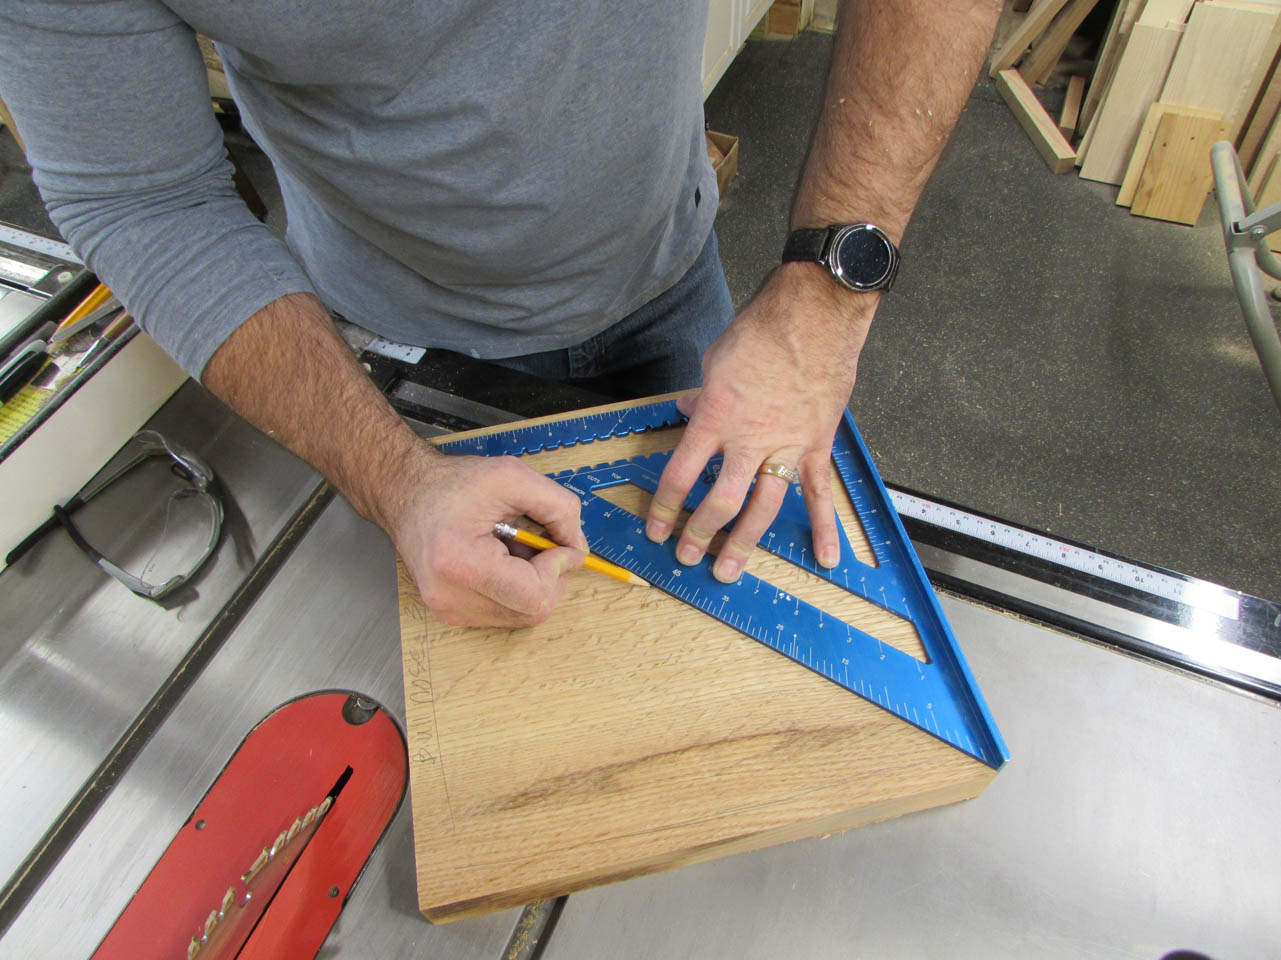
After marking the center, I drilled a 5/16″ hole through the board.

This will be the top plate, where the brass cup will be mounted, that holds the candle. It has a threaded hole that will mount to a bolt that I will embed into the wood. I insert the bolt in the hole then mark the sides of the hex head.


I use my 1/4″ chisel to cut the hexagon about 1/4″ deep into the board.


This allows the hex bolt to sit below the surface and locks it in place so it cannot spin.
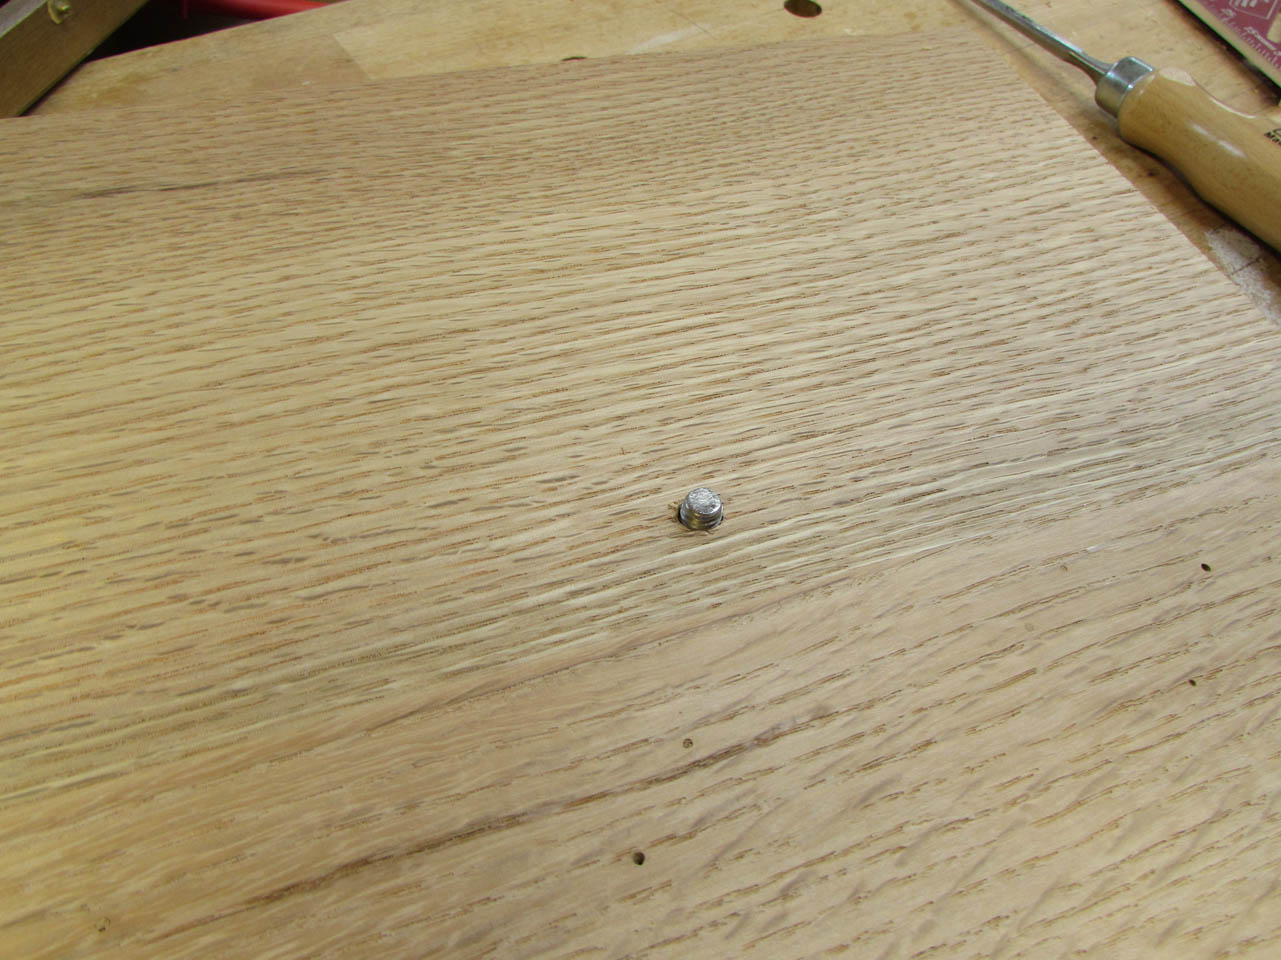
There is just enough thread sticking out to screw into the base of the brass cup.

I removed the cup and bolt and took my panels over to the router table to apply some edging.

On the base plate, I routed a 1/2″ chamfer all the way around.

The other thick piece will get a full 3/4″ bull-nose, but first I cut another panel that will also need the same radius.

While I was at it, I cut and planed down the 3/4″ column cap piece.


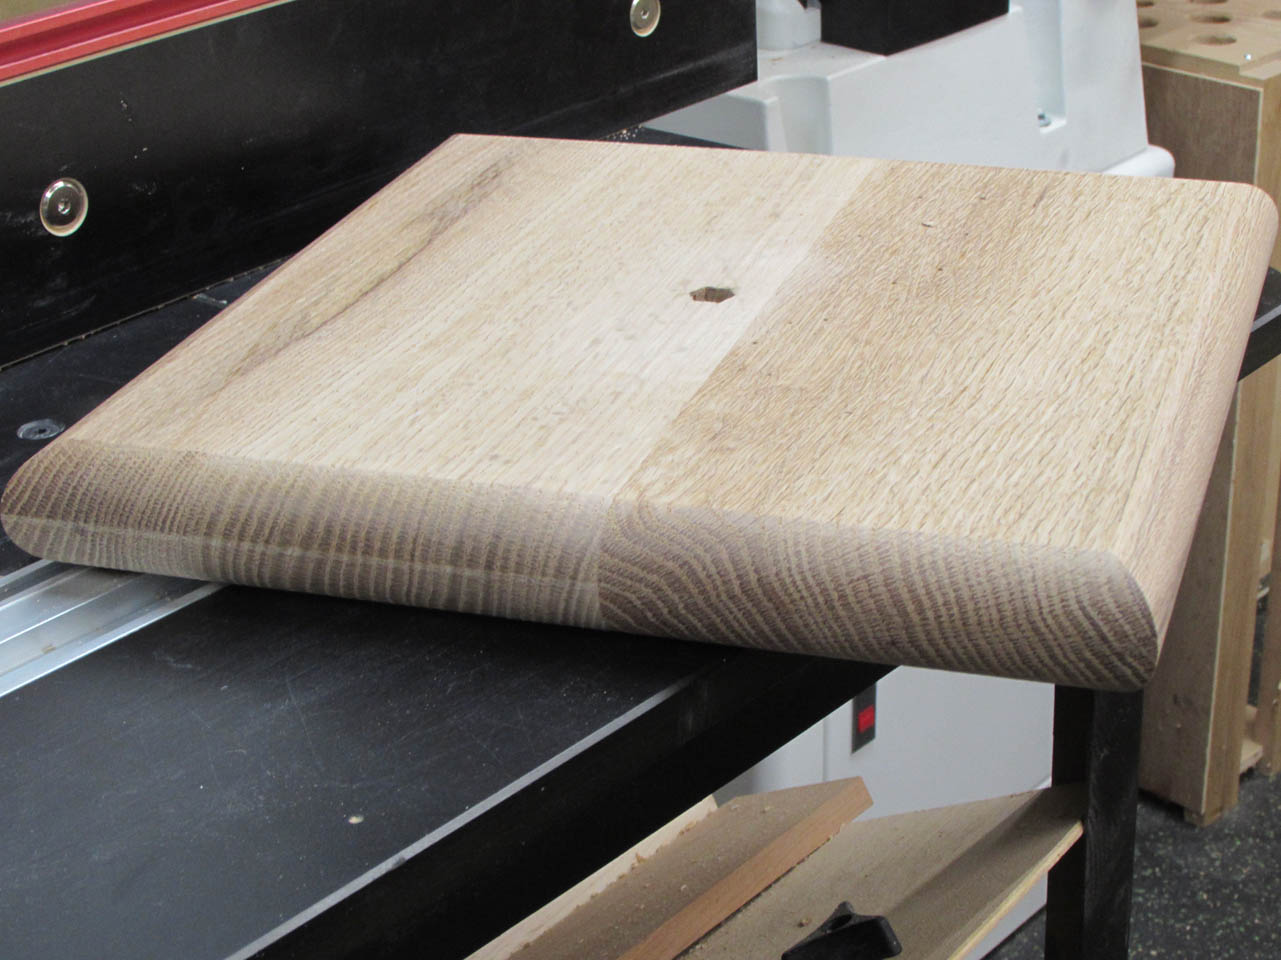
I set up the 3/4″ radius tool in the router and prepared my board by clamping a sacrificial strip to the long-grain side so I don’t get any accidental tear-out.


Then I cut the 3/4″ radius on the 1″ thick base cap.

I repeated the process with the top piece, then flipped it over and cut the 3/4″ radius on the opposite side.


This effectively creates a bull-nose all the way around.
The glue is dry enough on my base skirt, so I pulled the clamps and traced the opening on a piece of 3/4″ oak plywood.

Then I cut it down and planed it to get as perfect a fit as I could.


When I was happy with the fit, I pulled the plywood back out and applied glue to the rabbet.

Then I clamped the plywood back in.

That’s enough for today. Hopefully tomorrow, I will get to work on the column.
