
St. Kilian chapel – Baptismal Font – part 6
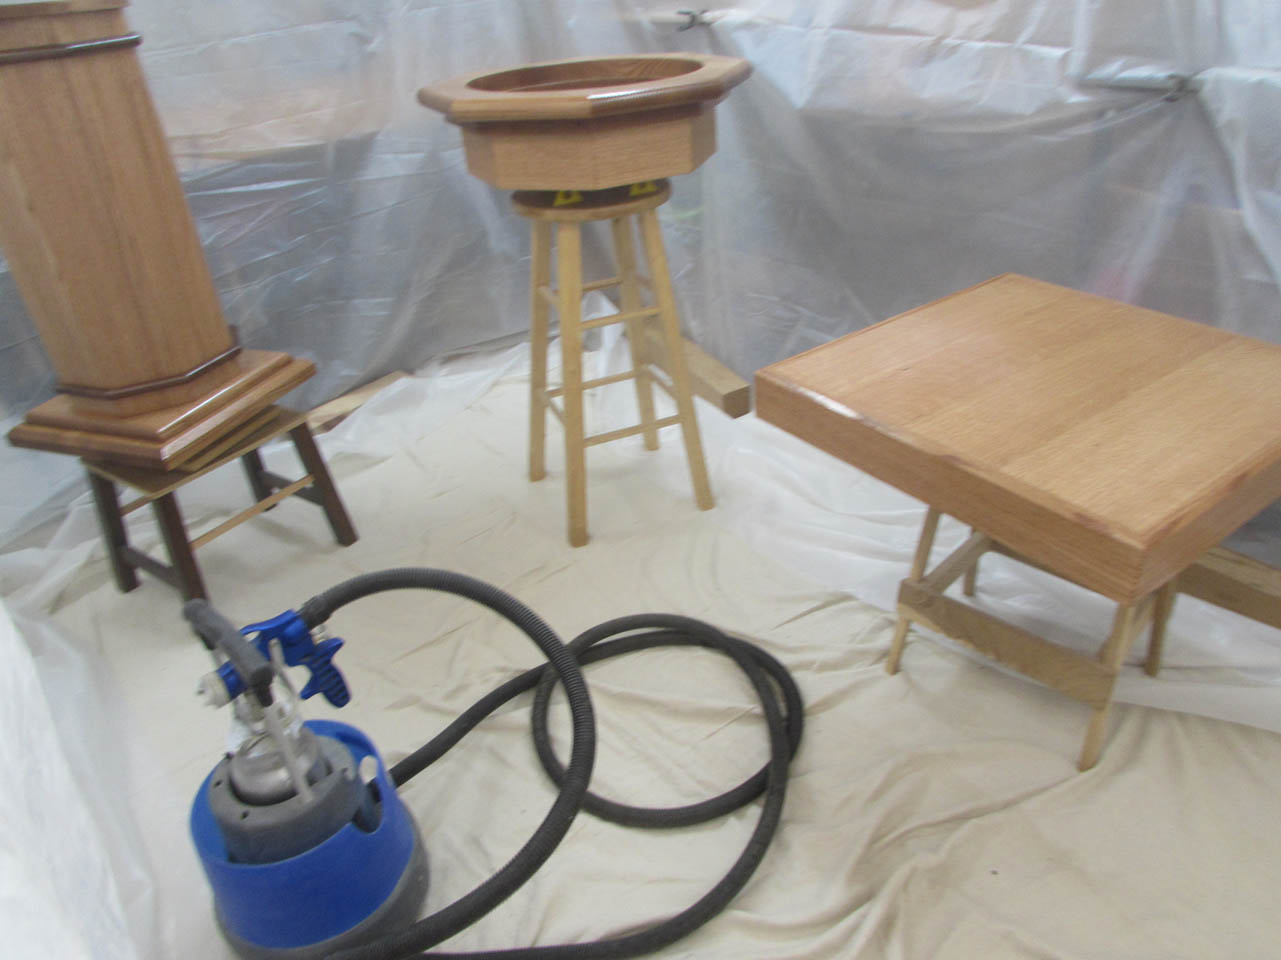
I waited a day for the stain to cure, then started putting up the plastic to create my temporary spray booth.
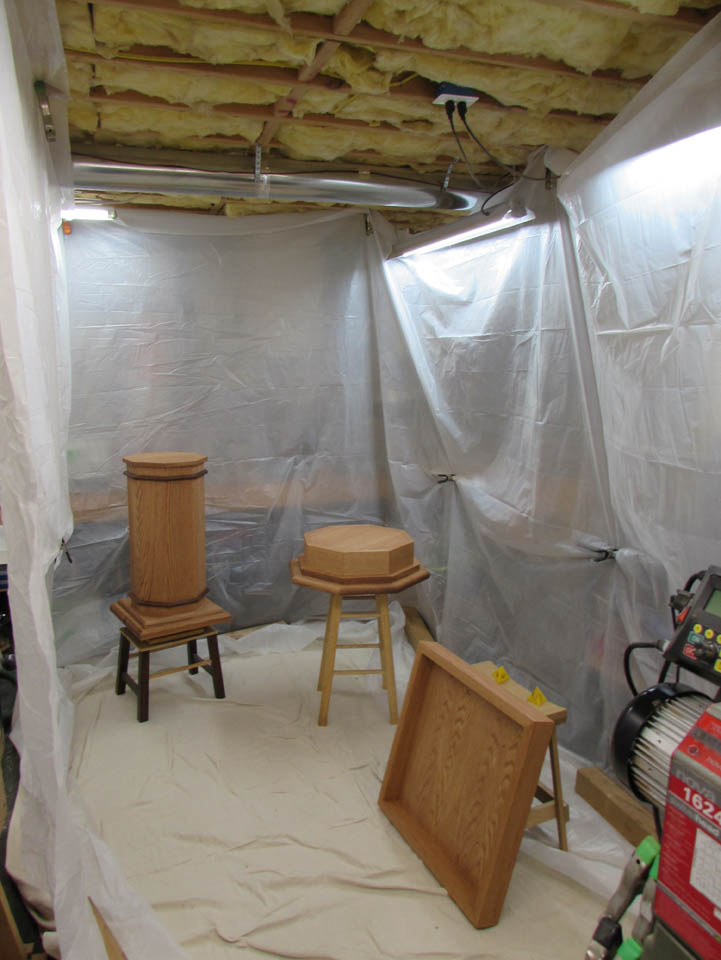
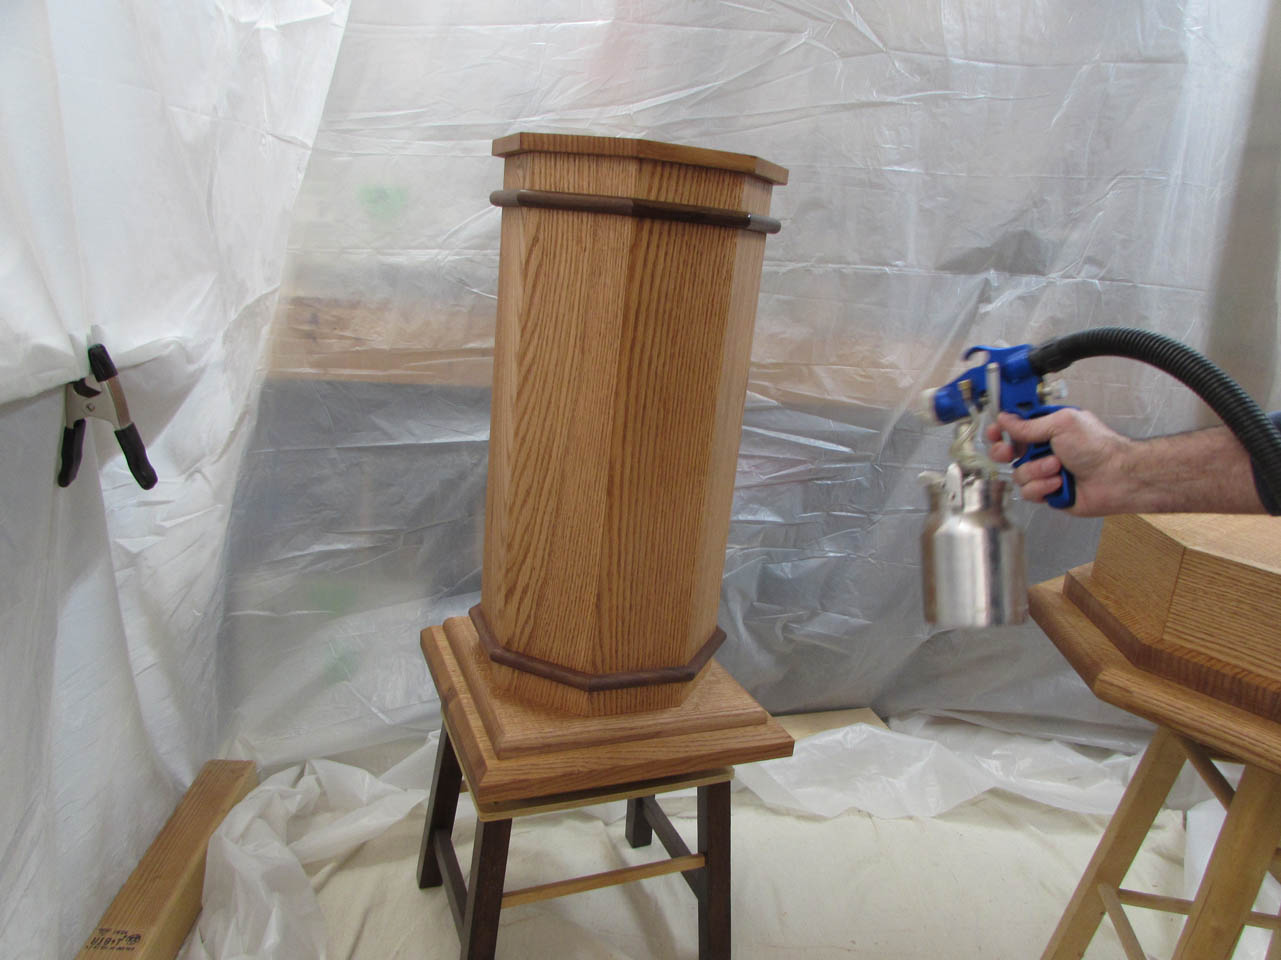
I set the column on a stool with a lazy Susan top. This allows me to tuck the column in the corner and spin it to apply polyurethane with my HVLP sprayer.
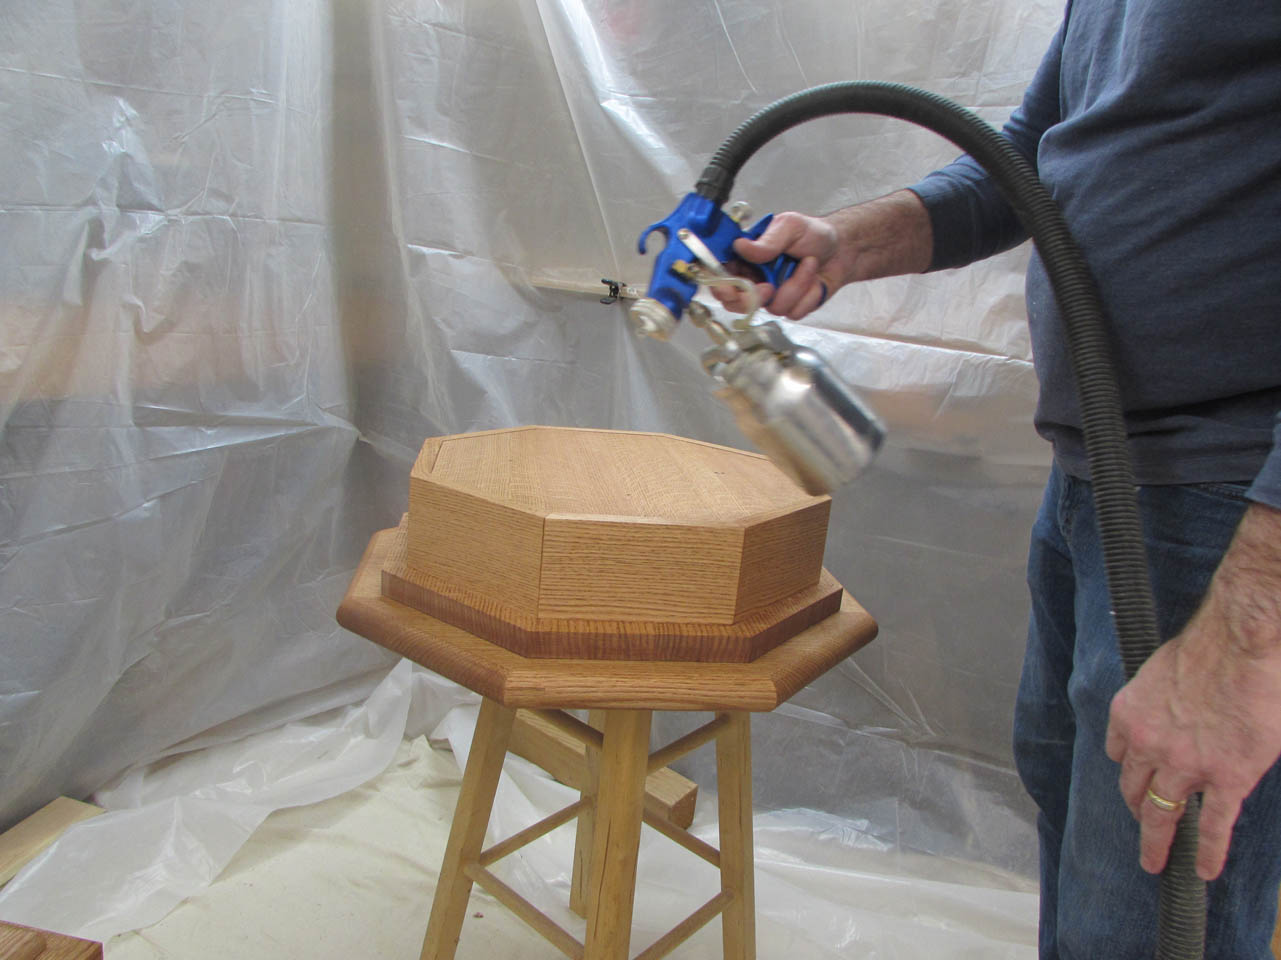
The rest of the pieces are on stools. I spray the bottom sides first, then flip them over onto painter’s pyramids and spray the tops.

Once everything is set up, it only takes about 10 minutes to spray all the pieces.

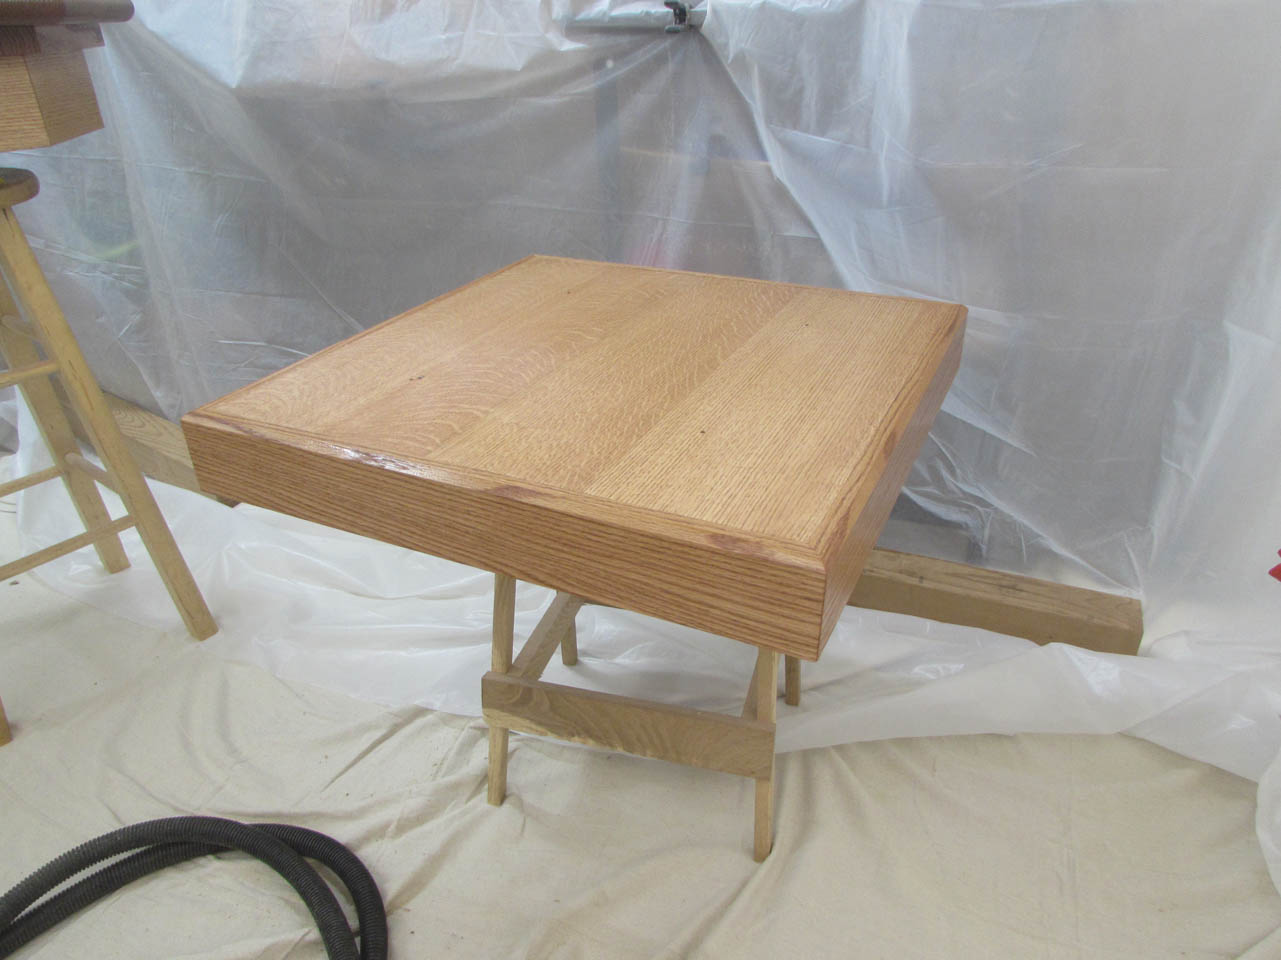
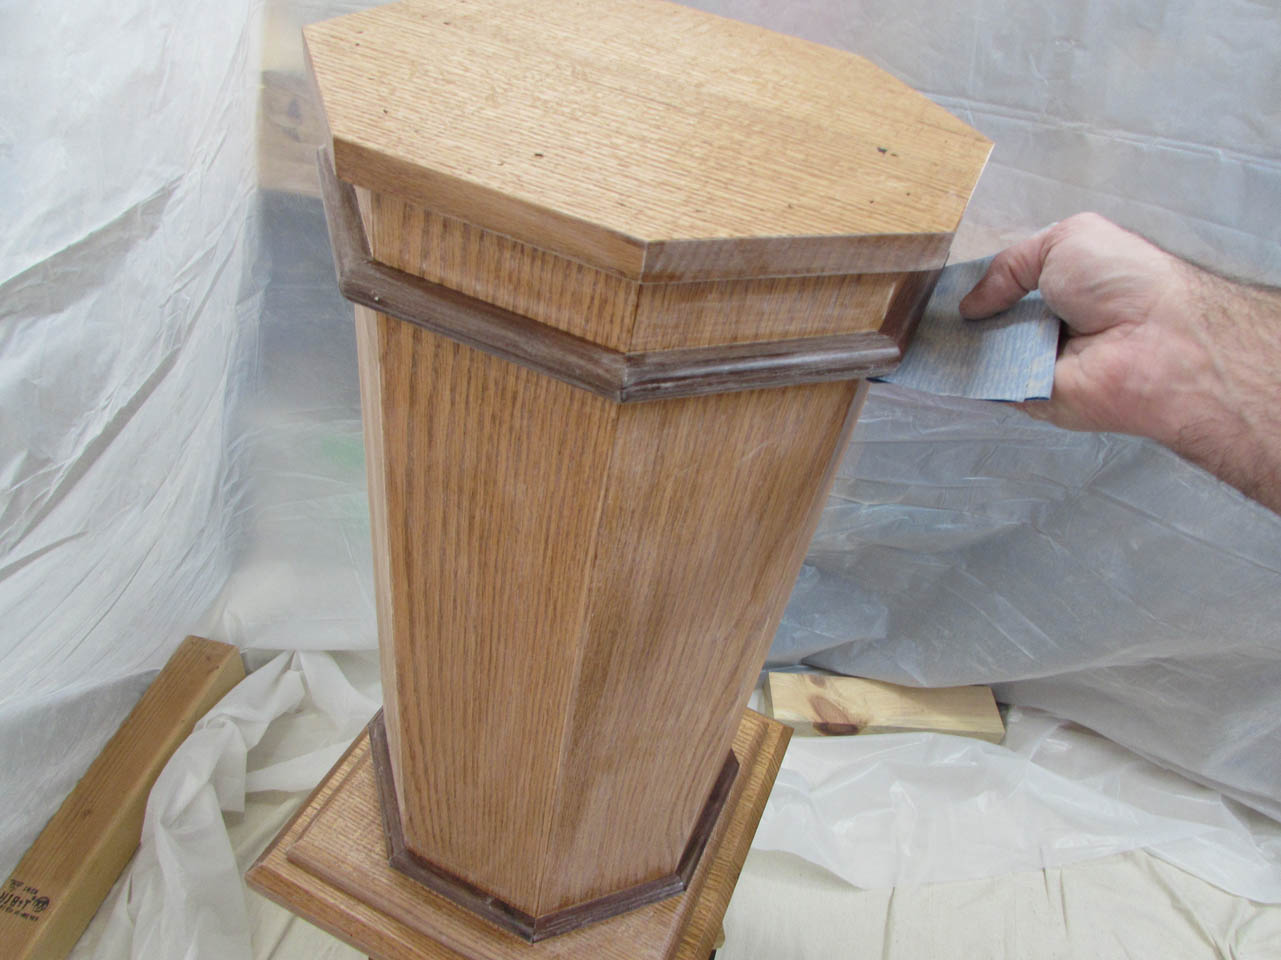
I let everything dry over night, then the next day I sanded the finish with 400 grit paper to smooth the surface, removing any dust that settled over night. This also helps prep the surface with little scratches that give better grip to the second layer of polyurethane.


When a piece is sanded, I wipe is down to remove any loose dust, then move on to the next piece.

Then I spray it all down again and close up the tent until everything is dry, the next day.


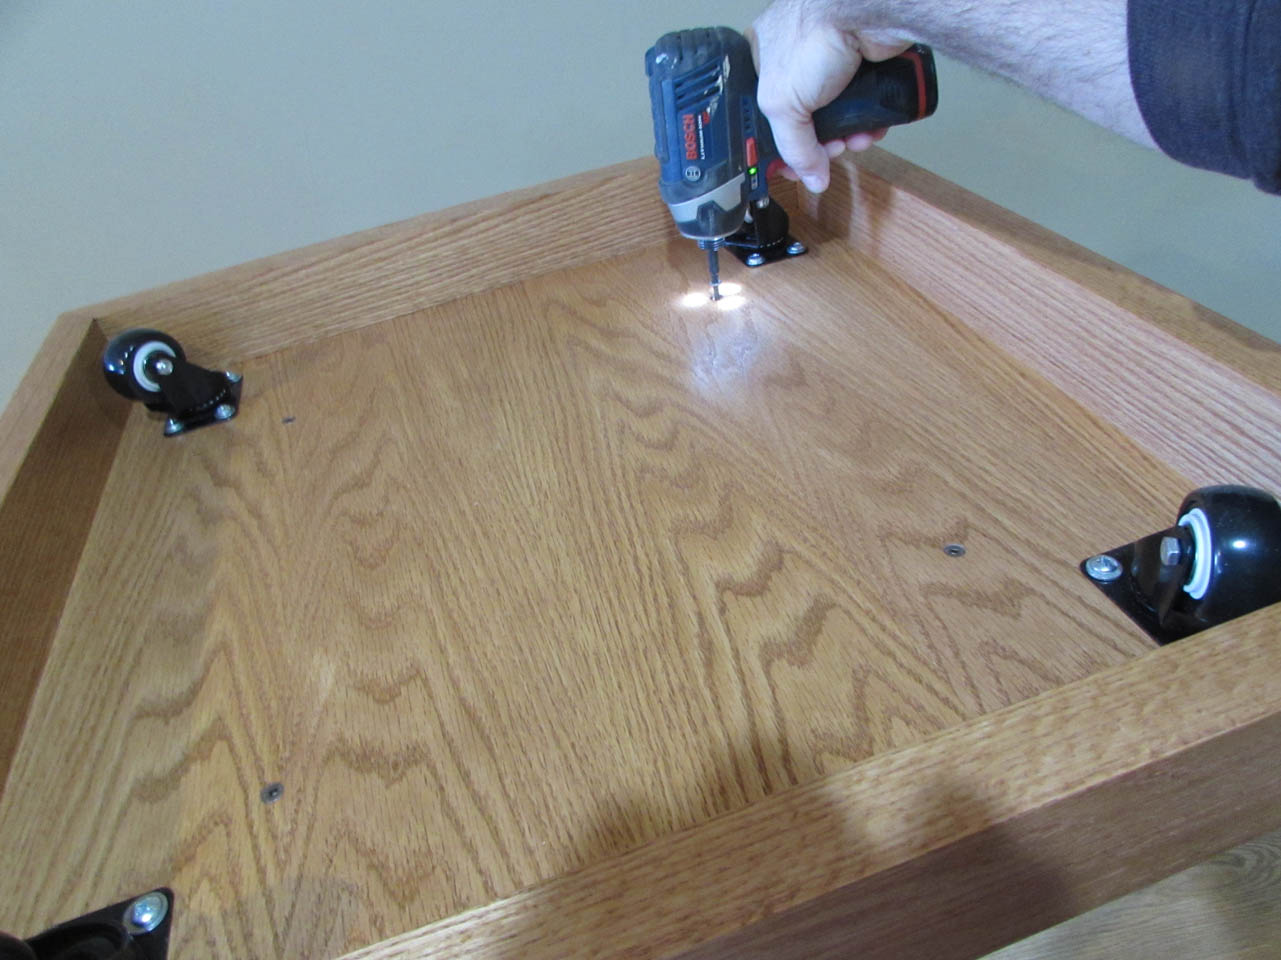
When everything is dry, I can reassemble the wheels, using the same space as before.

Once the wheels are done, I reattach the mobile base to the bottom of the column.
Then I flip the assembly over and attach the top.

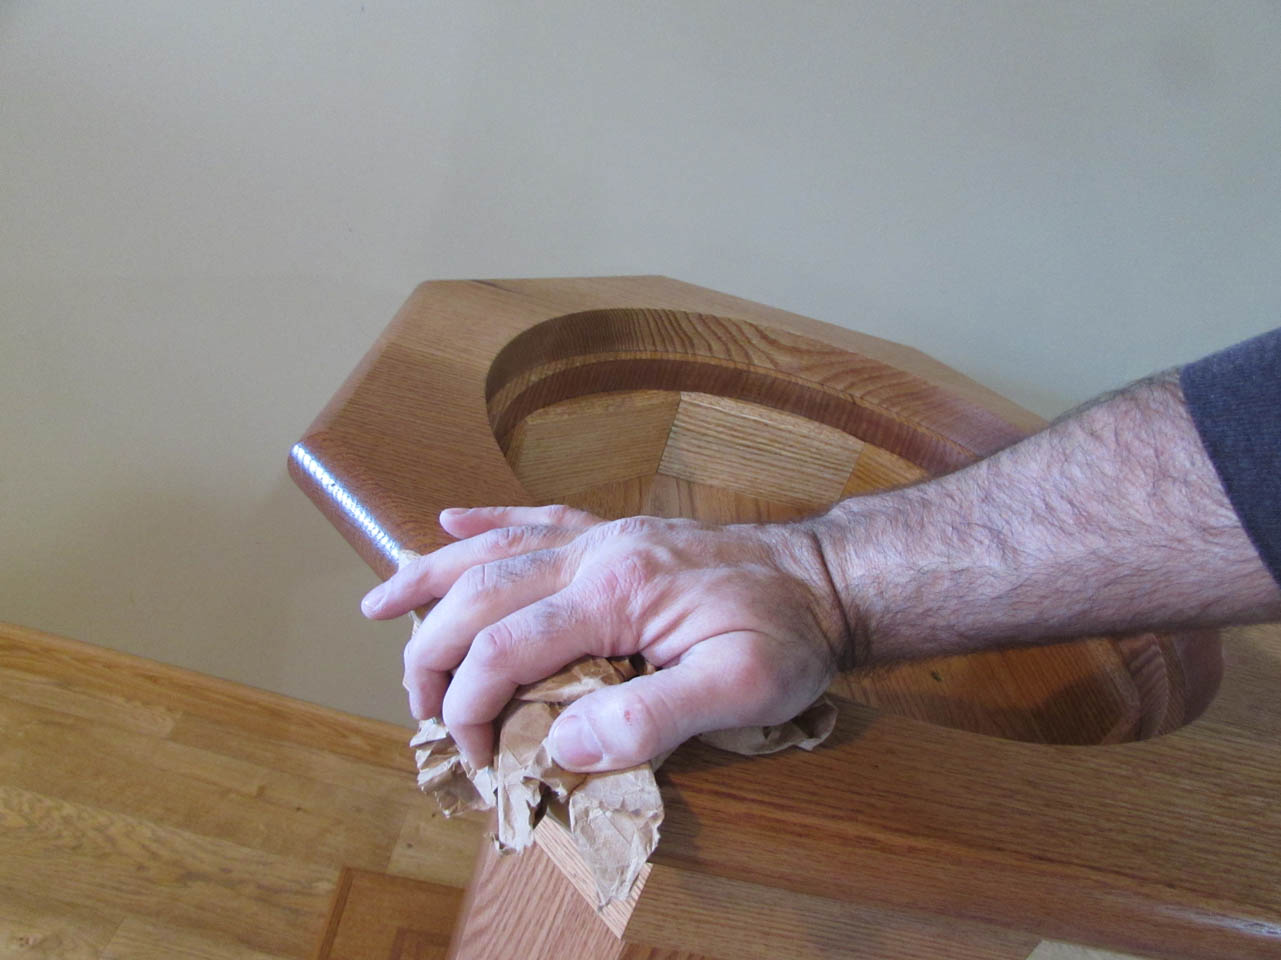
The last step of the finish process is to rub everything down with a crumpled piece of a brown paper bag. I don’t know why it works so well, but it buffs out the surface leaving everything very smooth.

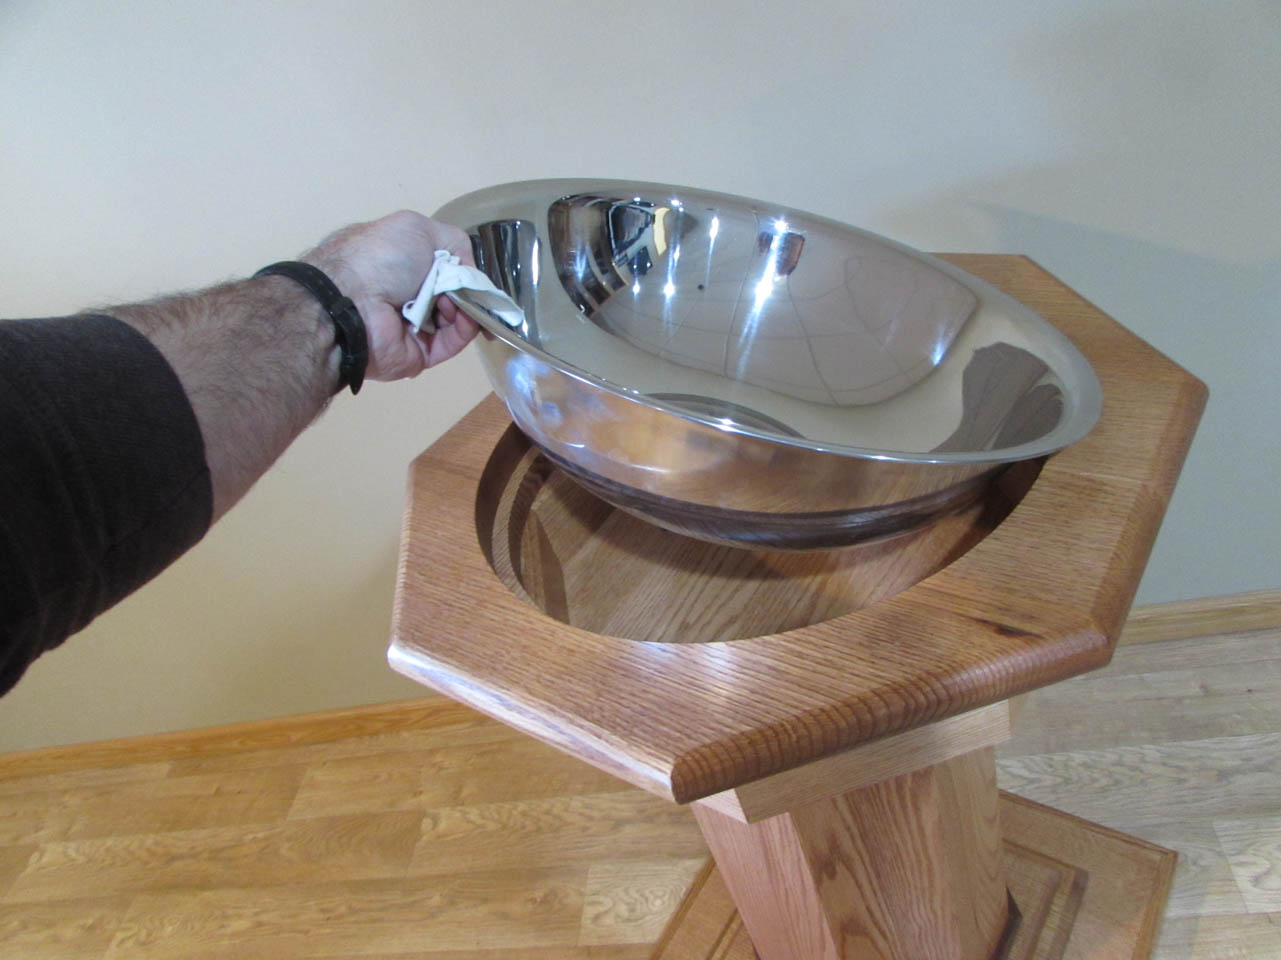
Finally, I wipe the dust off of the bowl and set it in place.
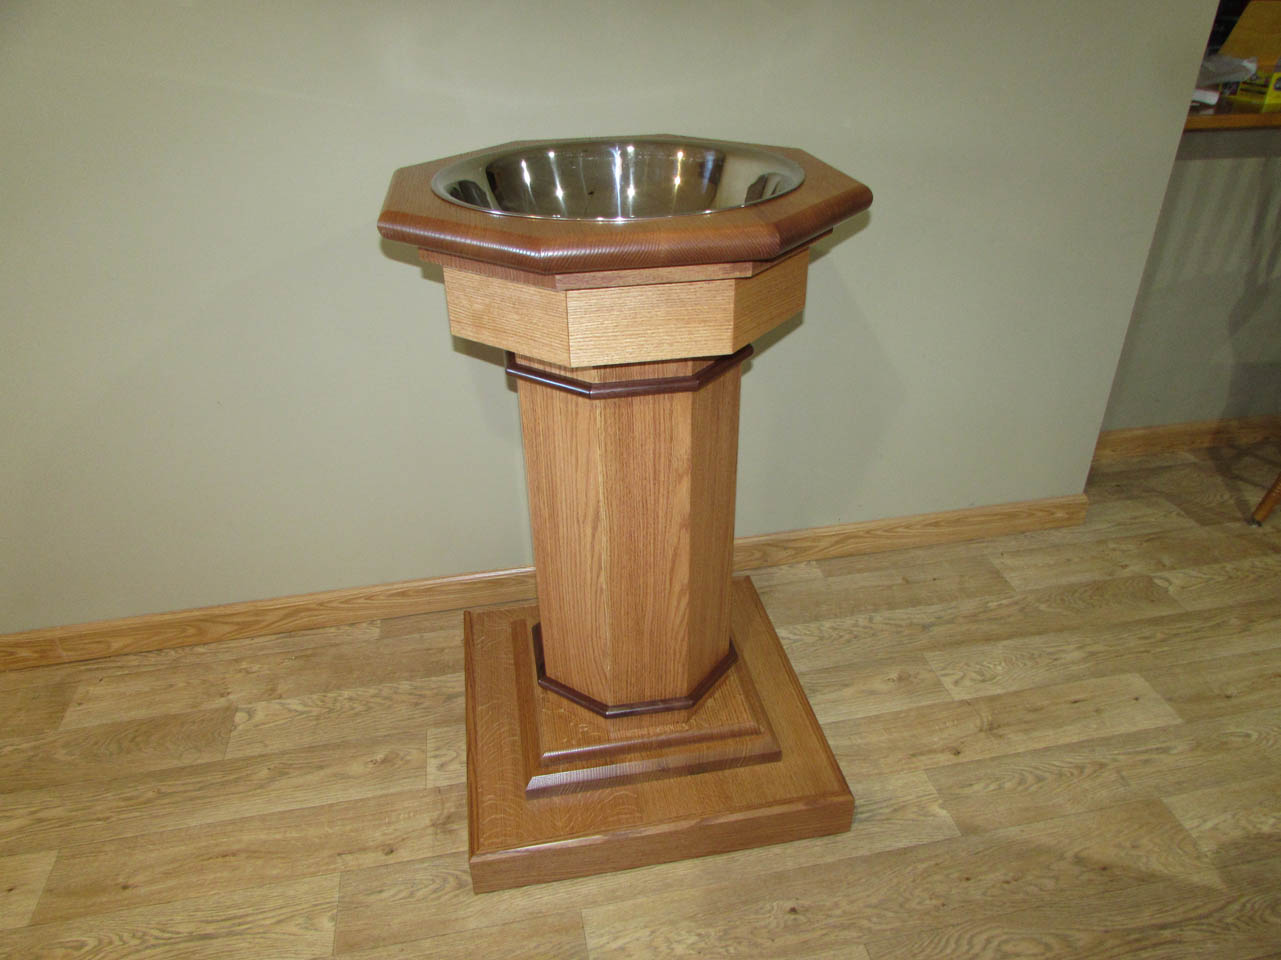
Yeah! The font is done. It rolls very smoothly and the casters allow the font to be pushed in any direction easily. The weight is centered very low so it does not want to tip either.
Time to start on the next piece…
