
St. Kilian chapel – Ambo, part 1
I have a new big project to get started on this week. Six new pieces of chapel furniture for Saint Kilian parish in Farmingdale, NY. I will be making a new altar, pastor chair, ambo, tabernacle stand, baptismal font, and Paschal candle stand. All of these pieces will be sitting on octagonal columns, made primarily out of red oak with walnut trim.
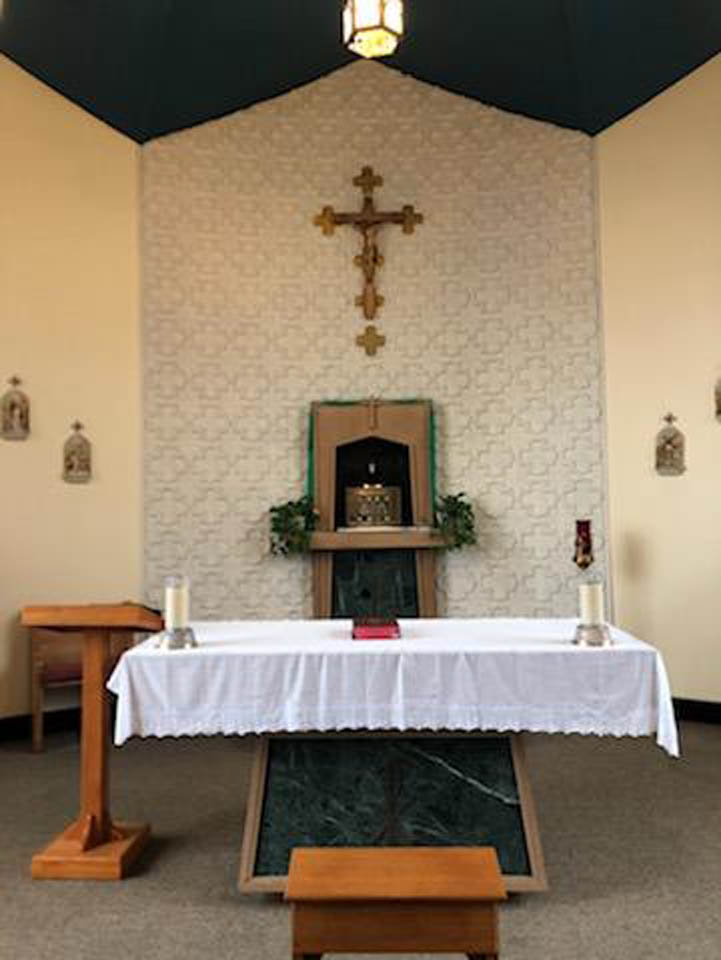
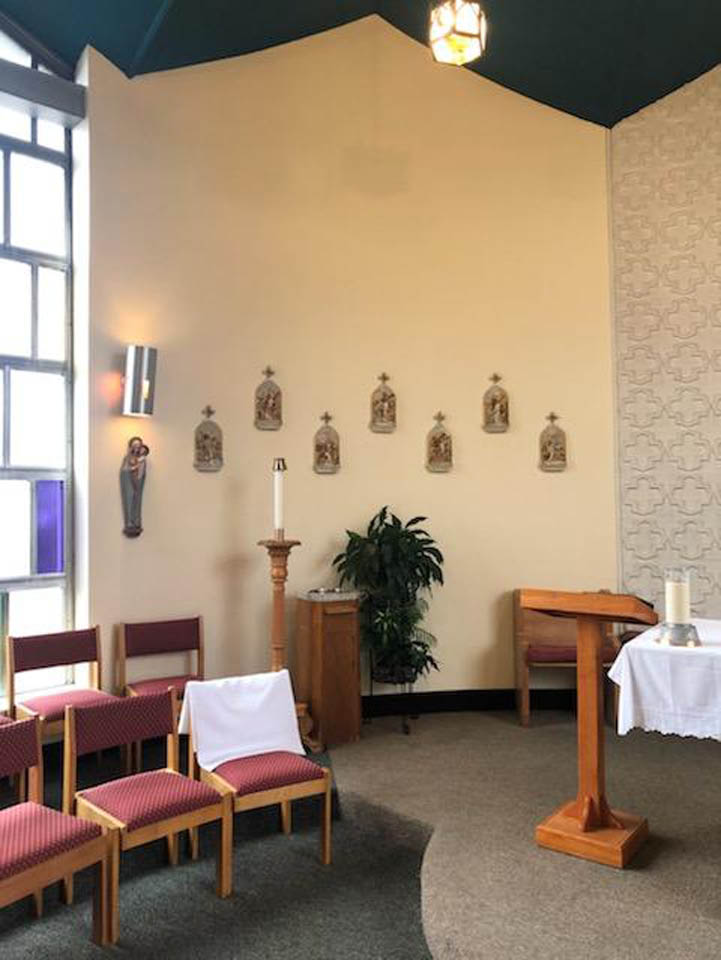
The pictures above and below show the existing chapel furniture that will be replaced. The first piece that I am focusing on will be the ambo. This is my design: AMBO.pdf

I created a rough design of each piece so I could determine what materials I would need, then I went shopping…

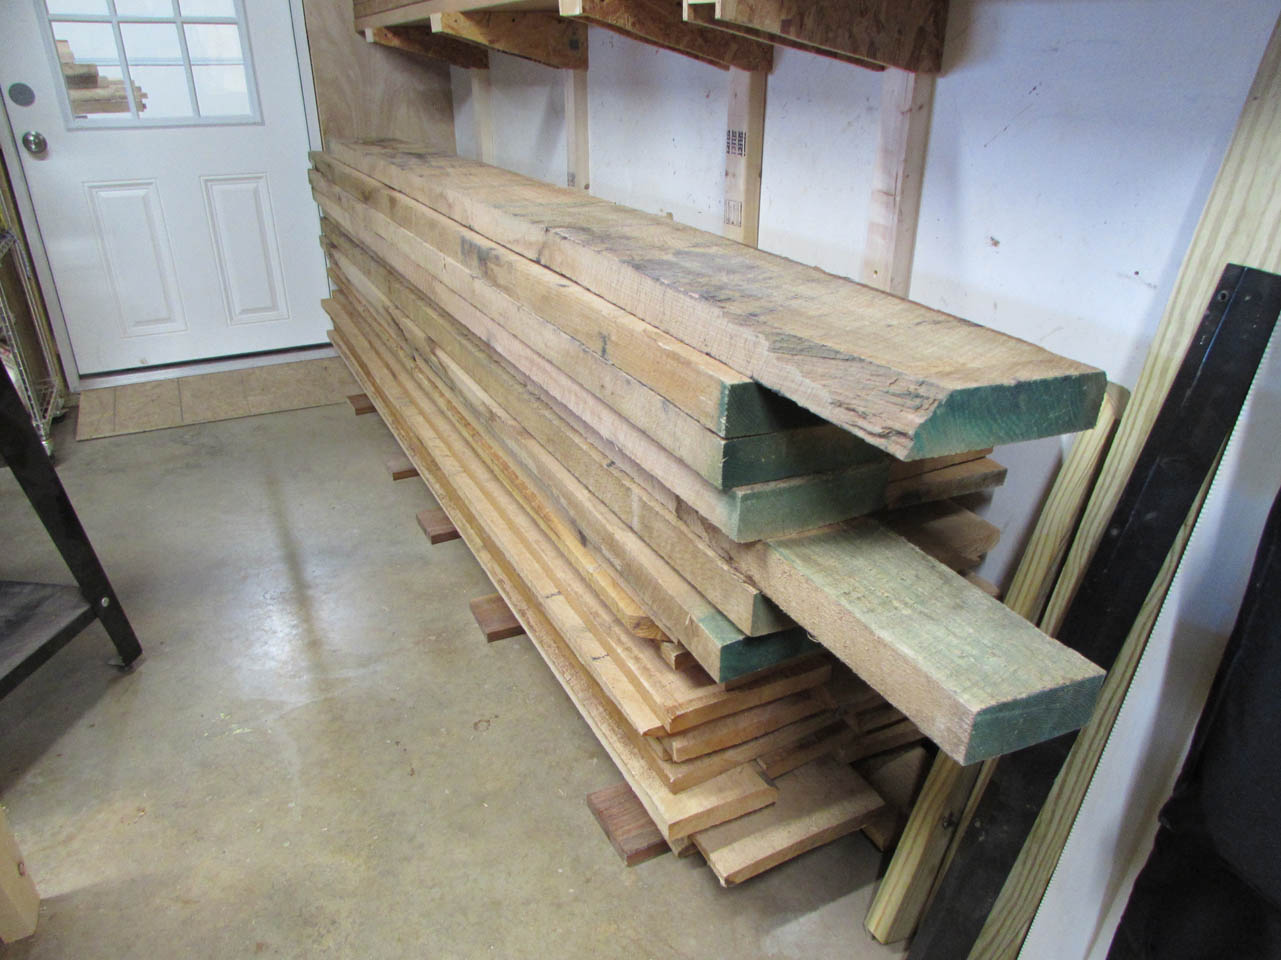
The first truck load of red oak filled the main work area of my shop.

I spent about a day moving things around to find a home for that load and the next one. This should be enough for now…
I have a new design for the thinner columns that will appear on the ambo, baptismal font, and the pastor chair. I start with 8/4 wood that will be cut down to form the two halves of the column. The larger columns will be made with eight separate facets. The smaller columns could be easily made from a solid 4″x4″ board, but there is more risk of expansion and contraction possibly cracking the column if it is exposed to dry & humid air. Many churches tend to only turn up the heat and air conditioning when the church or chapel is being used. That creates unpredictable humidity conditions. This new design hollows out the center of the column, allowing for equal expansion and contraction inwards as well as outwards, similar to the larger columns which have proven to be very stable in the past.
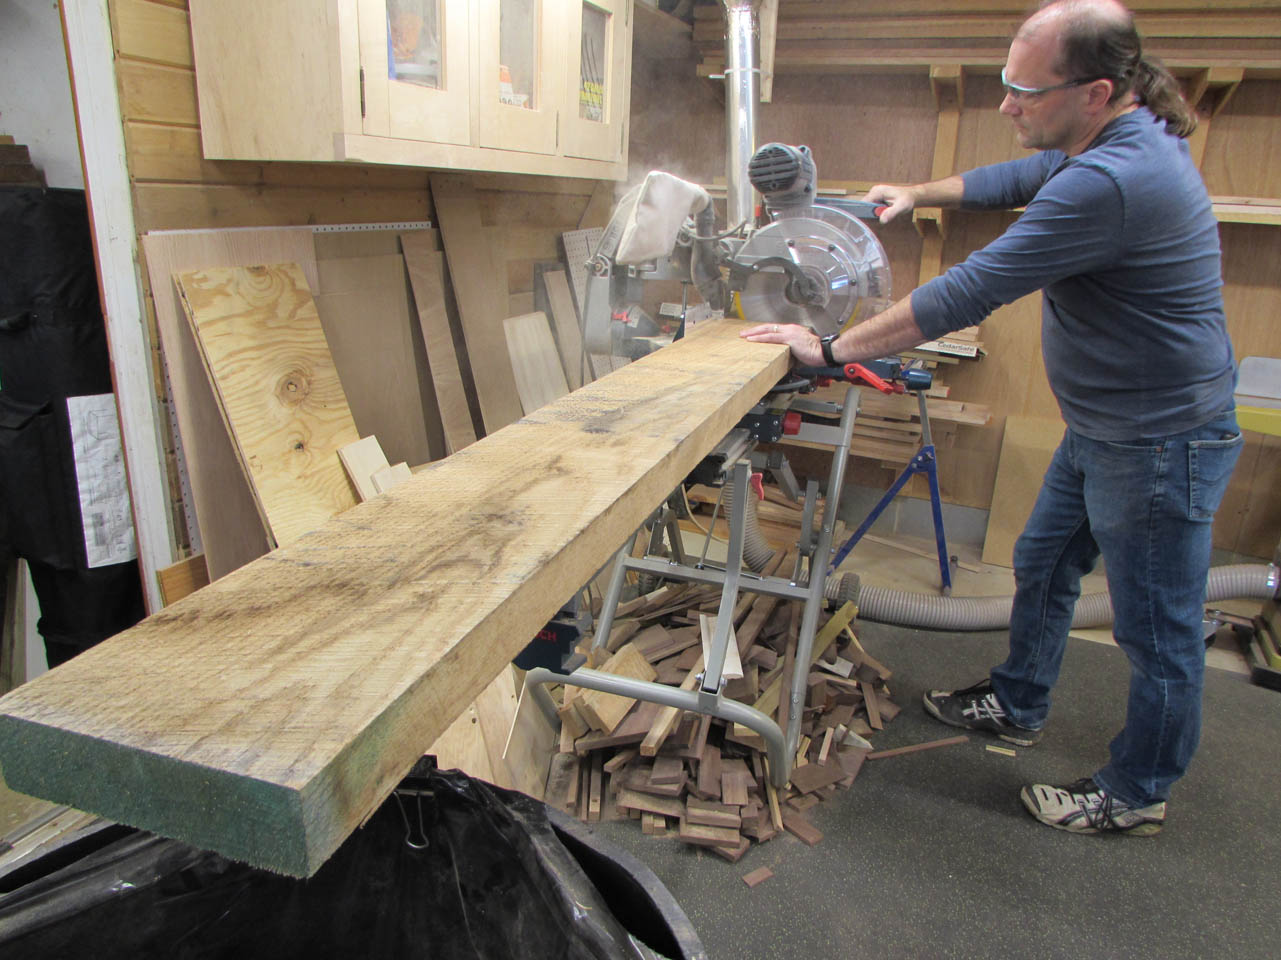
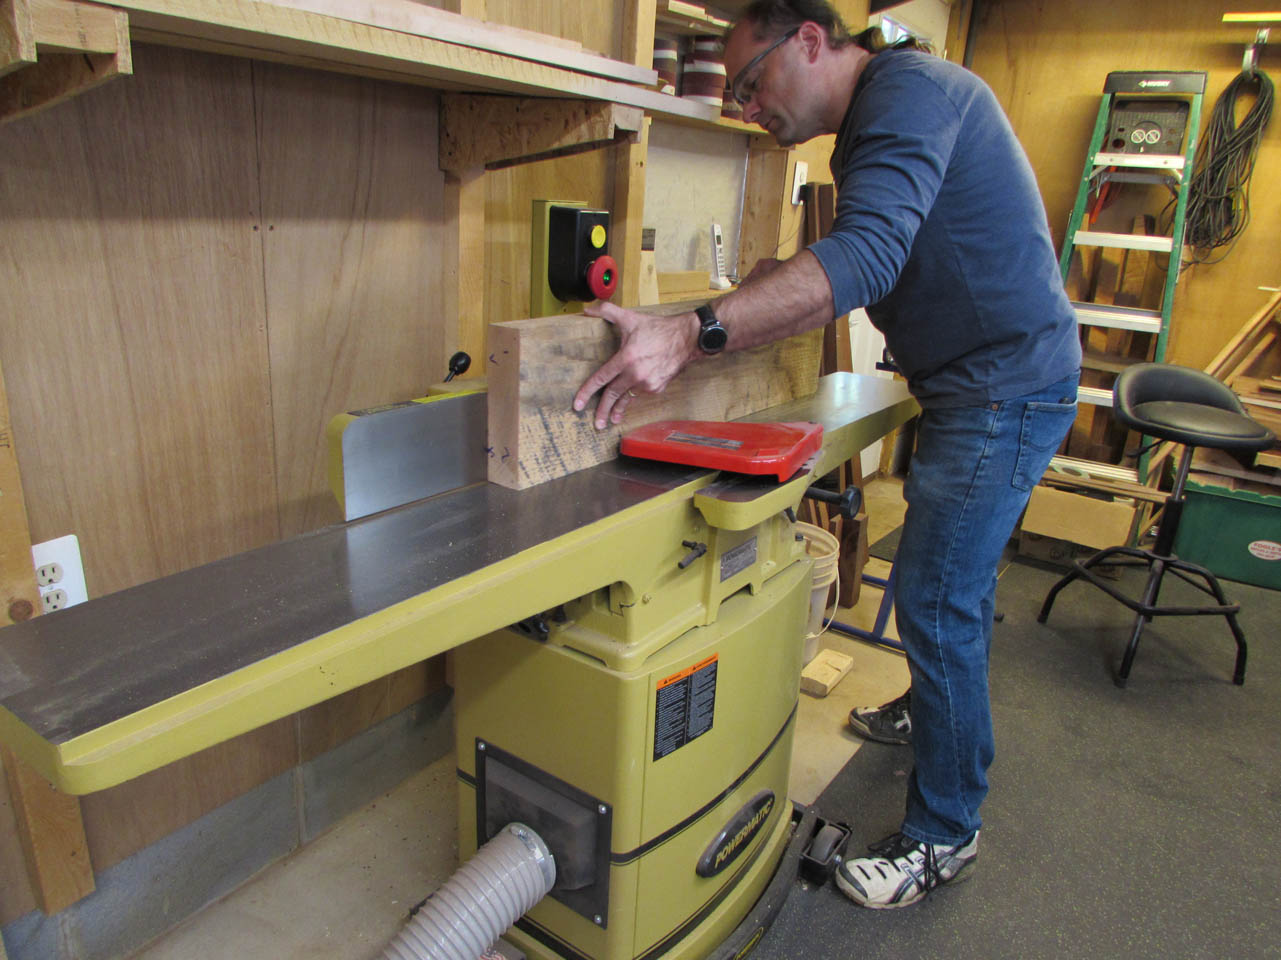
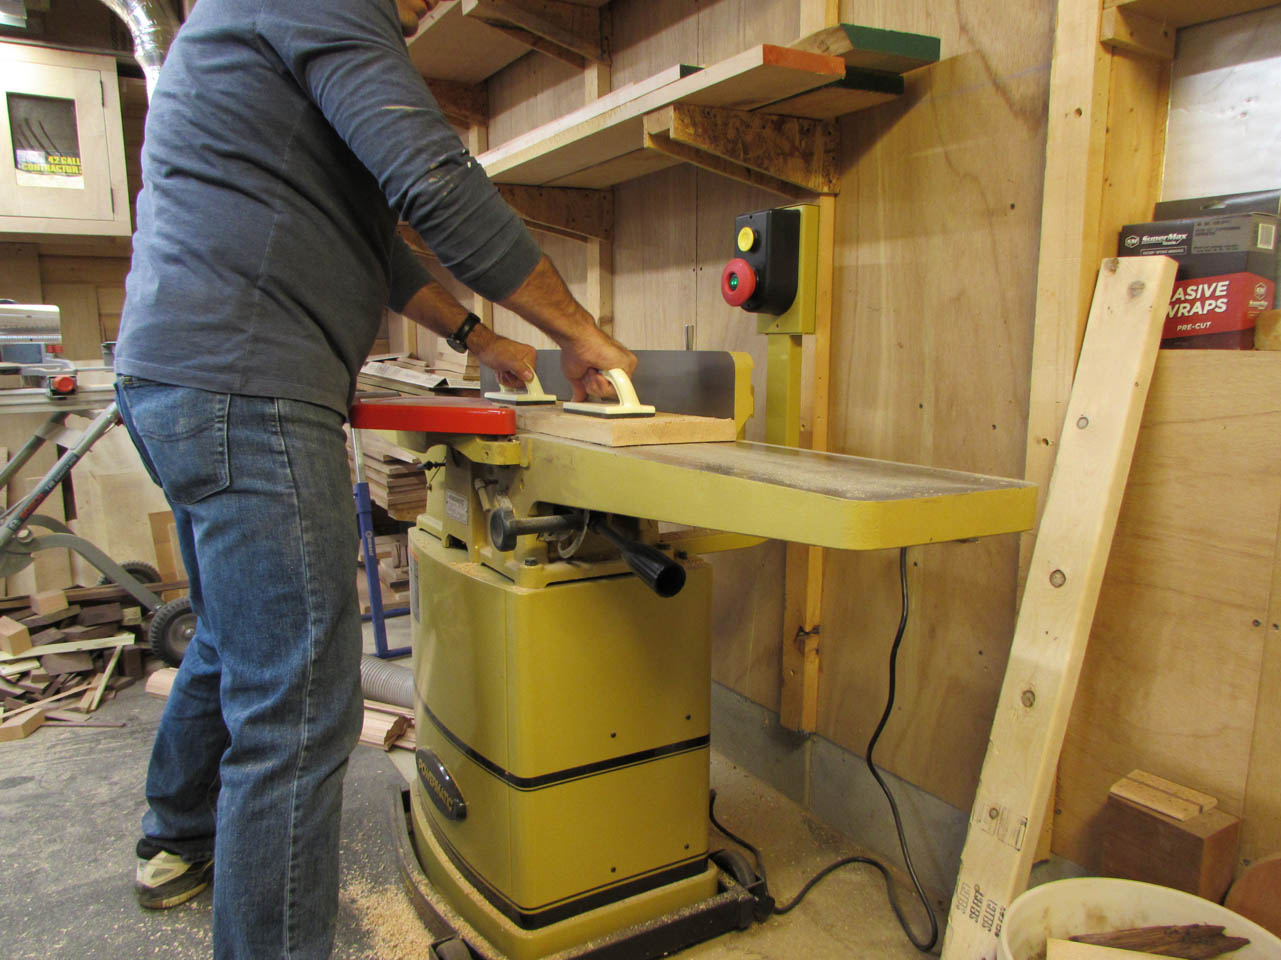
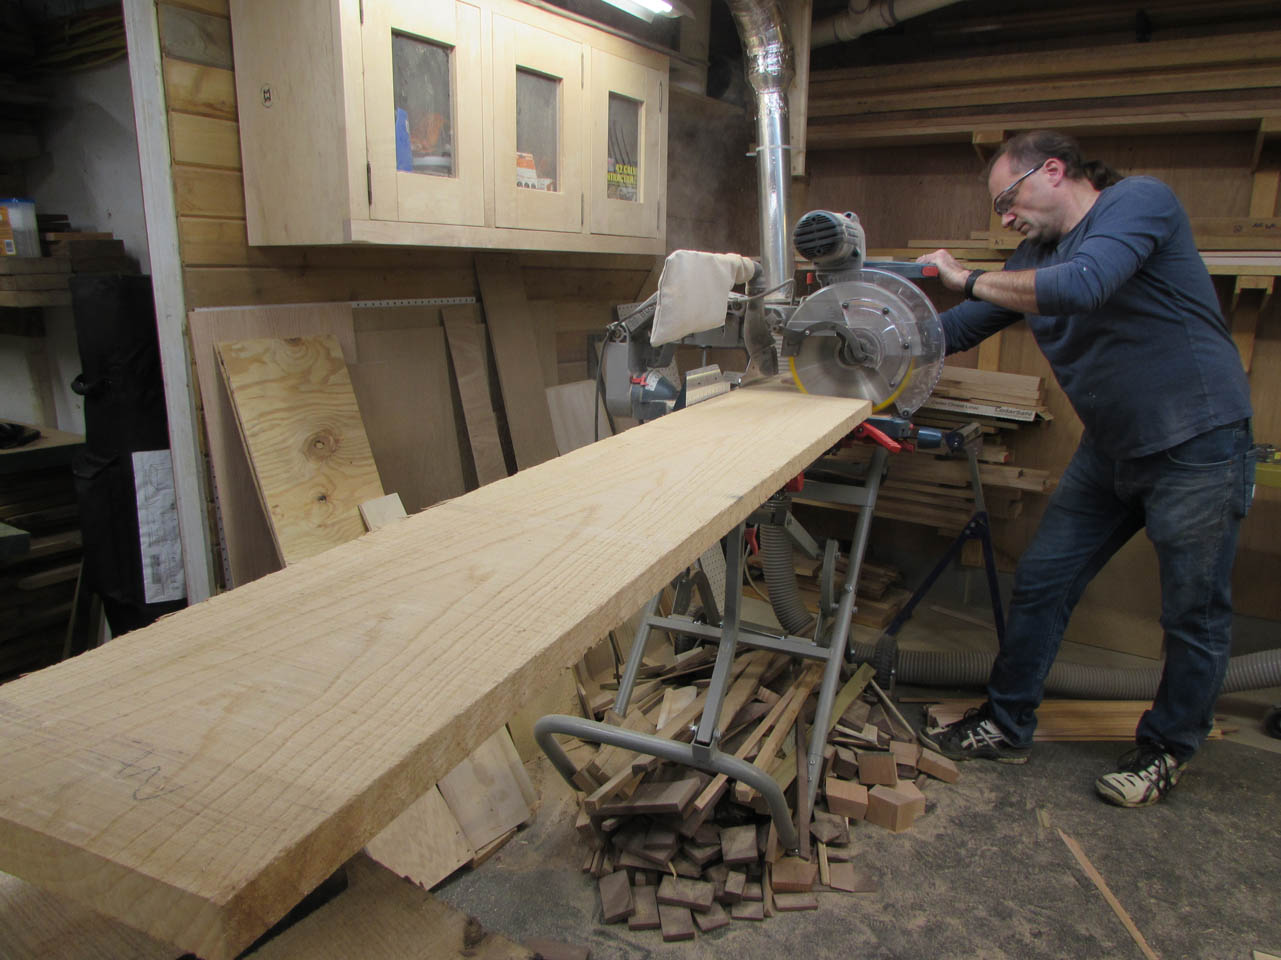
I start by cutting a piece of rough-sawn 8/4 oak into two shorter pieces, then clean up one edge on my jointer.
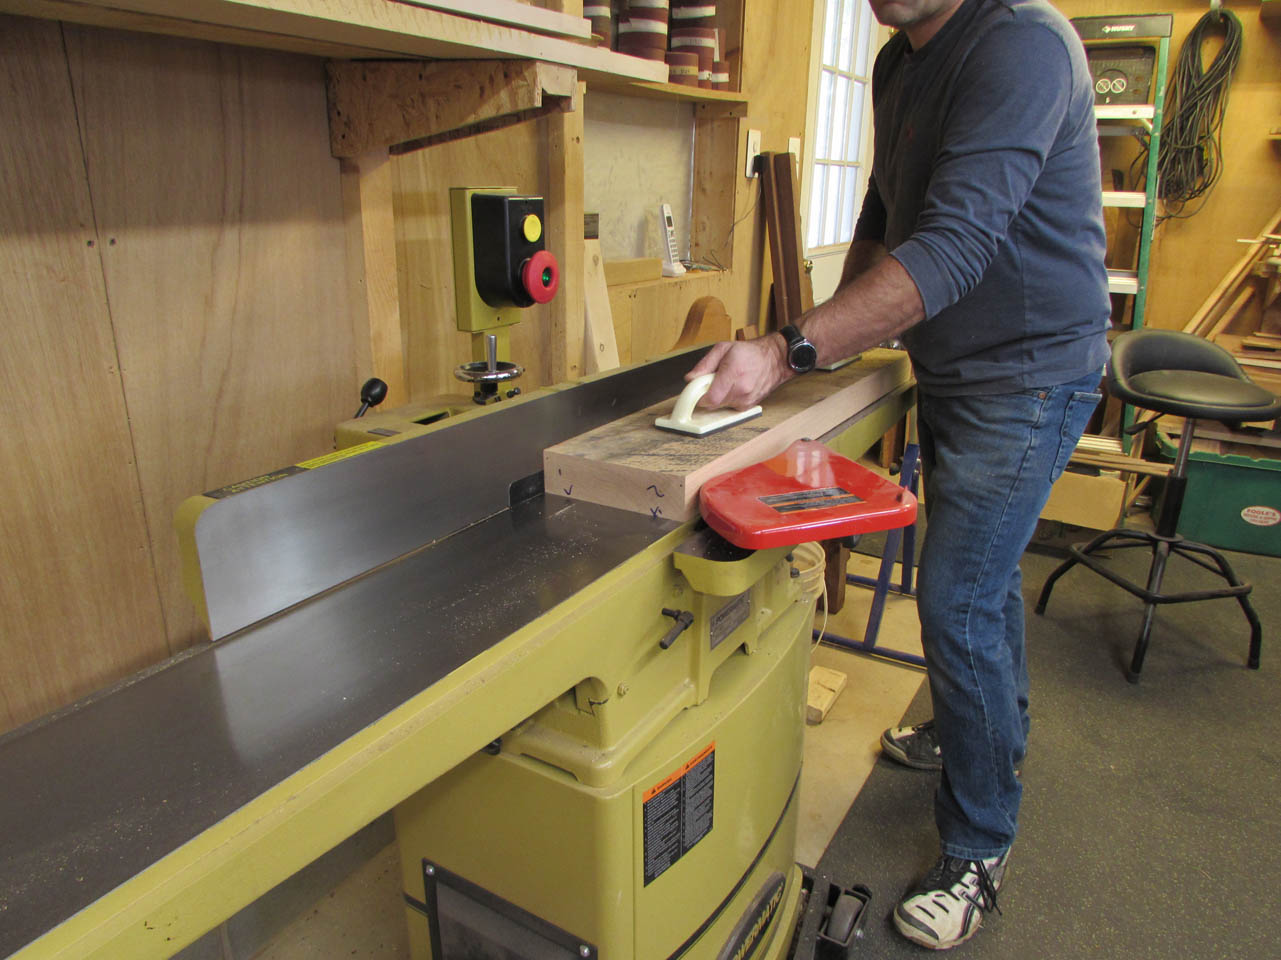
With one edge cleaned up, I can cut the opposite side parallel to the clean edge. It also allows me to make the board narrow enough to fit face down on the 8″ jointer.

Now that it will fit, I can clean up one face as well.

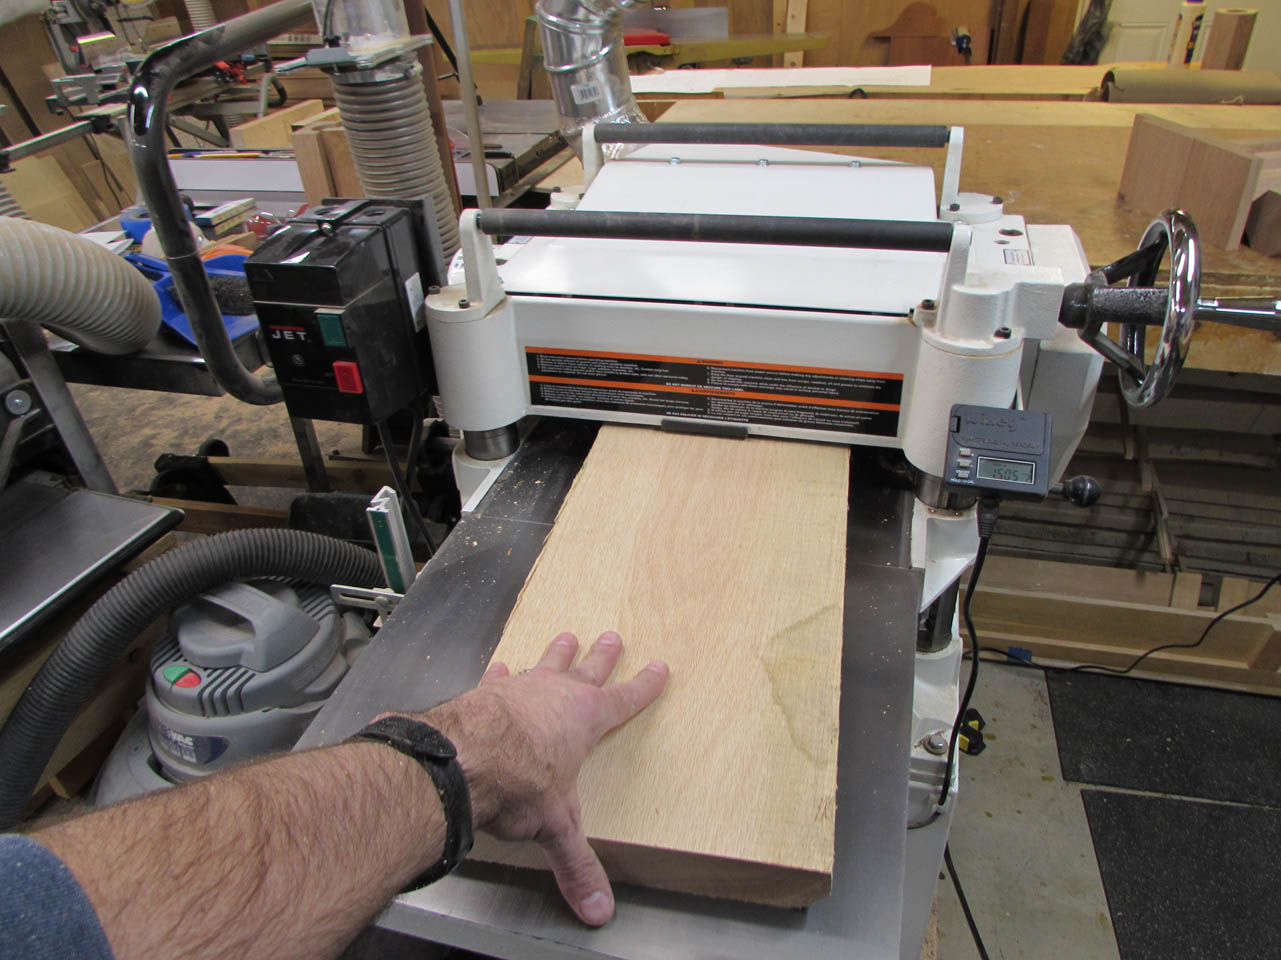
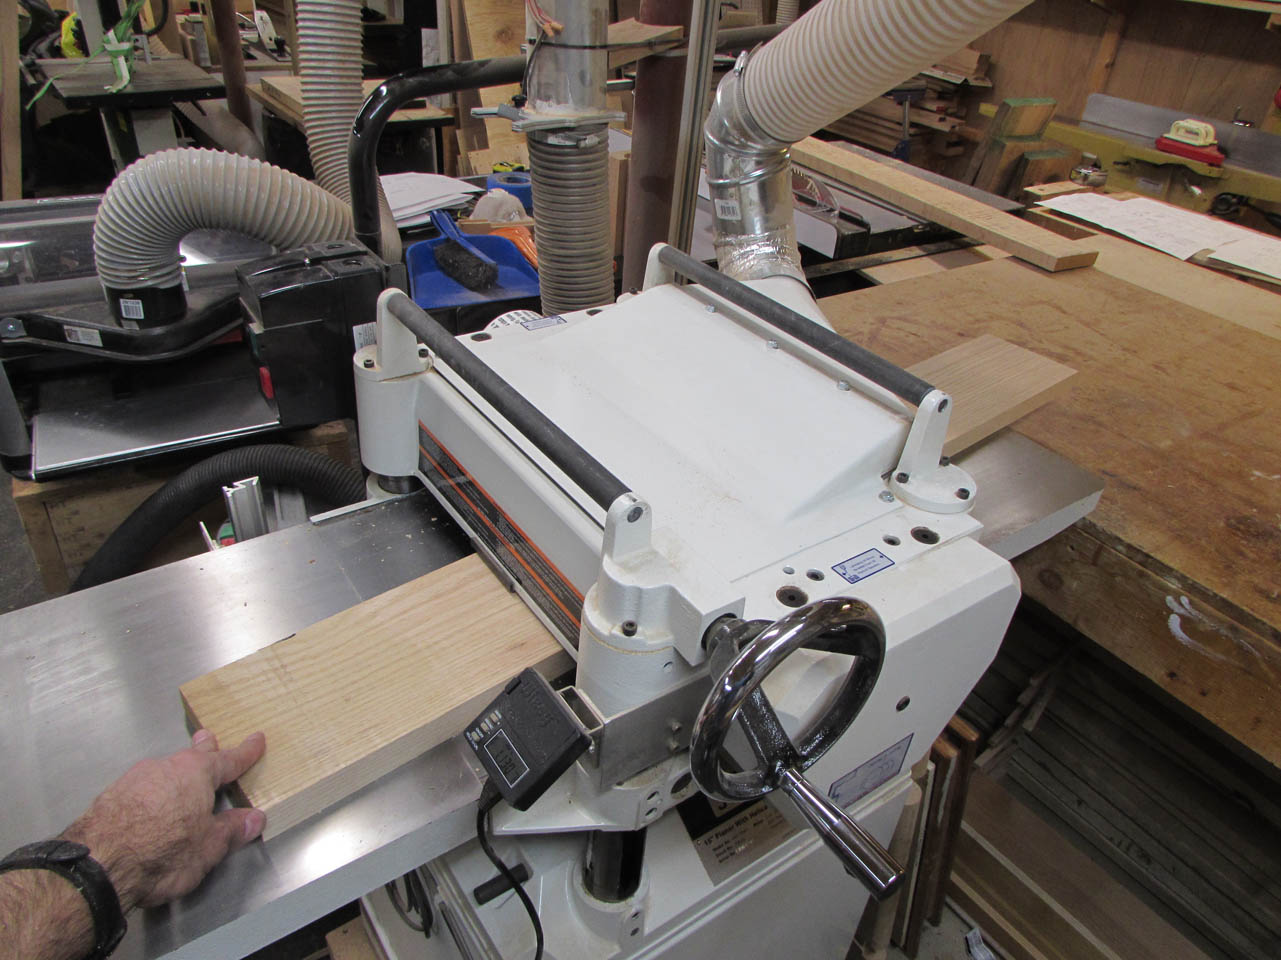
I can run the board through the planer to make the opposite face parallel and clean as well.
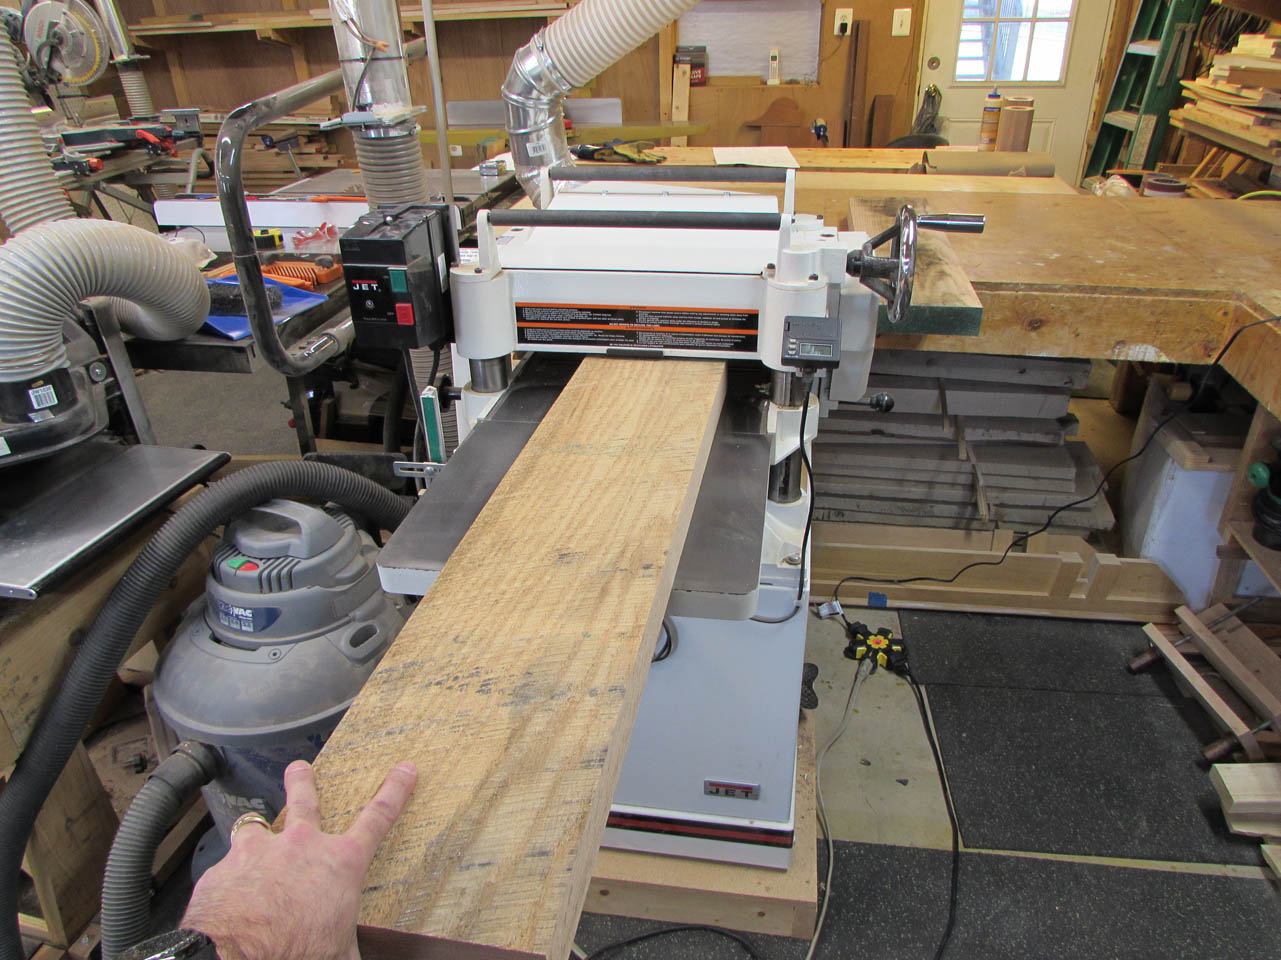

These boards were kiln dried but then stored outside. That can result in the dark spots you see when water sits on the boards, even though the wood was covered with a roof, water still seems to get in.

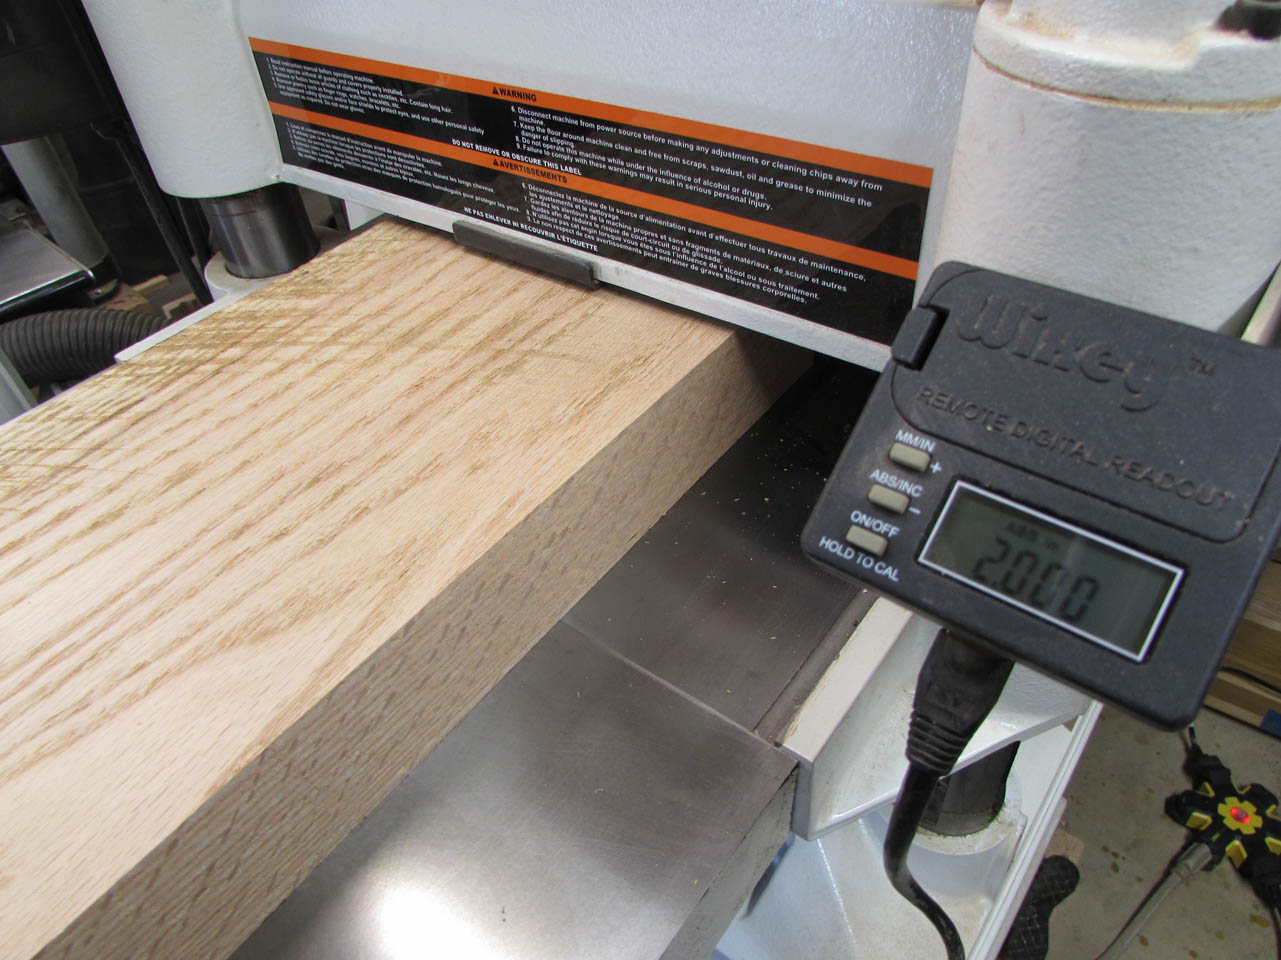
It takes 3 passes through the planer to get the faces completely clean and the board down to 2″ thick.


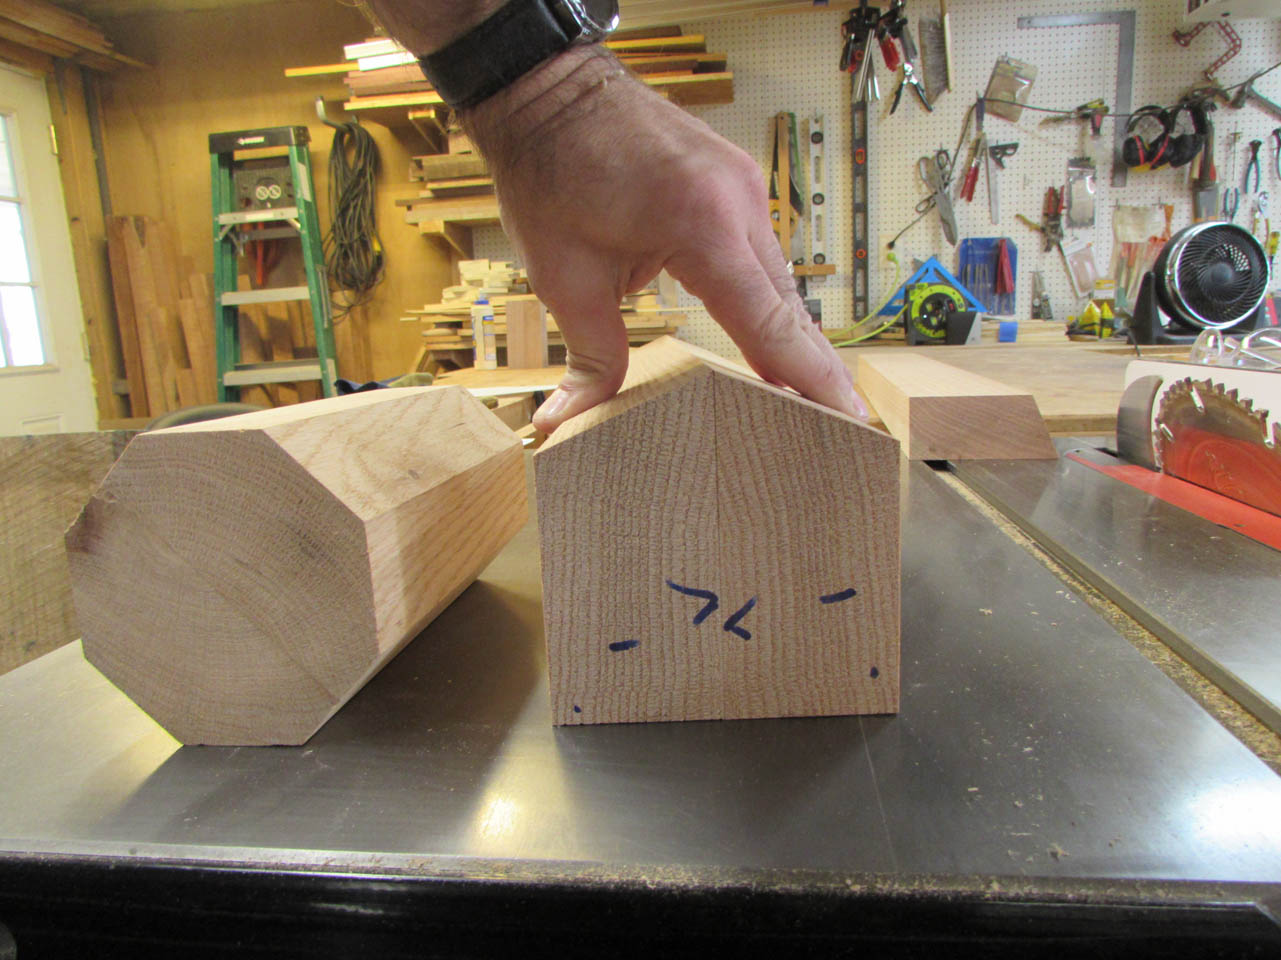
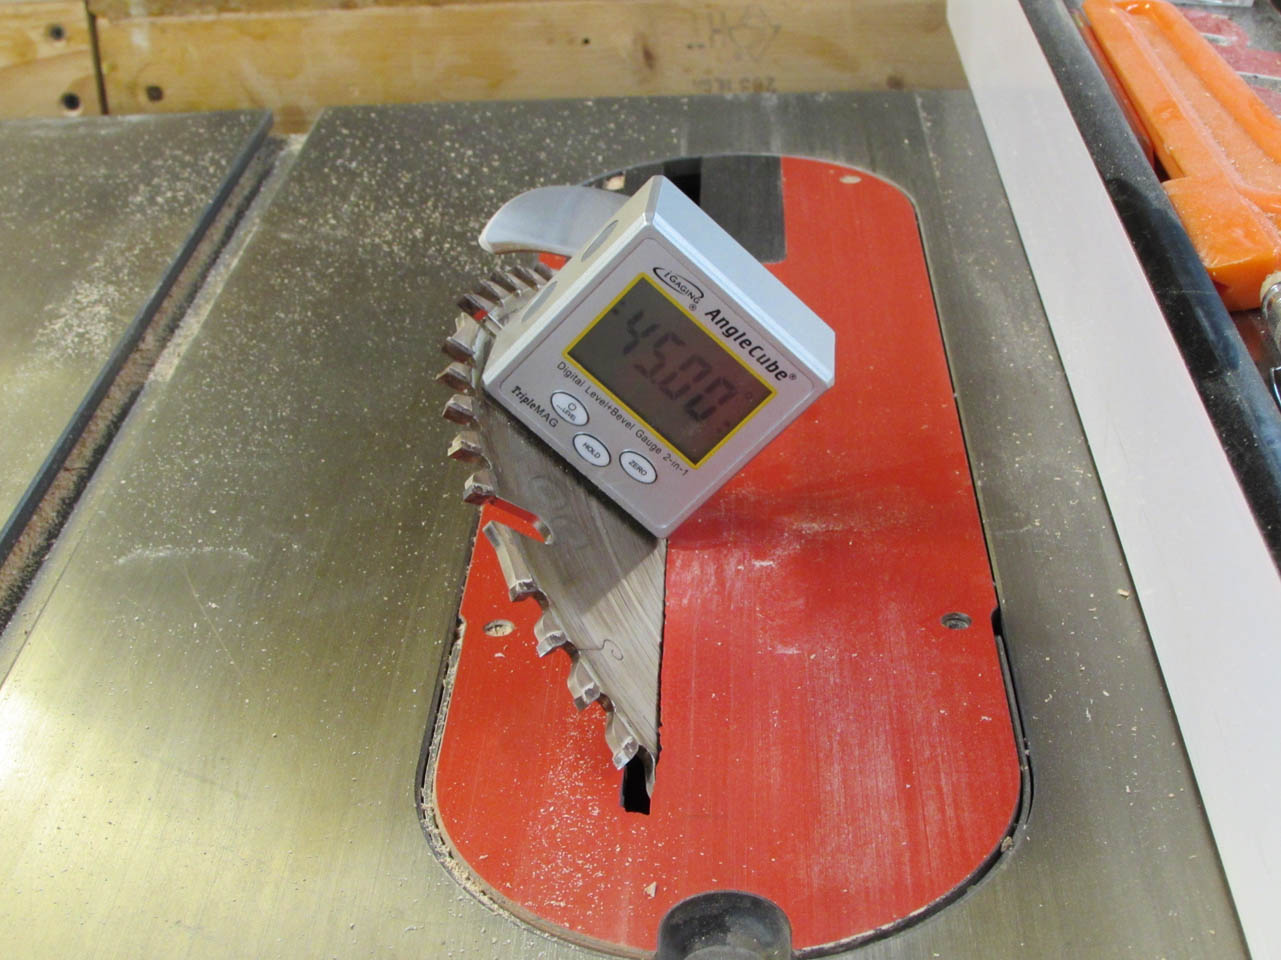
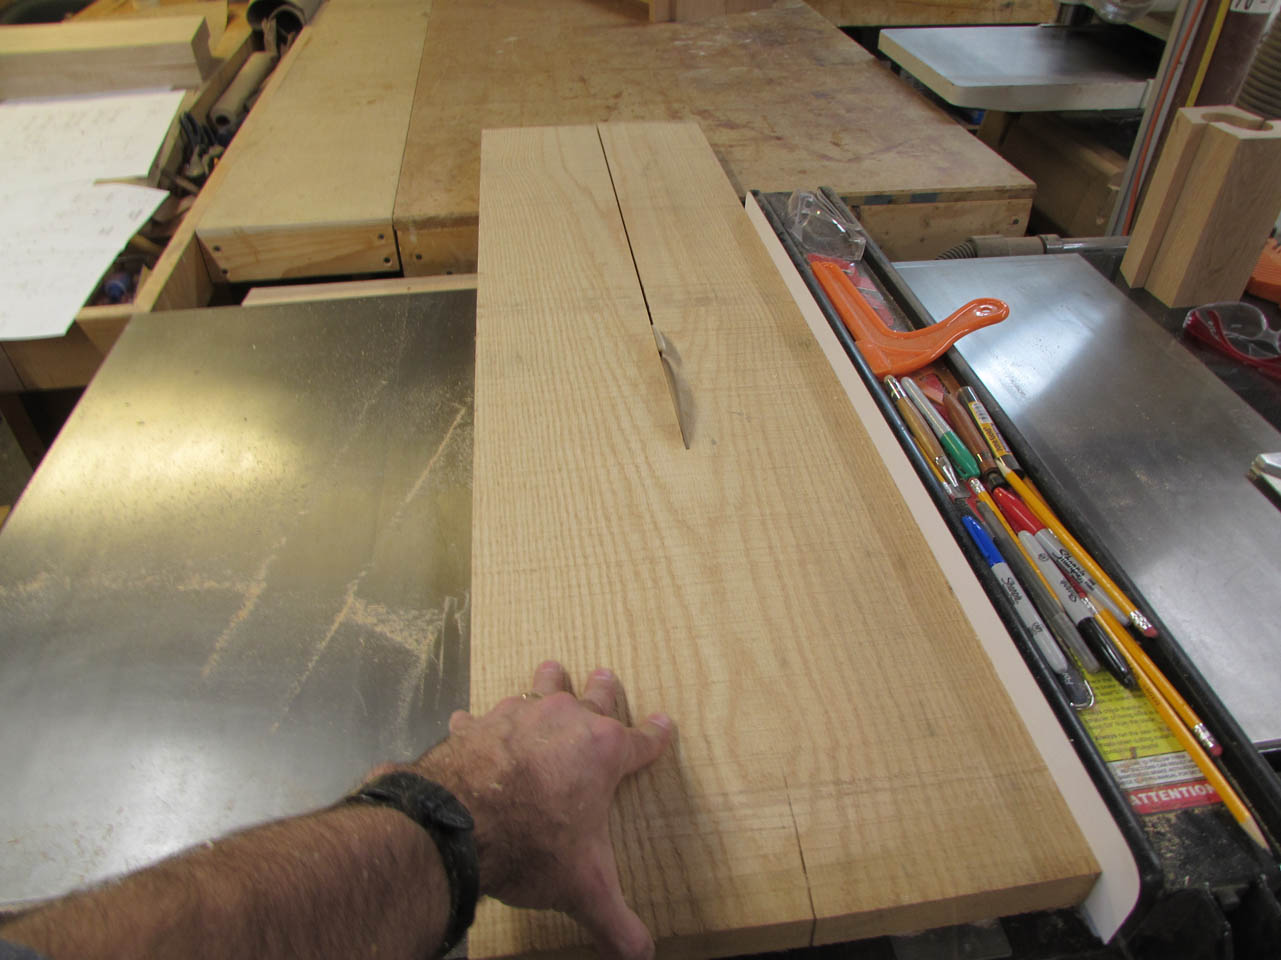
To save a bit of wood, I am going to cut my boards in half with the saw blade set at 22.5 degrees. This will create the first facet for each column.

I could have cut the board to 2″x4″ and started cutting the angles later but my board was only 7.5″ wide, by angling the blade, I can make two from each board.

I marked the ends so I knew which end matched it’s opposite. Mating the two halves of the column create grain symmetry. By mirroring the grain and joining the opposite pieces together, I create equally opposite forces pushing or pulling on the wood as it struggles to reassert itself. When wood is kiln-dried, it is forced flat. Sometimes, when you cut the board, it springs back to it’s original shape. If this wood has any residual stresses, this will help counter them.
I flipped my blade back to 90 degrees and cut the pieces to exactly 4″ wide.
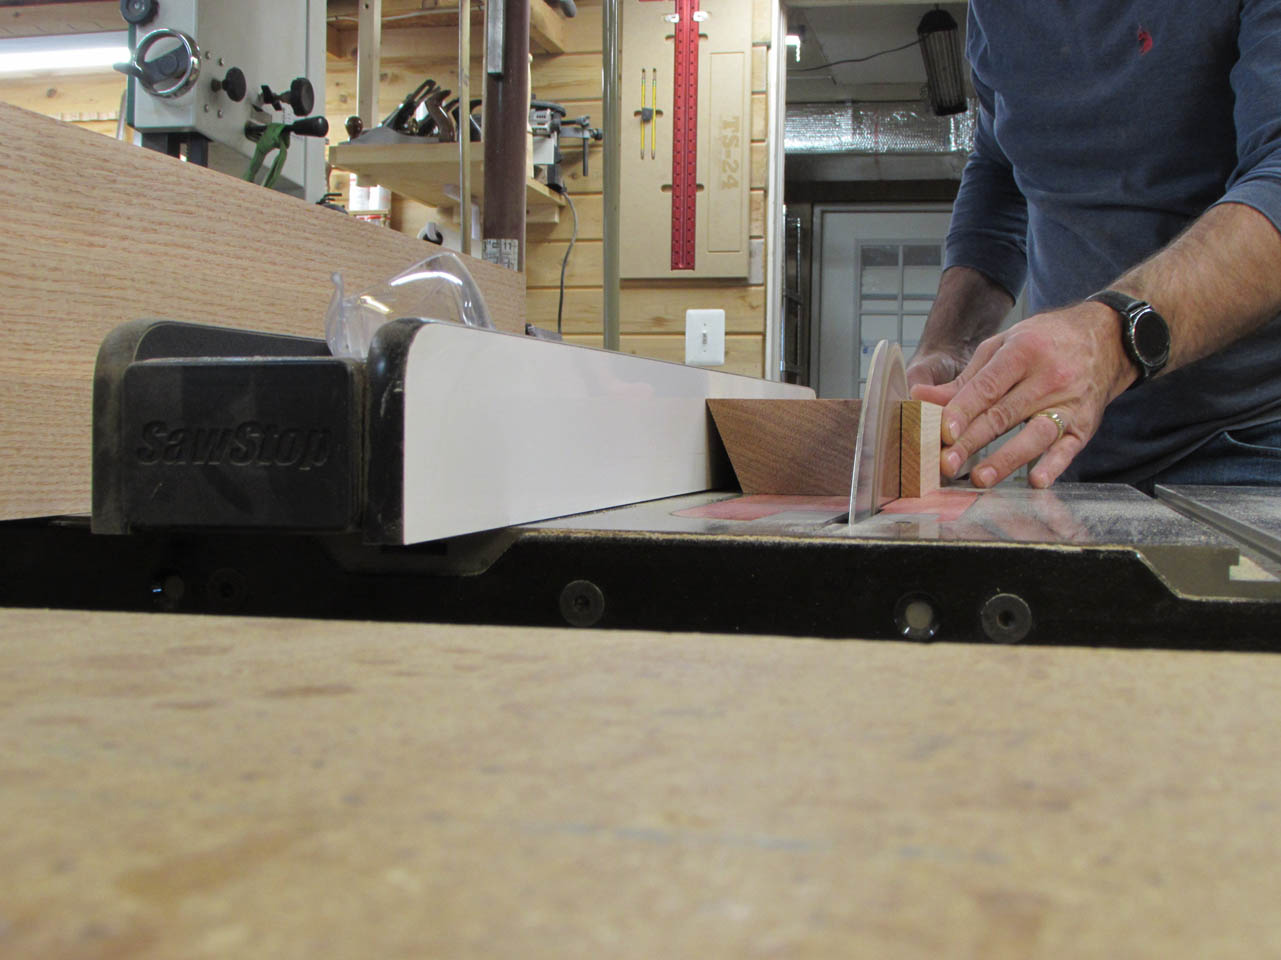
I installed the 2″ core box bit into my router table, then placed tape on the fence to mark my start and stop points of my cuts.
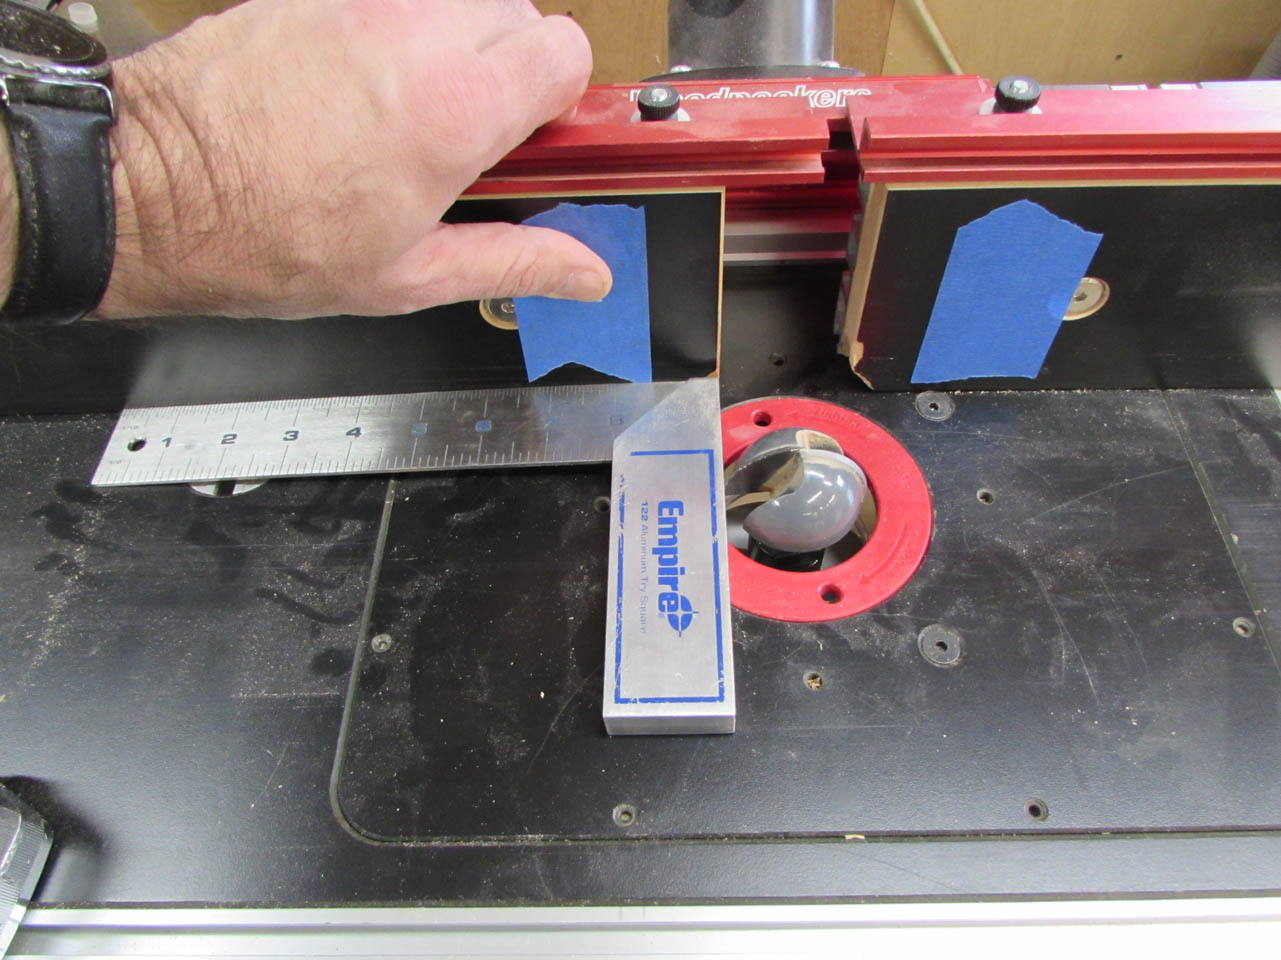
I have experimented with using a 2″ core box bit to create the hollow center of my columns. I intend to leave the ends solid so that makes it a bit more tricky.
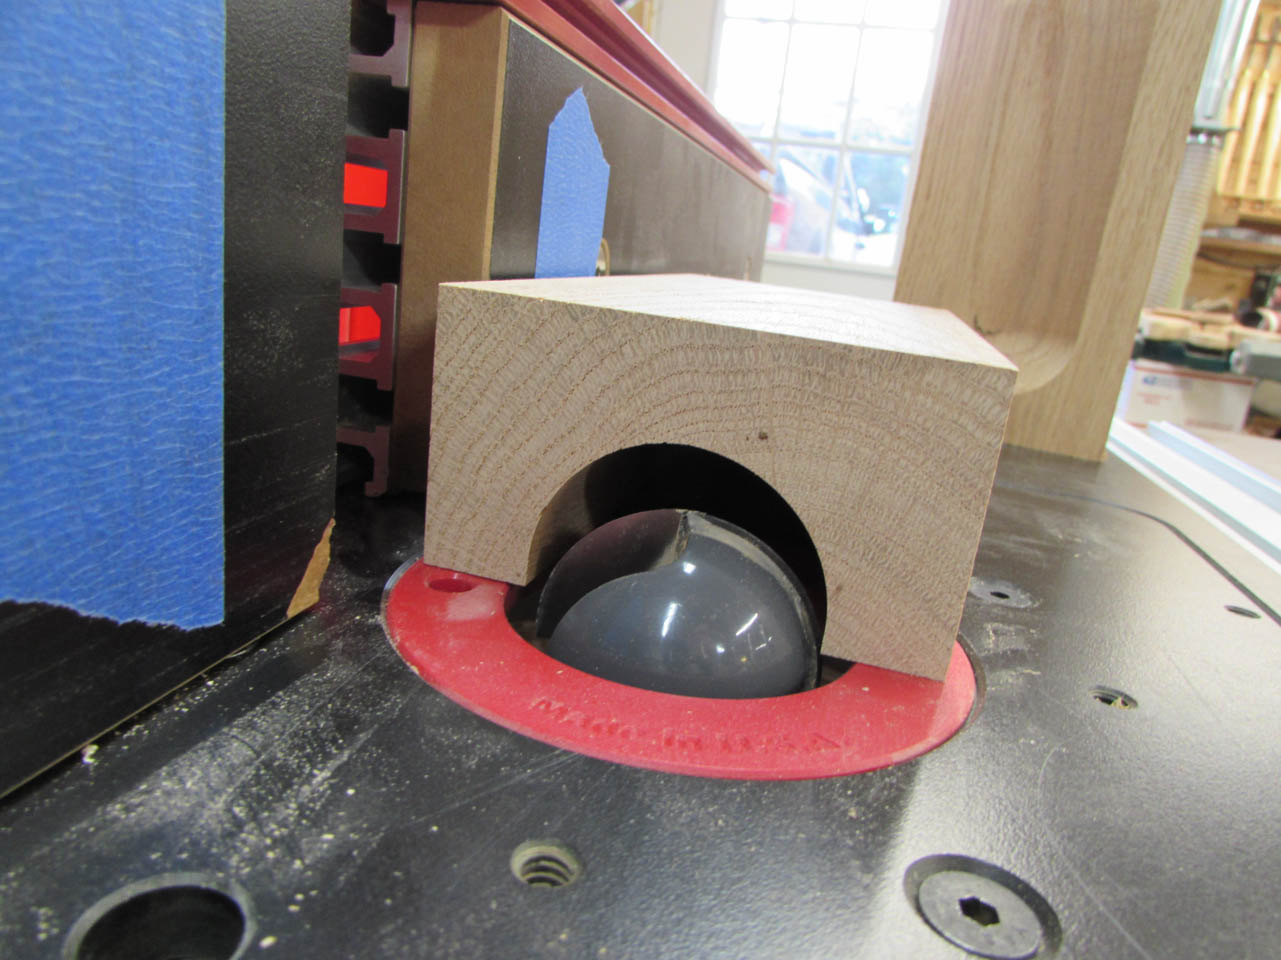
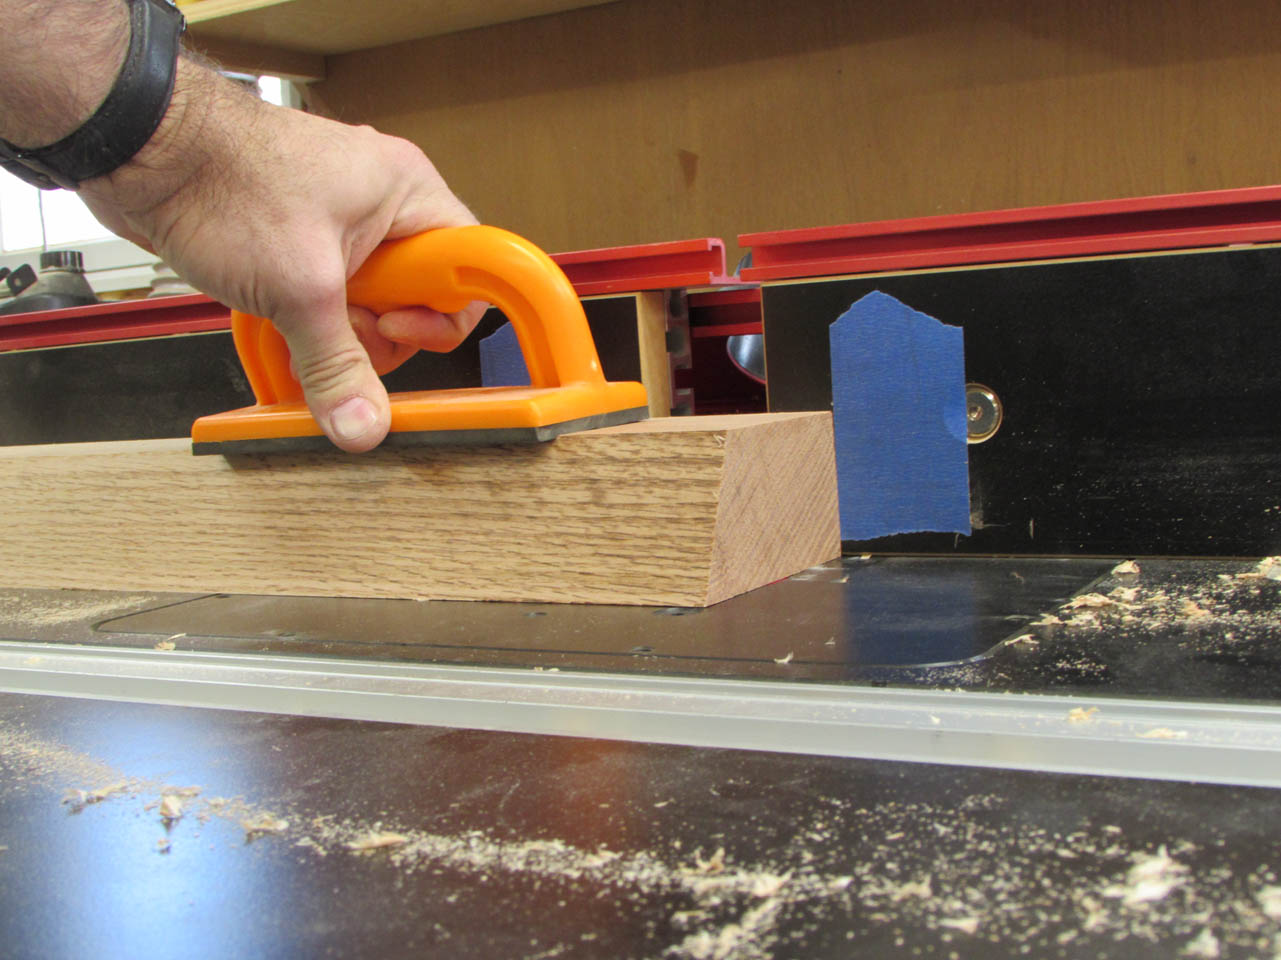
The bit is so big that I am making the cut in two passes. I drop the board down onto the spinning bit, holding the board steadily with both hands.


I slowly push the board until I reach my stop mark, then carefully back up the board and pick it straight up.
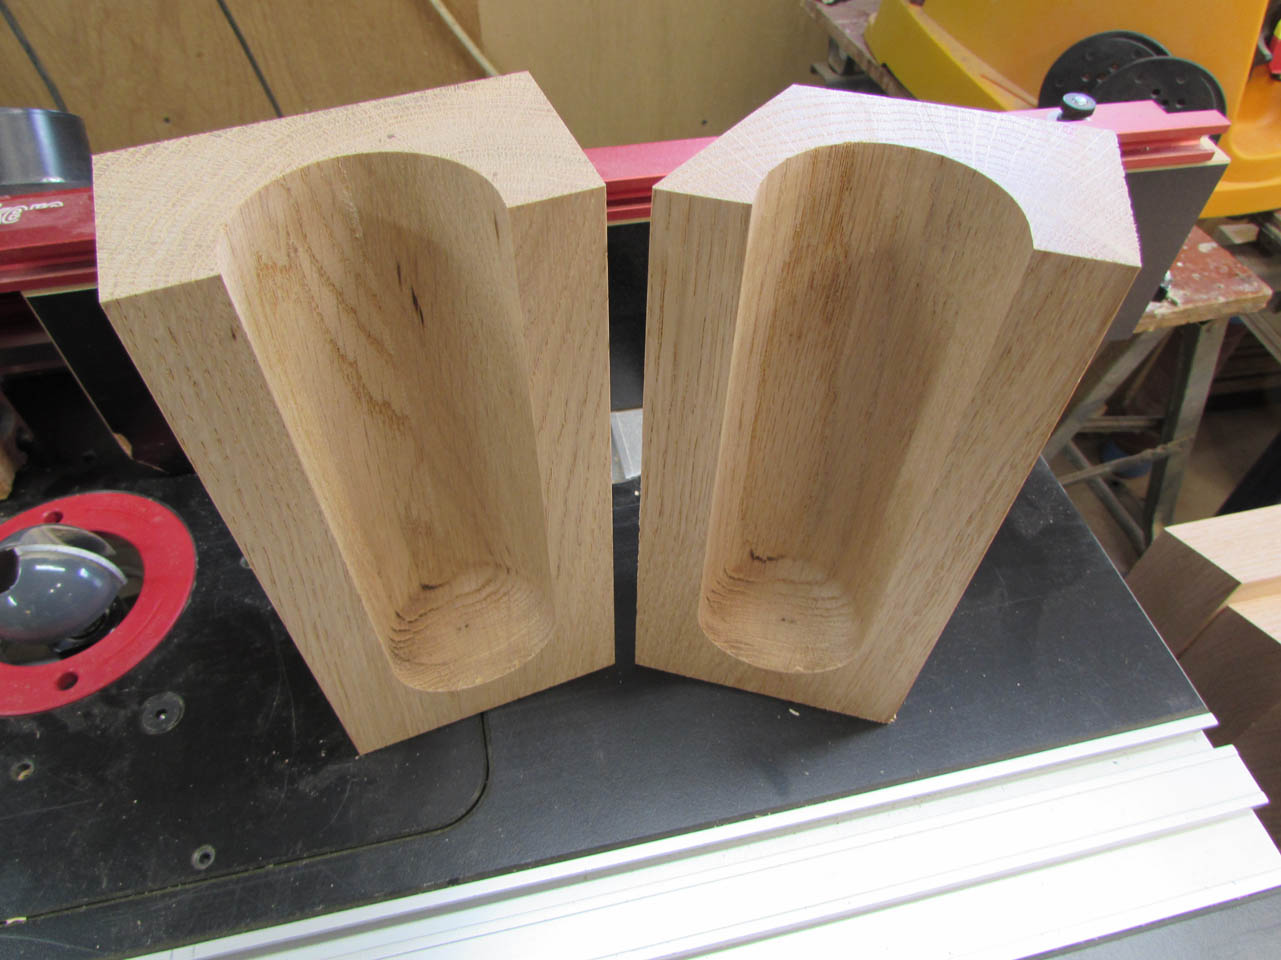
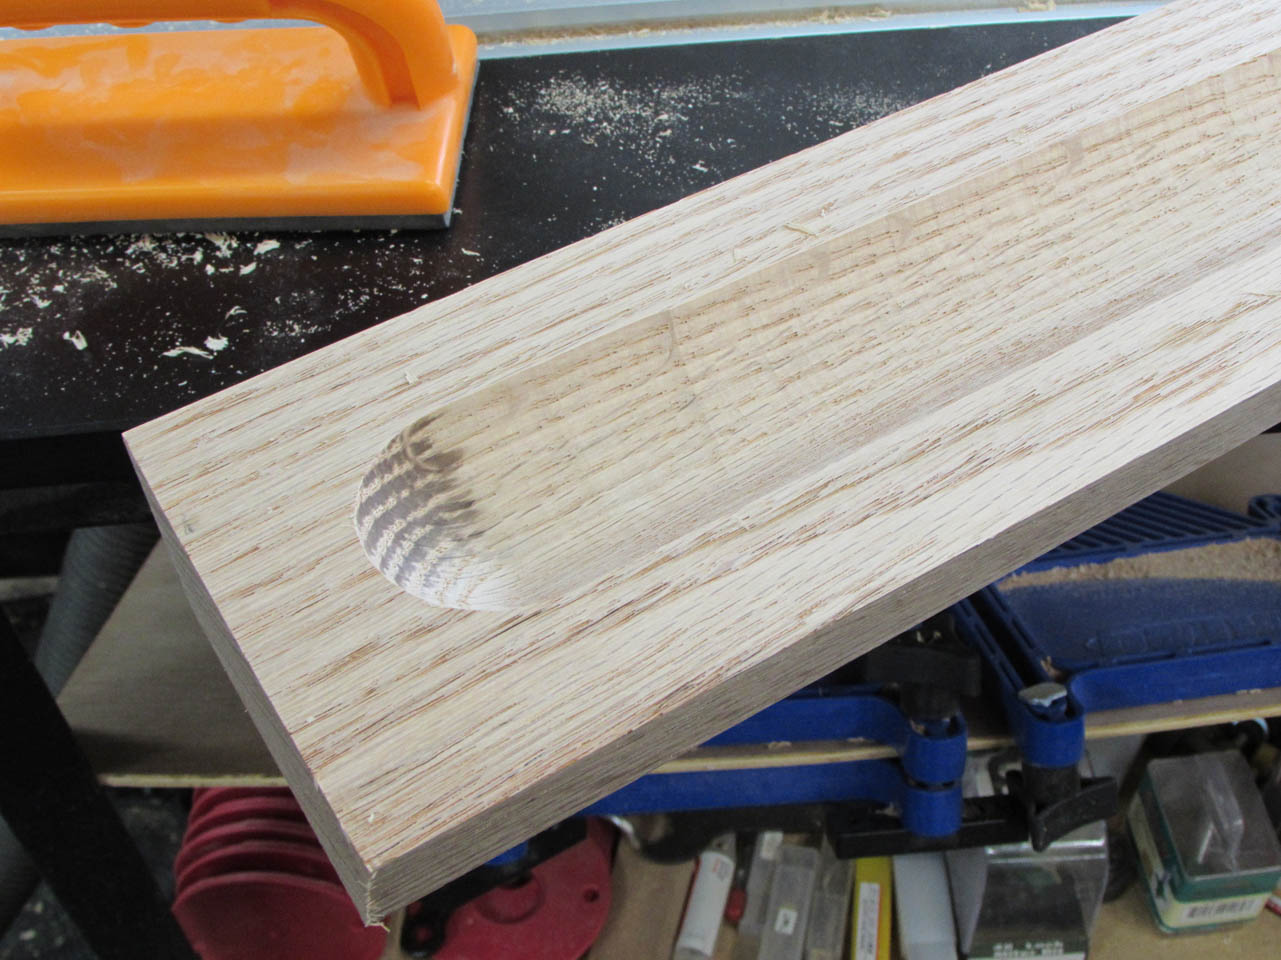
There is a 1/2″ deep cut from the first pass.

I used a 1″ block to set the max height of my bits I raised it for the final cut.
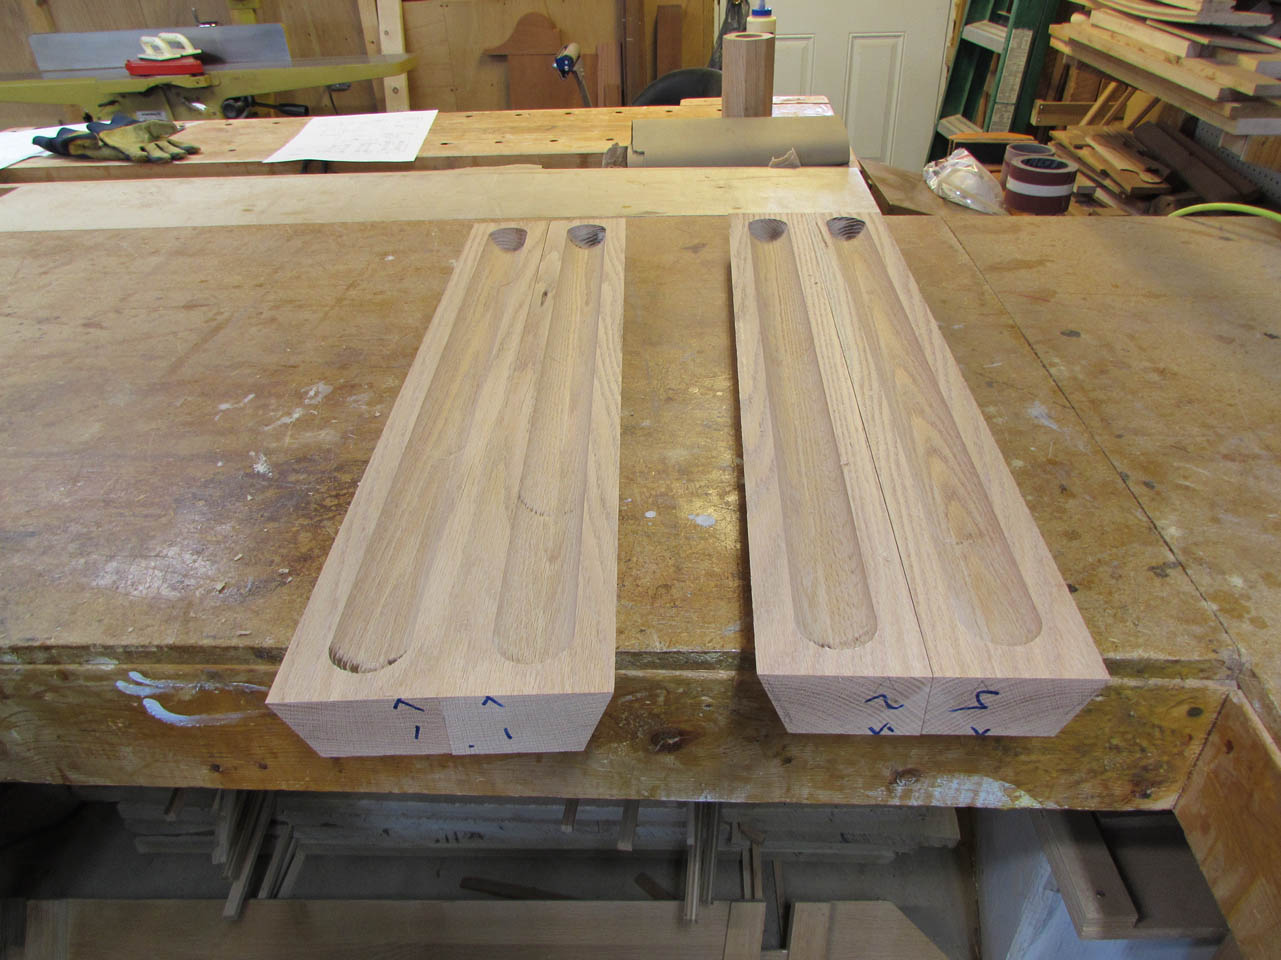
With all four pieces cut it is time to glue them up. I have learned that boards tend to move after a lot of milling is done to them so it is safest to glue them up fast before things start to change…

I spread the glue evenly along the face of one board with a thin stick.


Then I clamped up the first column and started on the second.

While those two were drying, I milled up two more columns. When the glue was dry enough, I pulled the clamps and used them on the second batch.

With all four columns dry, I set my saw blade to 45 degrees to cut the second facet on the columns. My drawing shows the exact fence location for this first cut, as well as the fence location for the next 6 cuts.
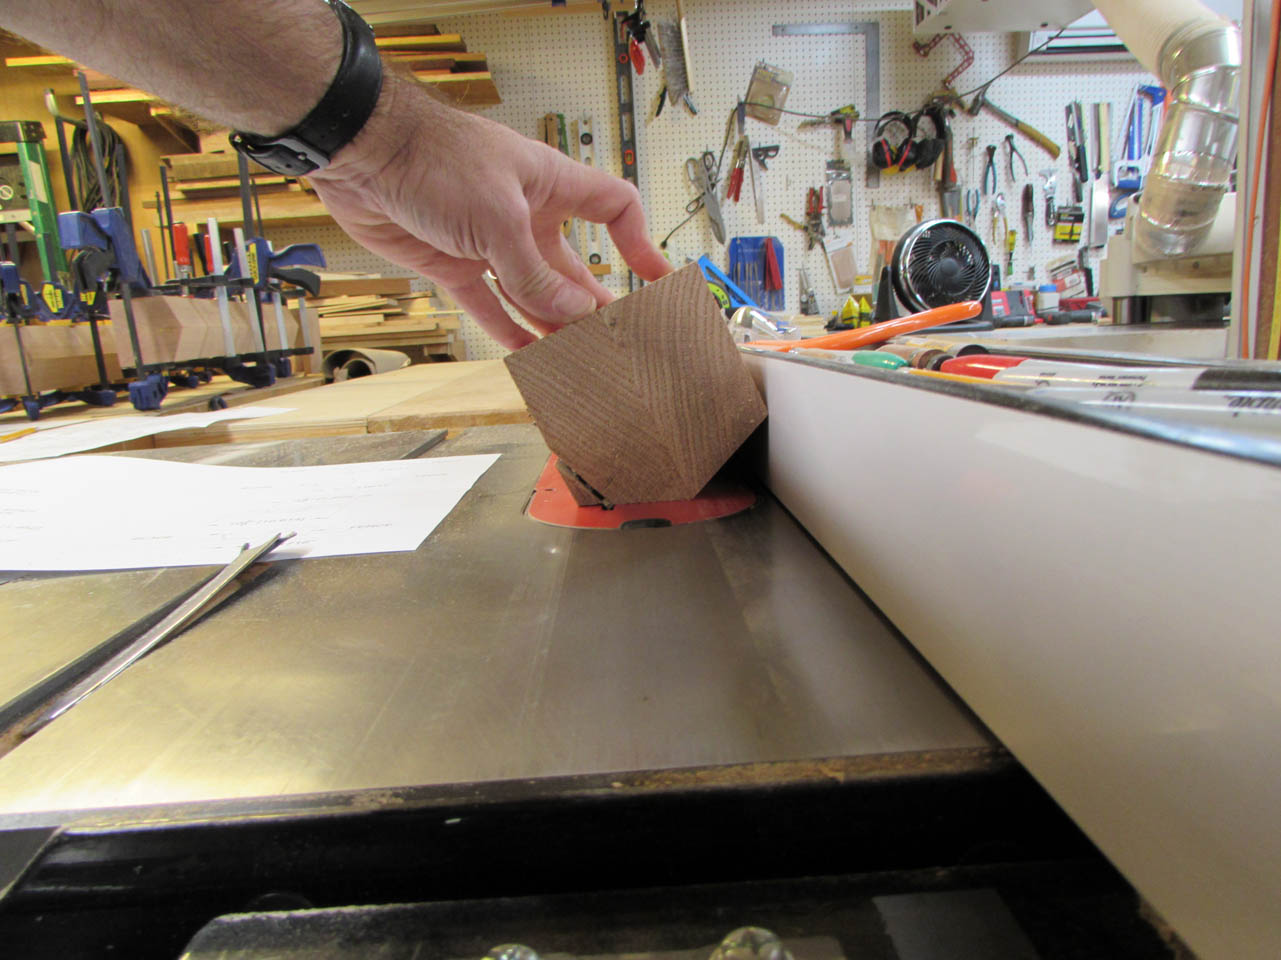

Keep rotating and cutting with the fence at the new location to create a perfect octagon.
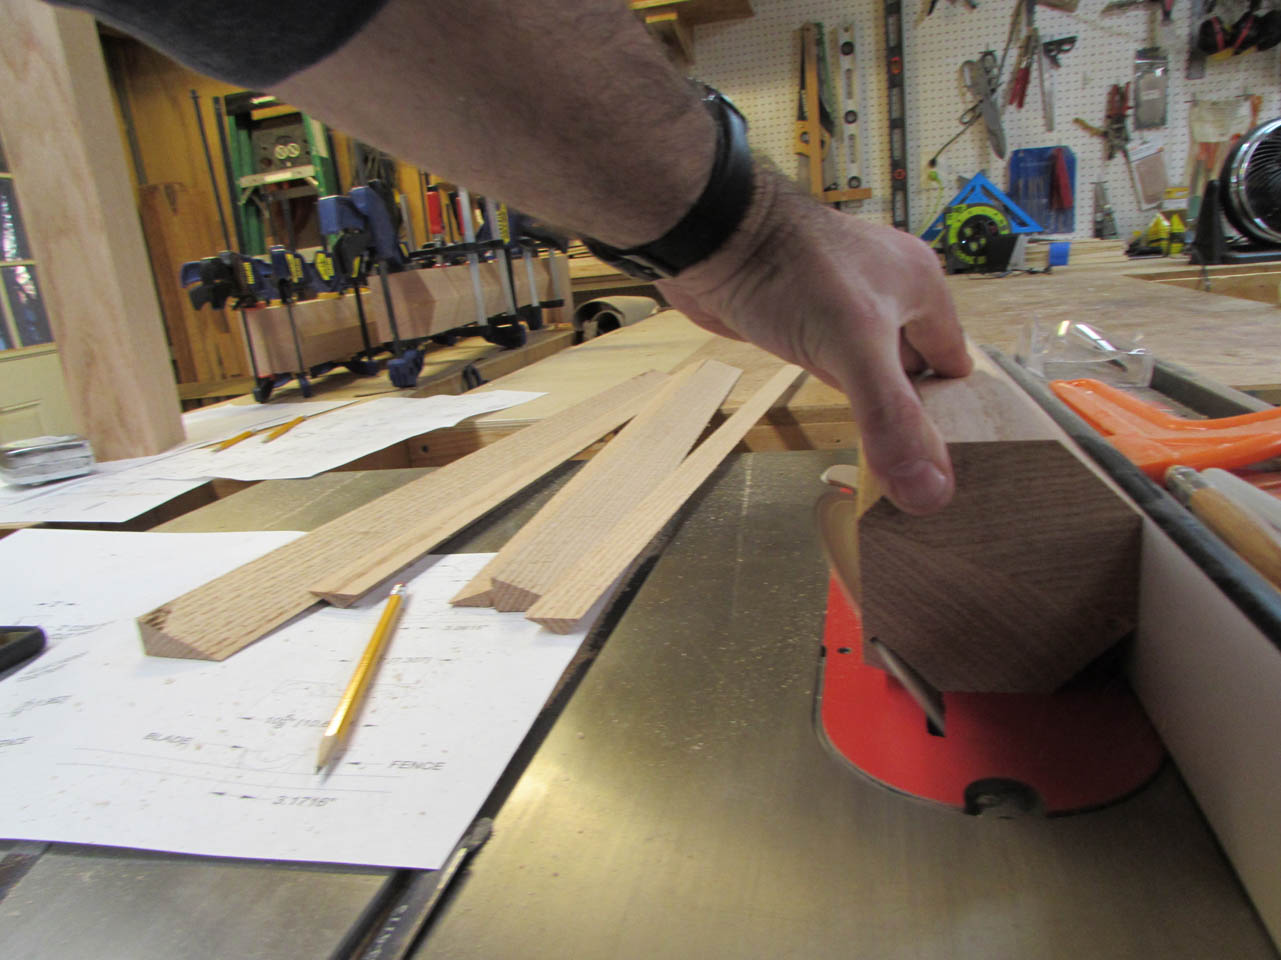
They turned out really nice and with the seam coming together at the point, you can’t even see it from the side, only on the ends.

I am done with the columns for the moment so I am moving on to the top plates for the columns.


I joint the face and edge of some 4/4 stock to create the top plates.

Then I run the board through the planer to get down to 3/4″ thick.

I decided to use my tiny cross-cut sled to cut the board into four separate 5-1/2″ pieces.


With the tops done, I moved onto the 6/4 base pieces.

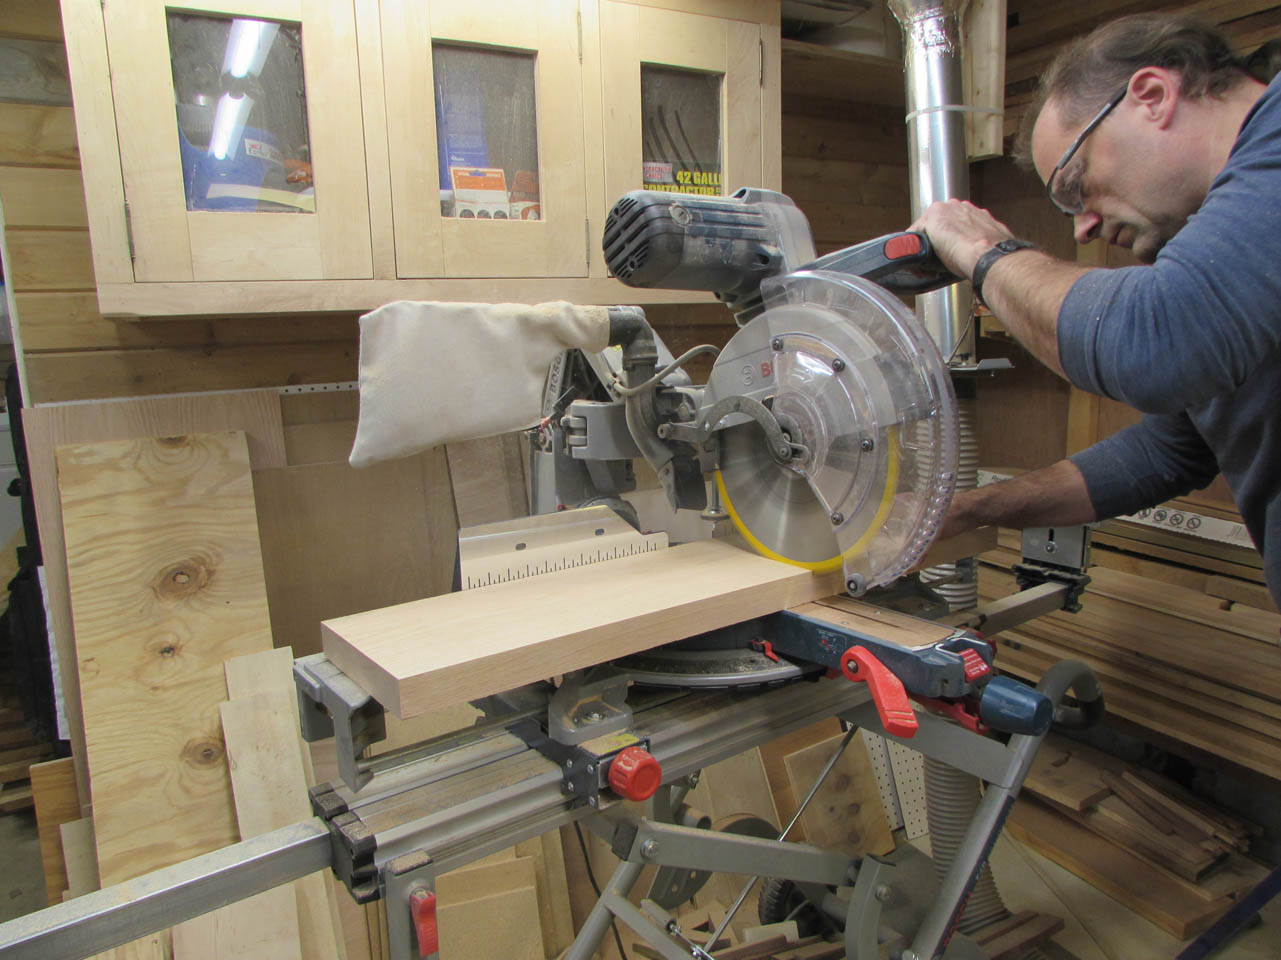
Repeating the process of jointing and planning. I also cut them to length on my miter saw.
And, once more through the milling process to create the base step from a piece of 5/4.


This board will make more than I need for the ambo but I can use them on the other two pieces of furniture.


I cut the finished board into 6″x6″ squares using a stop block on the miter saw.

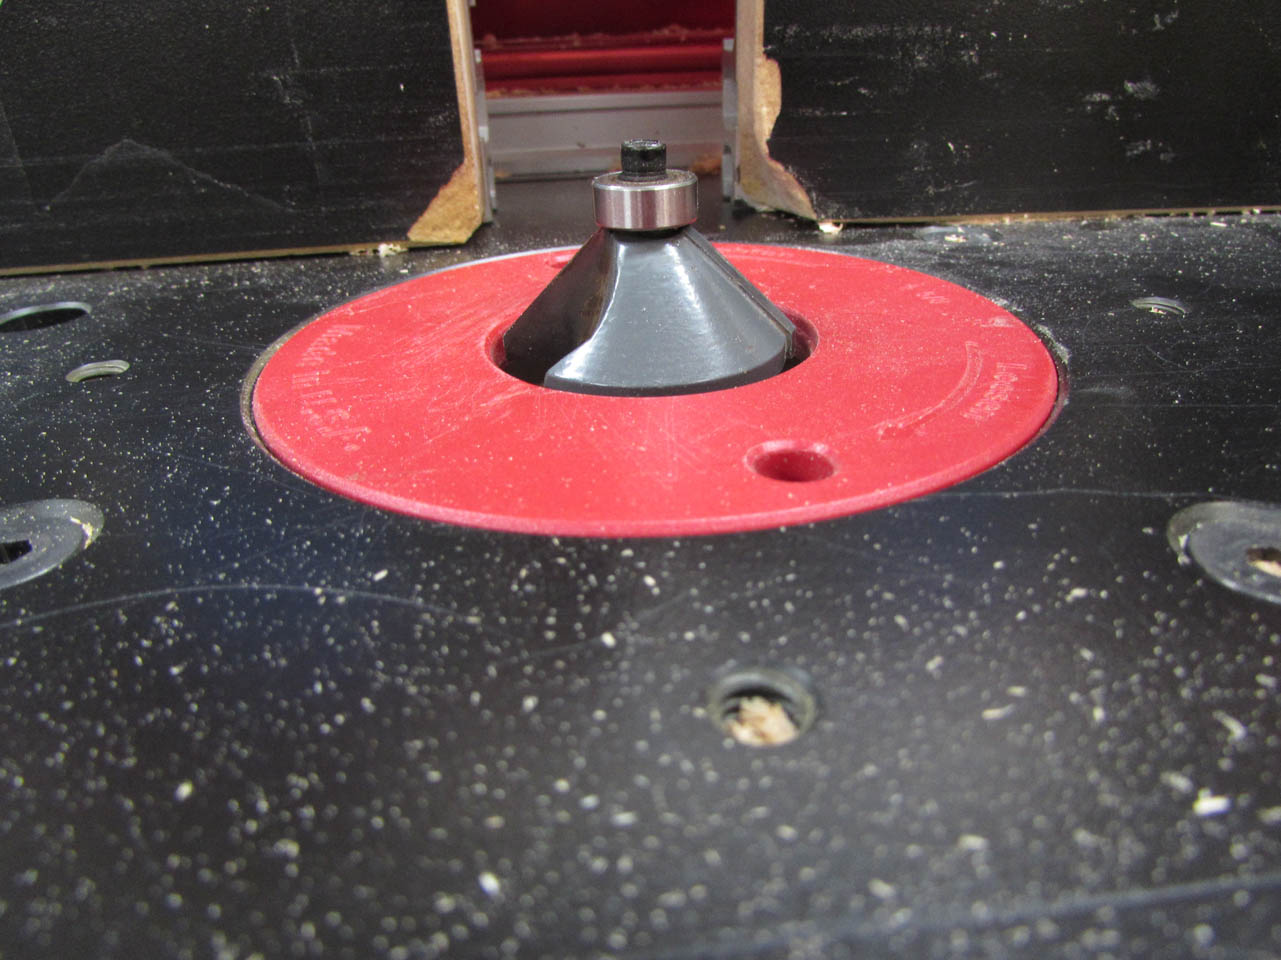
I am using a 45 degree chamfer bit to trim the edges of the base.


Then I switch out that bit for a 3/4″ round-over bit to trim the edge of the base step.


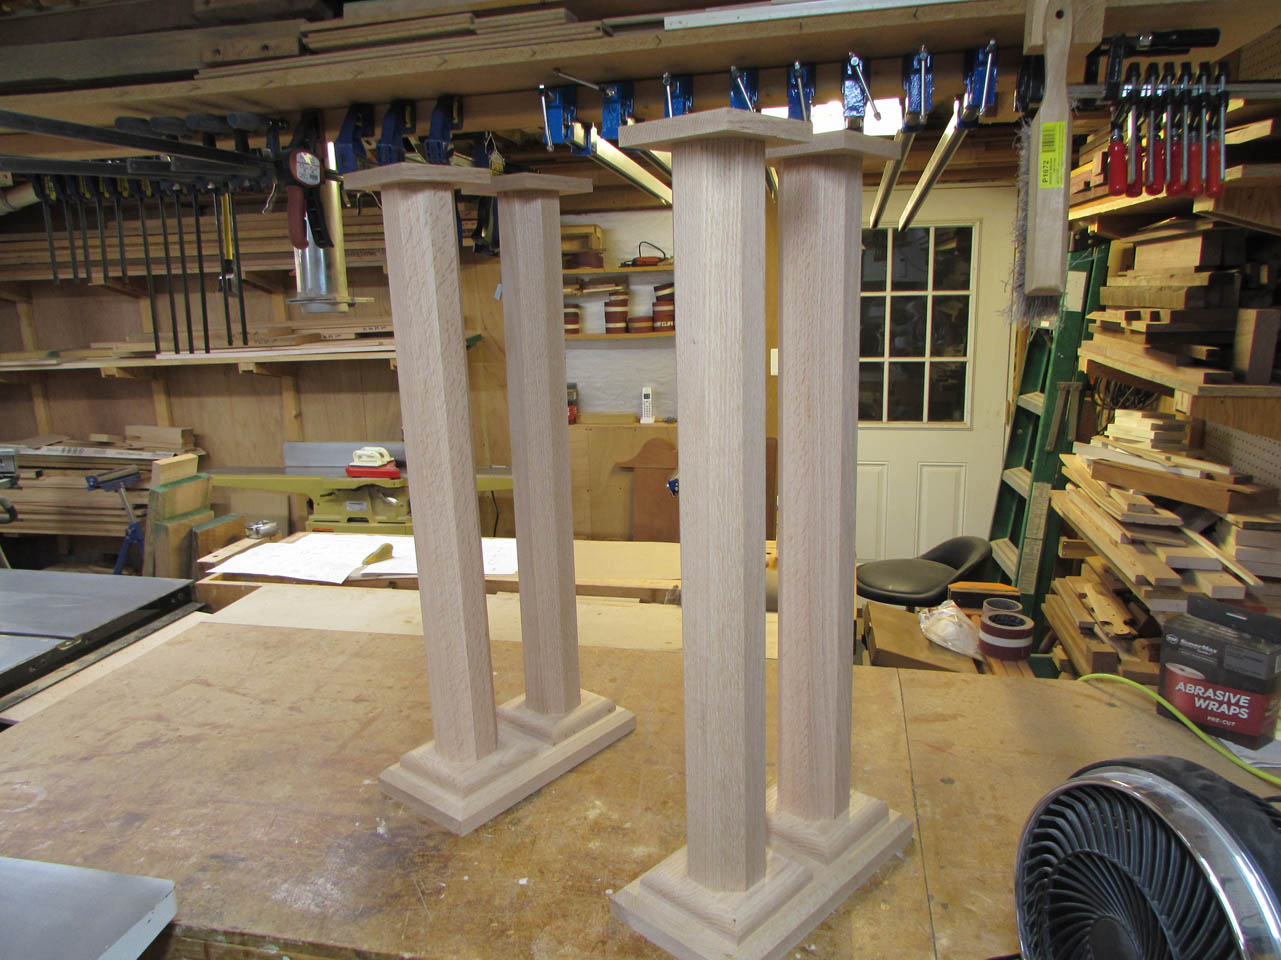
When those were cut, I placed them together so I could see my progress. Not bad, the ambo is shaping up. Still a lot of sanding and the walnut trim to add to the columns, but good progress.
After a long day of milling wood, it is time for some cleanup. All that planning and jointing produced about 40 gallons of saw dust…

Enough work for today, getting close to midnight…

Pingback: St. Kilian chapel – Credence table – part 1 | Midnight Woodworking