
St. Kilian chapel – Ambo, part 2
With most of the base made, it is time to start on the top of the ambo.
I grabbed a 9′ long piece of 4/4 oak off the pile and cut it into two pieces to make it easier to handle.
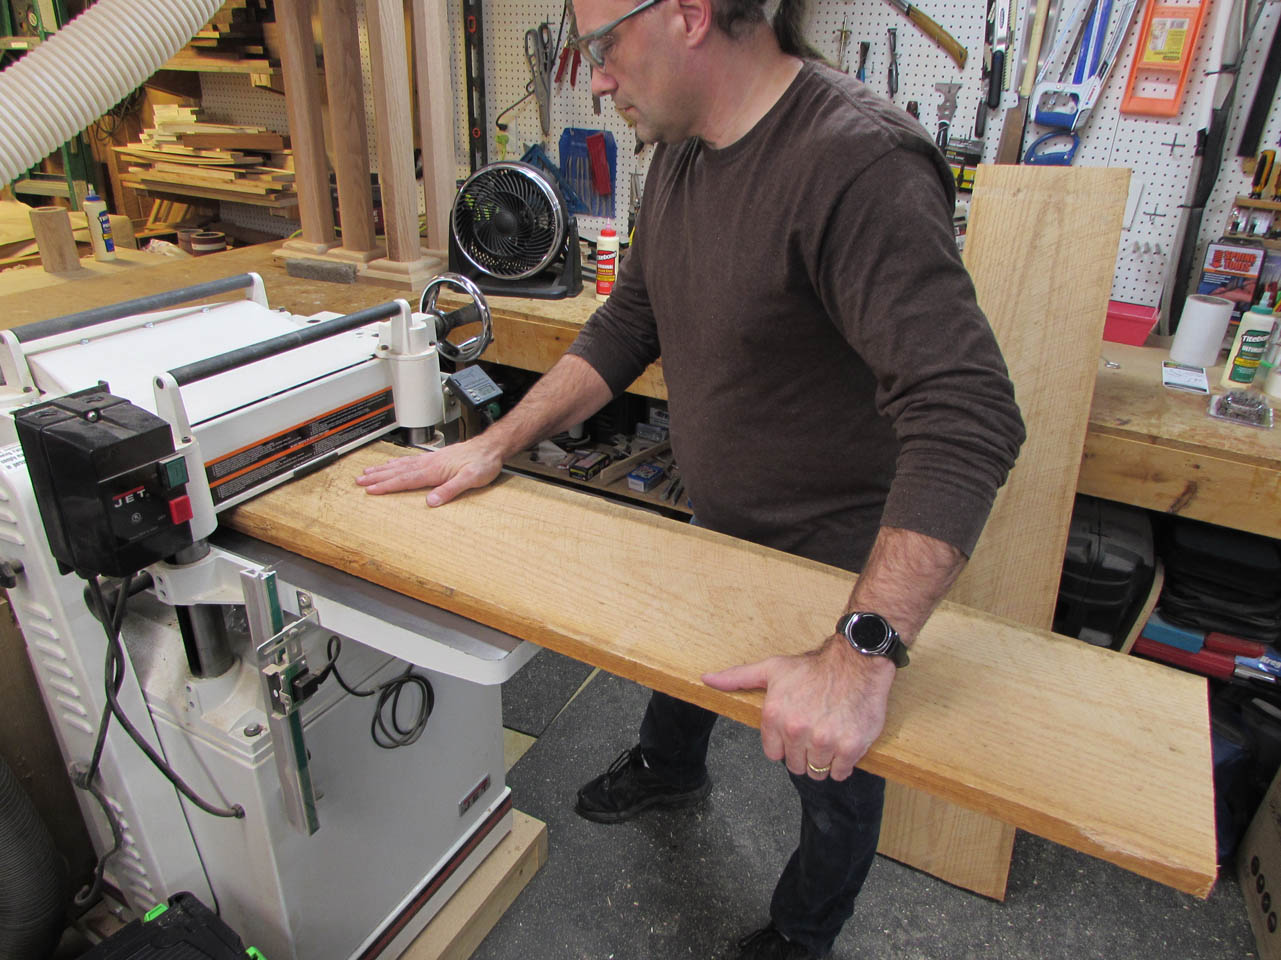
I ran both boards through the plane until both sides were 3/4″ thick. I love seeing that last pass through the planer when all the saw marks and dirt disappear and there is a pristine new board.

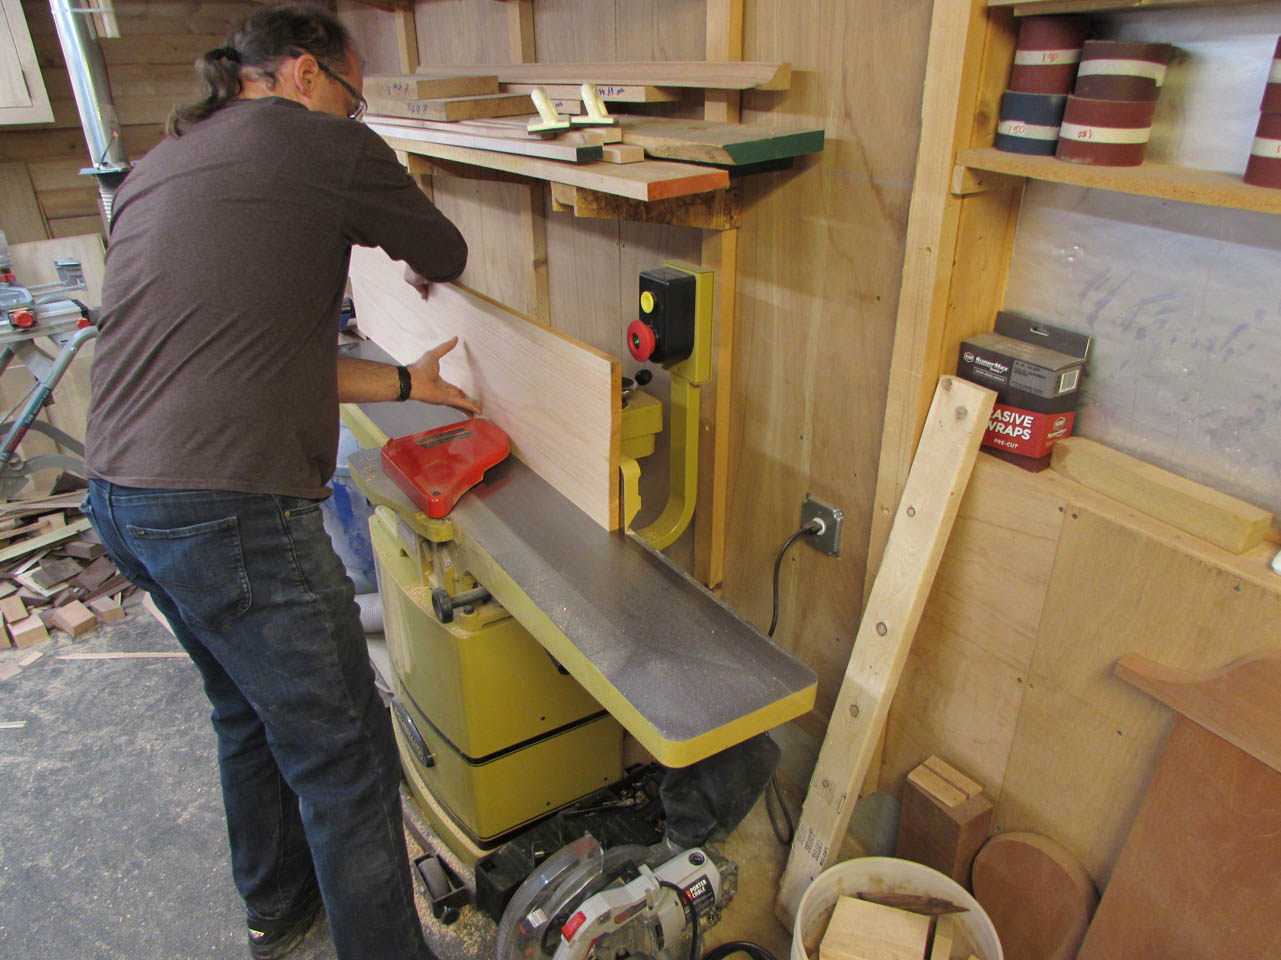
I straightened up the edges on the jointer and the table saw, then cut my pieces down to size.


The top and bottom pieces need to be about 16″ wide, but my planer can only take 15″ max. So I planed the boards all to final thickness before glueing them up. If I take my time with the glue-up, it will be really easy to clean up.
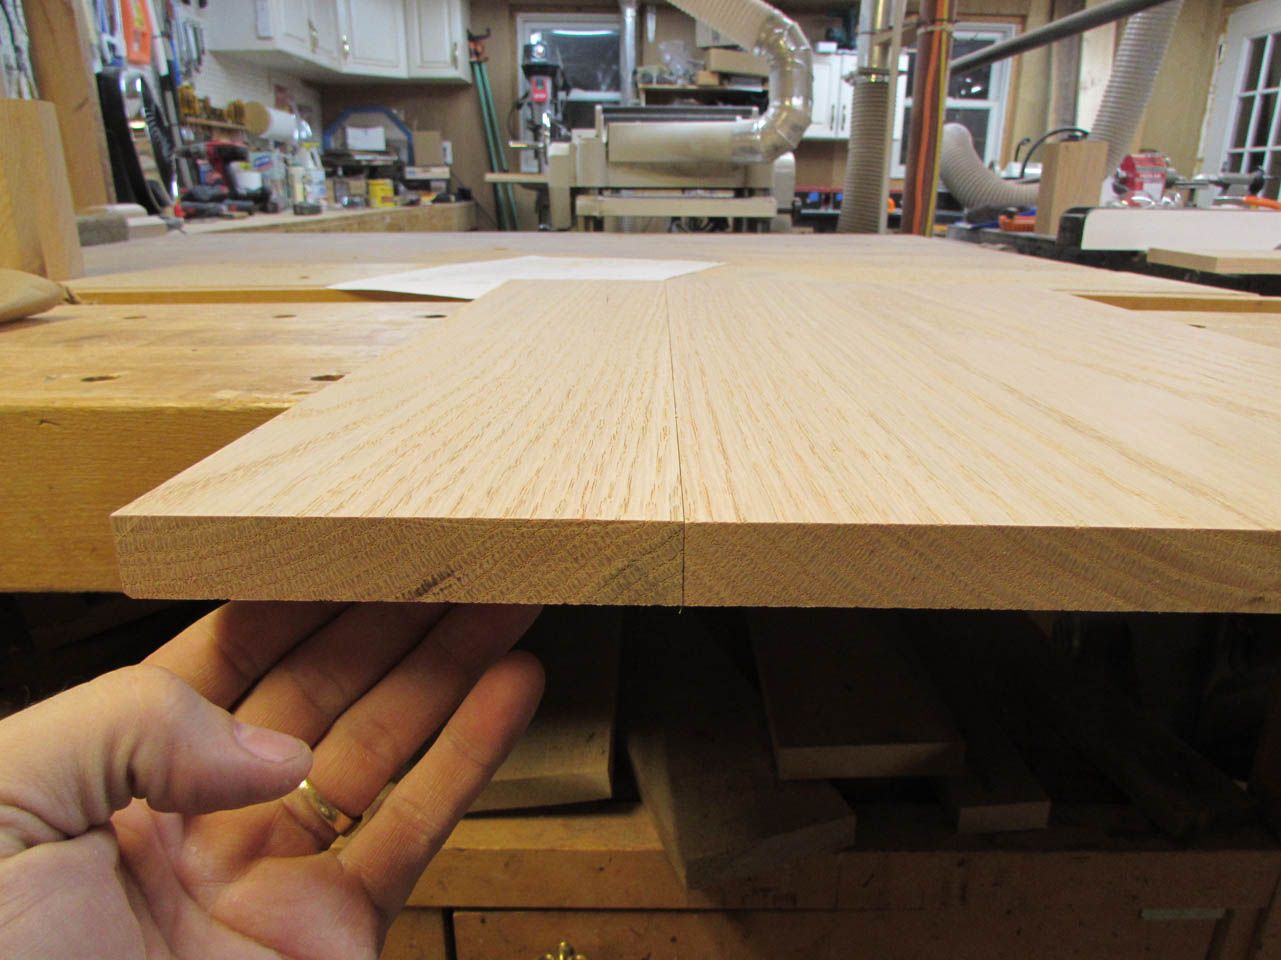
I cut two pieces to add to the top and bottom, taking care to match the grain as closely as possible.
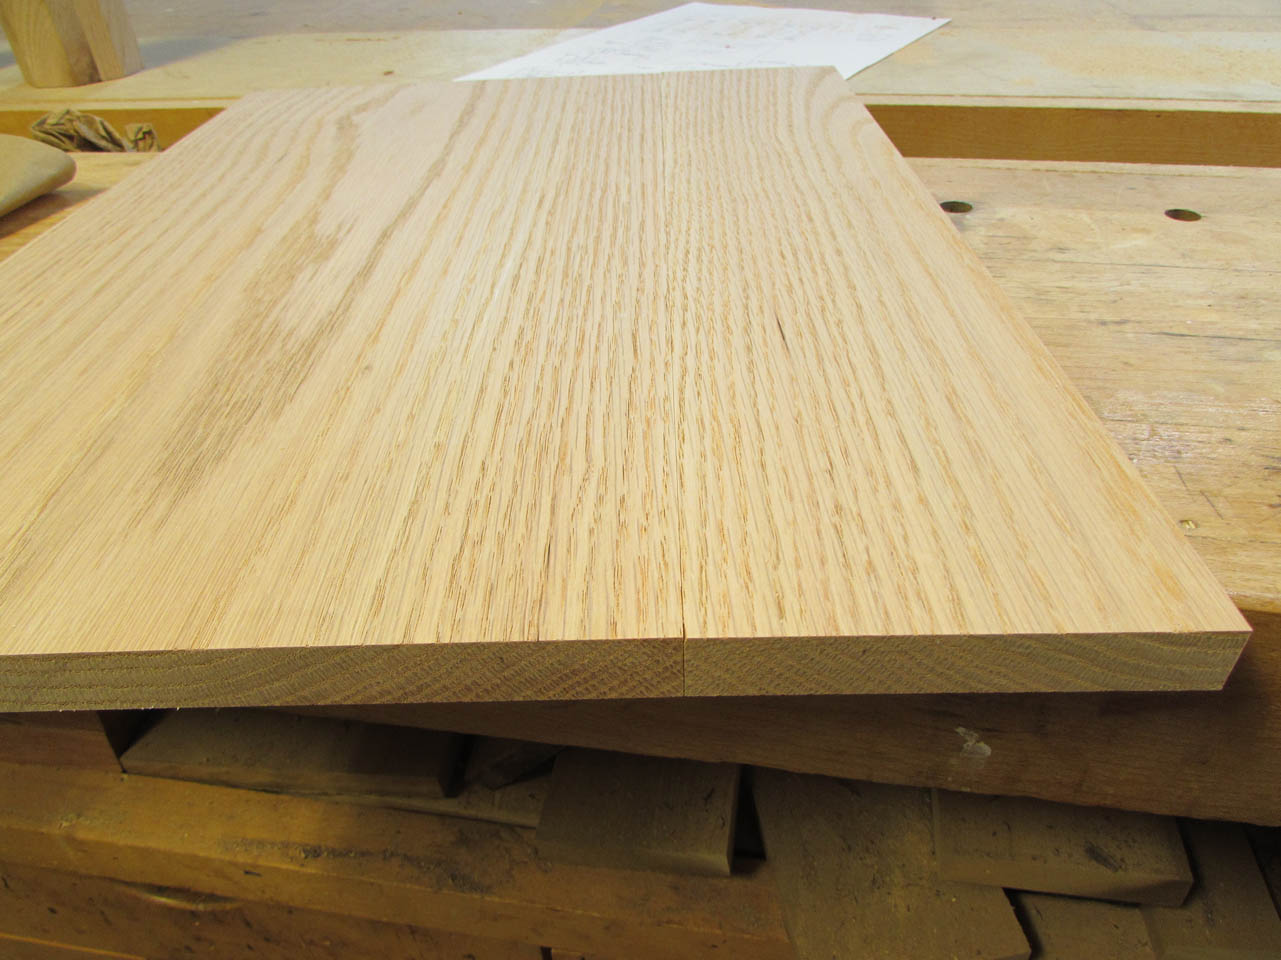
I used some painter’s tape to mark the joint so I will remember which board goes where, when I glue them up.


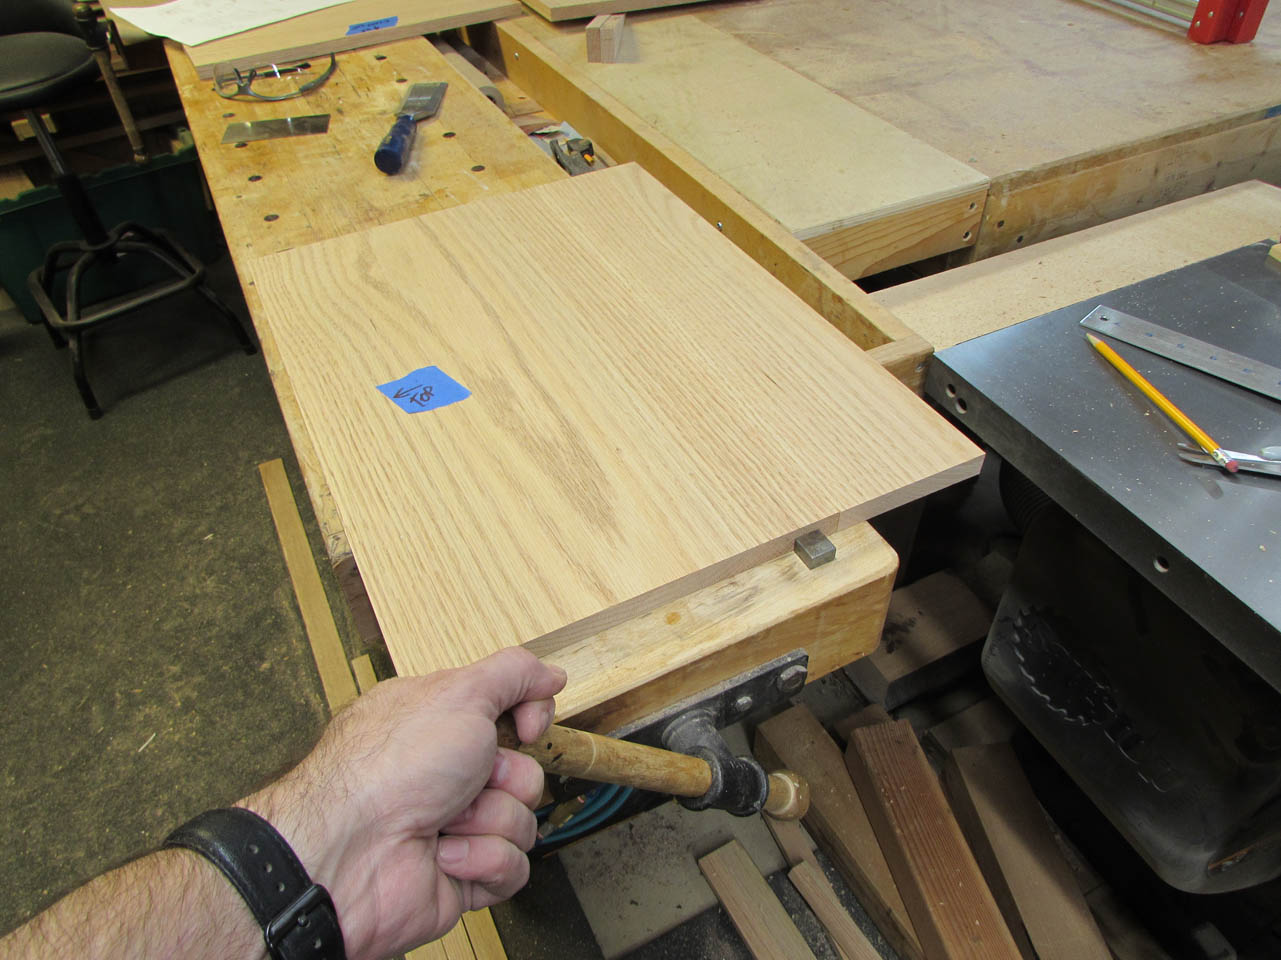
The front face of the ambo requires a 10° angle so I set my blade to 80° and cut the angle on a slightly oversized board.
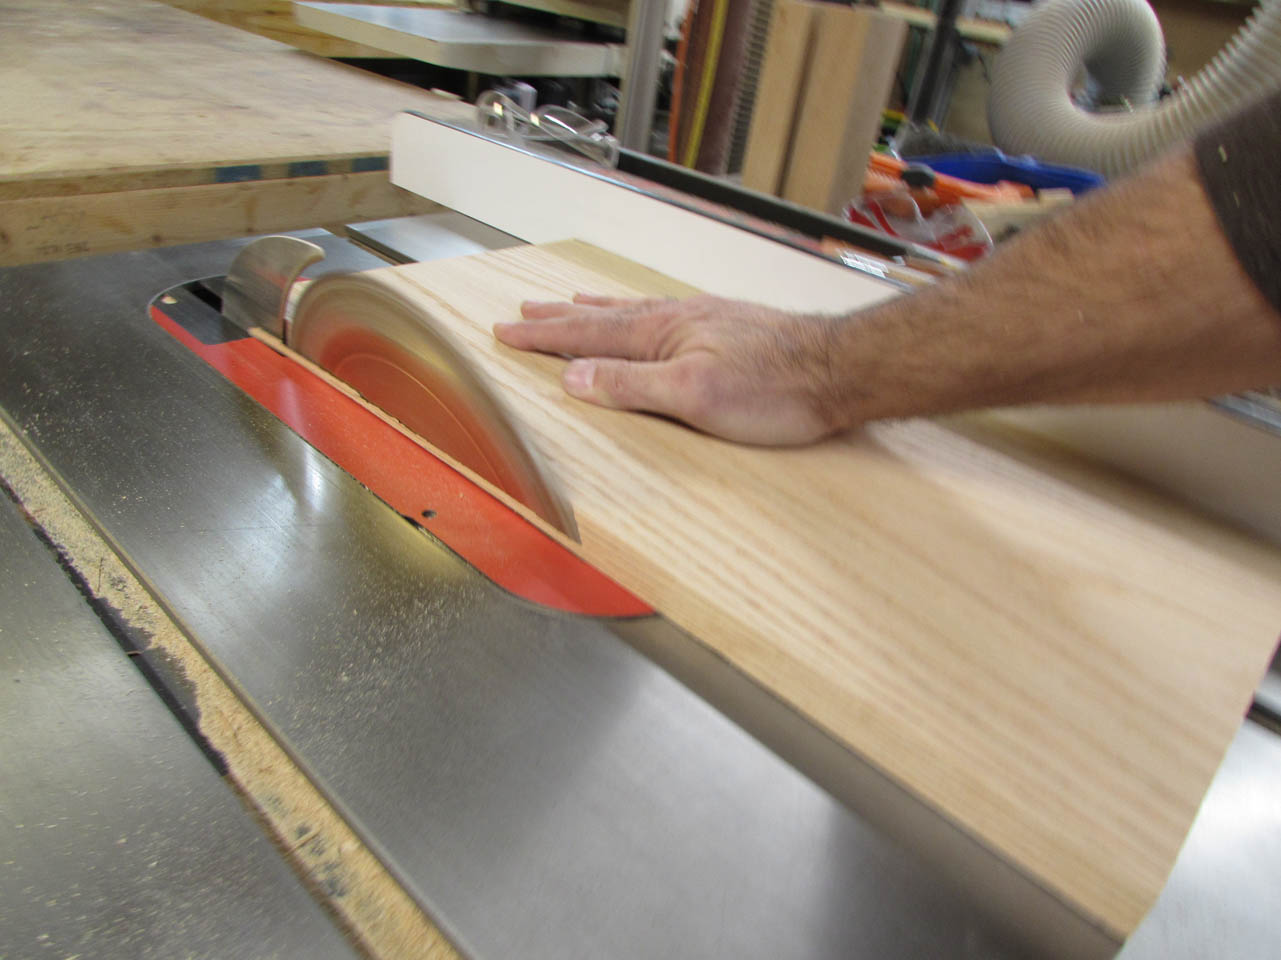
Then I placed the angled side against the fence and cut the board to size.

Moving back to the top, I applied glue to one edge and evenly spread a thin layer.

I carefully clamp the joint to keep one side from rising up as the boards are clamped together with the lager parallel clamps.

The trick is to make sure you apply enough glue to hold the joint, but not so much that it squeezes out all over the surface of the wood.

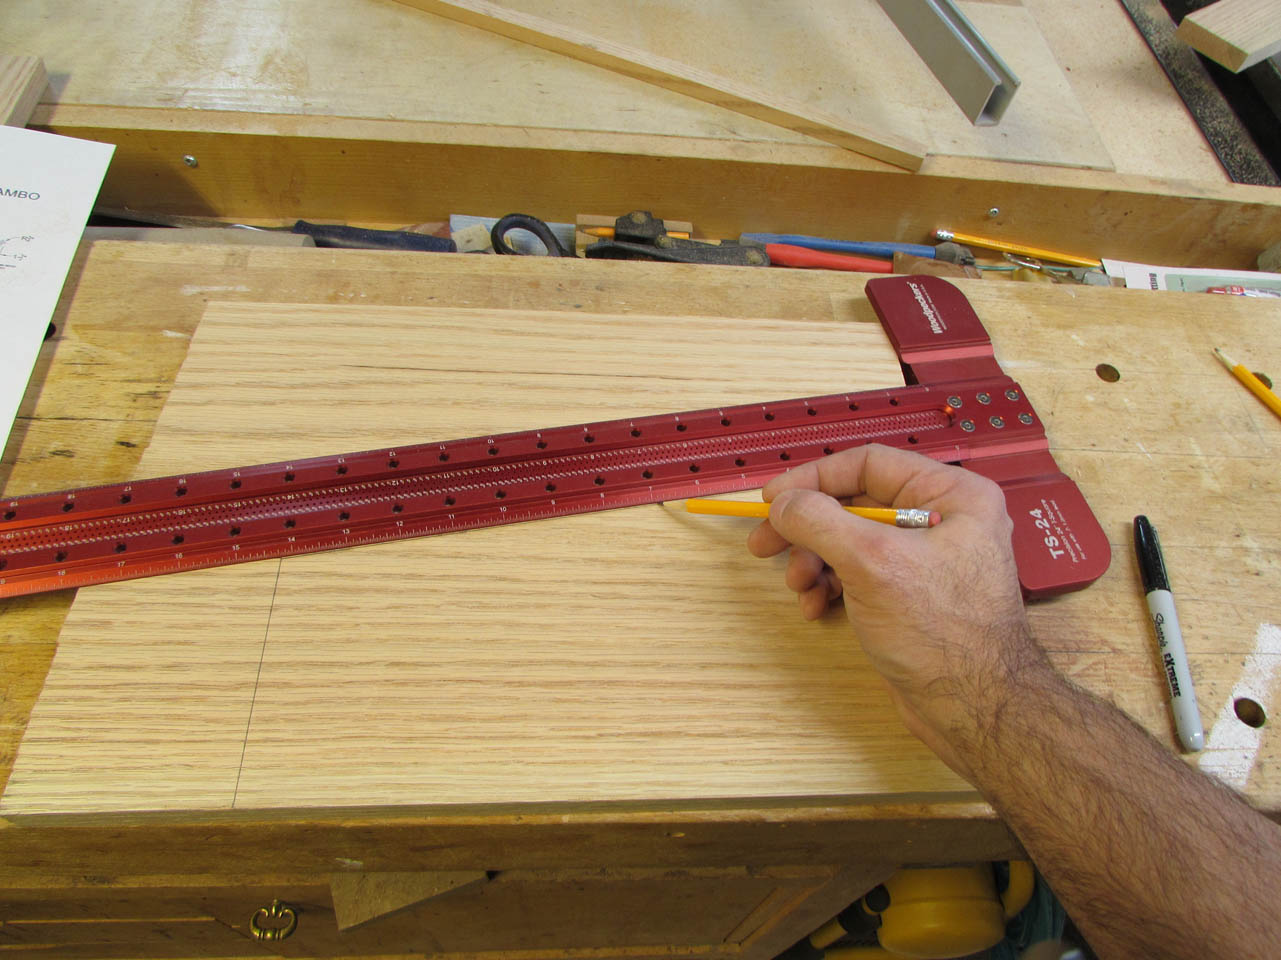
While those were drying, I cut and laid out a couple of side pieces with that 10° angle along the length.

I used double-sided tape to hold the two together.

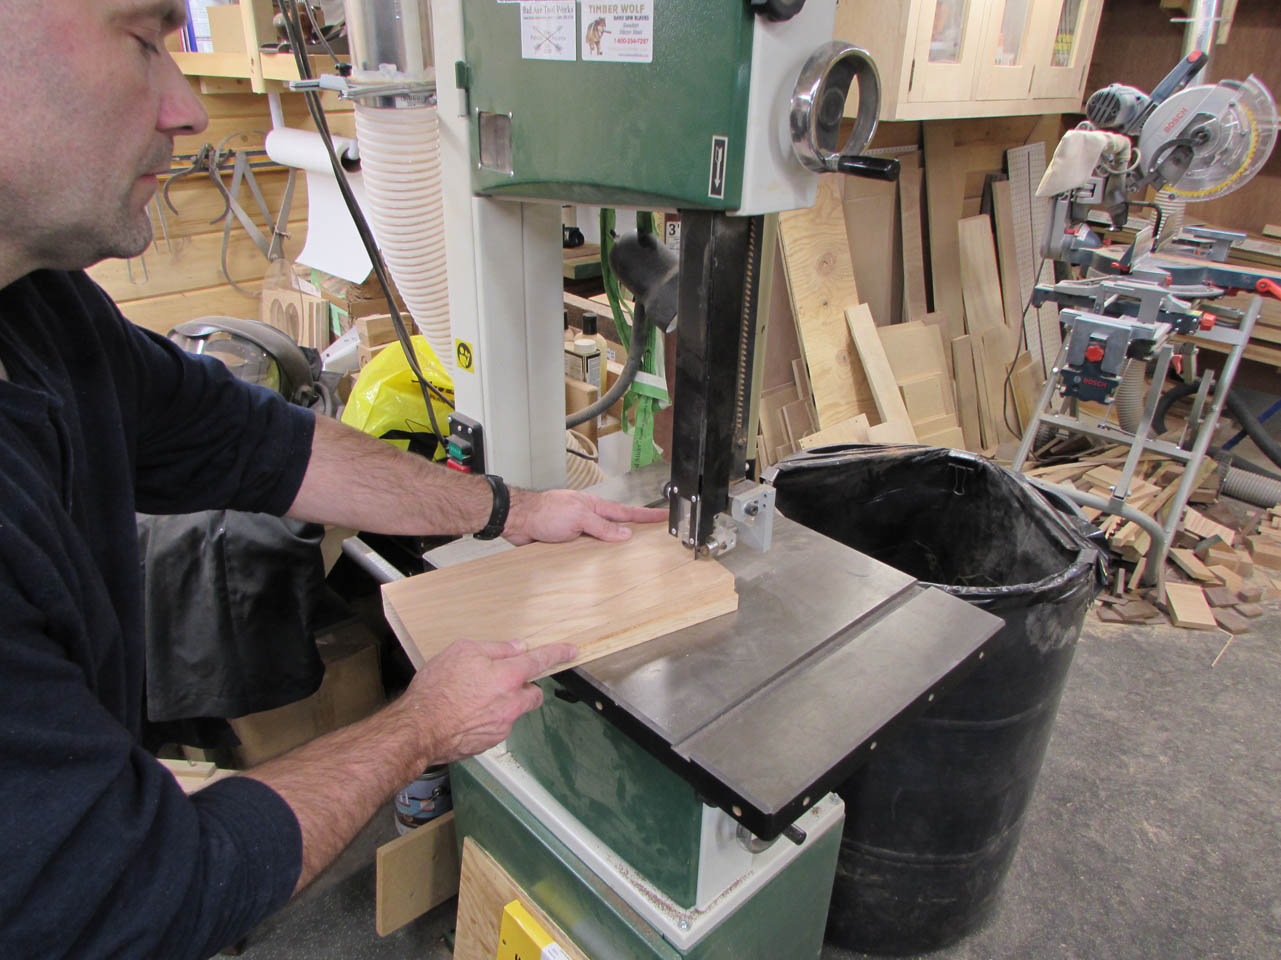
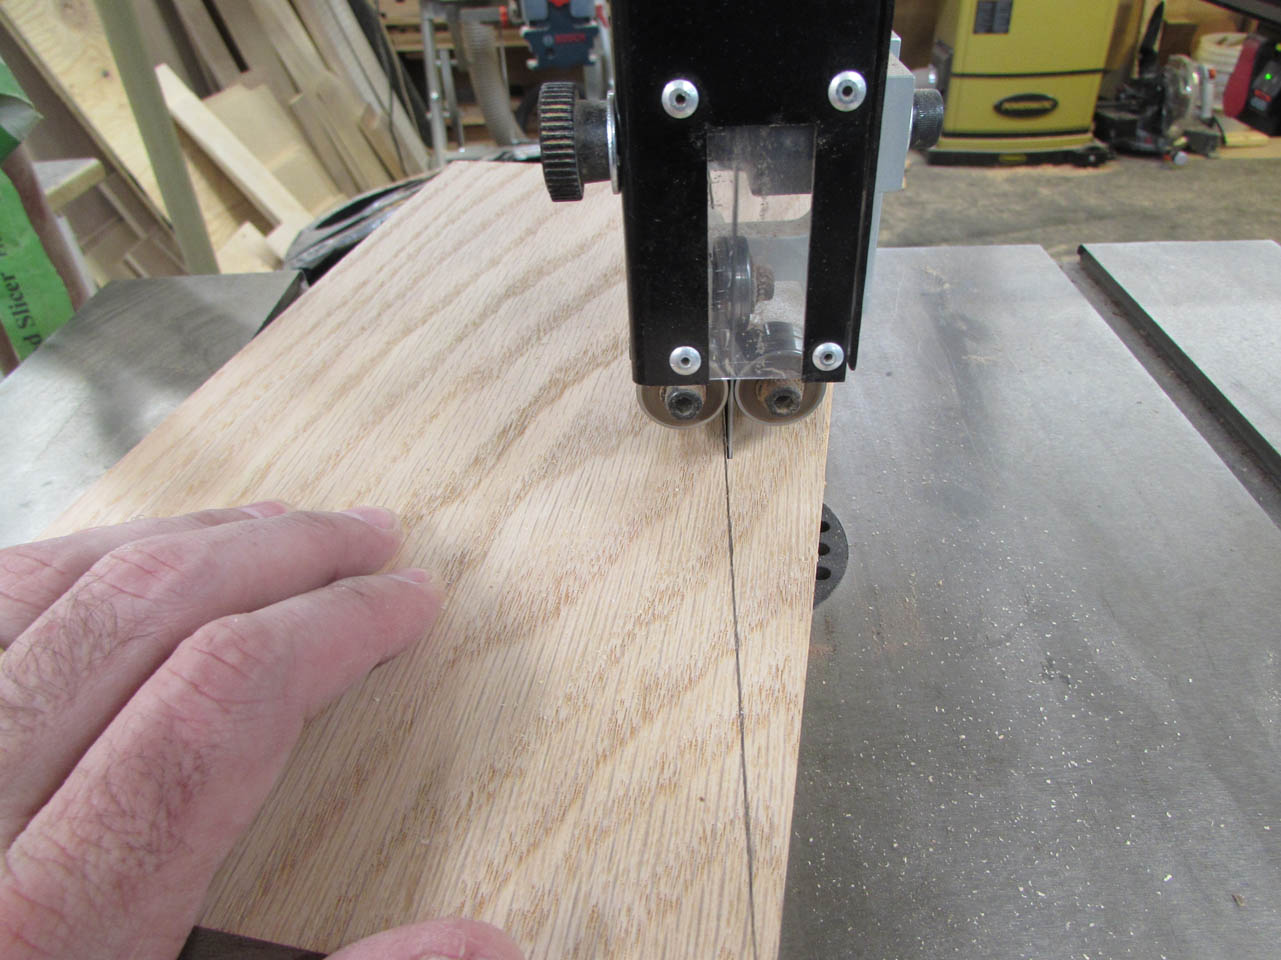
Then I carefully cut just outside the line on my band saw.
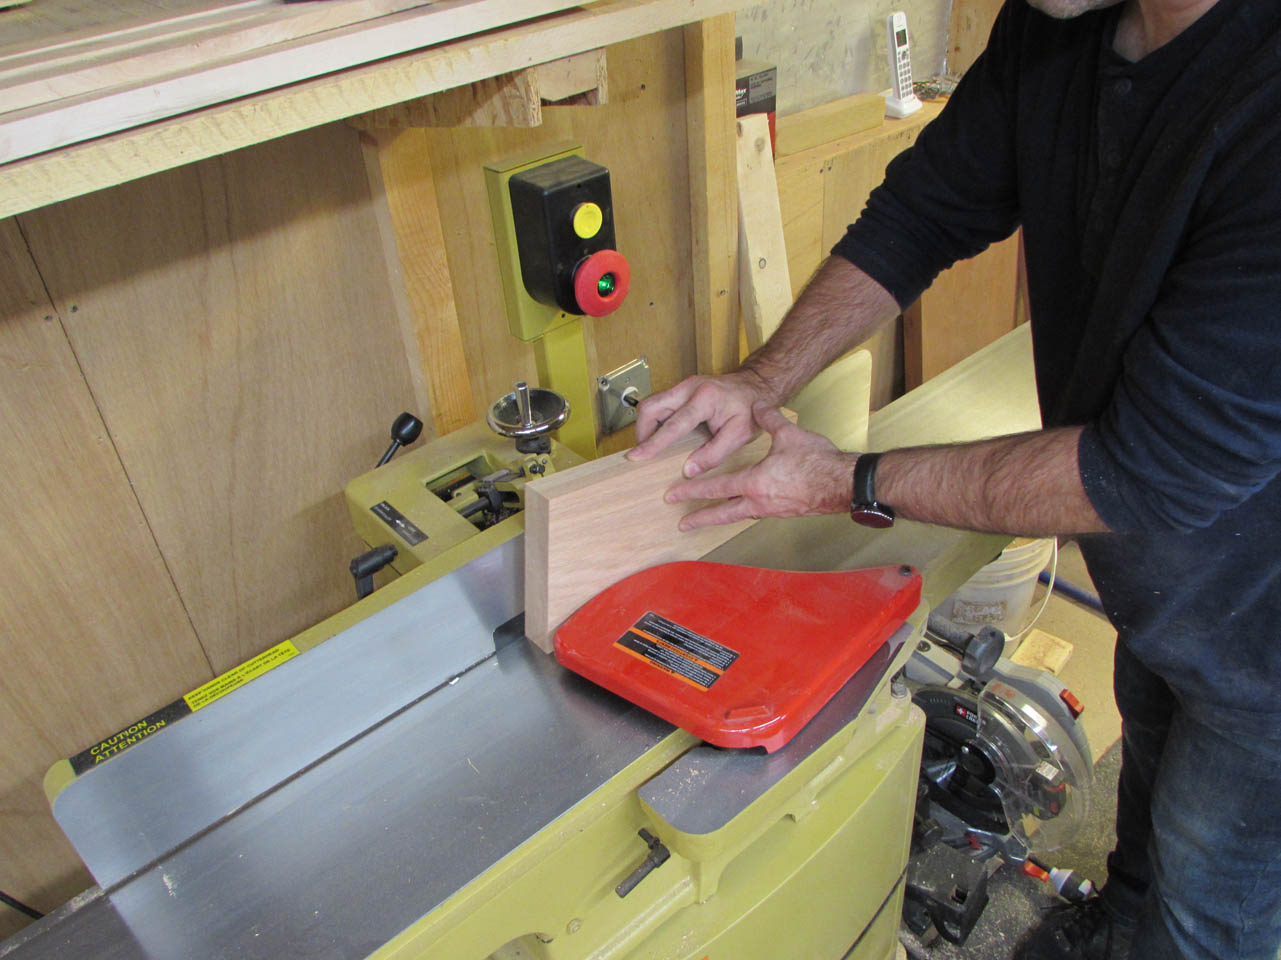
A single pass on the jointer cleans up the band saw marks.
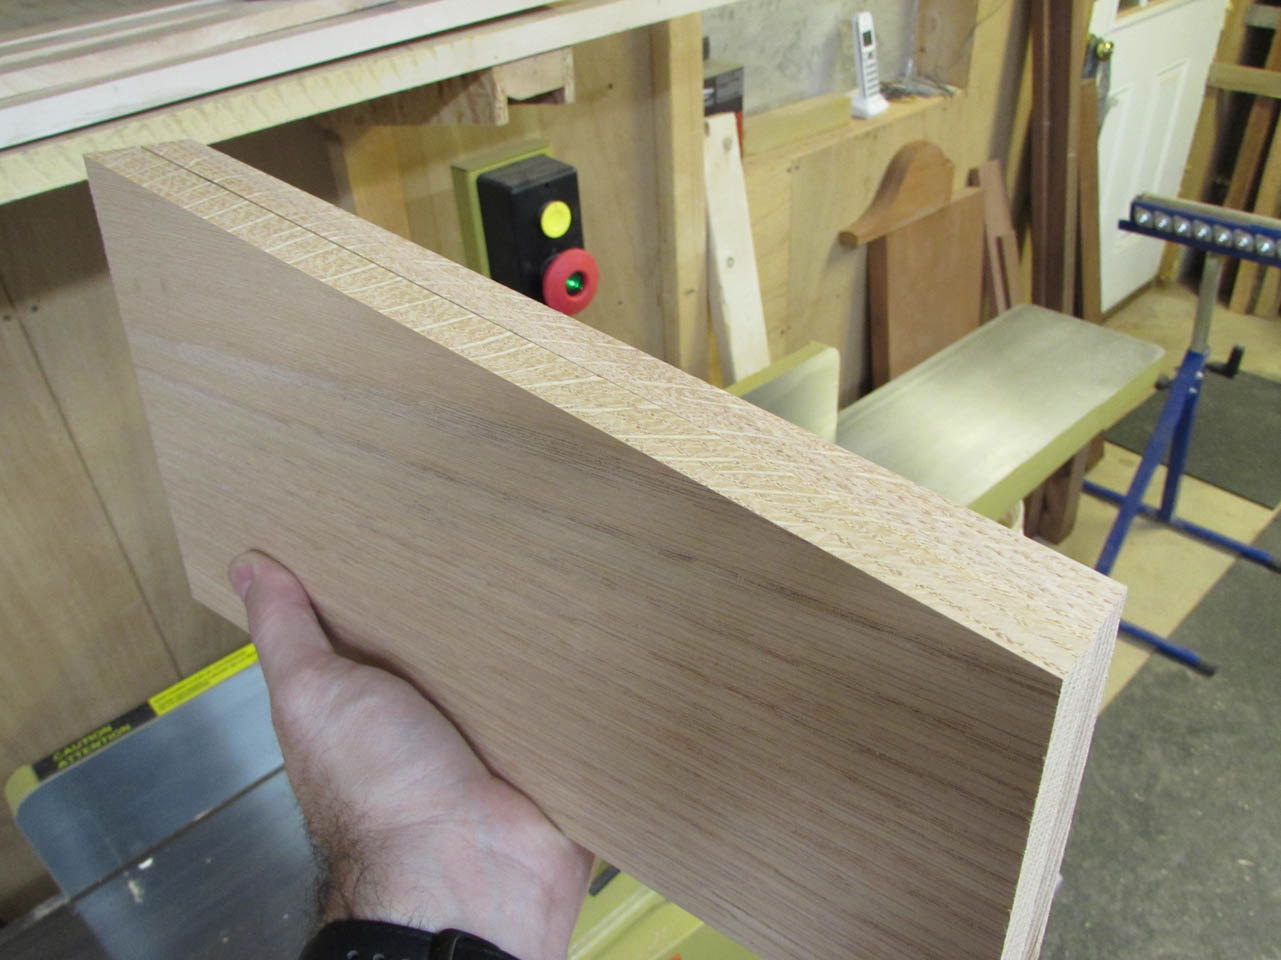
Then I used my 2″ wide chisel to gently pry apart the two boards.

Since my panels are still drying I cut the small piece that acts as a small ledge, to stop a book from sliding off the top. I put the 1/4″ round-over bit in the router table and cut a radius along the top edge. I left the bottom square because it will be glued to the top panel and it needs to fit flush to the edges.


The panels are finally set up so I pulled the clamps and used my 2″ chisel to scrape off any glue squeeze-out.

Then I clamped one of the panels to my bench and used my card scraper to smooth down the glue joint.


I left both panels slightly long because the boards slide around a bit when clamped. I used my miter saw to flush up one side, then cut both panels to the correct length on the table saw since the miter saw cannot quite cut the full width of the board.

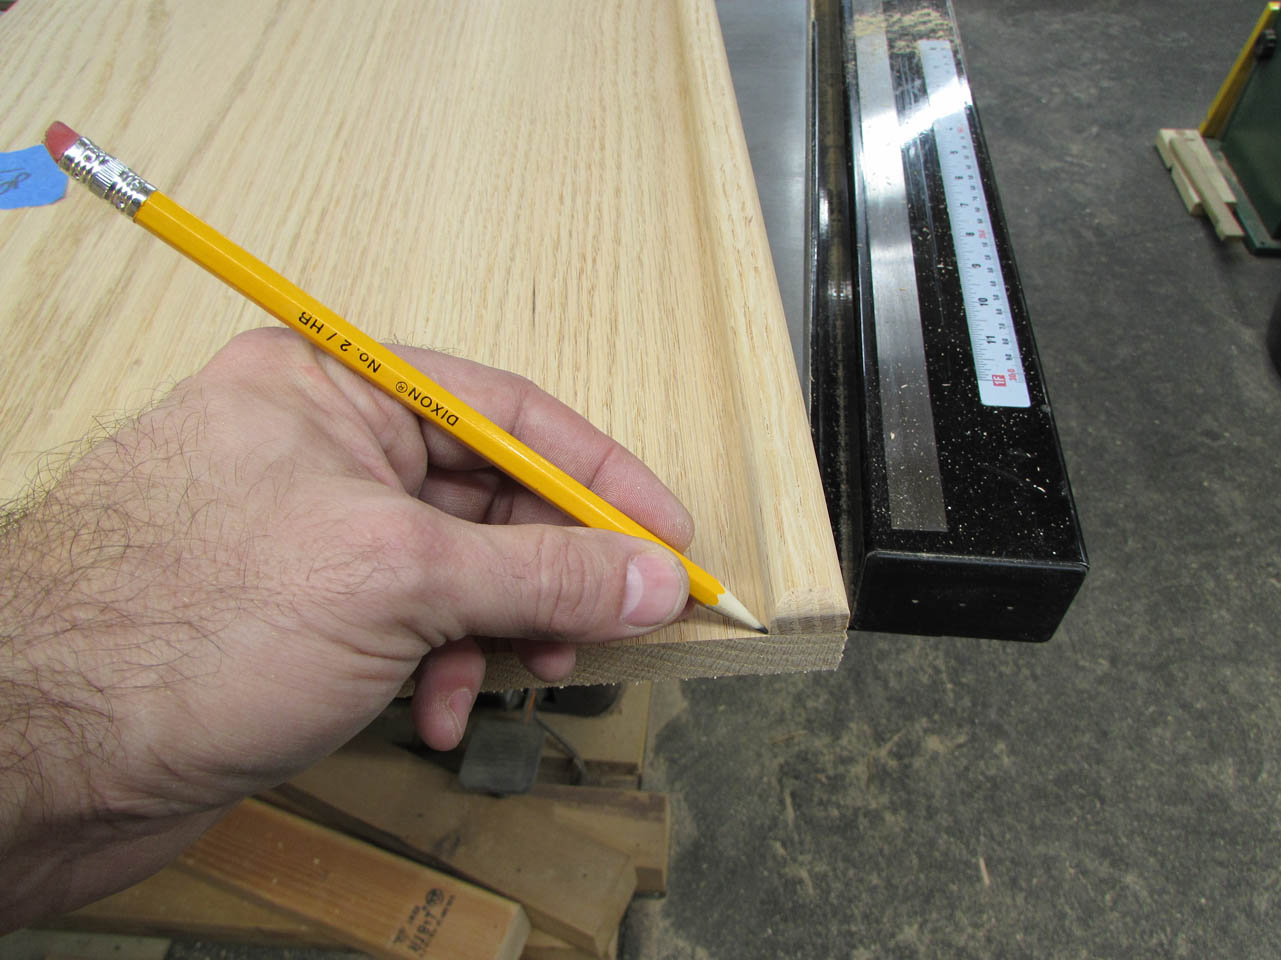
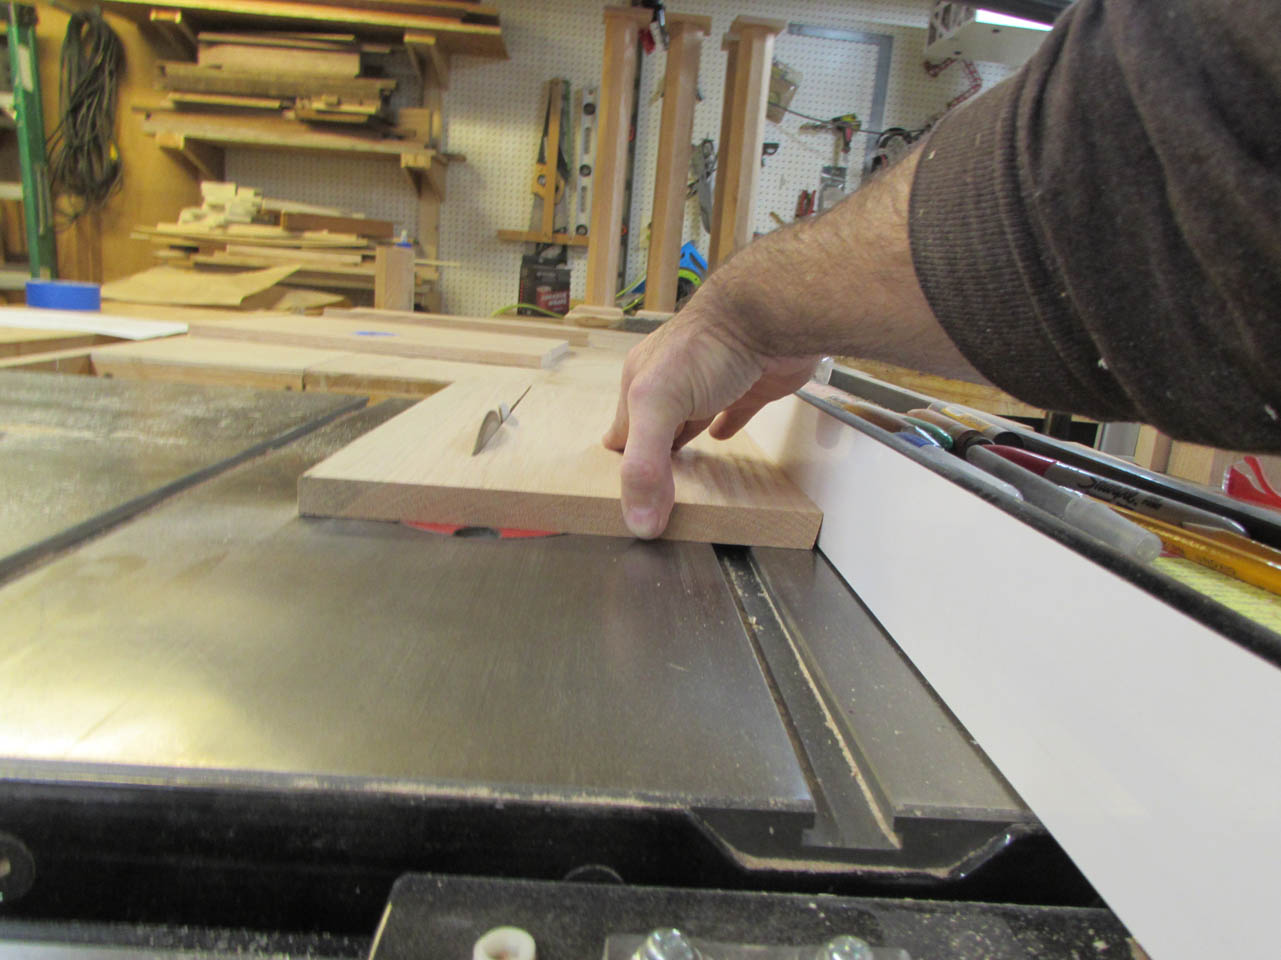
I placed the small edge stop in place and marked its location so when I ran the board across the round-over bit, I could stop before cutting that area.

Once glued on, I can clean up these curves with a rasp and some sand paper.

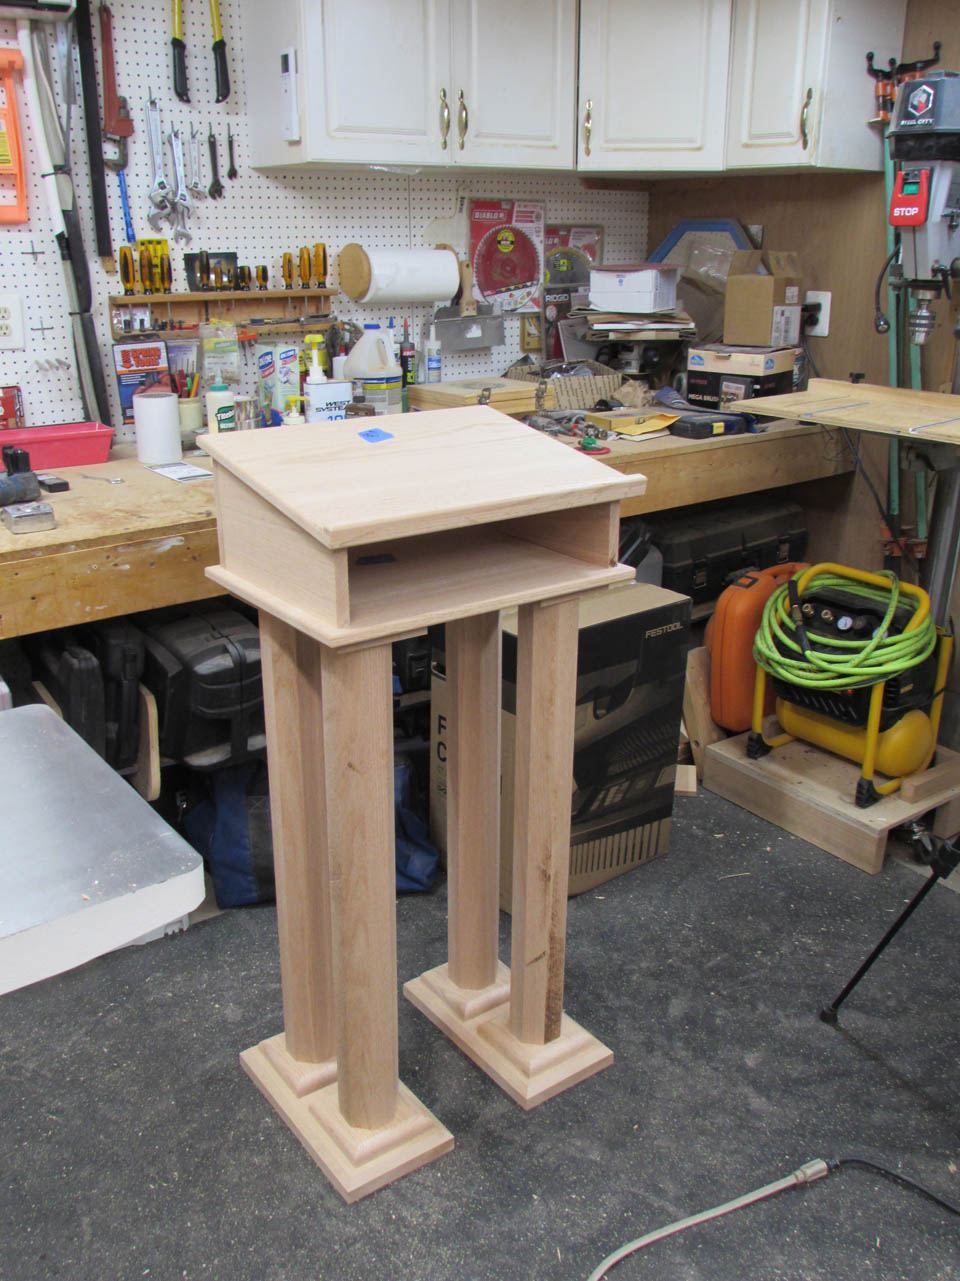
Before any major glueing and sanding, I like to do a dry-fit. This helps me to determine if everything looks right or if I need to make some changes while I still can. Everything looks pretty good so far.
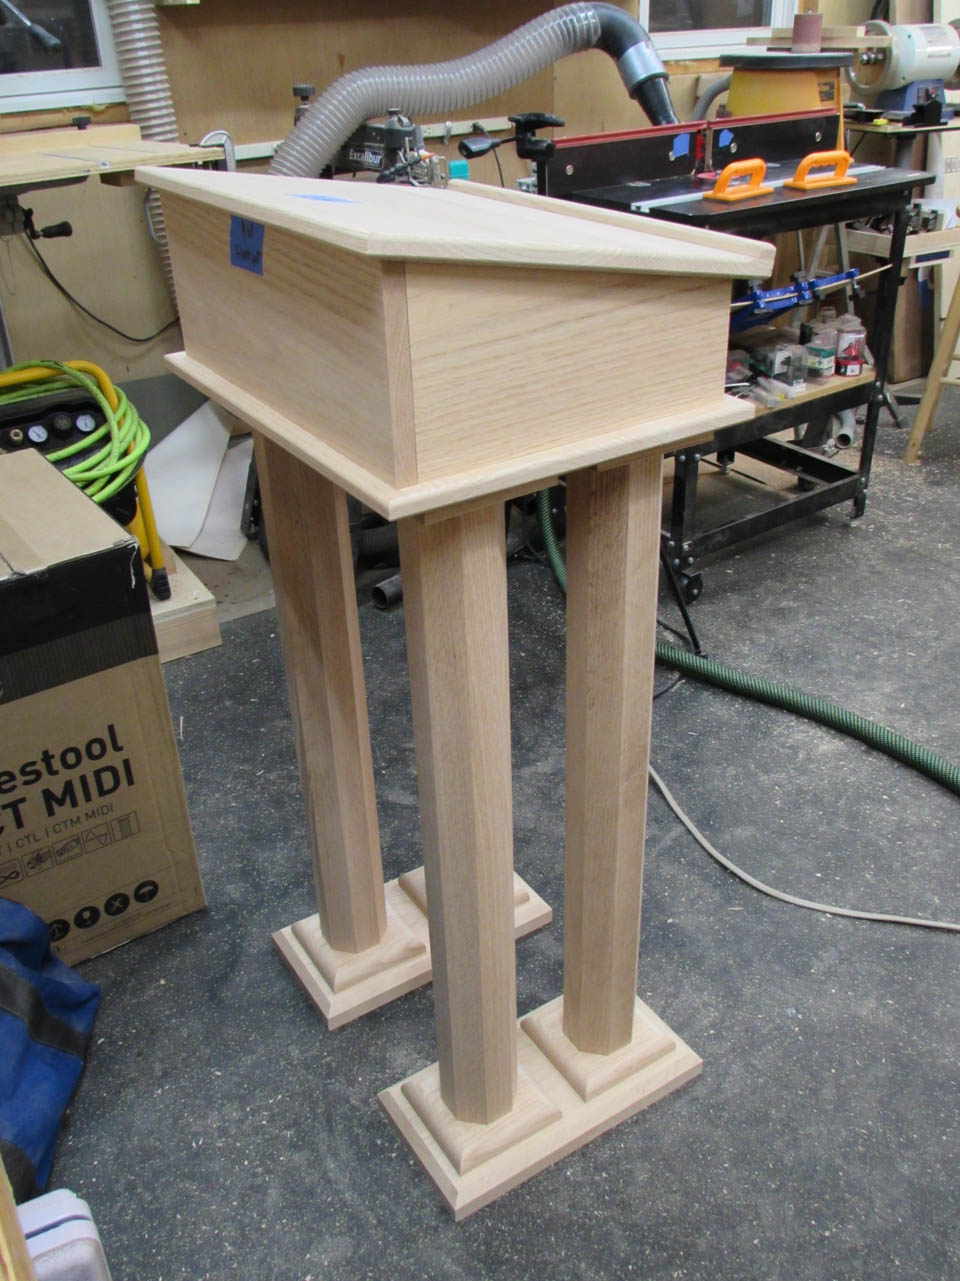
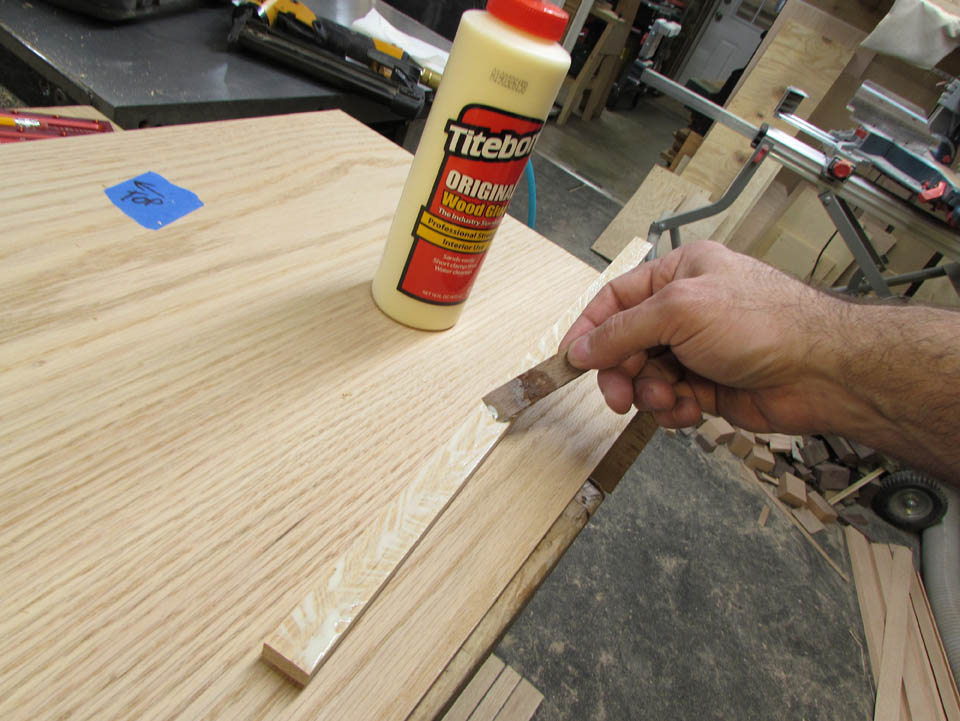
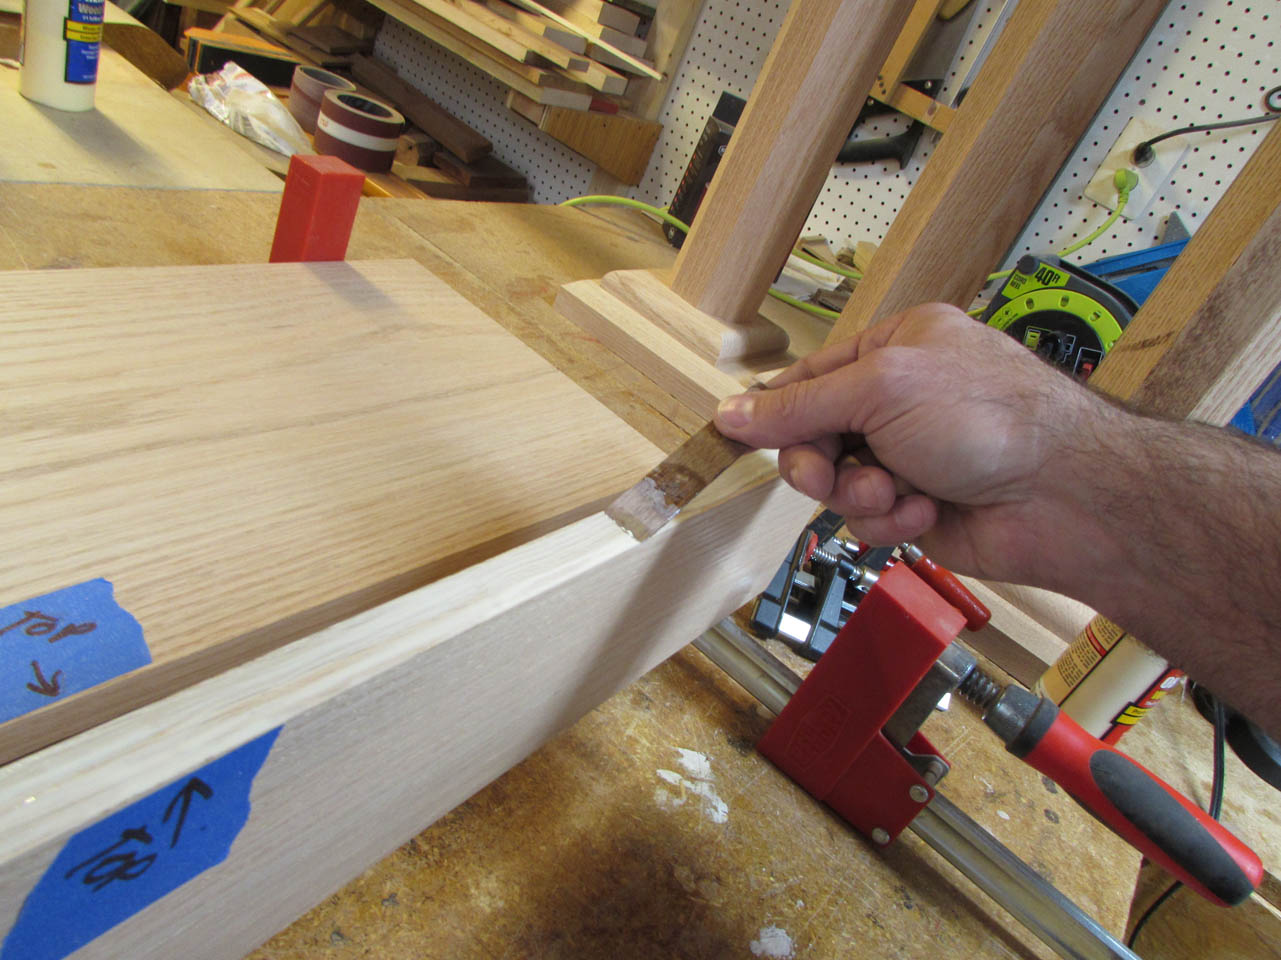
It is getting late so I want to get the edge glued on so I can start sanding over the next couple of days. I applied a thin layer of glue and then used my 23 gauge pin nailer to hold the strip in place.
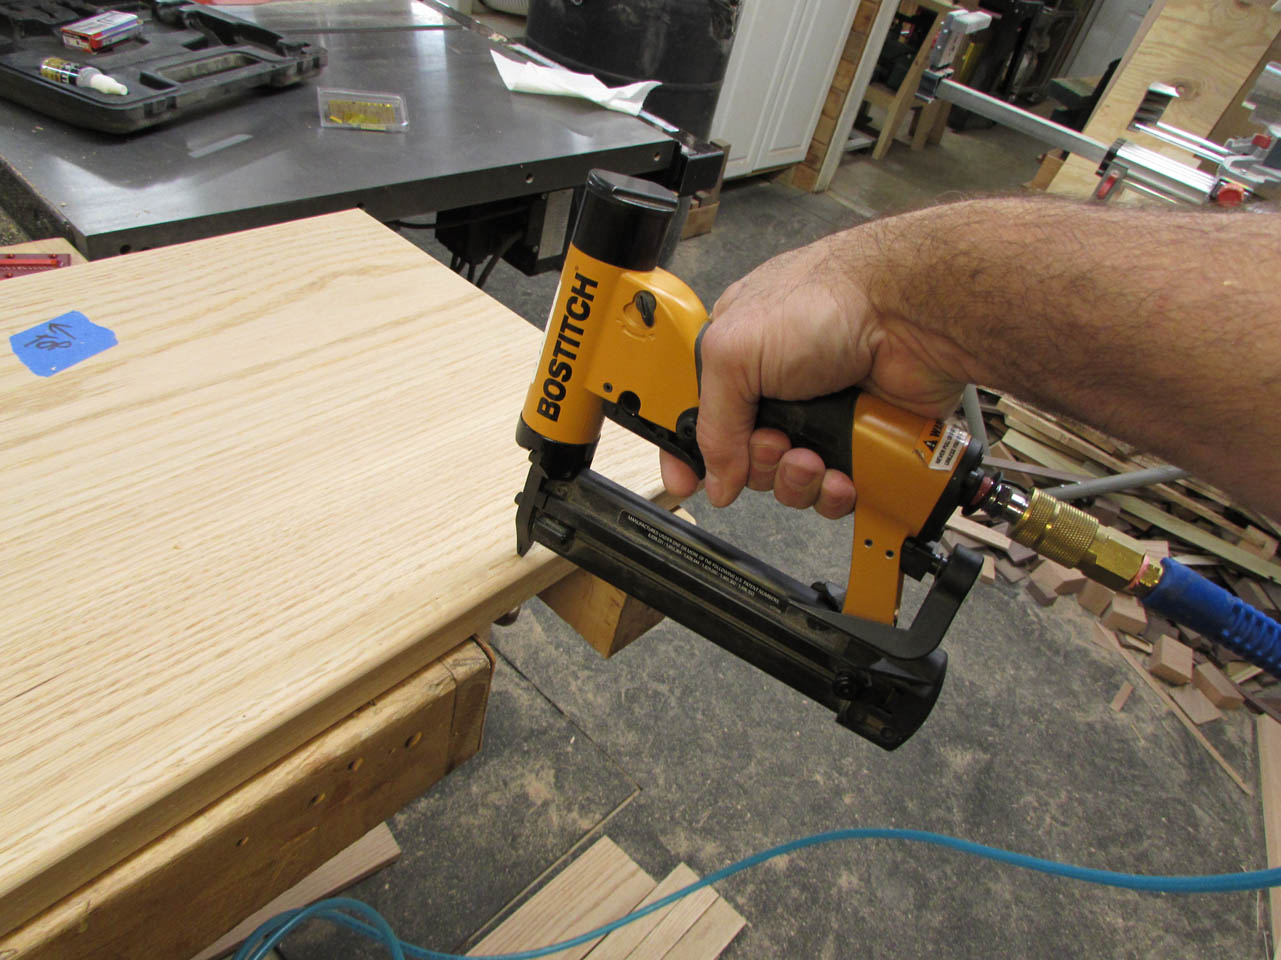
Three or four pins are enough to lock it in place so I can attach a bunch of clamps without anything moving.

About halfway done this project. I still have to make the walnut trim, then sand everything down and glue it up. Then it will be ready for finish.
