
St. Kilian chapel – Ambo, part 3
The glue on the book ledge is dry so I pulled the clamps and brought the panels over to my oscillating spindle sander to round off the corners.
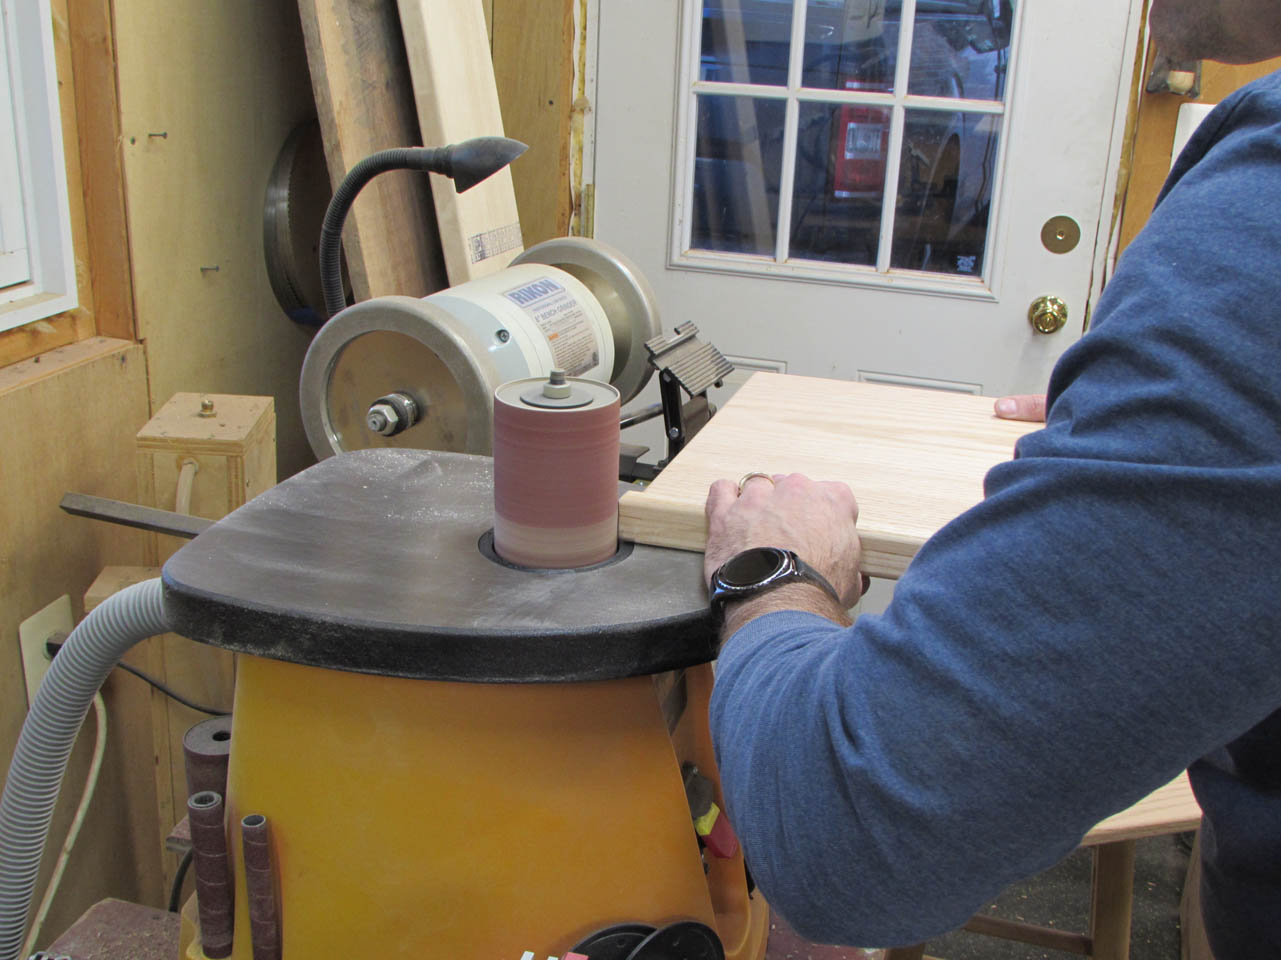
That is good enough for now, I will clean the rest of the joint up by hand after I sand down all the other parts.
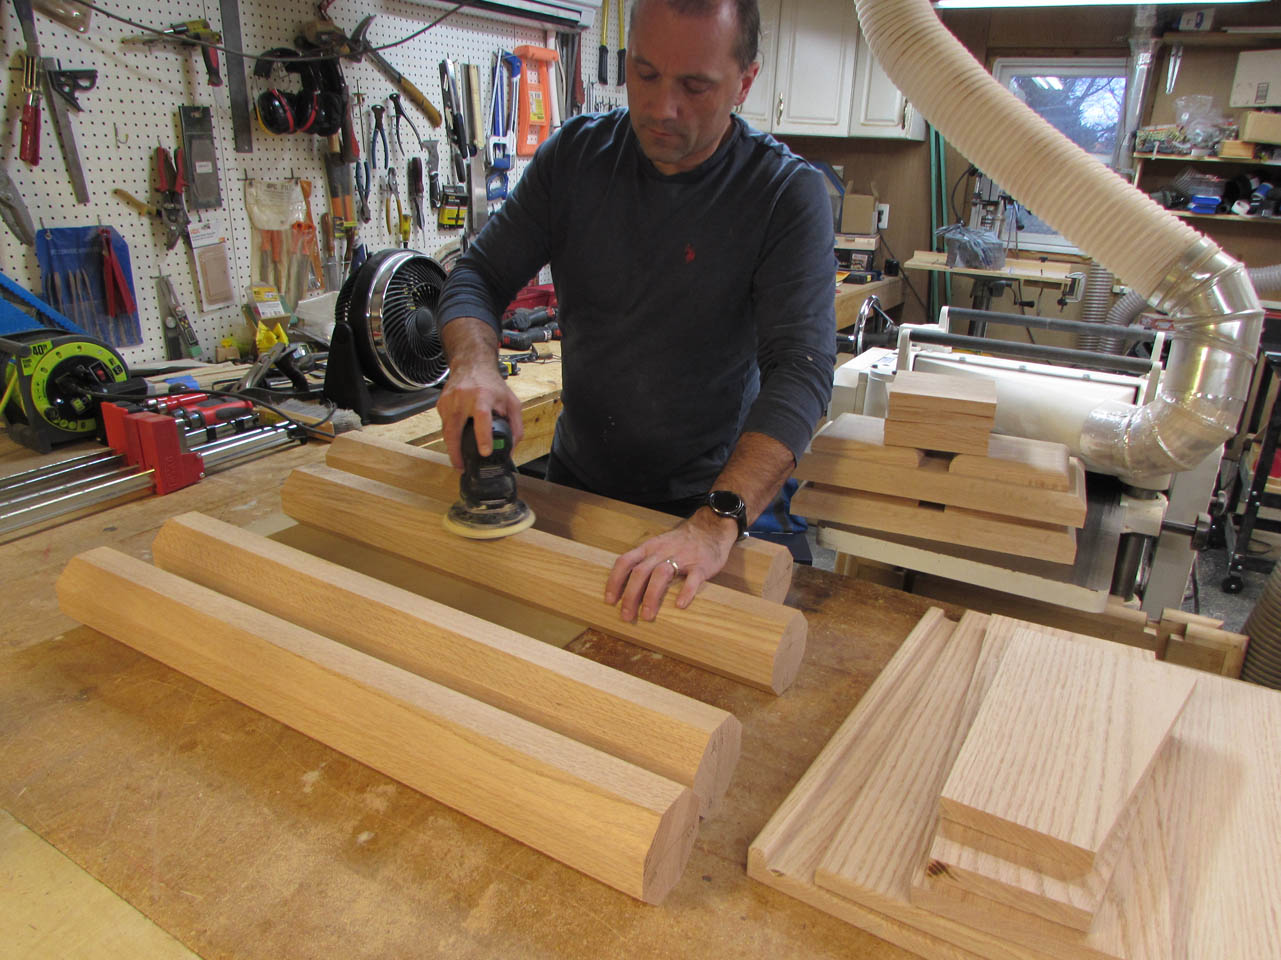
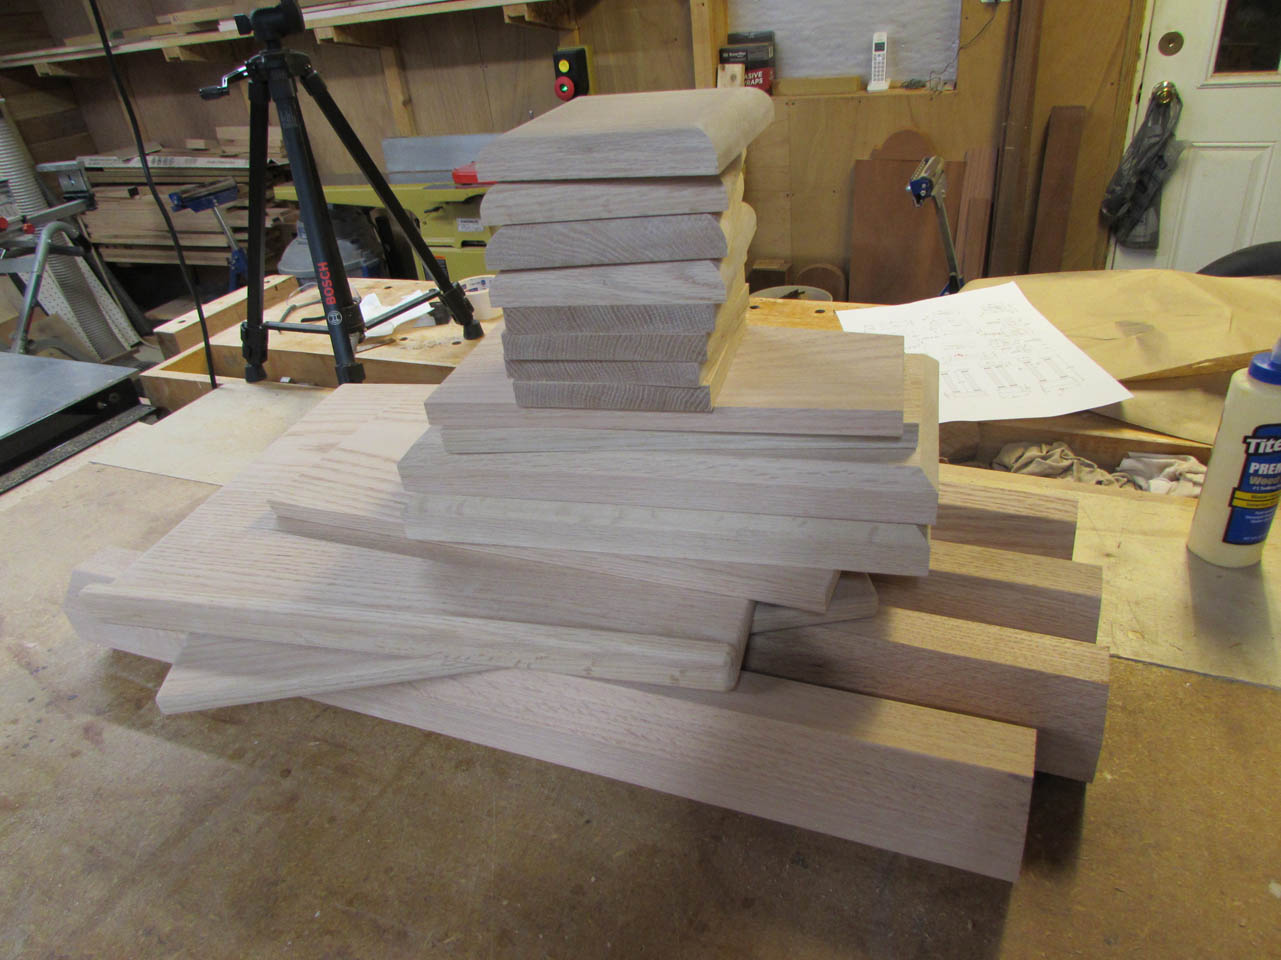
I got out my orbital sander and sanded down all the columns as well as the top and base pieces.

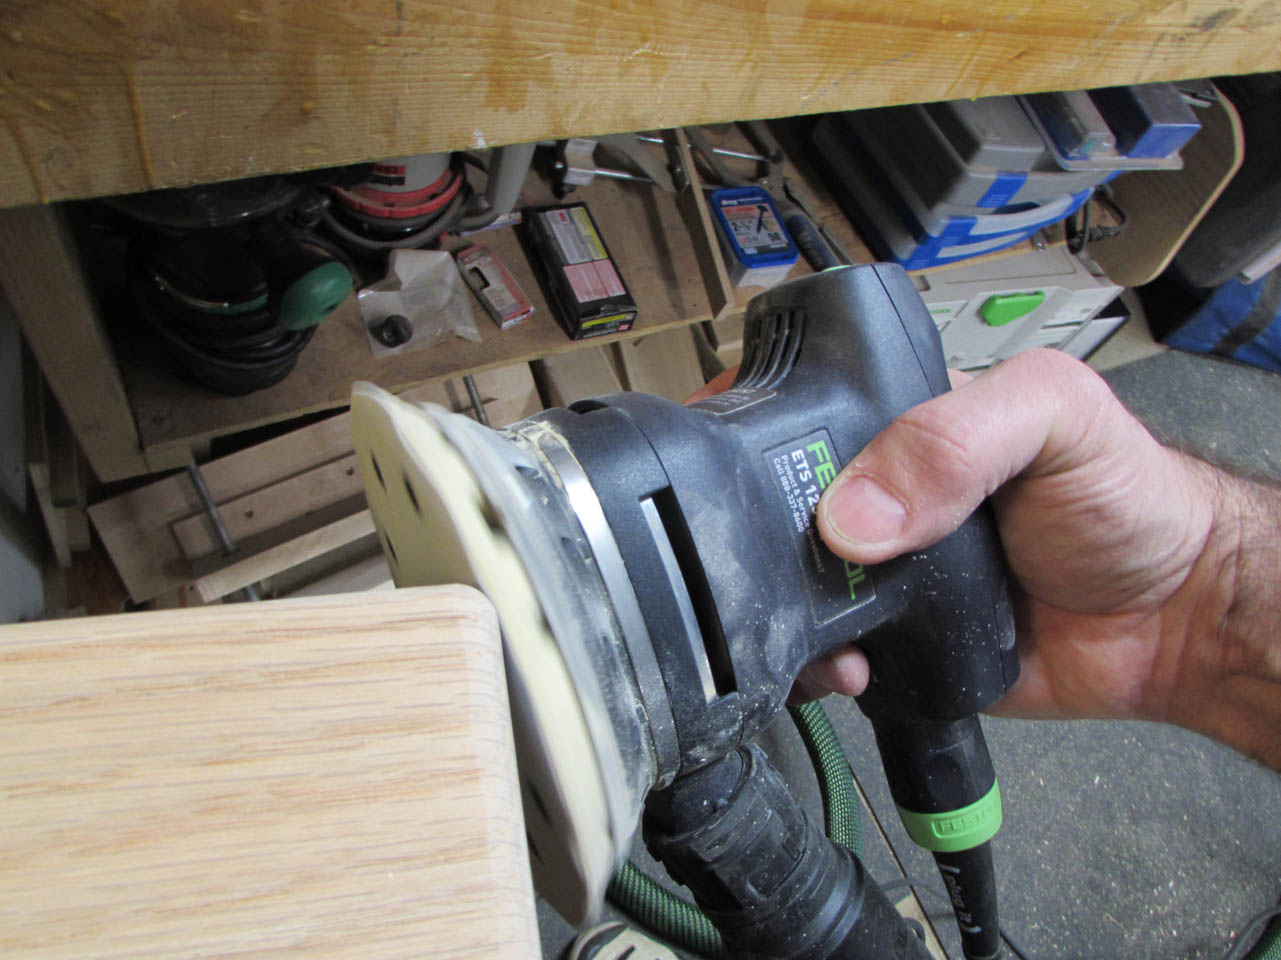
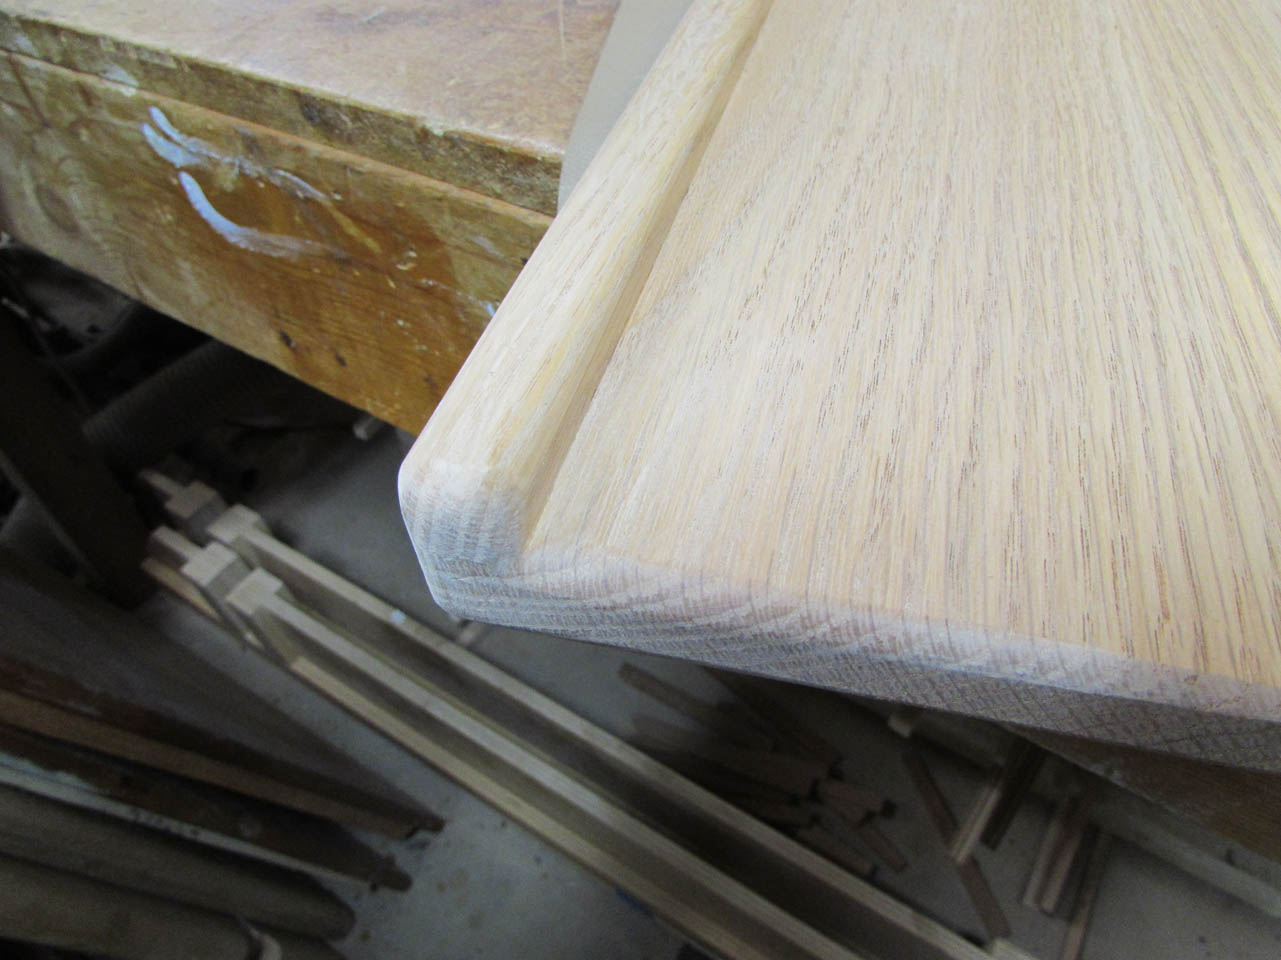
When all the other parts were done, I sanded down both of the panels and paid careful attention blending the corners so that all the curved edges had the same radius.
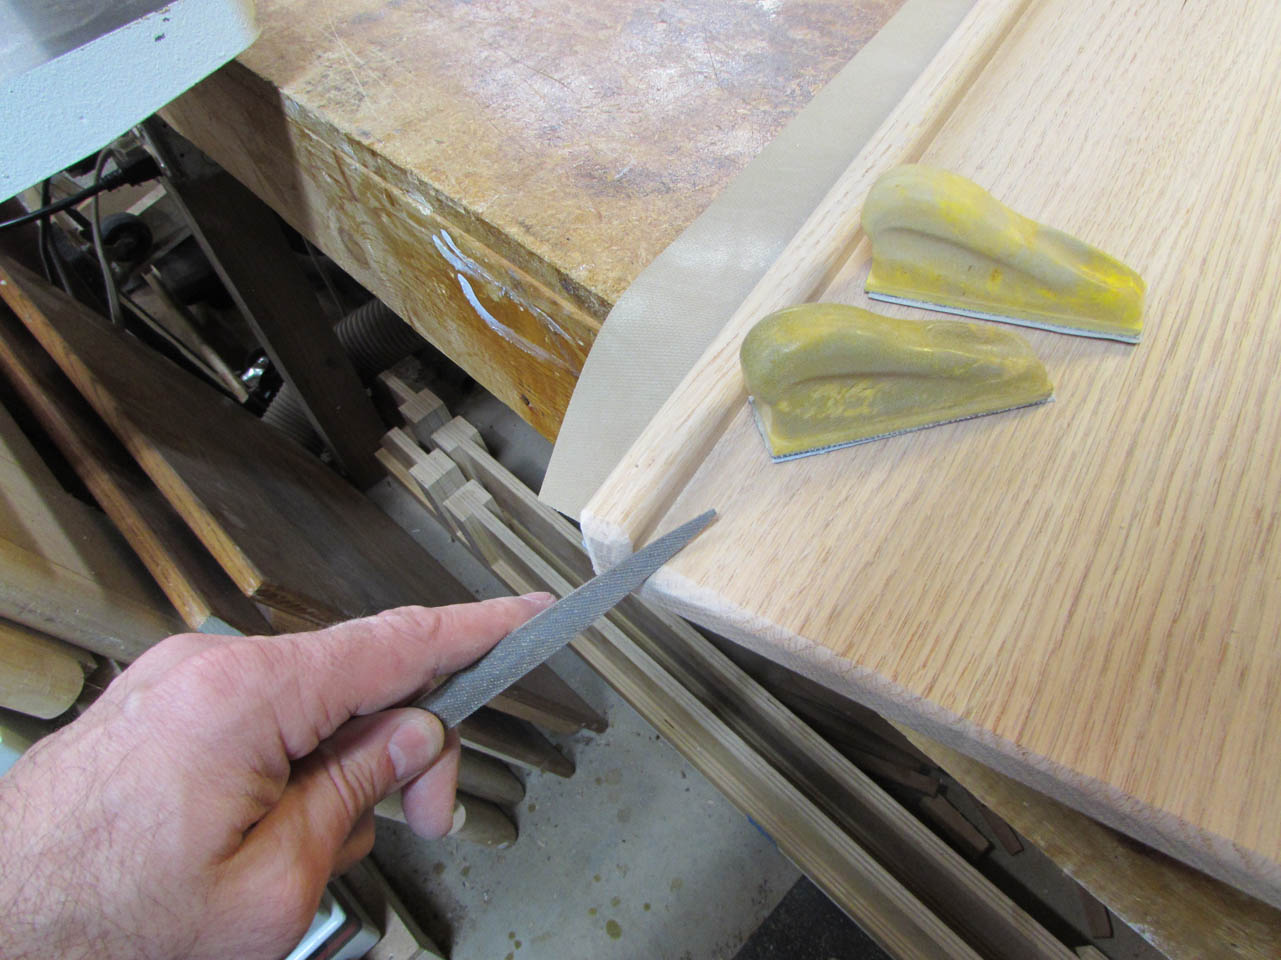
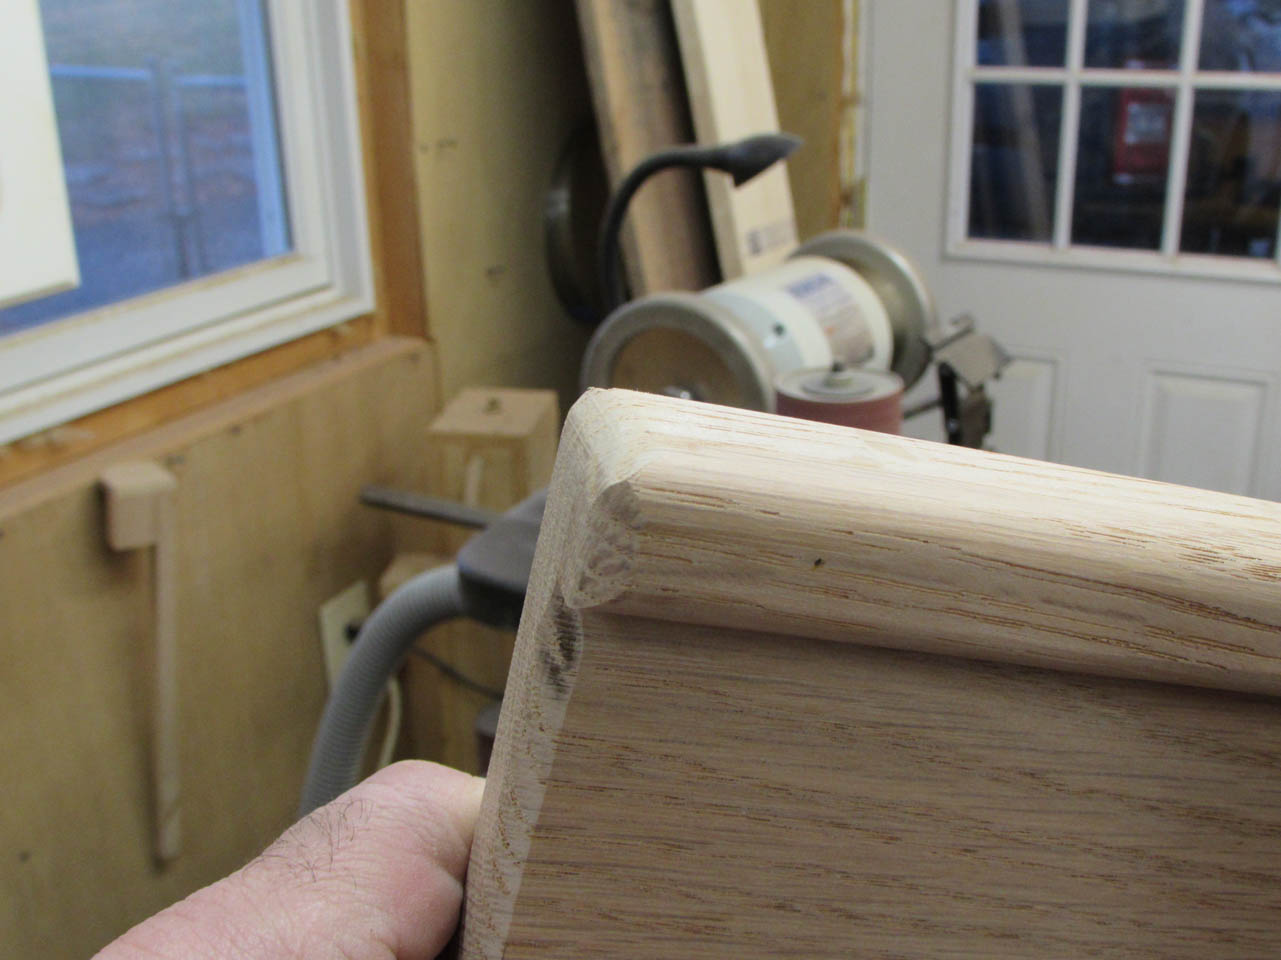
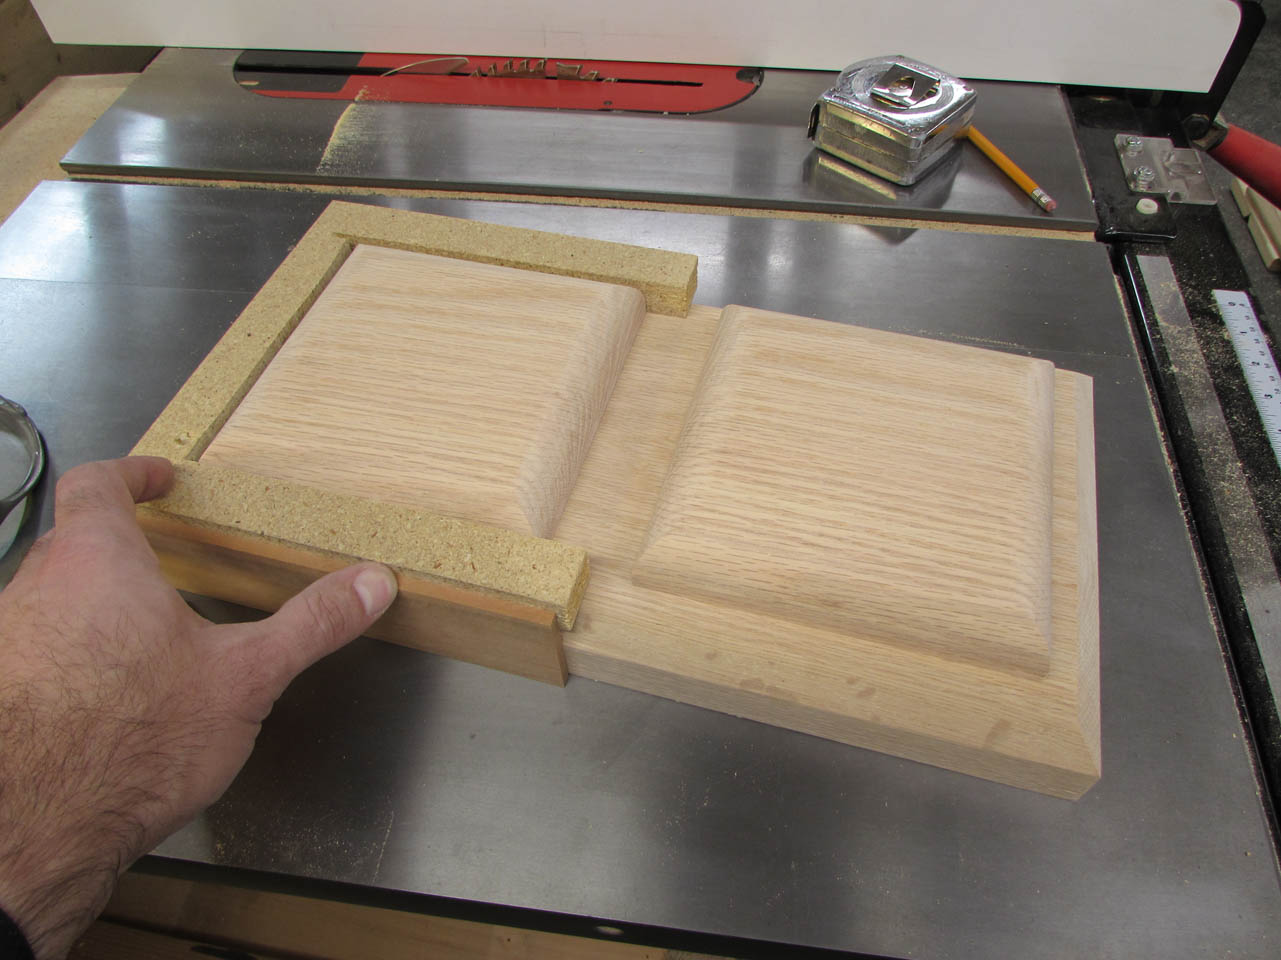
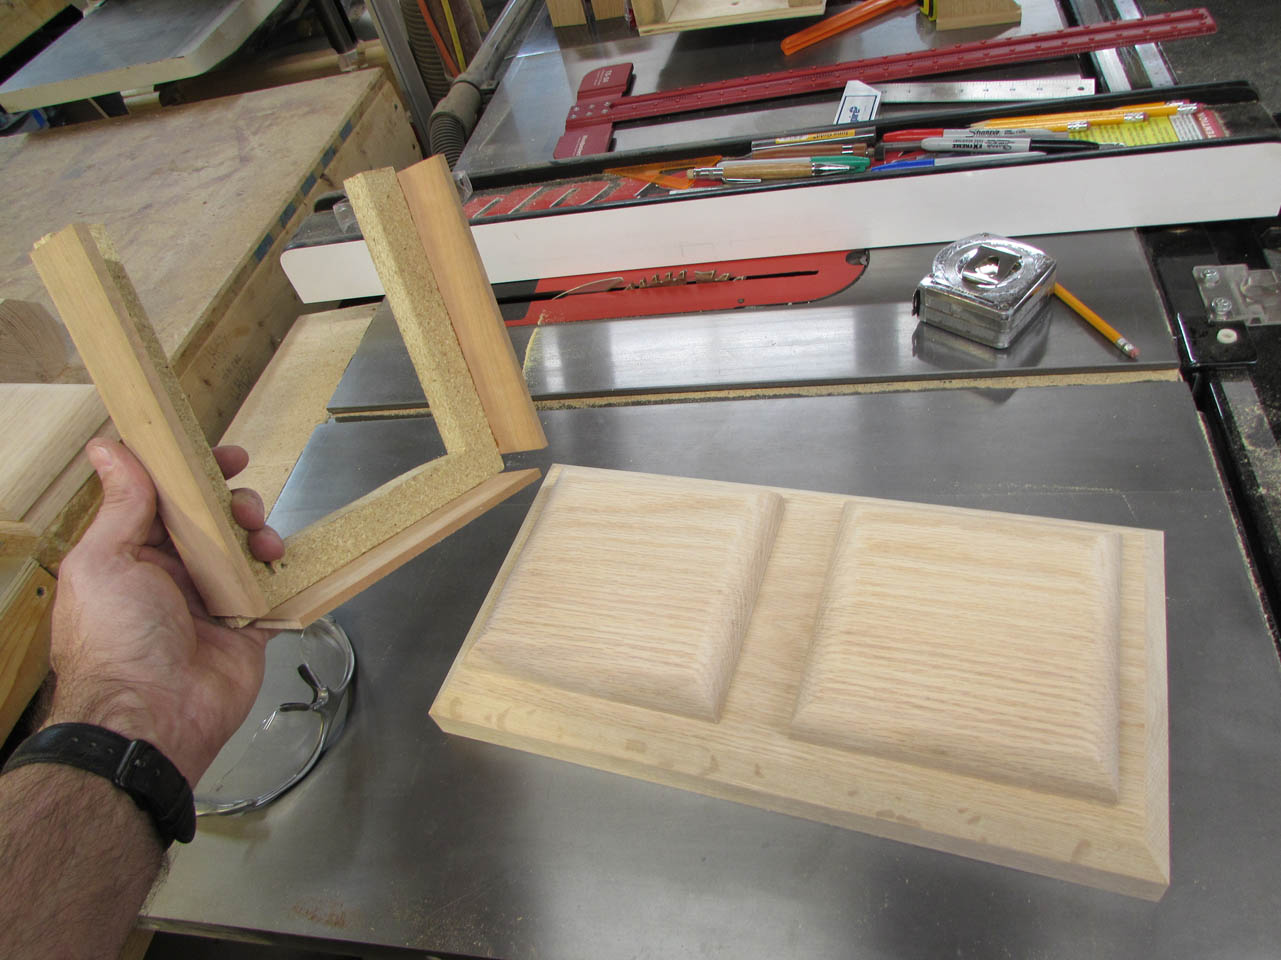
In the tight corner, by the book ledge, I used a rasp and some small sanding blocks to radius and blend them together.
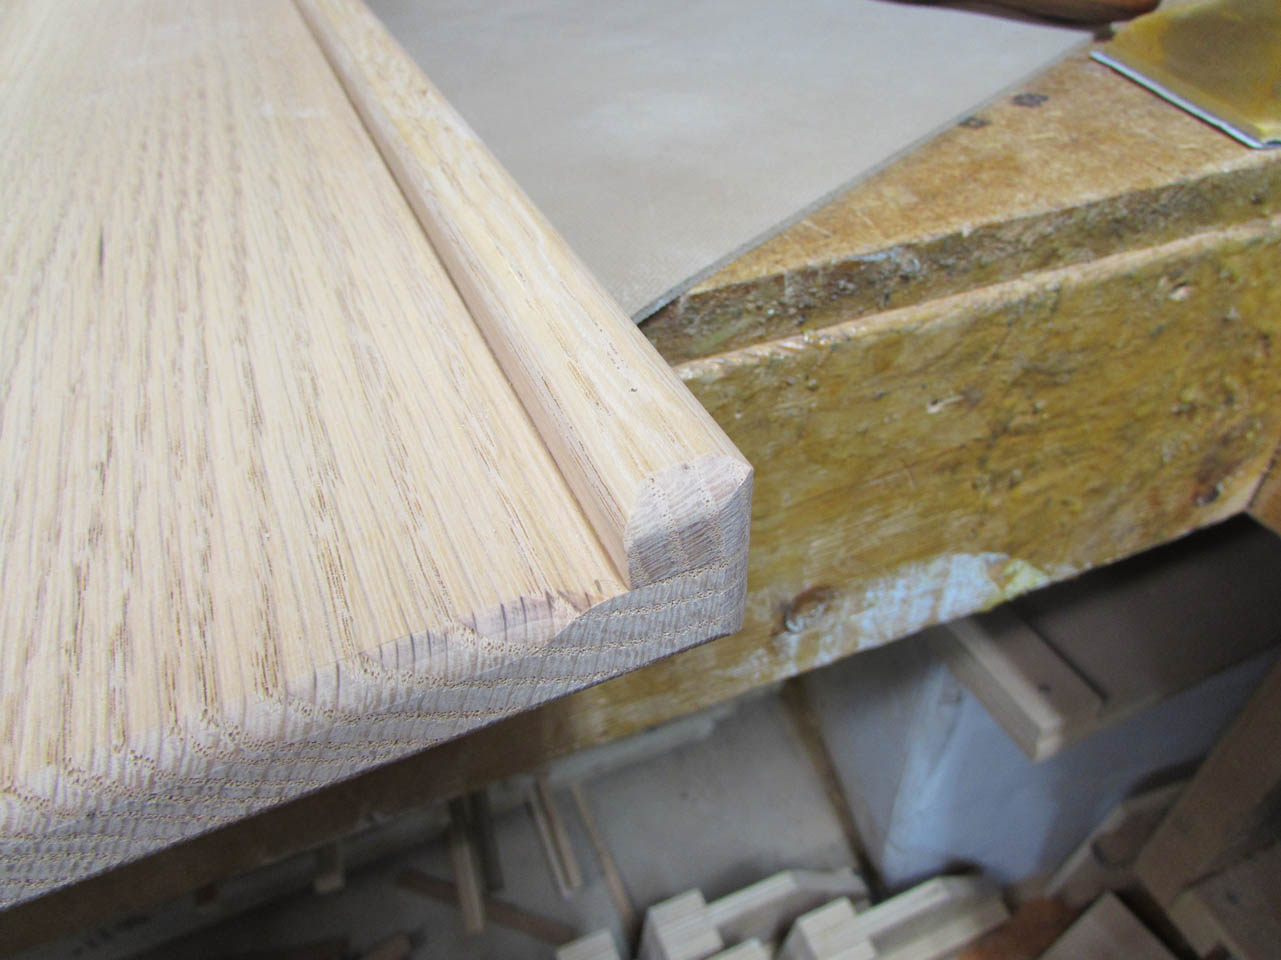
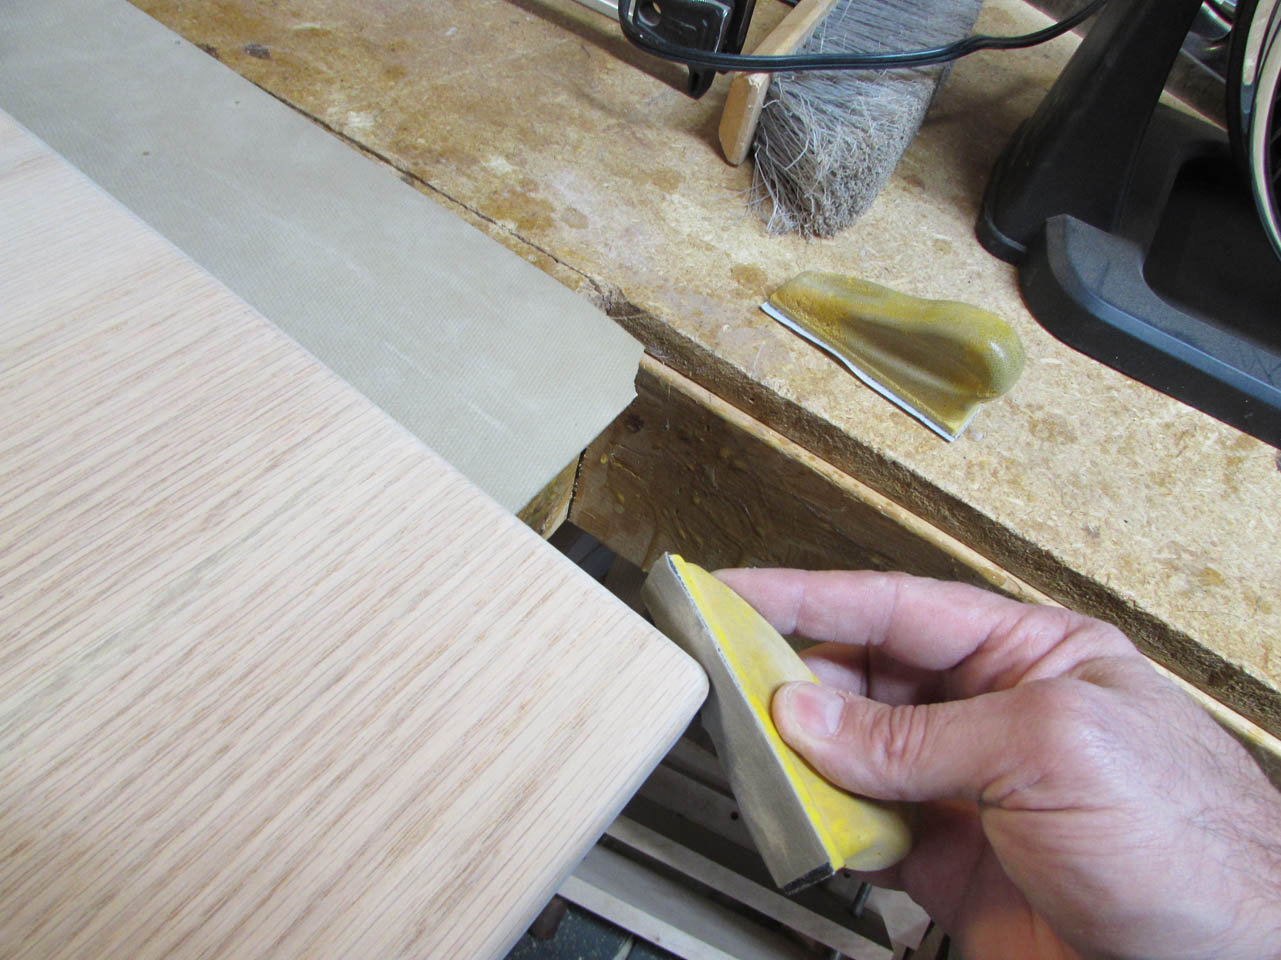
The picture above is before, and the one below is after. Just a little patience and all the curves blend together nicely.
Then I went over all the edges again by hand just to make sure everything was smooth.
All of the oak for the ambo is now sanded. Time to start putting the top together.
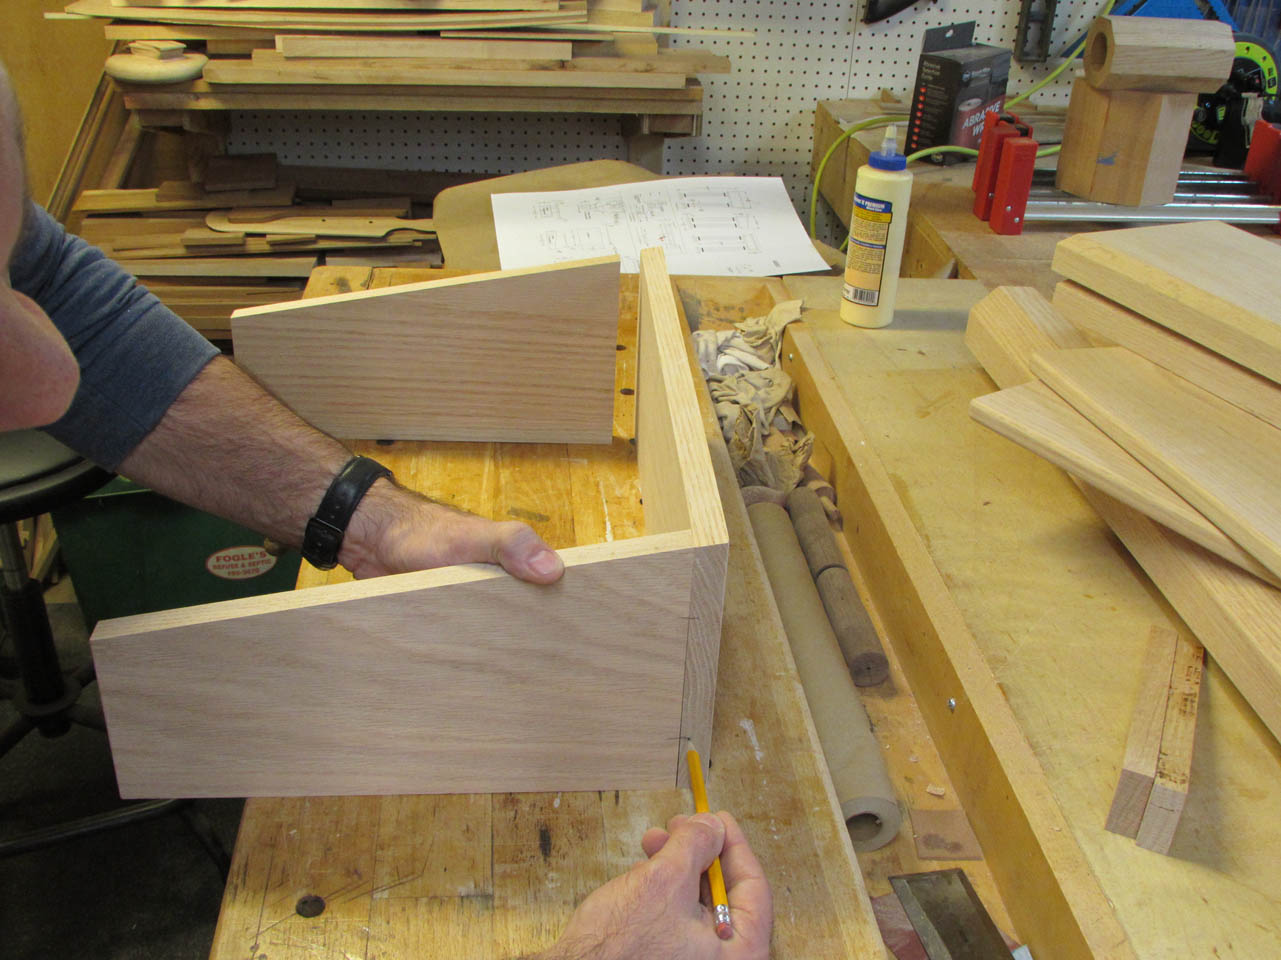
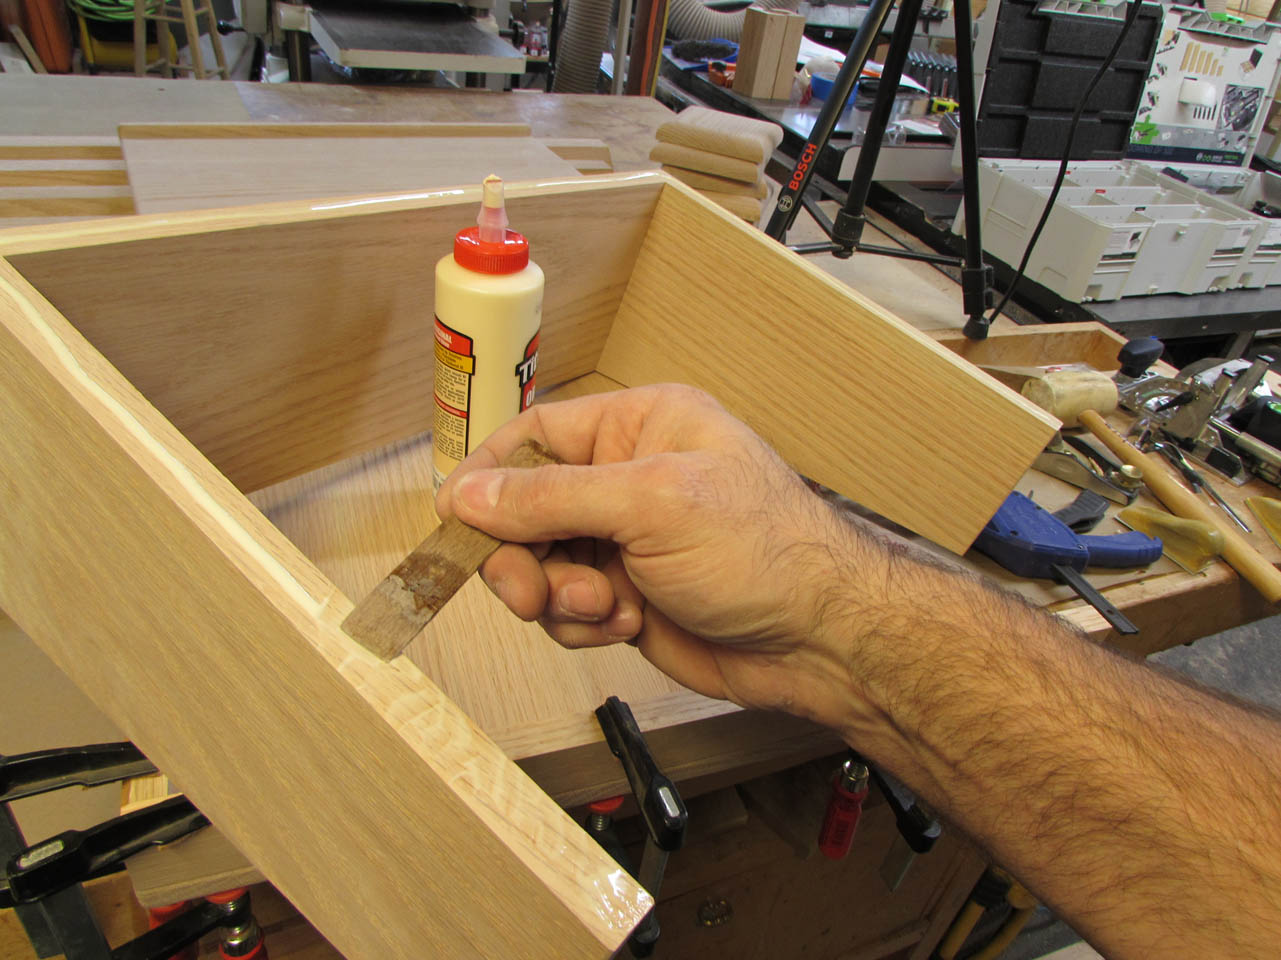
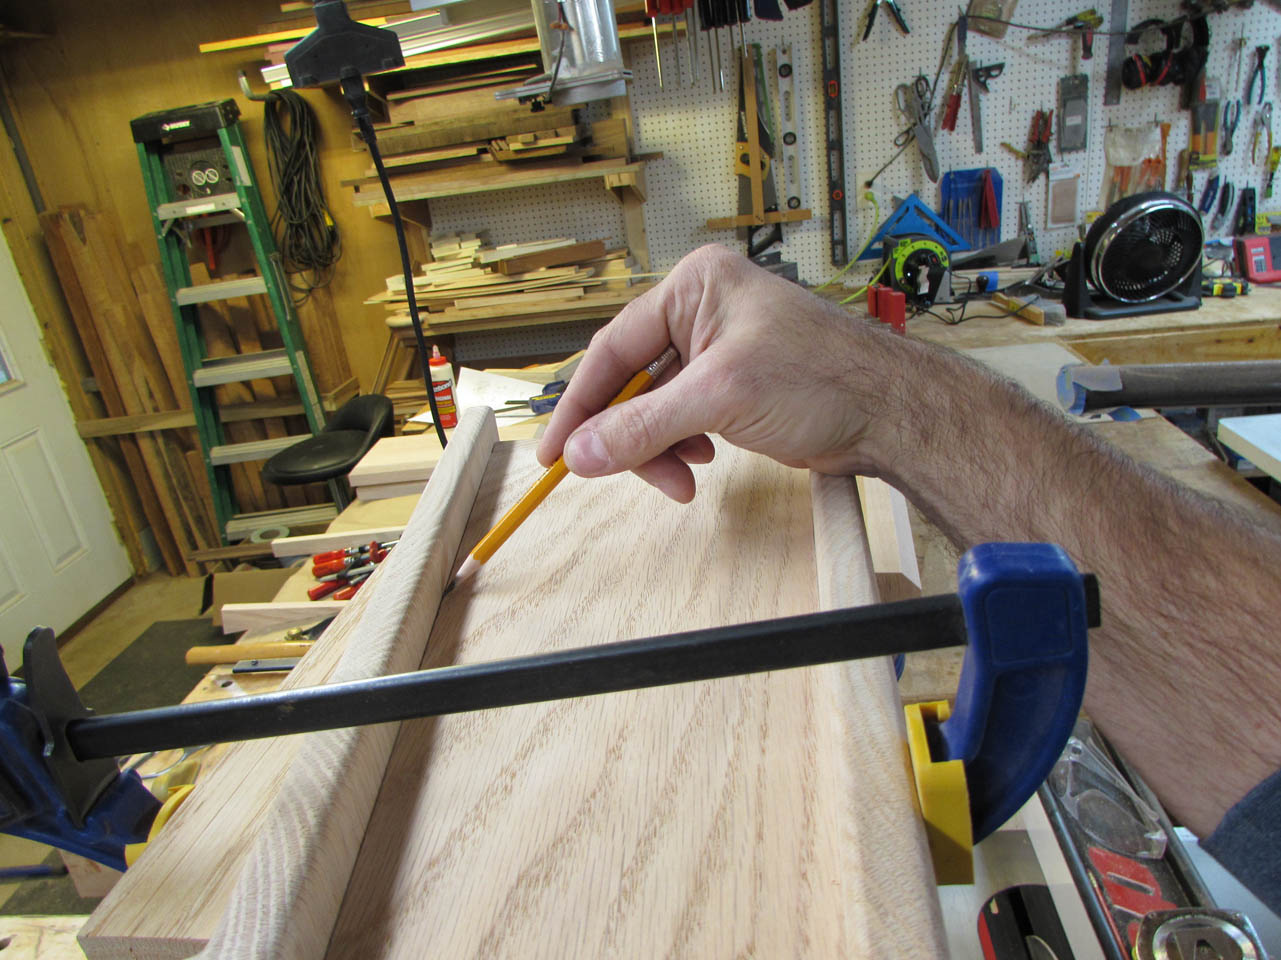
Joining the face to the sides will require two end-grain glue-ups. They are not very strong so I am going to add a couple of floating tenons. I used a pencil to mark two locations on each side.
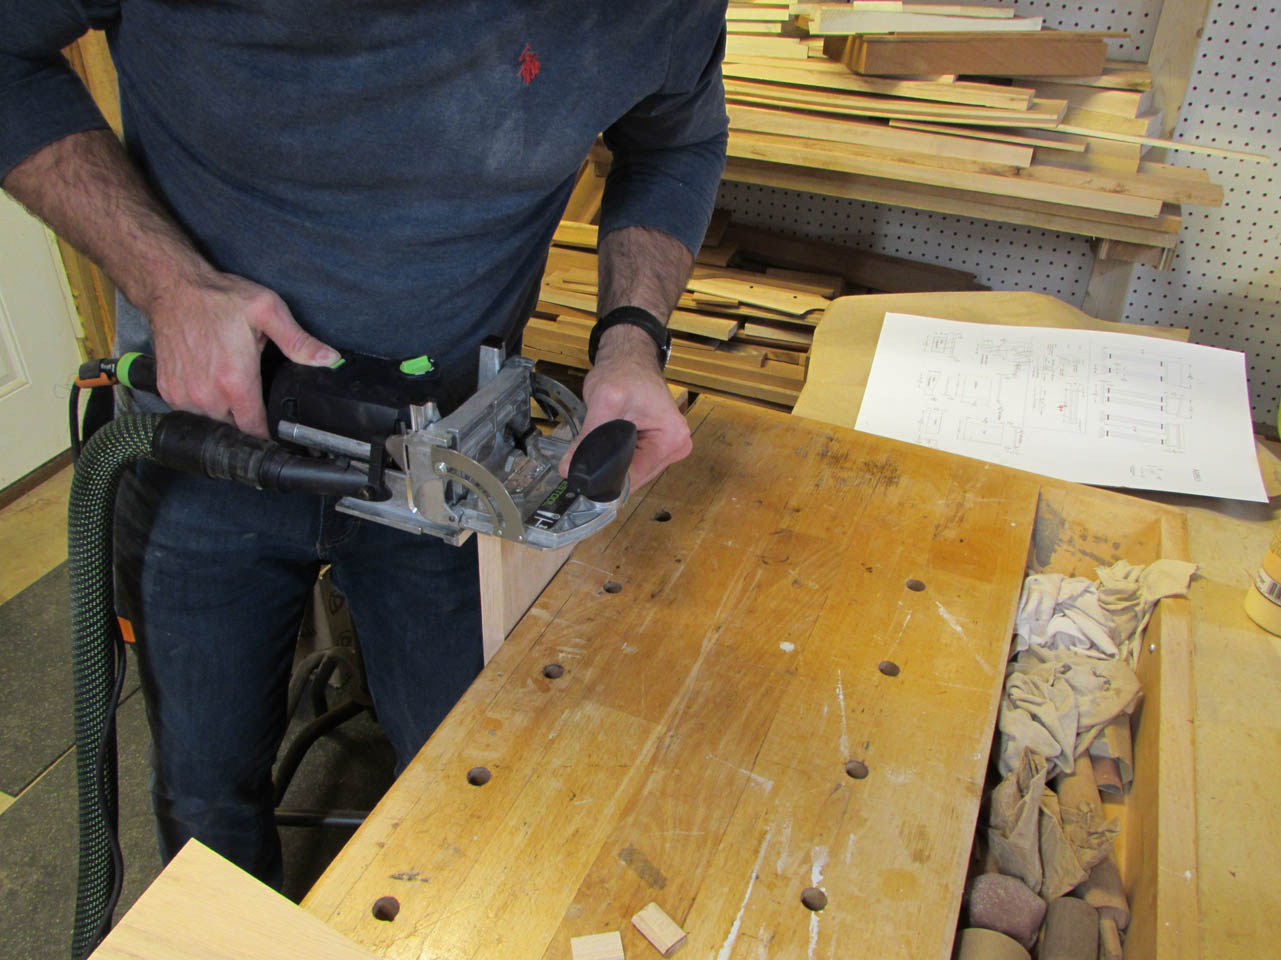
I used my Domino jointer to Mortise slots into the ends of the side pieces and the back of the face.
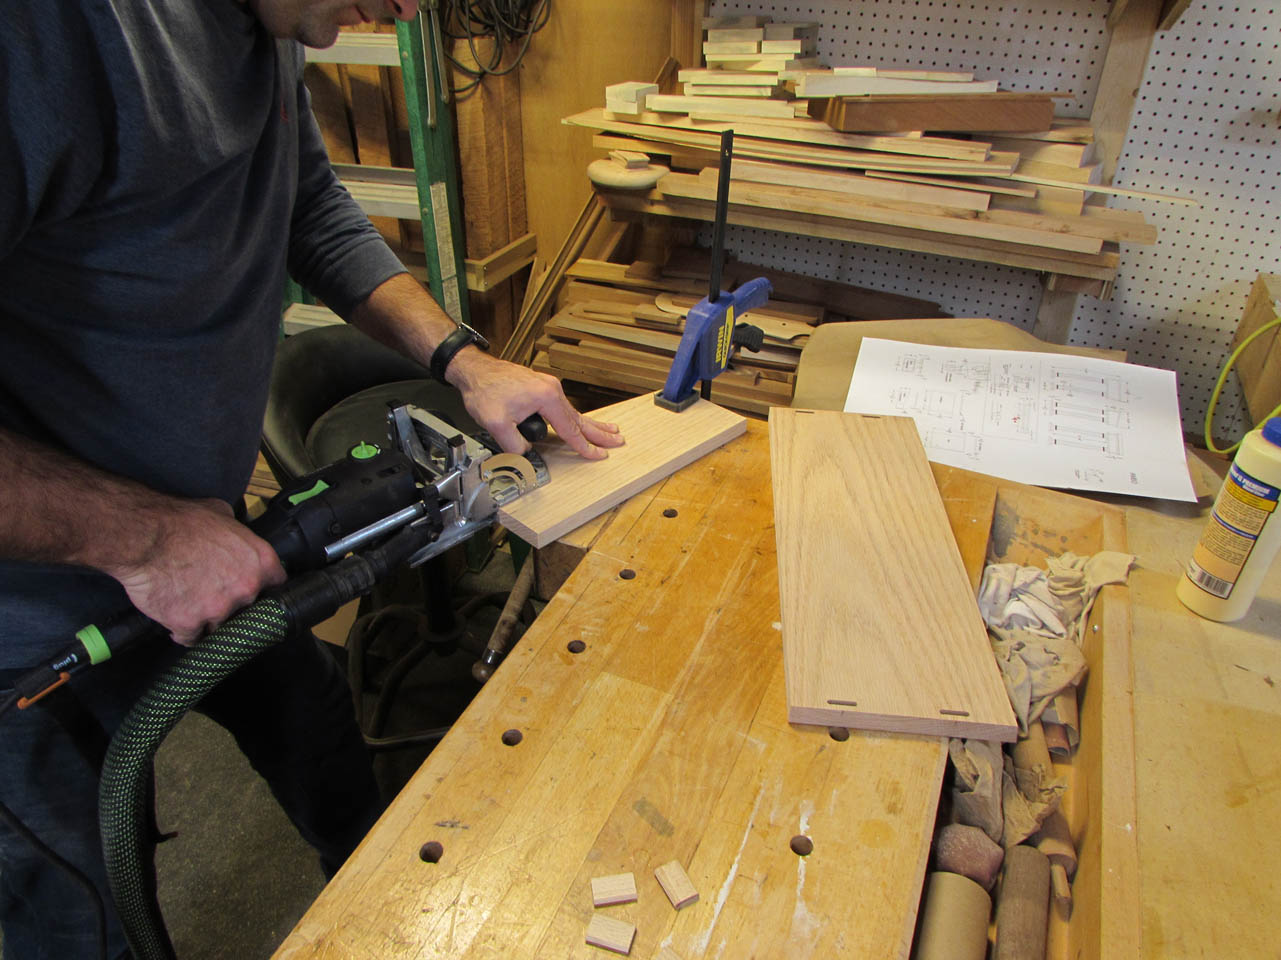

I tapped the Domino tenons in place and applied a thin layer of glue.
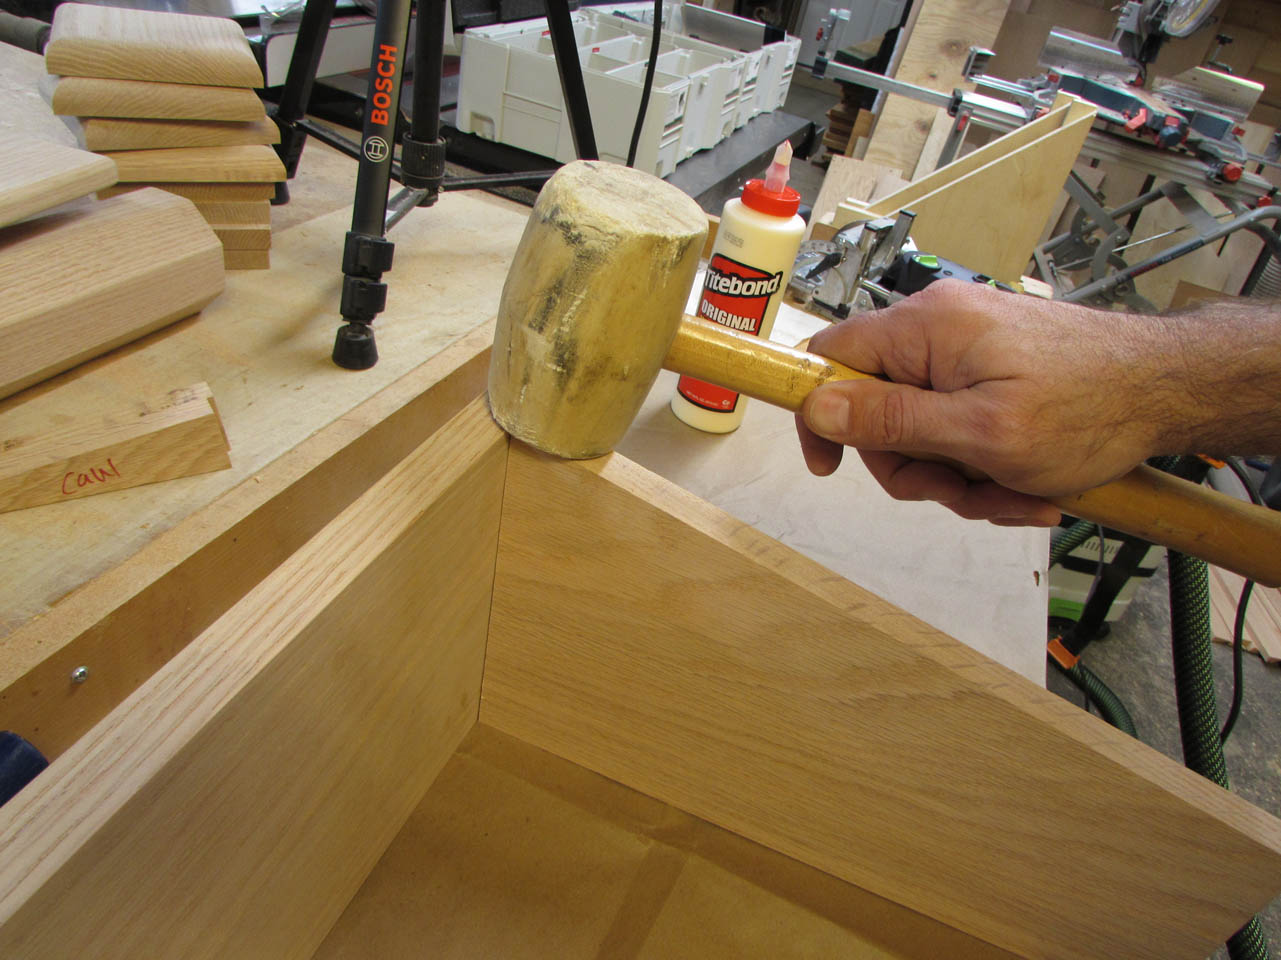
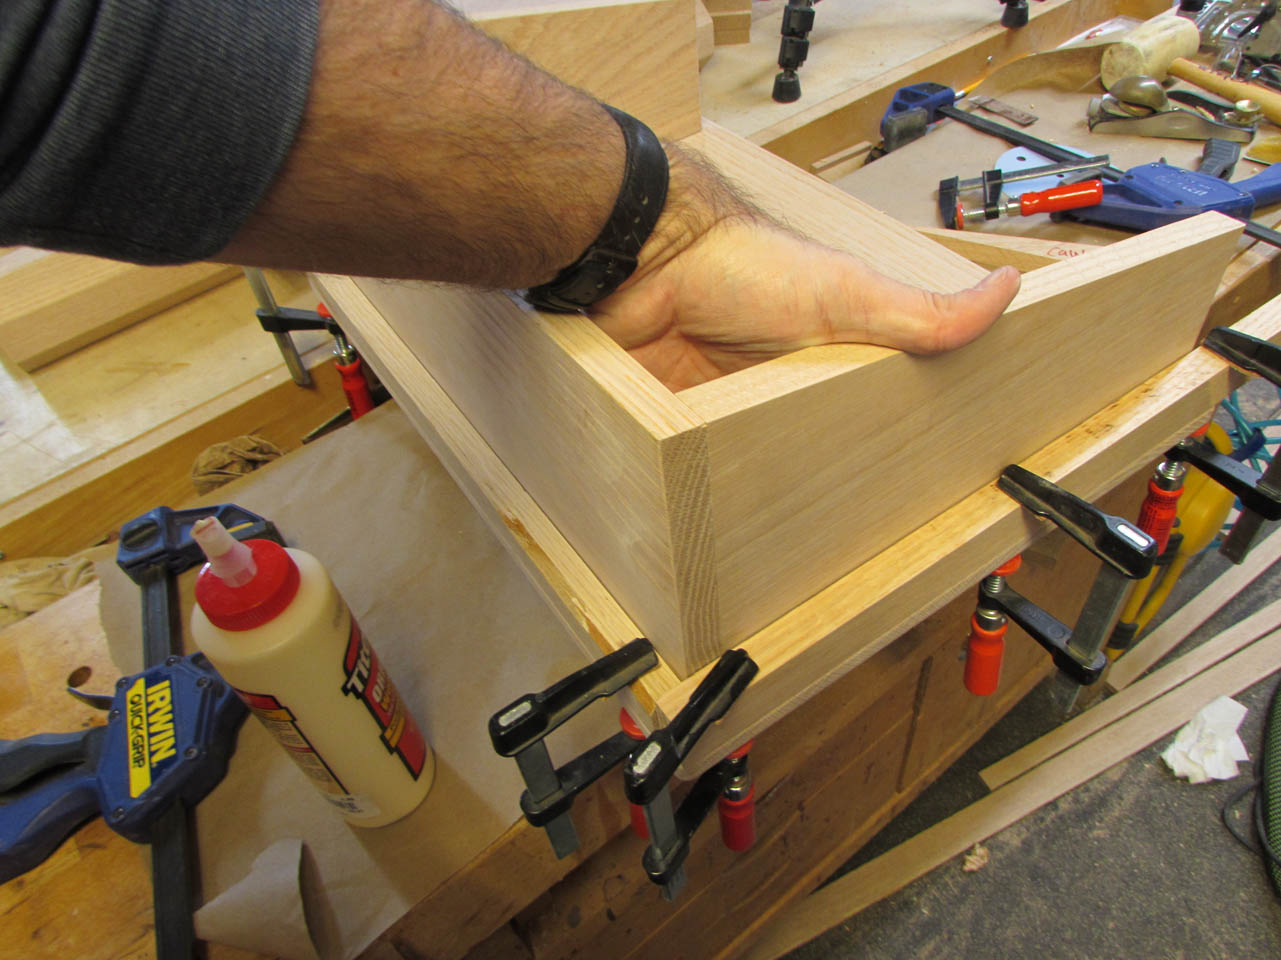
I made some slight adjustments to align the top, then clamped on some 90° corners to keep everything square while the glue dried.
I also added some parallel clamps to pull the face tight to the sides.
When the glue was dried, I cleaned up any glue squeeze-out and sanded the sides, at the joint.

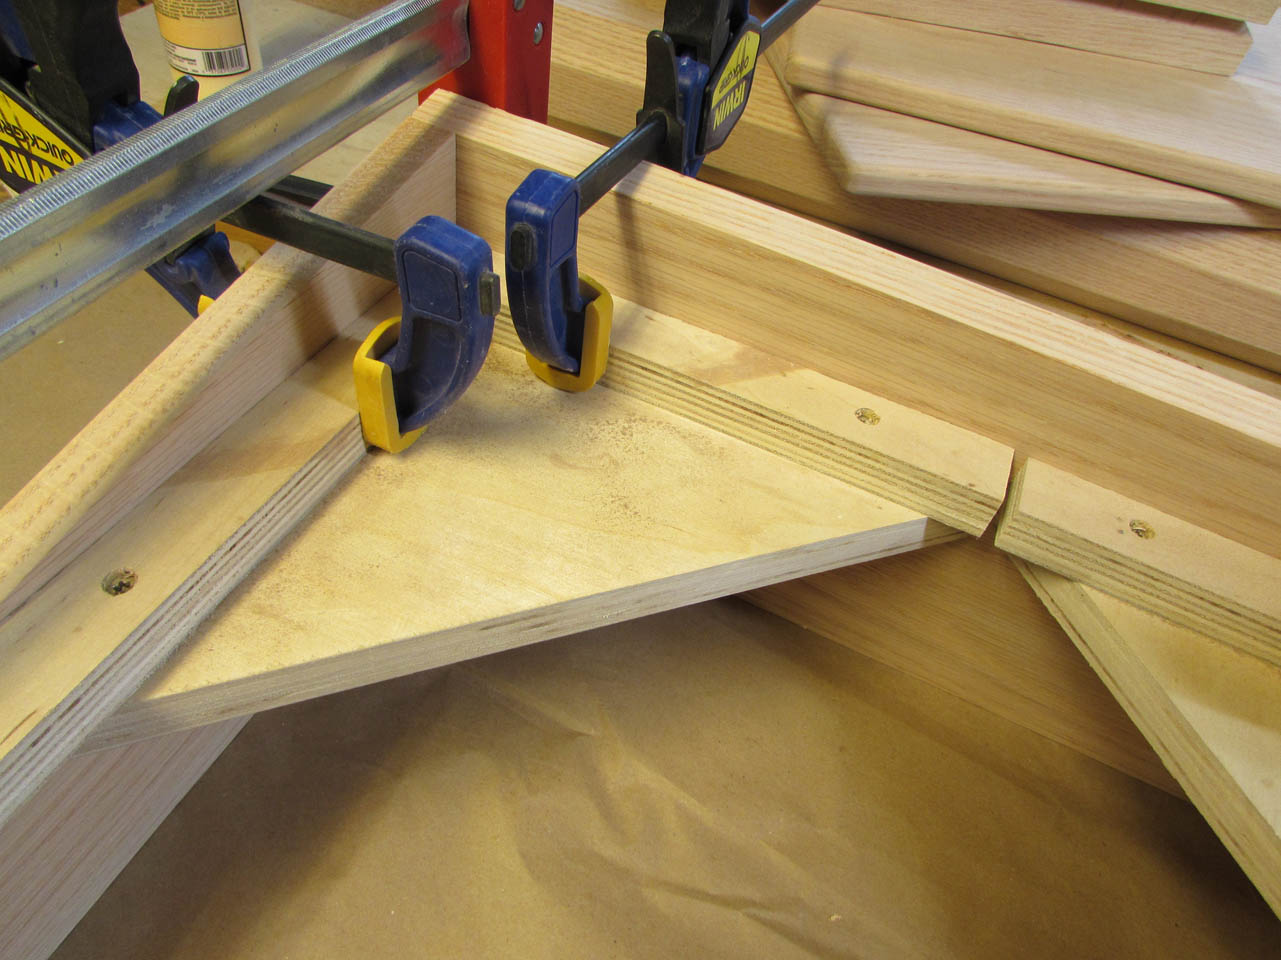
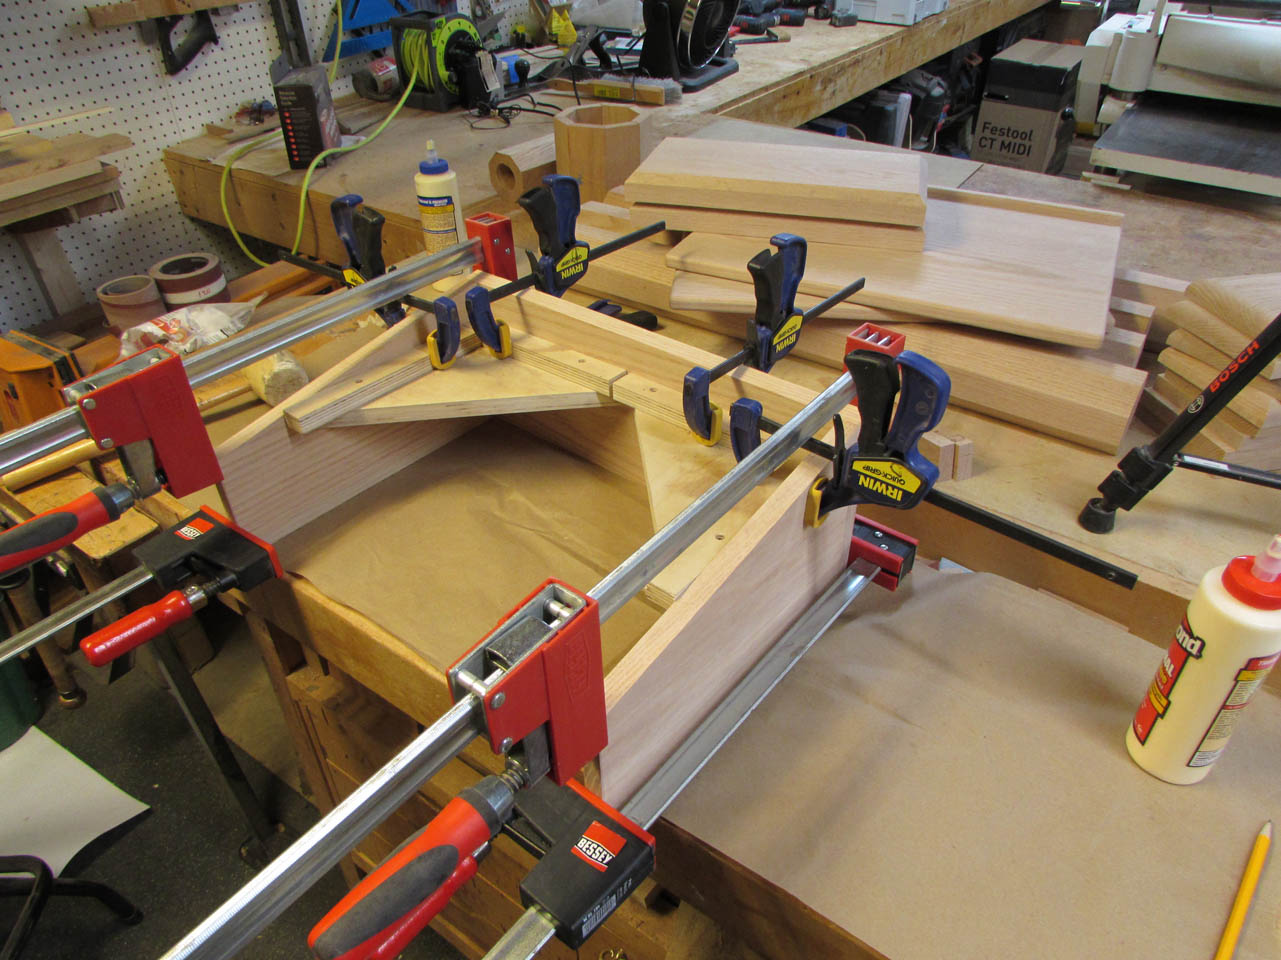
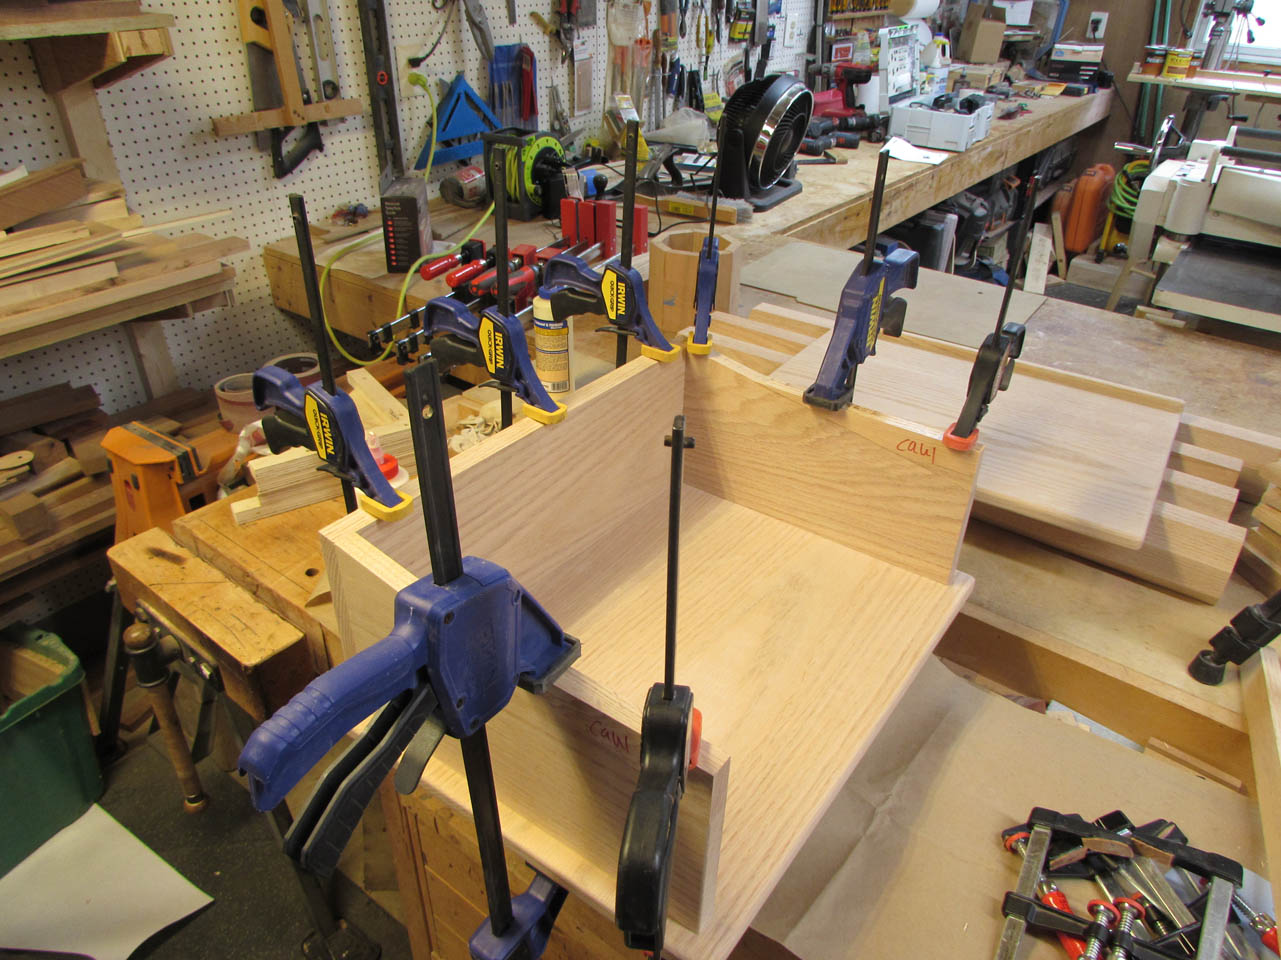
I attached two 3/4″ spacers to the bottom panel to easily align the sides and face after I applied glue to the bottom.
I tucked the vertical walls tightly against the spacers then used the off-cut angles from the sides as clamping cauls to hold the sides in place while the glue dried.

I repeated this on the other side and clamped the front as well. I then removed the spacers in case any glue squeezes out, I don’t want them accidentally attached…
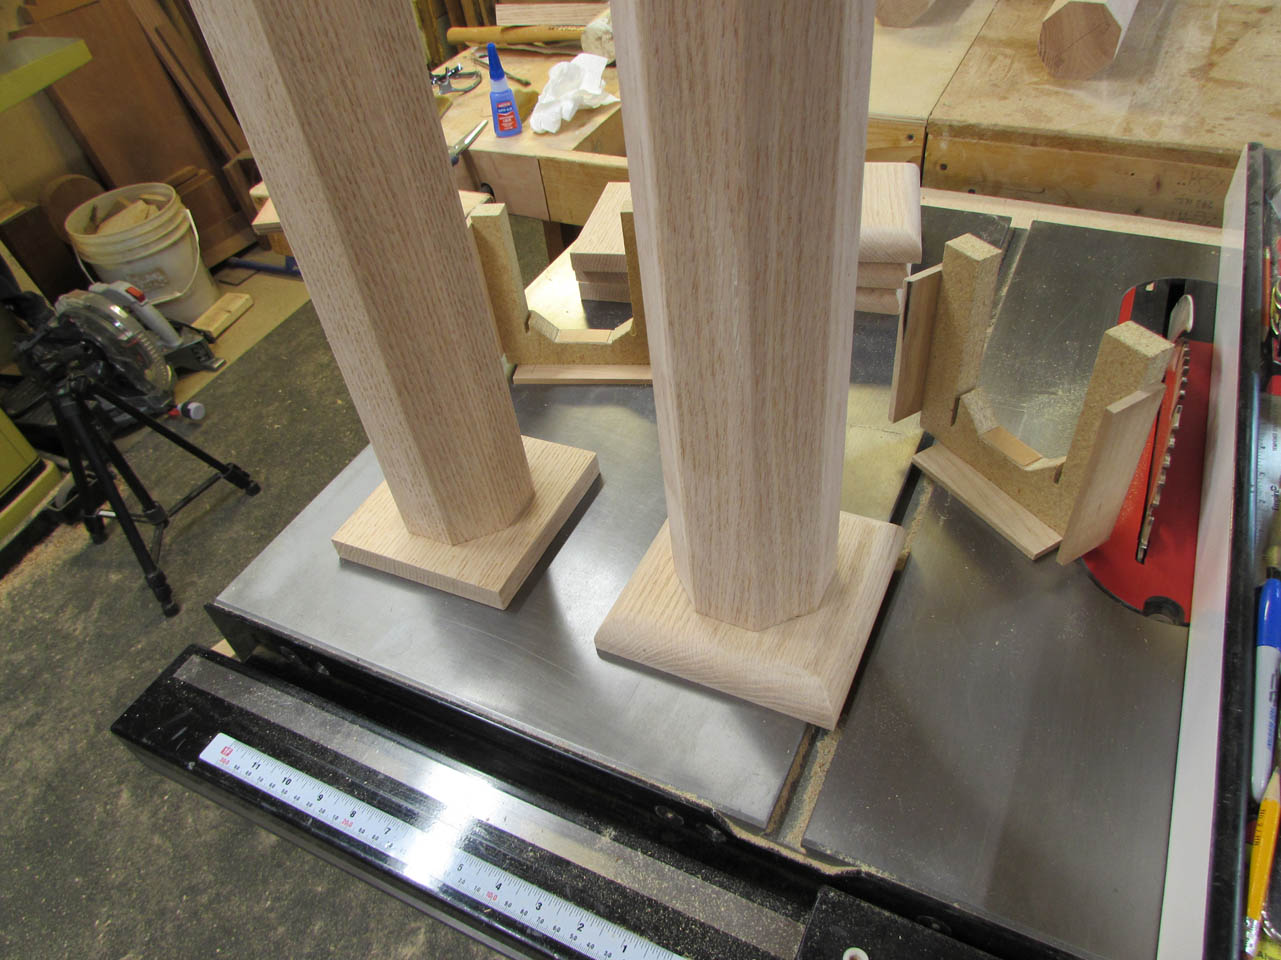
While that was drying, I started working on a solution for mounting the columns, centered on the base as well as centering the cap square to the top of the column.
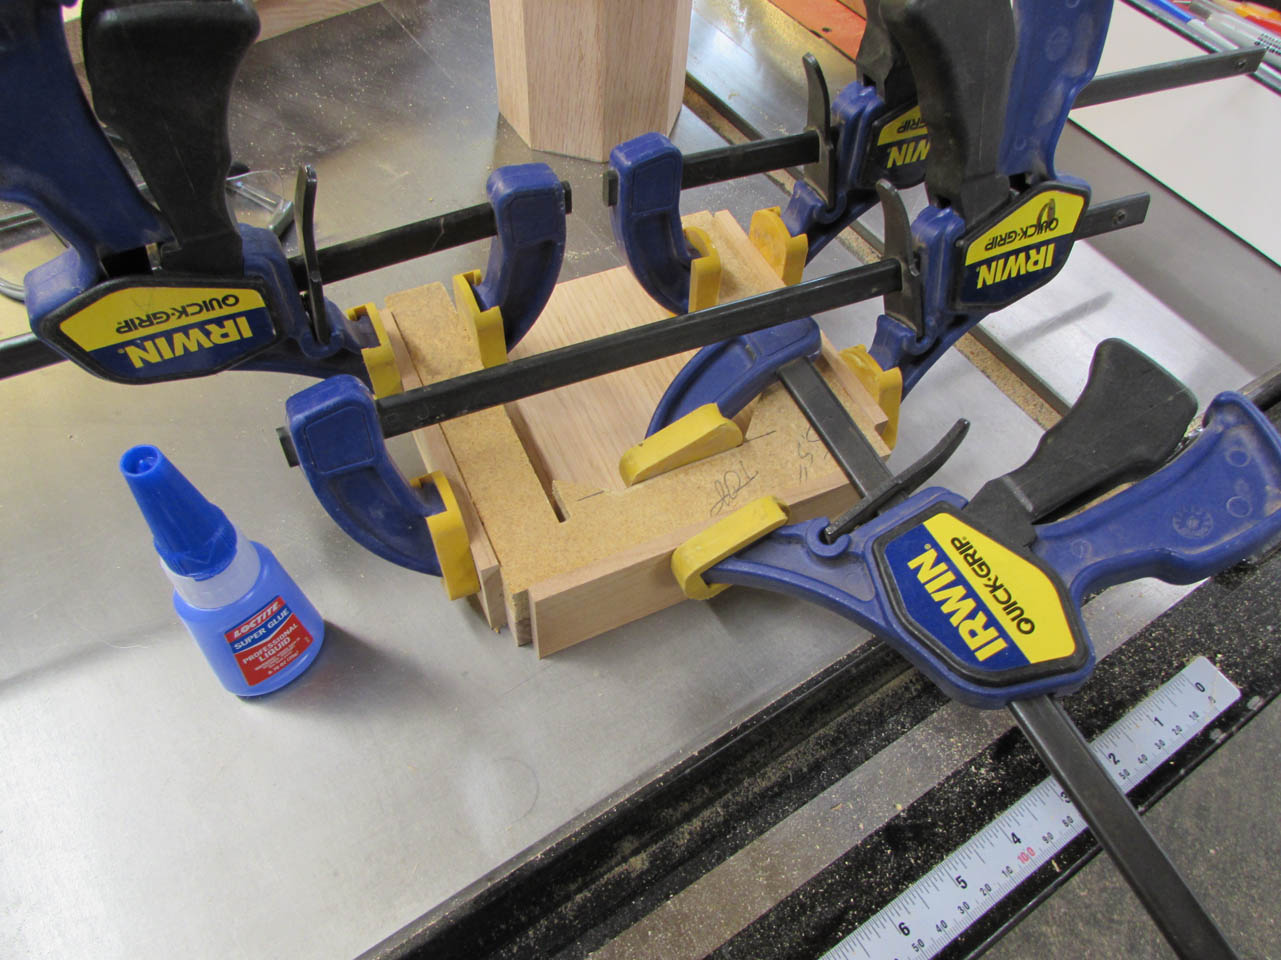
I made some square pieces that matched the size of my top and bottom caps, then carefully laid out the octagon in the center and cut the edges with my table saw for the sides and the band saw for the rest. Then I used some quick-set CA glue to attach some scraps to the side.
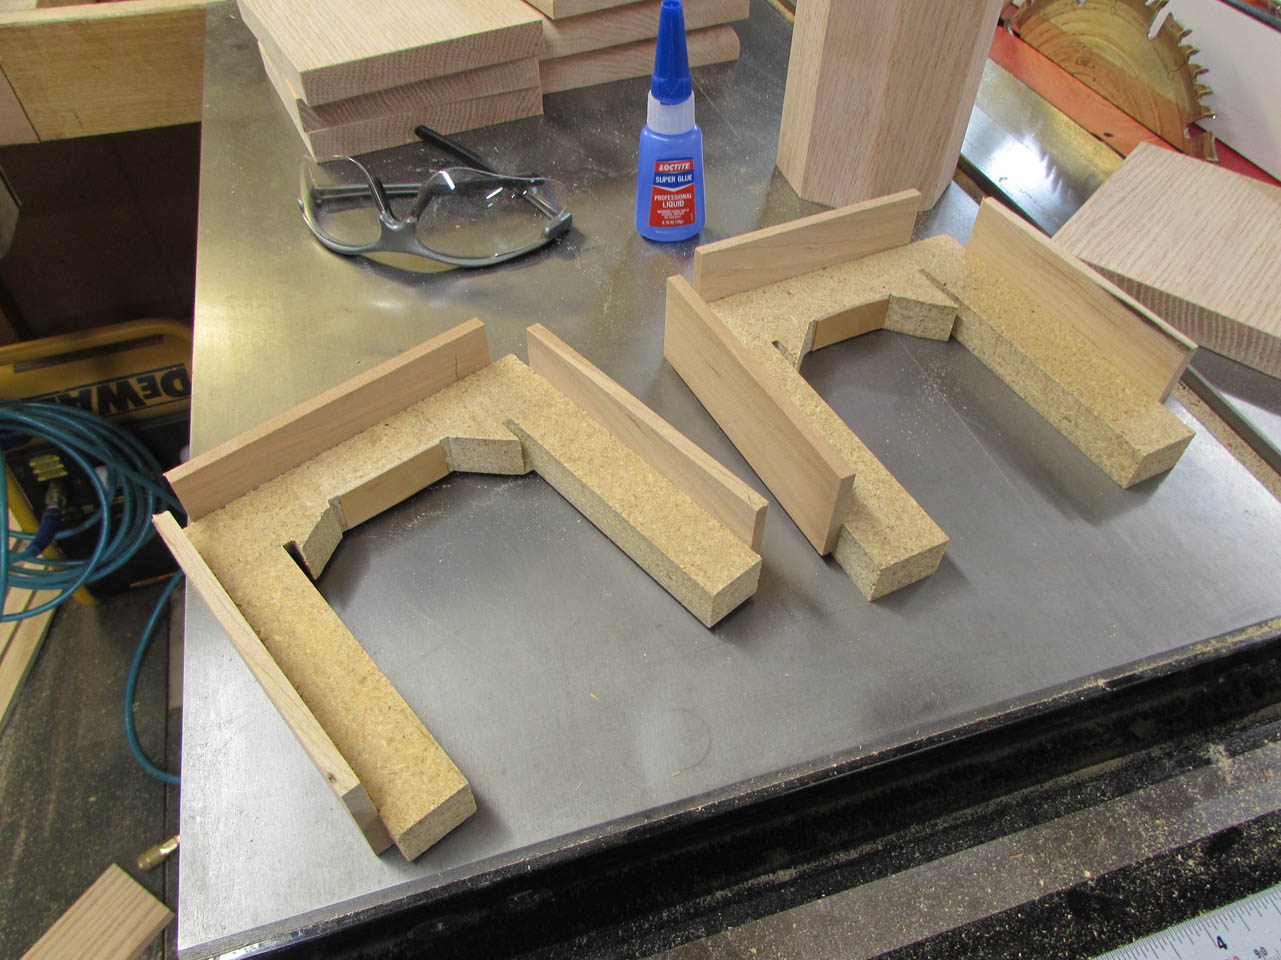
They only took about 5 minutes each to make, but they will save a lot of aggravation later when I attach the caps to the columns.
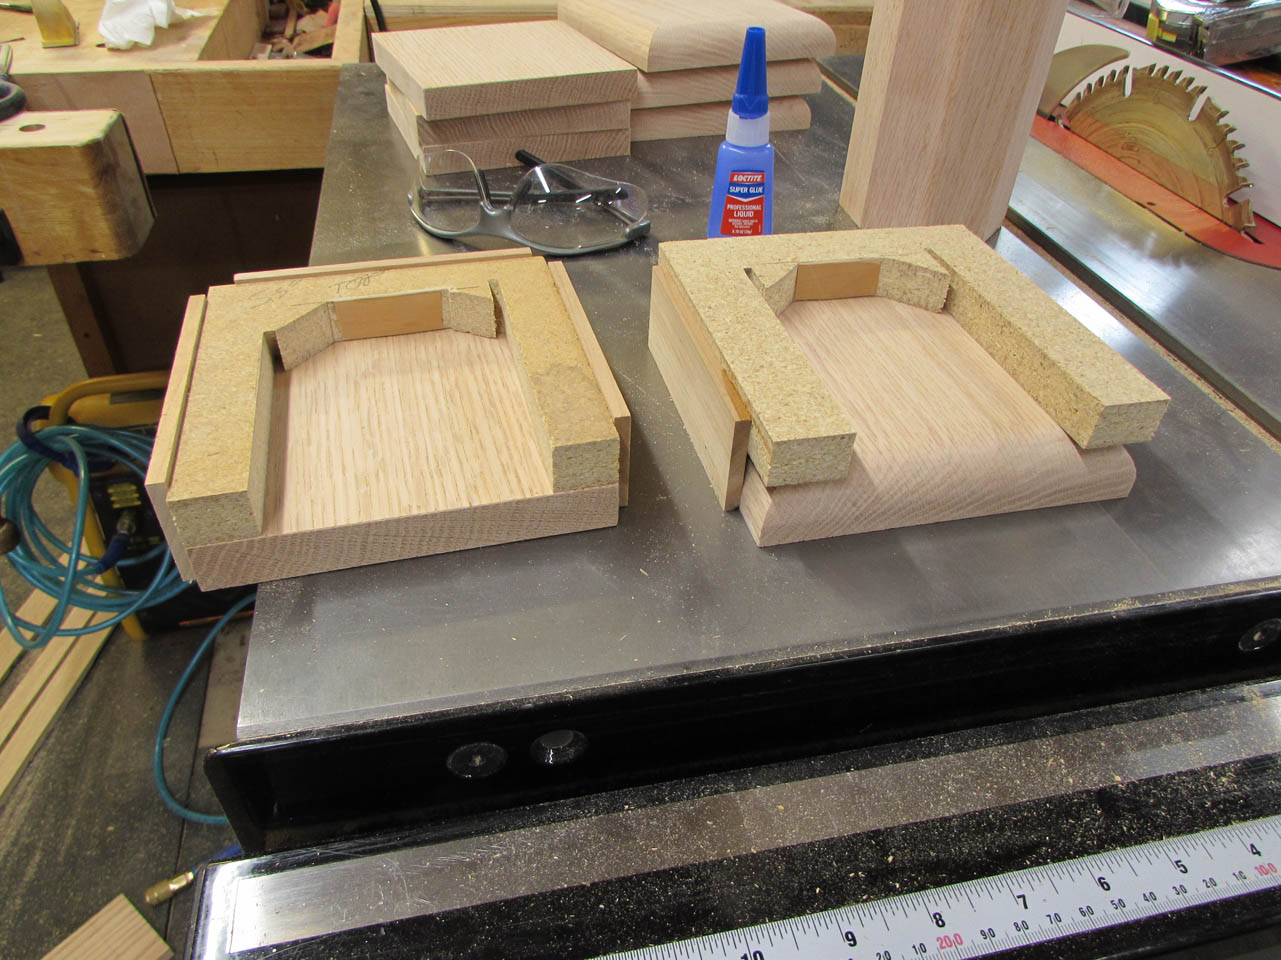
I will just slide them onto one side till they stop, then slide the column into the slot.

And, Presto, the column is centered. This will definitely speed things up because I have seven more columns to make for the other pieces of furniture.
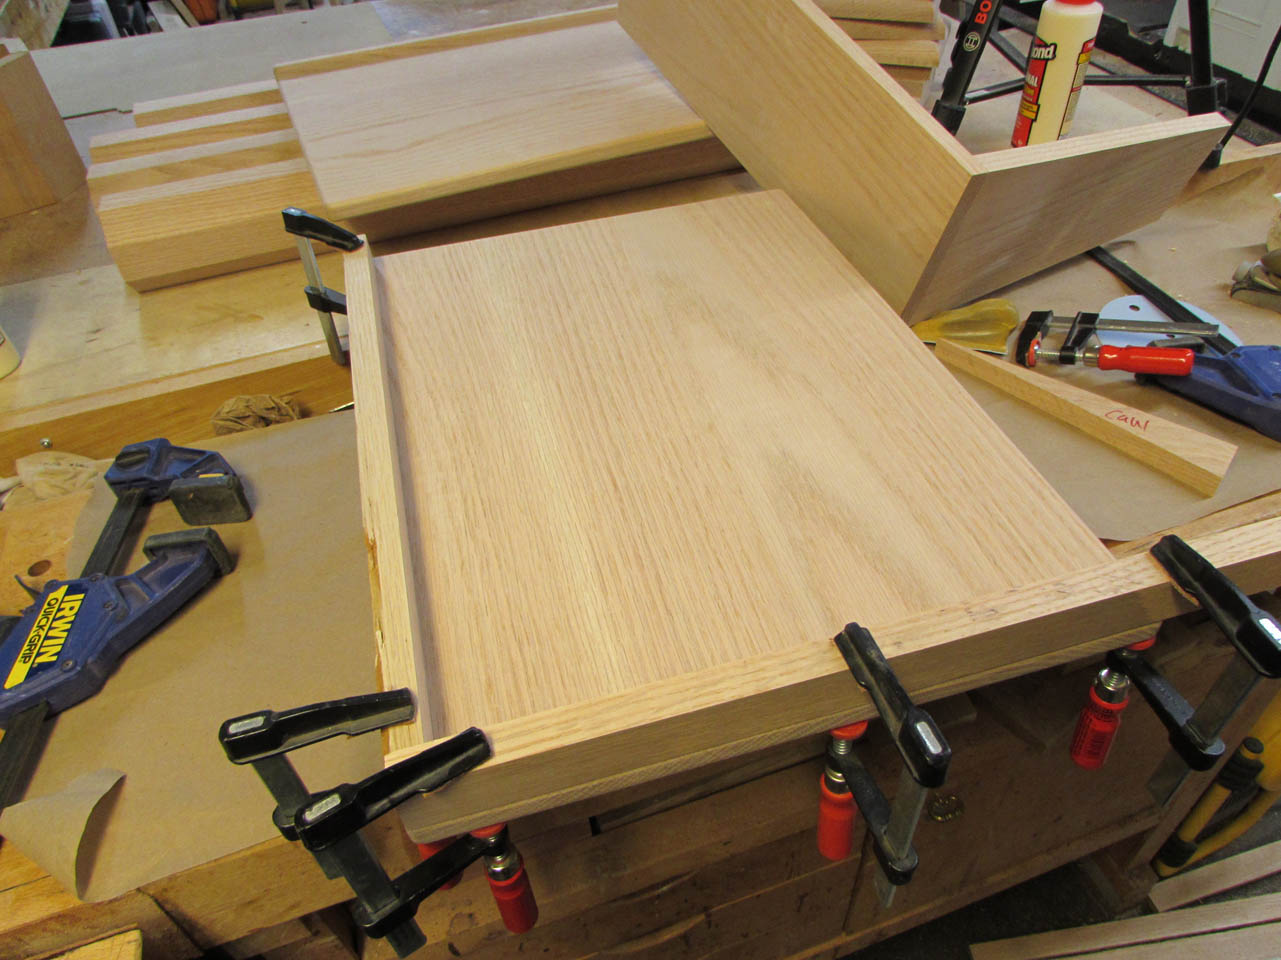
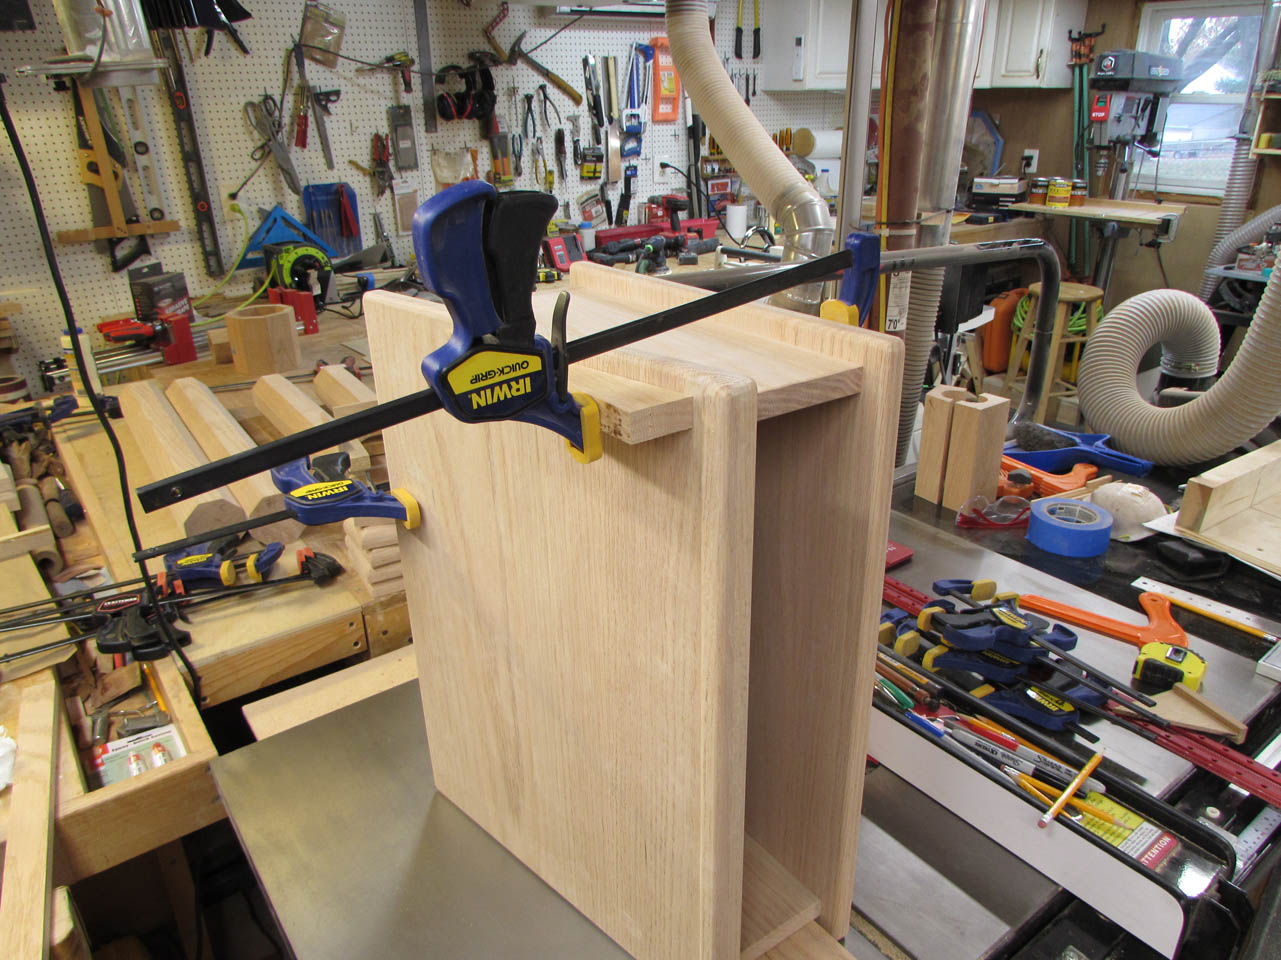
When the glue dried on the top section, I turned it on its side and clamped the top to it, in it’s future location.
I need to attach the bottom of this box, to the columns, with the top off. That means I will be pre-finishing everything before gluing the top on. If I glued the top on now, I would have a very hard time finishing the inside…
I use a pencil to mark the location of the sides to the bottom of the top piece.
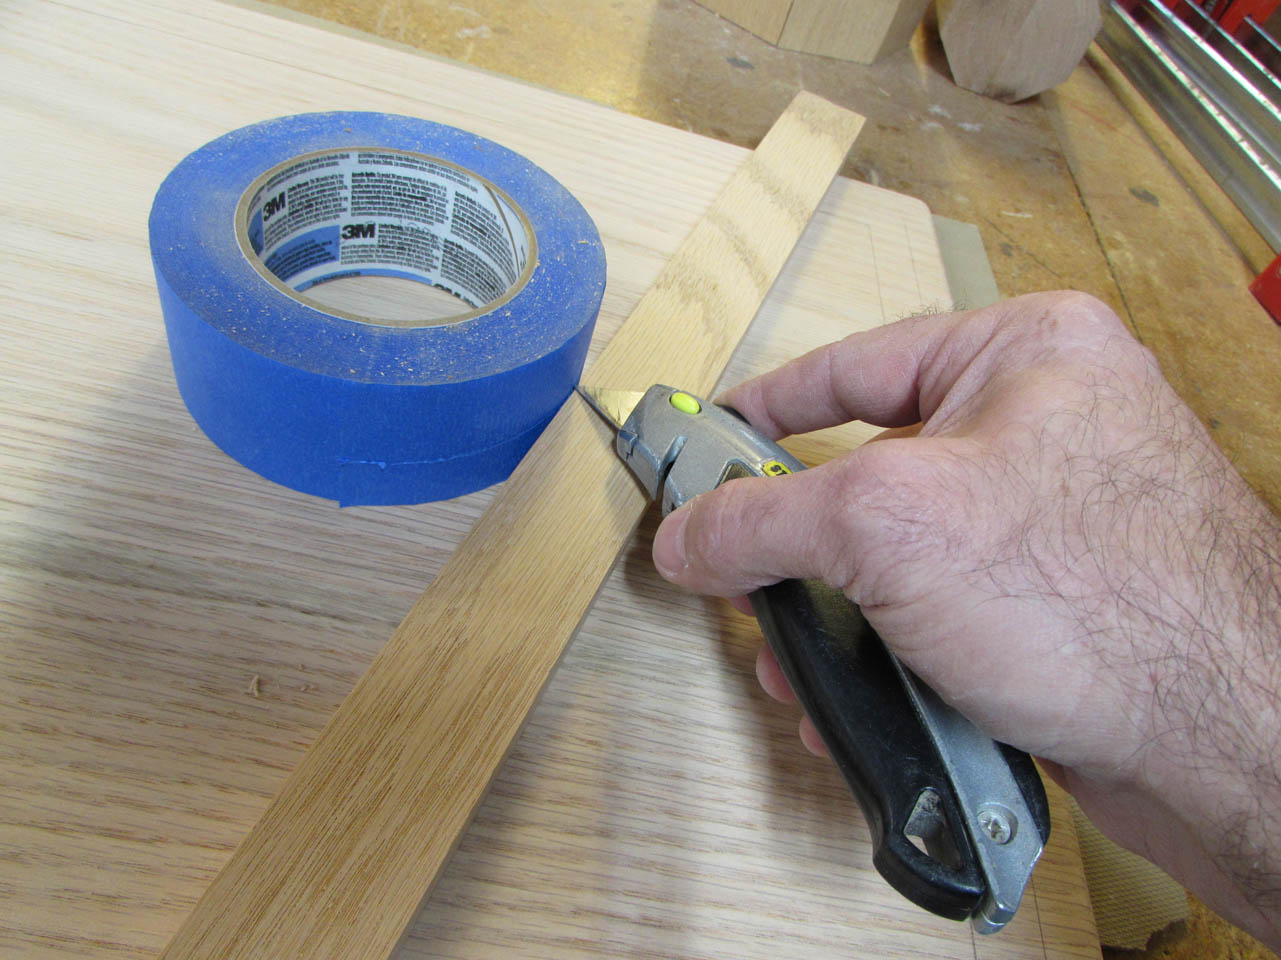
Then I cut some 3/4″ wide pieces of painter’s tape from a 2″ wide roll.
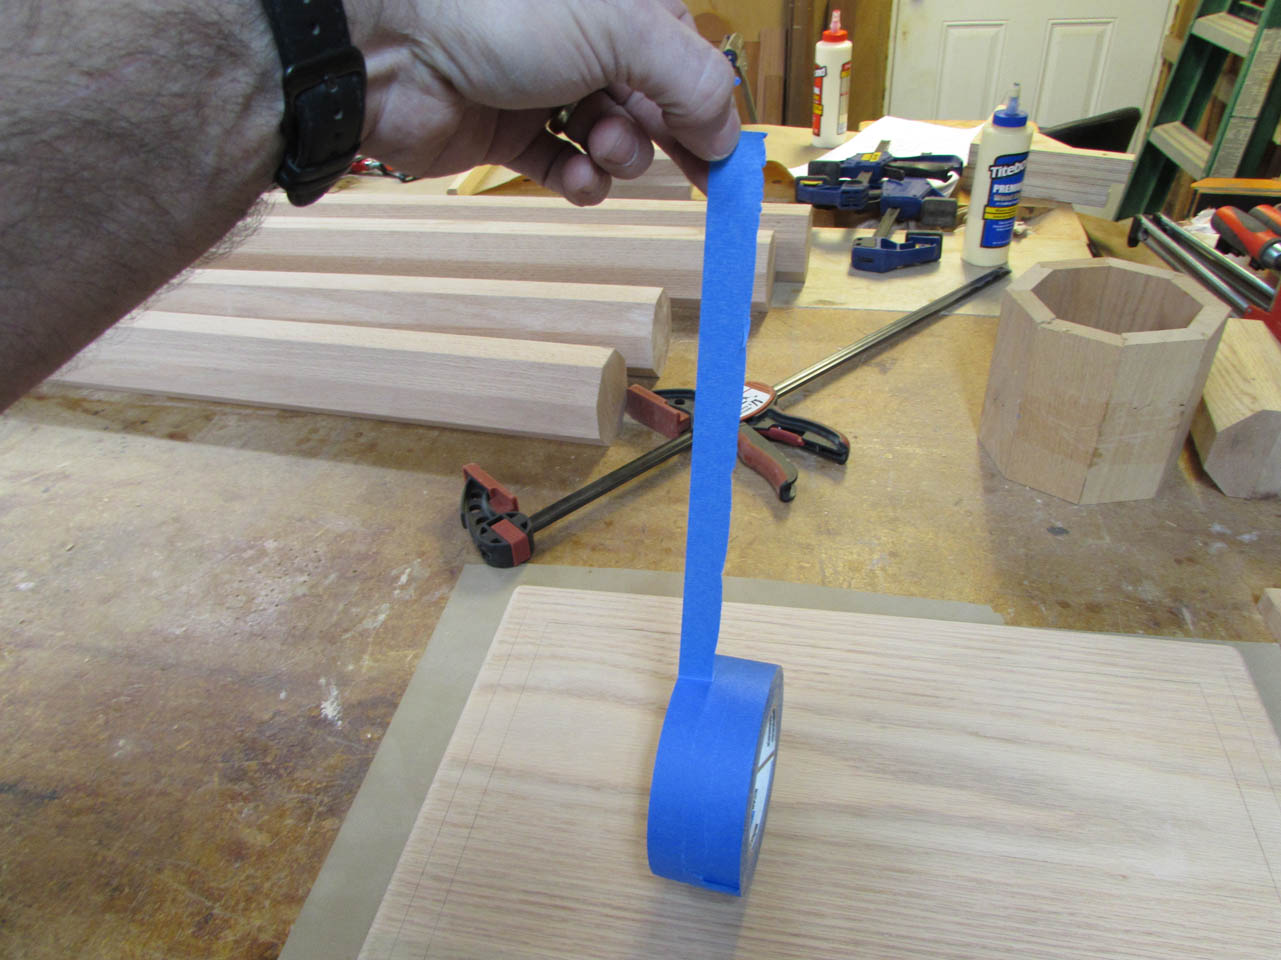
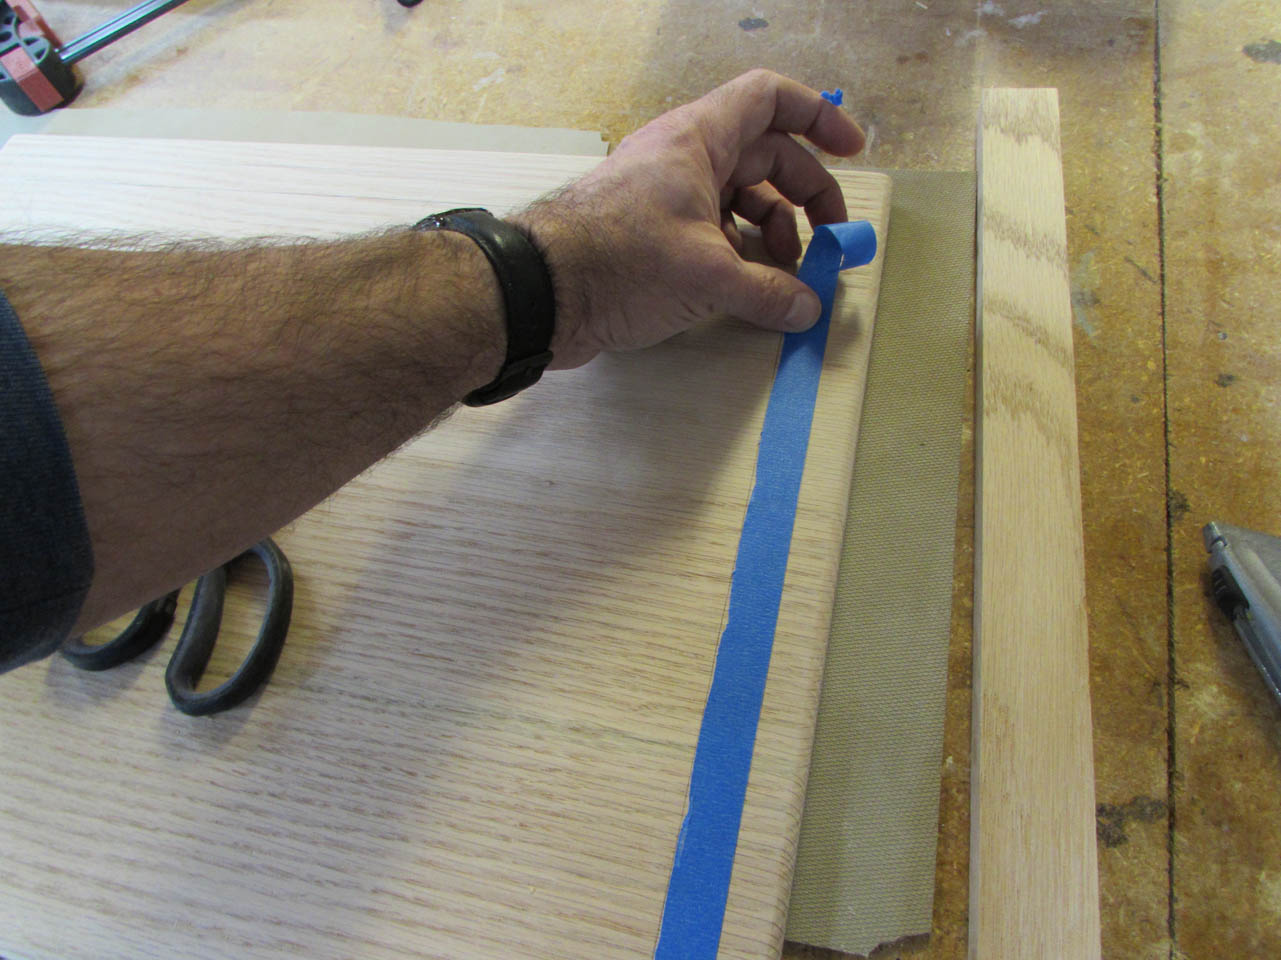
The pieces of tape are applied to the marked location as well as the top edge of the sides, so these areas will be masked off during the finishing process.

It occurred to me that I could also make a quick jig for locating the base cap to the base as well.
I don’t want to assemble any other components until I have added the walnut trim to the columns. That means I should probably make some walnut trim…
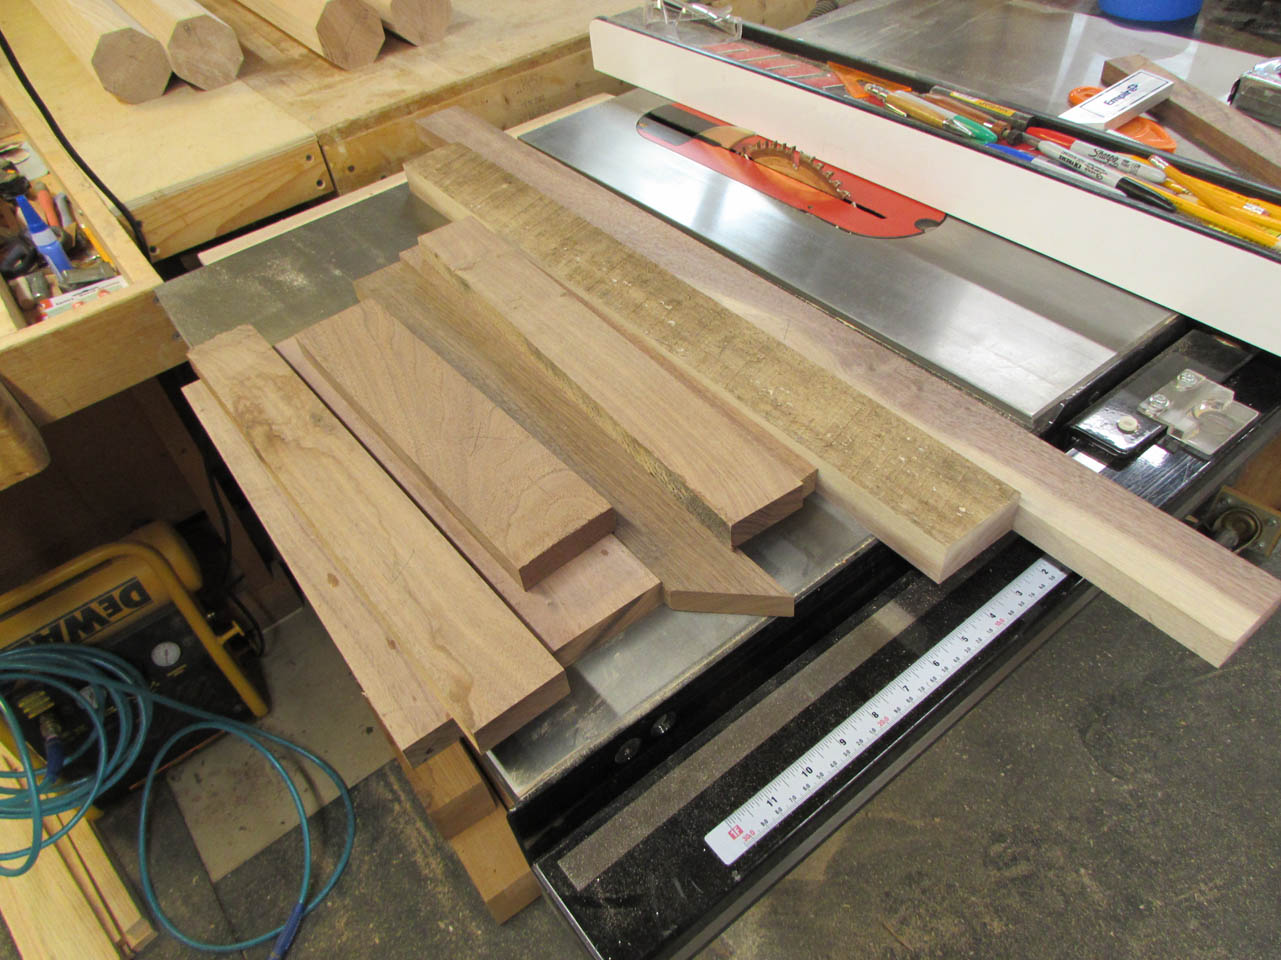
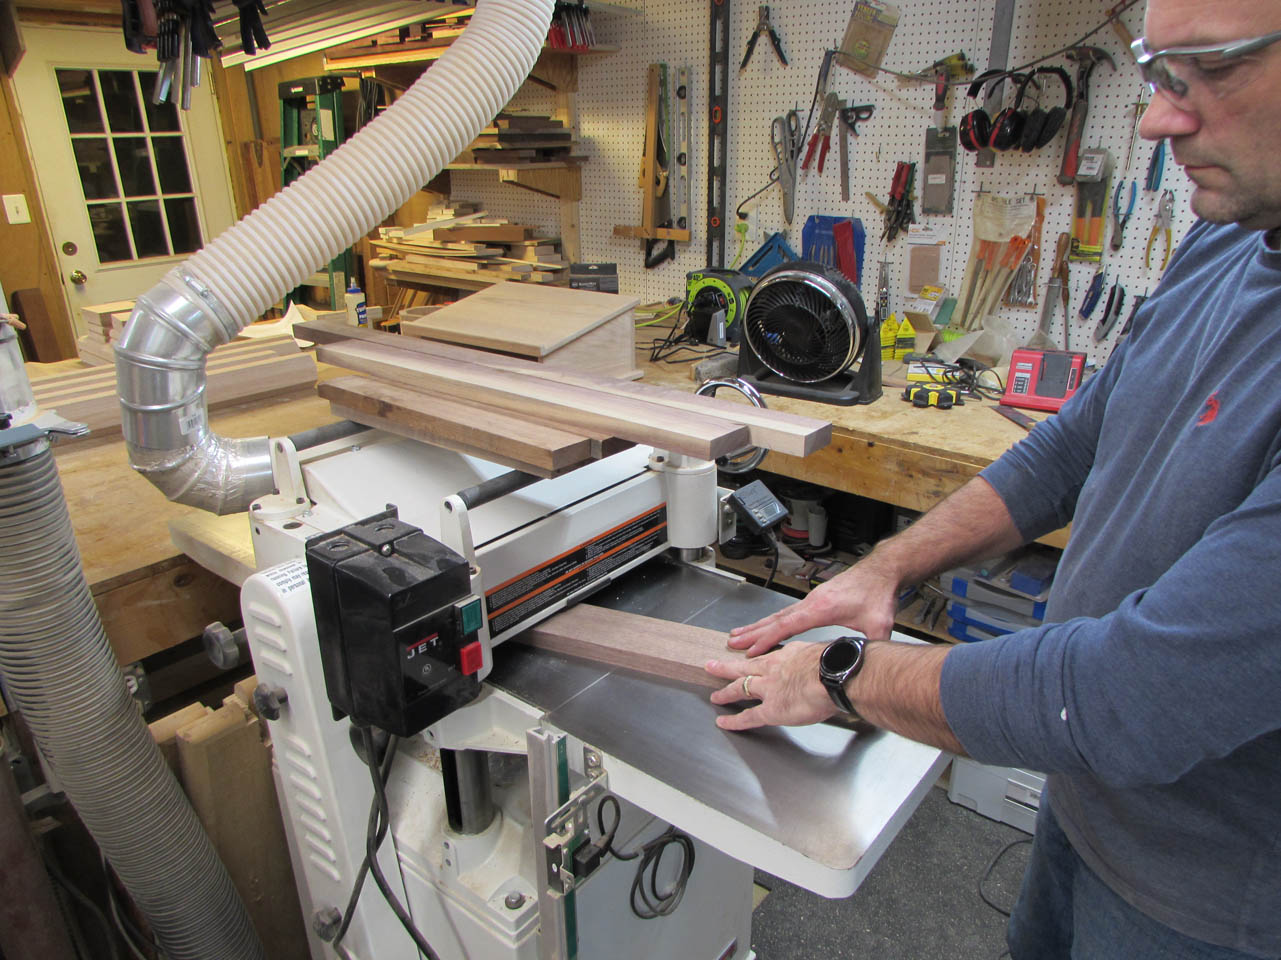
I picked through my walnut pile and pulled out all the small pieces that were over 3/4″ thick and had very little sap wood visible. This is a great use for these short off-cuts from other projects.
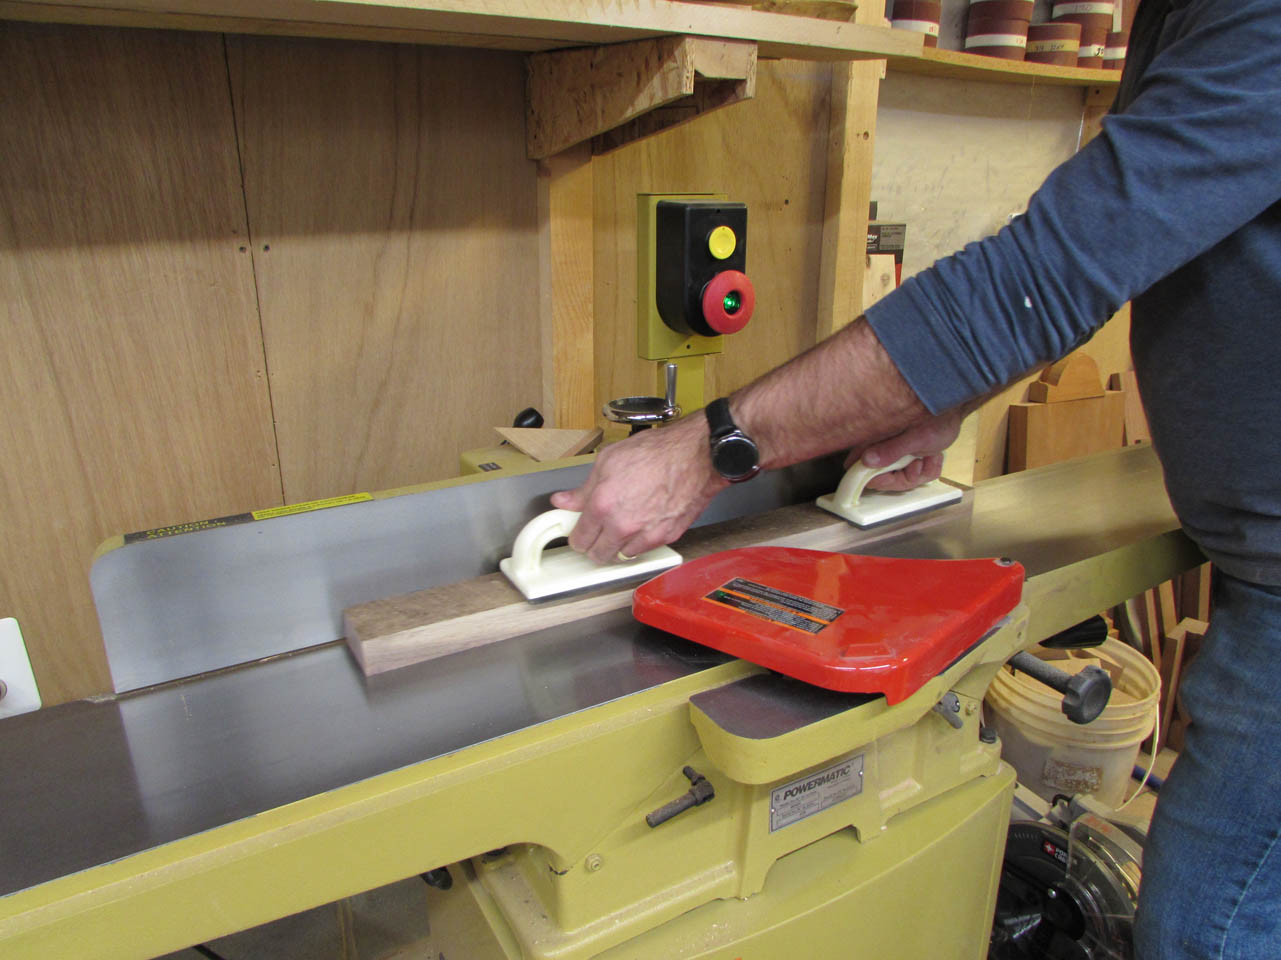
I jointed one face and one side of each board, then ran them all through the planer until they were exactly 3/4″ thick. I noticed that if I fed these short pieces through my planer at a slight angle they didn’t get any snipe on the ends. That is good to know, snipe usually leaves the first and last 3″ undersized and useless.
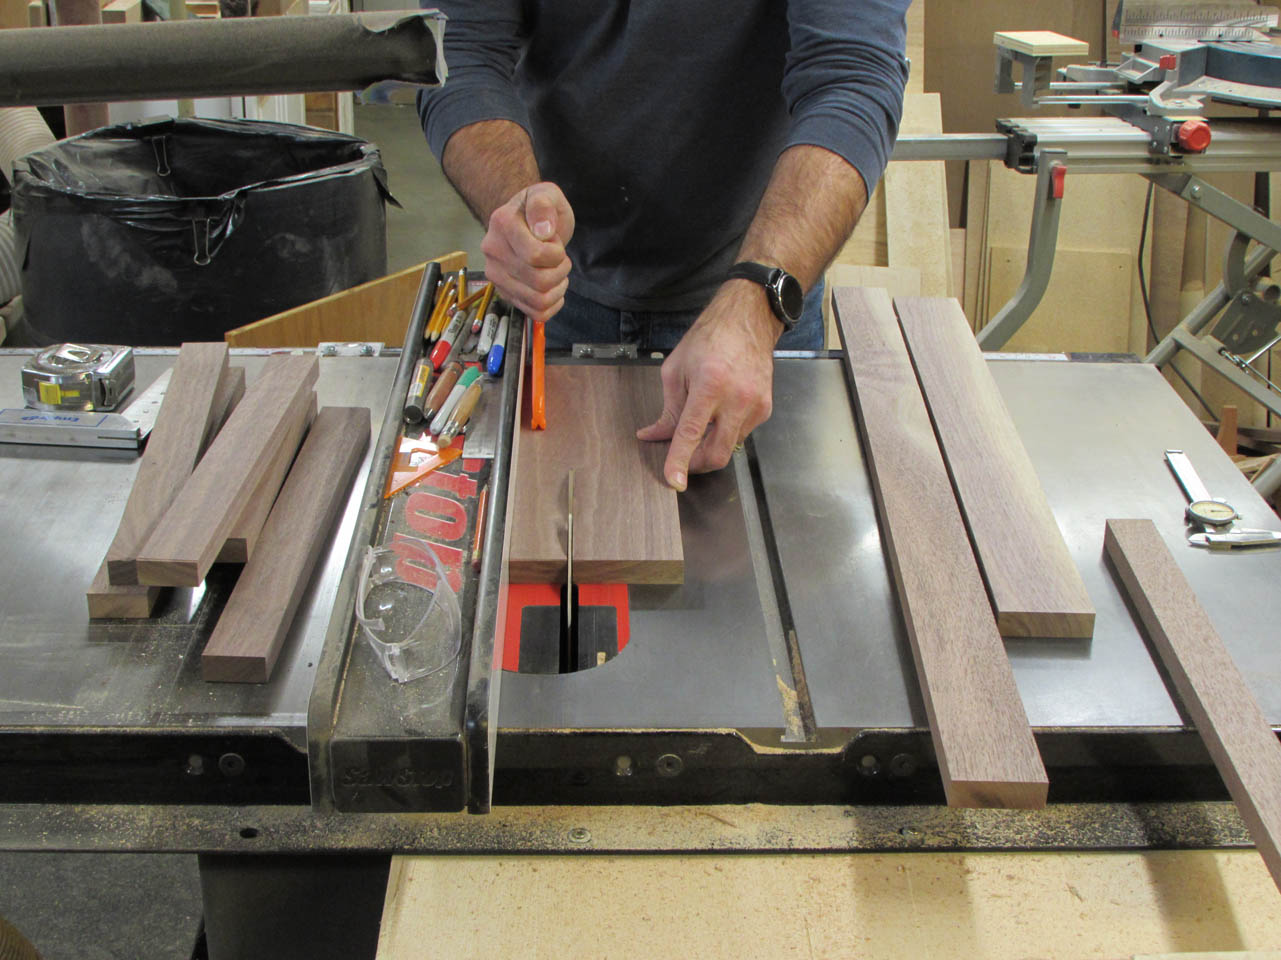
Next step was to cut my boards down to 1-5/8″ wide. I plan on getting two pieces of 3/4″ trim beads from each of these with a 1/8″ cut down the middle.
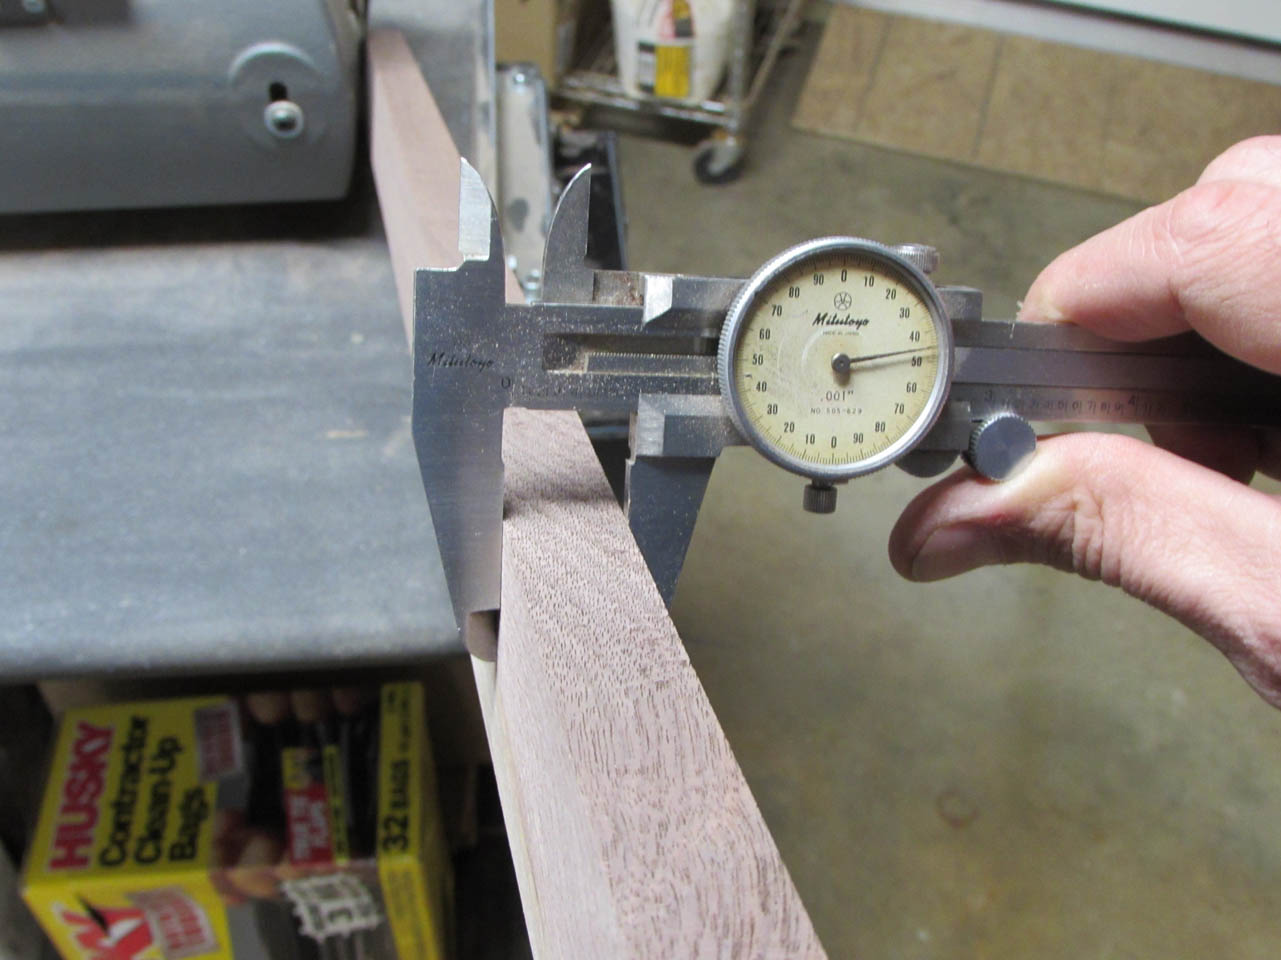
I am planning on setting this trim into a shallow dado so I want my pieces to be slightly undersized.
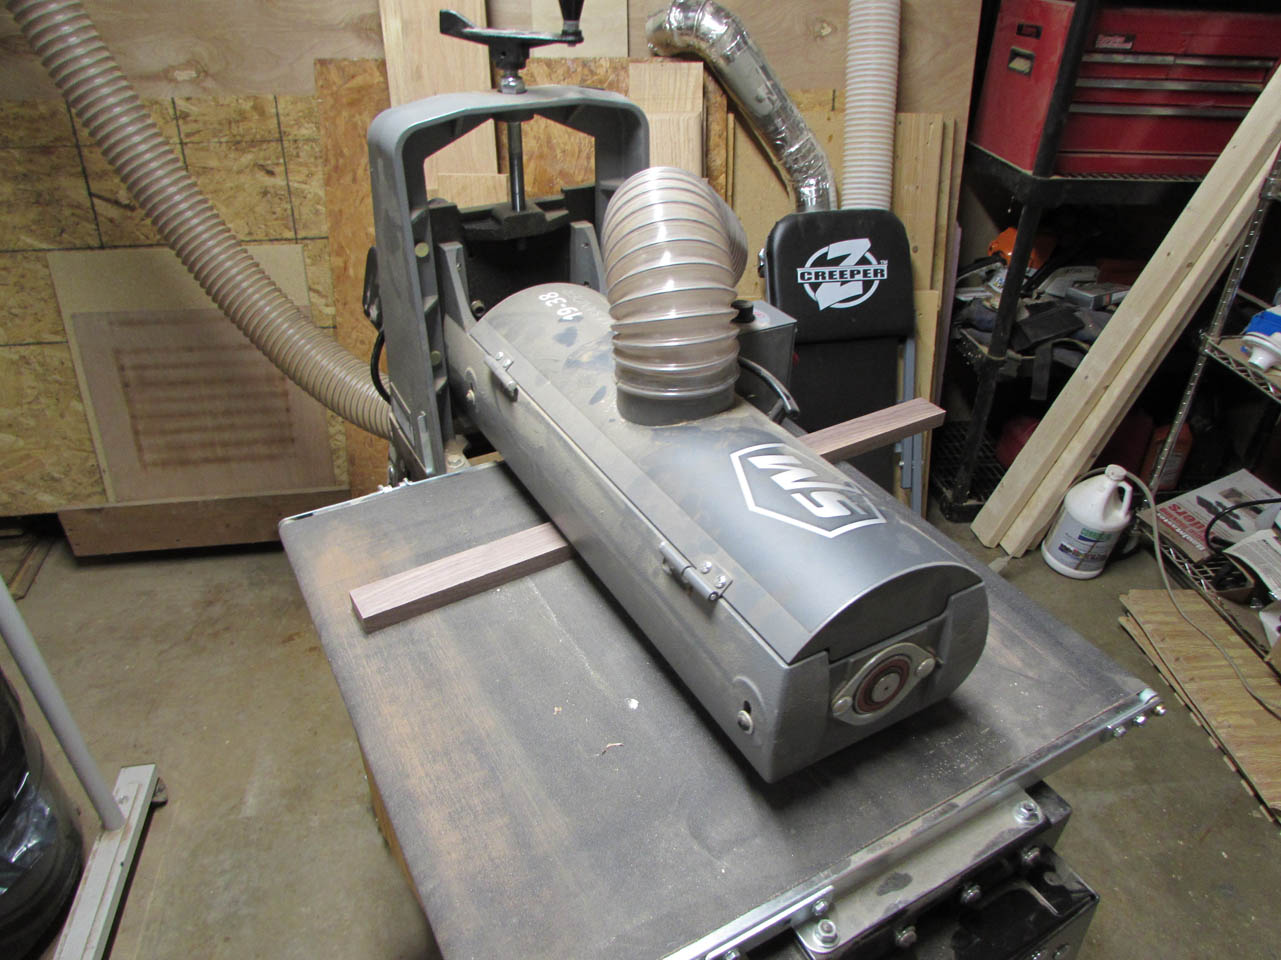
I ran them each through my drum sander and removed about .005″ from each. That should leave me a slight bit of wiggle room.
I took all the sanded boards over to my router table and set up the 3/8″ round-over bit. I made four passes to create a full 3/4″ bull-nose on each side.
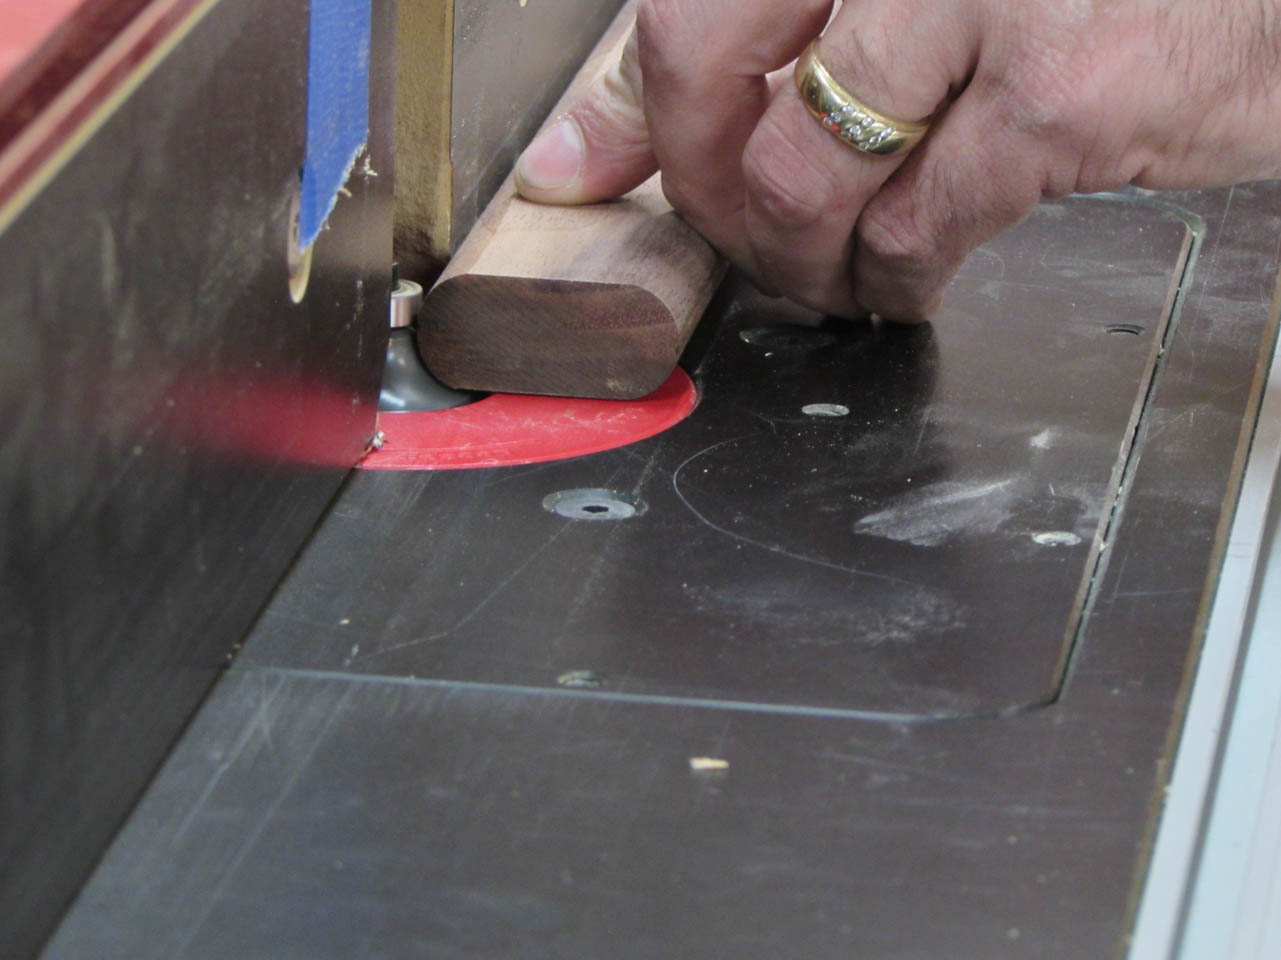
After about ten minutes, I had them all cut.

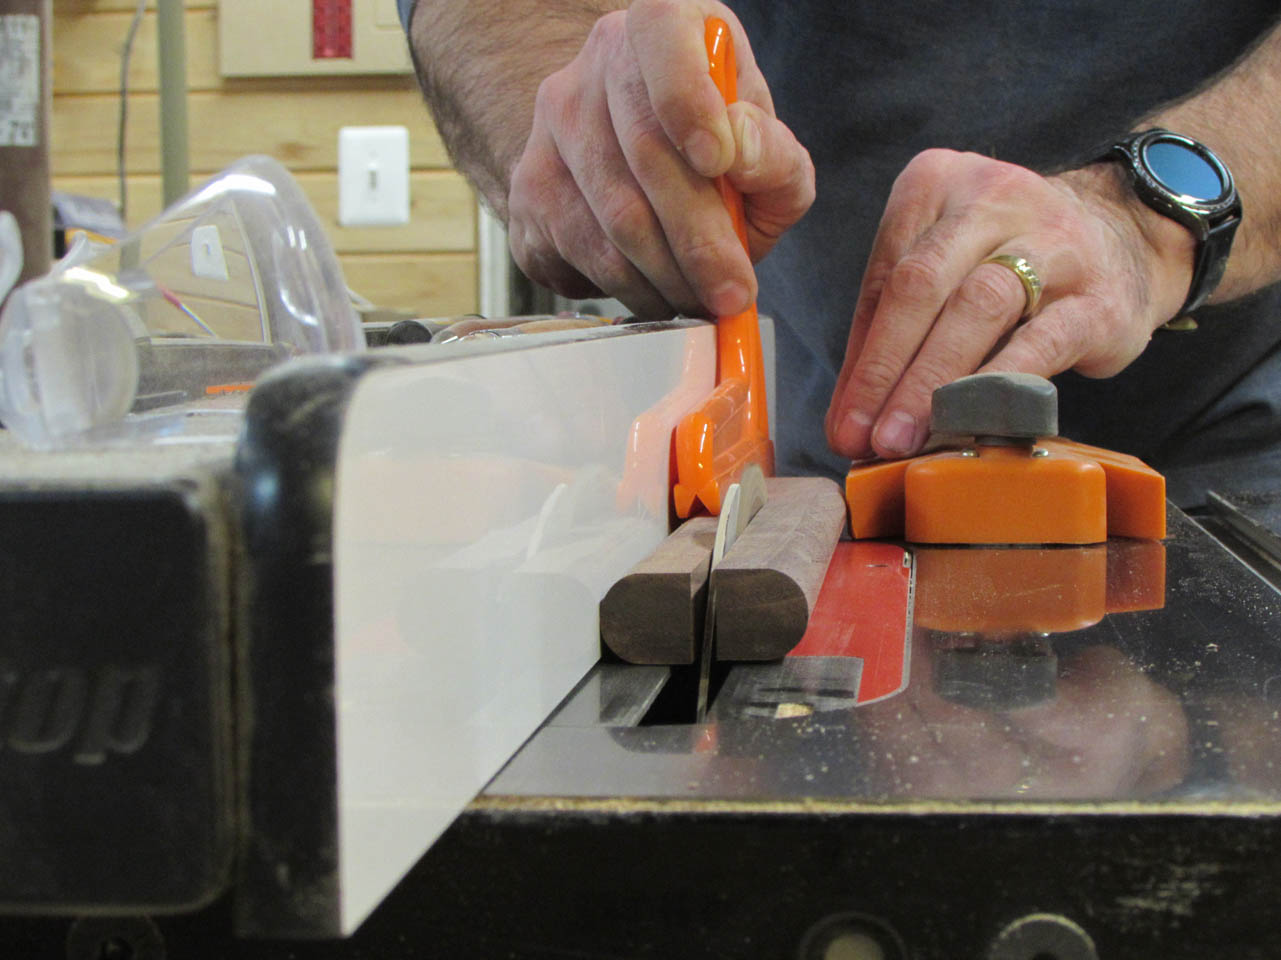
Then I carefully set the table saw fence so the blade fell dead center on the boards and ripped each one in half.
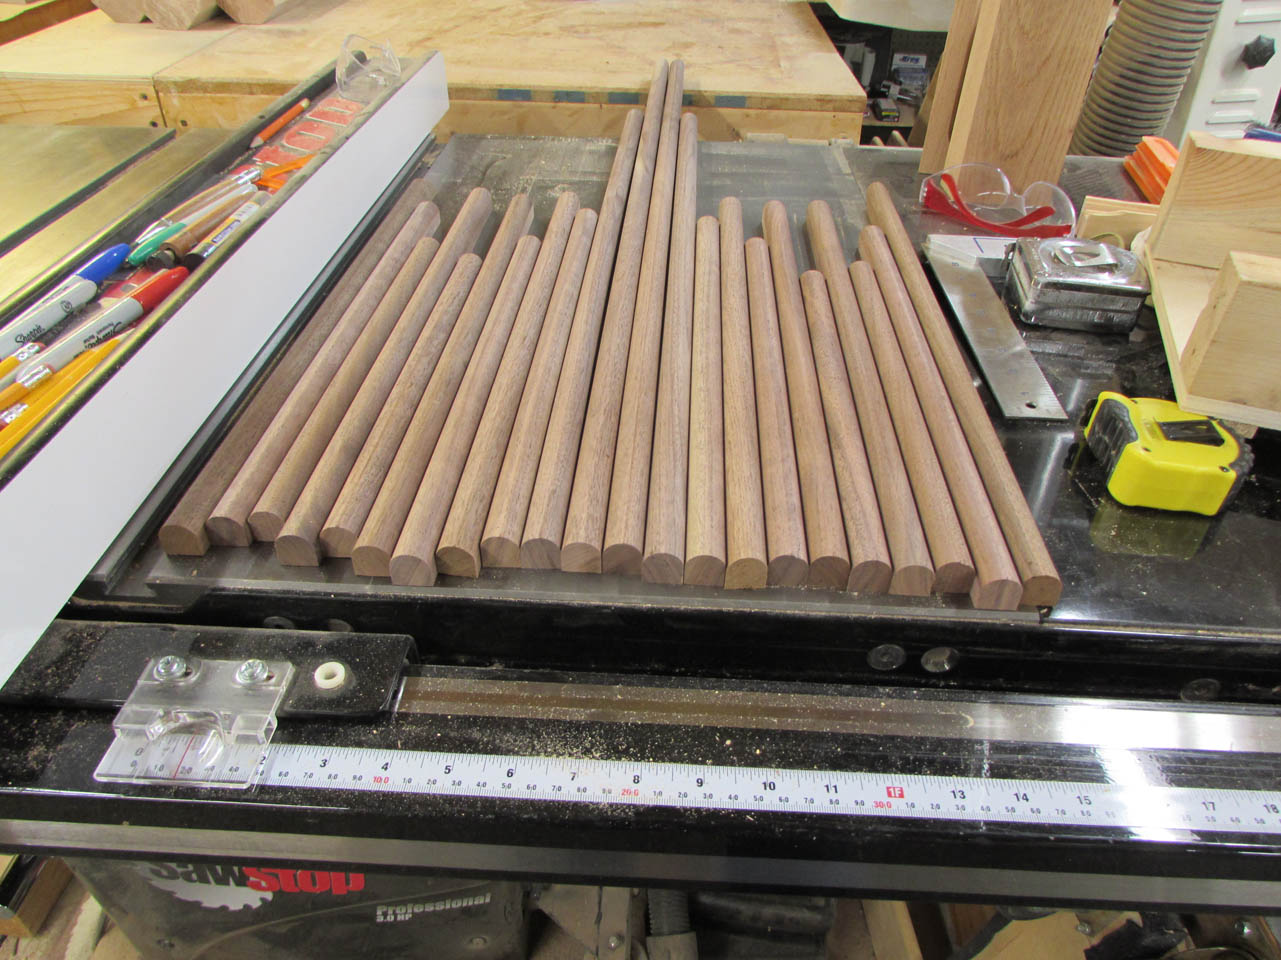
This gives me about 25′ of trim, just from that small pile of off-cuts. This should be enough for all the furniture pieces I have to build.
That is all I am doing for today. I just bought a new dado blade for the table saw, so hopefully I will get that all set up tomorrow and cut the grooves for the trim.
