
St. Kilian chapel – Ambo, part 4
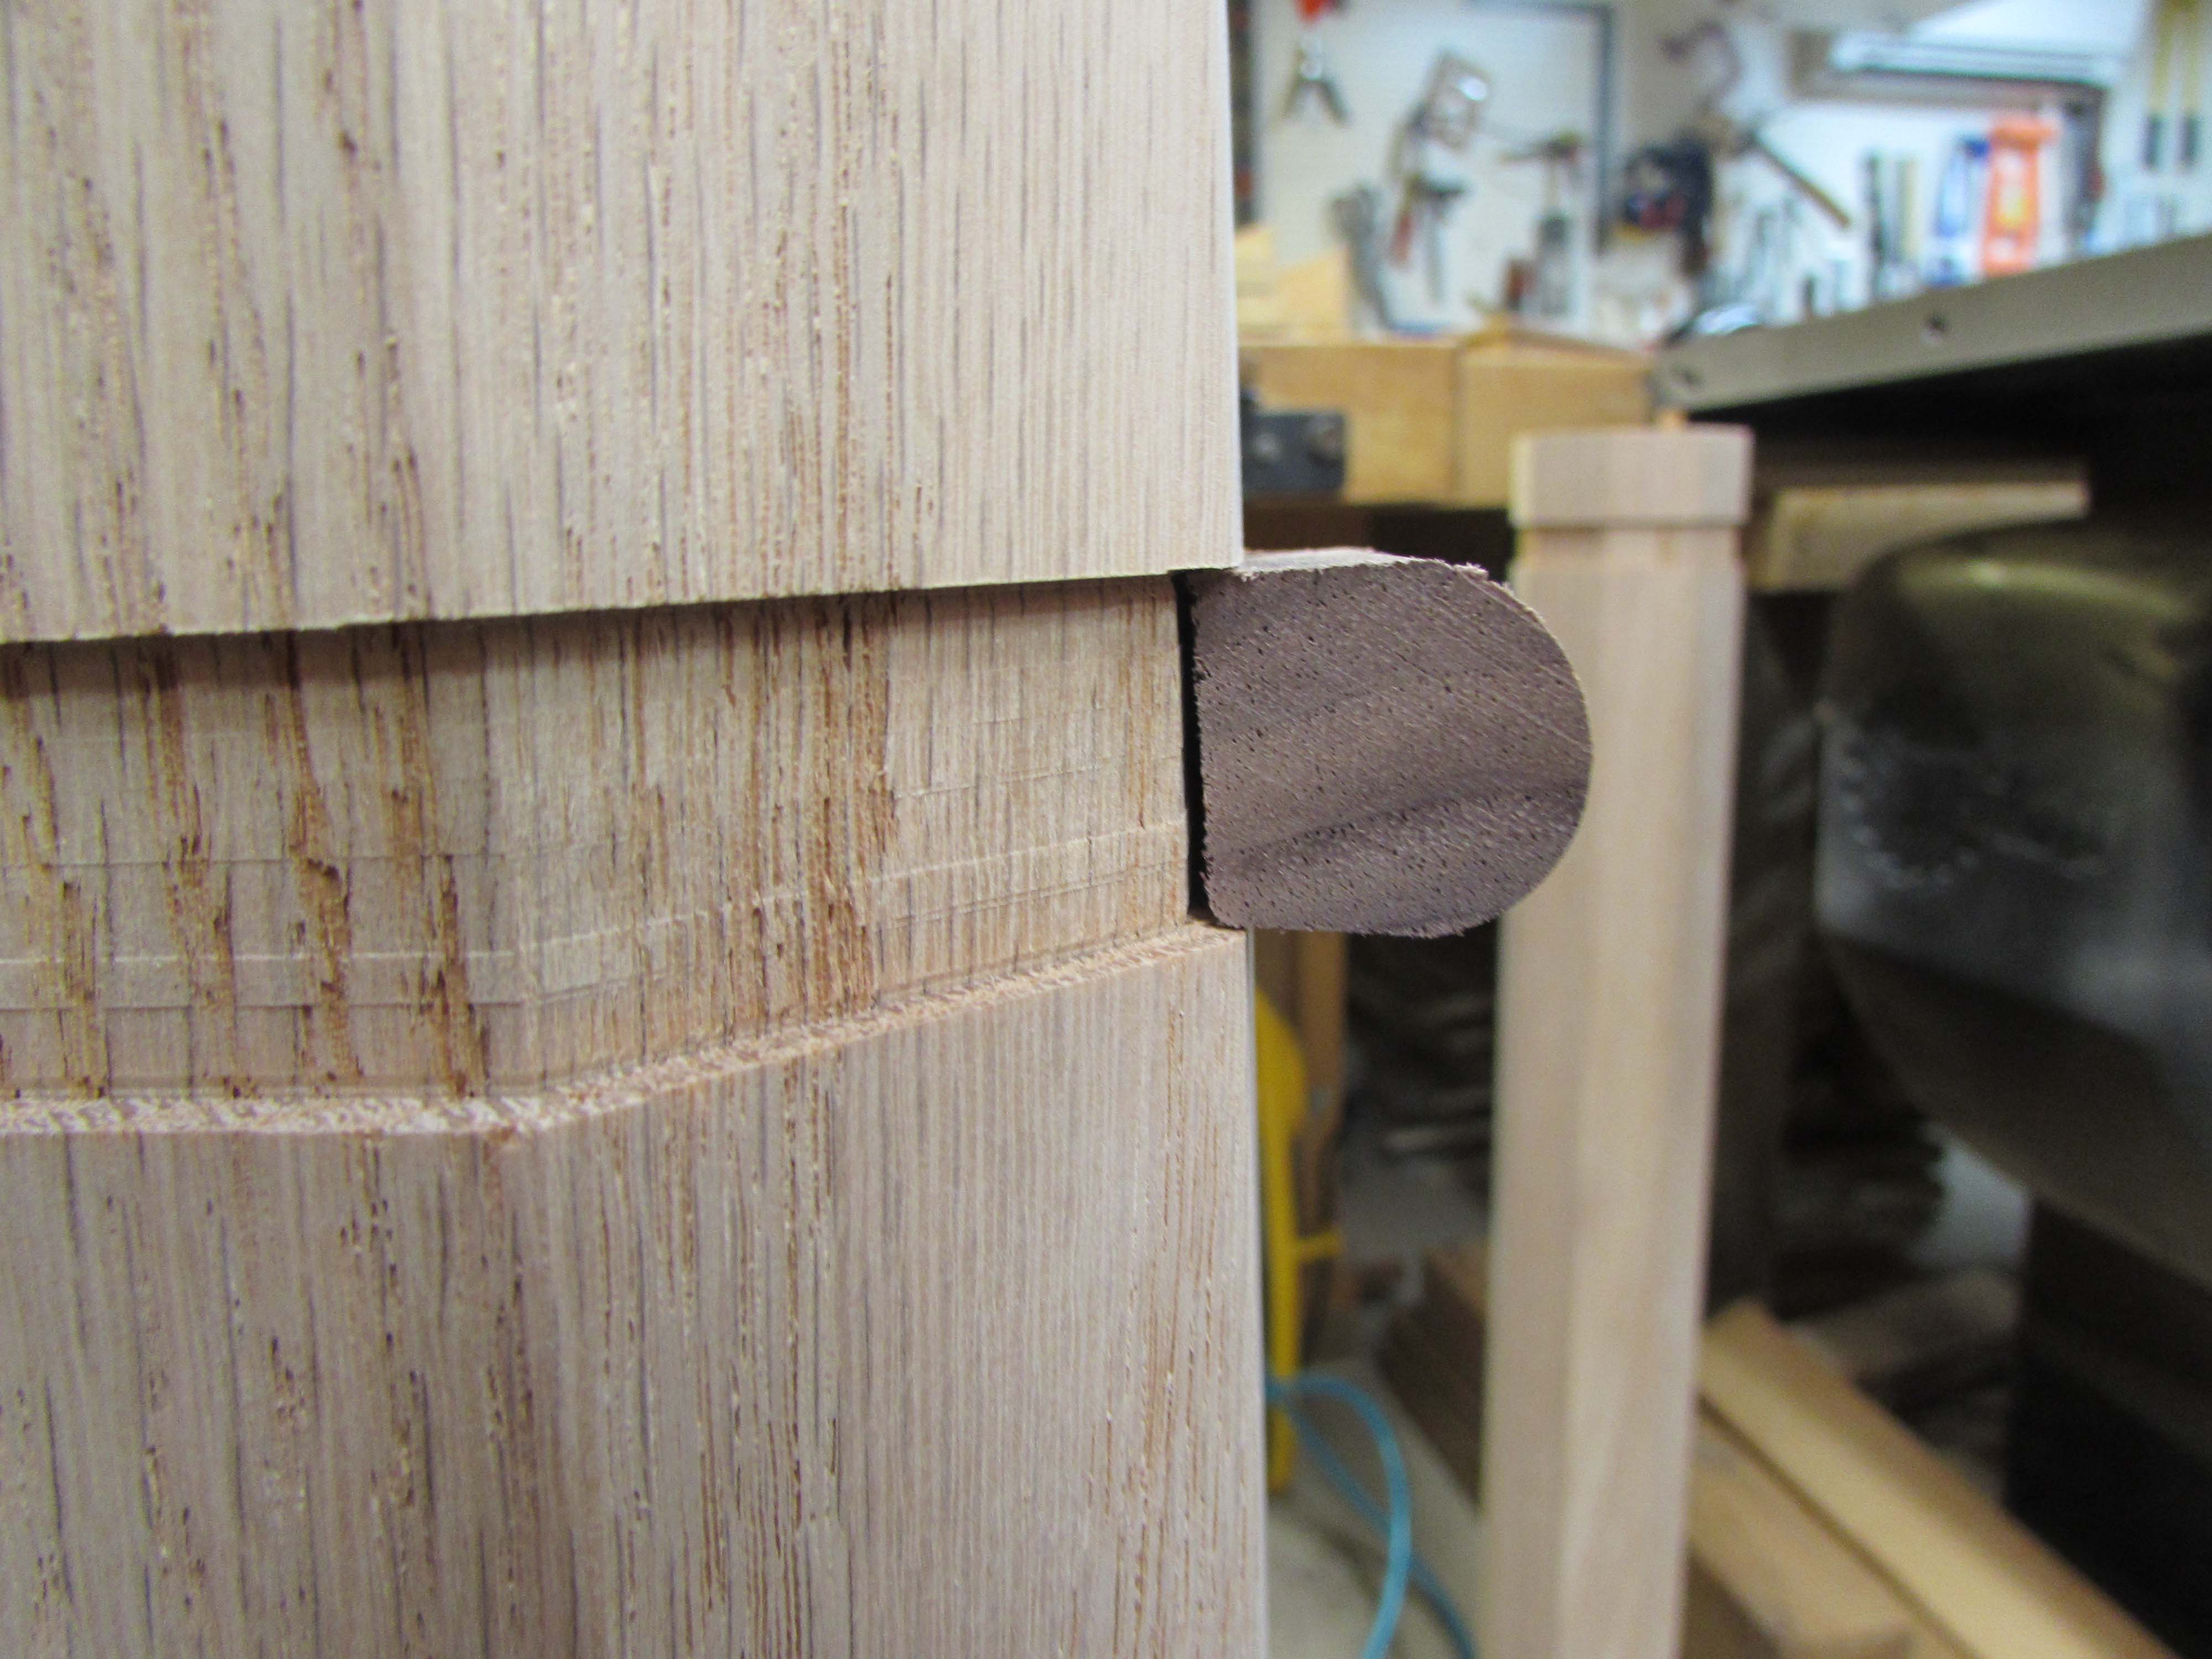
I want to recess all of the trim into a shallow dado on the top and bottom of the columns. My goal is to wrap the trim around the column while leaving a small gap between the trim and the oak column allowing room for the oak to expand or contract without damaging the trim.

I have never used a dado blade on my table saw before. I had to buy a wider brake for the blade and a new throat plate for the SawStop, but installation went pretty smoothly.
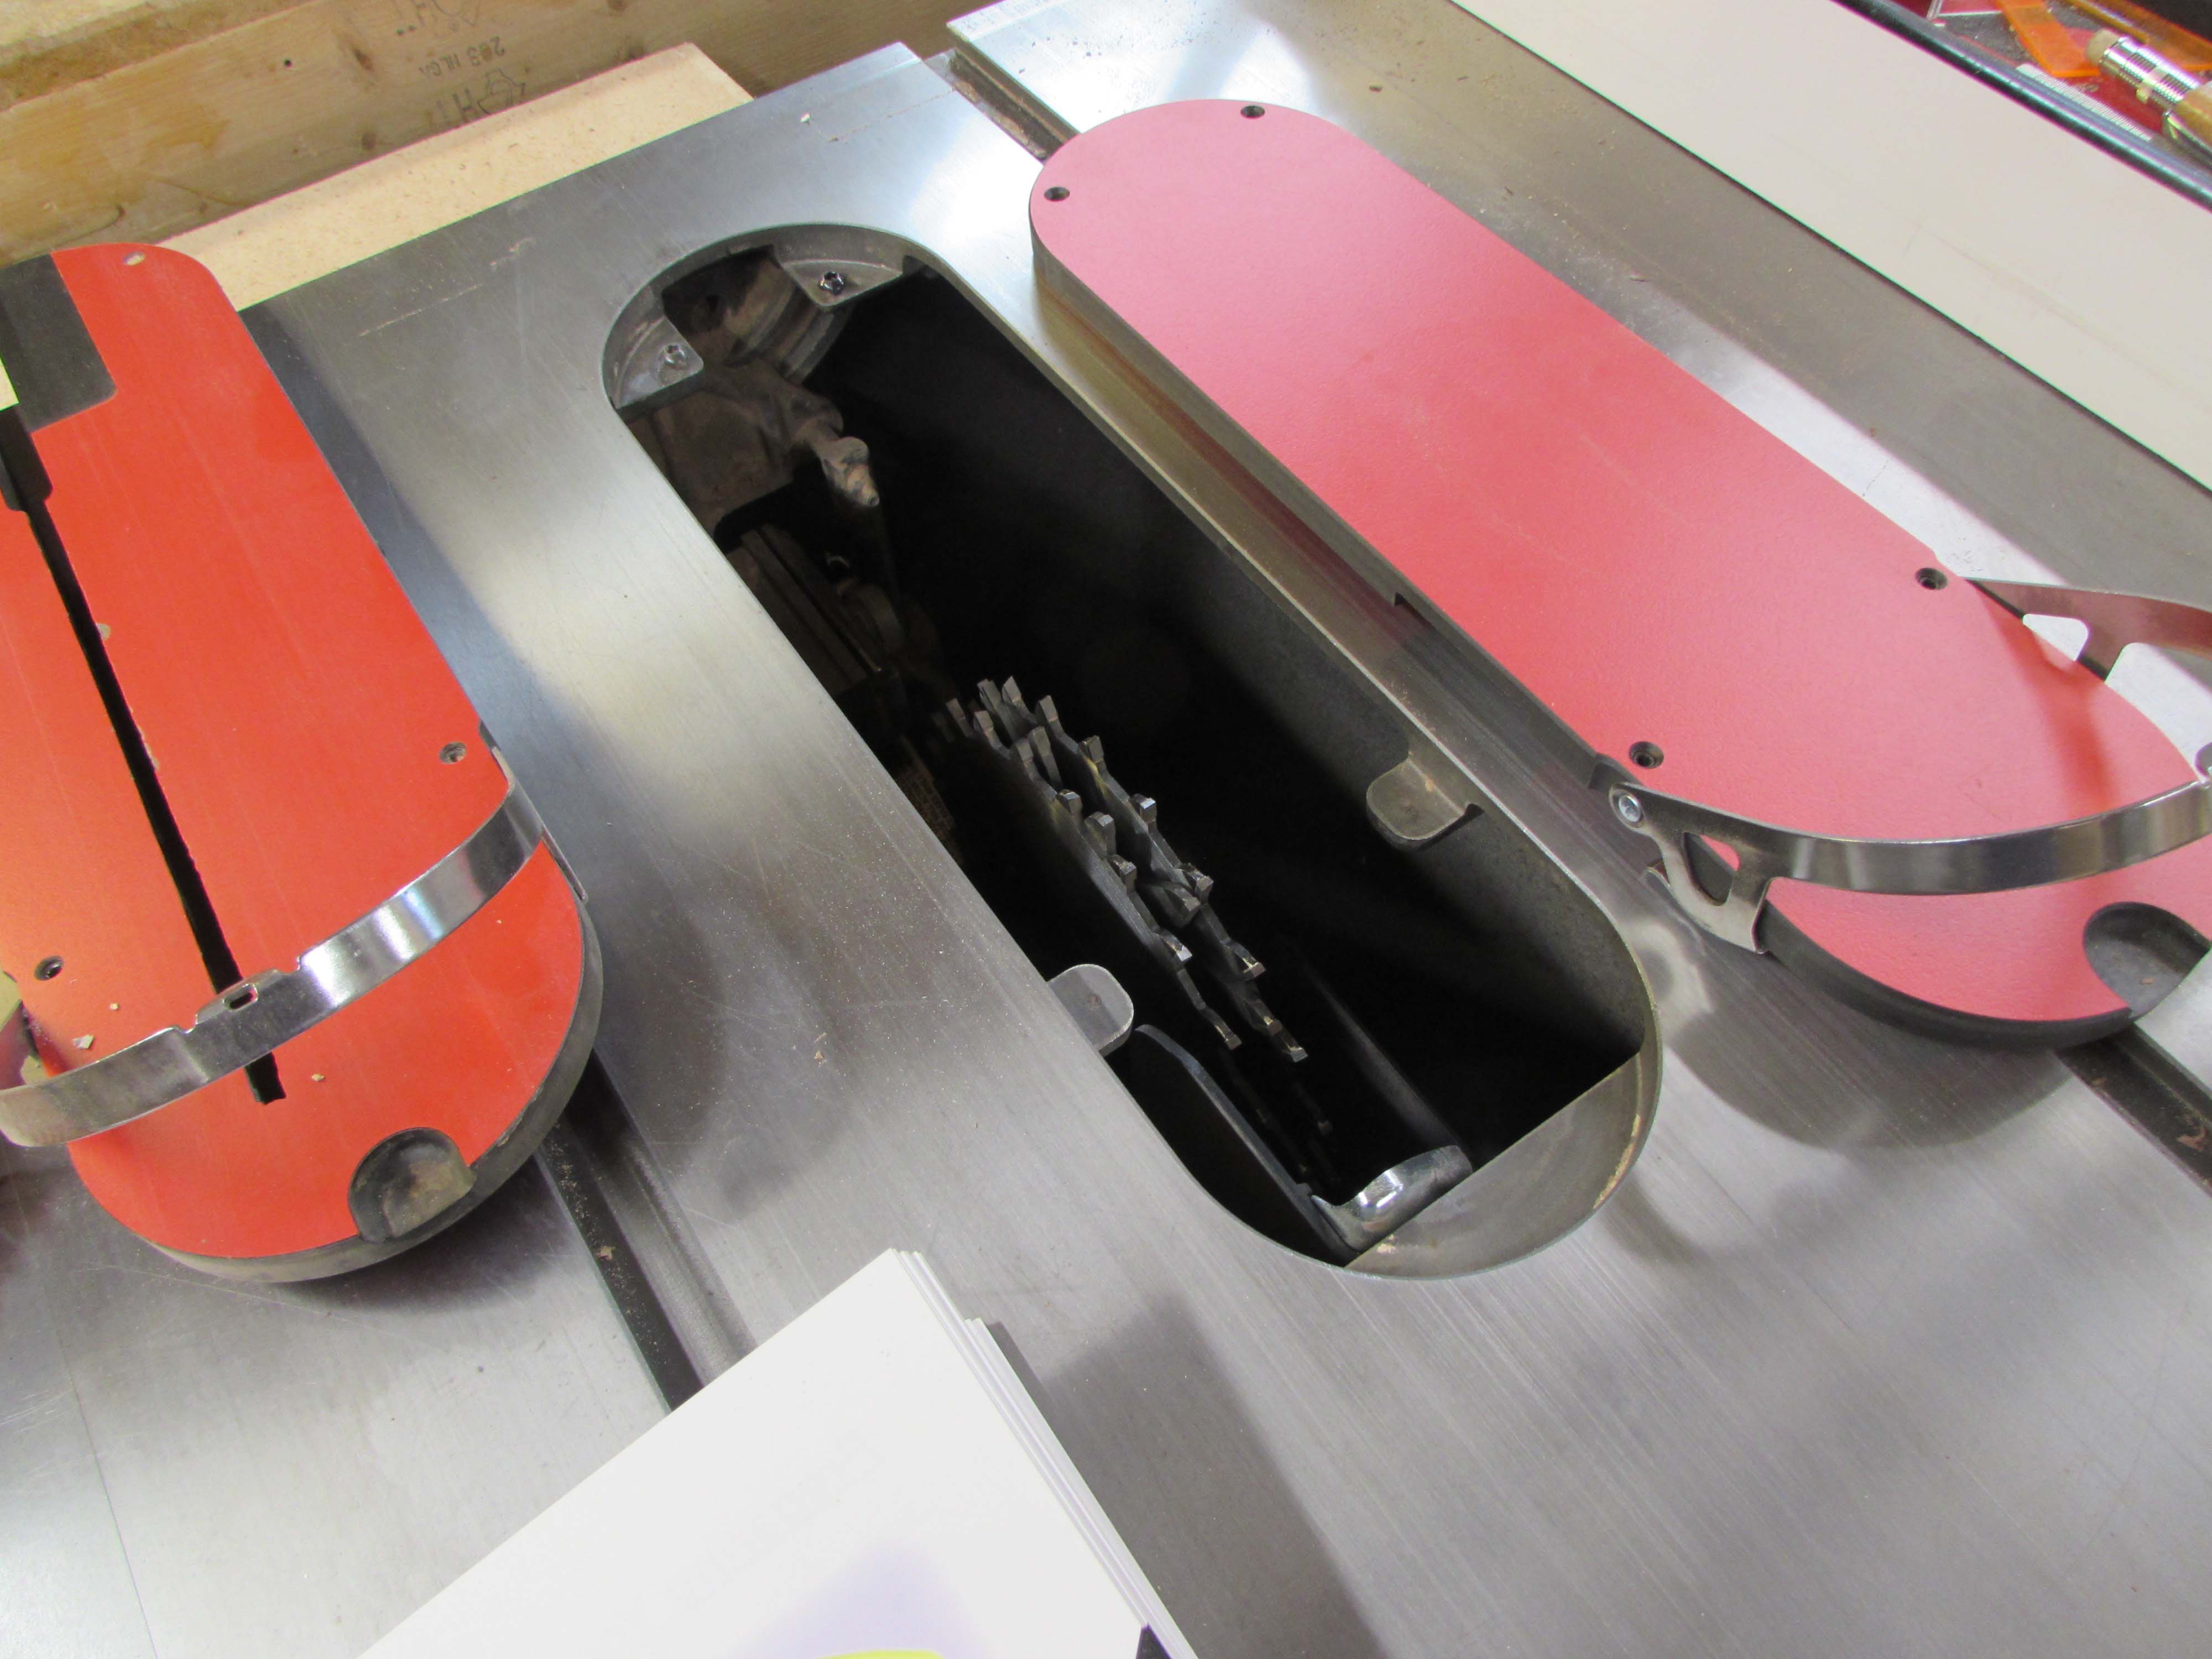

I made the blade set 3/4″ wide and raised it through the throat plate then did a test cut.

Test cut was successful, but my trim was still a bit snug.
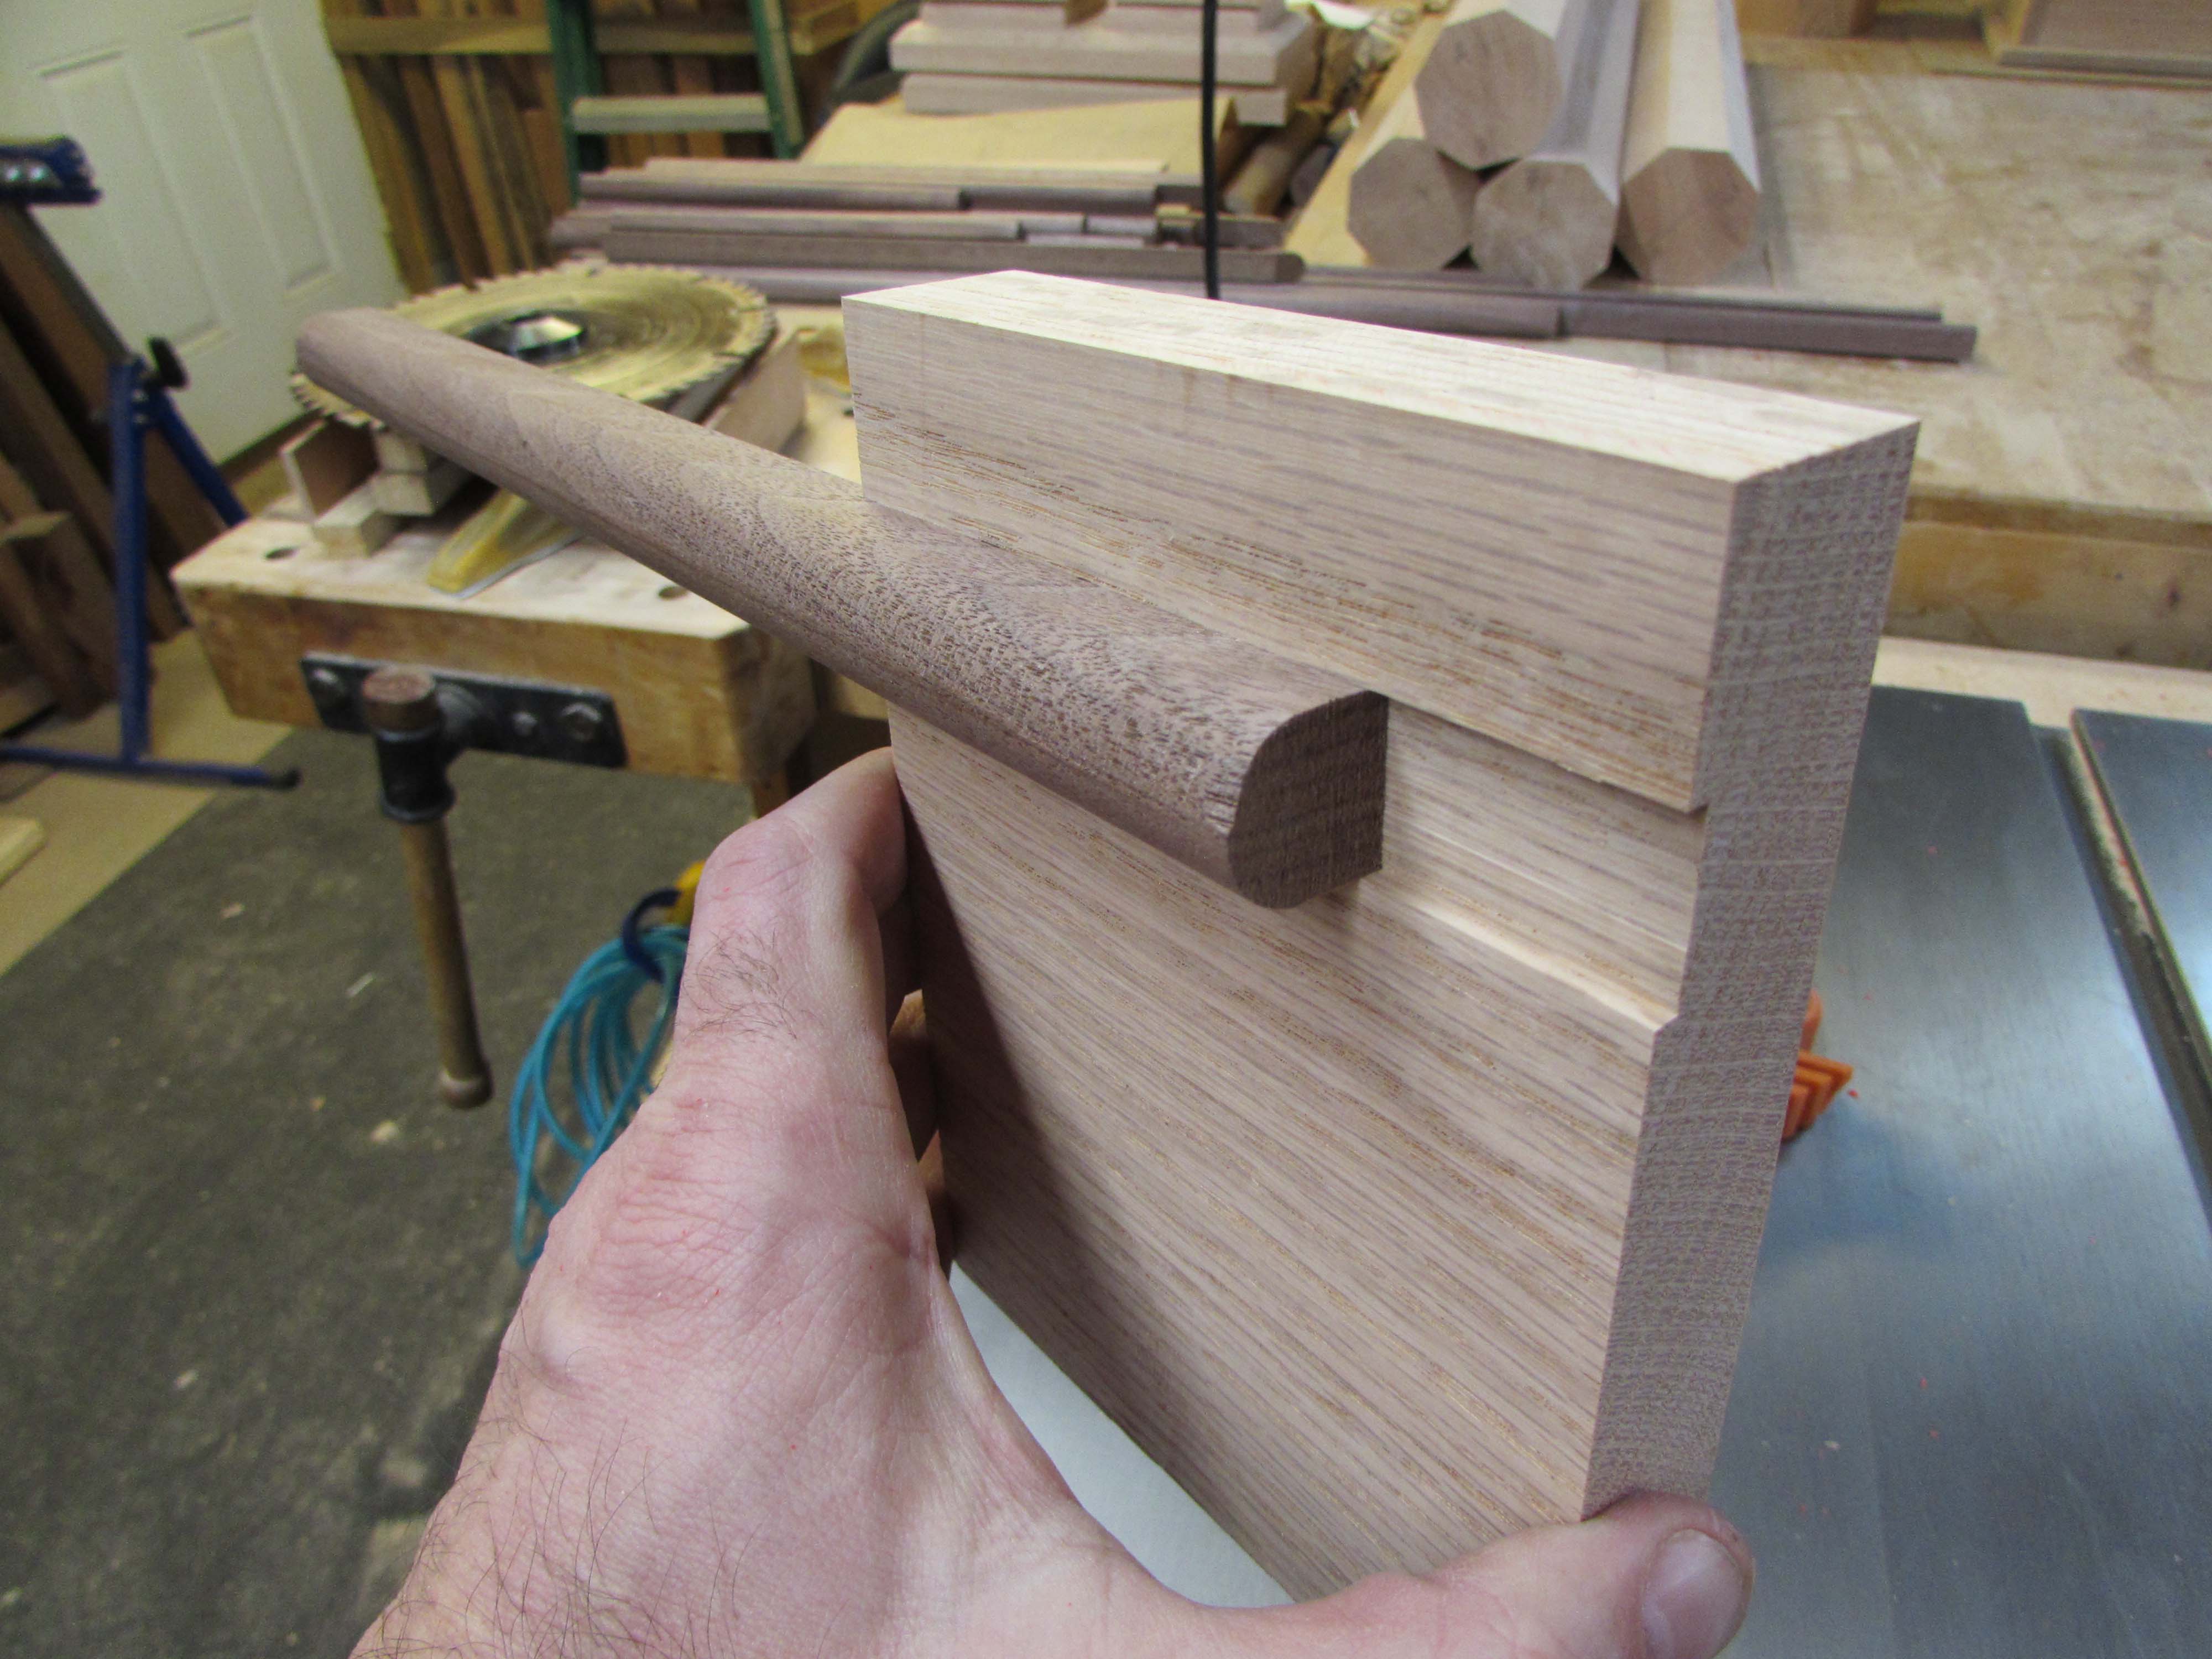

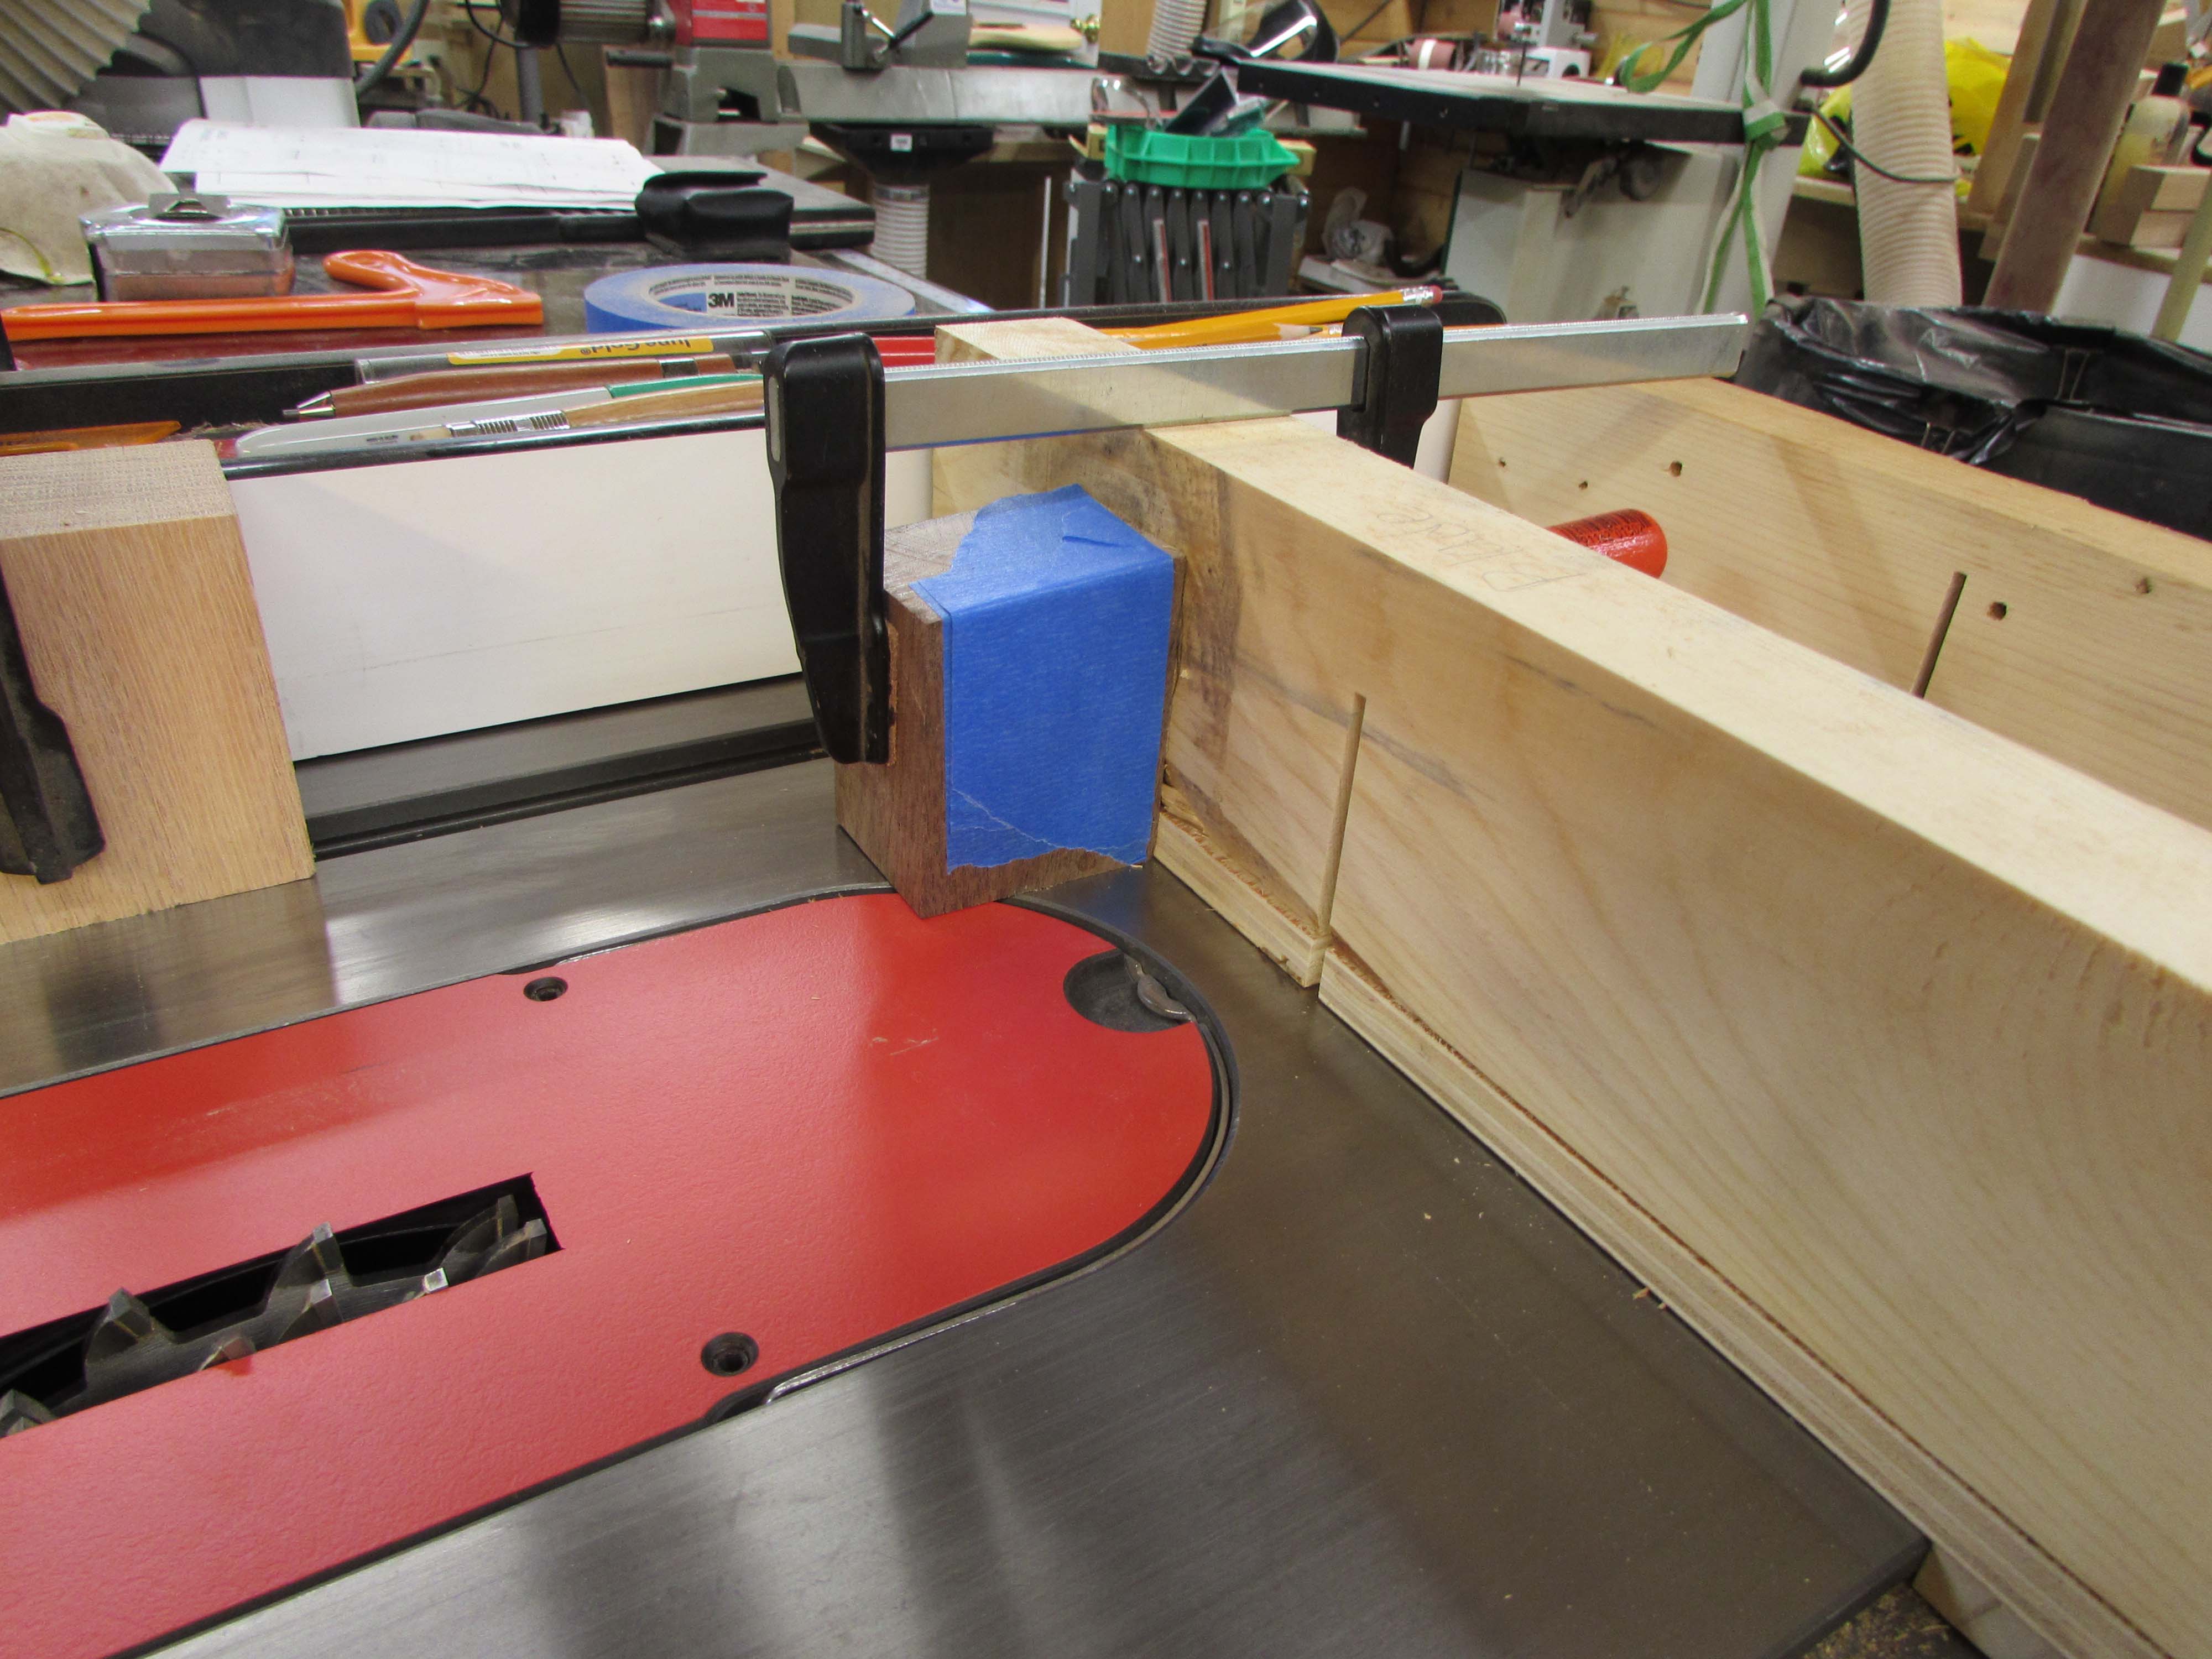
To cut the channel in the columns, I set up a few stop blocks on my small cross-cut sled and fence. The one on the sled sets the groove 1-1/2″ from the end and the one on the fence keeps me from cutting the dado into the sled itself…

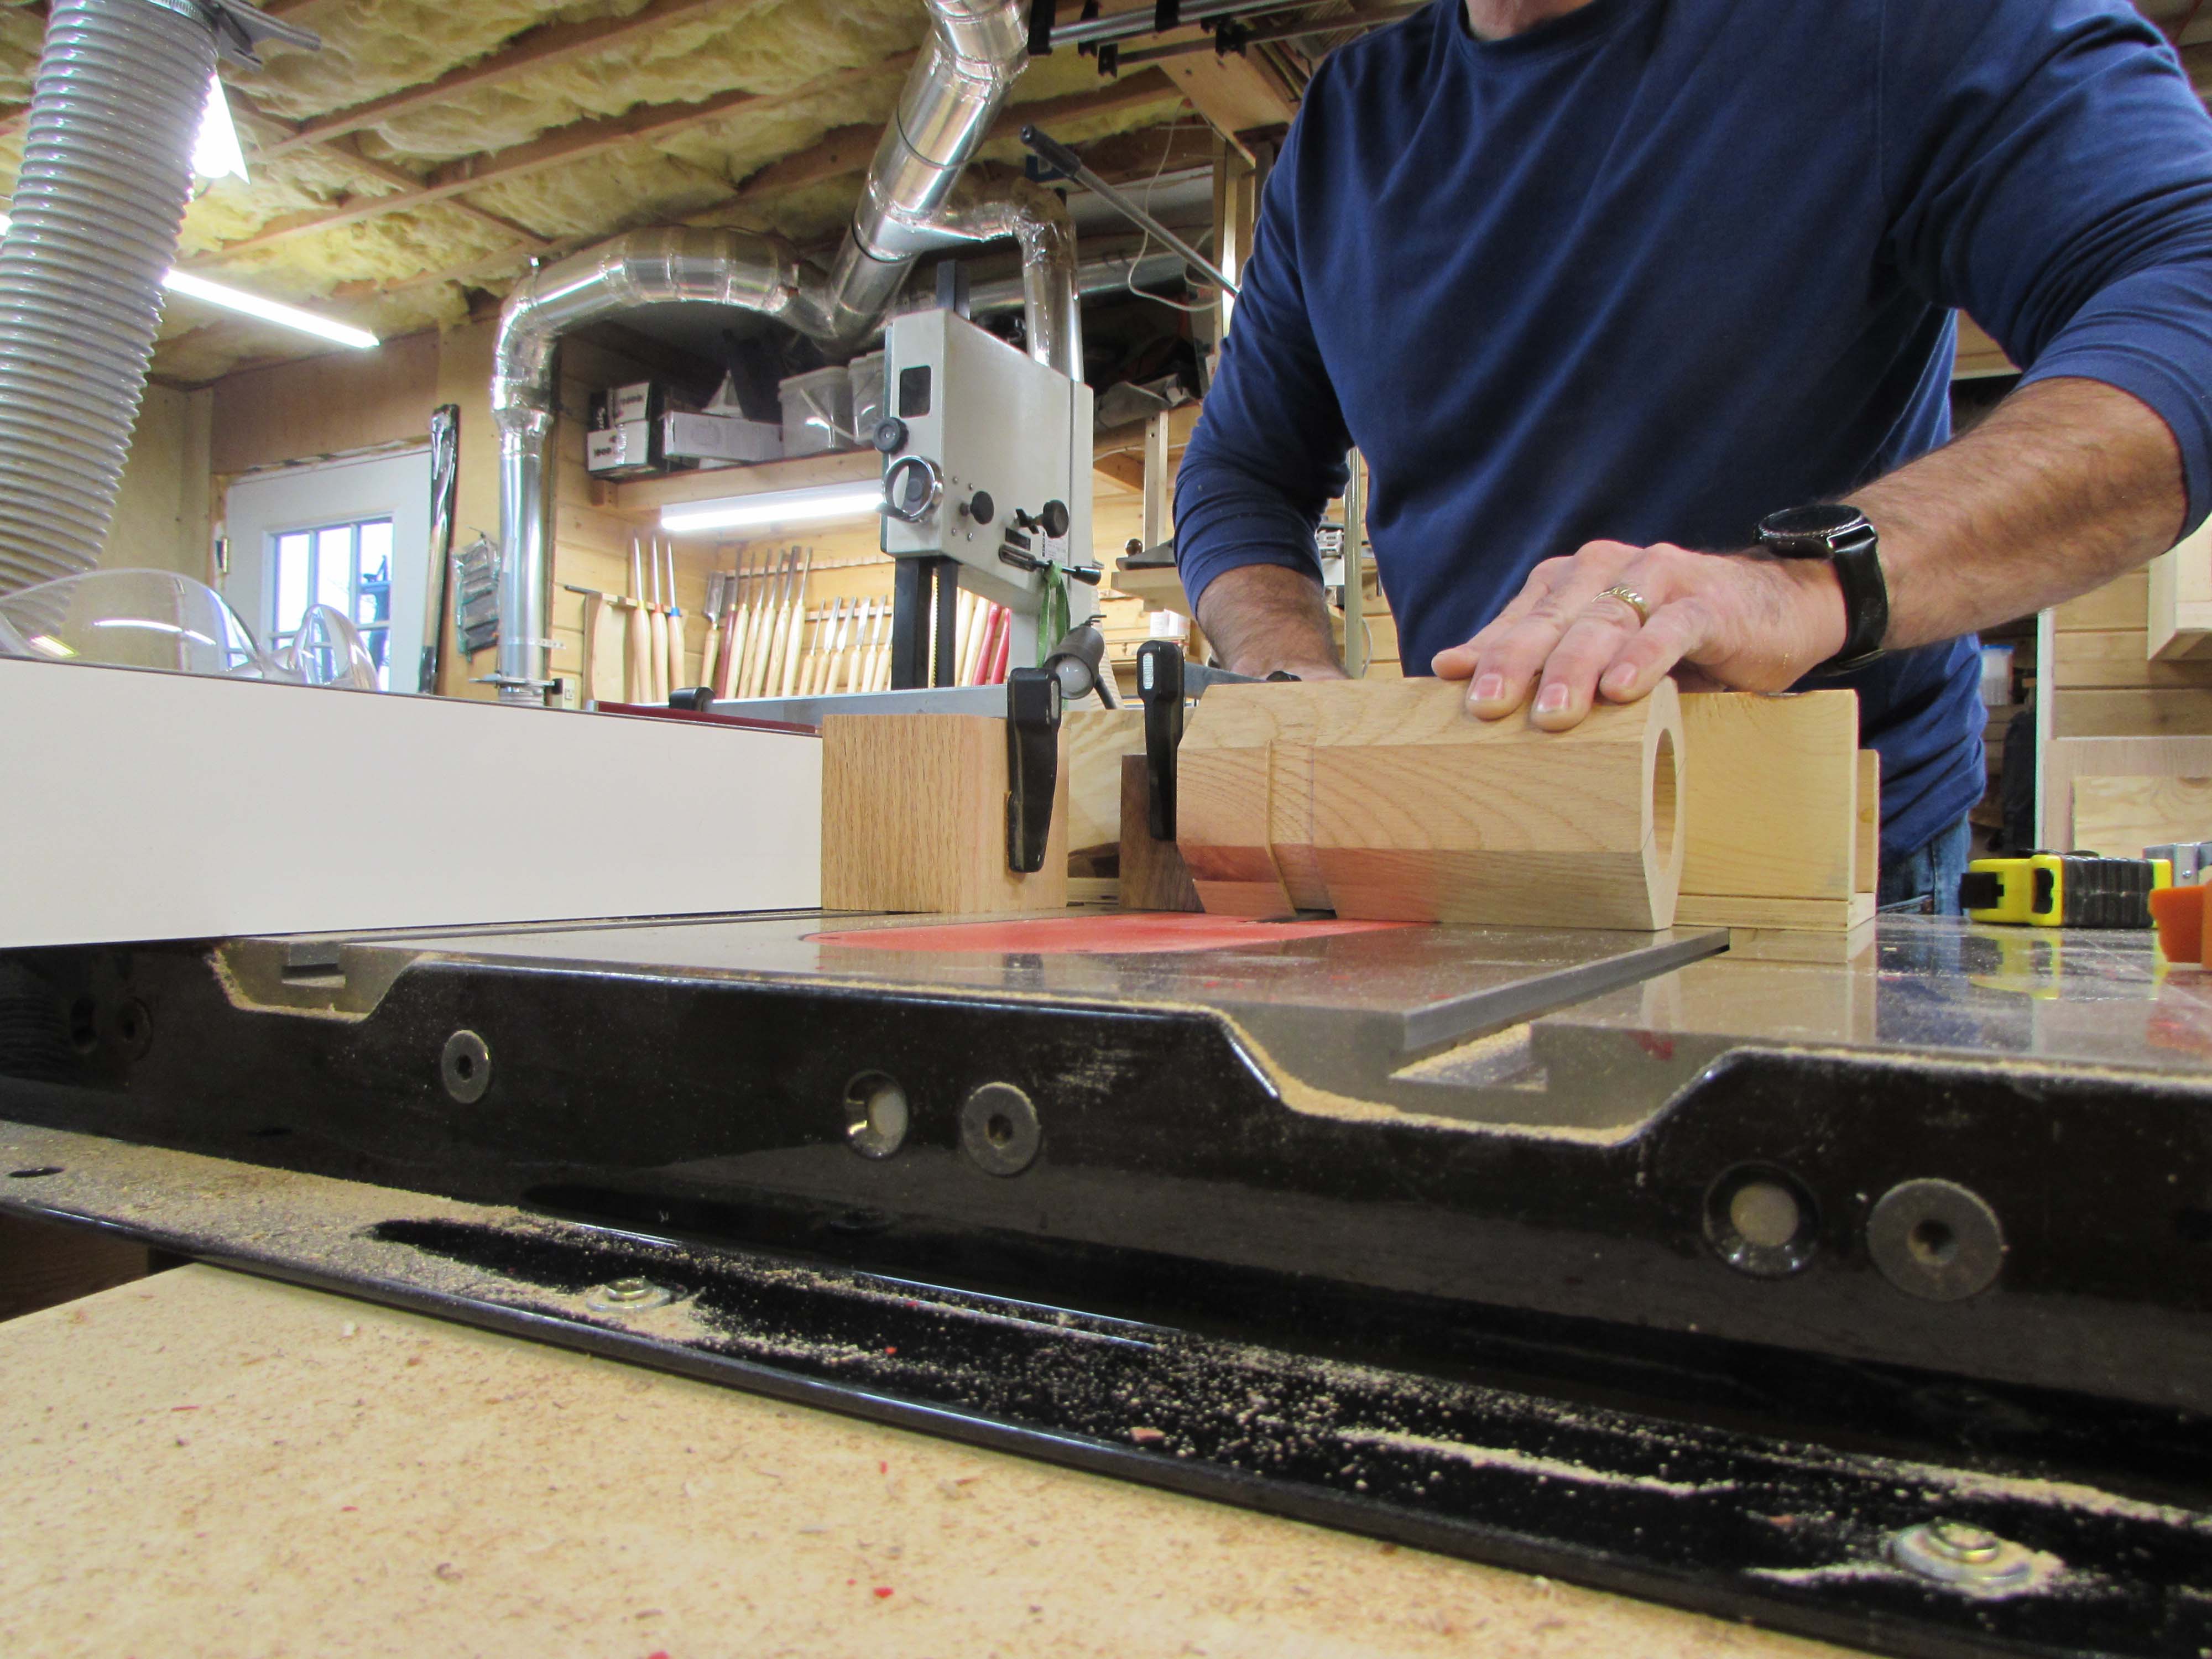
I ran a test on the setup with my small prototype column.
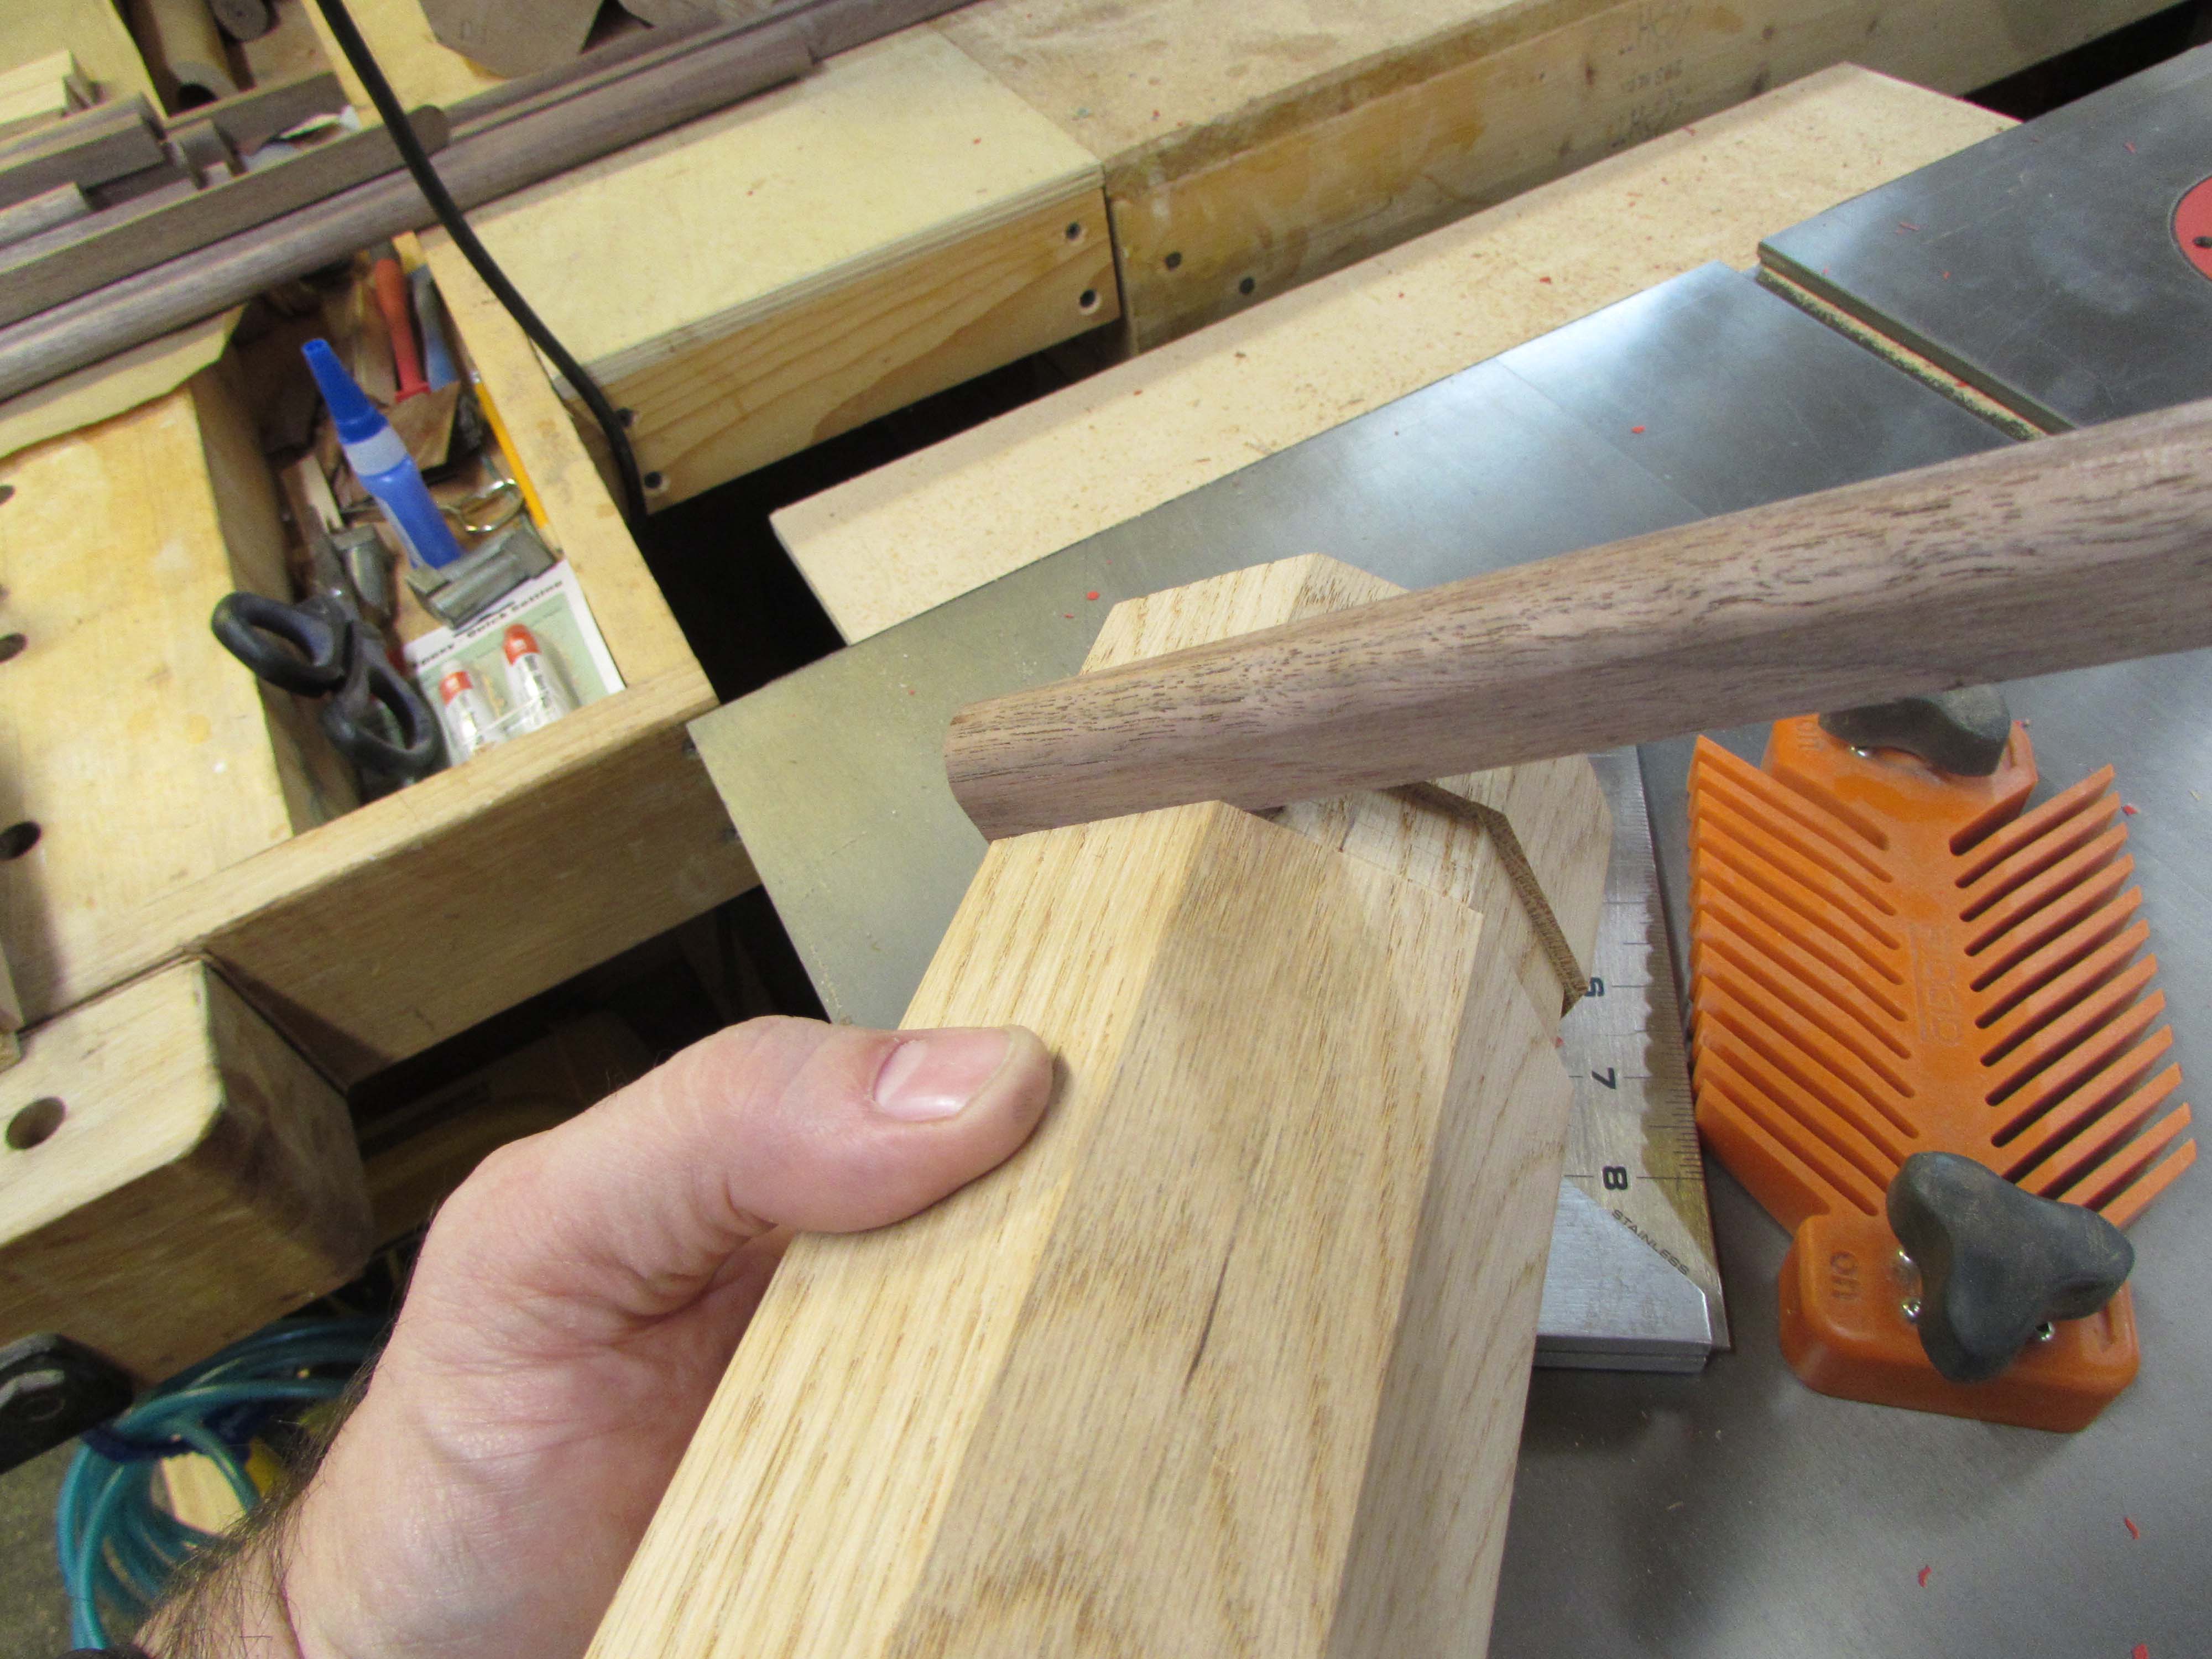
I applied three layers of tape to the stop block and ran the column through again. This widened the dado about .006″, just enough for the trim to now be a slip-fit, allowing for wood movement.

Then it was time to start cutting all of the columns, top and bottom.

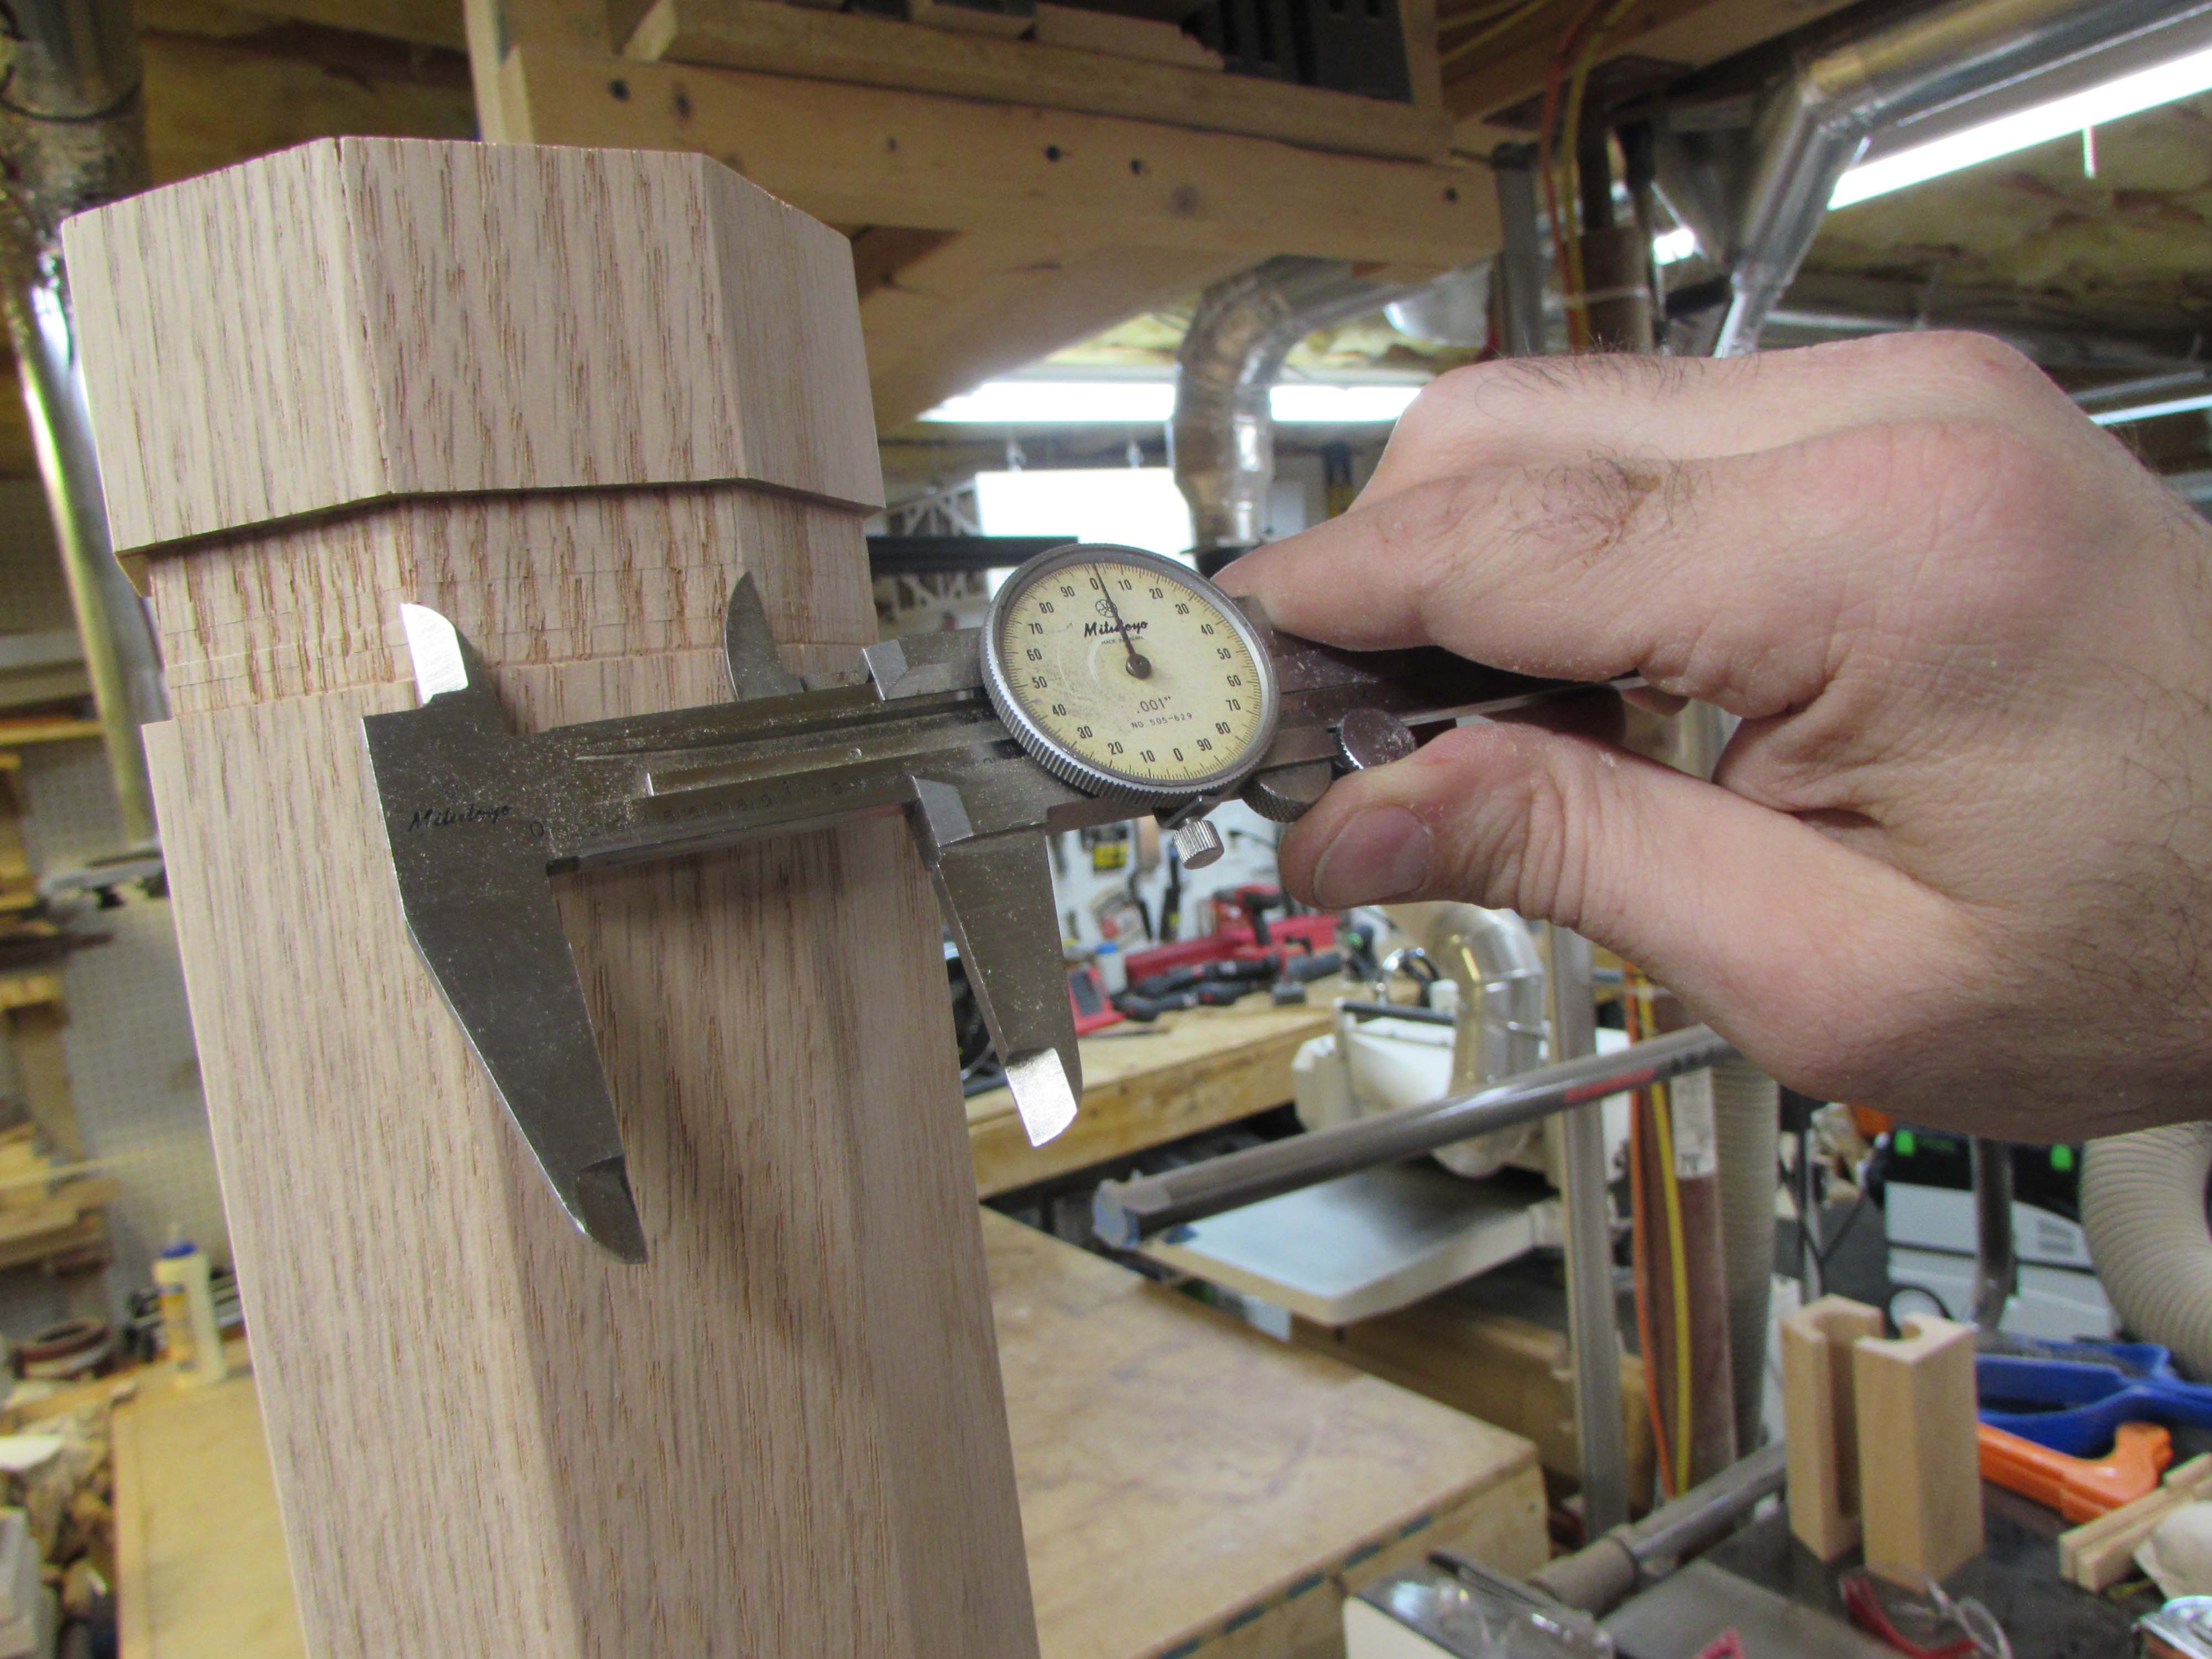
I measured the width of the flat spot, at the bottom of the dado, and added a bit, then roughly calculated a length to cut some test pieces of trim.

I reloaded my original table saw blade to start cutting the trim. I cut a block with a 22.5° angle and a notch on the bottom. then I added an adjustable stop block to set the length of the trim. The notch at the bottom allowed me to cut the end on the trim square, and the block at the top allowed me to cut the trim to the correct length, safely.

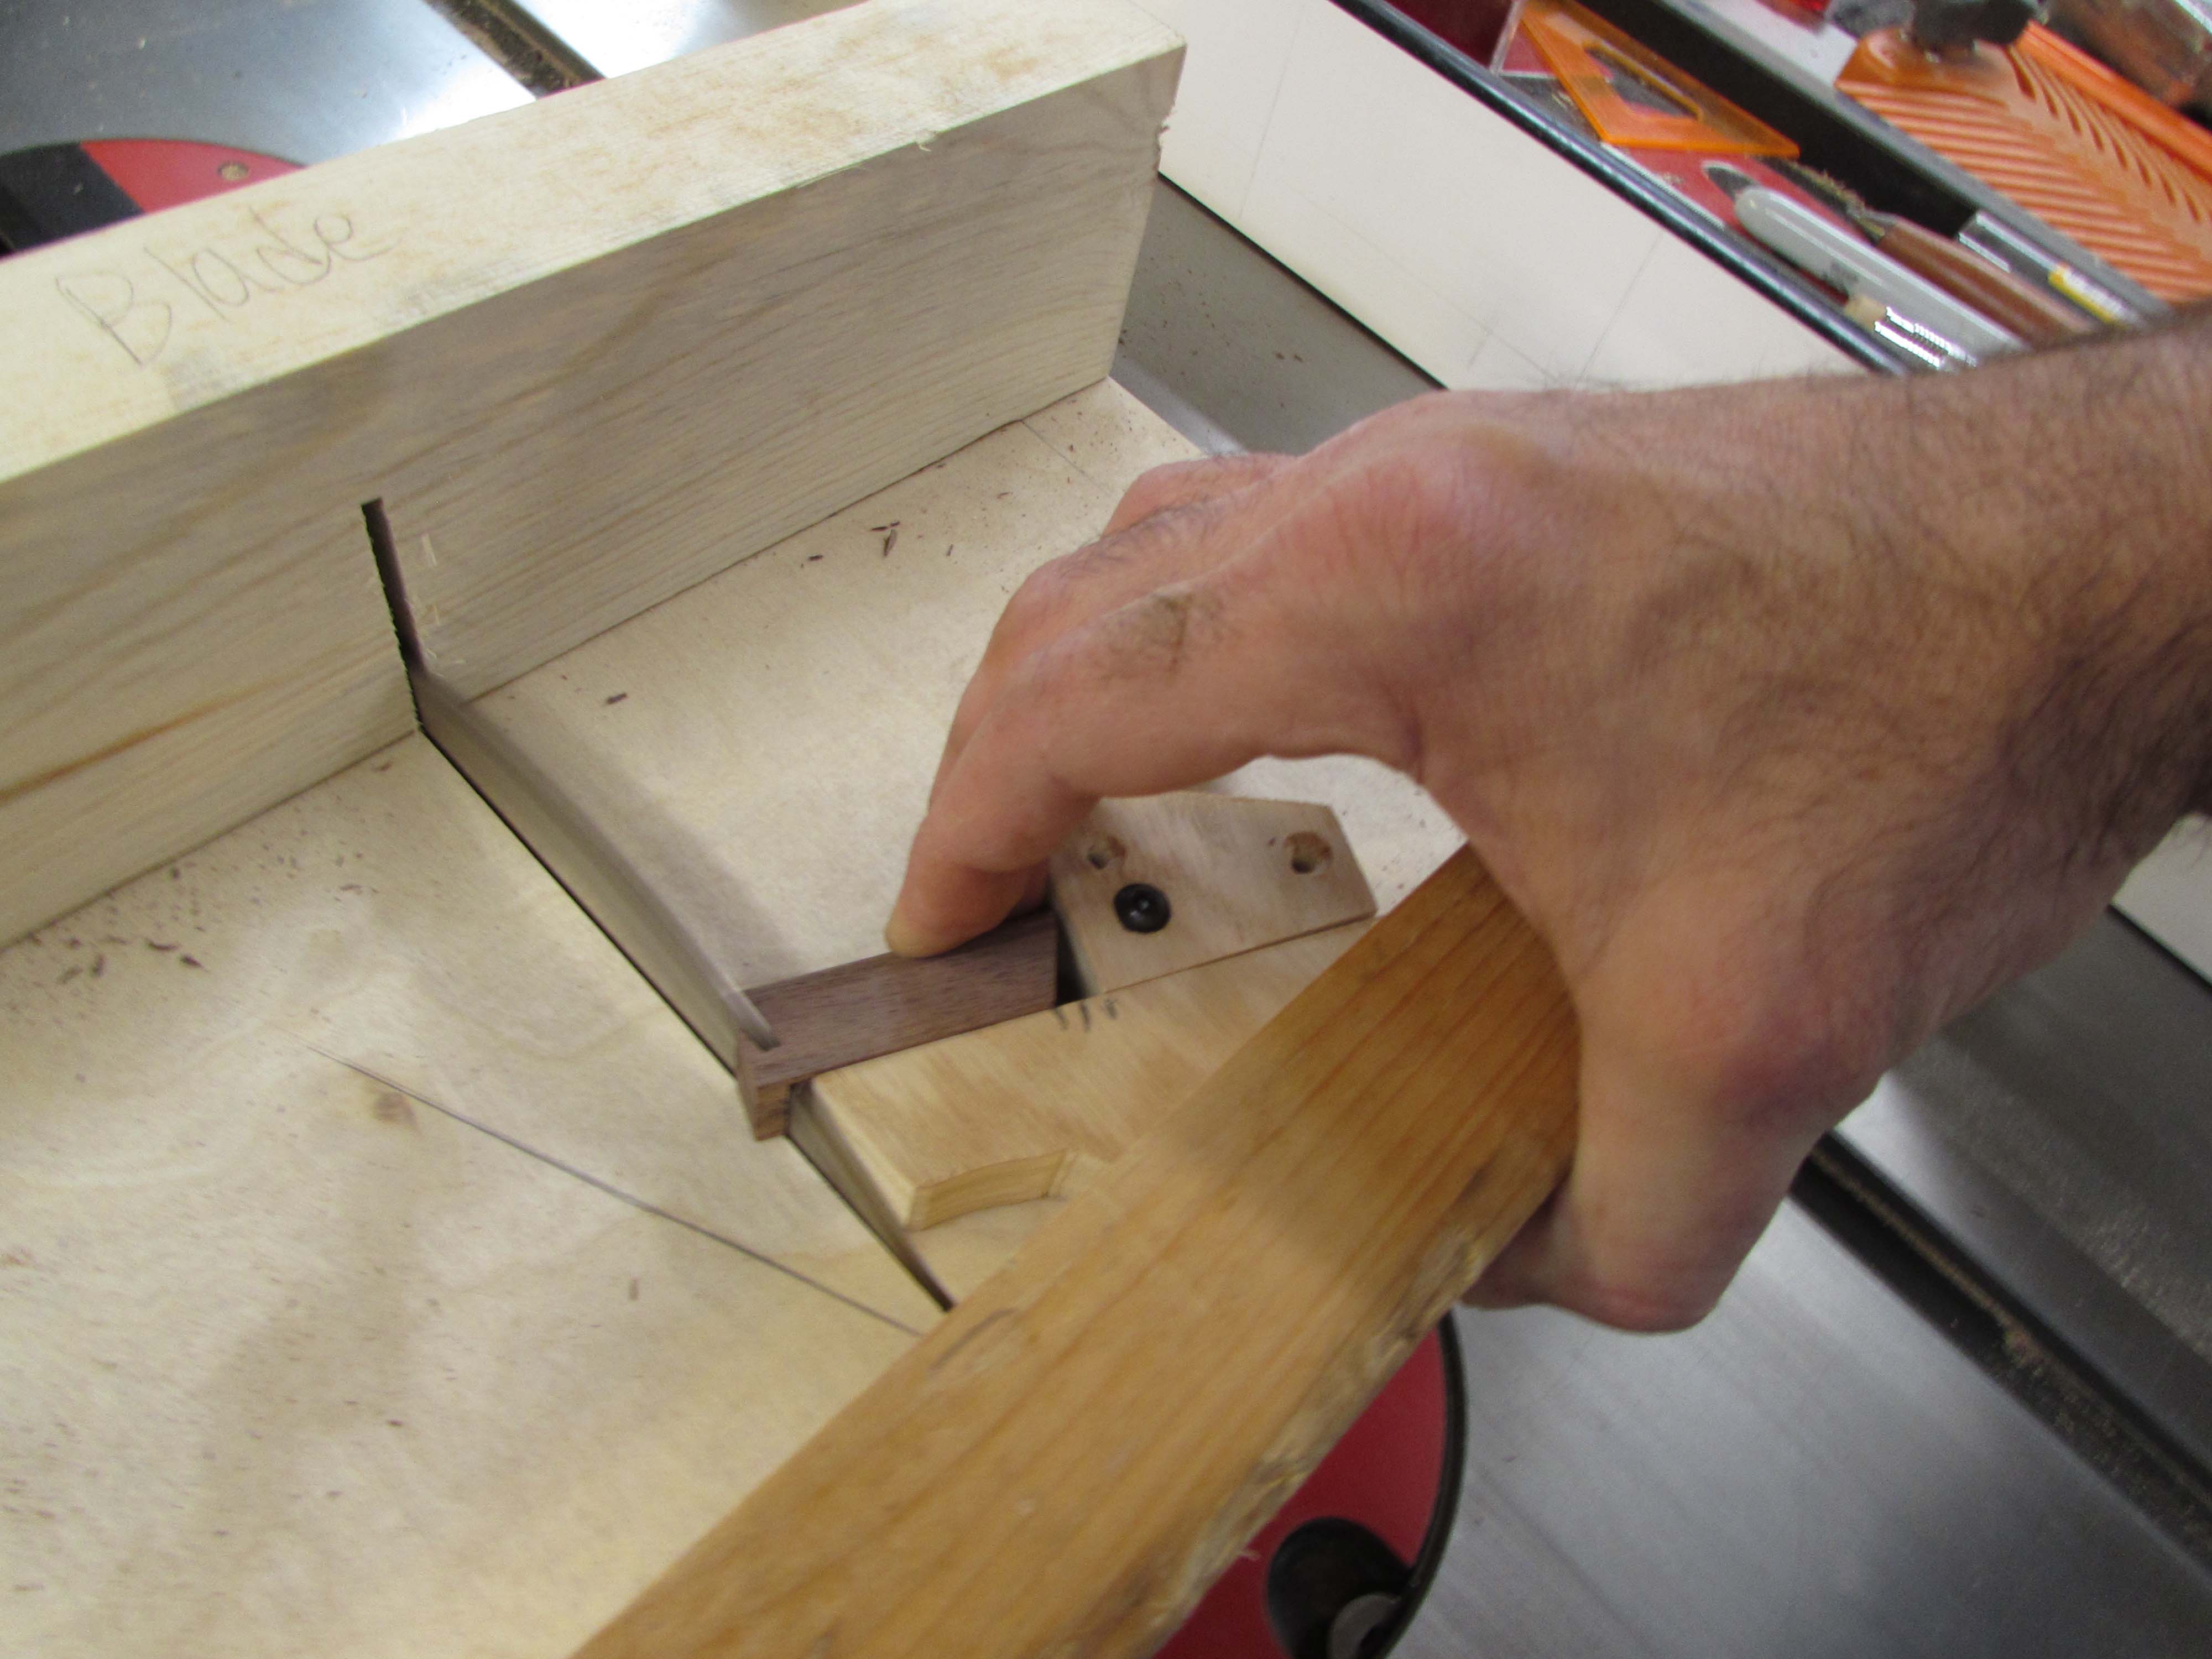
When I made this type of trim before, I measured, marked, and cut each piece individually on my miter saw. It was a very slow process and very dangerous with my fingers so close to the miter saw blade. This method is a lot safer and faster.


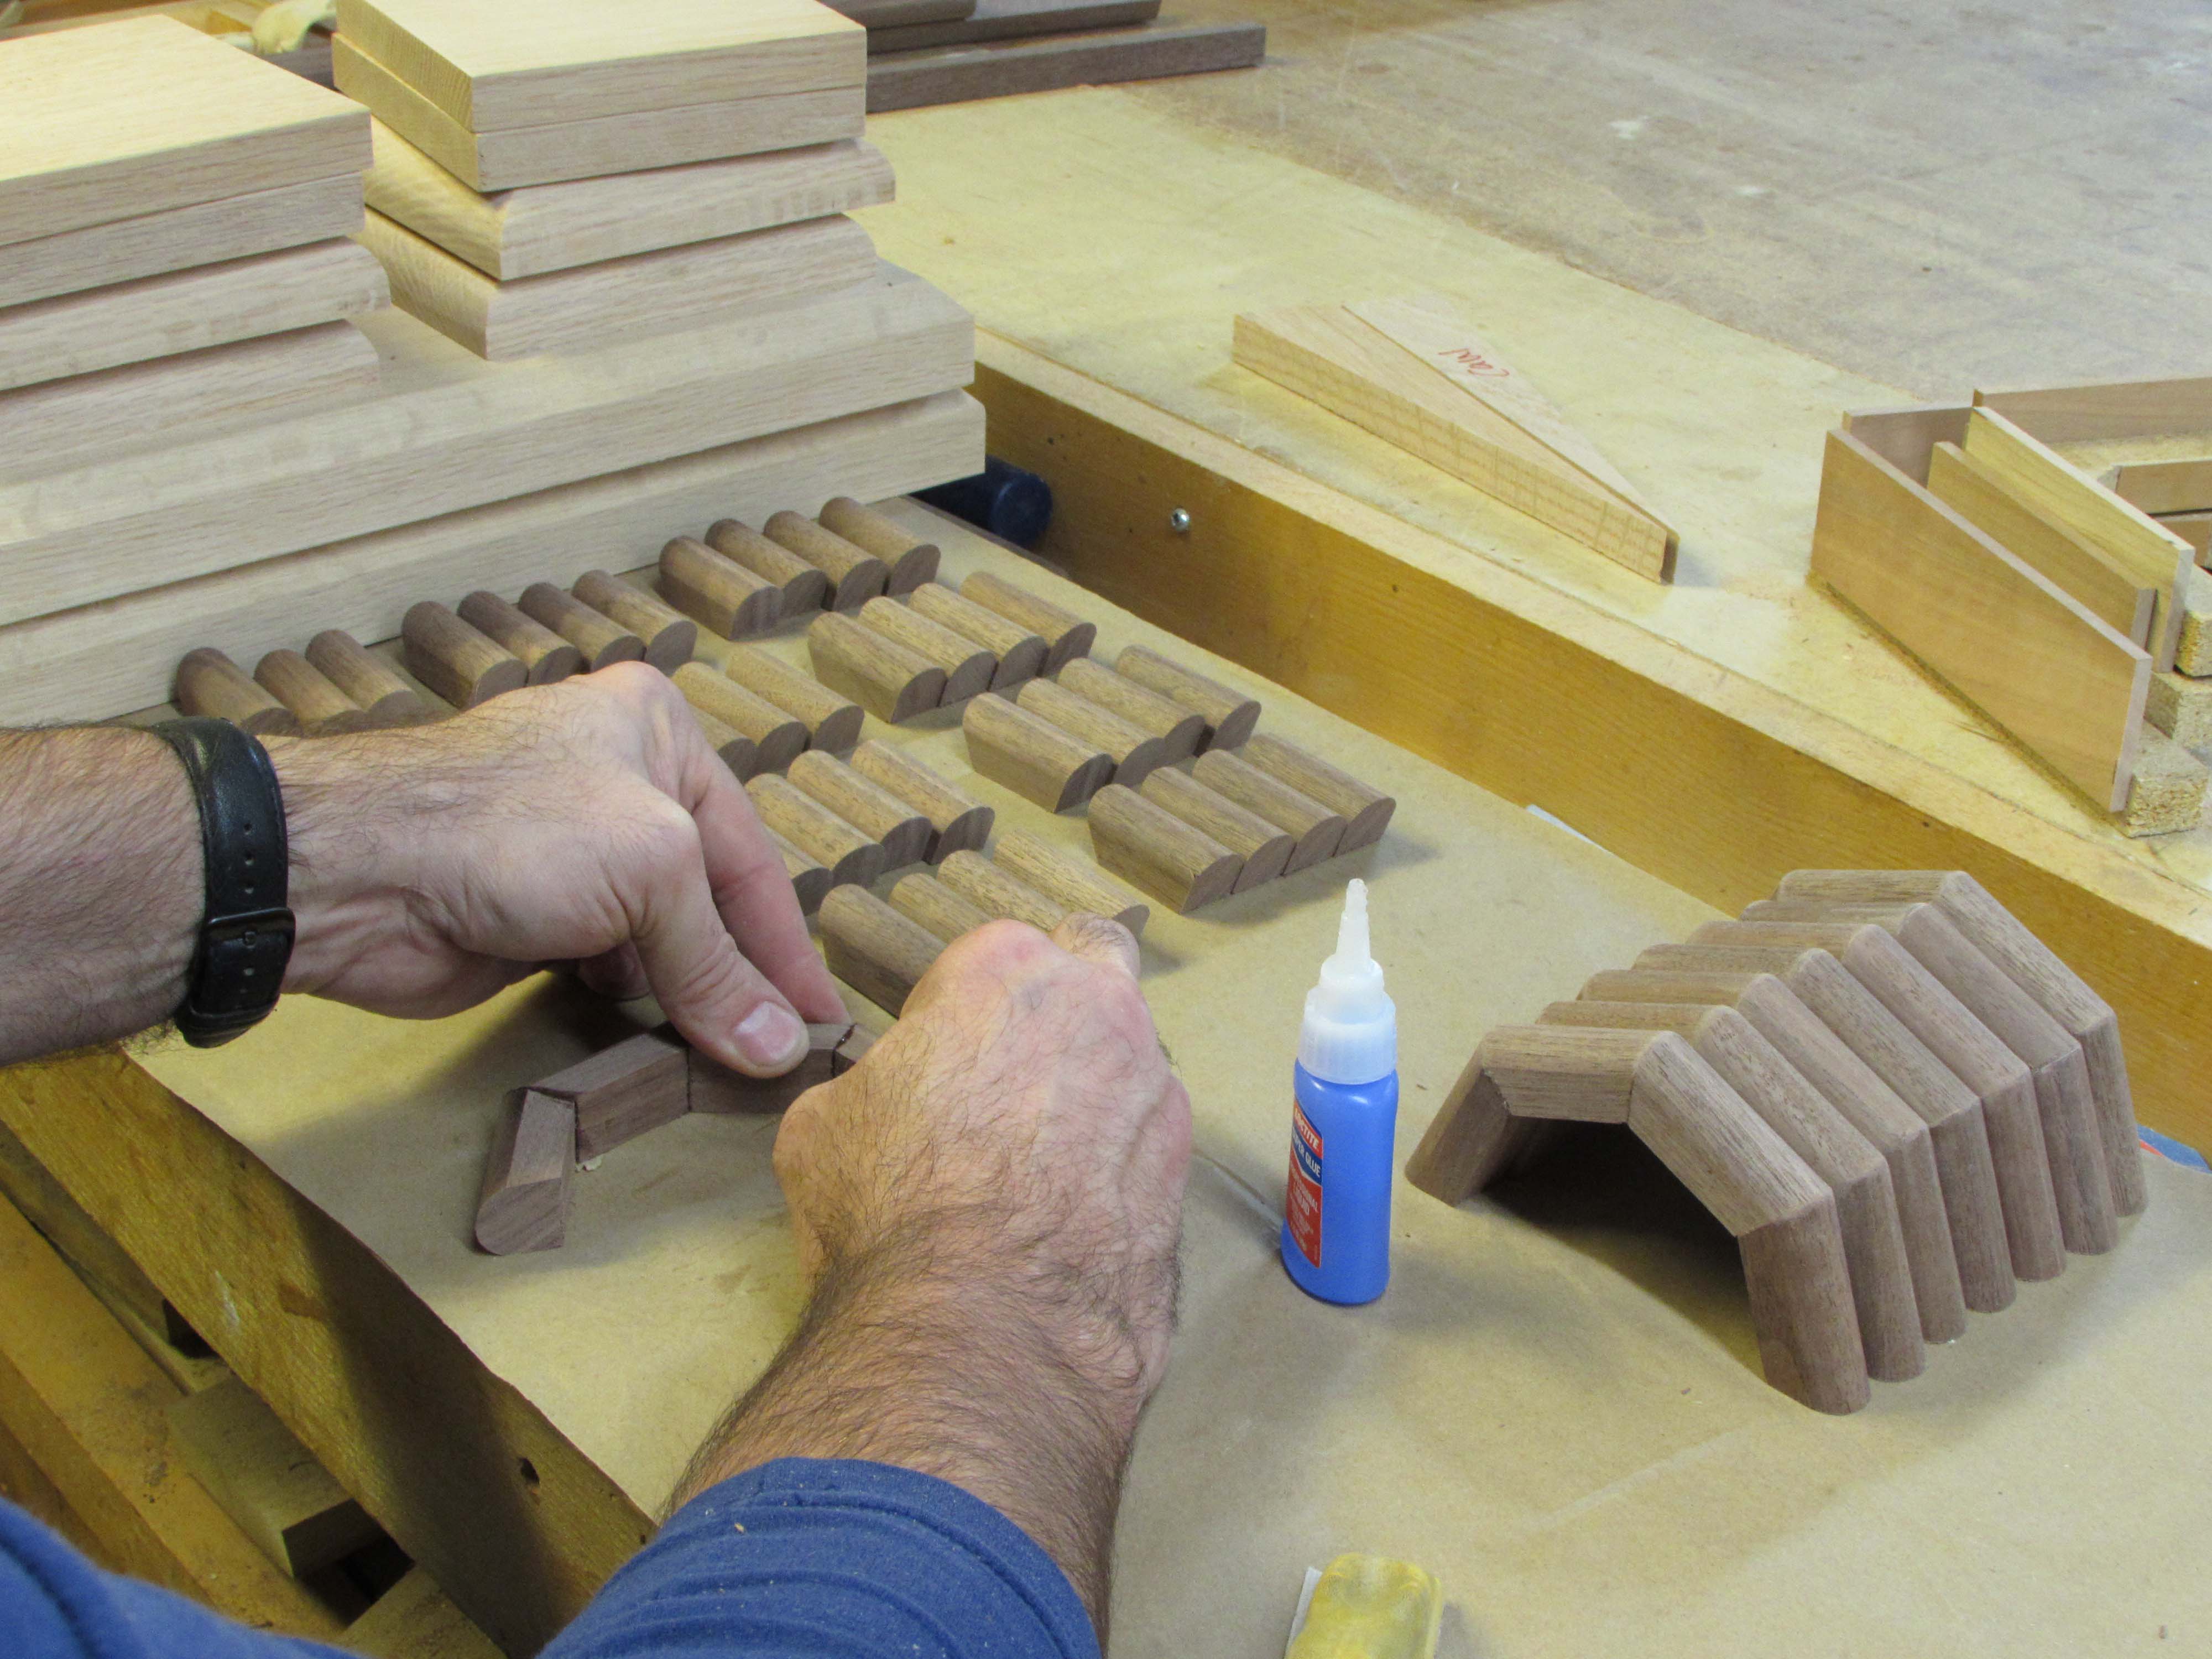
I used quick-set CA glue to attach four pieces together. I only have to hold each joint in place for about 30 seconds for the glue to set. It is very quick and strong, but it does tend to get all over your fingers. I will warn you that CA glue bonds to skin instantly, use as little as necessary to avoid squeeze-out…
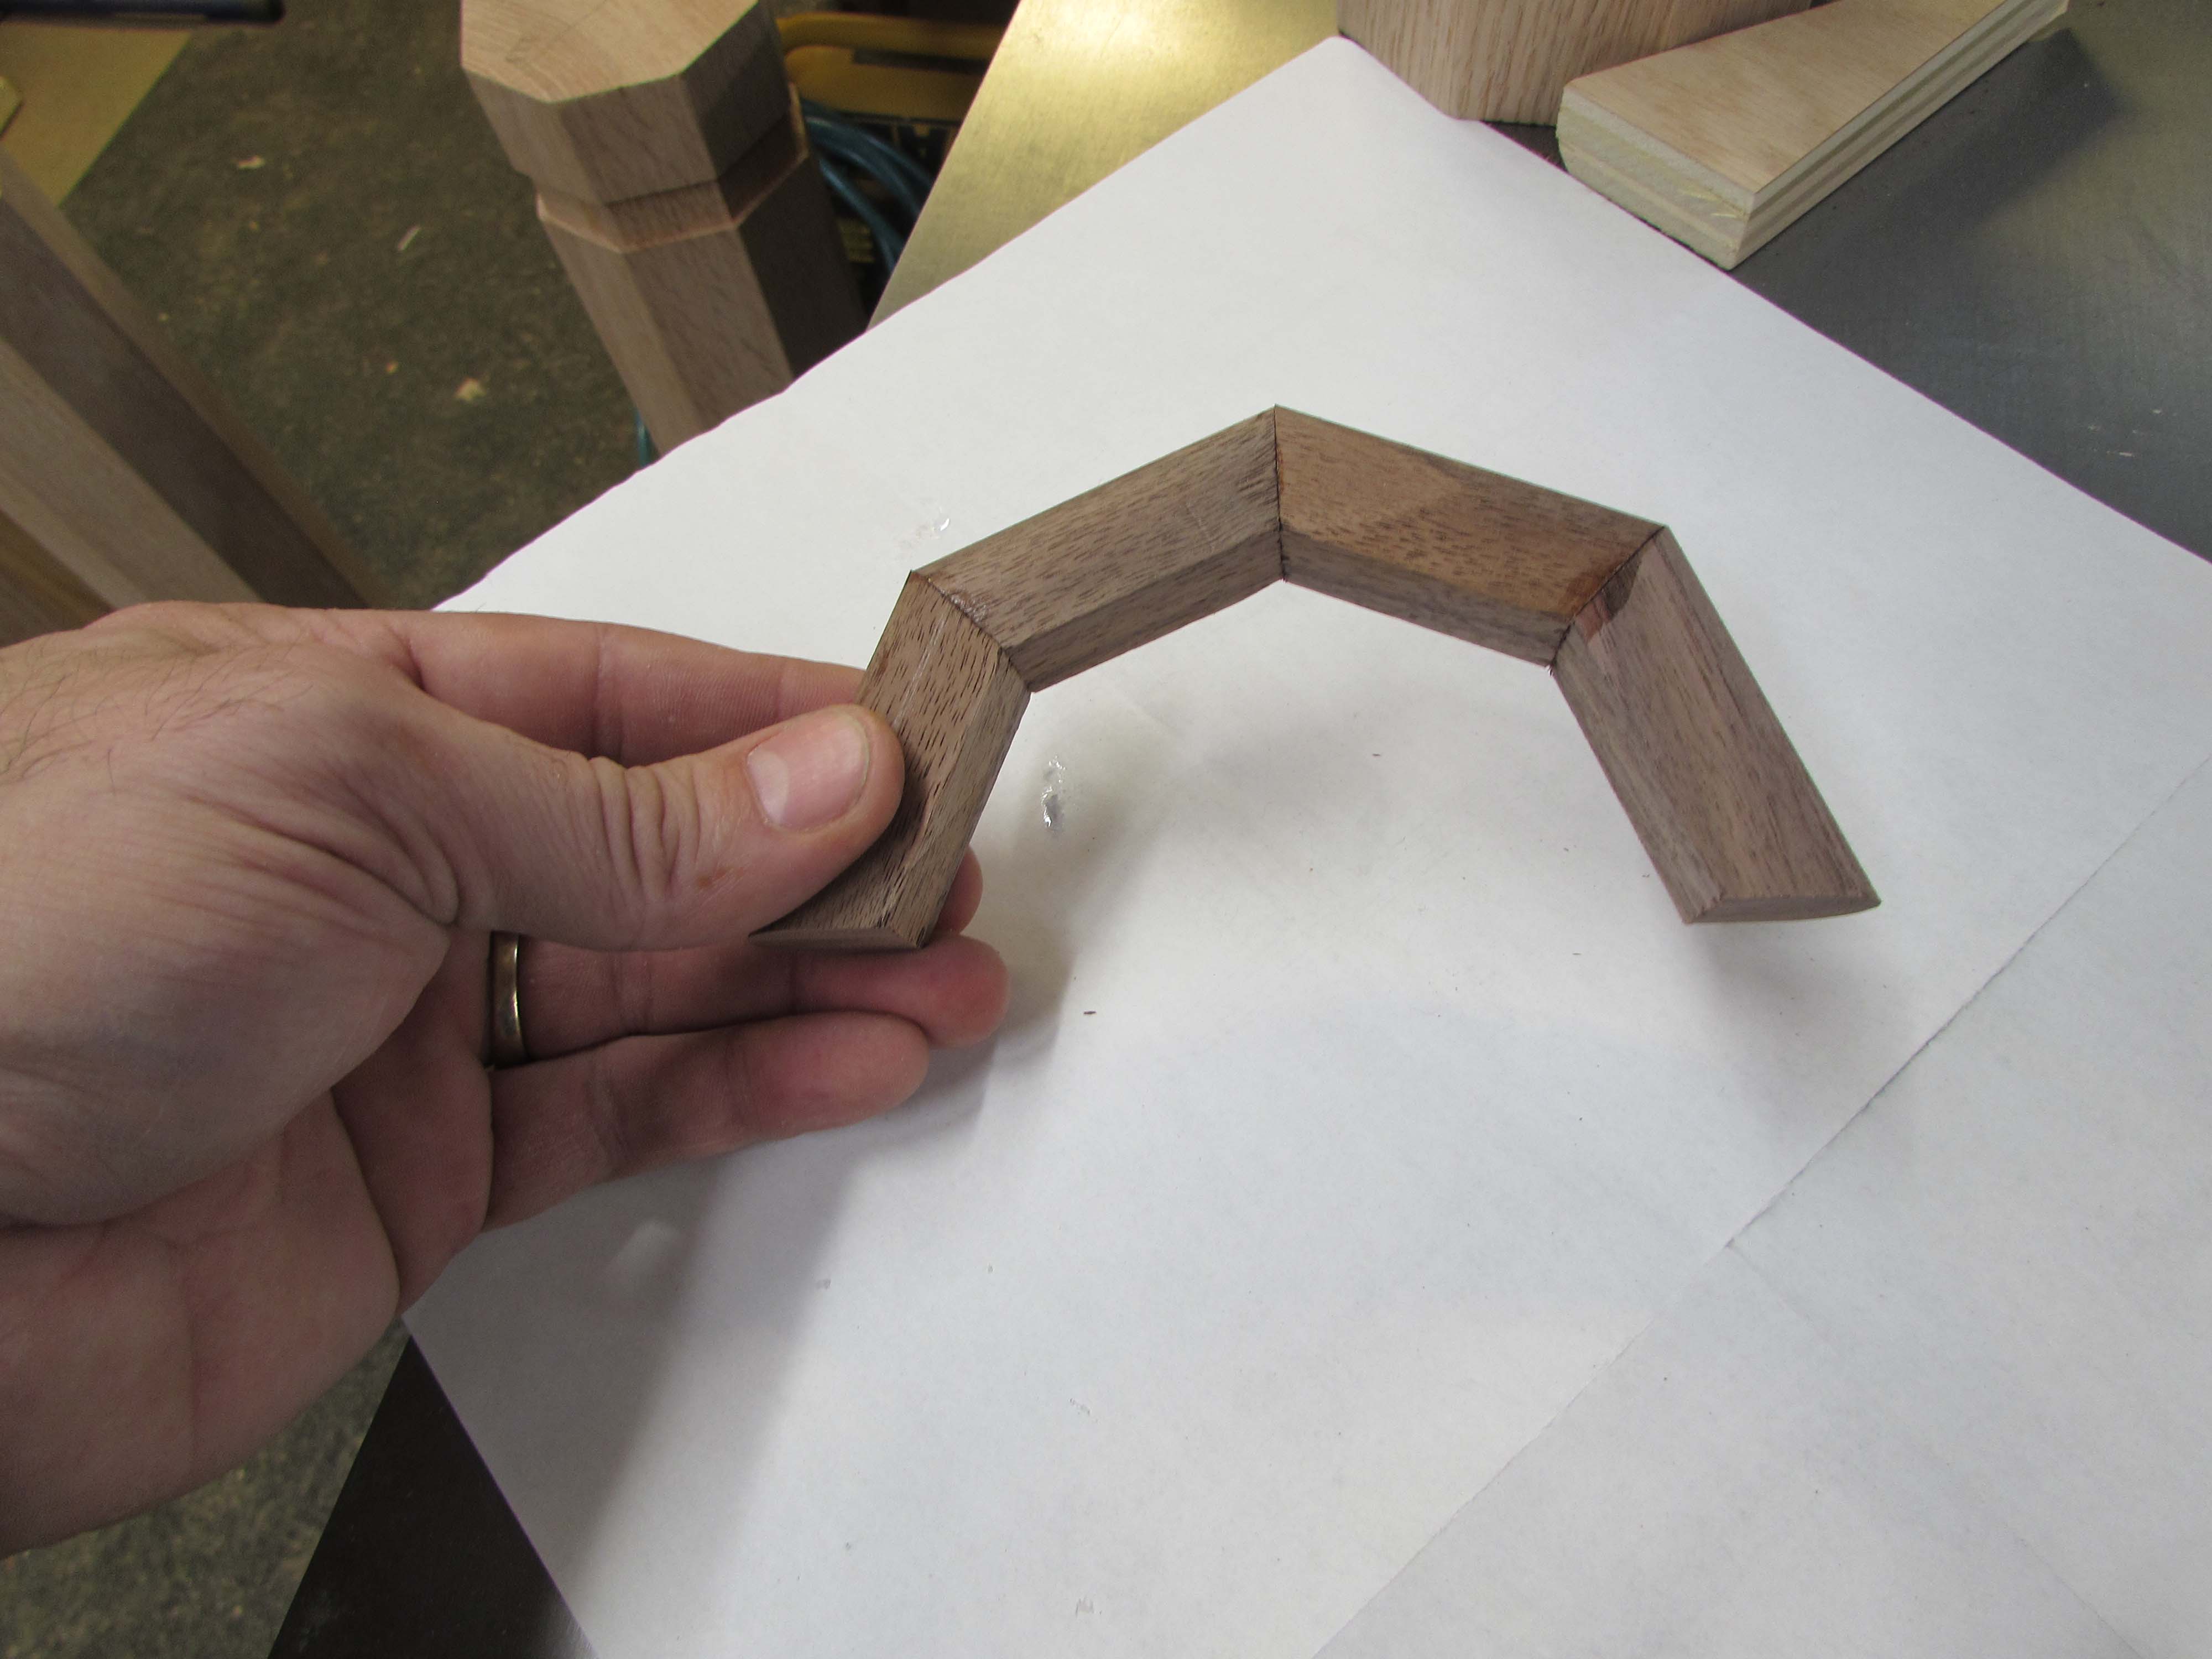

With four pieces assembled, I did a test fit of one half of the trim.

After a little trial and error, I got the correct length to allow just under 1/16″ of a gap for wood movement.

I quickly made a second half and see how well they went together. They were actually a perfect fit. It pays to take your time and make your jigs correctly. Now I can cut the 64 individual pieces of the trim and be sure that each one will be exactly the same.


The other thing that is cool about using this little sled is that I can use a longer piece of trim and it just sticks past the end because the upper fence is too short to get in the way.

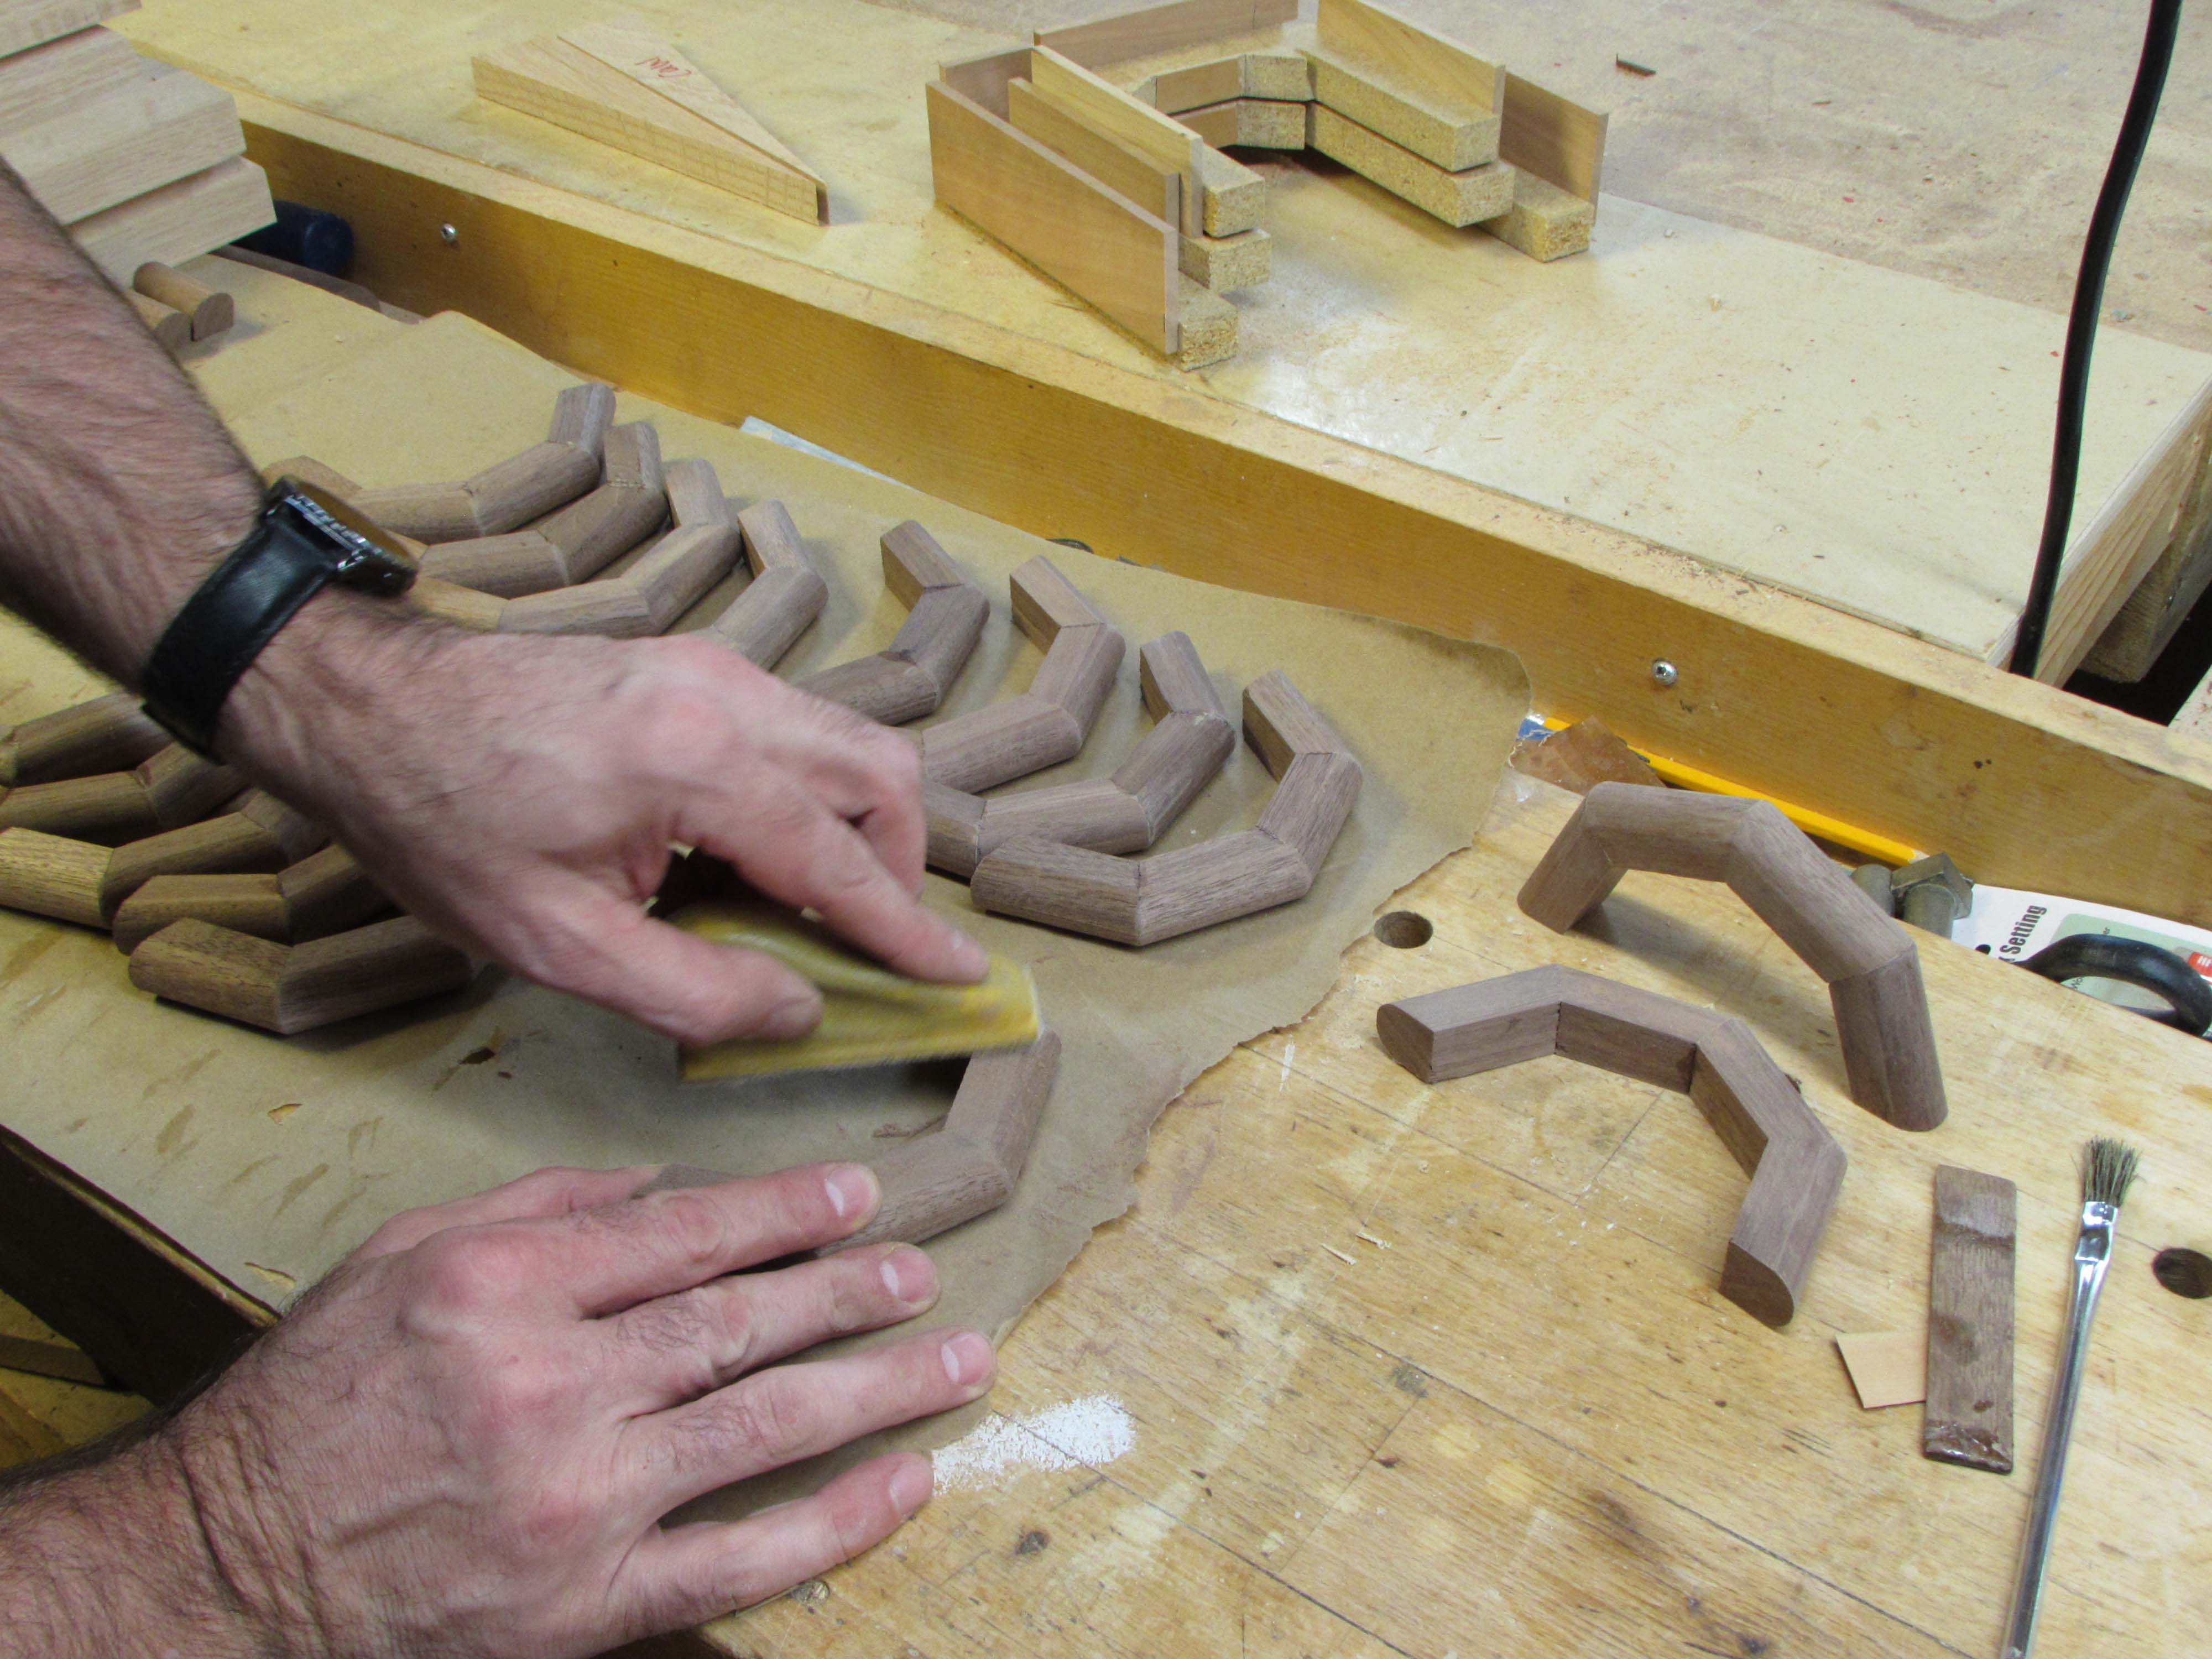
I cut a few extra pieces of trim in case there were any defects, then got to work glueing the halves together.

I found that once the joint was set, I could sand the round edges while the exposed glue was still wet, forcing the sawdust into the glue to fill any tiny gaps that may have existed.


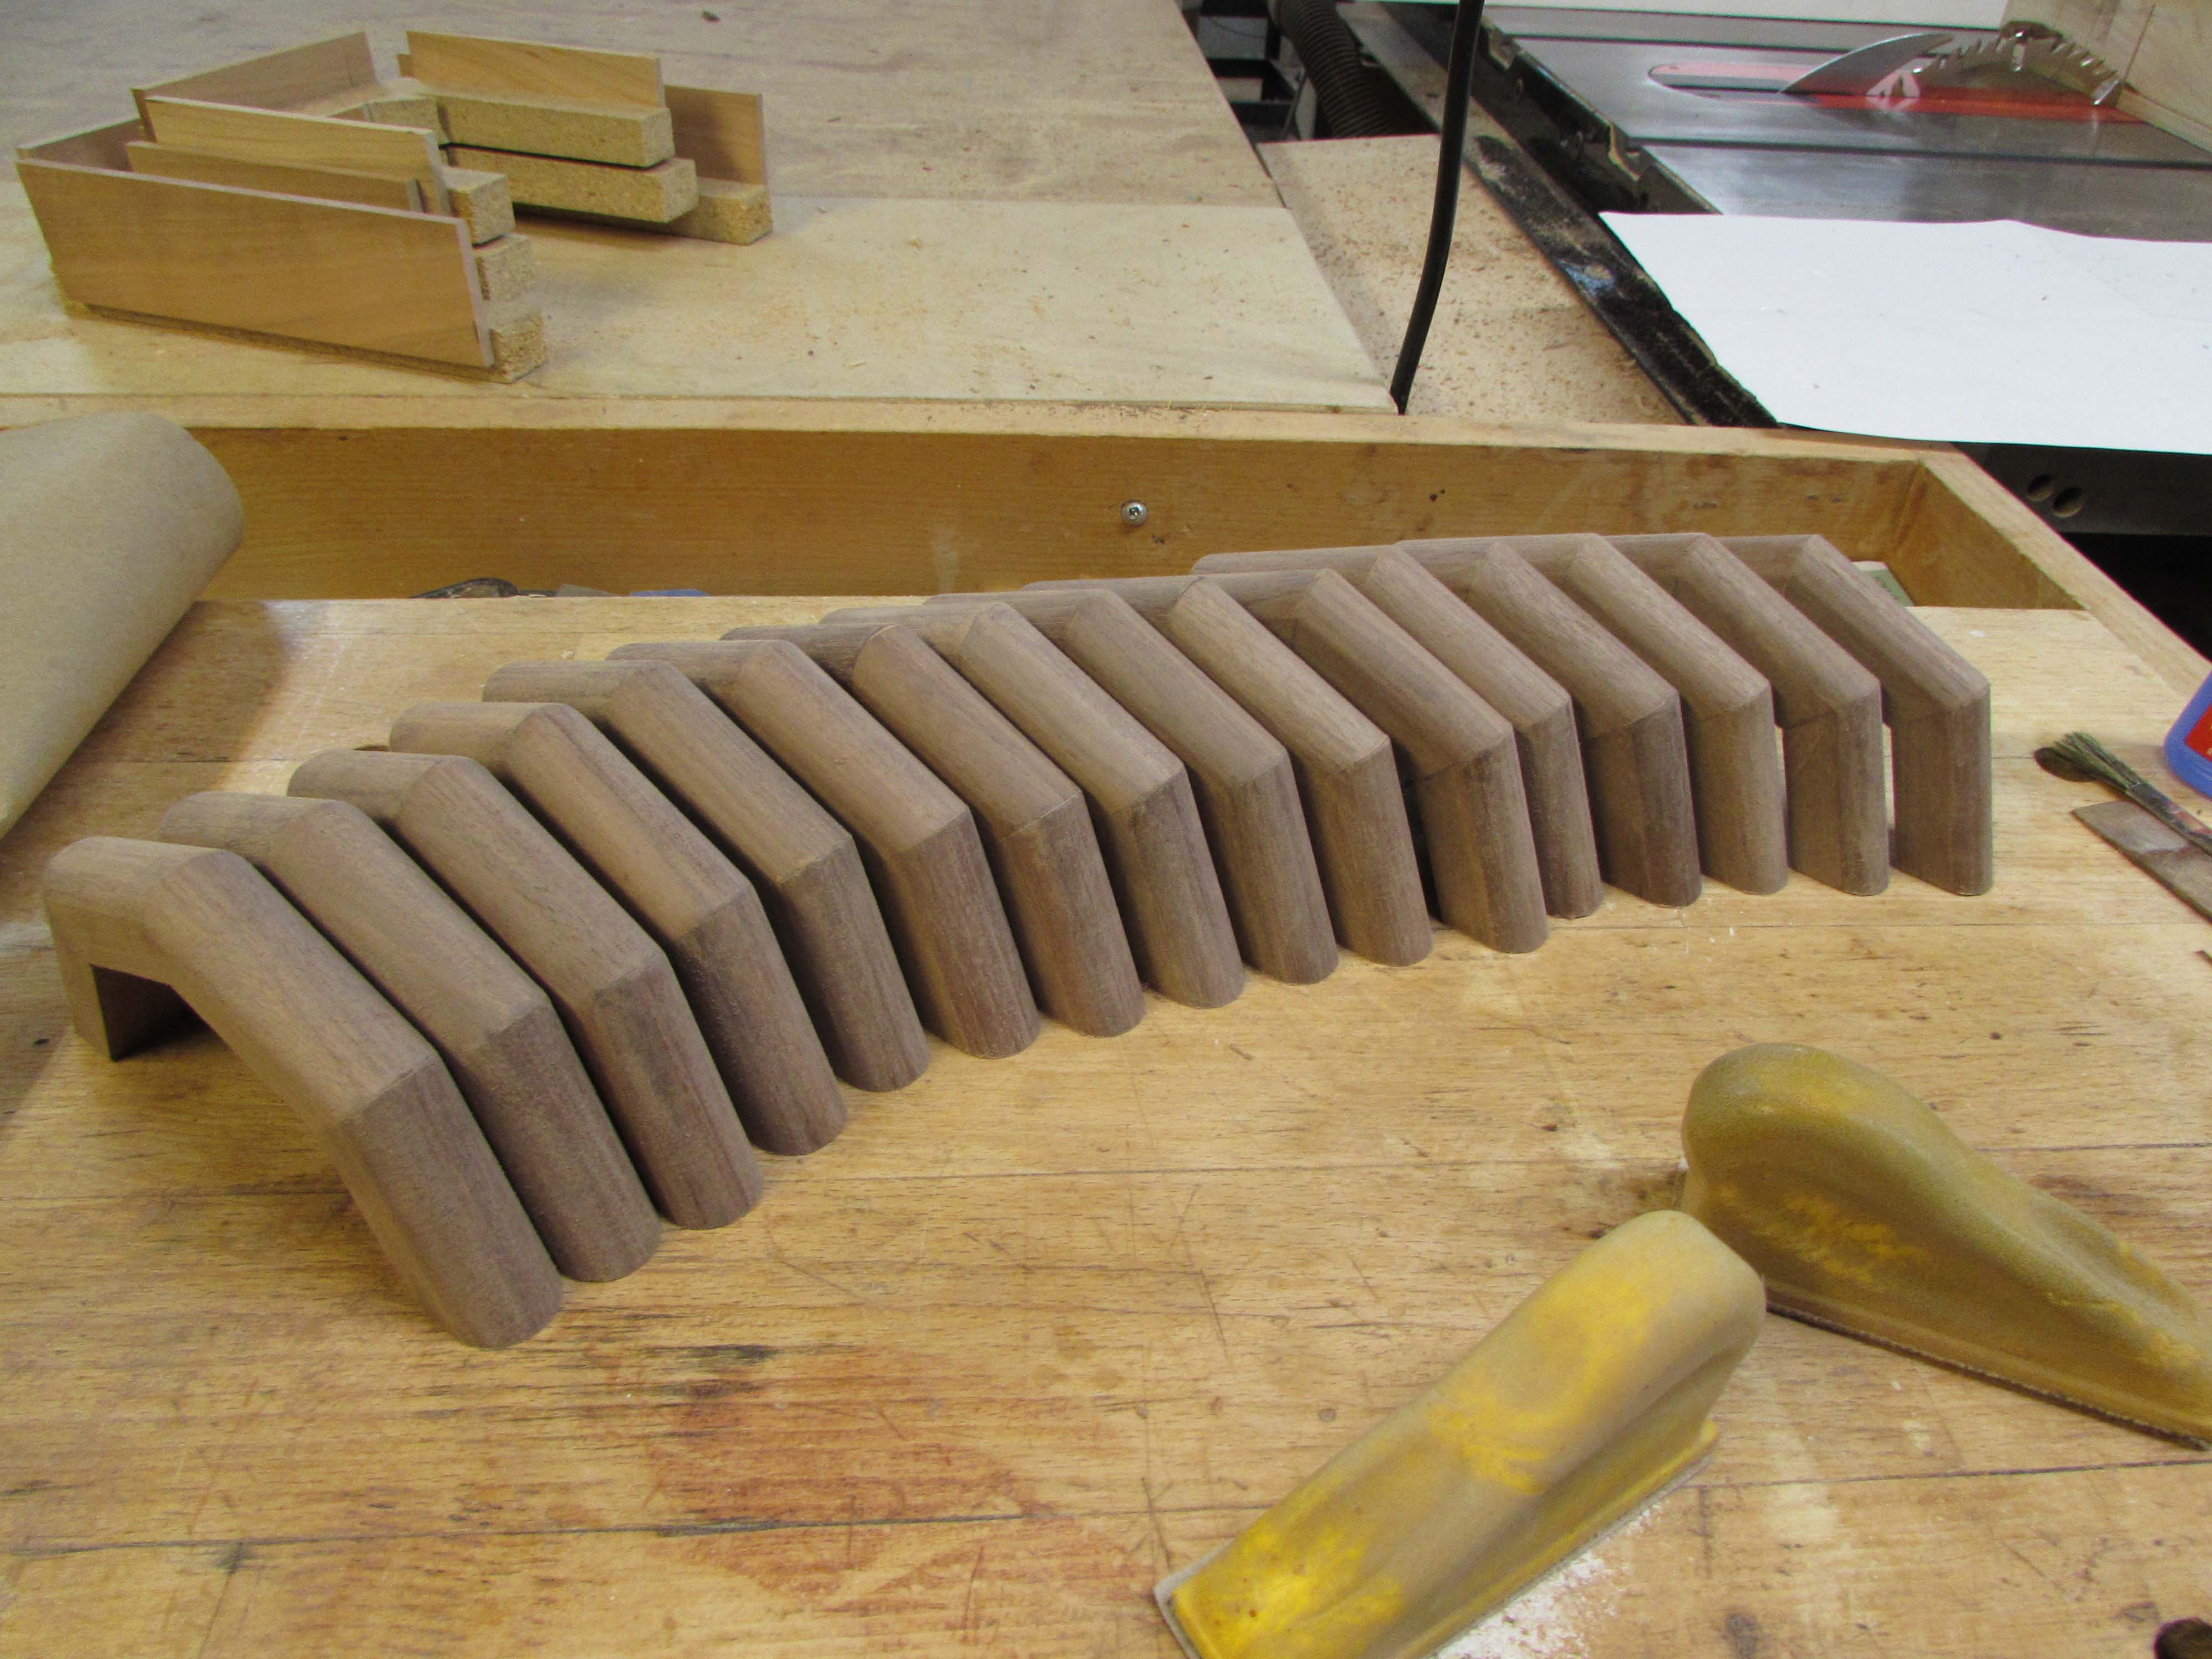
Then when they were all glued up I sanded the entire assembly. This is easier then trying to sand them once they are installed.

To allow for independent expansion between the column and trim, I am holding the trim to the column with a thin bead of silicone, then glueing the two halves to each other with more CA glue.

The thin bead of silicone should hold everything in place but remain flexible and absorb some expansion.

After the connecting joint was set, I sanded the two joints.

Then I assembled the rest.

This process went better than I expected. Highly consistent and repeatable. I am much more confident with this process for the rest of the furniture pieces. Next up for the ambo is final assembly and finish.
