
St. Kilian chapel – Ambo, part 5
Time for final assembly.
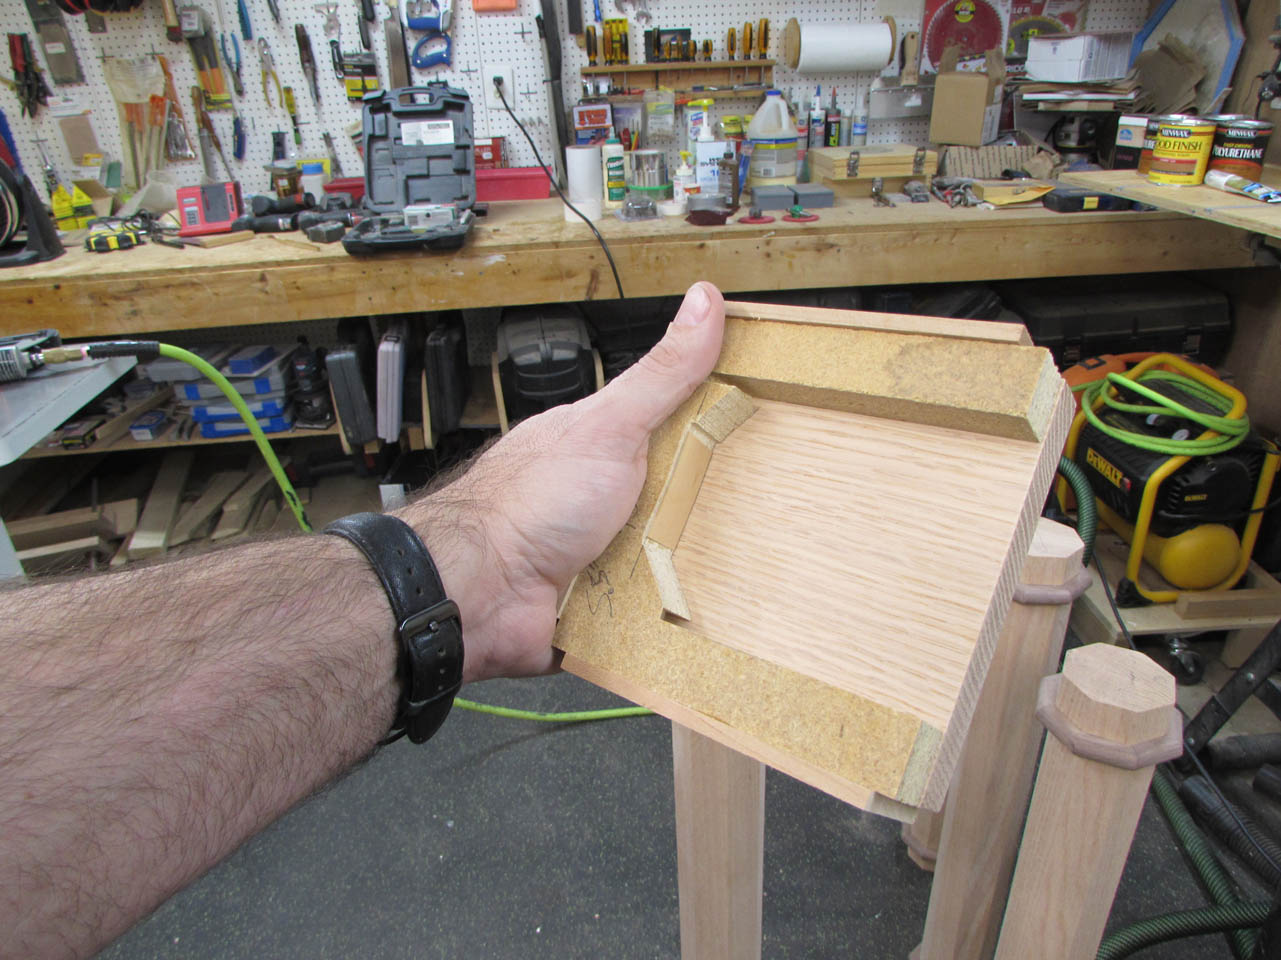
I am starting with the top plate. I inserted the first one into the locating jig and spread a thin layer of glue to the top of the first column.


I set the jig in place, effectively centering the plate on the top of the column, then I used my 18 gauge brad nailer to hold it in place while the glue dried. Since nobody will see this surface, I went ahead and used half a dozen nails to lock it in place.

Then I flipped the column over and repeated the process on the bottom with the base cap piece.


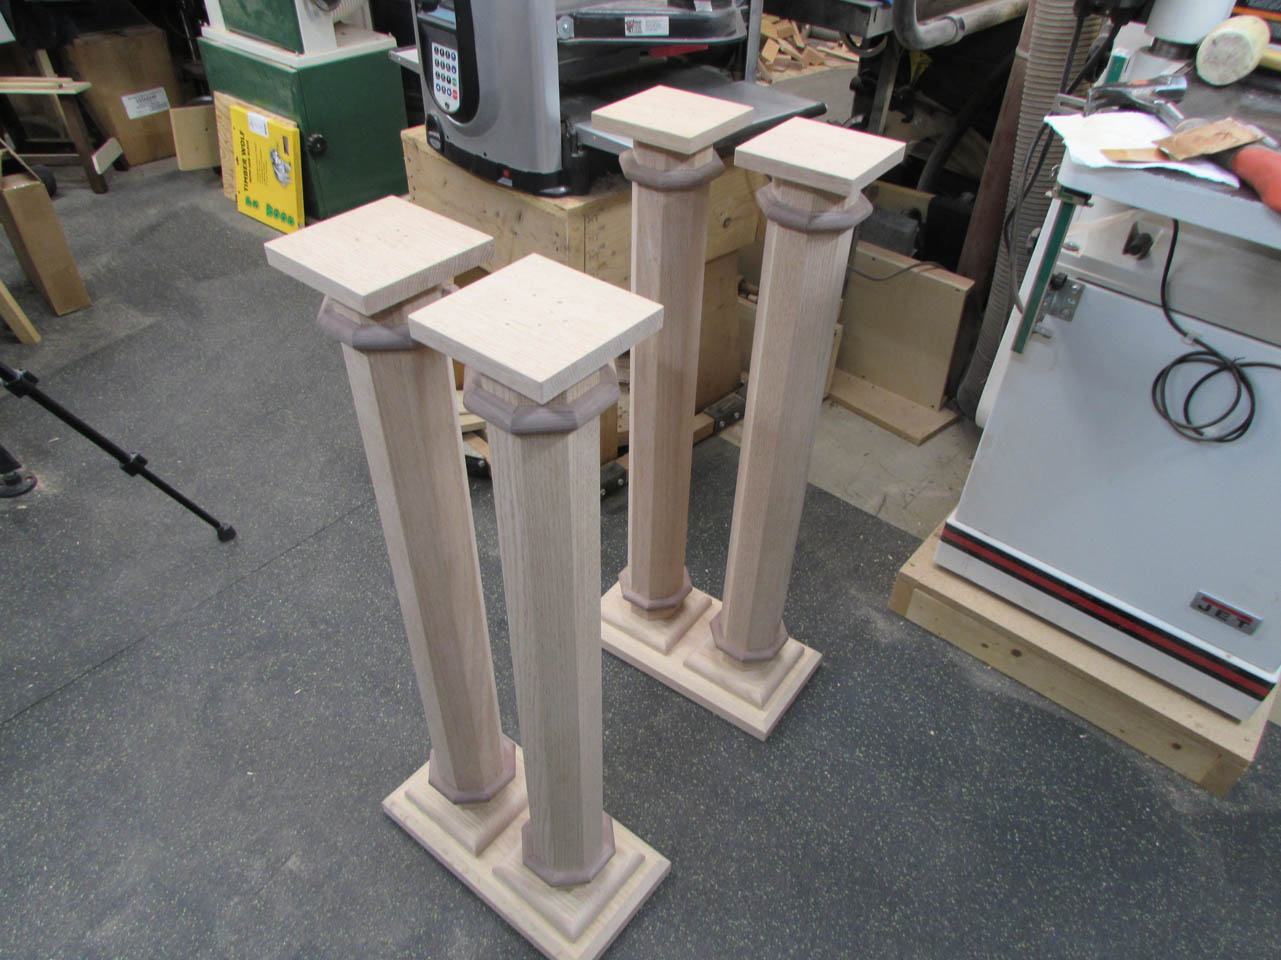
After I had two of these made up, I used the larger locating jig to mount the base to the first column.

After the first one was attached through the bottom plate, I applied glue to the second one and attached it as well. I made sure to use a nail set to sink all of the brad nail heads below the surface.


The first one was successfully assembled so I repeated the process on the second.

After those had set up, I flipped over the top section and propped it up on some blocks. I marked and taped off 1-1/4″ in from the outer edges so I knew where to locate the columns.


Then after squaring and aligning both legs, I placed tape around all four sides of each.
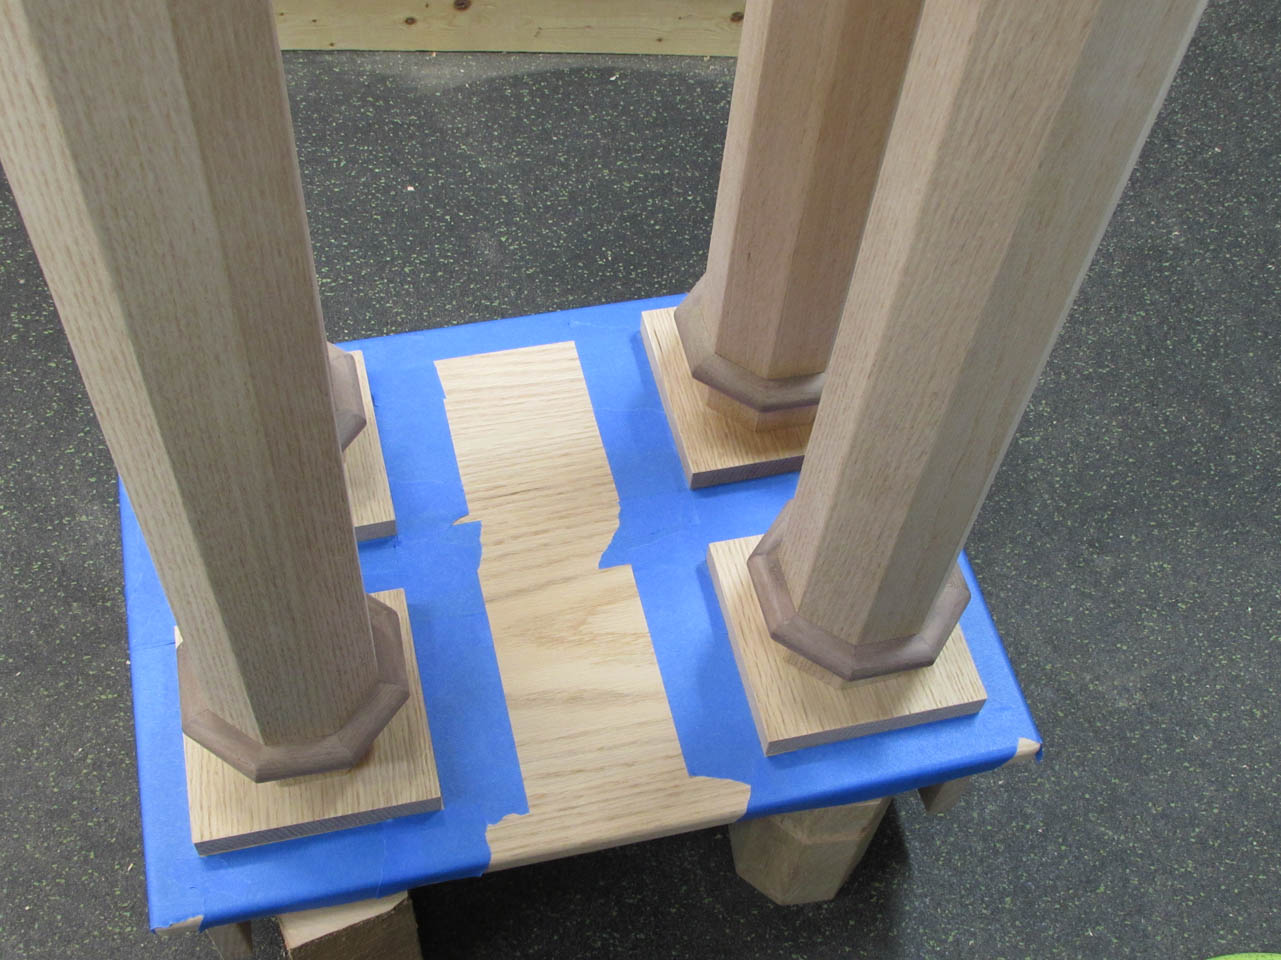

This gave me zones to apply the wood glue without worrying about making too much mess if the columns slid around a bit while realigning. Since this is actually the bottom side, I attached the columns with a single brad nail in each corner.

After flipping the ambo back over, I clamped the top to the plate as well, just to insure a tight connection.

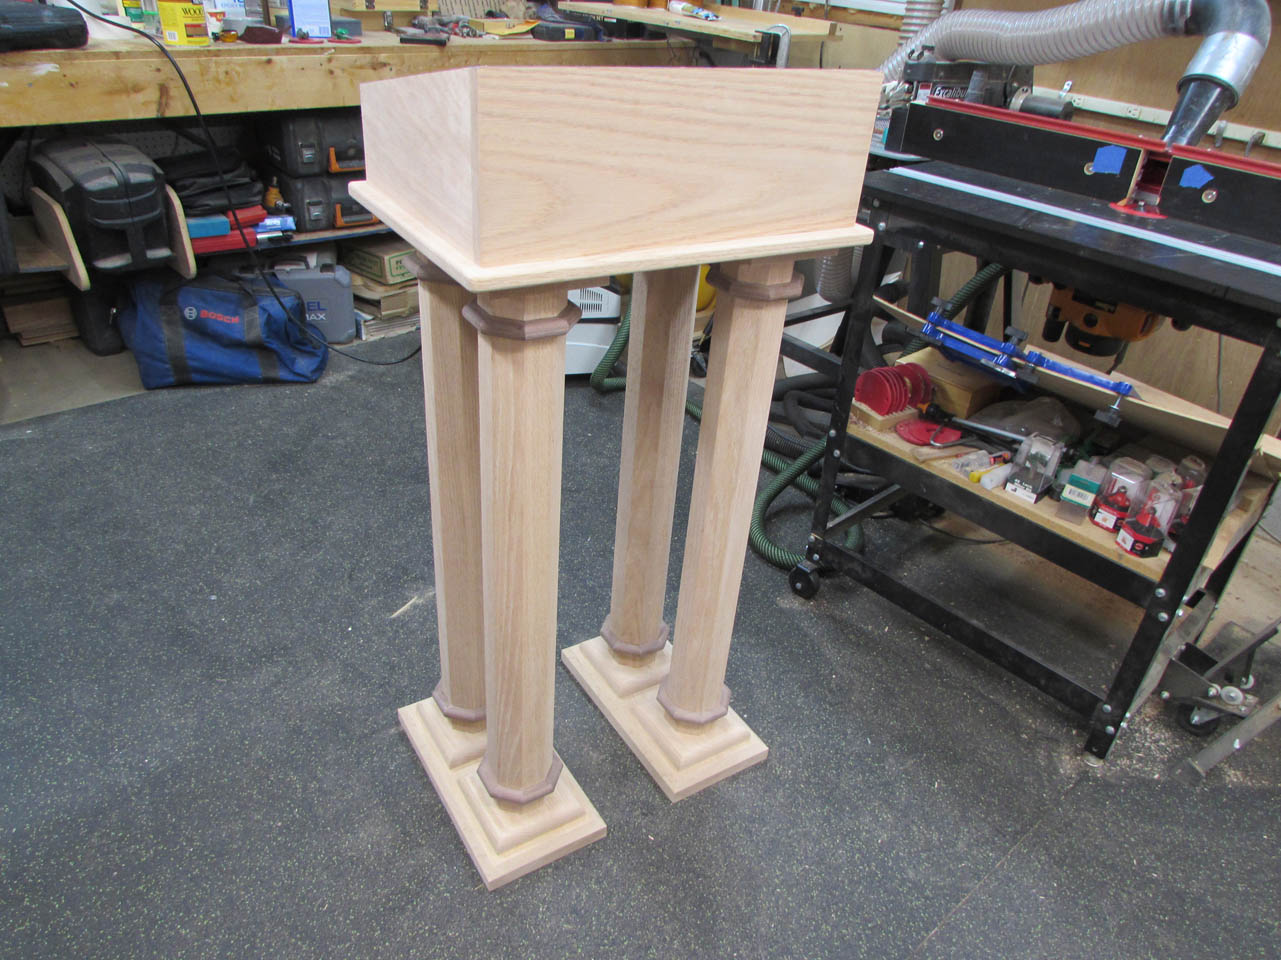
Construction was done except for the final installation of the top. That will be the last step after finishing.


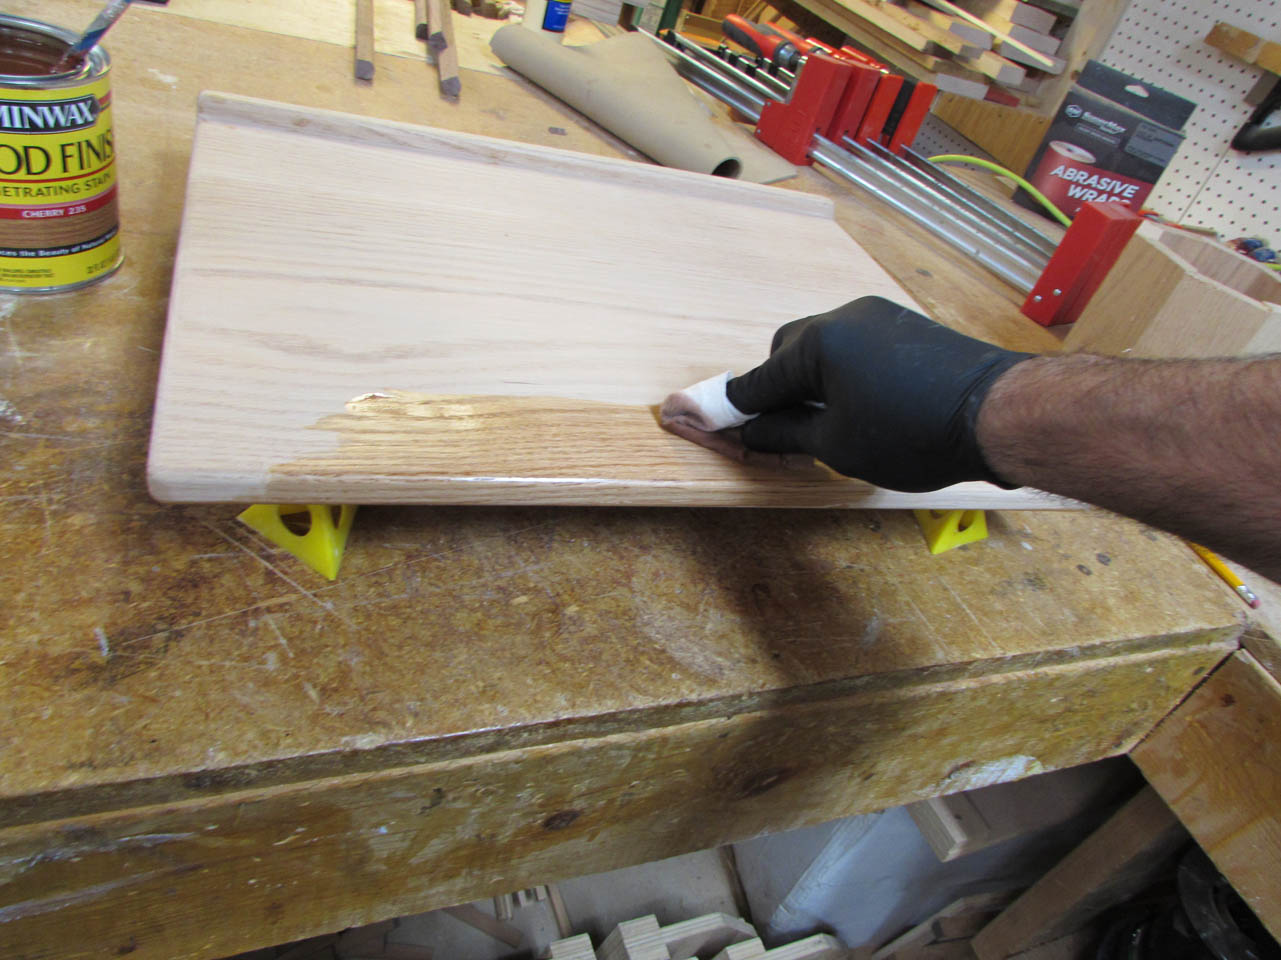
Now it is time to start applying the stain. I am using Minwax, Cherry 235. It is easily applied with a lint-free cloth, rubbed on evenly.

After the bottom is coated, I flip the board over onto some painter’s pyramids and do the top.
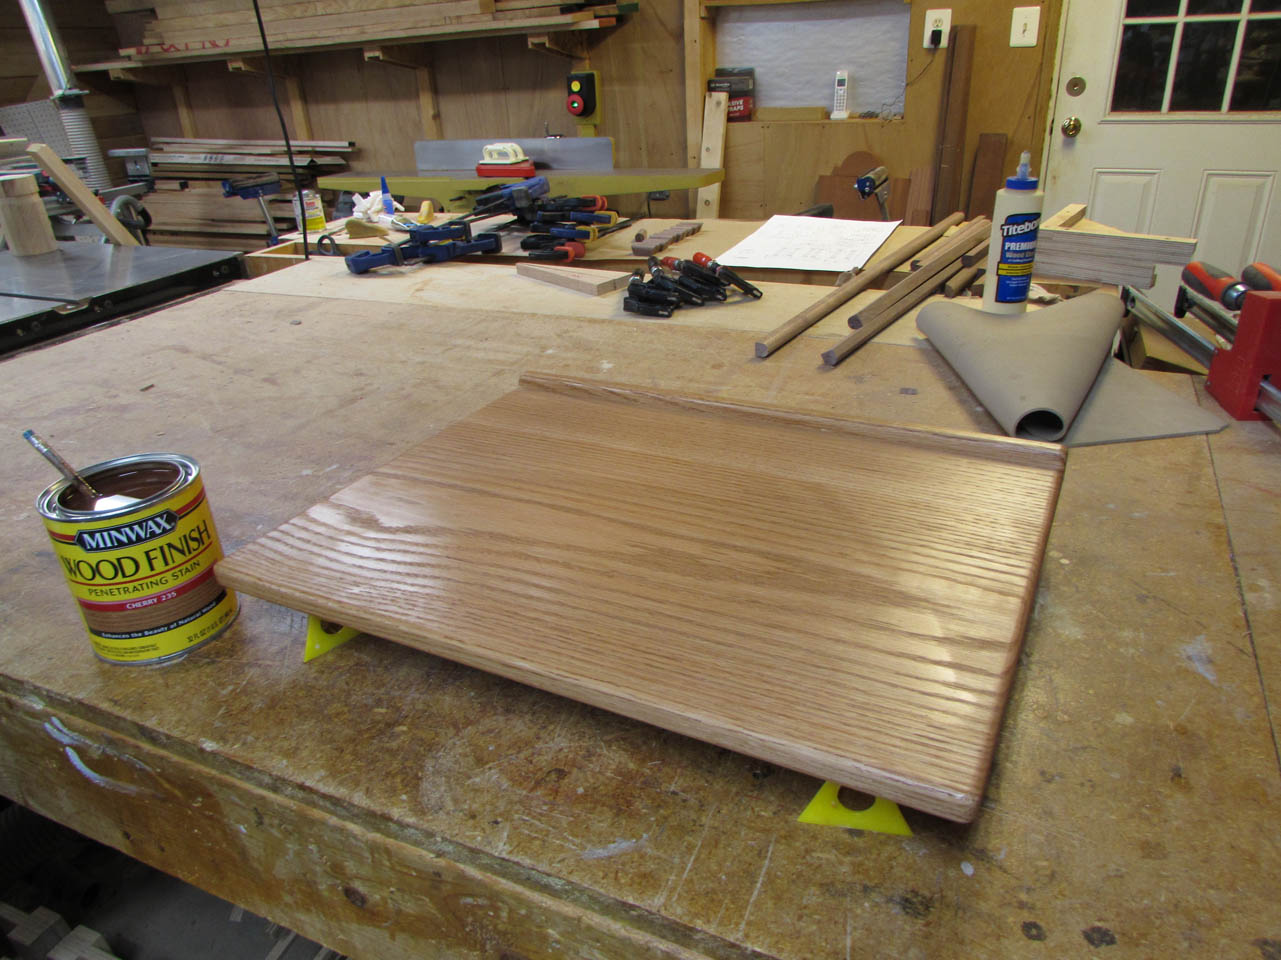
With the top finished, I moved on to the main body and started at the top.
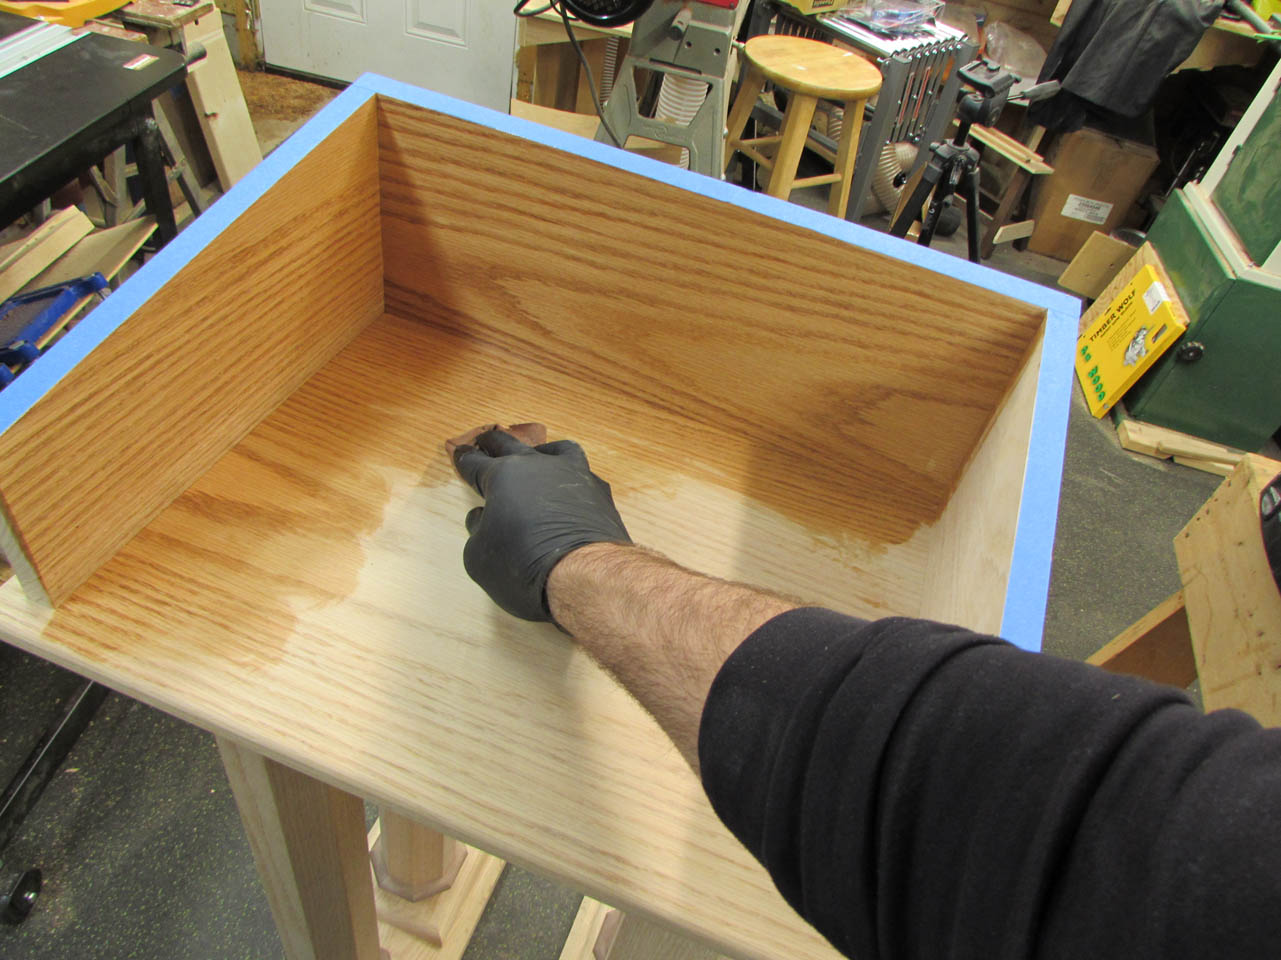

After the top is stained, I raised the entire thing up onto a wooden stool so I could get all of the tiny detailed locations below.

After I had finished the long detailed process, I had my wife inspect the entire thing and point out six or seven places that I had missed. It is always good to have a second set of eyes critiquing your work. Especially at the end of a long day…

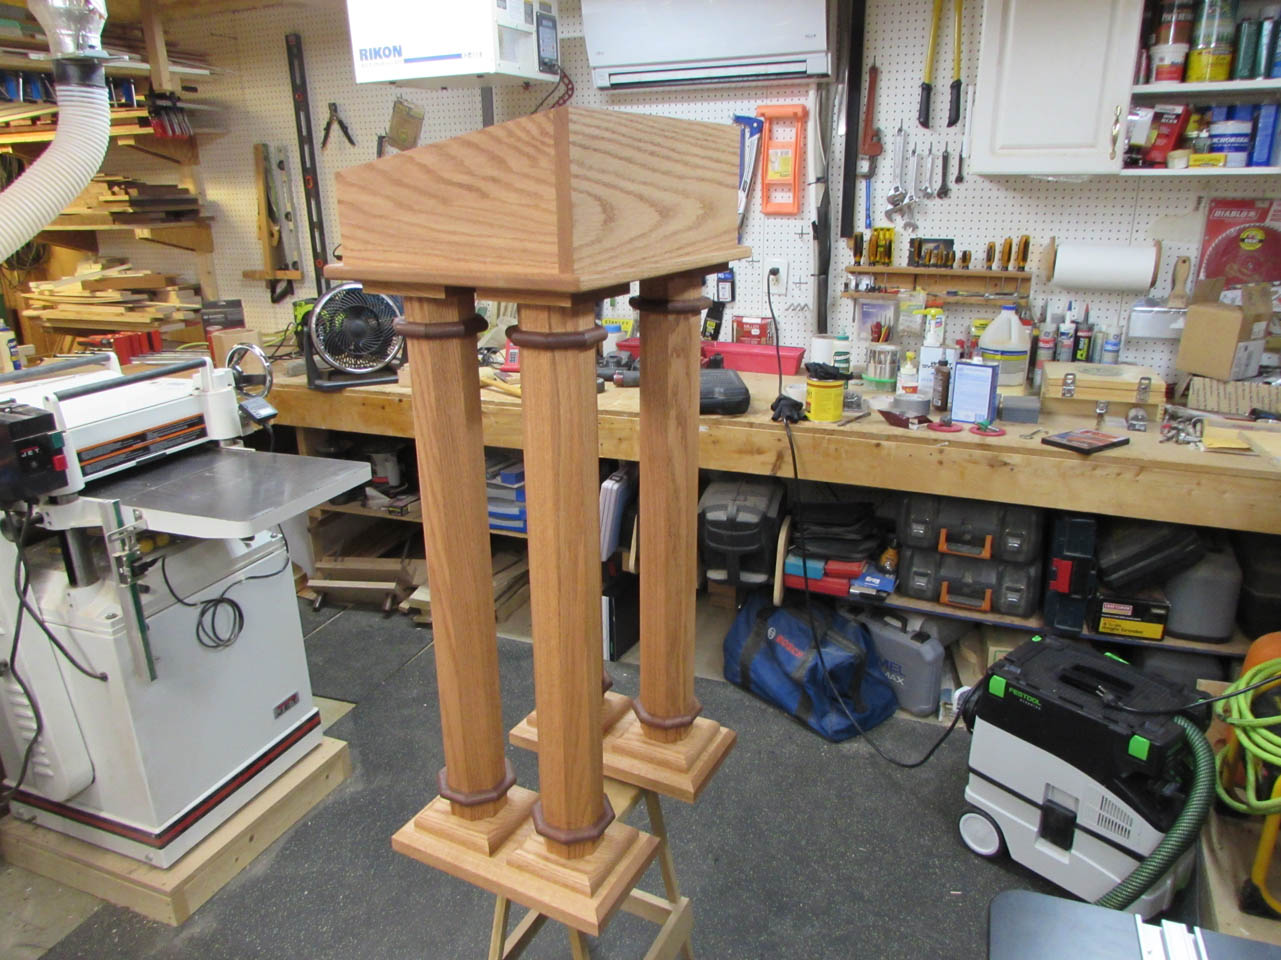
And here it is, all stained and assembled. Next step, polyurethane finish!
