
St. Kilian chapel – Ambo, part 6
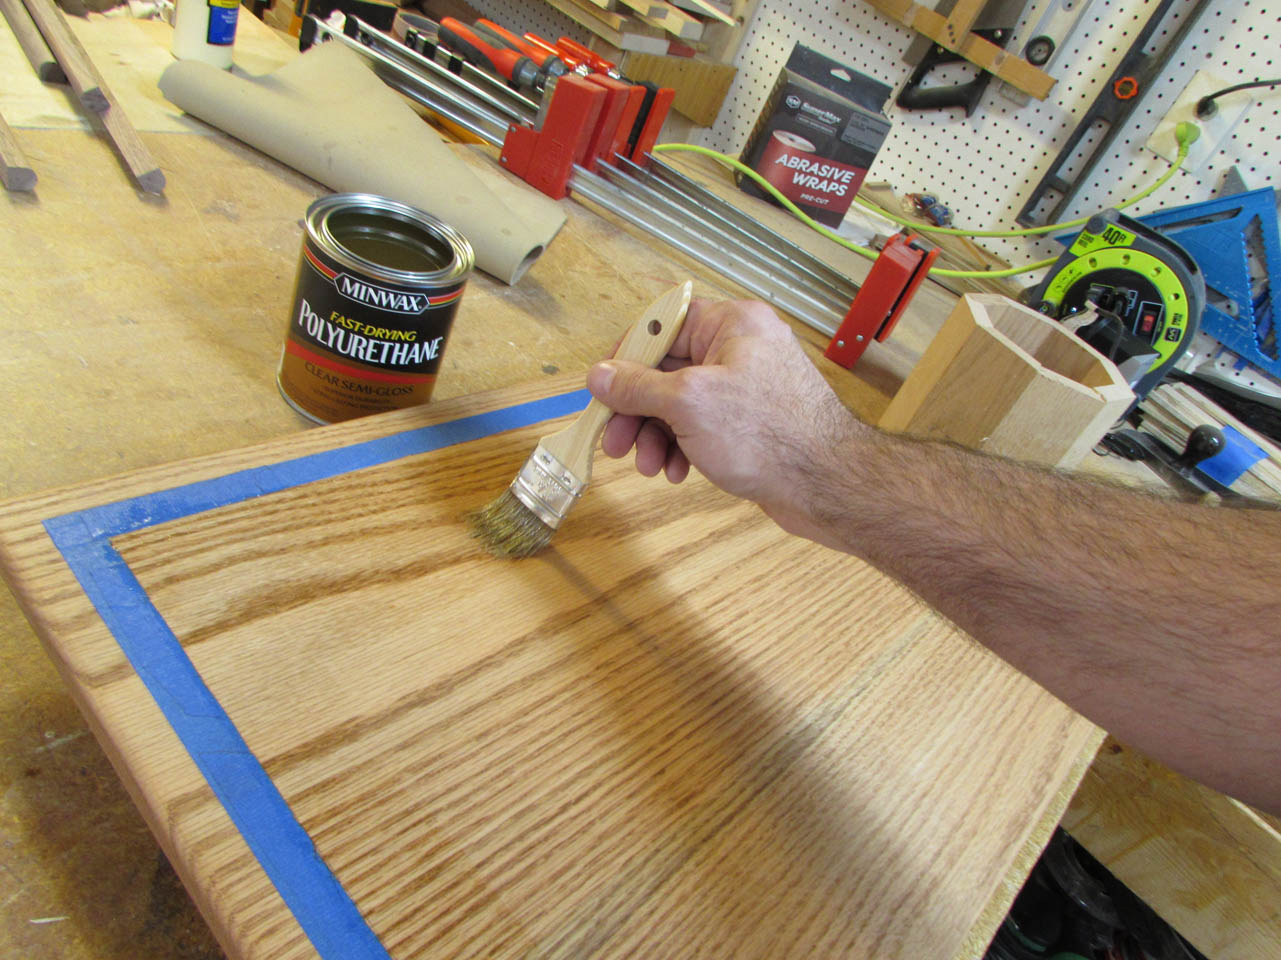
Before I sprayed on the polyurethane finish, I flipped the ambo over and brushed two coats of polyurethane on the bottom of the base.

I also applied two coats to the bottom of the top piece. These two areas were easy to apply poly to when I only had a few minutes during the week.
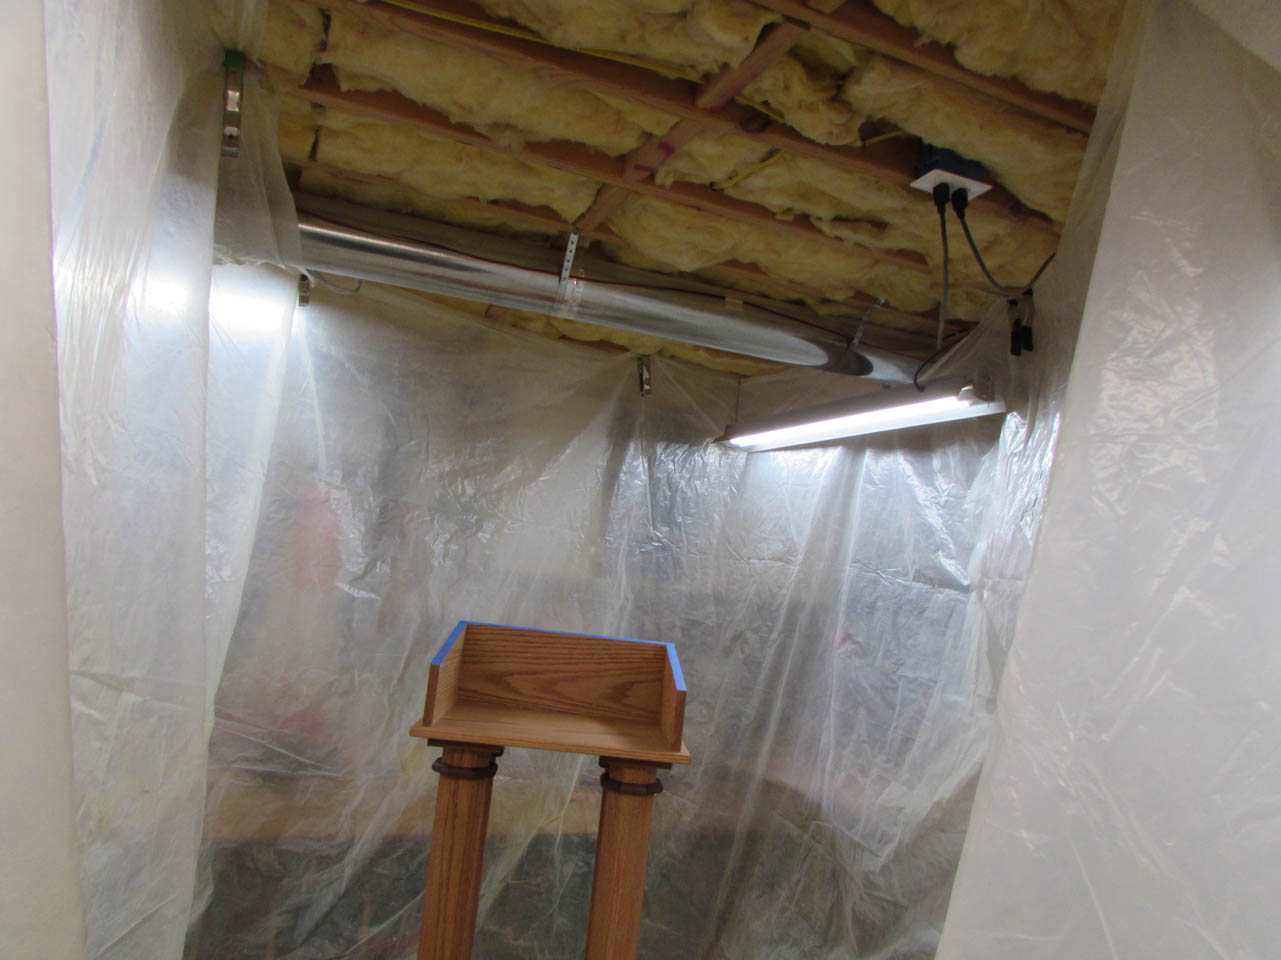
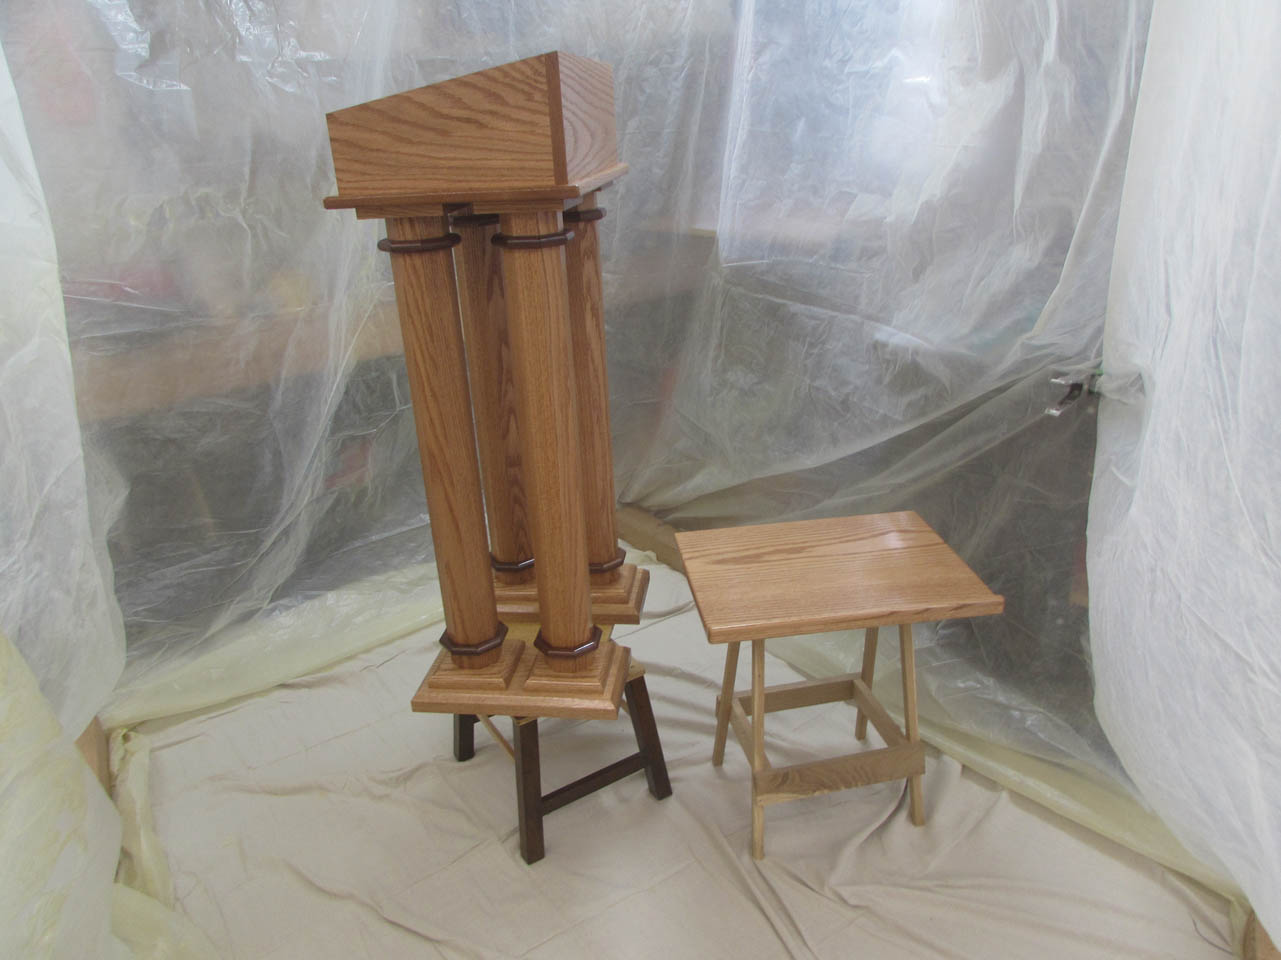
When I had more time to set up my temporary spray booth. This mainly involved clamping a 50′ long sheet of plastic to the ceiling joists until I made a 7′ wide x 10′ long tent, with a drop cloth on the floor.

The bottoms were already coated, so I could just set the ambo up on my stand with a lazy Susan. This makes it easy to rotate the ambo while I spray.
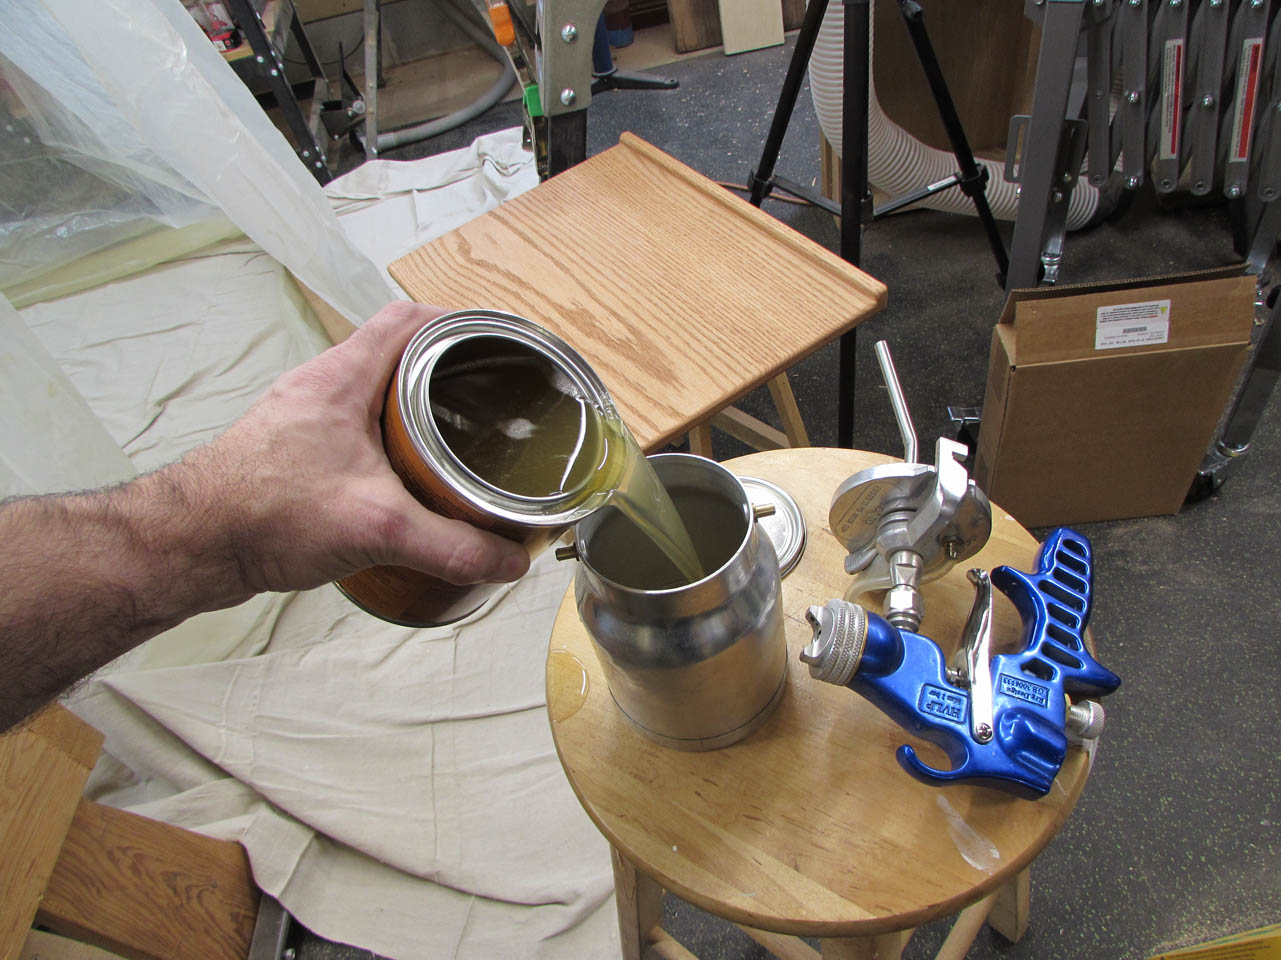
I stirred the poly and poured about half a can into the sprayer.
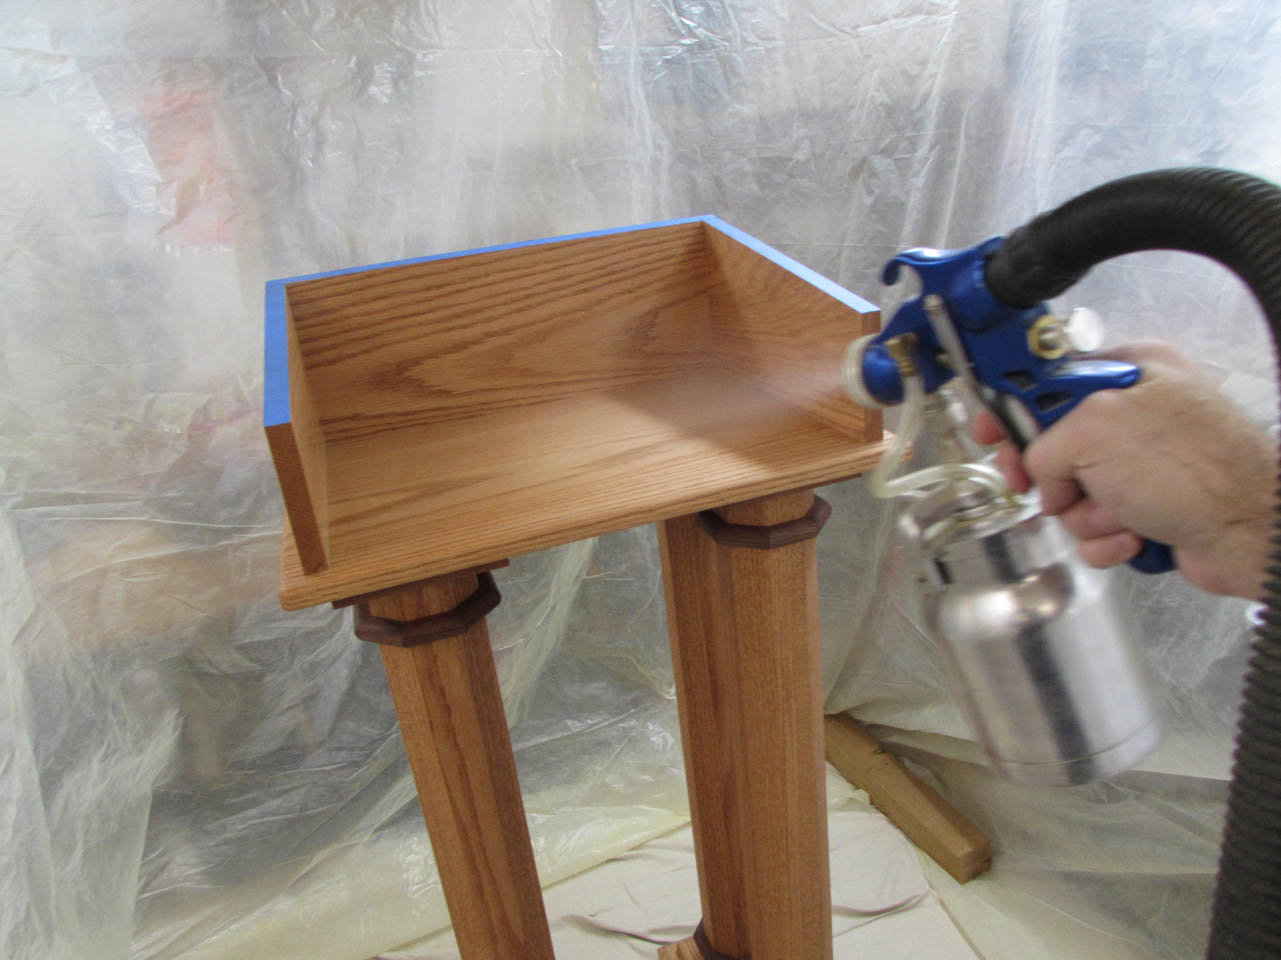
With even, overlapping passes, I sprayed the top first, then I sprayed the legs and feet, rotating a quarter-turn at a time.

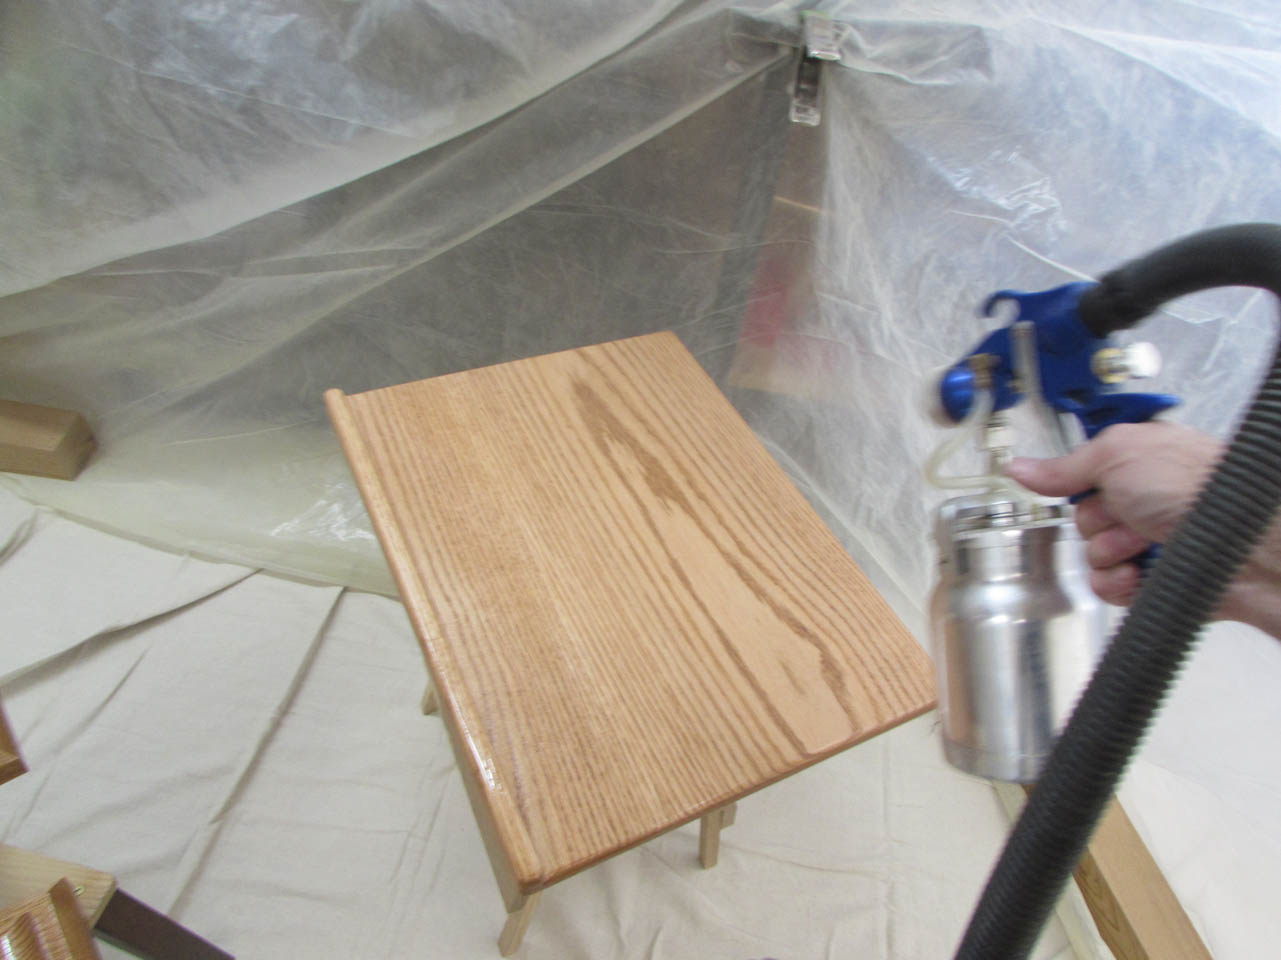
After the large part was coated, I brought in a stool with the top piece sitting on it and sprayed that as well.
Since this booth does not have any ventilation, I wore a respirator and just clamped the plastic closed when I was done. This keeps nearly all of the fumes inside the tent and protects my tools from over-spray.

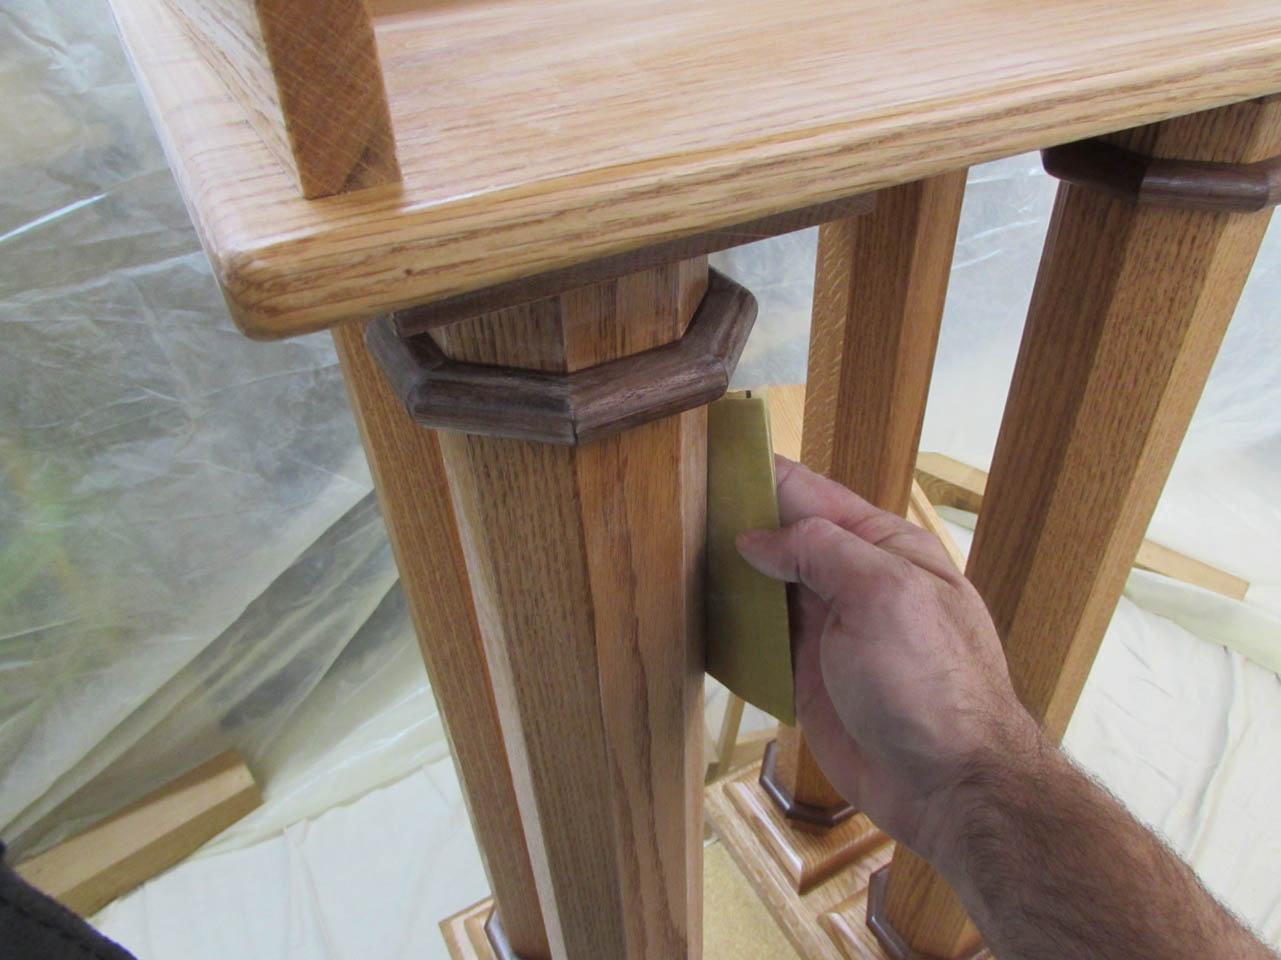
The next day, I sanded everything down with 400 grit sand paper. This knocks down any dust nibs that may have settled into the drying poly. It also preps the surface to receive the next coat.

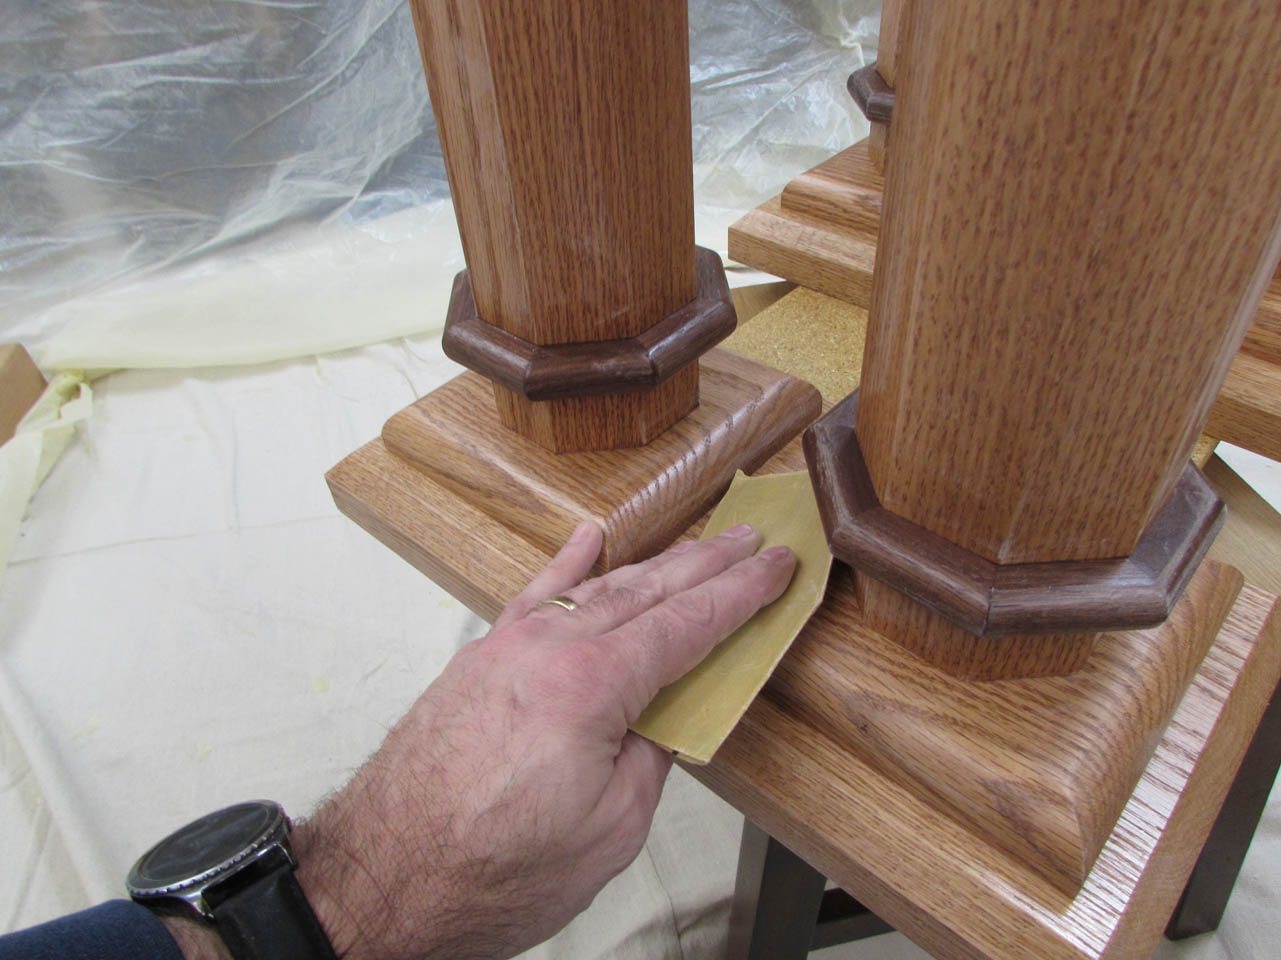
Next, I wiped down all of the freshly sanded surfaces to remove any excess dust from the sanding process.
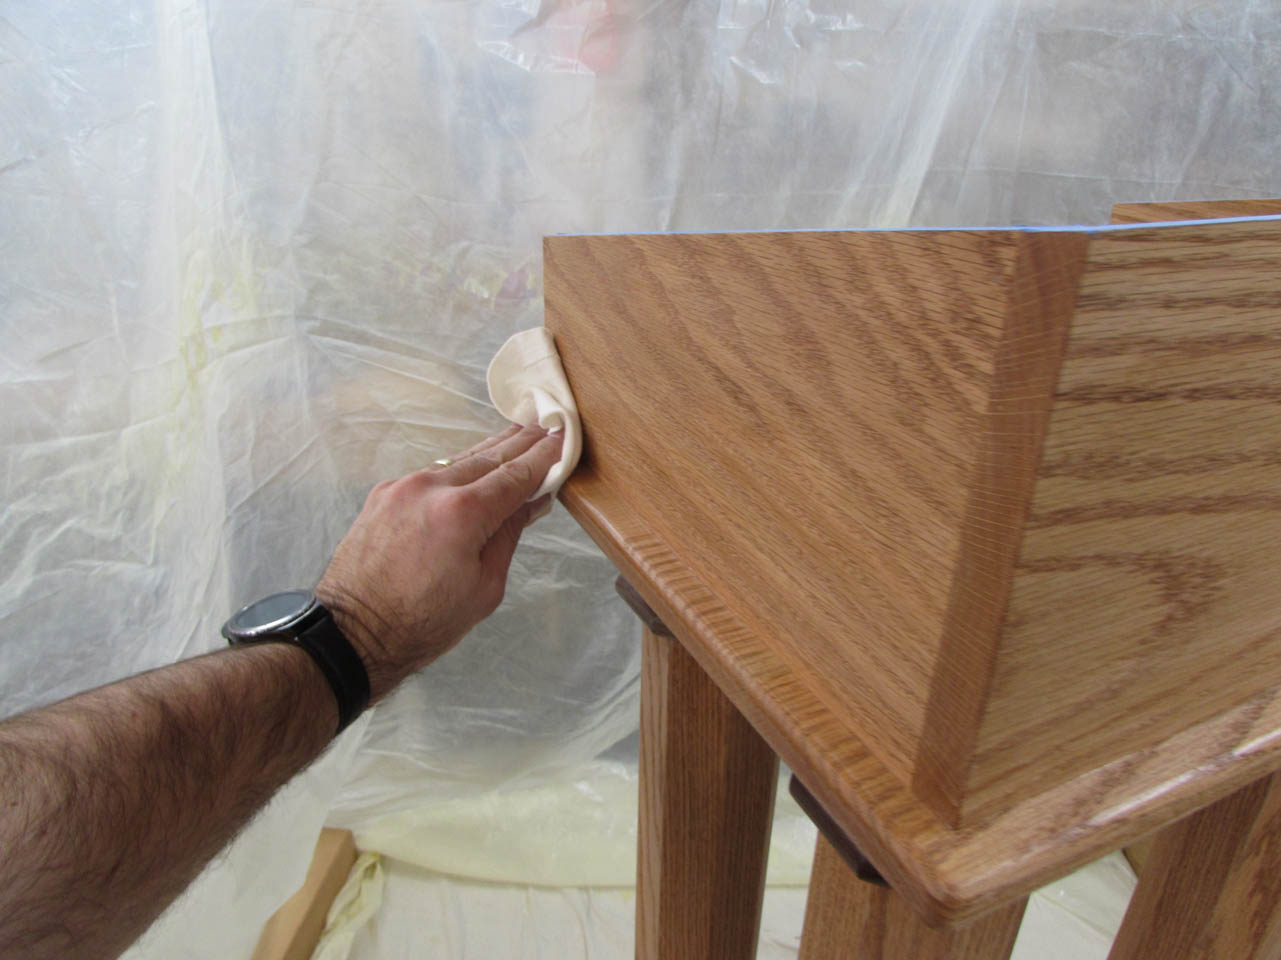
Then a quick second coat was applied with the sprayer.

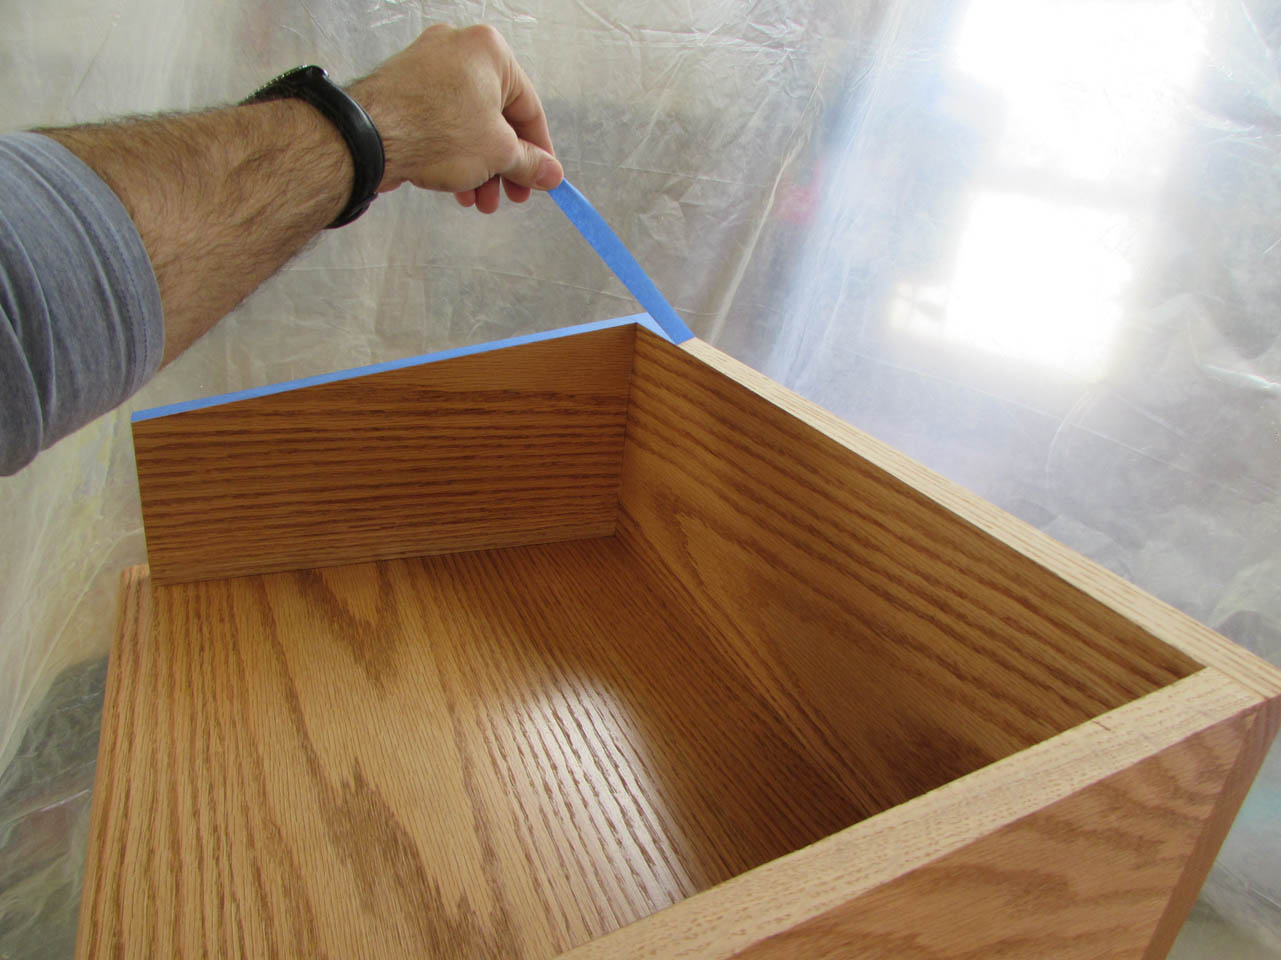
After the second coat had dried, I peeled off all of the masking tape.


I clamped some strips of wood to the outside line of my masked area to make it easy to install the top. Then I spread a thin layer of glue onto the unfinished section of wood.


The strips of wood held the top perfectly in place while I clamped it to the rest of the ambo.

I used my triangular clamping cauls again to help me apply even pressure with the clamps. When the clamps were in place, I removed the locating strips and wiped off any glue squeeze-out.

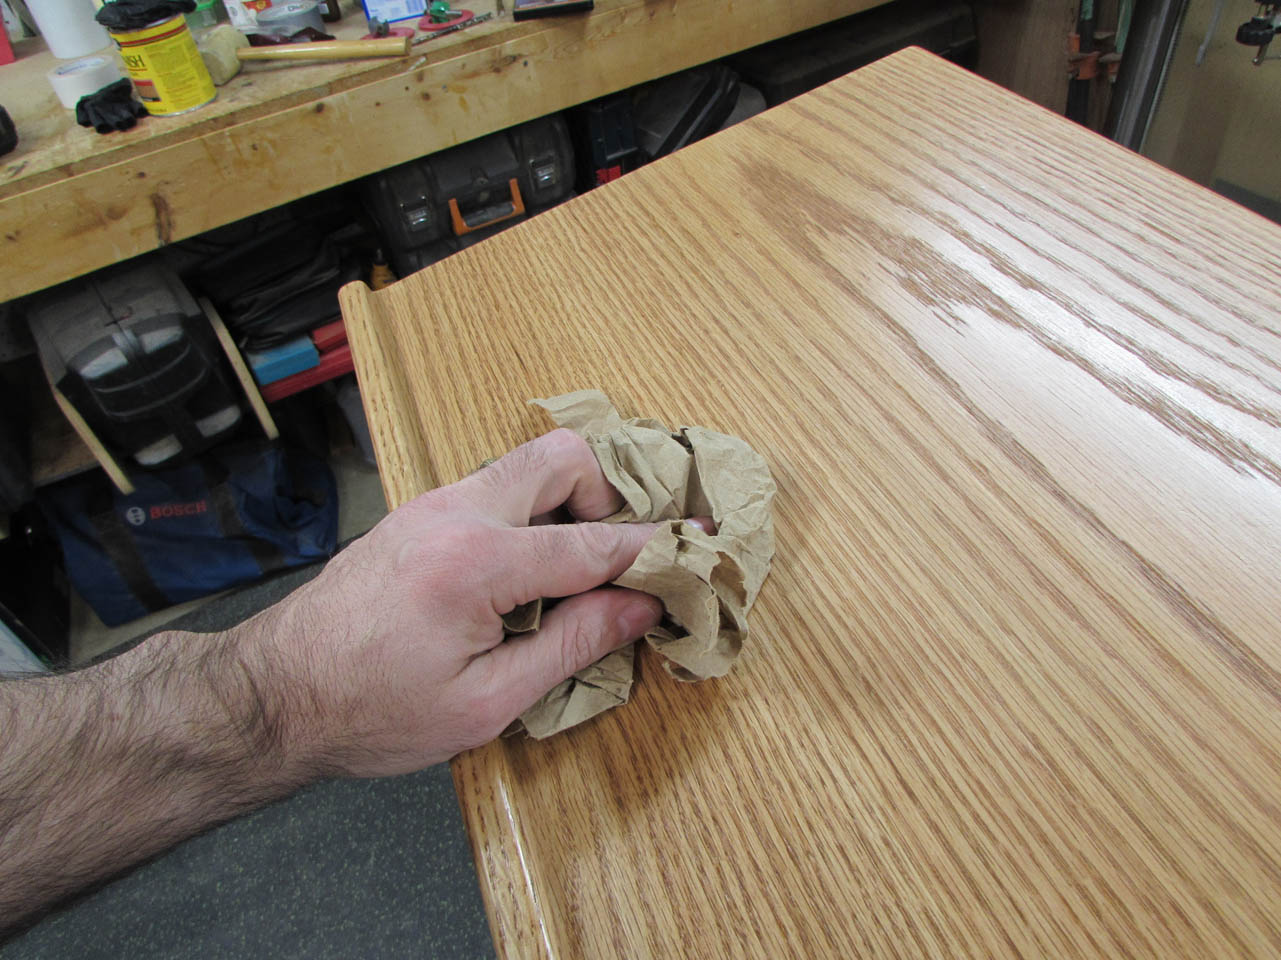
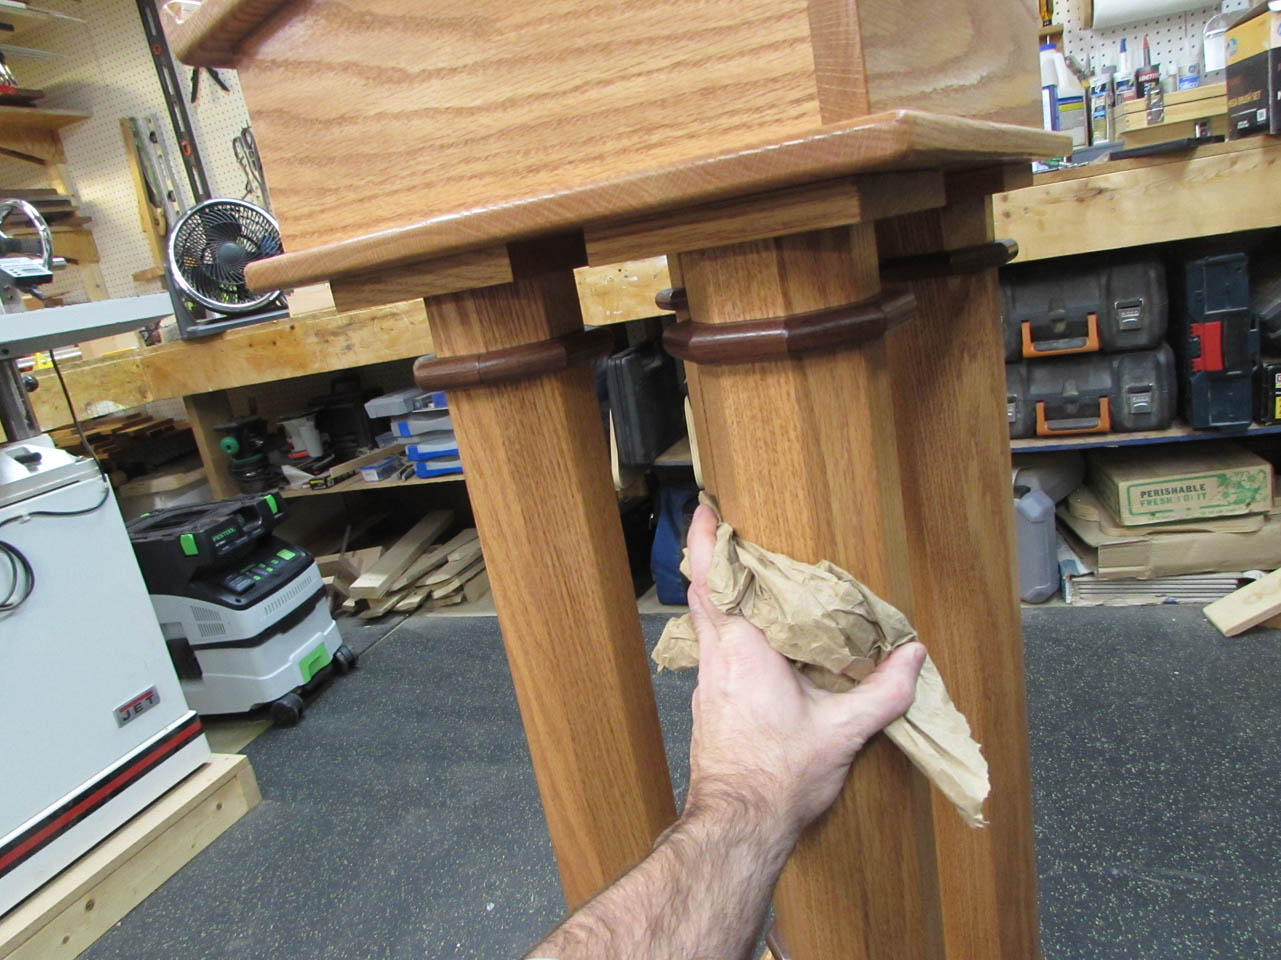
The final step, after the glue had dried, was to buff down the entire surface with a crumpled up piece of brown paper. I don’t know why it works so well, but it buffs out any remaining dust nibs and leaves a smooth surface.
That is it for this piece. I will move it out of the shop so that I have room to start the next piece for the Saint Kilian chapel.


