
Holly engagement ring box
Congratulations to my son Ian, he just got engaged to a lovely young lady today. When he bought the ring a couple of weeks ago, I offered to make a ring box for it. We looked at a lot of engagement ring boxes online and he came up with a simple design that had some significance to the both of them. I wanted to use something unique for the wood so I dug into the pile of Holly that I have been drying. This tree was cut down about a year ago and I had a friend cut up several boards, from it, for me.
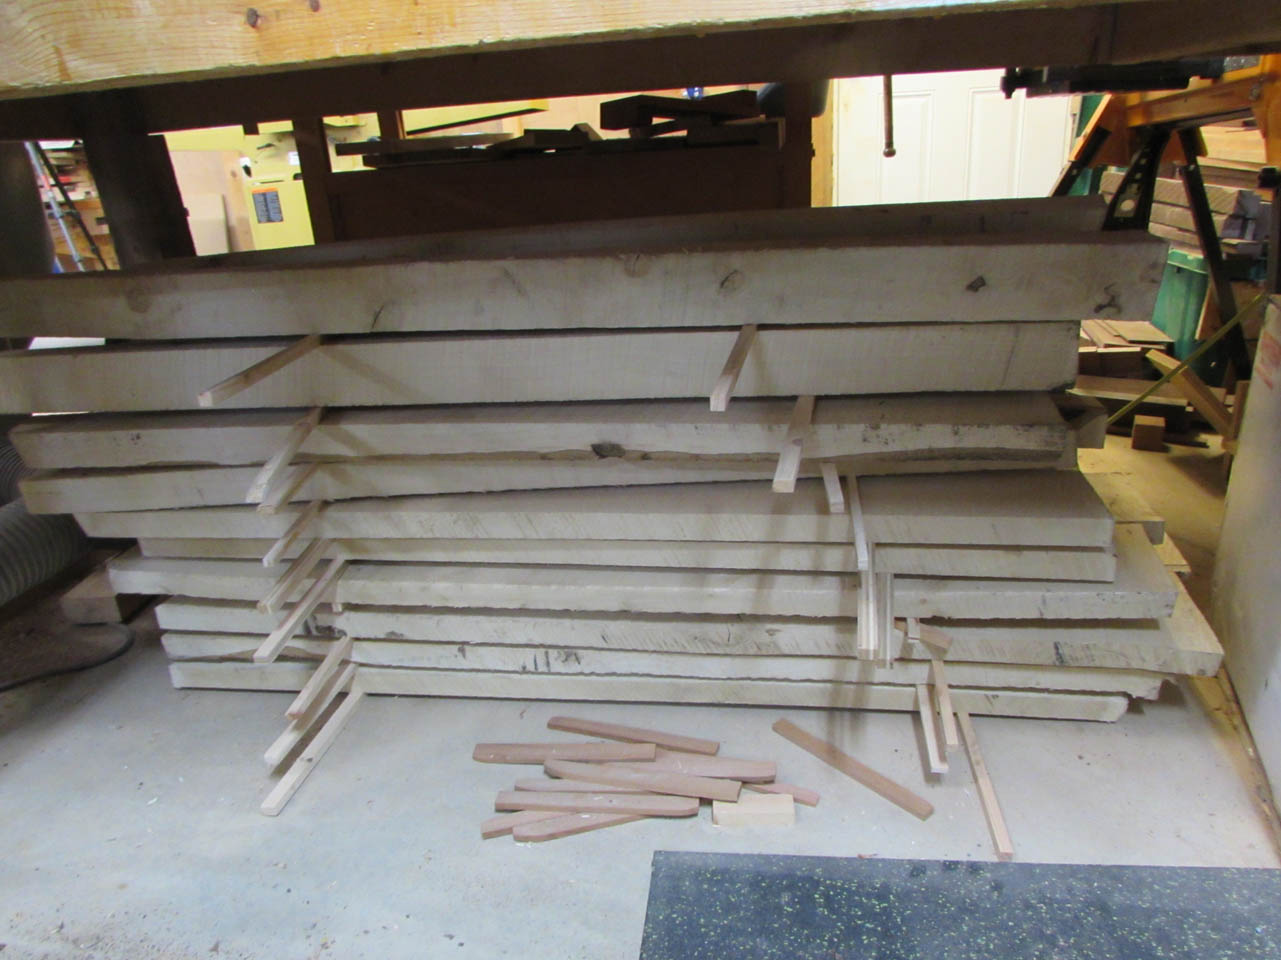

I picked out a clear board with no knots and cut a piece off the end to use.

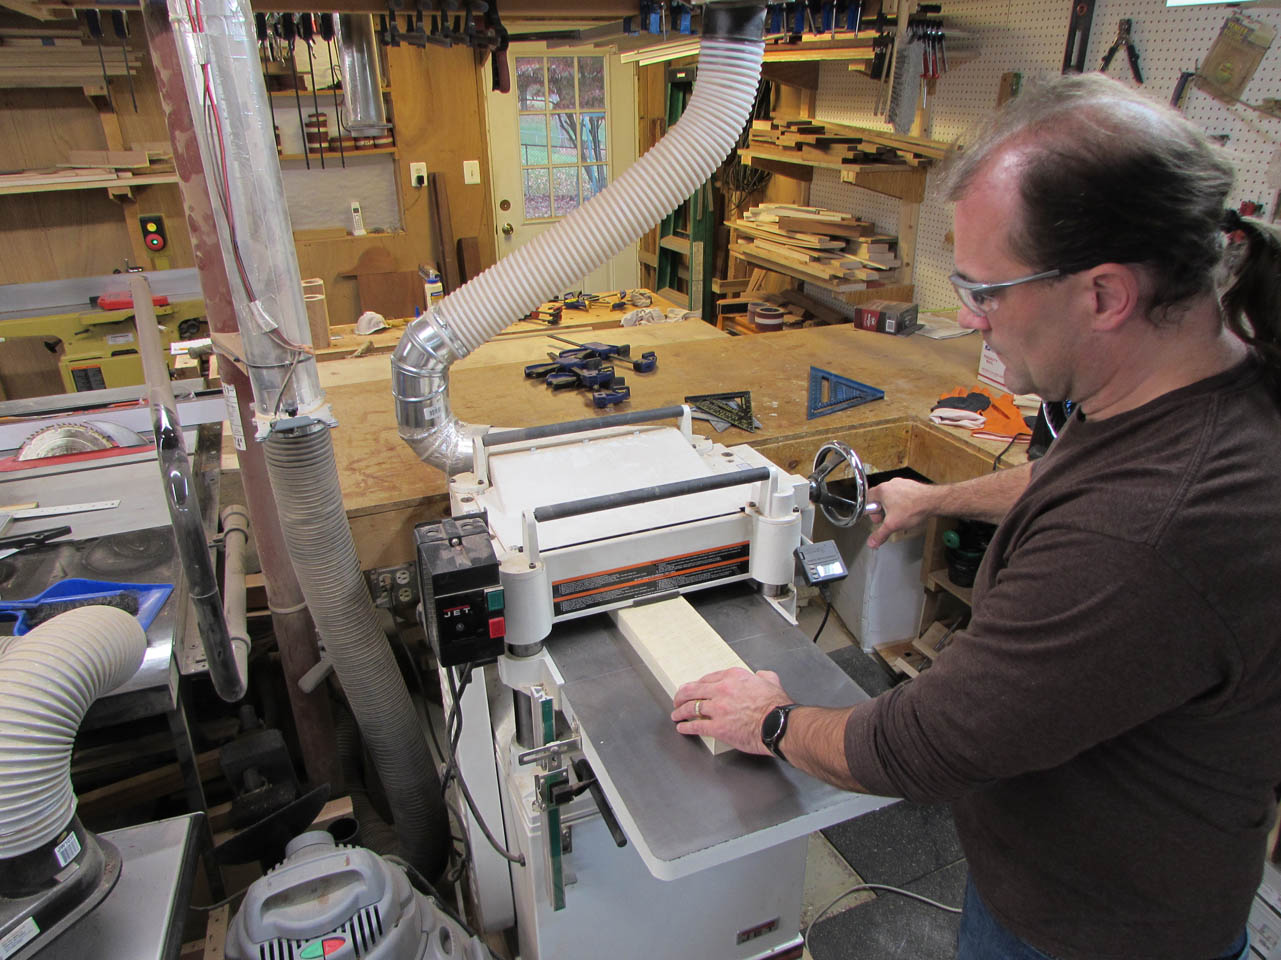
Holly tends to twist a lot so I ran it across the jointer several times until I had a clean face to work from.


With one flat face, I ran it through the planer to make the opposite side flat as well and parallel to the first.
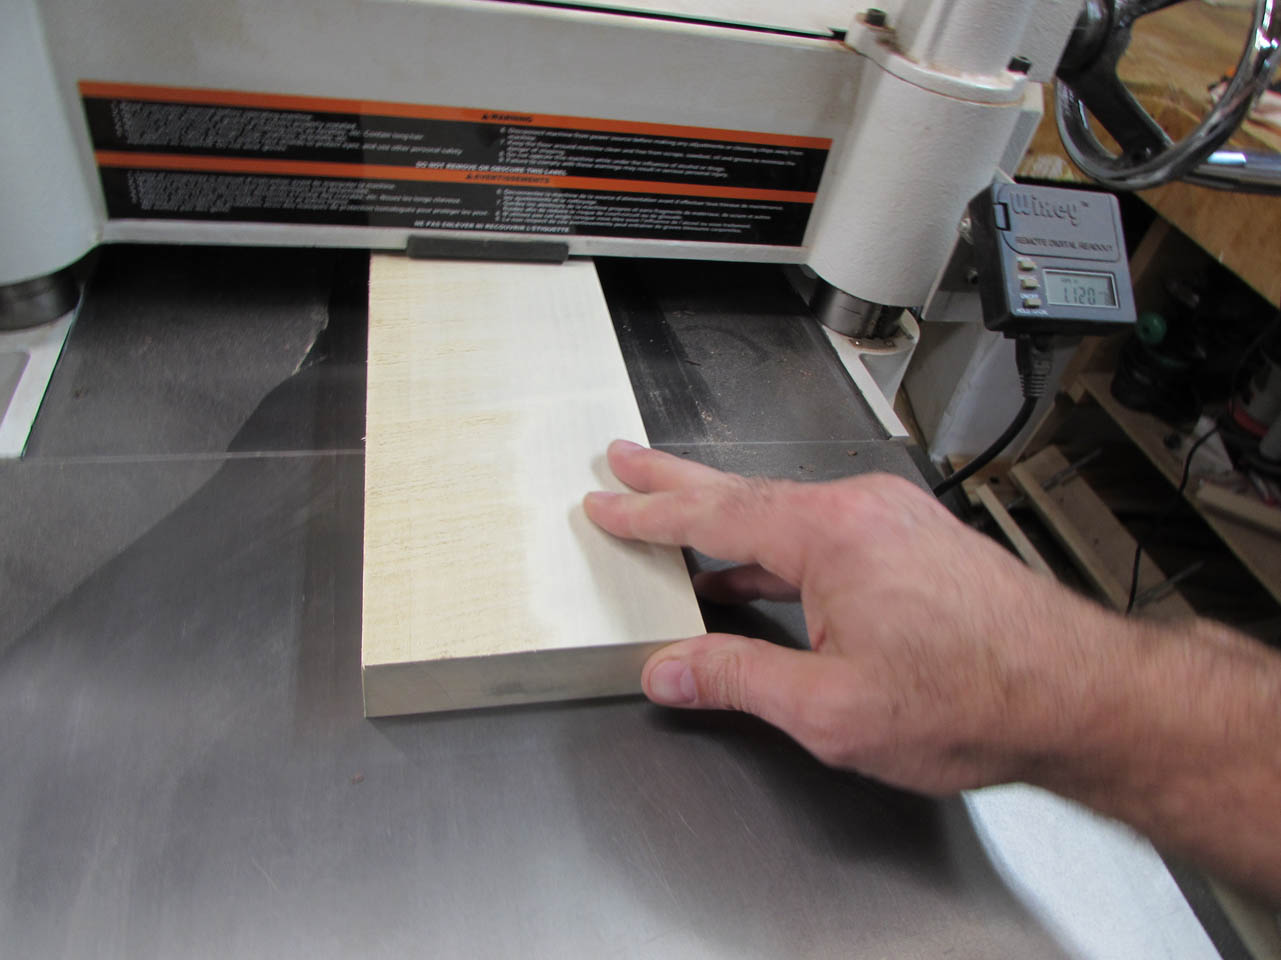
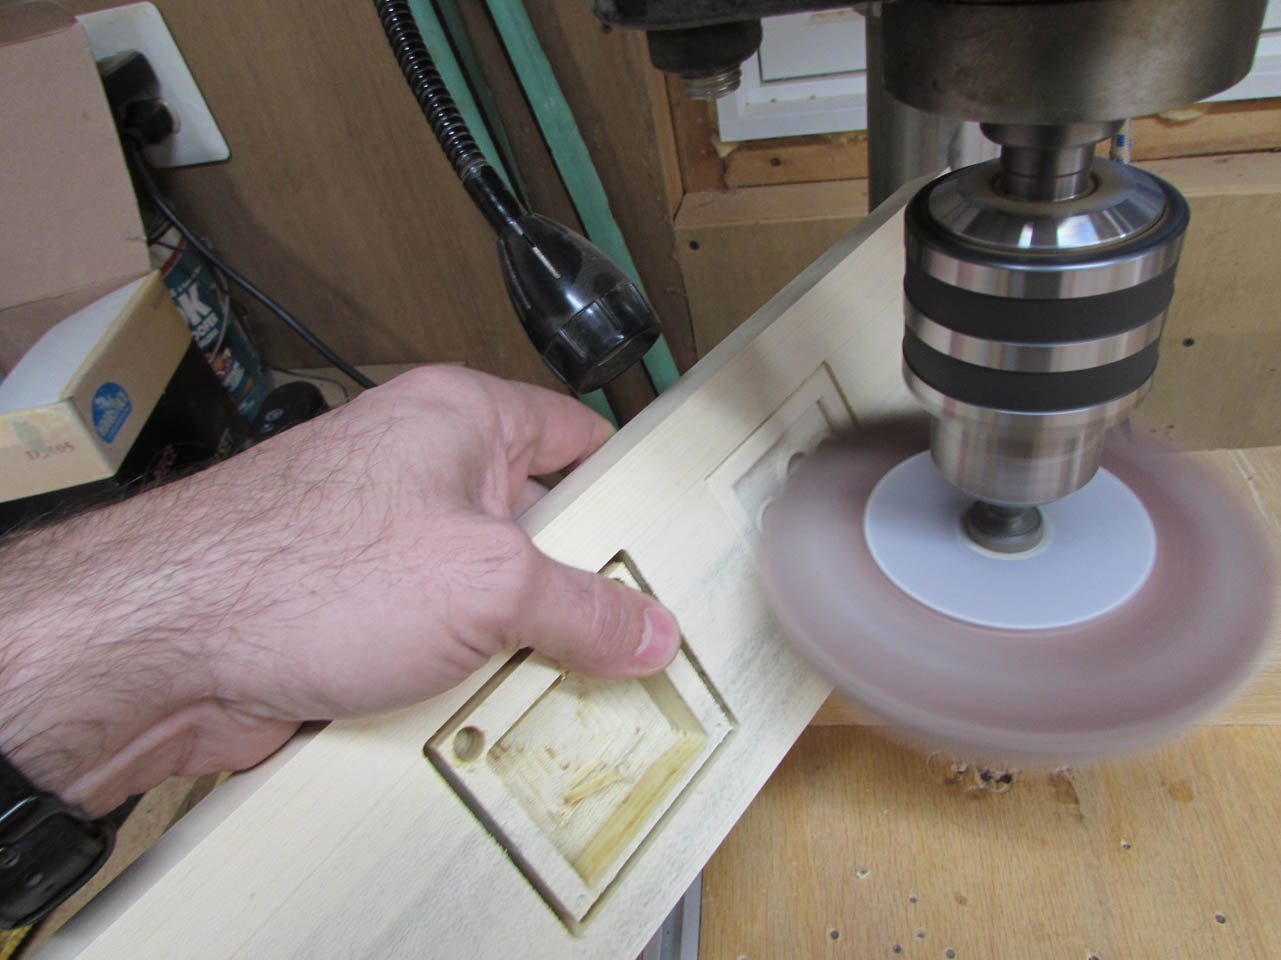
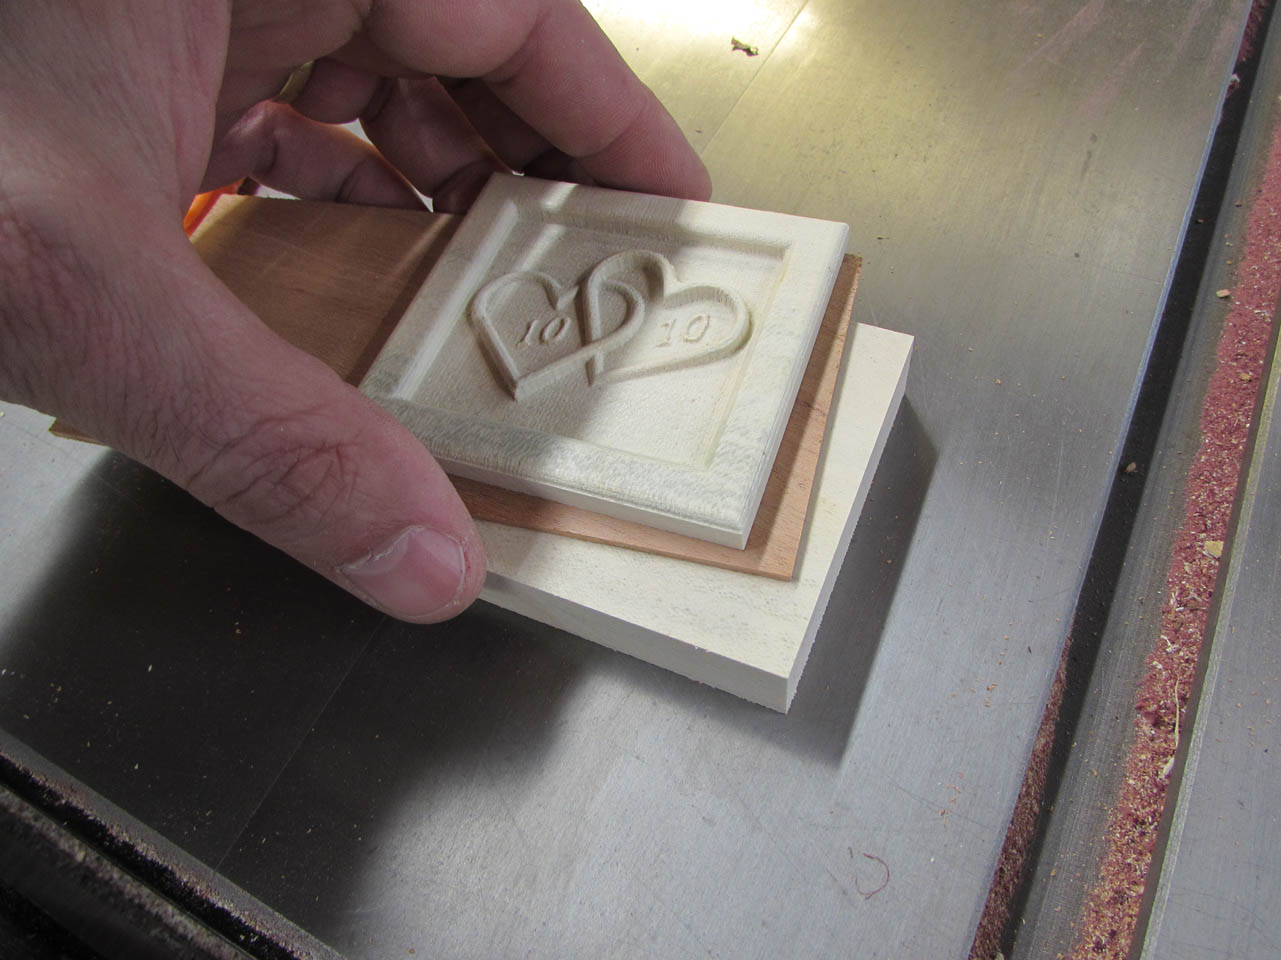
Once I cleaned up the sides as well, I loaded the board into my Carvewright CNC router.

I created a program that would carve out the top and bottom half of the box from the same piece of wood.

The top half of the board carved perfectly on the first try but there was a tracking error when I flipped the board over and the back was wrong so I aborted the carve and tried again.

On the second try, I had a problem with the front, but the back turned out good.
After about the third time, I came up with a new plan to utilize the best parts from all three carves.

I cut out the individual halves and found the two parts that worked the best.

The top from the first carve was the best so I cut it off and prepared to attach it to one with the correct back side. I decided to add a thin layer of cherry that was left over from the wood used to make the chair from Pope Francis’ visit in September 2015. I have saved a few pieces of the left-over wood to use on special occasions like this.

The thin stripe will look good with the holly so I mixed up some 2-part epoxy to attach it.
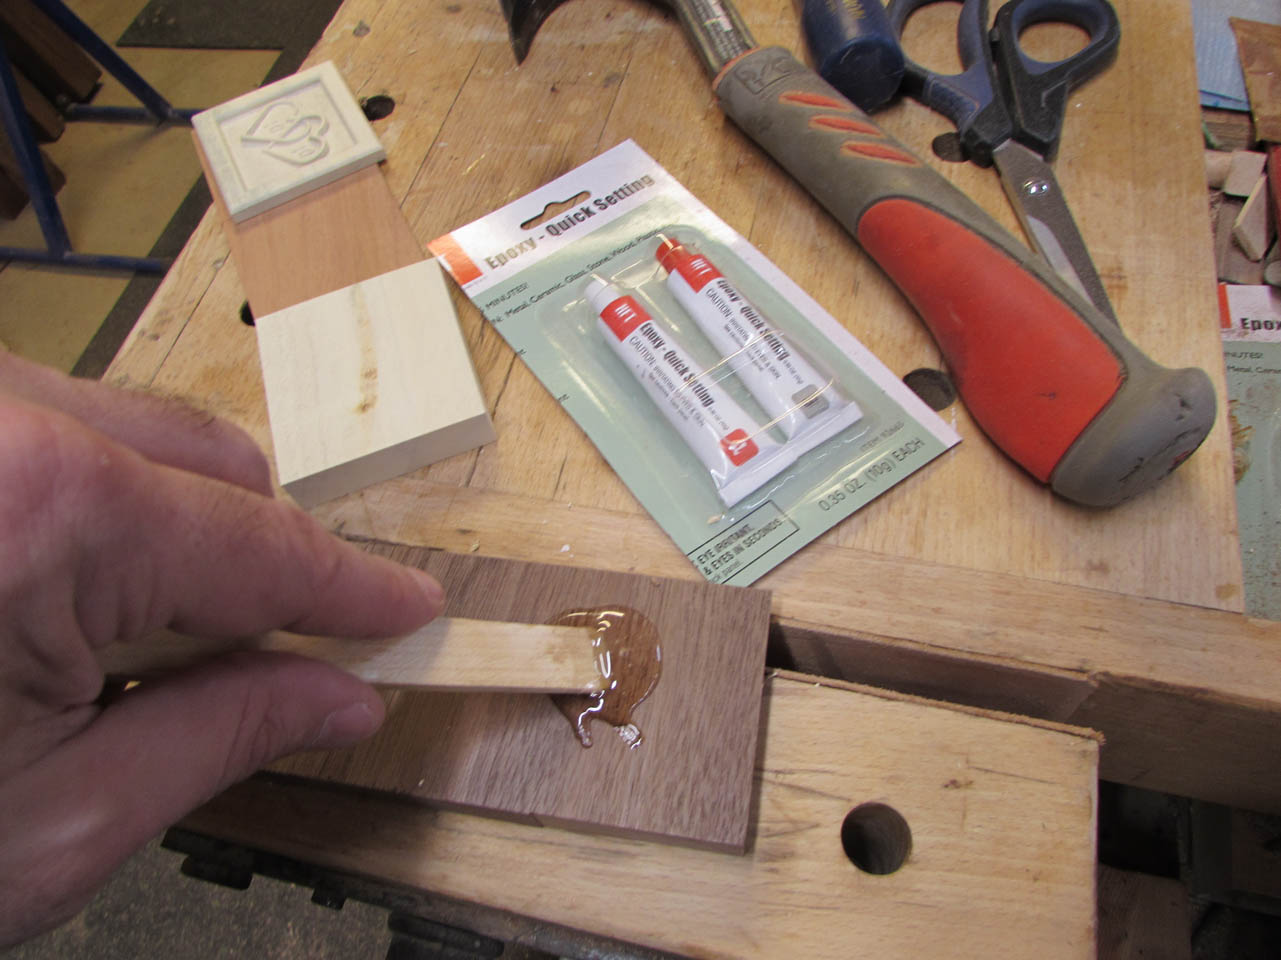
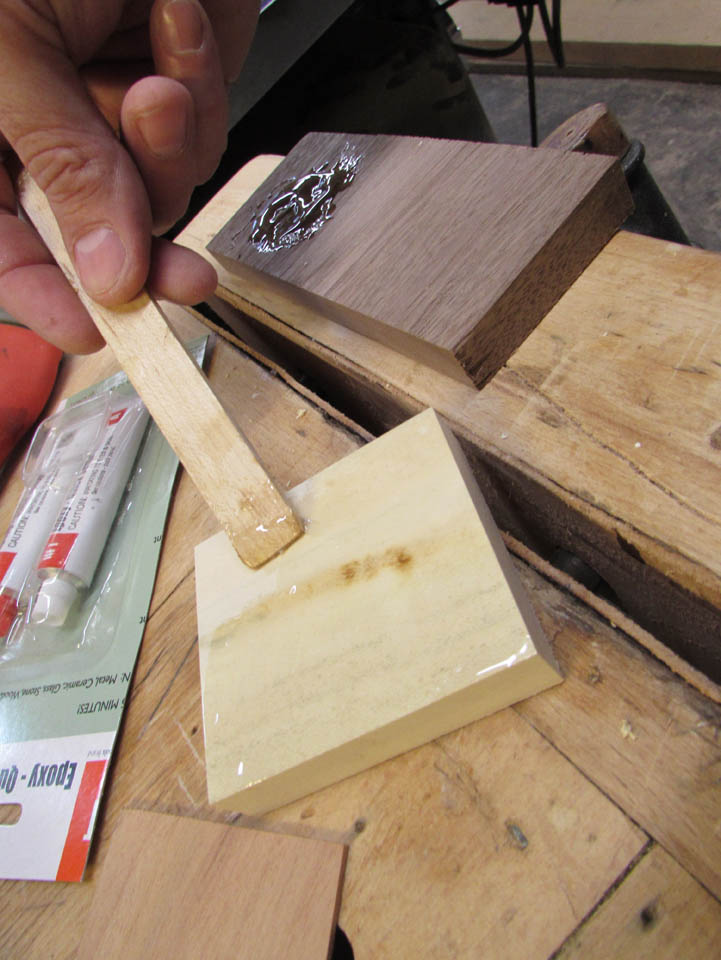
I spread it on both sides, then inserted the thin wafer of cherry and clamped it up.

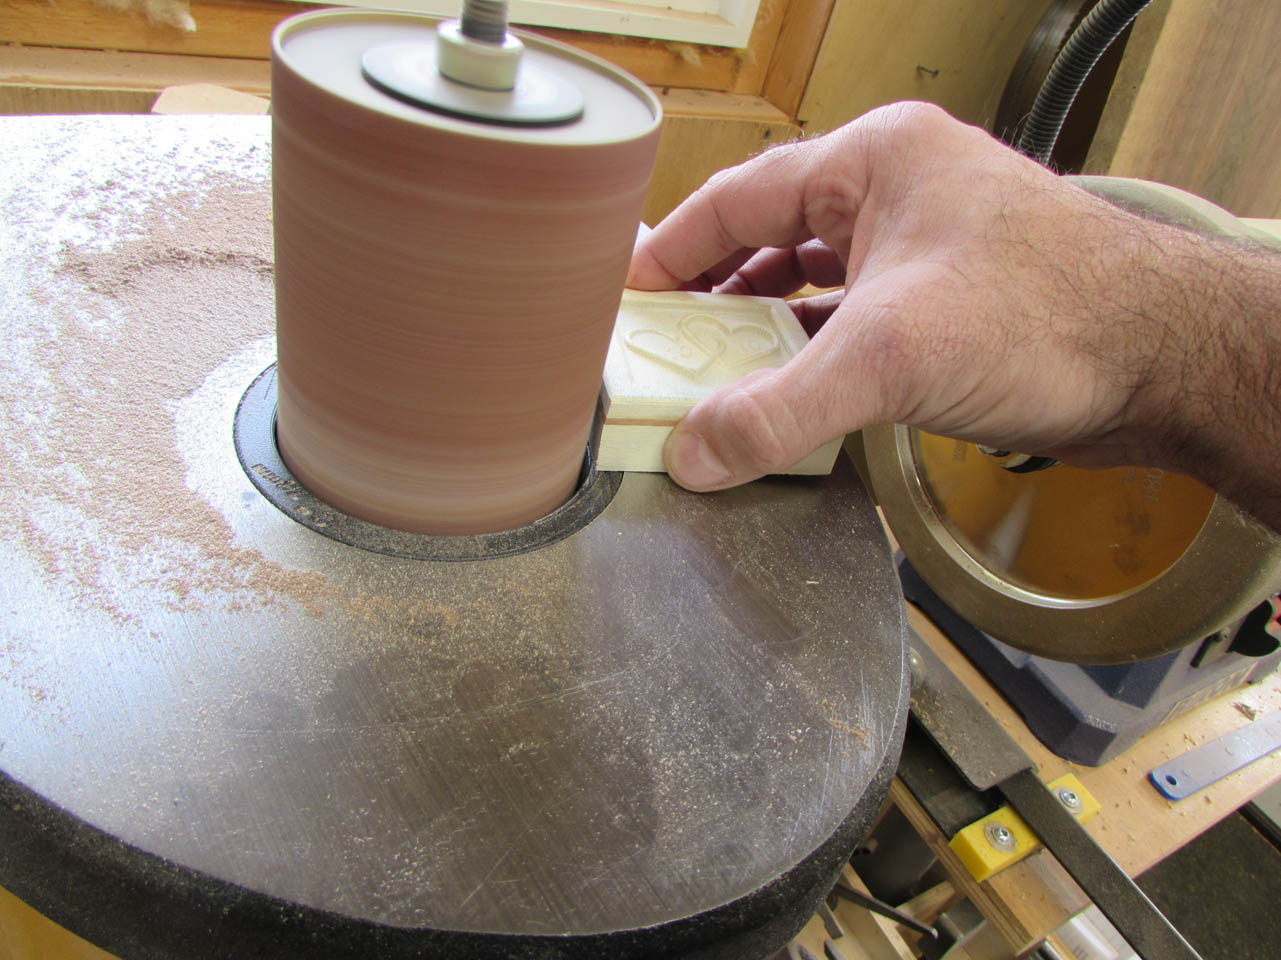
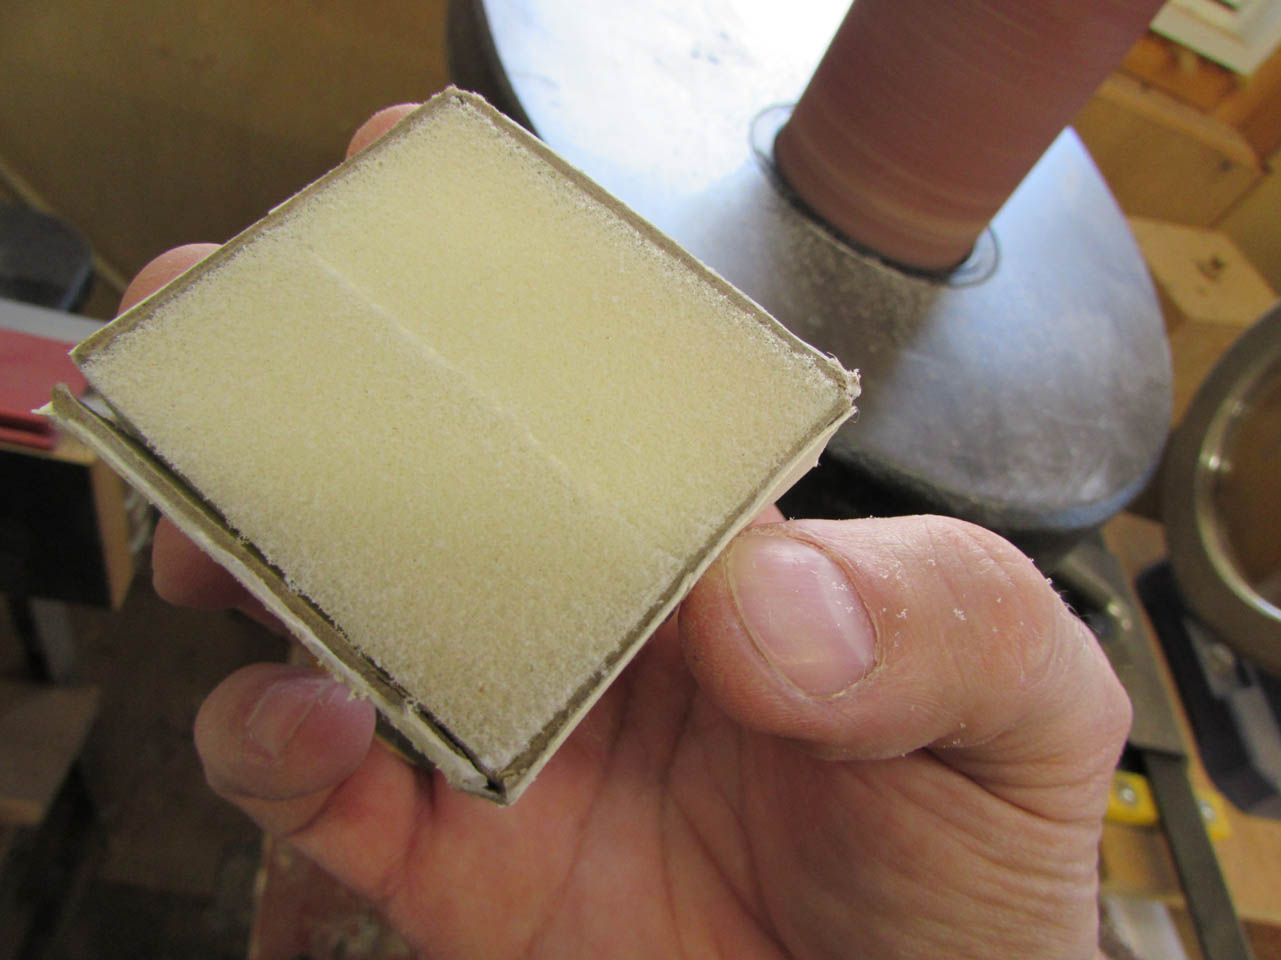
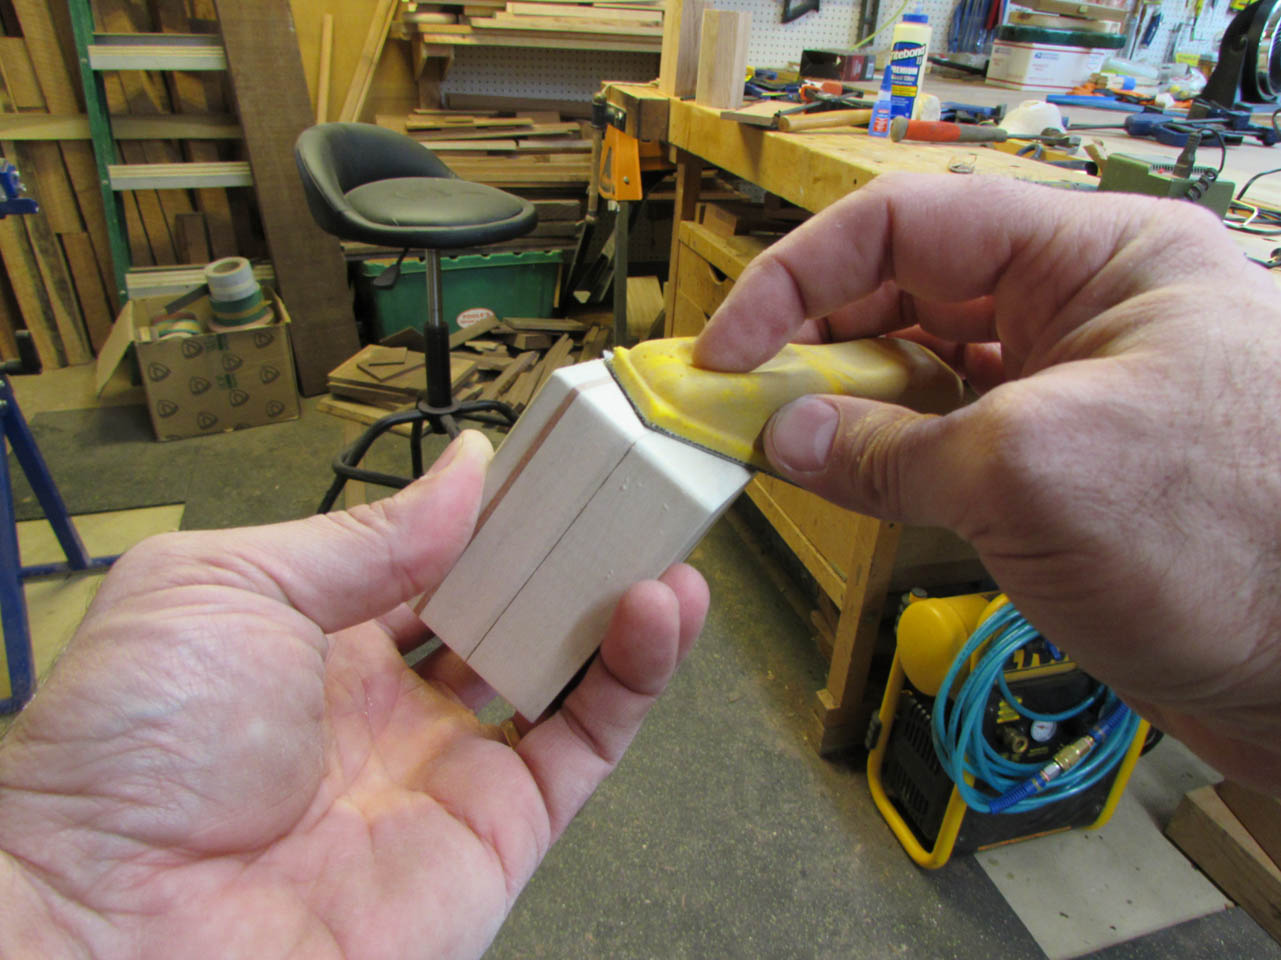
After it had dried, I sanded all the edges flush.


With the outside of the top sanded, I started cleaning up the inside as well.
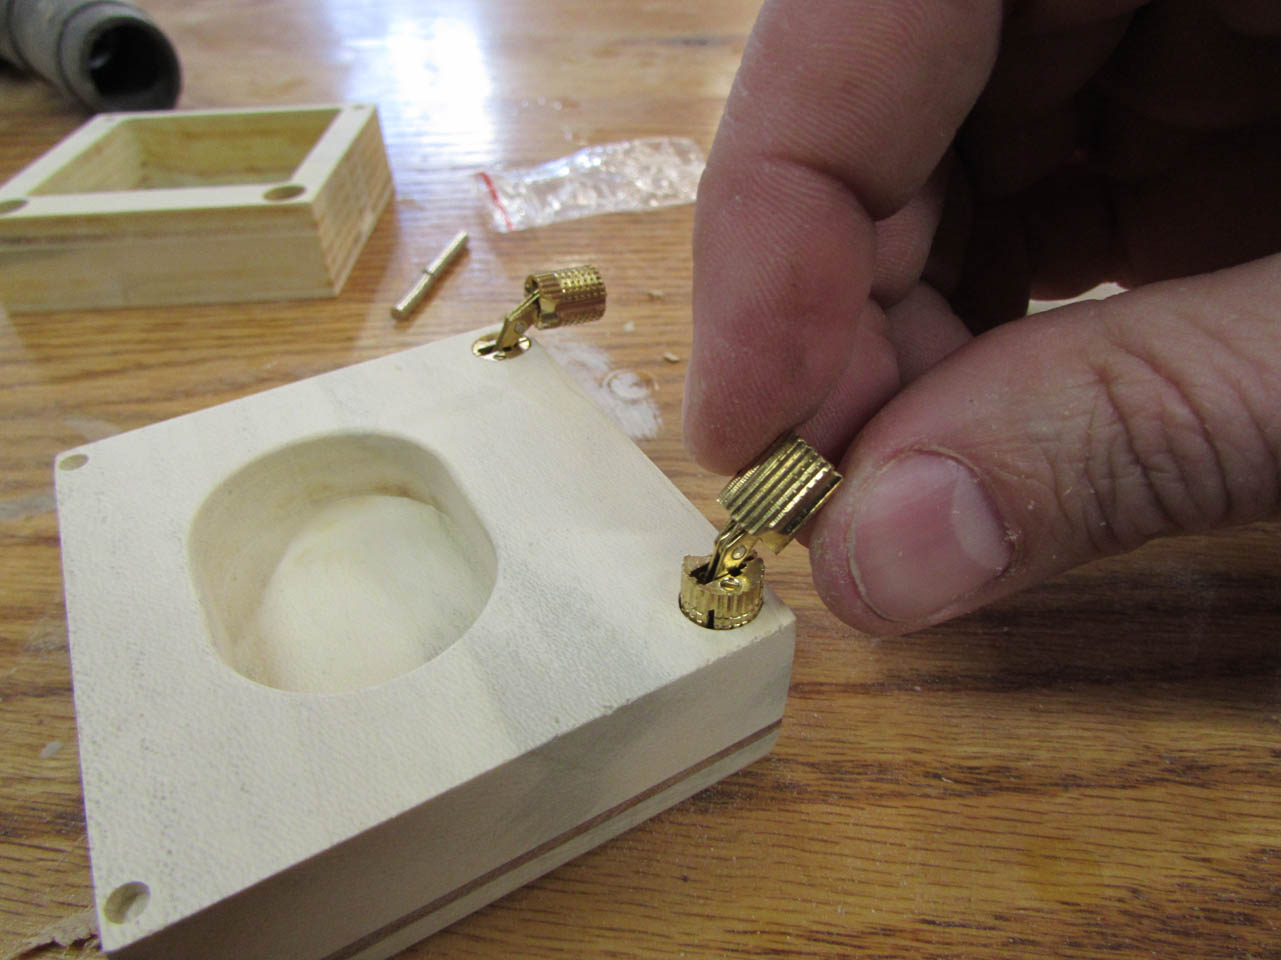
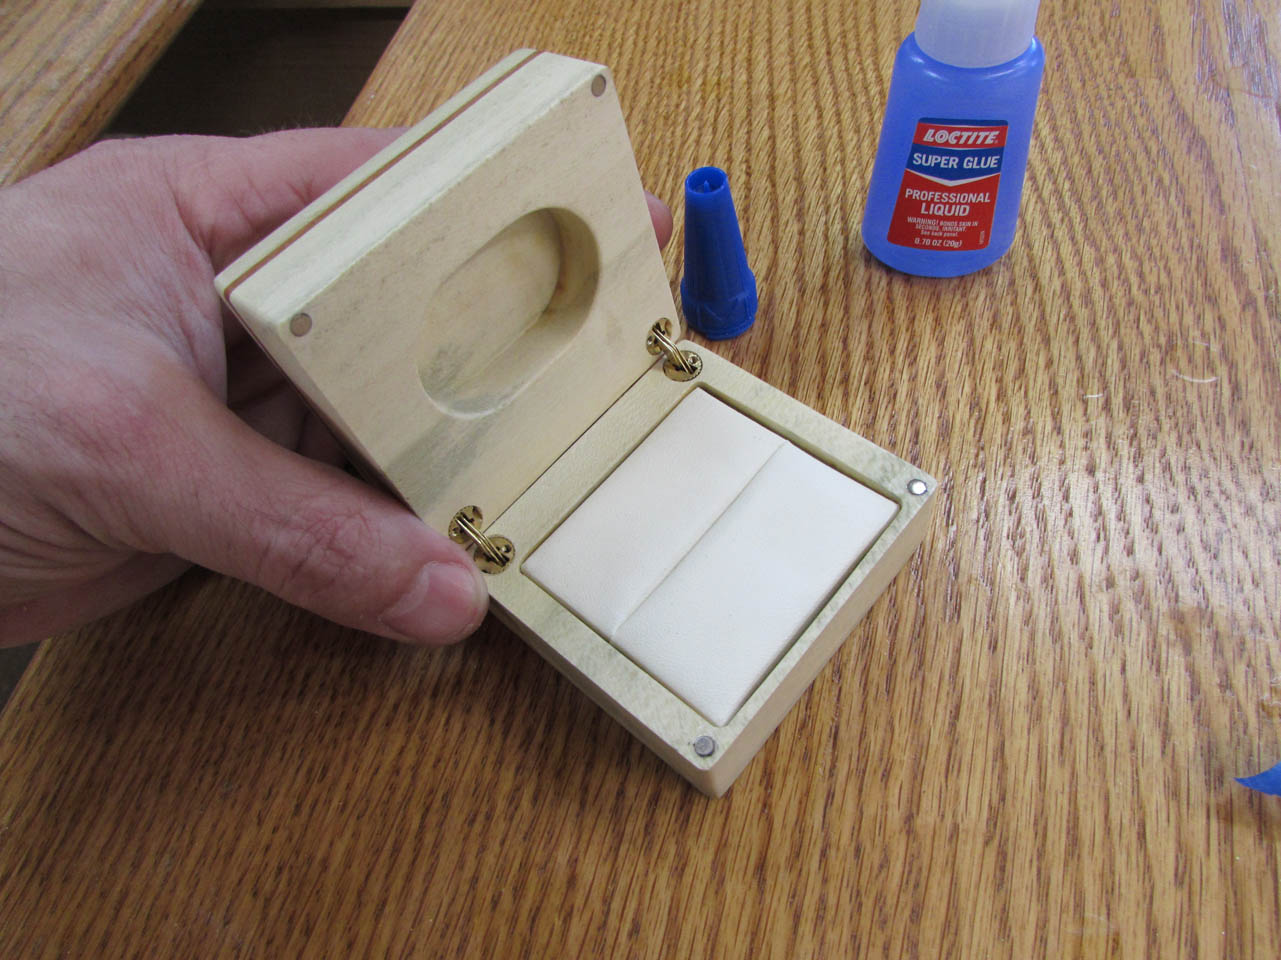
I decided to use some small, 8mm, barrel hinges. They will be completely concealed when the box is closed.

After they are tightened in place, they will hold the top open without letting it close unexpectedly.
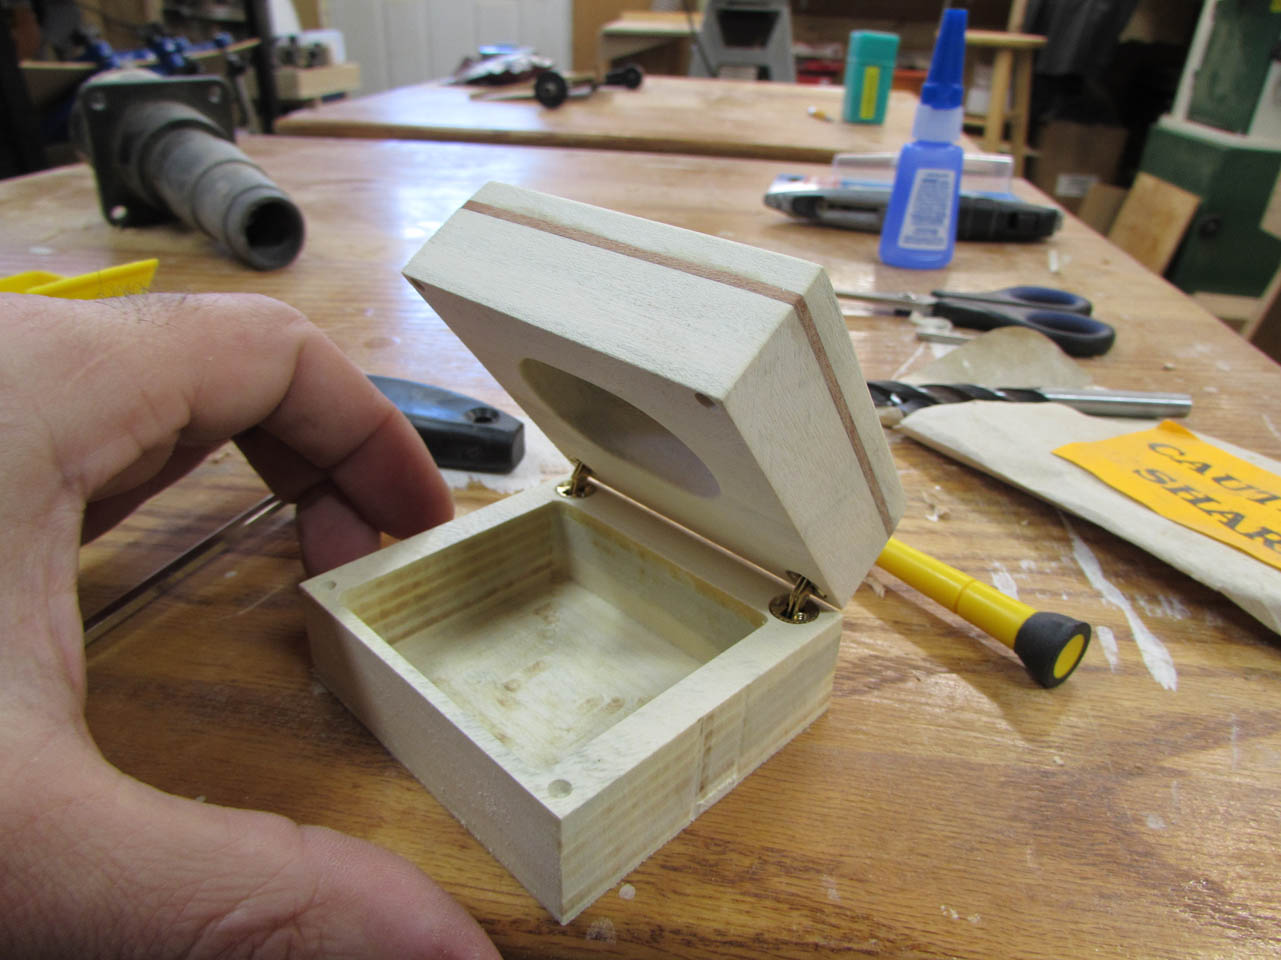

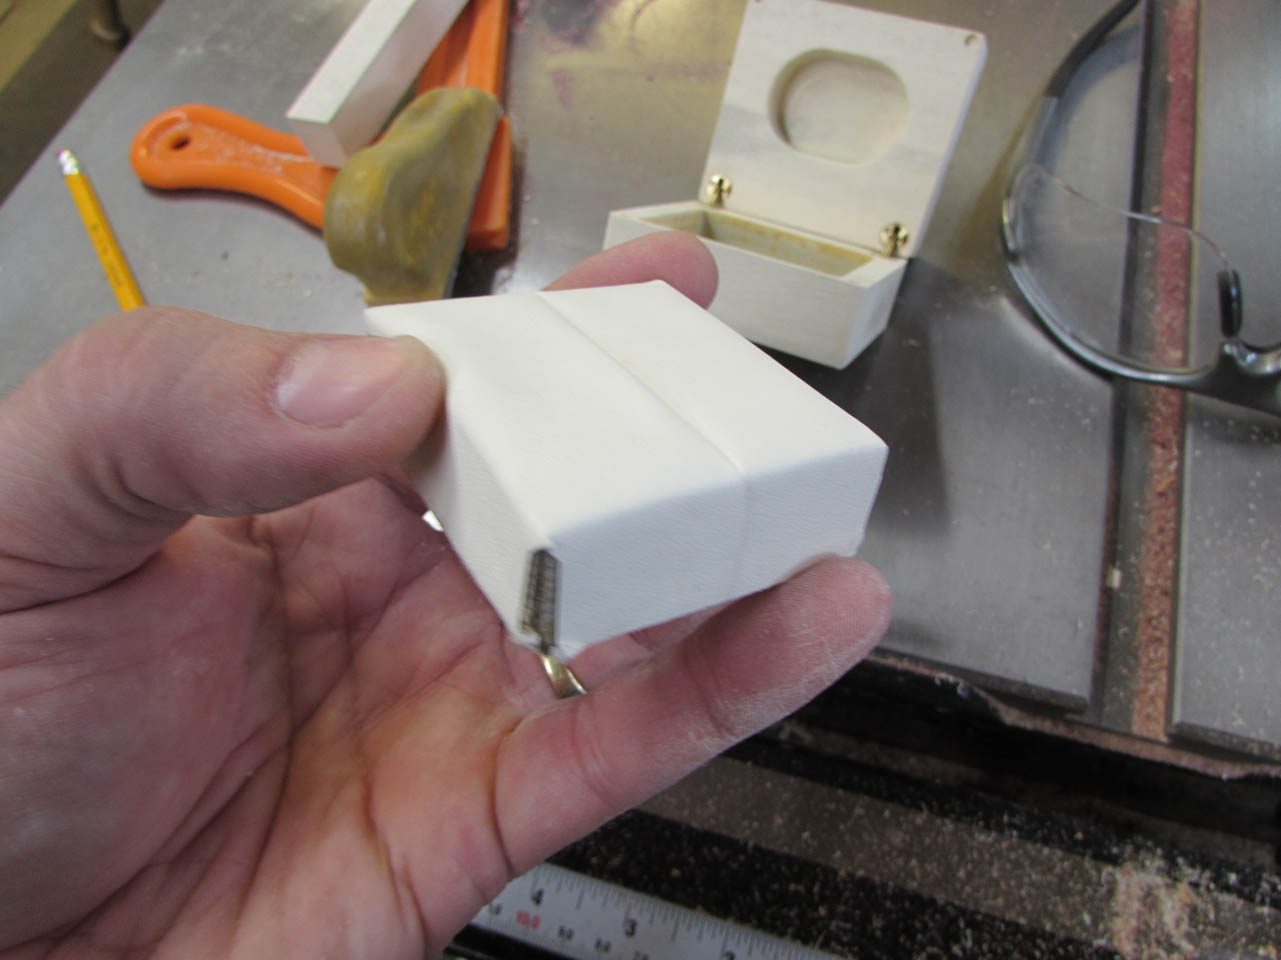
With the two halves connected, I was now able to sand the sides to match perfectly.

The box is starting to look pretty good. Now it is time to figure out how to hold the ring.
We had a couple ideas, but in the end Ian wanted to use the piece that came in the original ring box.
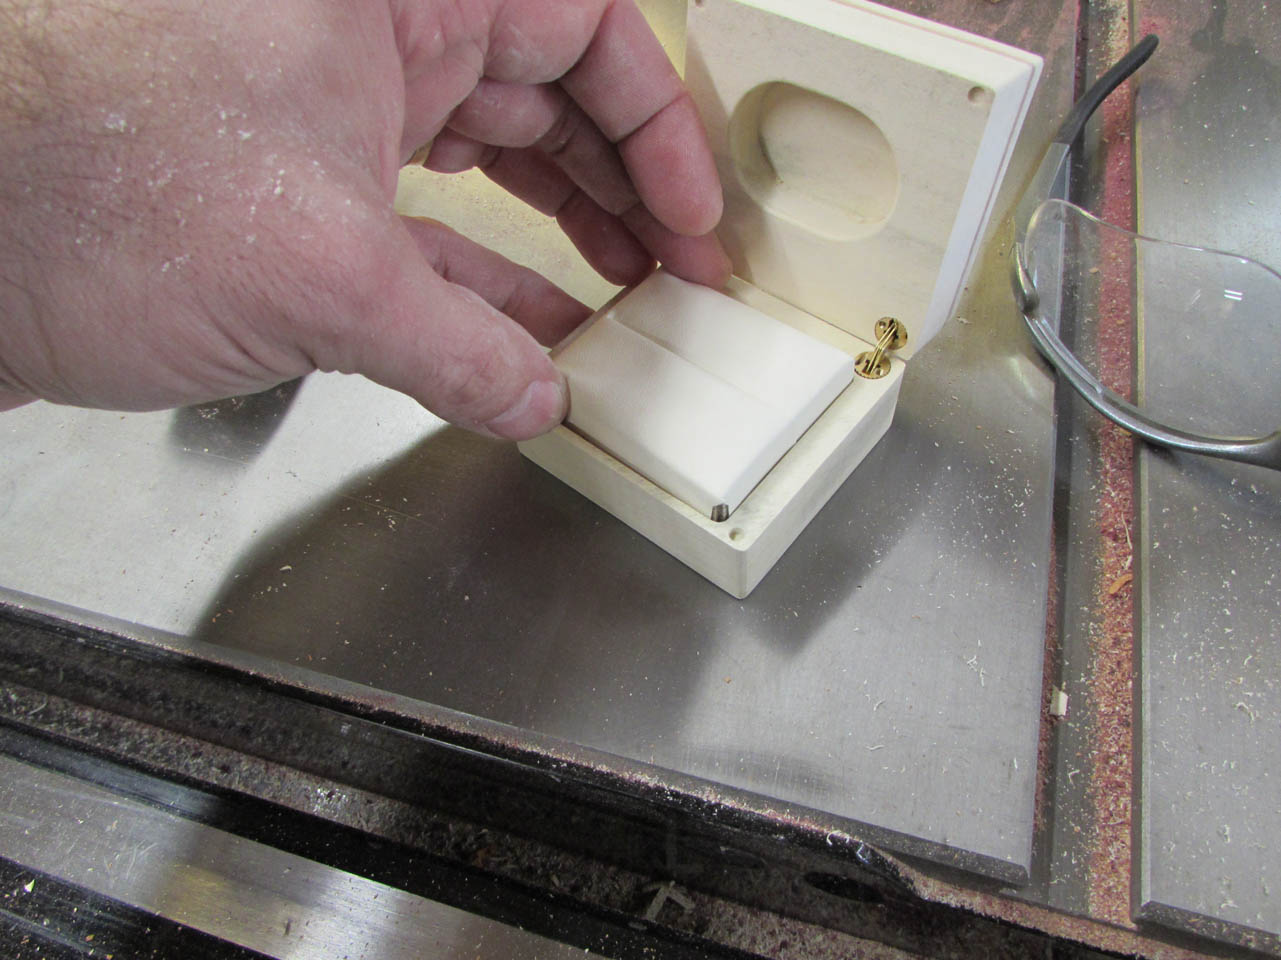
It actually matched the color really well.

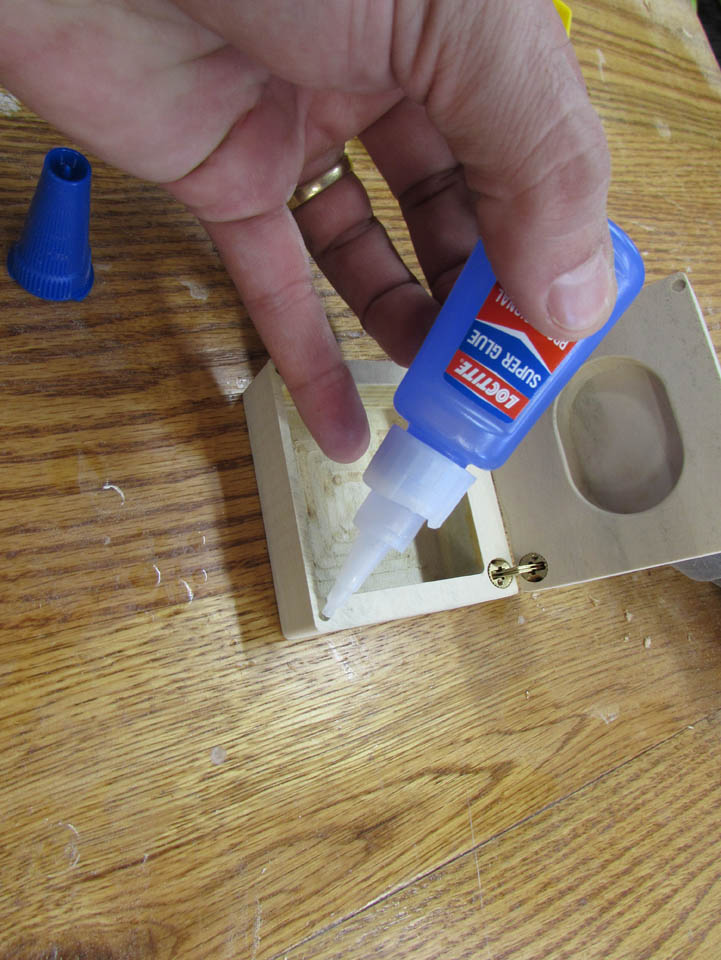
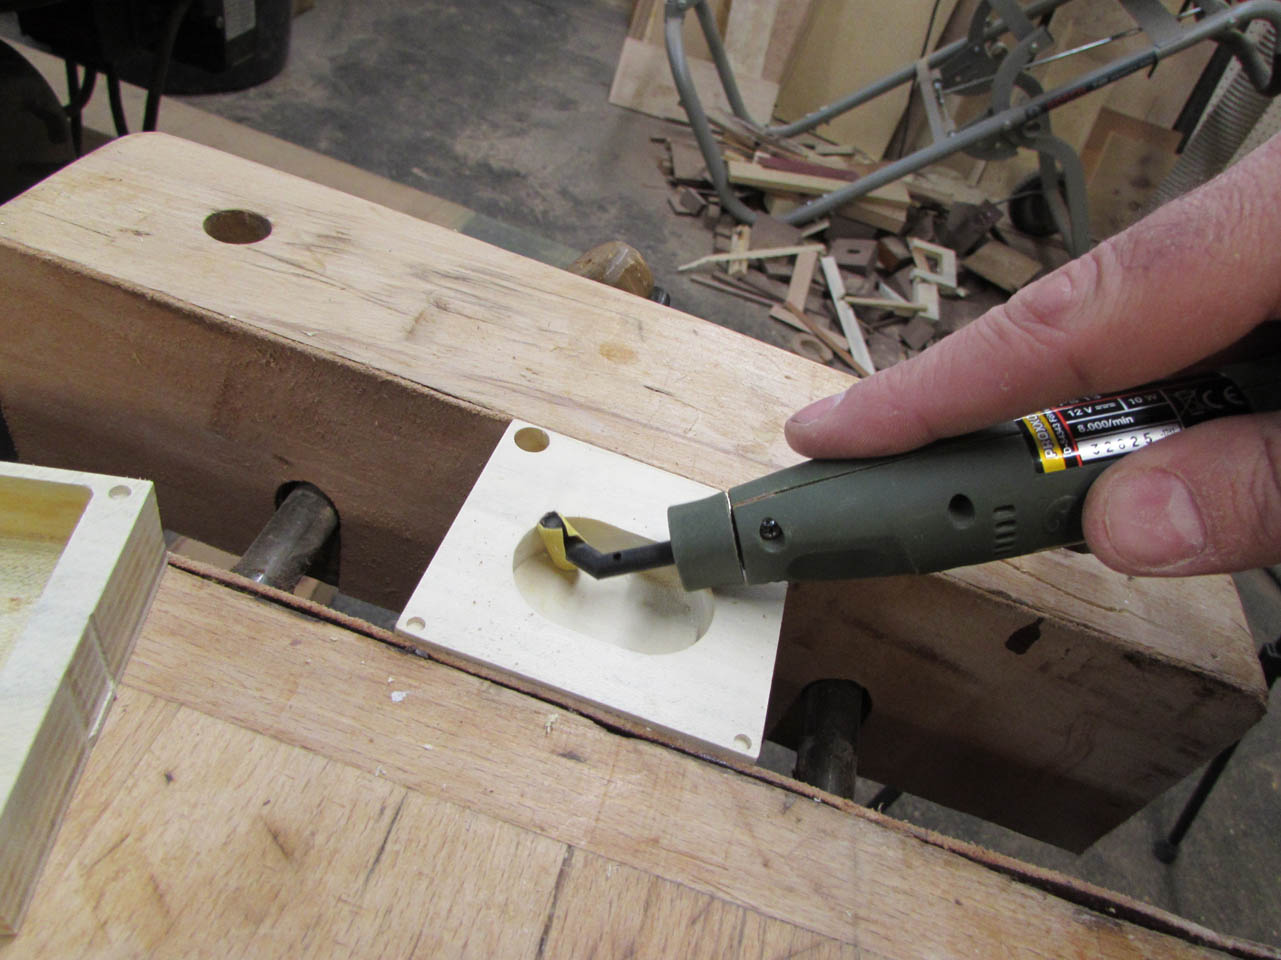
I had the CNC carve a couple of pockets to hold some magnets to help keep the box closed.

I used CA glue to hold the magnets in the pockets at just the correct height.


Unfortunately the ring holder was a bit too tall to let the box close so I made it a tiny bit shorter by sanding off the bottom.

Perfect fit and the box closes well.

After a final sanding I applied about three coats of clear, satin spray lacquer.


Then I reassembled everything using a bit more CA glue to attach the foam ring retainer.
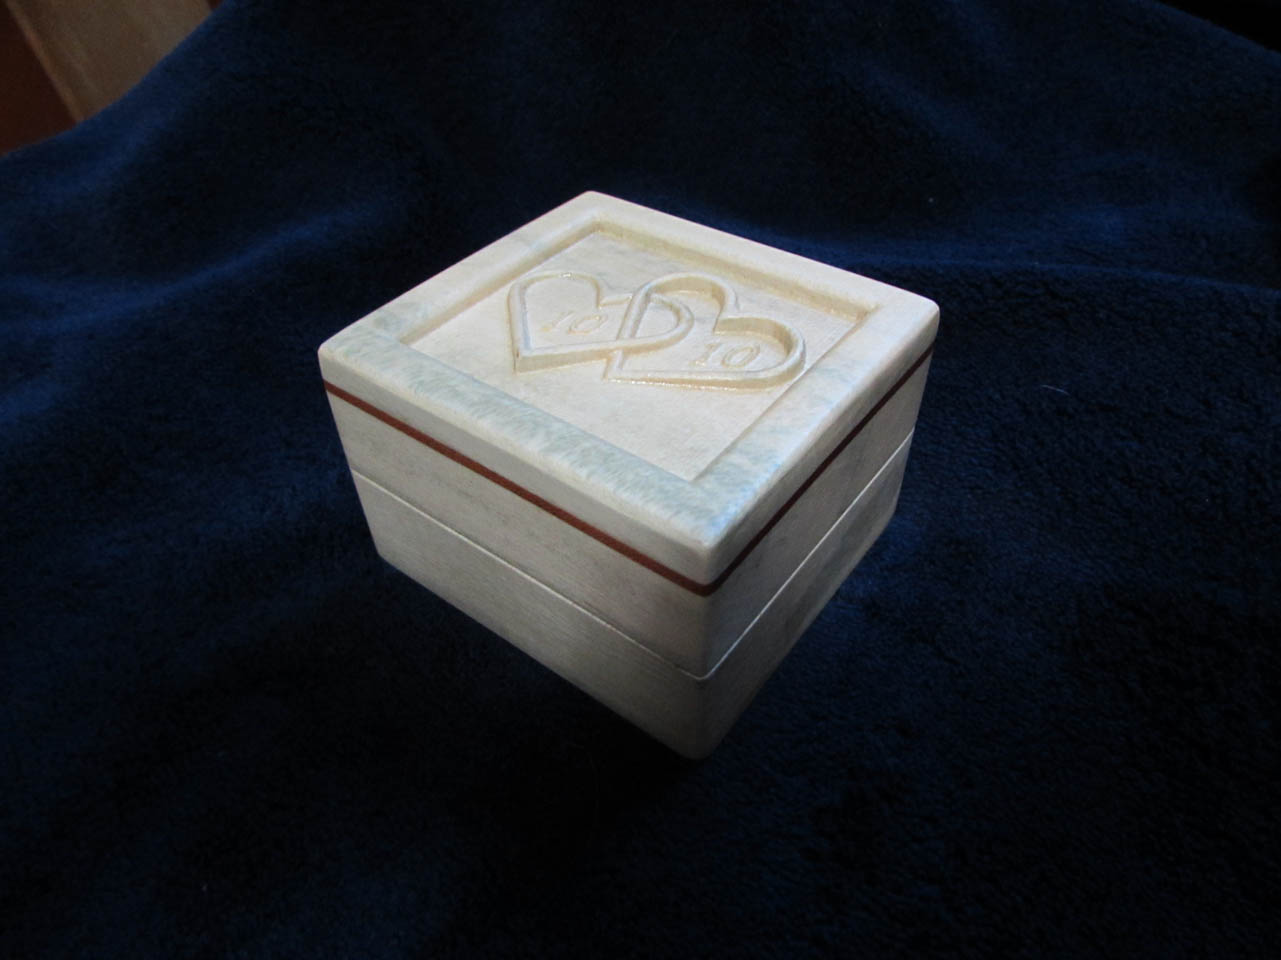
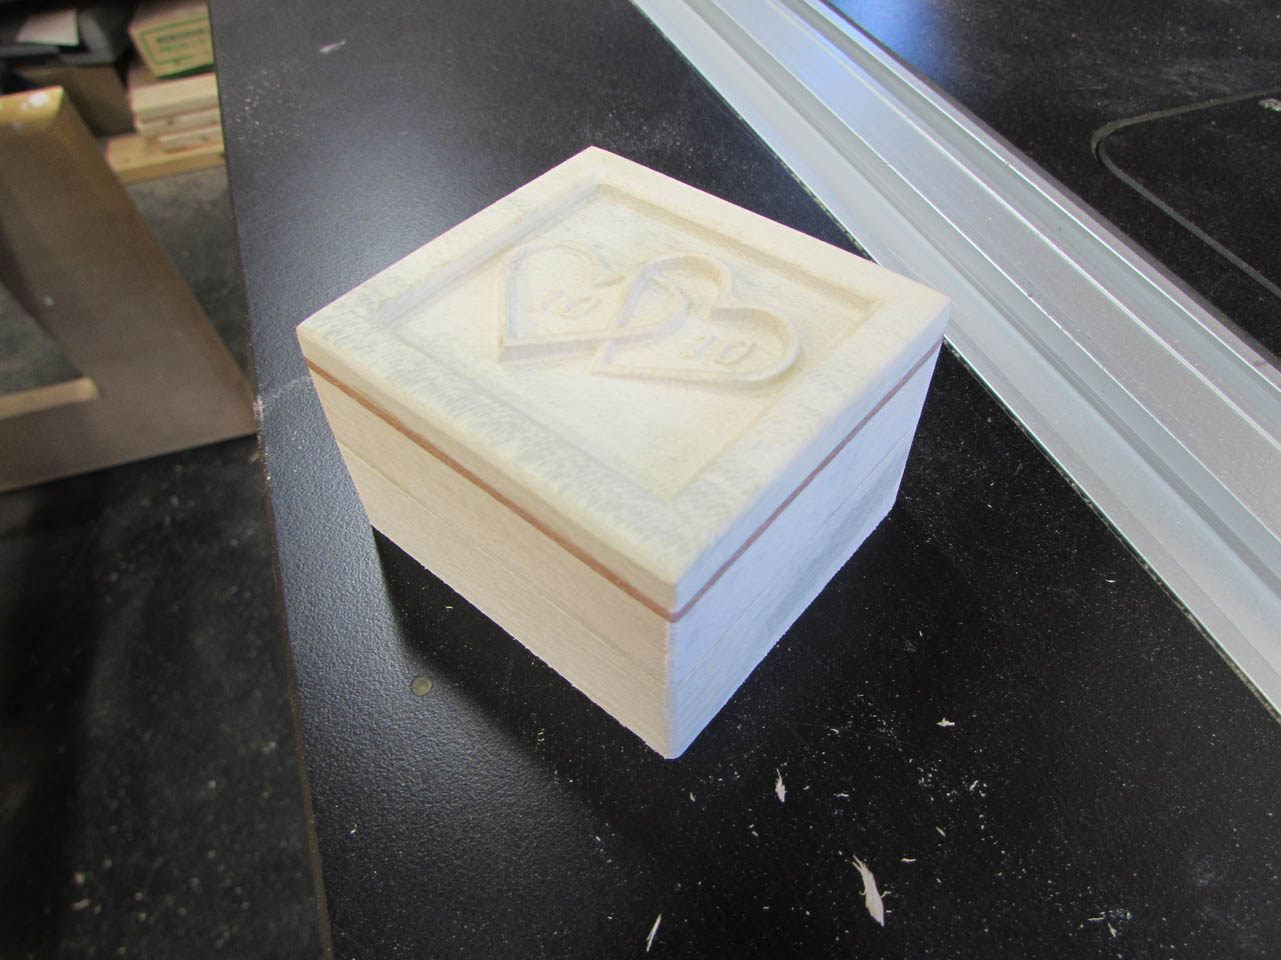
This was the final product.

And apparently, she said “YES”.

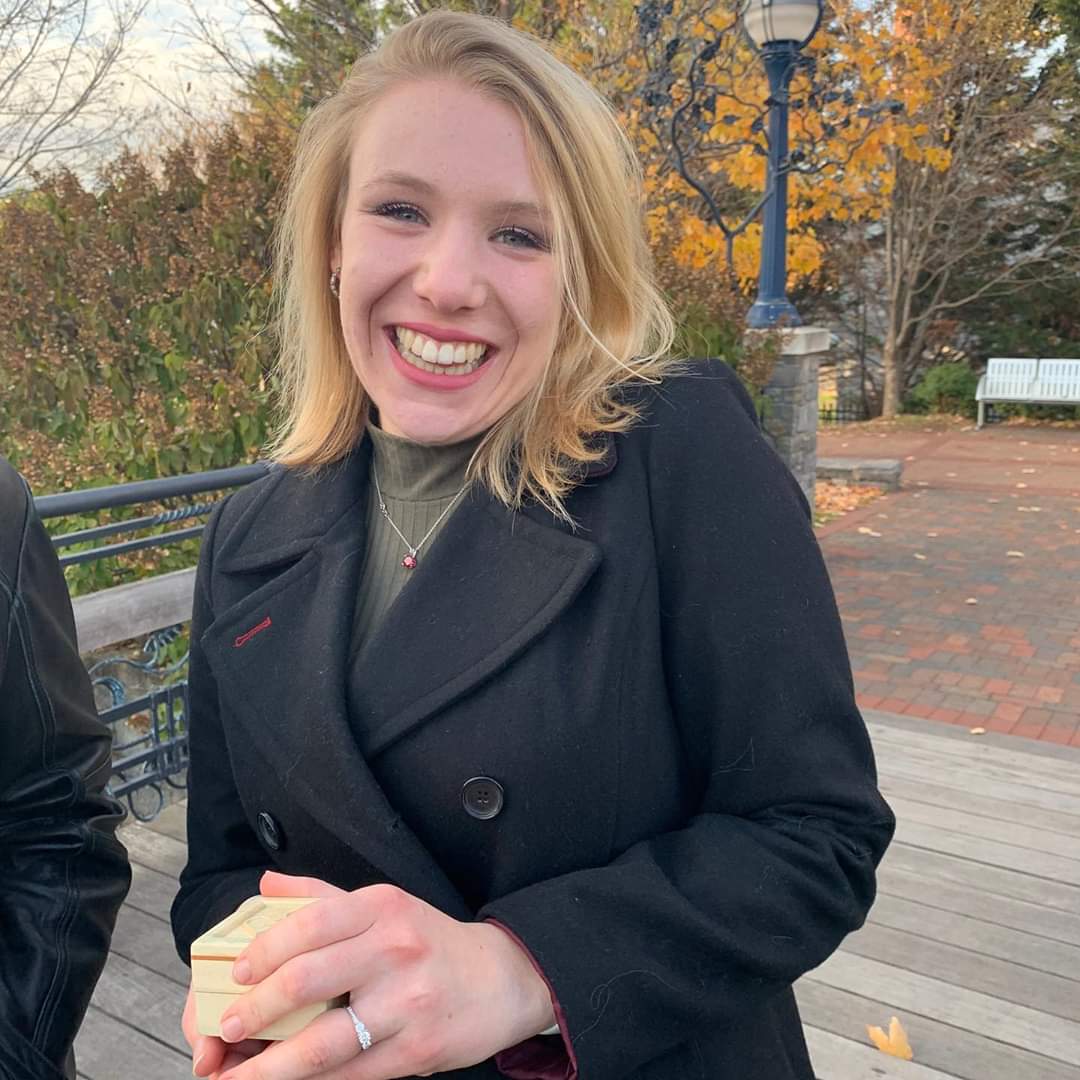

Congratulations Ian and Catherine!
