
The papal chair project
A few weeks back, I did a few test carves of the Papal seal. Those were for my next project. My friend Dave had the honor of being in charge of building the altar and chairs for the Pope’s visit, back in 2008. Now, he has been tasked with building the furniture for Pope Francis’ visit in September. Dave asked me if I could create a relief carving of the Papal seal. The carved panel will be going into the seat back of the Papal chair. How cool is that?

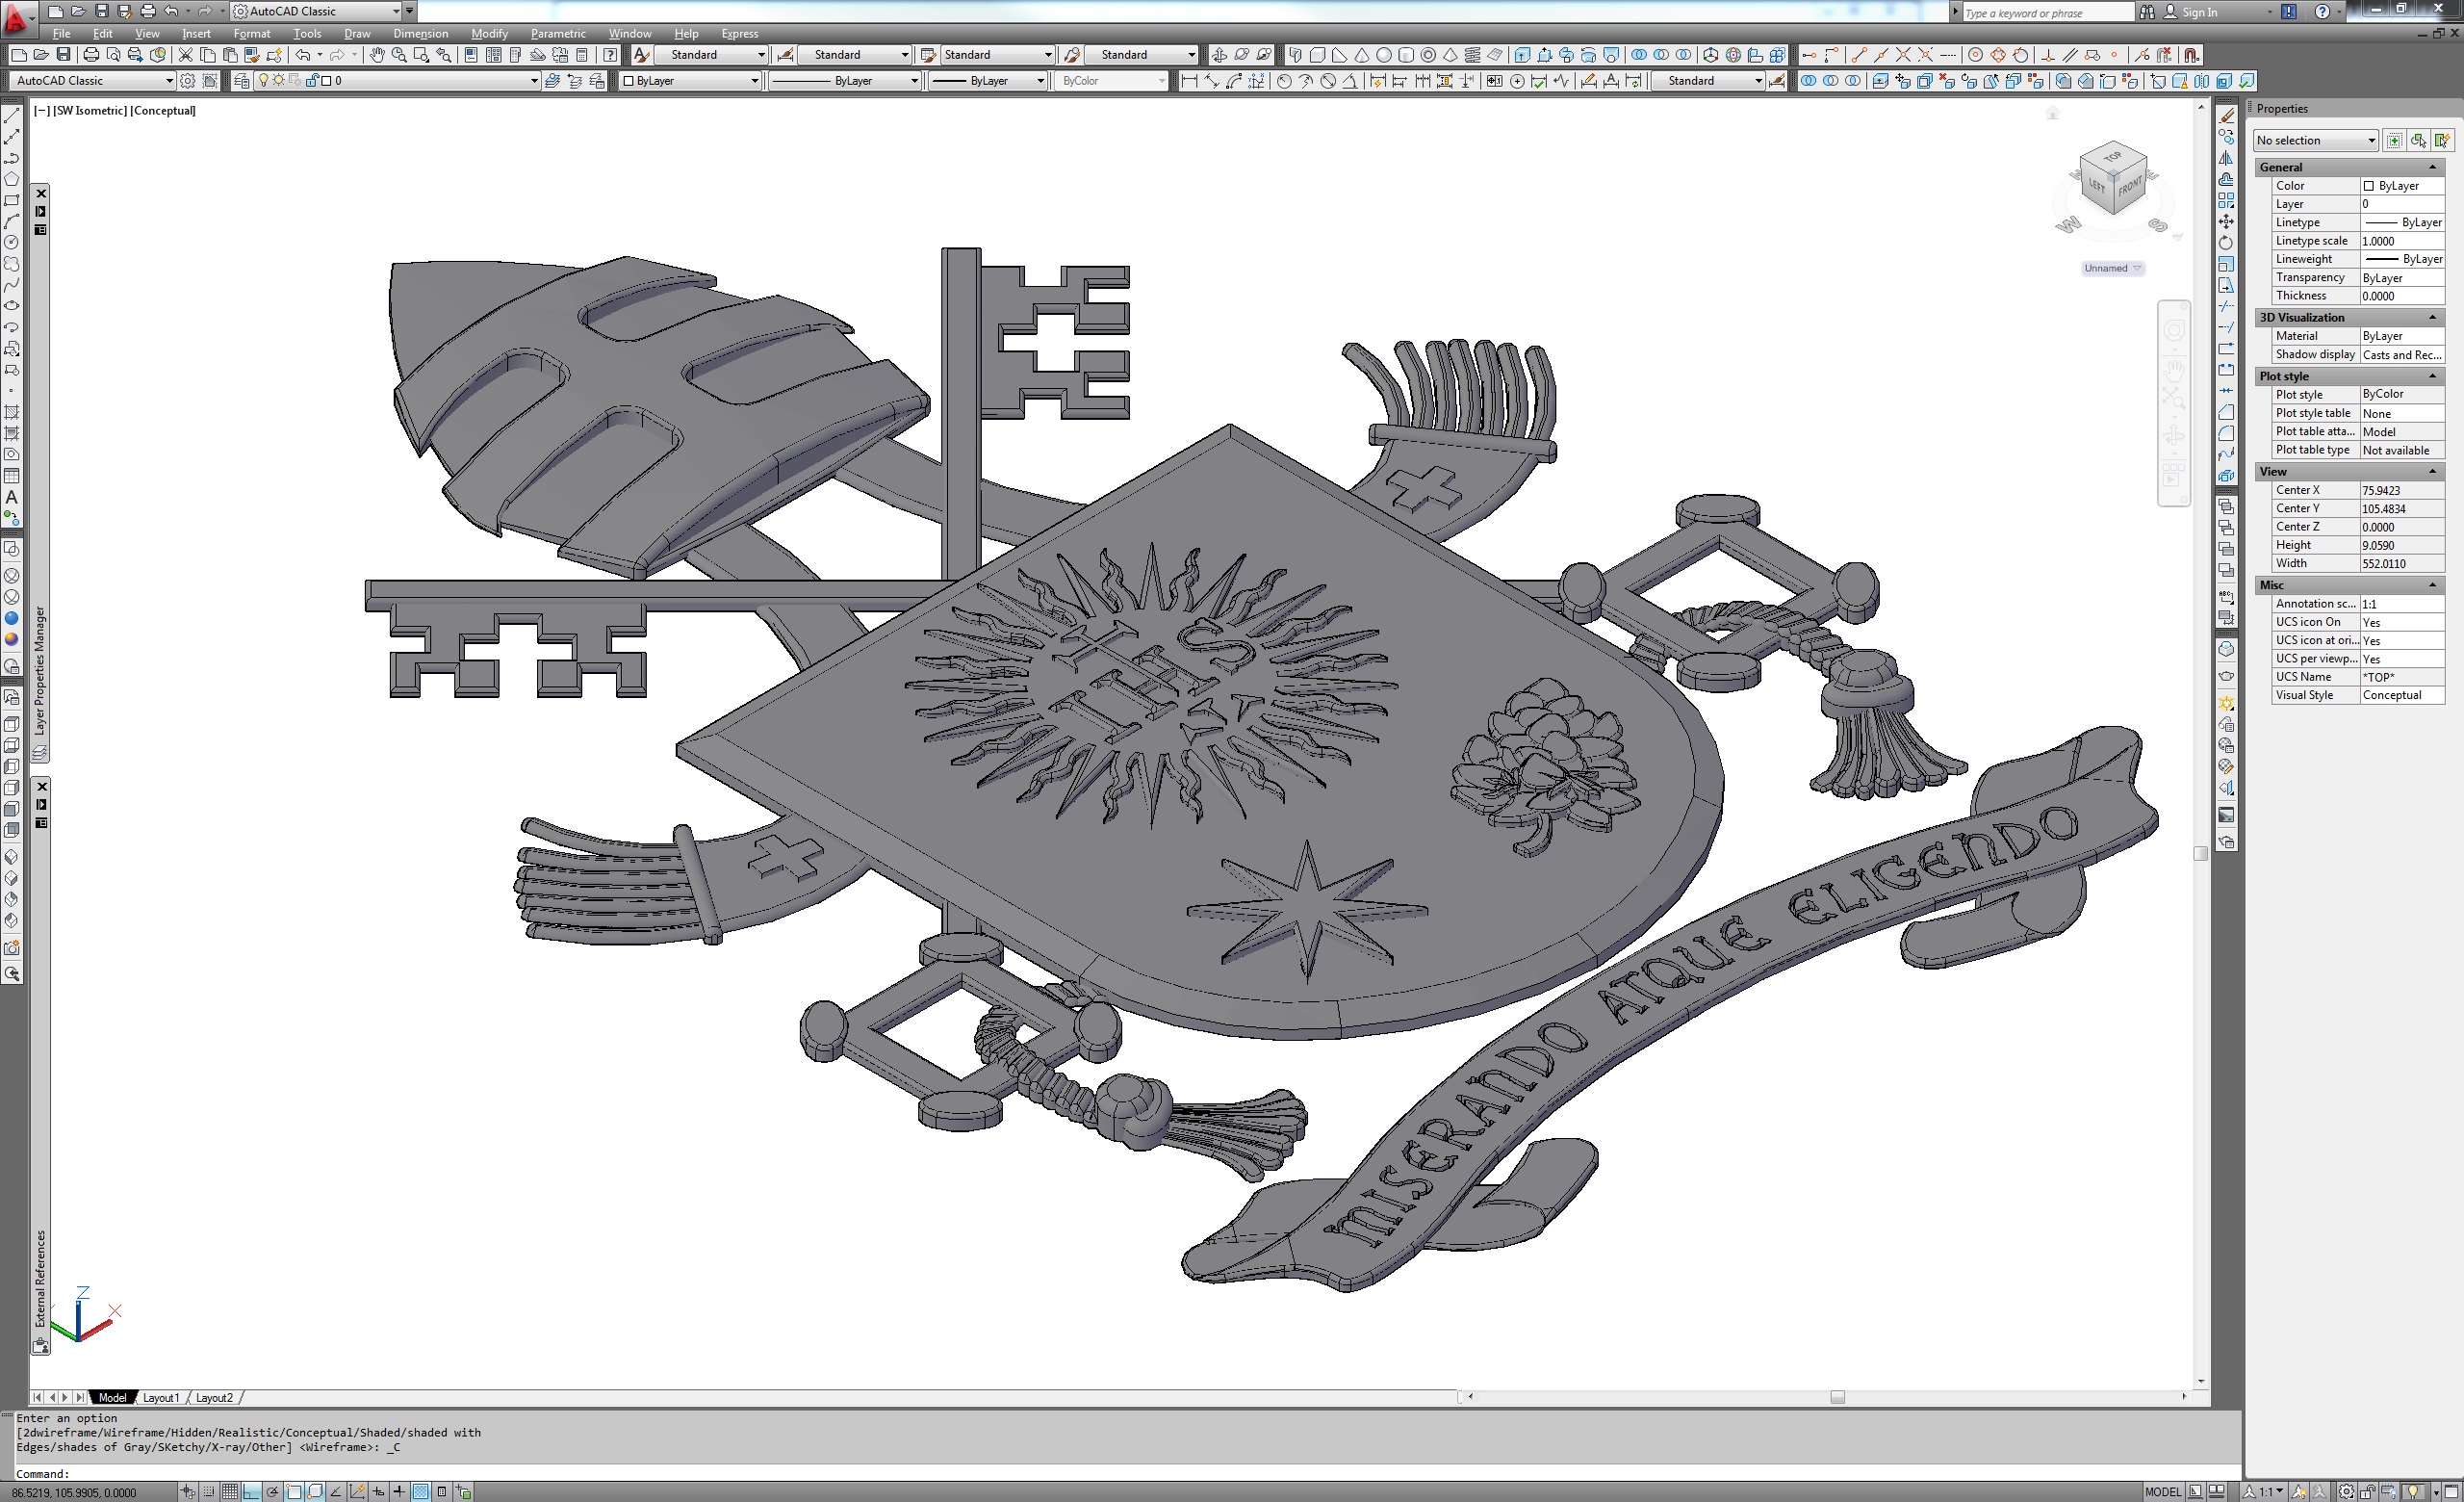
3D wire frame
I spent several days creating and tweaking a 3D model of the seal, until I came up with something that I could use on my Carvewright CNC.
3D shaded
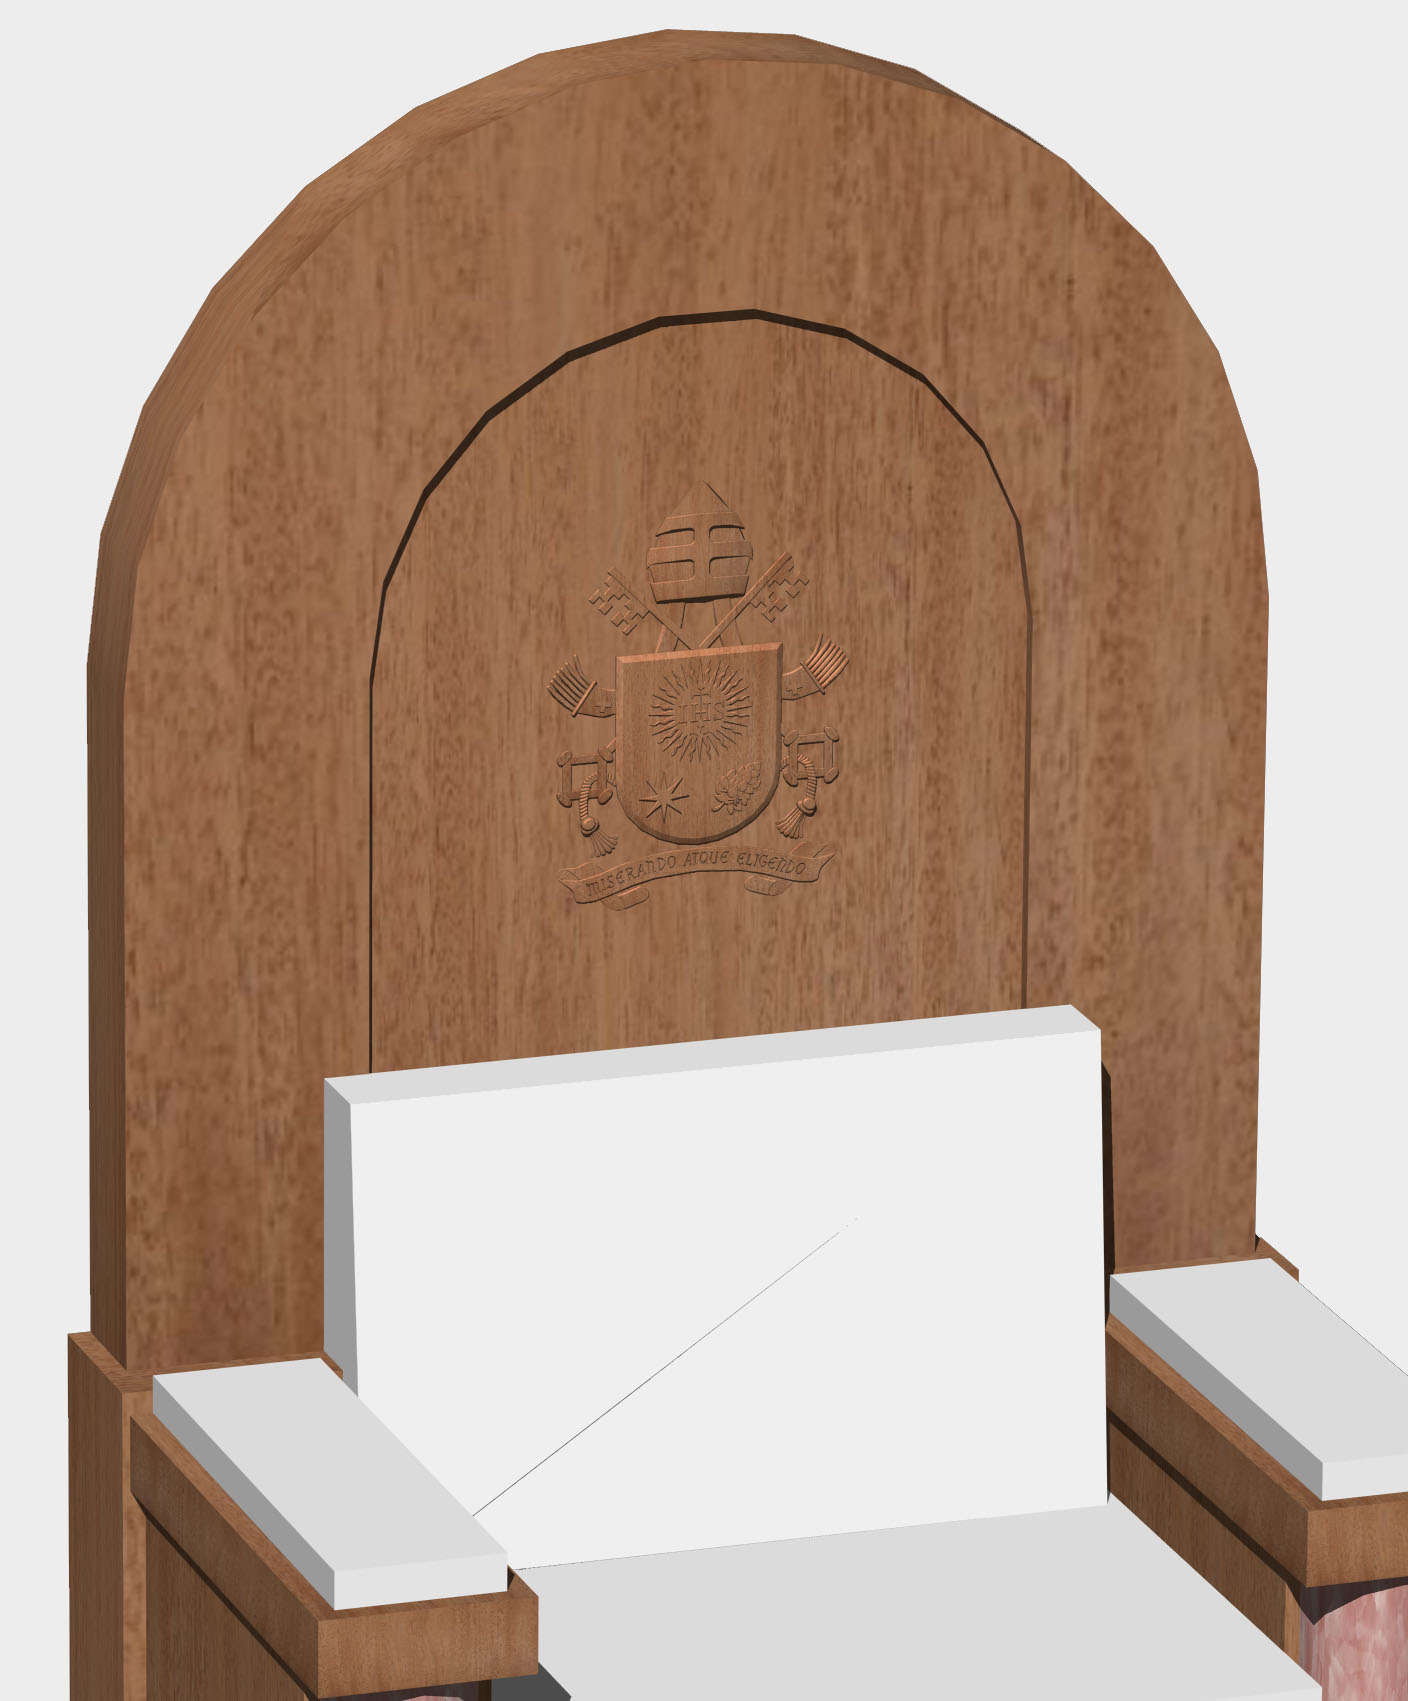
Chair rendering
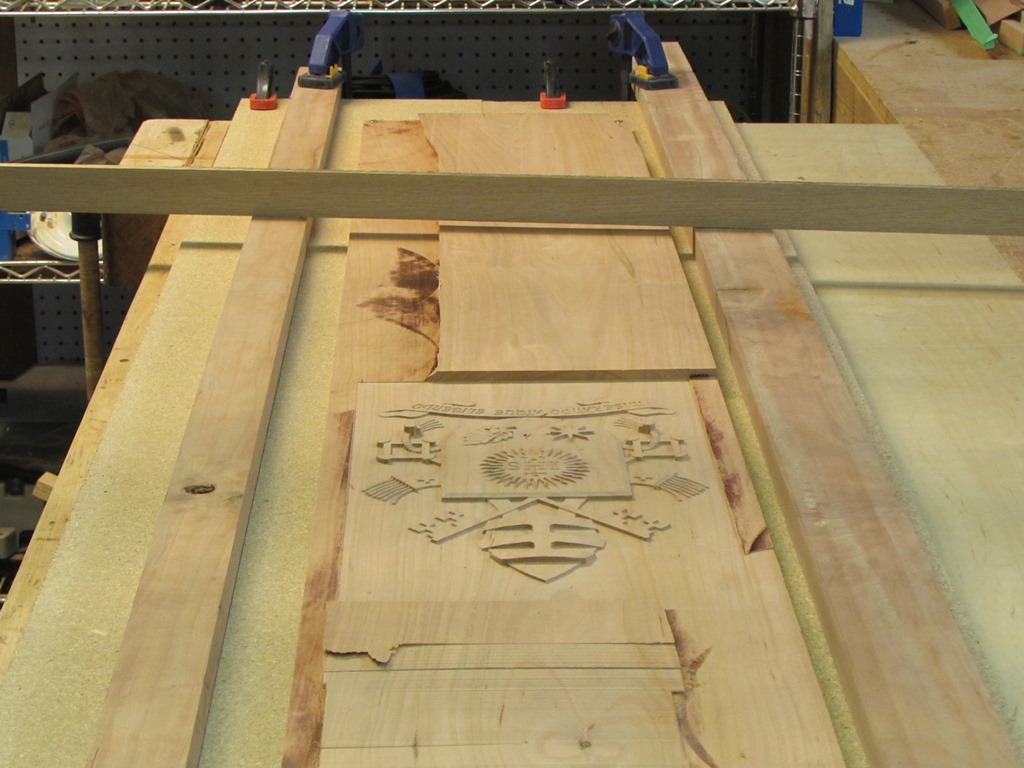
Once it was approved, Dave gave me two beautiful pieces of cherry, and I got to work.

Matching cherry boards
These two boards were cut side by side from the same tree. The blade of his sawmill is rather thick, so they don’t appear to be book-matched, but the grain-match is close enough that the joint shouldn’t be too noticeable.
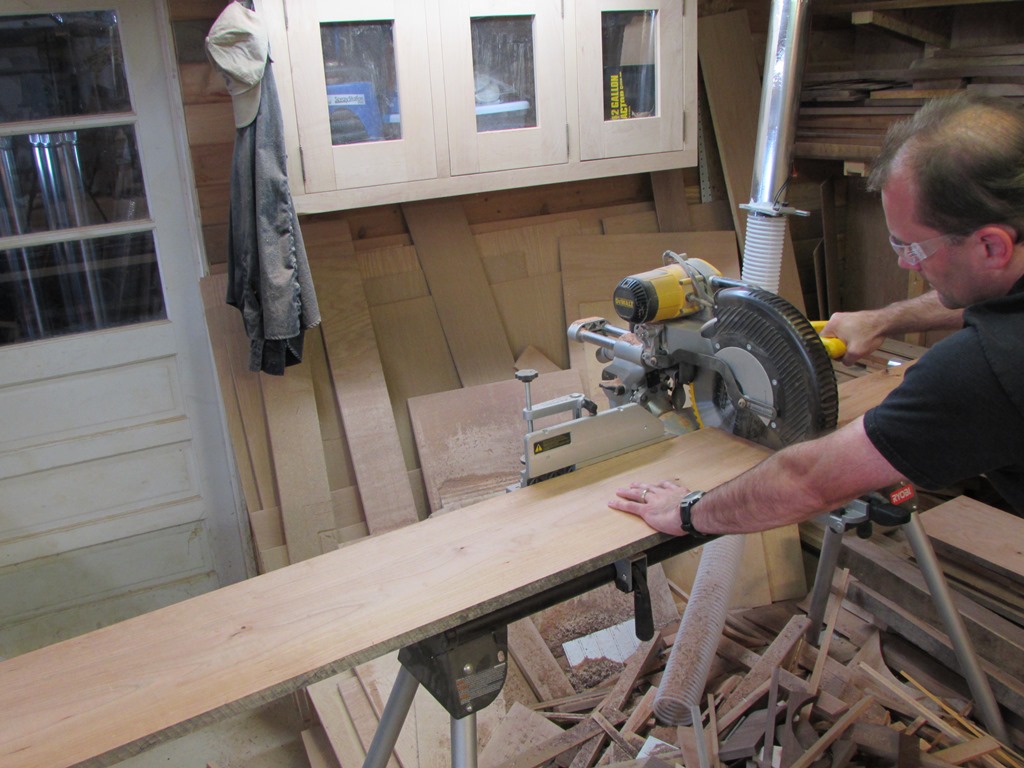
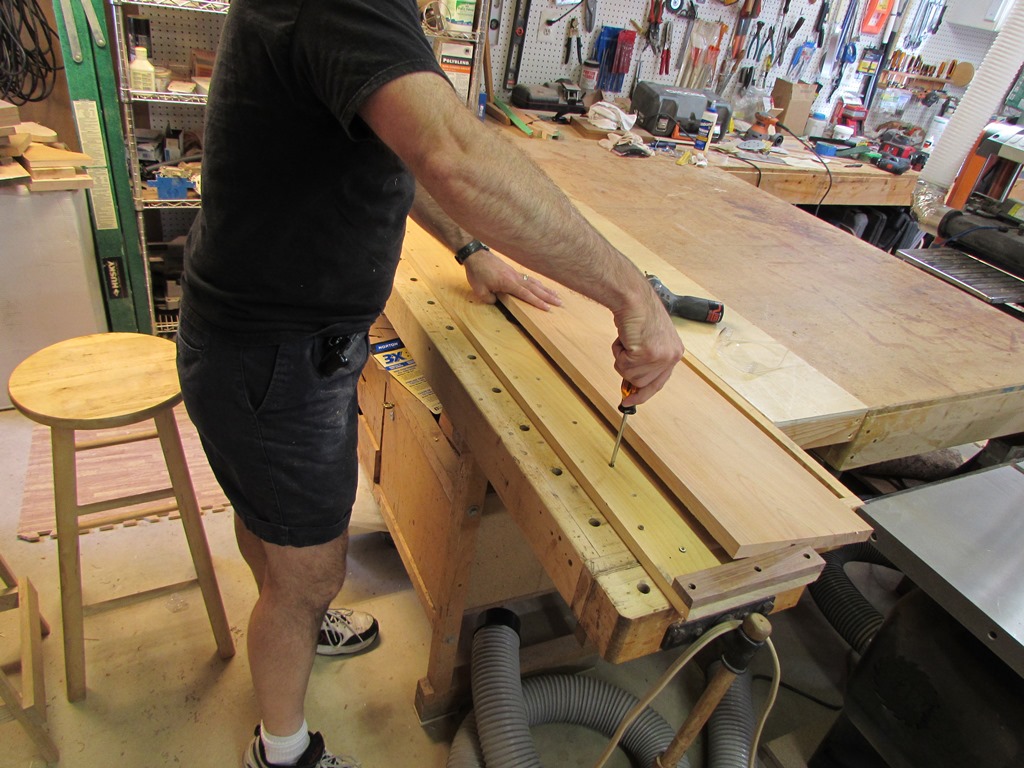
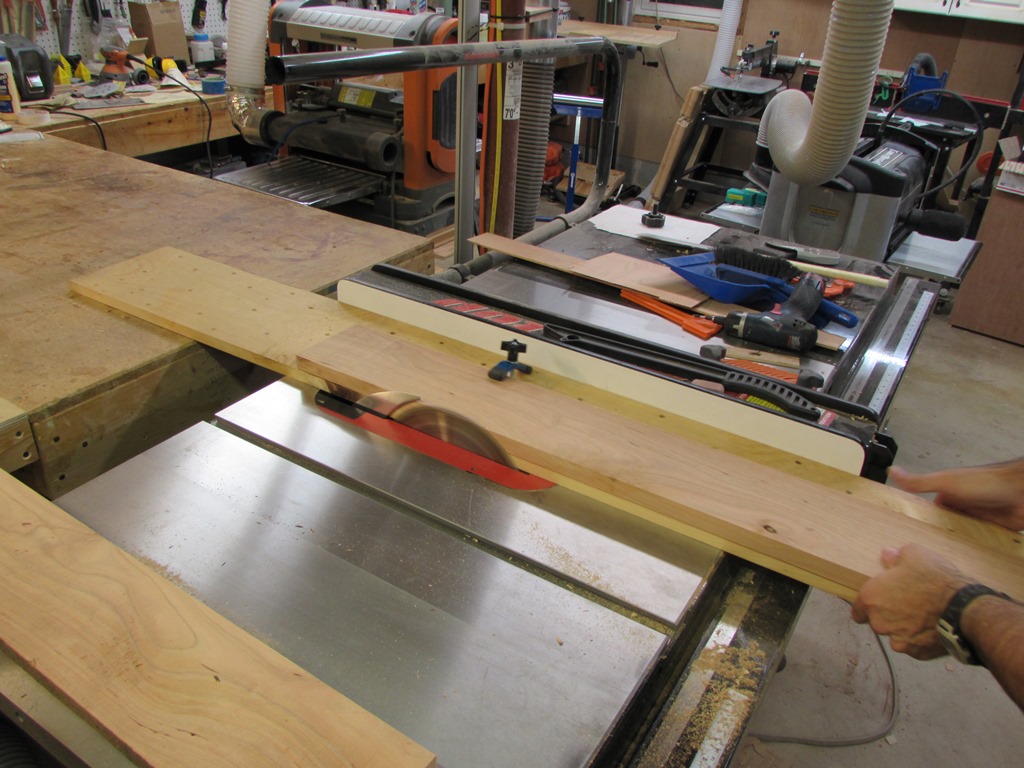
Cutting the center piece
I cut the first board to length, then cleaned up the sides on my table saw.
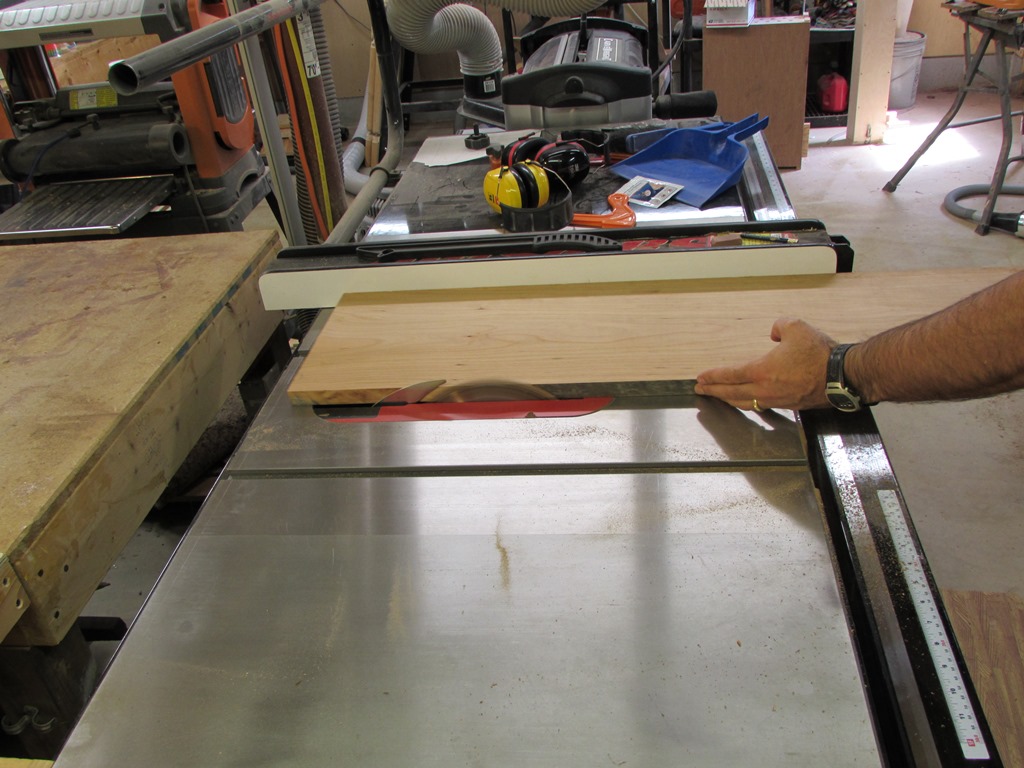
Cleaning up the edges
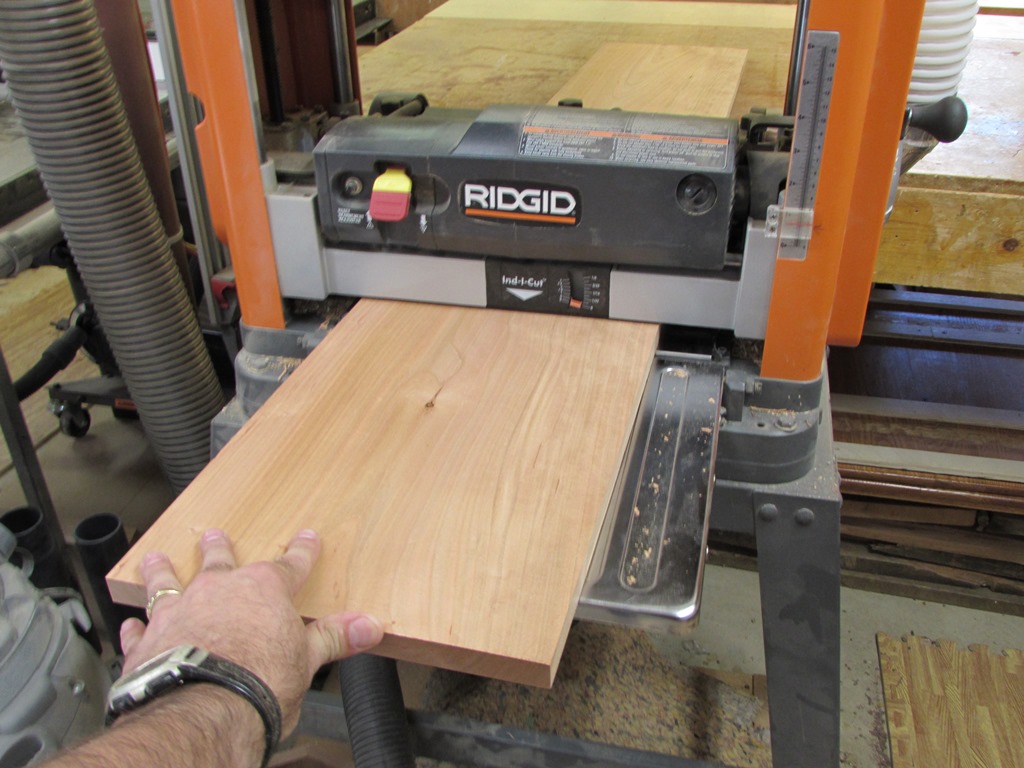
Setting up the planer sled
Dave cuts and air-dries his own wood, so there is a bit of a twist. I adjusted the stand-off screws on my planer sled, to support the twist, then ran it through the planer.
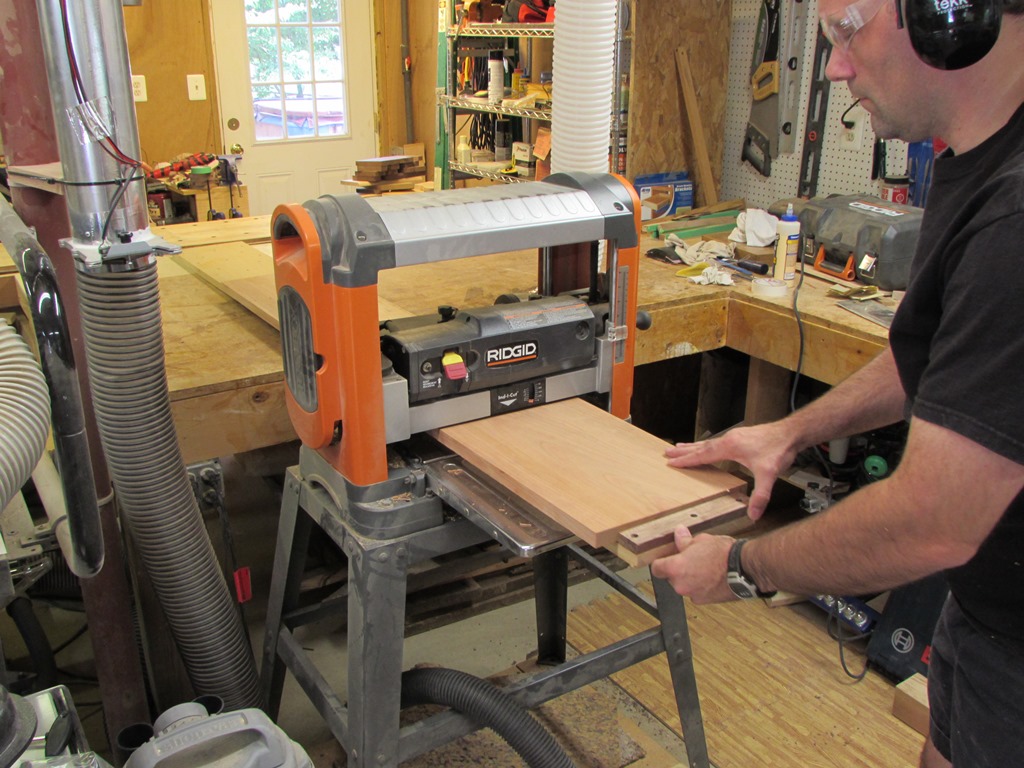
Flattening one side
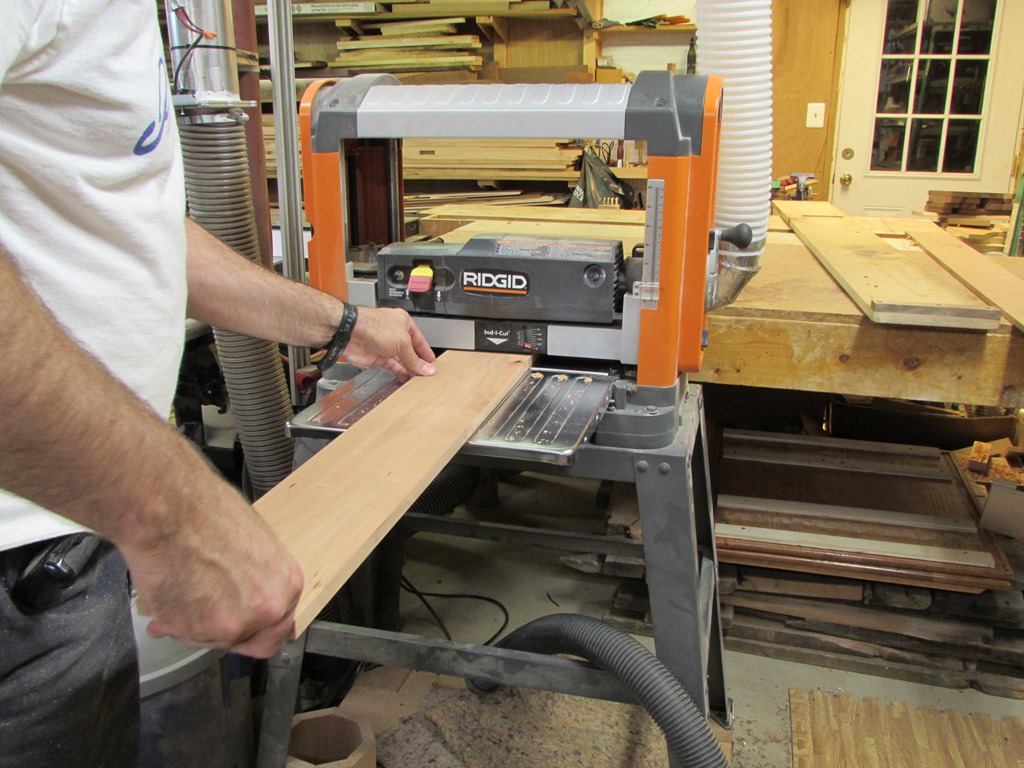
After flattening one side, I flipped the board and planed the other side parallel, and took the thickness down to 3/4″.
Planing the flattened board down to 3/4″

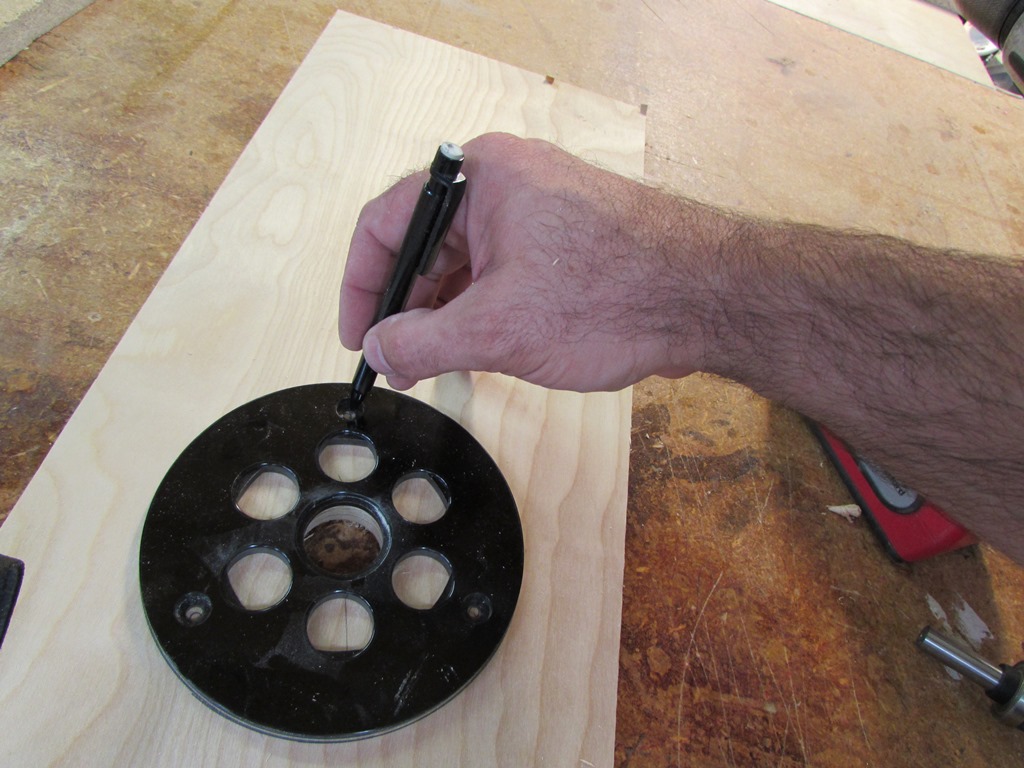
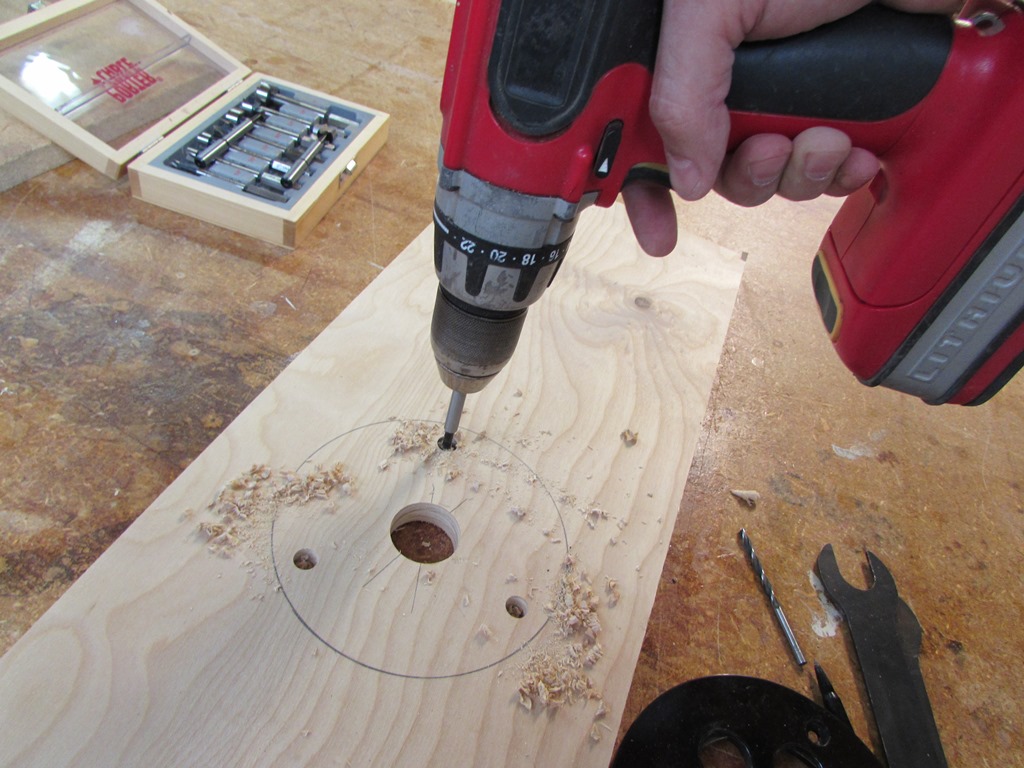
New 1/32″ carving bit
I had to upgrade the software on my carver to accommodate the new 1/32″ carving bit that Carvewright now offers. I usually carve with a 1/16″ carving bit and a 1/8″ cutting bit. The new bit is supposed to be able to achieve a higher level of detail, so I thought it would be worth the investment for this project.
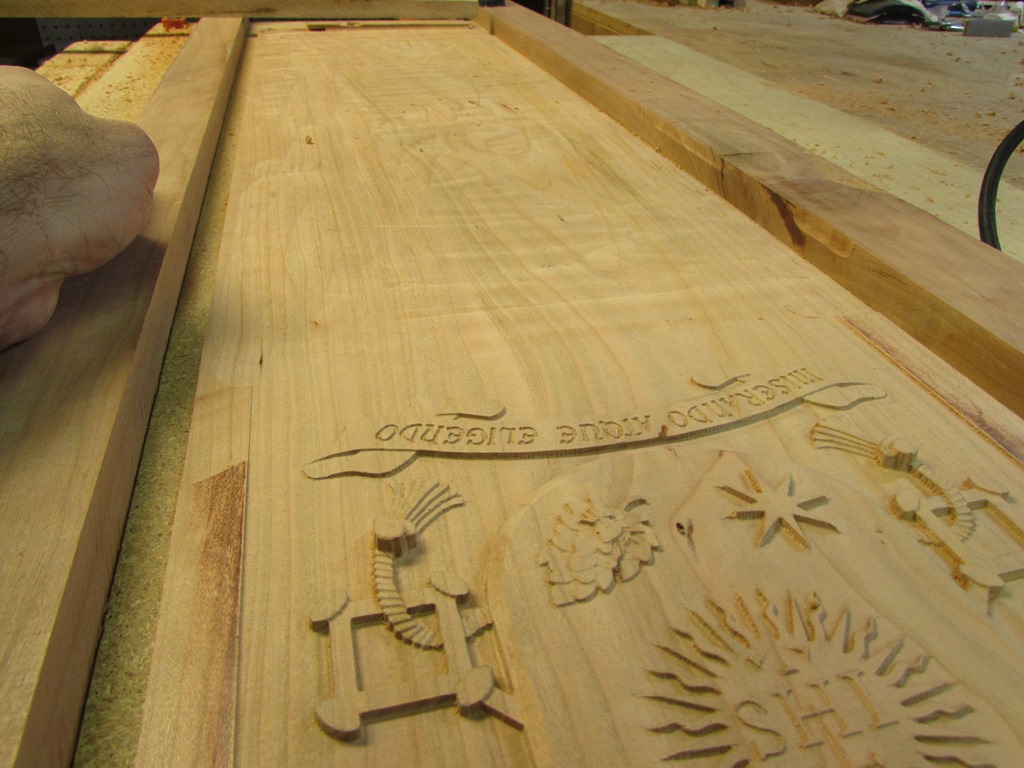
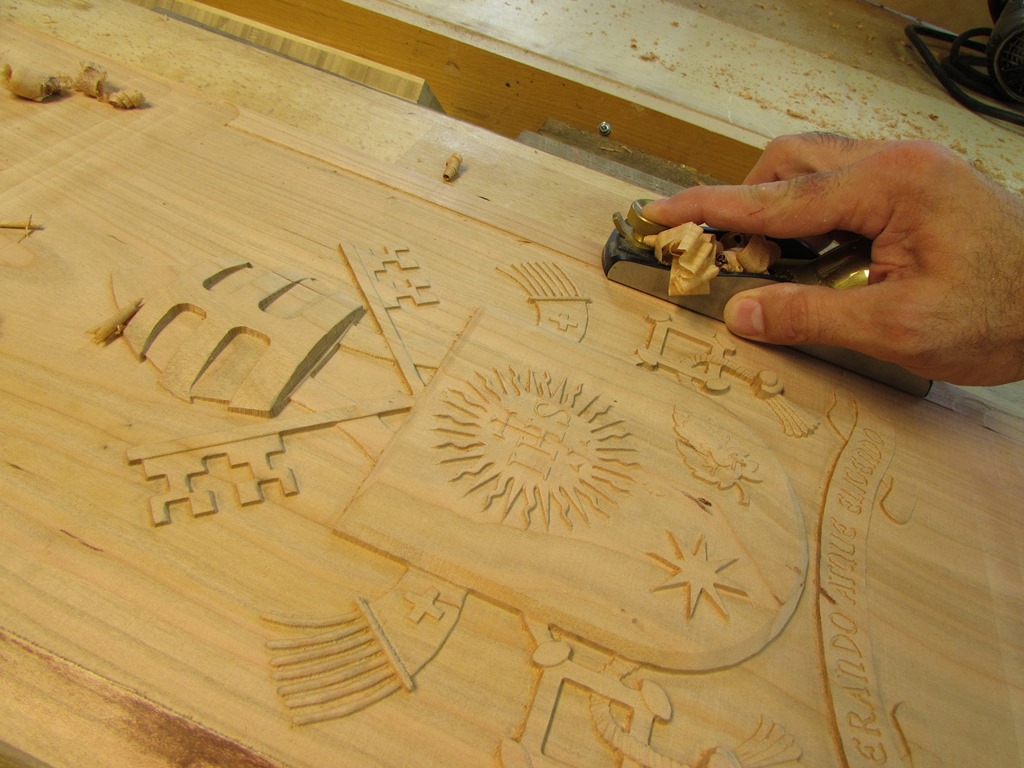
Program loaded and carving
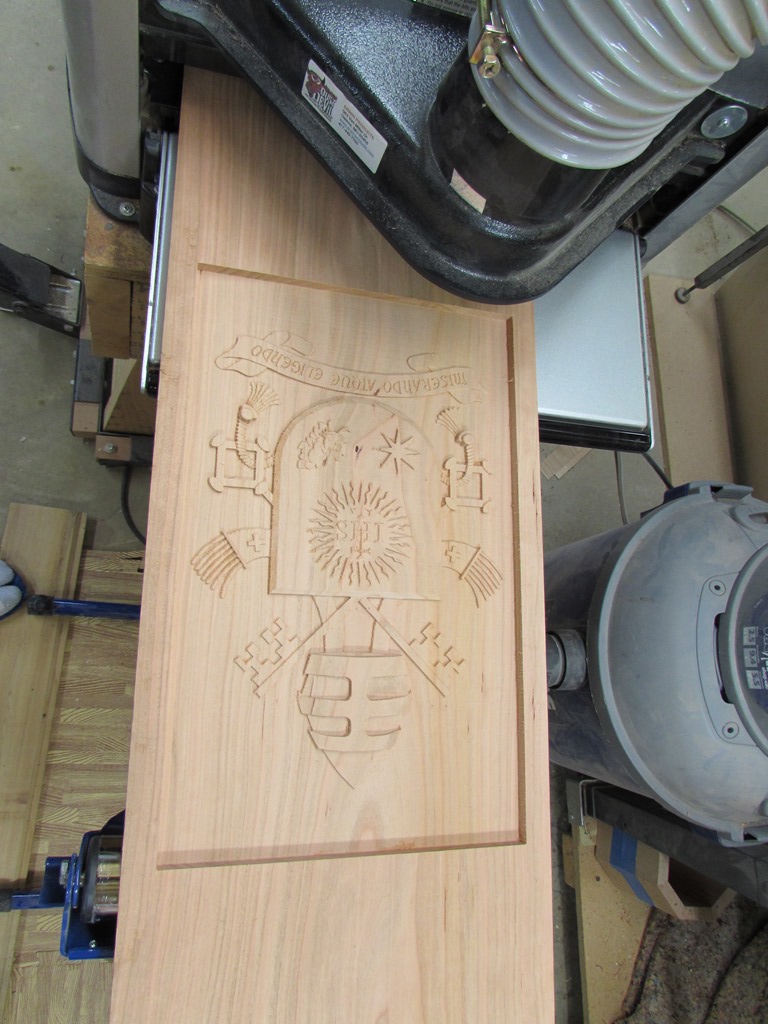
Carve complete
It took about 6 hours to carve an approximately 9″x14″ area, but it turned out great. The new bit does do a finer detail job with the carving, but it still leaves quite a lot of fuzzy grain sticking out.

Looks pretty good
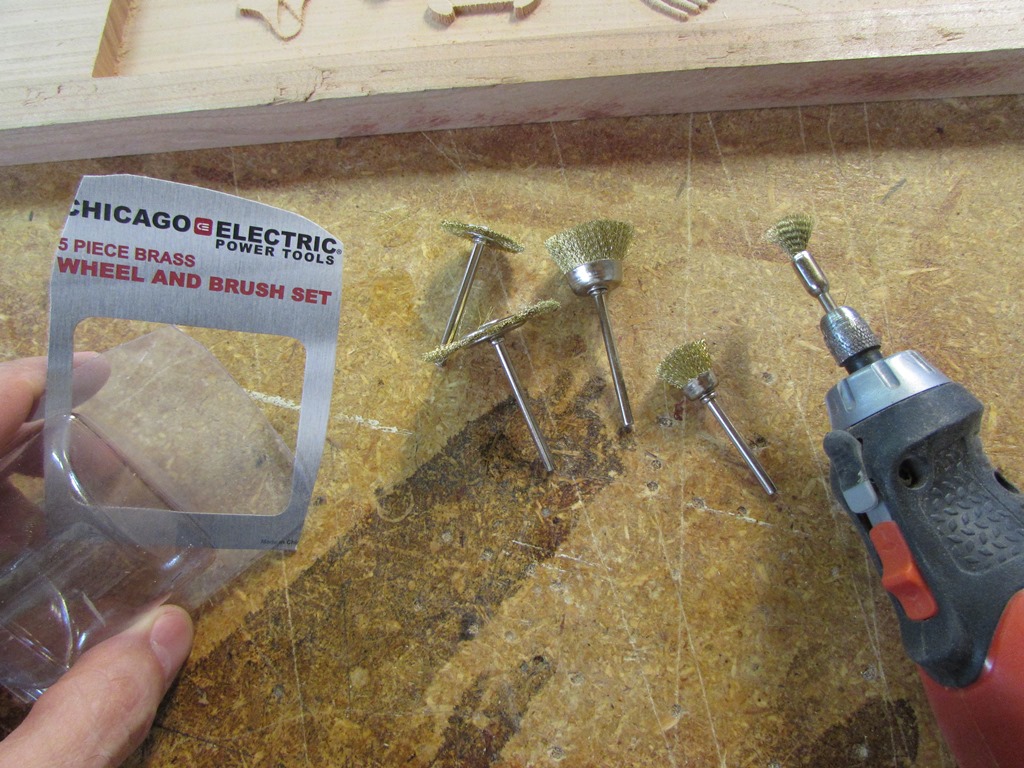
Wire brushes for clean-up
To tackle the fuzzy bits, I picked up a set of small brass wire brushes for my dremel tool, and gave them a try.

Non-aggressive de-fuzzing
It did a surprisingly gentle job of removing the fuzzy bits without tearing up the details. I had to slow the speed down a lot when I started getting hit in the face with all the bristles that were tearing out of the brush. You can see all the loose bristles in the picture below.
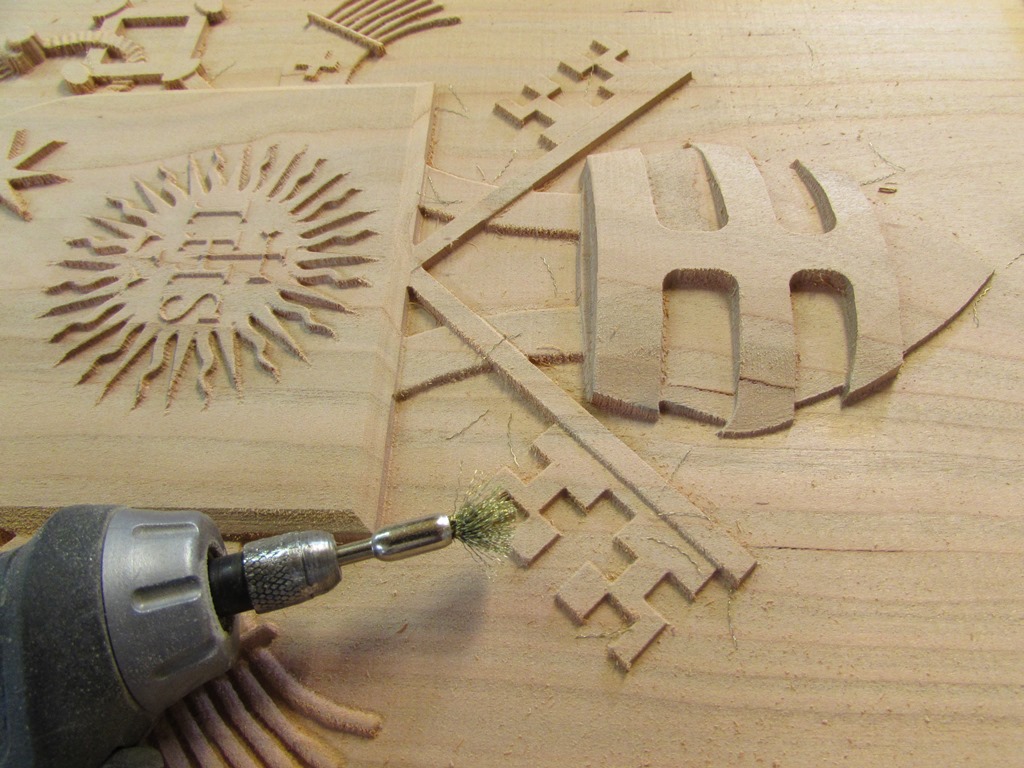
Sheds a lot of bristles…
I pretty much wore out one of the brushes and had to switch to a different one, but they did a good job. Well worth the $3 I spent…
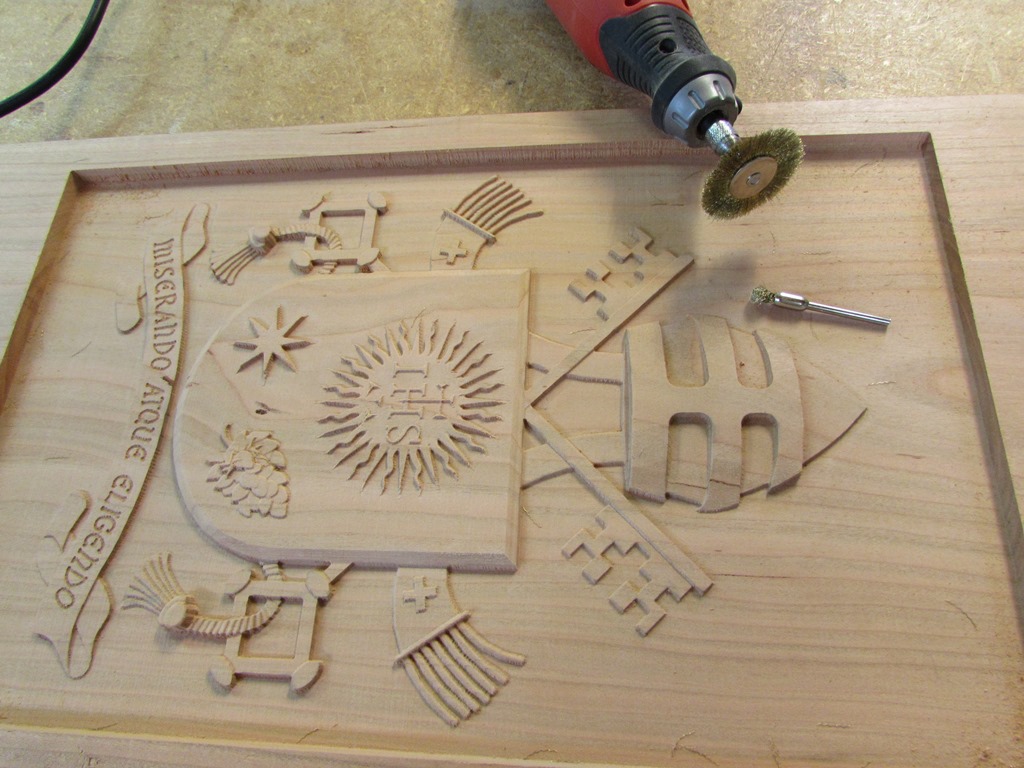
Worked surprisingly well

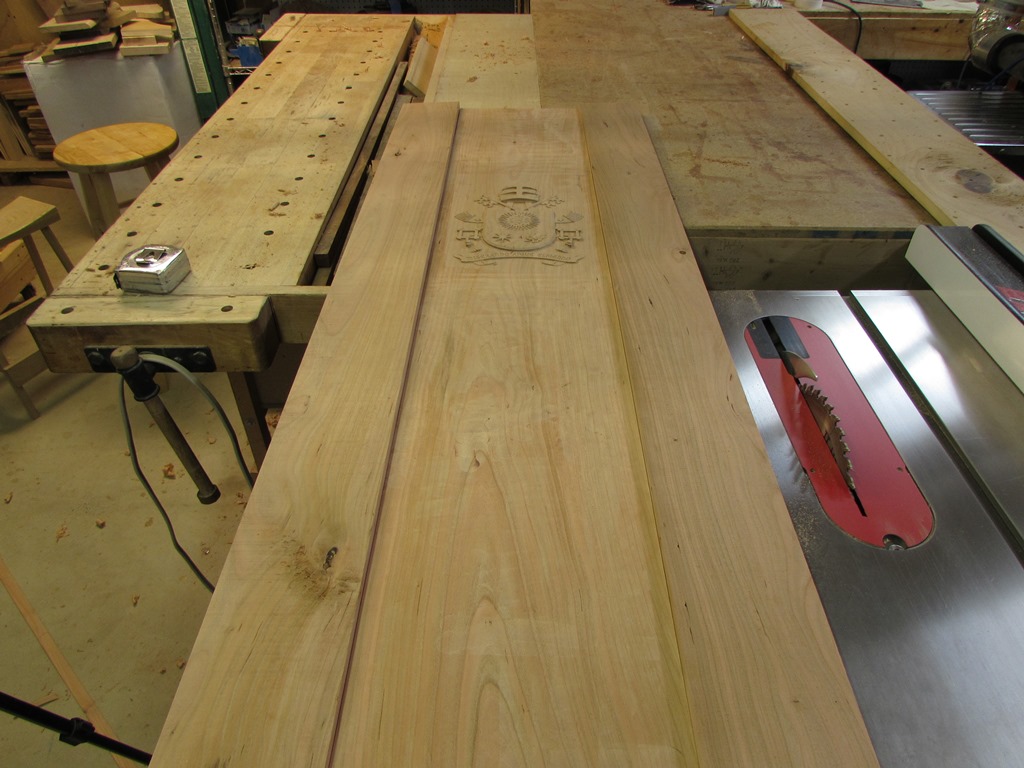
Carefully removing the excess
The next challenge is getting the rest of the surface of the board down flush to the background of the carve. I started by running the board, on edge, through the table saw in an attempt to re-saw most of it away.

Trimming away the sides
Figuring the rails on either side of the carve would be more difficult to do later, I cut them out by hand first.

Failed attempt to re-saw the excess…
I had hoped to be able to re-saw the main areas on the band saw and save the veneer, but I failed. I probably should have loaded a wider blade, but the blade bowed and cut through the surface.

Plan “B”
Giving up on that notion, I decided to make a router sled and use a bowl cutting bit to hog out the excess.
Parallel rails
After setting up a backer board and clamping some parallel rails to it, I grabbed a piece of flat 3/4″ plywood.
Tracing the router base
I traced my router base plate and drilled out the mounting holes.
Creating a router sled

Attaching the sled base to the router
After counter-boring the holes, I attached the plywood to my router and installed the bit.

Adding end stops
I attached stops to the end of the sled to prevent damage to the rails, and added some stops to the rails to keep the router away from the carving.

Adding stops to protect the carving

Routing away the excess
It was a bit crude, but after a couple passes, I was able to take the router down to my desired level.

Not bad

Routing the other side
I finished up both sides. Taking my time, it still took a little under an hour to do.
Looks pretty good
Hand planing the sides flush
I cleaned up the sides, next to the carve with my block plane, then took my smoothing plane to the rest of the surface to get any high spots.

Cleaning up the high spots

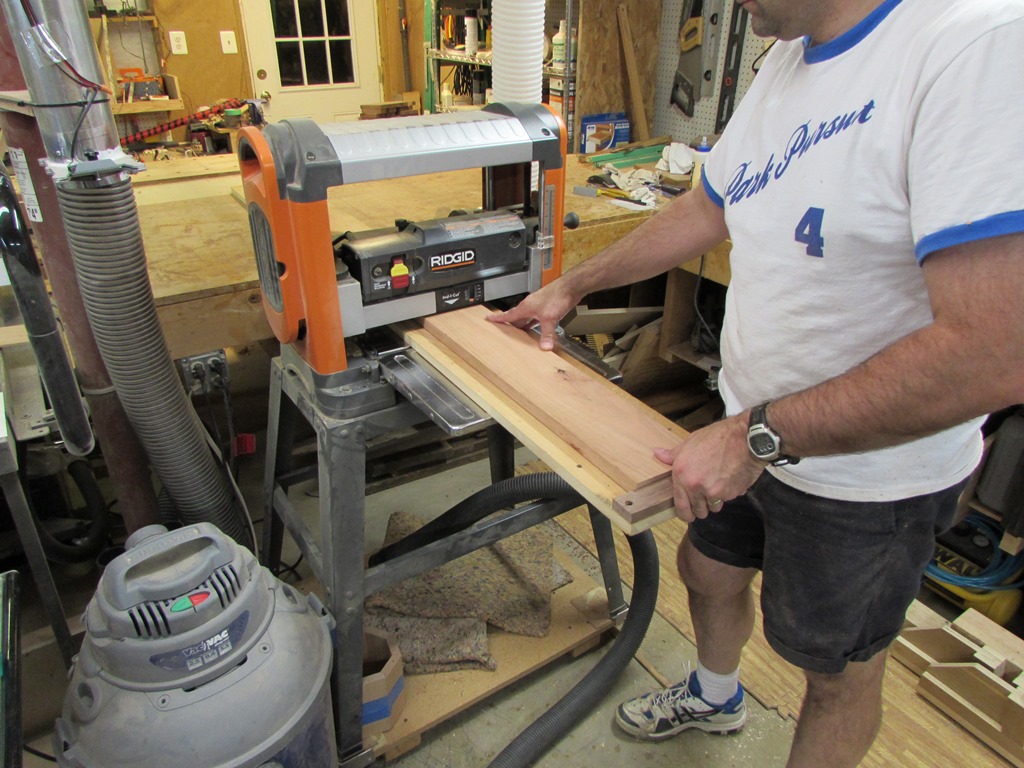
Ripping the second board
Setting that panel aside, I ripped the remaining cherry board in half and cut it down to 5′ long. Neither side of the board was straight enough so I drilled a couple counter-bored holes into my planer sled and added a couple of hold-down clamps. This effectively turned the planing sled into a straight-line cutting jig.
Planing sled becomes a straight line cutting jig
After a couple of passes the edges were straight enough for joining.
Lining up the grain

Adjusting the planing sled
Next step was to adjust the planing sled to flatten these boards as well.
Flattening one side
Planing down to 1/2″ thick
I planed them both down to just a few thousandths thicker than the carved panel, and applied glue to the edges.

Applying glue
I used most of my longer clamps to clamp the whole thing together.

Clamped and drying
I worked all evening till about midnight, so I am knocking off for the day. Hopefully with just a little sanding and scraping I will have a nice flat carved panel to turn over to my friend Dave for finishing and installation into the Papal chair.

It looks beautiful!
What an honor this job is and very well executed by you
Thank you both. It is always fun working on new challenges. I get really self-conscious working on something a lot of people might see though.
so exciting to see your photos and progress. thank you for taking on the challenge and creating beautiful artwork for The Pope.
Wow, just Perfectly Papal! Good job, also to the photographer
What a wonderful team!
I am dazzled by the dedication to detail and precision.
what a special privilege! would this friend Dave be my Deacon Dave?
Of course. He always gets the fun projects.
Pingback: Holly engagement ring box | Midnight Woodworking