
Baritone rebuild – day 8 complete
The finish is cured, so my last step is to apply a coat of paste wax.
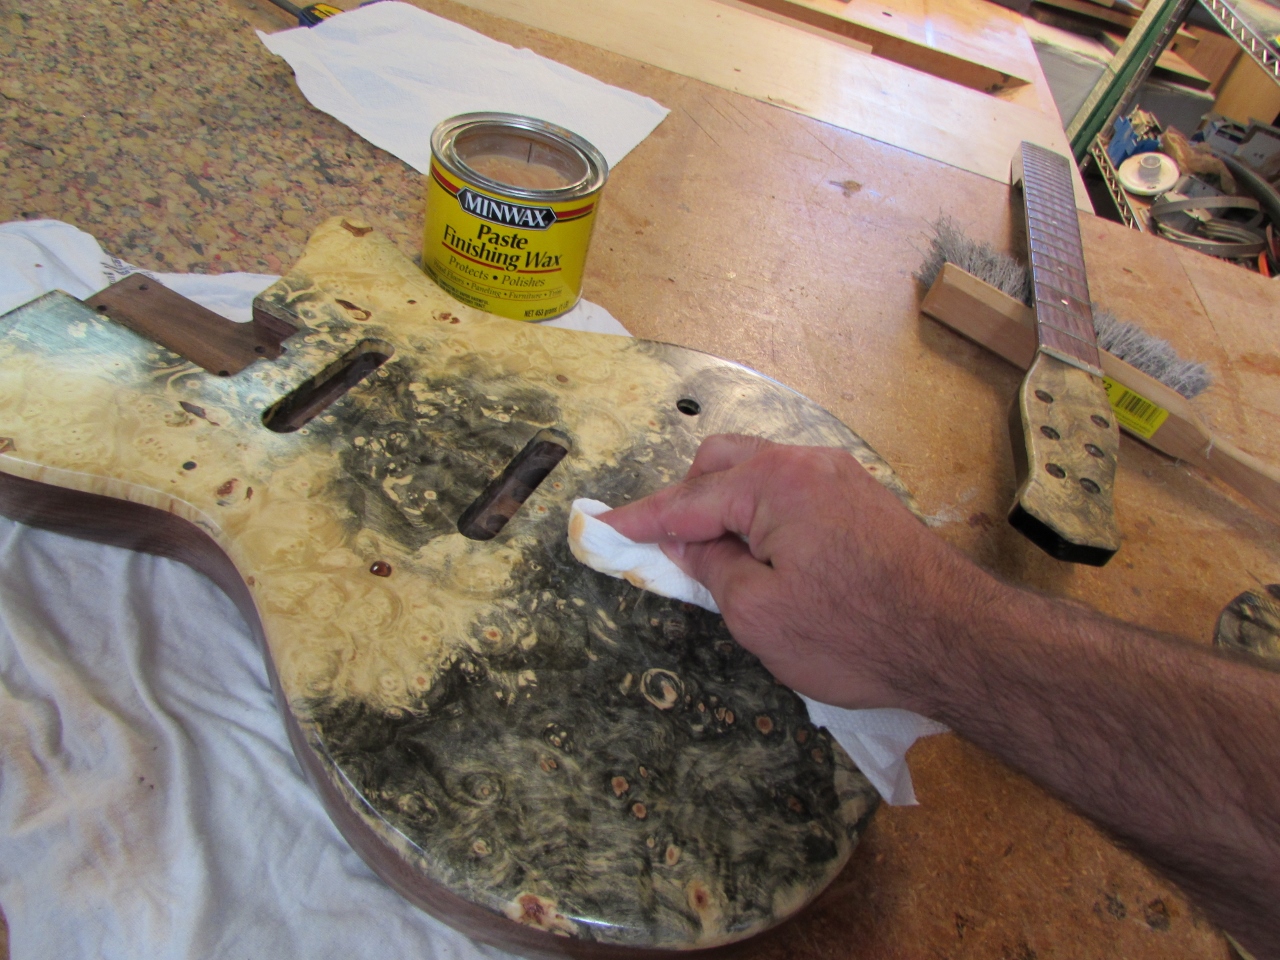
Applying paste wax
I let it set for a few minutes, then I rubbed it off with a soft cloth. This buffs the finish to a nice warm glow.
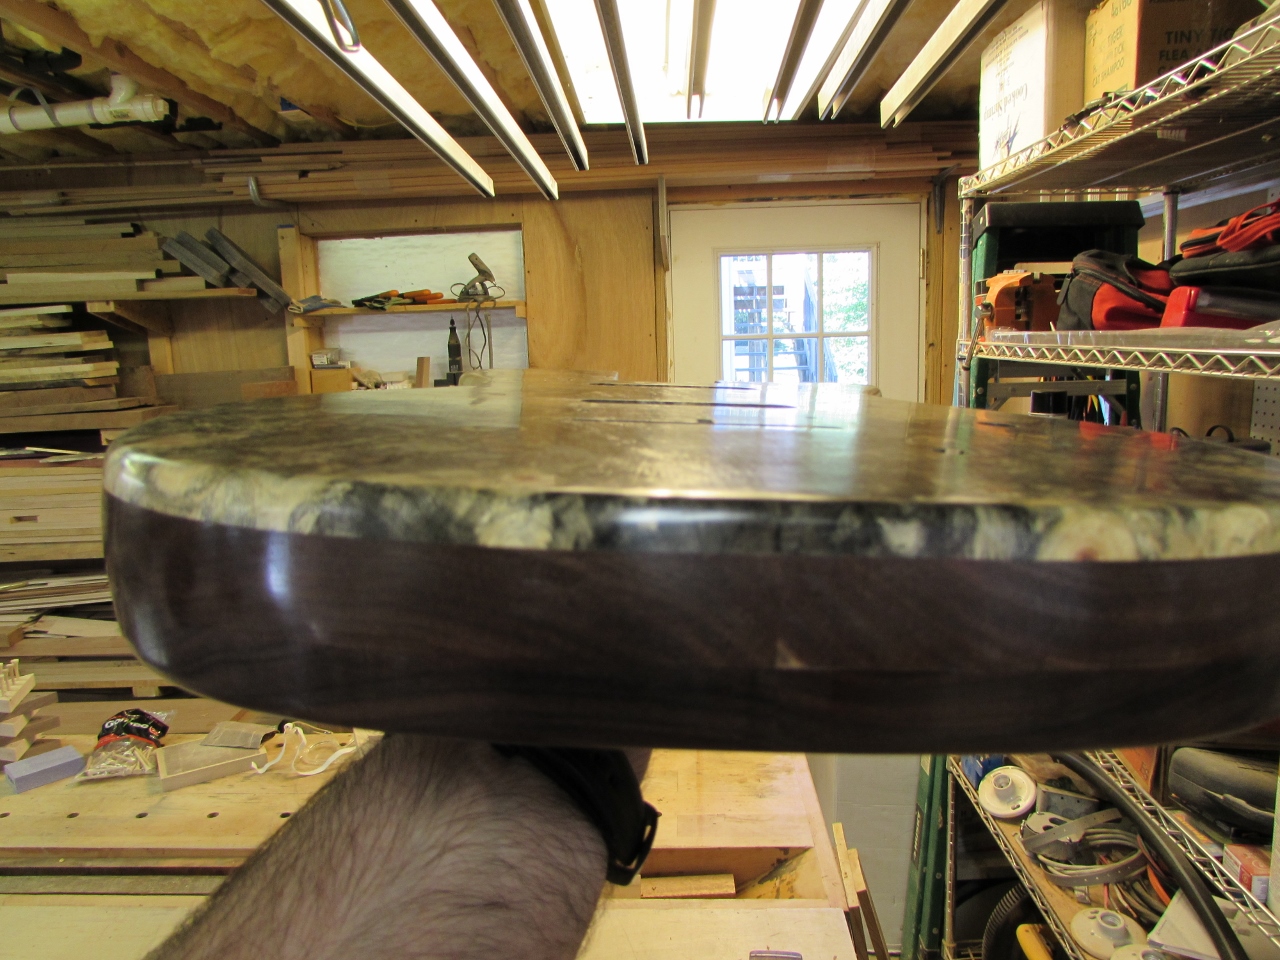
Clean and polished
The fret board was very dry from lack of use, so I applied a heavy coating of lemon oil, then rubbed away the excess with a cloth.
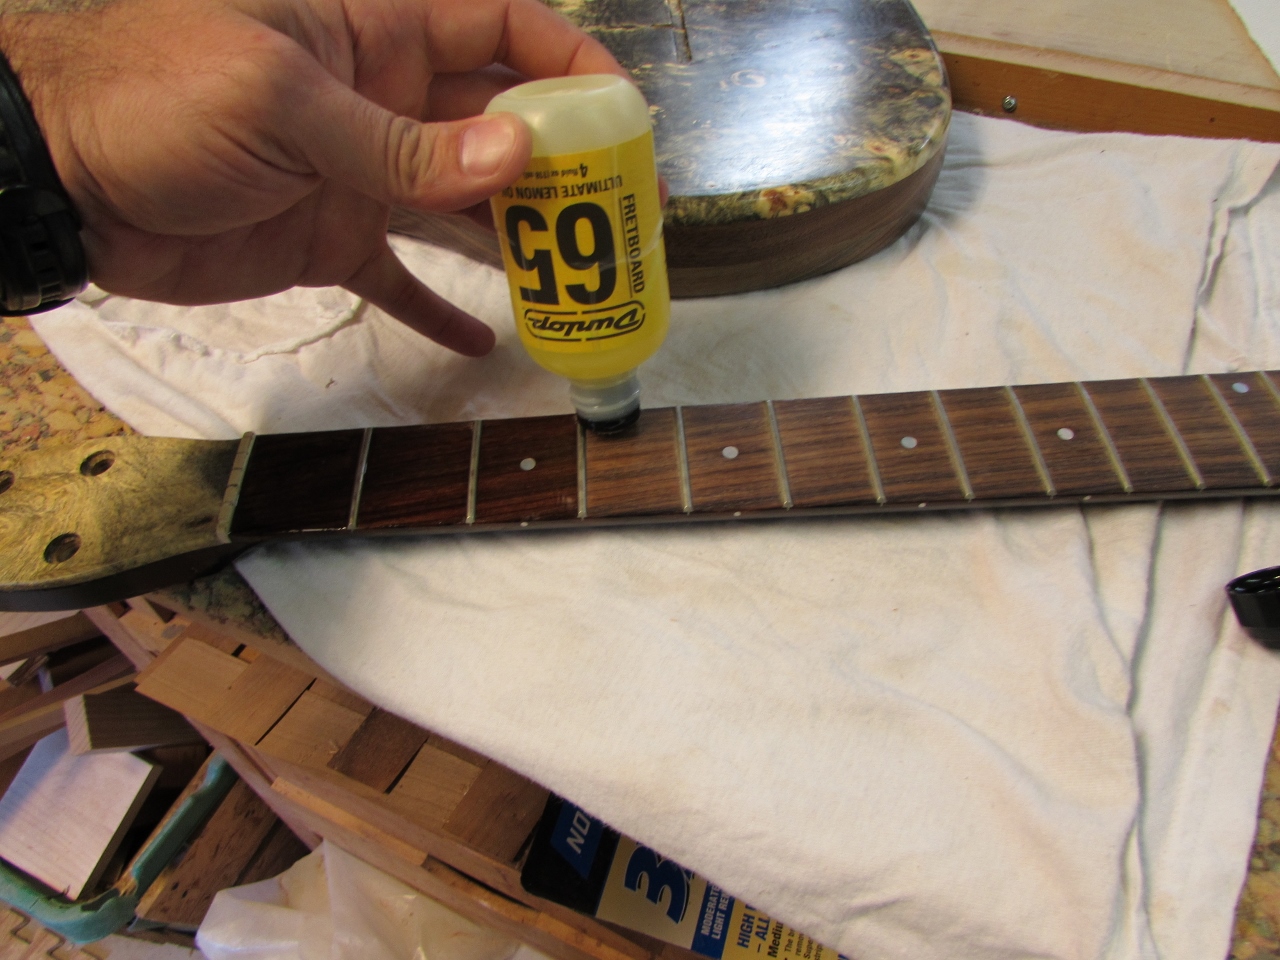
Oiling the fret board

Installing the pickups
Next, I installed the pickups and attached the tail piece.

Setting the tail piece
I re-attached the tuning heads to the head stock.
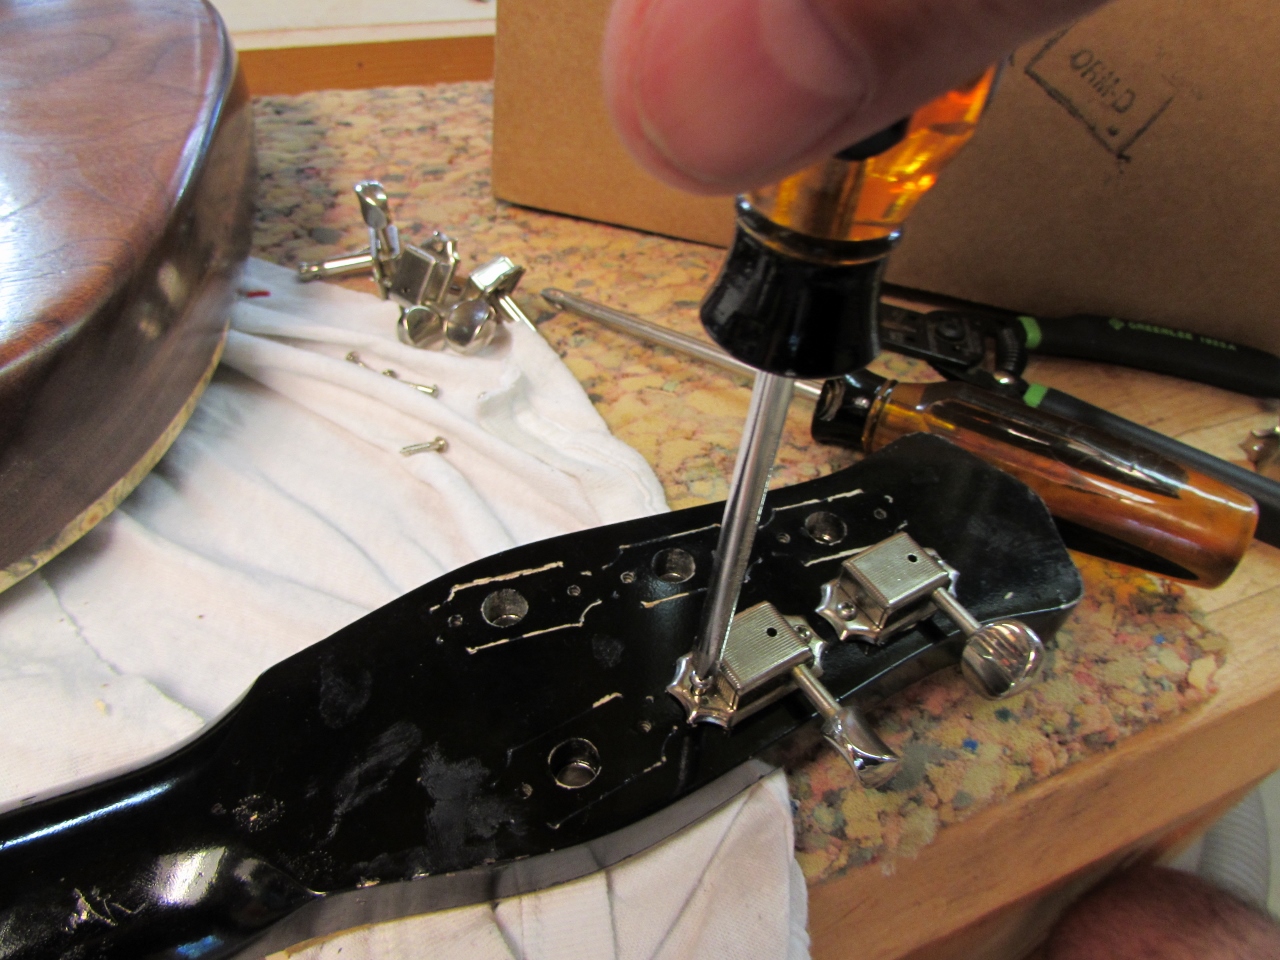
Installing the tuners

Installing the copper
I really should have remembered to install the copper shielding prior to running the pickup wires into the control cavity, but I just worked around them. I also drilled a small hole over to one of the screw holes for the tail piece, and ran a wire from it into the control cavity to ground everything together.

Shielding installed

Soldering the components
Once the copper was in place, I installed the switch, potentiometers, input jack, and wiring, then closed it up.

Attaching the cover plate
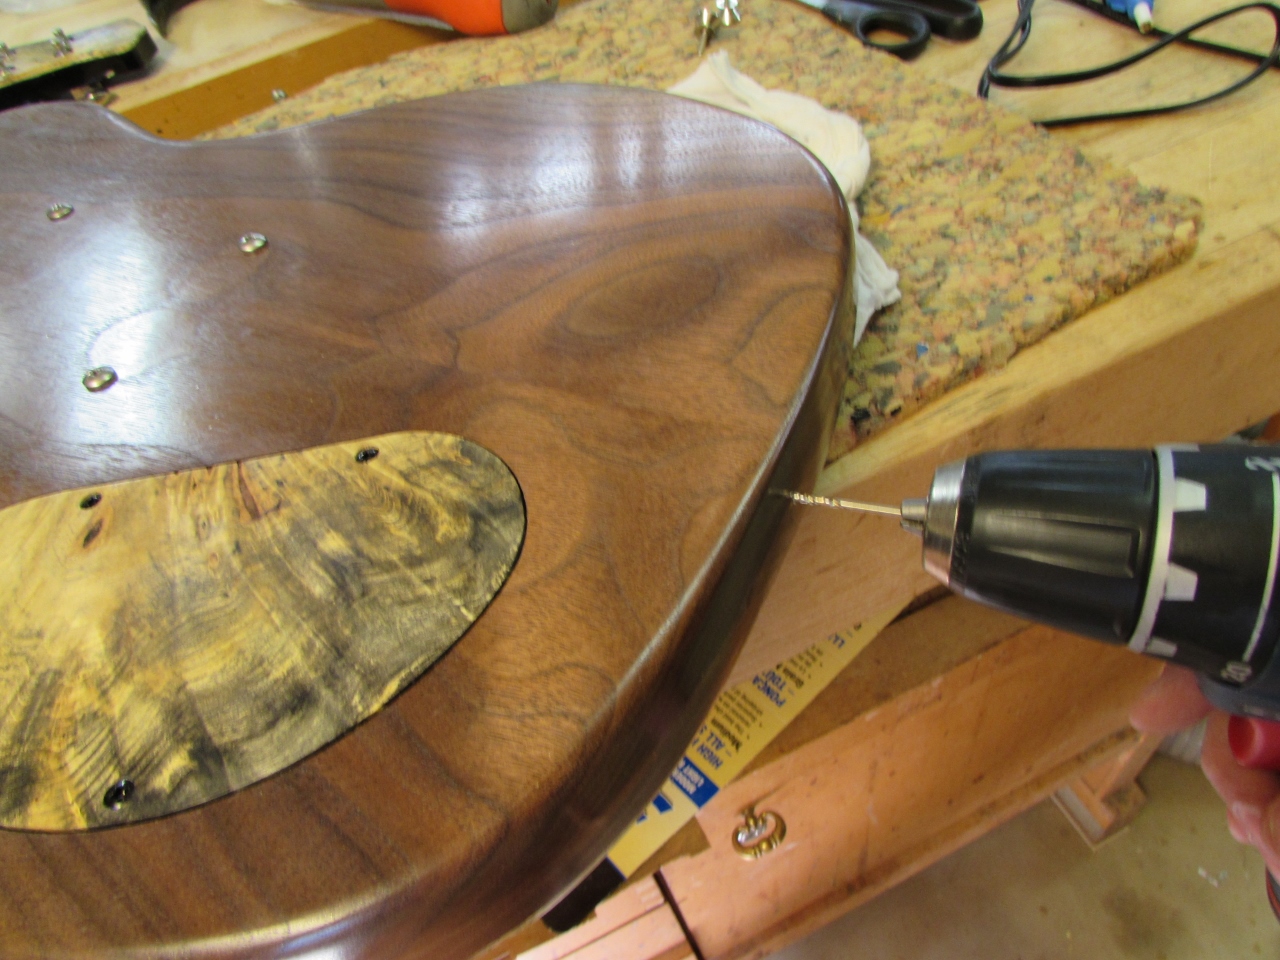
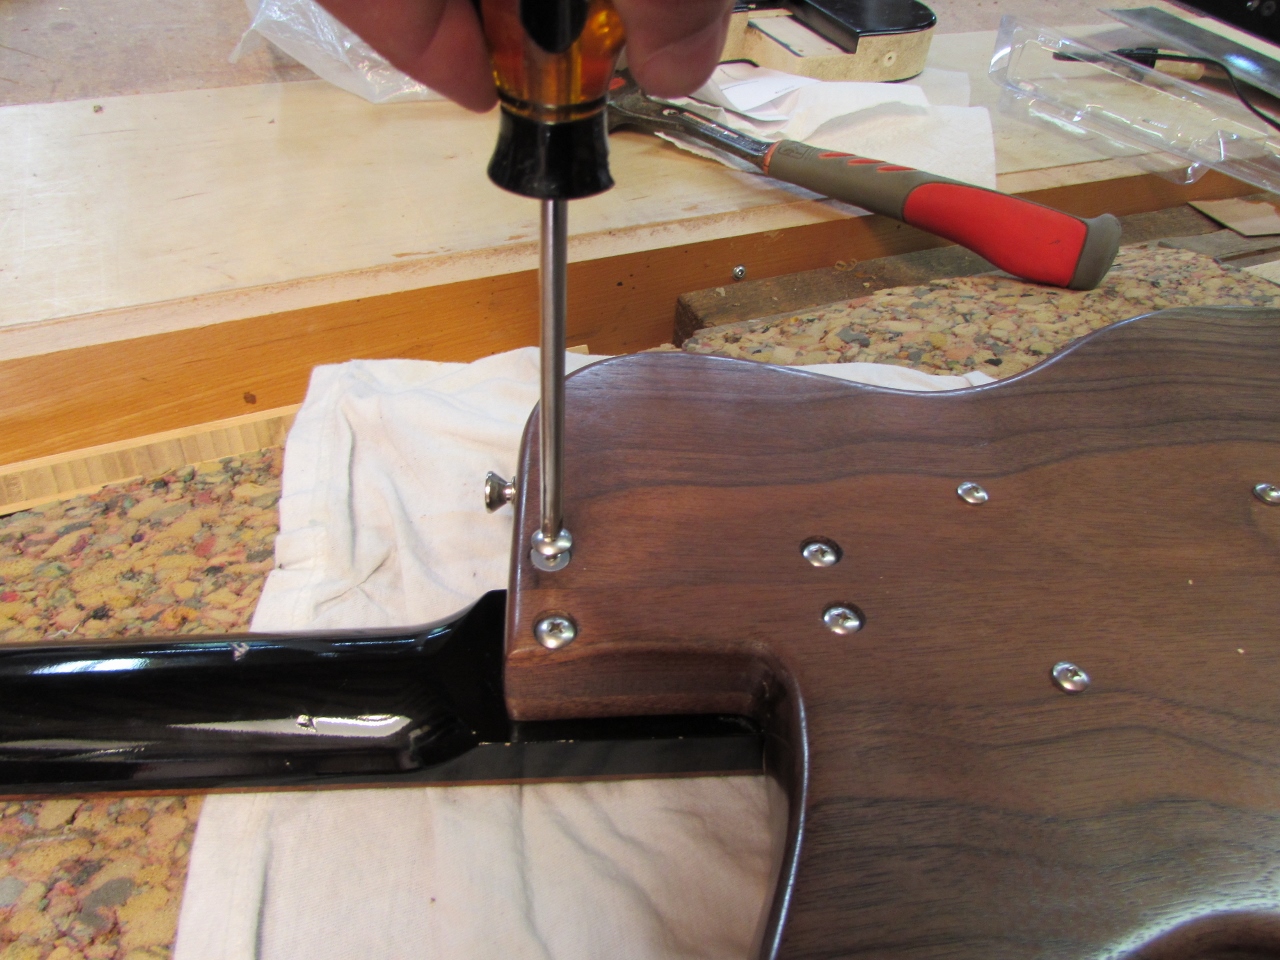
Pre-drilling the strap button holes
I drilled two small pilot holes and installed the strap buttons.

Installing the strap buttons

Putting the old knobs back on
I don’t have the new knobs yet, so I re-installed the old ones.
Attaching the neck
I bolted on the neck and strung the baritone up.
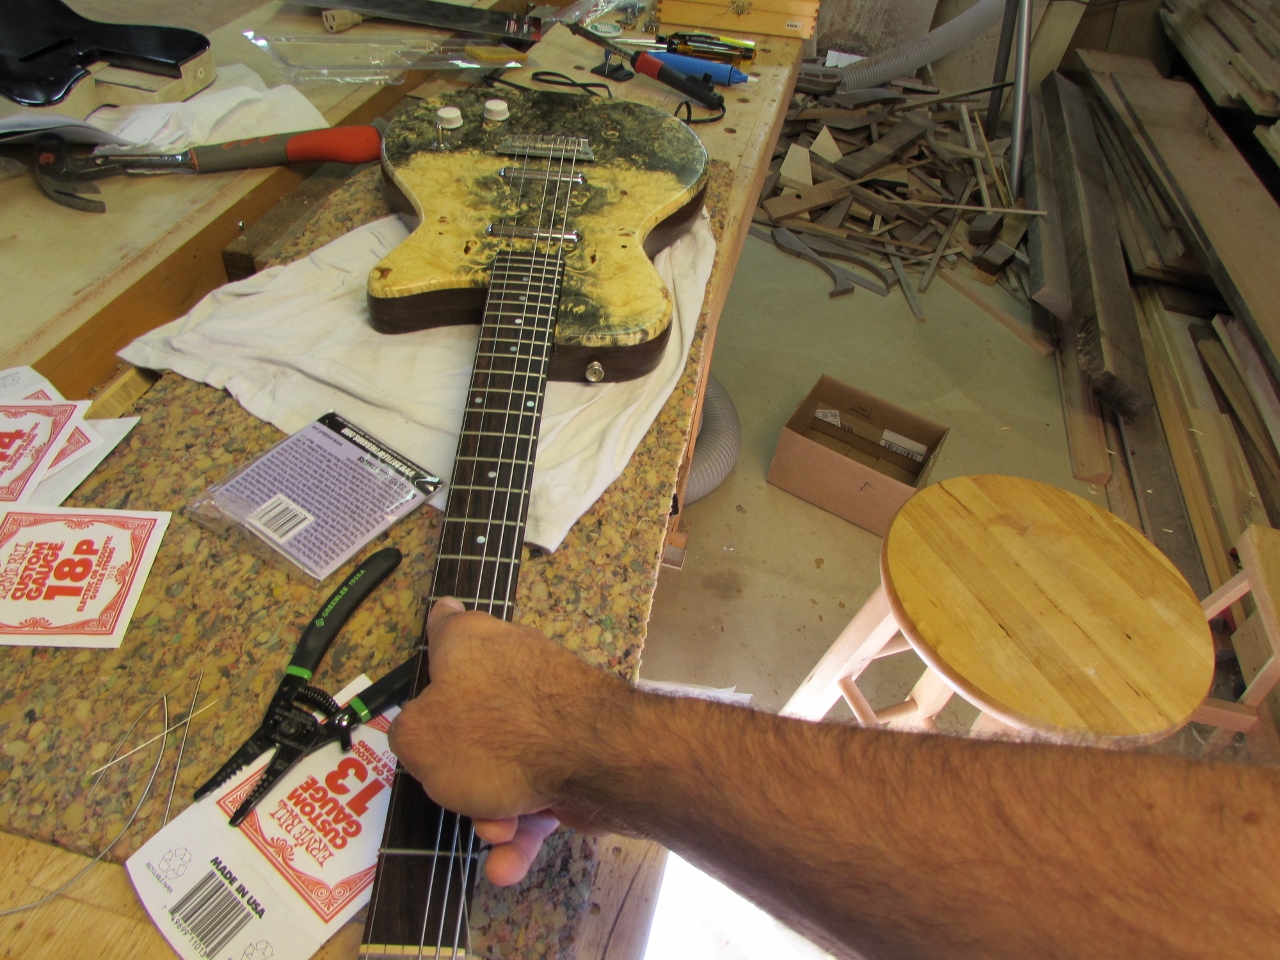
Stringing her up
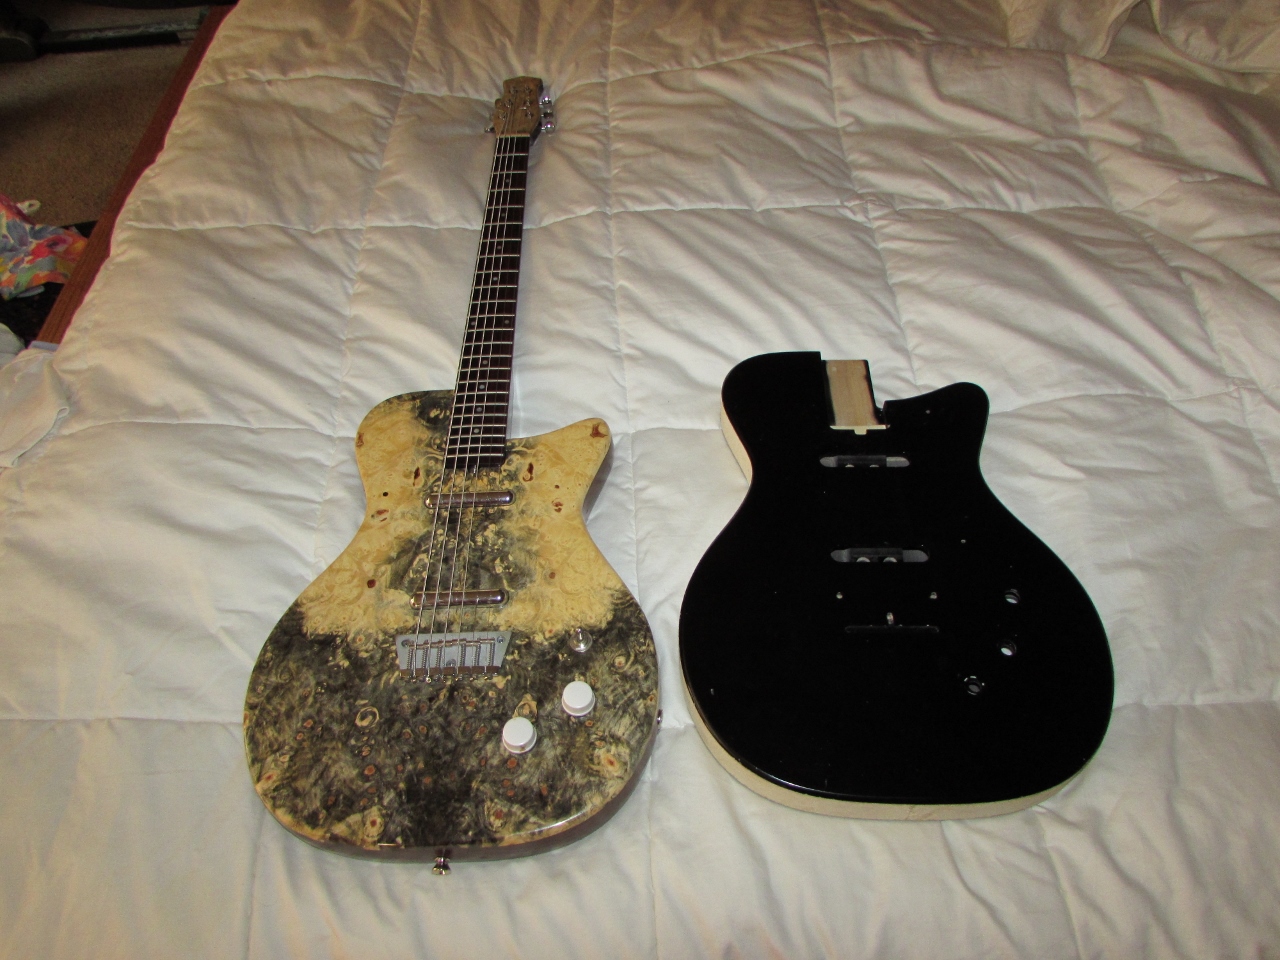
Side by side
Here are a few shots of the finished product.
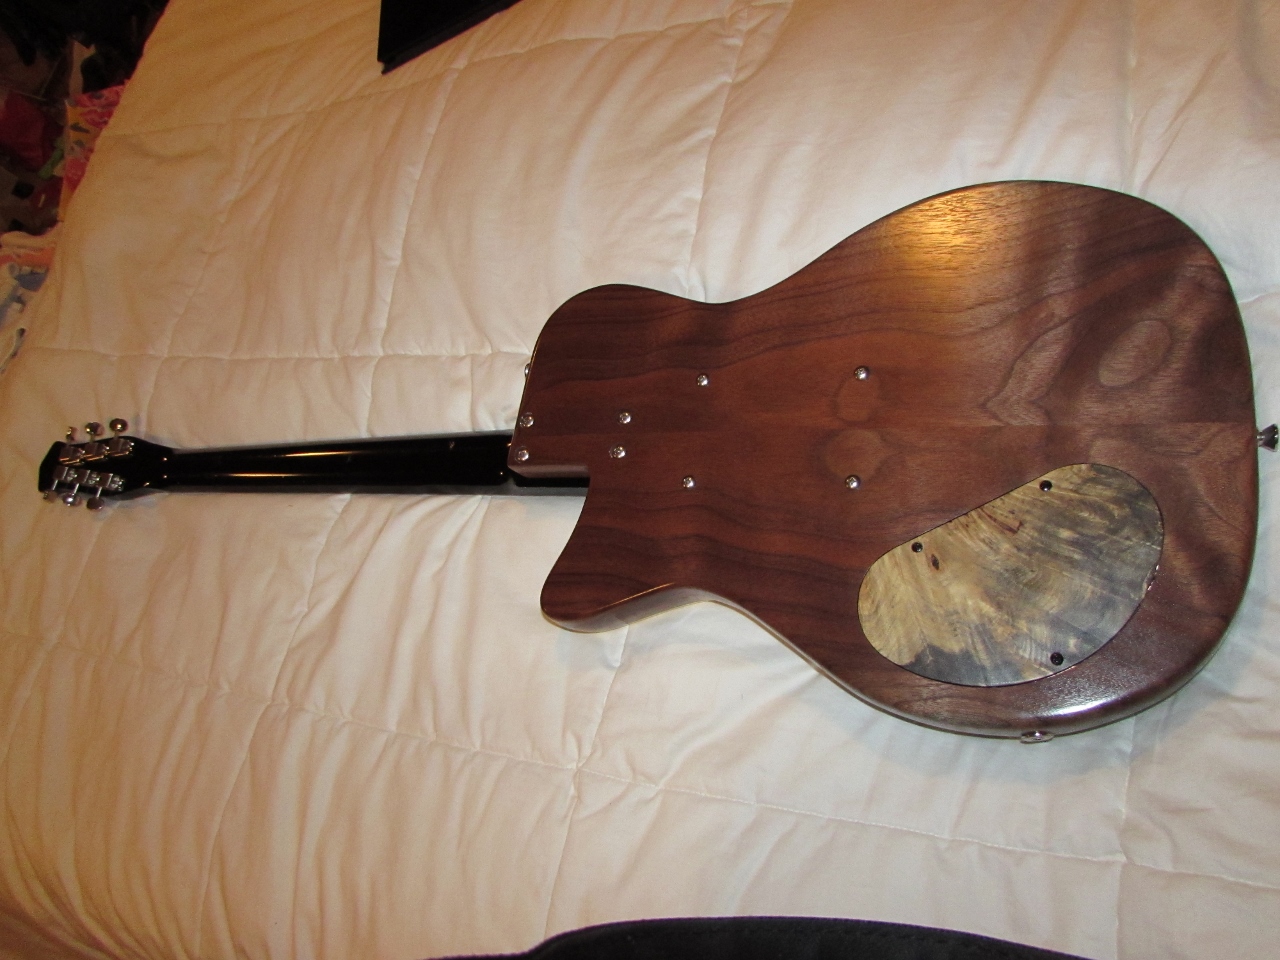
Rear view
I got my son Ian to tune the guitar and play a few short clips for me, so you can hear how it sounds.
All in all, I think it turned out pretty nice. My son is not a fan of the burled top, but he likes the way it sounds. Bill should be happy with it, when I hand it over to him on Monday.

That guitar looks amazing!!
Thanks, I have a couple more to do in the near future. The Nextel one will be a Hodge-podge of styles done with my son’s school logo and colors. Might look a little weird, but I get to be creative…