
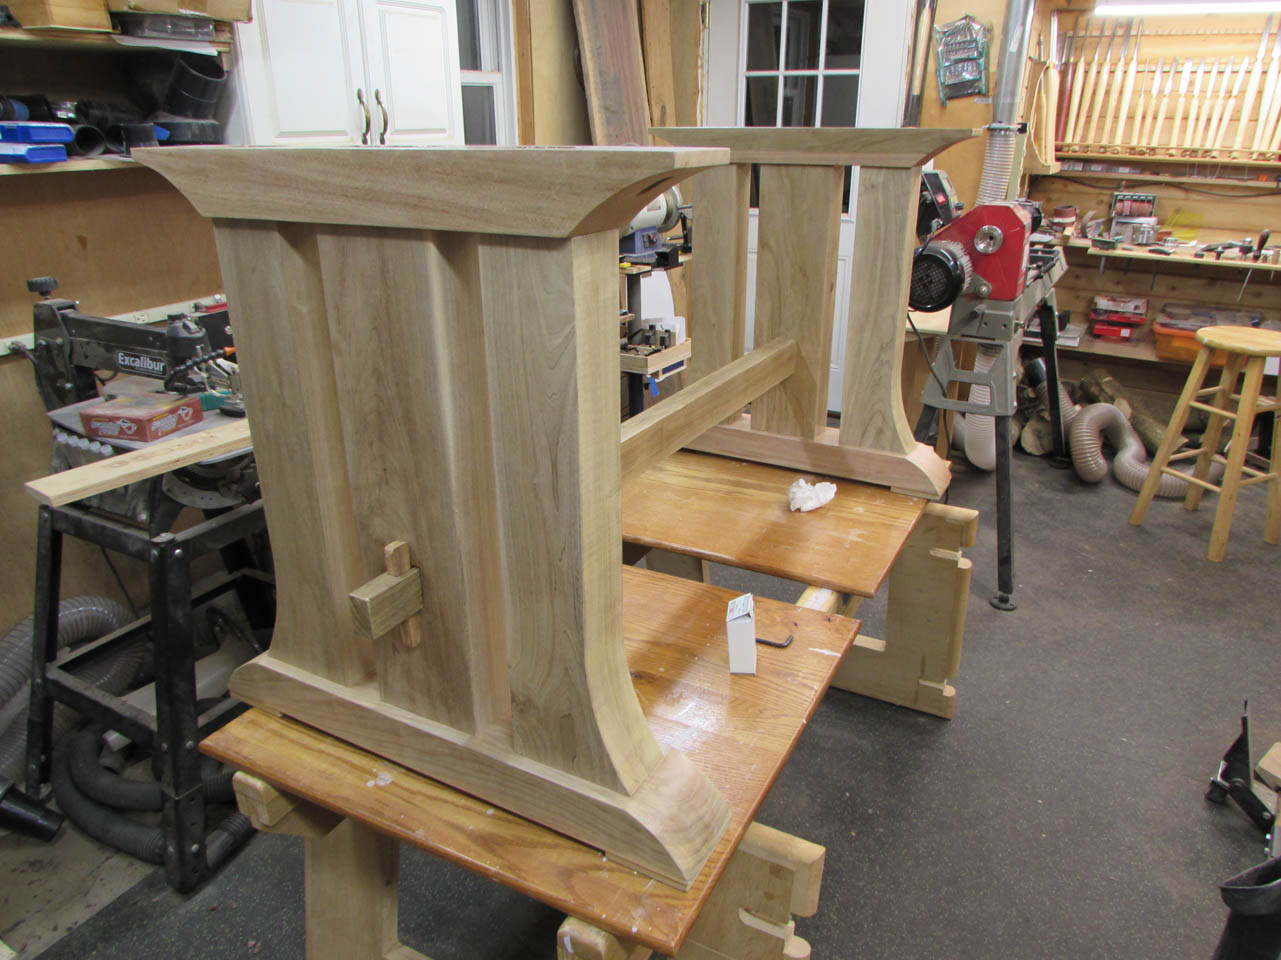
Bleached walnut dining table – days 9 & 10
Before the second coat got applied, I sanded everything down again, with 400 grit paper.

Then I applied a coat of General Finishes High Performance, Water-based Polyurethane.


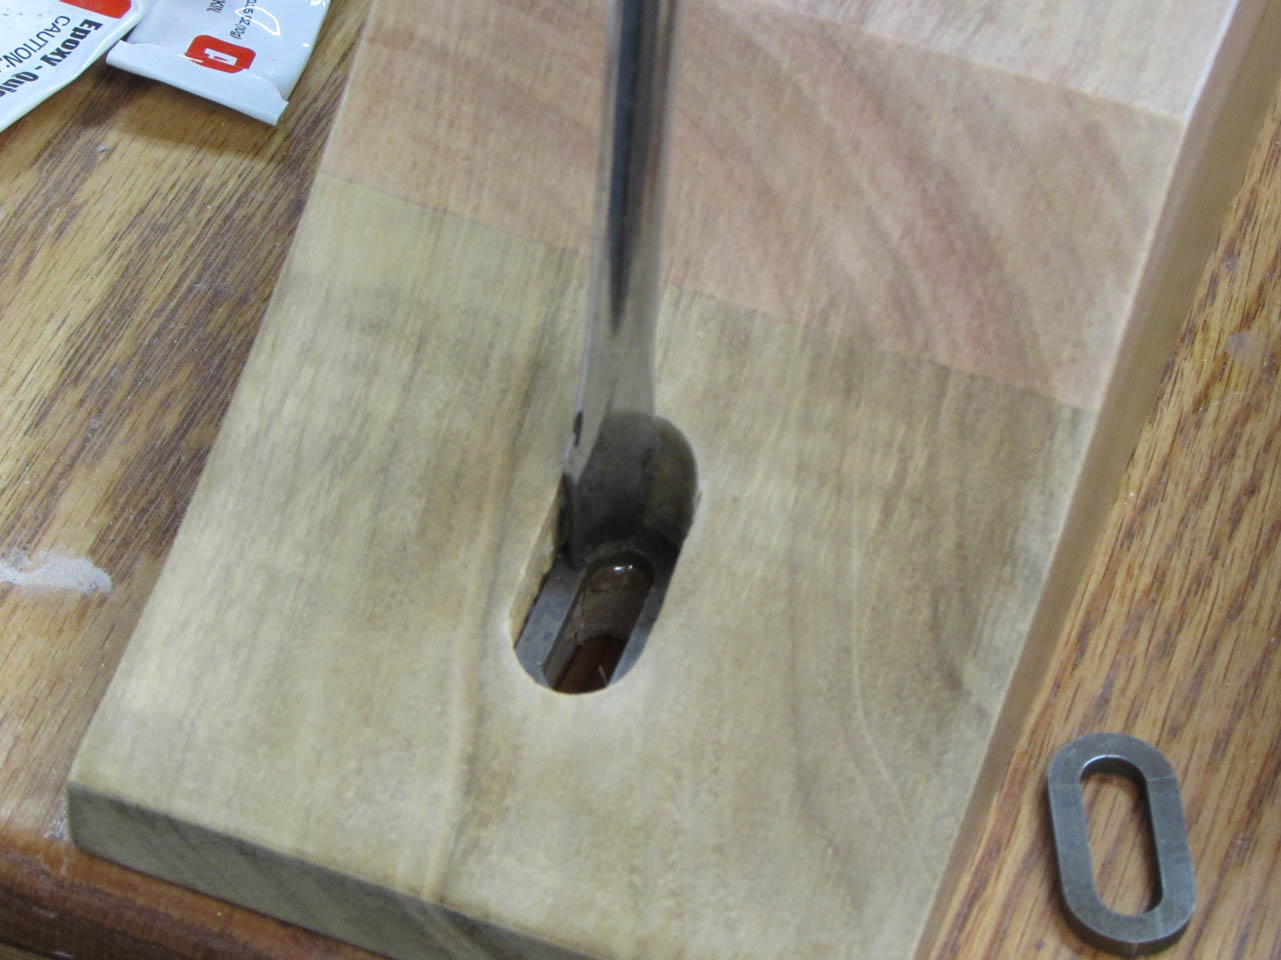
When that was dry, I mixed up a small amount of 5-minute epoxy and dabbed a bit around the slot ledge.
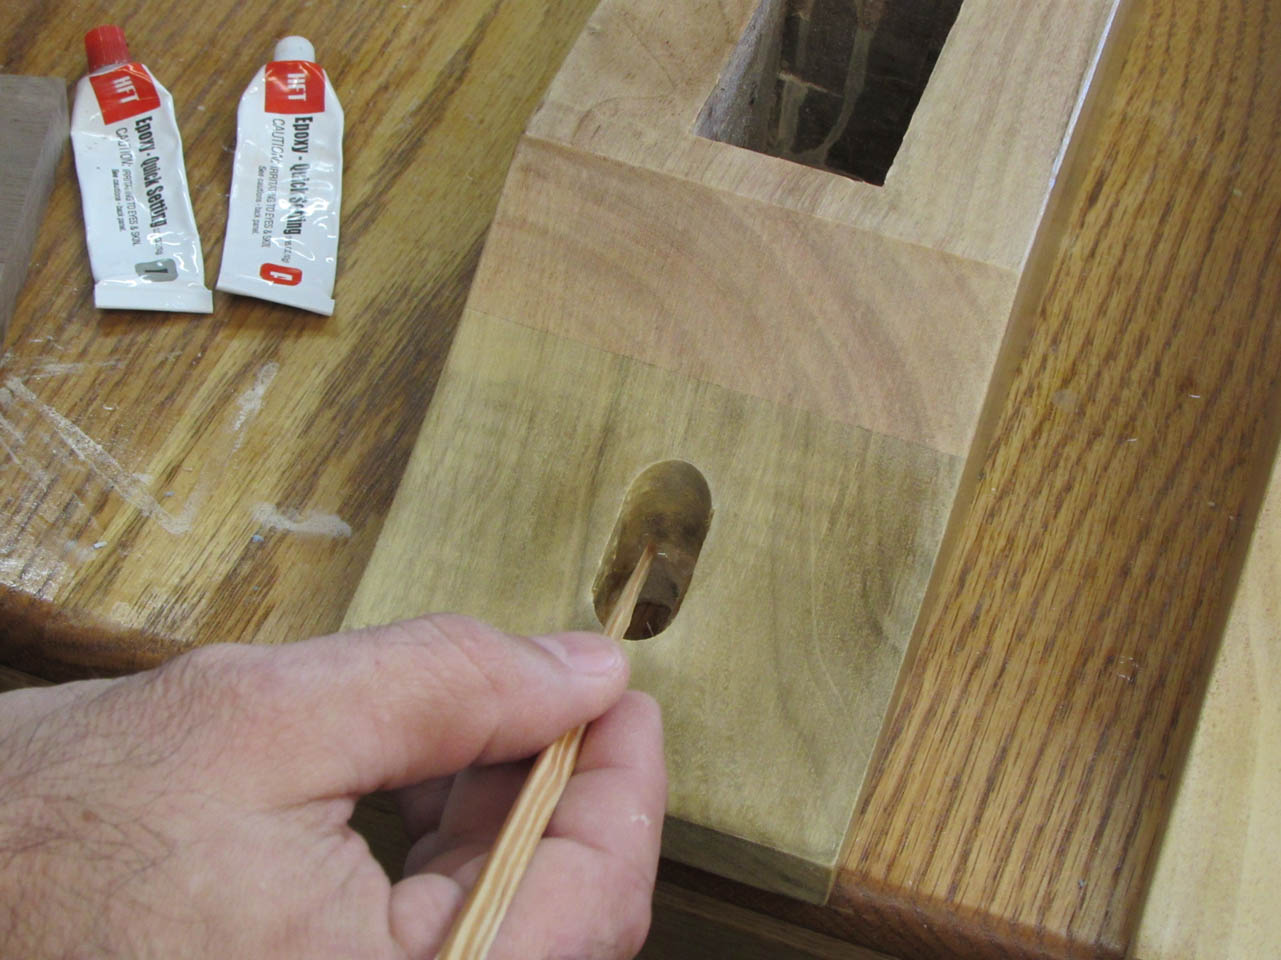
I pressed my metal slot washers into place with the help of a large common screw driver. They were tight so I probably didn’t need the epoxy, but it didn’t hurt.

The last things I need to make are some wedges. I had a pack of wedges for shimming doors and windows, but I wanted walnut so that it would shrink and expand at the same rate as the walnut legs. I decided to use the shim to help me cut the new wedges by holding my block against it as I cut.
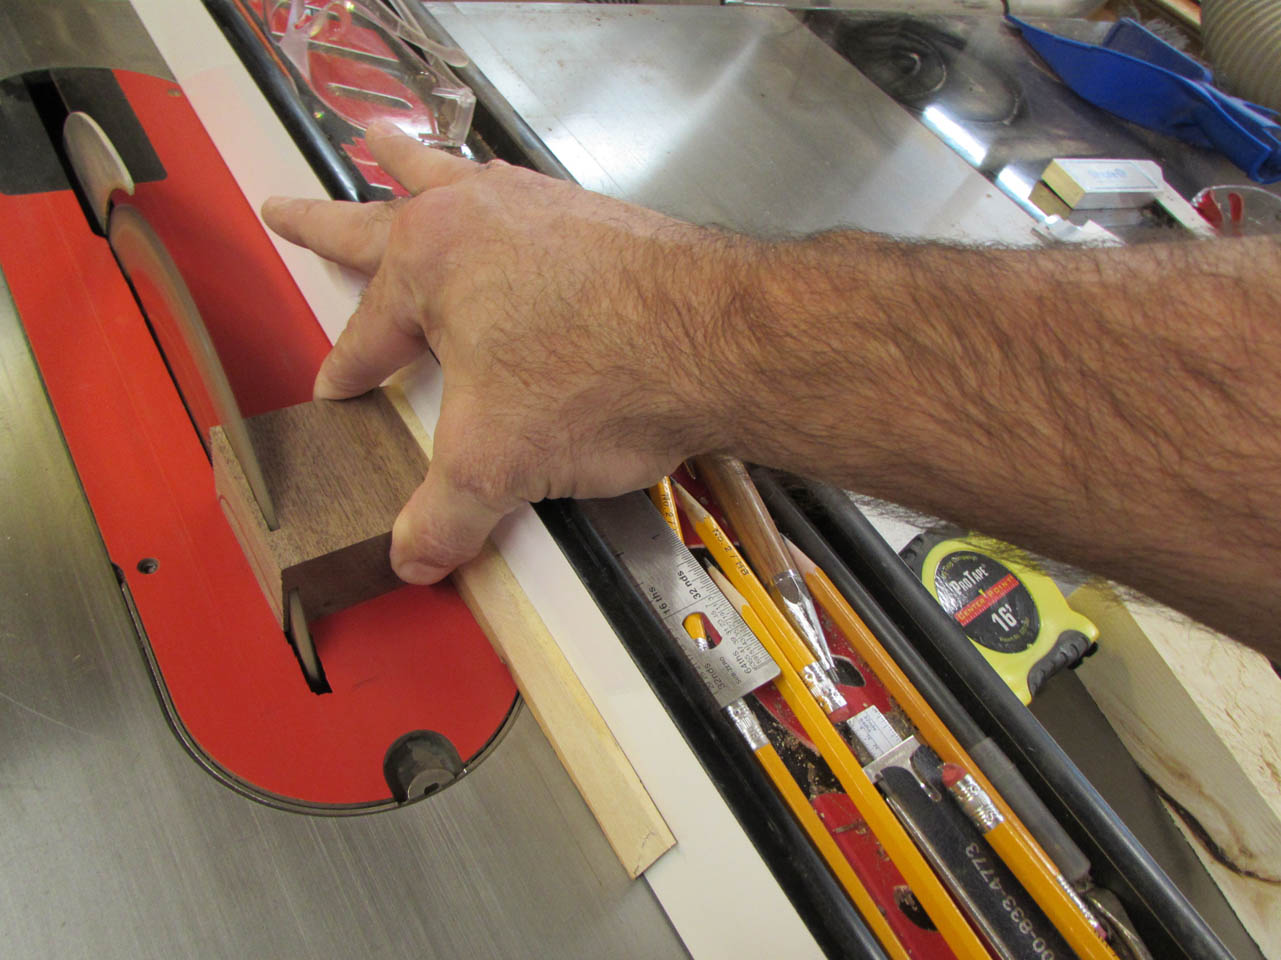
This set the angle and after the first one was cut, I flipped the block over and moved the fence toward the blade far enough to make the wide part of my wedge about 1/8″ thick and cut again.

I could only get about 5 or 6 wedges before my fingers were too close to the blade to be safe so I cut several more blocks and cut each one before moving the fence.
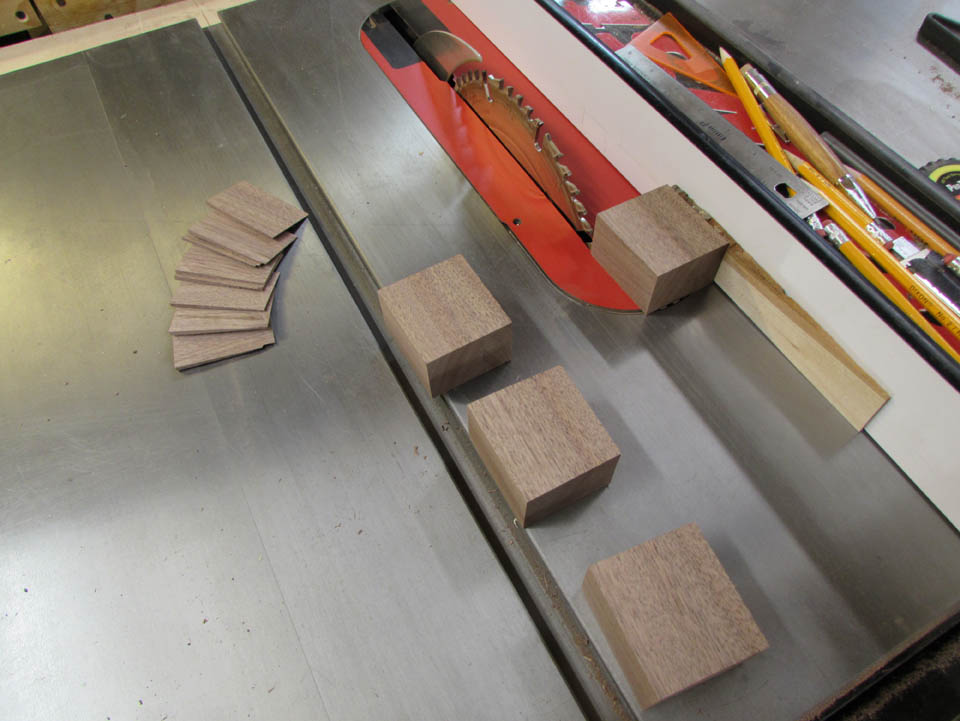

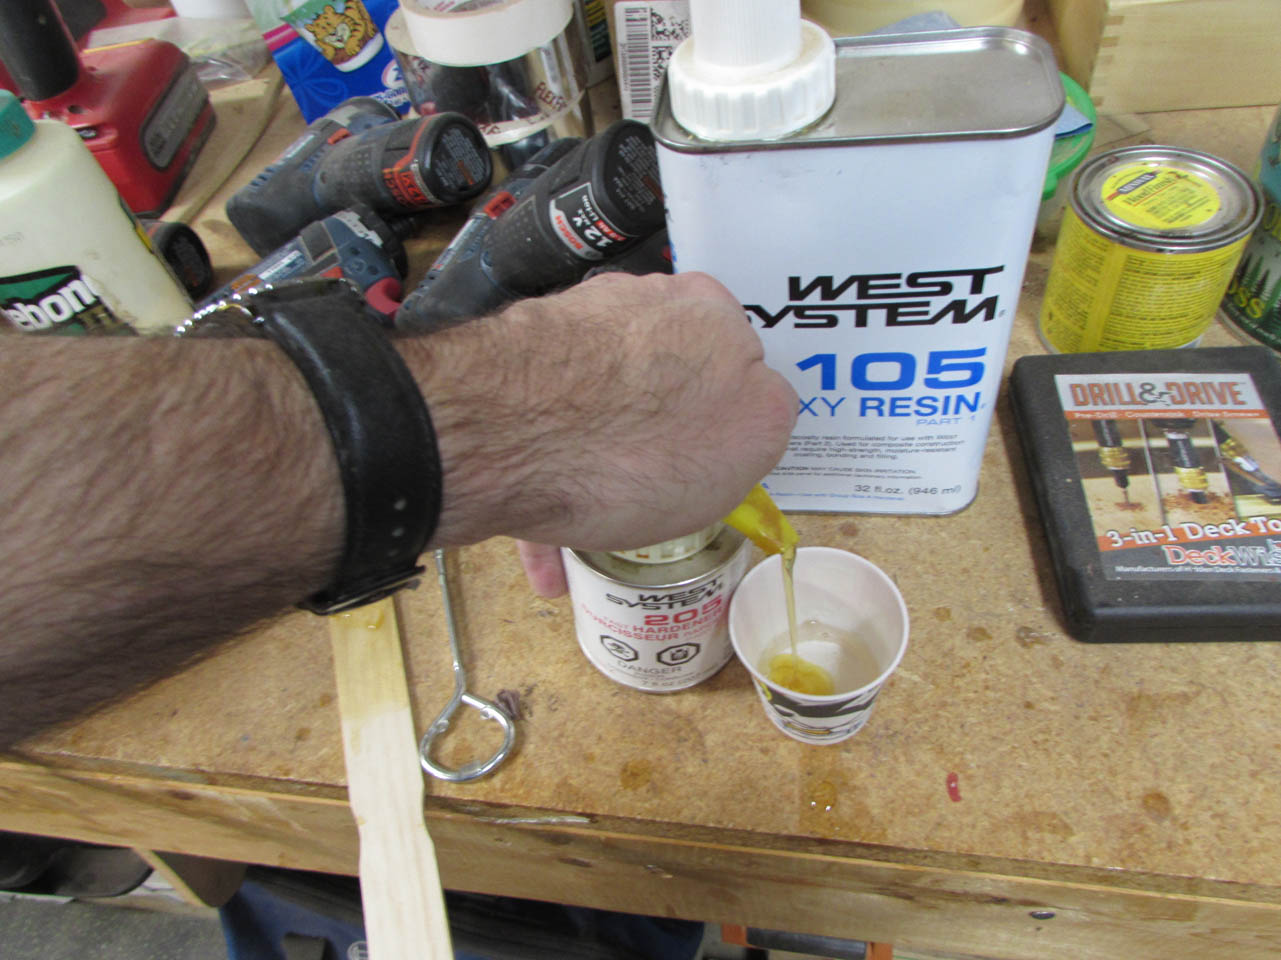
After I had about 2 dozen wedges, I mixed up a batch of West Systems epoxy.

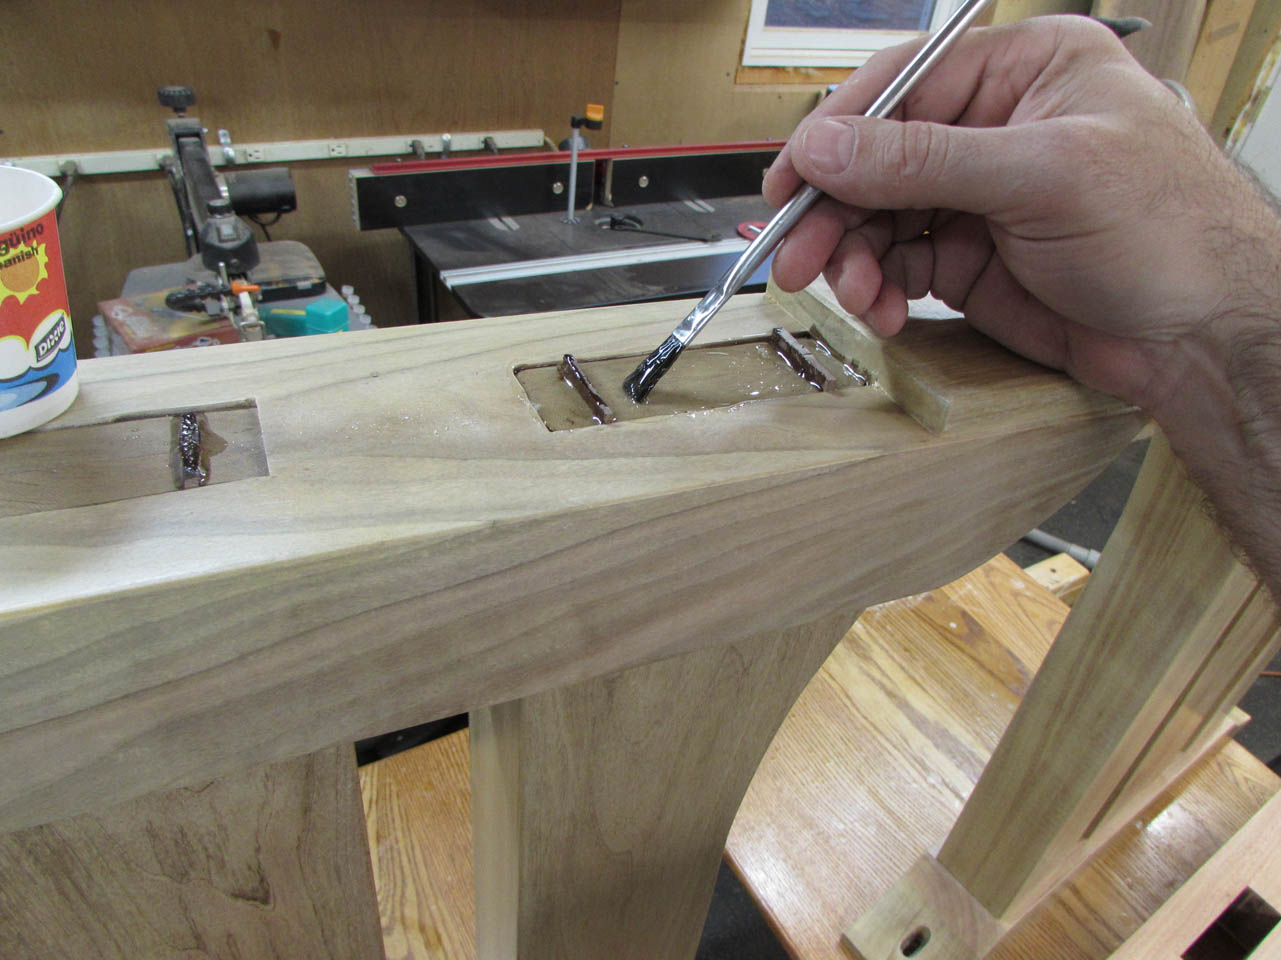
I painted the outside of the tenons, and slid the foot onto it.

Then I painted the epoxy onto the wedge and set them into the slits at the end of the tenons.


I drove the wedges down with a hammer to widen the base of the tenons and lock them into the mortises. Then I flooded the end of the tenon with the left-over epoxy to coat the end and fill any voids.

Then I repeated the process on the second leg and let them dry over night.

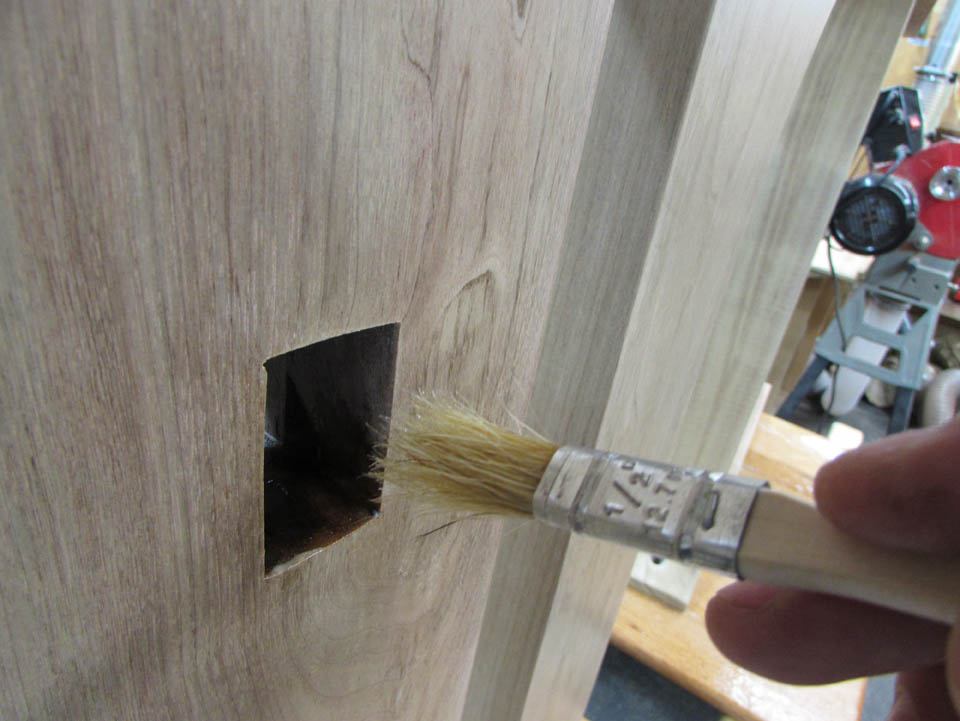
While they were drying, I decided to coat the inside of the center leg mortise with some Tung oil. It will soak into the wood and cure, protecting the opening from absorbing or losing moisture, but not add a film to reduce the inside width of the hole.
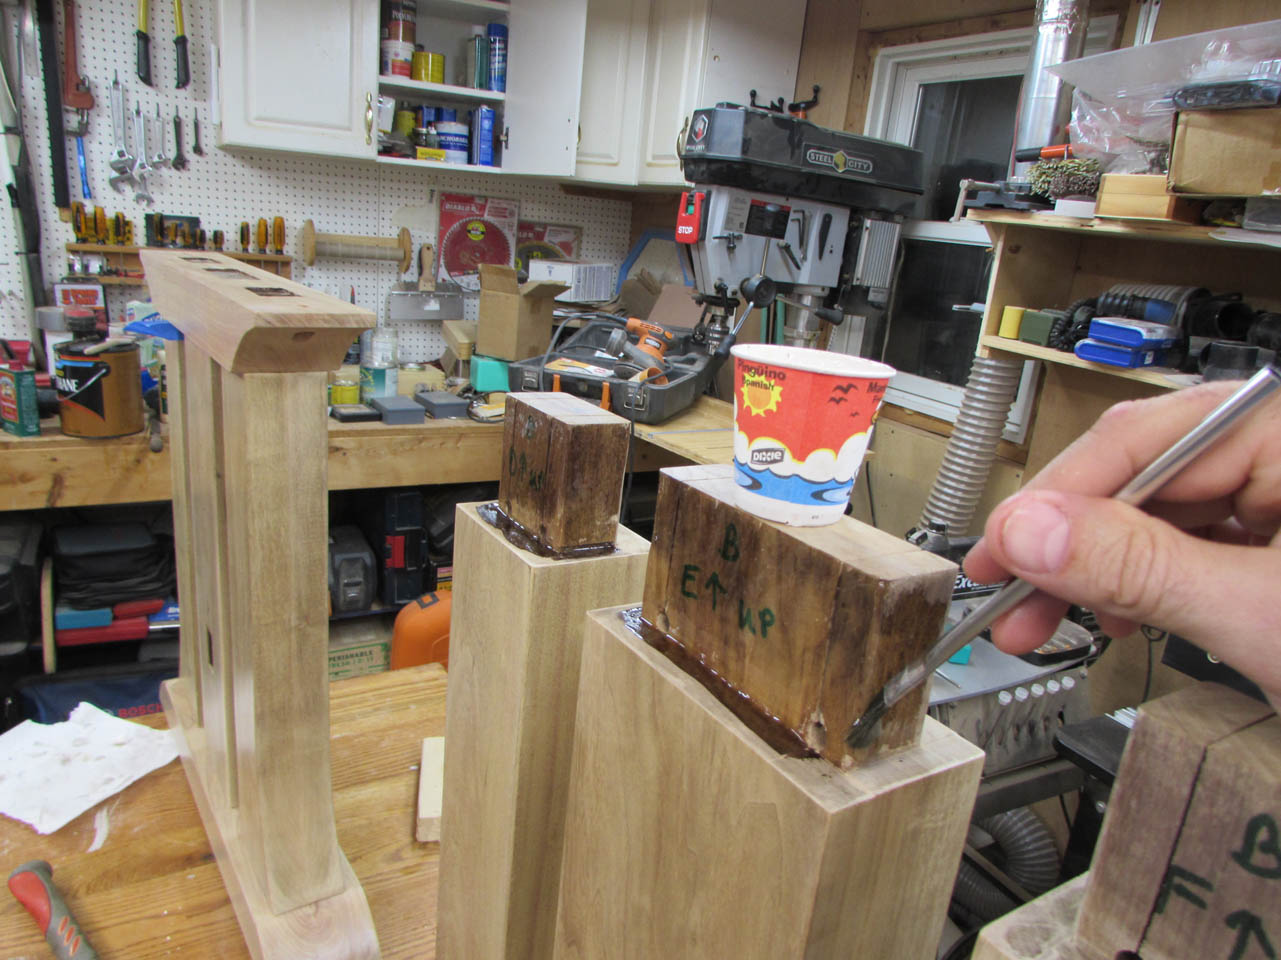
The next day, I flipped over the legs and repeated the process on the top pieces.


I did a test fit to make sure everything still fit properly.
A few of my wedges were sticking out, so I used my chisel to pare them down, then applied a coat of finish to them.

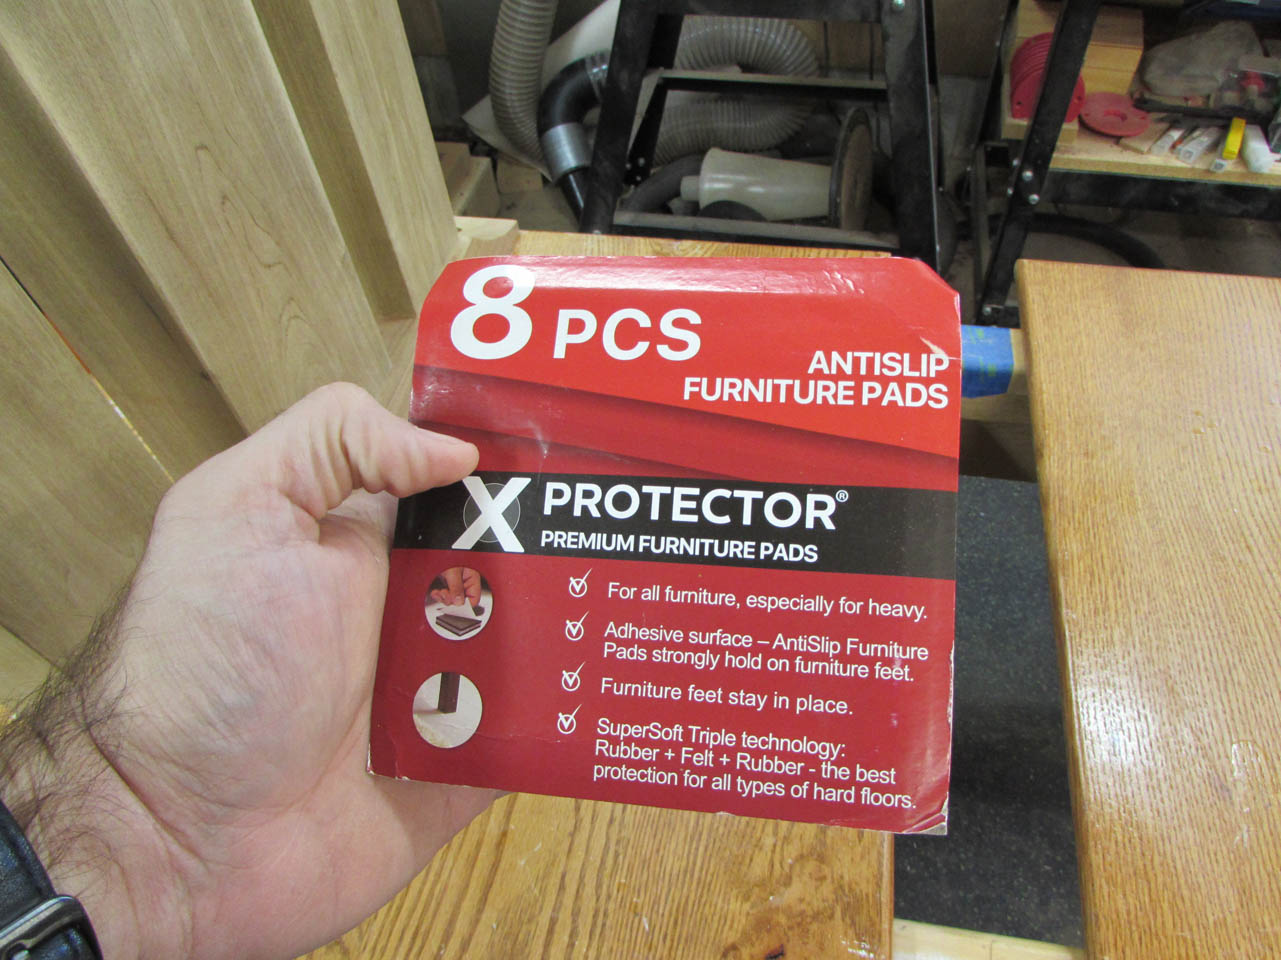
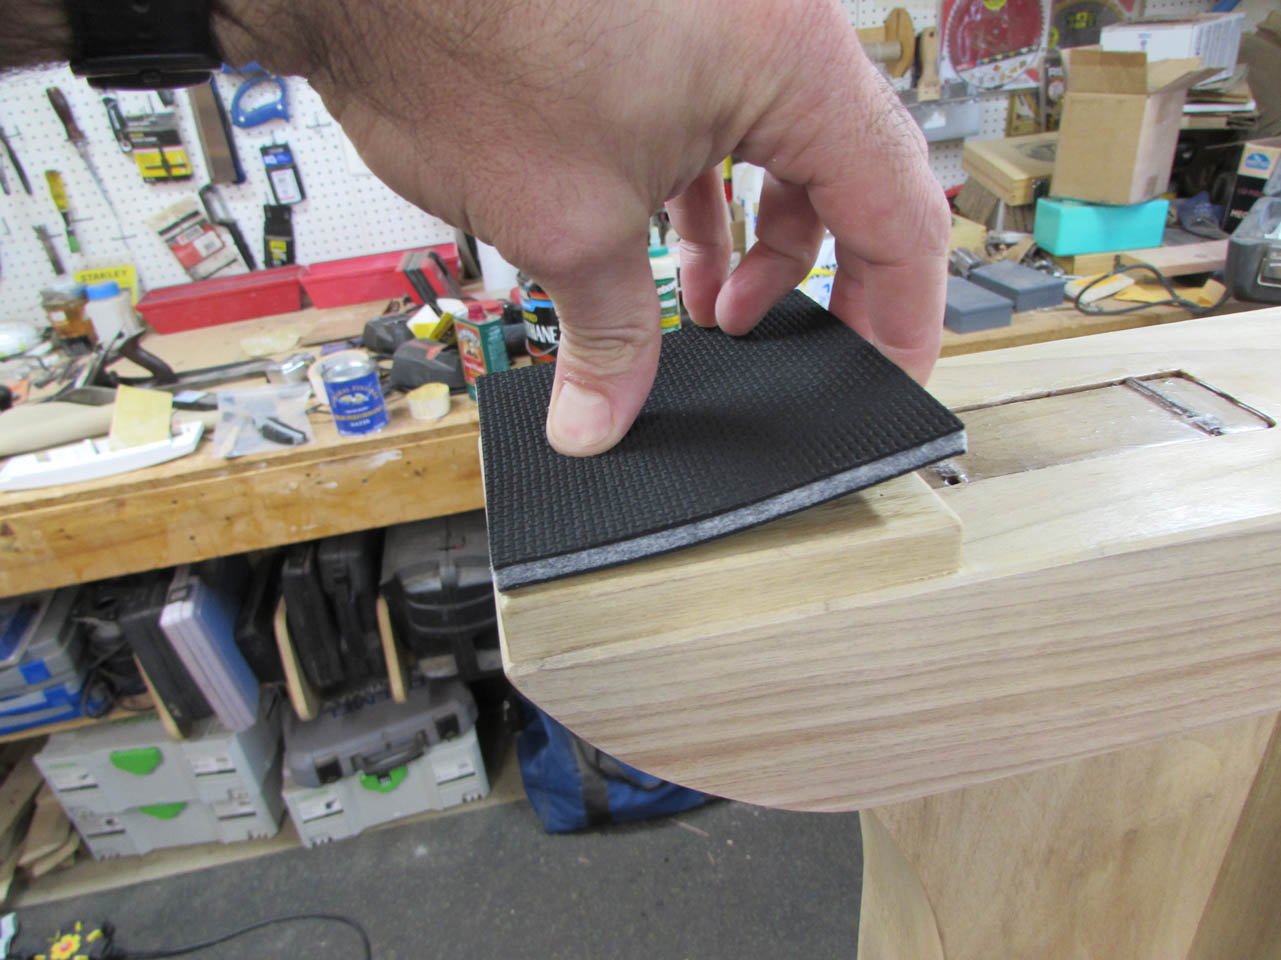
My customer requested some rubber pads be applied to the feet so I ordered some that were 4″x4″ and installed them on the bottom of the feet.

Everything is done so it is time to assemble the table for the first time. I set up the legs and the cross bar, but removed the tusk wedges until after the screws were installed. This allows the legs to shift around a bit for perfect alignment.

I had to lay on the floor and nudge the top until the threaded inserts aligned with the slots. Then I loosely inserted my 5/16-18 x 1-1/4″ long bolts.

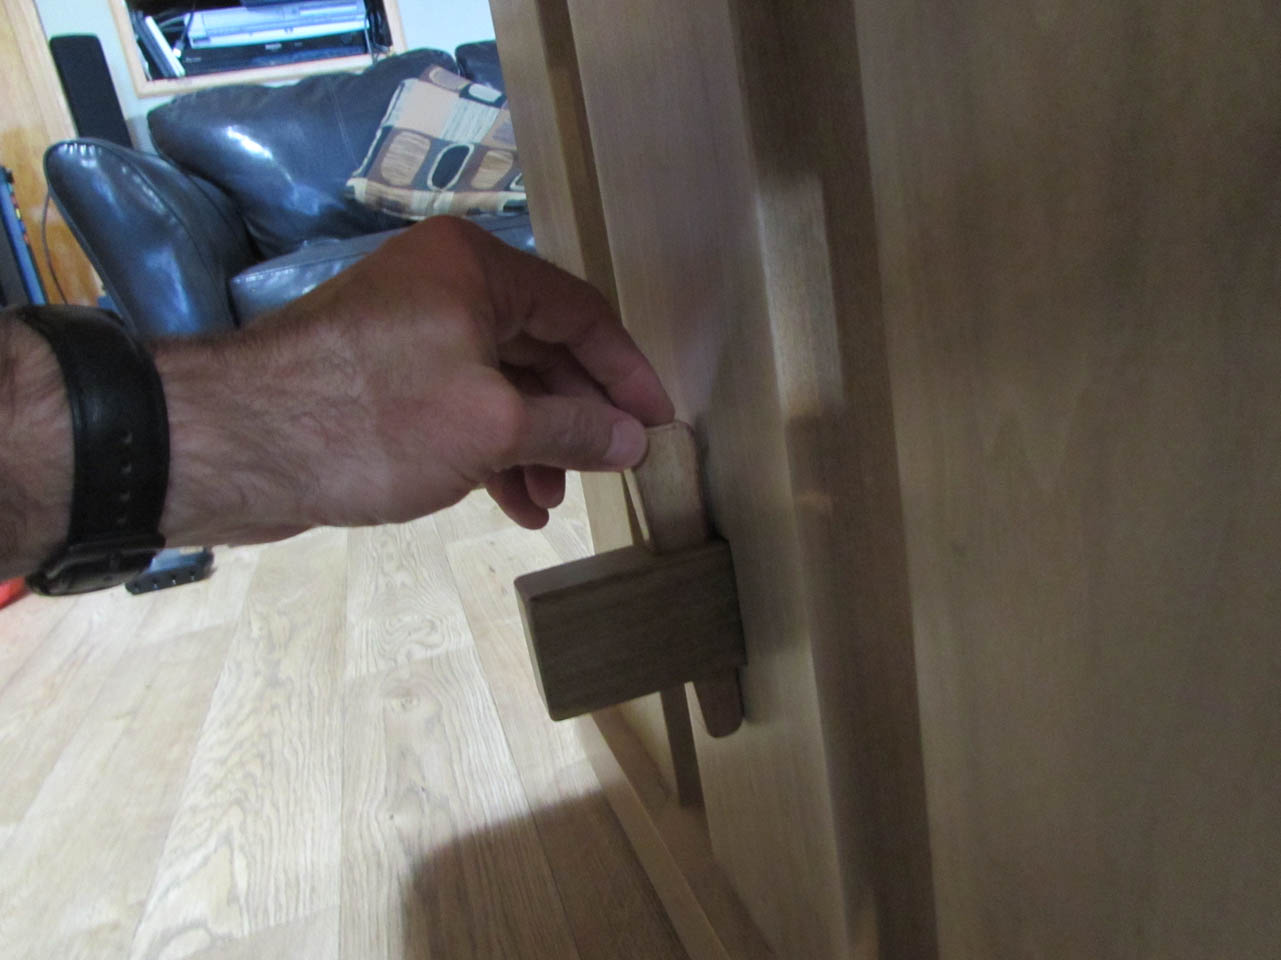
After all four bolts were installed, I set the tusk tenons into their locations and snugged them down with a few taps. Then I tightened the bolts.

Everything went together beautifully, but sitting out here under the lights, I could see some of my brush strokes in the finish. I would have preferred to apply a spray on finish but with the size of the table, I did not have any place to do it in my shop.

I did, however, have the space to do it in my finished basement… Don’t tell my wife but I may have spread around a bunch of drop cloths and used my HVLP sprayer to apply one final coat of polyurethane on the top of the table to give it a smooth satin finish. There are no pictures of this actually happening, so I will deny it if she finds any finish stuck to the floor or furniture… It was water-based finish and any atomized vapor should dry before it lands on the ground, plus there are no fumes, so you can’t prove anything…


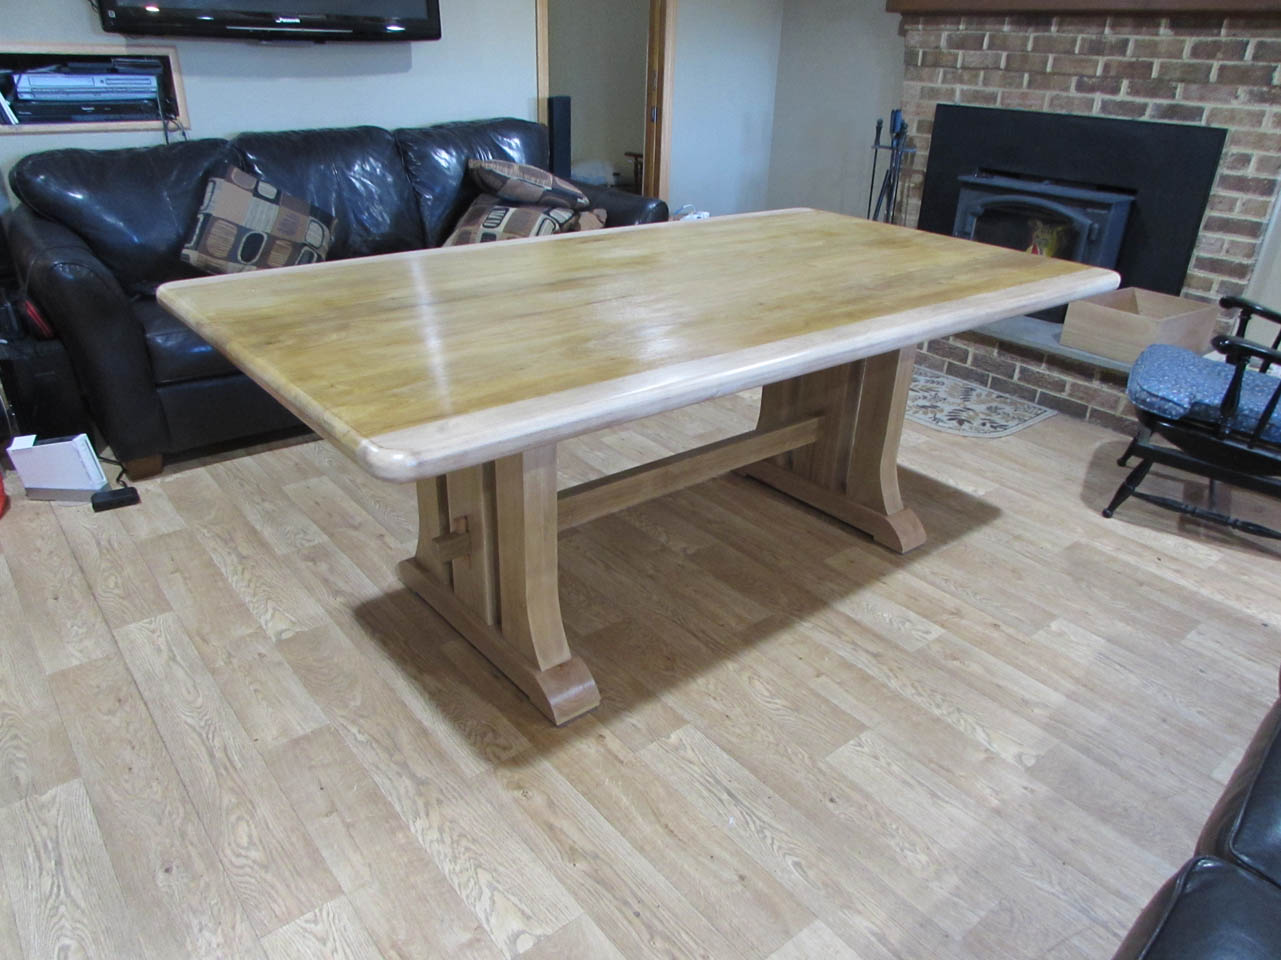
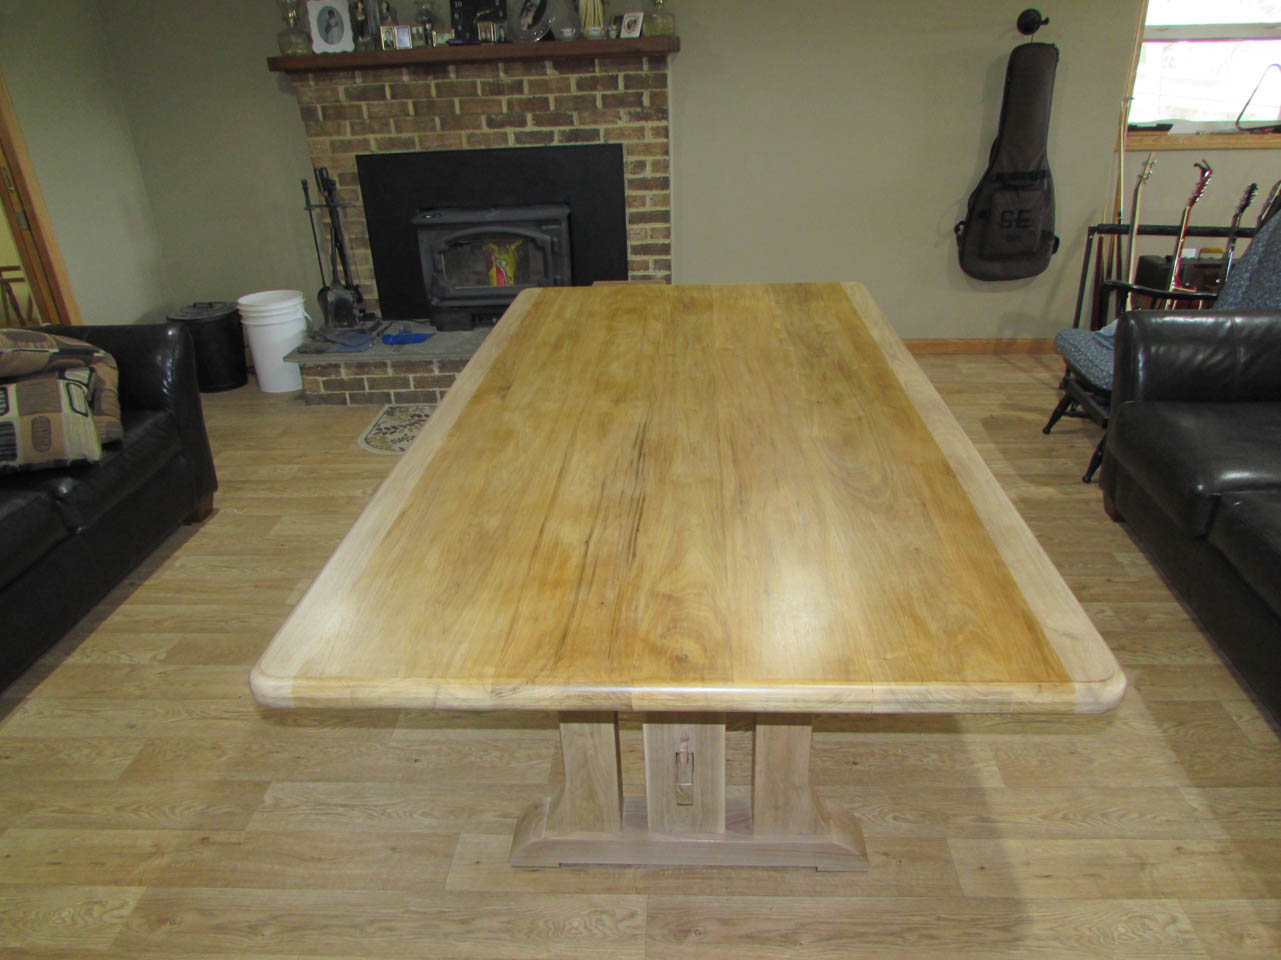
The final finish looks fantastic!

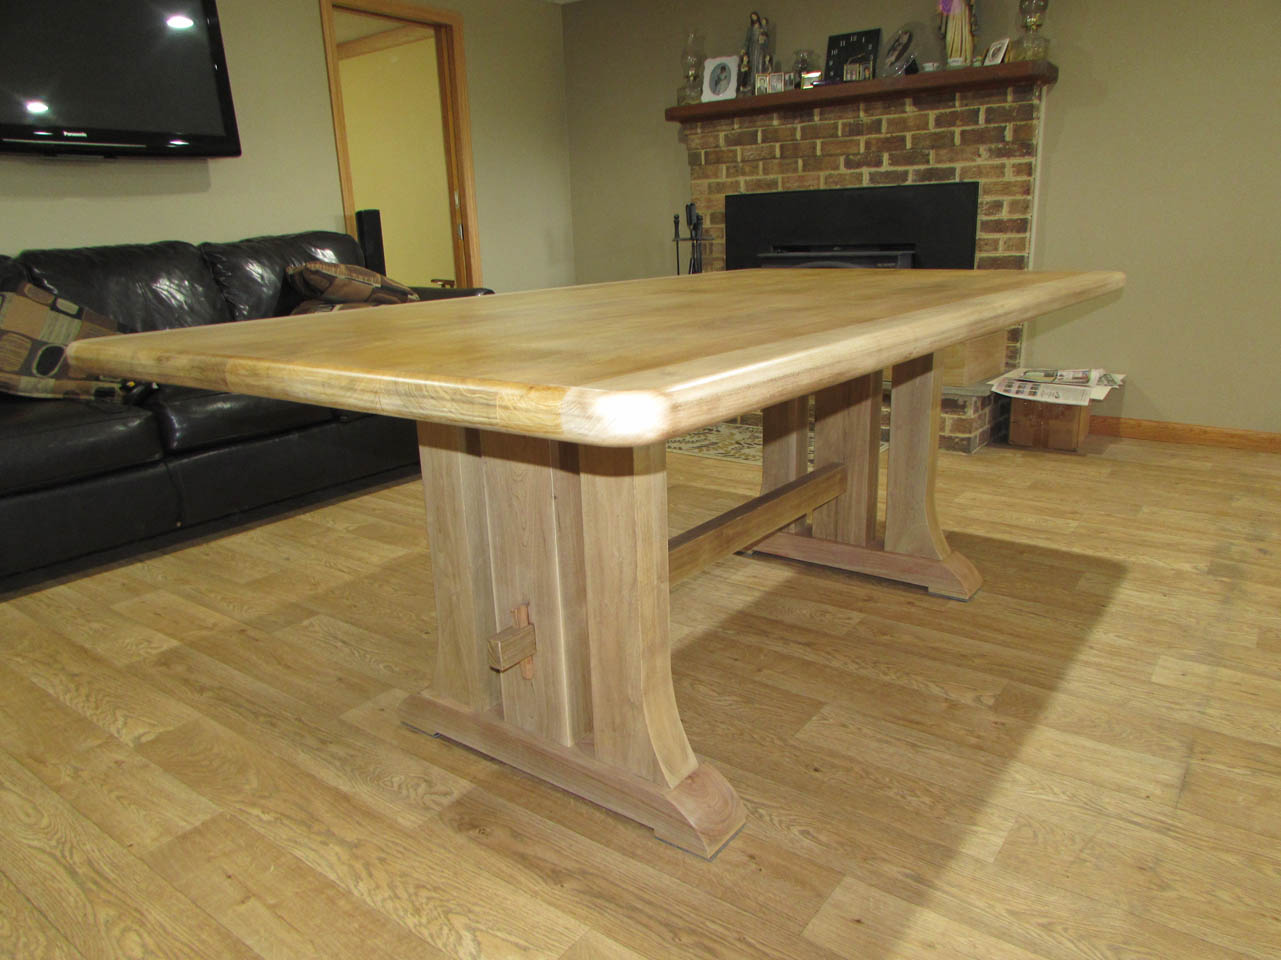

And yes, I took a few glamour shots…


When you apply a fine spray finish, there a slightly rough feel due to the dry particles landing on the drying surface. This can be easily buffed out with a crumpled up piece of brown paper.
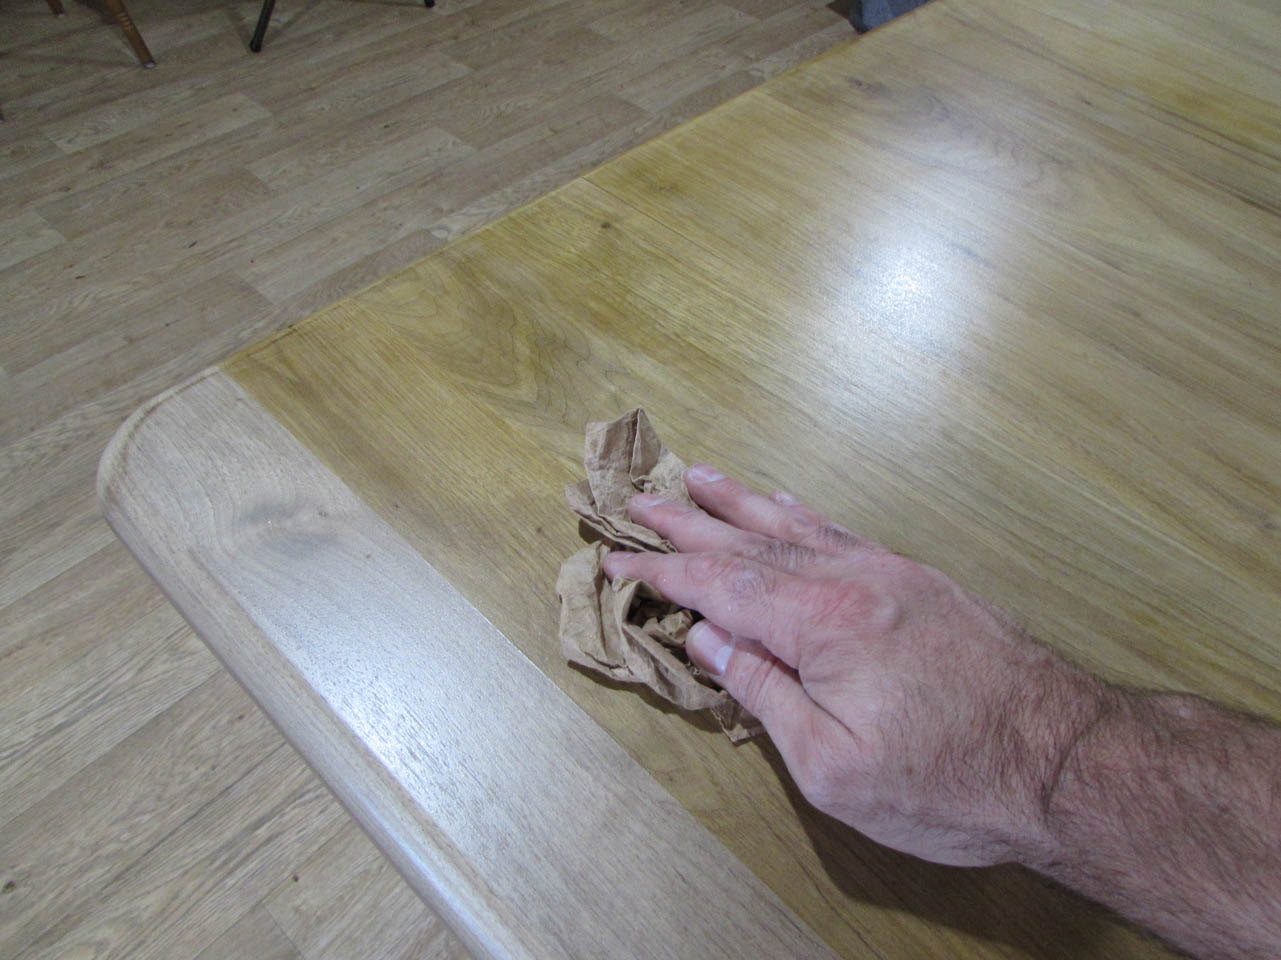

Look at that final finish, smooth and satiny.

Next step will be to break everything down and haul it to the warehouse that will crate it up and ship it Israel. I hope my clients enjoy it for many years to come.
