
Bleached walnut dining table – days 6,7,&8
This three-day weekend began with cutting out more mortises. This time I was working on the top of the legs.
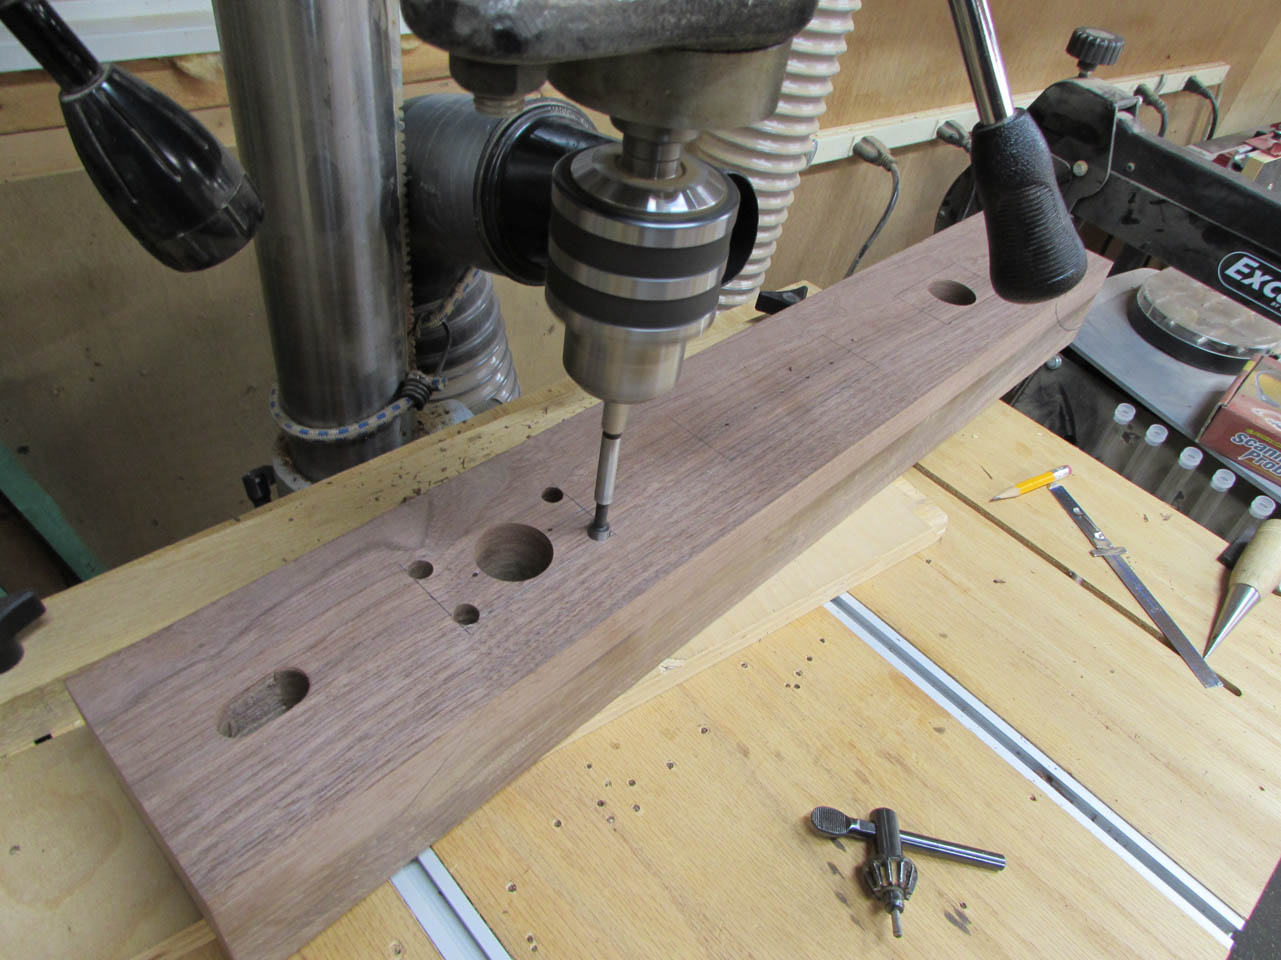
I started removing as much material as possible with the drill press. I started with the small bit in the corners then moved up to the 1-1/2″ bit for the rest.


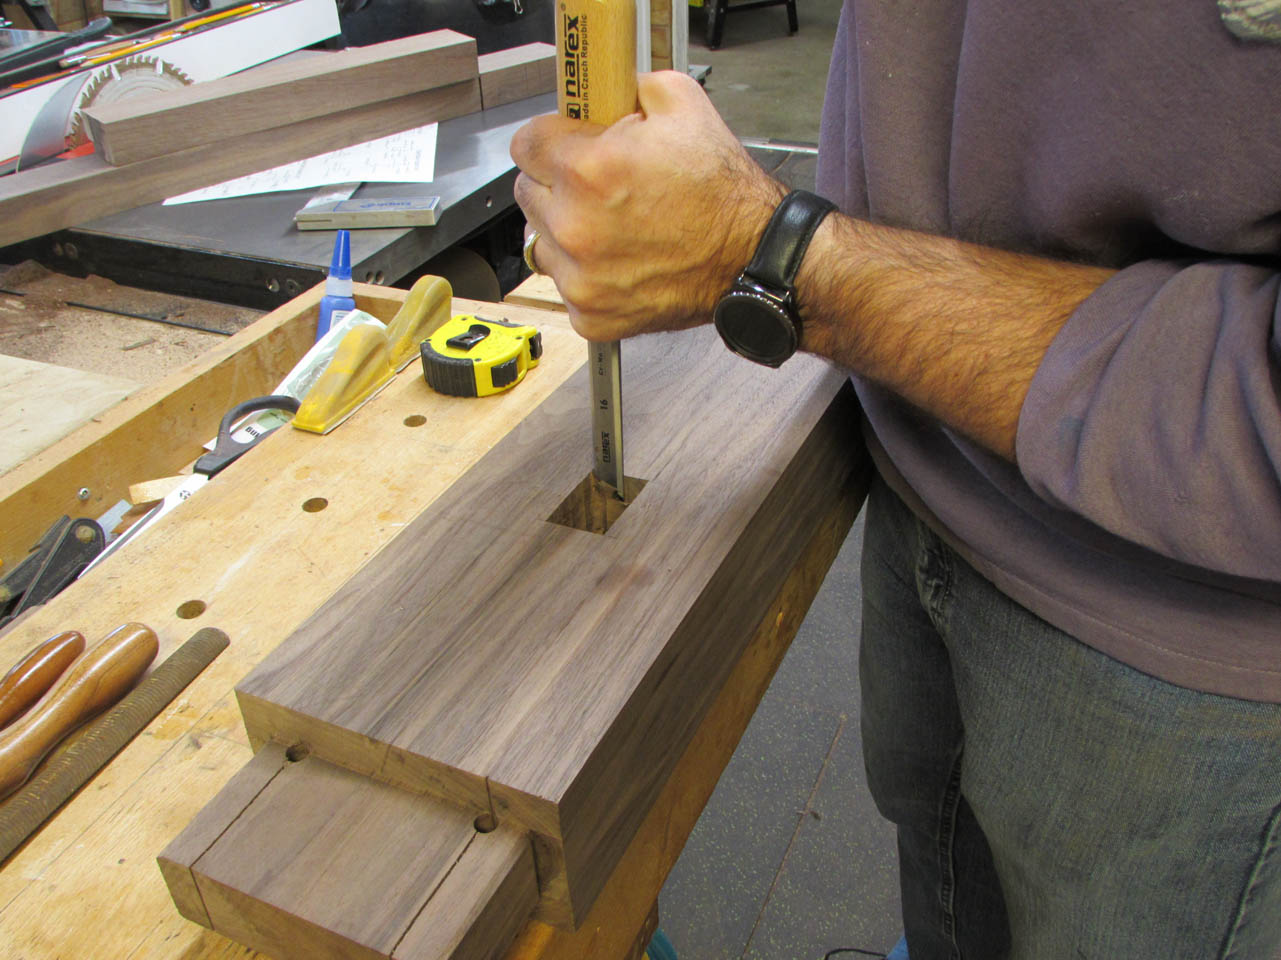
Once the majority was hogged out, I switched to the chisel.


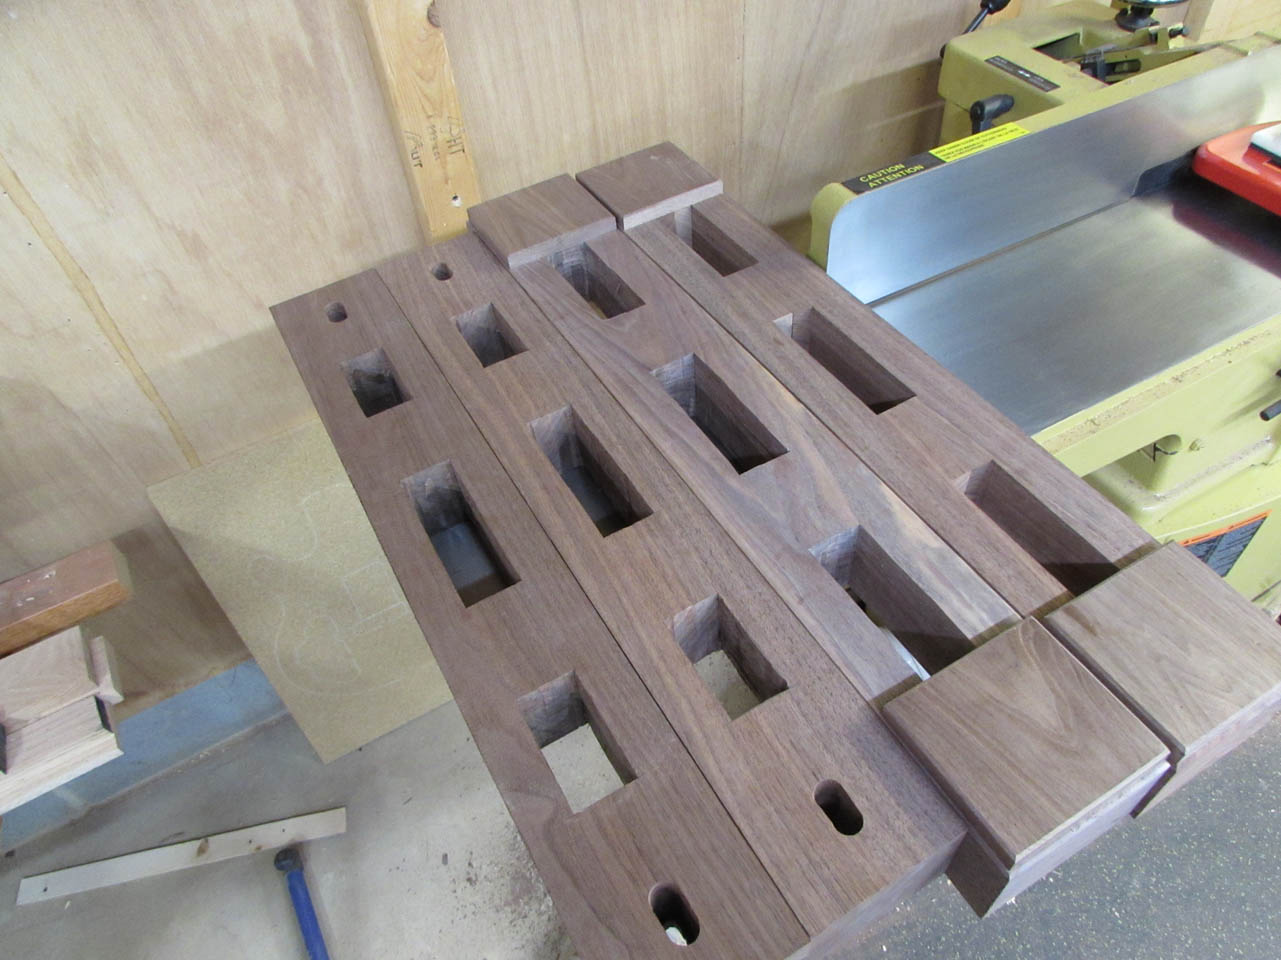
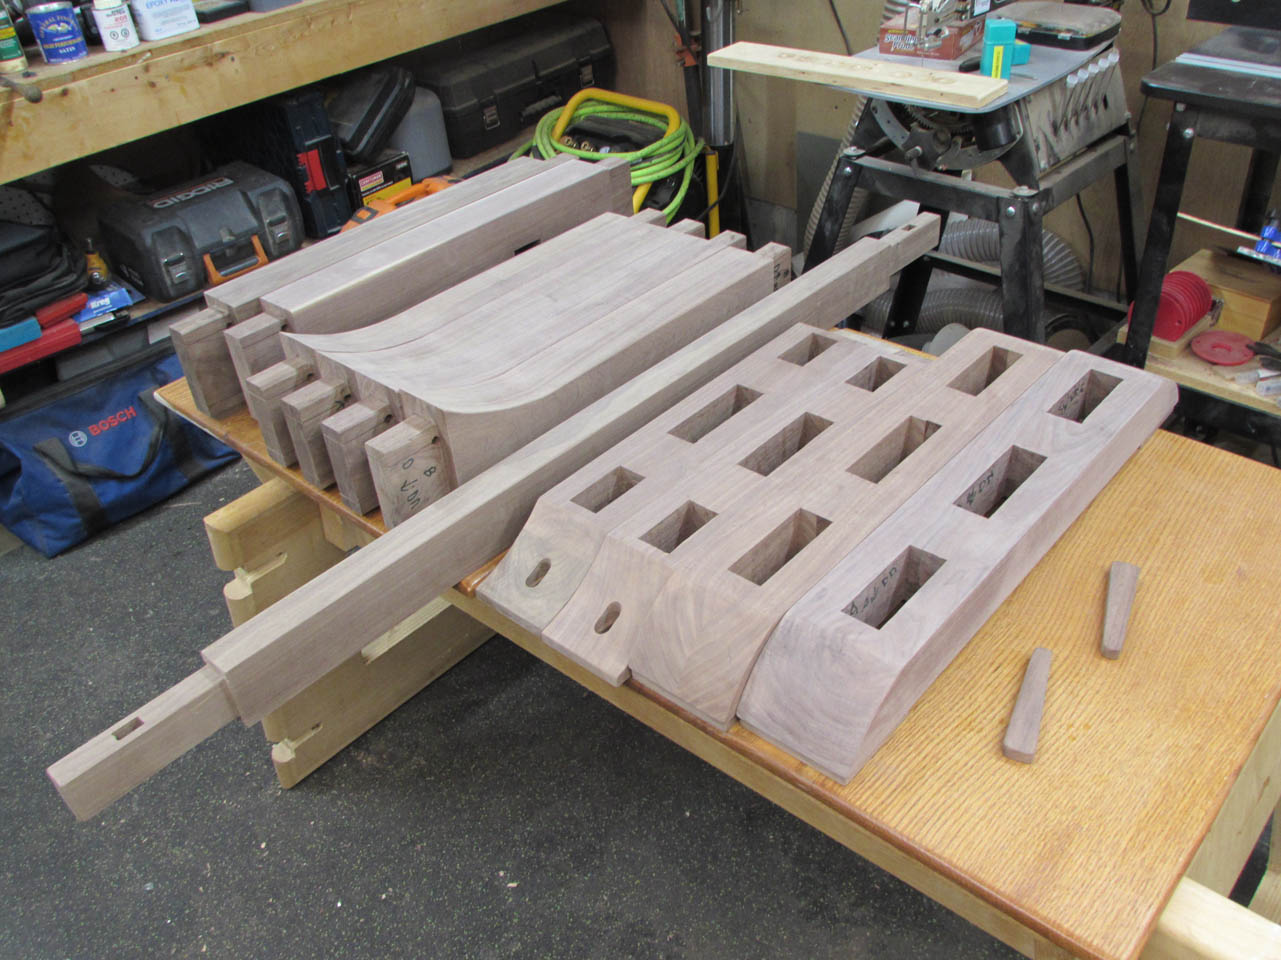
A couple of hours later… I had my tops and bottoms of the leg assemblies chopped out.

With the mortises done, it was time to switch over to making the tenons. I set up a stop and cut all of the vertical leg sections to the exact same length on my miter saw.

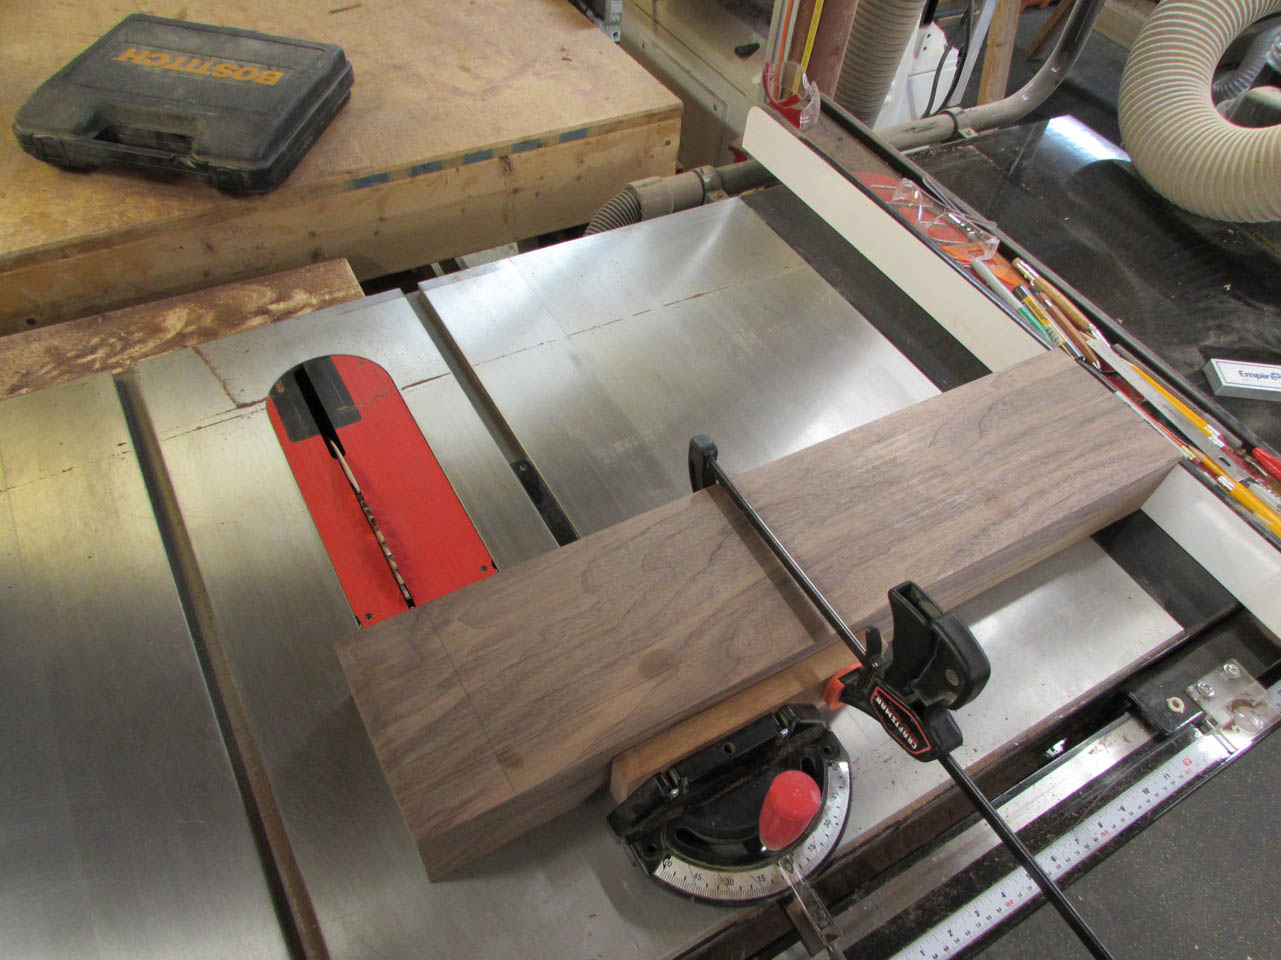
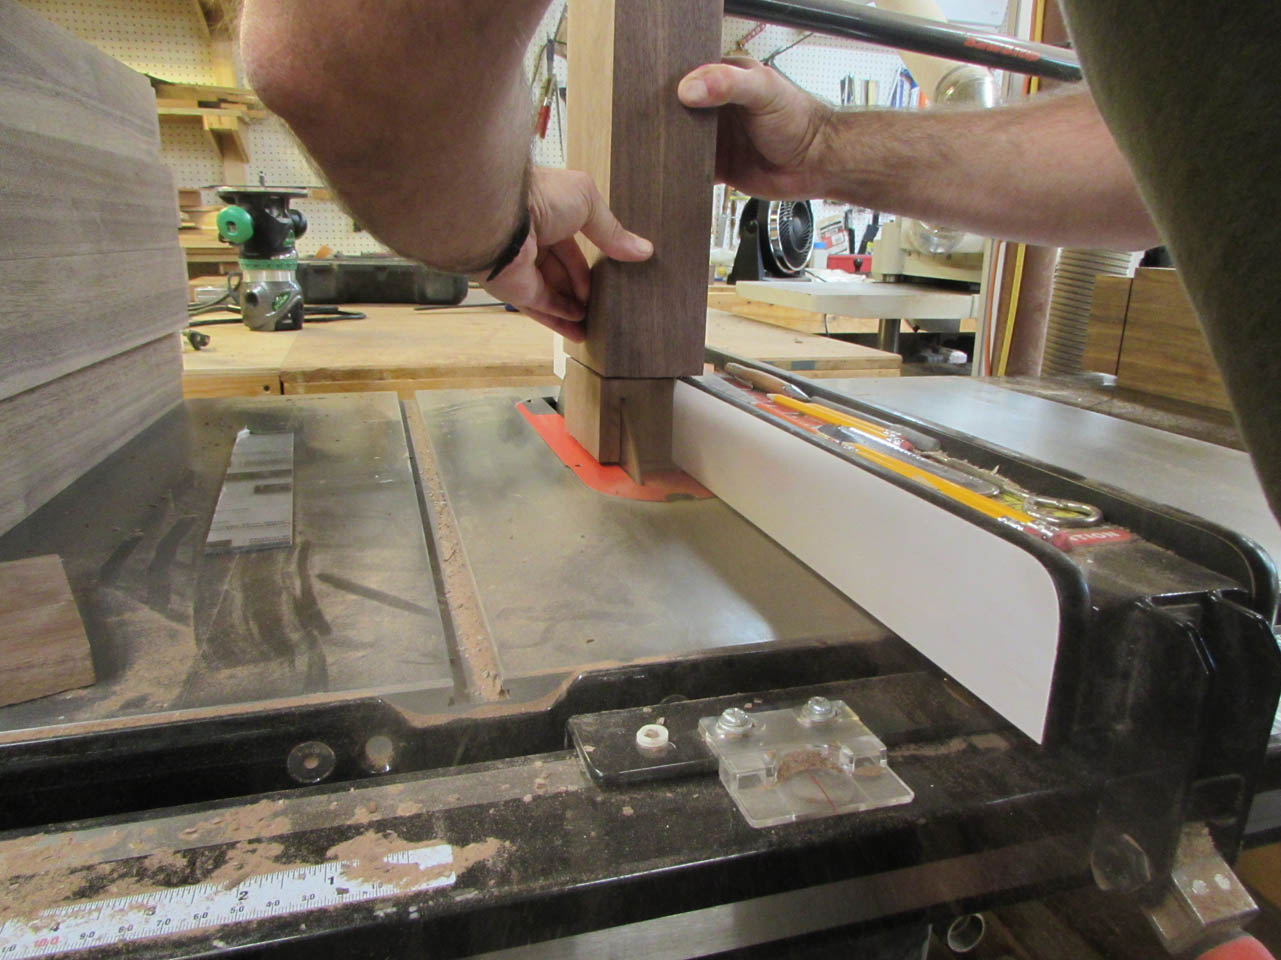
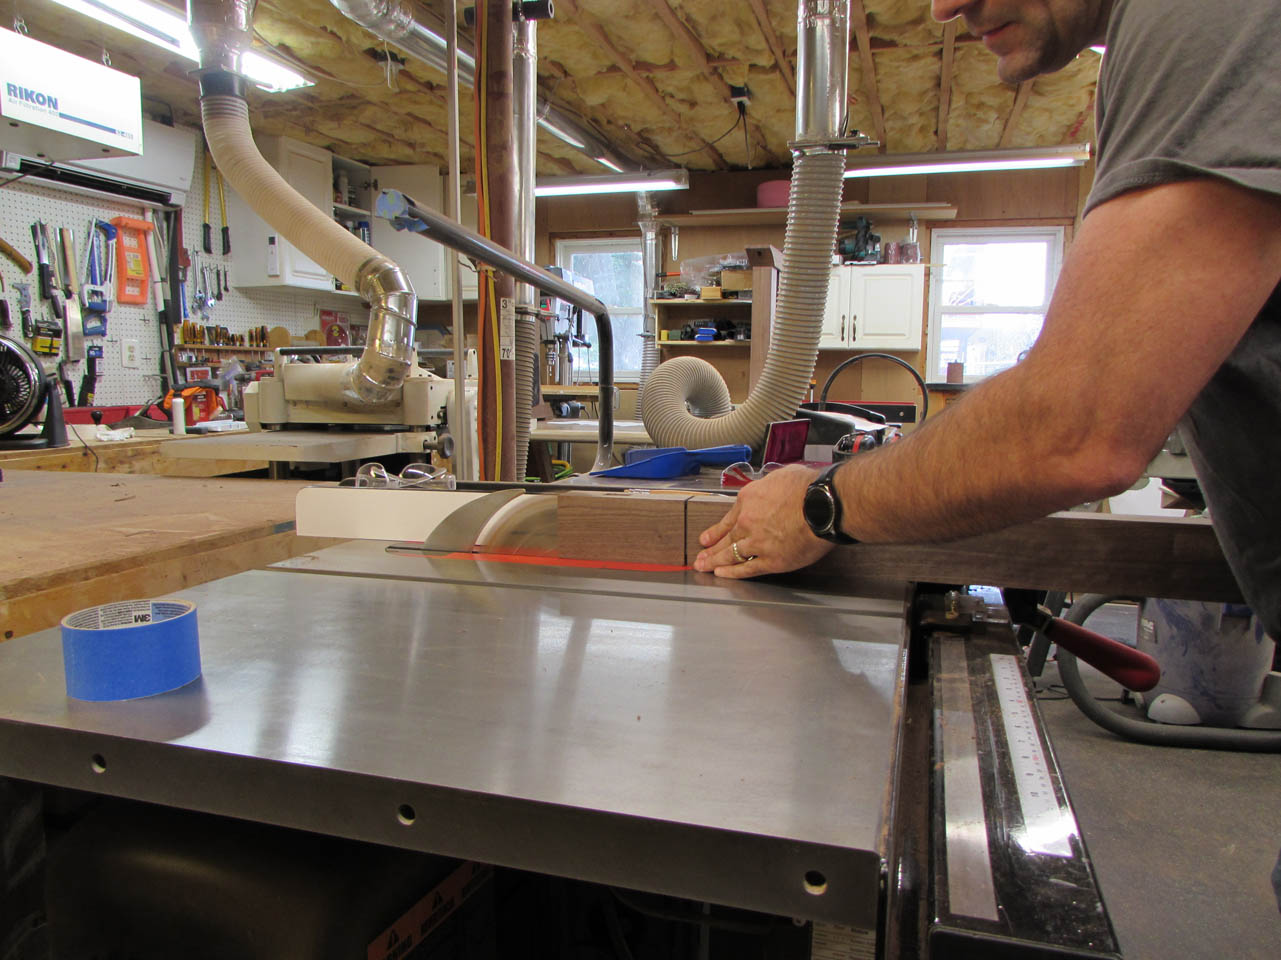
Then, using the miter gauge in conjunction with the fence, I started cutting the shoulders of the tenons. I wouldn’t recommend this method, using the miter gauge and the fence at the same time can be a bit dangerous. If something shifts, the leg could bind on the blade causing all sorts of problems.


After the face sides were cut, I adjusted the blade depth and cut the sides the same way.

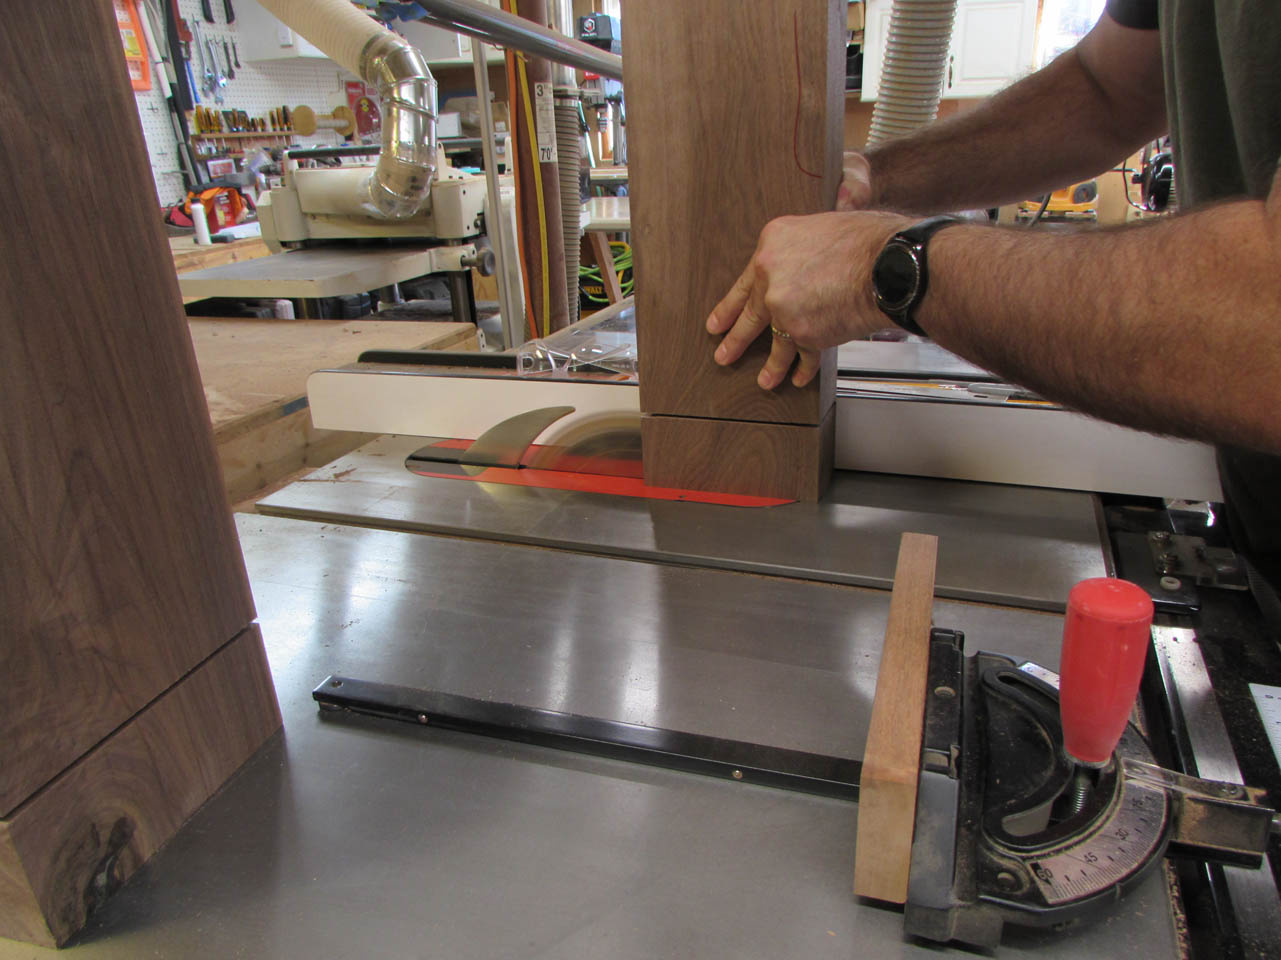
I wouldn’t necessarily recommend this method for cutting the tenon cheeks either, but I do not have a tenon jig for my table saw, so this is what I did.

I was able to cut away two sides of the tenon just riding up against the fence.

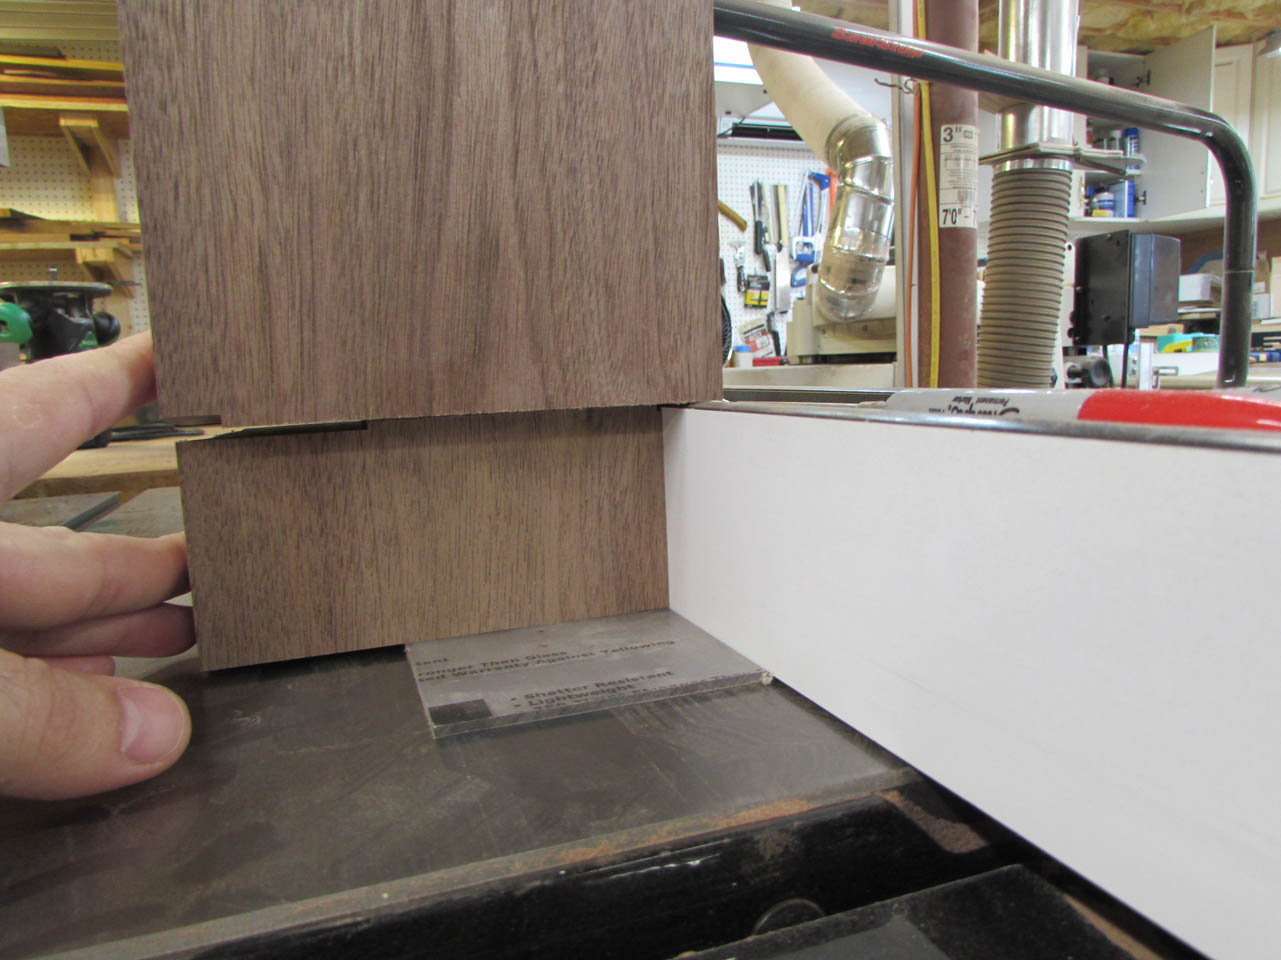
But the tenon was shorter than the fence so I had to cut a spacer to raise the leg up high enough to get the shoulder above the fence.

This made it a little tricky, but I was able to continue cutting.


With a little patience and a lot of care, I had all of my tenons cut.


To ease installation, I sliced off the sharp corners with a chisel. Then I did a test fit and amazingly, everything went together the way it was supposed to.

You may have noticed that there are no curves yet. That was because they would have complicated things up until this point. Now it was time to cut them away.
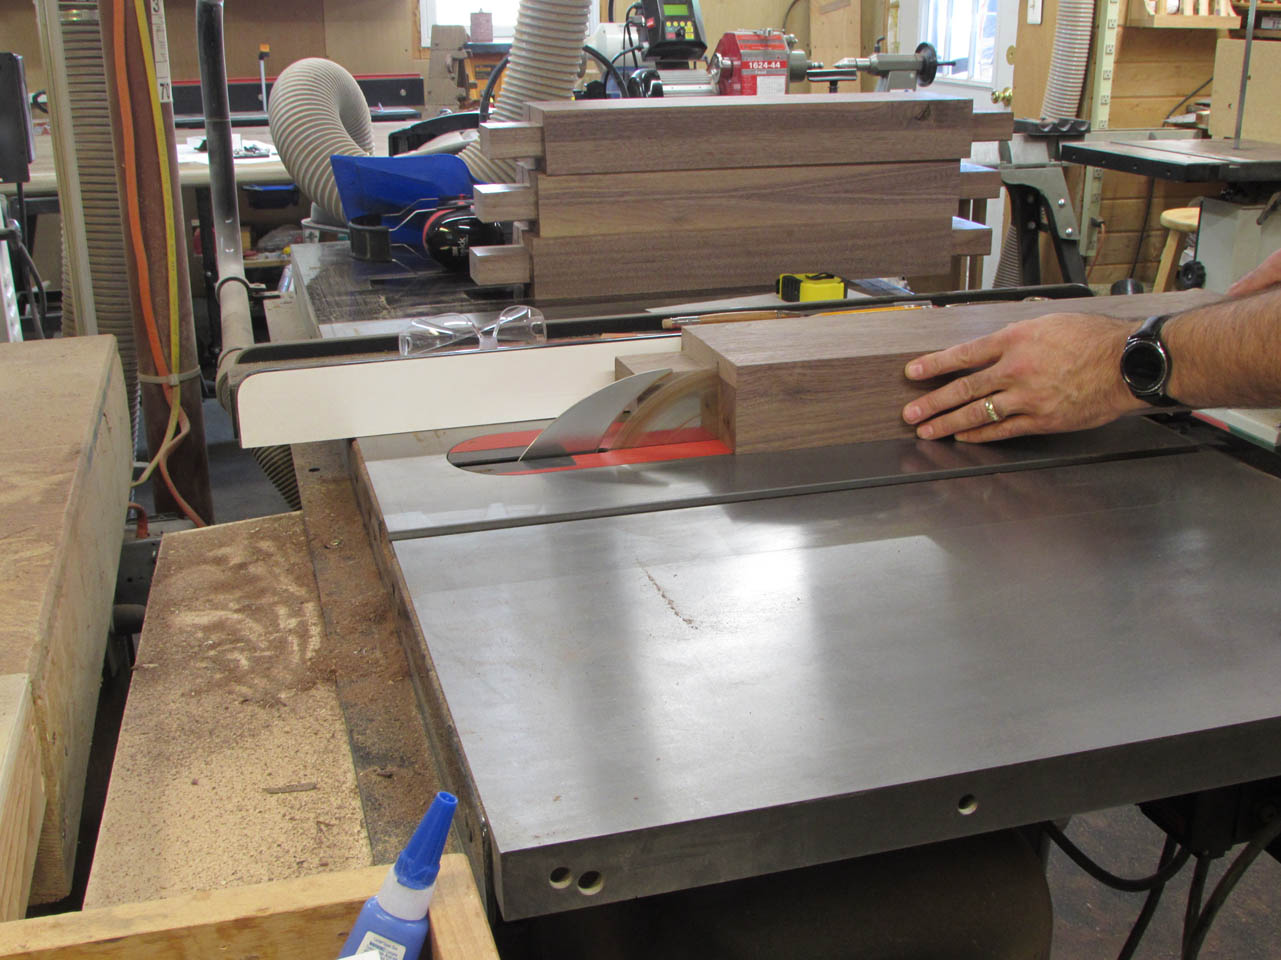
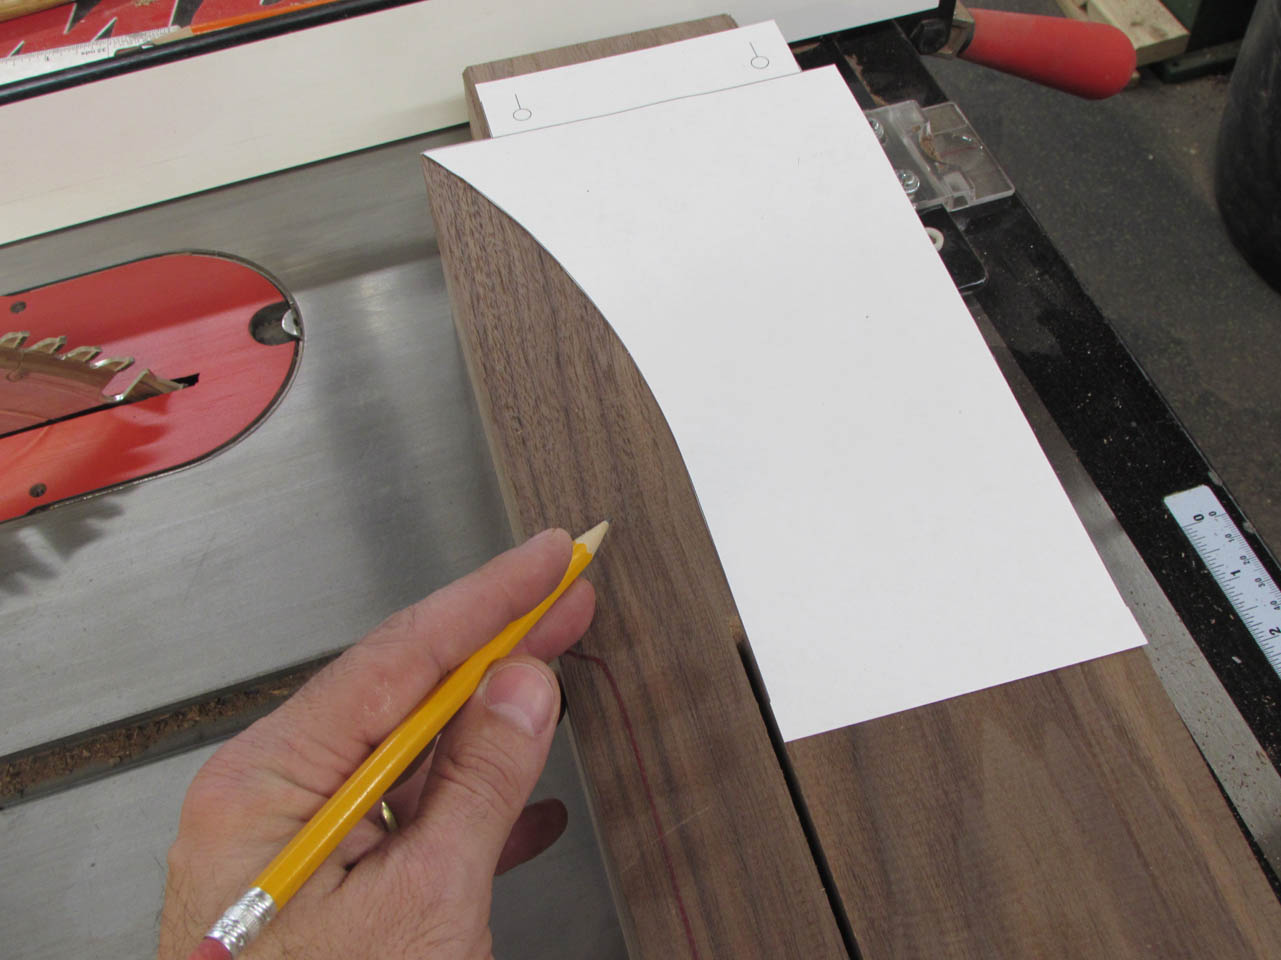
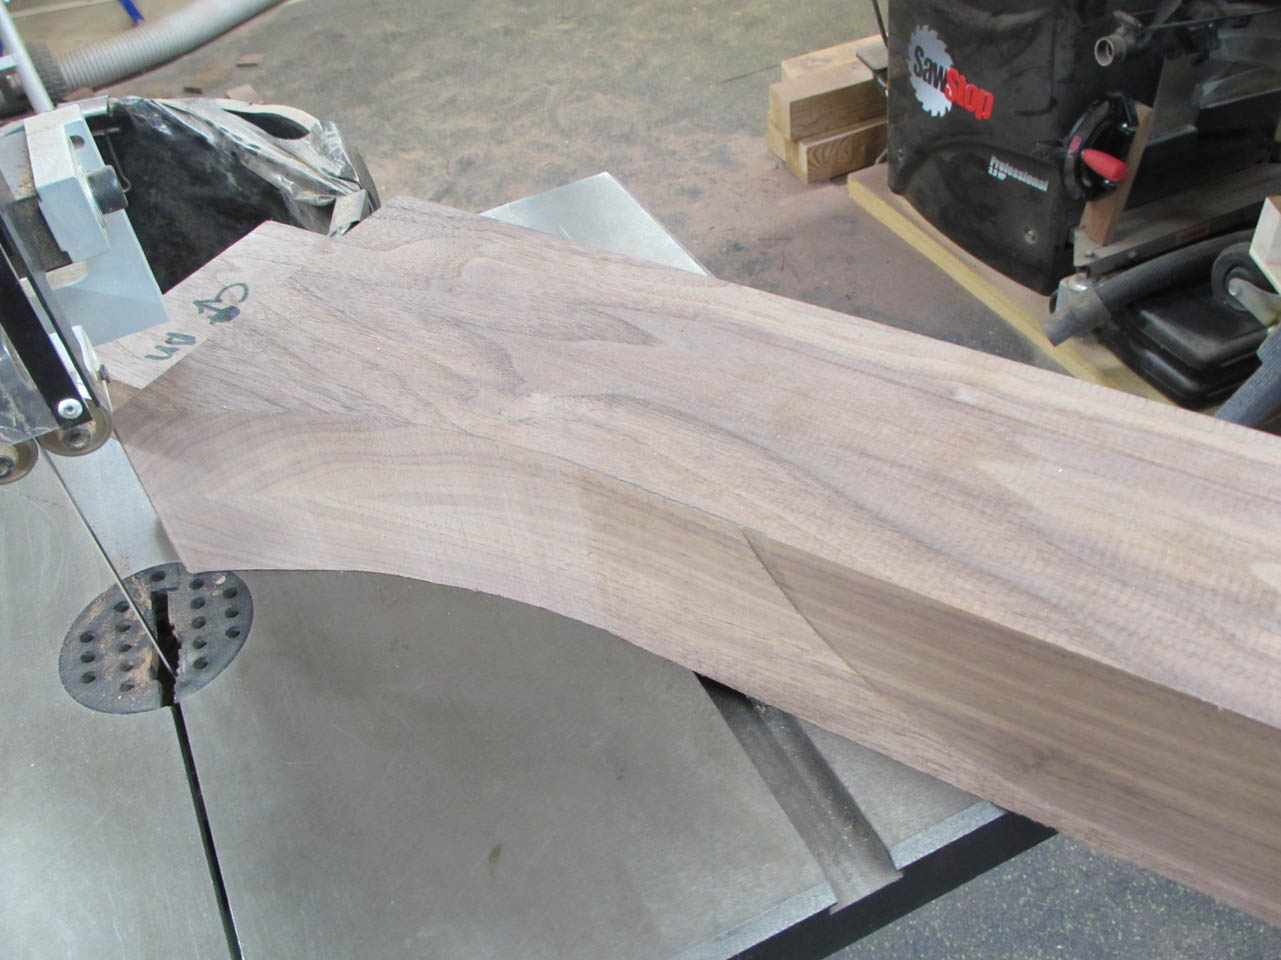
For the curved legs, they are only curved at one end, the rest is dead straight. I cut the straight section on my table saw to have a clean cut for the majority of it. Then I traced the curve from a template that I printed.
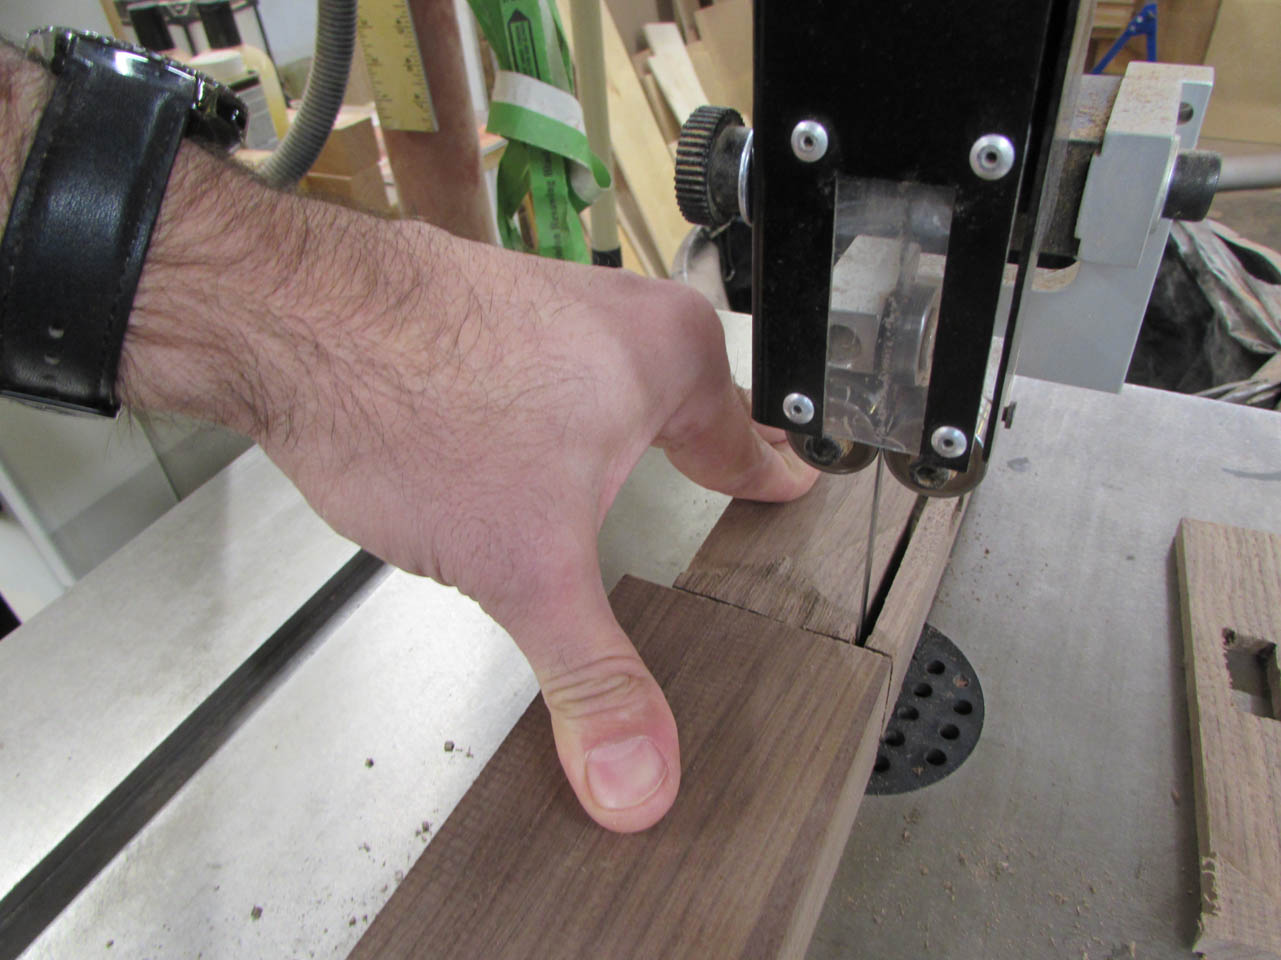
I left the 3/4″ blade in the band saw to finish the straight cut(my table saw blade was not tall enough to go all the way through).

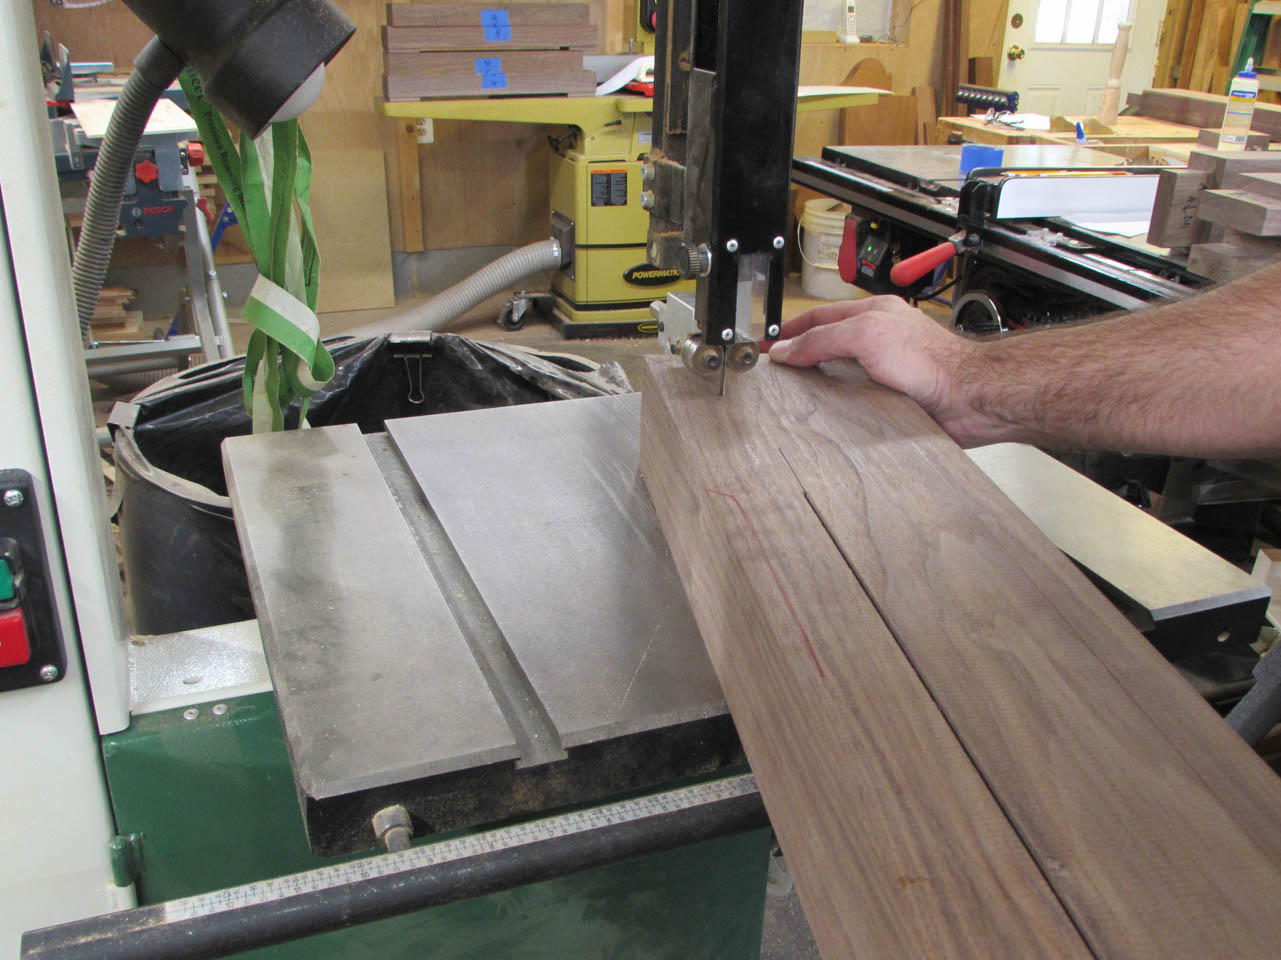
Then I replaced it with my 1/4″ blade to cut the curve.
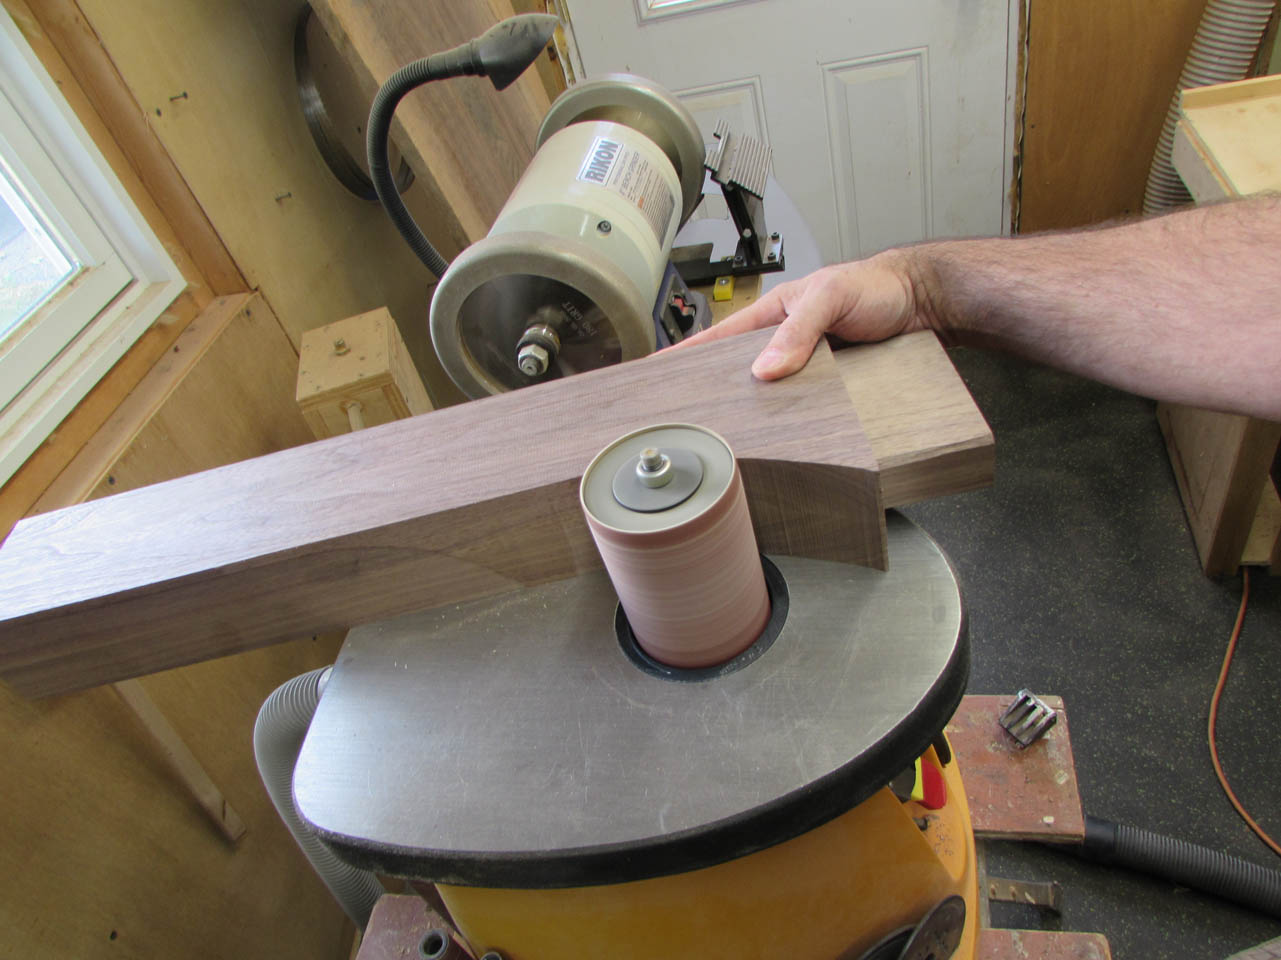
The oscillating spindle sander is perfect for cleaning up the curve after it was cut.


Next, I cut out the curves on the feet and top pieces on the band saw as well.

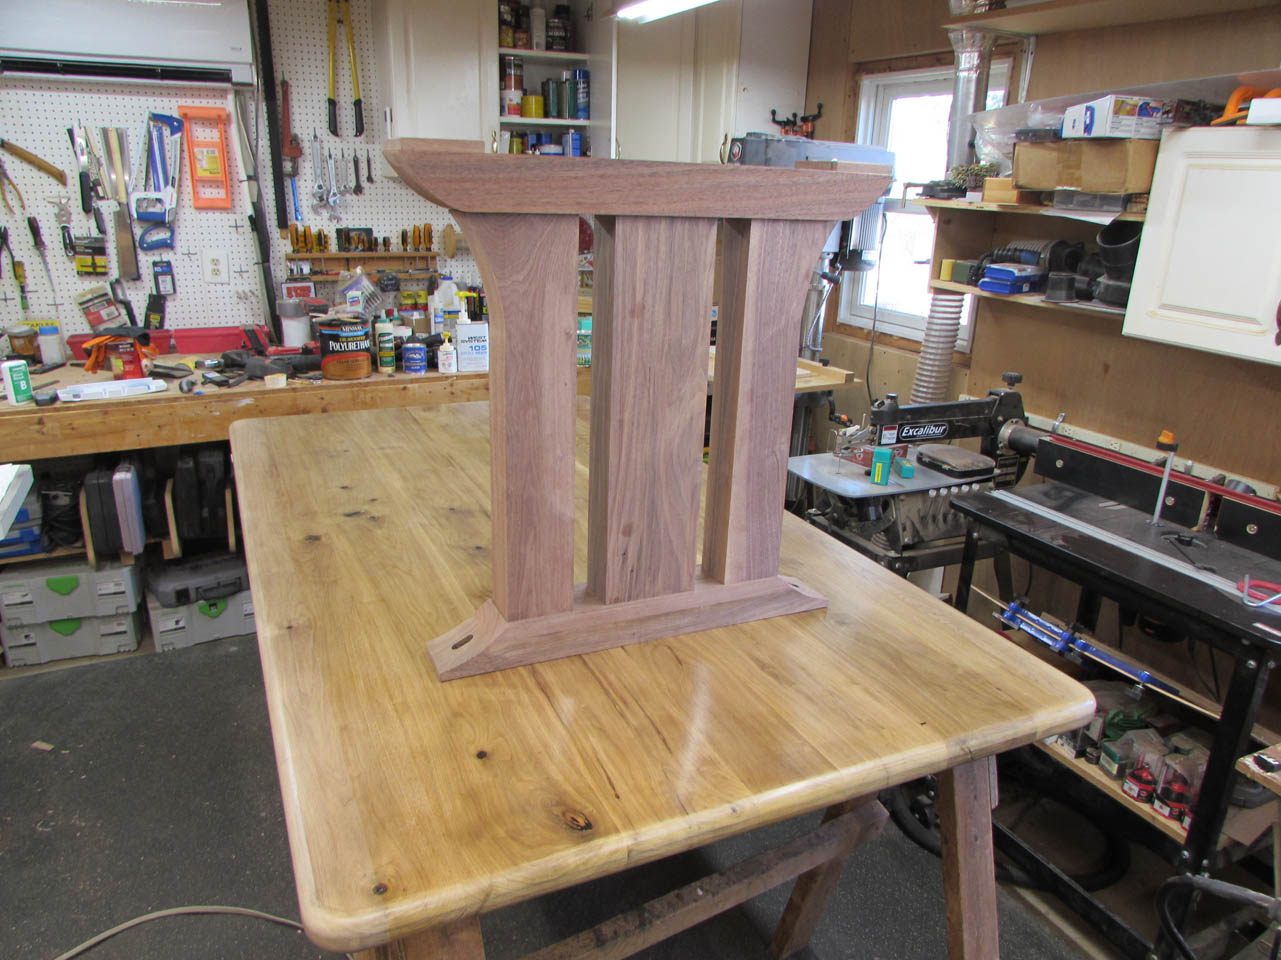
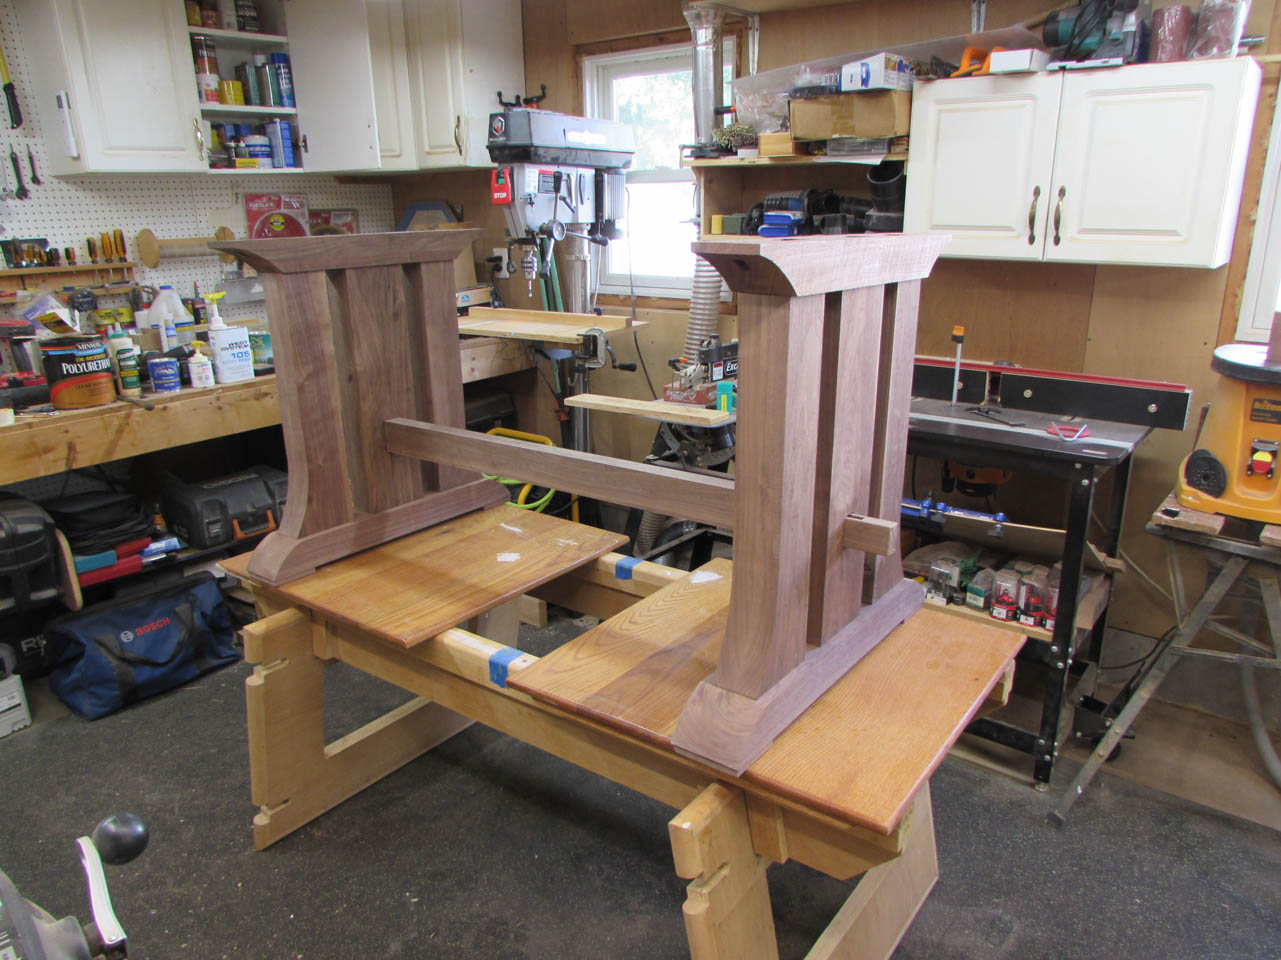
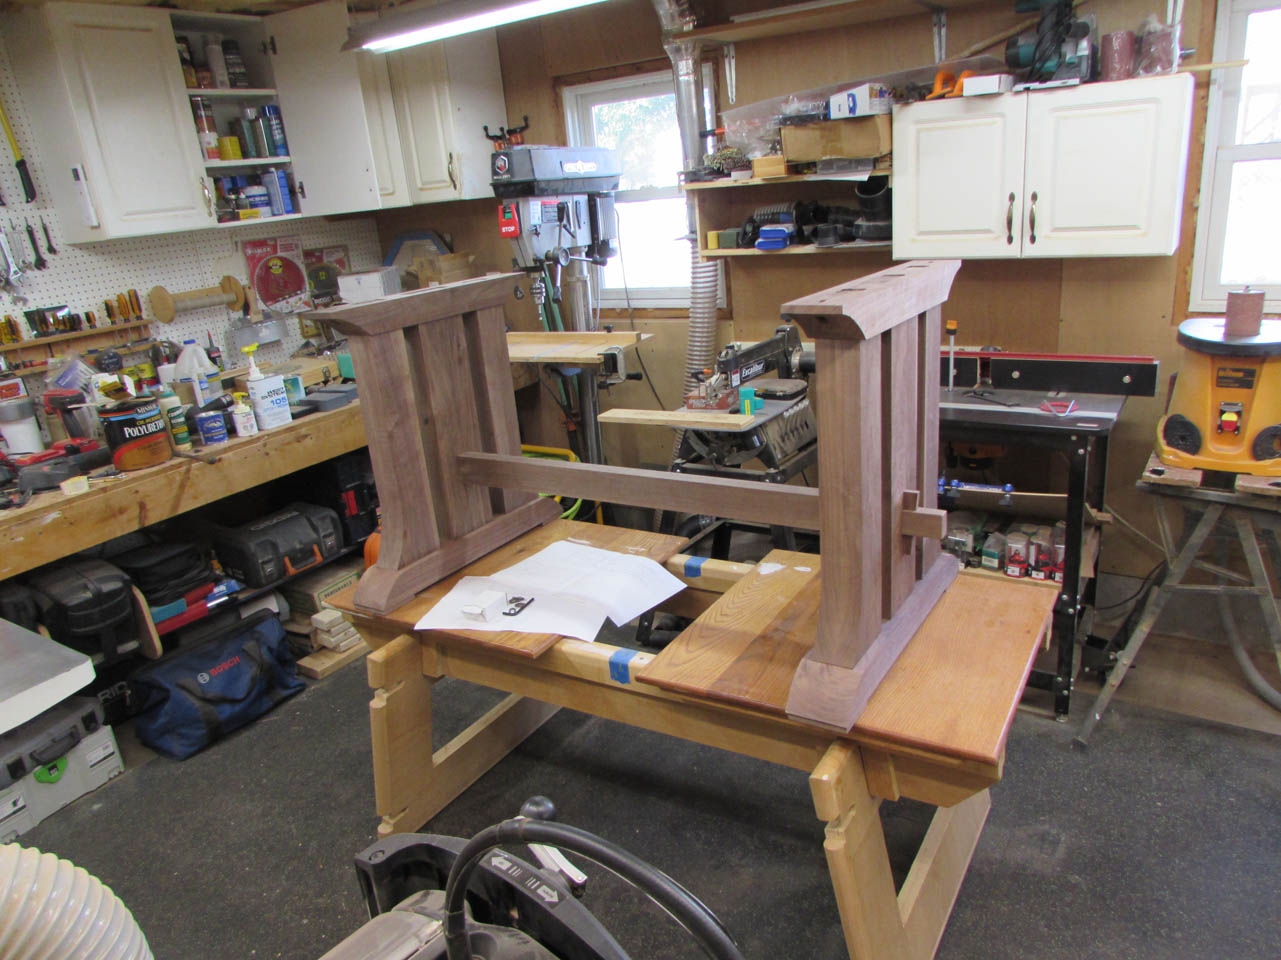
The assembled leg looks a lot nicer with all of the curves cut in.
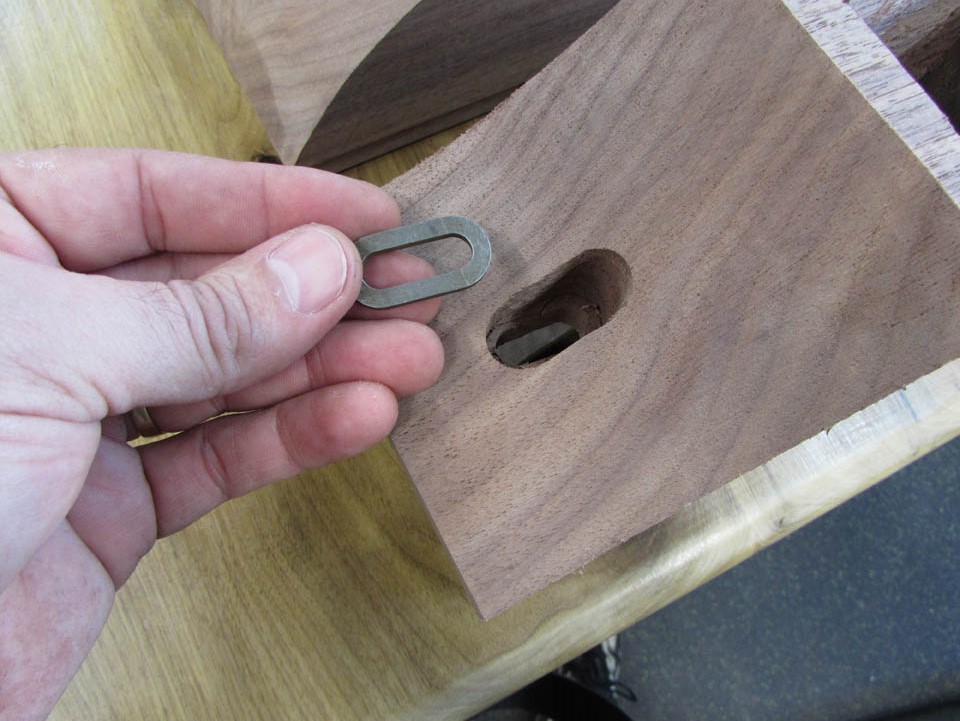
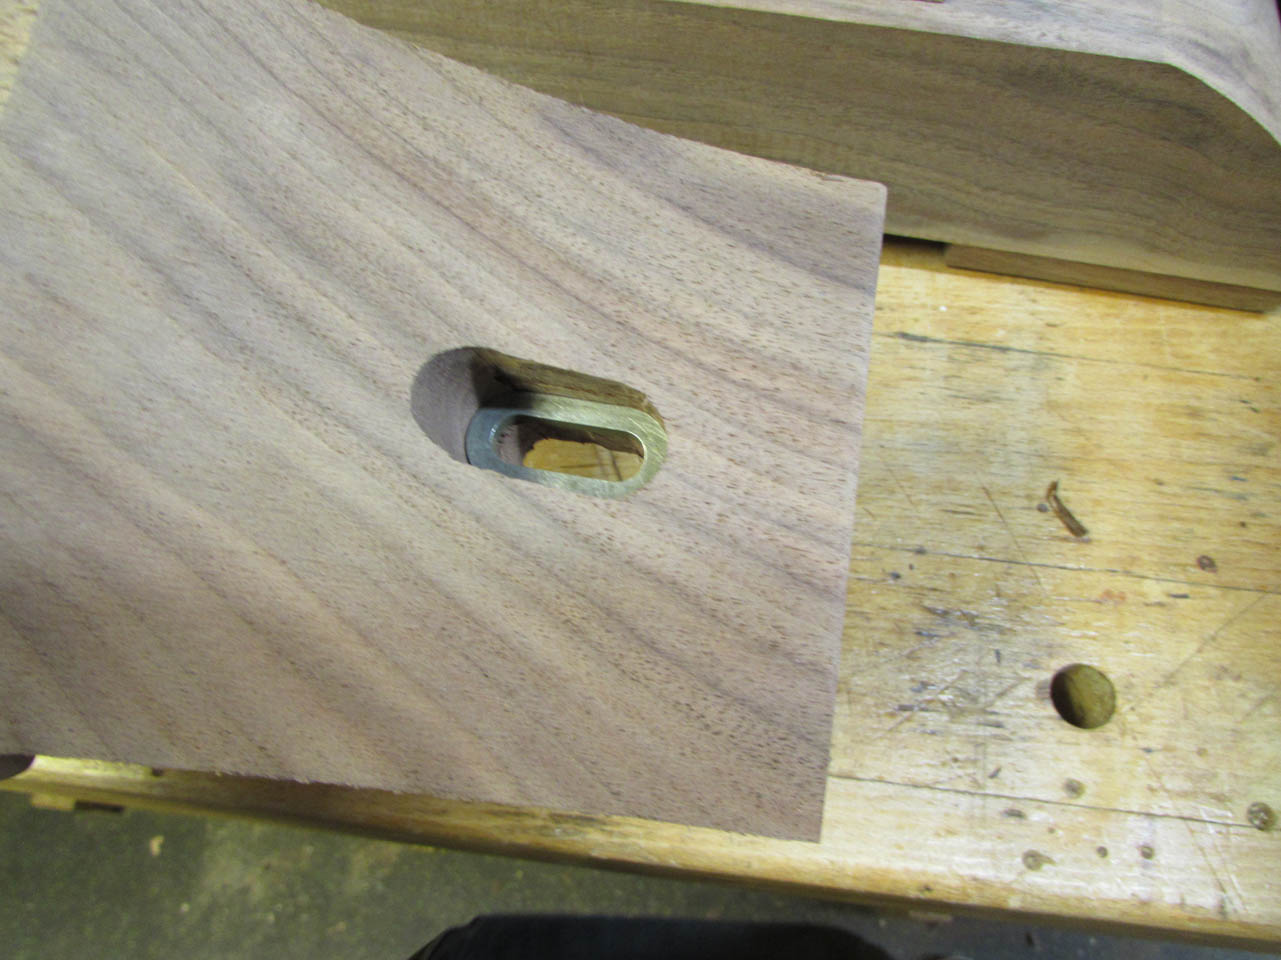
I had a friend mill me a couple of custom slotted washers to drop into my slots. I could have use a regular washer, but I thought these beefy things would work way better.

To hold the tenons tightly in place, I cut a couple of slices in the end of each tenon. I will drive wedges in at final glue up. This will tighten them in the mortise. I drilled holes at the base of the slice to prevent any cracking.

The legs are assembled, now for the cross-bar.


The cross-bar will pass through the center leg on each side and be assembled with a through tusk tenon. I have never made one before, but it looks like it will be a pain… I started by cutting the the shoulders of the tenons, then laid out the location of the angled through mortise for the tusk.

I decided that before cutting the final size of the tenon I should have the mortises cut out so I would have the exact size.

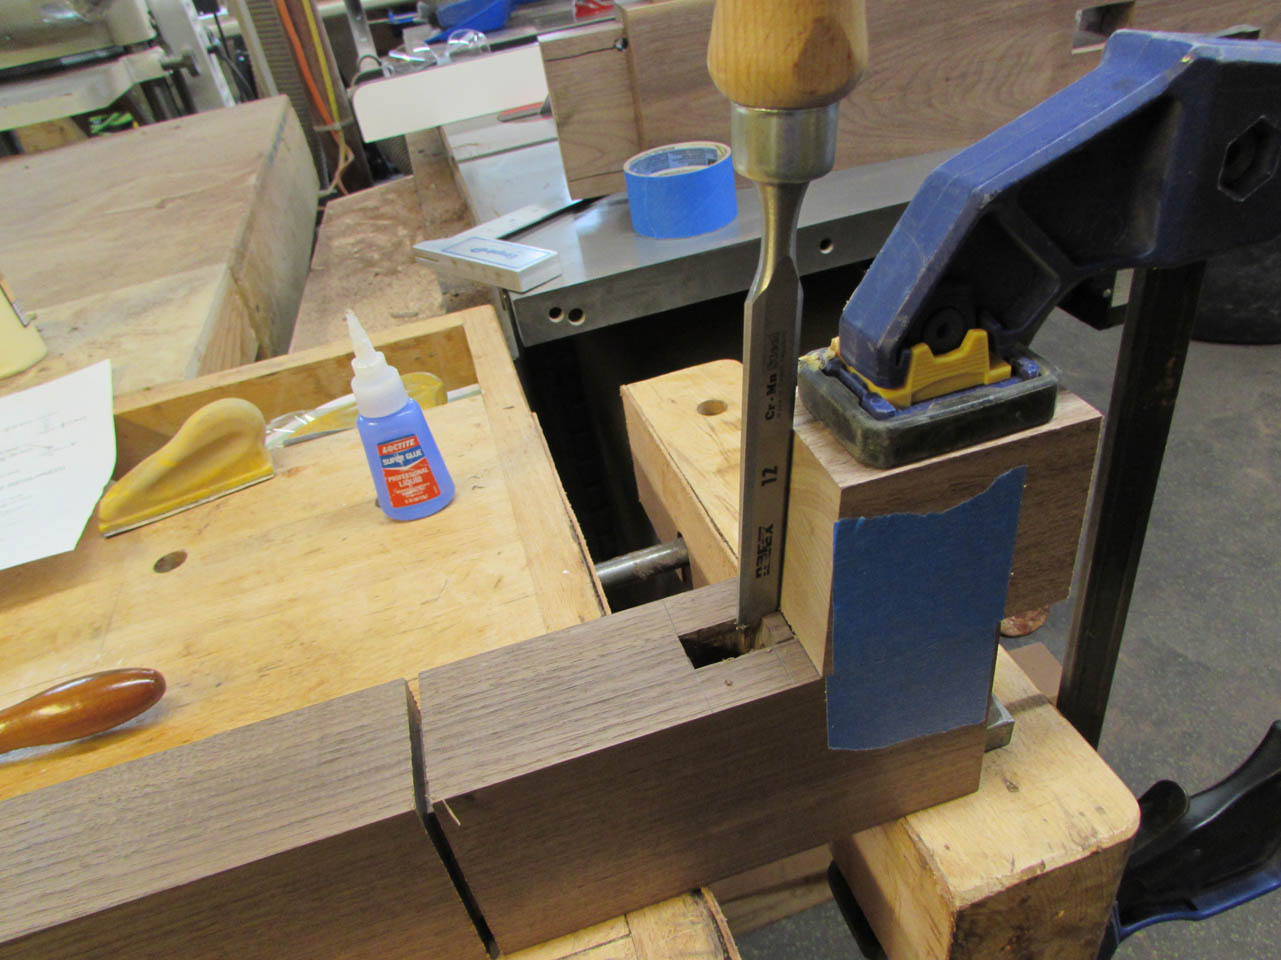
These mortises will be highly visible so they need to be a lot cleaner than the last twelve I just cut. I took a moment to look through Christopher Schwarz’s Workbench book and found a useful suggestion for cutting clean mortises.

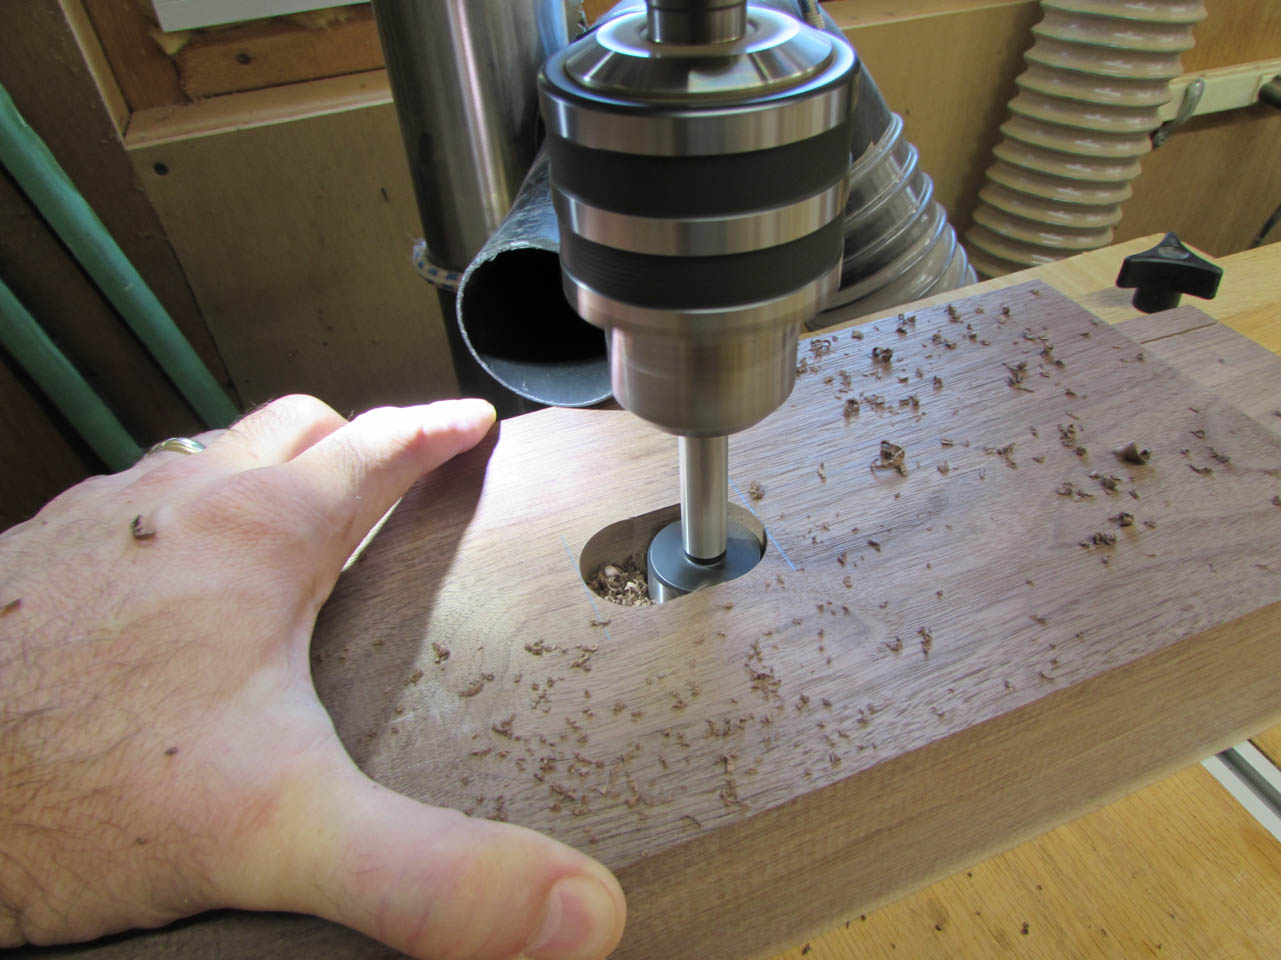
Chris drilled out the first hole, then moved to the opposite side about 1/16″ to 1/8″ at a time nibbling away the entire slot while holding the board up against the fence. This cut the sides away perfectly and left only the corners to be cut away. Genius! I wish I saw that last weekend before I cut all of those big ones out by hand…

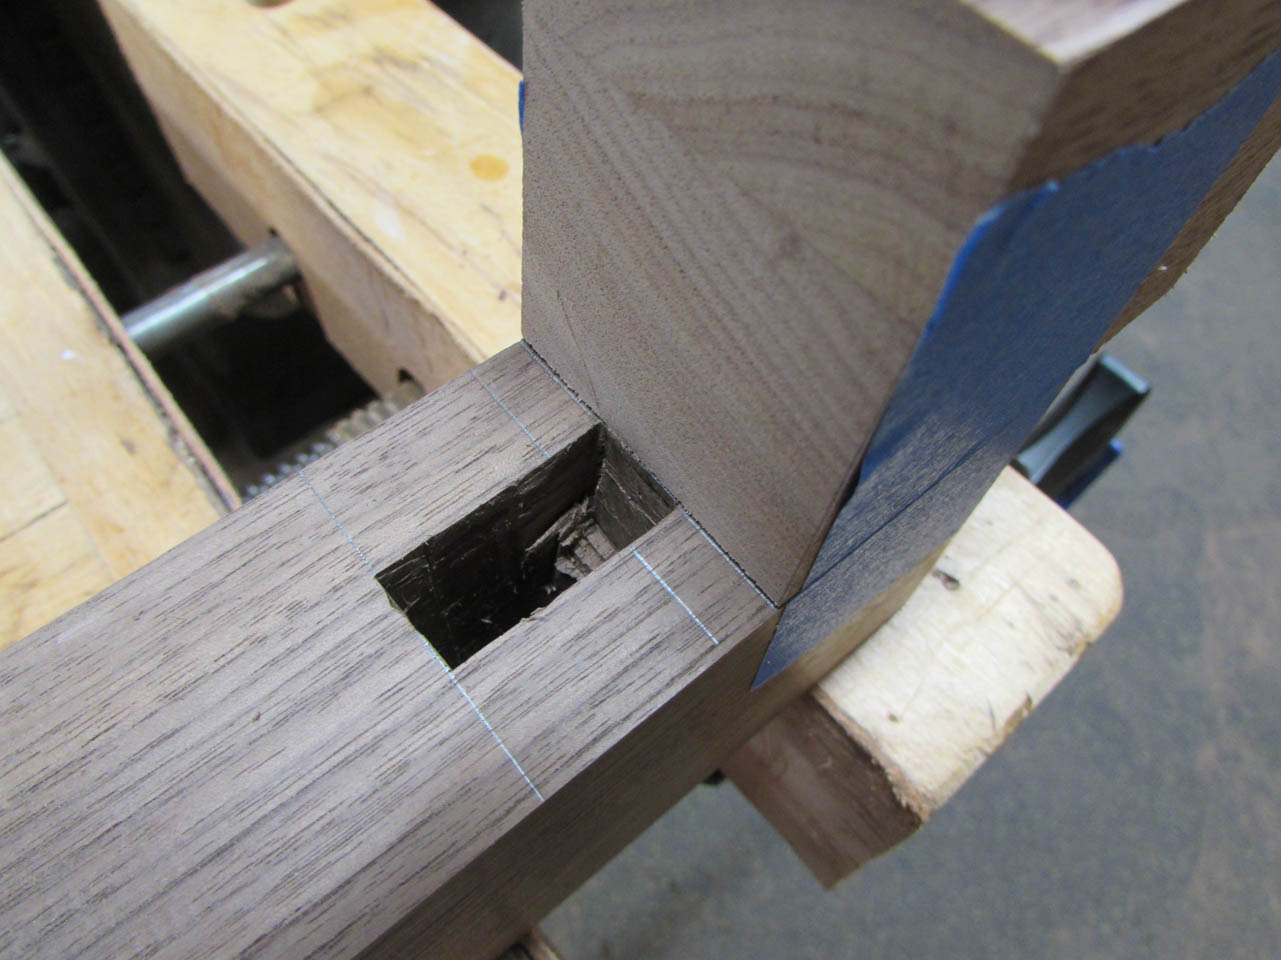
To avoid blow-out, I drilled from both sides toward the center. This left all the outer edges crisp and clean.


I then drilled a bit more from the corners and chiseled out the rest. That was so much easier…

I used a rasp to clean up the inner faces, then I was done.


Moving back to the cross-bar now that I had exact dimensions for my tenons. I repeated the method for cutting the through mortises, ignoring the angled section when drilling. In hind-sight, I should have tilted my drill-press table to 6 degrees and drilled that as well, but I didn’t think of that.

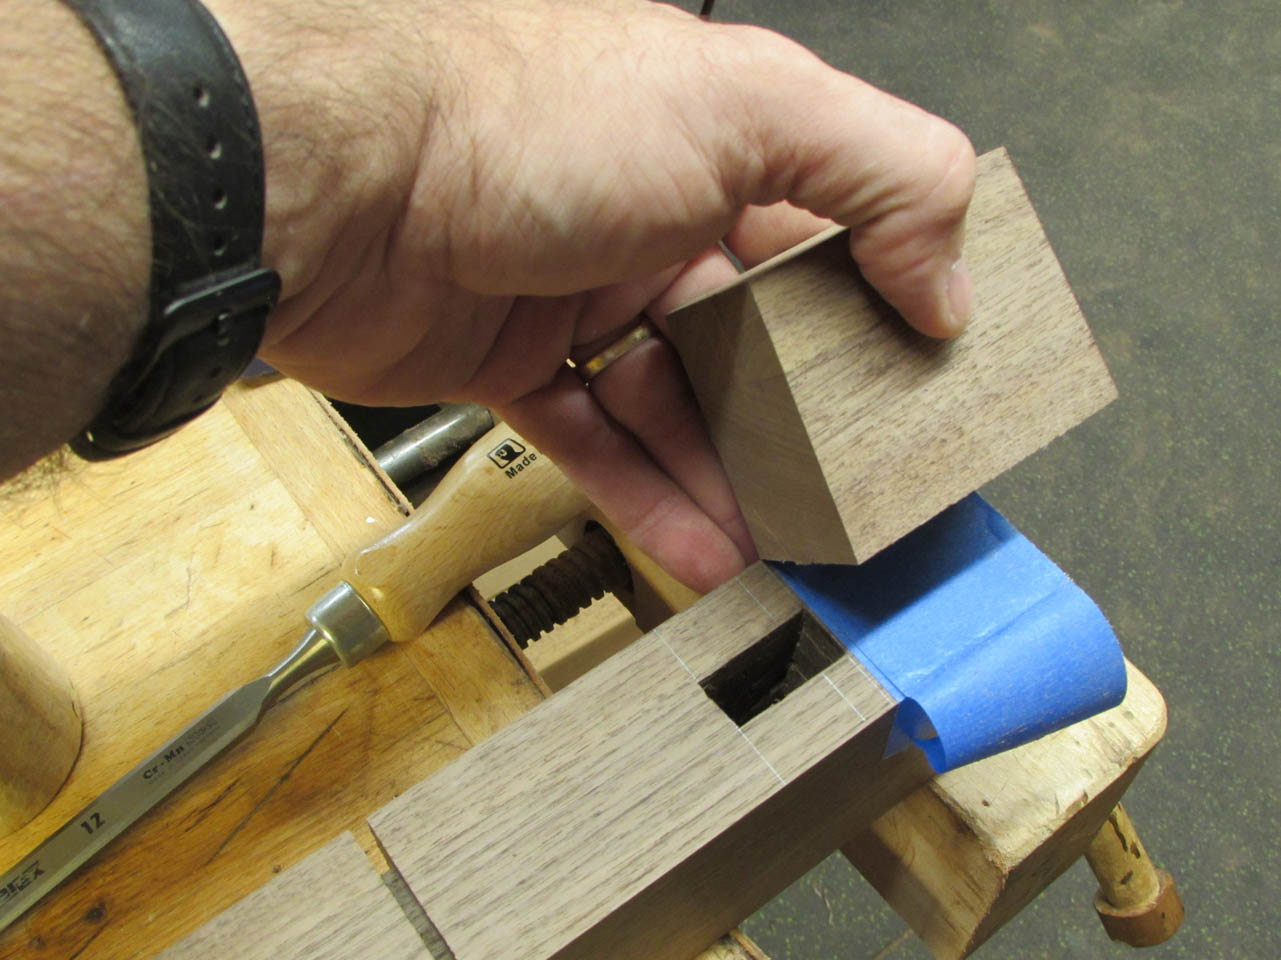
Instead, I cut a 6 degree angle onto a block of wood that I would use as a guide for my chisel.

I used the super glue on masking tape trick to assemble the block in place, then clamped it down for extra strength.

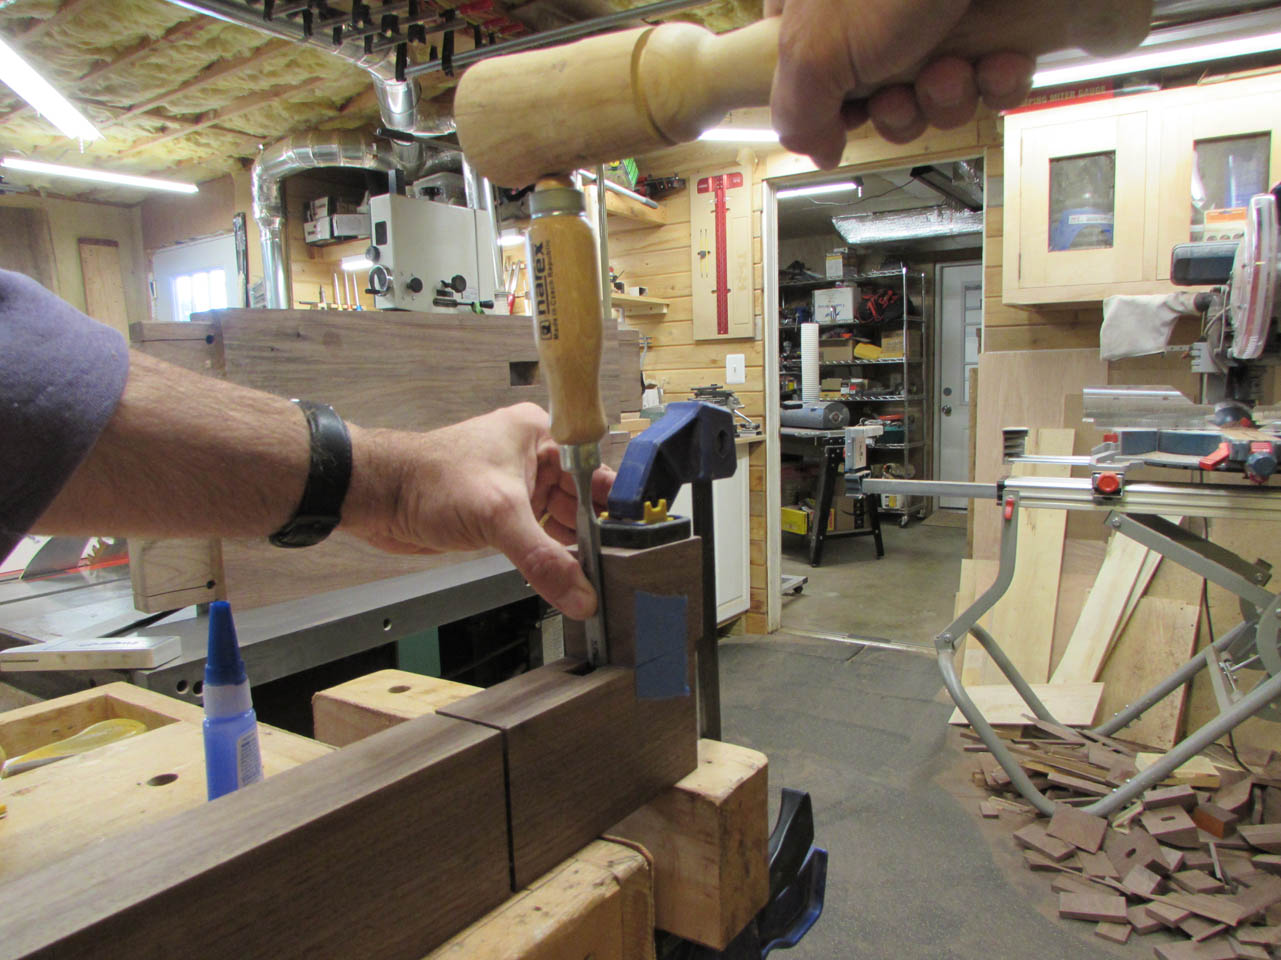
I used this block as a guide and chopped halfway through.
Worked pretty well, just needs a bit of cleanup when I am done.
To disassemble the block, I only have to peel off the tape.
Next, I flipped over the tenon and assembled the block at the reverse angle to chopped the rest of the way through from the opposite side.

It took a while, but it turned out nice.

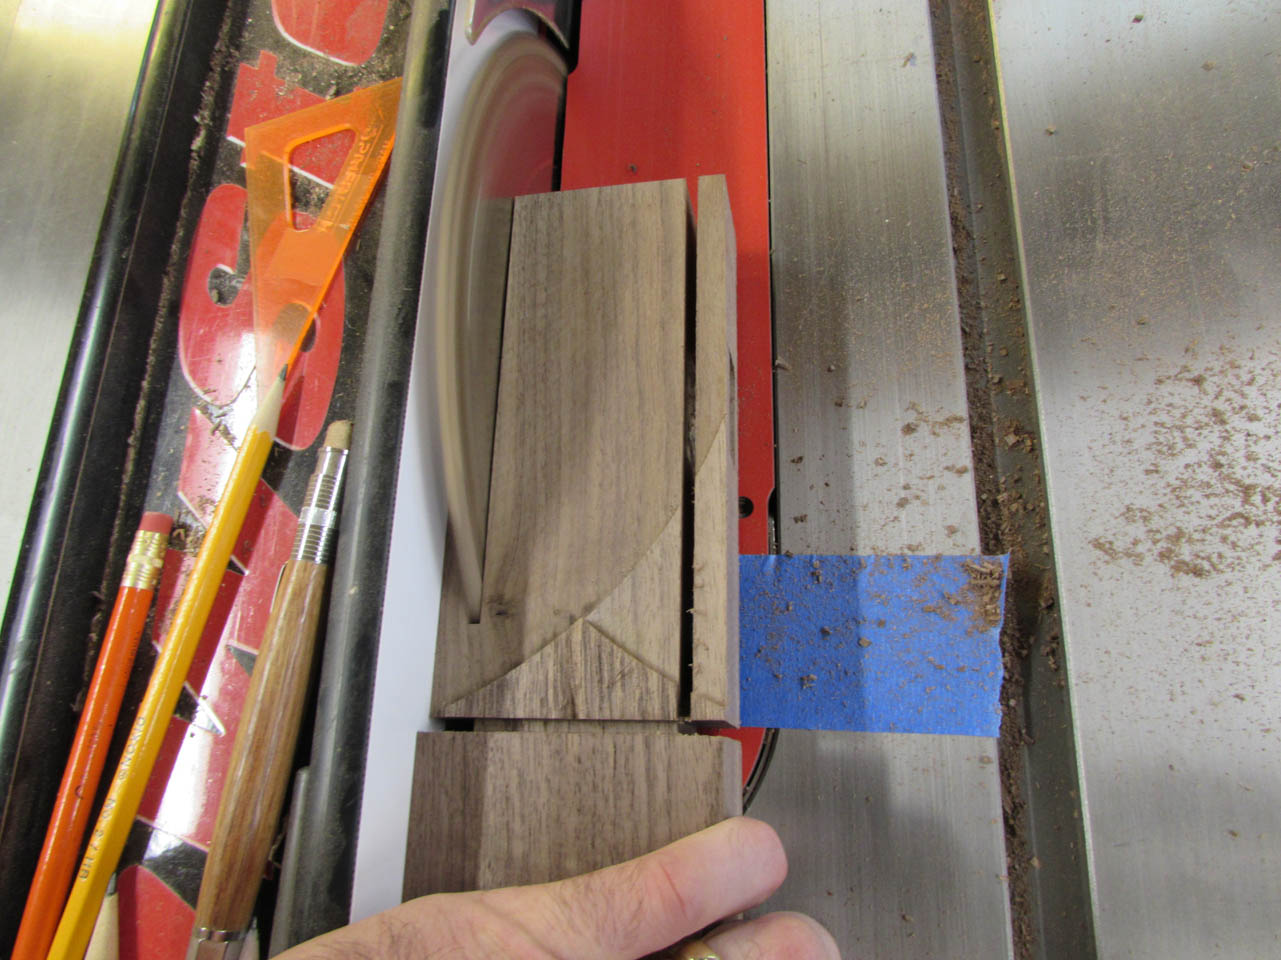
I used the table saw to cut away most of the cheeks of the tenons.

I marked the edge of the blade with a piece of tape so I did not cut too far with my stopped cuts.
I cut away the remaining sections with the band saw, then sanded down the face.
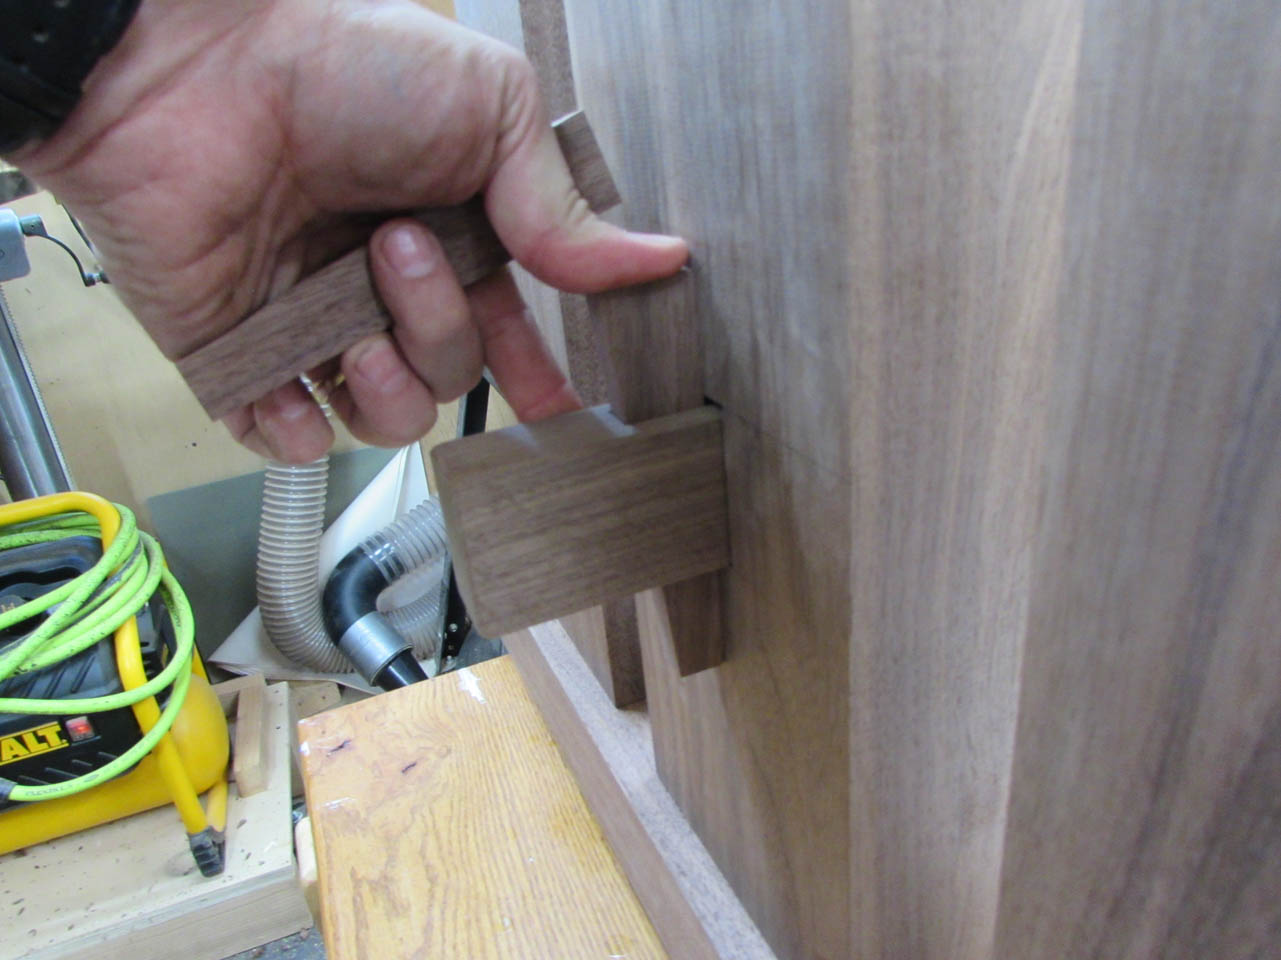
Assembly looks great. The tapered mortises were cut so they were recessed a bit into the leg mortise. This prevents the tusk from bottoming out and allows it to draw up tight against the leg.


The tusks were made from a 1/2″ piece of scrap. The angle was cut on the band saw, and the cut edge sanded flat.


In a matter of minutes I had 2 tusks.
They installed perfectly!

Base components are complete!!!
I used my spindle sander to round the corners on the tusks. I think this looks a little nicer.


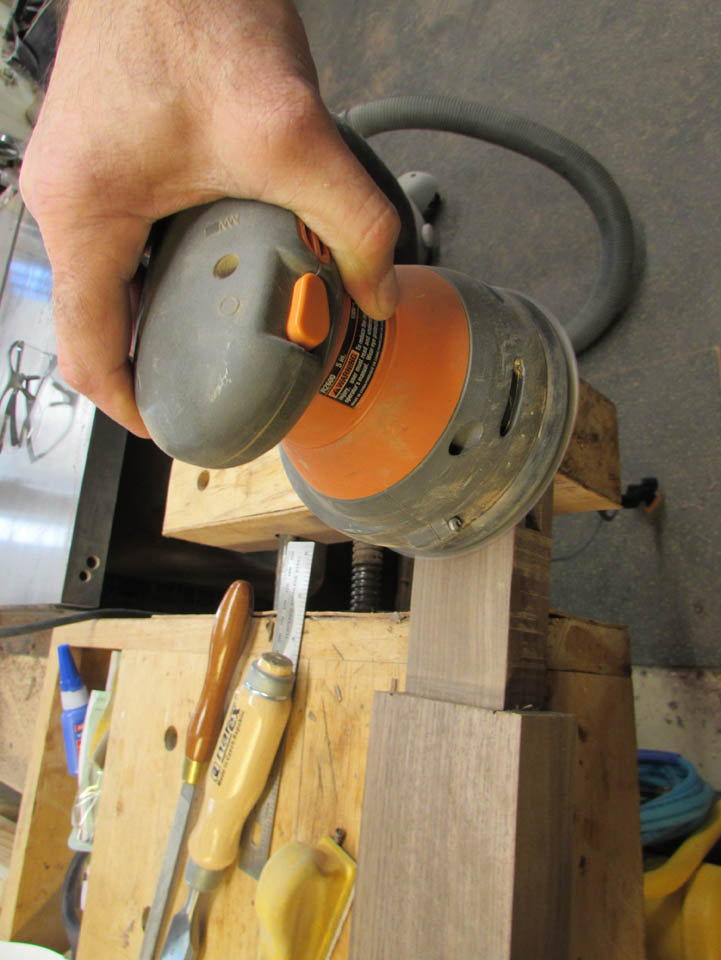
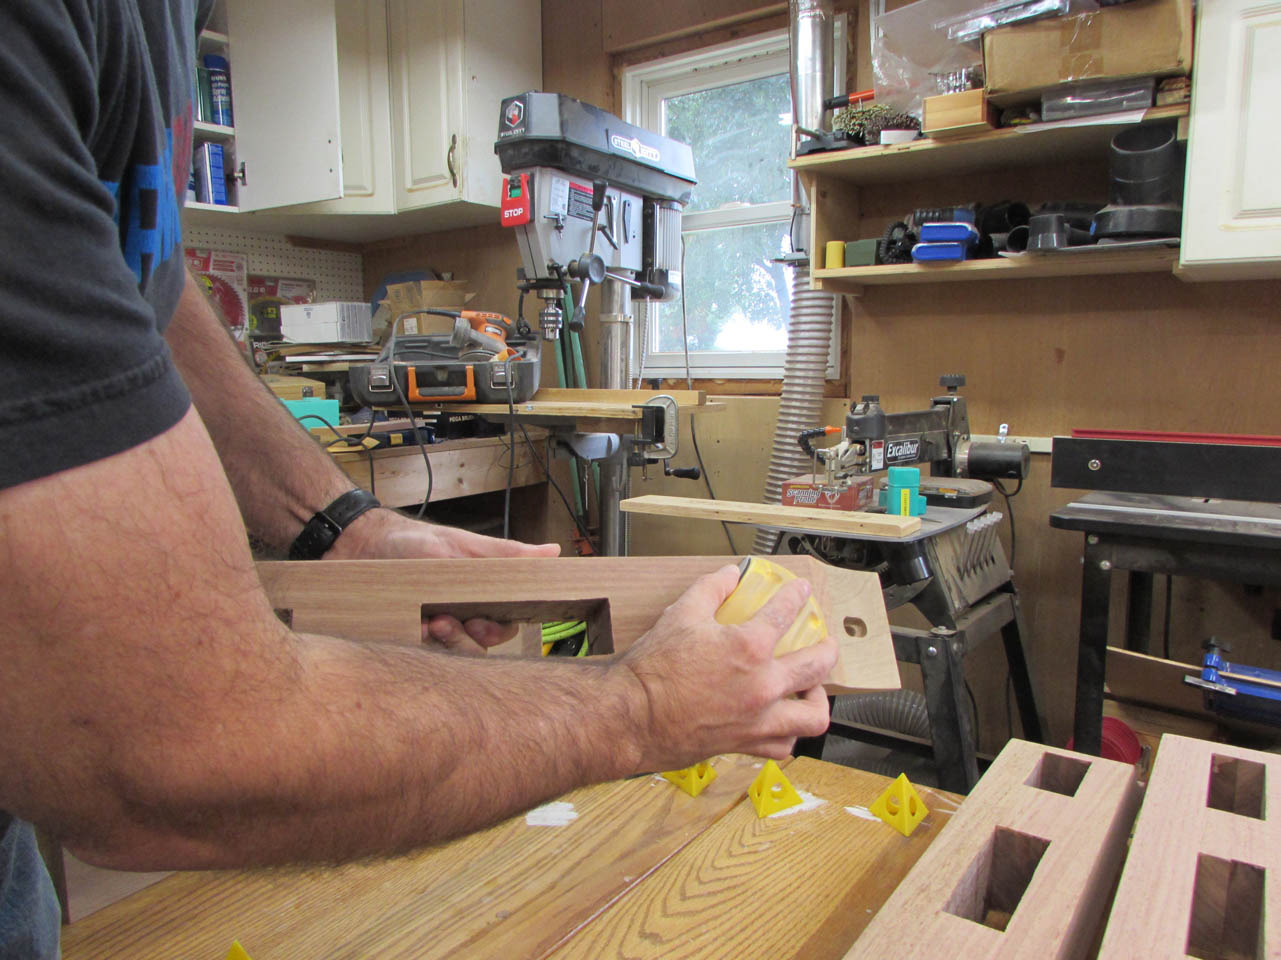
Now it was time to sand everything.

I used a small hand sander to break all of the sharp edges. This is better for the finish, and less painful if you bump into a corner. The planed edges were razor sharp.

With everything sanded, it was time to start bleaching.
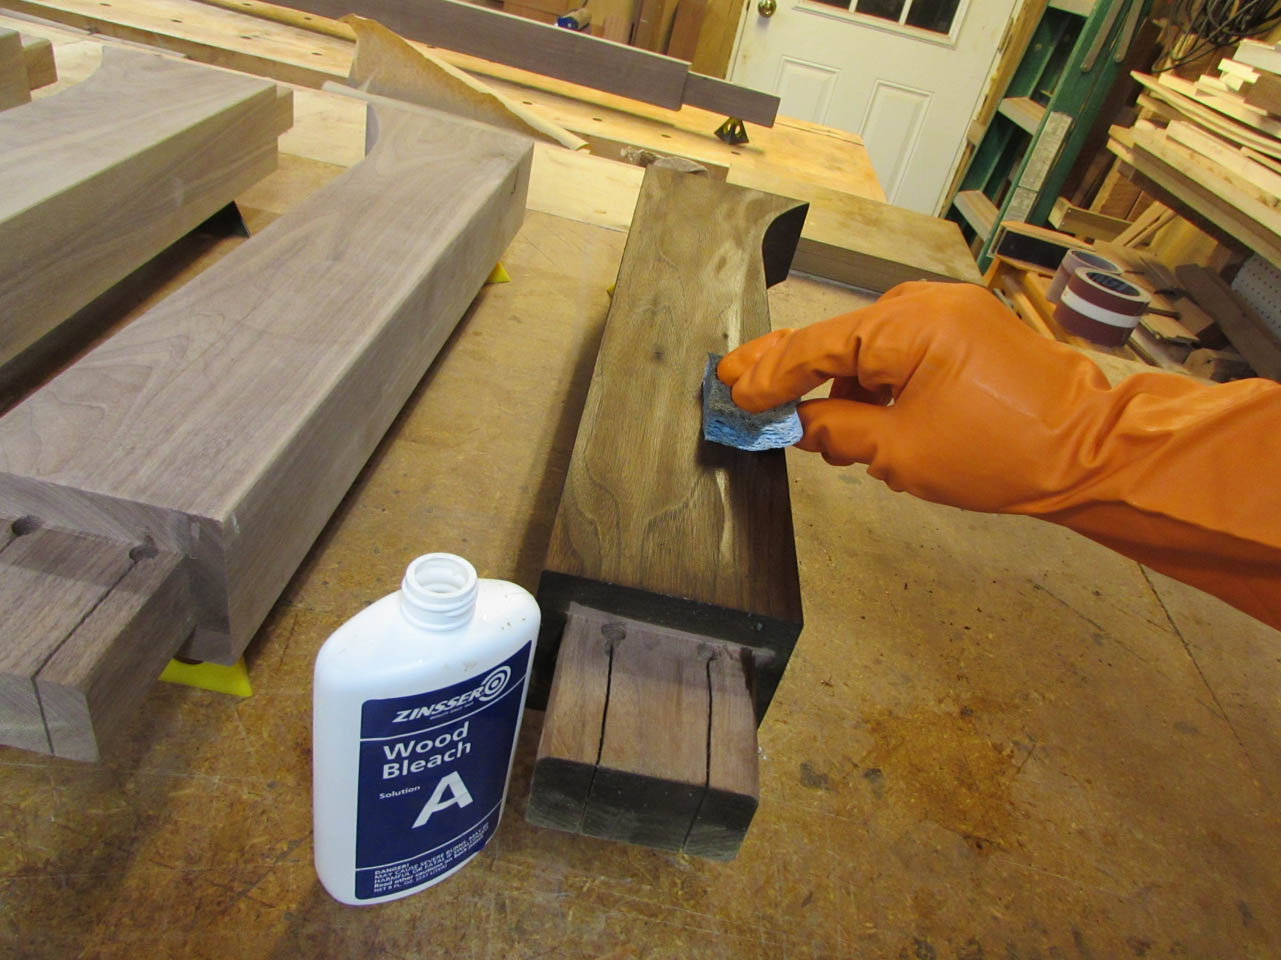
I used up all of my bleach on the table top so I bought another couple of bottles of wood bleach.

I applied part “A” to about half of my components. This took about 10 minutes, then I wiped them down with part “B”. You are only supposed to wait about 5-10 minutes between coats, so I only did a few at a time.


Then I moved on to the second batch, repeating the process.


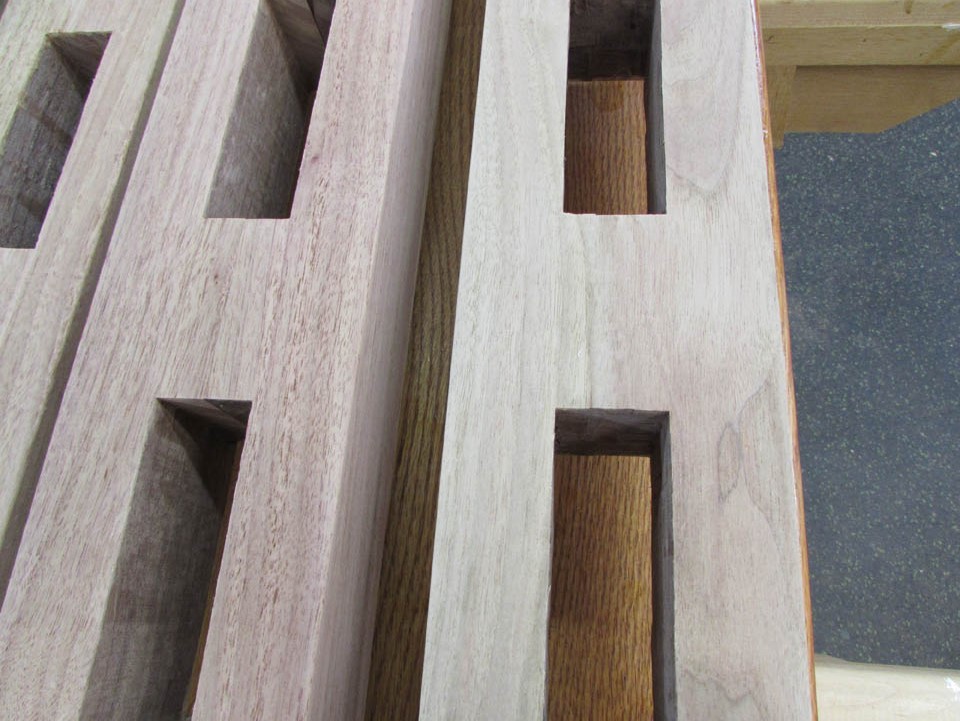
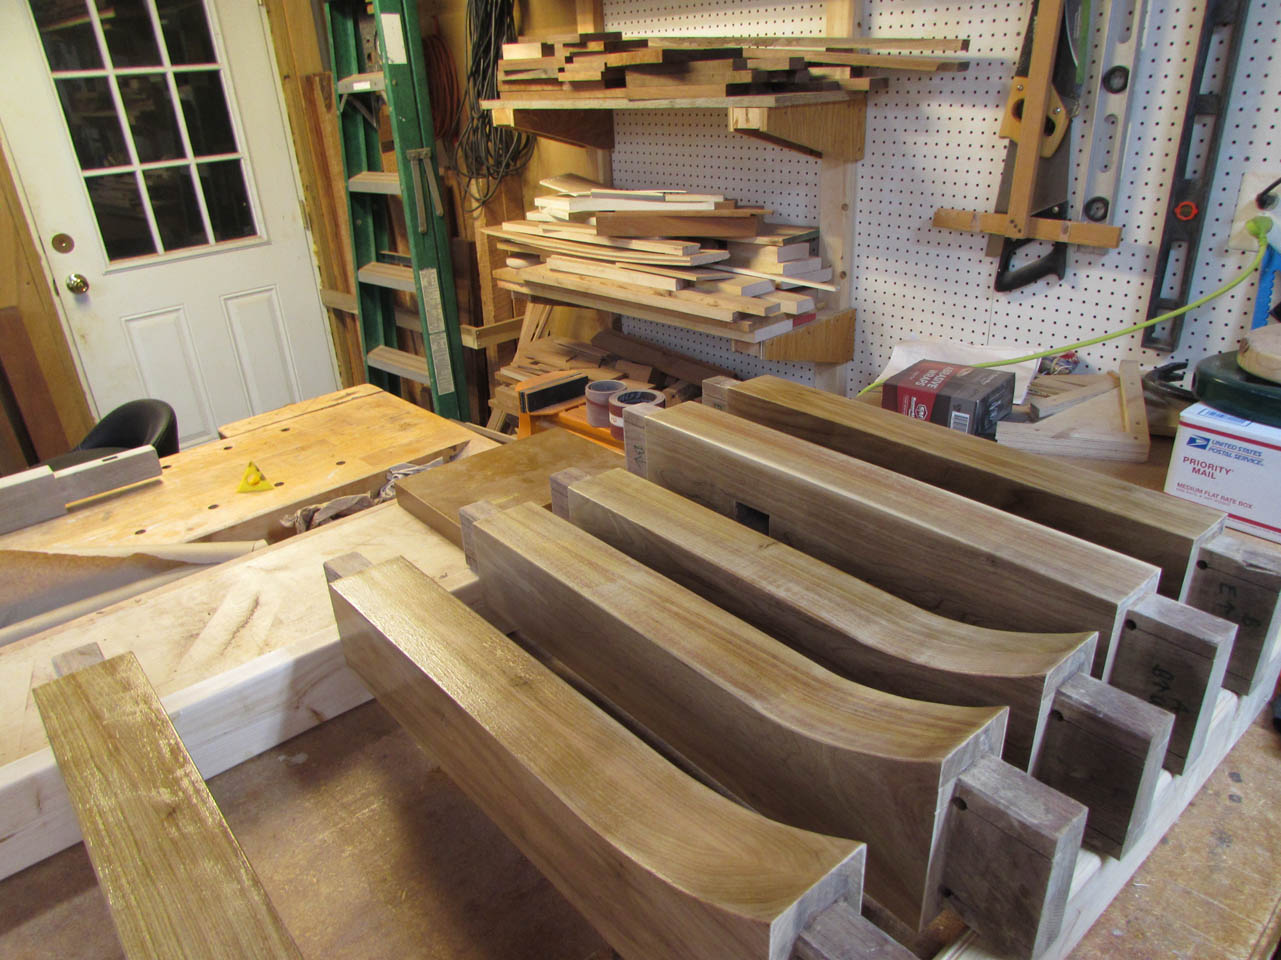
This next shot really shows you the contrast between the bleached and unbleached wood.


After the bleach had dried, you can really see a tonal difference between the pieces.
I decided to apply a second coat of bleach, to try to bring the colors a little closer. Before I did, I sanded down all of the pieces with 220 grit paper. The bleach is water-based and it really raises the grain.


I let them dry for several hours, then thoroughly sanded them down again.

Then it was time to start pre-finishing the pieces, being careful not to get finish onto any of the mortise or tenons before the glue-up.
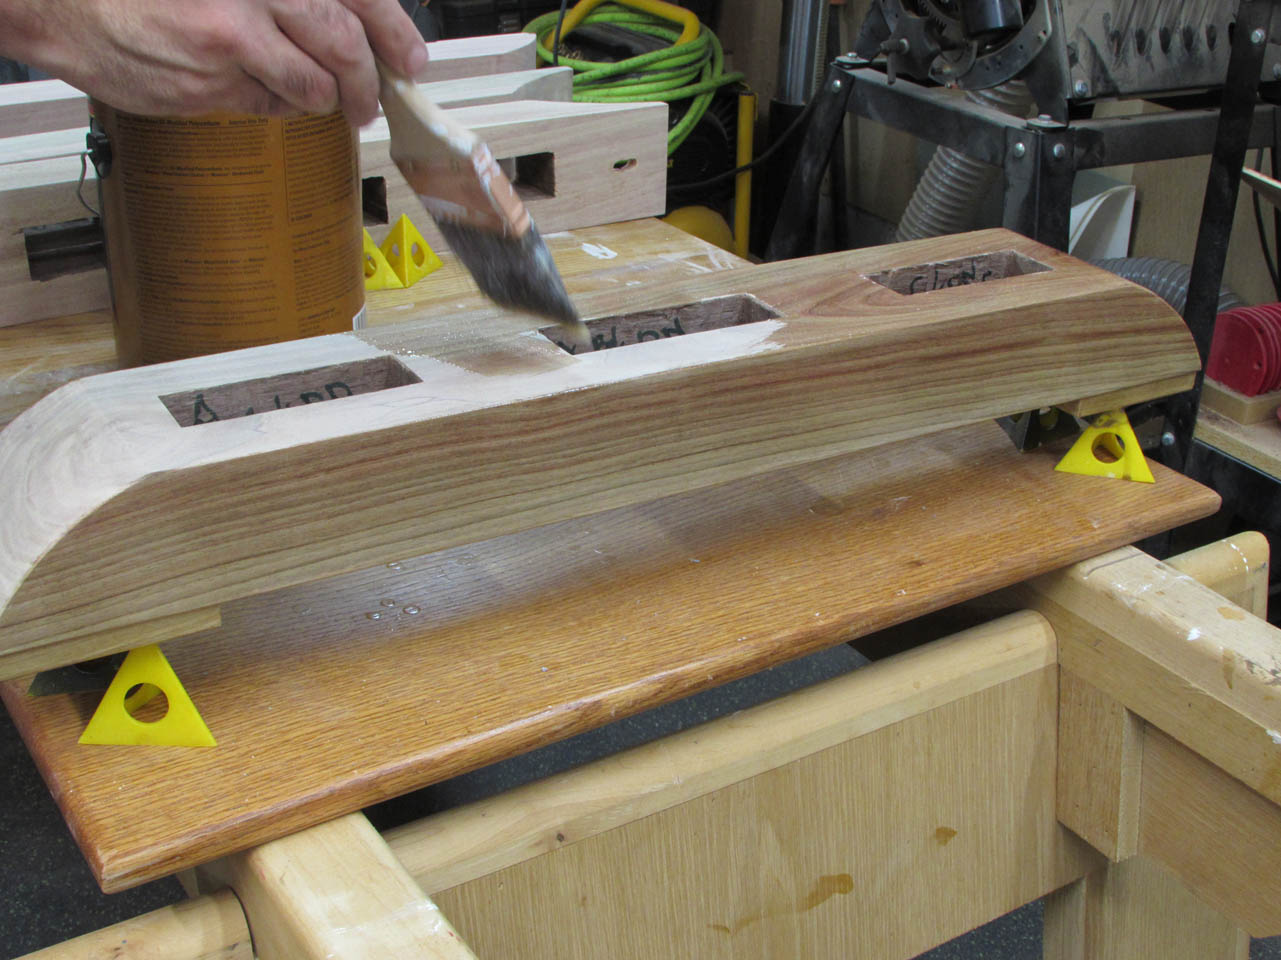

I used the oil-infused poly to try and bring the coloring together by darkening the wood slightly. It is wood though, every single piece is different.

I ended the weekend after the first coat of poly was applied.

I will sand that back and apply a second coat some time this week, then I can do the final glue-up.
