
St. Kilian chapel – Deacon’s chair – part 1
I am heading up to New York, next week, to deliver the chair and the ambo. I got an additional request for a Deacon’s chair to go with the Pastor’s chair so I am putting in a long couple of days to get that piece done in time to deliver as well. This is the plan that I came up with to match the chair: DEACON-PARTS.pdf

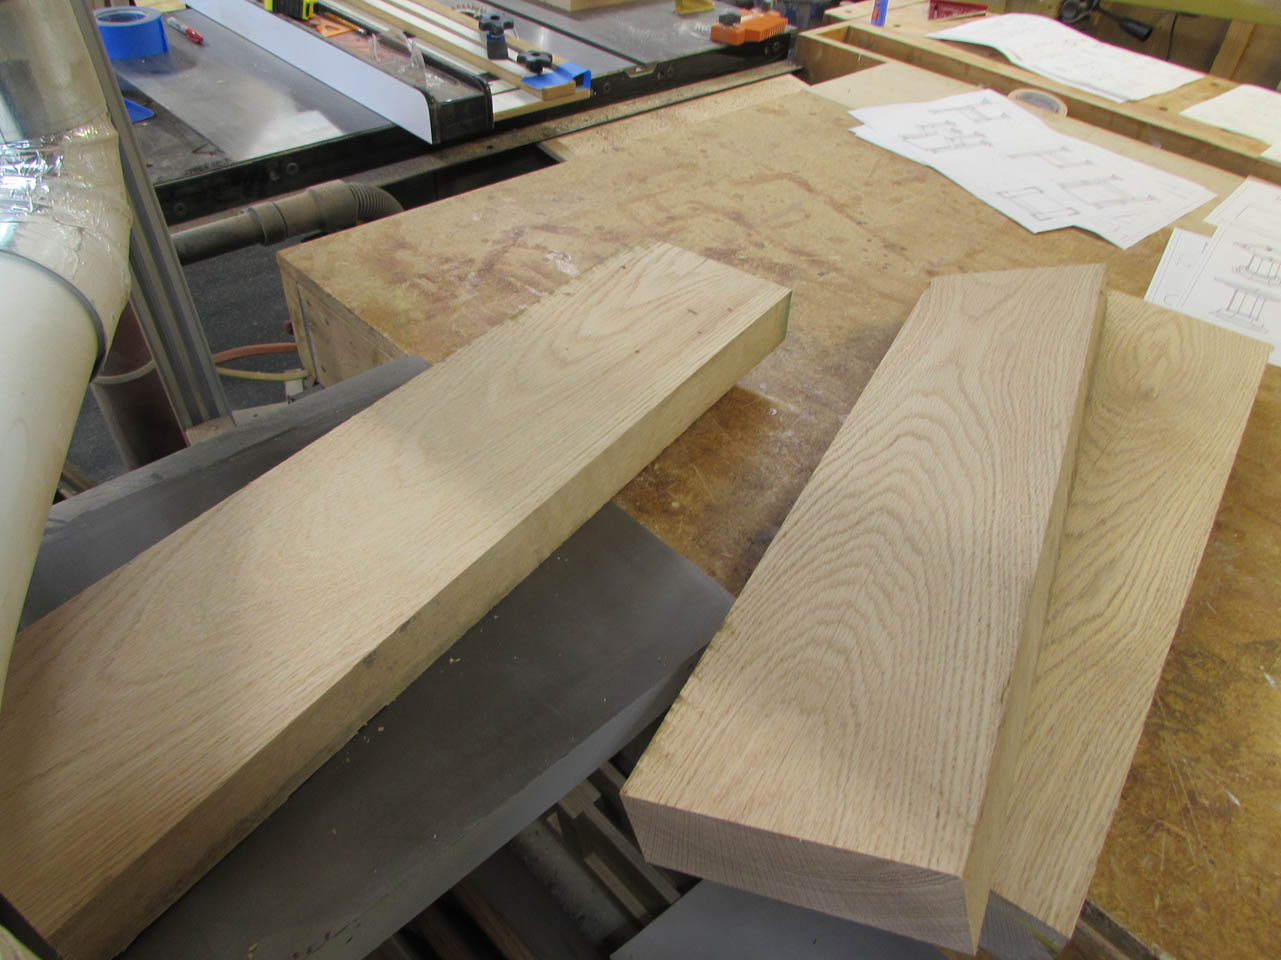
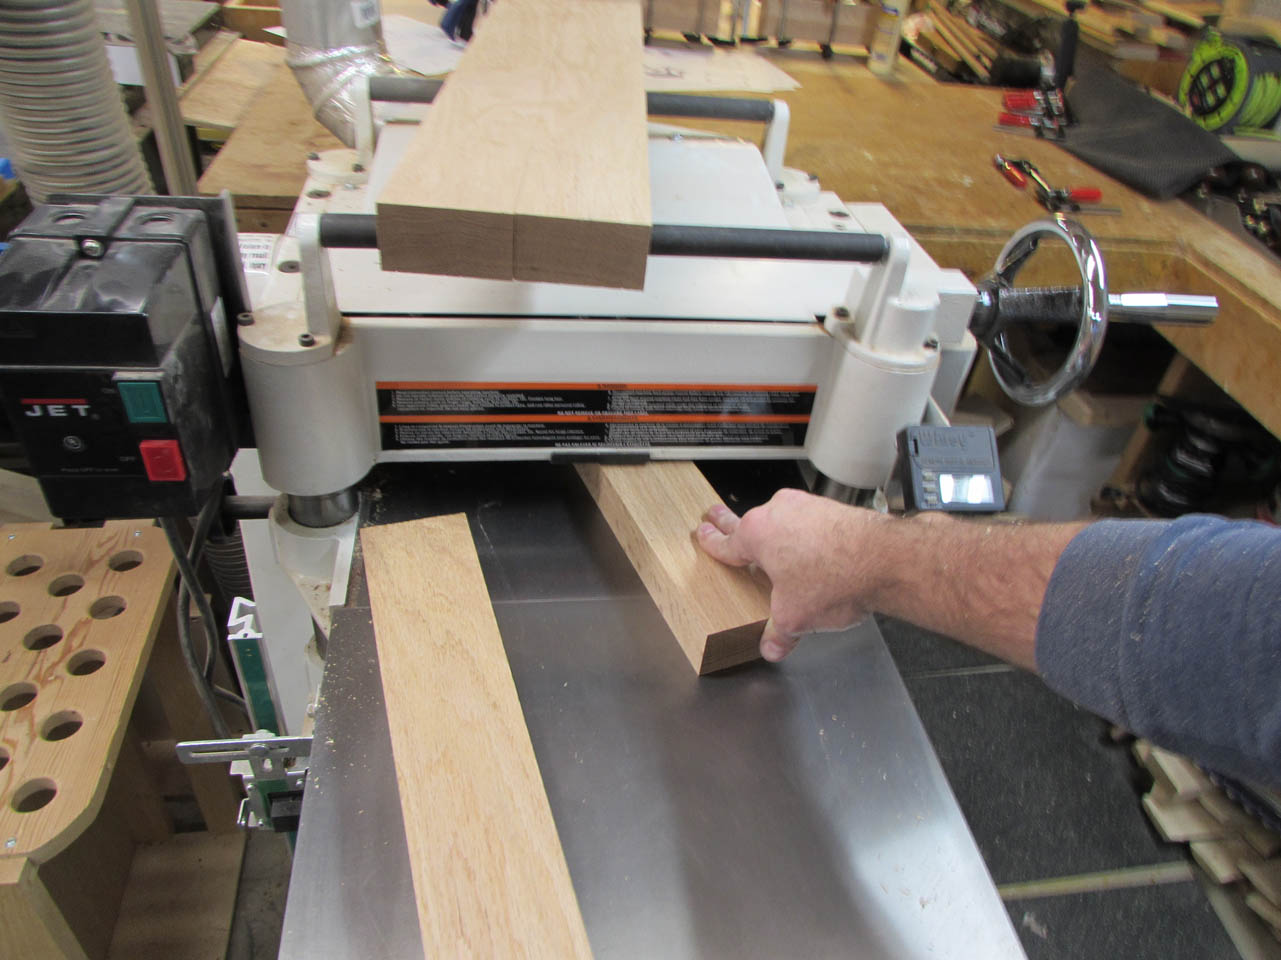
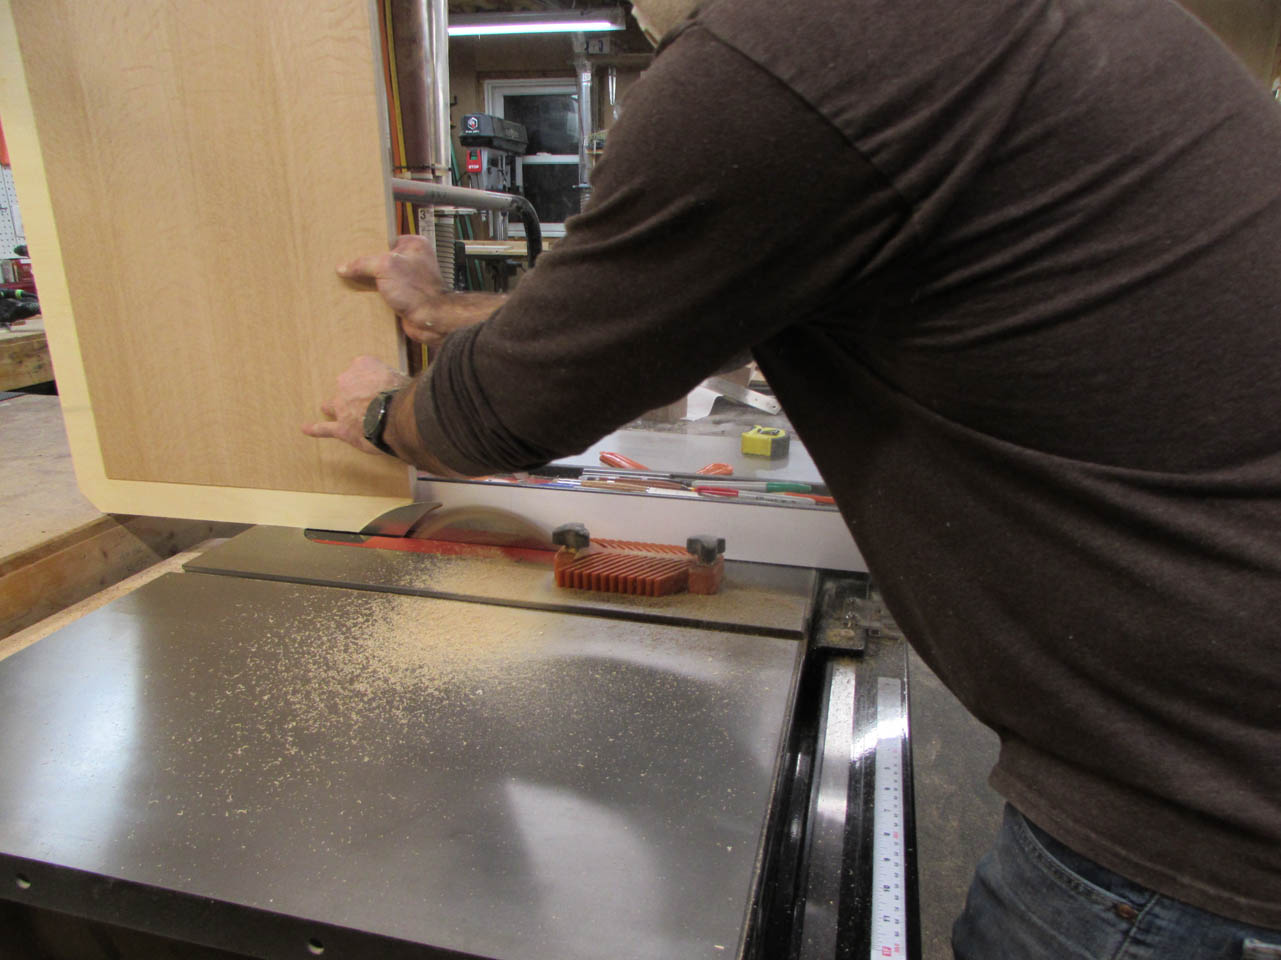
I started by cutting the 8/4 stock to create the legs.


They were cut to small enough pieces to get one leg each, then planed and jointed.


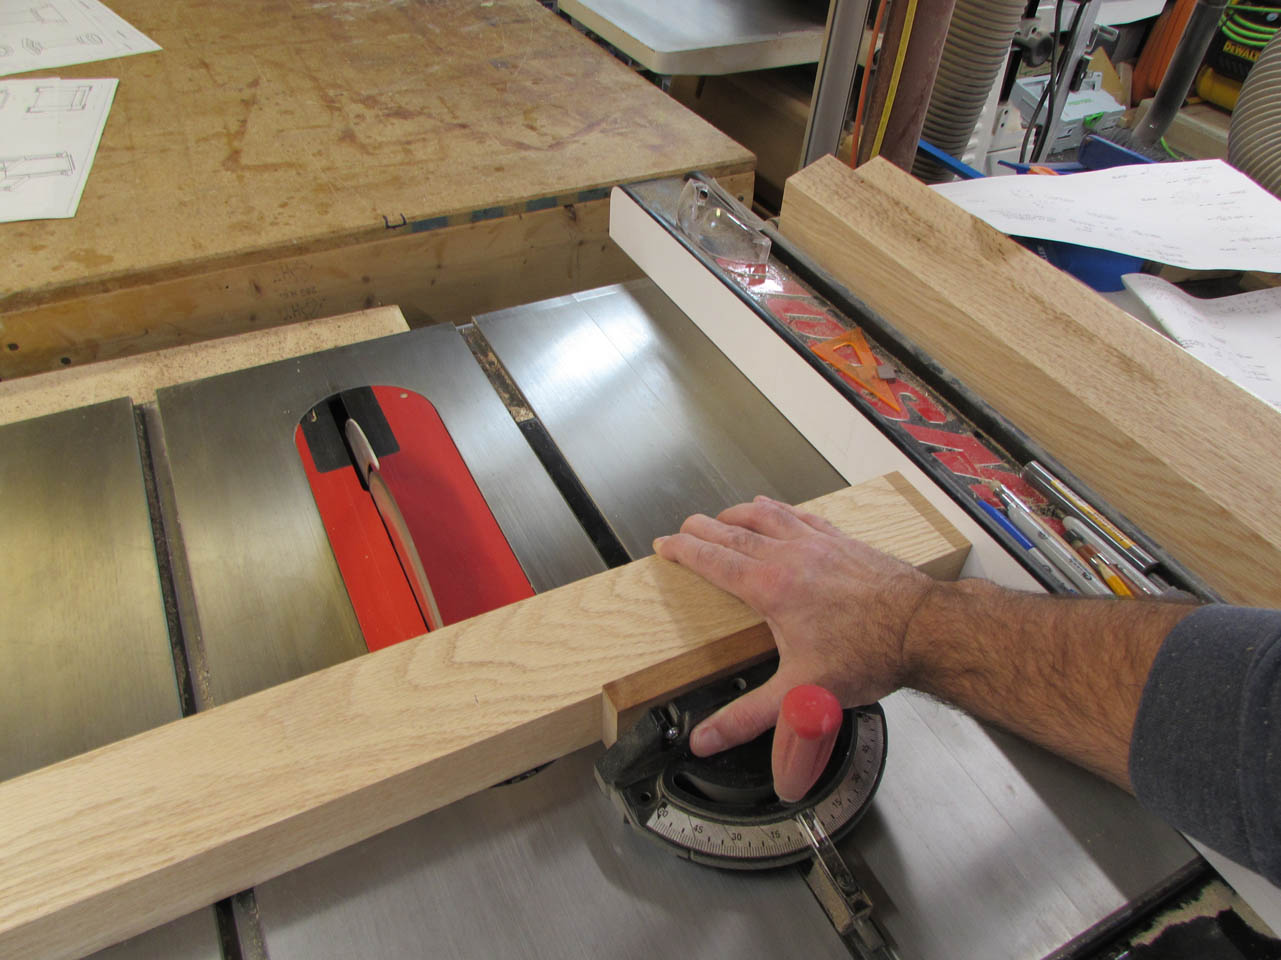
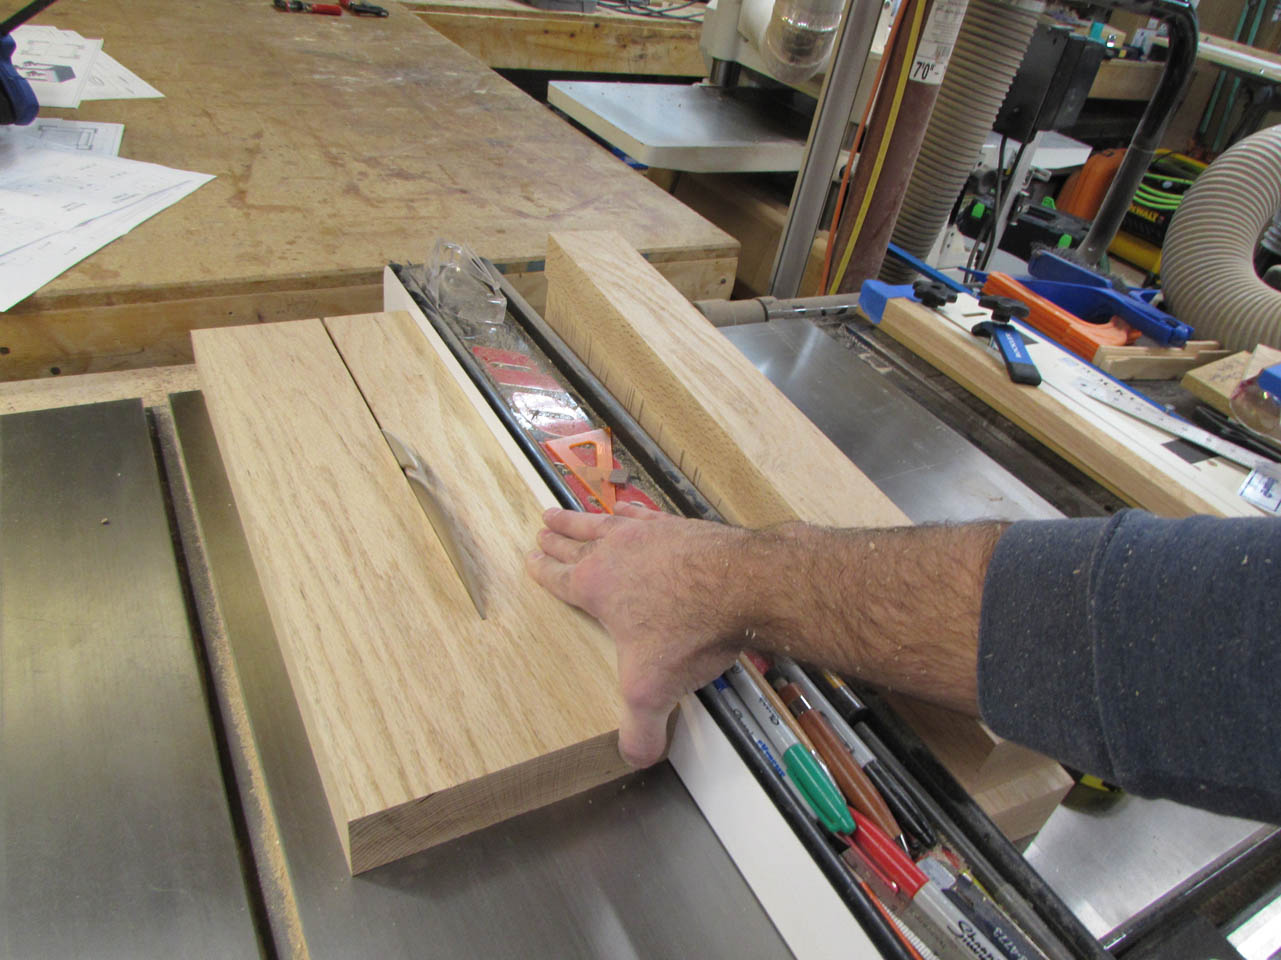
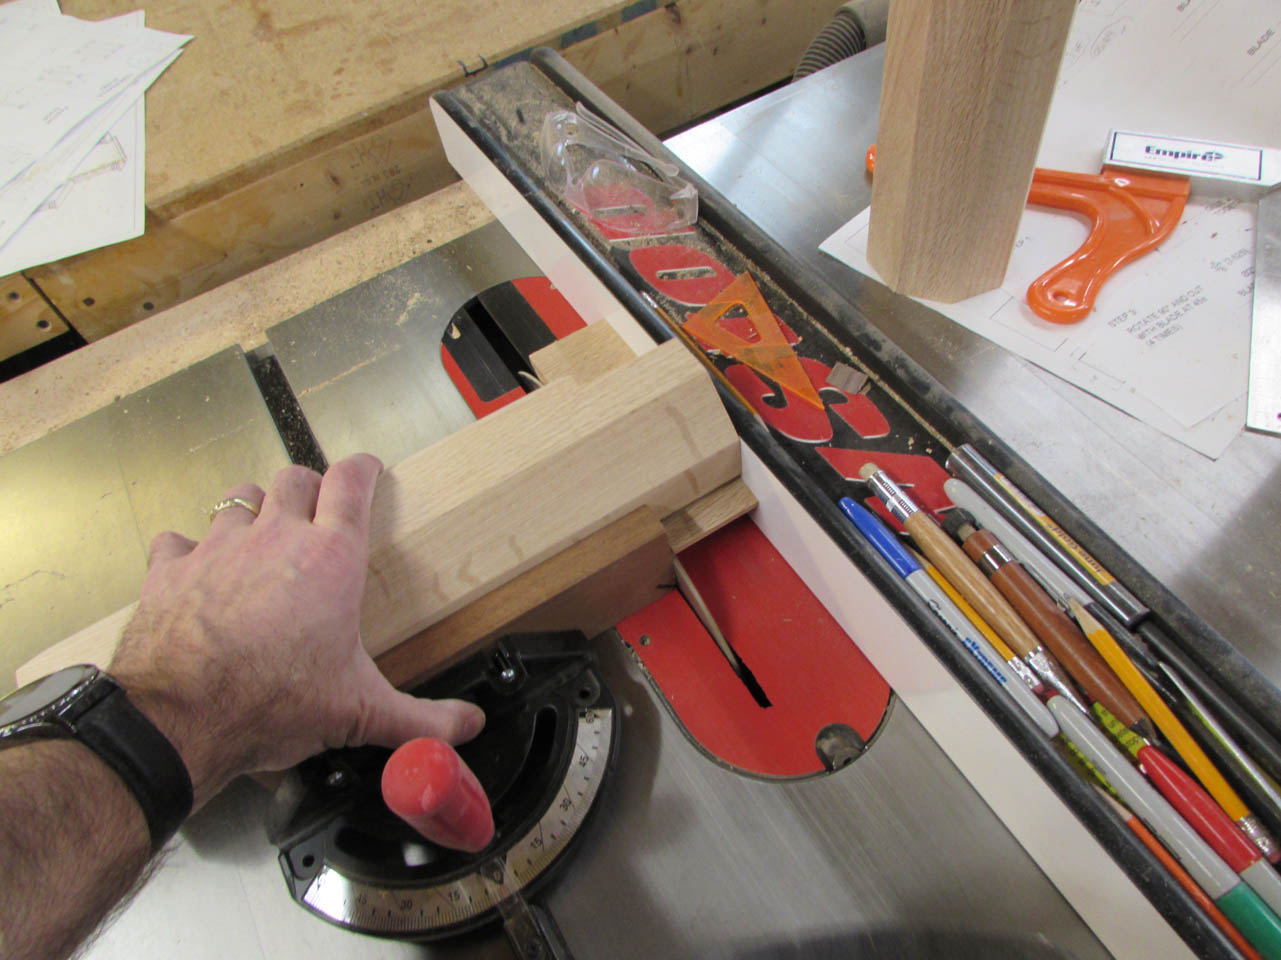
I set the table saw blade to 67.5° then made the first cut to get the width of the leg, then set the blade back to 90° and cut the legs to the proper length.
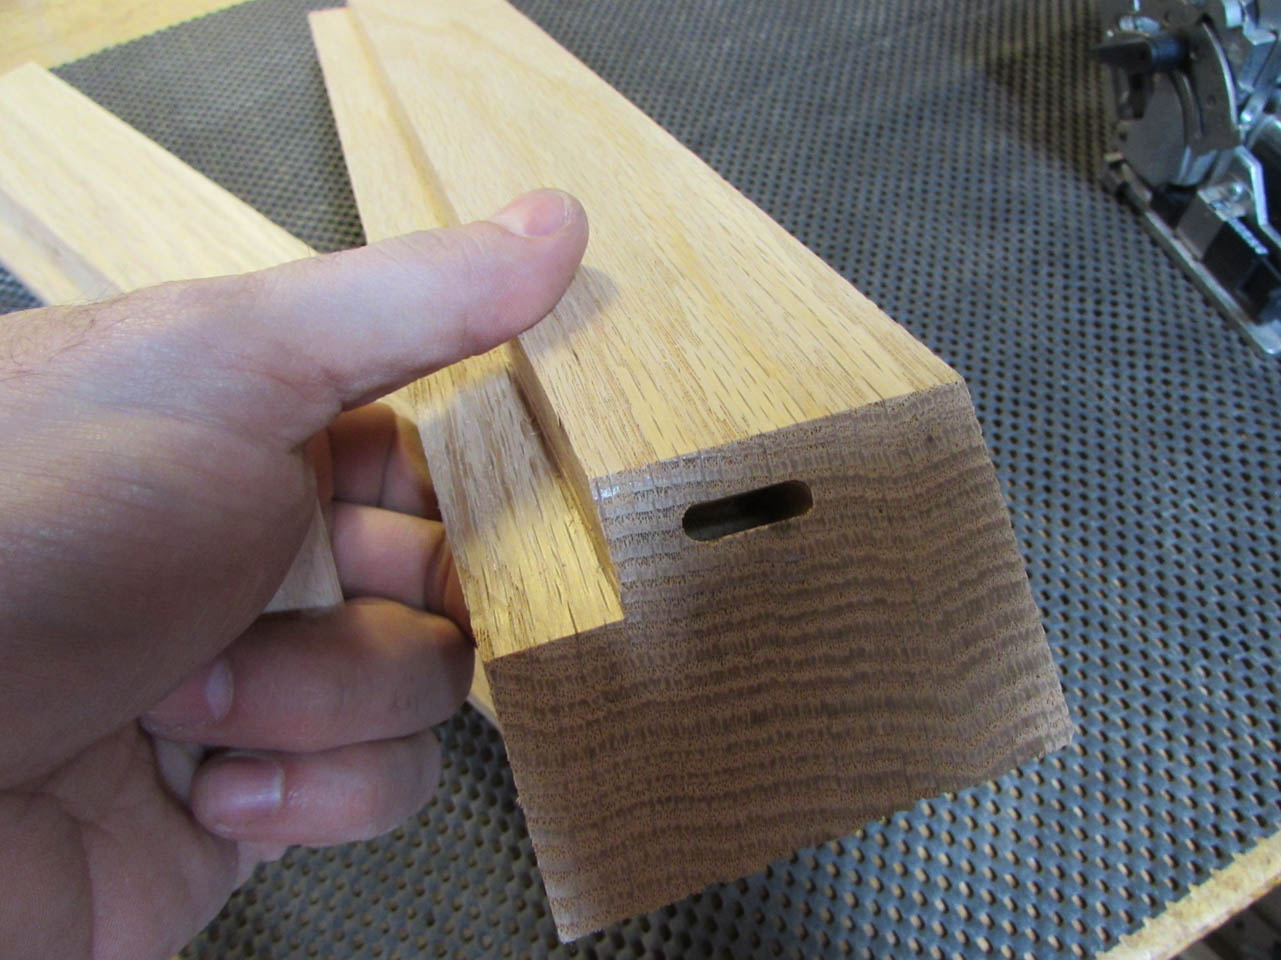
I marked both halves to keep the two pieces from the same board together. This insures a color and grain match for the leg. Then I marked a rough location of the core box cut from the center. I am leaving the top 4″ solid so I have material to attach to the seat later.
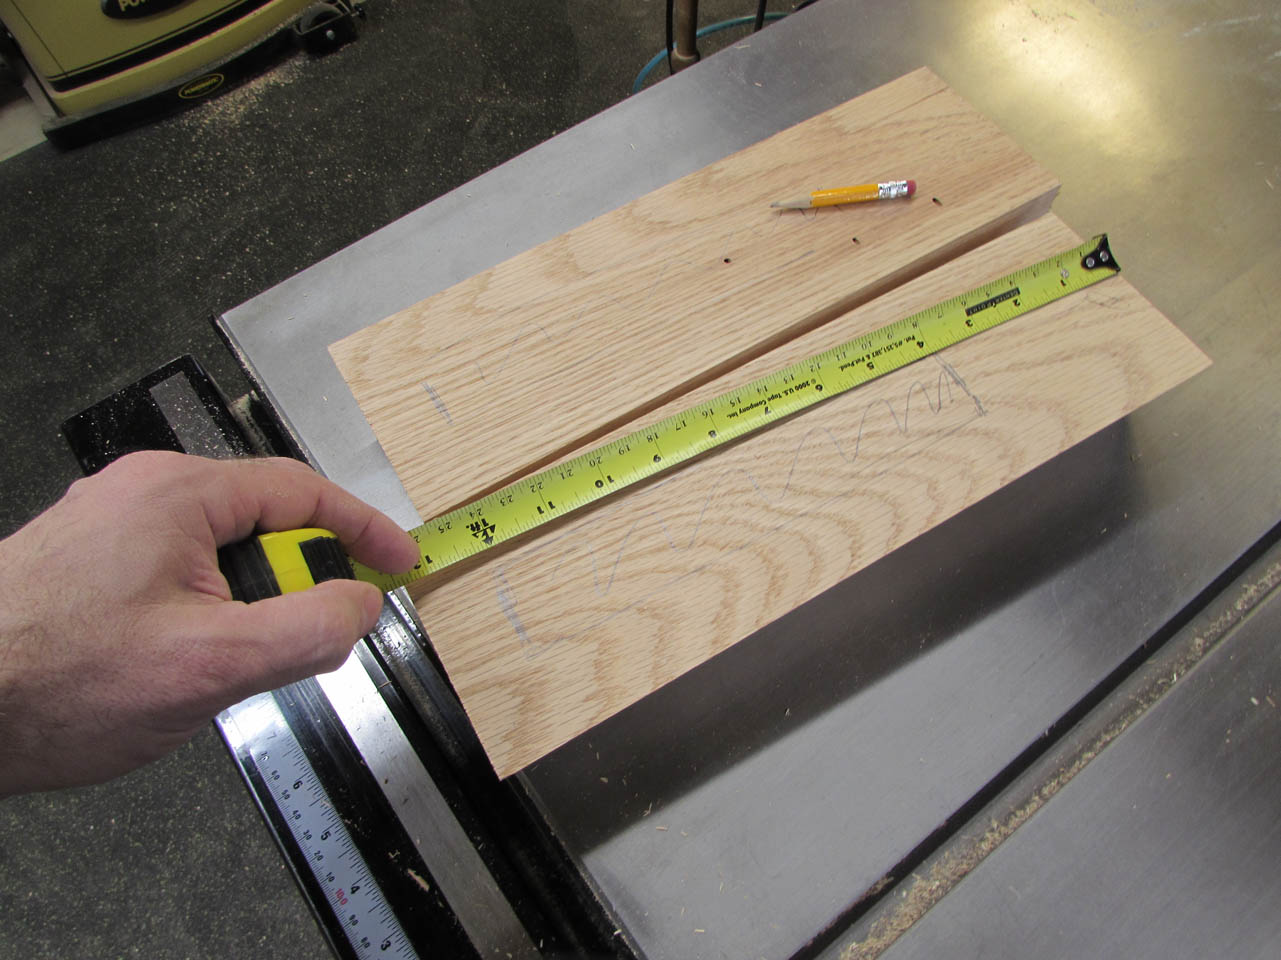
One of the pieces has some cracking at one end so I made sure to leave that at the top and it will be cut away later.

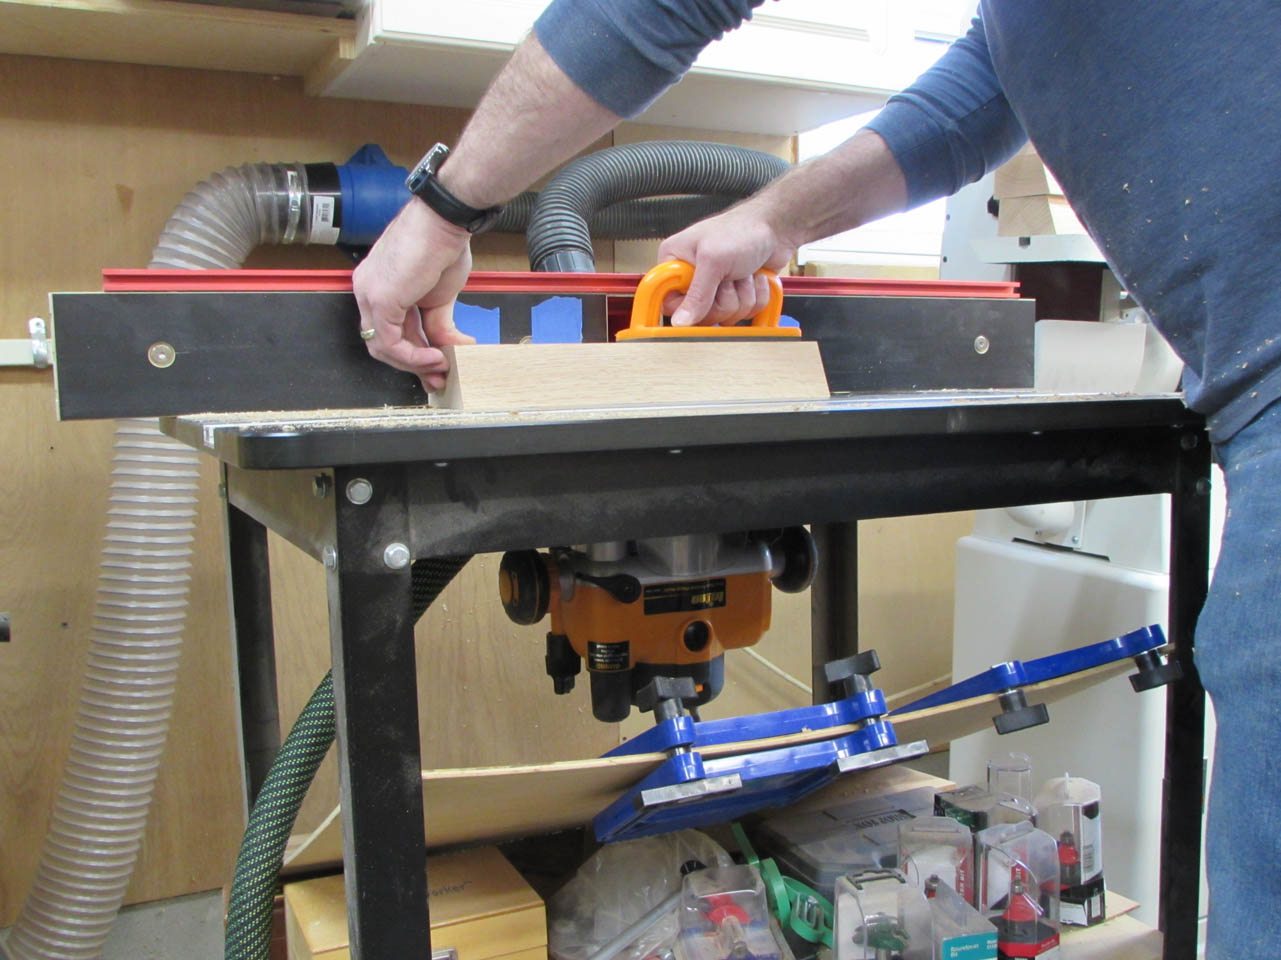
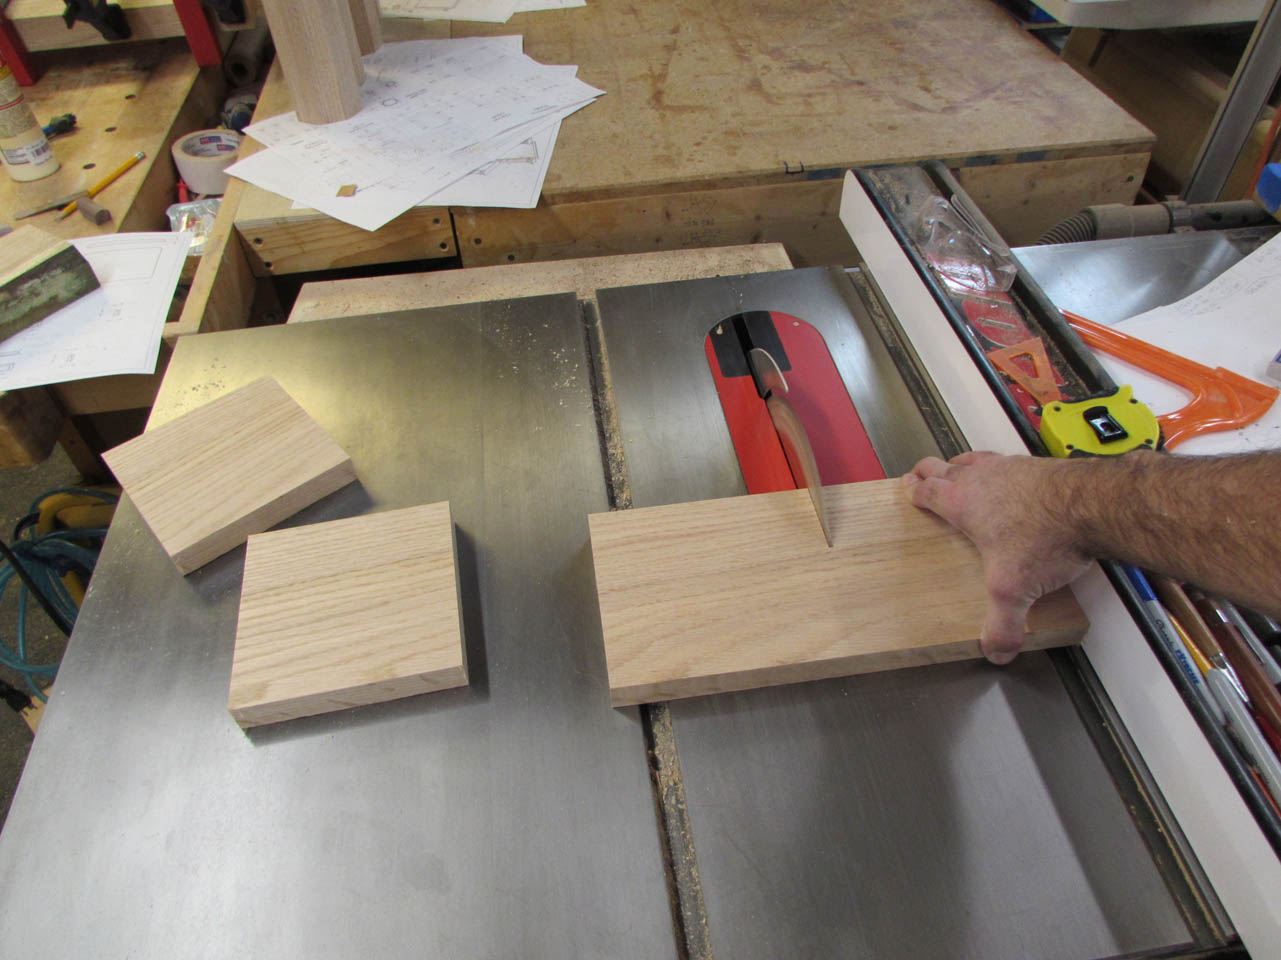
I set up the core box bit to half the height of the total cut and placed additional tape markers for my start and stop cut points.


It feels a little scary dropping the short board onto that large spinning blade, but I held it tightly and was very careful running the cut.

After the first pass, I raised the bit to the full 1″ depth and made the same cut again.


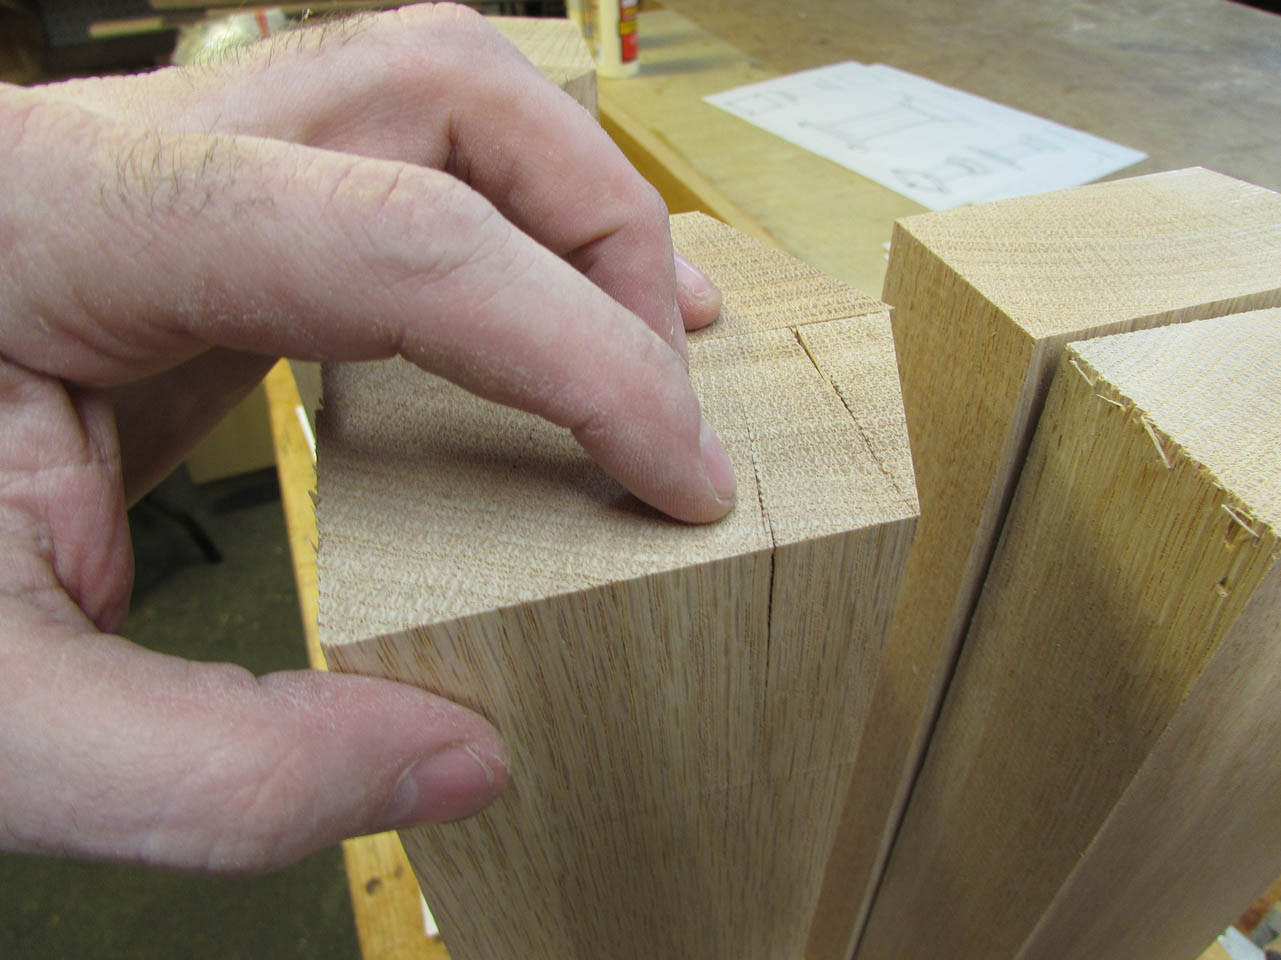
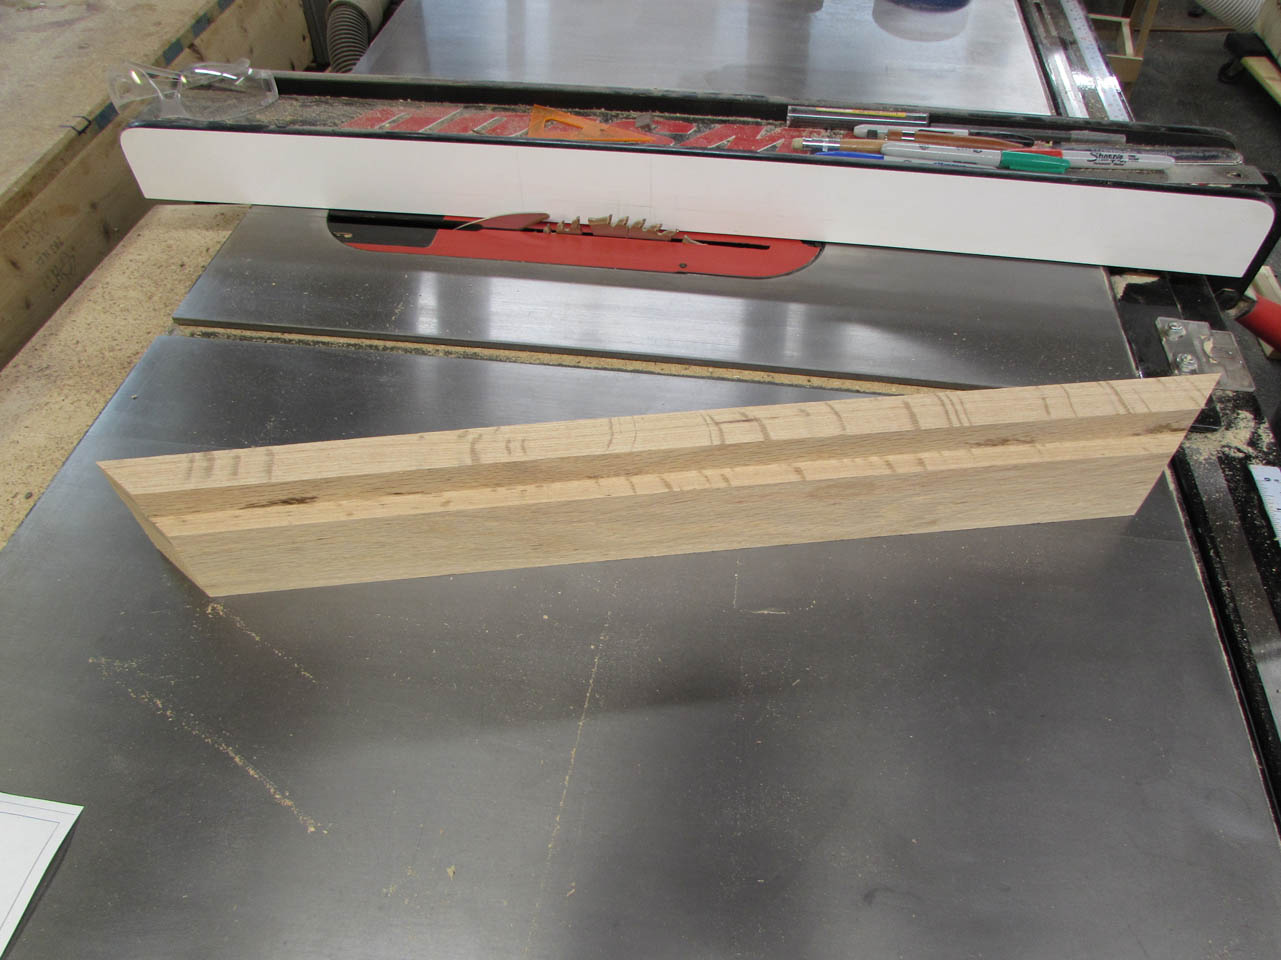
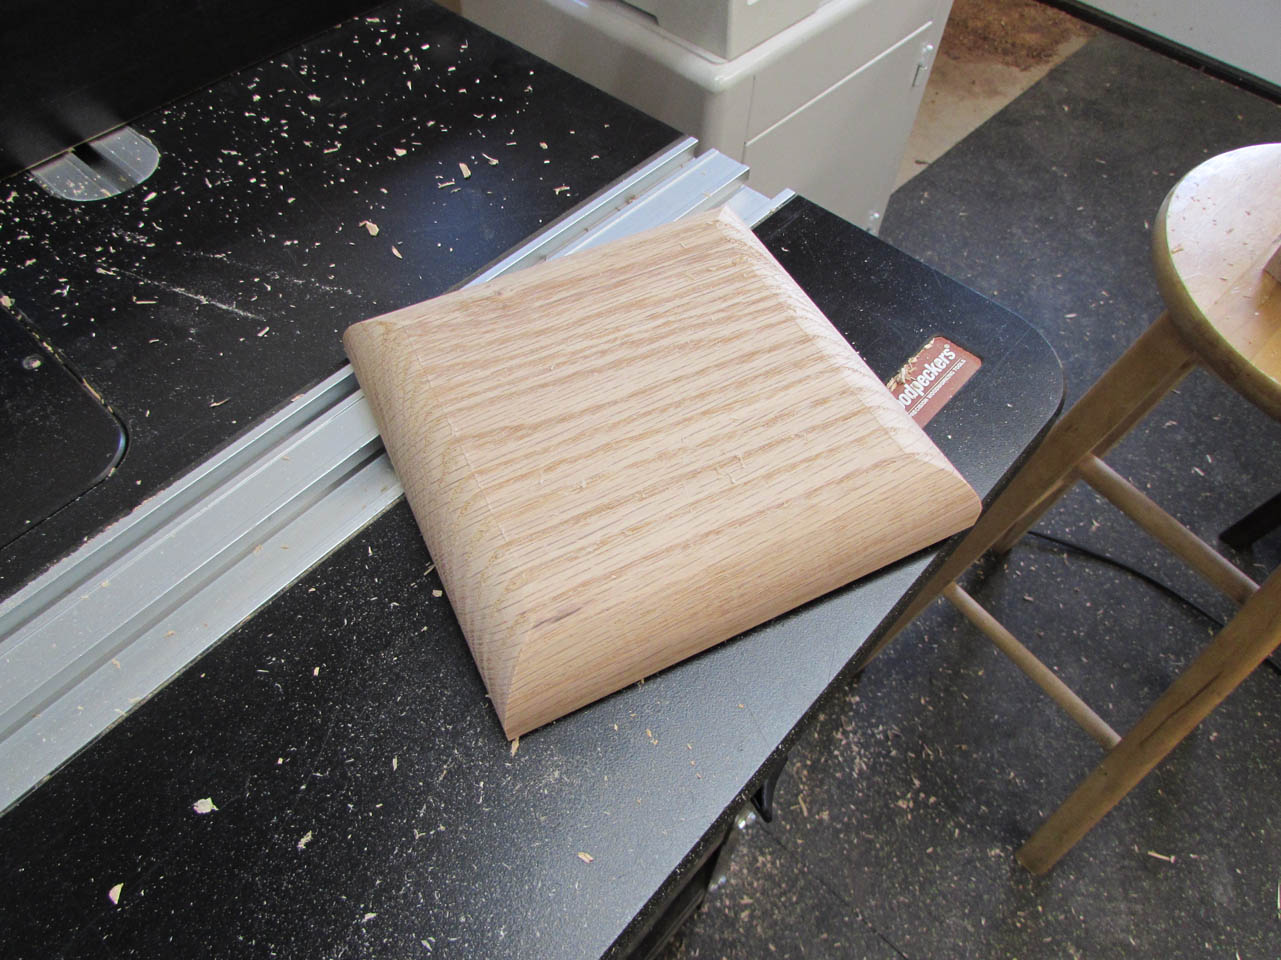
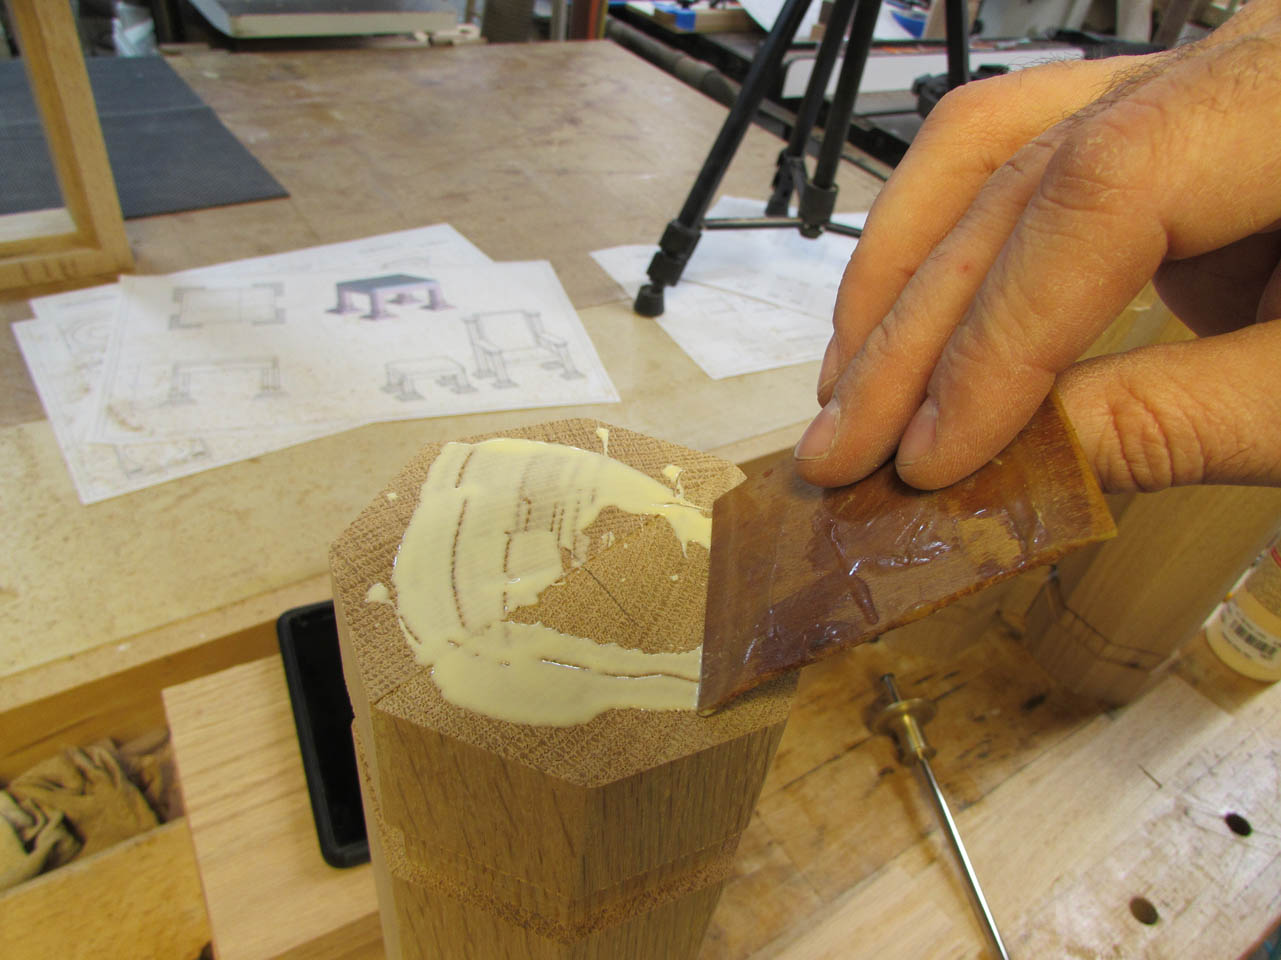
With all the cores cut, I can now start applying glue.


I was careful to keep the edges and back as aligned as possible to prevent having to cut anything down further after everything was dry.


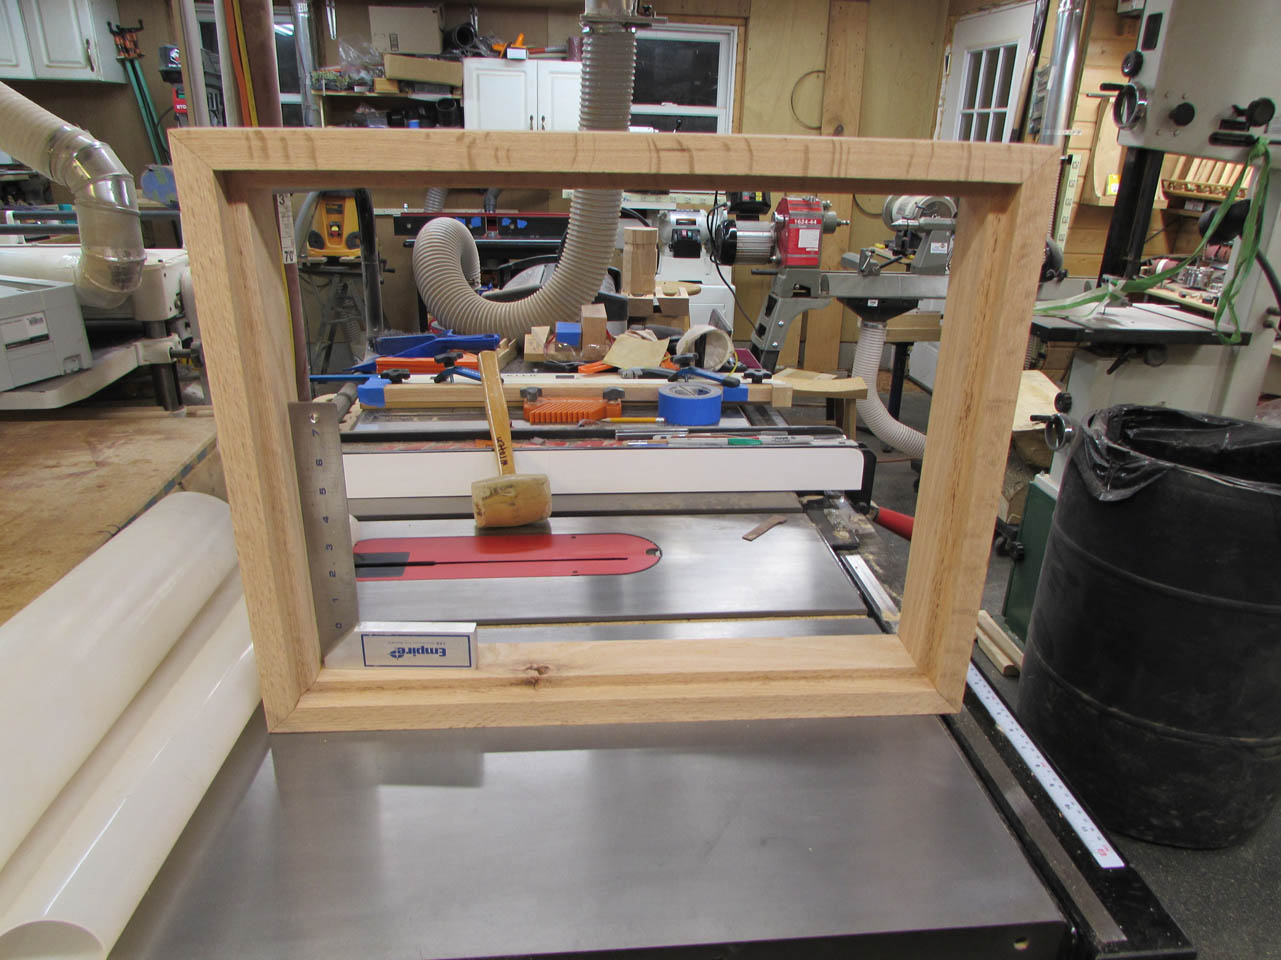
While that was drying, I grabbed some 6/4″ stock and started cutting out the top frame.

I got everything planed down th the correct width and thickness, leaving the parts a bit long for now.
Then I cut the notch that will eventually receive the top plywood piece.


Using my smaller, more accurate chop saw, I carefully cut the 45° angles for the ends.

After a quick dry-fit, I got out my Domino and set it to cut at a 45° angle.

I decided to use one at each corner to help strengthen the end-grain joint.


After a test-fit, I applied glue to each end.


Then I clamped it all up and let it dry, making sure that it was square and flat as it dried.
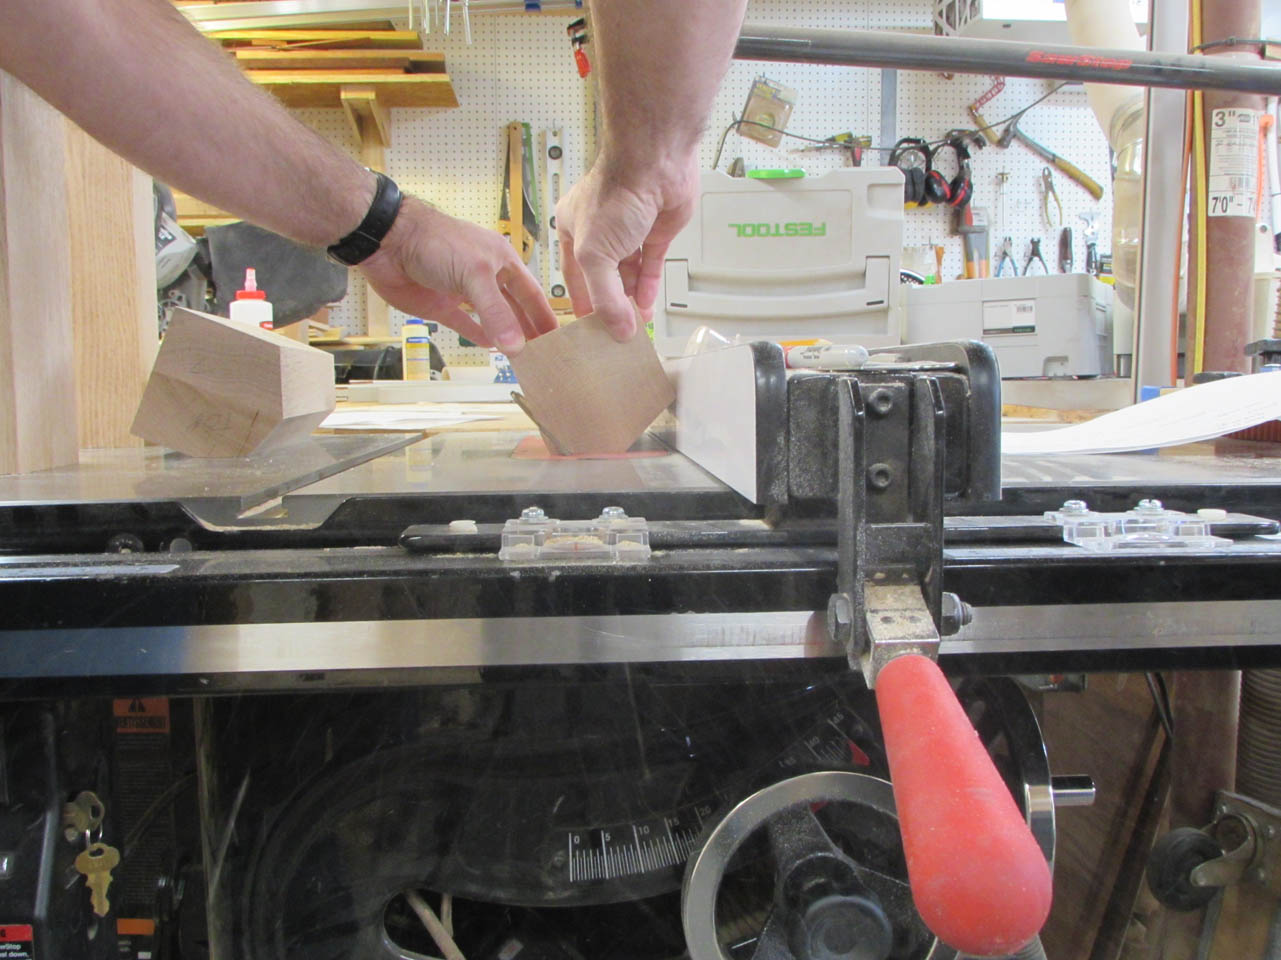
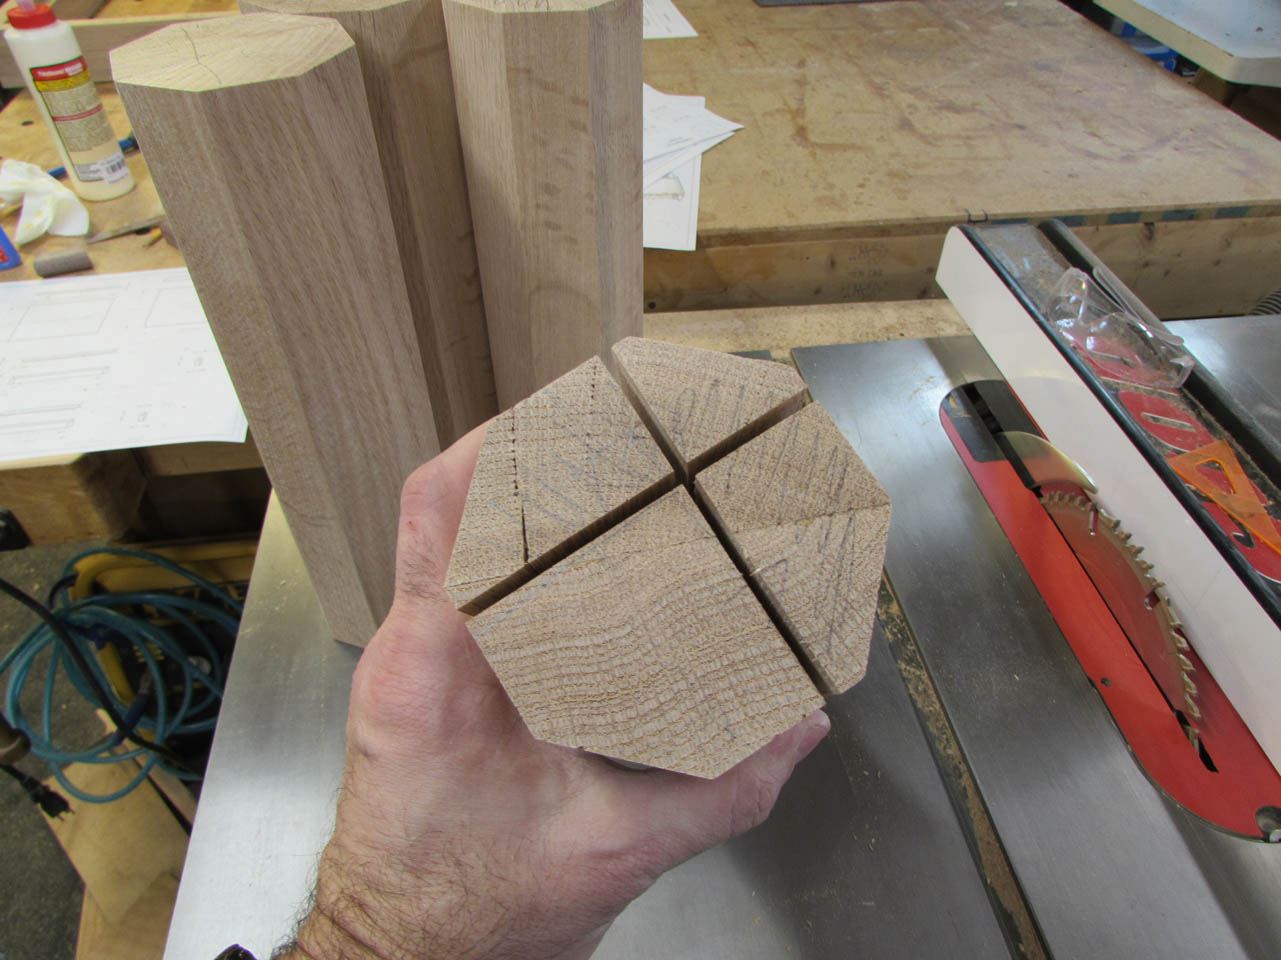
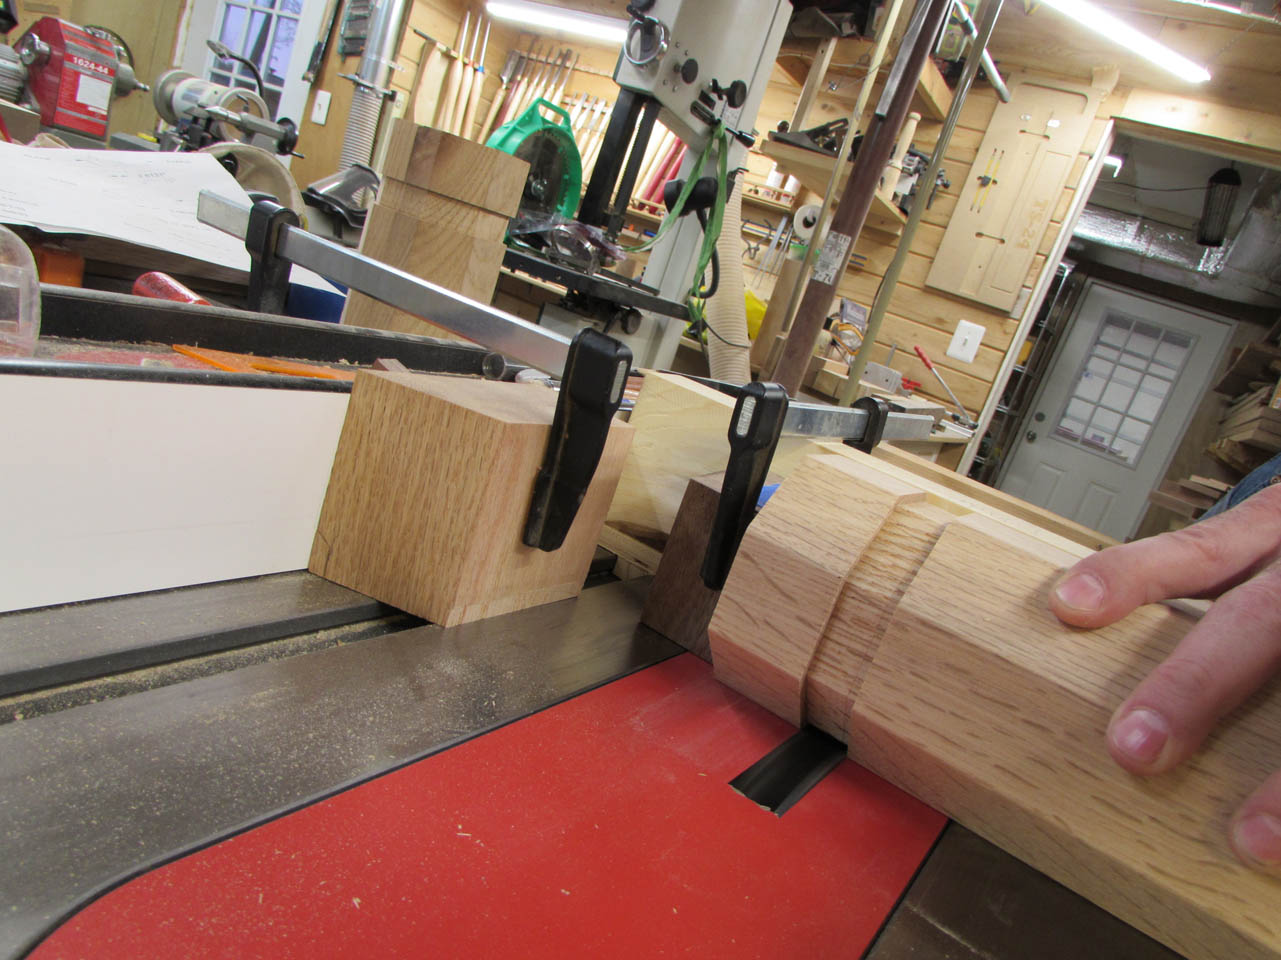
Switching back to the stubby column legs, I set the saw blade to 45° and started cutting the rest of the octagonal sides.

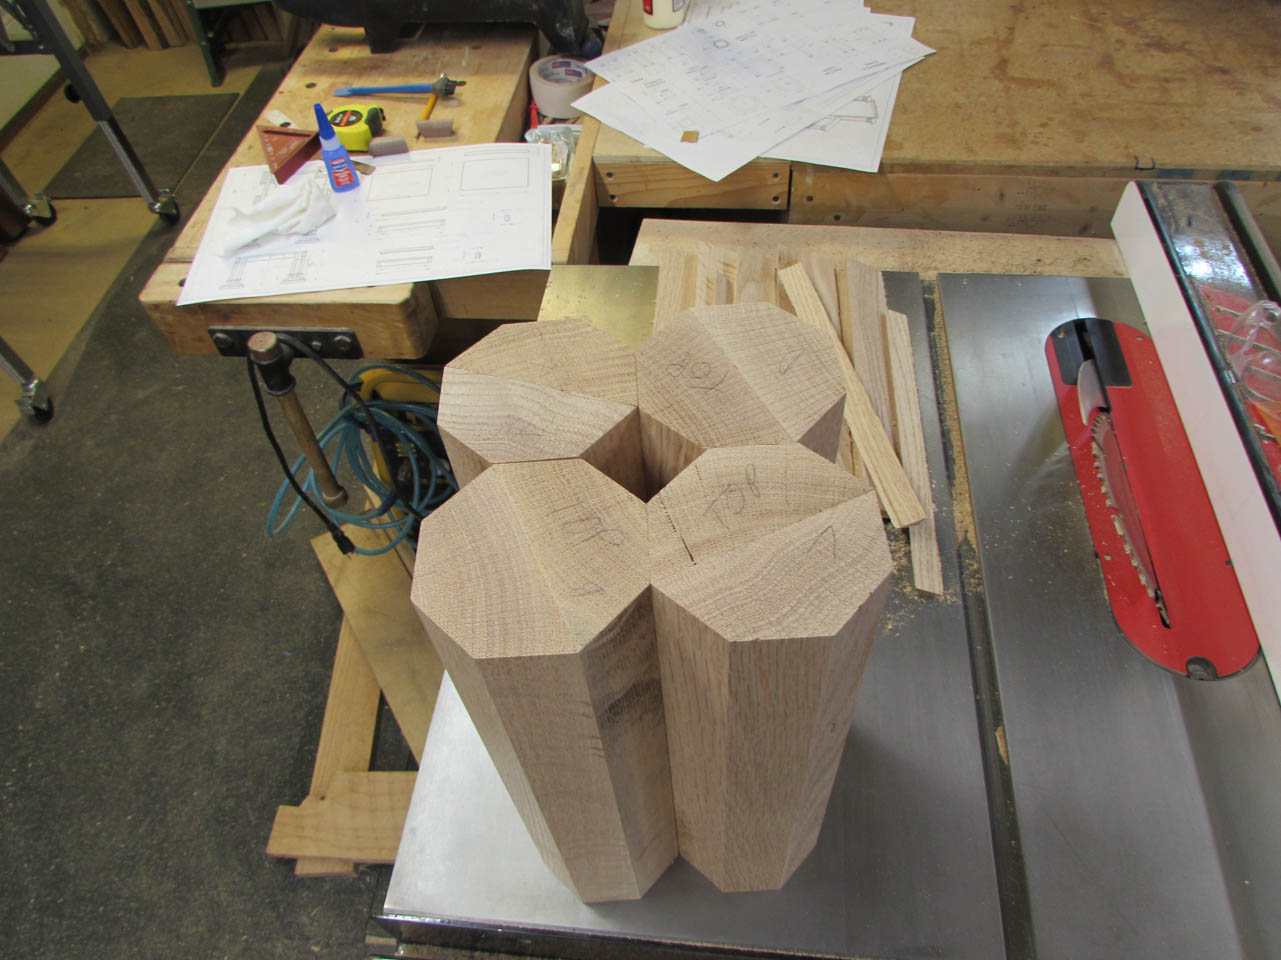
The four columns are cut so I moved on to cutting out the bases for the feet.

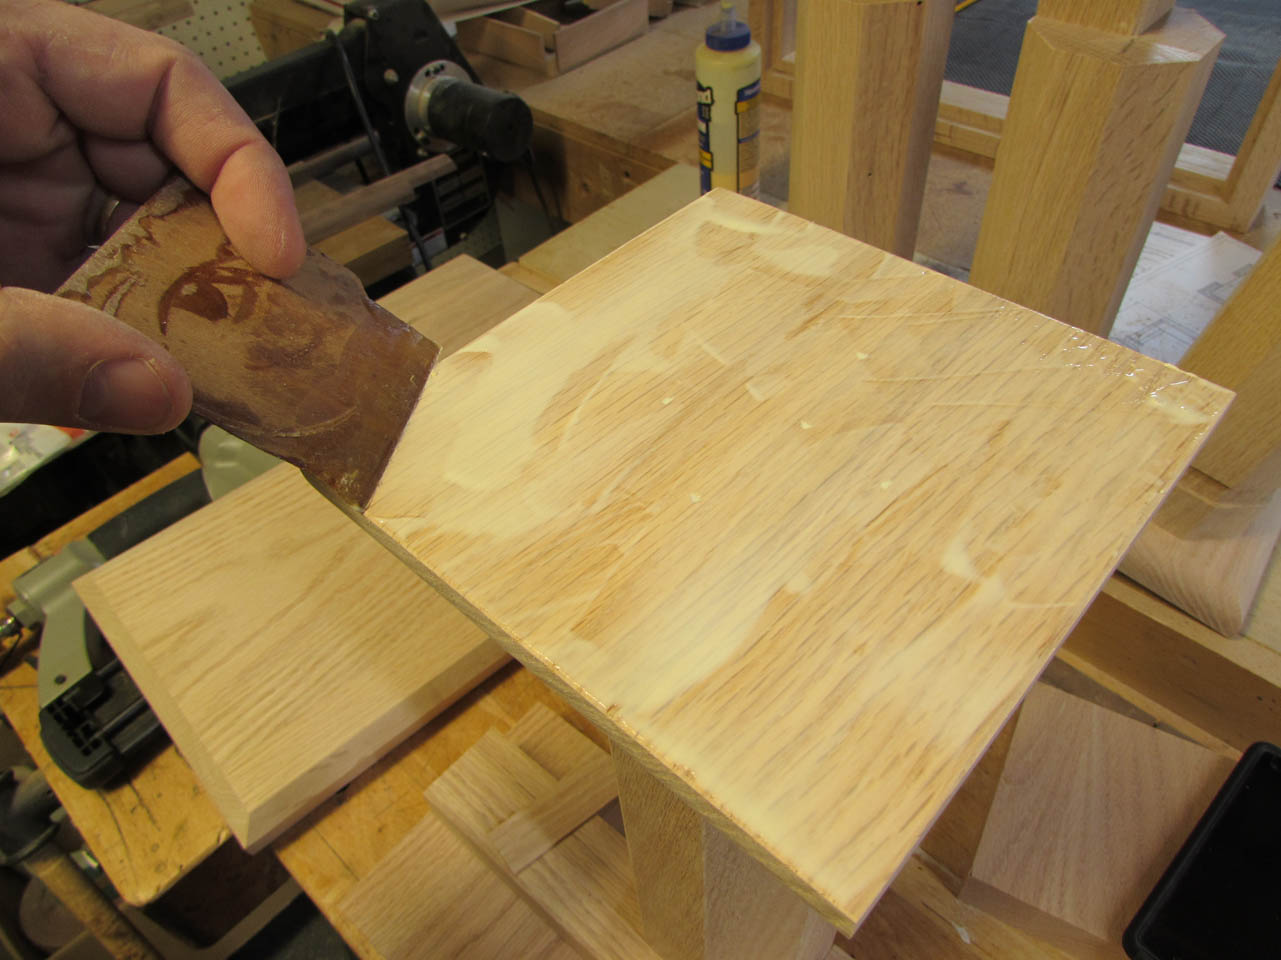
First I cut the 1-1/2″ thick, 8″x8″ base feet and cut the 45° chamfer around the edges.

Then I cut the 1″ thick, 6″x6″ base cap and routed the 3/4″ round-over around the top edge.

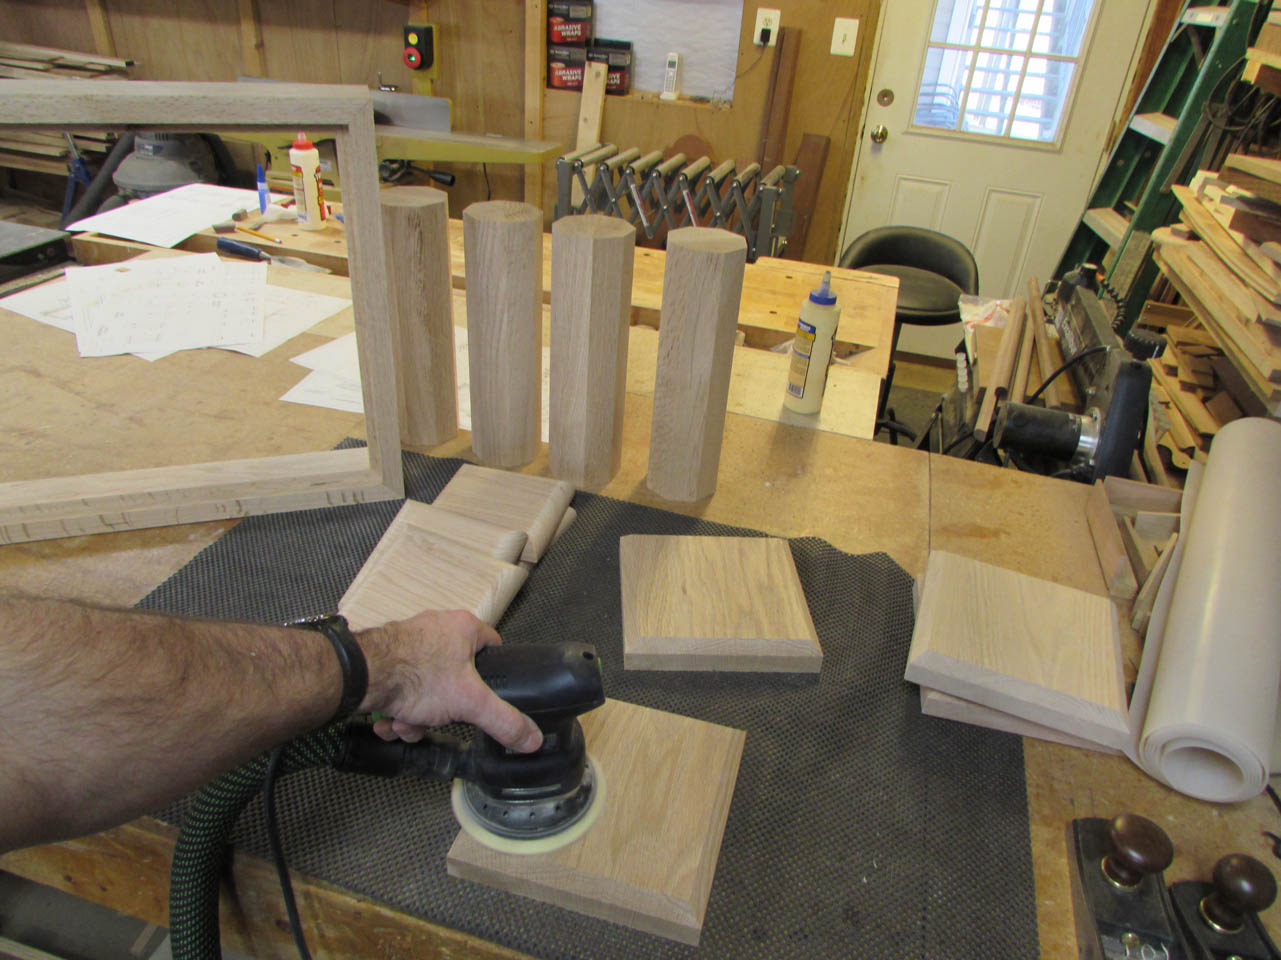
Then it was time to start sanding it all down smooth.

To set the legs within the top frame of the seat, I need to make two cuts.
Then cut away the excess to leave behind a chunk that will glue into the corners.


I set the depth of the cut so that the top would be flush to the bottom of the rabbet that the plywood will set in.
After a dry-fit, I set up my dado blade and started cutting the channel, for the trim bead, into the columns.

Channel complete, now it is time to start making up the trim.


I made a lot of the walnut bull-nose trim when I made the ambo so there is still plenty to work with. I used my cross-cut sled with some angled jig blocks to cut the individual pieces accurately.

Then I decided to attach the column bases before the trim because it would get in the way. I blocked up the column so that it would set in the center of the base cap, then used my marking gauge as a depth stop to center the board.

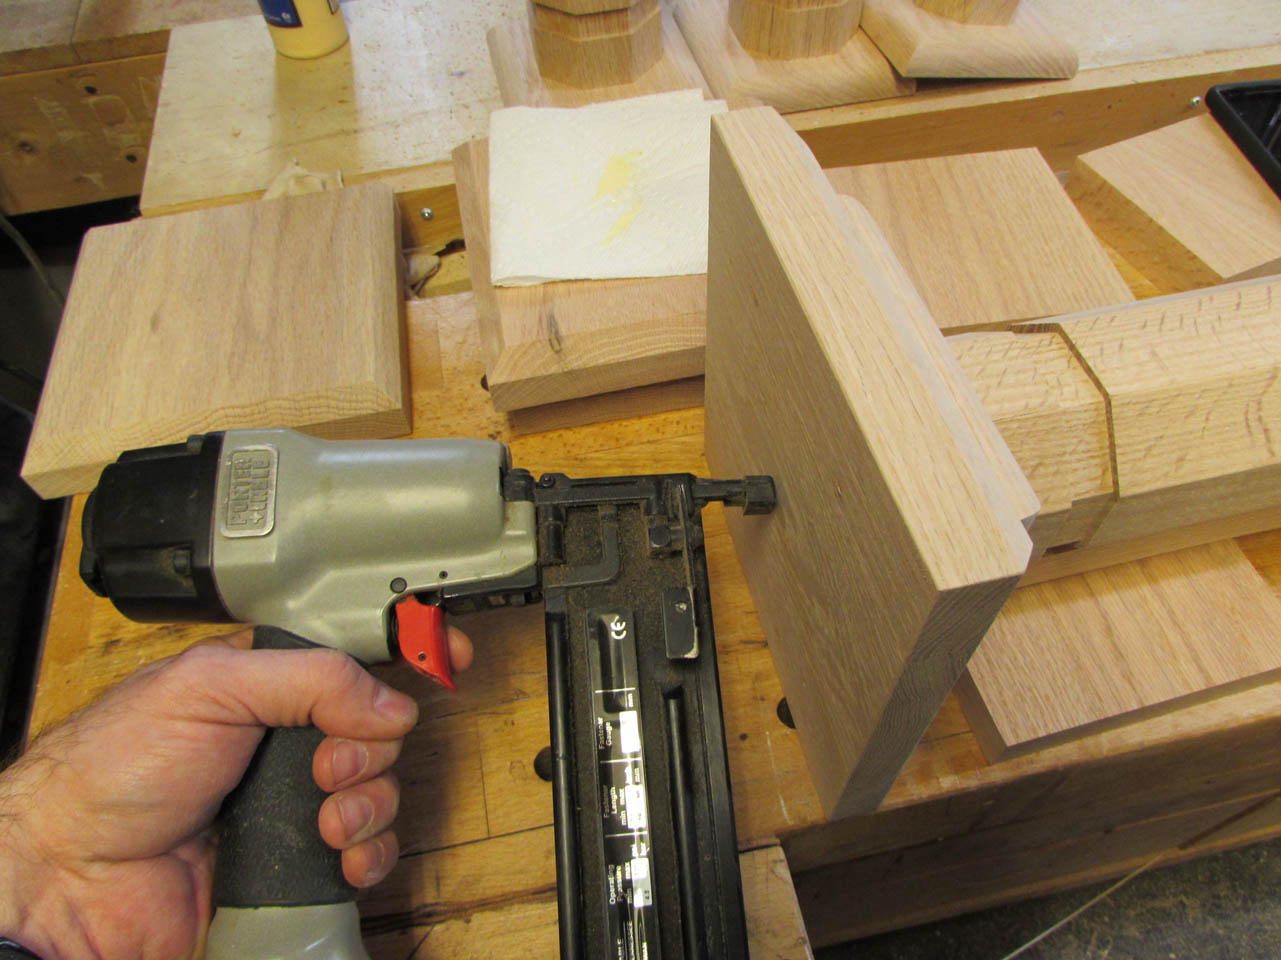
Once I had the depth set on the gauge, I applied glue to the end of the column and set the cap in place and attached it with brad nails.
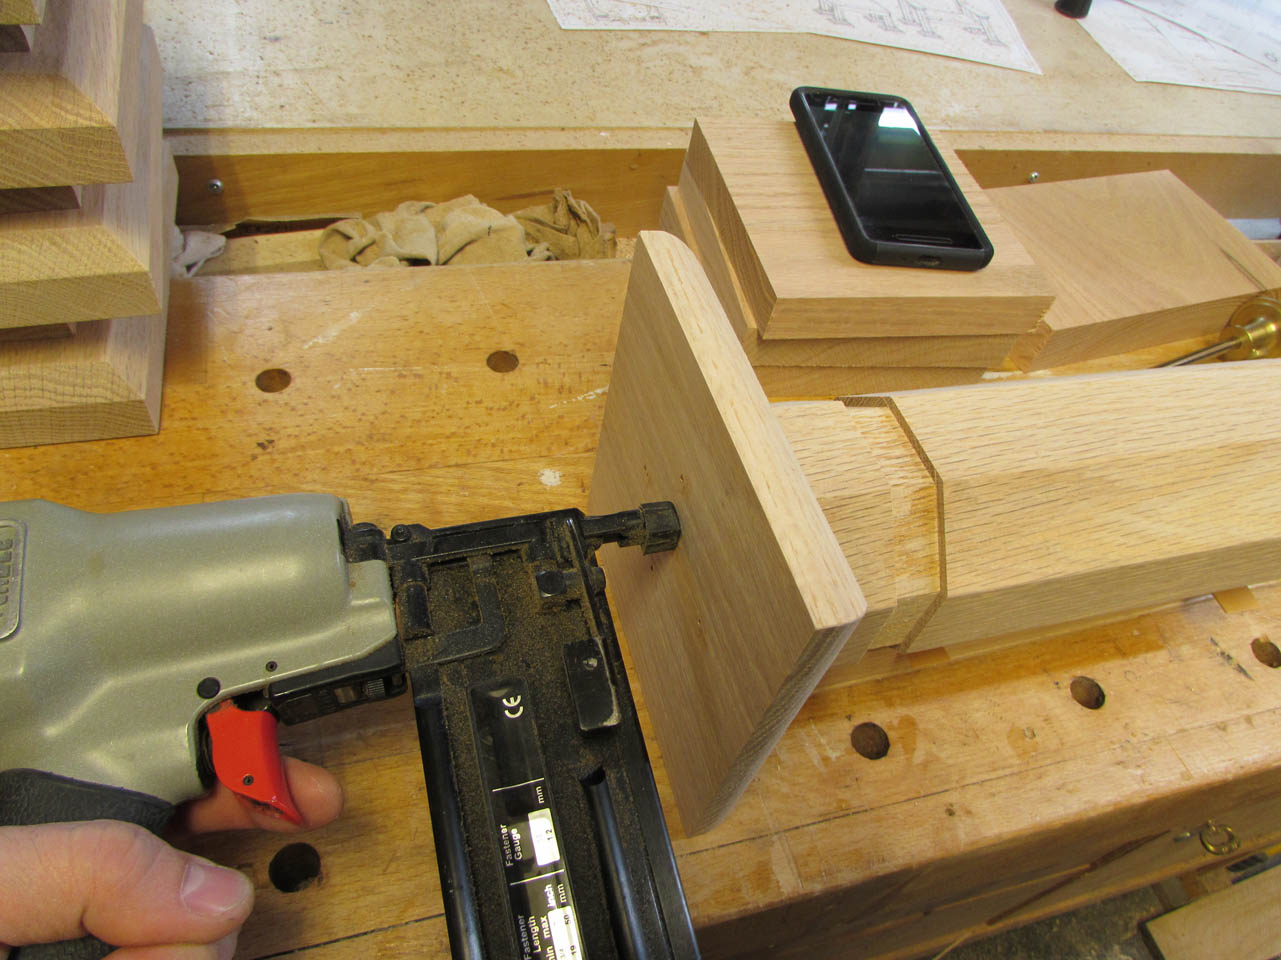

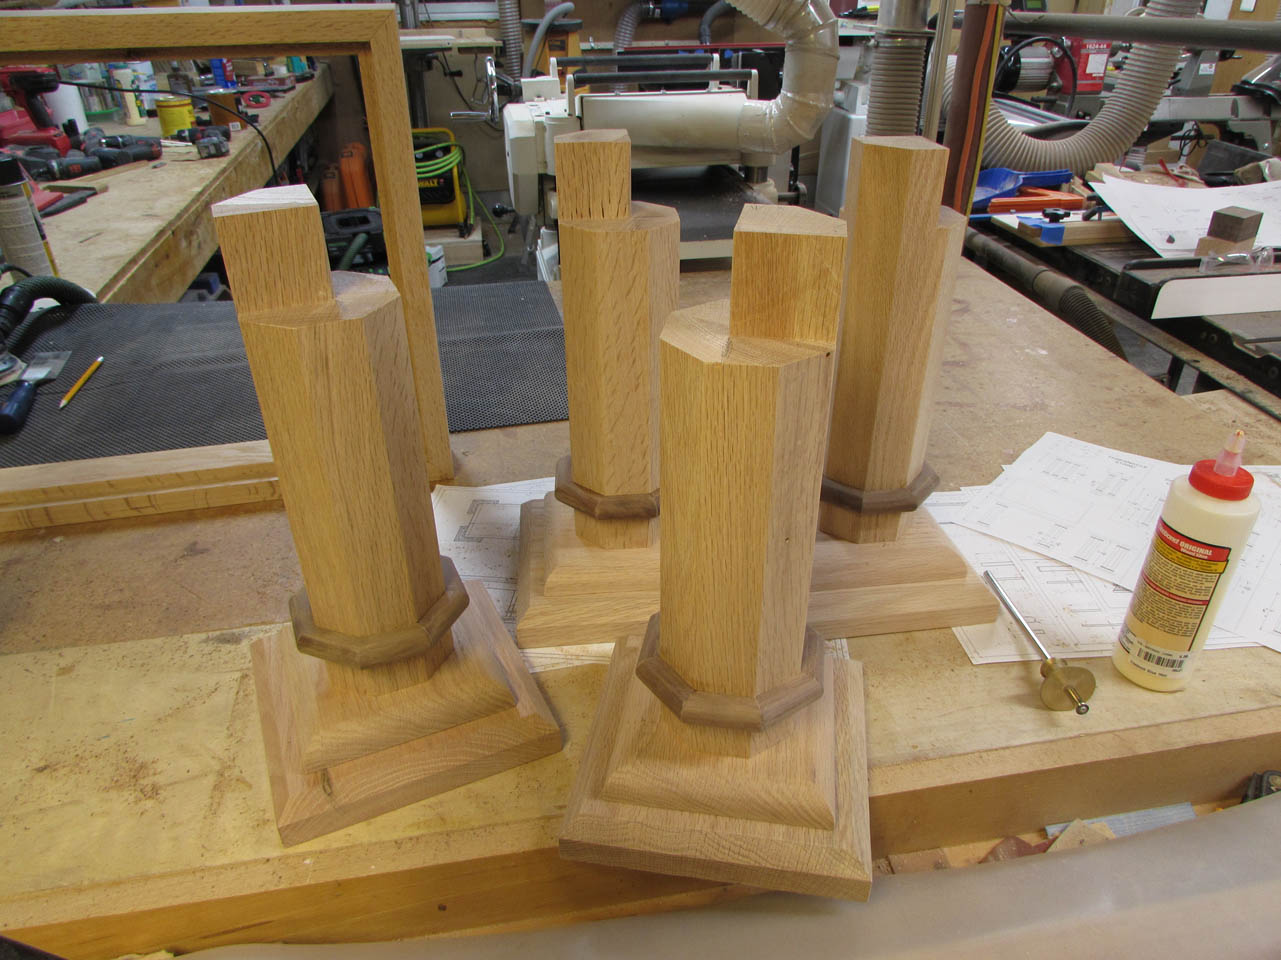
Then I raised up the column 1″ higher and attached the base in the same fashion.

Columns are done so it is time to get back to the trim.

Each piece of trim is exactly the same so I use quick-setting CA glue to attach two pieces together and hold them for about 30 seconds then move on to the next.


I make half rings, then sand down the seams while the exposed glue is still wet so that the dust fills any slightly open joints.


After sanding them all down to 220 grit, I apply a bead of silicone along the inside of the ring and CA glue to the joining ends.

The rings have a bit of space between them and the column. The silicone is flexible so it will hopefully allow for expansion and contraction of the oak without affecting the walnut ring.

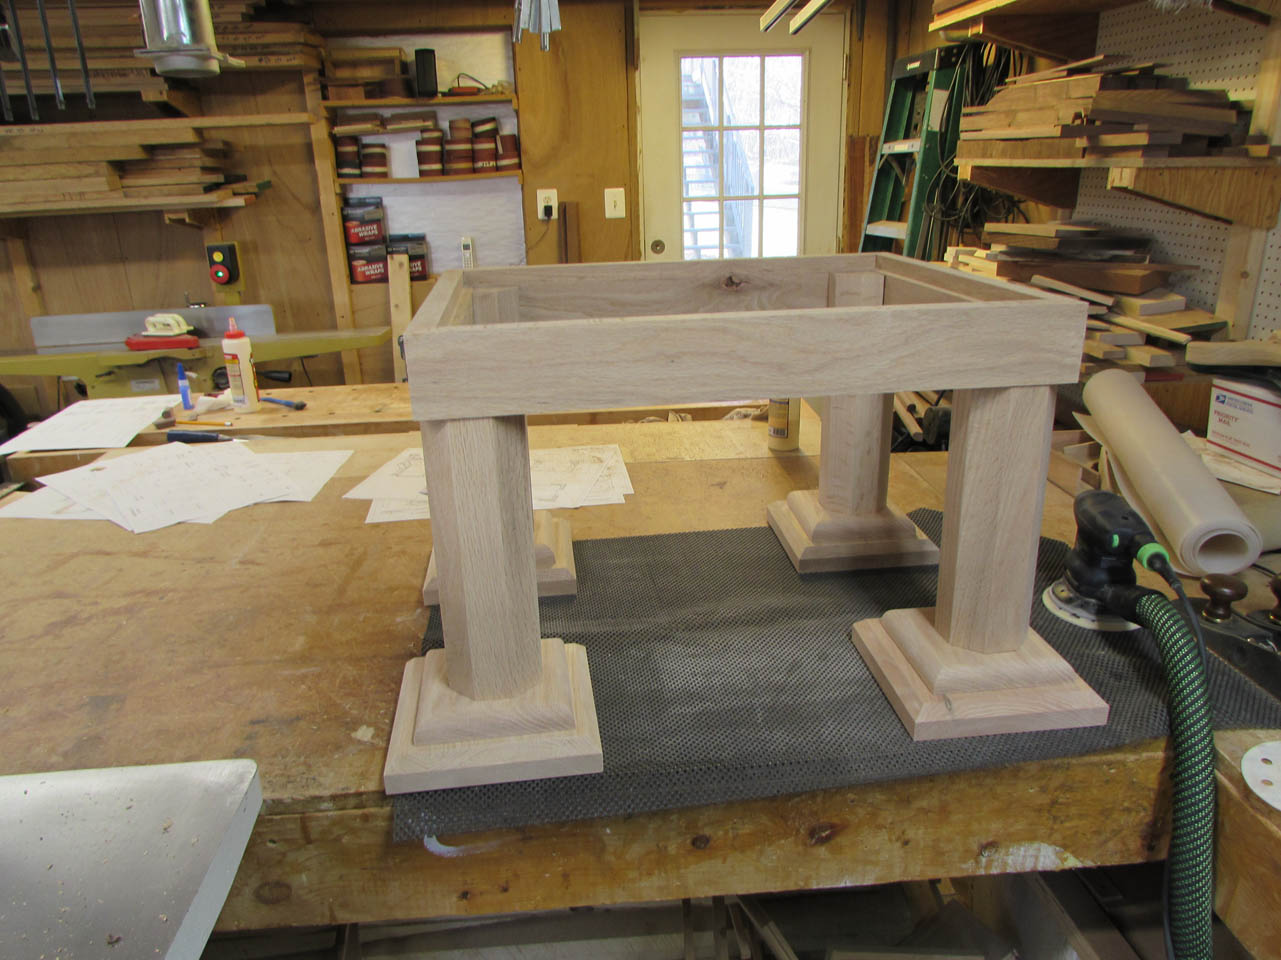
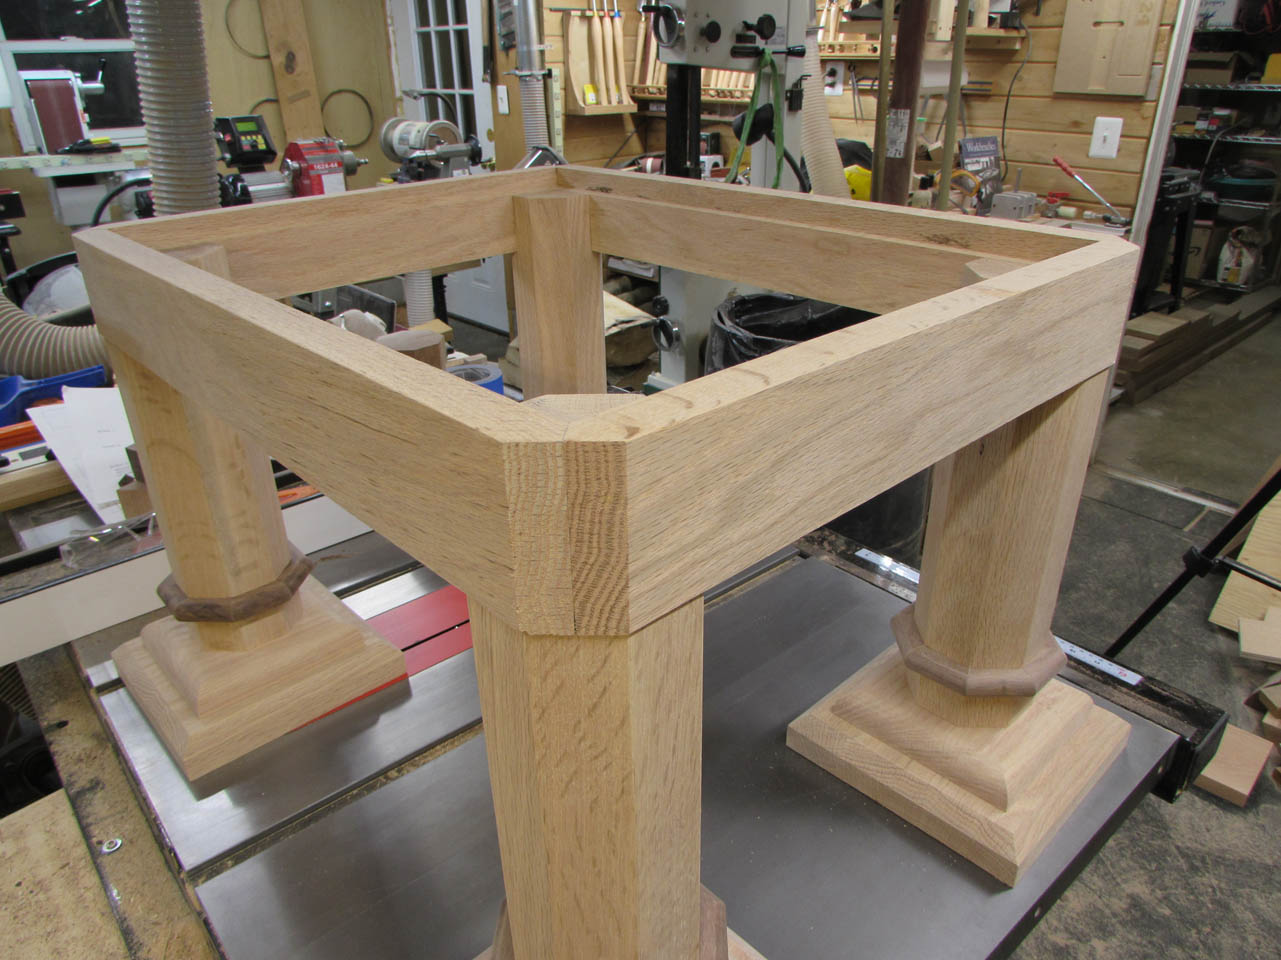
Now that the columns are trimmed, I dry-fit them back under the seat frame.

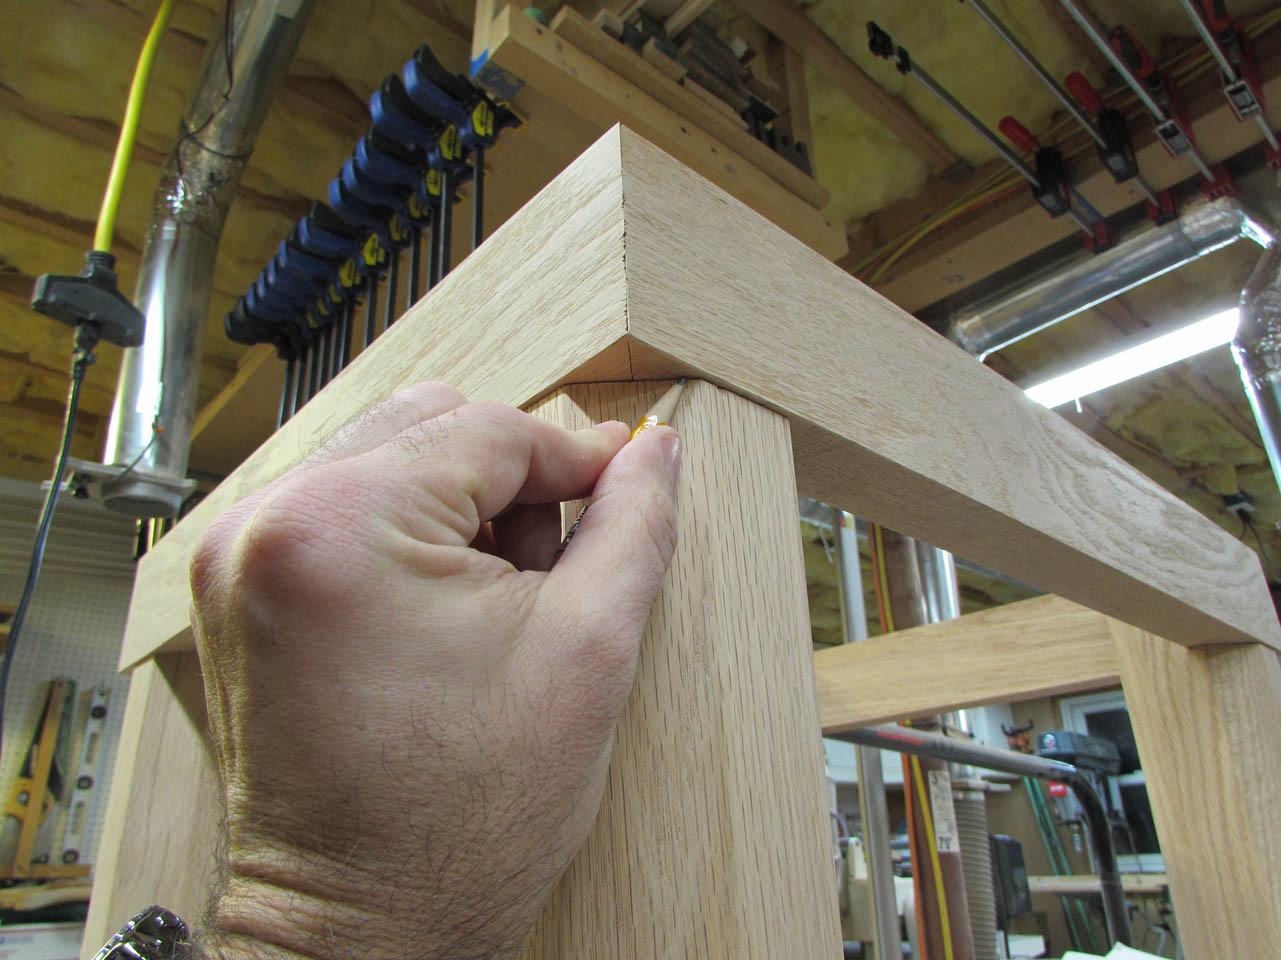
I use a pencil to mark the angle at each corner then I cut the corners off, awkwardly, on my big miter saw.
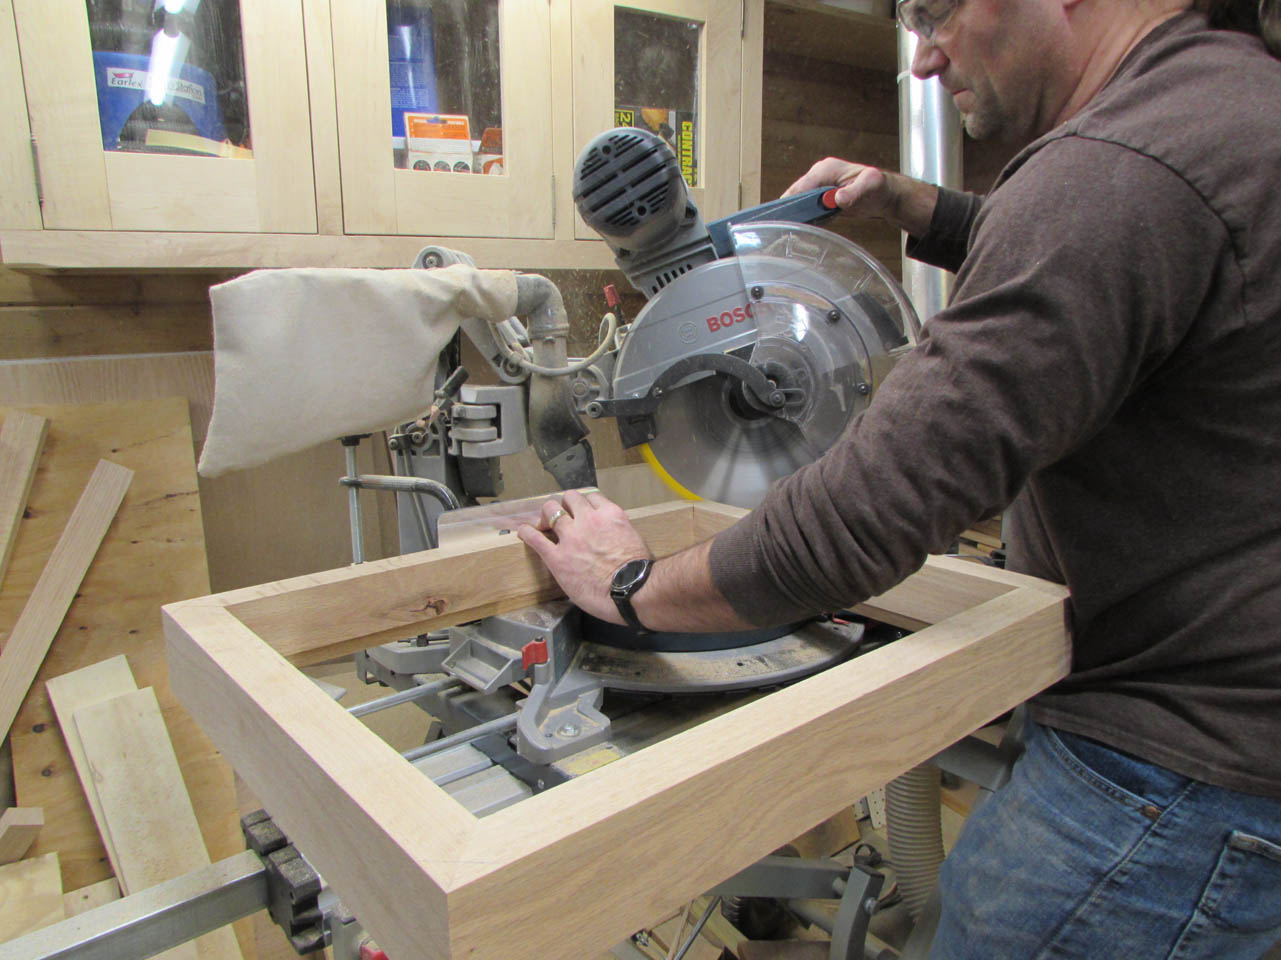
Now the frame follows the shape of the columns.

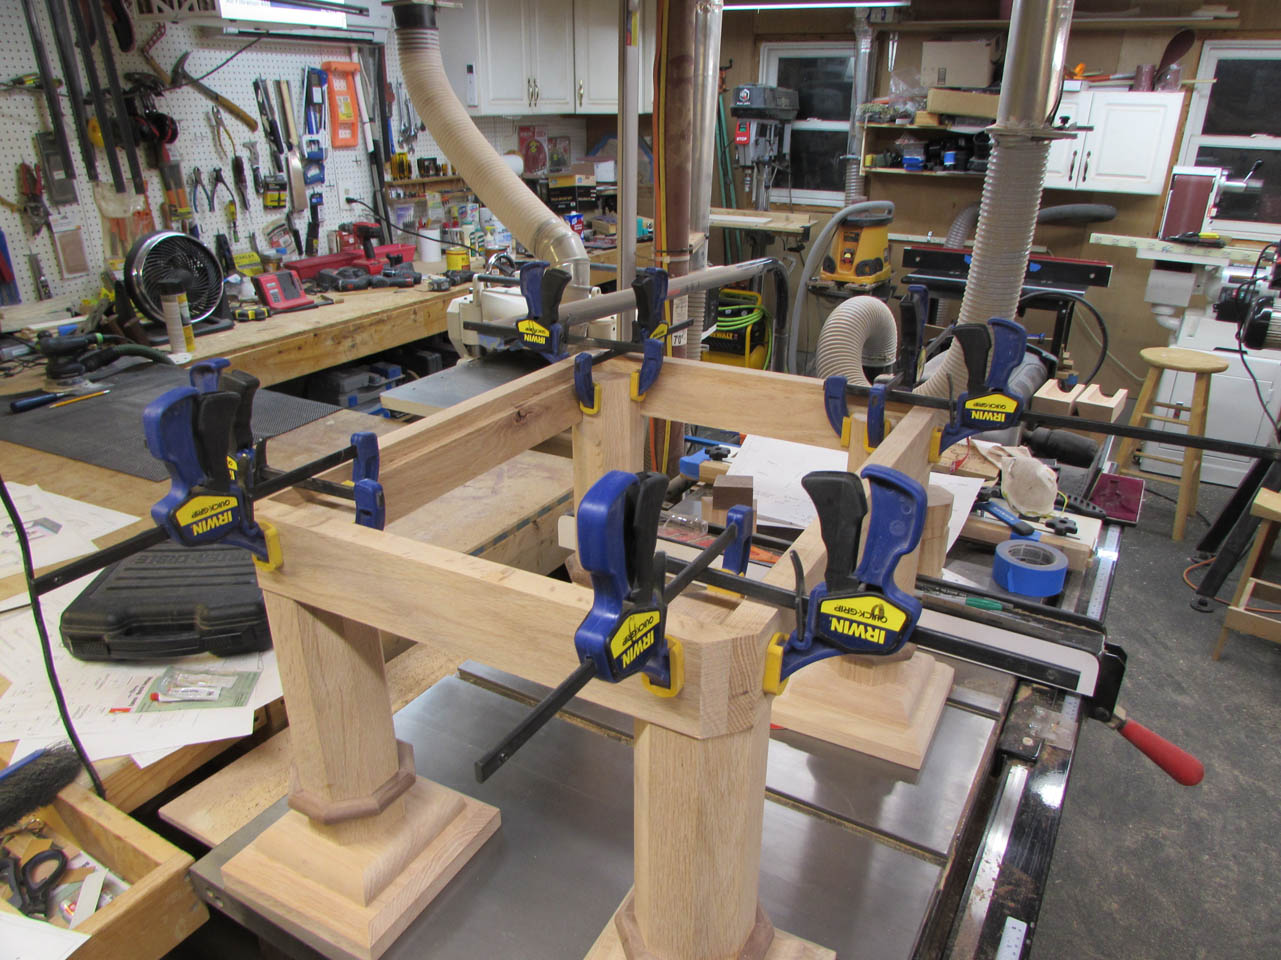
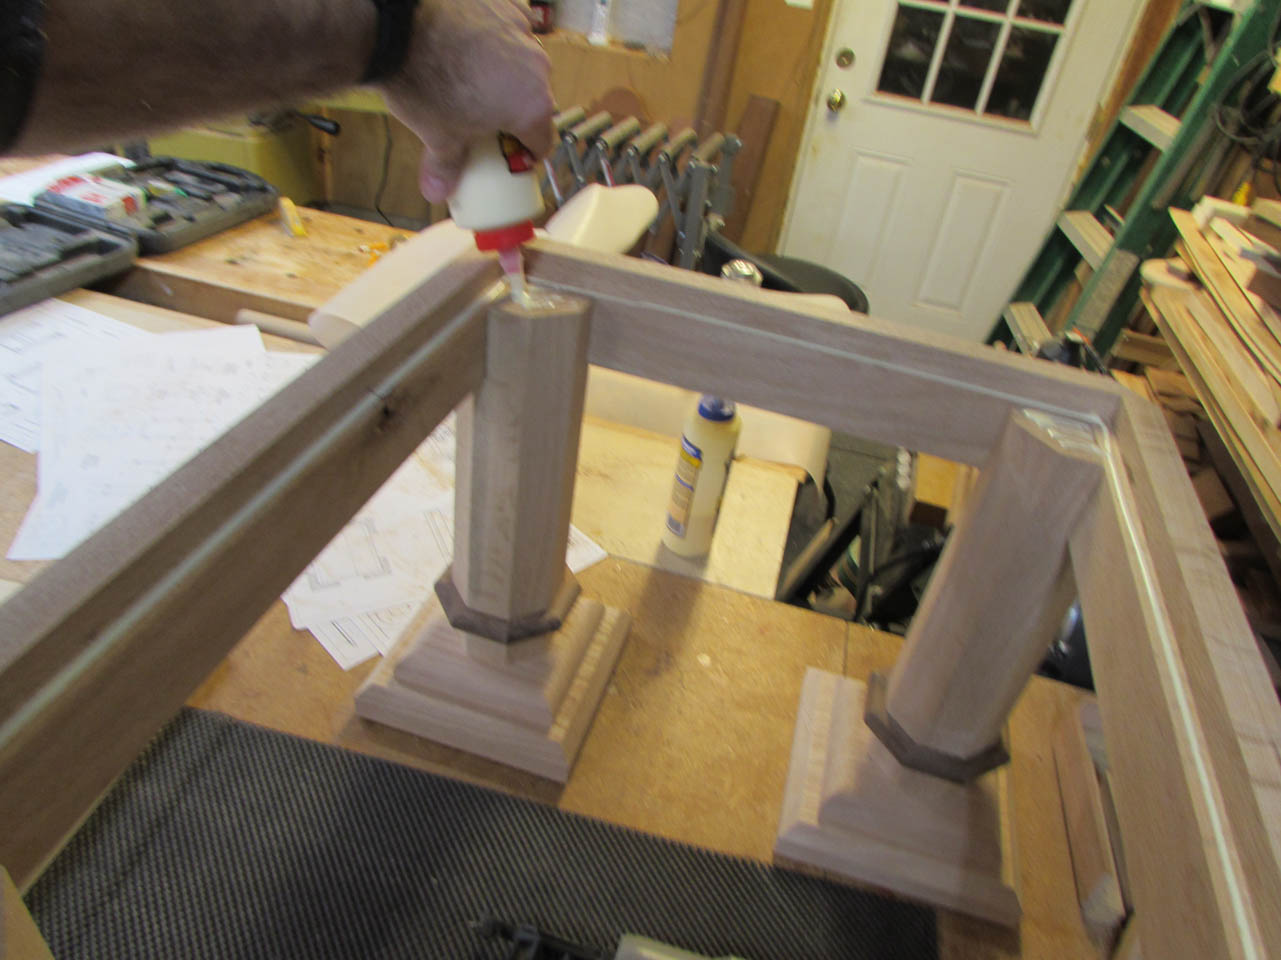
I applied wood glue to all of the joining faces and clamped the columns to the frame to dry.

While they were curing, I cut the plywood insert for the seat top.
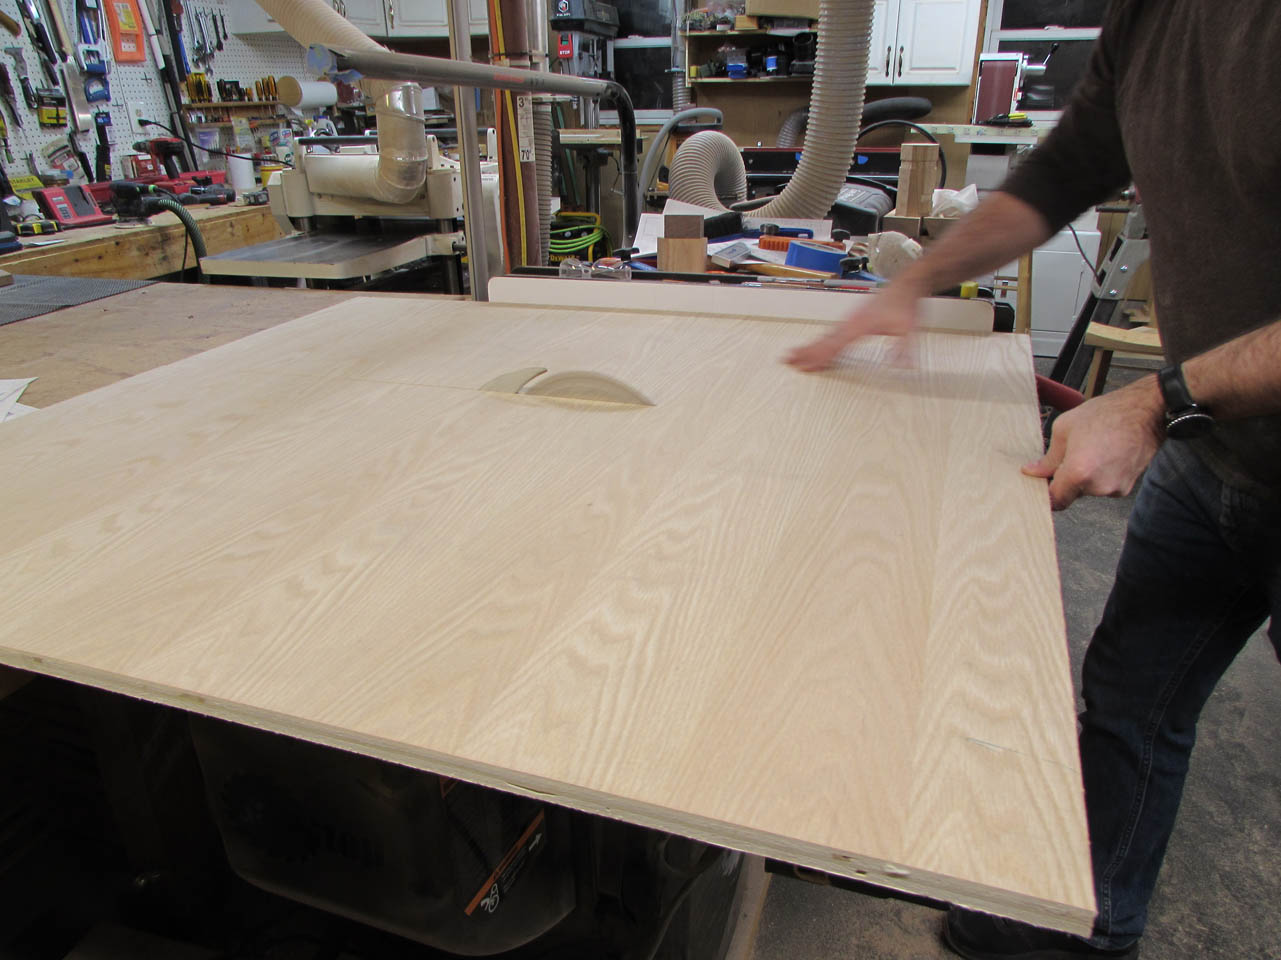
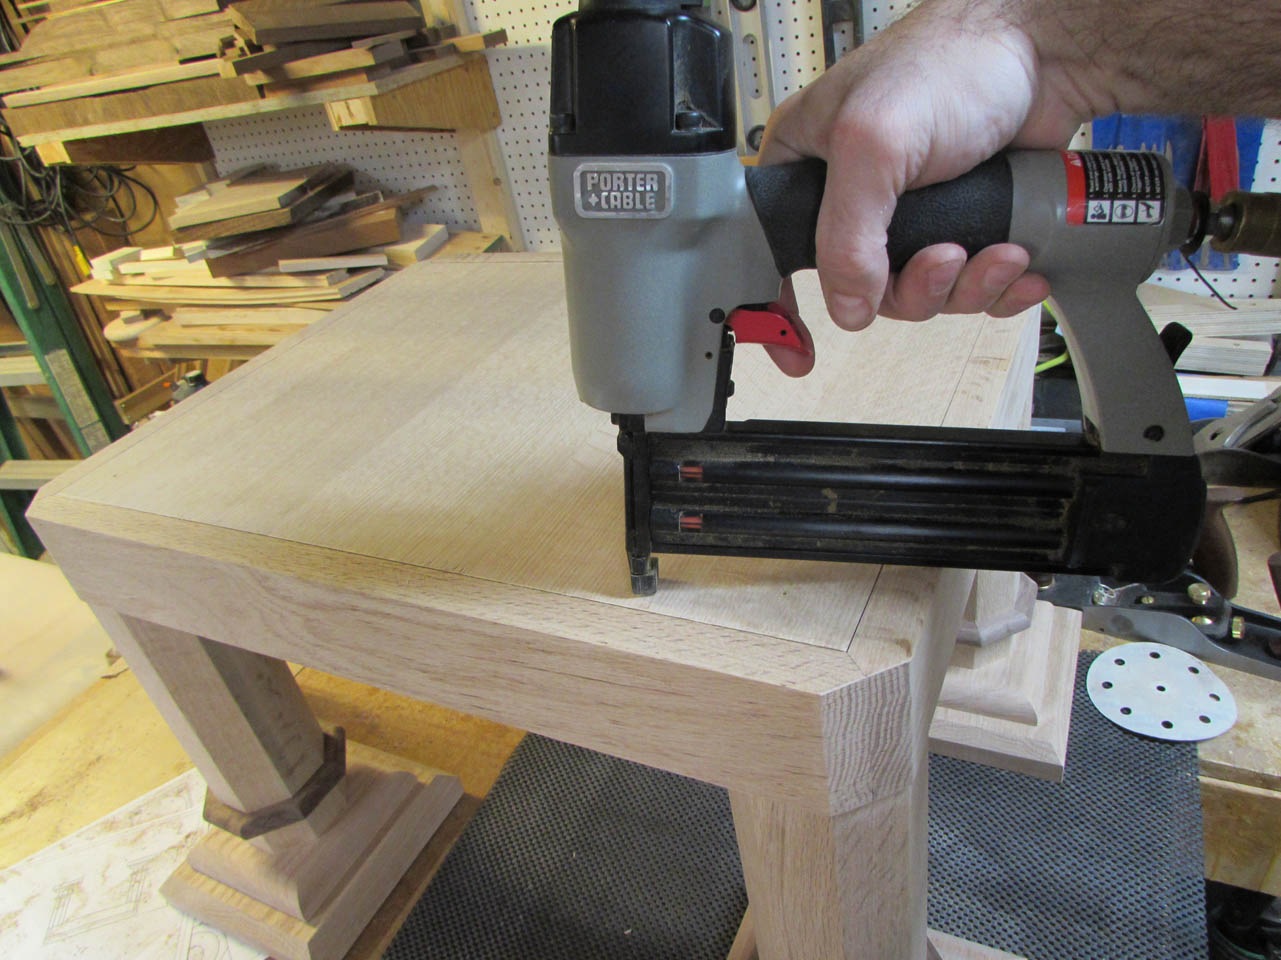
Next, I applied a bead of glue and attached the plywood with my 18 gauge brad nailer.

For the upholstered cushion, I cut another piece of plywood that was about 1/8″ smaller than the width and length of the top, then marked and cut the 45° corners off it.
Then I turned the board on its side and cut a 1/8″ deep relief cut for the fabric to be stapled to.

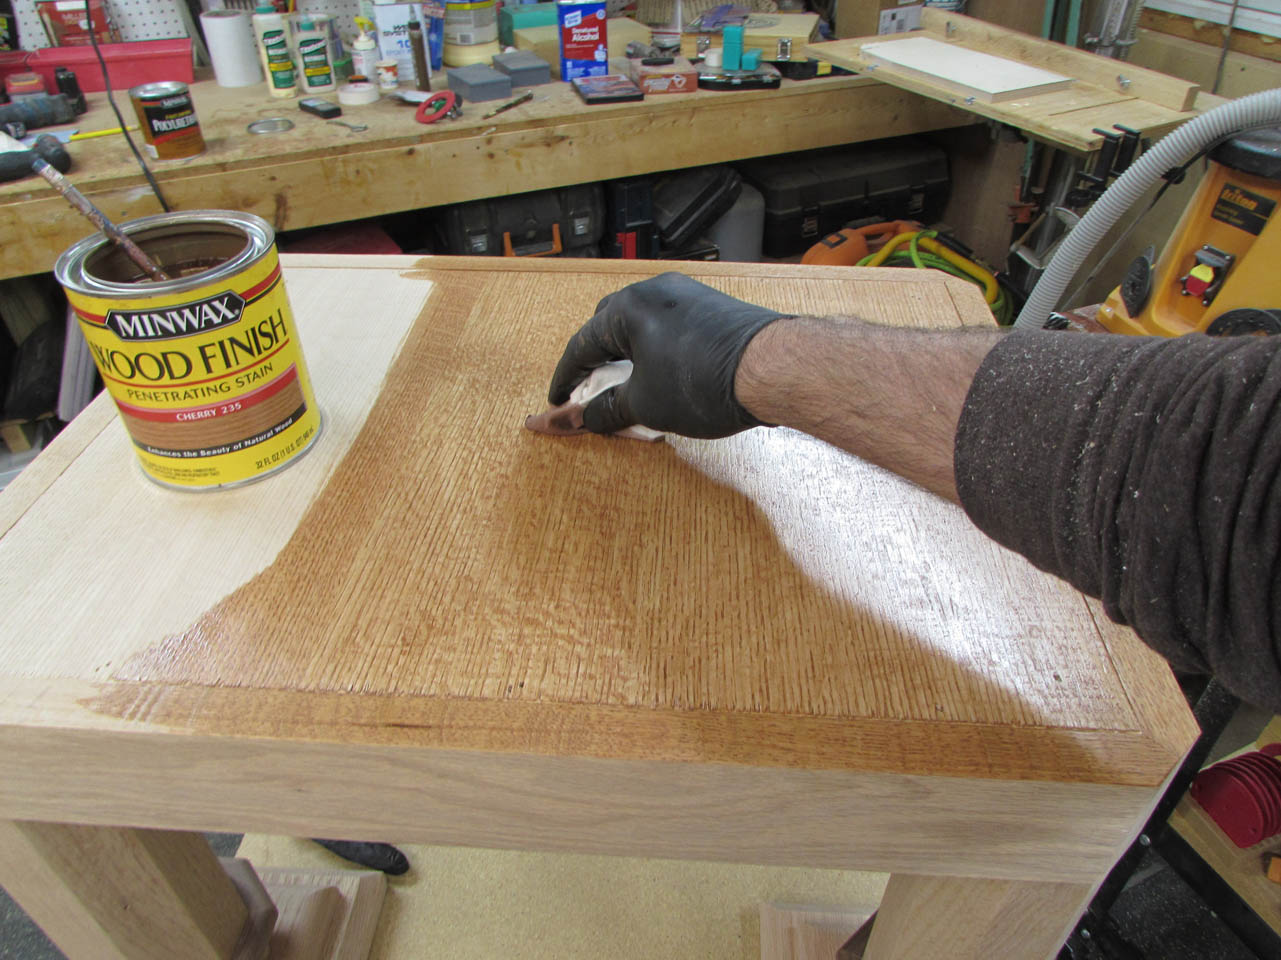
Setting that aside for later, I got out the cherry stain and started staining the chair.


The stain is done so all that is left is to apply two coats of polyurethane and make the seat cushion.
