
Lectern Days 1 & 2
I built an altar and tabernacle stand about five years ago, for the chapel at my church. I was recently asked to design and build a lectern to match. Here is the plan that I have come up with: Lectern.pdf
Almost forgotten in the corner of my shop, is the prototype column from the altar. I actually use it to store extra pieces of trim from various church projects. I will admit that I decided to make this the basis of my design to avoid having to go through all of the work involved in making these columns again.

If you want to see how it was made, you can go back to this link: Church Altar Day 19 and follow it through.

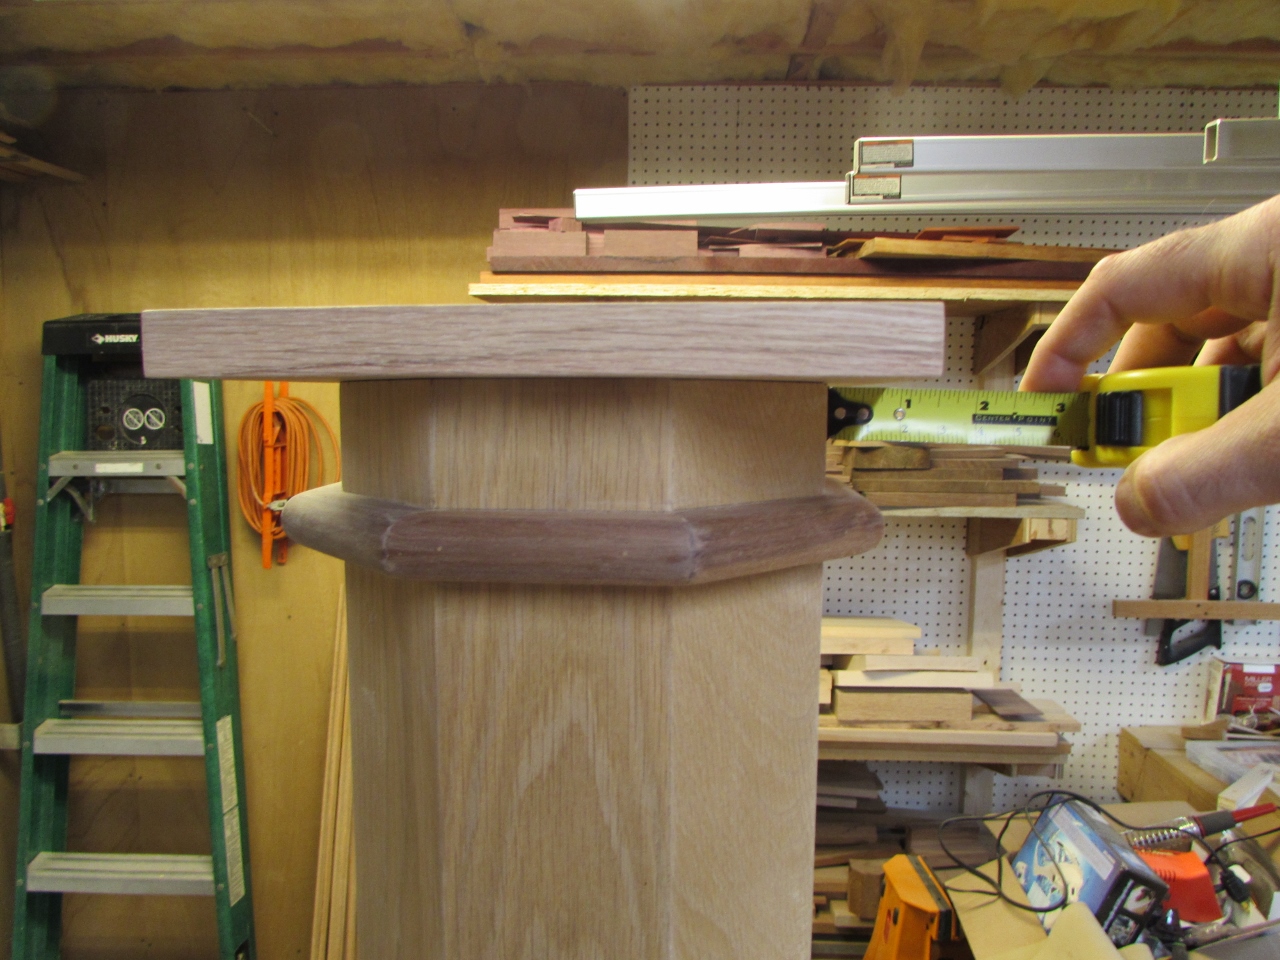
This column was not used in the altar because the prototype wound up being too tall. Since the lectern will be taller than the altar, it will be perfect for this project.

A while back, I knocked over this column and broke off some of the trim. Luckily, inside the column was a couple of pieces of walnut cut to the correct profile.
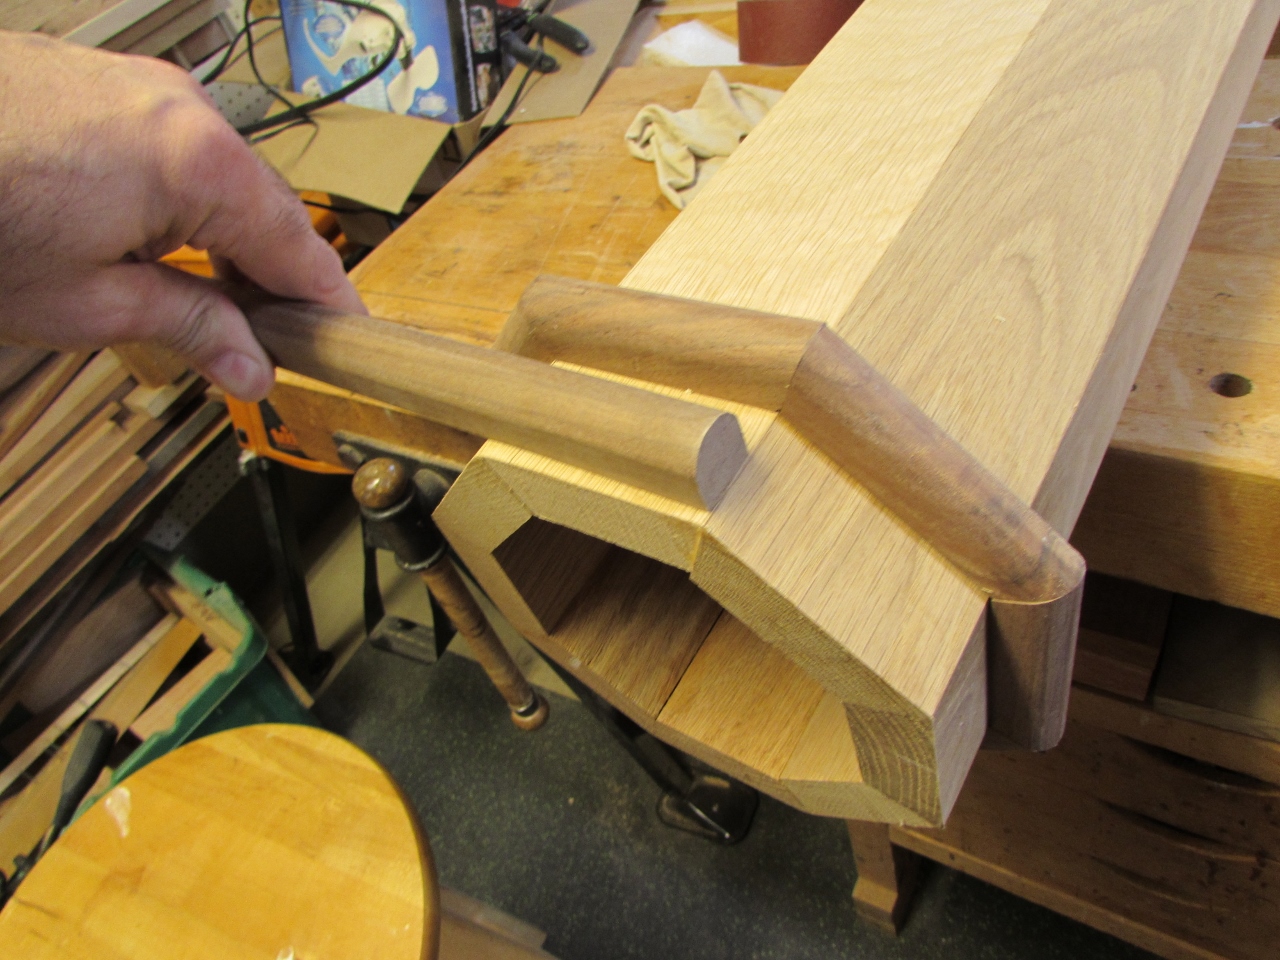
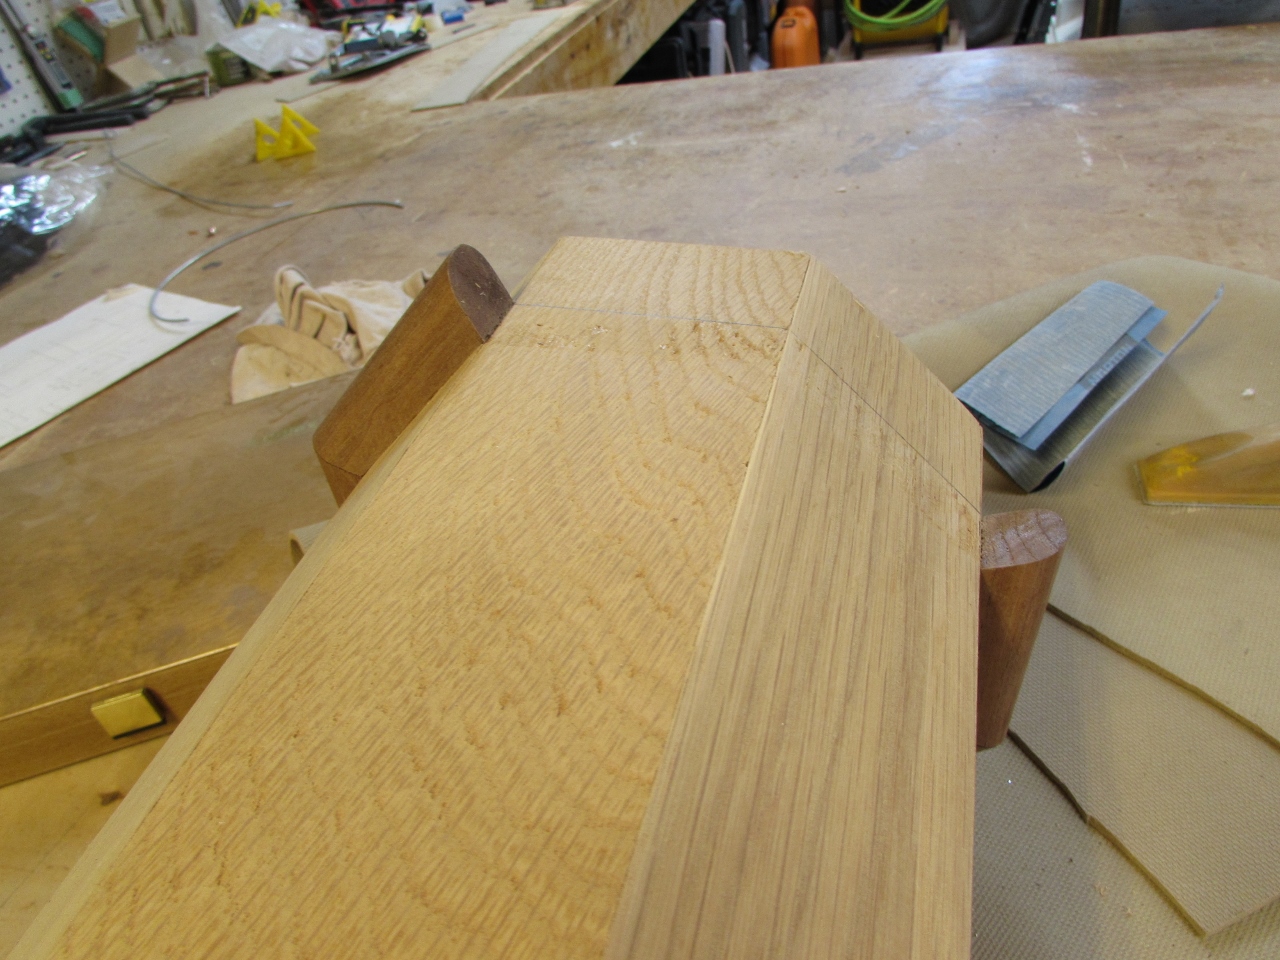
After doing a little math. I determined the miter angle that had to be cut ((360 degrees / 8) / 2 = 22.5 degrees) and cut a couple pieces to repair the damage.

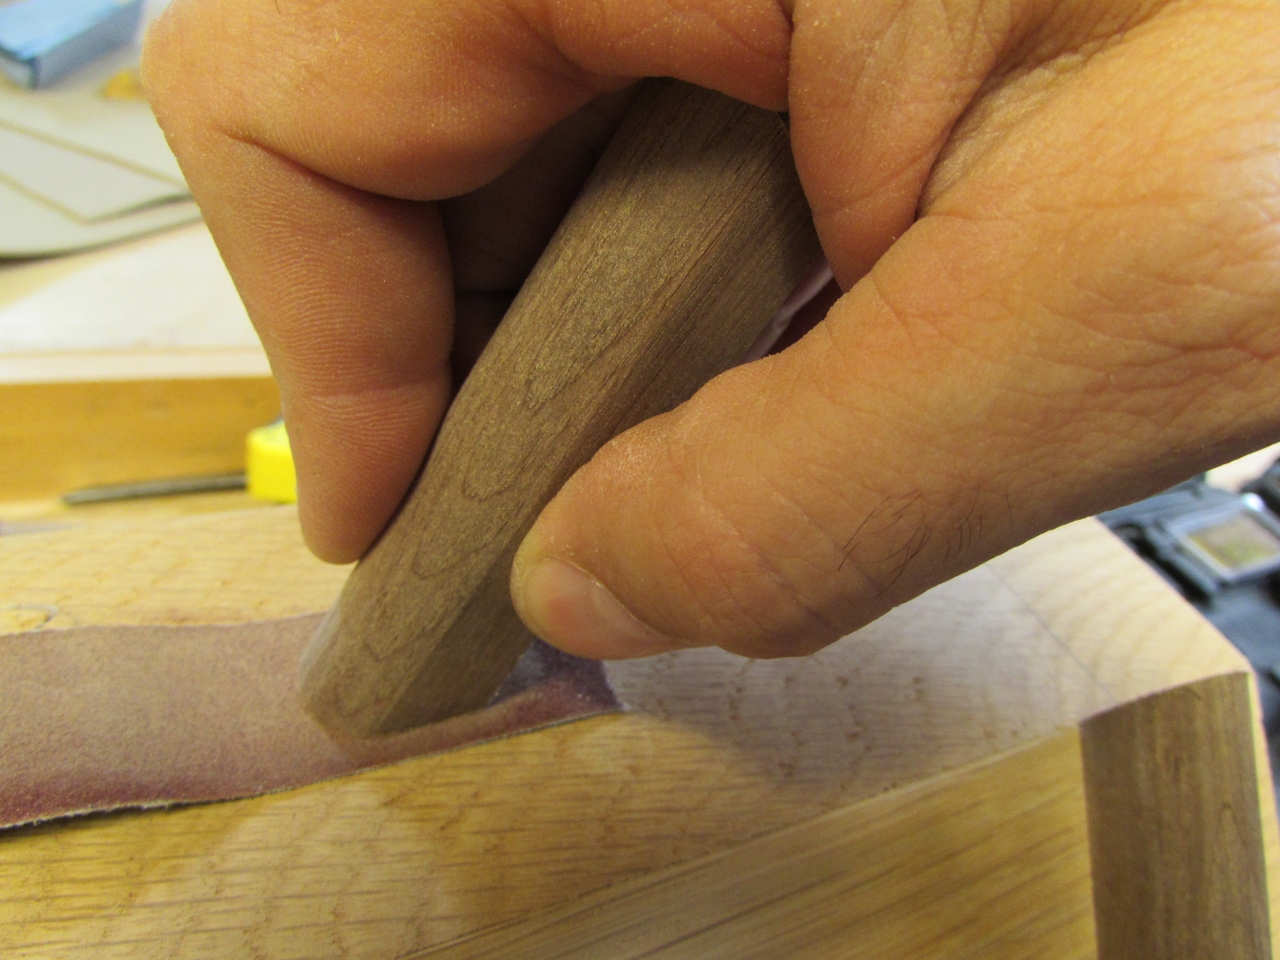
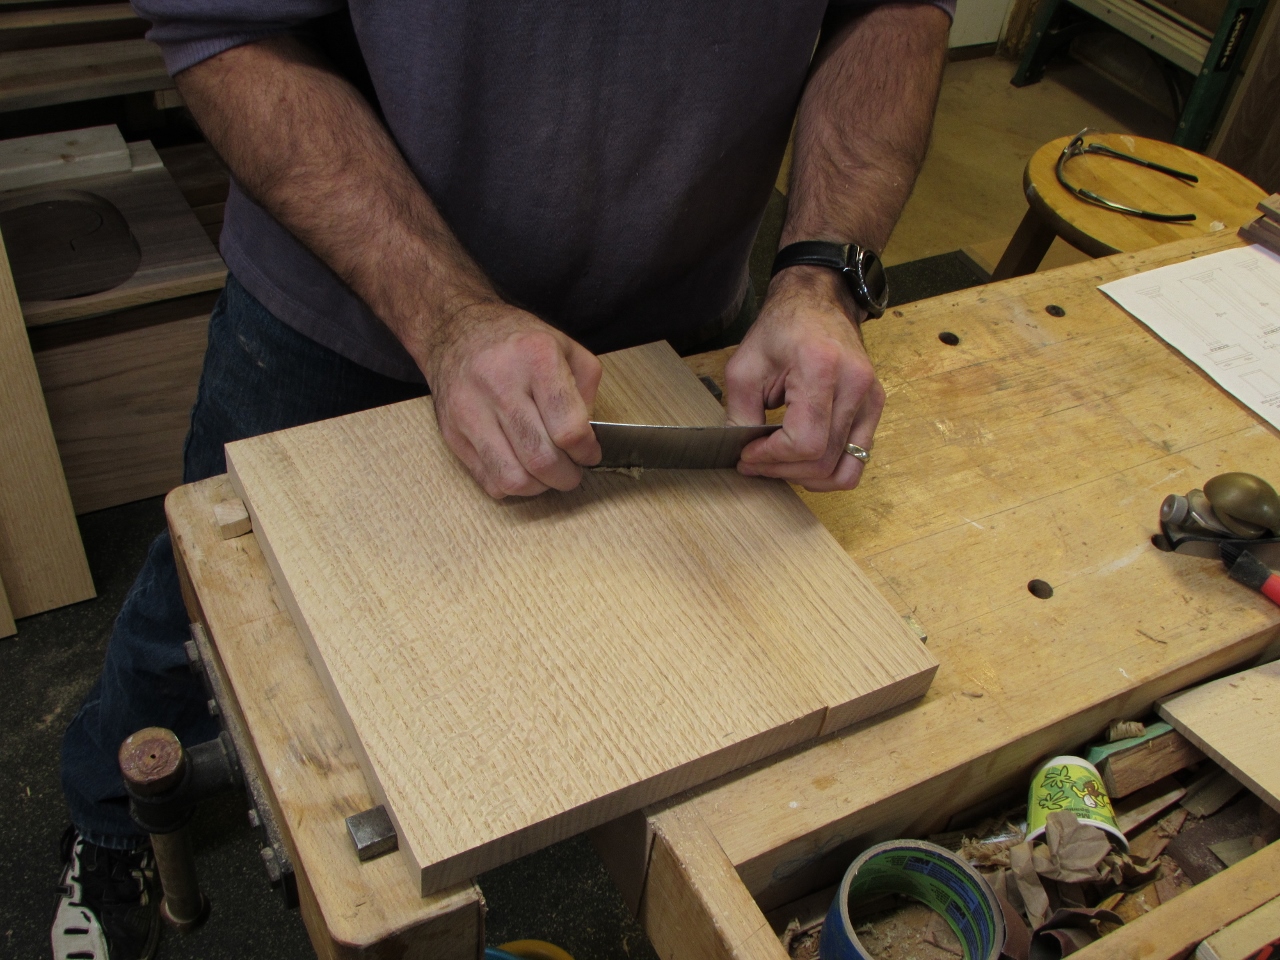
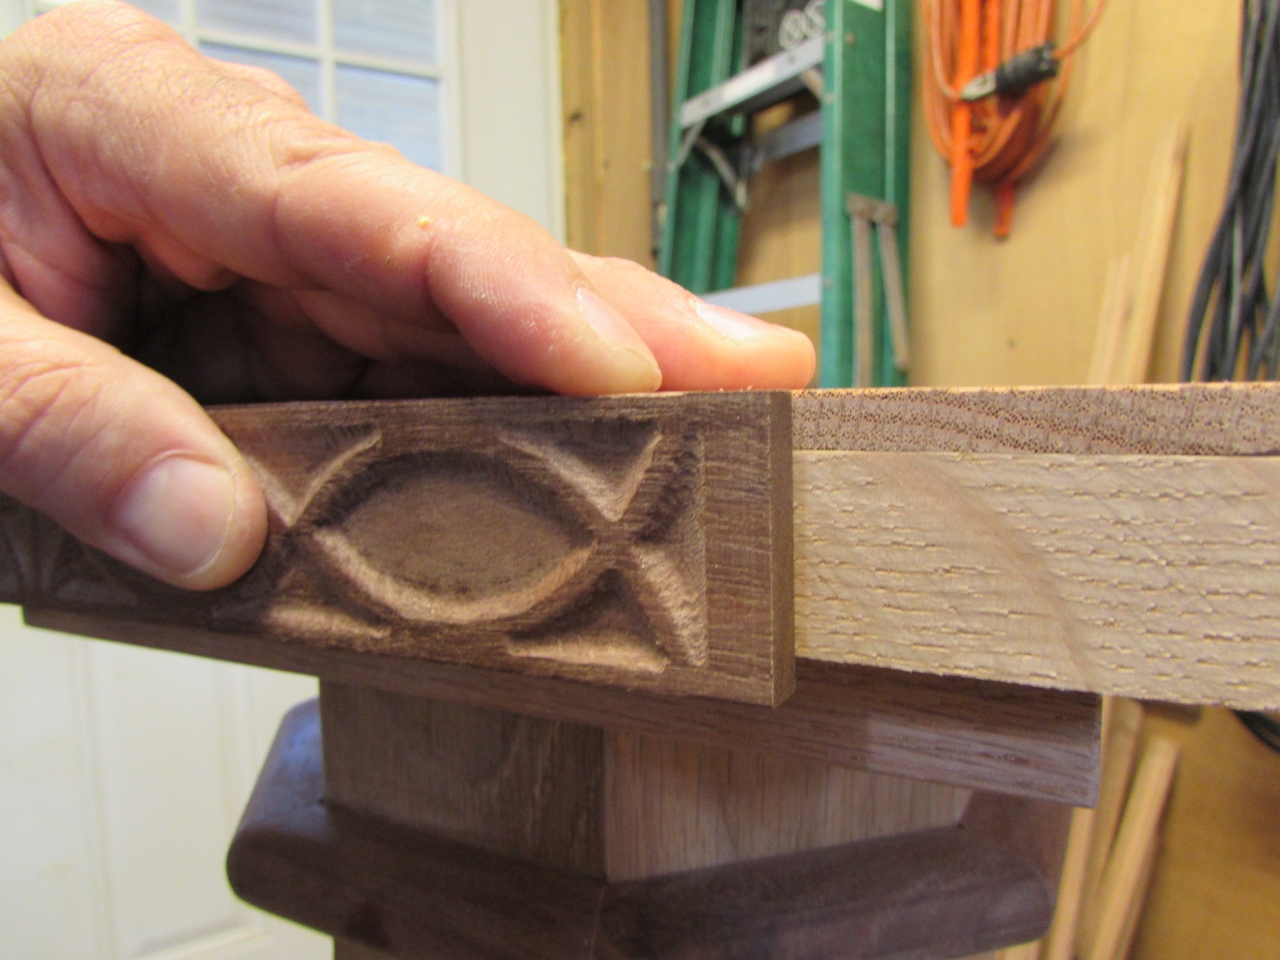
I did a little fine adjustment on some sand paper, then fit the pieces in place.
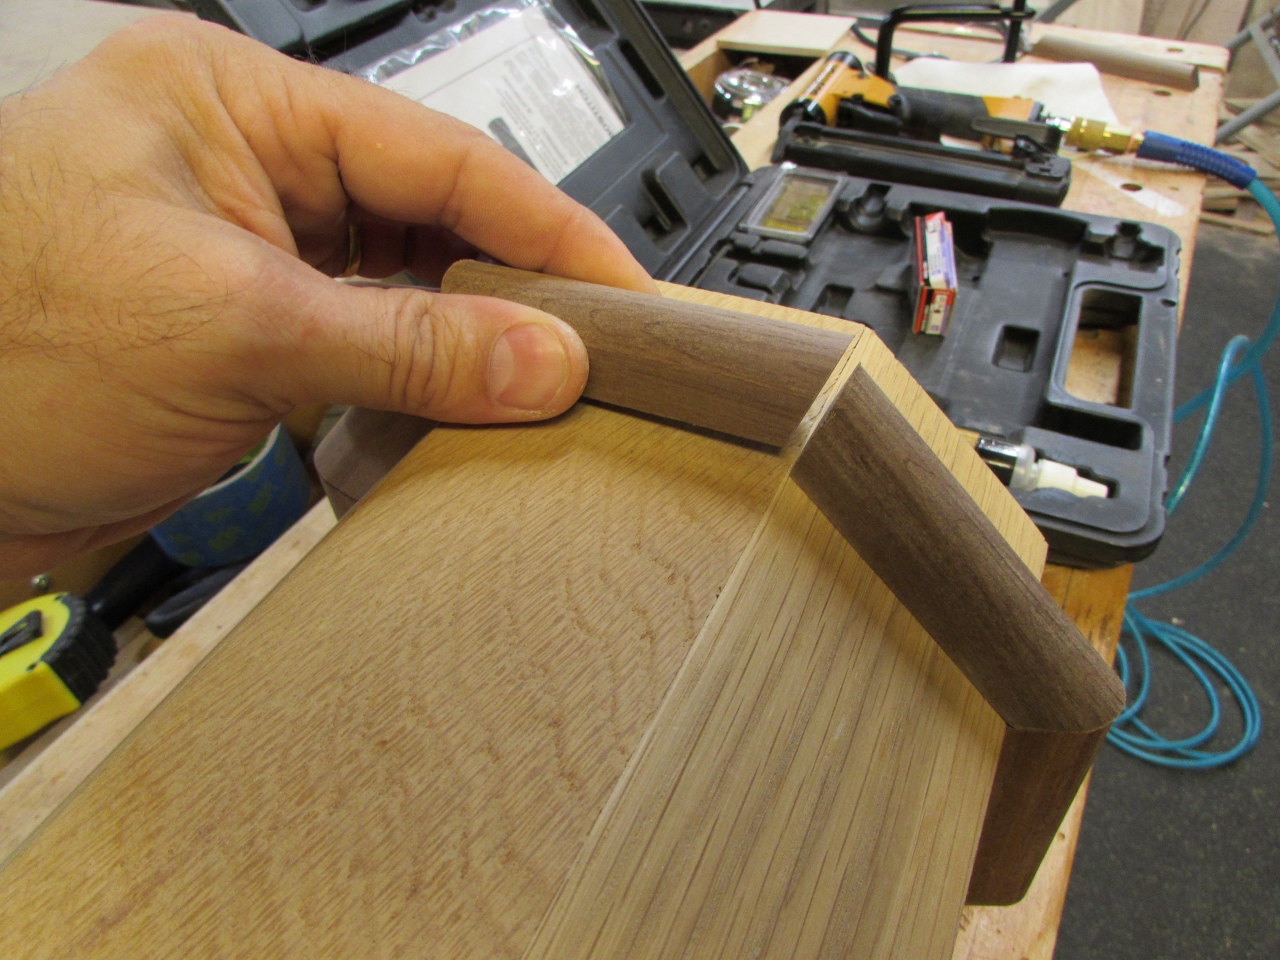
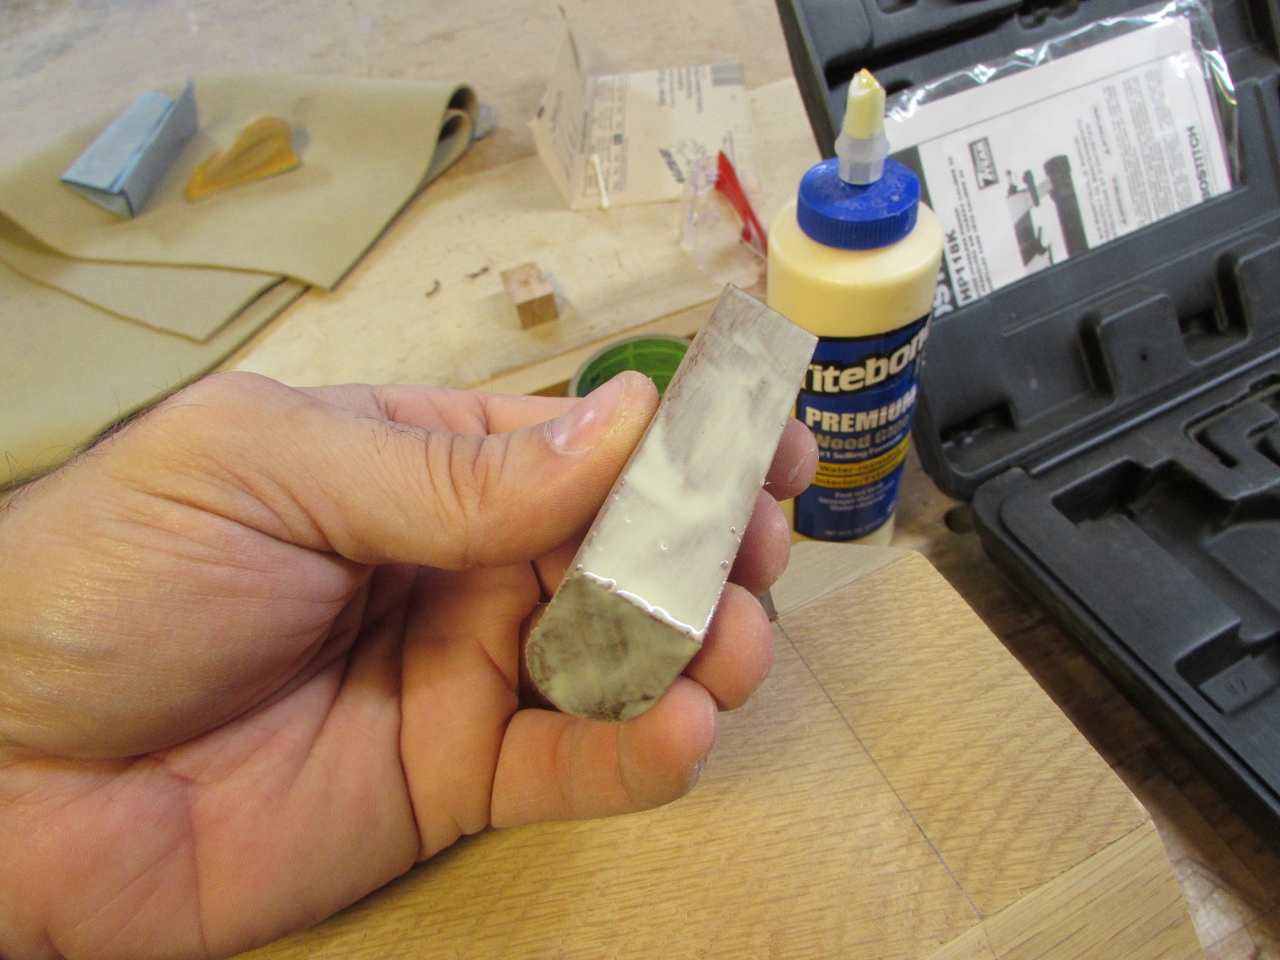
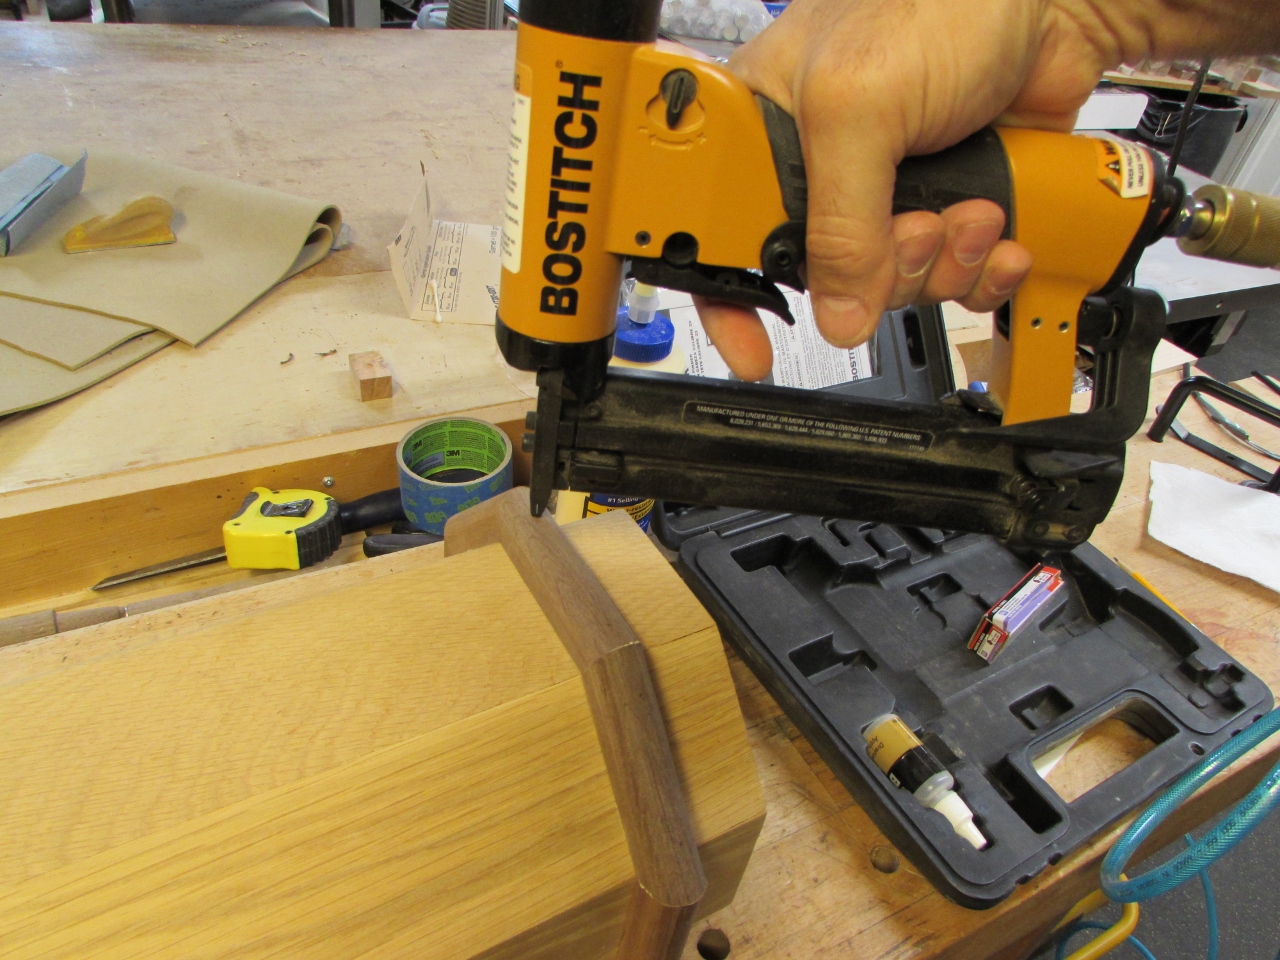
With the trim cut to size, I added some wood glue and pinned the trim in place to dry.

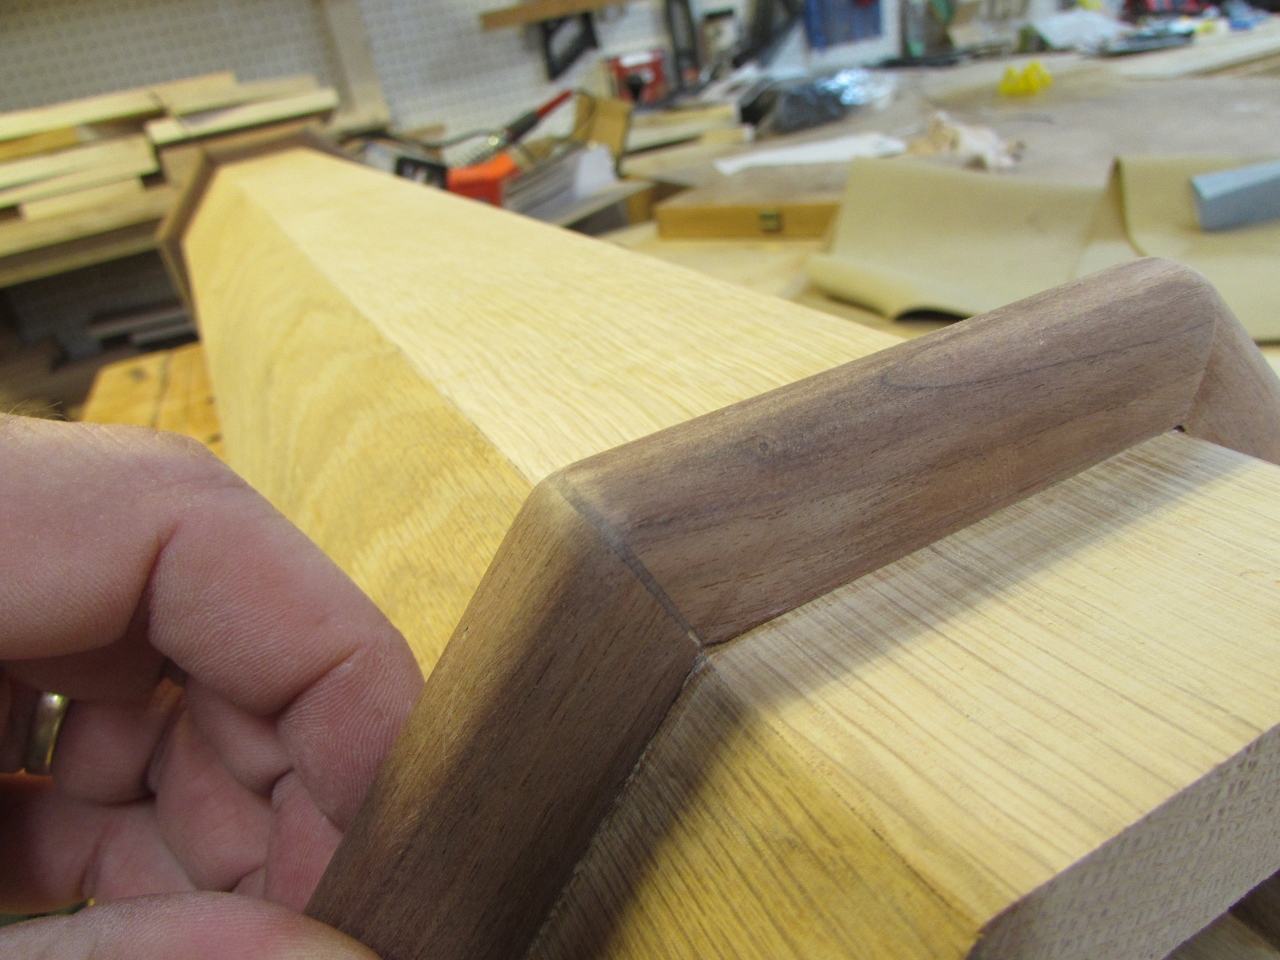
A little bit of sanding and the repair was done.

In another area though, I found a gap that I didn’t like.

I cut a slim wedge out of walnut and used CA glue to hold it in place.


I then cut and sanded away the excess.

And the gap is now gone.

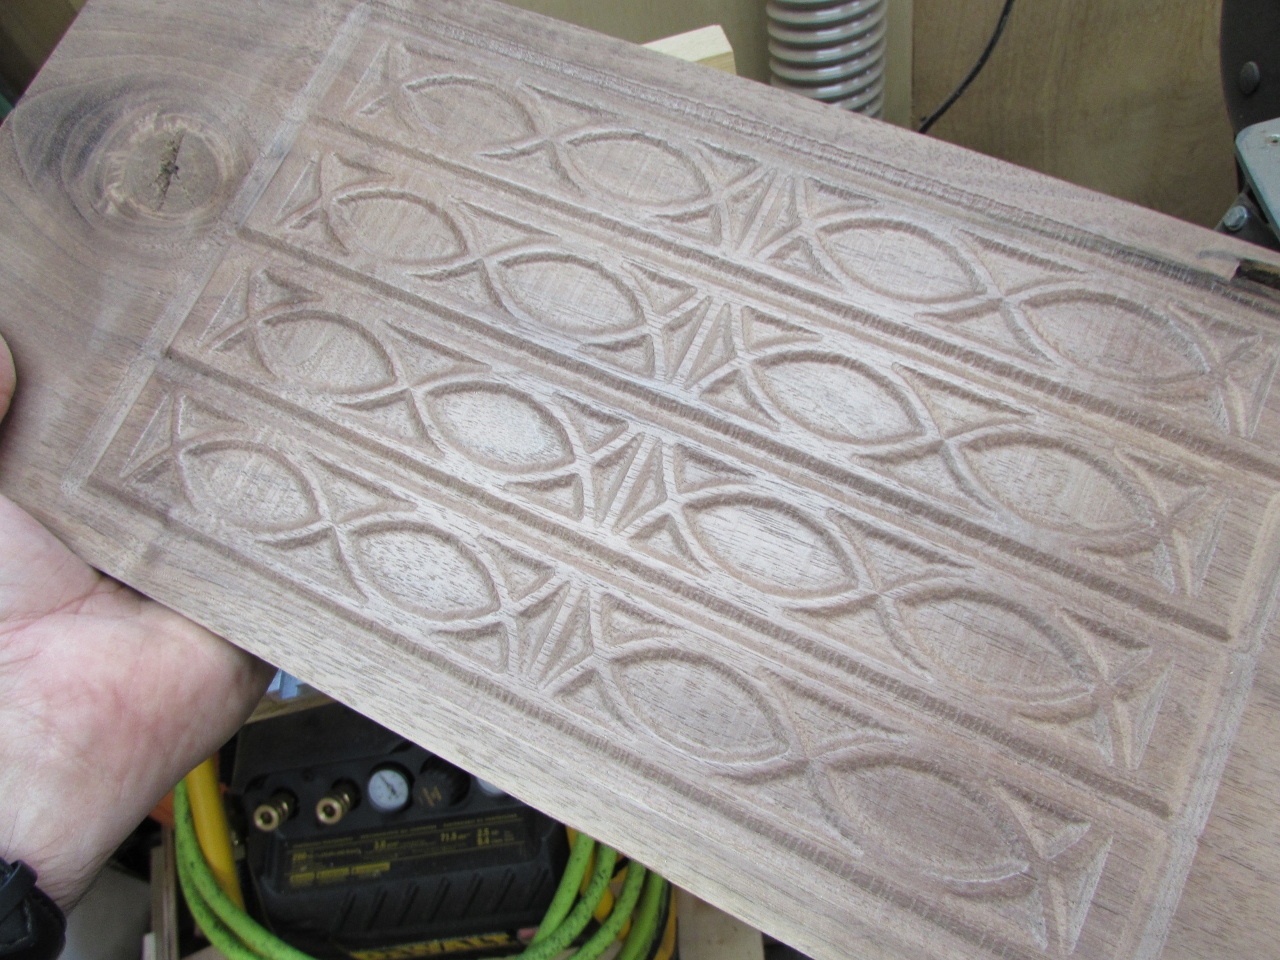
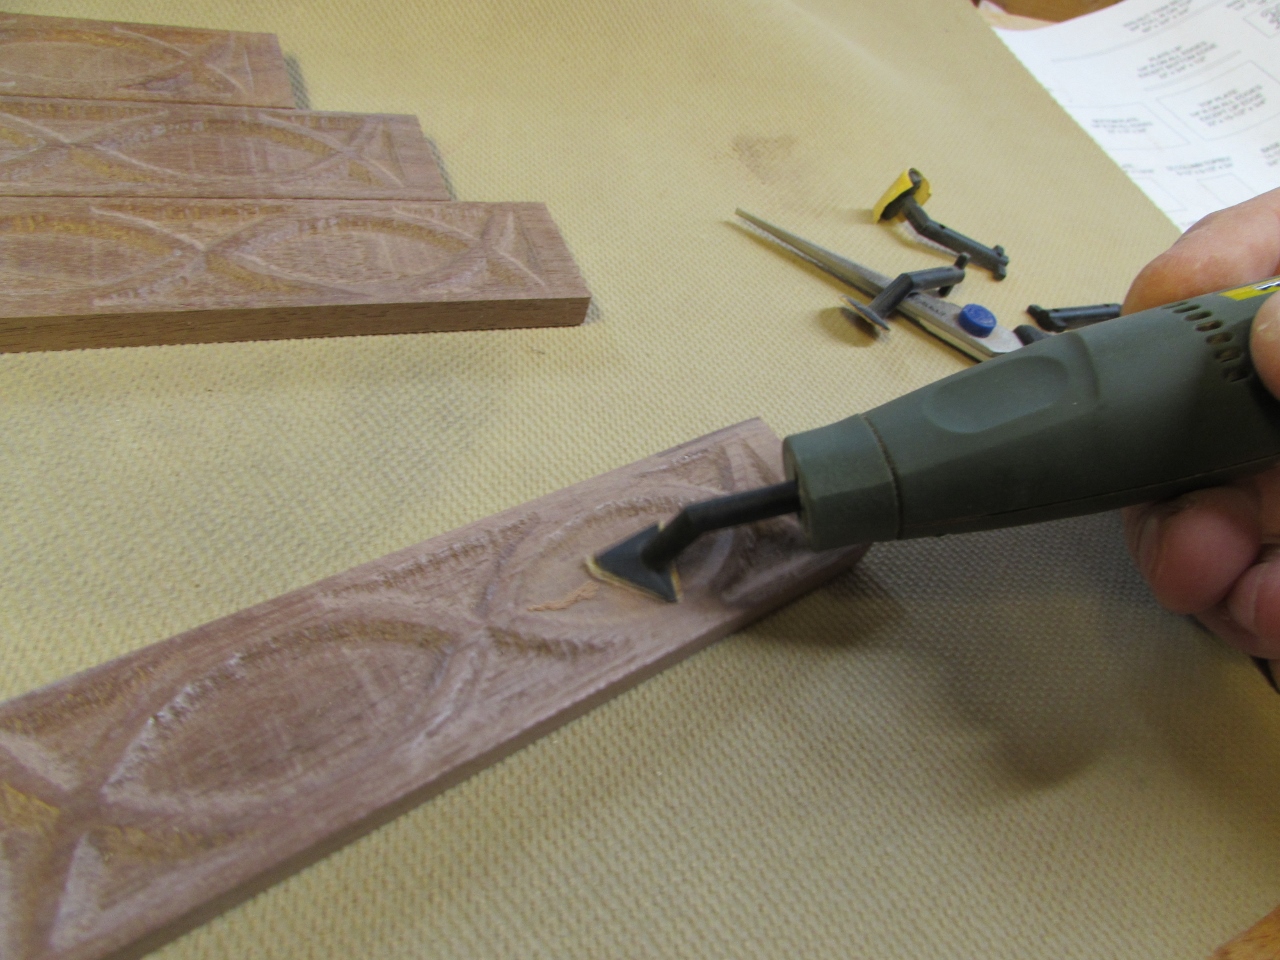
I created some simple “fish” carvings on the altar and stand, and I want to replicate them here. I created a new program for the carver and set it carving while I was repairing the column.
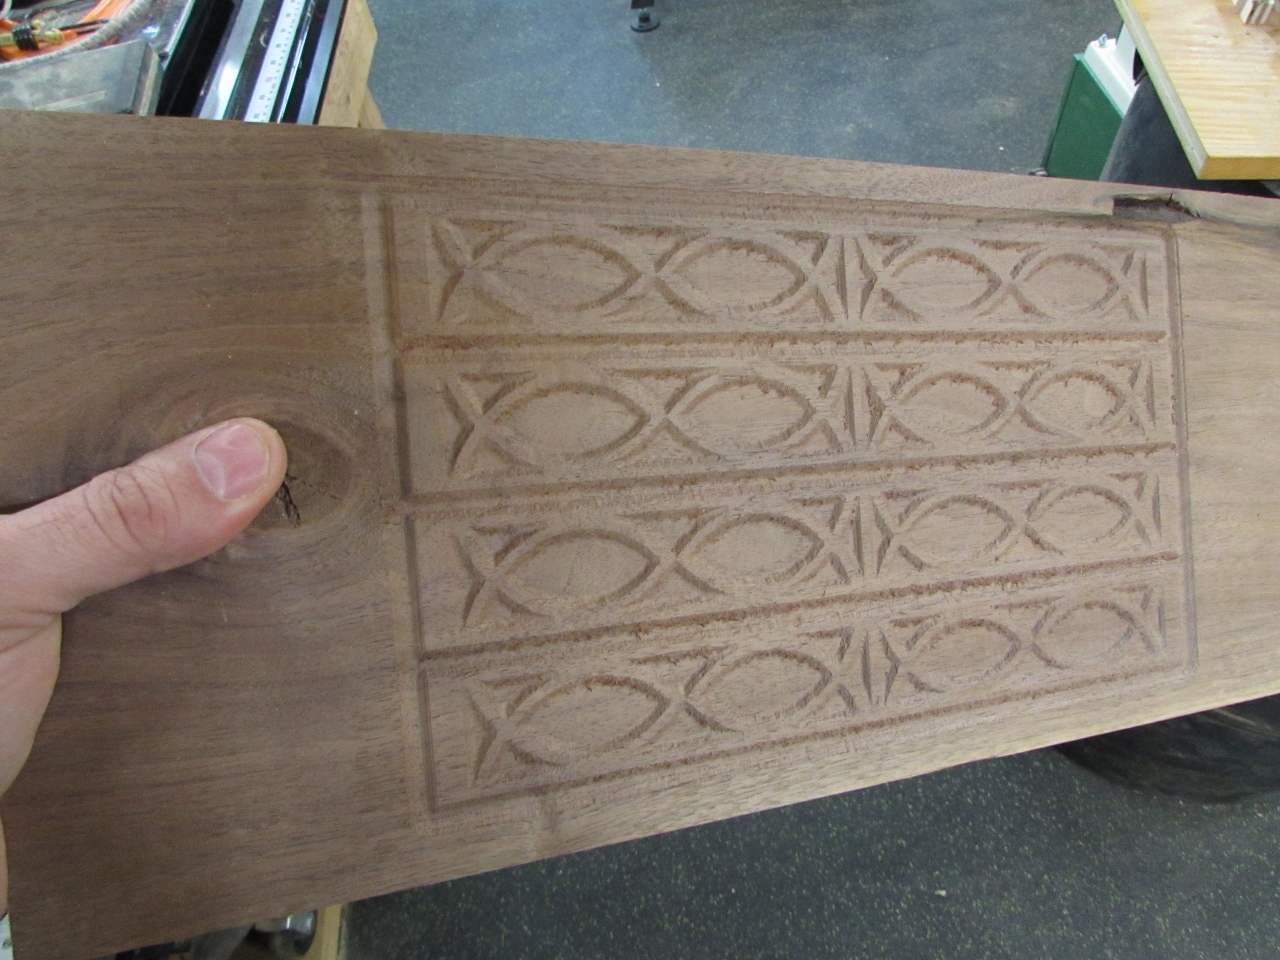
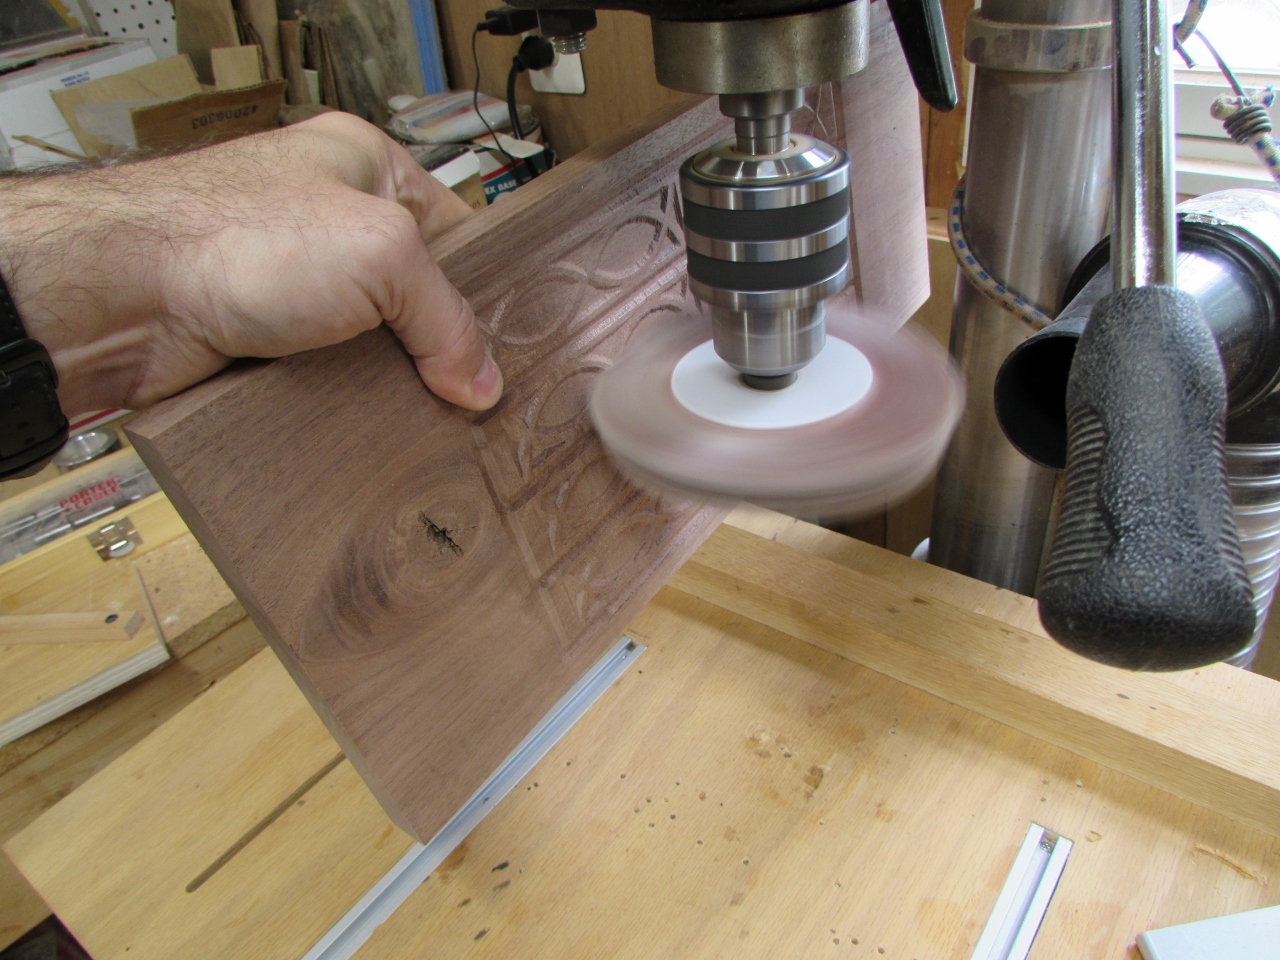
I used my sanding mop to clean up most of the carving. I will do a more detailed sanding job later.

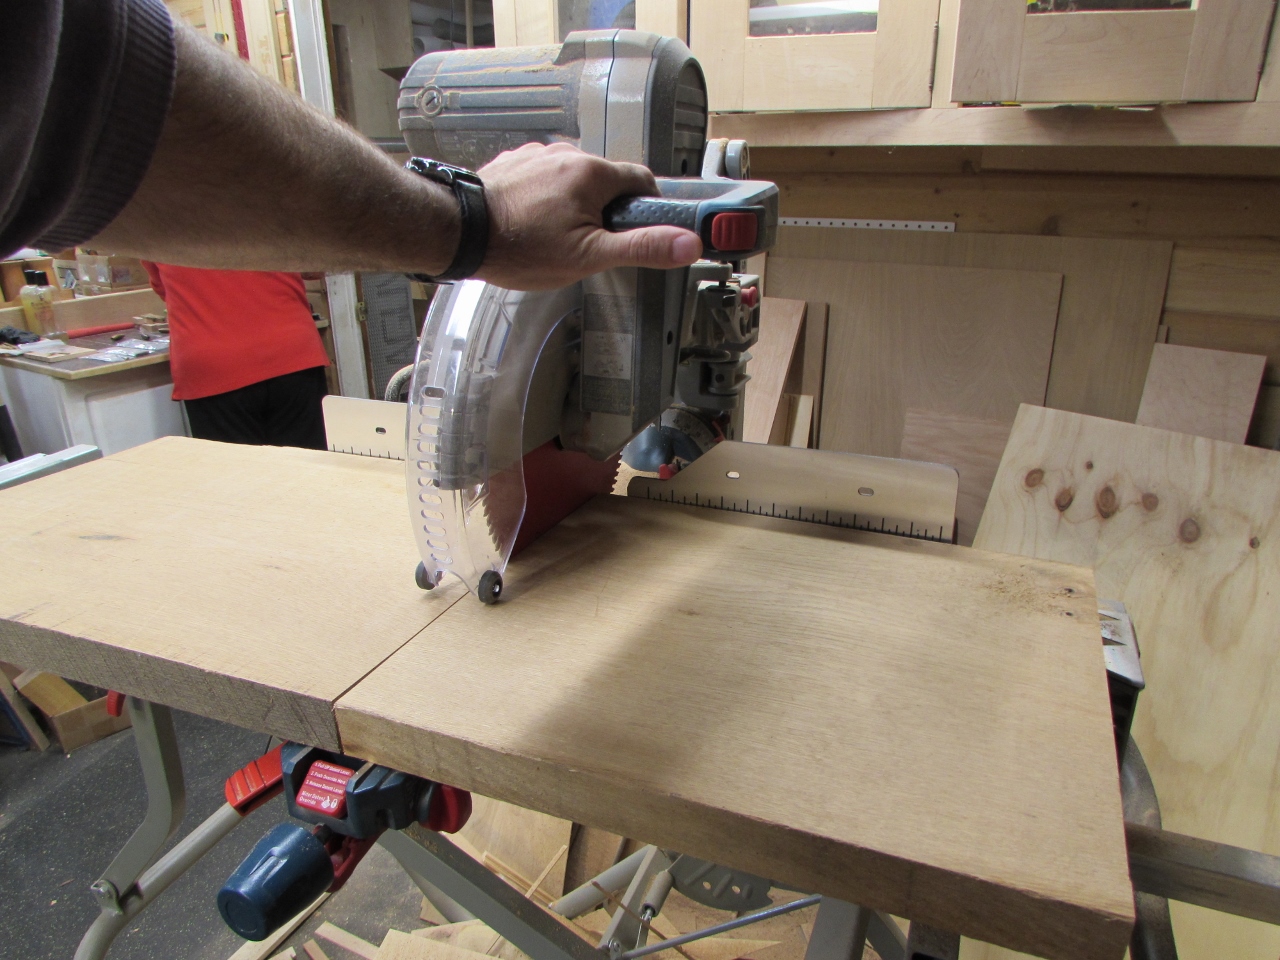
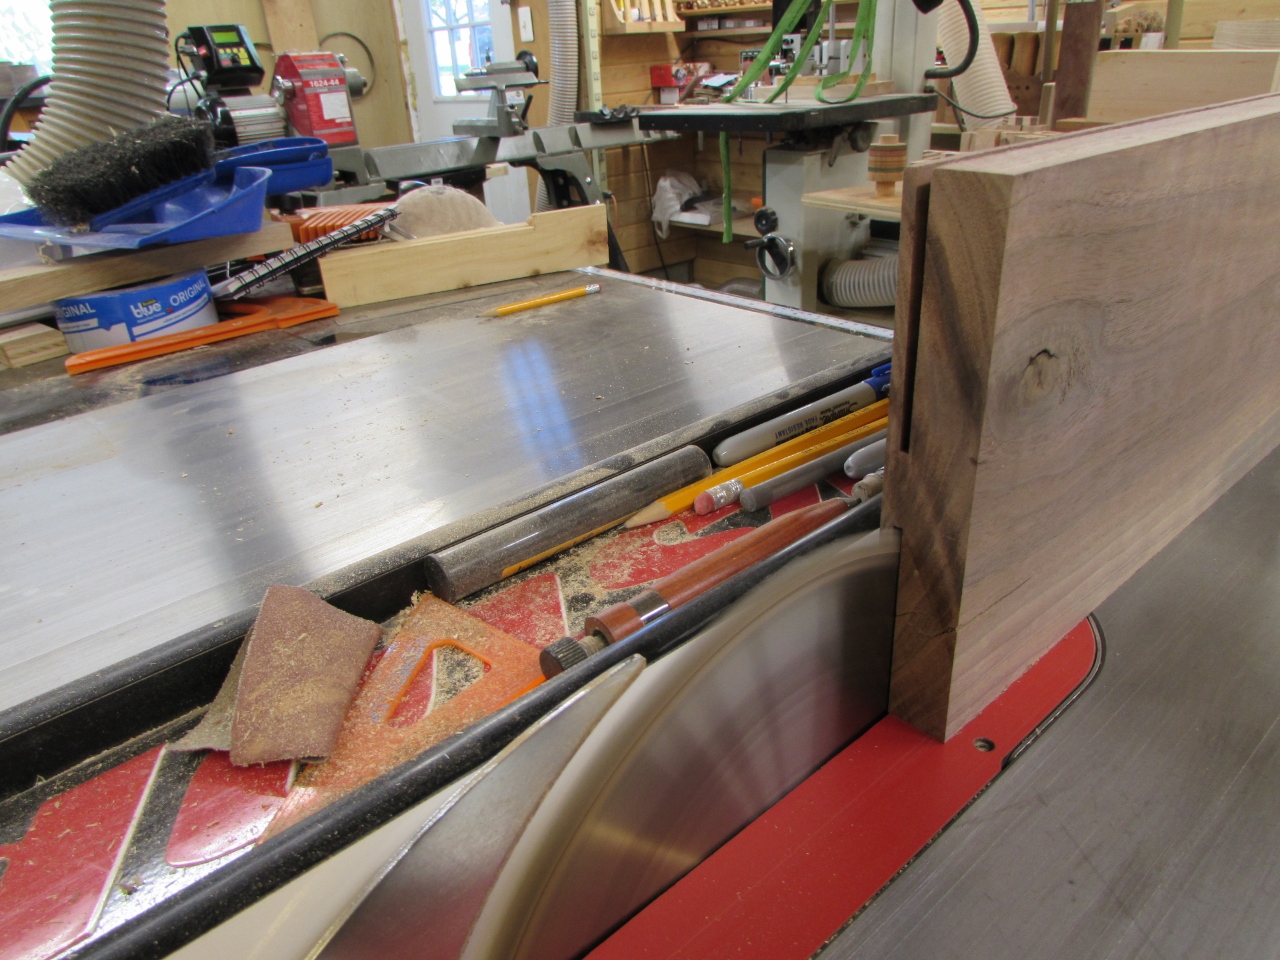
I cut the individual fish panels down to size on the table saw.

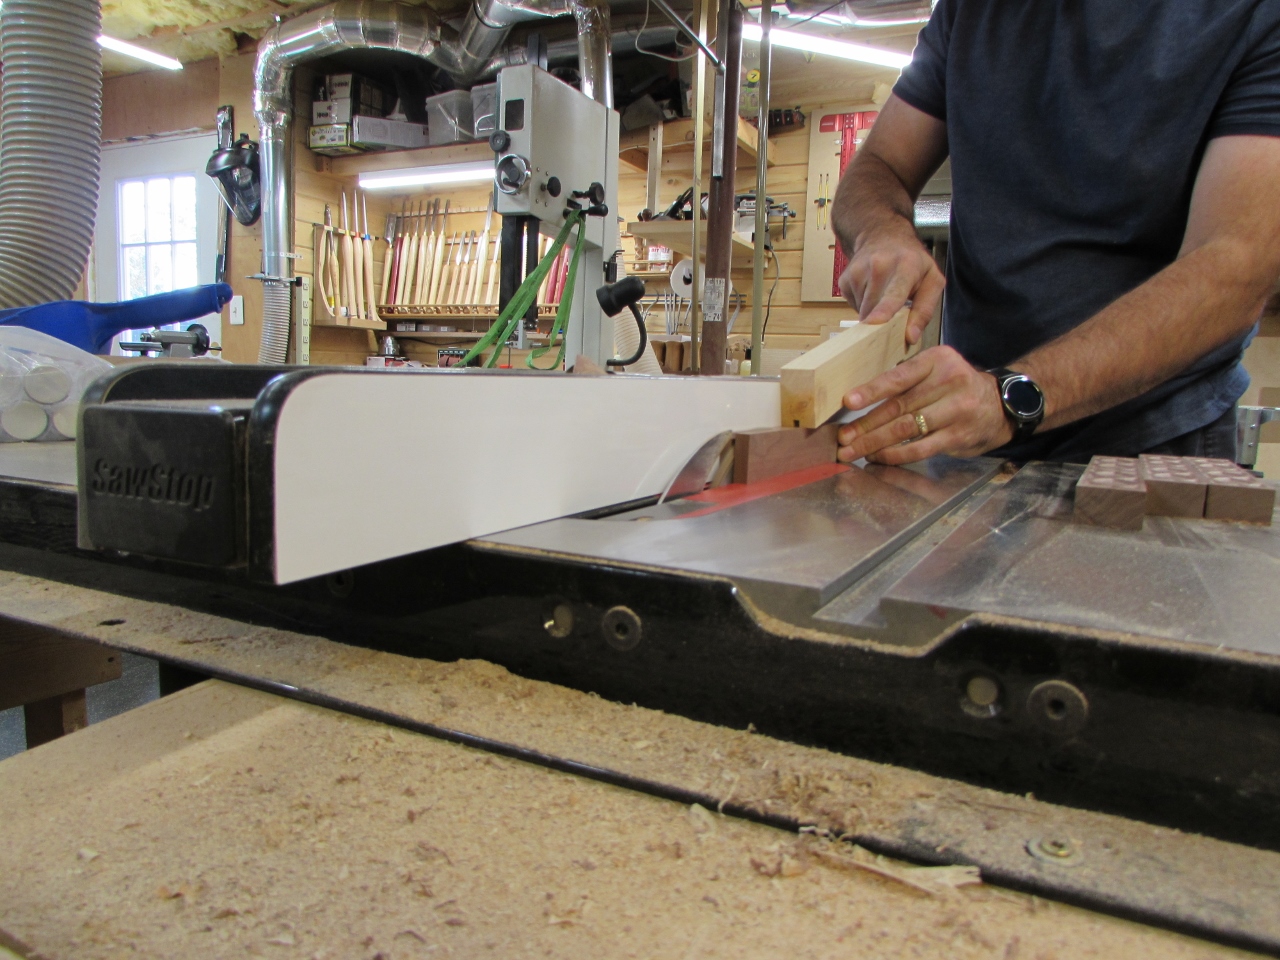
Then I re-sawed them down to a 1/4″ thick plate.
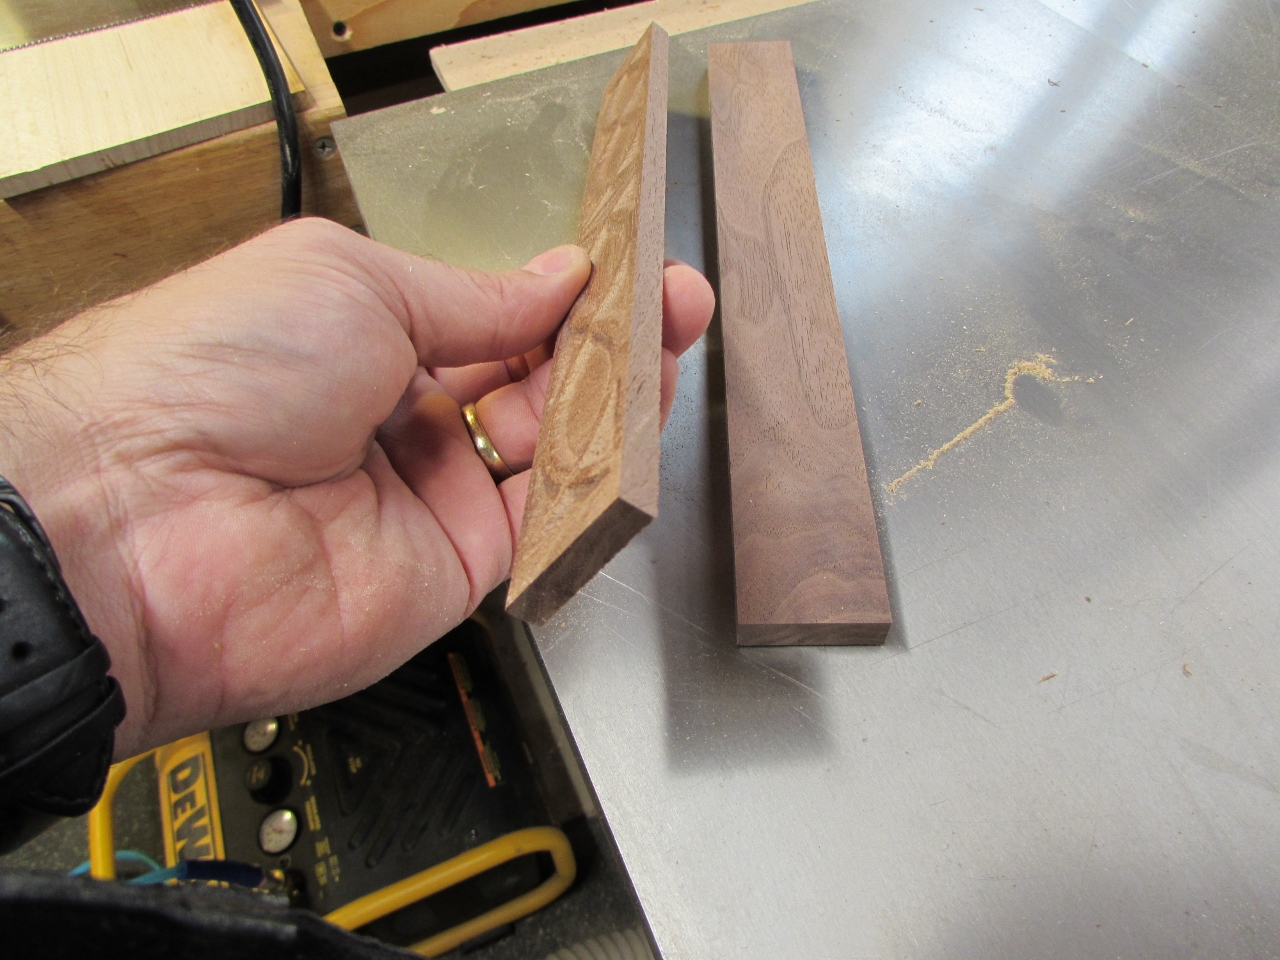
A little more detail sanding and then I set them aside for assembly later.
I dug out the end cut from the base of the altar, still hiding on my wood rack after five years.
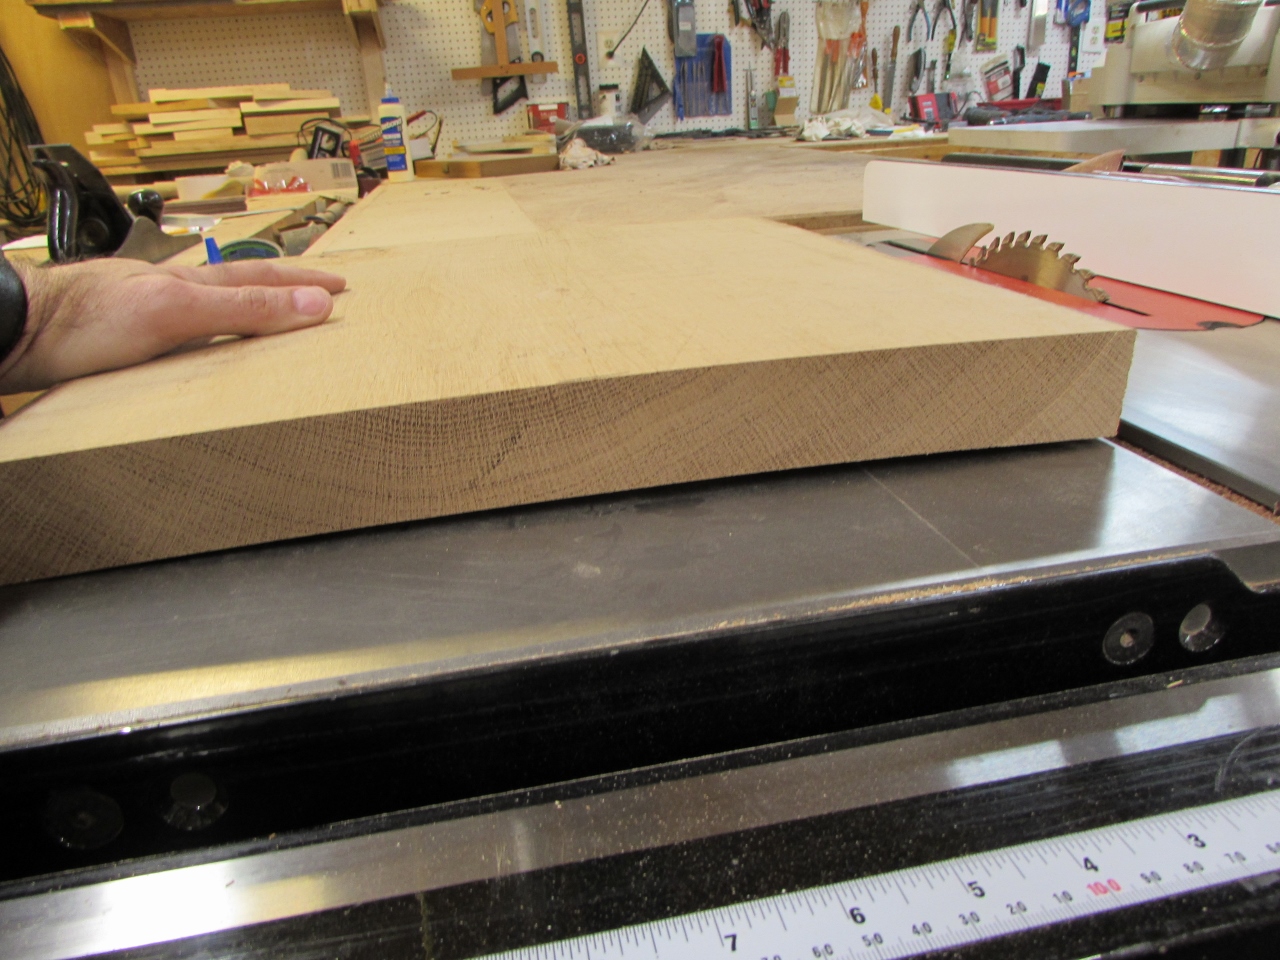
This will become the base of the lectern, hopefully adding some weight to the bottom to aid in stability.
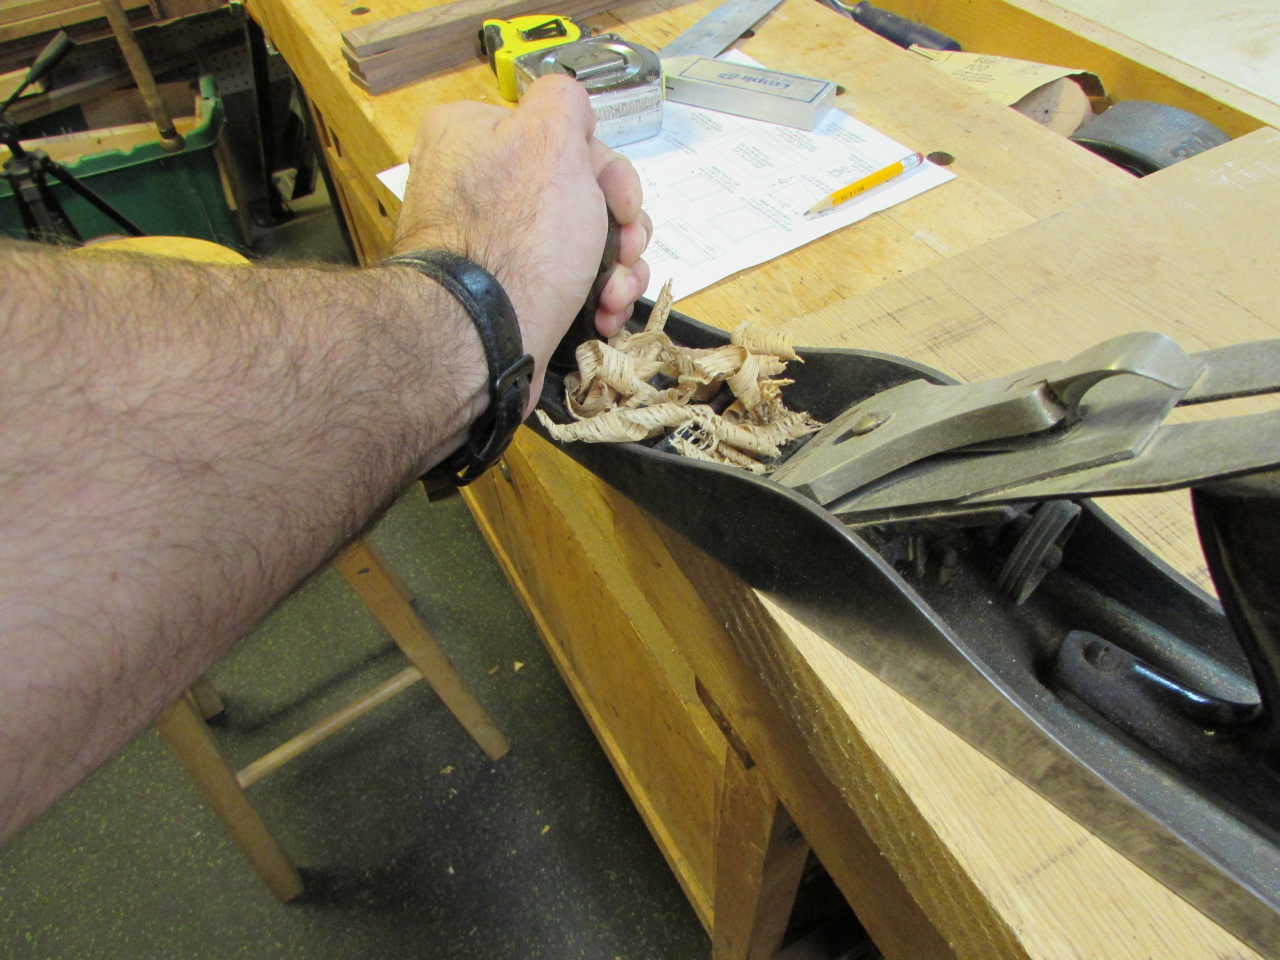
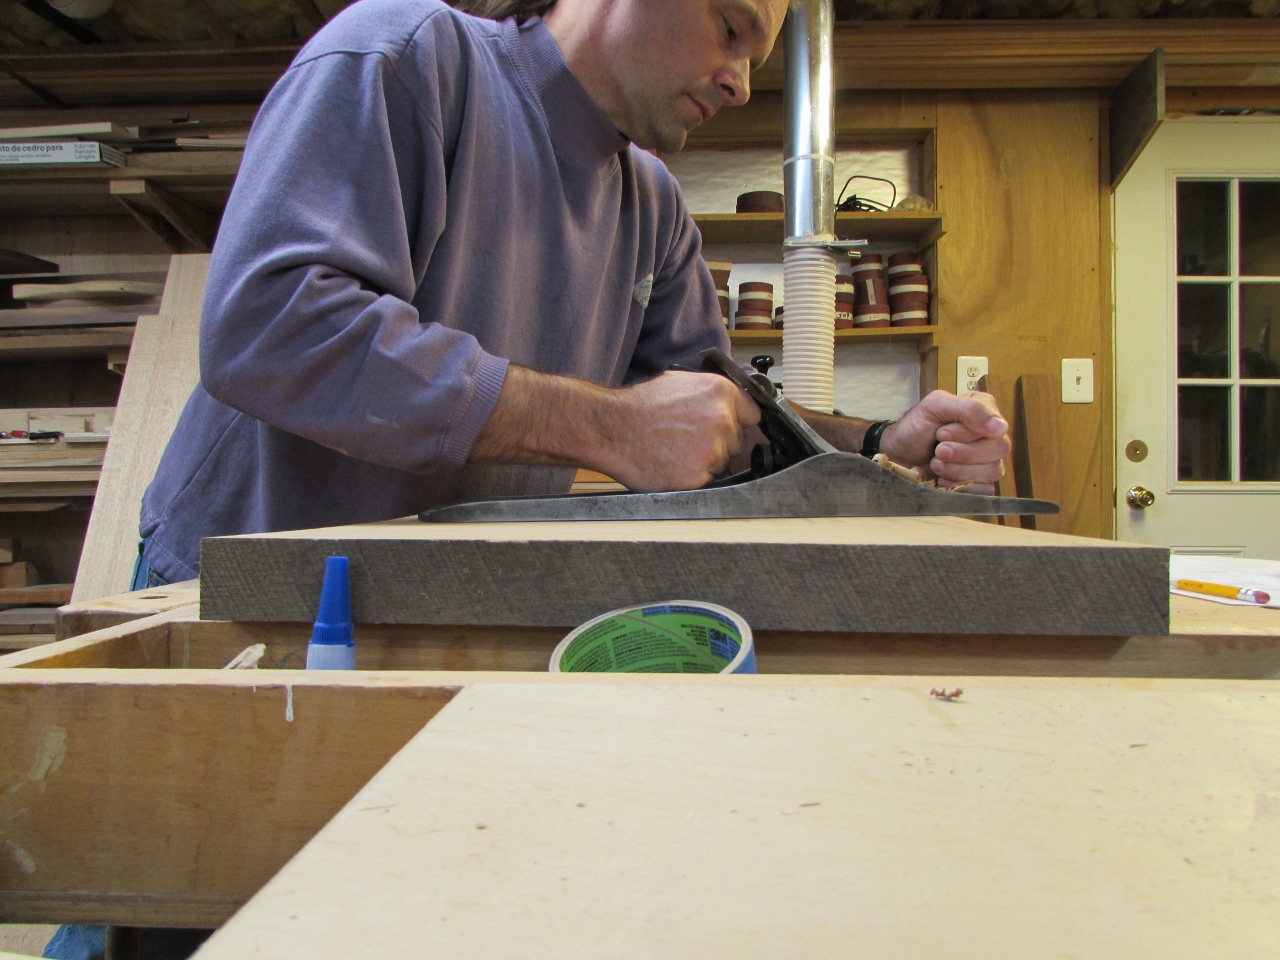
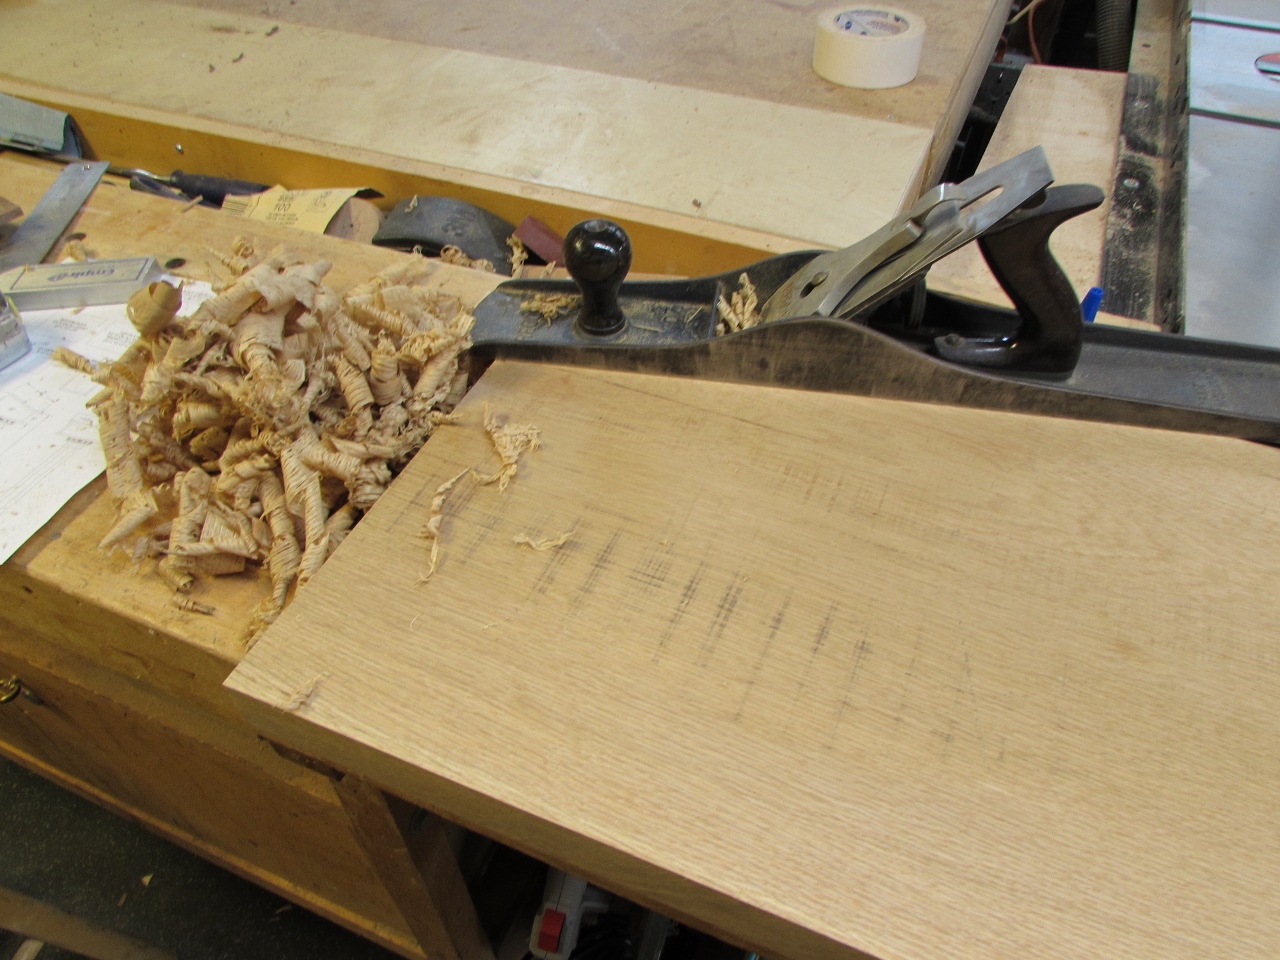
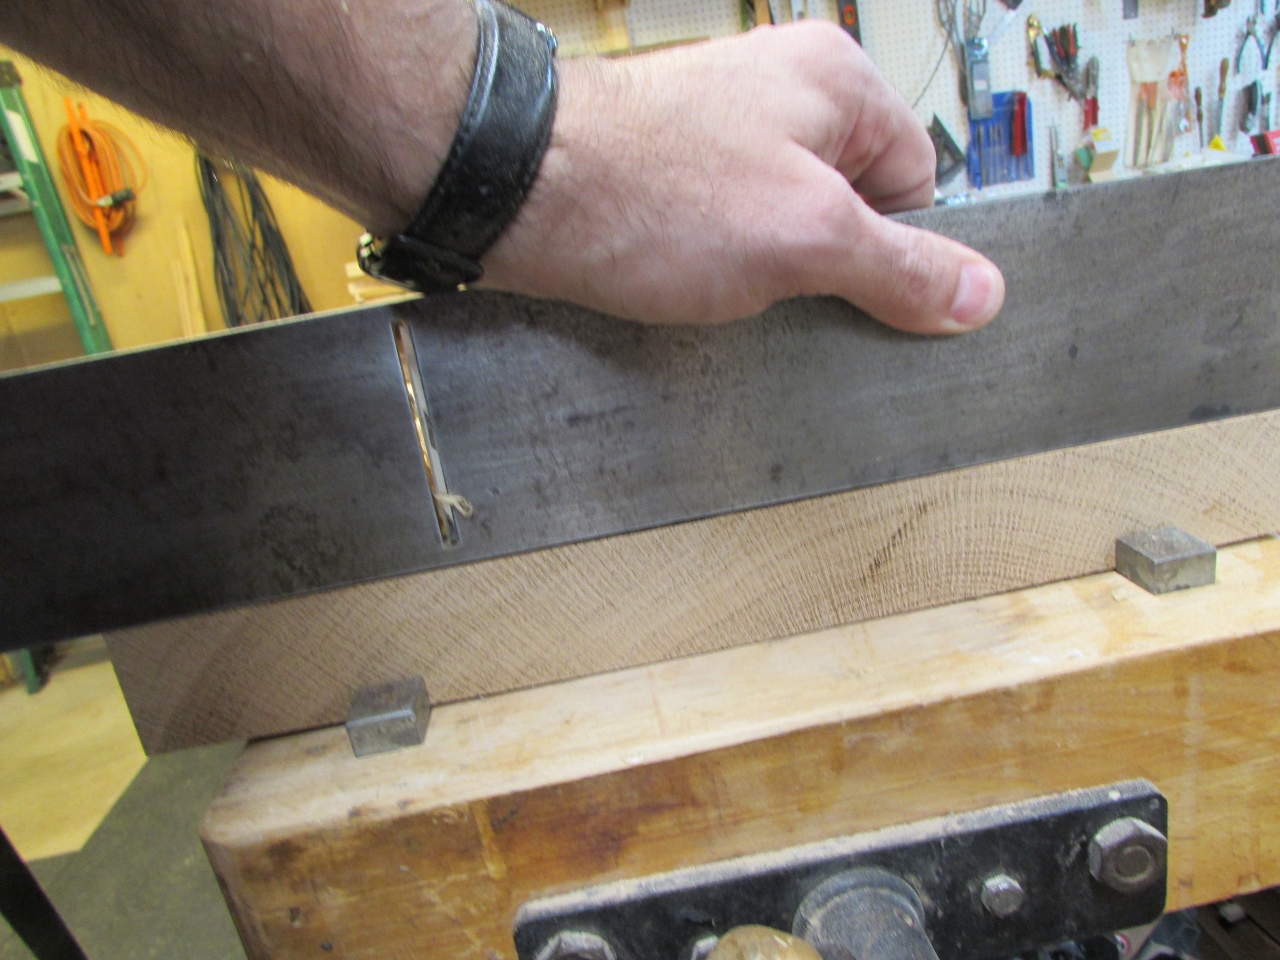
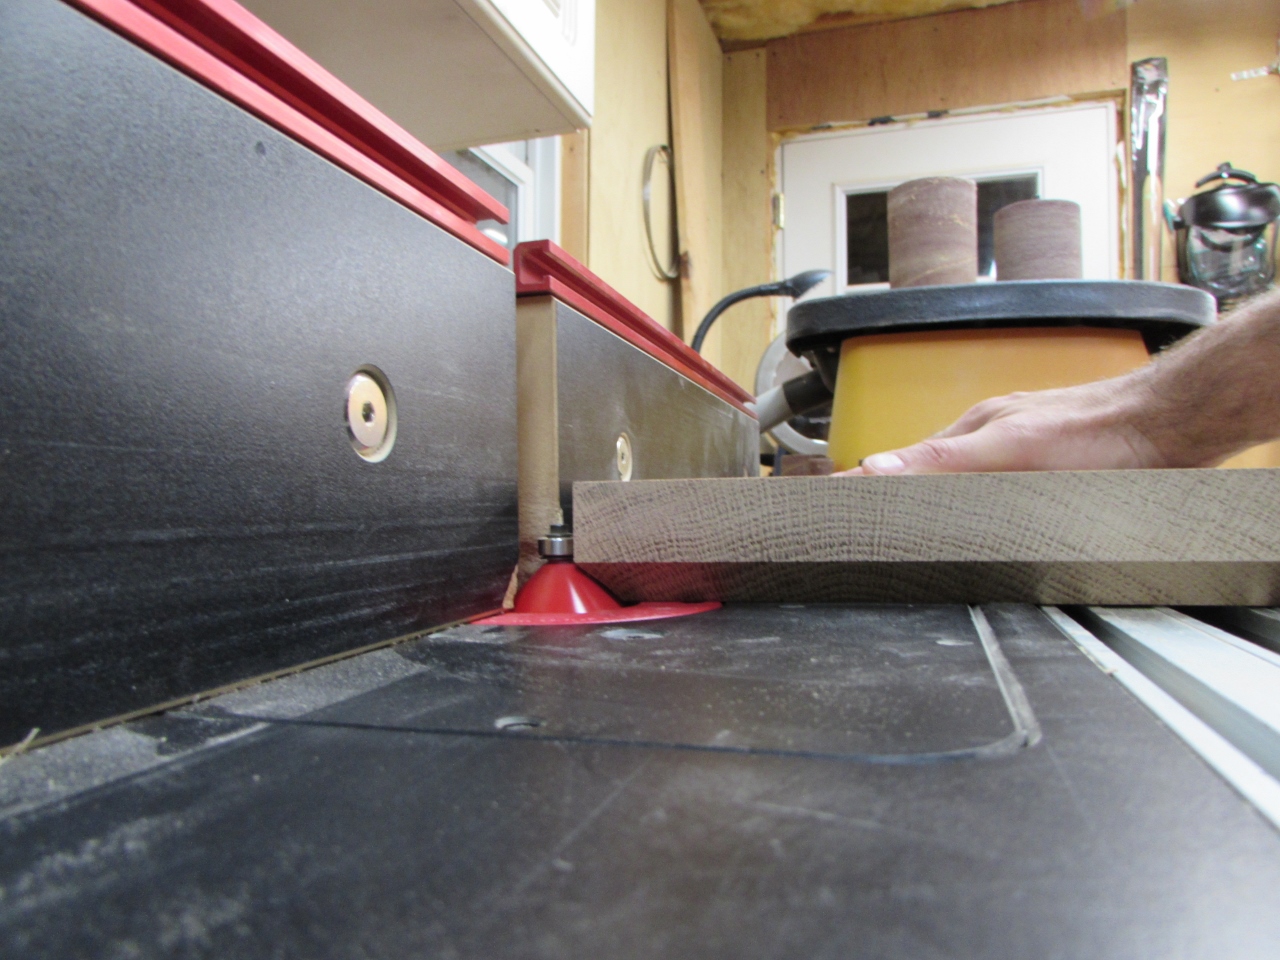
The board had cupped a bit while sitting on the shelf so I used my No.7 jointer plane to flatten one side.
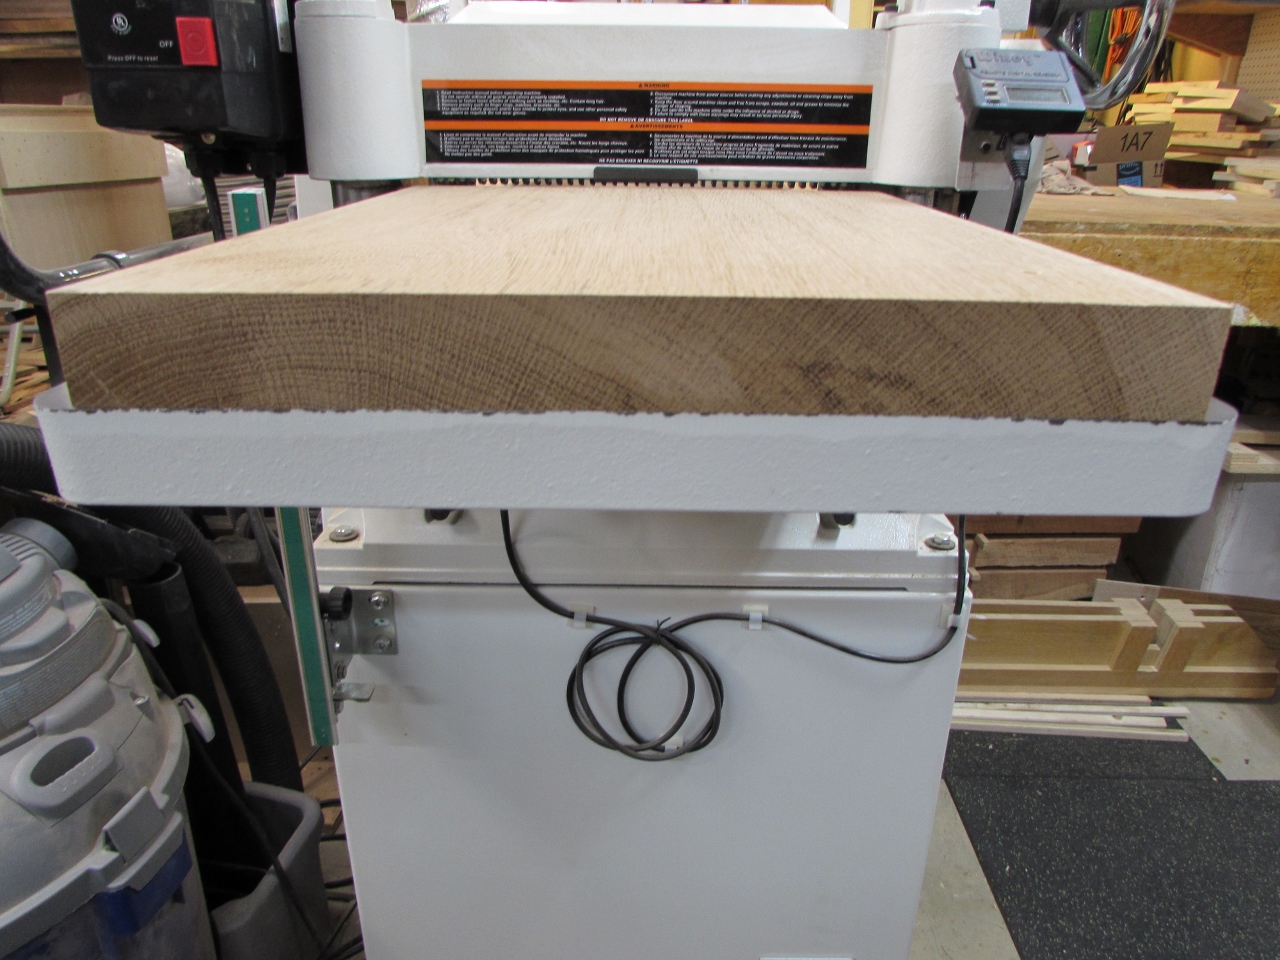
Once it was flat, I took it over to the planer to make the other side parallel.

One quick pass on each side and the board was flat and clean.

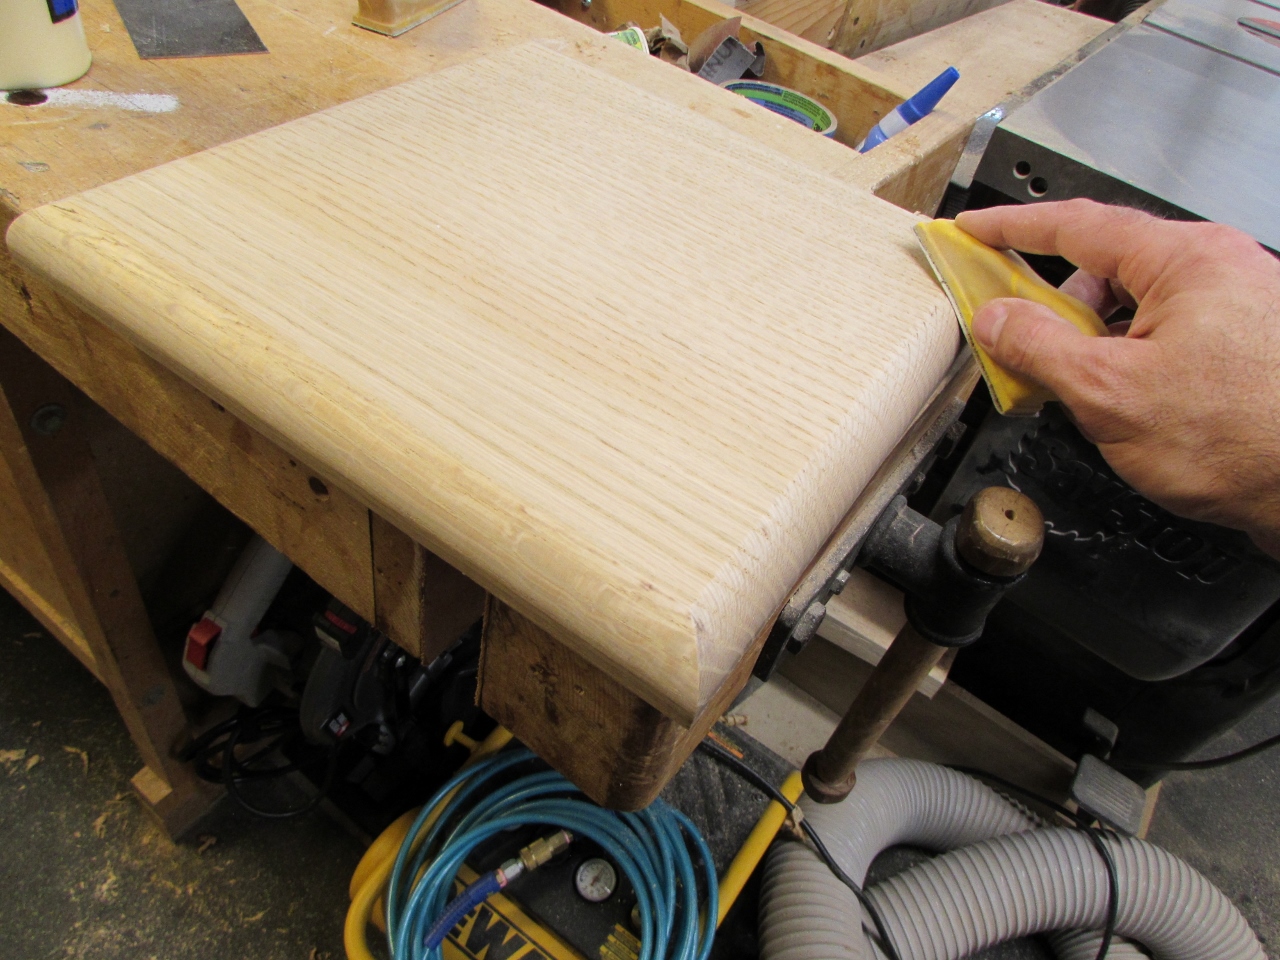
I cut the board square, then loaded a 45 degree bit into my router table to create a chamfer all the way around.

With a little sanding, the first layer of the base was done.
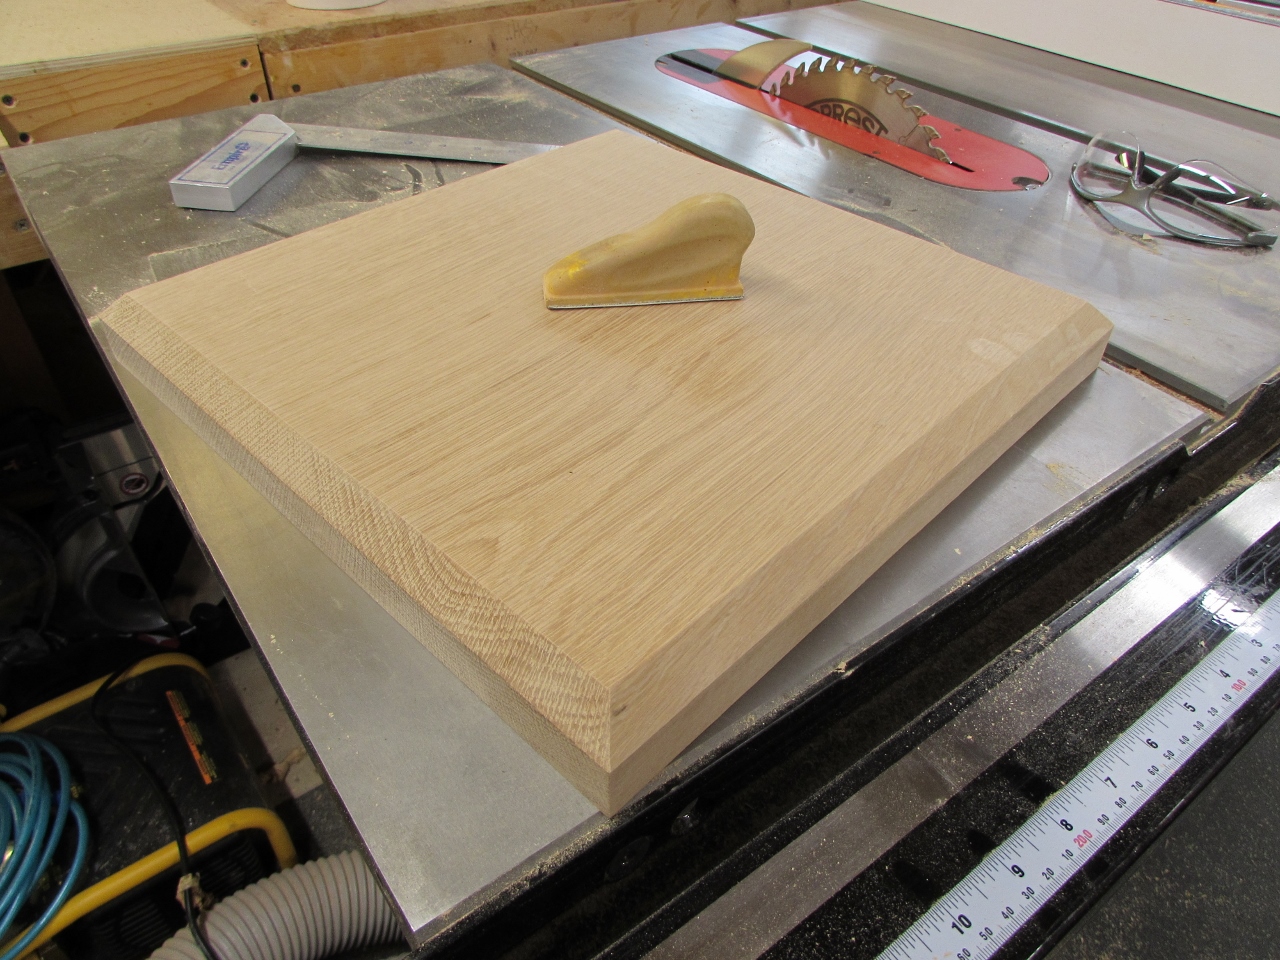

For the second layer, I needed a 1″ thick piece. Since I don’t have much 1″ stock, I had to do a glue-up to get the right size piece.
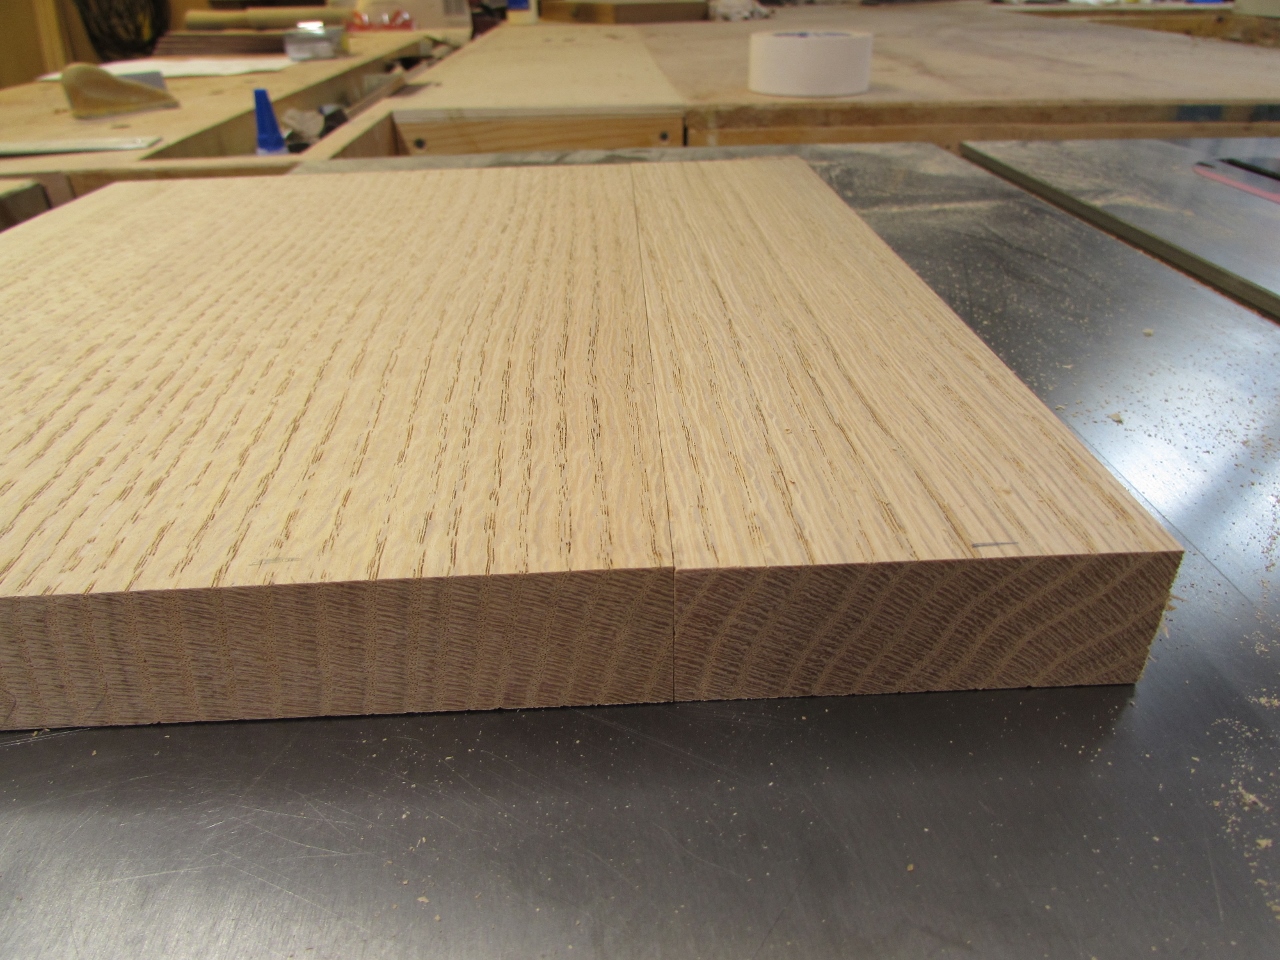

I was careful to match the grain as closely as possible since this will be a highly visible piece.

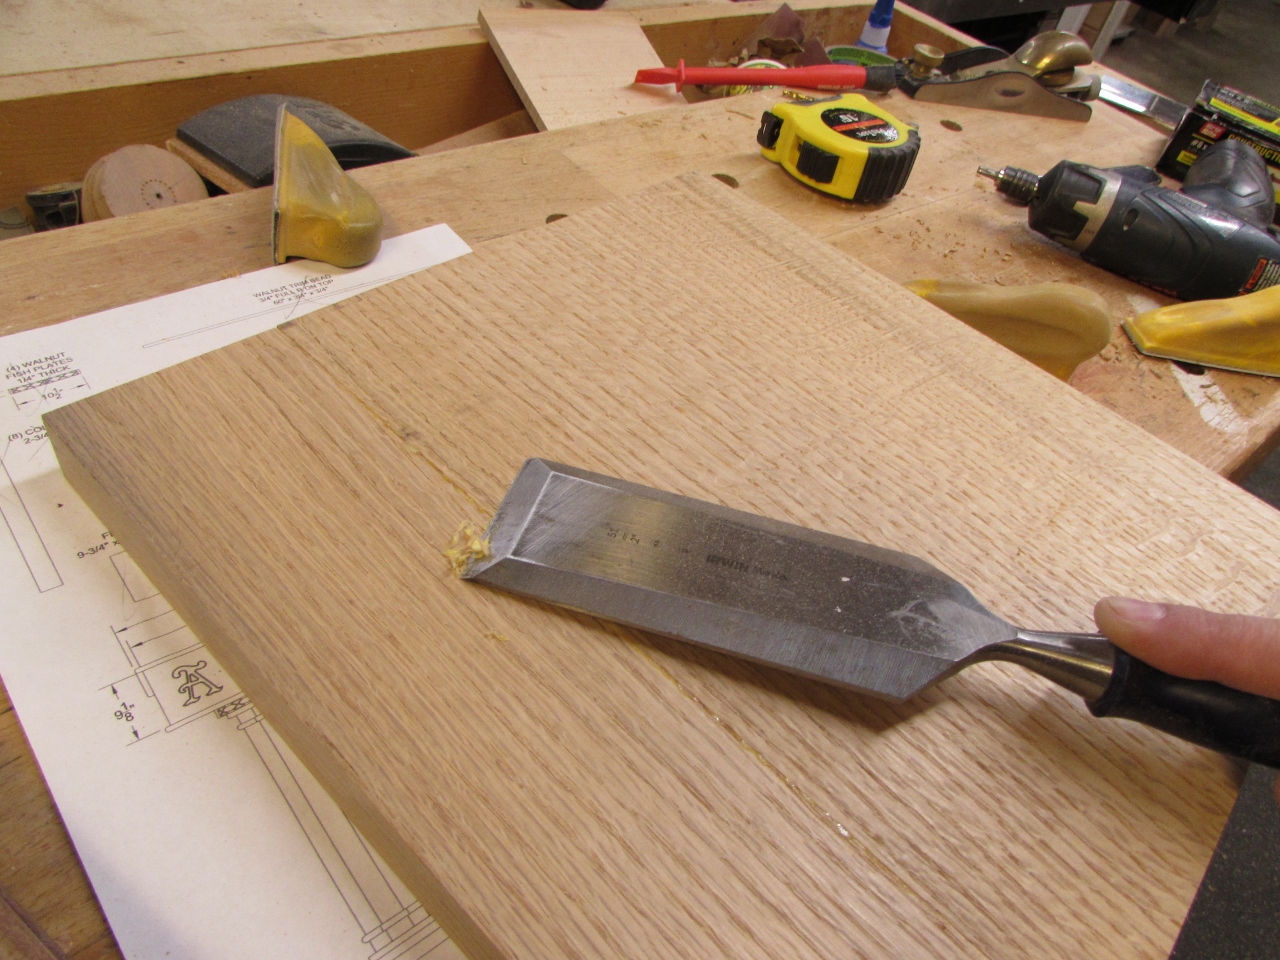
After I pulled the clamps, I used my 2″ chisel to remove the glue squeeze-out, then I used a card scraper to clean up the joint. Since I took care to not let the boards shift as the clamps were tightened, there was not a lot of cleanup at the joint.

The second layer gets a 3/4″ radius all the way around, and that was accomplished on my router table as well.
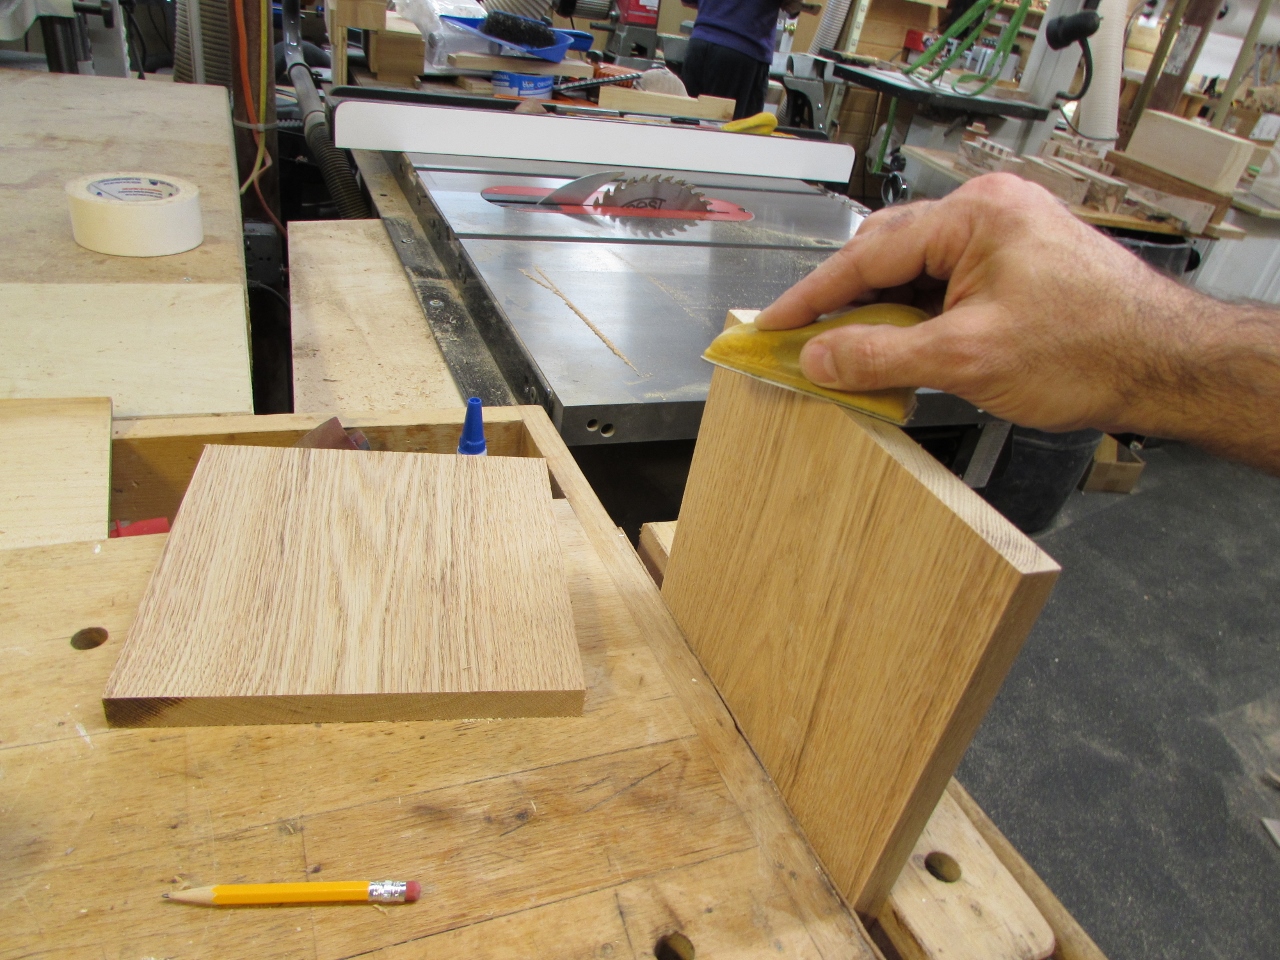
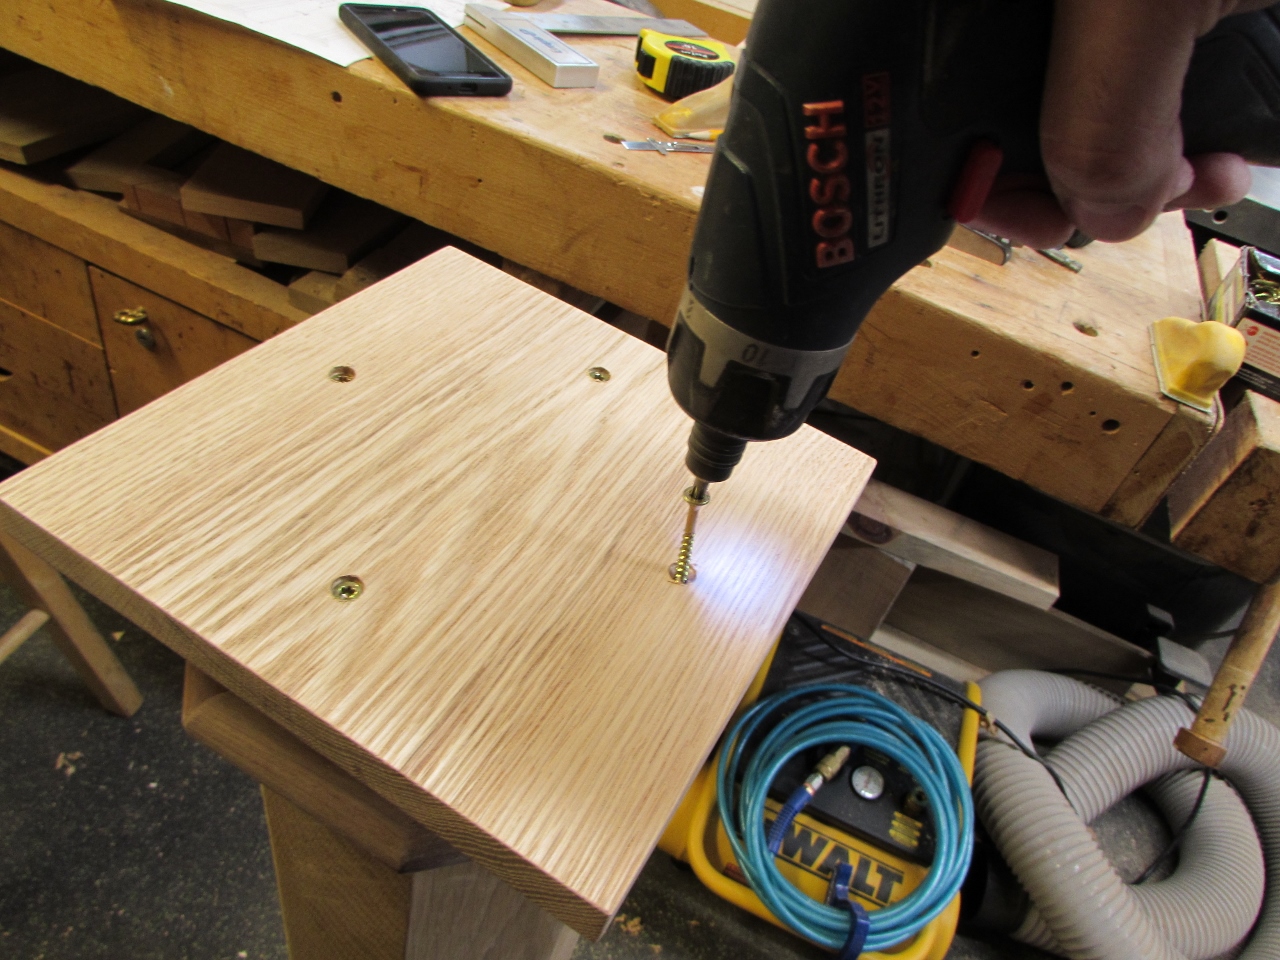
I am going with super simple for attaching the column. I cut two square plates so I could attach one to each end.
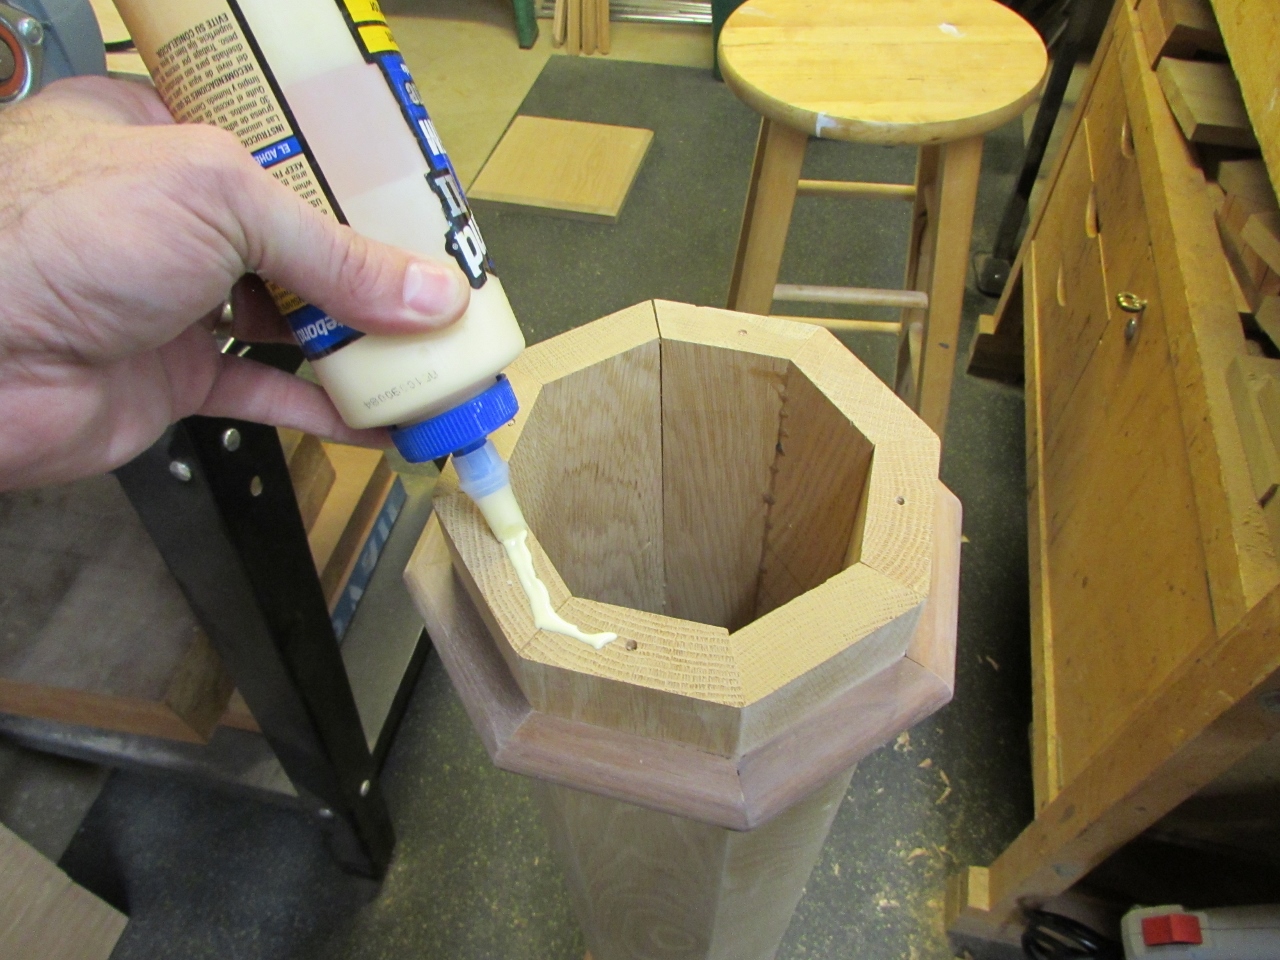
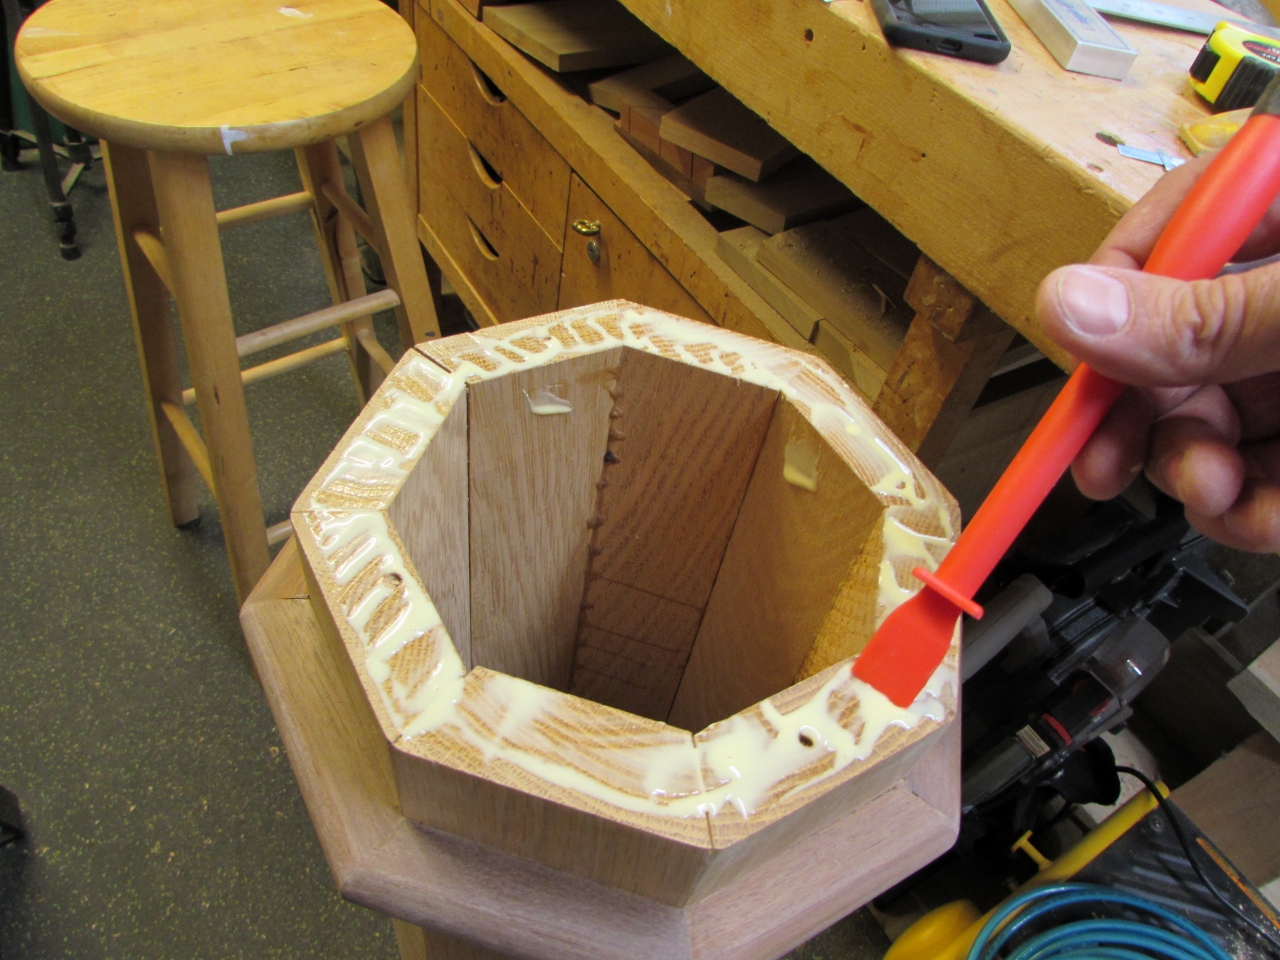
After centering and marking the first plate, I applied a bit of glue to the top of the column, then pre-drilled and attached the plate with 2″ construction screws.

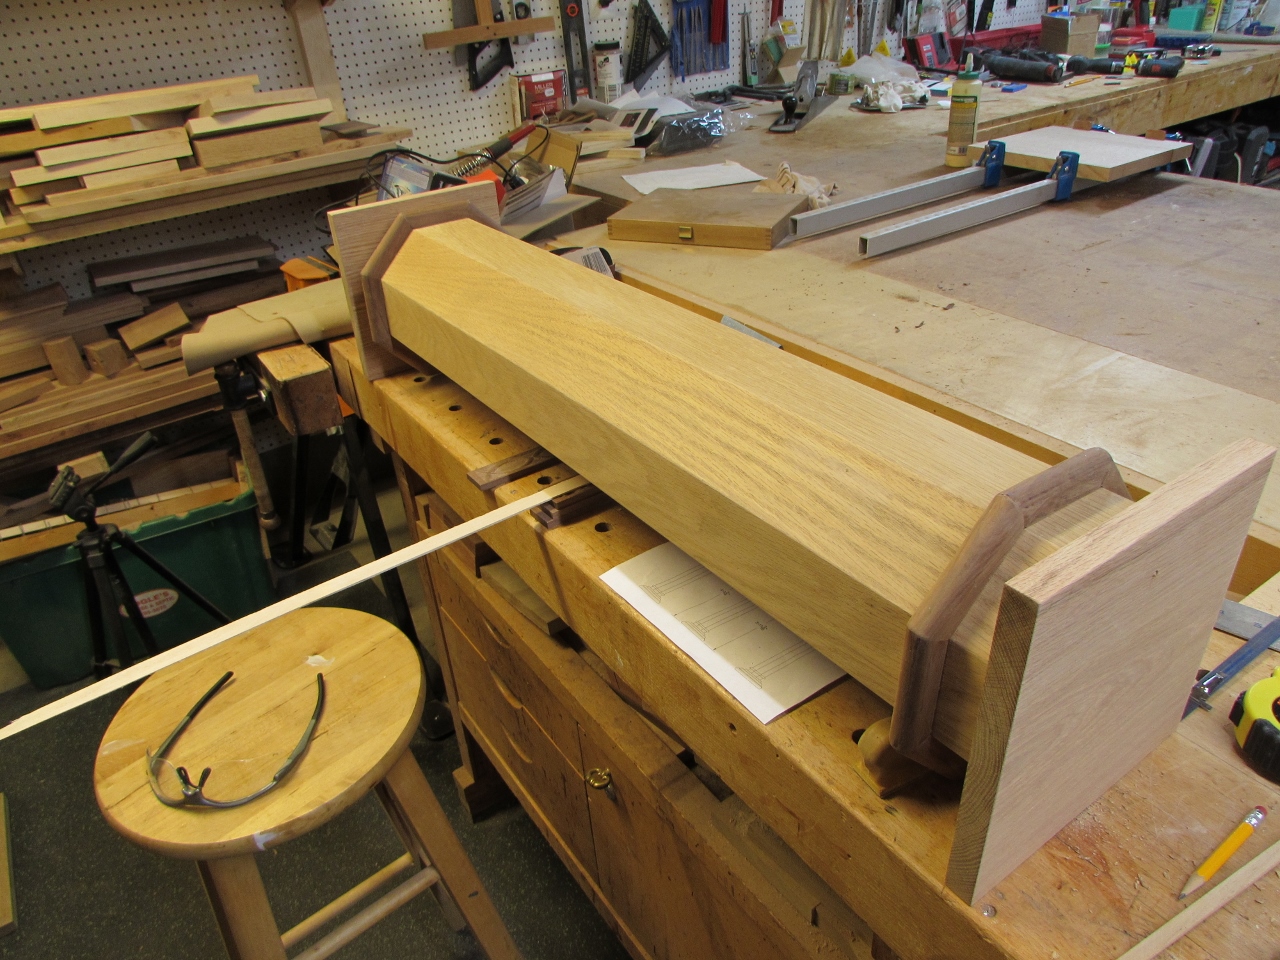
The same process was applied to the bottom plate as well, but I laid the column sideways, and supported it in the middle, so the two plates would be attached parallel to each other.
I carefully centered the two base pieces and marked the location.

Then I repeated the process with the column.

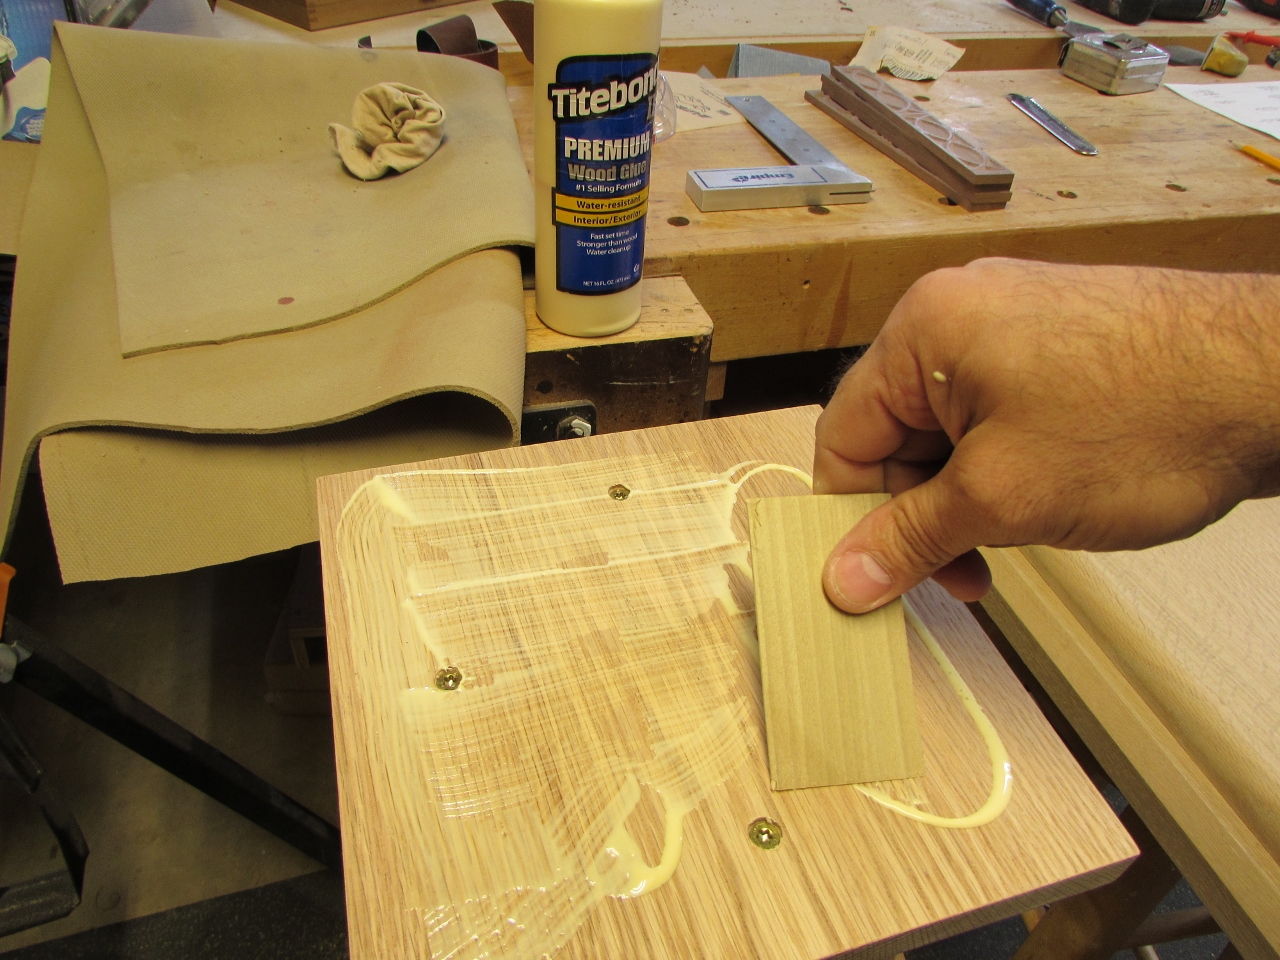
I applied some glue to the bottom of the column, then placed the top base layer on it upside down so I could attach it with brad nails.
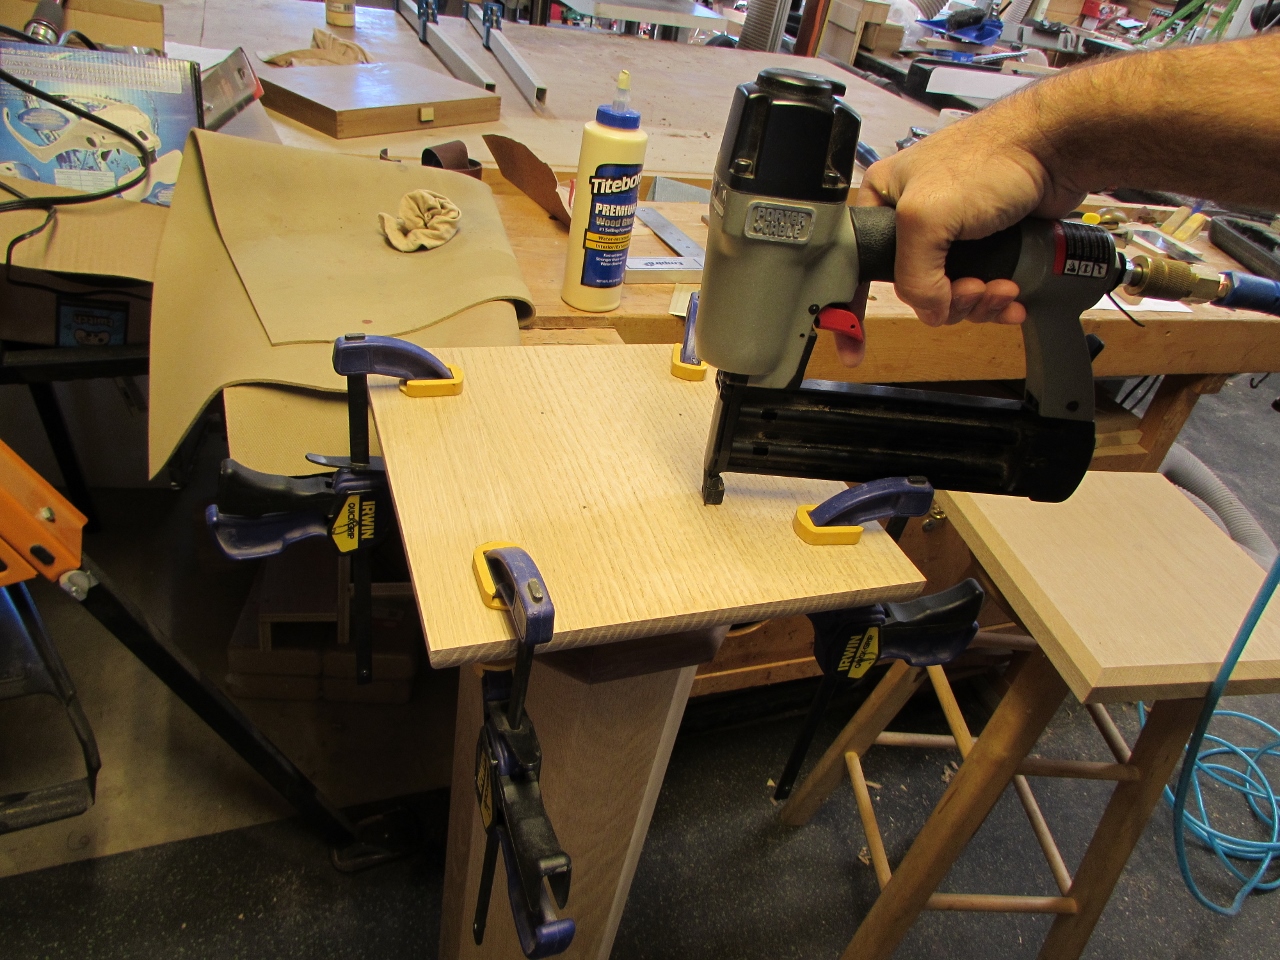
This was repeated with the bottom base piece as well. Since this will be the bottom of the column, I made sure to set the brad nails well below the surface so they would not scratch the floor.

I flipped the column back upright again and added an additional square plate to the top, gluing two pieces together to make it 1-1/8″ thick. This will give me a face to attach the fish carving to later.
While the glue on the column/base is drying, I am going to move on to the top of the lectern. One thing I need to do is inlay two crosses on the top in order to match the altar and stand. The first time I did this, it took several days because I had to cut each of the seven crosses out on the scroll saw, then trace them on the altar top and route the recess by eye using my router, free-hand. Feel free to take a look here: Inlaid crosses. Those were done just a couple of days before receiving my CNC router. Now that I have a CNC, I would like to repeat the process, but hopefully shave a couple of days off it…

The top piece will be too wide to run through my CNC, so I cut a narrower board for carving and I will join another piece to it later. I set up the CNC to start carving the recesses while I prepped the next carve.
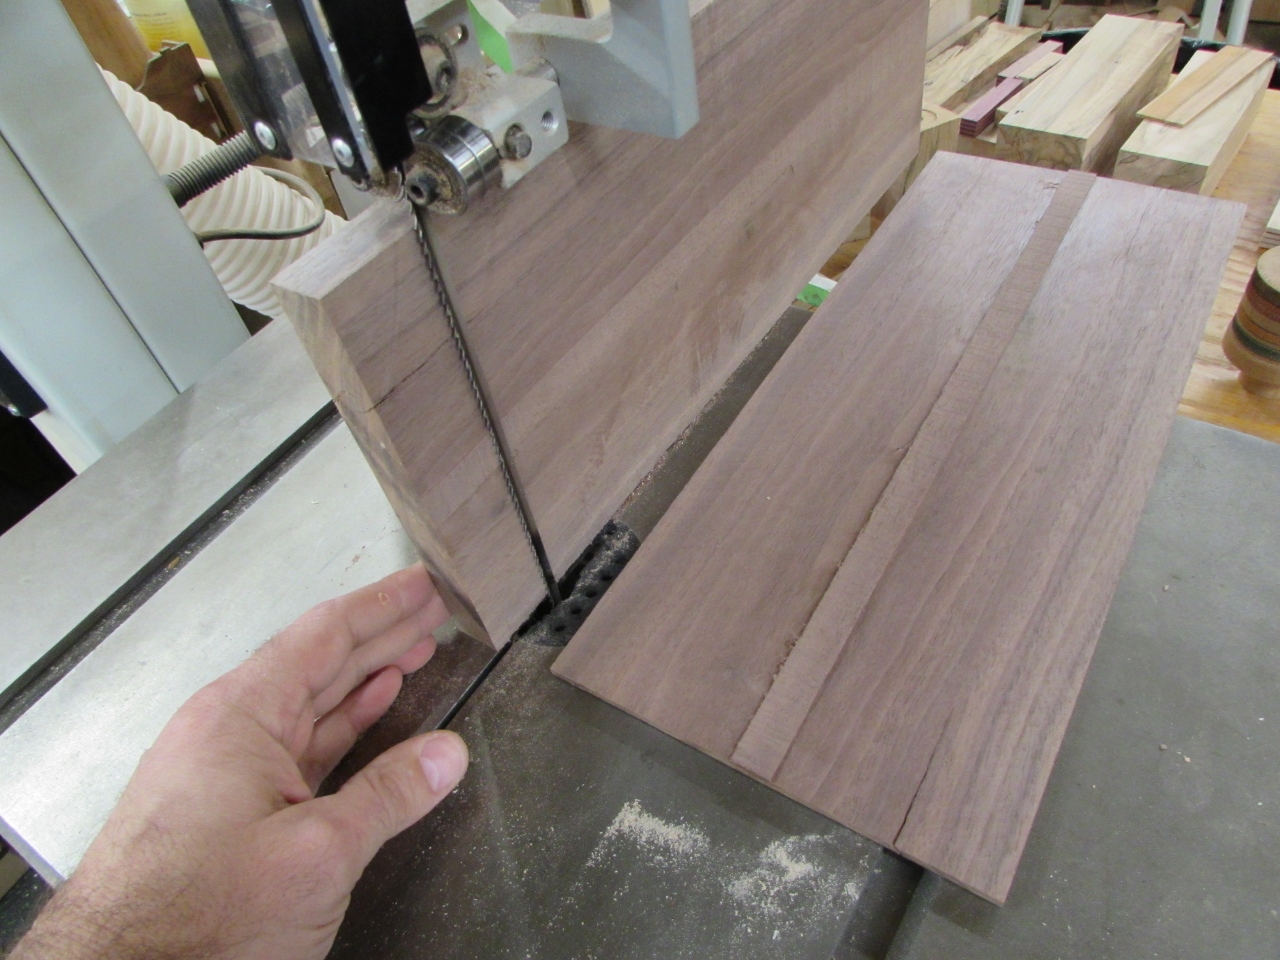
The crosses are made from 1/8″ thick walnut so I re-sawed a piece of walnut and planed it down to 1/8″ thick.
Then while the crosses were being carved, I applied some double-sided tape to a piece of particle board and stuck my walnut on it.


The particle board is a sacrificial backer board to make the board thick enough for the carver.
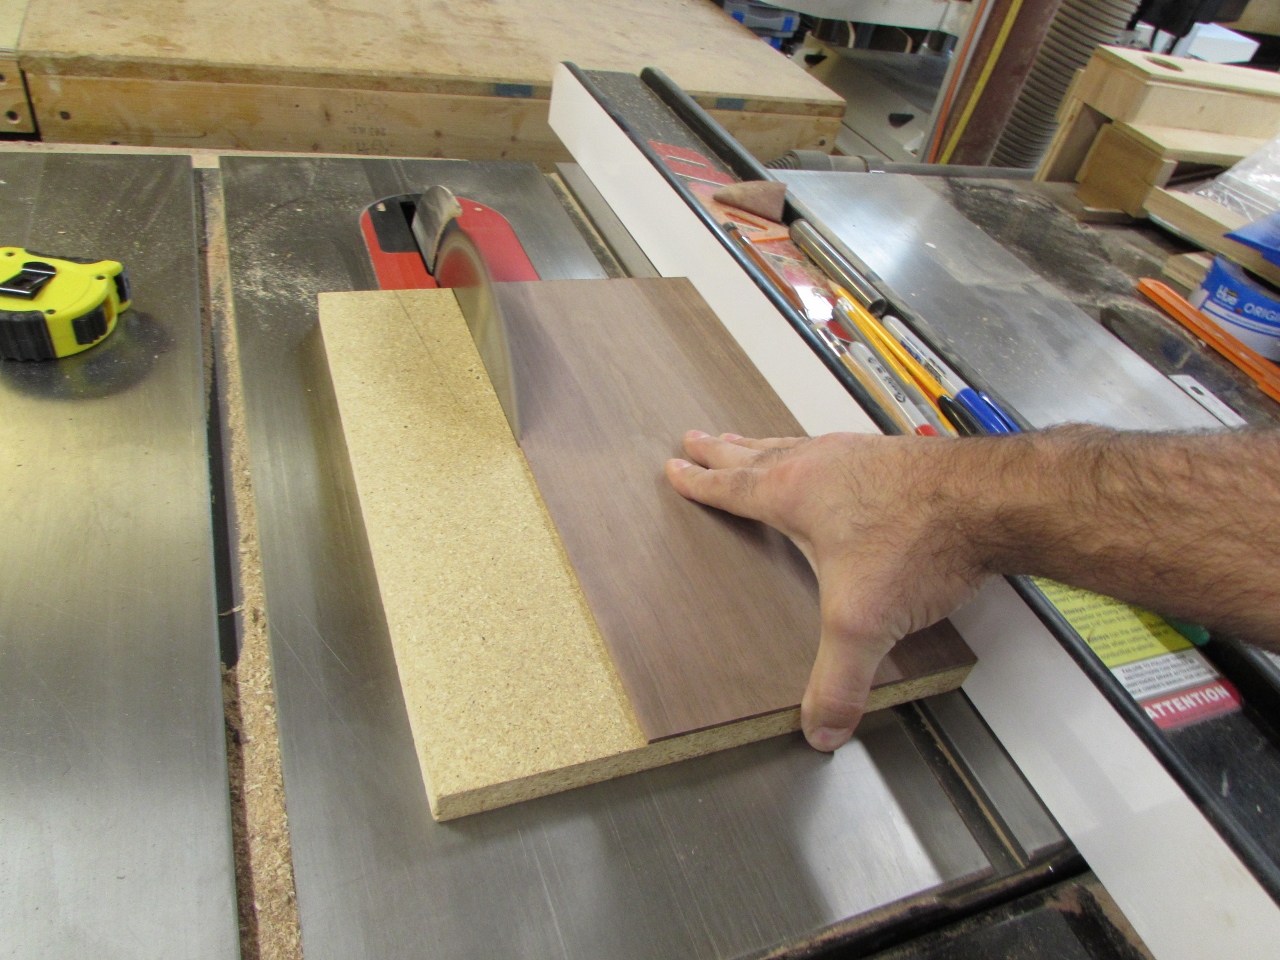
I cut away the excess and loaded it into the carver to run.

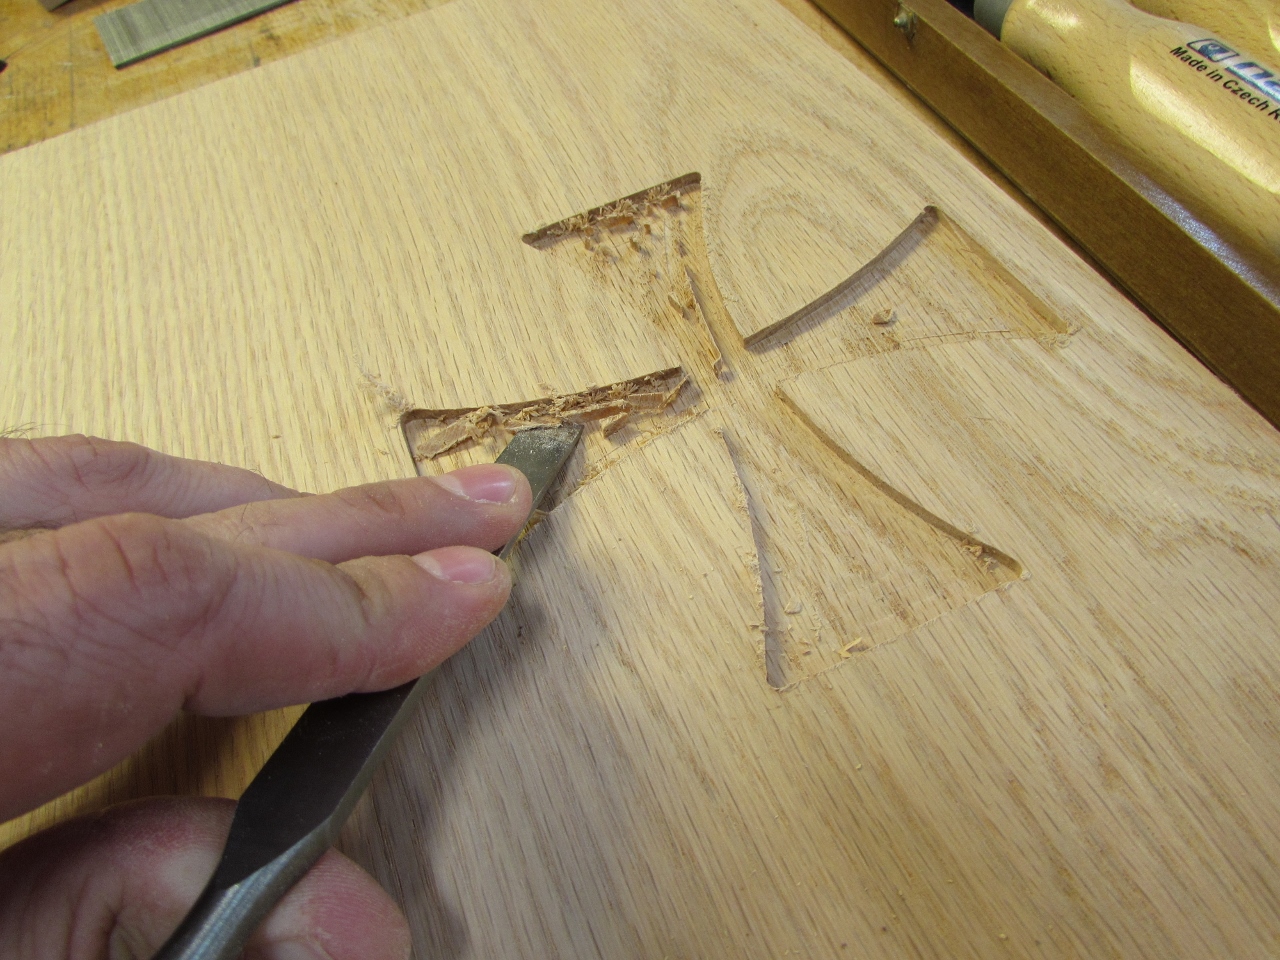
While they were getting cut out, I cleaned up the recess carve with a chisel, and squared up all of the corners.

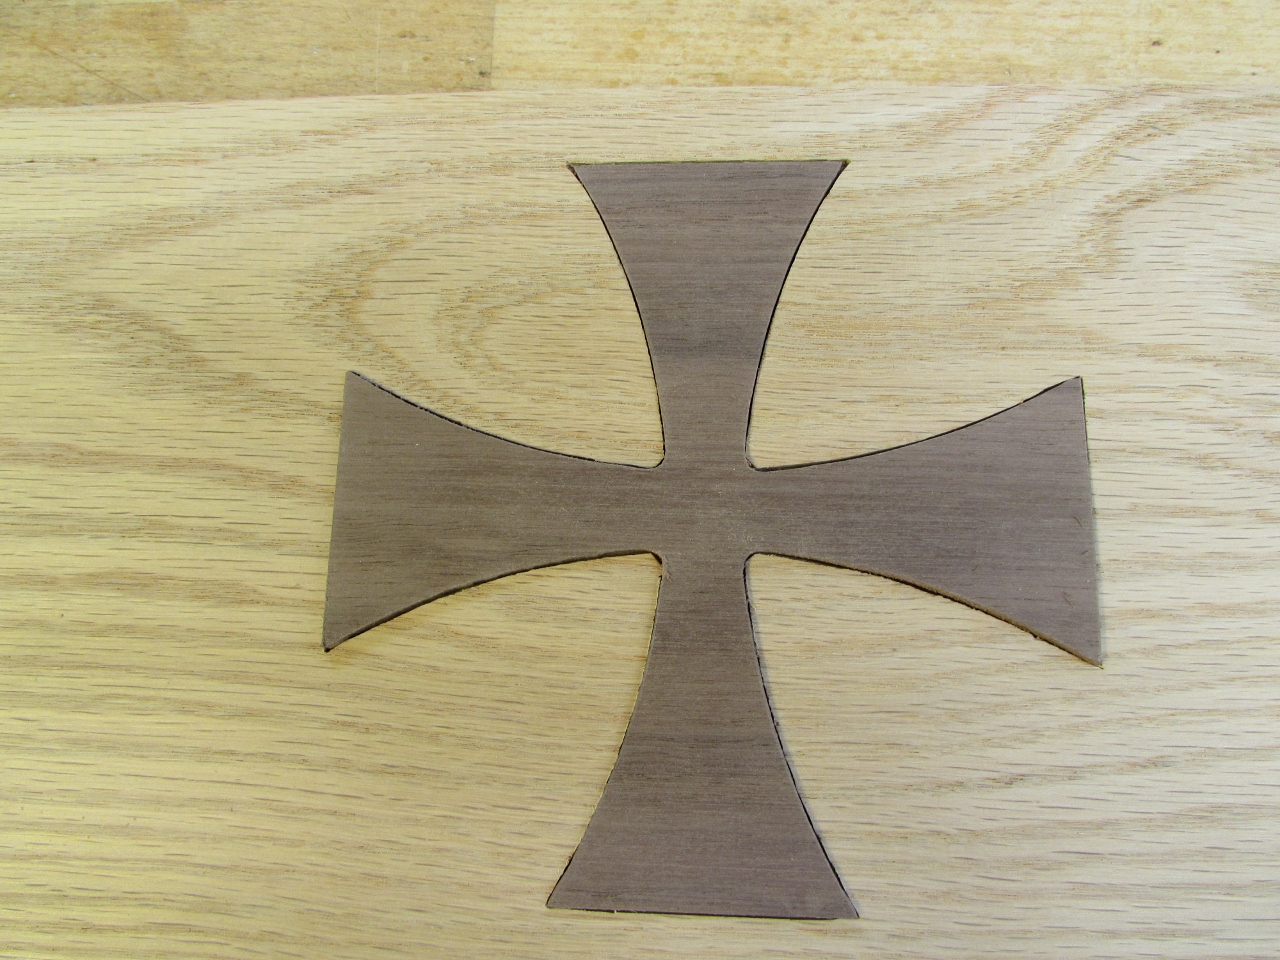
I used my wide chisel to gently pry away the crosses from the double-sided tape.

My first test fit looks pretty good.
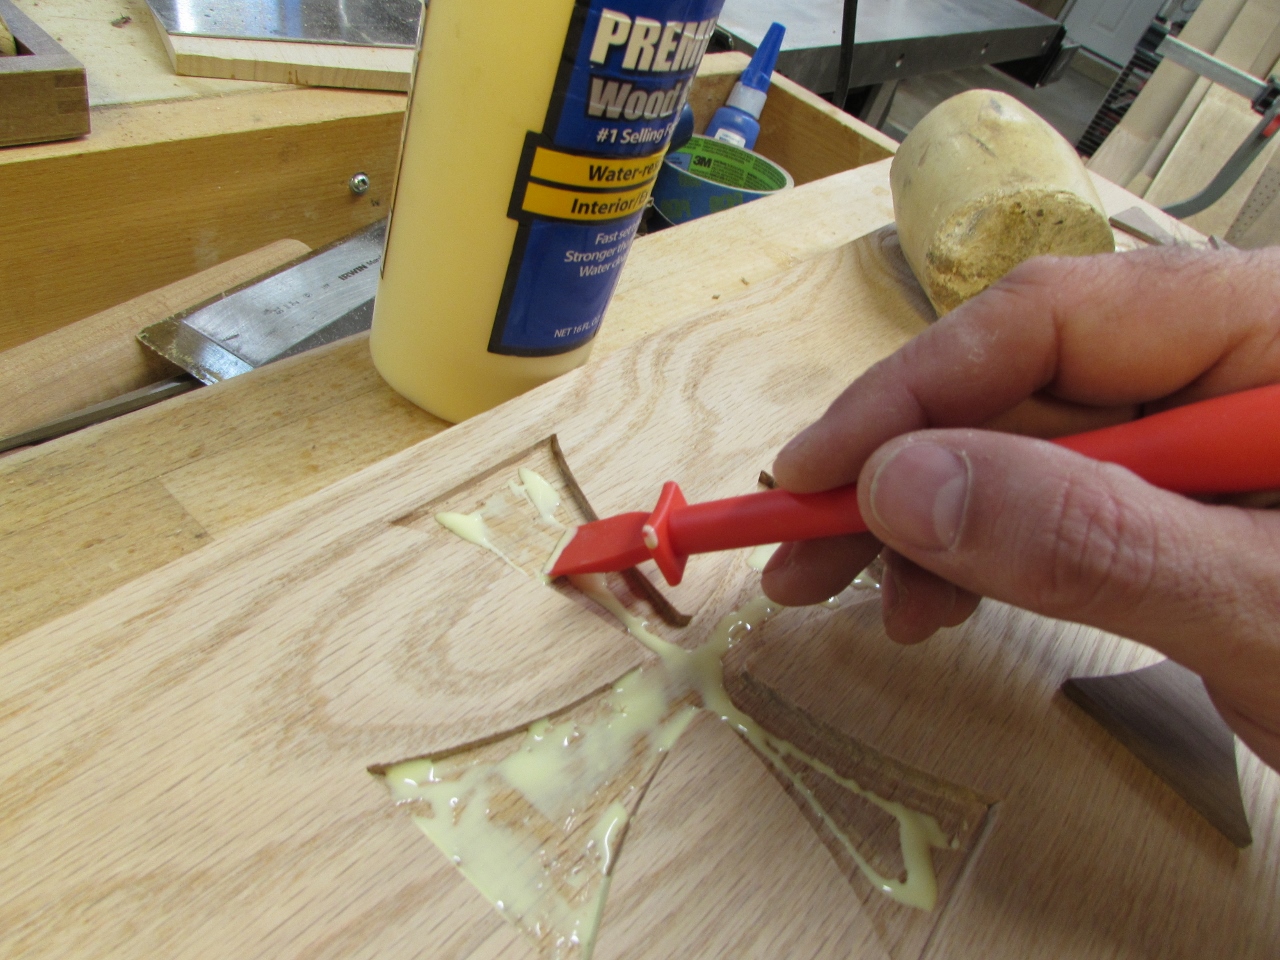
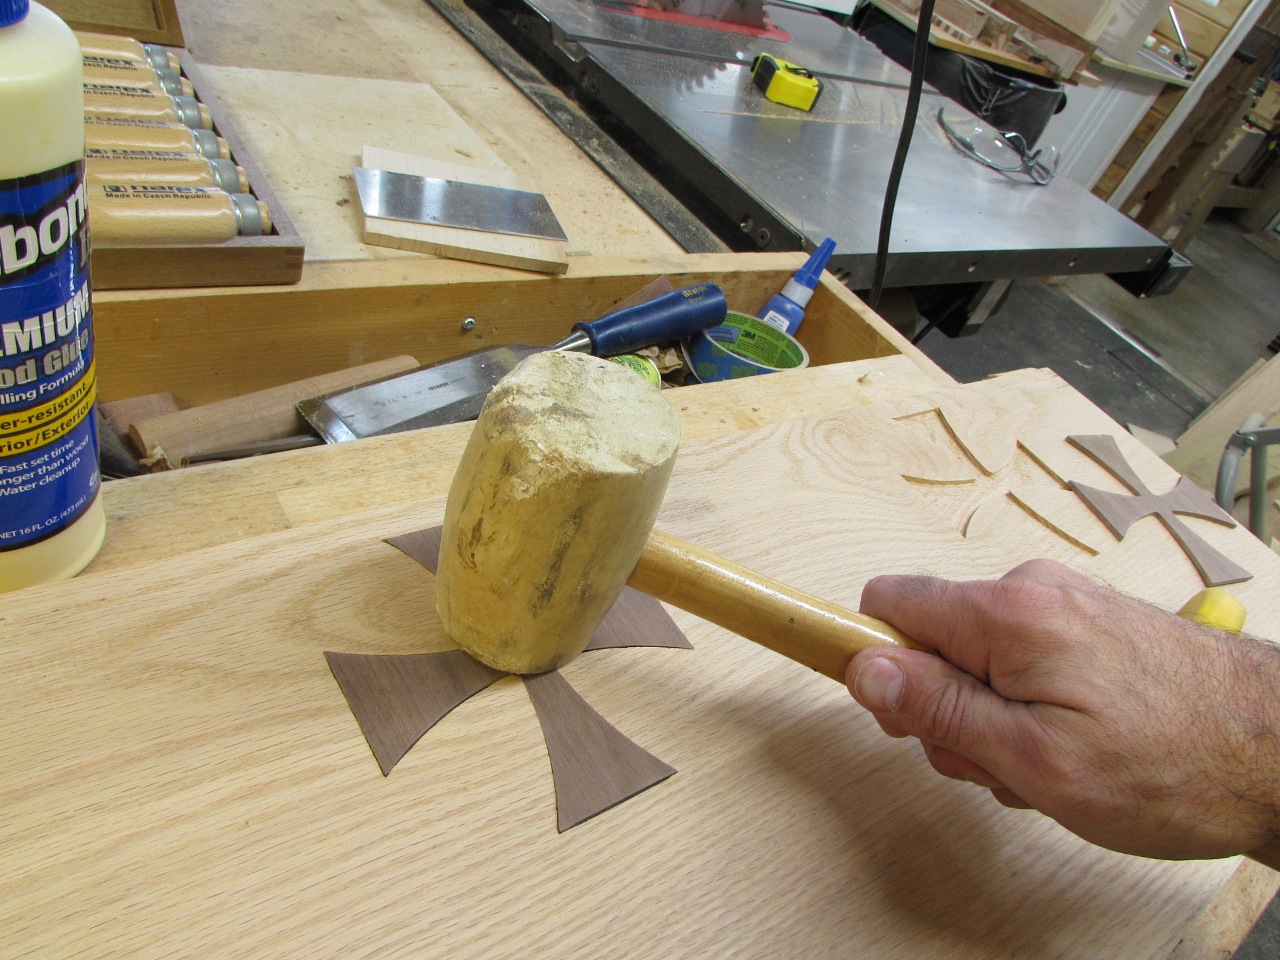
After cleaning up both, I applied some wood glue and a little persuasion with a rubber mallet and the inlays were in place.
I clamped a board across the face and used some wedges to press down any high spots, while the glue dried.

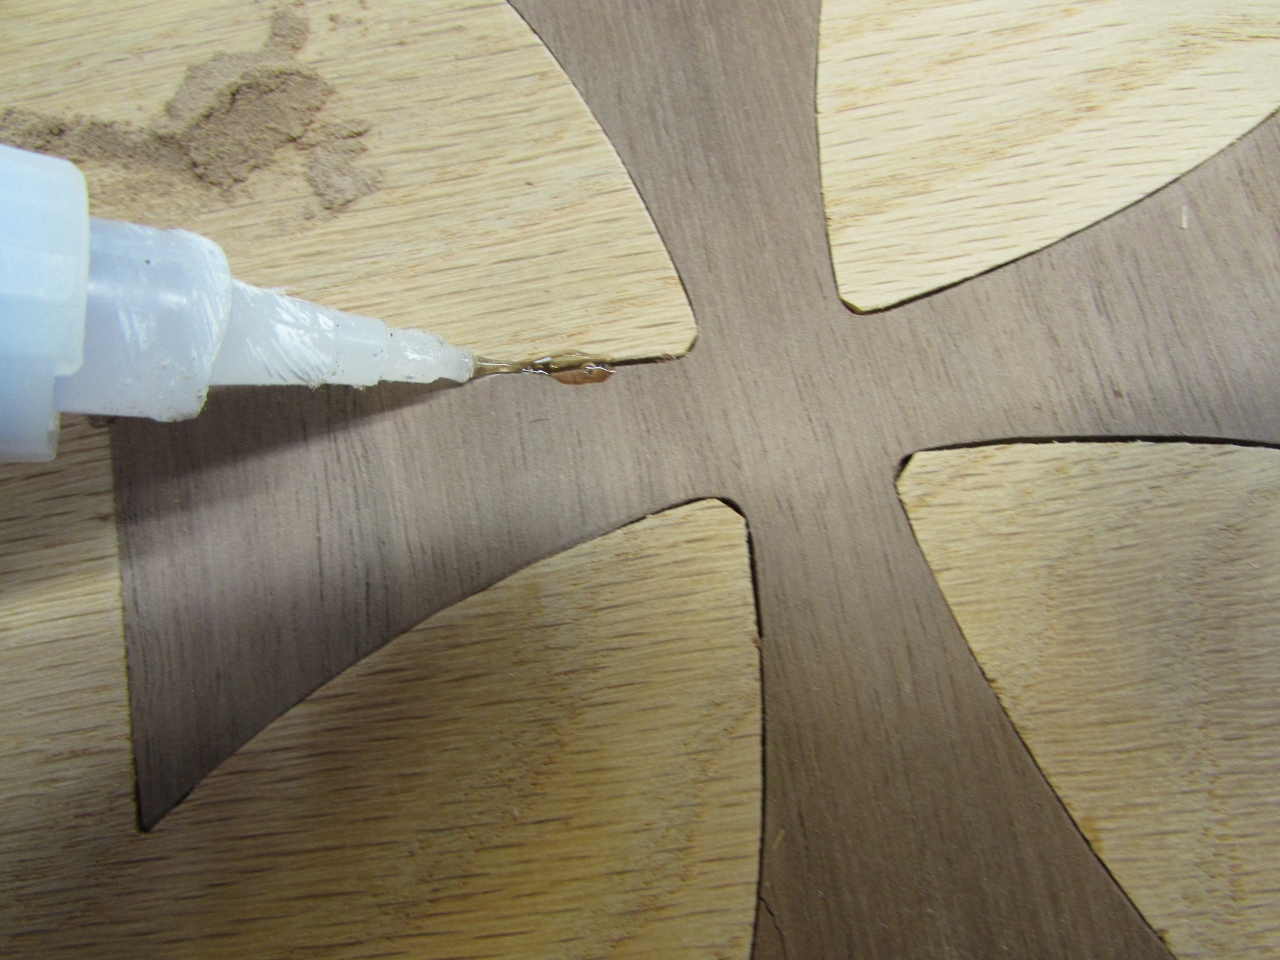
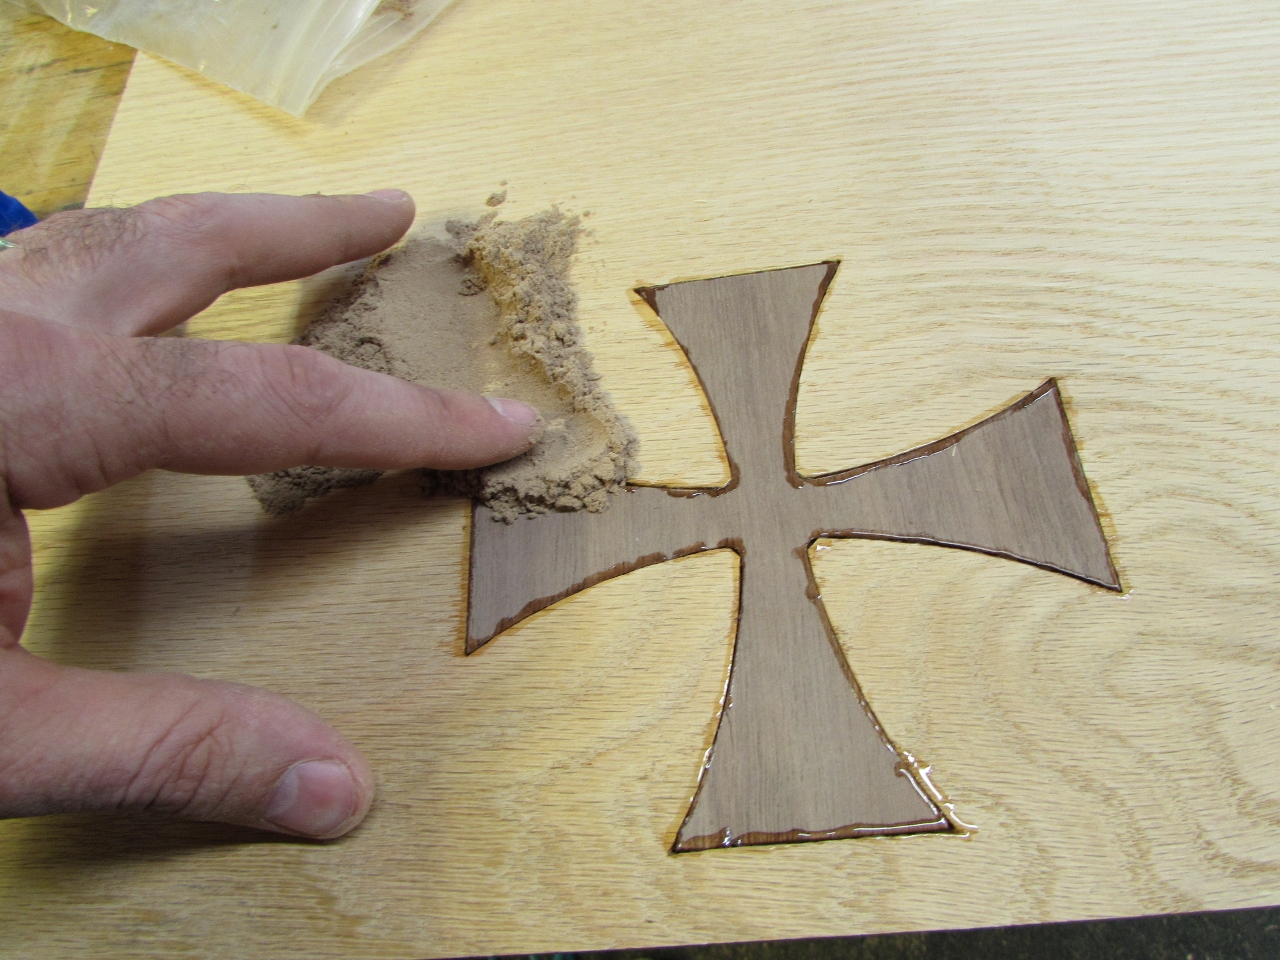
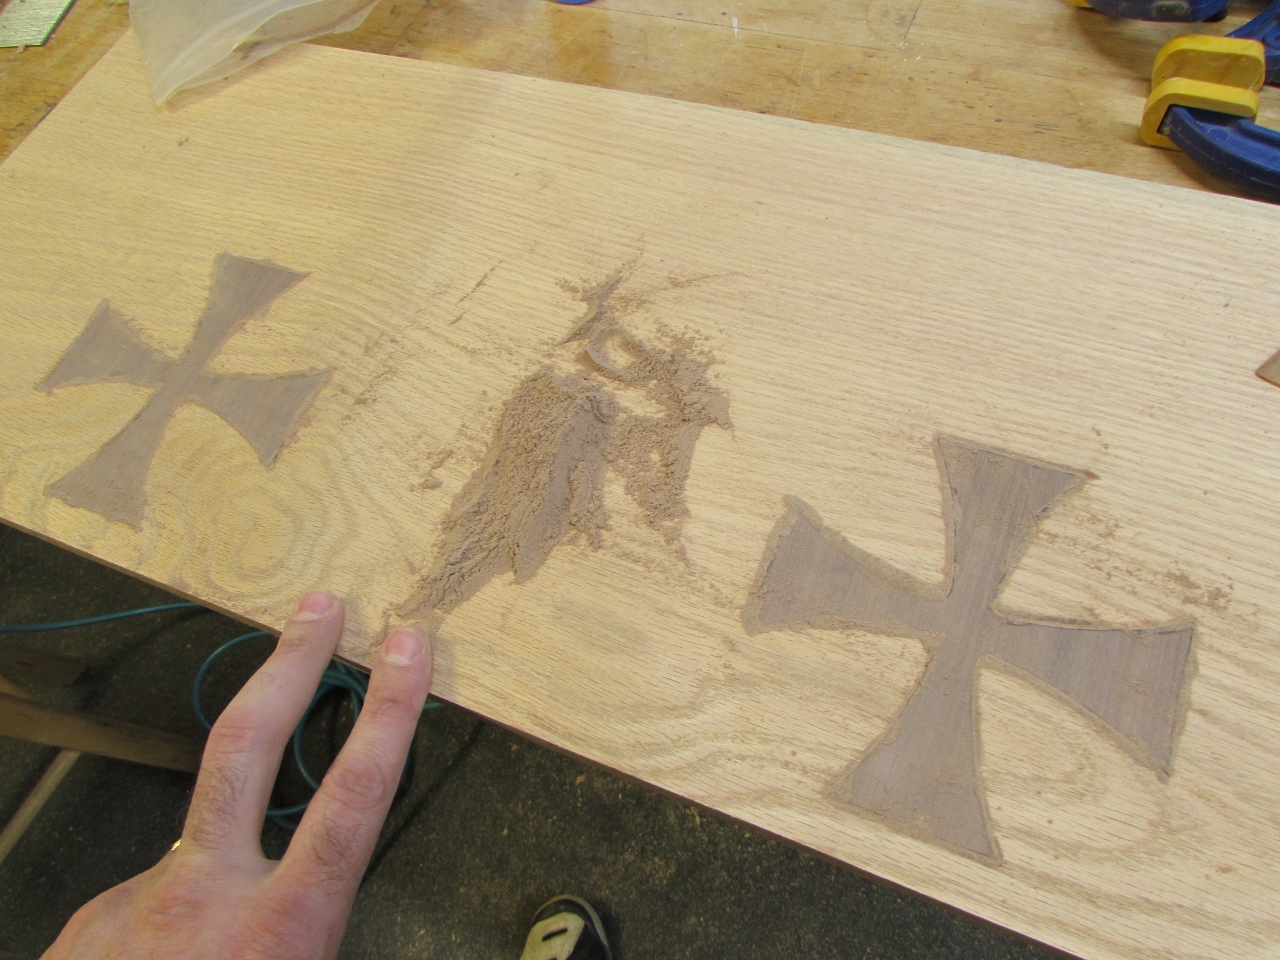
The gaps were filled with CA glue and some walnut wood flour.
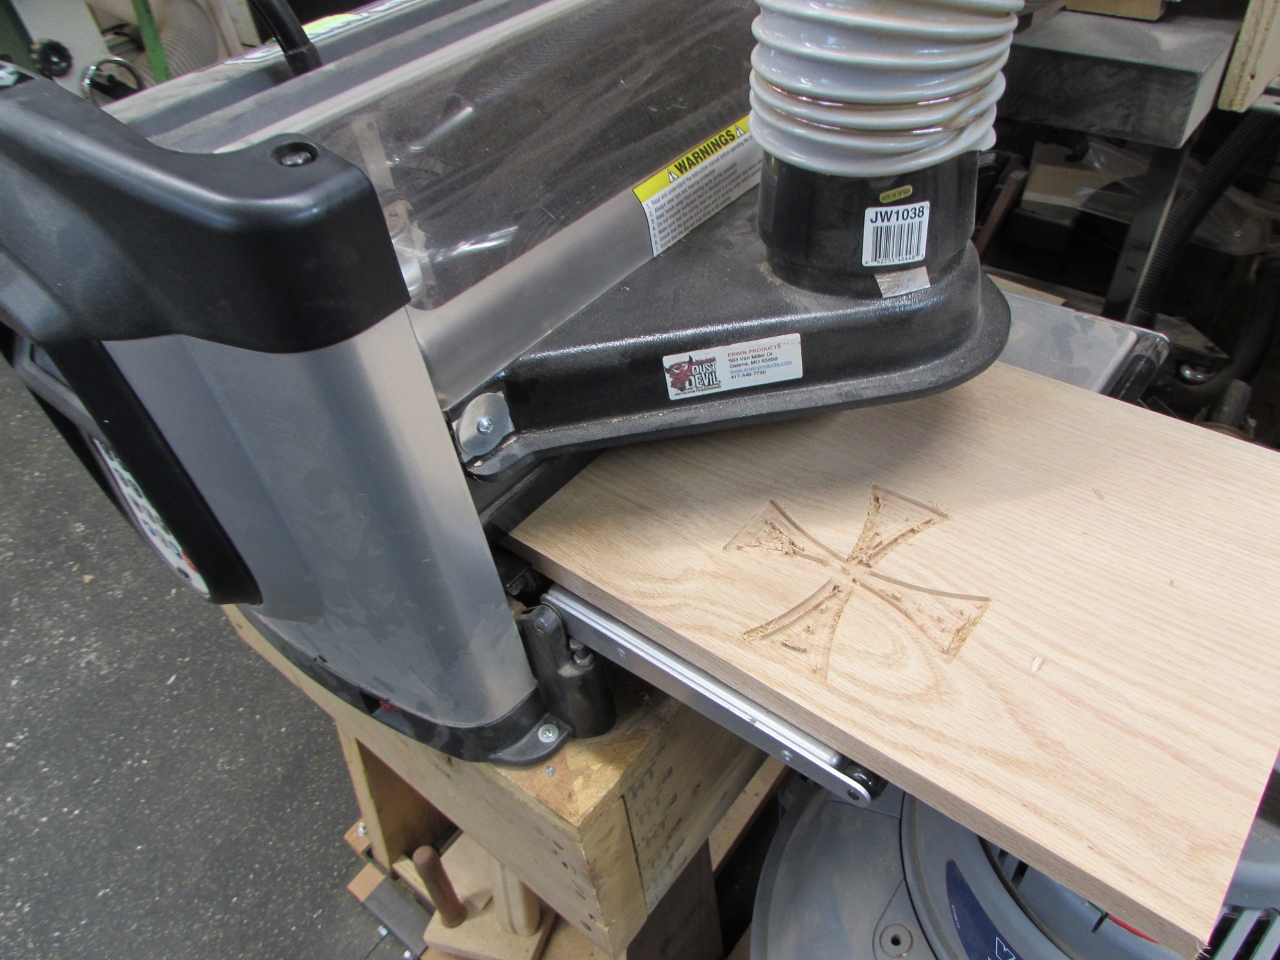
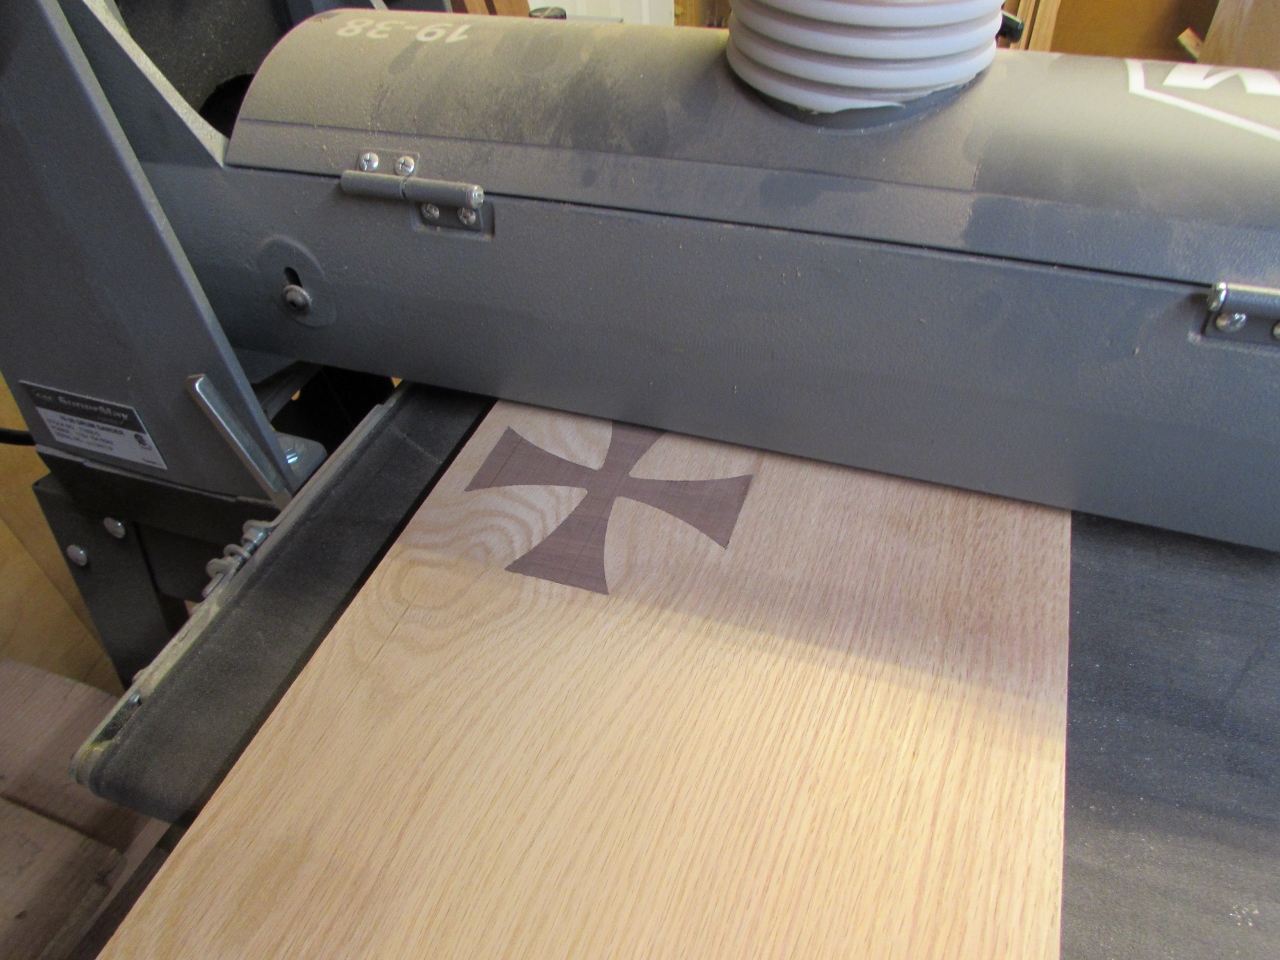
After that dried, I ran the board through my drum sander to do a quick cleanup of the surface.
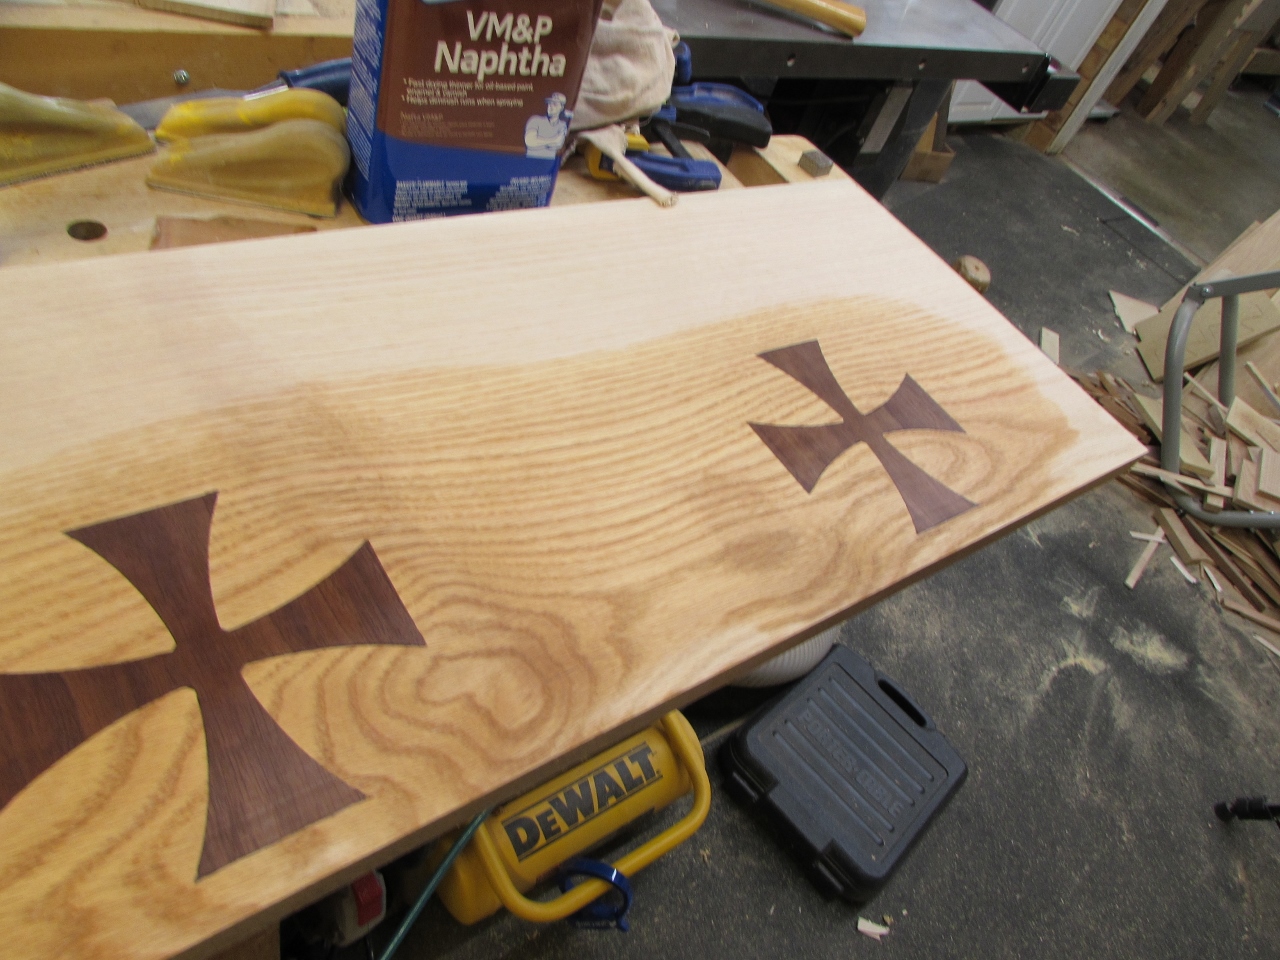
Here is what the inlays look like with a little Naphtha cleaning up the surface. Not bad, that entire inlay process took about an hour. Much faster than the last time.
I ran out of time this weekend, but hopefully I will be able to make some good progress the rest of the week.


Are you going to add a secret compartment in this one too? Maybe an eyeglasses holder?
Hahaha not this time.