
Church Altar and tabernacle stand – day 19
Long day today, but I am starting to make some progress. I started the day sanding down the wood filler that I applied to the tops last night.

Sanding down the wood filler
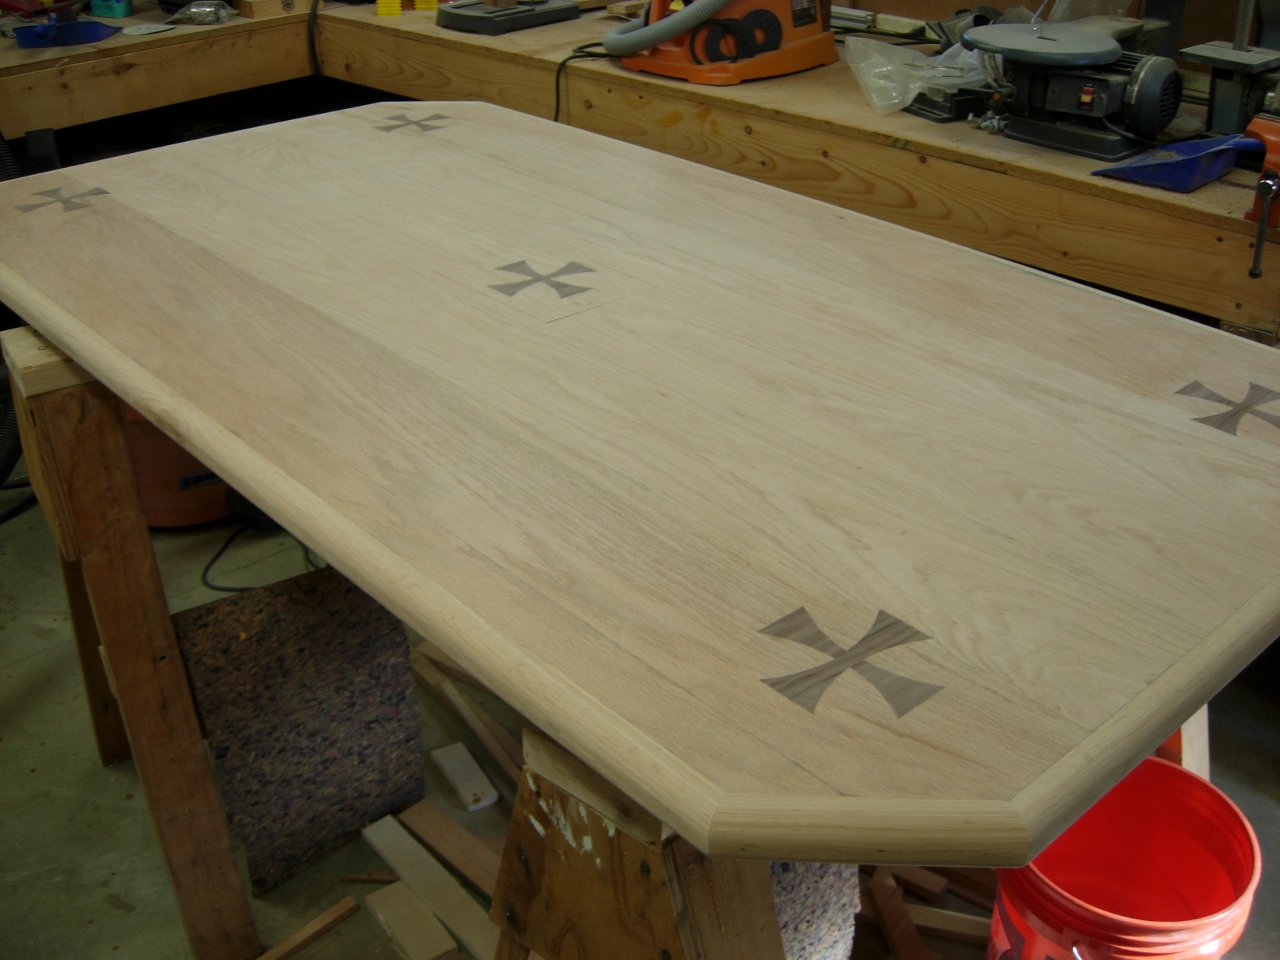
Top finished
With the top finally finished, my son and I flipped the tops back over and I started filling the bottom.
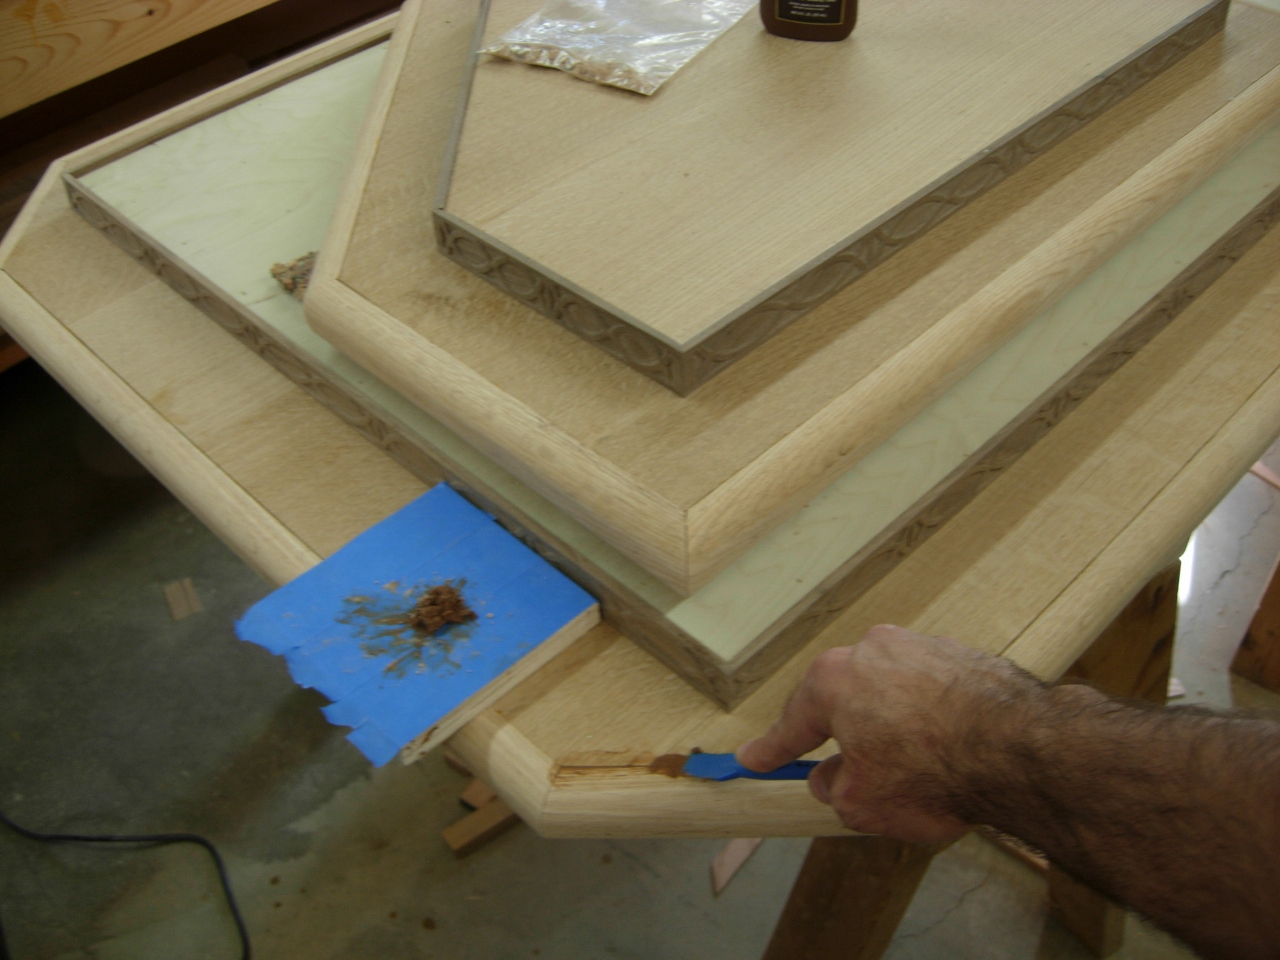
Filling the bottom

All filled and drying
While the newly applied wood filler is drying, I pulled out the wood I had set aside to make the columns.

The wood for the columns

Taking it down to 3/4″
All of the wood, that I got from , was about 7/8″ thick. The lock miter bits, that I bought for this project, require the wood to be 3/4″ thick, so I ran everything through the planer to take it down another 1/8″. I filled the dust collector completely just running those 28 boards. I think that was the third time I have emptied the dust collector on this project.

Cutting four at a time
After they were all planed to size, I cut them down to the required length on the miter saw. Since I will get two sides of each octagonal column from each board, I clamped four boards at a time together to be cut the exact same length. All of the boards should be the same length, but when you are lining something up by eye, you never get every thing perfect. I just made sure to keep each bundle together when I ripped them down on the table saw, that way I wound up with eight identical slats for each column.

Ripping to 2-3/4″

Seven piles of eight
With all of the column sides sized and sorted, I needed to cut the dado into a few boards, before the columns were assembled. The dado will accept the raised panels when the altar is assembled, hiding where the panel and the columns meet. This will allow me a little forgiveness if things are not perfectly square. This will be my first time doing a full run of octagonal columns as well as my first series of raised panels. I figured they wouldn’t be perfect…

Easy bit removal
I really like the above the table access to the router bit on my new Triton router. I quickly installed my 3/4″ dado bit and easily adjusted the height of the dado with the extended crank, the router came with, for above the table adjustment. I ran six boards through, cutting a 3/4″ dado. I actually made it slightly wider by nudging the fence back a bit then flipping the board and running it through again. In a perfect world, all of my boards would stay straight after they were cut, planed, and glued up. In the real world, you build in a bit of slop… This will make final assembly easier and also account for any finish that gets in the grooves.
Cutting the dados for the columns
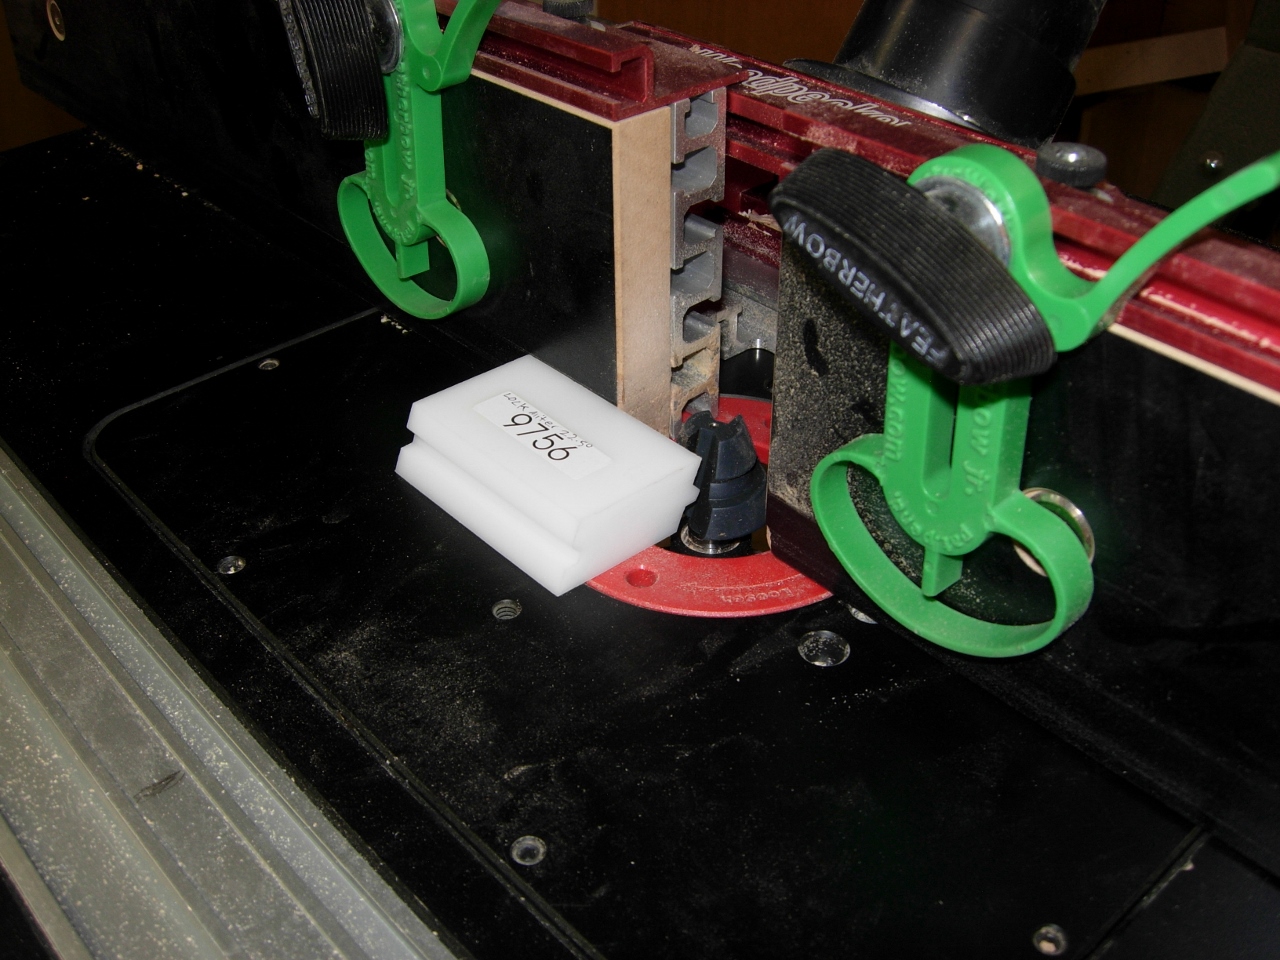
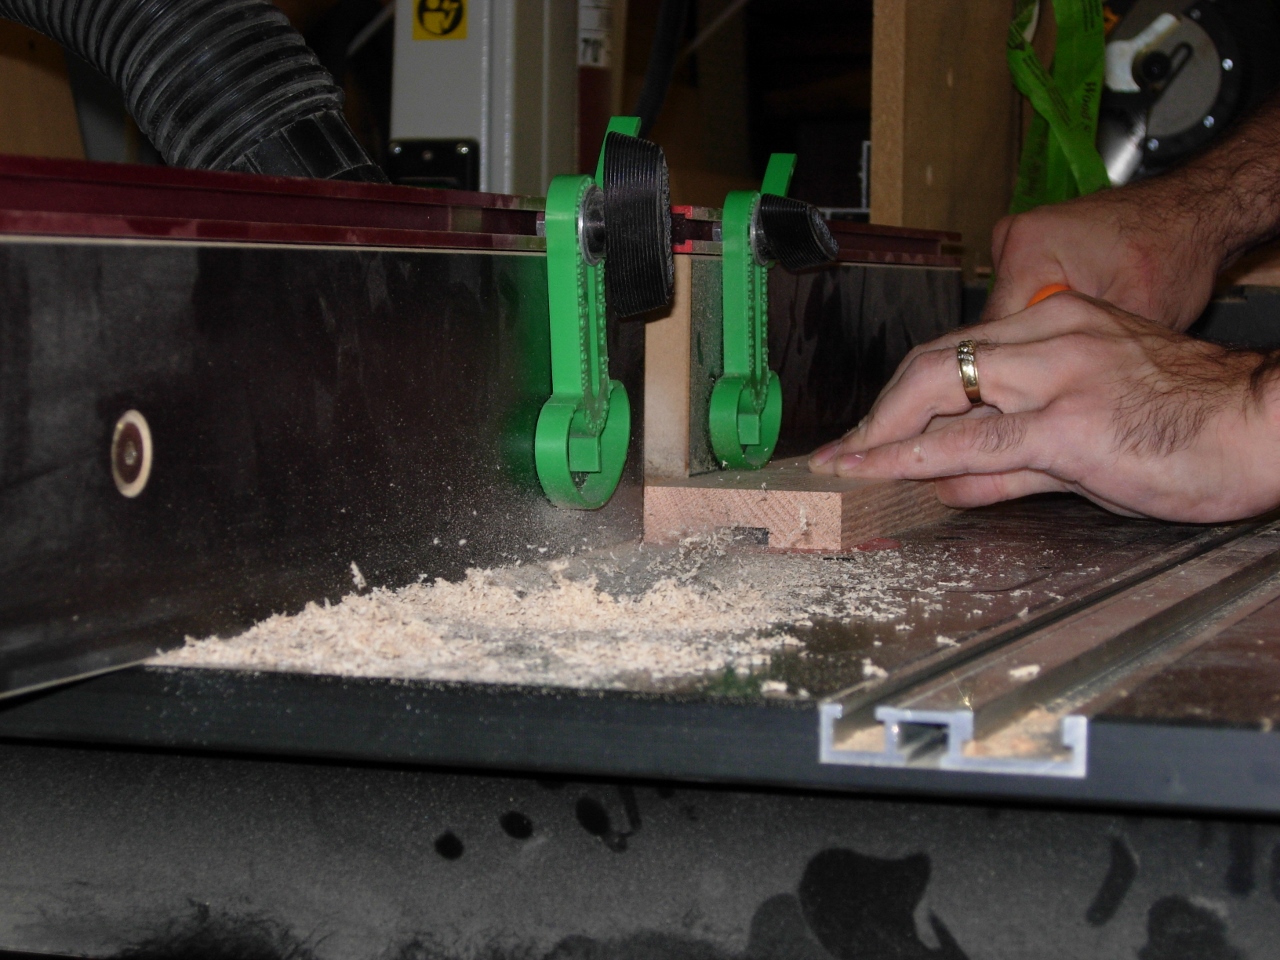
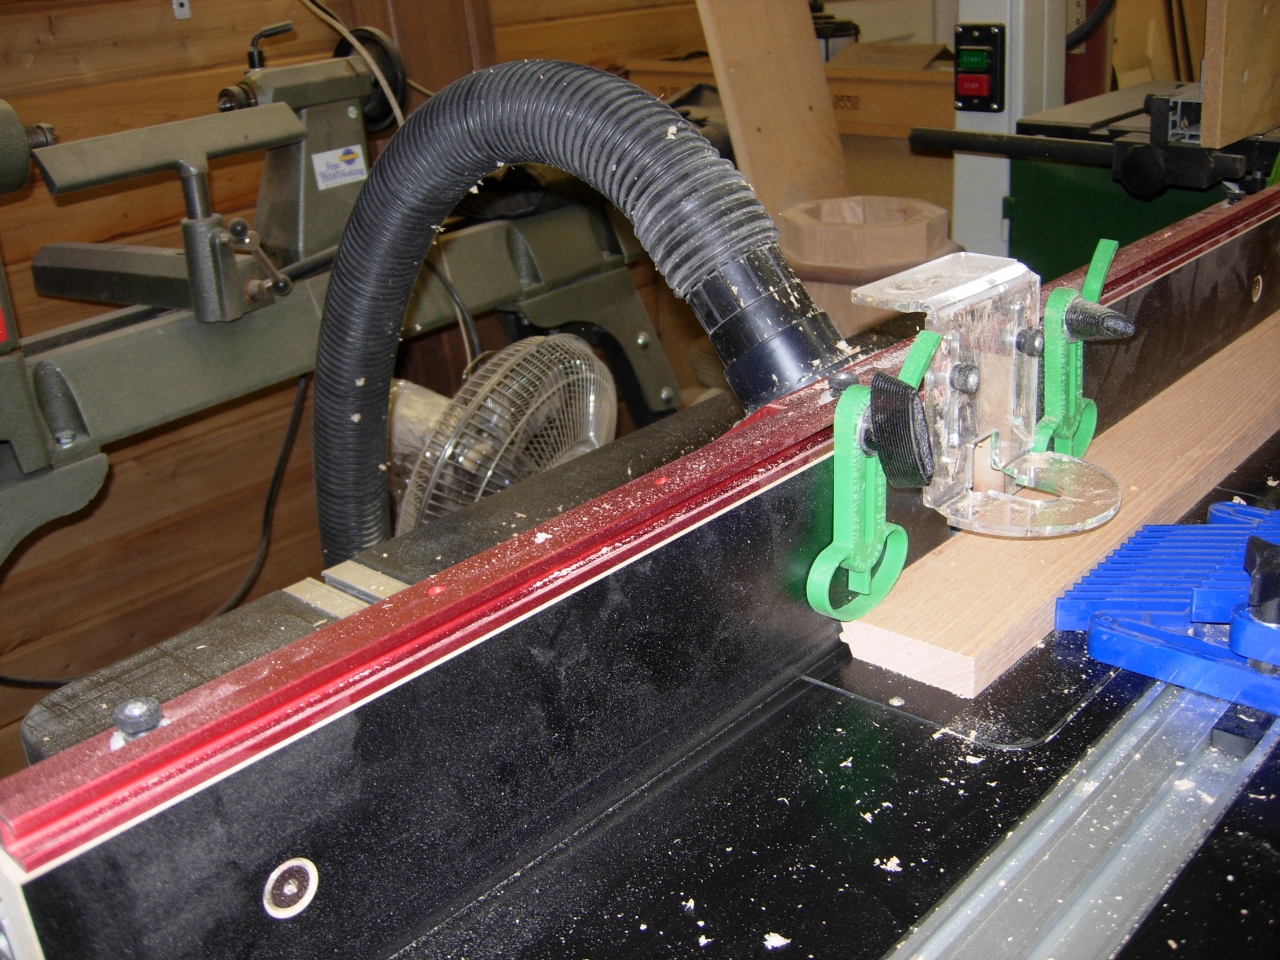
Setting up the lock miter
With those boards grooved and returned to their original piles, I installed both lock miter bits into my two most powerful routers. I set the height to the set-up blocks that I purchased with the bits, then ran some 6″ long test pieces through. The blocks worked nearly perfectly, one of the bits needed to be raised slightly. The lock miters seemed looser than my 45 degree lock miter, that I used on the . Maybe it is allowing more room for glue.

Successful test

Dry assembly
The dry assembly seemed to work well enough, so I ran the first side of all 56 boards.
Cutting the first side with router one
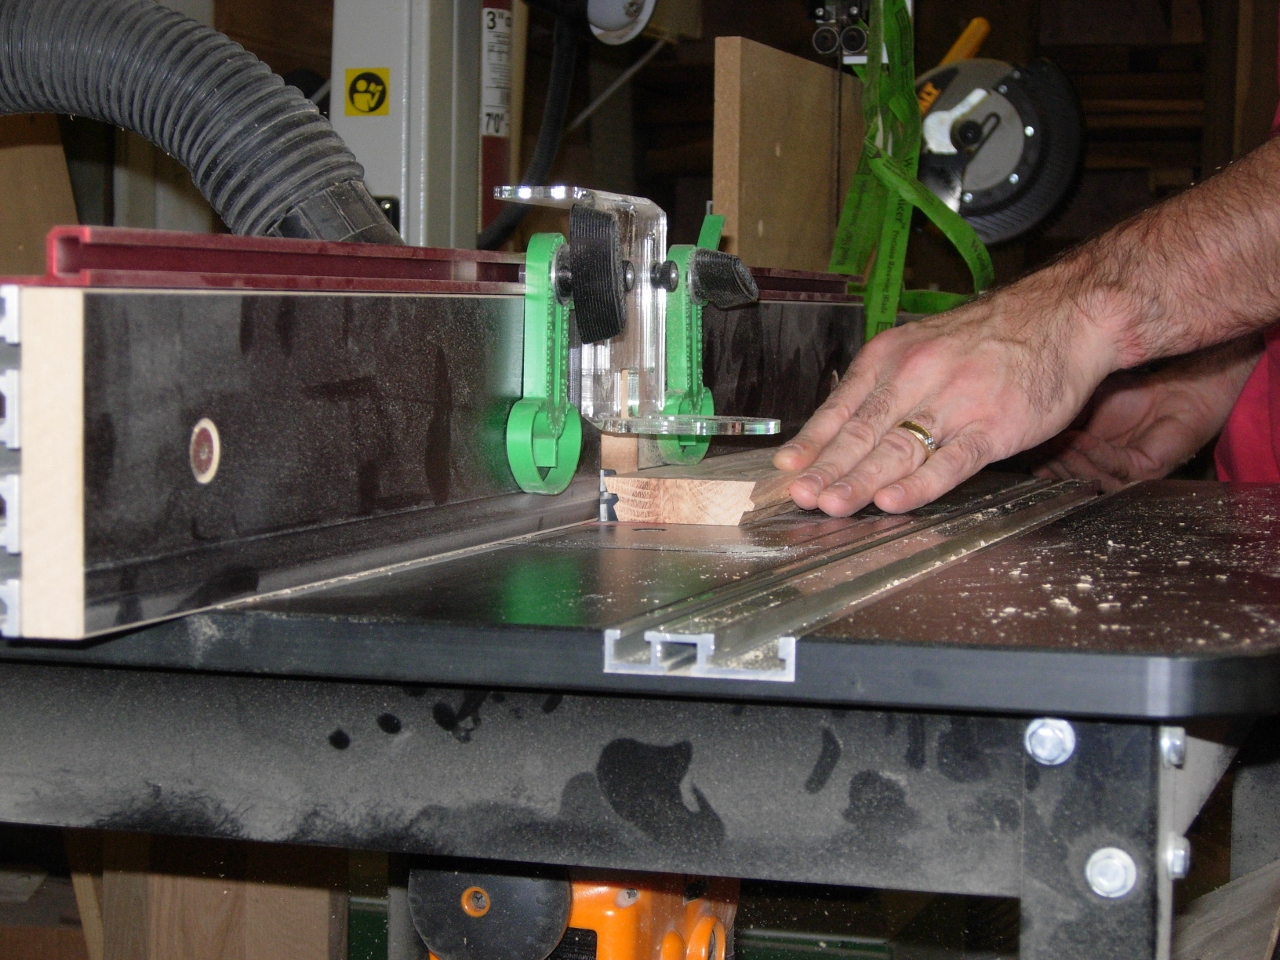
Cutting the second side with router two
I quickly swapped my routers and cut the second side. Fairly smooth sailing. I did loose a corner or two due to knots and such. Not a good time to realize that I should have made a few spares. Oh well, gotta have faith (or wood filler).

Column blanks cut
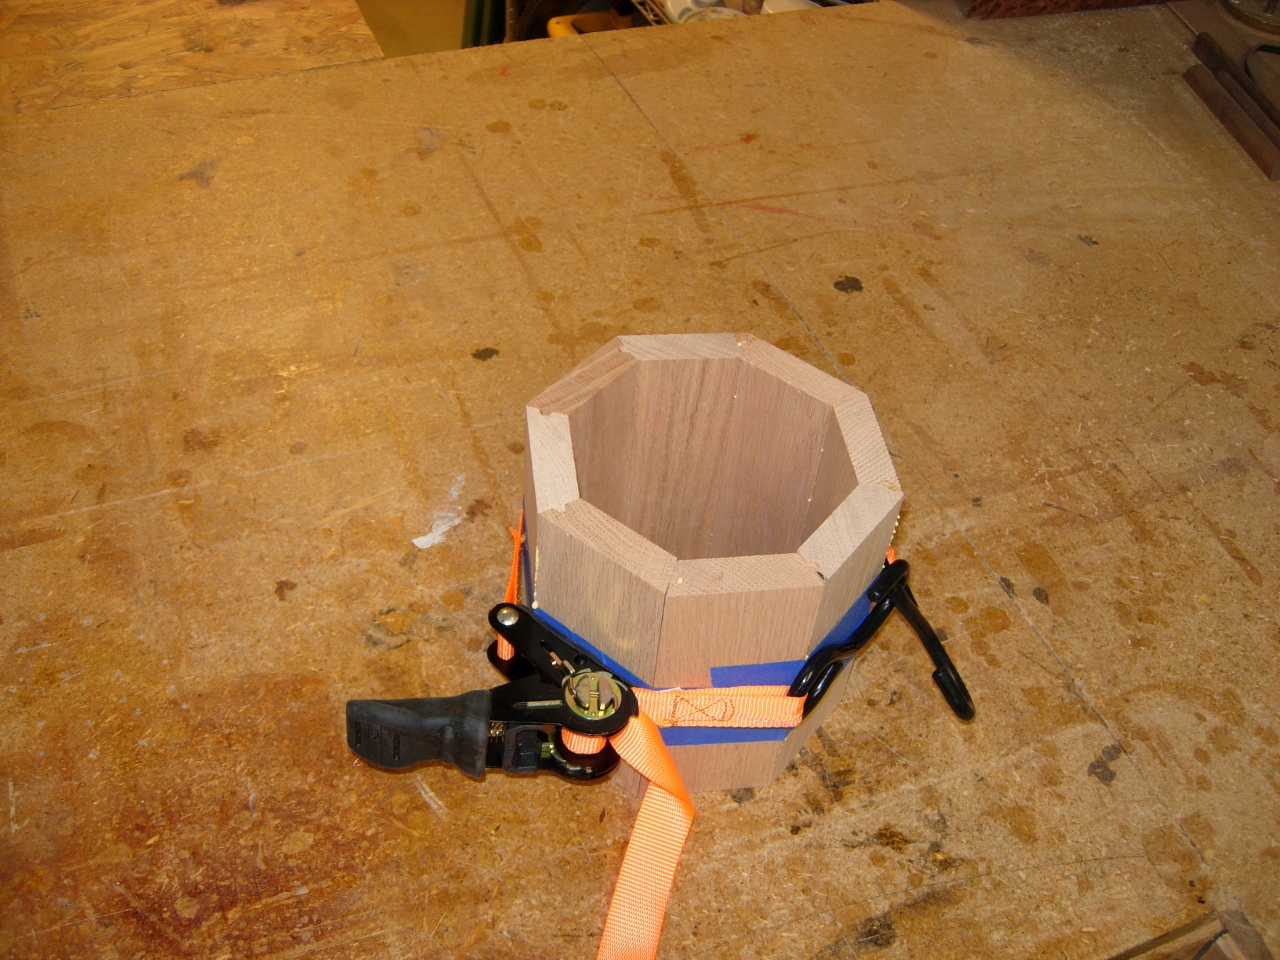
Before attempting the full glue-up, I did a test with my 6″ tall column. I am using some tie-down straps to hopefully draw all the sides together equally. I suppose that would work if you didn’t have two huge hooks on the ends…
Test glue-up
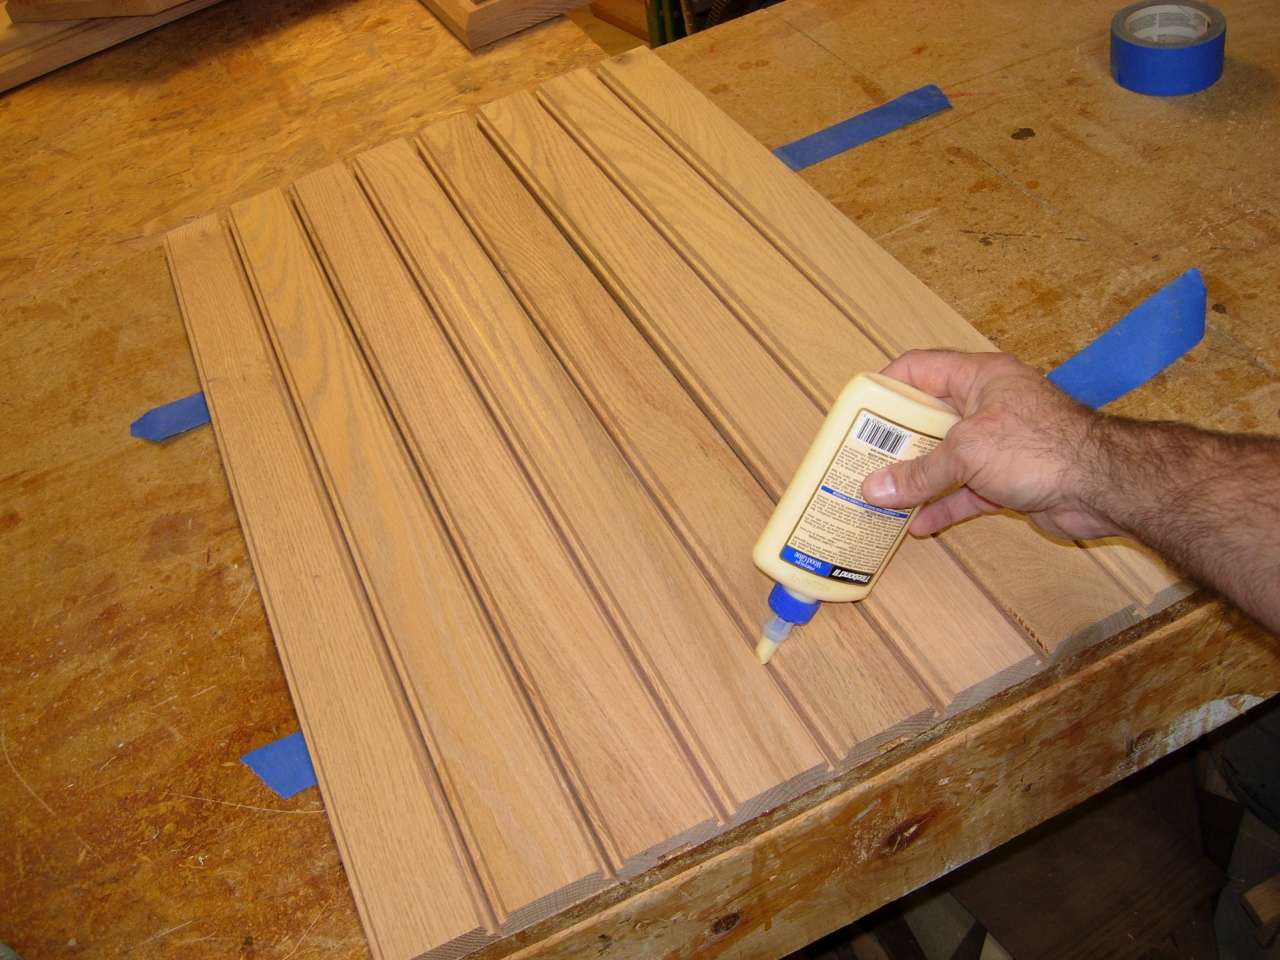
Glue in the channel only
I was told, by a fellow woodworker, that you only put the glue in the groove and it will spread through the joint when you clamp it all together. I decided to try it, because it takes forever to brush it on every surface, and it starts to dry by the time you finish.

Clamped with straps
It was not as easy as to roll up as I had hoped. I definitely think the lock miter was too loose, but I got it together in the end. I will let it set up for an hour or so before pulling the straps. Since I only have four straps, this is going to take a while…
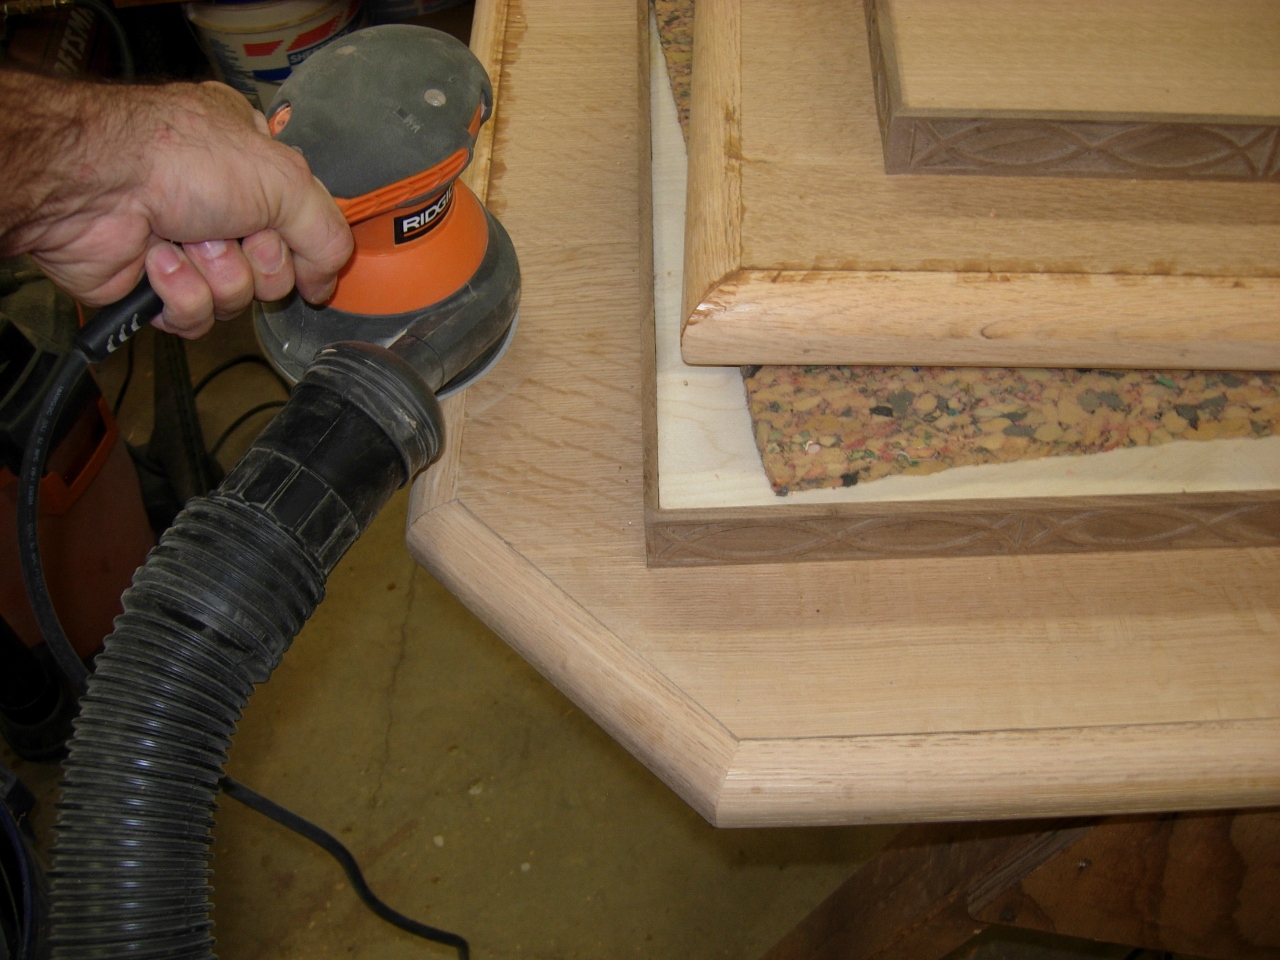
Sanding the bottom
While that is drying, I went back to the tops and sanded down the wood filler I applied earlier in the day.

Bottoms finished
That took about an hour, so I pulled the straps and threw on a clamp or two then glued up the next column. I think that one or two of my slats had a bit of a curve to them, because the column was not cooperating. I kept adding straps and clamps until I was reasonably happy, but it looked a little funny when I was done.

Don’t ask!
Oh well, It’s after midnight again, time for bed.

Pingback: Lectern Days 1 & 2 | Midnight Woodworking