
Church Altar and tabernacle stand – day 20
So after trying the first two columns with just a few strips of tape to keep them lined up, I decided to stop being cheap and use a crap load of tape.
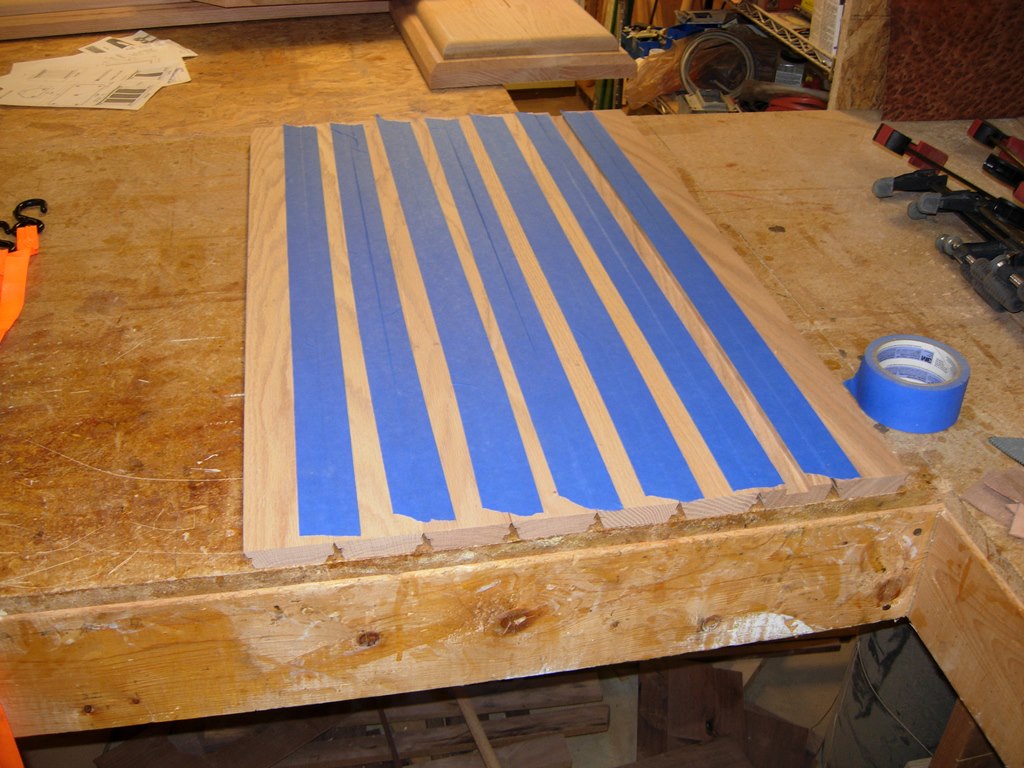
Tape the crap out of it!
My third column went together a lot easier. It didn’t keep trying to slip on me.

Column no. 2, strapped and drying
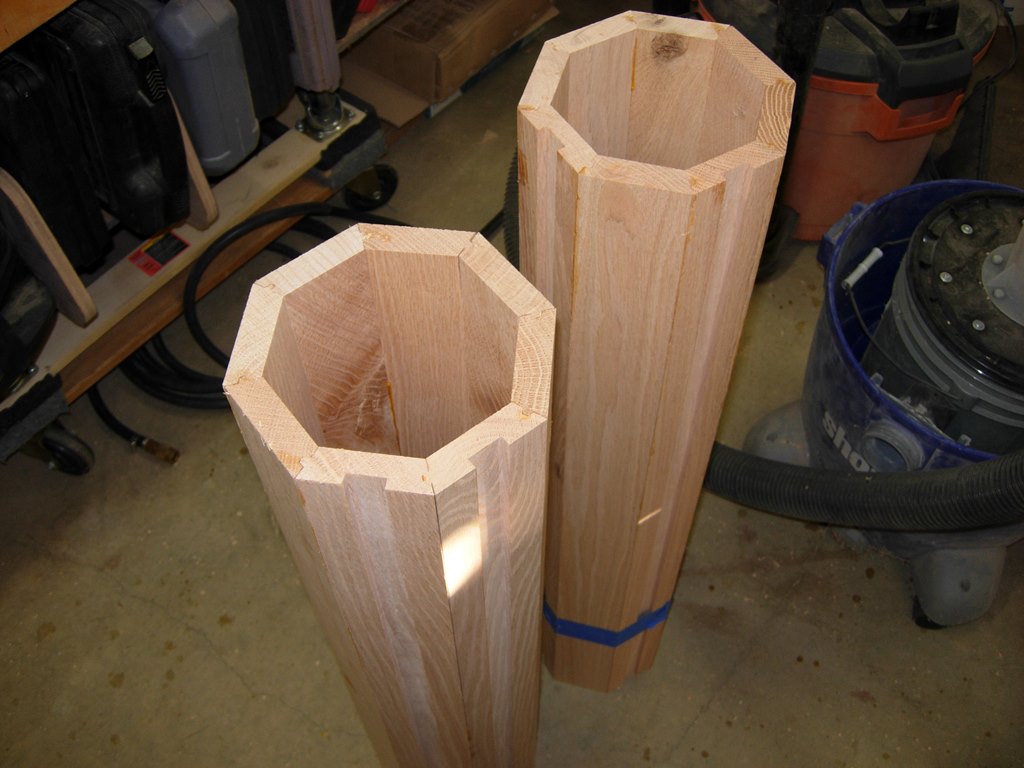
Oops, this is what working at midnight gets you
So, as I look at the two columns that I have so far, I realize that working till midnight has its drawbacks. My notches were supposed to be perpendicular to each other, not adjacent. I cleaned up the glue squeeze-out and ran the column across the dado cutter on my router table to put a dado in the correct slat.

Cutting a dado in the correct location…

Filling the dado in the wrong location
Then I grabbed a scrap piece of oak and cut it down to the size of the slot and glued it in place. I flipped the column over and clamped it to the router table. My clamps are not deep enough to reach the center, so this will have to do.
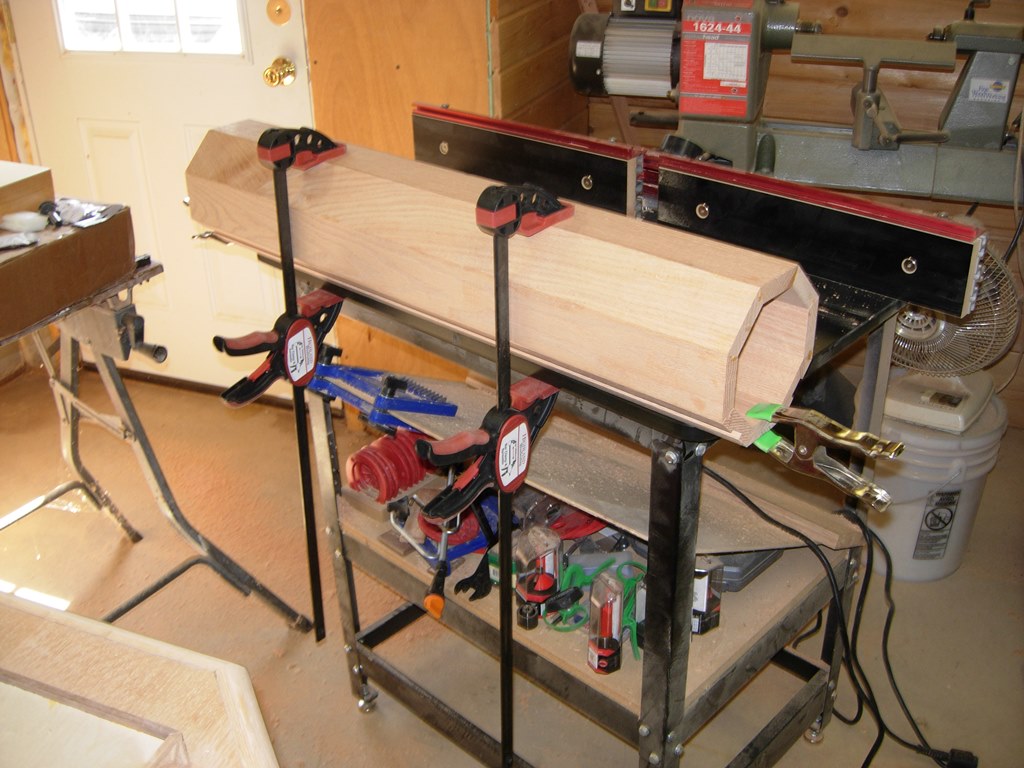
Clamping the plug in place
While the glue is drying on the plug, I unstrapped number four column and glued up number five. I let the columns set up for at least an hour before pulling the straps. I only have the four straps, so there is going to be a lot of back and forth today.

Clamping up no. 4
When the plug in the column was dry, I planed it down flush. The color is slightly off, but this part of the column will be on the internal side of the altar, so it will not be too noticeable.
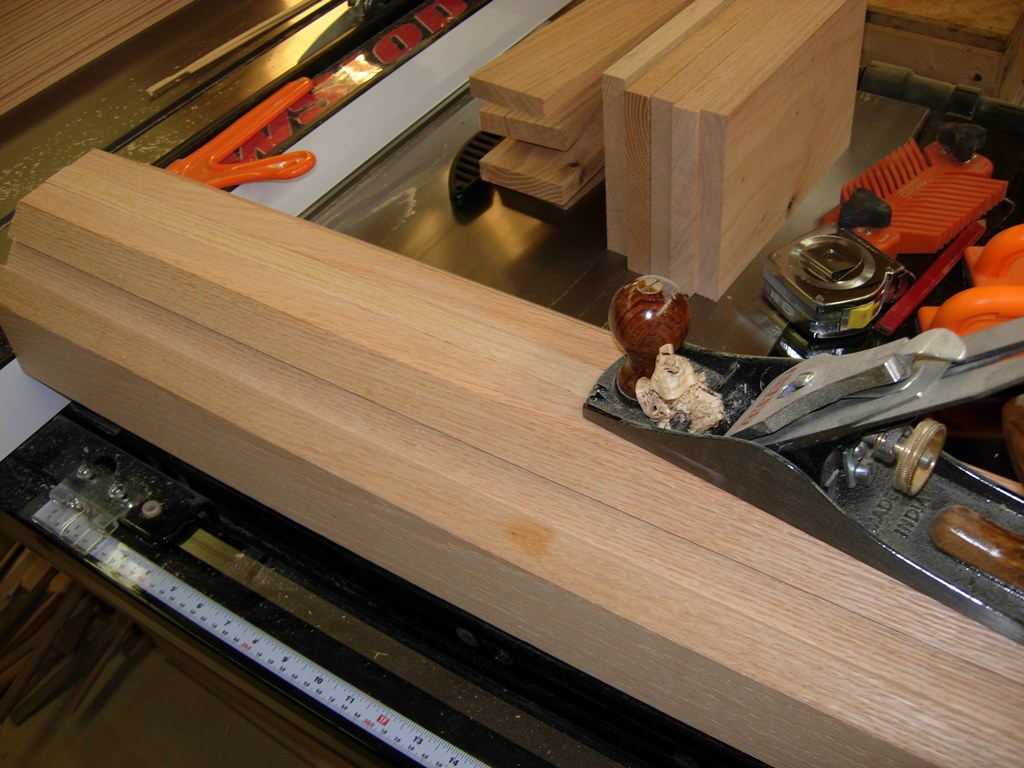
planing the plug
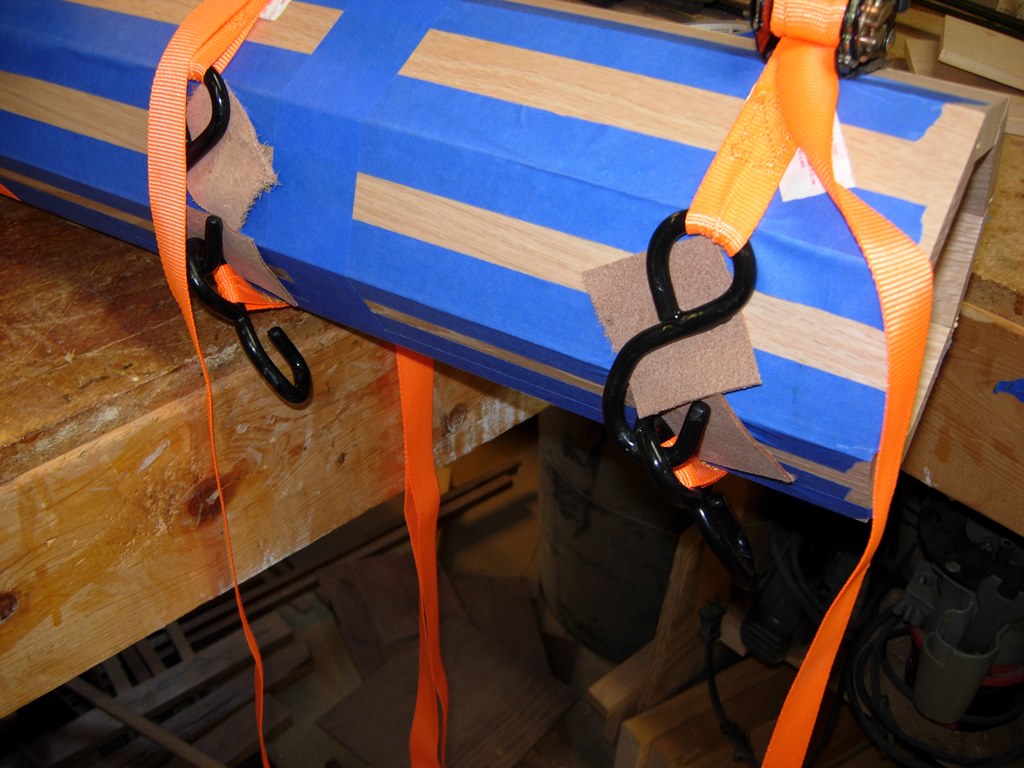
Bits of leather prevent gouging
Something that I started doing was placing a few pieces of leather under the hooks of my straps. I noticed that they gouged the columns on the first one or two that I clamped up, so this was my fix.
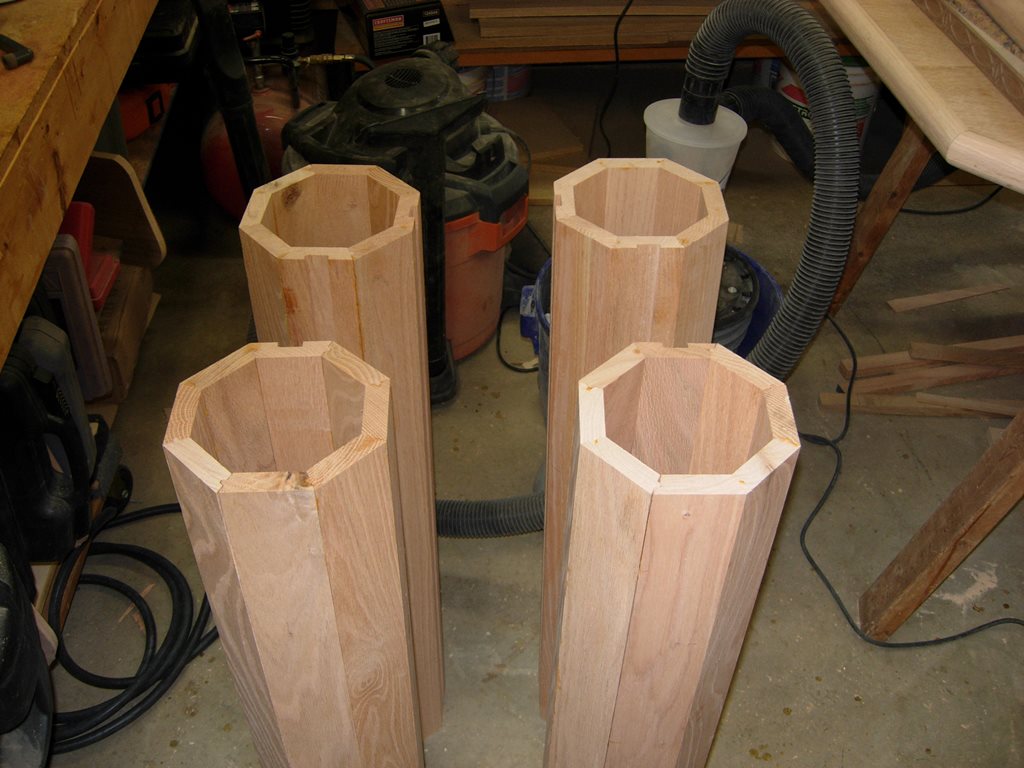
The altar columns are glued up
The four columns, that will be used on the altar, are all glued up. So while the next one is setting up, I pulled a bunch of scraps and off-cuts to make the top and bottom caps for the columns.

Planing the scrap for the column caps

Glueing them up
They need to be 8.5″ square, and the widest boards I have are 6.5″, so I am glueing an extra 2″ or so to each one. I am quickly running out of room and clamps with this project. I just piled all of the caps in a heap on my bench so I still had room to glue up columns.

Running out of room

Filling the gaps in the columns
While everything else is drying, I started filling the gaps in the columns. With the lock miter bits, I really hadn’t expected to have any gaps, but I must not be clamping them correctly. I had two or three thin gaps on each column, so I spent a lot of time filling them. Finally I had all seven columns glued up and filled.

All seven columns, glued and filled

Cleaning up the glue joint
With those done and the caps glued, I spent a few minutes cleaning up the glue joints on the column caps, then I finished cutting them down to size on the table and miter saws.
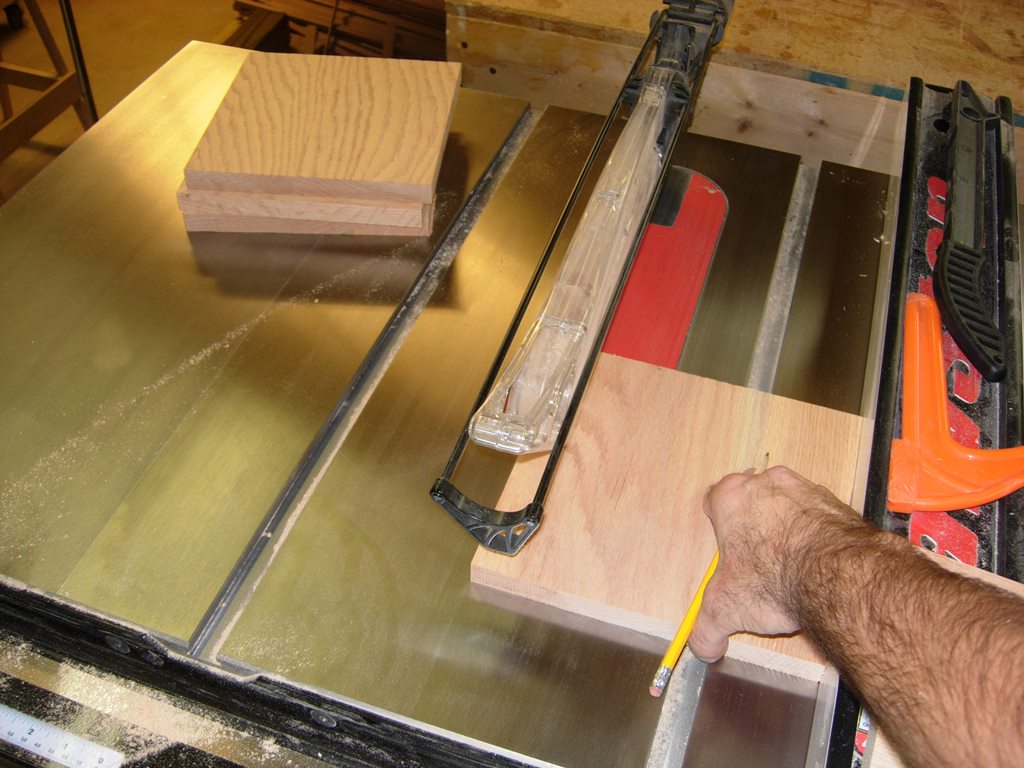
Cutting down the caps

Gang cutting the notches in the caps
The column caps that will be going on the altar, will all need notches to accommodate the raised panels. I clamped them together four at a time and ran them across the table saw repeatedly to create the deep grooves.

Altar caps notched
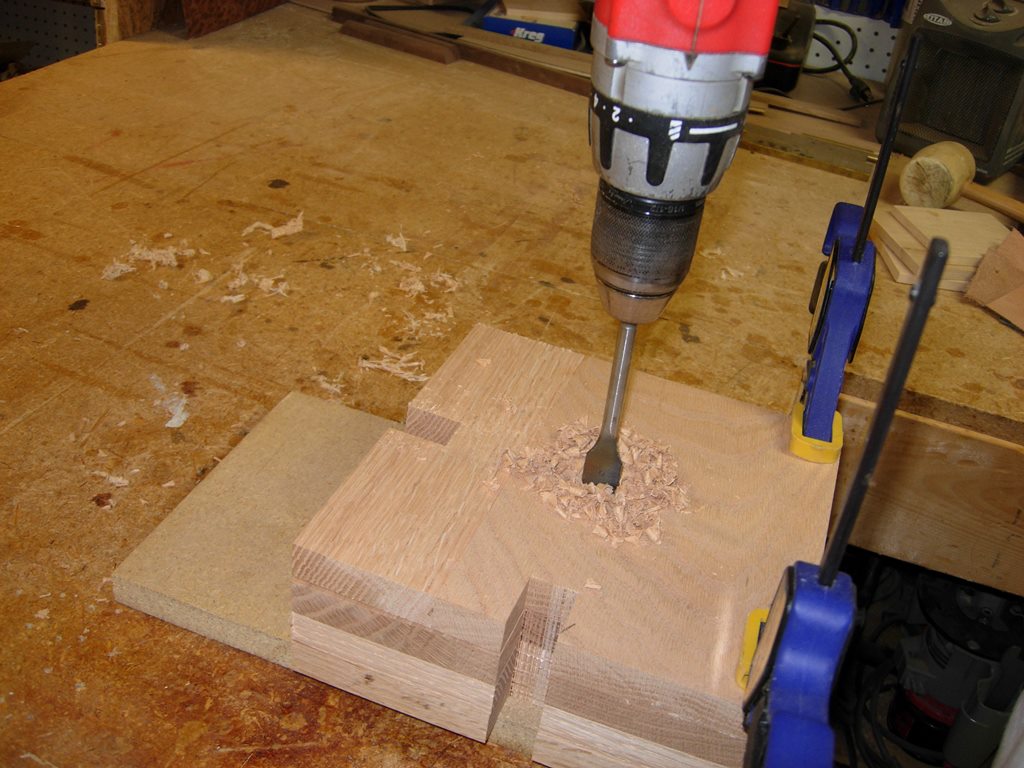
Drilling center holes in the caps
I intend to locate the columns with 3/4″ dowels, so I drilled a 3/4″ hole in the center of each cap, then located the bottom caps and clamped them in place. I match-drilled the holes into the base so they would line up perfectly. I intend to mount the dowel in the base at each center point and leave a short stub sticking up. I will then place one in the top of each column and drill a matching hole in the altar top.

Match drilling the base
