
Church Altar and tabernacle stand – day 21
I had a couple of hours to work last night, so I started out sanding down the wood filler on the columns.

Sanding down the wood filler

Columns all sanded
That took a while, I had a lot of filler. I hope it all stains well when its finished… With them done, I moved over to the upside down top of the tabernacle stand. I laid out the caps so I could mark the corners that will need chamfers cut on them. I used some scrap 3/4″ blocks as spacers to hold the caps in from the trim, then marked the chamfers 3/4″ in from the trim as well.
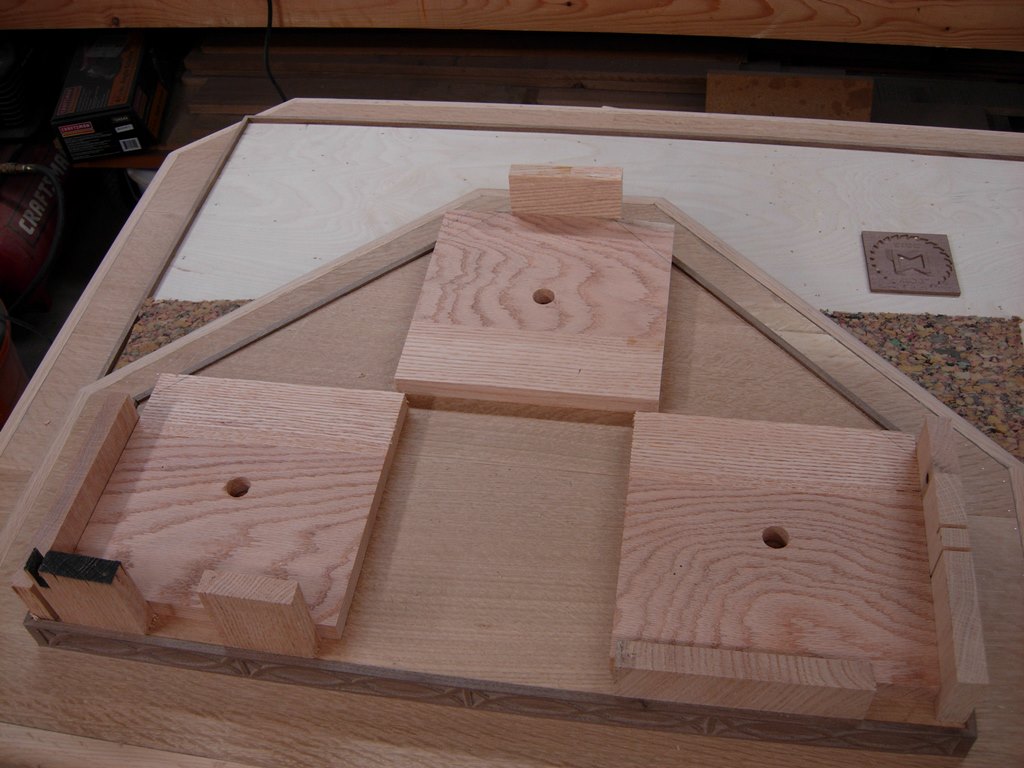
Spacing the column caps
Trimming the column caps
Caps cut and located
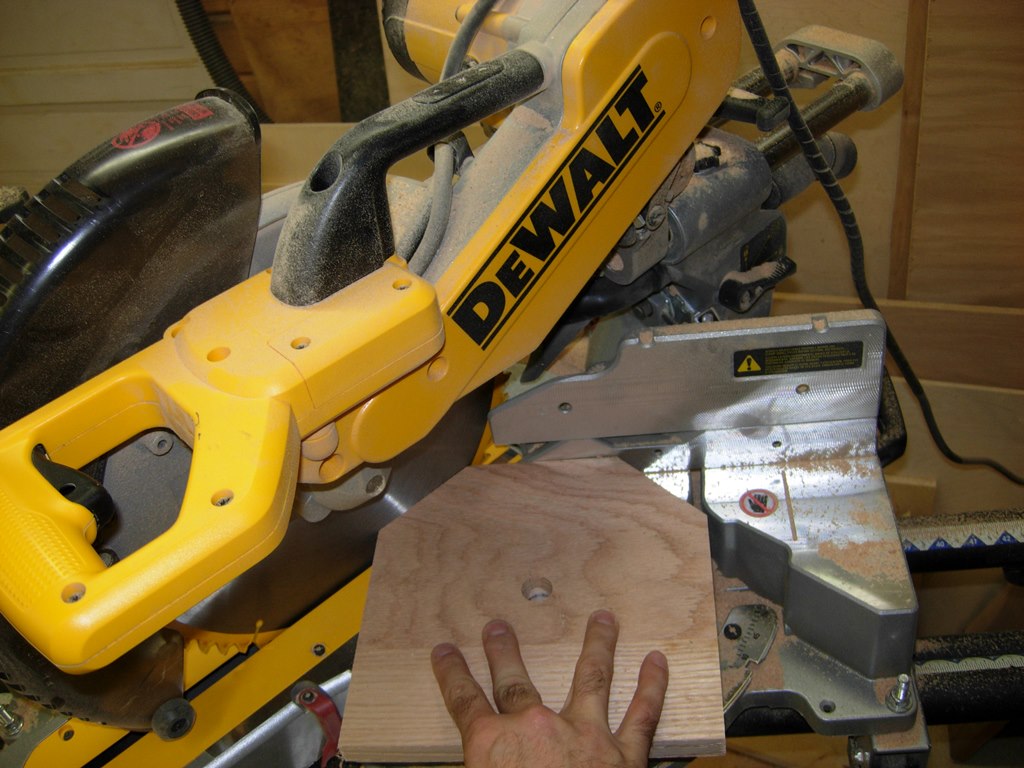
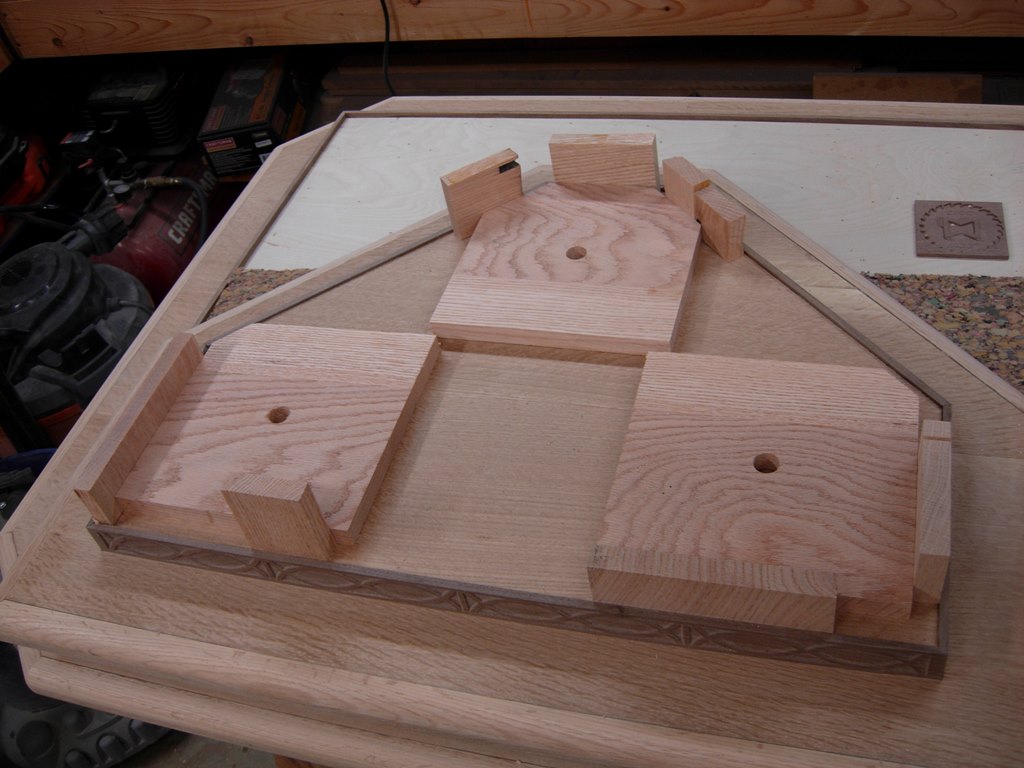
I cut the three that I marked, tested them up against the blocks, then used them to transfer the marks to the other end caps that will sit on the base.
Transferring the angles
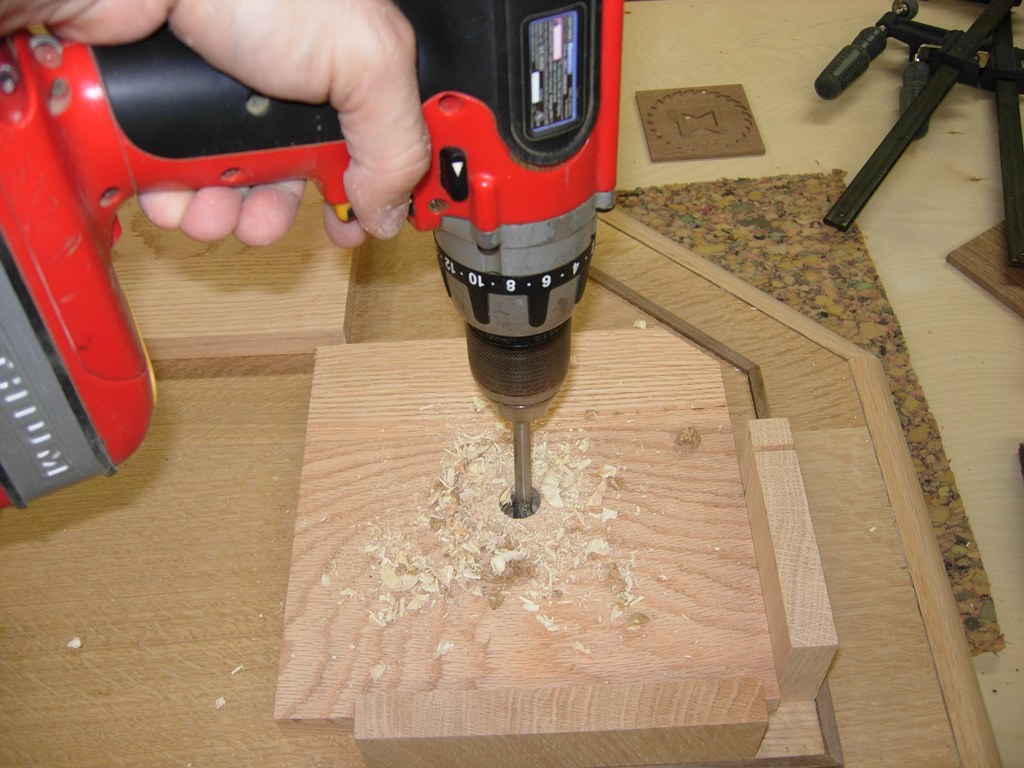
Drilling the base
Holding the caps tightly against the blocks in the corners, I drilled through the center holes to the base top. I drilled in about an inch. Holding the block in place, I placed a 3/4″ dowel through the hole, and pressed it all the way down. With a pencil, I marked my cut-off line on the dowel.

Marking the dowel

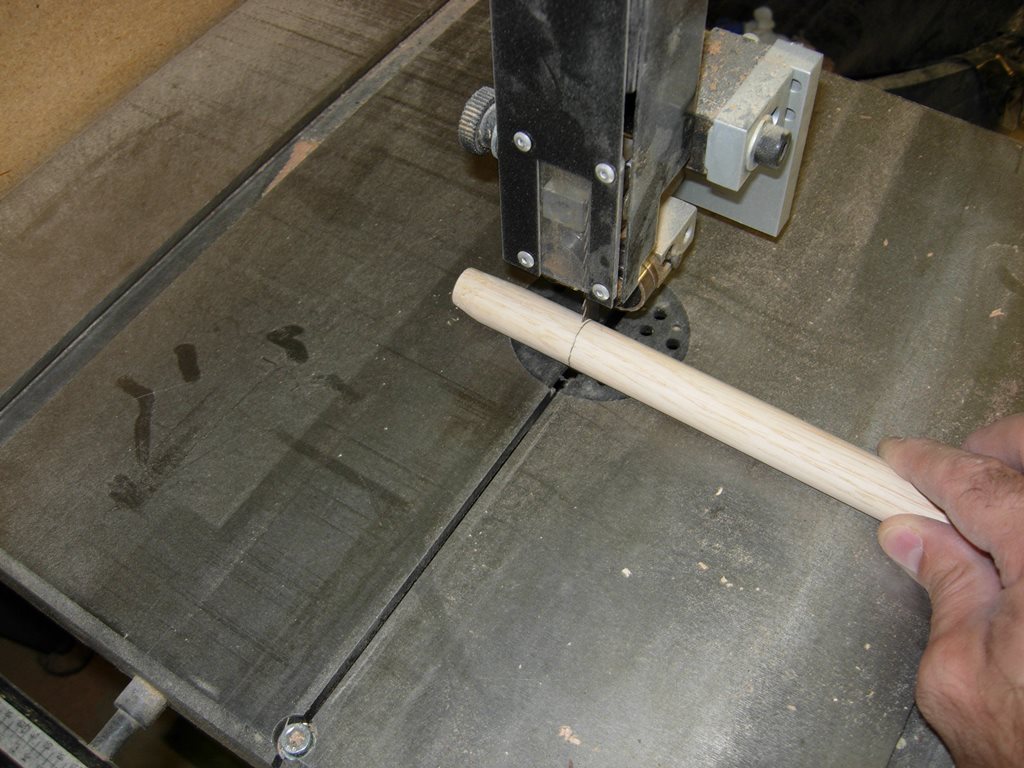
Cutting a small taper
I used my tapered tenon cutter to taper in one end a bit, to make locating the column easier. I cut the taper before I cut the locating pin off. It would be too short to get a grip on if I did it afterwards. I cut the pin off at the bandsaw, and briefly de-burred the end with a piece of sand paper.
Cutting off the locating pin
I placed some glue in each hole and pressed the locator pin in firmly.

Glueing in the locating pin
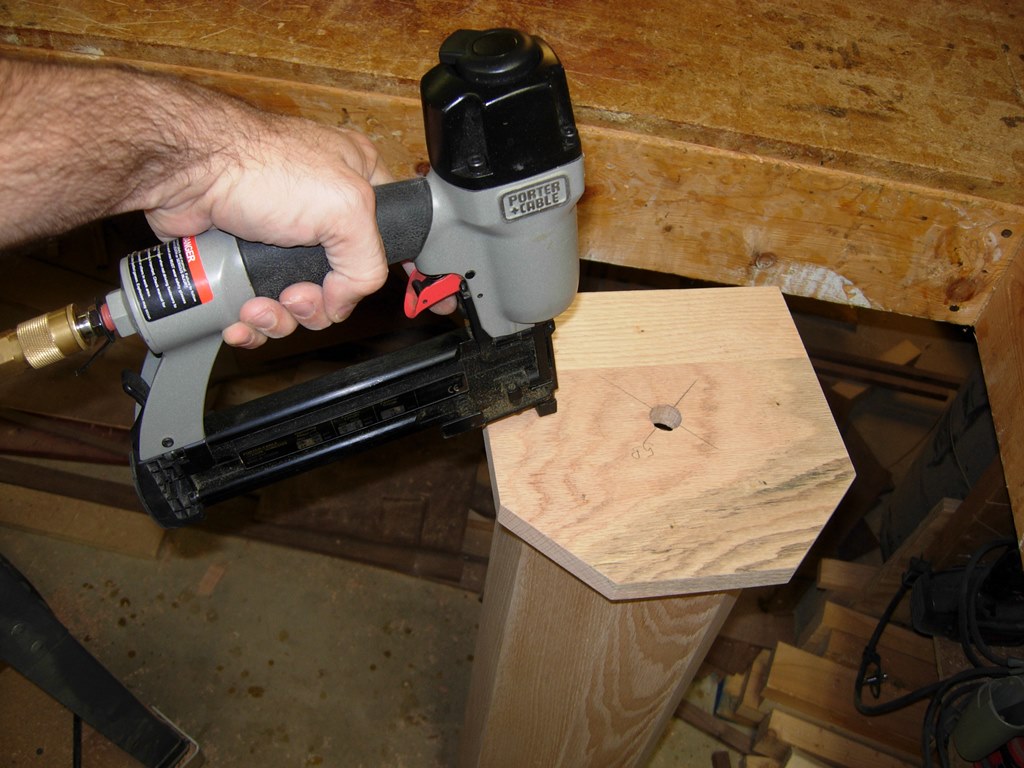
Nailing the first cap on the column
With all three pins located, I spread glue on one end of a column and nailed the cap on with my 18 gauge brad nailer. I used a couple of 1″ blocks, held to the sides of the column, to center the plate. With one end attached, I applied glue to the other end and laid the column on its side. I laid the uncapped end on a 1″ block, and held another to the side to locate the bottom plate and nail it on as well.

Locating the second cap
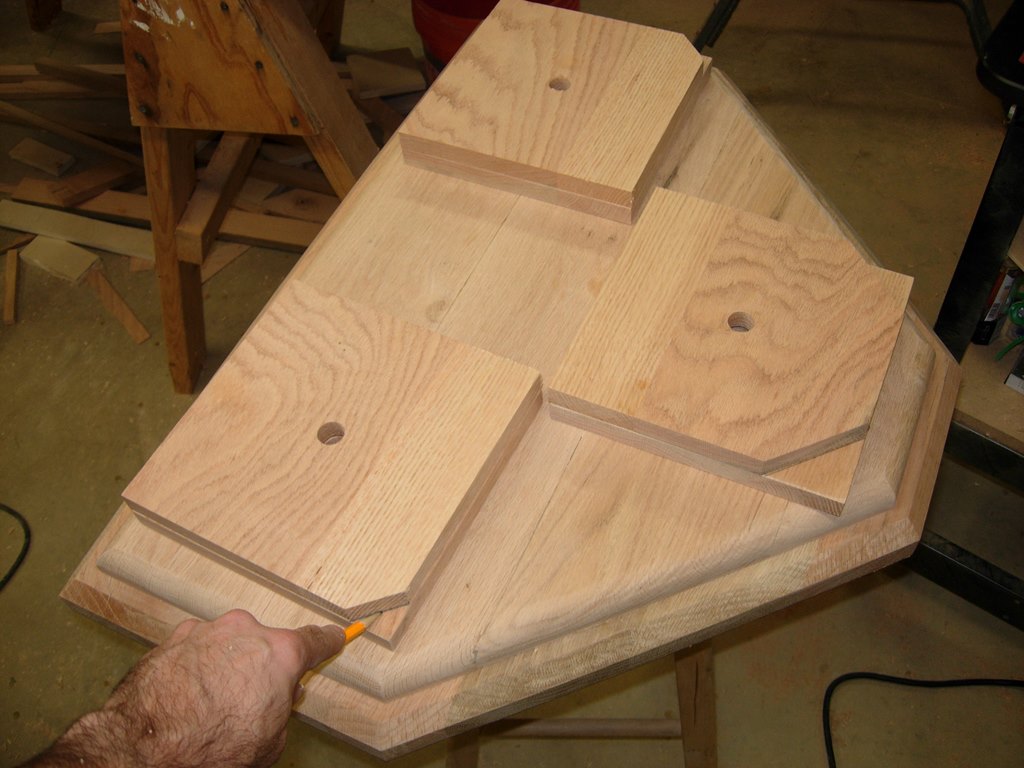
After I capped all three columns for the tabernacle stand, I flipped the top over and did a dry-fit to locate the columns on the base. Once the columns are centered, I can trace around the base caps and find the center of them to drill out the locating pin on that end. If you are wondering why I am going through the trouble with the locating pins, it is because the altar will need to be assembled after delivery. It will be too big to get through the door, and too heavy to maneuver. I am doing a test of my theory, that the locator pins will work, on the smaller stand, before attempting it on the larger one. Having the altar and stand in pieces will also help with the finishing. I will have a lot fewer runs and drips if I have everything separated when finishing. You may also have noticed that I don’t have the walnut trim on the columns yet, I am getting there…
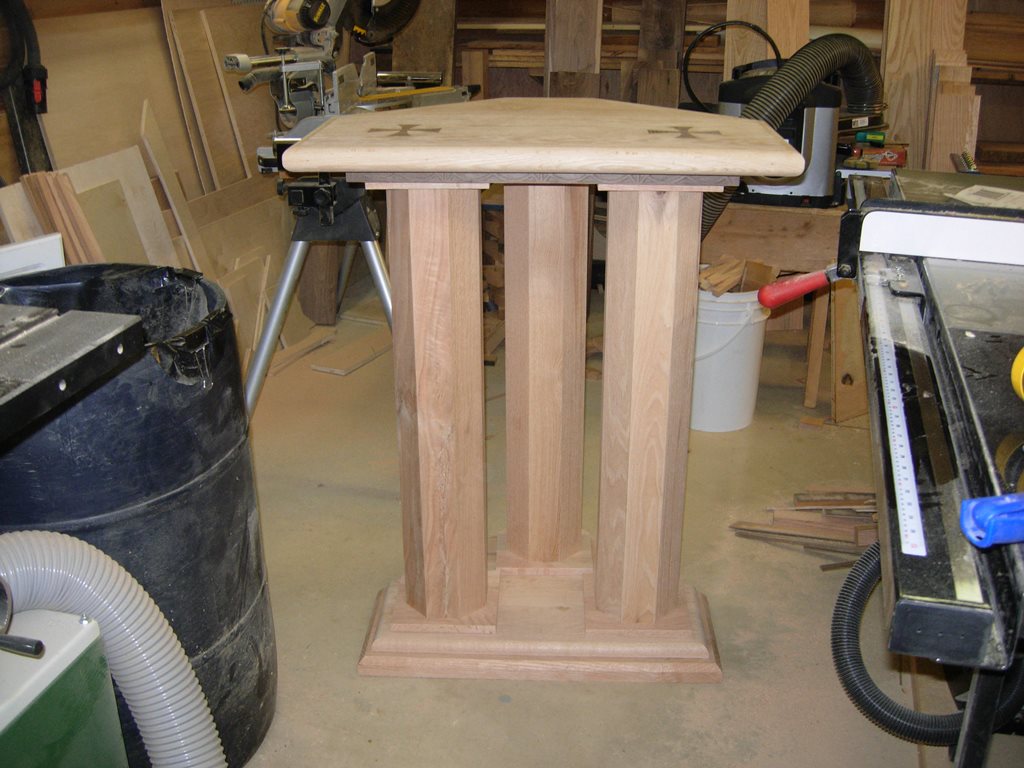
Dry fit to locate the top

This is beautiful already and you aren’t even finished yet… I can’t wait to see the end product.
Looks fantastic!
Beautiful!!! You are a gift from God.