
Church Altar and tabernacle stand – day 18
I received my new router table insert plate, that I ordered. Now I have dueling routers. This means that I can set up two bits, that work together, and swap back and forth without disturbing my setup. This will be very beneficial on the lock miters for the columns as well as the rail and style bits for the panel frames.

Dueling routers
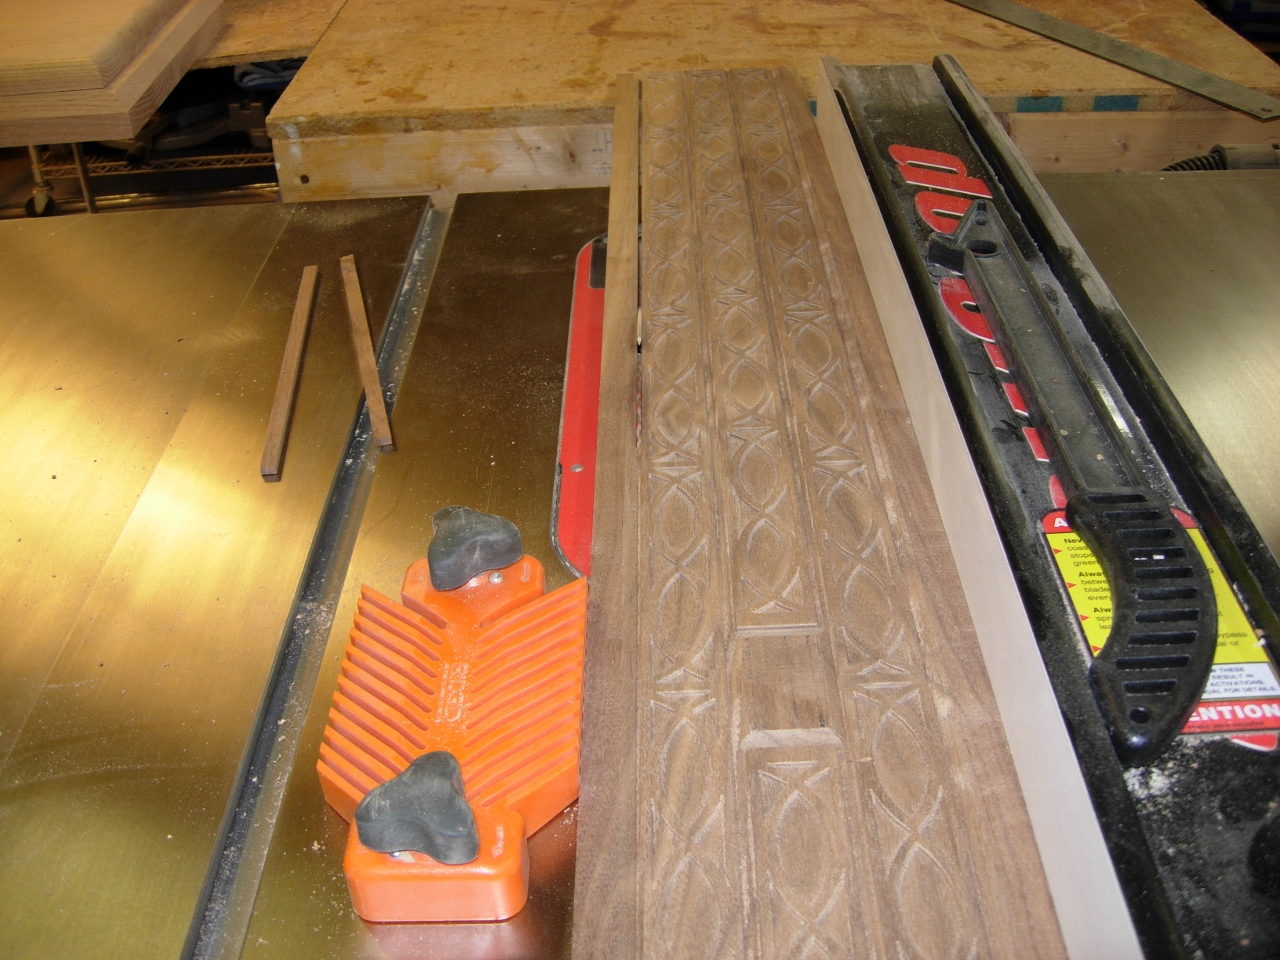
That was something I worked on while I was running the three and a half hour program on the Carvewright for the trim on the altar top.

Setting up the carver with a long board
This is the first time I tried running a long board. The trim is over five feet long, so I had to set up in-feed and out-feed supports on either side of the carver. Supposedly this baby can carve a twelve-foot long board, but I don’t have a 24′ long space in my shop to try that…

Trim run complete
Three and a half deafening hours later, the run was complete. It came out better than I expected, the shorter one that I ran had some snipe on one end, this one didn’t. I sanded down the fuzzies on the surface with the buff sander wheel, then took everything over to the table saw.

Sanding the carving

Resawing the trim
Like the last piece, I re-sawed the board to 5/16″, on the carved side, on the table saw, then finished it on the band saw.

Planing down the carved trim
I planed it down to 1/4″, then started ripping the strips on the table saw.
Ripping the strips

Strips cut
With all four strips cut out, I cut the first two miters. After that,I could mark the miters on the other ends.
First corner mitered

Long edges clamped in place
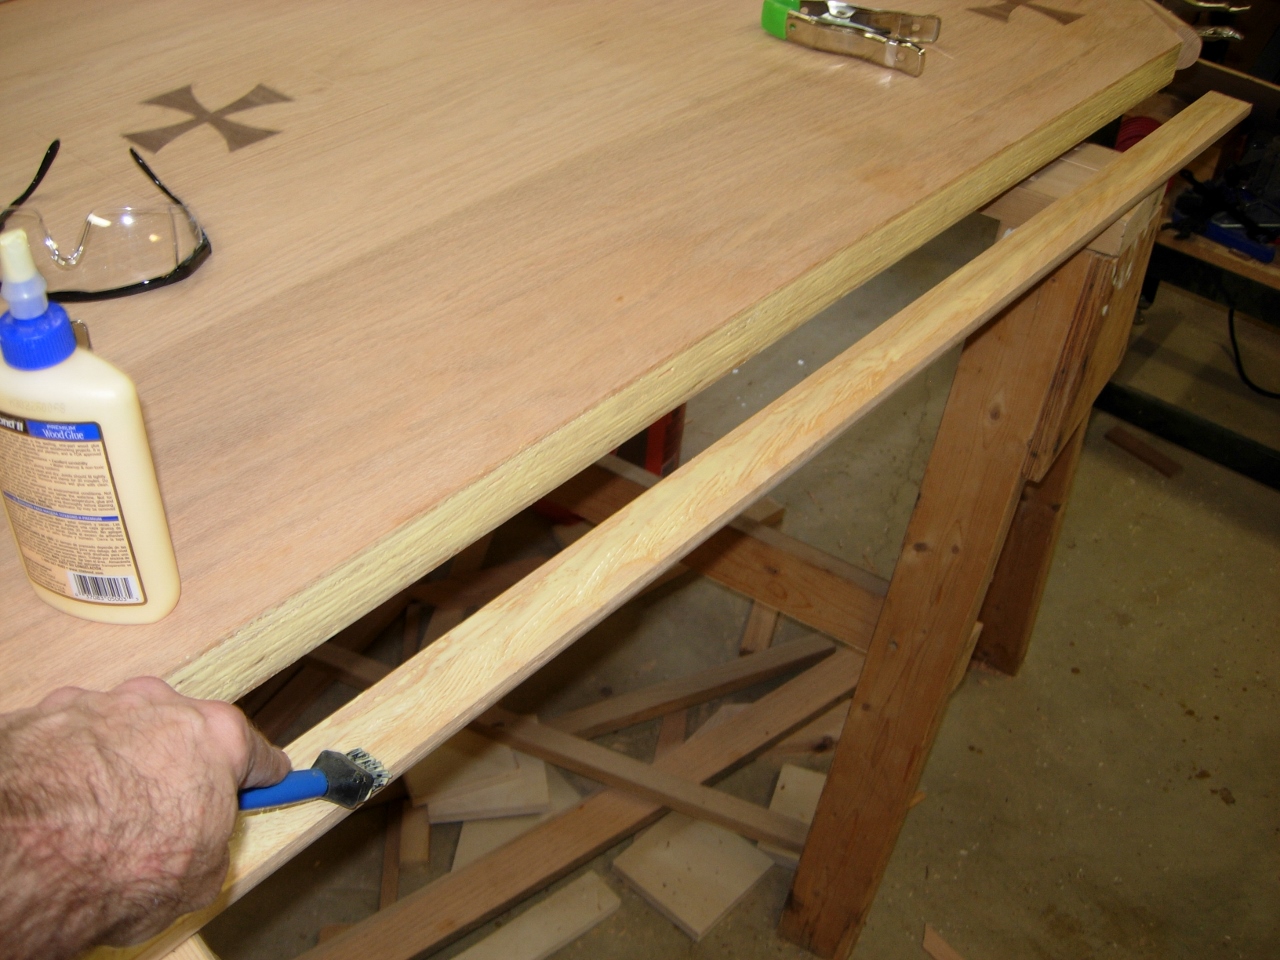
Once I had all of the miters cut, I clamped the two long edges in place, then used them to locate the sides. I applied yellow glue, liberally to the plywood edge and thinly to the trim.

Glueing up the first piece
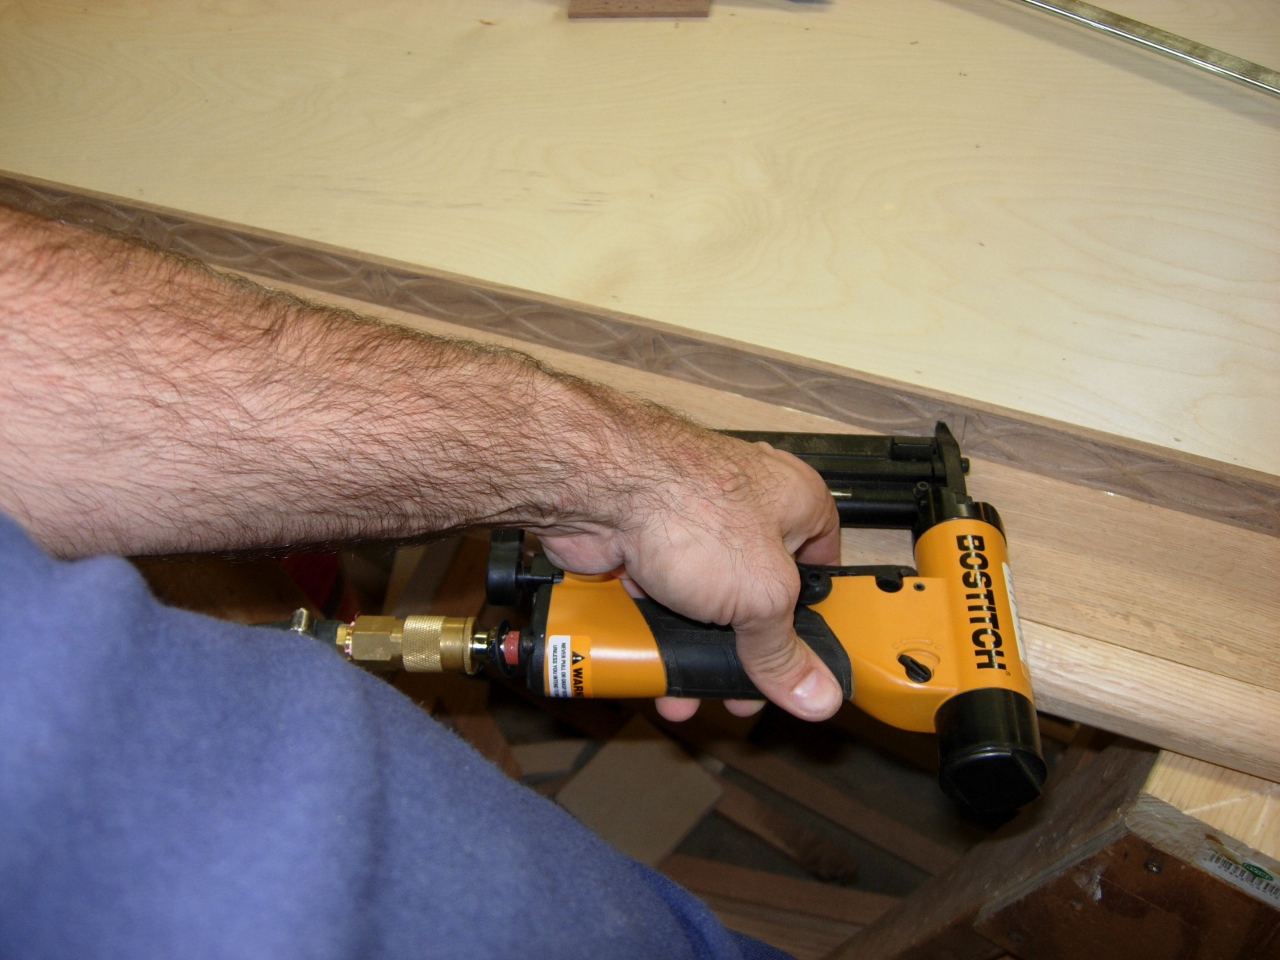
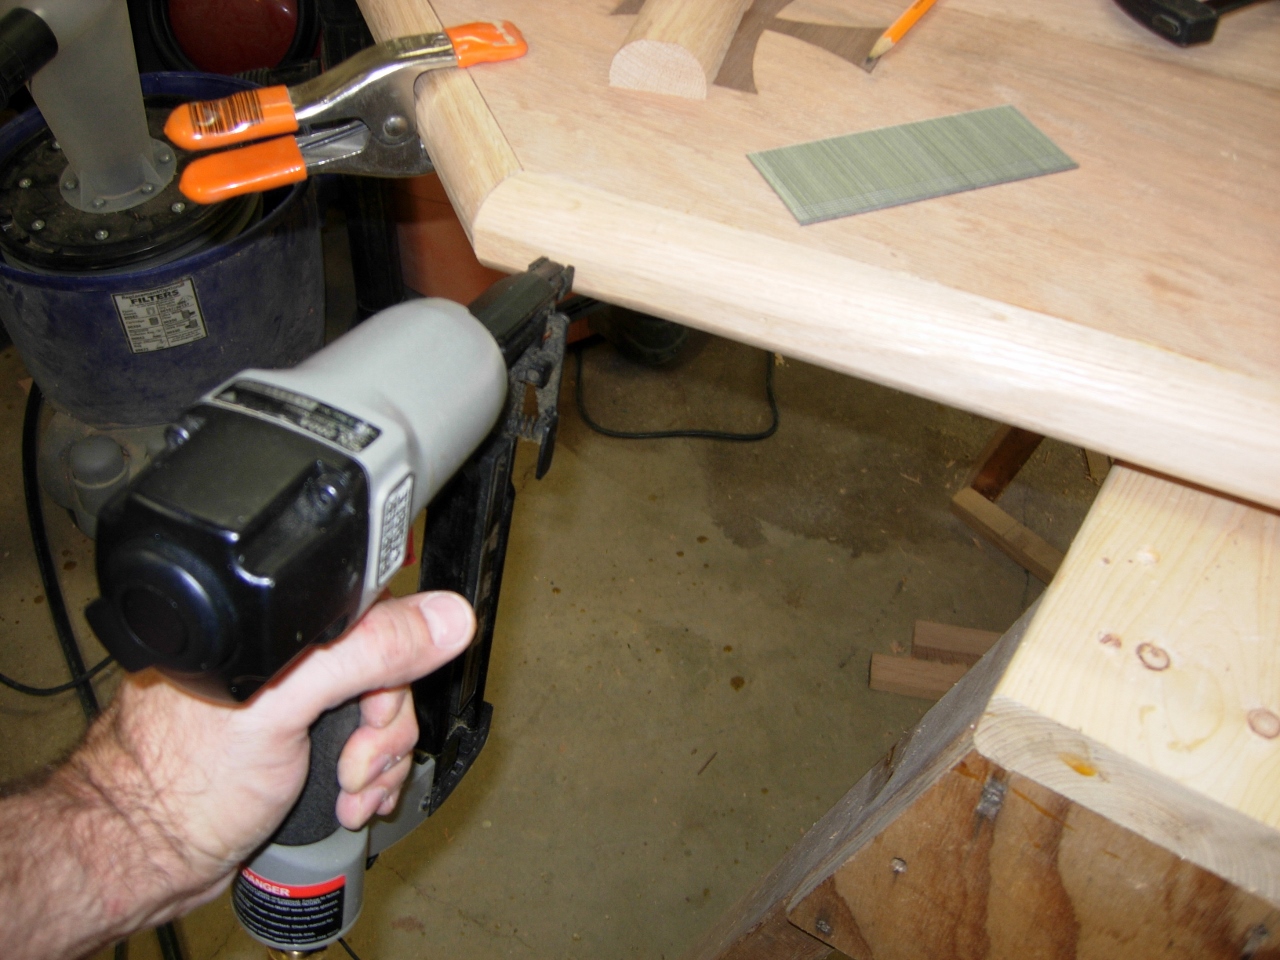
Pinning the trim in place
I held them in place, then pinned them with my nail gun. Once I had both sides glued and nailed, I pulled the clamp holding the long edges and repeated the process with them.

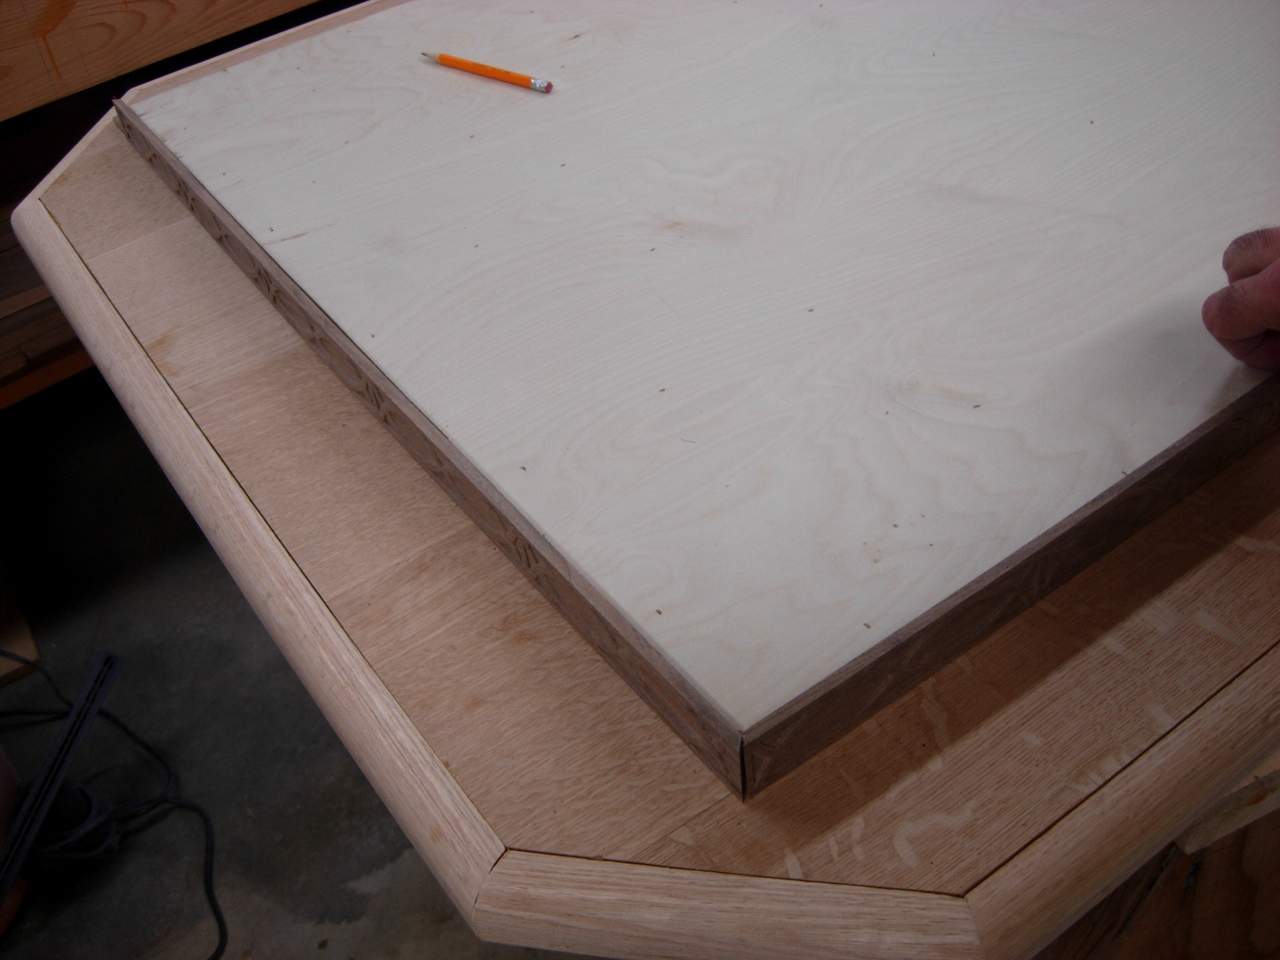
Fish trim attached
With the fish trim attached, I grabbed some help and flipped the top back over to assemble the edge banding.
Checking the miters
I loosely held the banding in place with spring clamps while I checked and sized my miters. I applied glue to both surfaces, then nailed it in place with the 18 gauge nail gun.
Applying the glue
Nailing on the edge banding

Edge banding attached
With the edge banding attached, it was time to mix up some more wood filler and fill the nail holes and the joints between the edge banding and the plywood. If you recall the plywood was cut by hand with a circular saw. The edges are not perfectly straight, resulting in gaps when the edge banding was mated up to the edges.
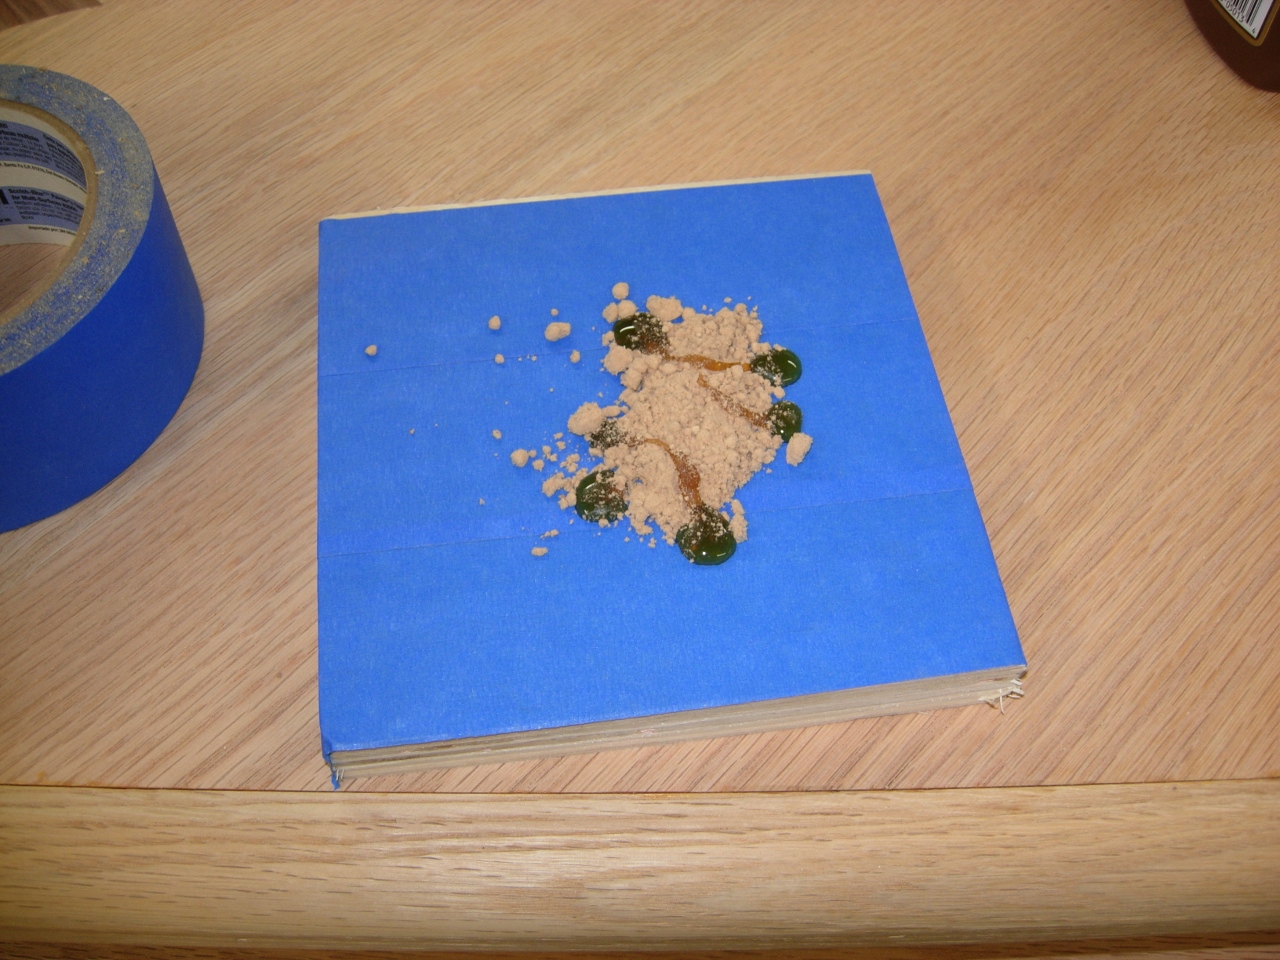
Sawdust and hide glue
I decided to tape up my mixing board the same way I did for the resin. I combined my pre-stained wood flour (saw dust) and some hide glue, then started applying. I filled all of the gaps on the surface and all of the nail holes in the edge banding. I also brought over the tabernacle top to fill as well.

Wood filler mixed
I got a little crazy and started applying what was left to any tiny crack I could find. It looked a bit messy when I got finished, but it will look much better when sanded down tomorrow.

All gaps filled
Oops, I almost forgot. Last night while the trim was being carved, I also spent some time trying to create a maker’s mark program for the Carvewright. I have never marked my work, but I thought it would be neat to try carving something out.

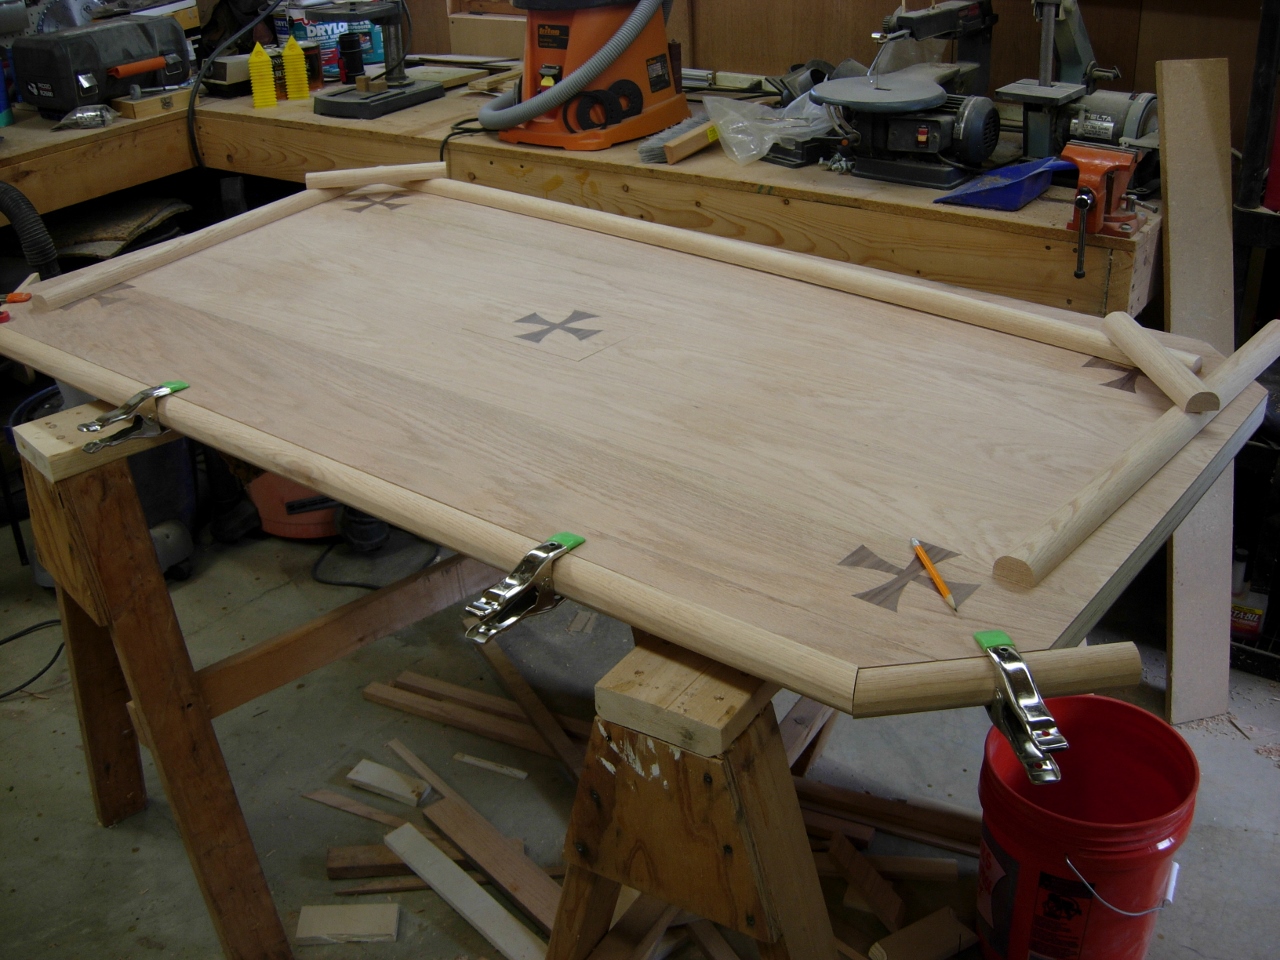
Attaching my mark & date
The logo in the center is supposed to be an “M” over a “W” to stand for “Midnight Woodworking” The year and my initials are also there in the center of a circular saw blade.

Midnight Woodworking maker’s mark
Oh well, it’s almost 1:00 AM, time for bed.

Seems like it’s coming together real good. How do you feel about it? Thank you for a great write up (blow by blow) and all the pic’s
Thanks Dave, I am glad you like the posts. I think the altar is coming along nicely, just a little slower than I had thought. The veneer slowed me down a lot. But you got to learn how by doing. I think it will look really good when it is done, I am just impatient…