
Church Altar and tabernacle stand – day 7
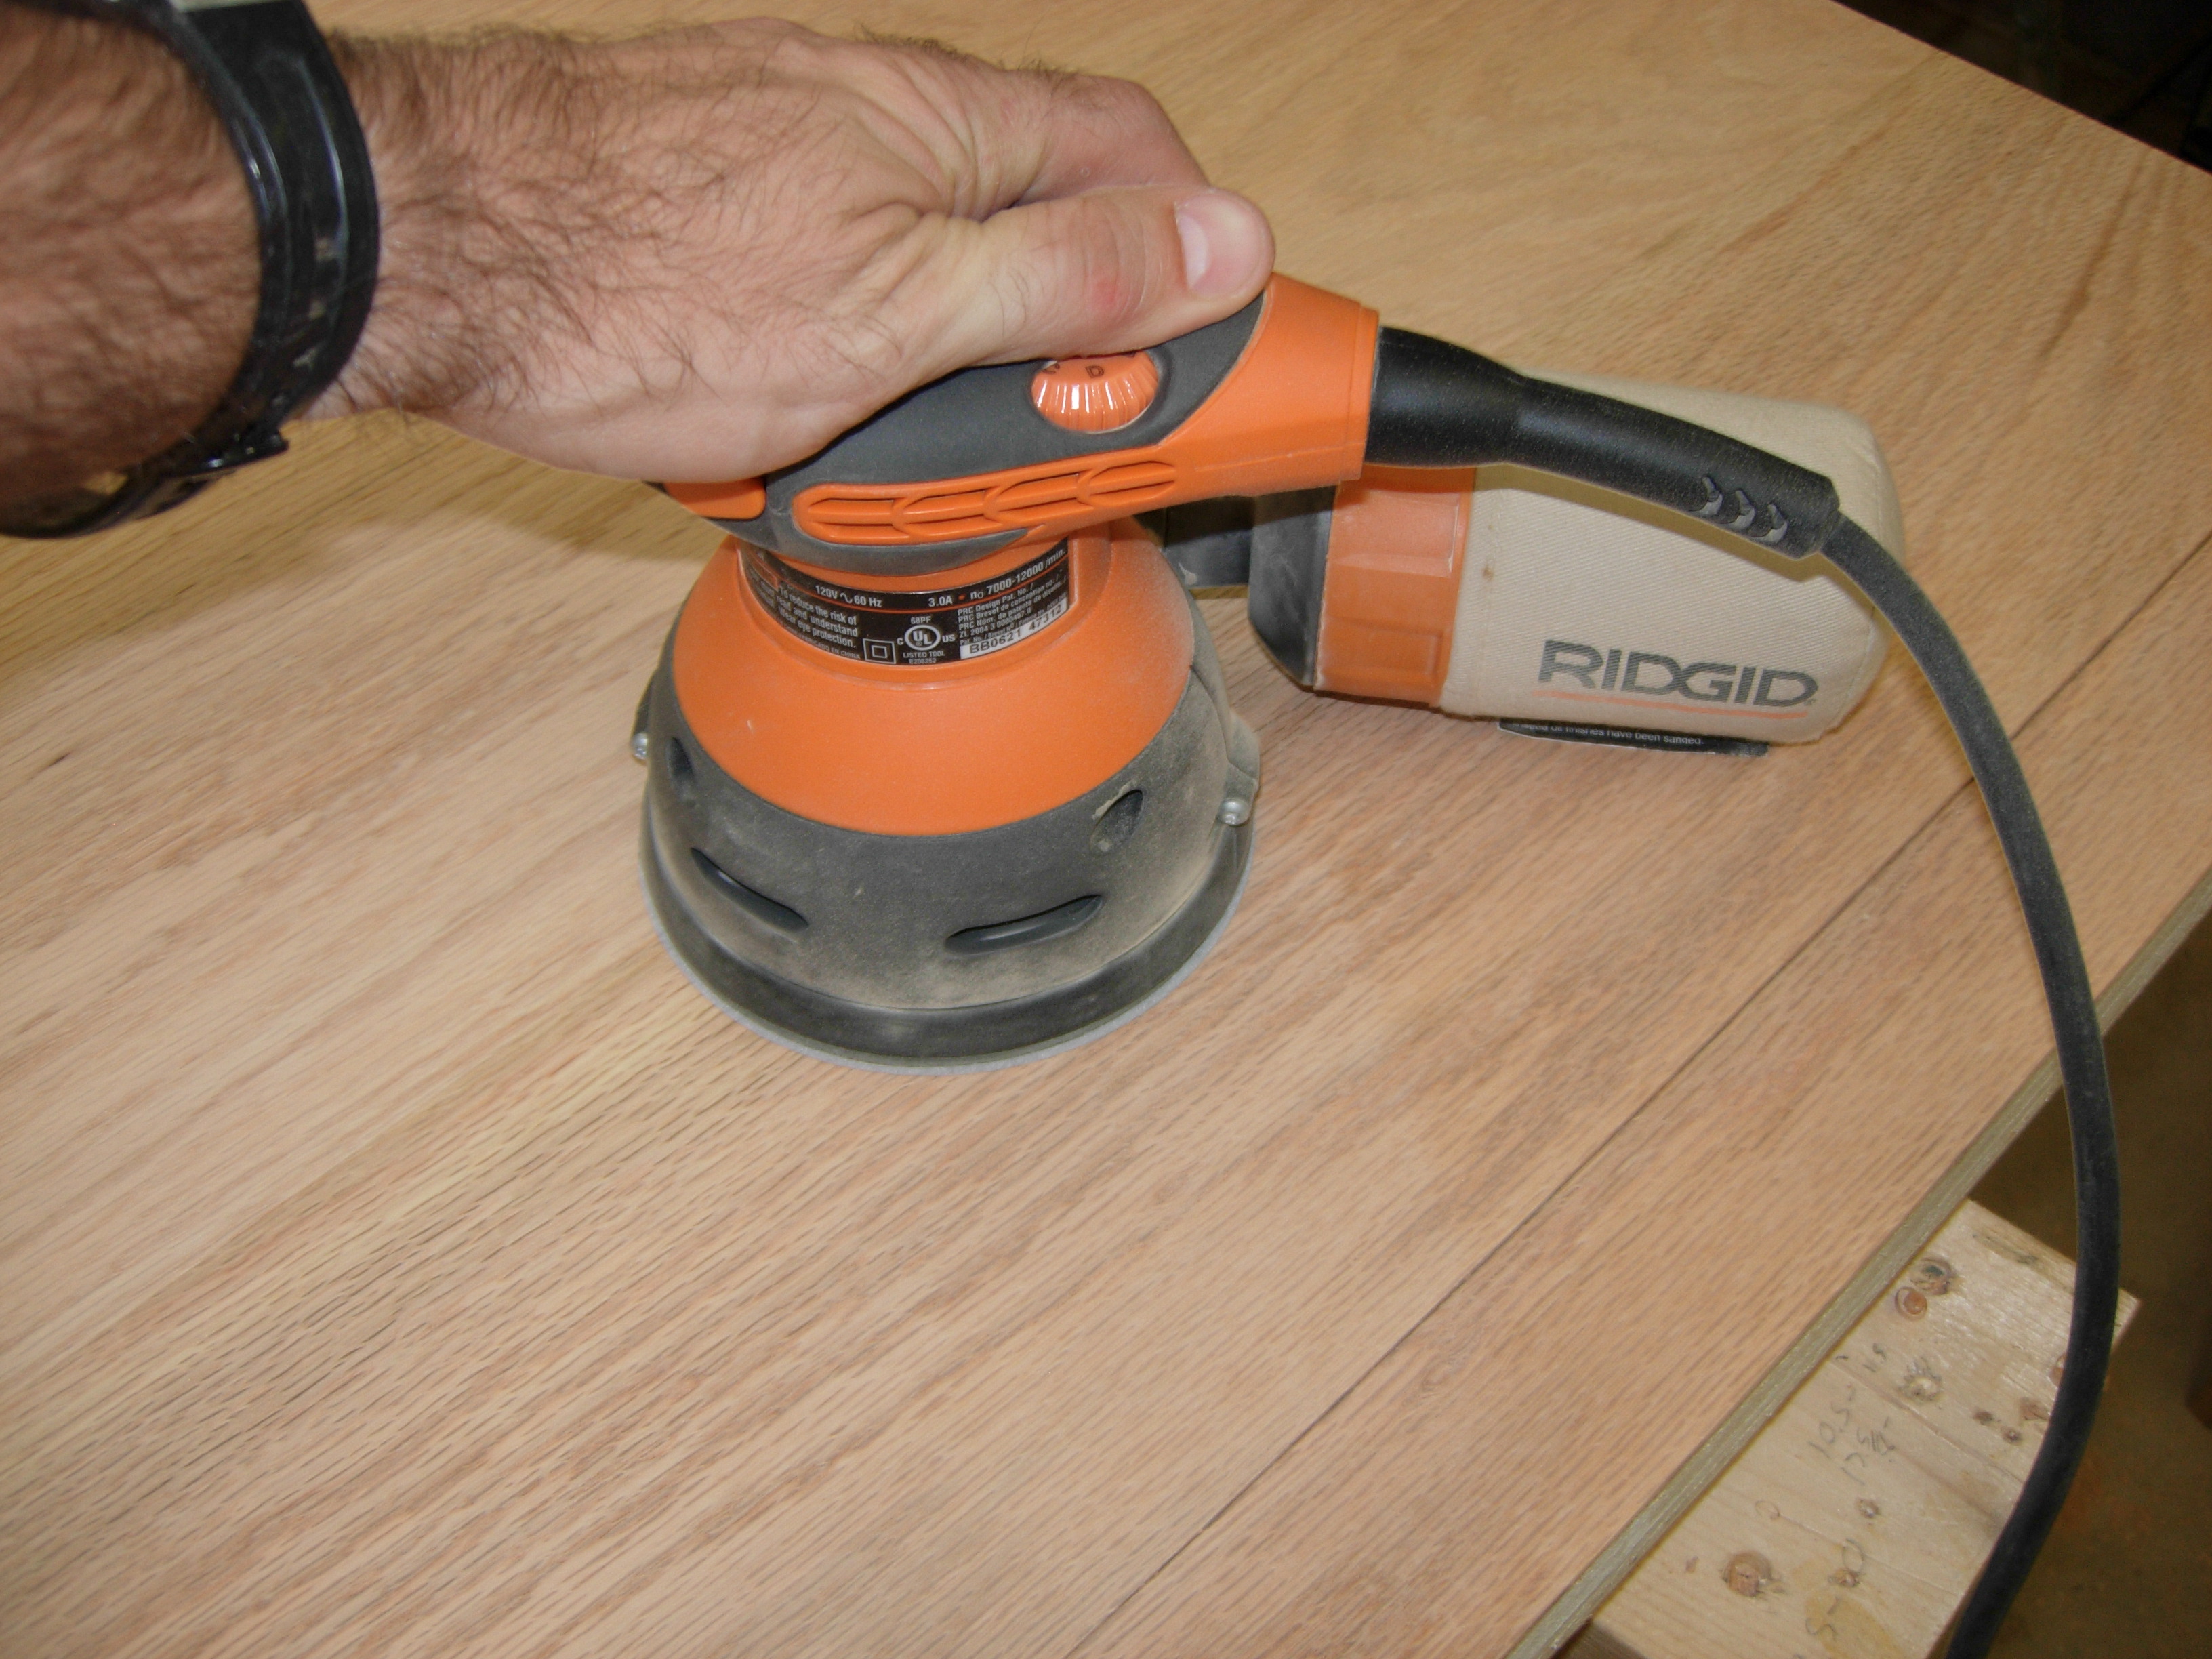
I had a few hours to work on the altar, so I pulled the clamps off of yesterday’s work and started sanding down the top.

Sanding the veneer
I set up one of my routers with the flush trim bit, and ran it around the top. It gave me a really nice edge most of the way around.
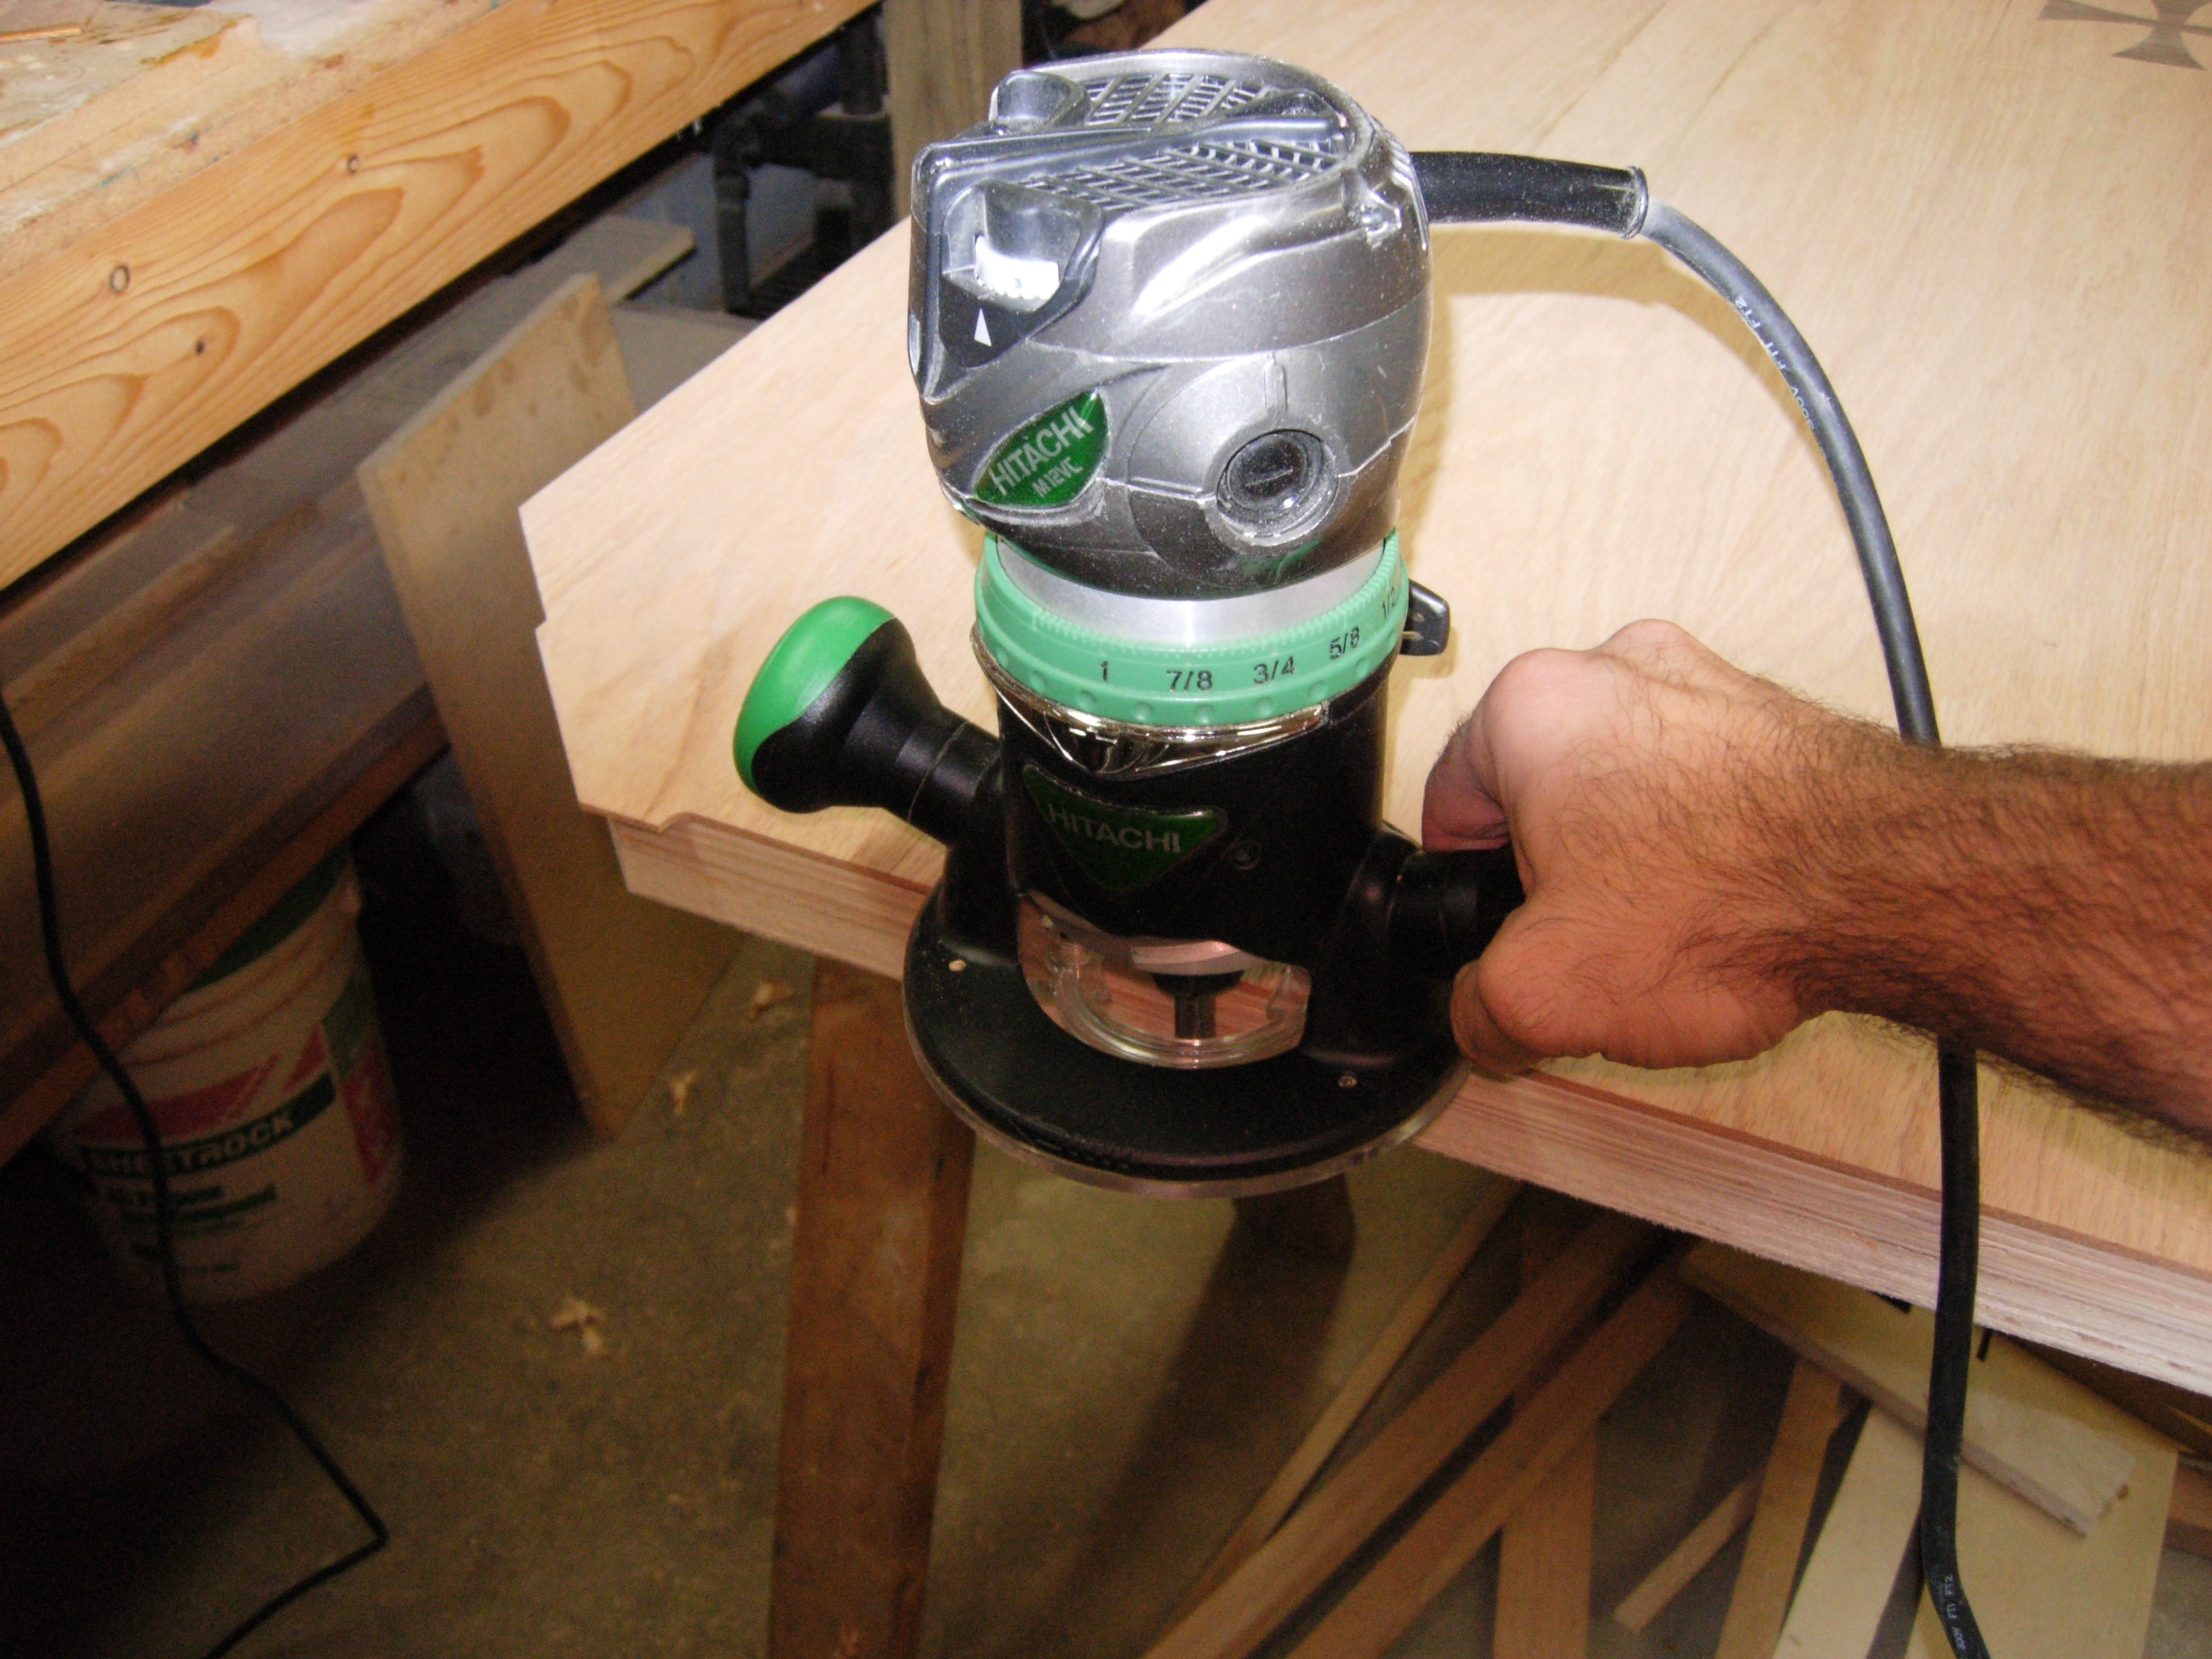
Flush trimming the edges
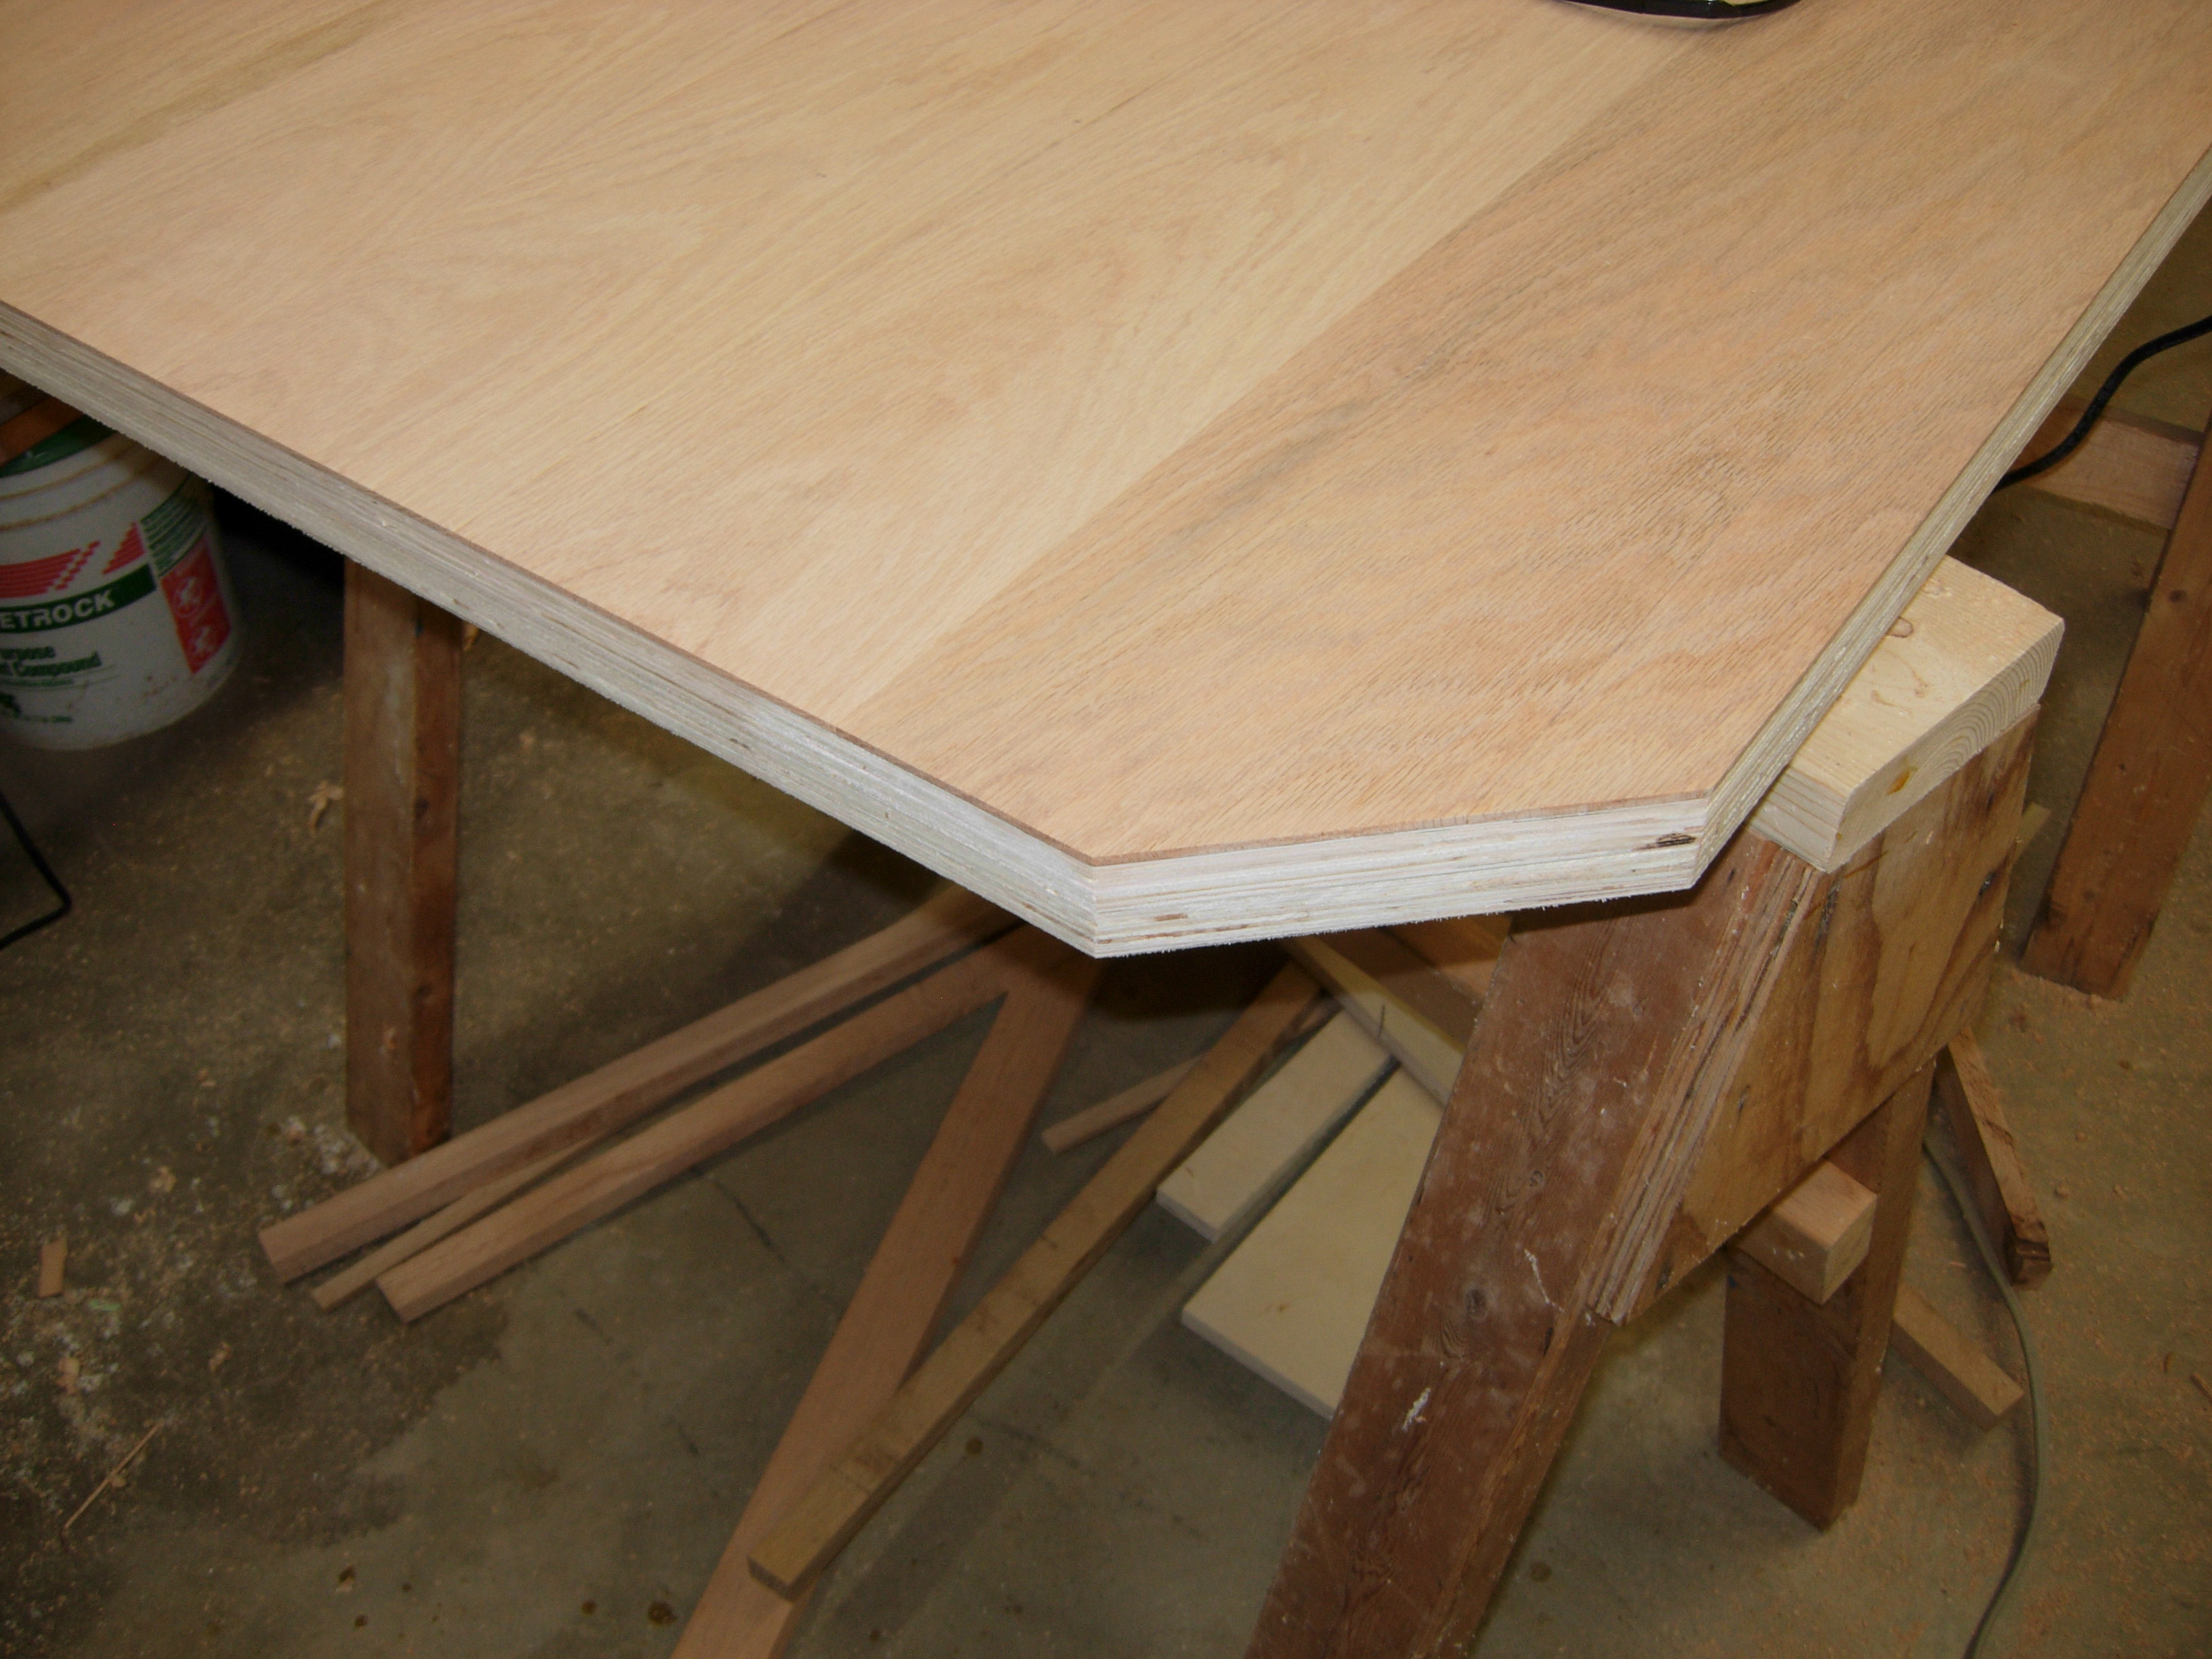
This side looks nice
I had some problems with tear-out in three places along the front edge. There seemed to be a bit of grey weathering to this piece, maybe the wood was more brittle in this area. I reattached all the pieces, that I could find, with hide glue and let them dry.
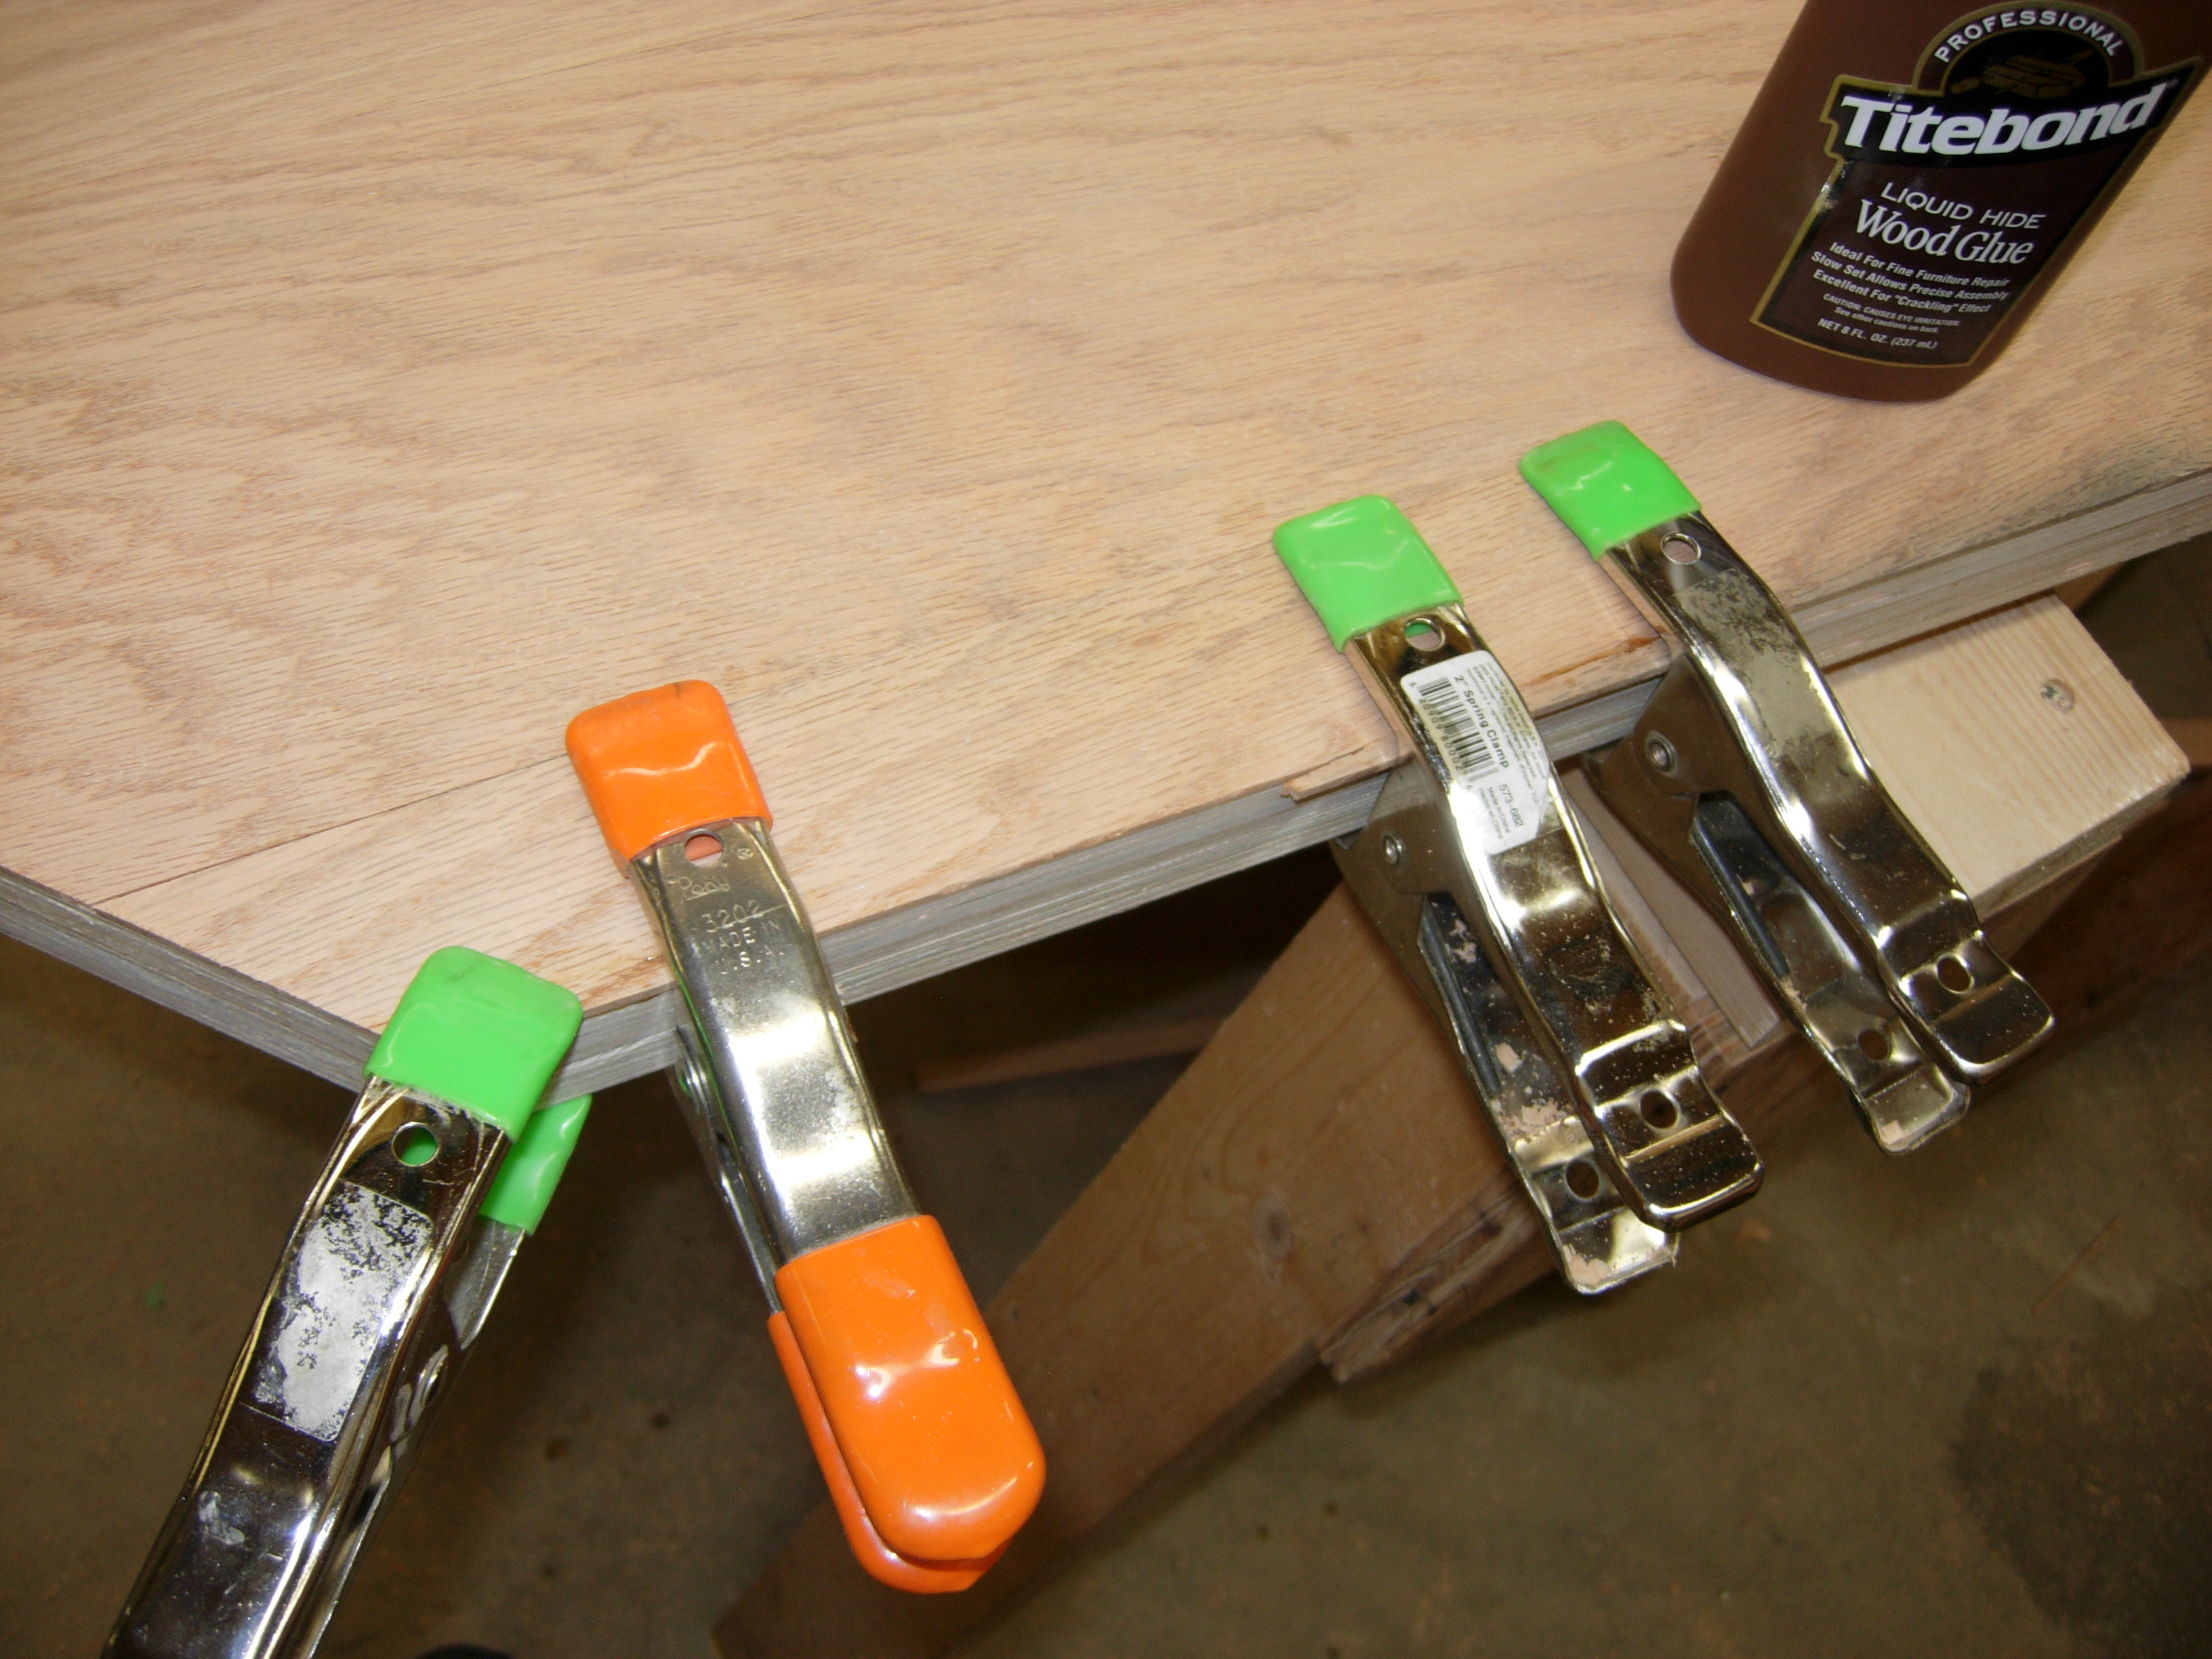
A lot of tear-out on the front side

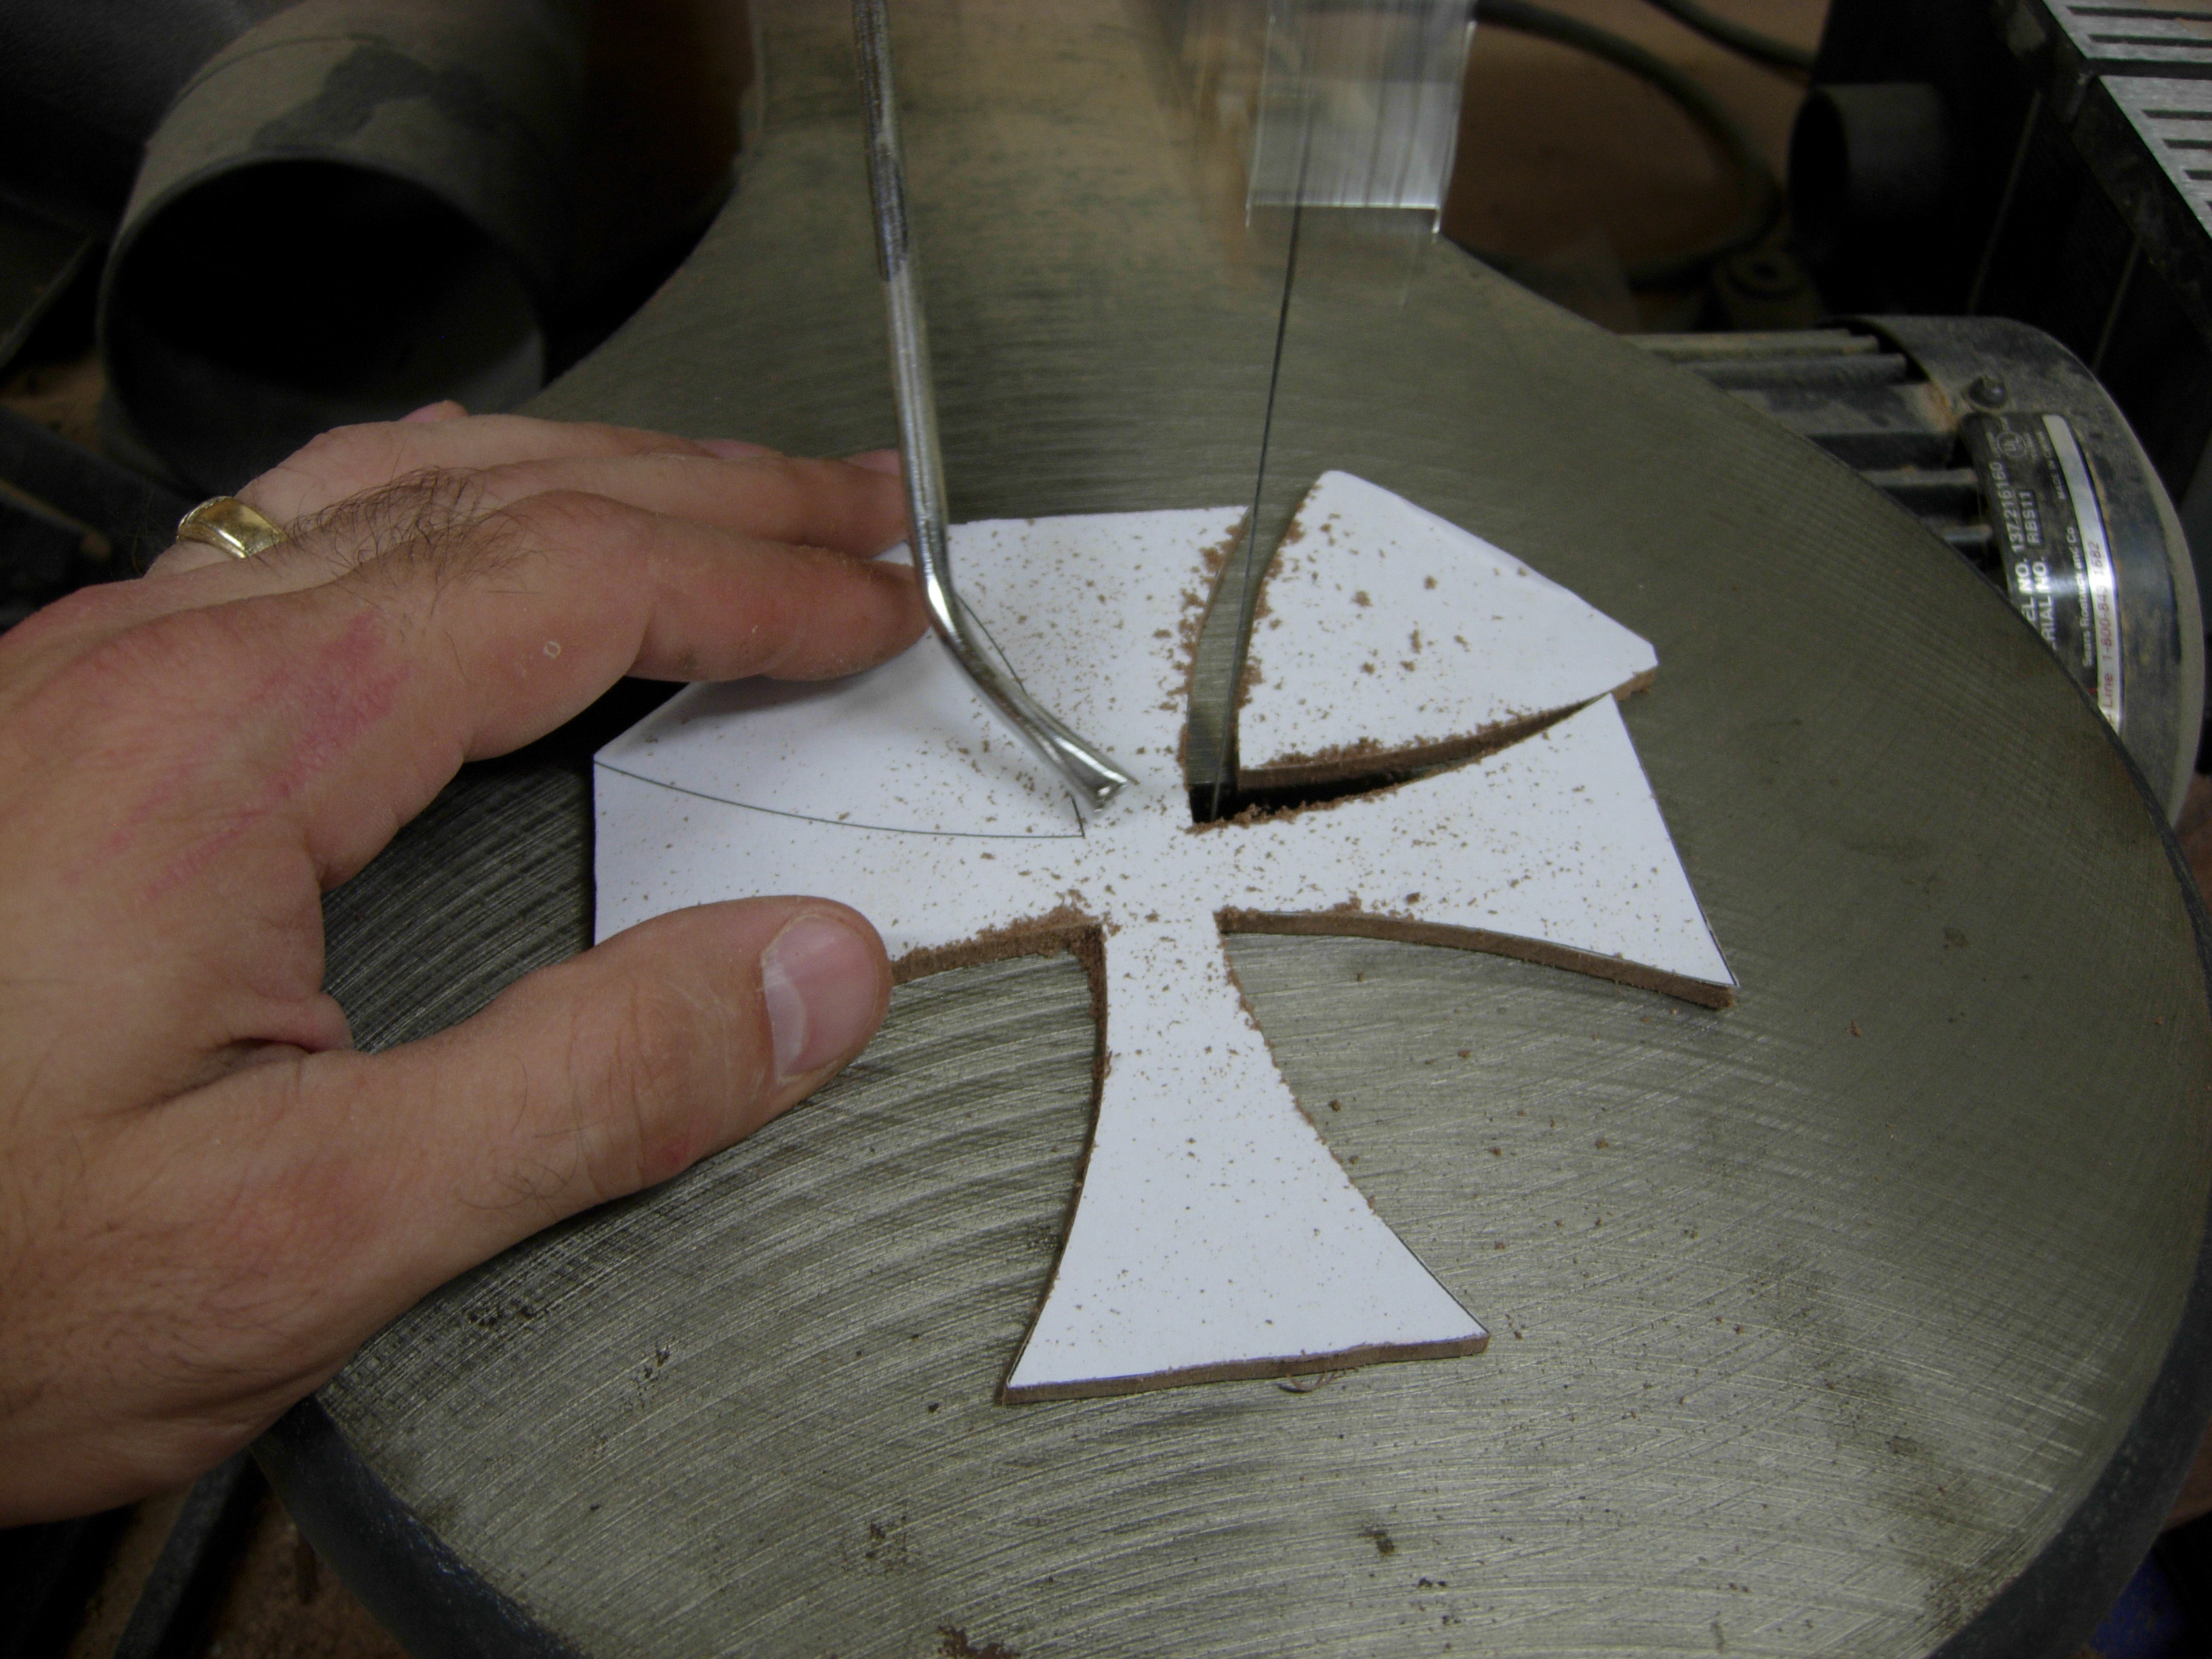
Cutting out the rest of the crosses
While the glue was drying, I started cutting out the rest of the crosses on the scroll saw. I managed to break a blade, so I am down to my last one. I will have to take my time and be careful with the rest. When they were all cut out, I cleaned up the curves with my fine modelers’ rasp, then sand paper.
Cutting the curves
I had a fan blowing on the oak slivers that I was glueing back on, so the glue dried pretty quickly. Since it isn’t fully cured, I decided to use my block plane, rather than the router, to flush up the repaired pieces.

Trimming the repaired edges
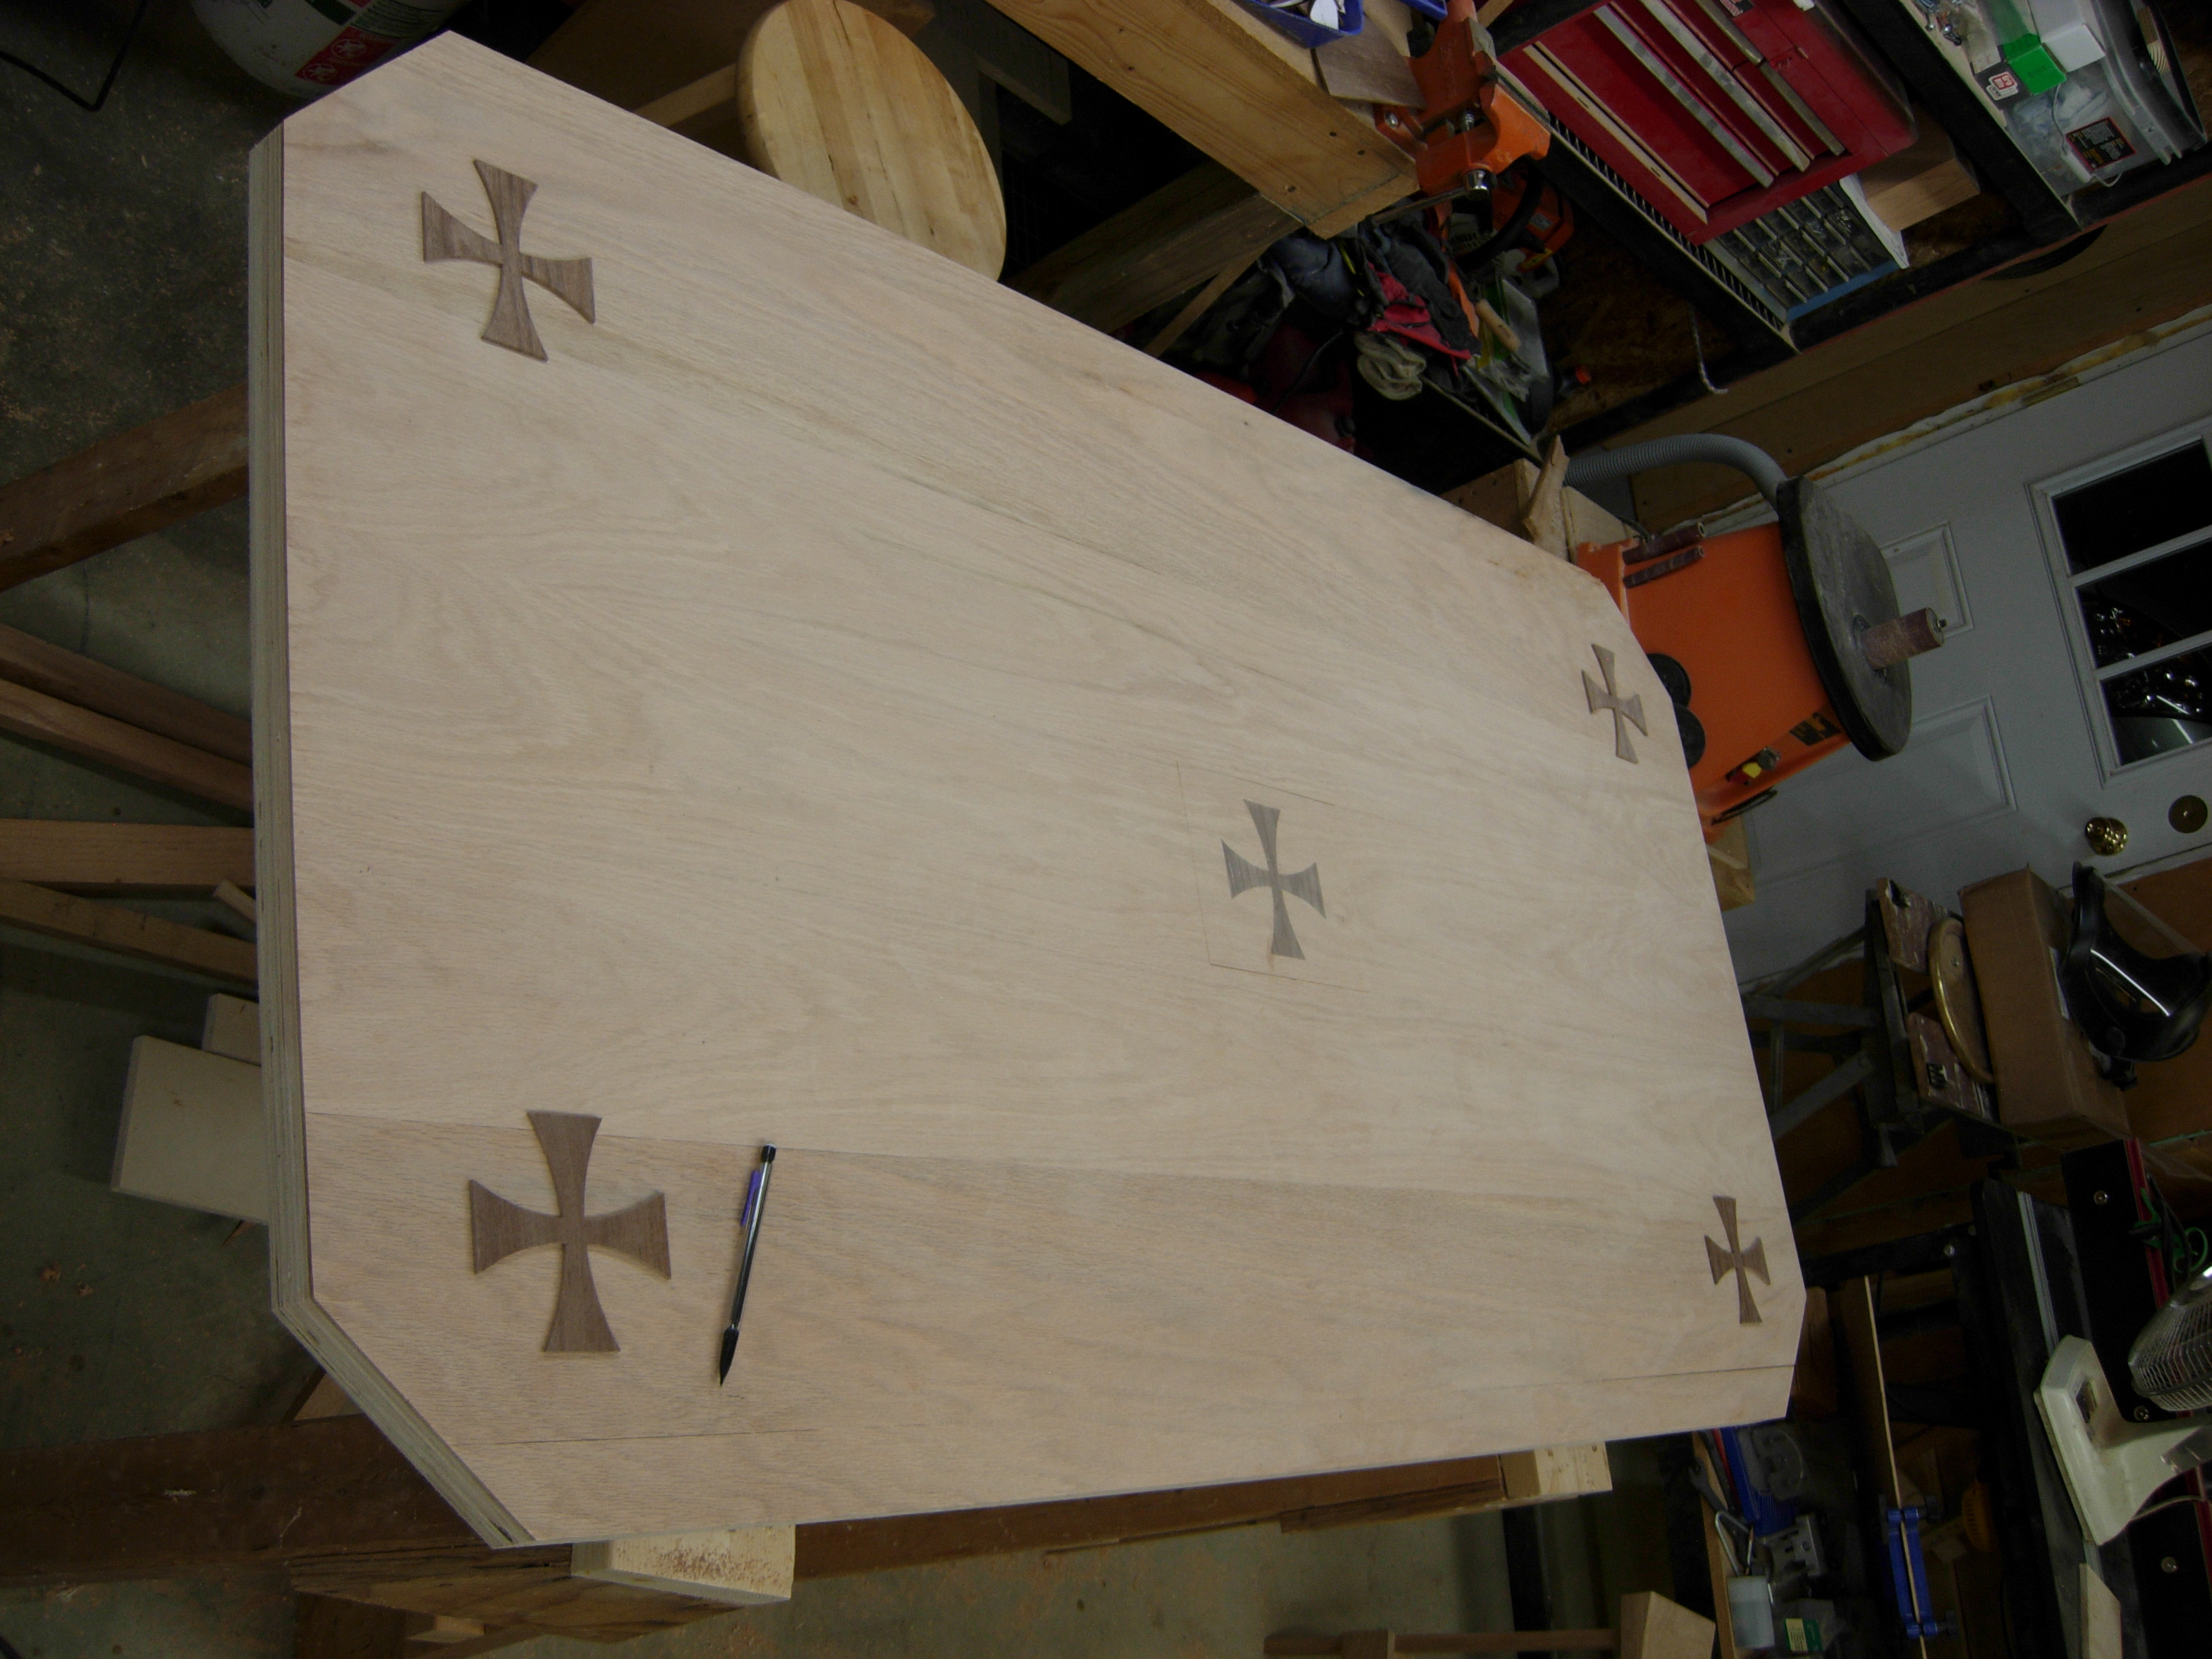
Laying out the crosses
Next, I laid out the crosses. I didn’t have a specific location in mind, just one in each corner. I grabbed a scrap piece of wood that was about 3″x3″ and used that as a spacer from the front and side edges, to locate the crosses. I traced the crosses and marked them so they would be laid back in the exact same orientation. Since they were cut freehand, no two sides are exactly the same. If they got flipped or swapped, I would wind up with a lot of gaps when I went to put the crosses in.
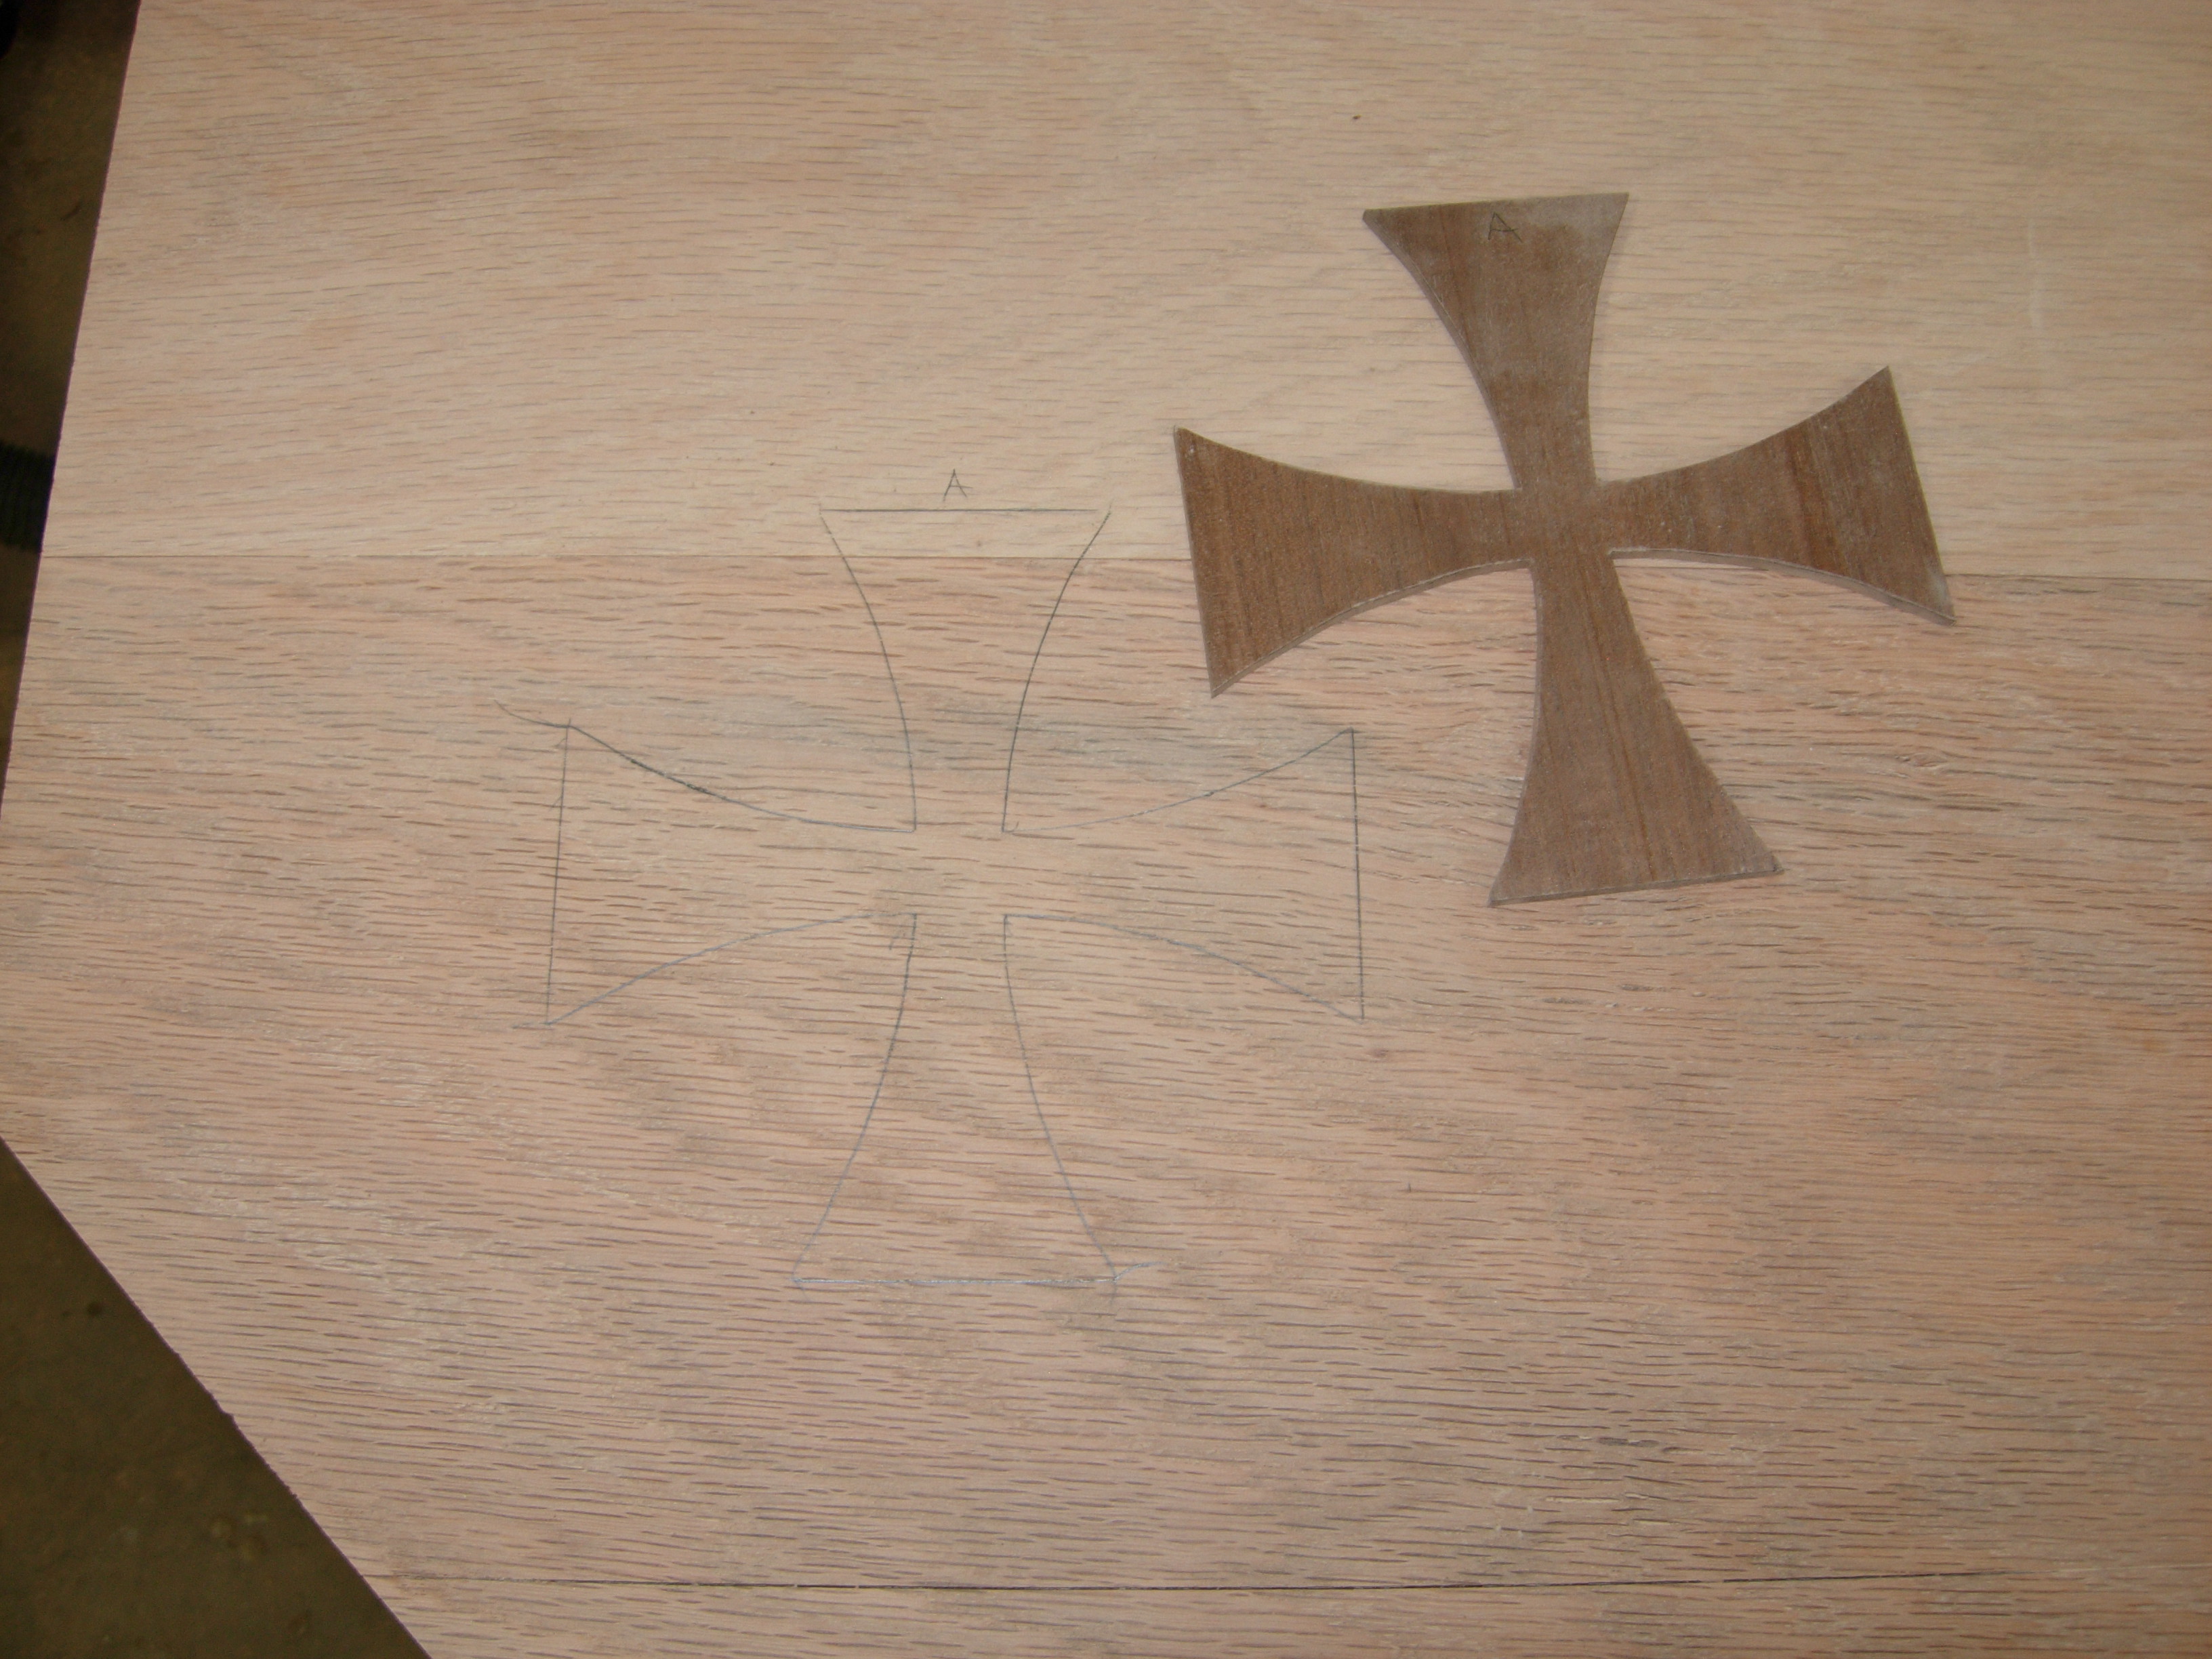
Crosses traced and marked
If I seem to be jumping back and forth from one thing to another, it is because different little things kept frustrating me, so I would move to something else for a while. After trimming up the tear-out, I laid out the crosses while I thought about how to patch the gaps in the red oak so they wouldn’t be too obvious.
Collecting oak dust
I had done some research on the web about stainable wood fillers. The consensus on the web is that you can’t use purchased wood fillers because they will never stain to match the oak. The next best alternative that I could find involves making your own. I decided to experiment a little. I took the vacuum off of my sander and put the ineffective bag back on. I then proceeded to sand down the entire top again using 80 grit paper, then 120 grit paper. What I wound up with was a small pile of very fine red oak dust, called wood flour. If you mix the flour with glue, you can make a putty that can be used to fill holes and cracks. The big problem is that the glue inhibits staining.

Making wood flour

Dumping out the dust
I dumped out my pile of dust on some wax paper. I decided that I would try staining the dust before adding the glue. It worked surprisingly well. I think it was a bit darker that I wanted, so I cut the dust in half with unstained to lighten it up.

Staining the wood flour

Mixed and ready
I am mixing hide glue with it to make the paste. The hide glue has a dark honey color which darkens the paste further, so I added more unstained dust and gave it a try.

Mixing in hide glue
I spread the filler on my unstained altar top so that I can scrape and sand it when it dries. I know I can’t tell how close the match will be when it is unstained, so I stained a piece of scrap and gouged it in several locations to test it. I believe that the mix I came up with will be far less obvious than standard wood filler. I suppose we will find out when I get around to staining the rest in a few days.

Spreading the paste
Well, with everything layed out and patched, I bagged up the left-over dust for future projects, and cleaned up for the evening. Almost midnight again, time for bed…
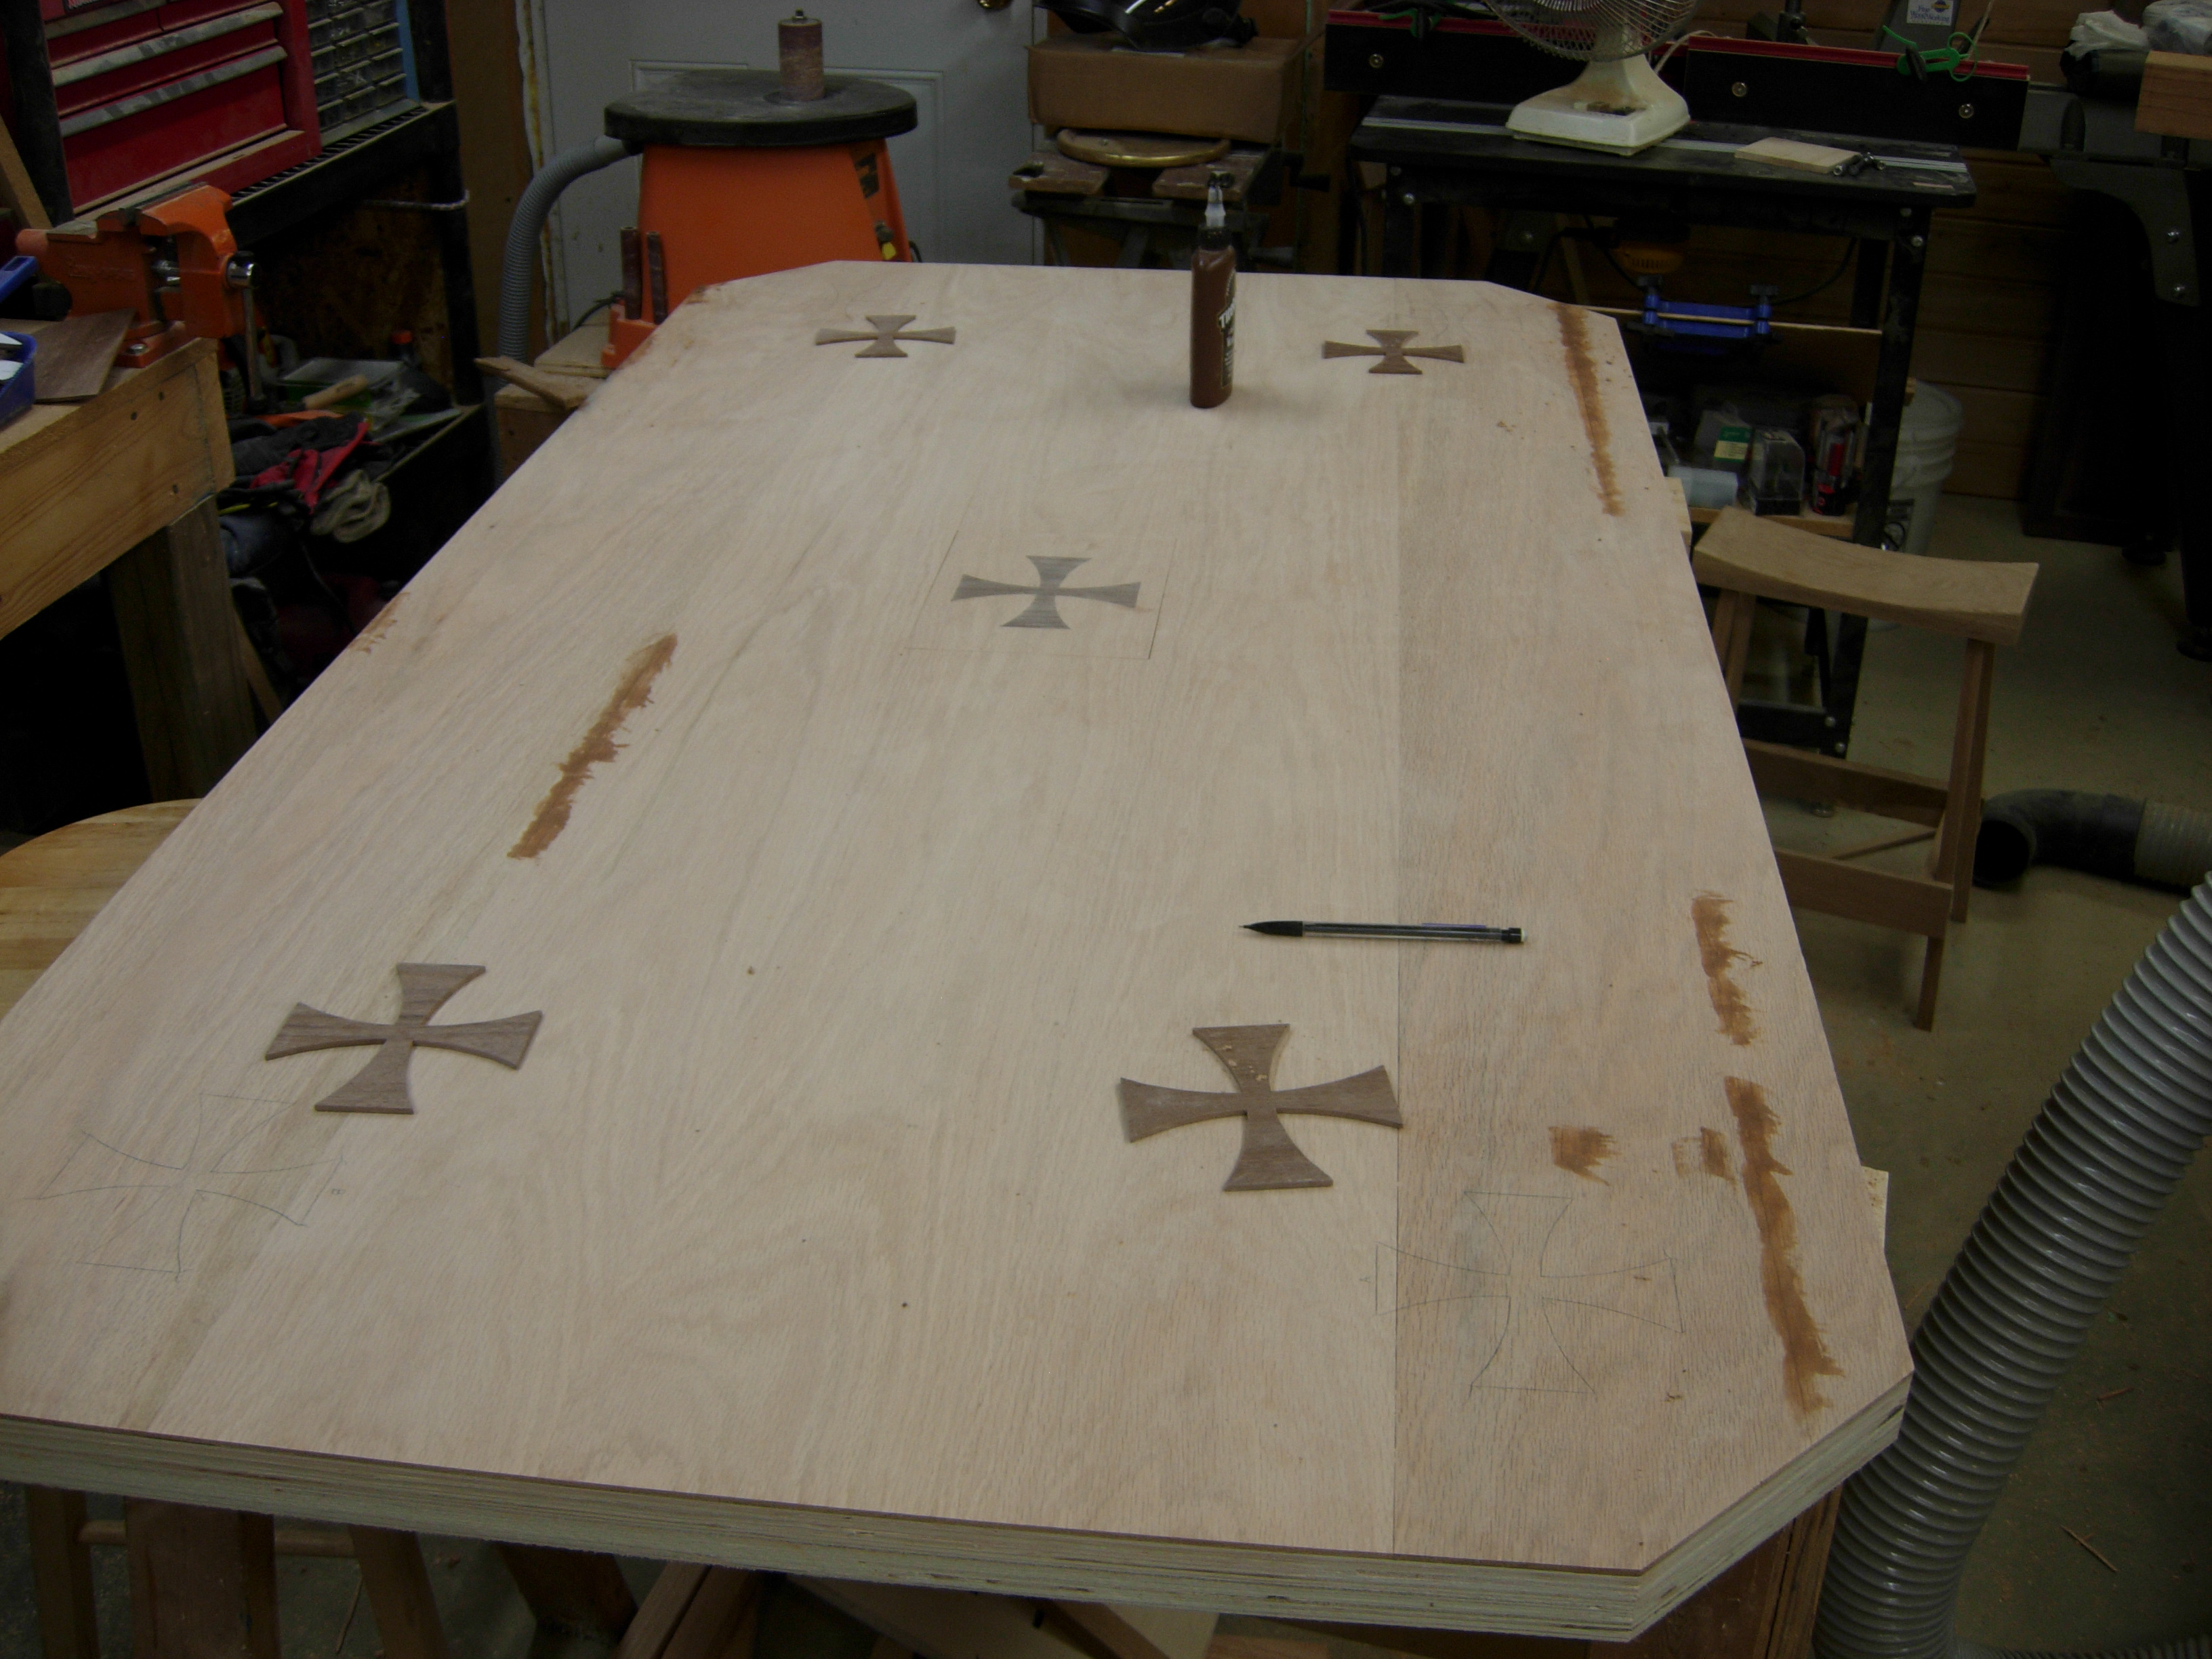
Patched and drying

Pingback: Lectern Days 1 & 2 | Midnight Woodworking