Vicenç’s guitar – day 4,5,6… – complete
Vicenç applied the first coat of finish before he went home the other day. Over the next couple of days, I applied another three coats of Tung oil, sanding the body with 400 grit sand paper between each coat. This built up enough coats to bring the polymers in the oil to the surface. Another coat or two and we would have developed a film finish. His preference was to enjoy the look and feel of the wood, so we decided to stop at four coats. He can easily repair any damage at this point just by sanding and applying more finish. Since Vicenç will be taking this guitar back home to Spain, He will probably not be able to purchase the same brand of finish for repairs, I recommended that he look at some of the products carried by Crimson Guitars in the UK. They have developed their own oil finishes, just for guitars.
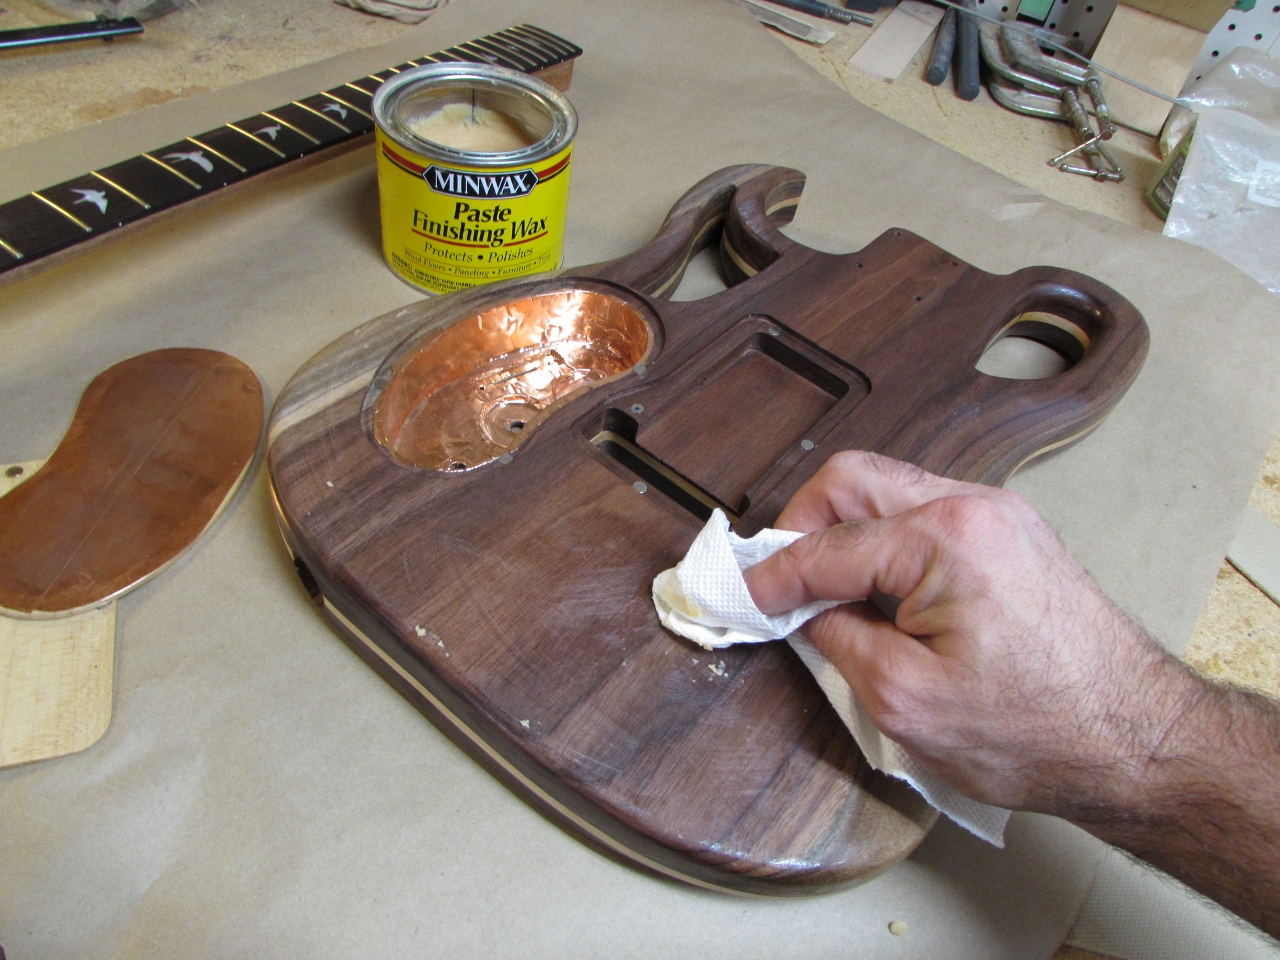
When the last coat was dry, I applied some paste wax to give the body a nice soft feel. I am not sure if it helps, but I like the way it feels after it is buffed out.


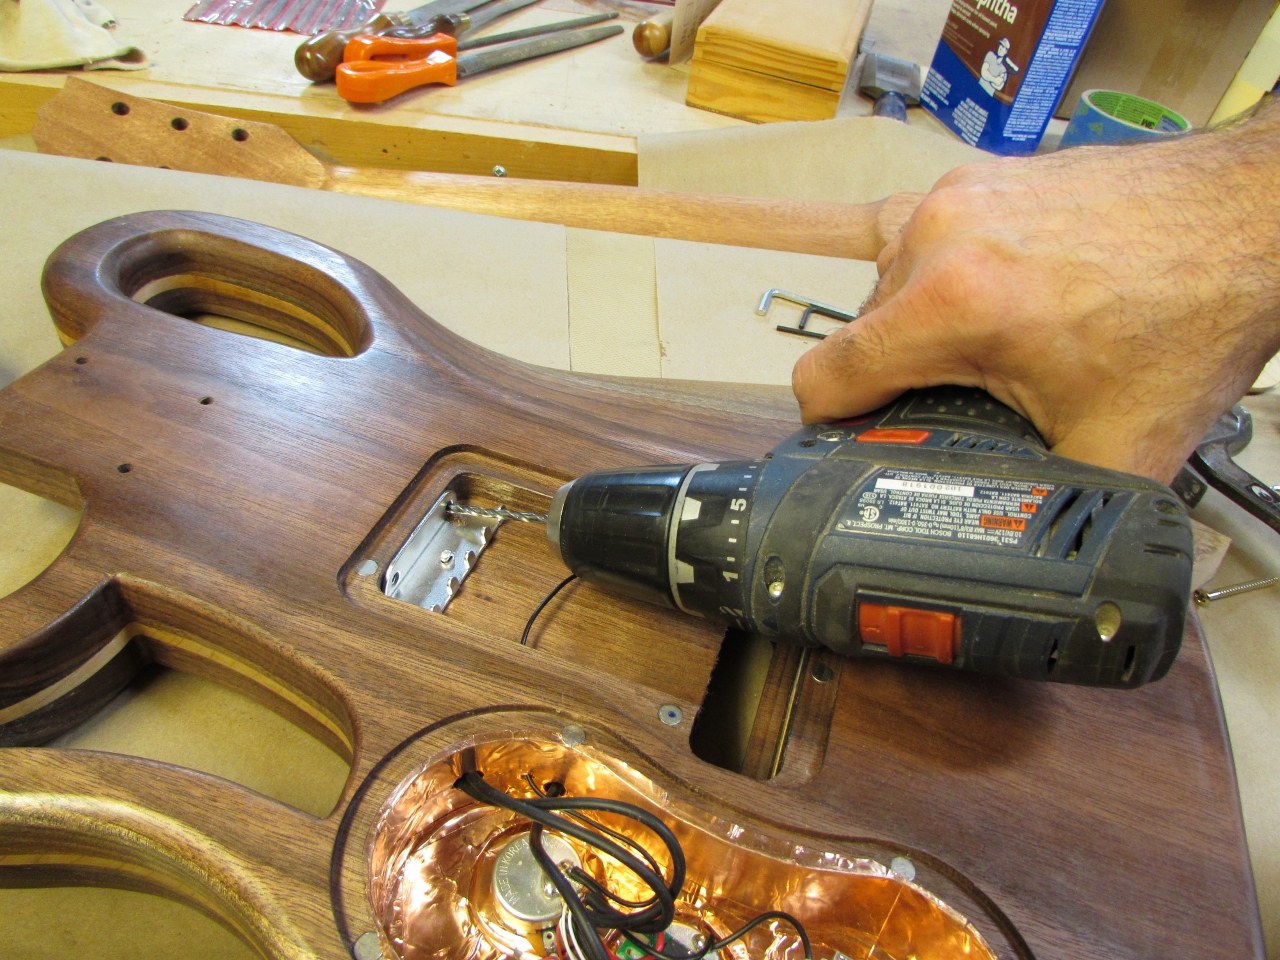
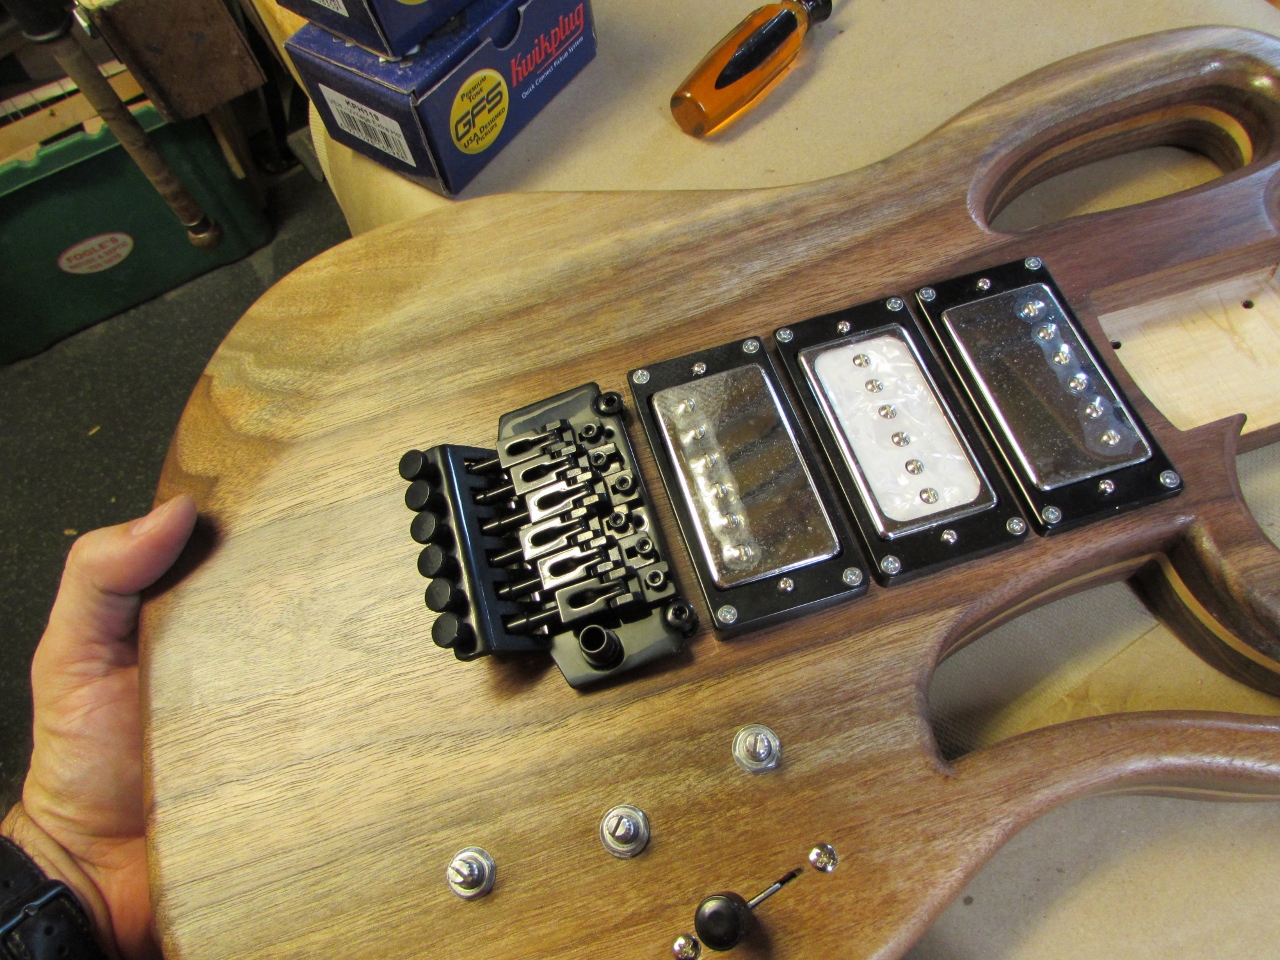
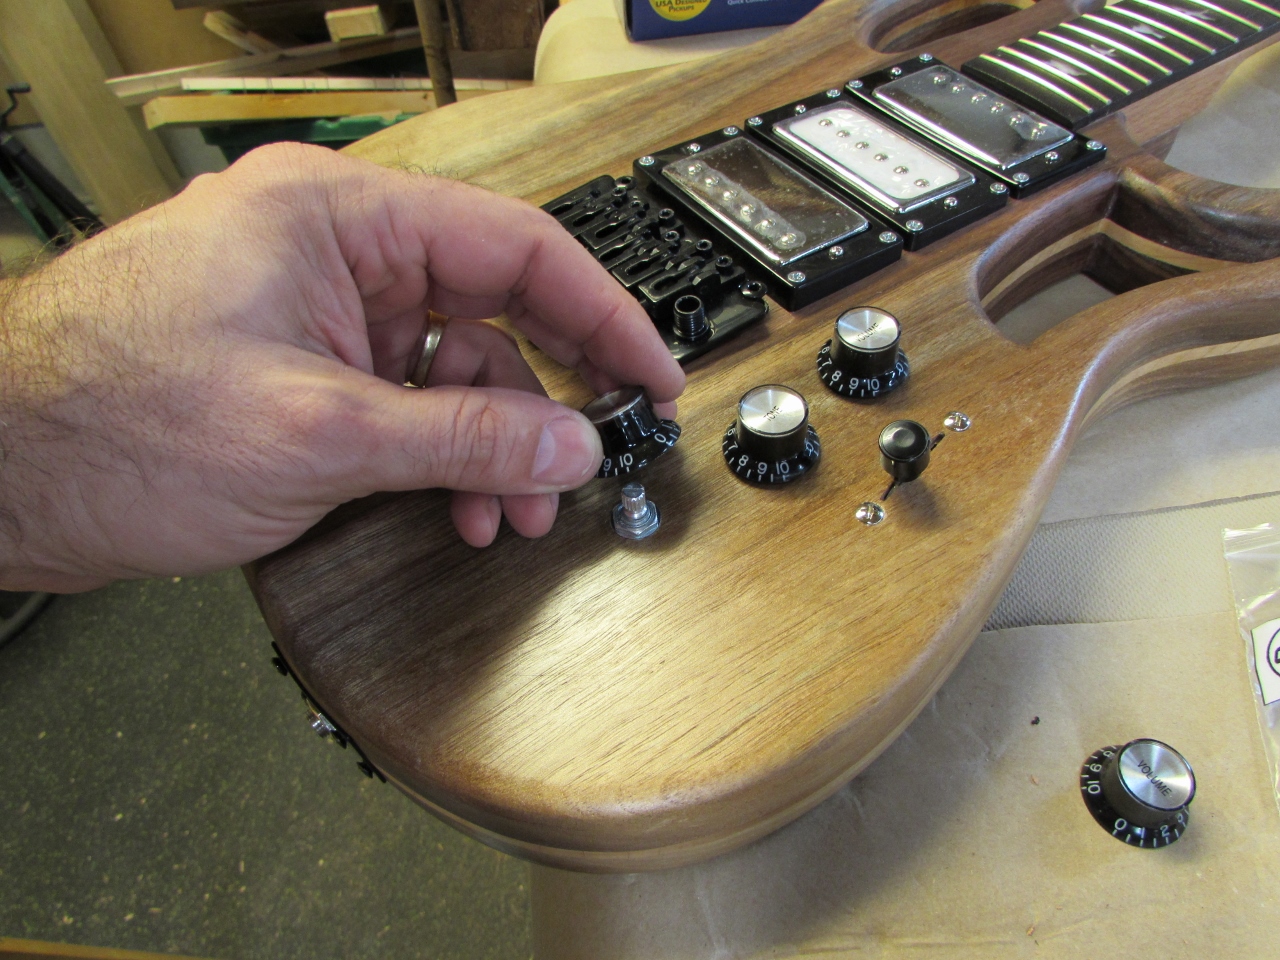
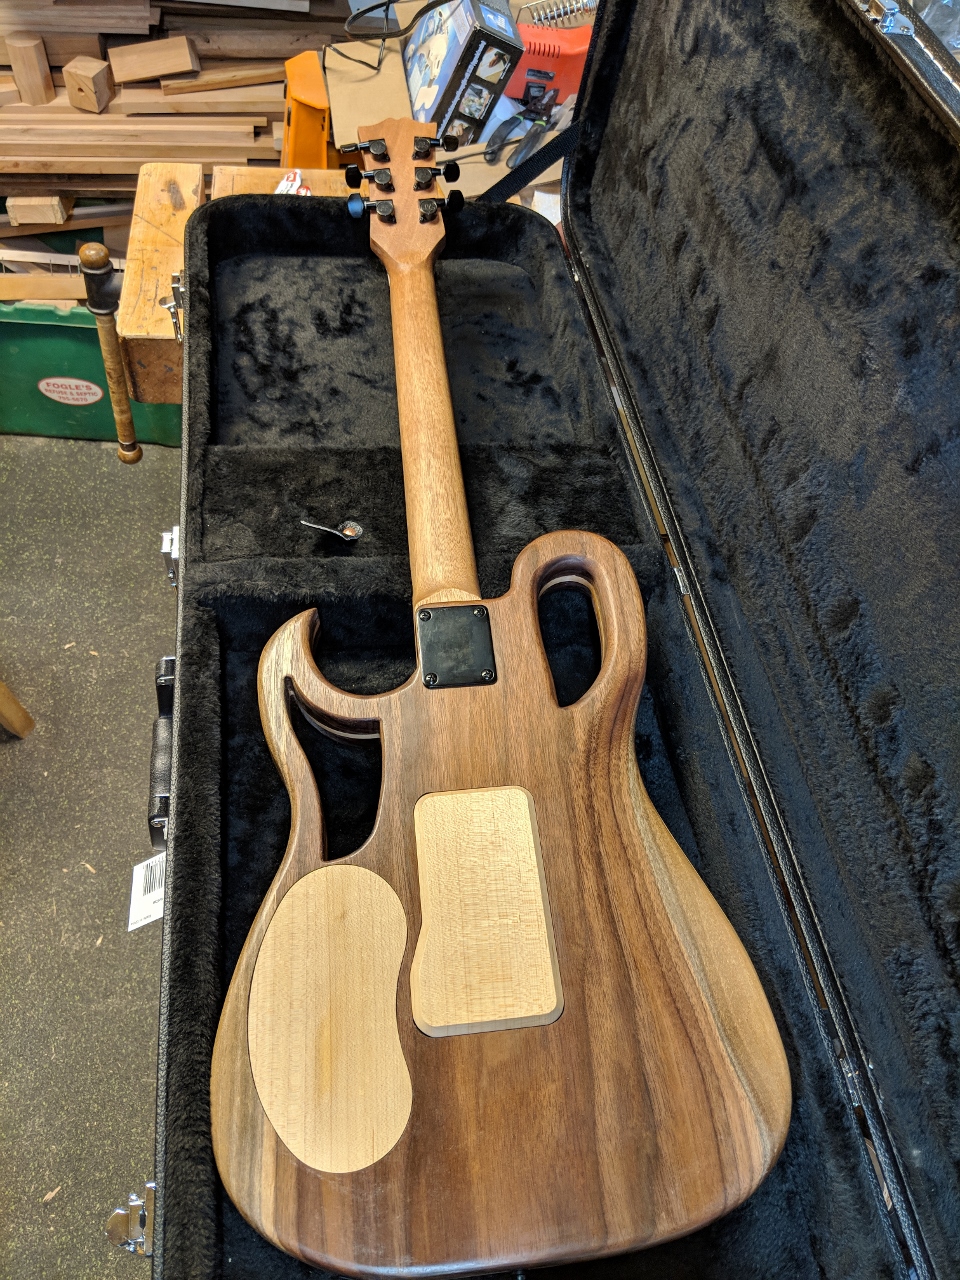
With the finish complete, it was time to assemble the hardware. I started by poking holes in the copper tape to route the wires. Before inserting the tone and volume knobs, I applied some electrical tape to the areas where they sat to prevent the contacts from touching the copper. Normally this is not a problem because I buy potentiometers with a longer threaded post, but the pre-wired harness only comes with the shorter posts. Once the components were seated, I inserted the screws and tightened the nuts.

The pick-ups went in next. They just plugged in, so they were extremely easy.


With the controls in place, I installed the output jack and screwed it on.


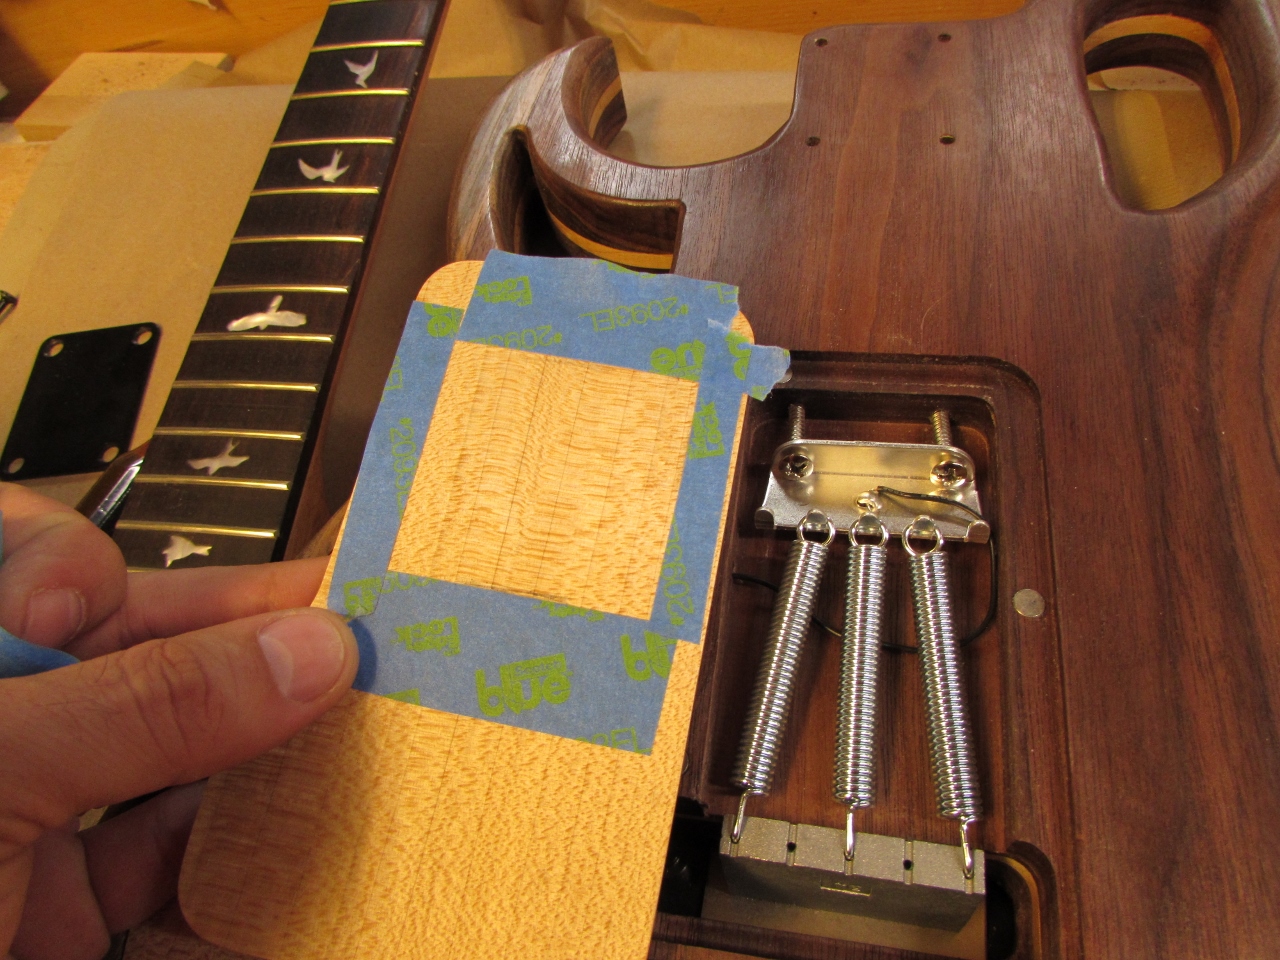
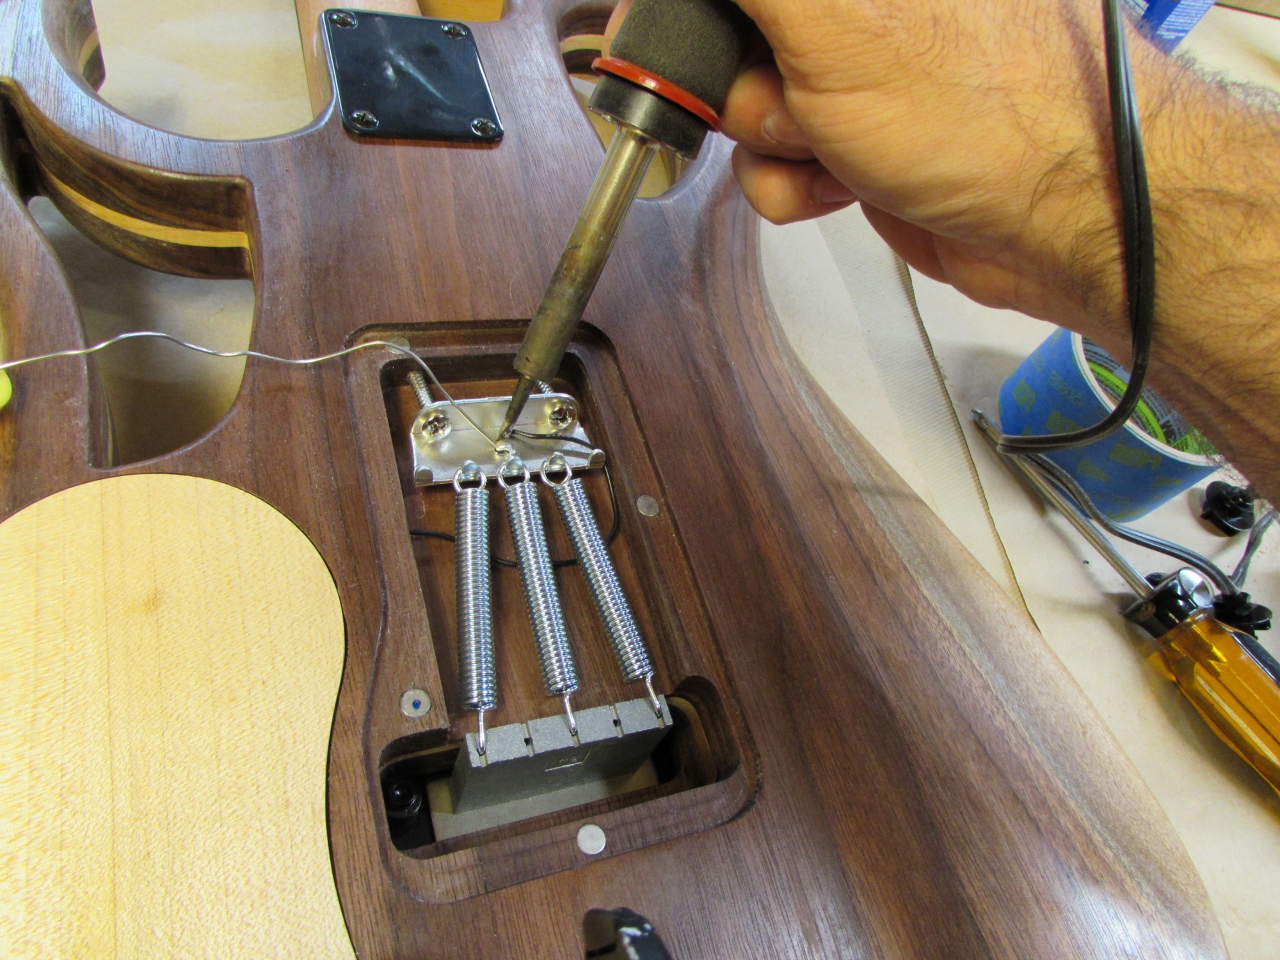
To install the tremolo, I had to press the threaded inserts in place. I did this “gently” with a block of wood and a hammer… Then I threaded in the adjustable posts.


The adjustable spring tensioner came next.

I have never installed one of these things before, but it all seemed to come together nicely.
Until I tried to close the back plate that is…

The springs pulled the tensioner too high in the air and the plate would not close. I marked the approximate area that interfered, and thought to cut an opening since I had so little time left. I decided that would weaken the plate too much, so I came up with a new design for a deeper cover. I programmed my CNC and set it to carving the new version while I finished with the hardware.

I installed the Floyd Rose locking nut at the top of the neck. The flat spot I created worked perfectly, until my son strung up the guitar, then we realized it was about 1/16″ too low and the strings hit the top fret. I made a small shim out of walnut, the same size as the nut and slid it below, then screwed it back in place. I wish I had the time to glue in a more permanent piece, but I will barely have time to finish everything and have my son string and tune it.


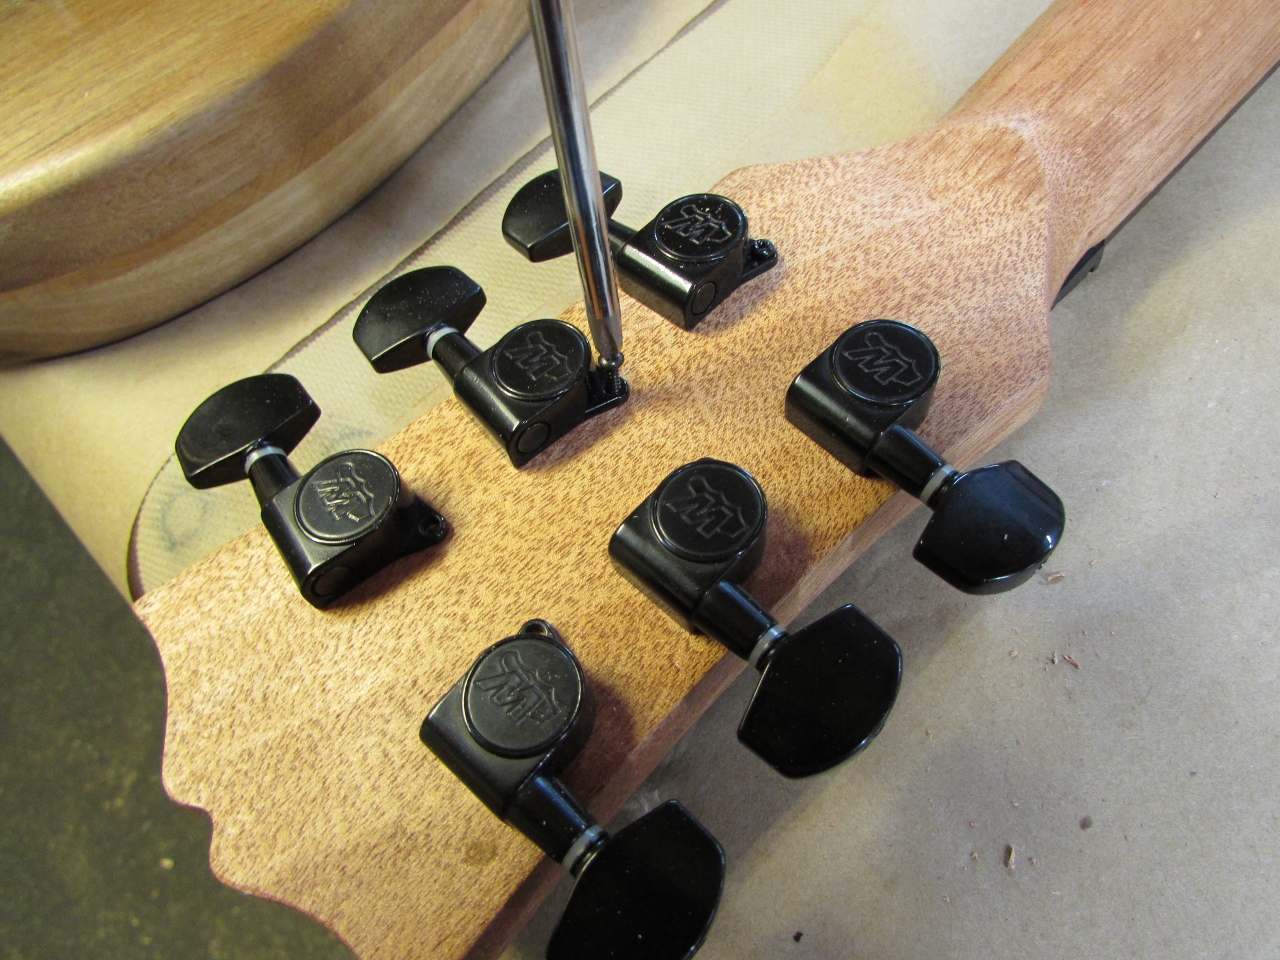
The tuners came next, and they went in easily. No problems there, I gently tightened the nuts in place.

Then installed the small screw on the back of the head, that prevents the tuners from spinning.
Before assembling the neck, I remembered that Vicenç wanted me to sign the guitar. I really didn’t want to because he chose the design and hardware, as well as doing all of the custom shaping and sanding, so I hid my signature in the neck pocket.

Then I attached the neck.

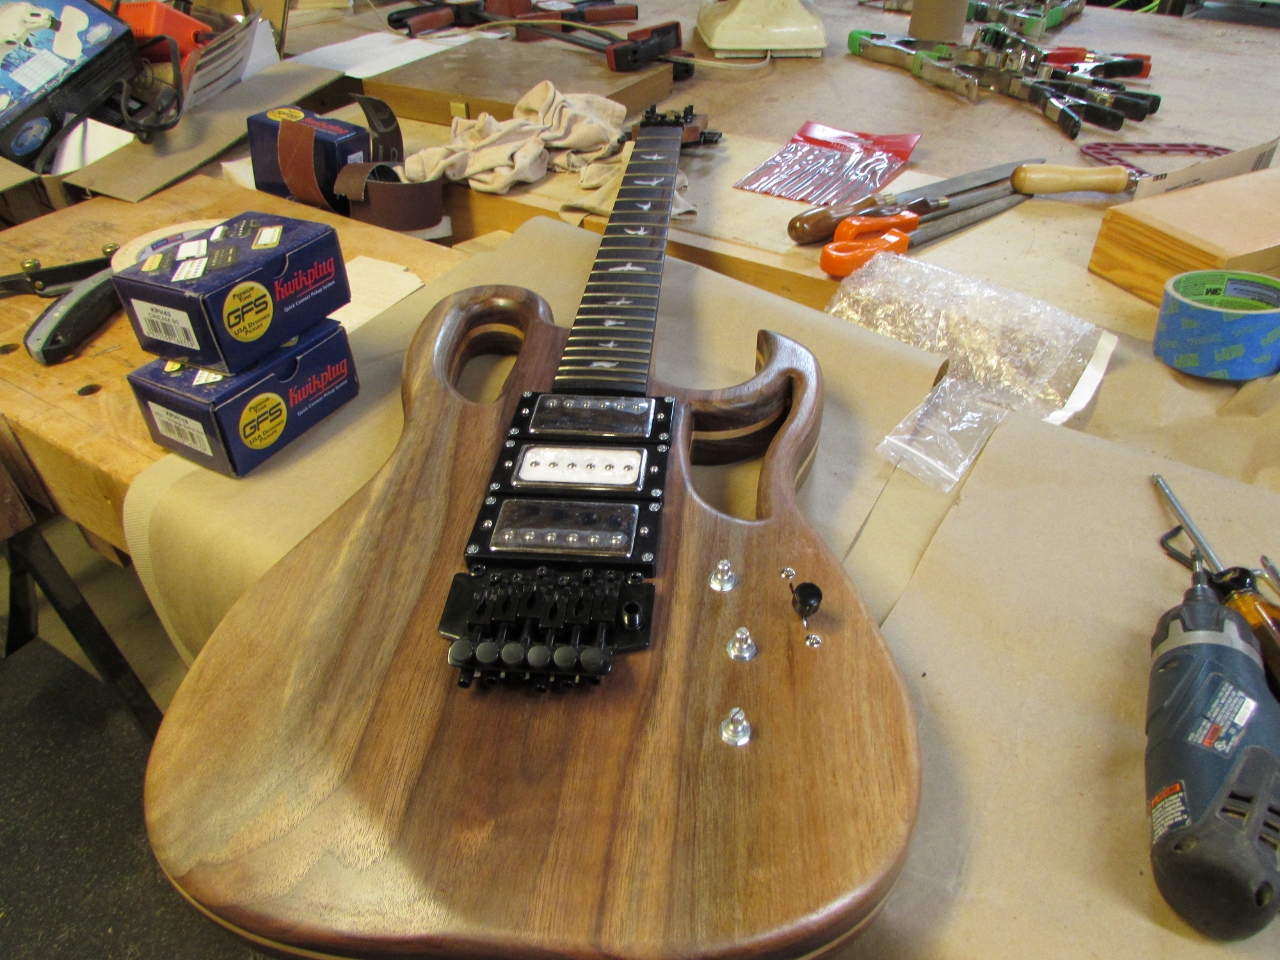
The last couple of details were to install the knobs and the strap buttons.
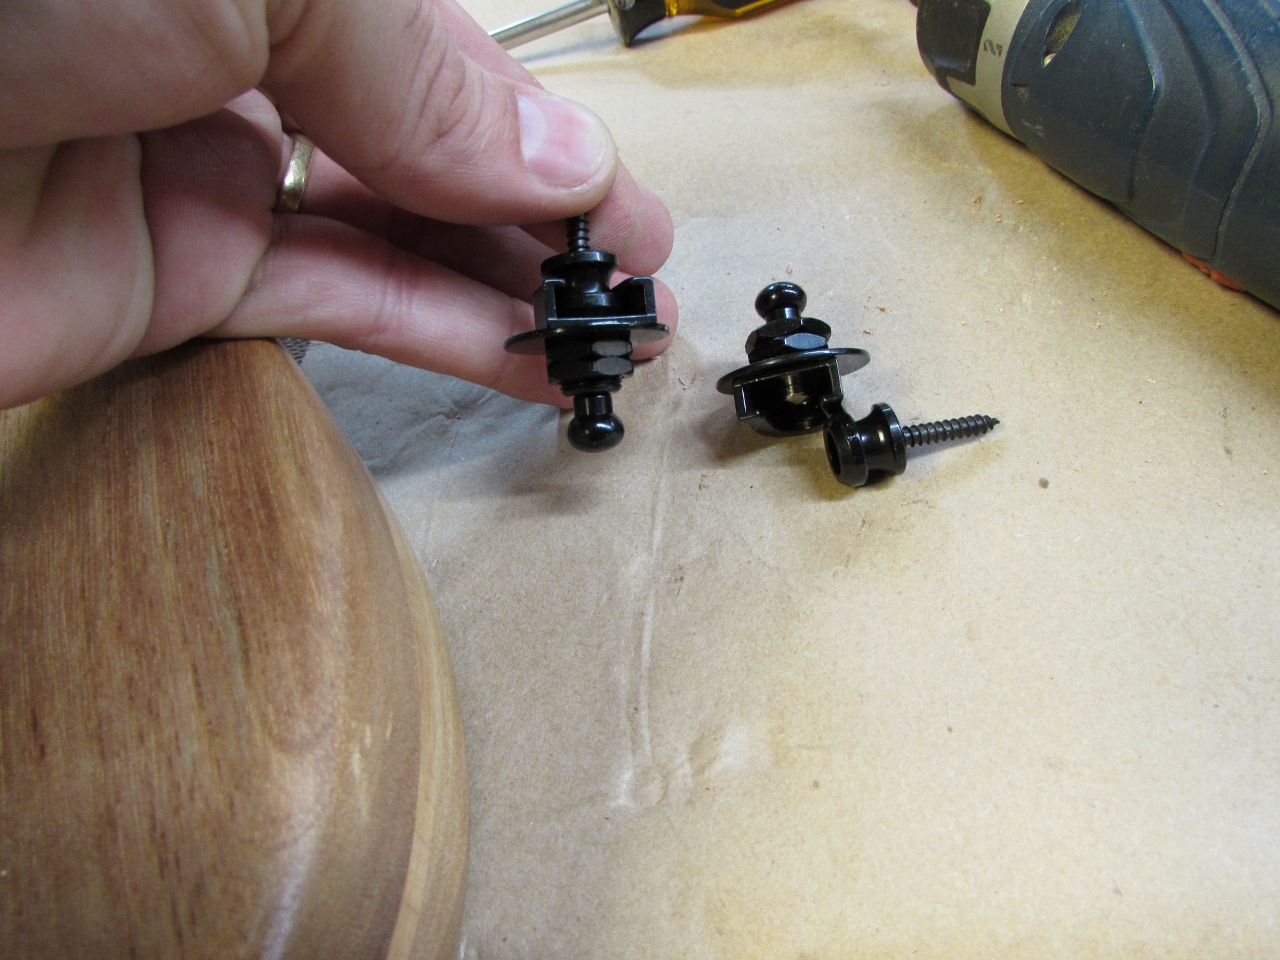
He bought some cool quick disconnect locking ones. I just removed the button and screwed one in at the bottom and one on the top.


The final step was to solder on the ground wire to the tremolo.

I finished with the assembly and handed the guitar off to my son Ian to string and tune. Then I moved on to finishing the new back plate.

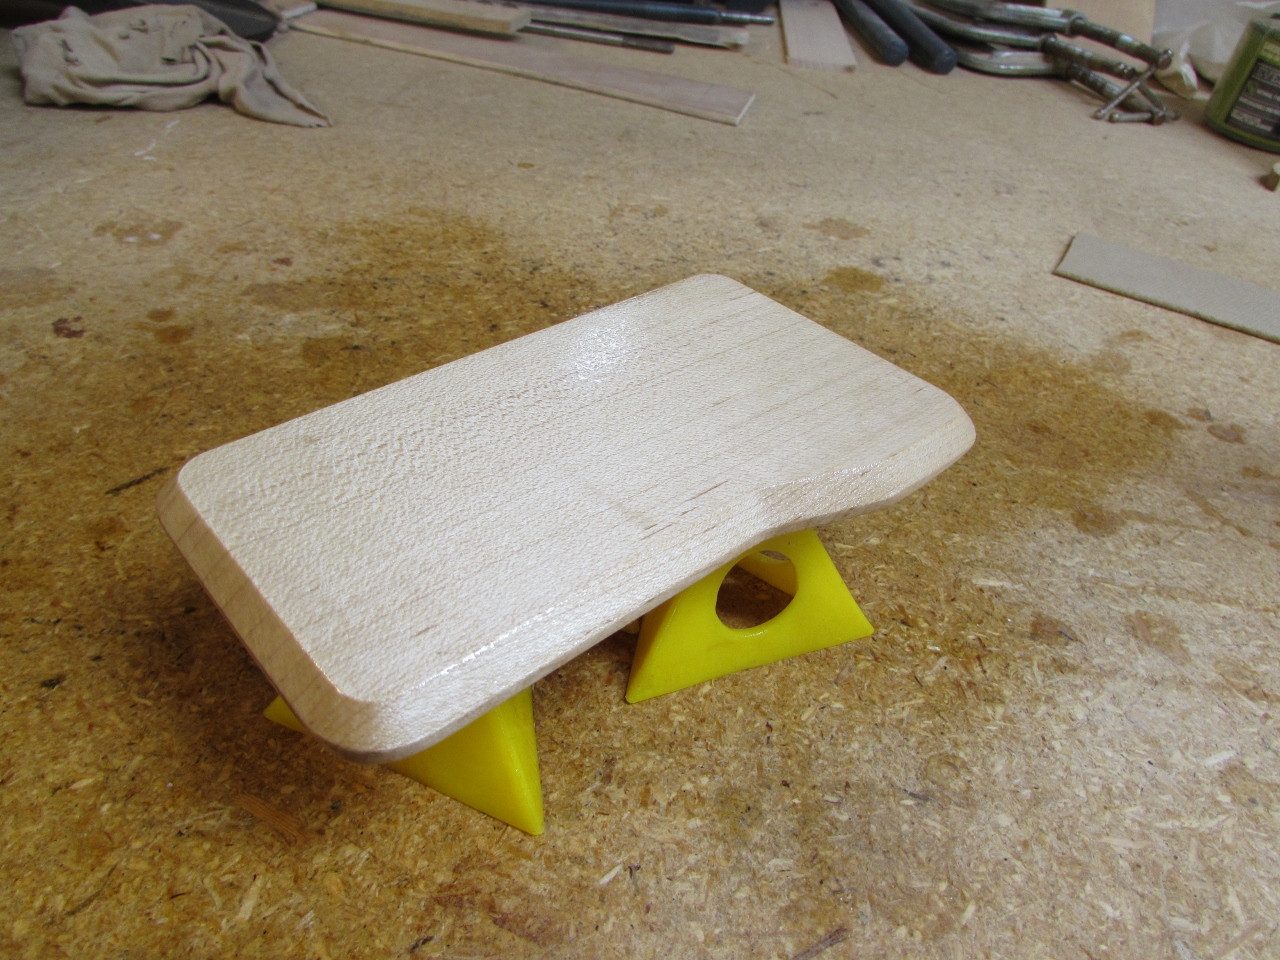
I carved one out that was twice as thick as the last one and created a recess on the bottom to cover the springs.

I routed a 45 degree chamfer around the top and sanded everything down.

I epoxied the magnets in place and let them cure over night.

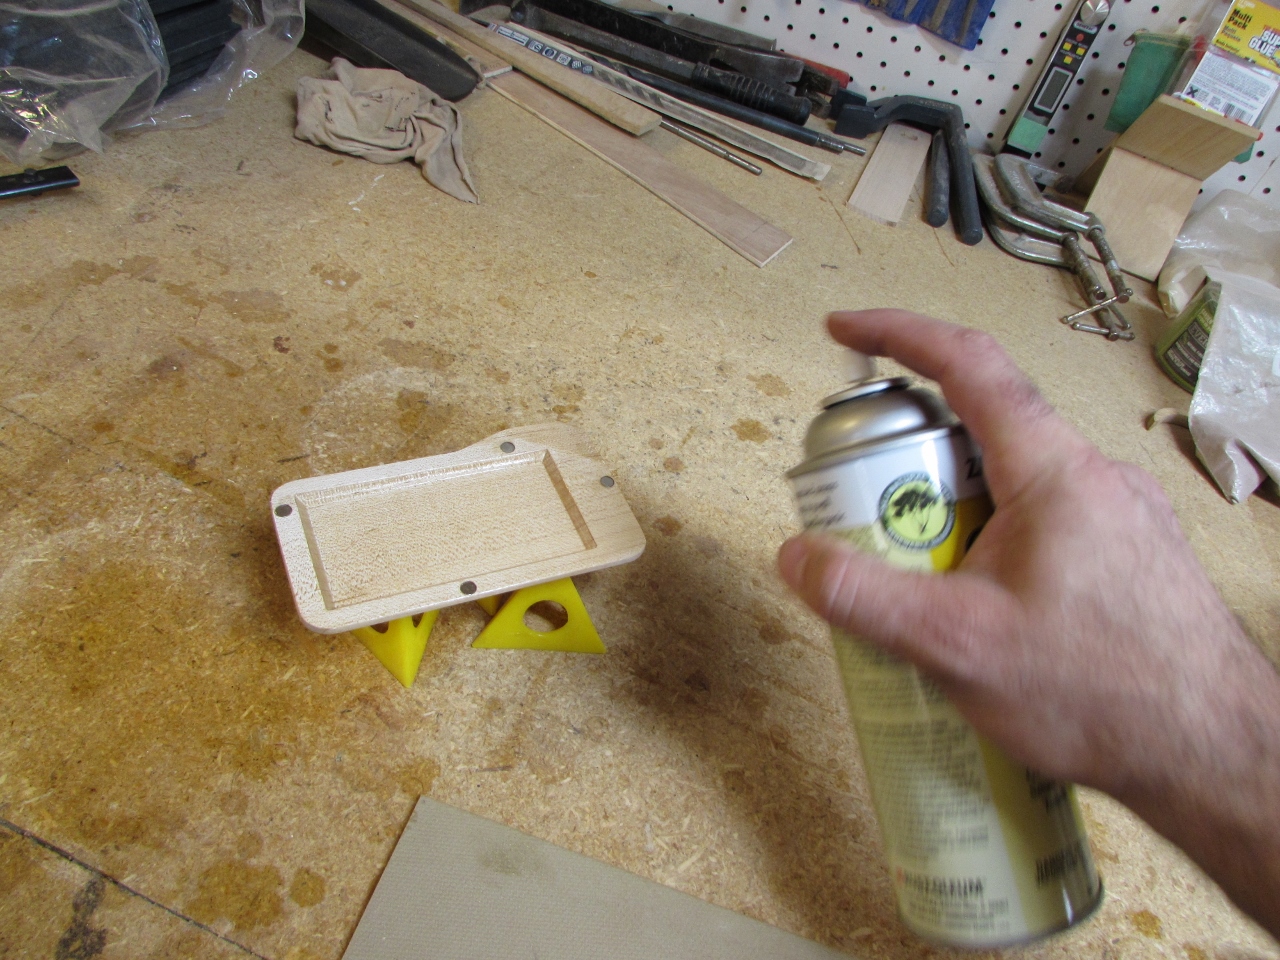
I don’t have time to apply the same oil finish so I gave the plate an initial coat of shellac, which dries quickly.
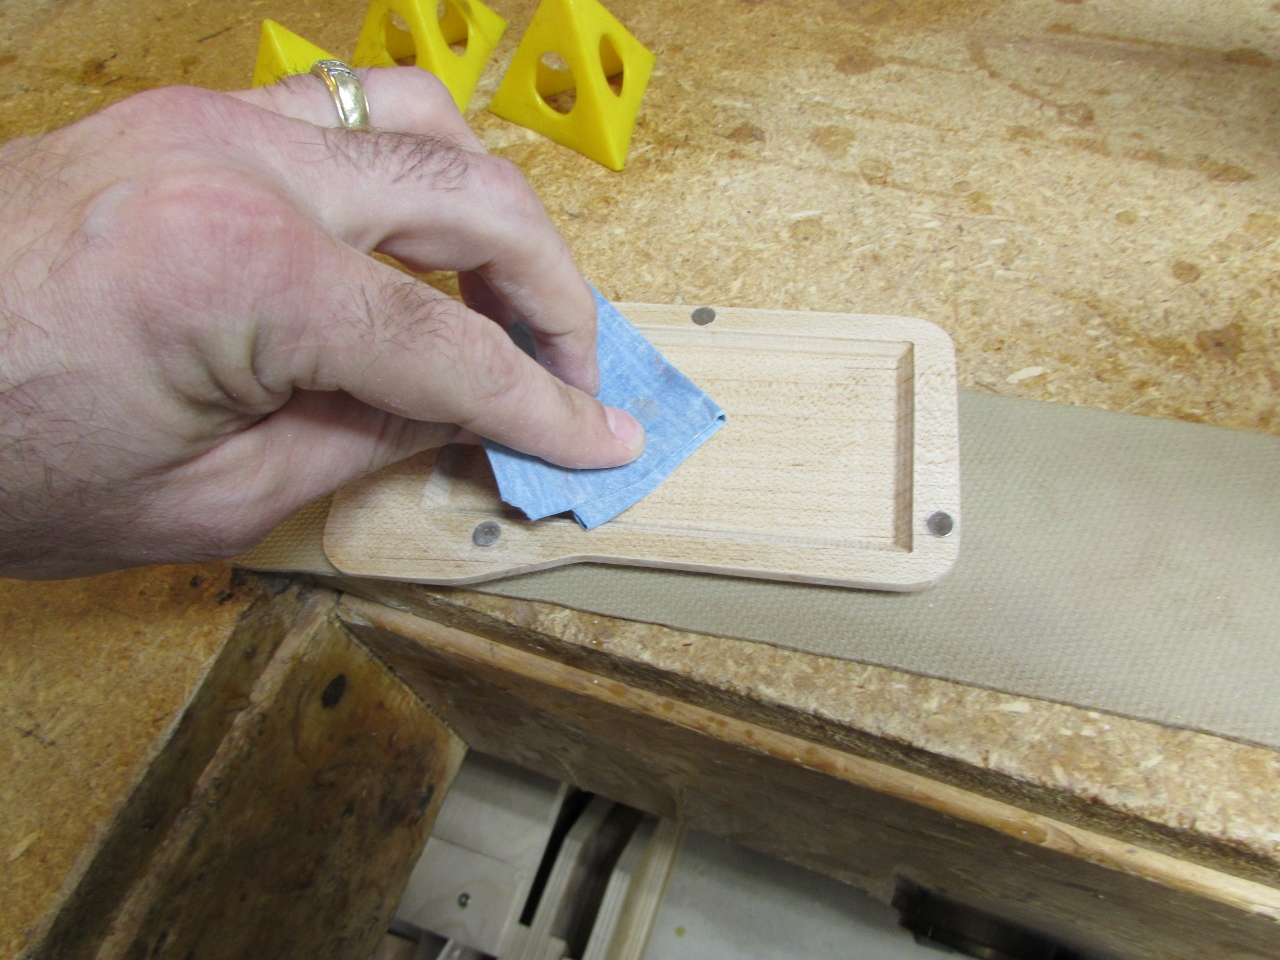
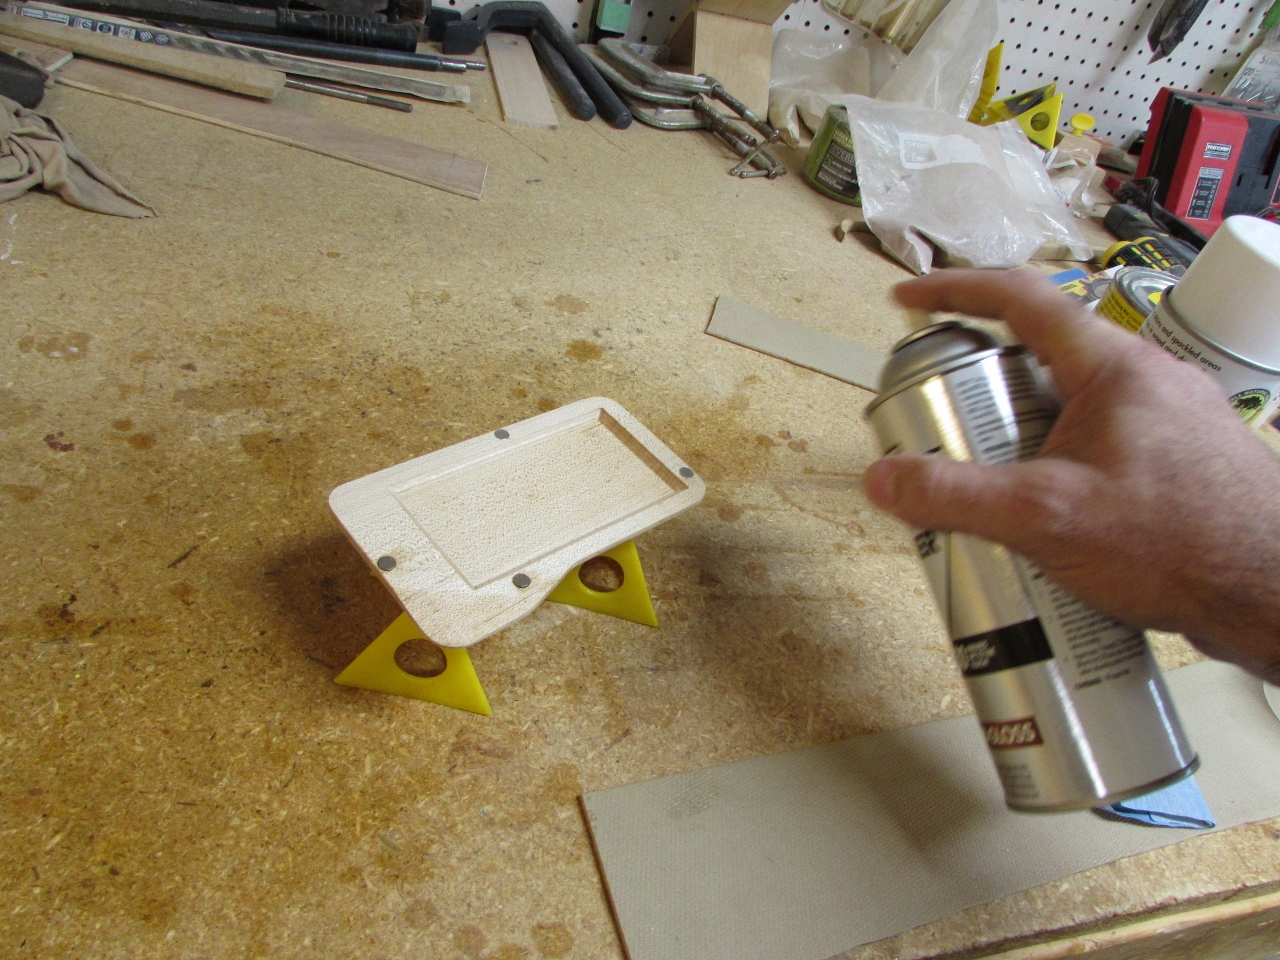
Then I sanded it back with 400 grit paper and gave it a couple quick coats of lacquer.
Since Vicenç leaves in two days, I was working late into the night. I went to bed well after midnight leaving the plate to dry. In the morning before leaving for work, I went down to assemble the cover and pack everything up, when I discovered that I had epoxied in the magnets backwards… It just kept bouncing back up and off the opening. Oh well, I have one more day…

That evening, I came home from work and started the CNC back on a third cover plate.
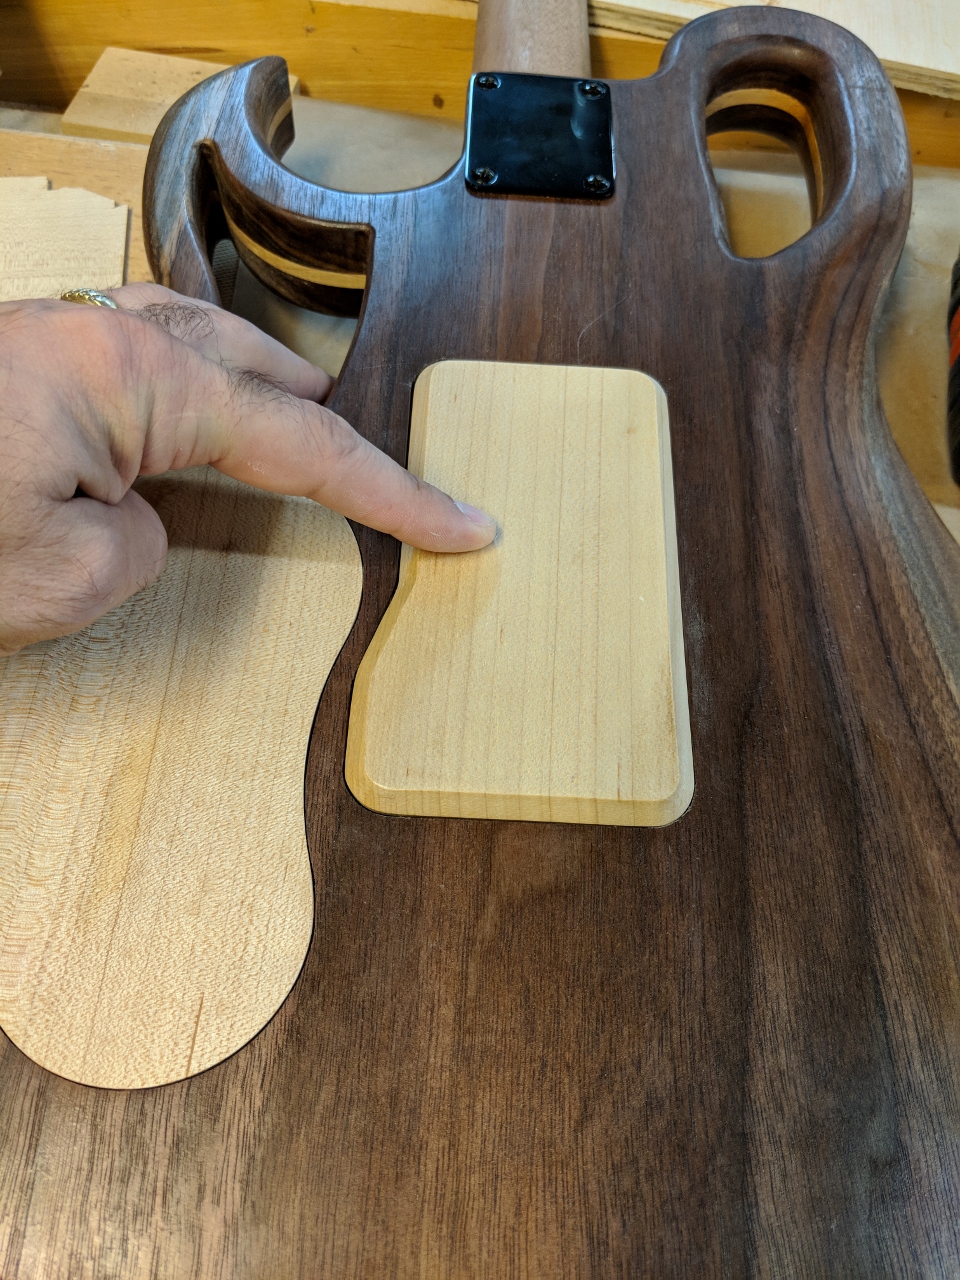
Fast forward a couple of hours and here is the final product. It doesn’t sit flush, but it does look good…

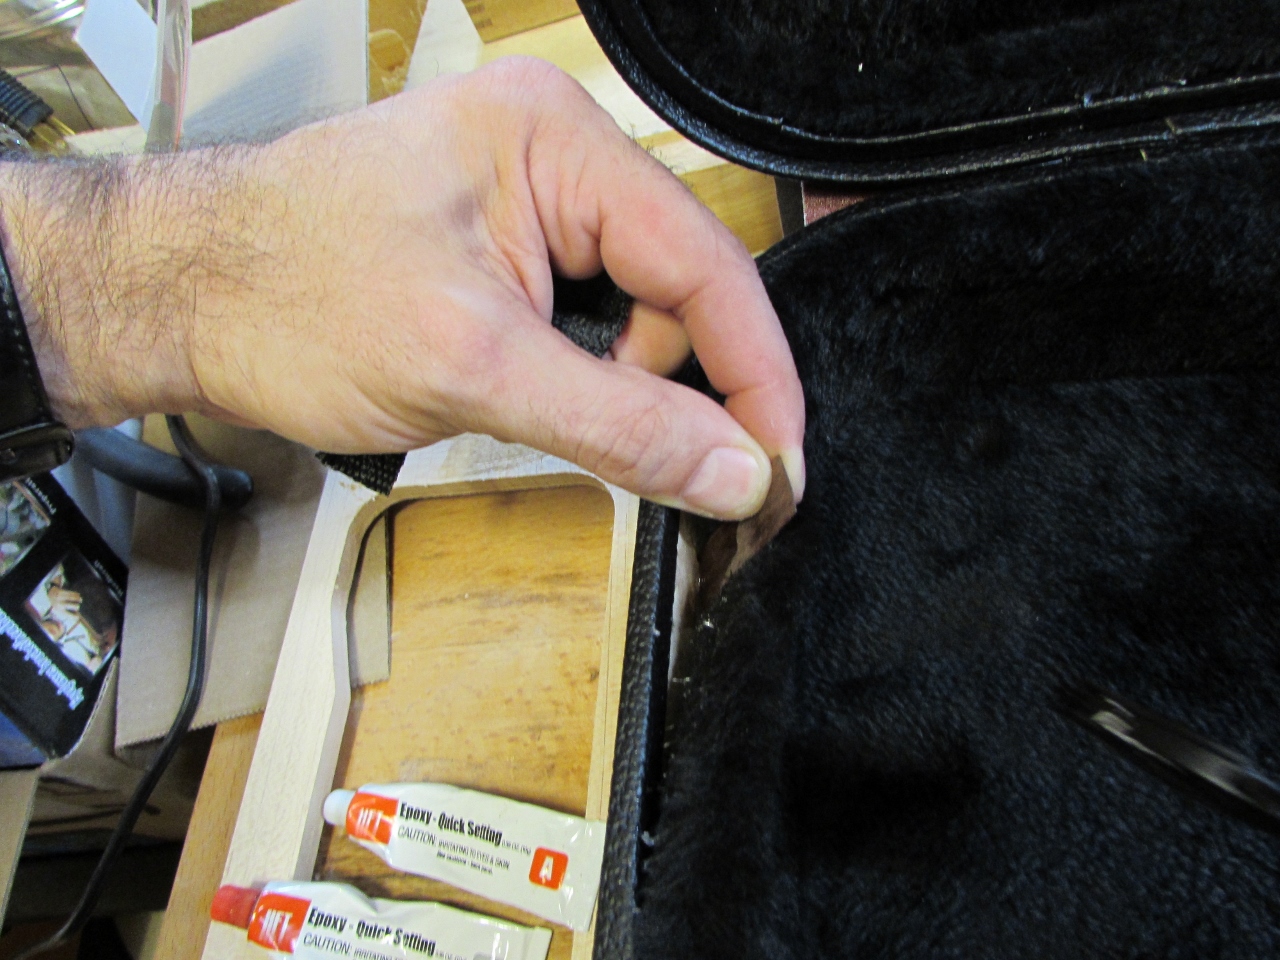
I also made some repairs on the guitar case Vicenç purchased to carry his guitar home. It came with only one nylon strap that allowed the case to open about 80 degrees, only giving the lid the option of falling right back down as soon as you opened it. I removed that strap and found some longer pieces and epoxied one into each side and placed a few staples through them when they dried.

Now it stays open.

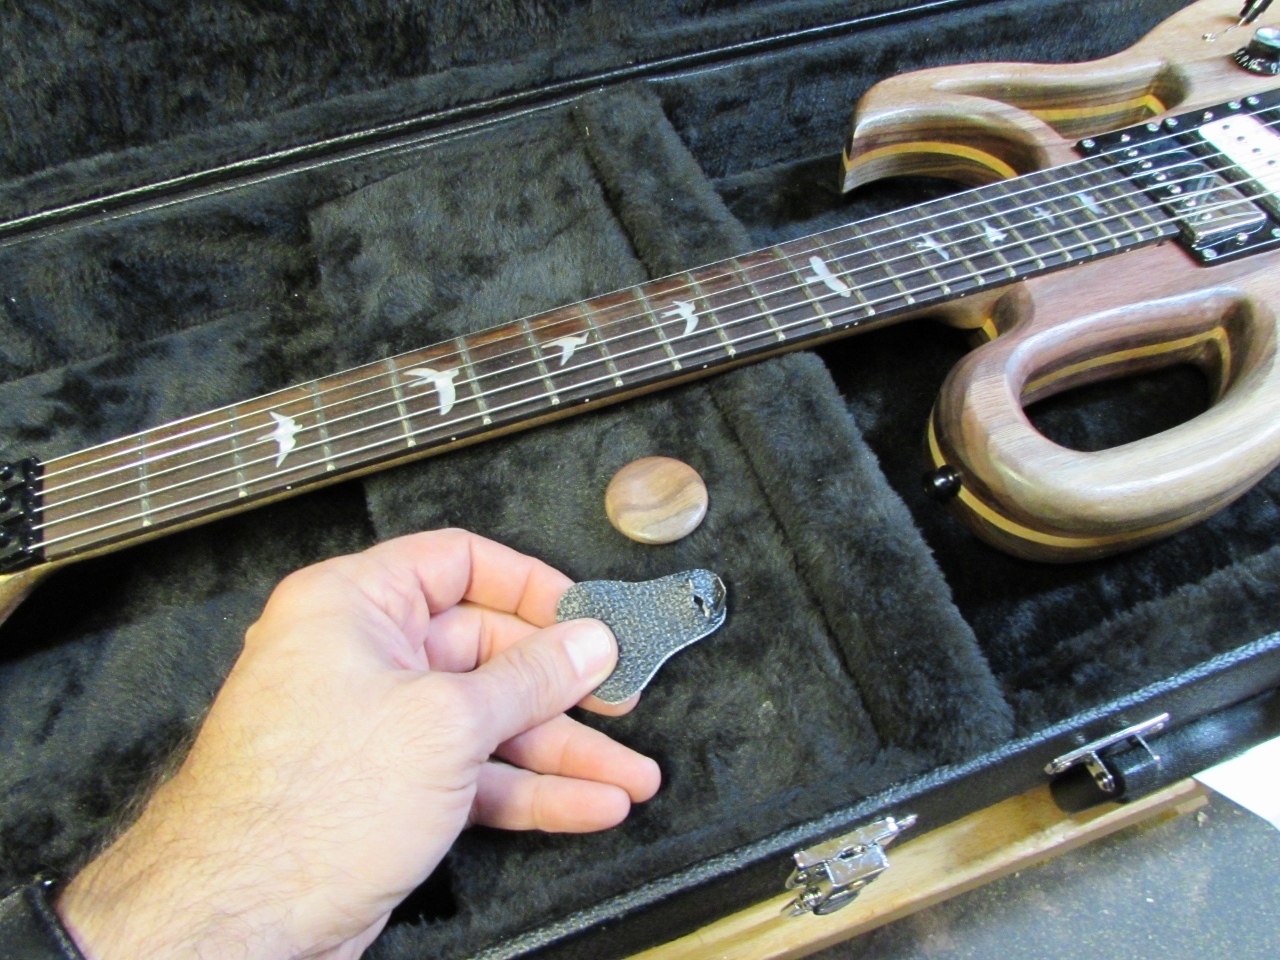
I also had a problem with the pull-tab that opened the center compartment. It pulled right off its rivet. I decided to remove the rivet and turn a knob, from the scrap wood of the guitar body. It took about 5 minutes on the lathe, but it looks like it belongs there with the guitar.

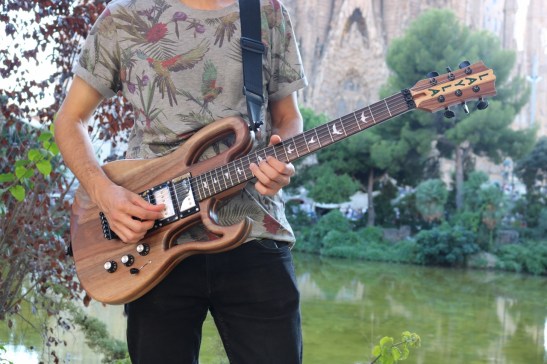
My son and I were able to get everything strung, tuned, and set up by Vicenç’s last day at work.

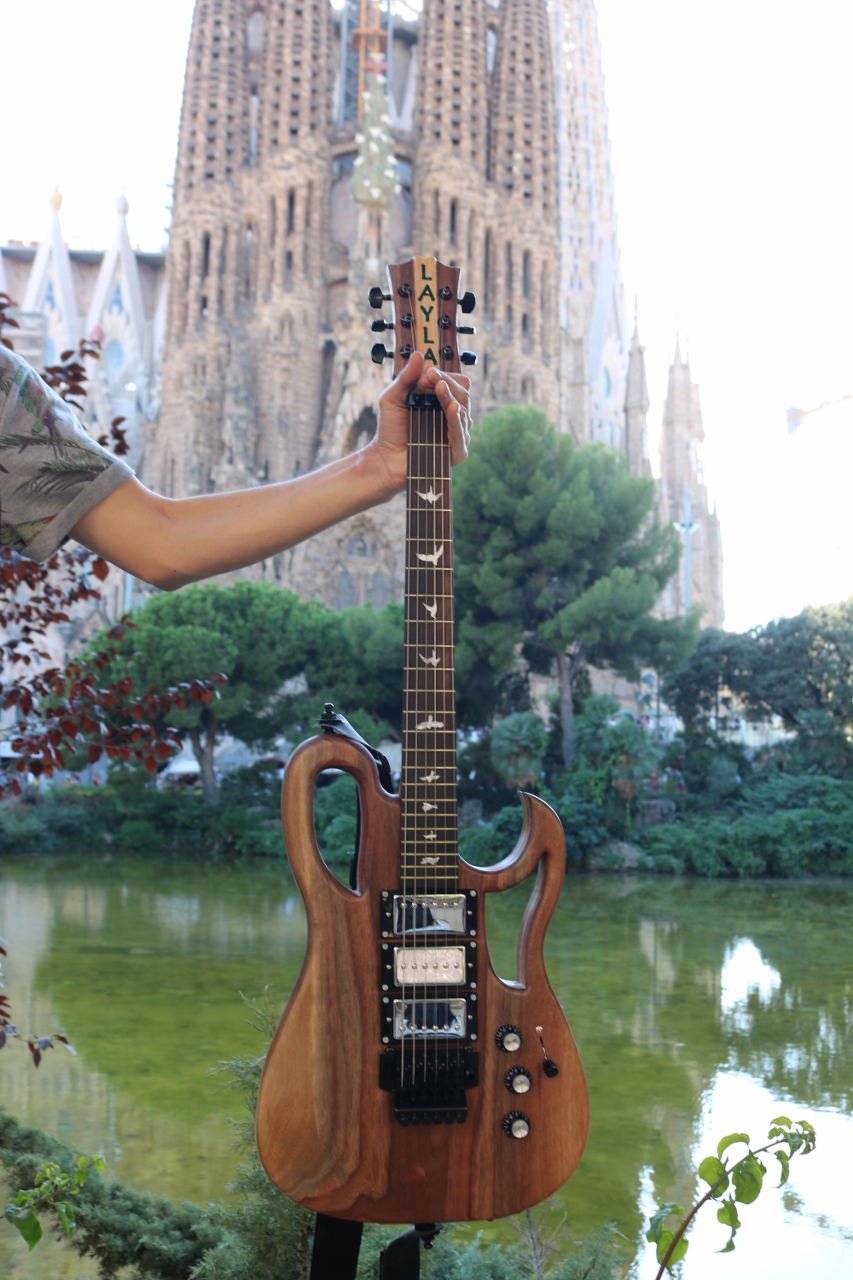
He was extremely happy to have his custom American black walnut, electric guitar, to take back home with him to Spain.
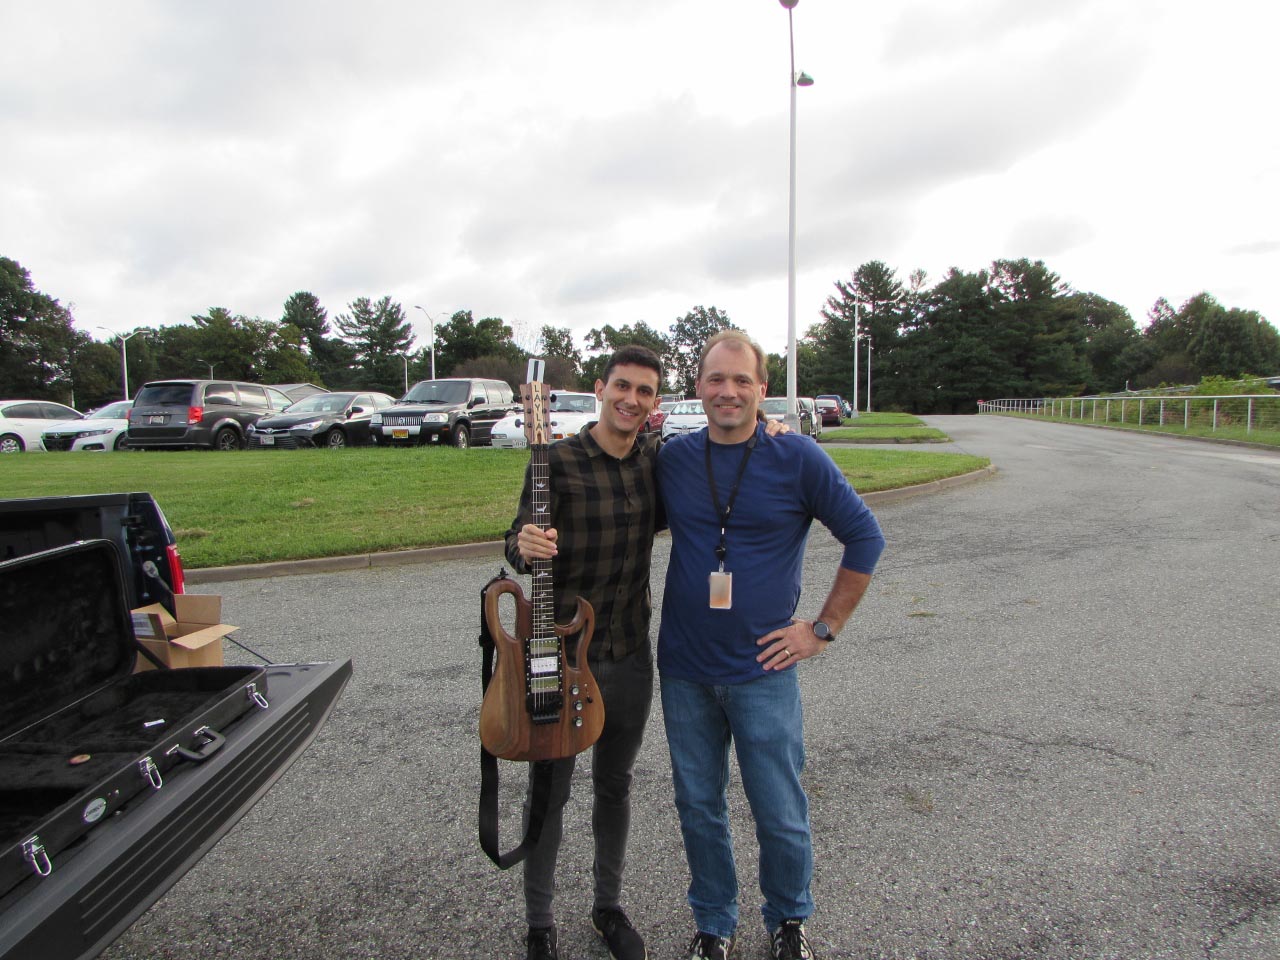
I was happy to help him design and build his own guitar and to have something to remind him of his trip to America and the people he met here.
As I finished writing this post, Vicenç sent me an email with some photos of him and his guitar. I asked him to send me some in front of somewhere famous in Barcelona. Here he is in front of Sagrada Família. I will attach a video clip when I receive one from him as well, so you can hear how it sounds.