
Vicenç’s guitar – day three
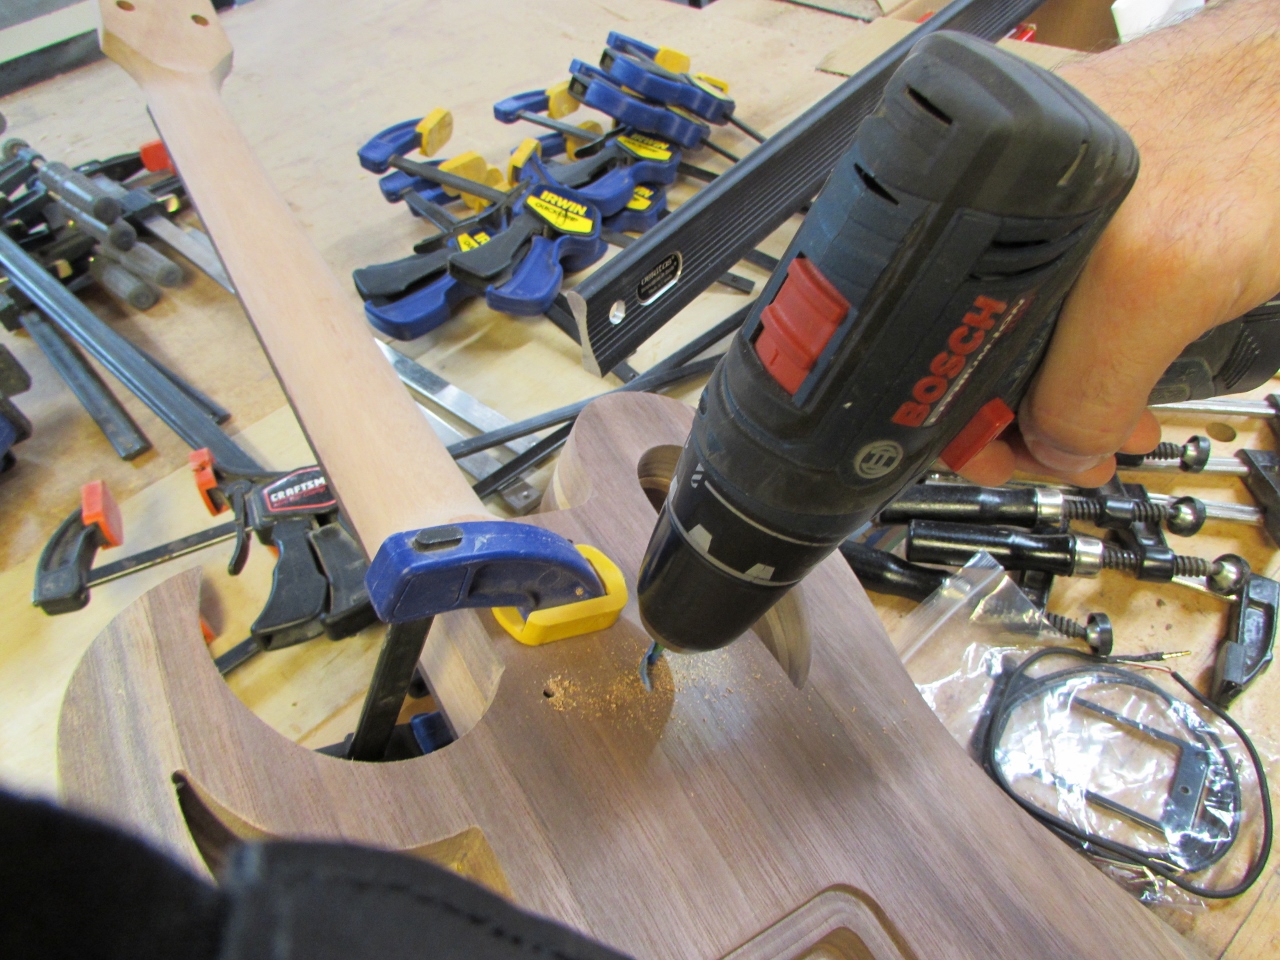
Before we start shaping the body, I took some time to figure out the wire routing.

I drilled a small hole into the tremolo compartment to route a ground wire.

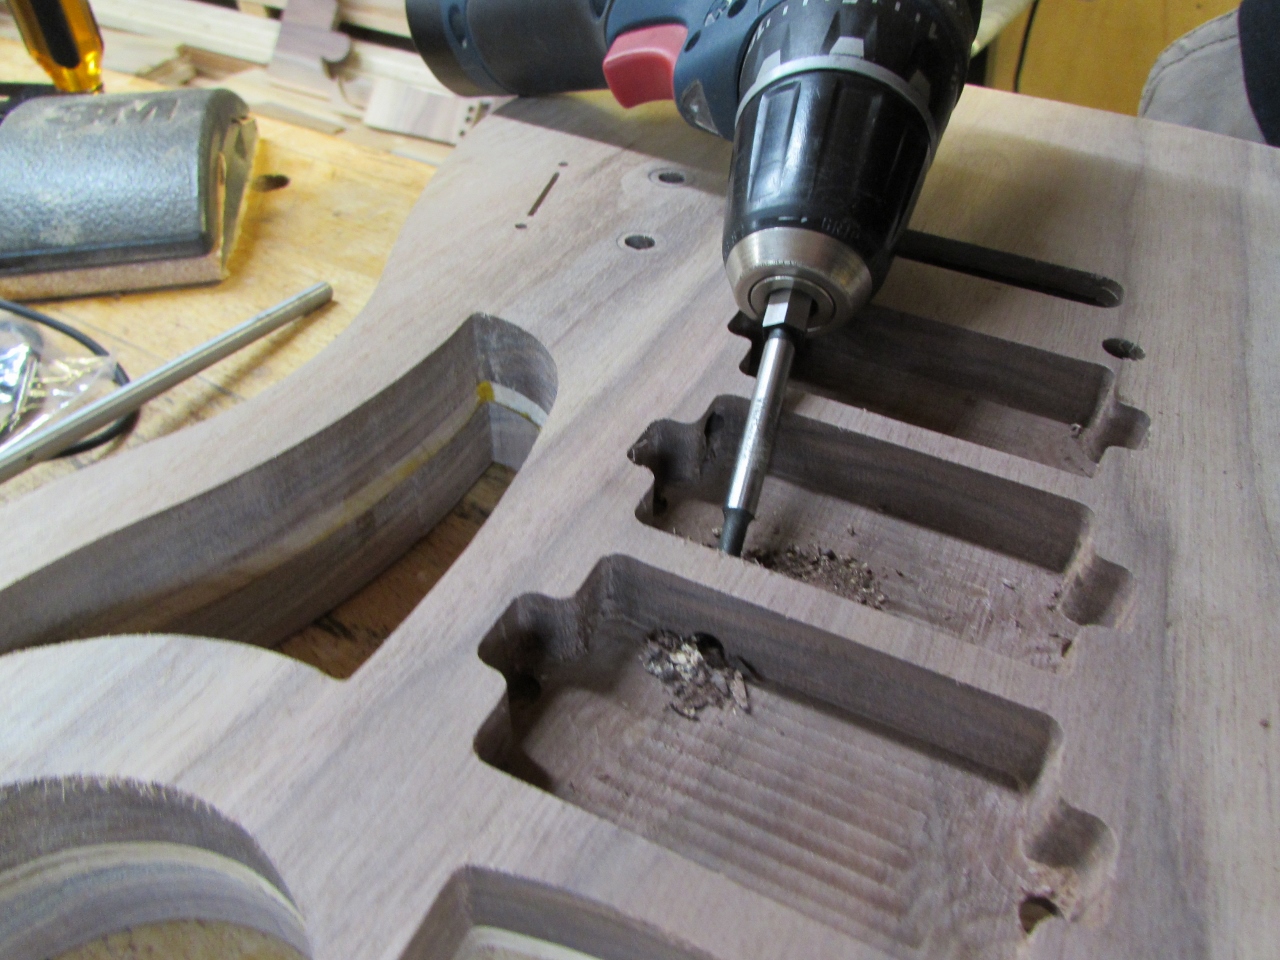
Then I found a path for the three pickup wires.

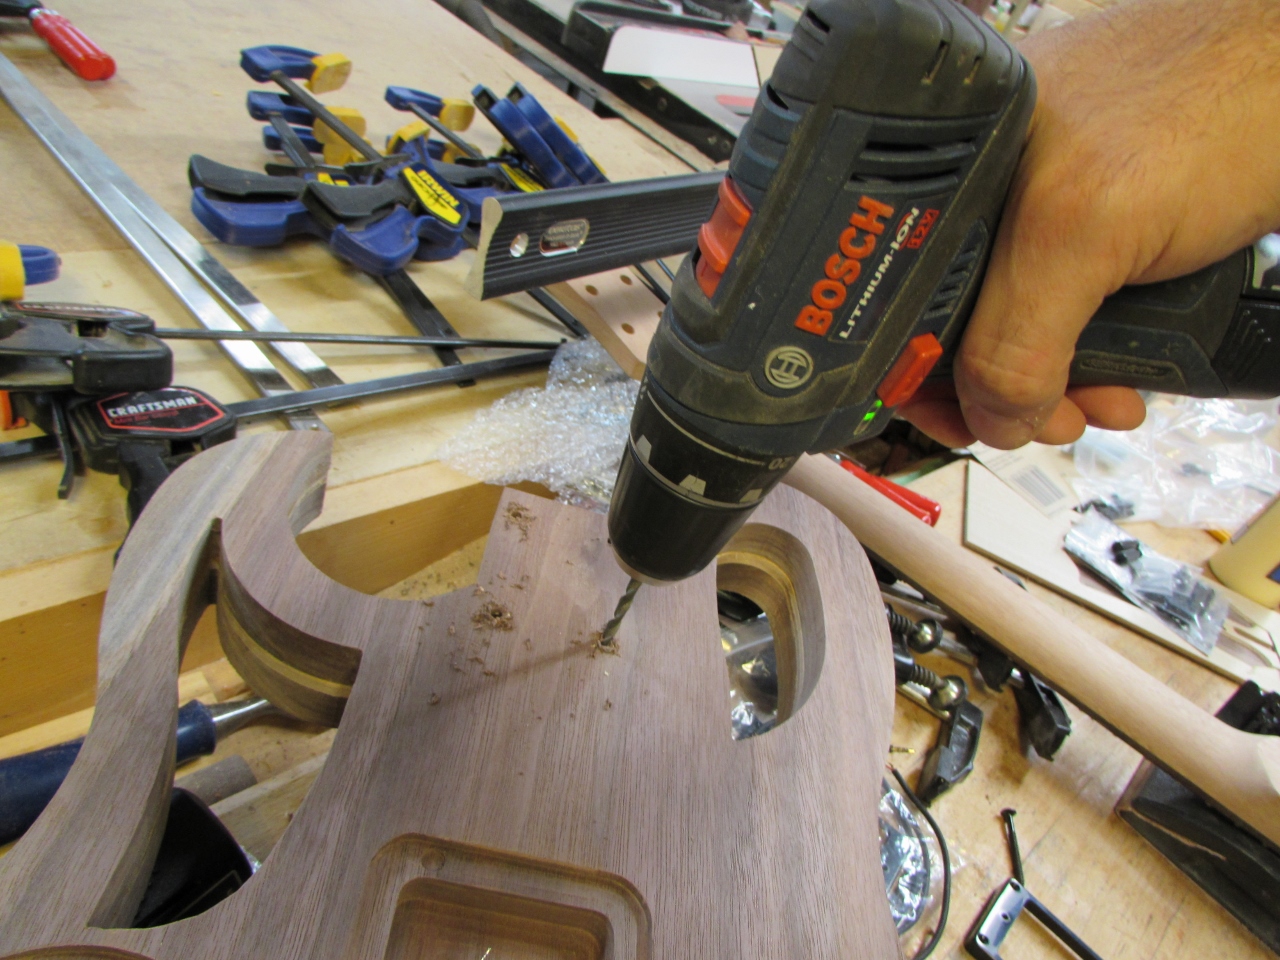
Vicenç chose Kwikplug pickups and a pre-wired control harness, from Guitar Fetish, to reduce the need for soldering and to enable him to quickly swap out other Kwikplug pickups.

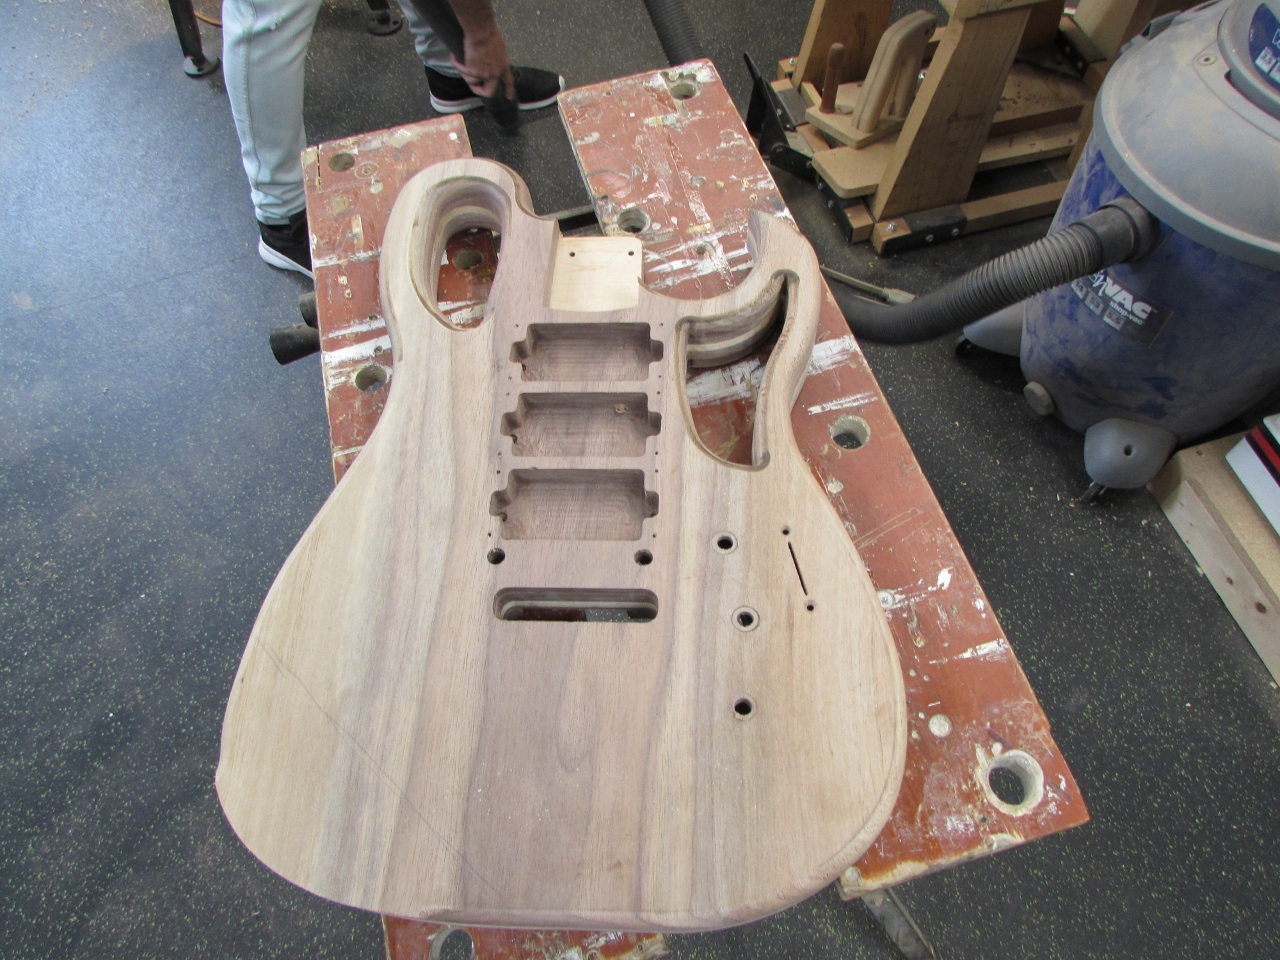
These install very easily, but they require a larger hole (about 1/4″) to route the plug through.
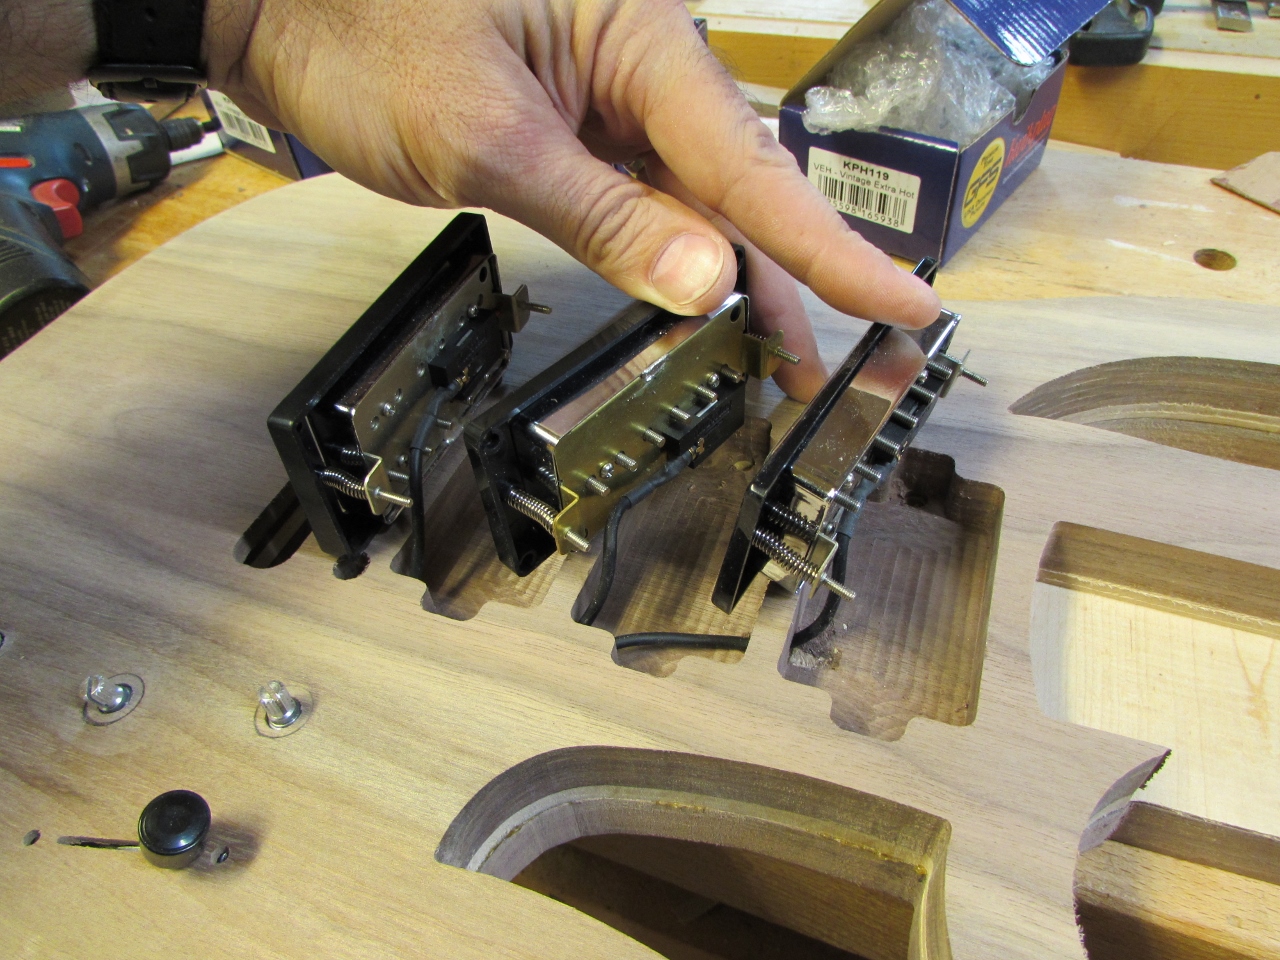
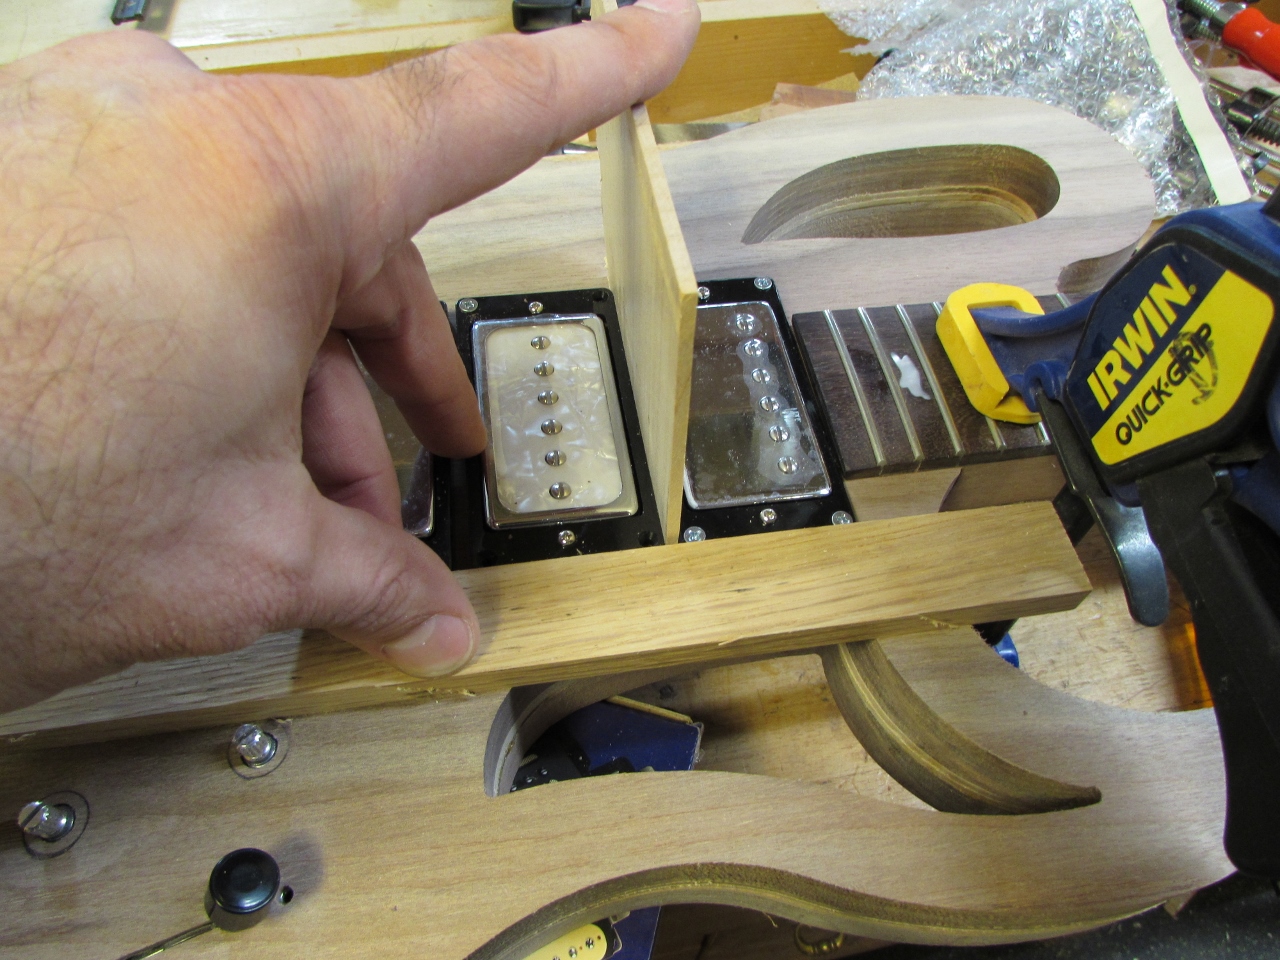
I did not have a lot of room between the neck and the tail piece, so I used a 1/8″ thick spacer and a straight edge to locate the lower two, once the first pickup was installed, in line with the neck.

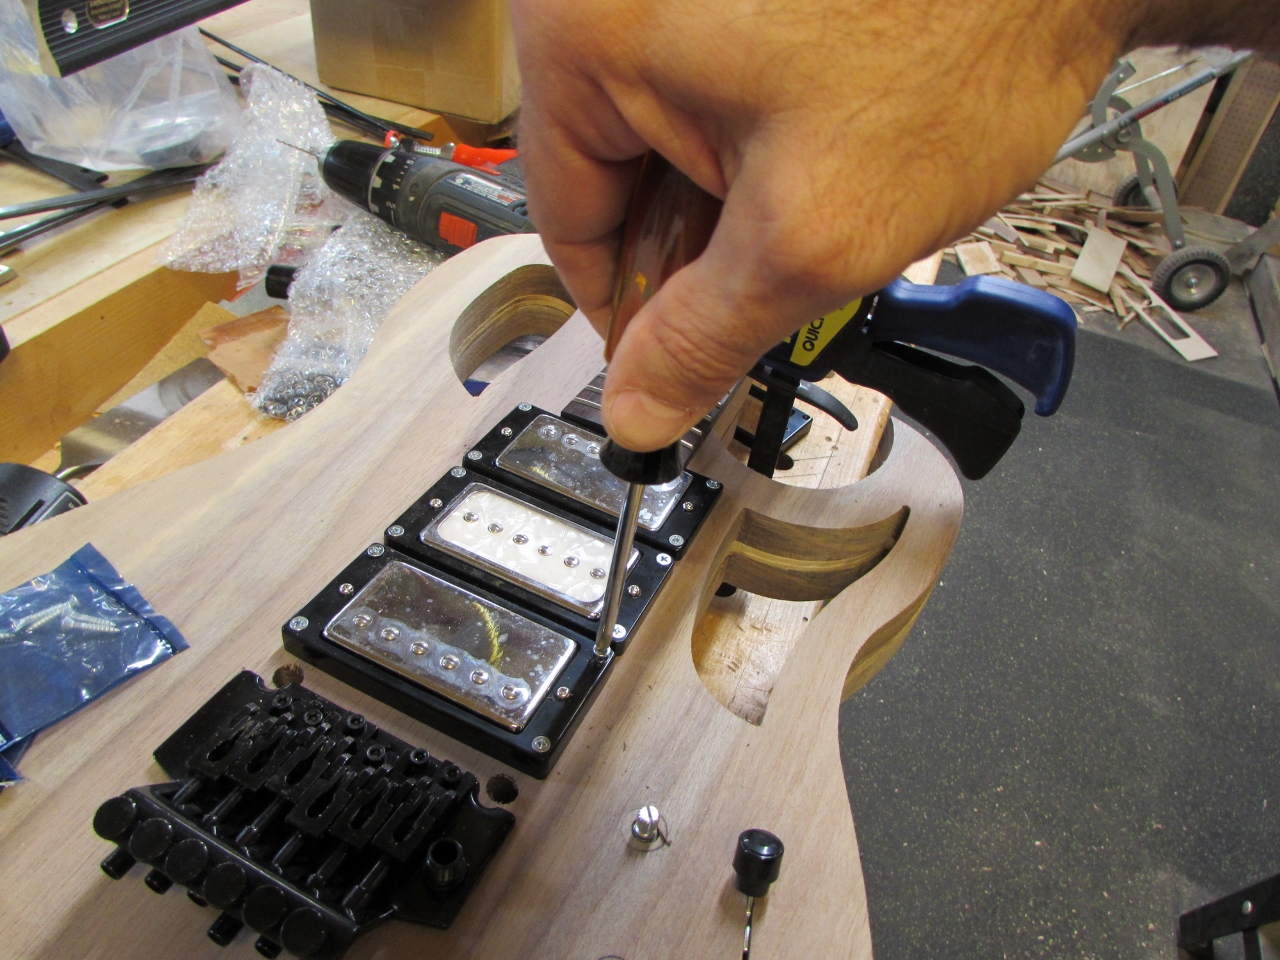
Then I pre-drilled and screwed the pickup rings in place.
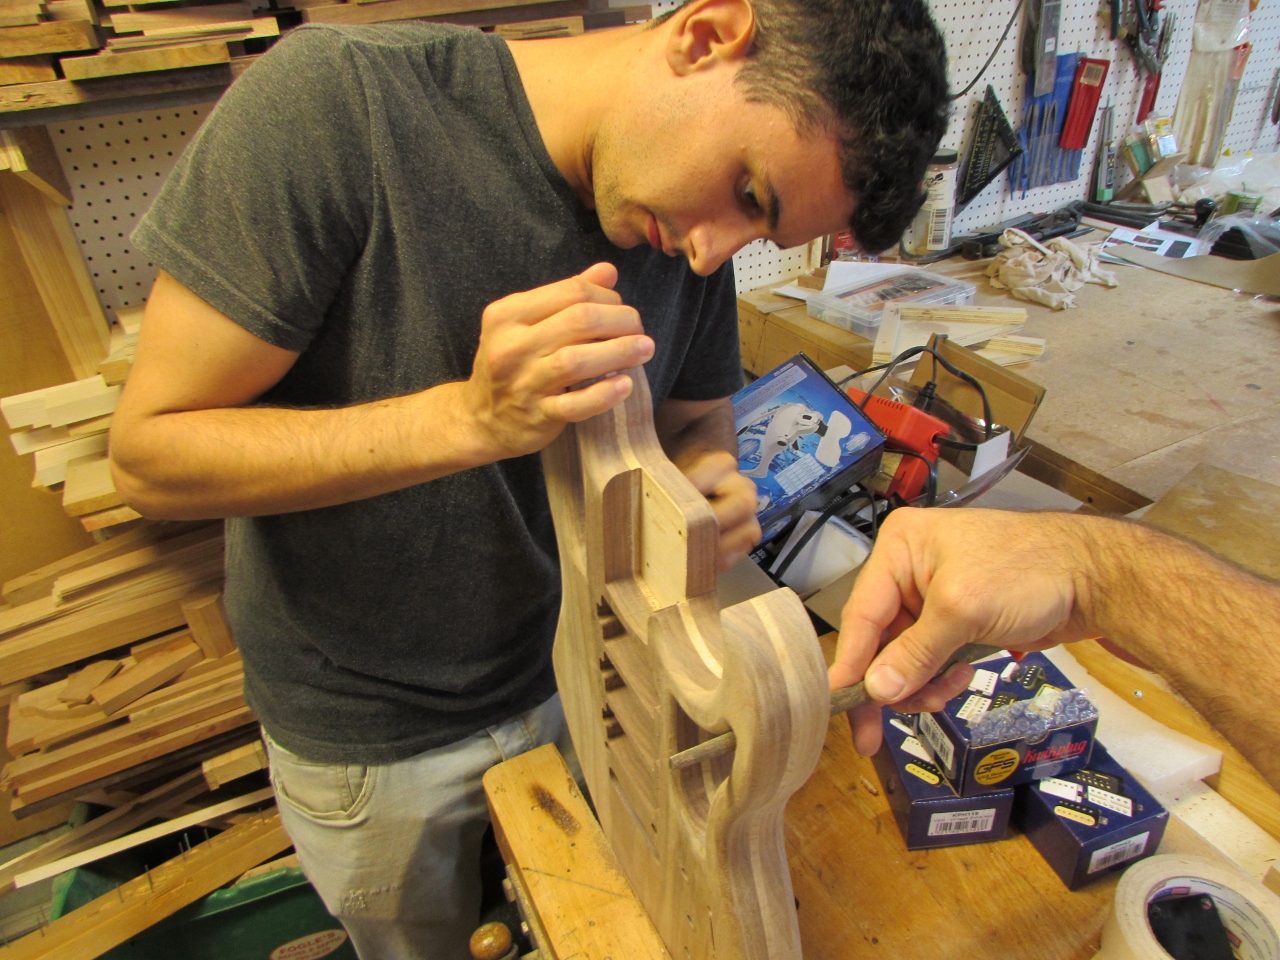
To install the neck, I clamped it tightly in place and match-drilled my pilot holes through the base of the neck, then removed the neck and widened the pilot holes to allow the mounting screws to pass closely through.
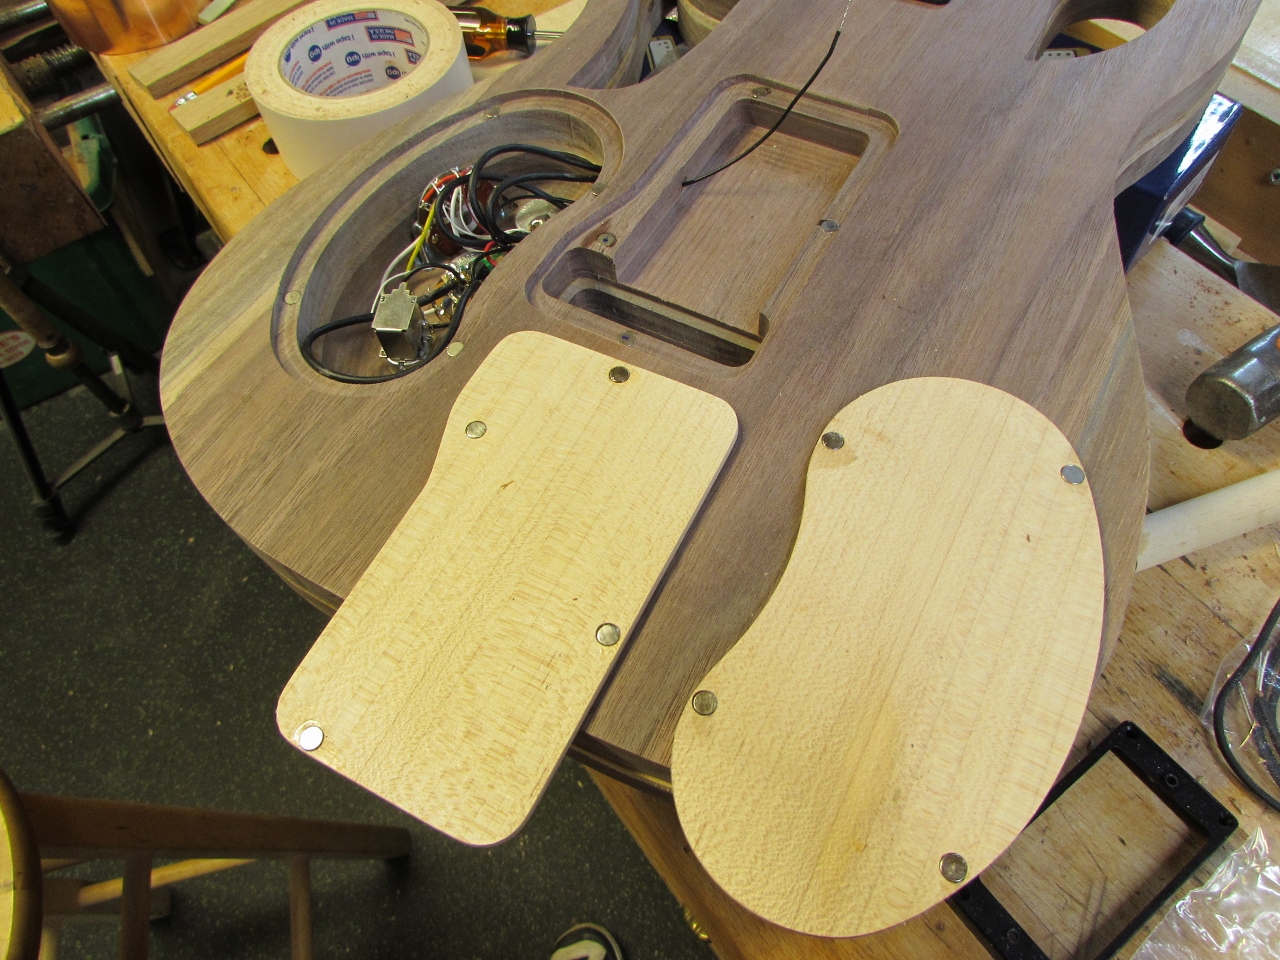
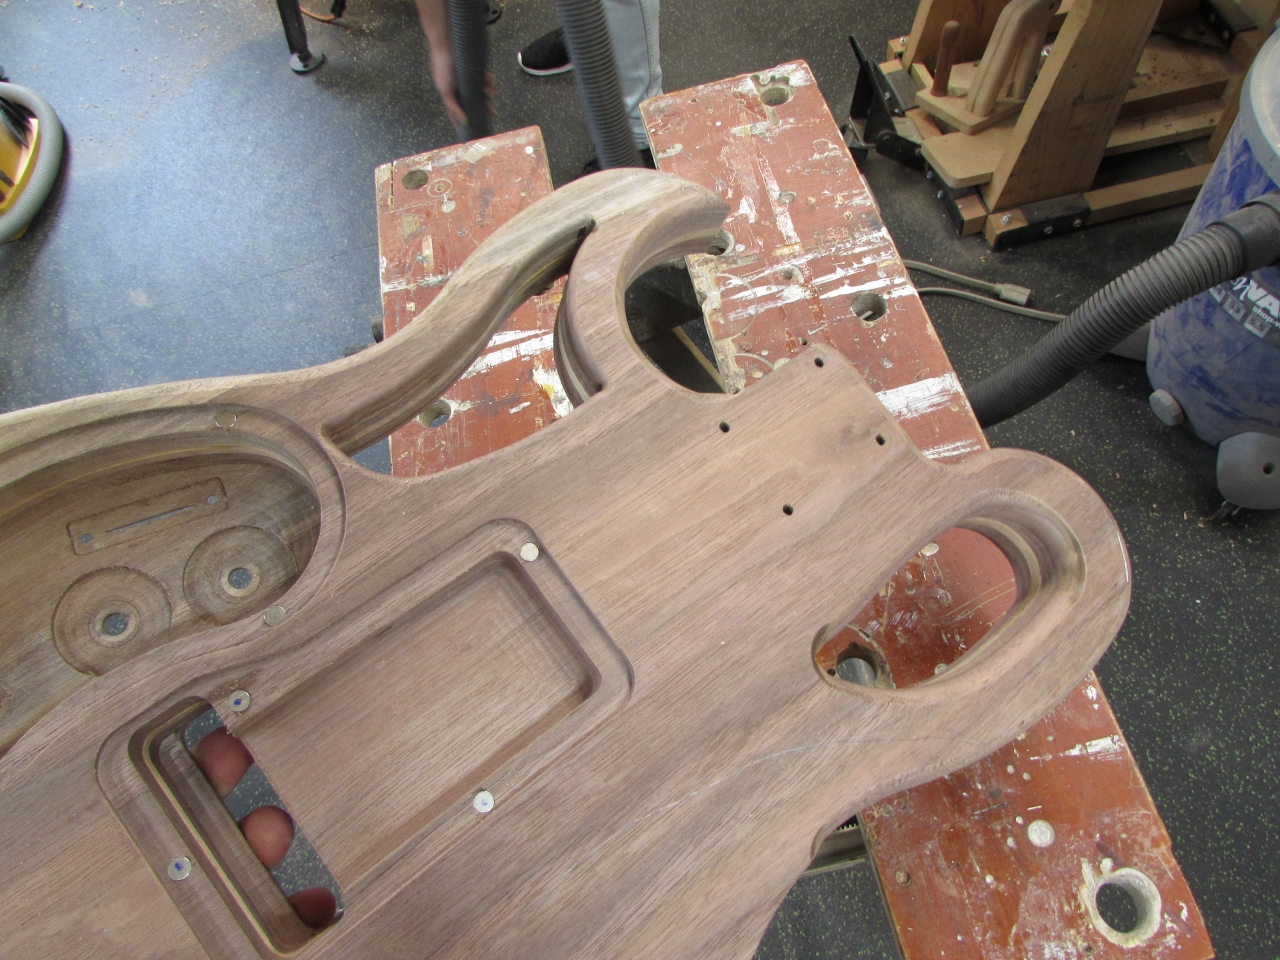
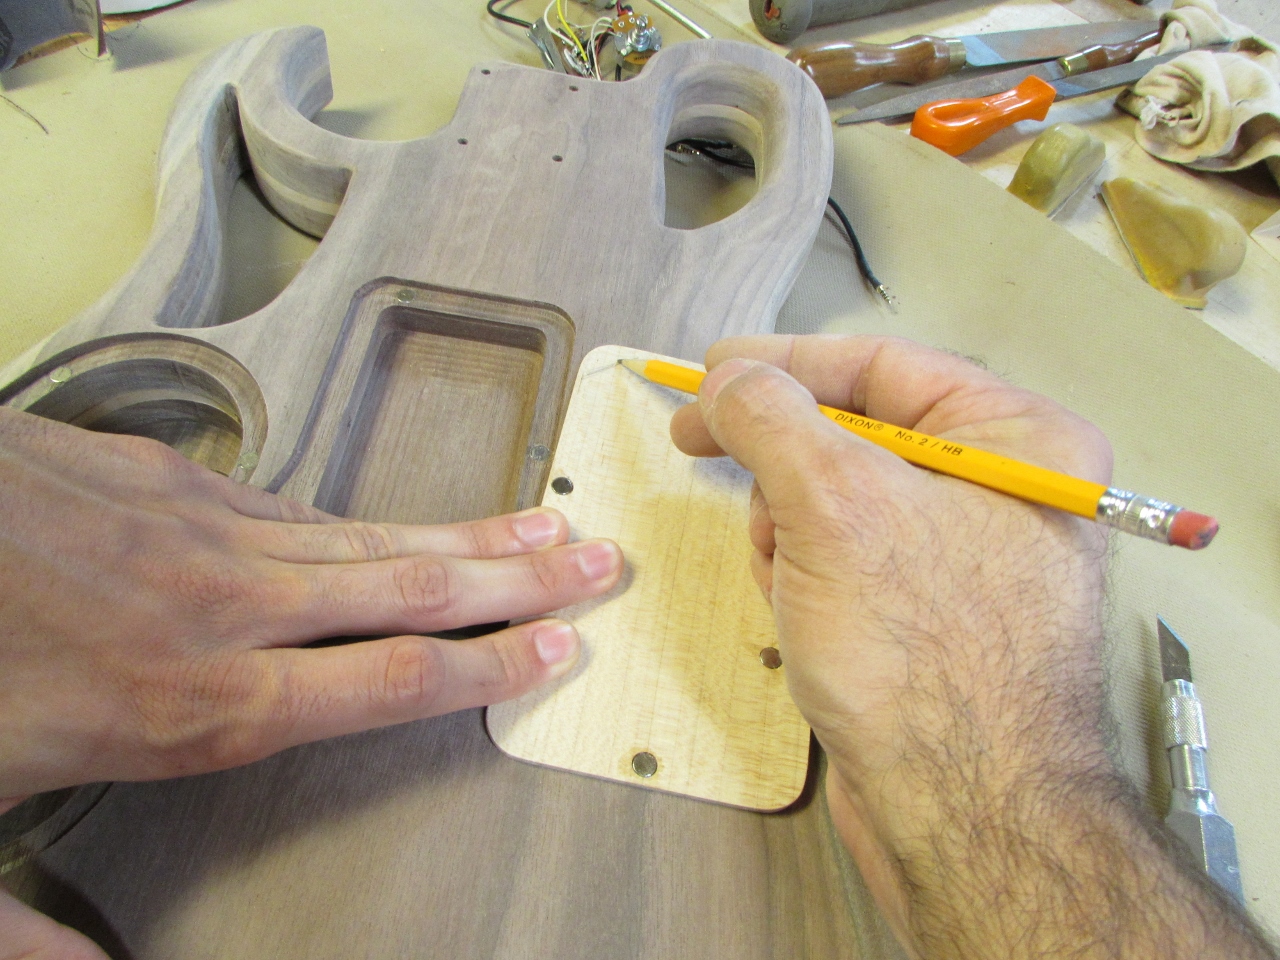
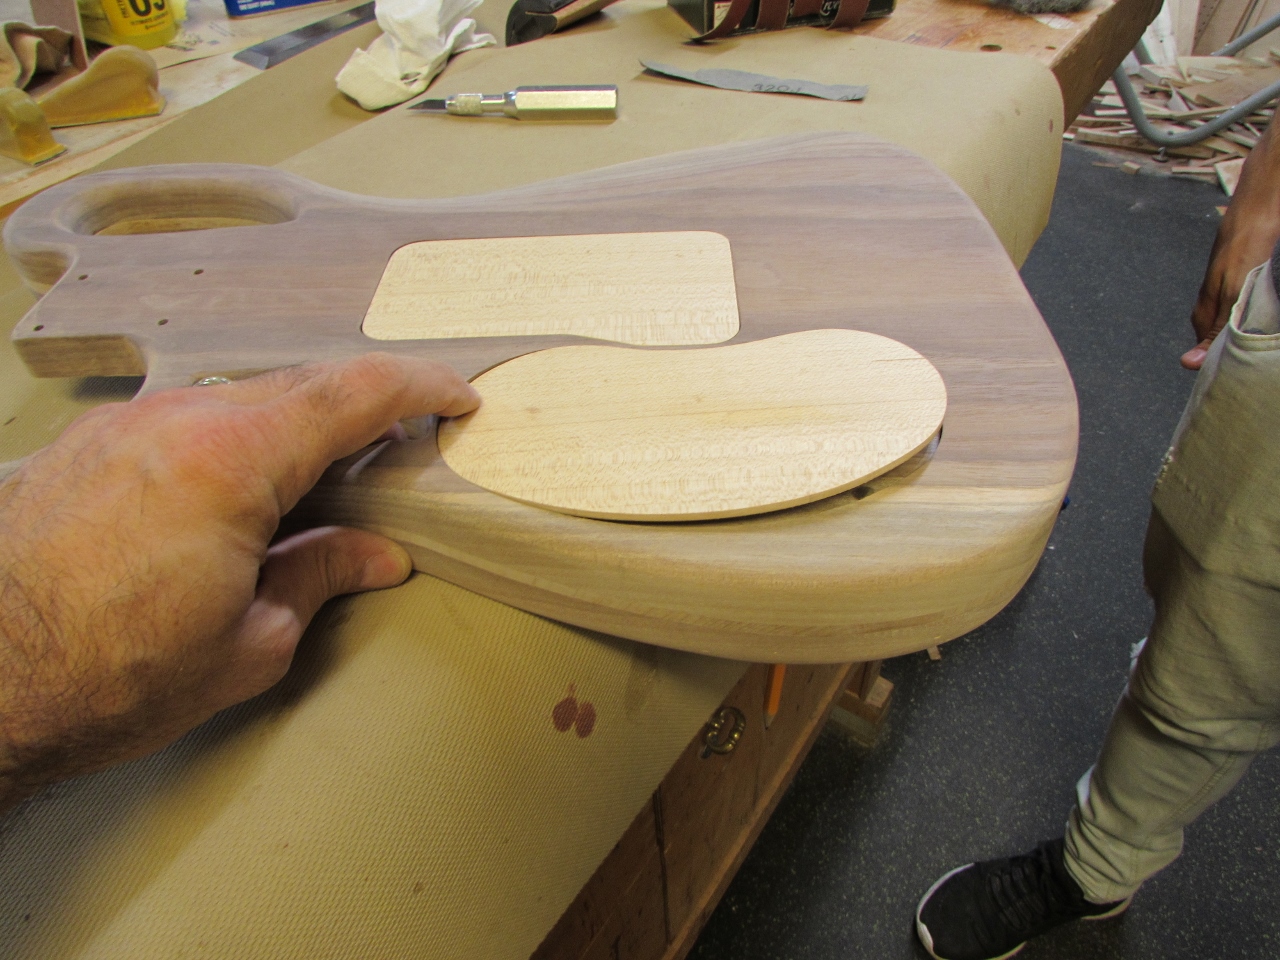
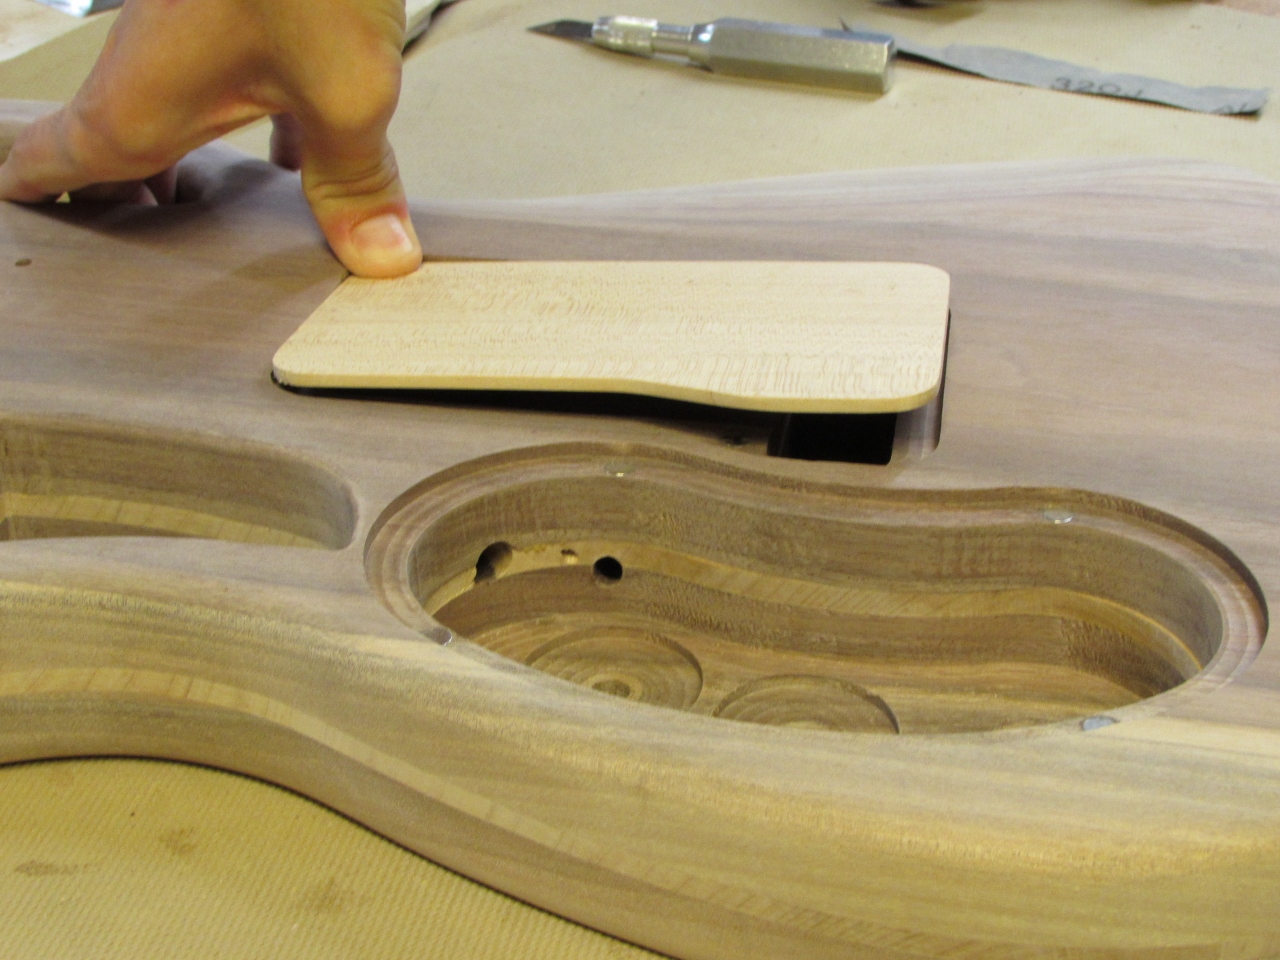
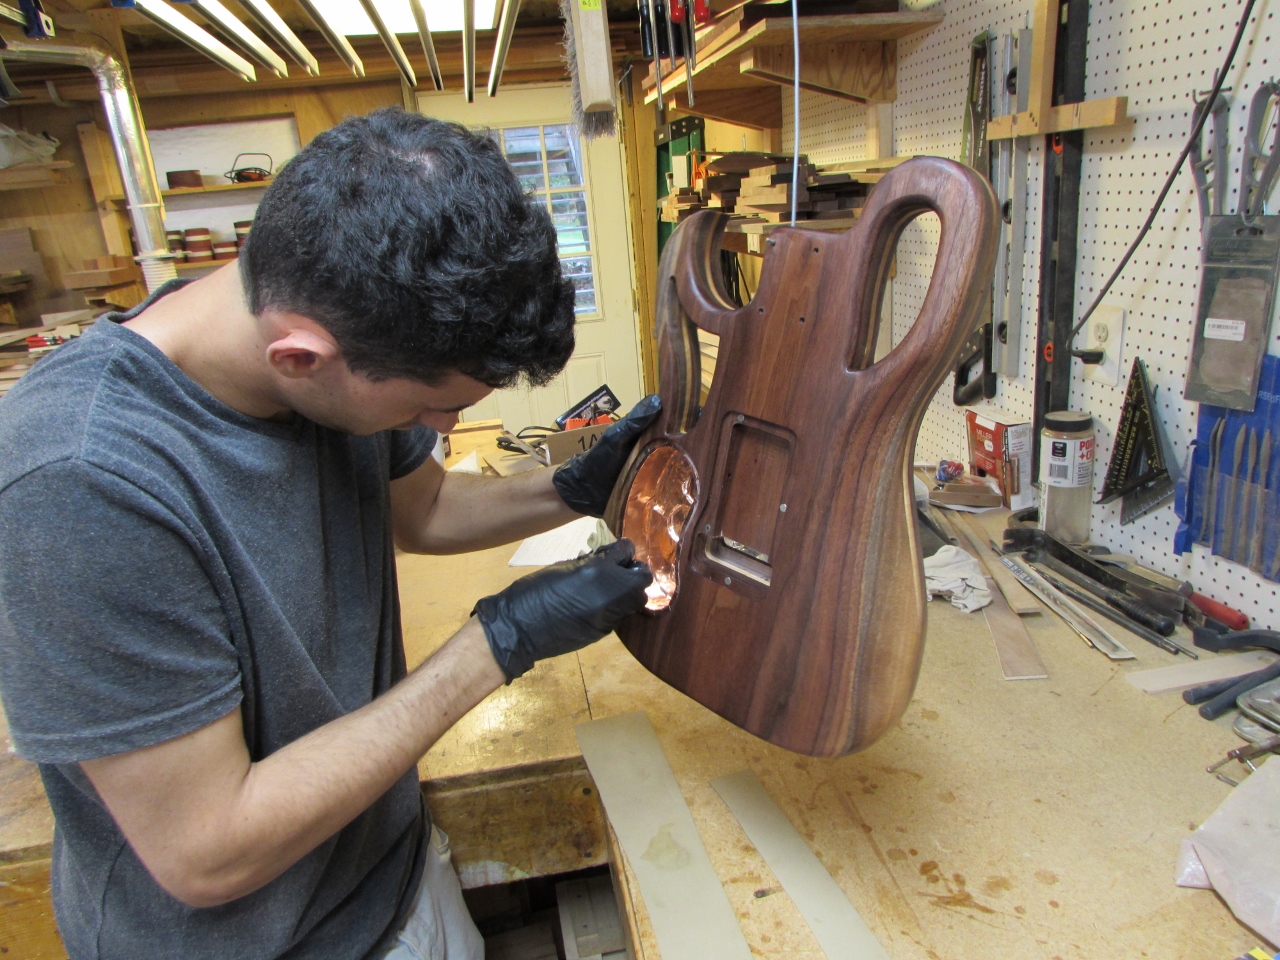
One cool feature that I have come up with is magnetically attaching the rear cover plates. To do this, I attach some 1/4″ x 1/16″ round magnets, with epoxy, into the small recesses that I carved.
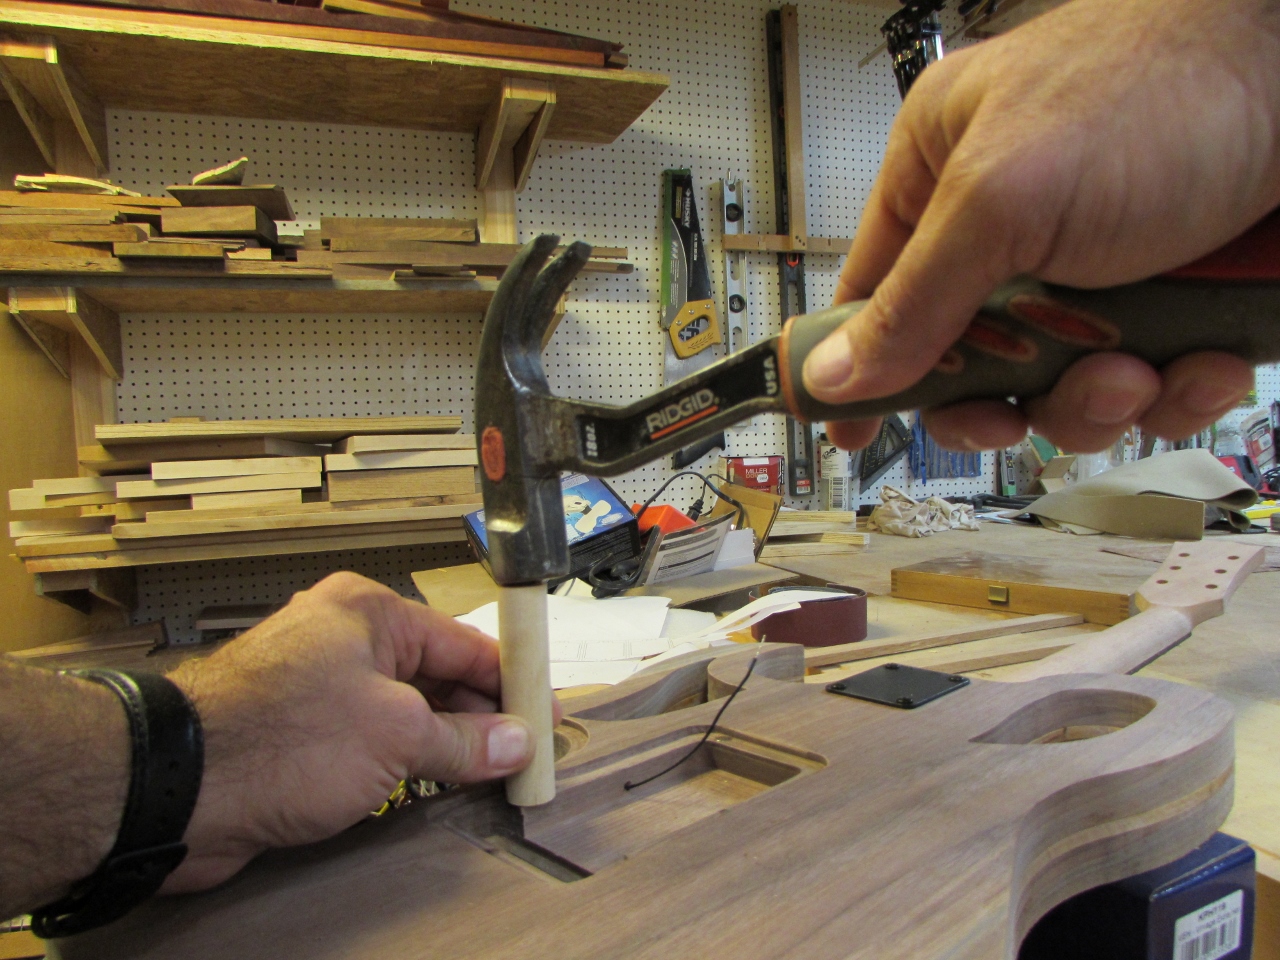
The holes are tight so I set each magnet firmly in place with a hammer and a dowel.

The same was done to the two corresponding plates, once I determined the correct polar direction of the magnets. I did not want them to repel each other…
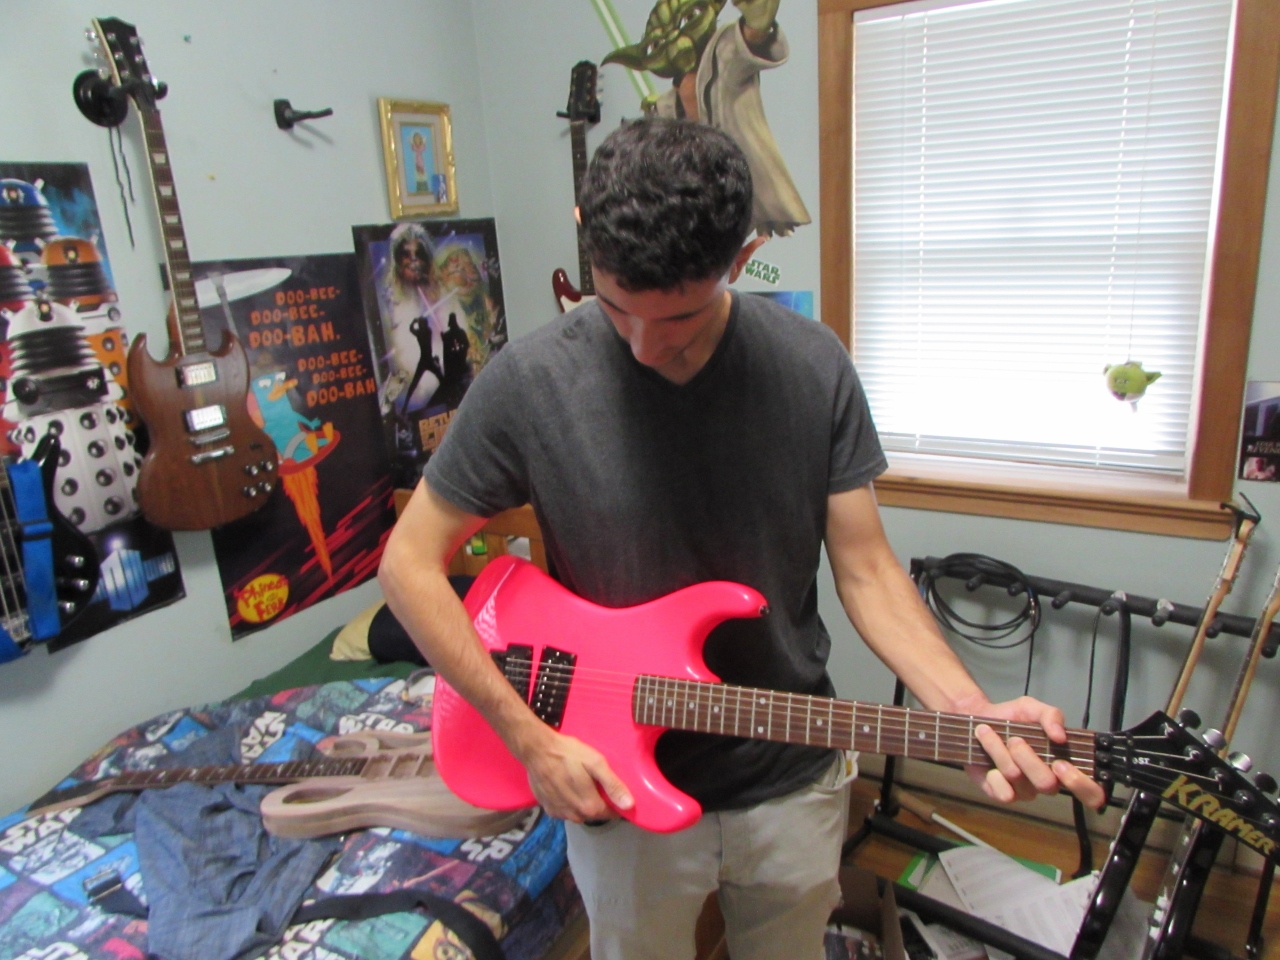
When Vicenç arrived, I had him test out a few on my son’s guitars.
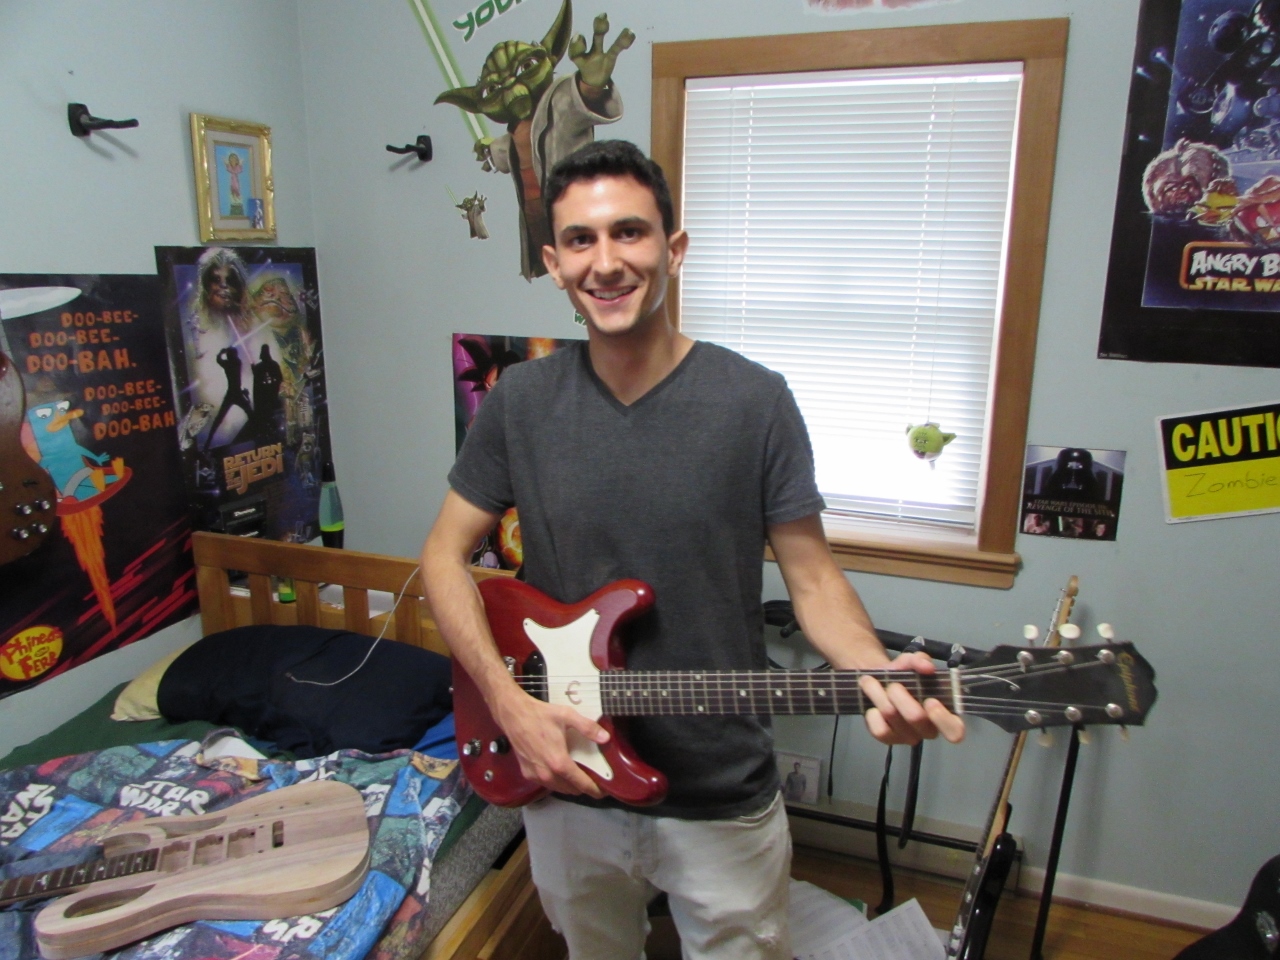
This allowed him to get a feel for the different body shapes.

Once he found one that he liked the feel of, he duplicated the lines of the curves onto his guitar.

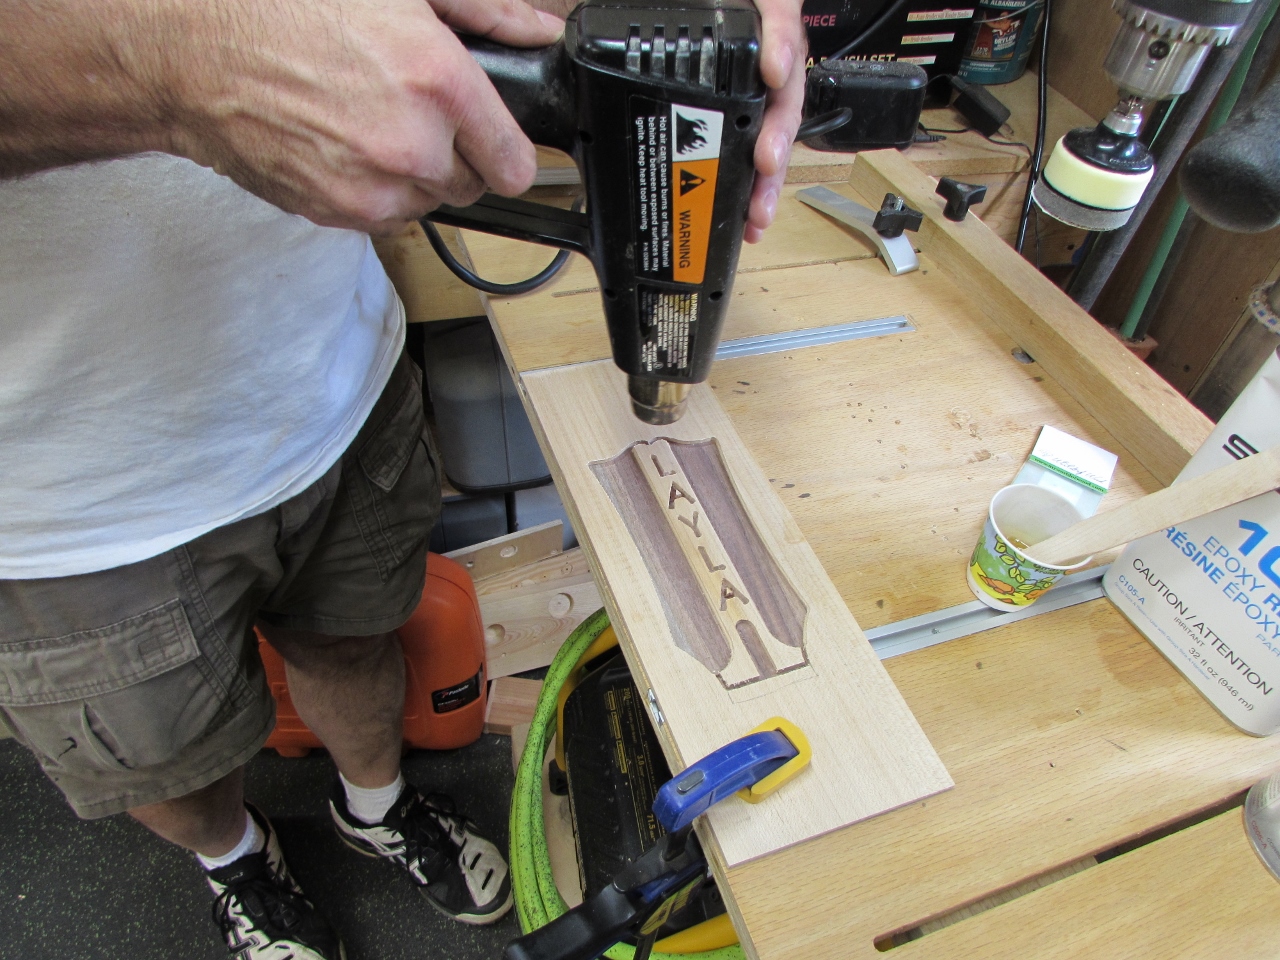
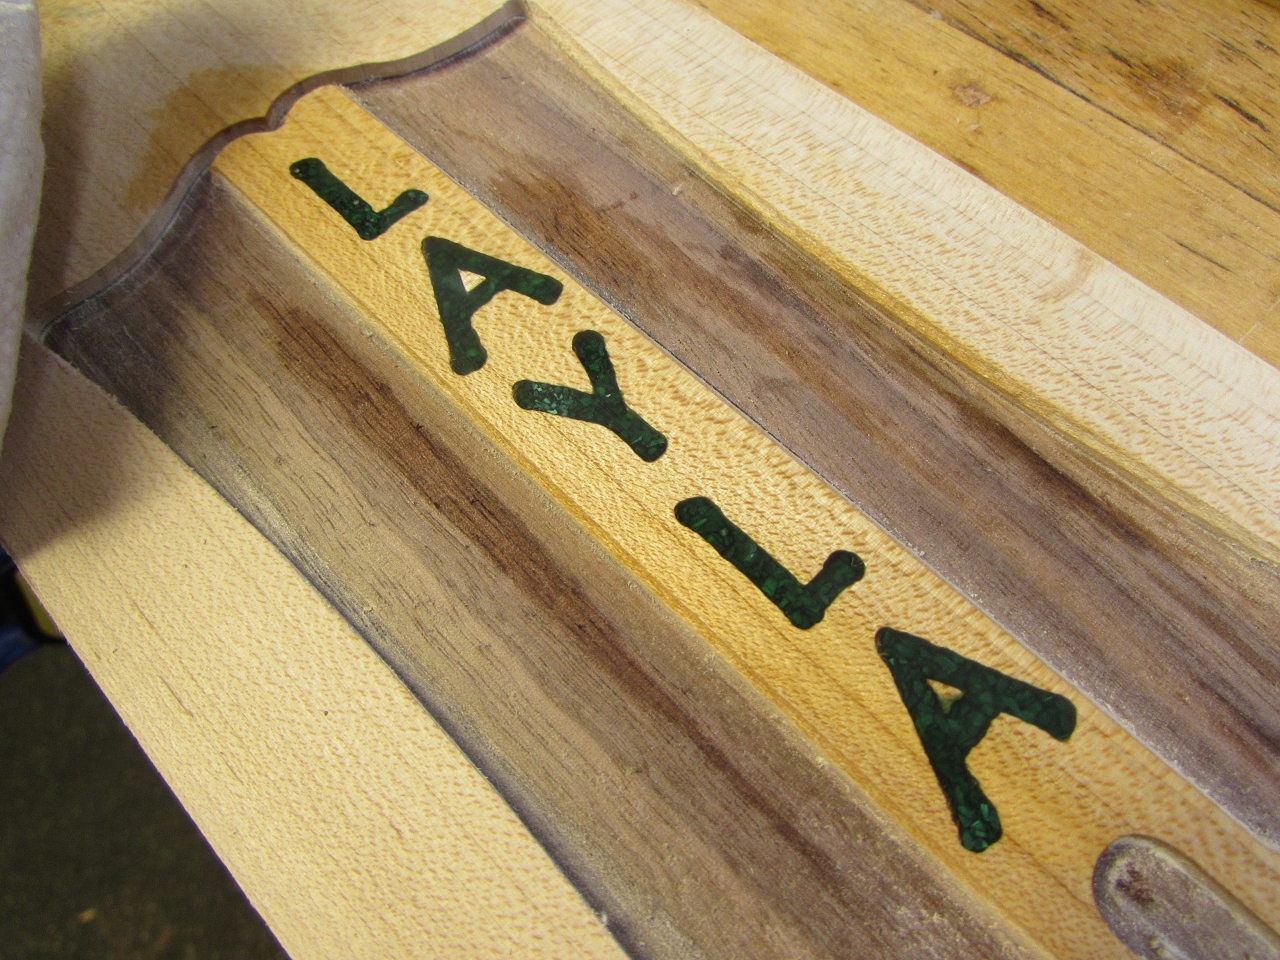
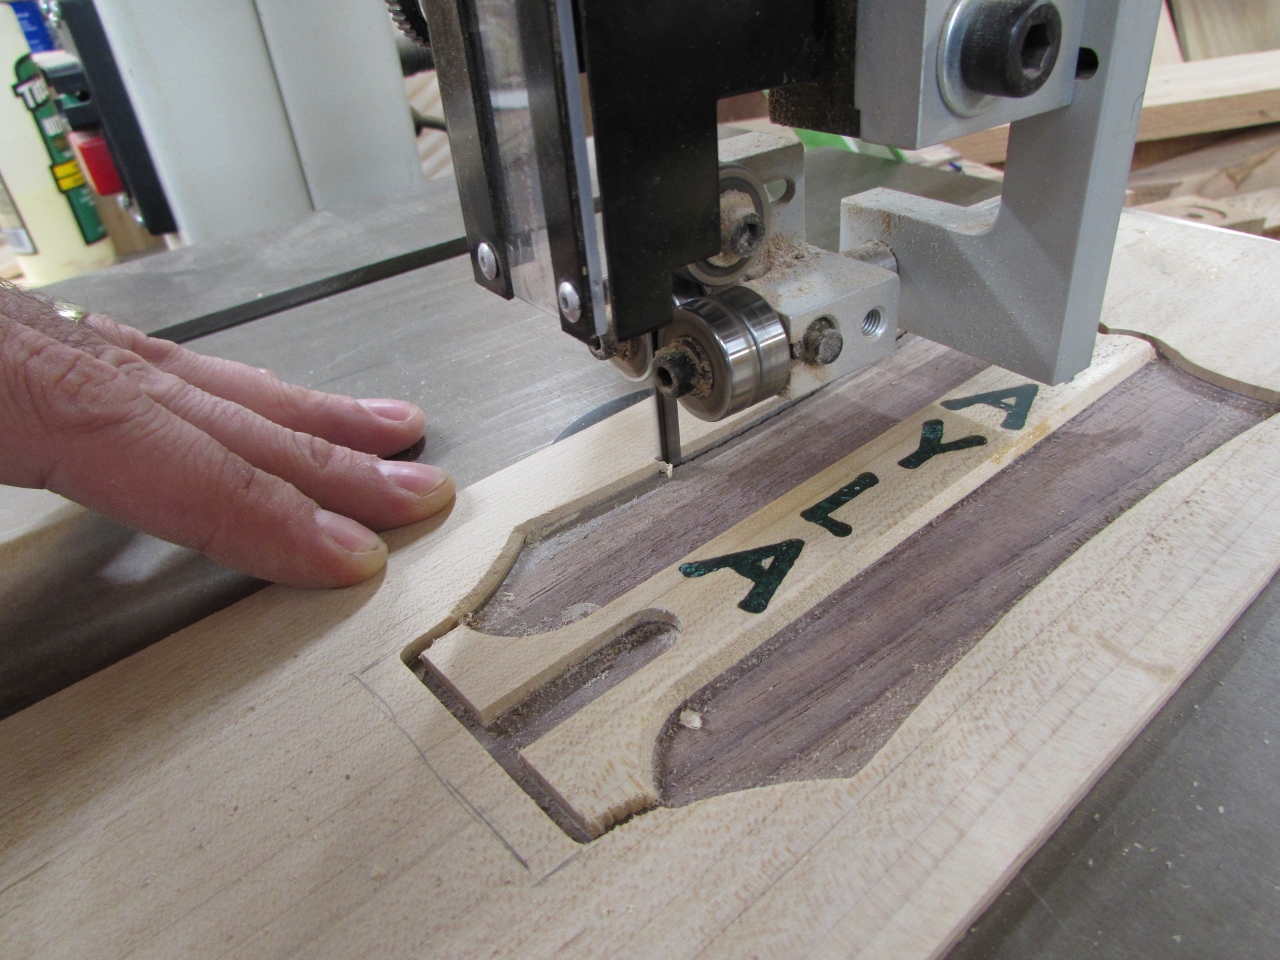
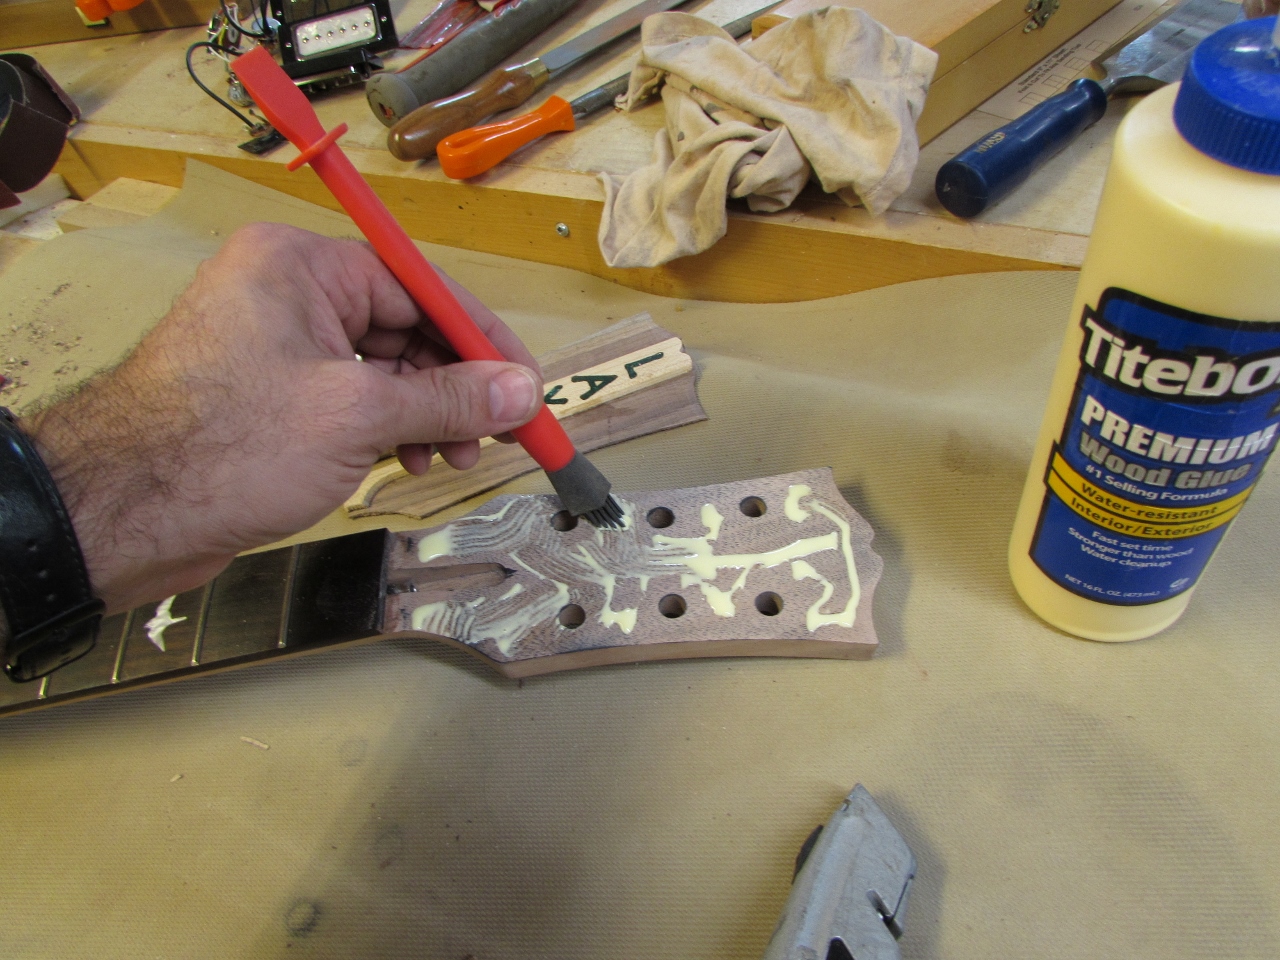
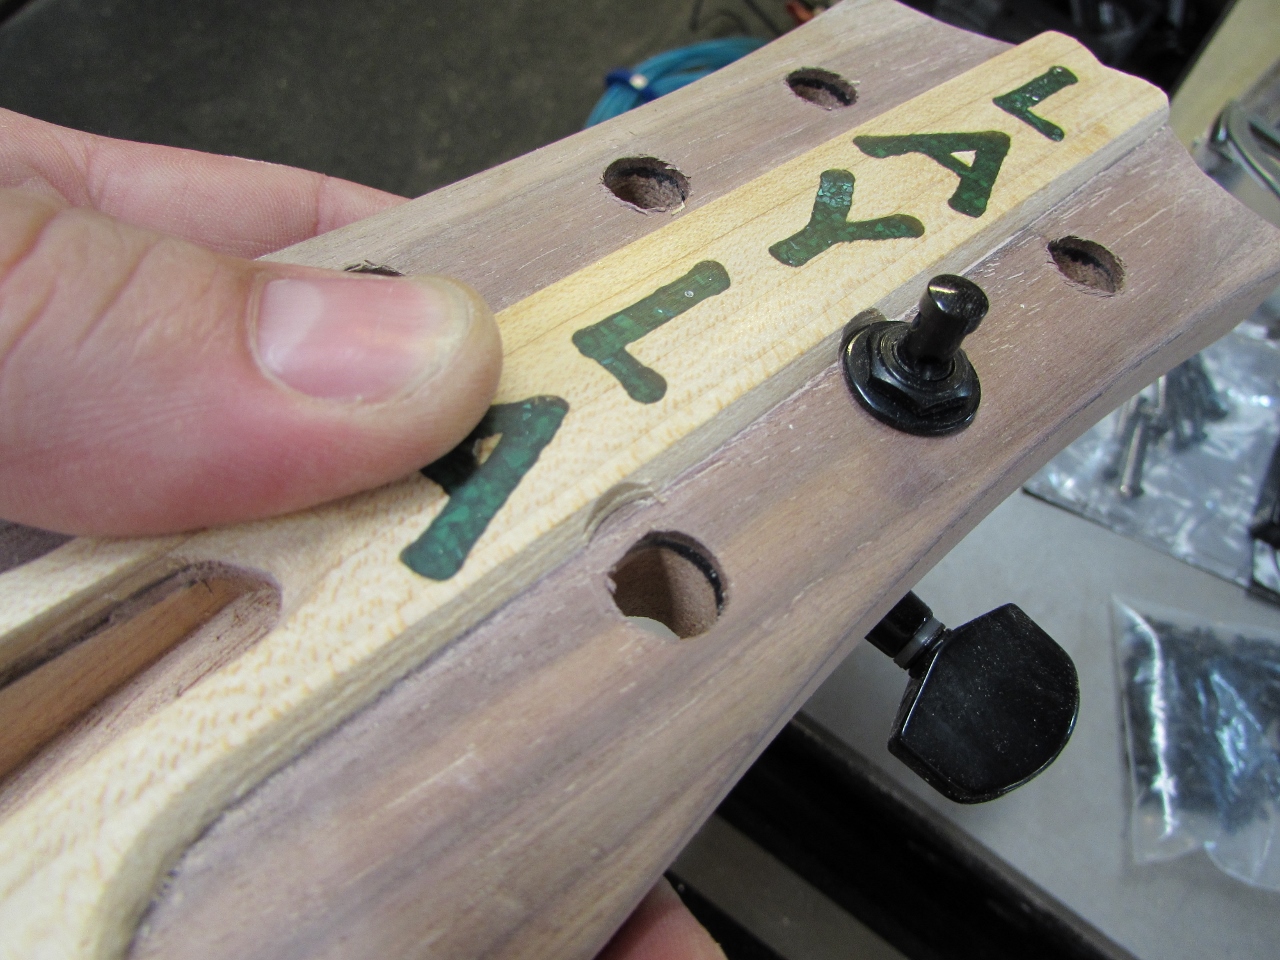
Before we start working on the shape, we needed to get the headstock inlay started.

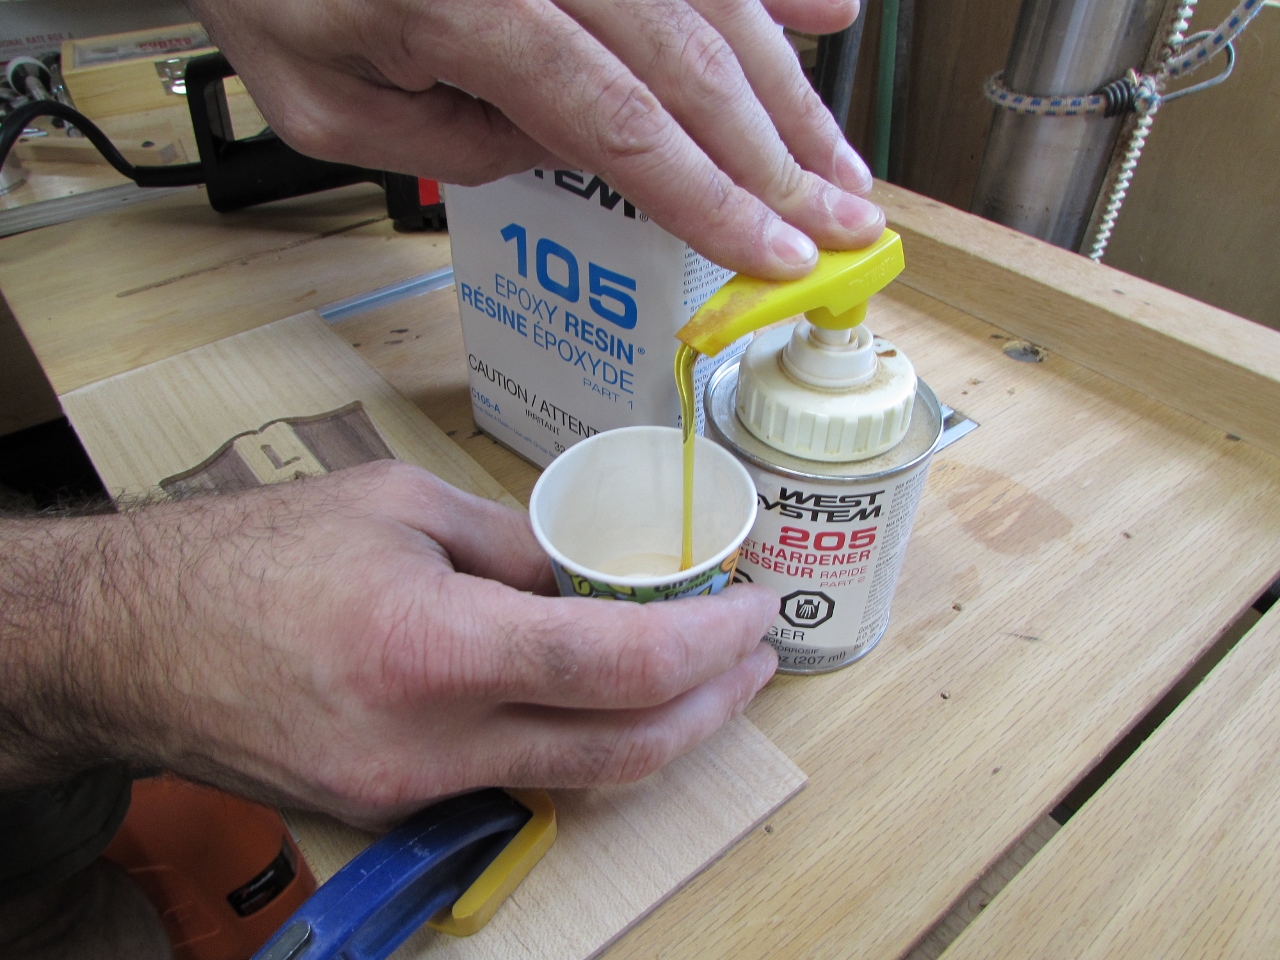
We mixed up an ounce or so of West Systems epoxy, and set it aside for a moment while we pre-heated the wood. I found this helps prevent a lot of bubbles that are caused by the heat generated by the epoxy curing.
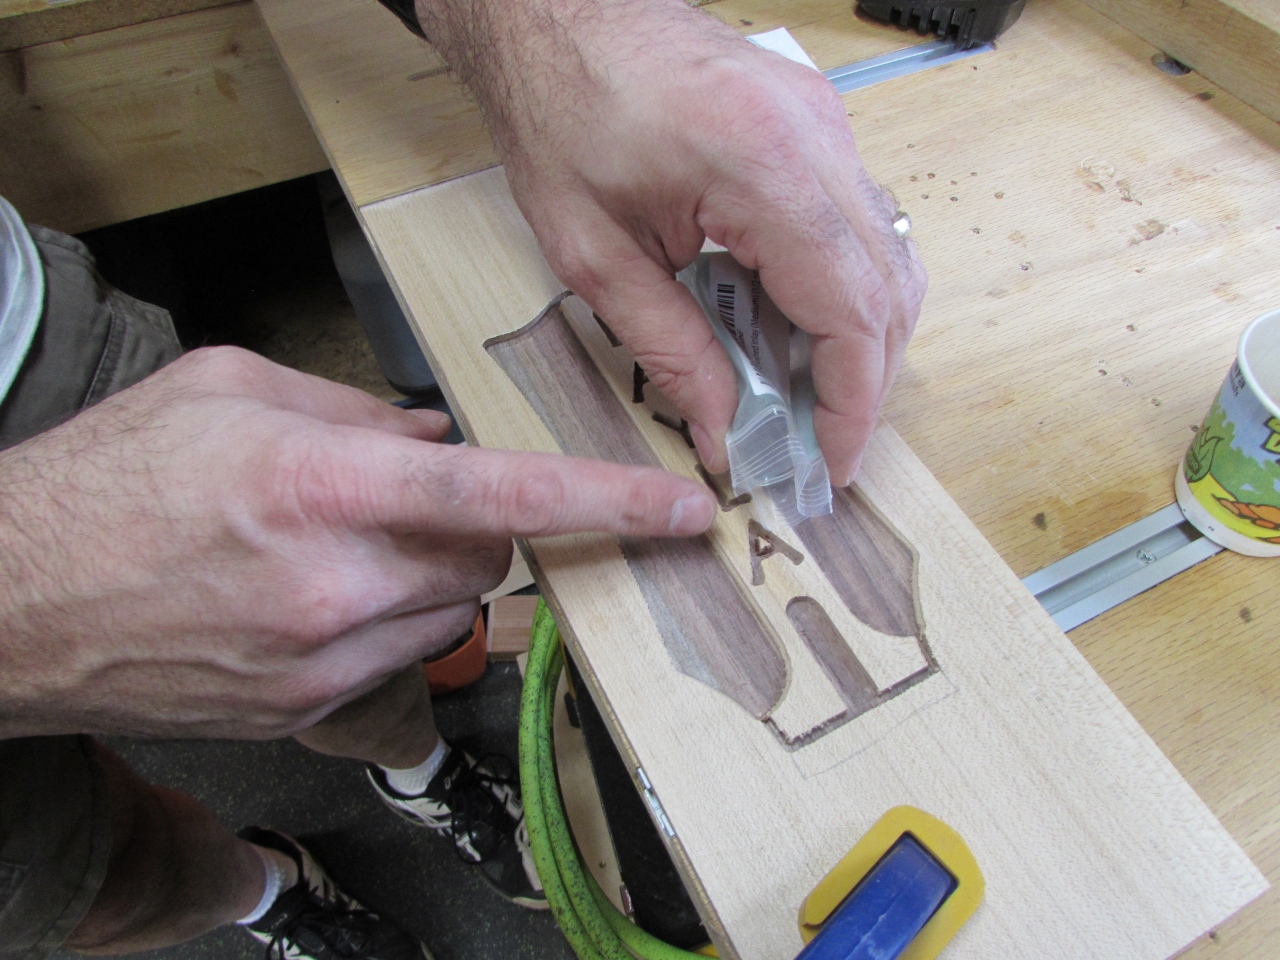
Vicenç purchased a 1/2 ounce bag of crushed malachite stone for our inlay, and we poured it into the letters.

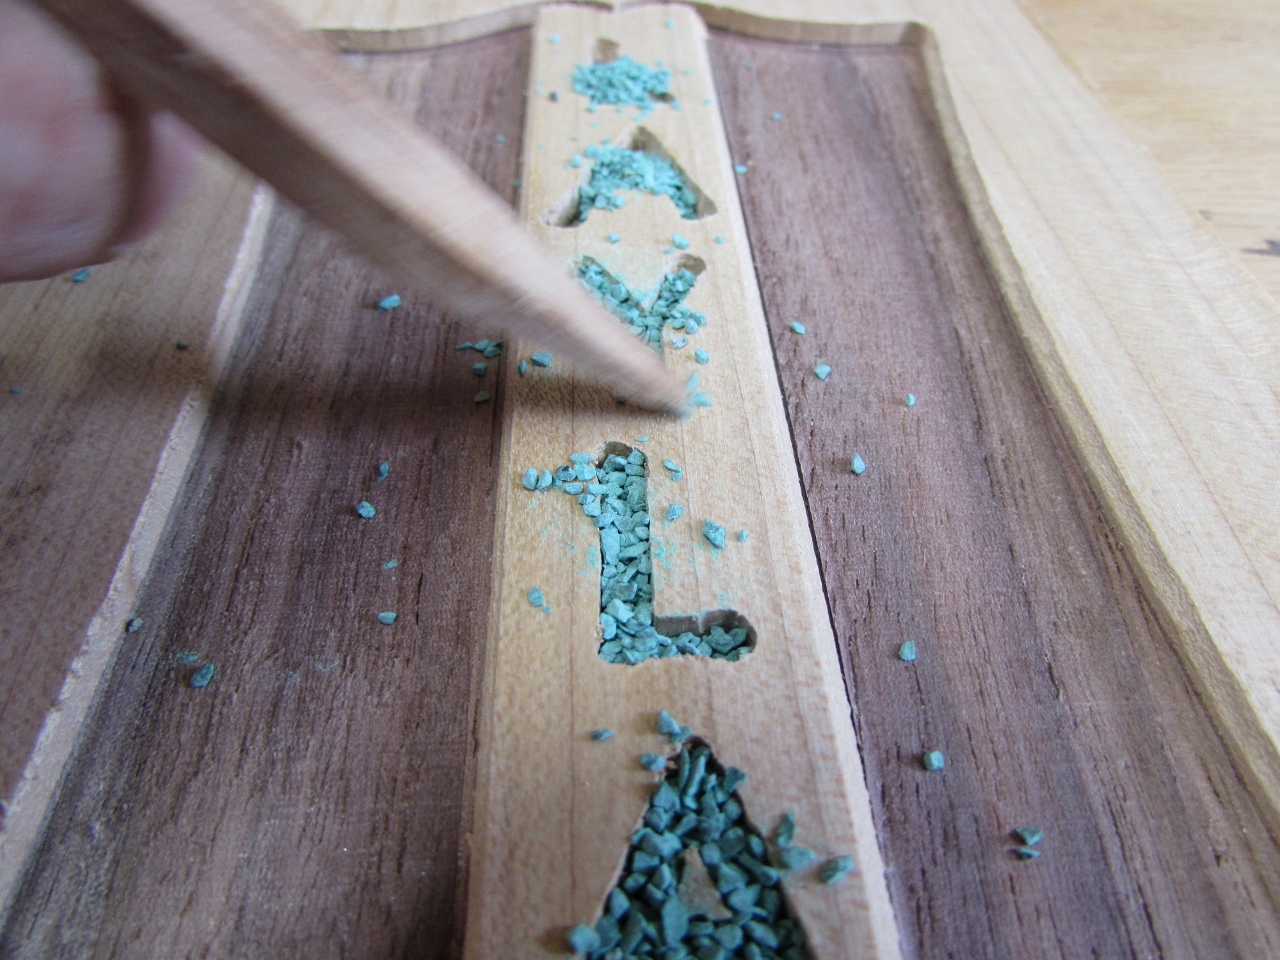
I used a stick to smooth the stones out and removed any sticking above the surface.

Next, we drizzled the epoxy into the letters, and popped any of the bubbles that formed.
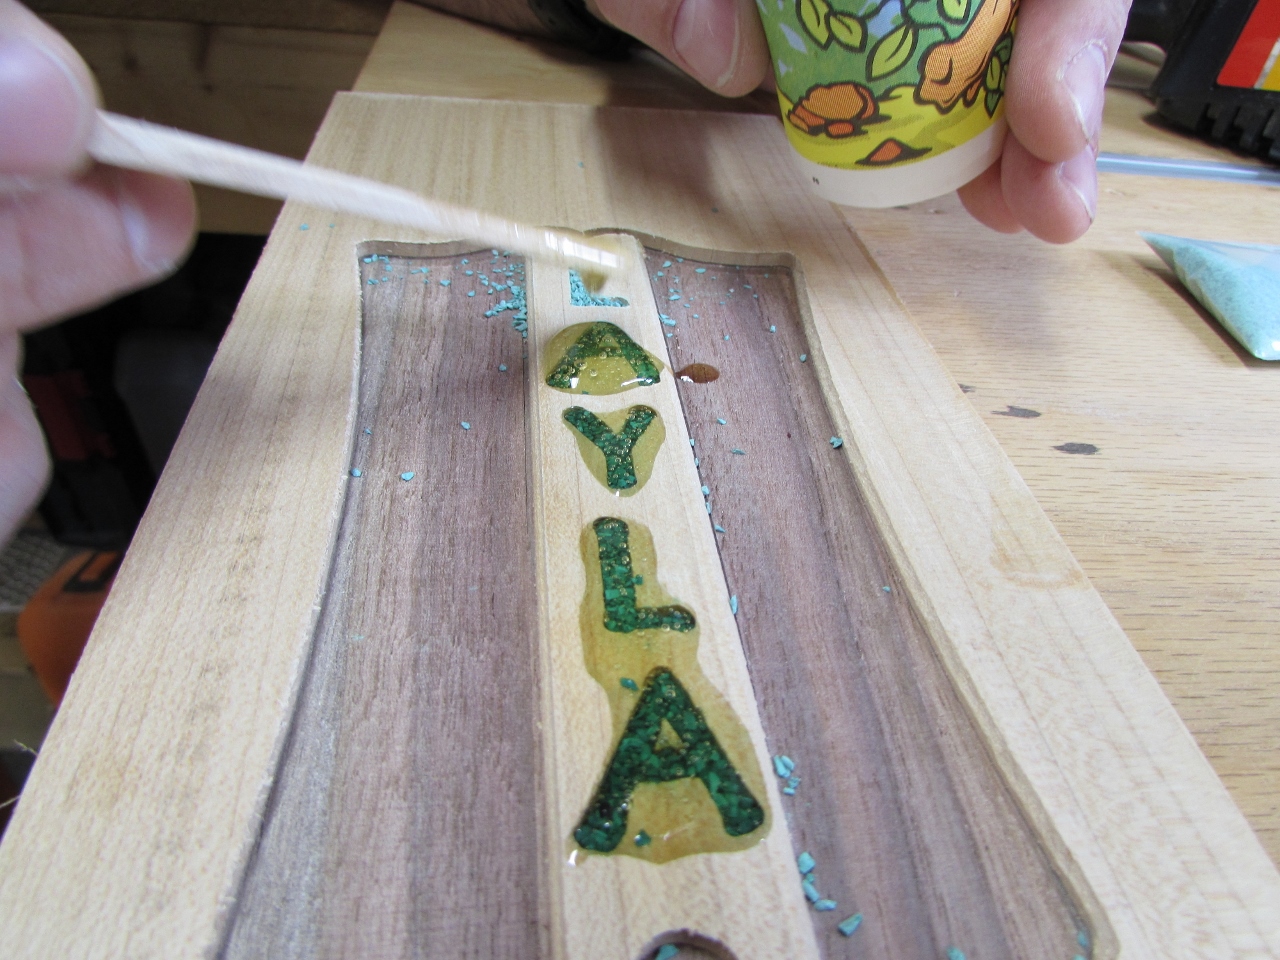
We left that to cure for about 10 hours, and got back to shaping the guitar.

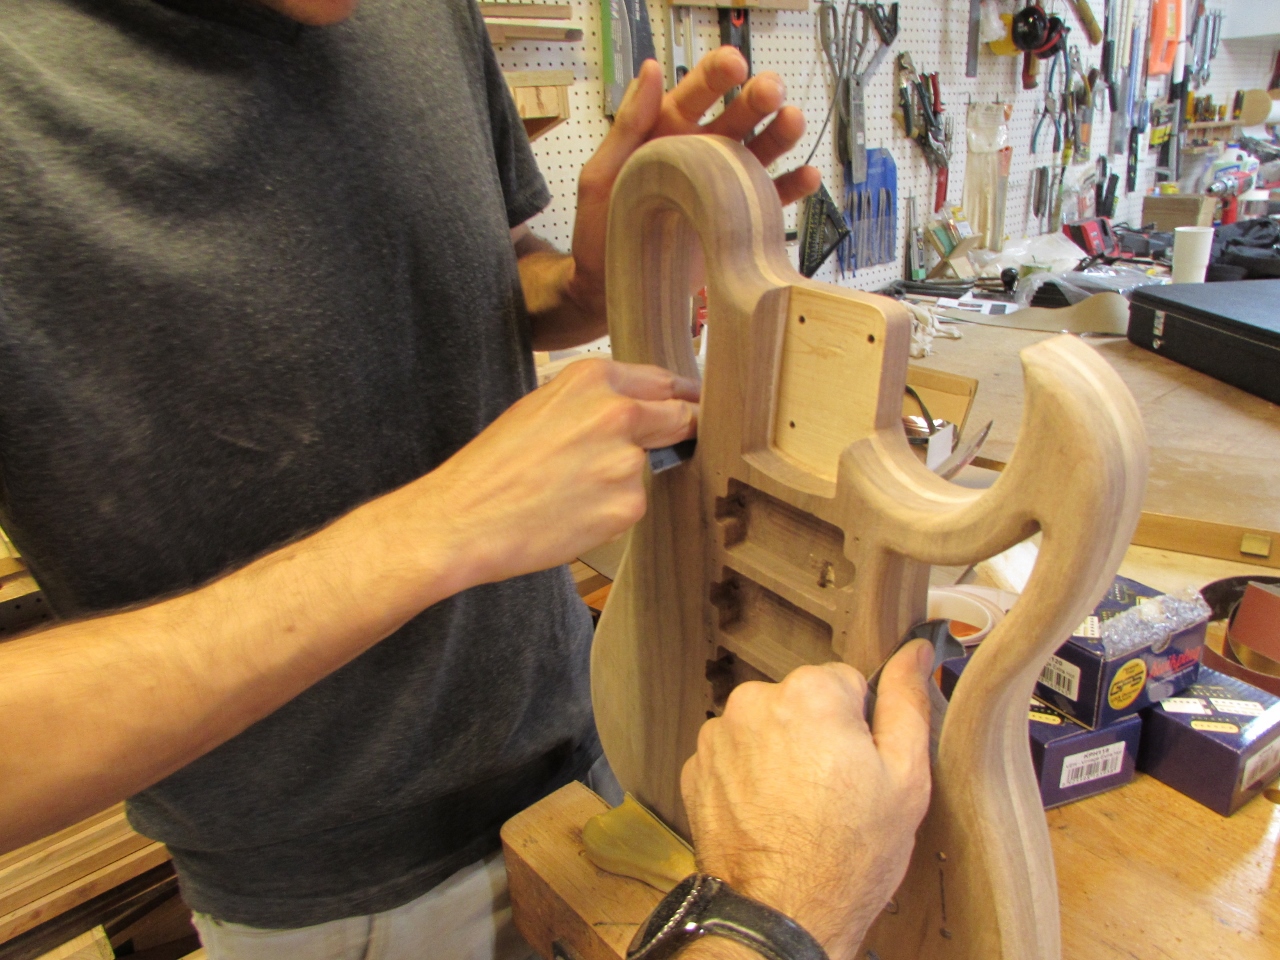
I had Vicenç smooth all of the outer surfaces down with my spindle sander, then we took some time to select the proper radius’ to be cut along the edges and inside the holes.
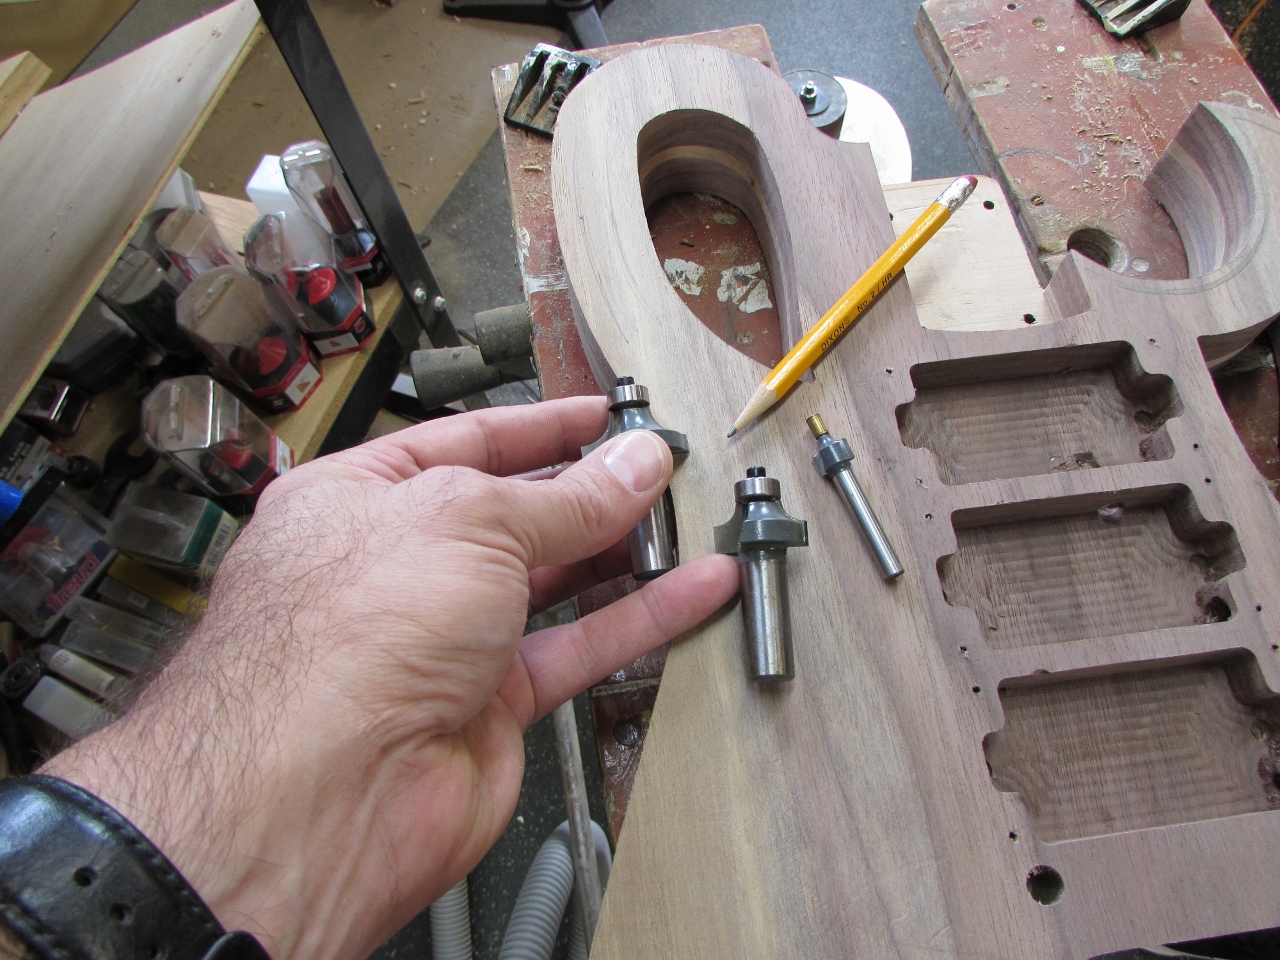
He selected 4 different radius bits for various locations ranging from 1/2″ down to 1/8″.

He used the router to create the radius for each edge allowing the bearing at the end of the bit to ride along the side, keeping the curve uniform all the way around.
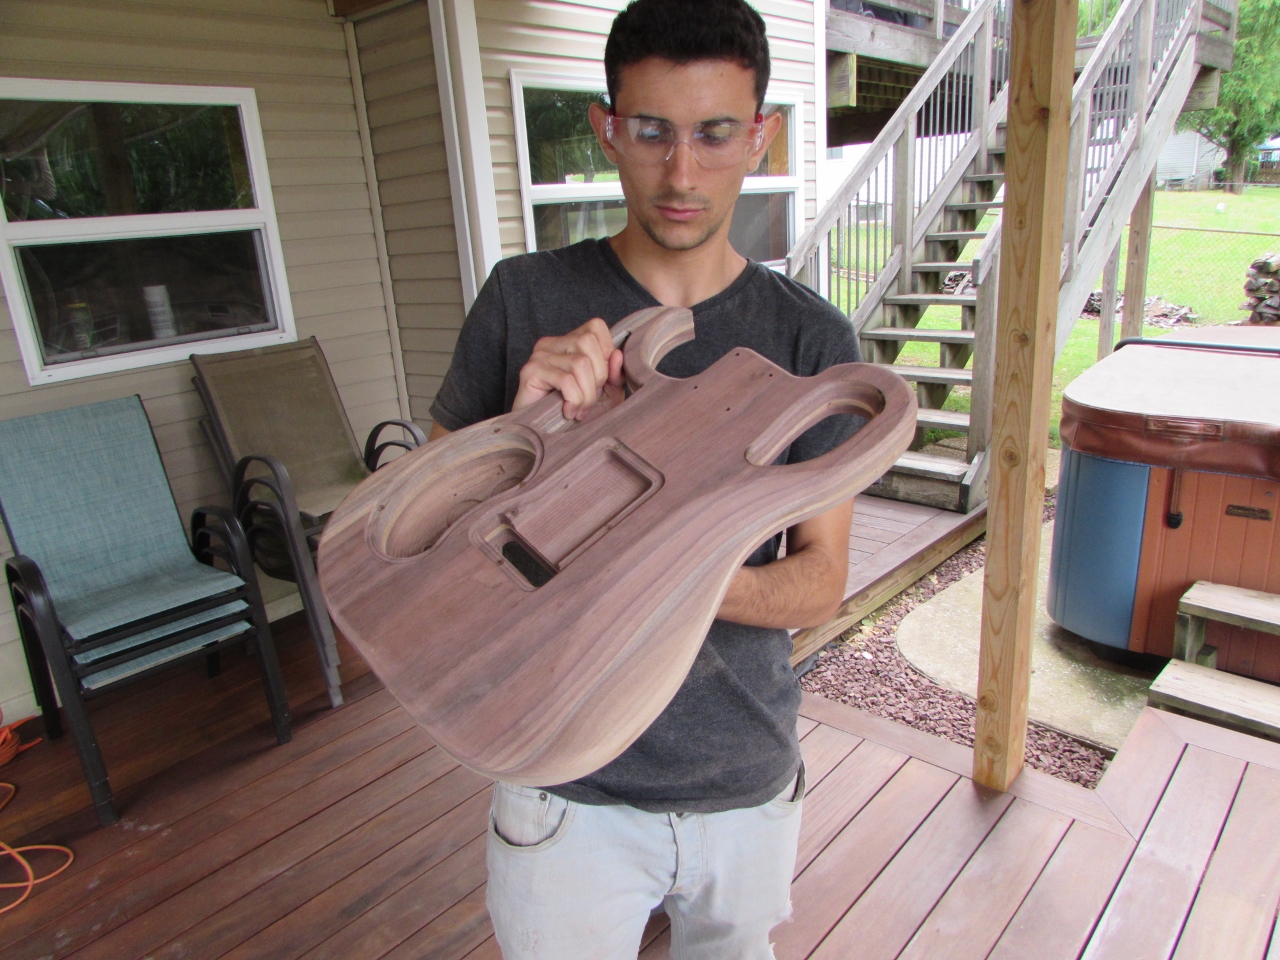
With the edges rounded, it was time to set up outside to make a mess.
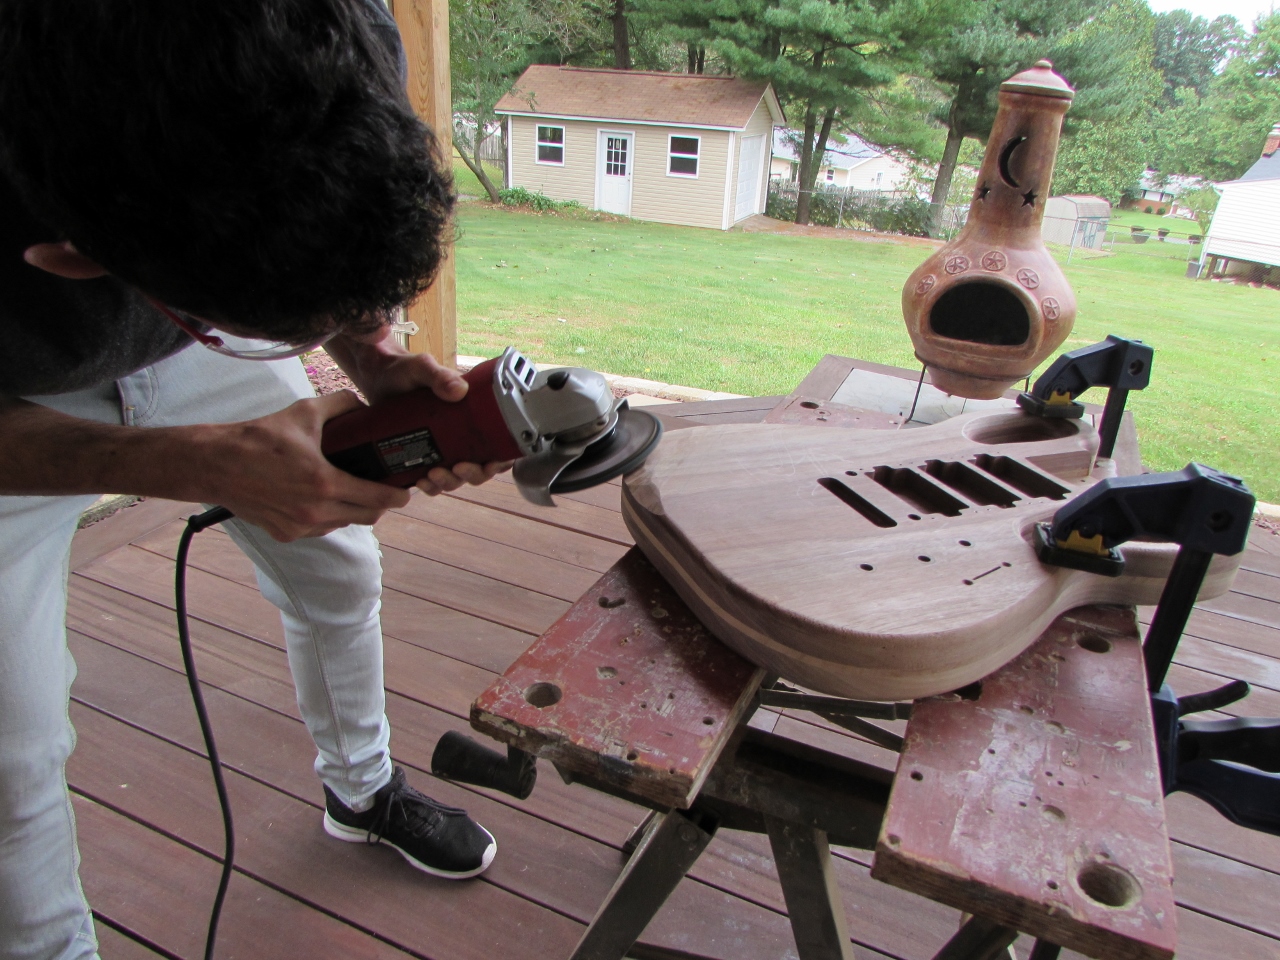
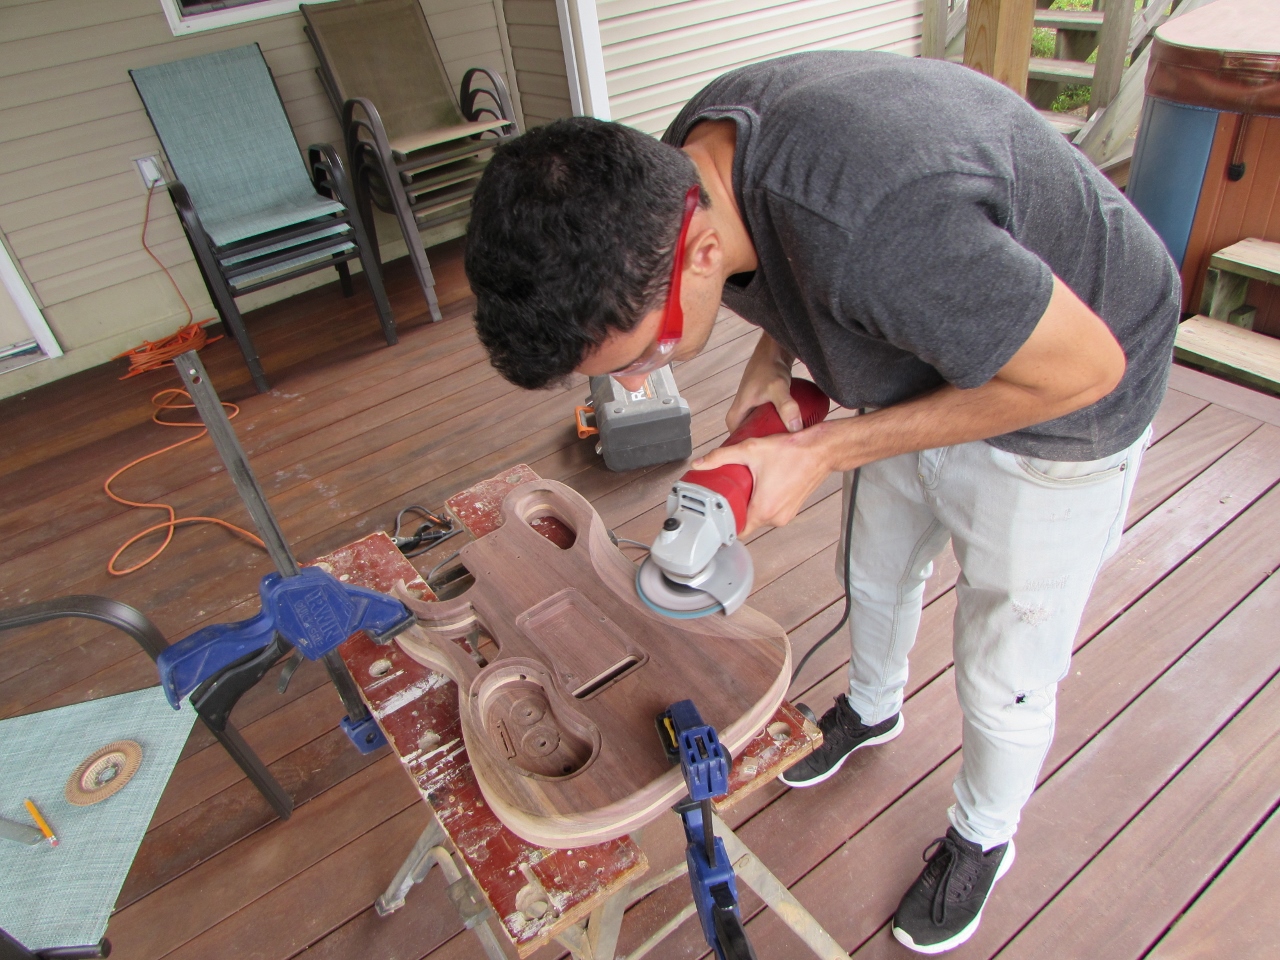
Using the angle grinder with a 40 grit sanding wheel, Vicenç carved out the shapes he sketched earlier.
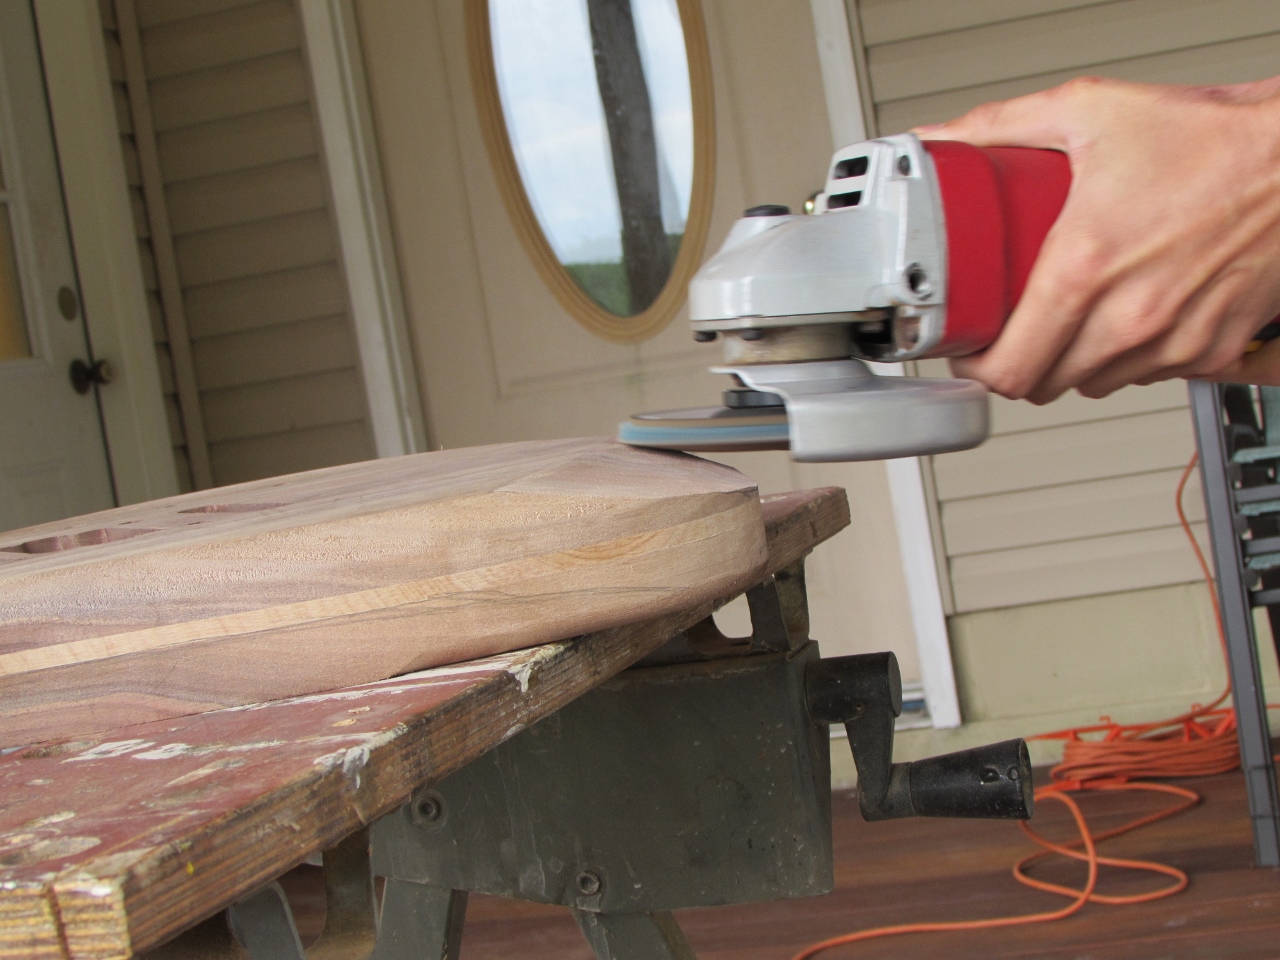
I think this was his favorite part of the build. He would carve a bit, then pick up the body and test the feel, then mark it some more and get back to grinding.

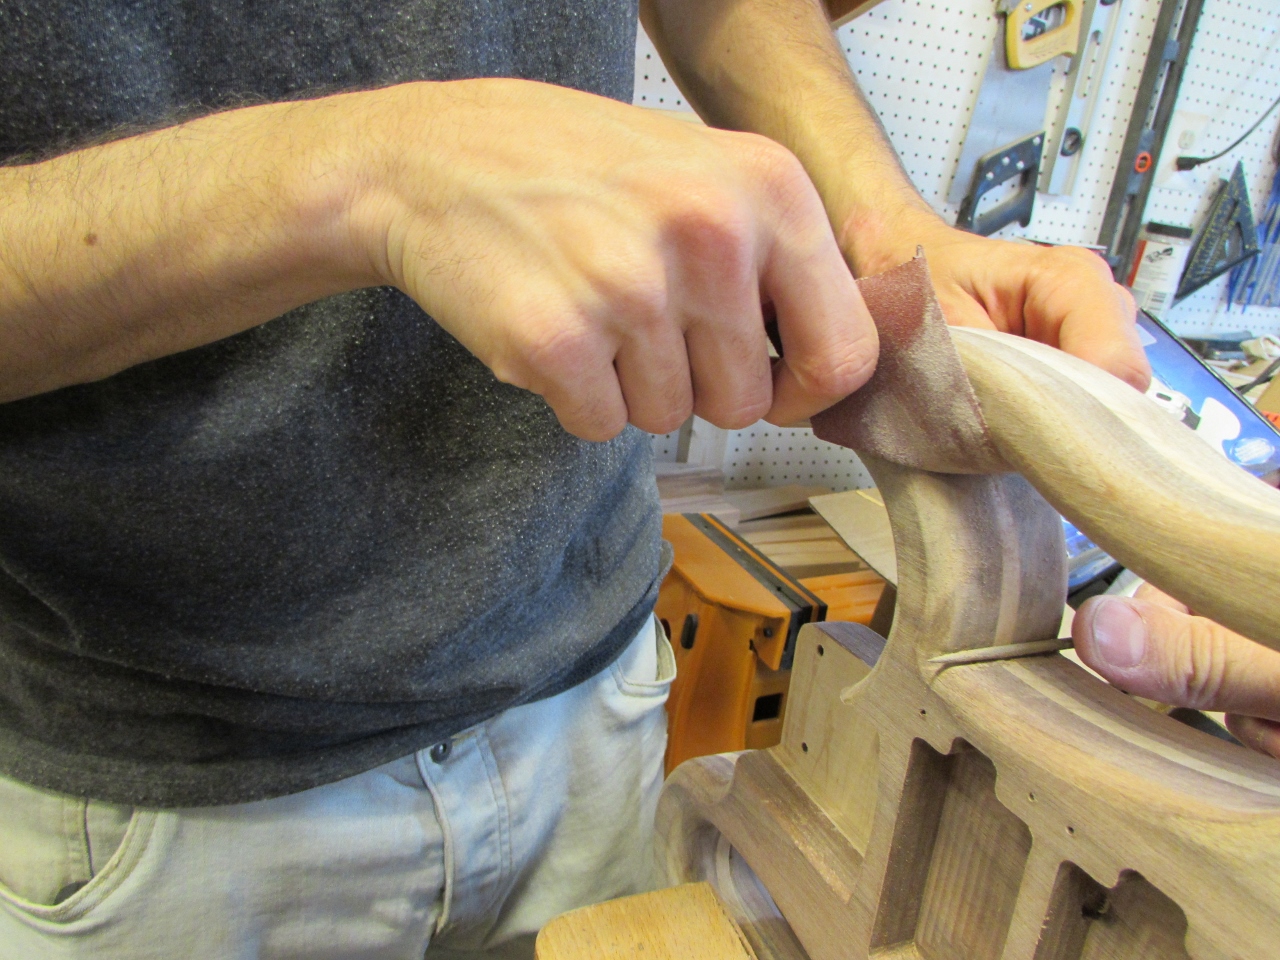
After the rough shaping, he followed along with 80 grit sand paper on my orbital finish sander.
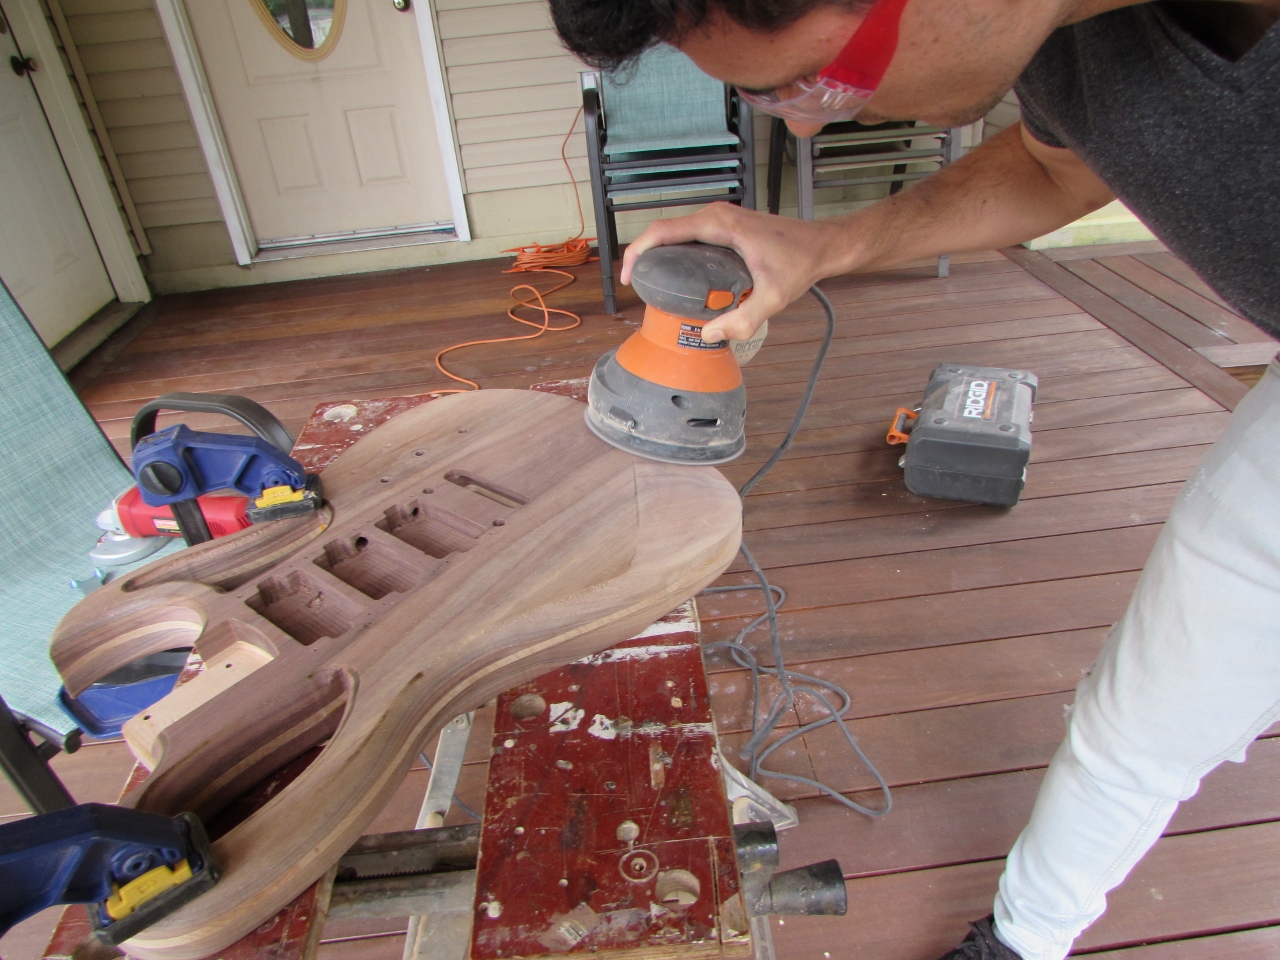
Then he flipped the body over and carved out the back.
He was very happy with the new feel of the guitar, custom shaped to fit perfectly to him.


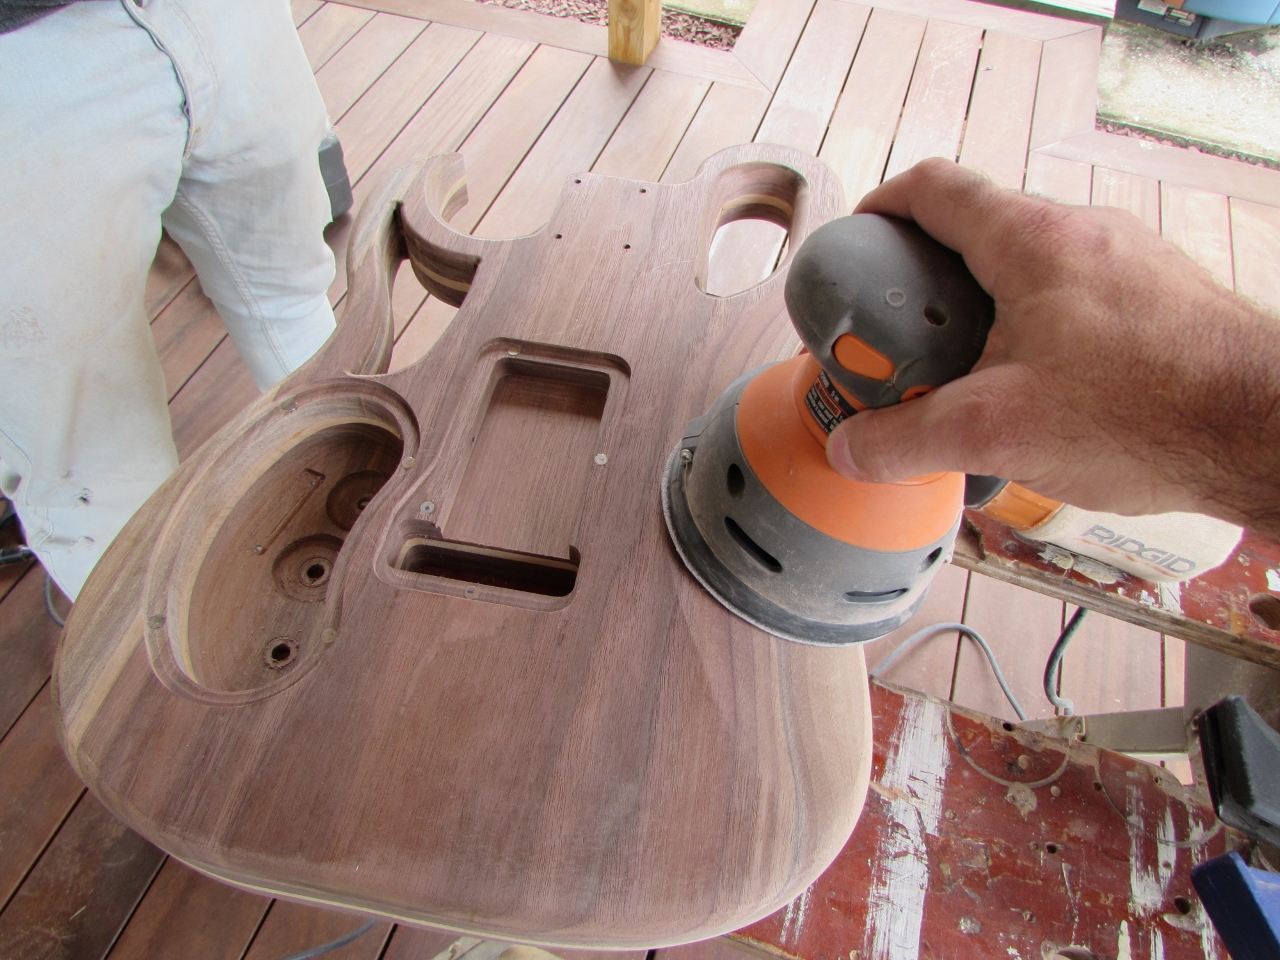
That put him in a very good mood to start hand-sanding the rest of the guitar. He worked on sanding out some of the burn marks from the smaller router bits.
Then I helped him in the holes with rasps, files, and more sand paper.
After that, we did more sanding.

And, just for fun, we sanded it some more…
Then we took a break from sanding to do a bit more sanding. This time it was on the control plate and the tremolo cover.
I showed him my trick for removing the magnetically attached panels. I sand down one corner or edge, with a long taper. This gives you a location to press on, to lever up the plate.


After experimenting with angles, we found just the right spot, and he played with opening and closing the plates for a while.
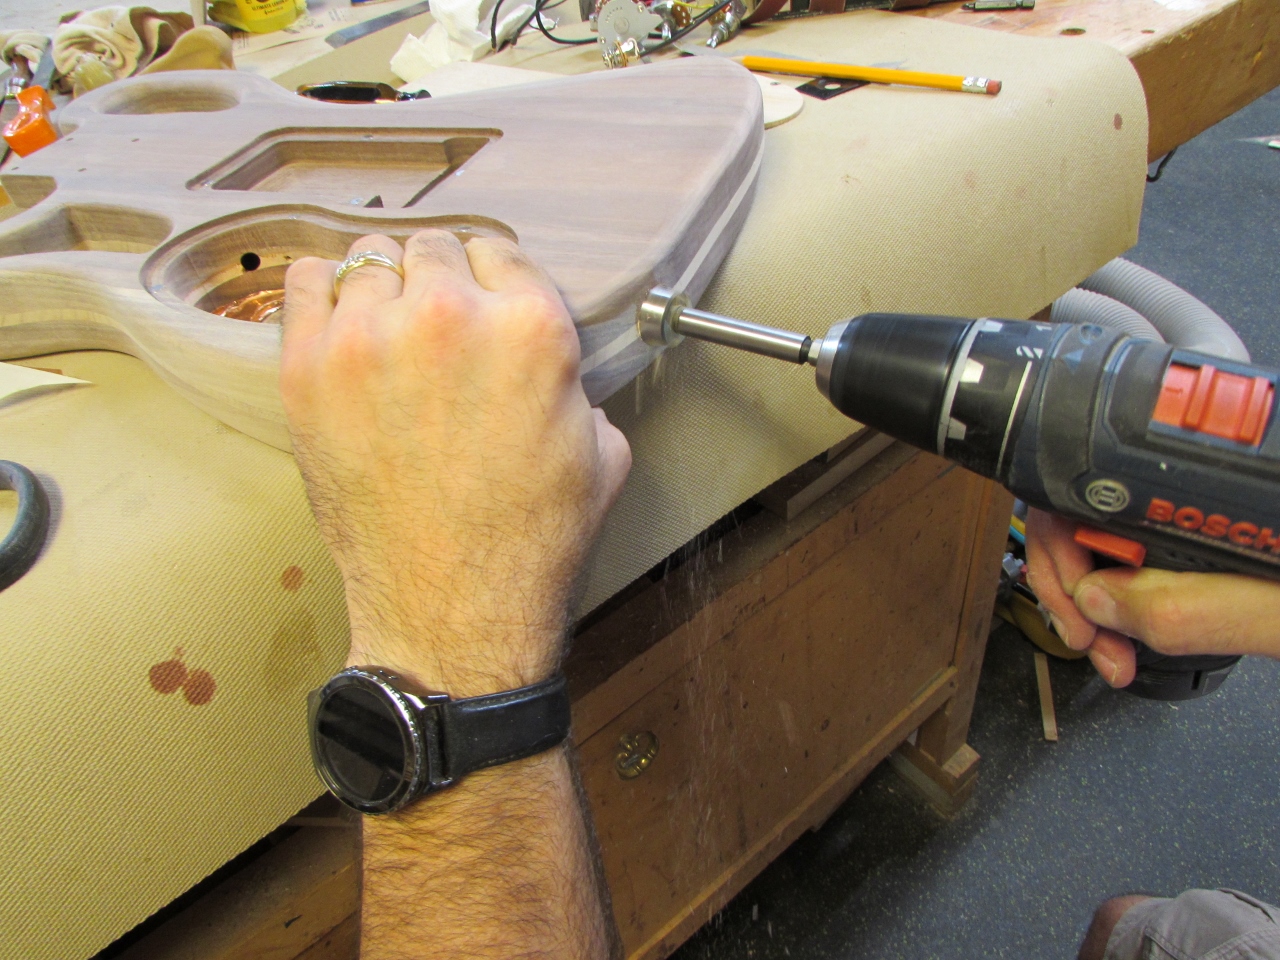
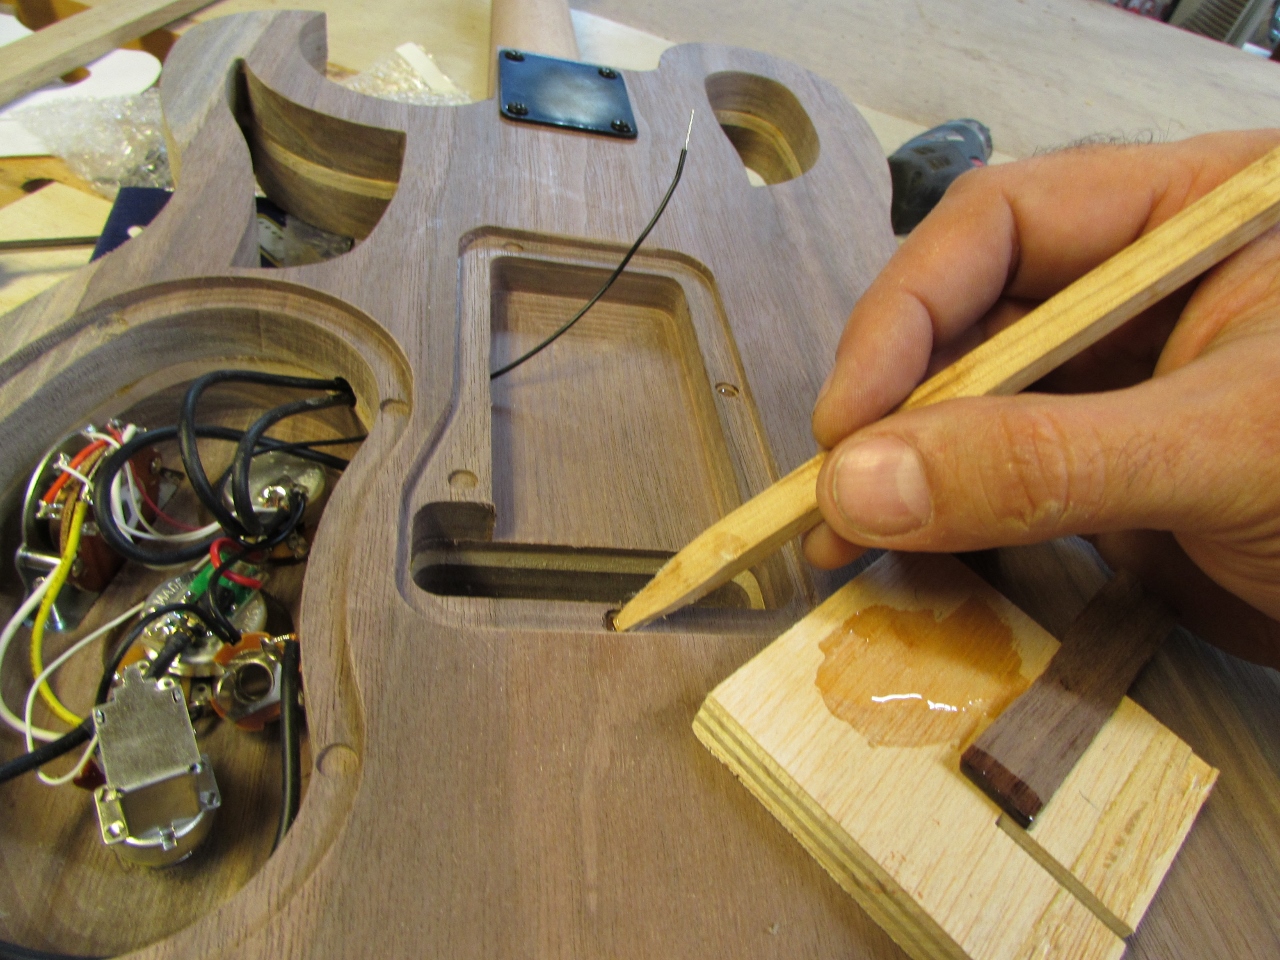
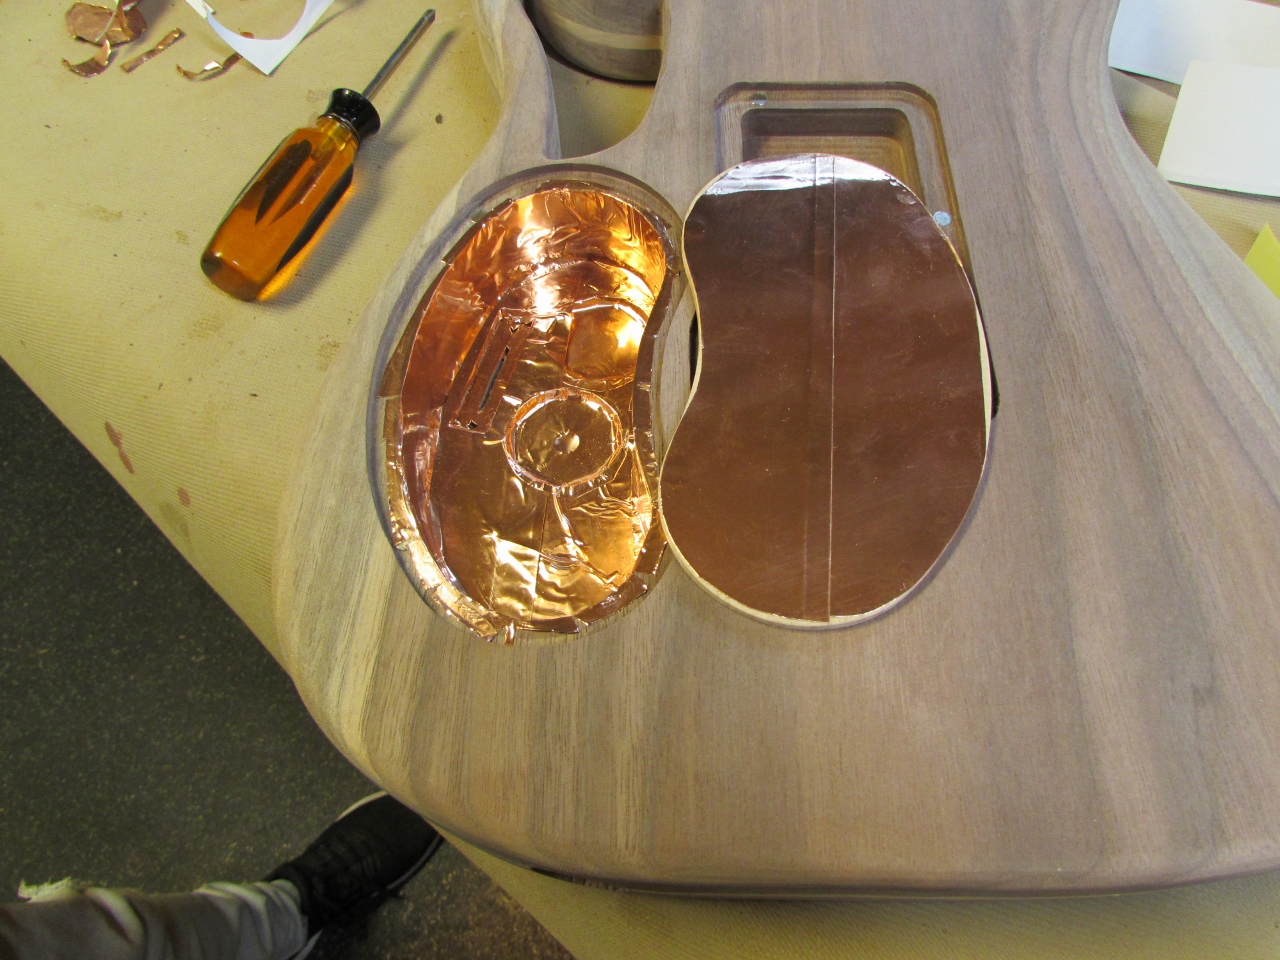
Next thing we did was to locate the output jack, and drill a 7/8″ diameter hole for it to fit into.


Then we covered the control cavity and the back cover plate with copper shielding. It has an adhesive on the back and installs like tape. I will solder all of the overlapping edges together later so it can be grounded to the controls.

Now we are ready for finish. I bent a stiff wire to support the guitar so we can finish all sides at the same time.

The finish we are using is a Tung oil that has some polymers added to it, so the oil can penetrate deep into the wood and carry the polymers below the surface to harden. After about four coats the polymers reach the surface and any subsequent coats will start to build a film finish. I usually stop at four or five coats to give maximum protection while leaving the feel of the wood grain.

We took the guitar down to get all of the hard-to-reach details fist.
Then we hung it up and finished coating the body.

We were also able to hang the finished control plates magnetically to the wire. That was cool.


With the first coat applied, Vicenç took a break to Jam with my son Ian

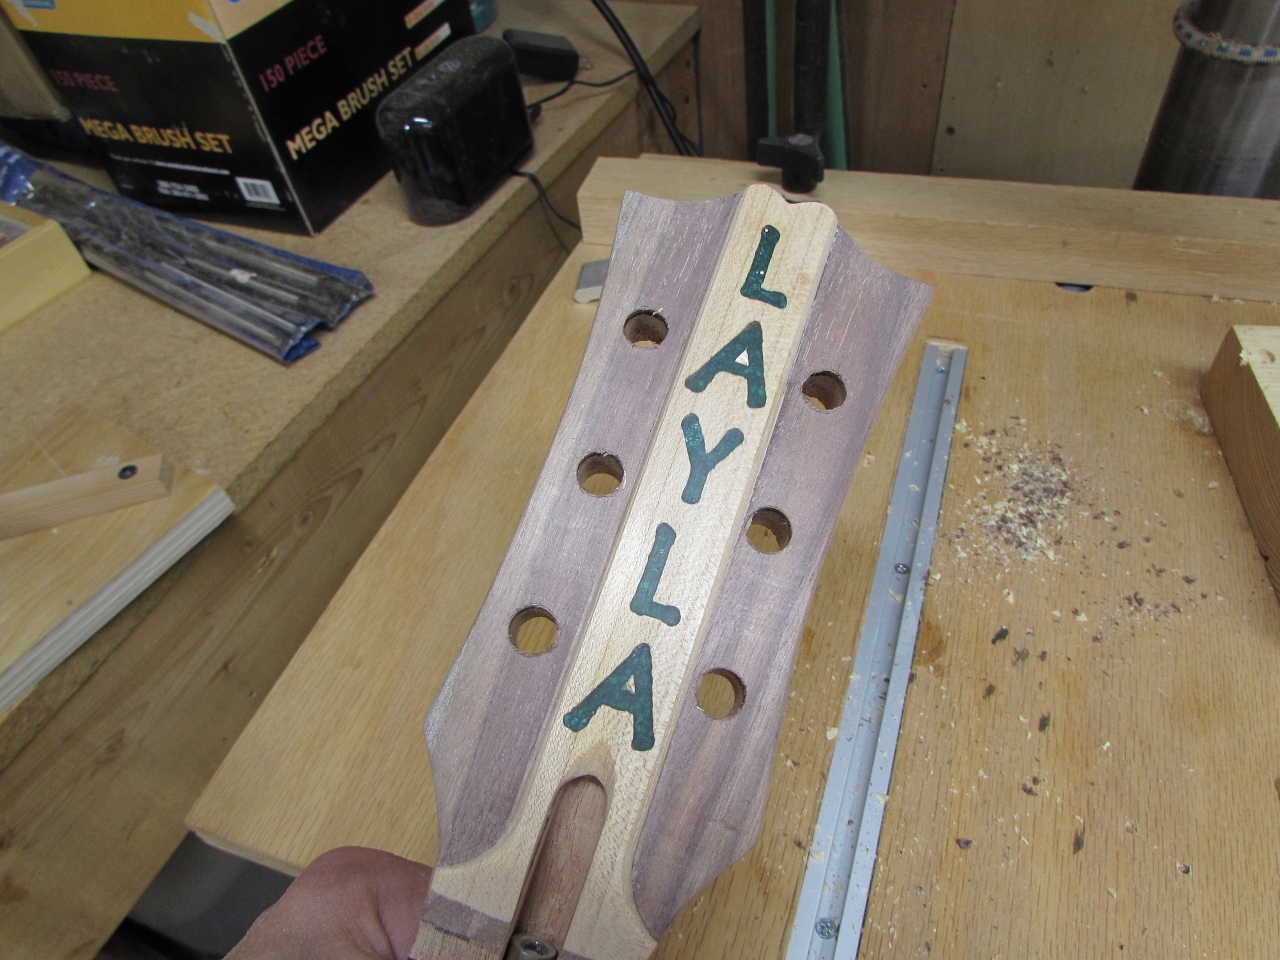
A few hours after he headed home, The epoxy on the headstock was dry enough to sand down.


I sanded off all of the excess epoxy, then sanded down to the highest grit paper I could find (about 1200 grit).

This polished the clear epoxy enough to give a transparent view of the stones inside.

Then I sanded off the paint from the headstock and started cutting out the veneer.
I applied a little wood glue, and a lot of clamps.

I used sand paper and a spoke shave to trim down the veneer.

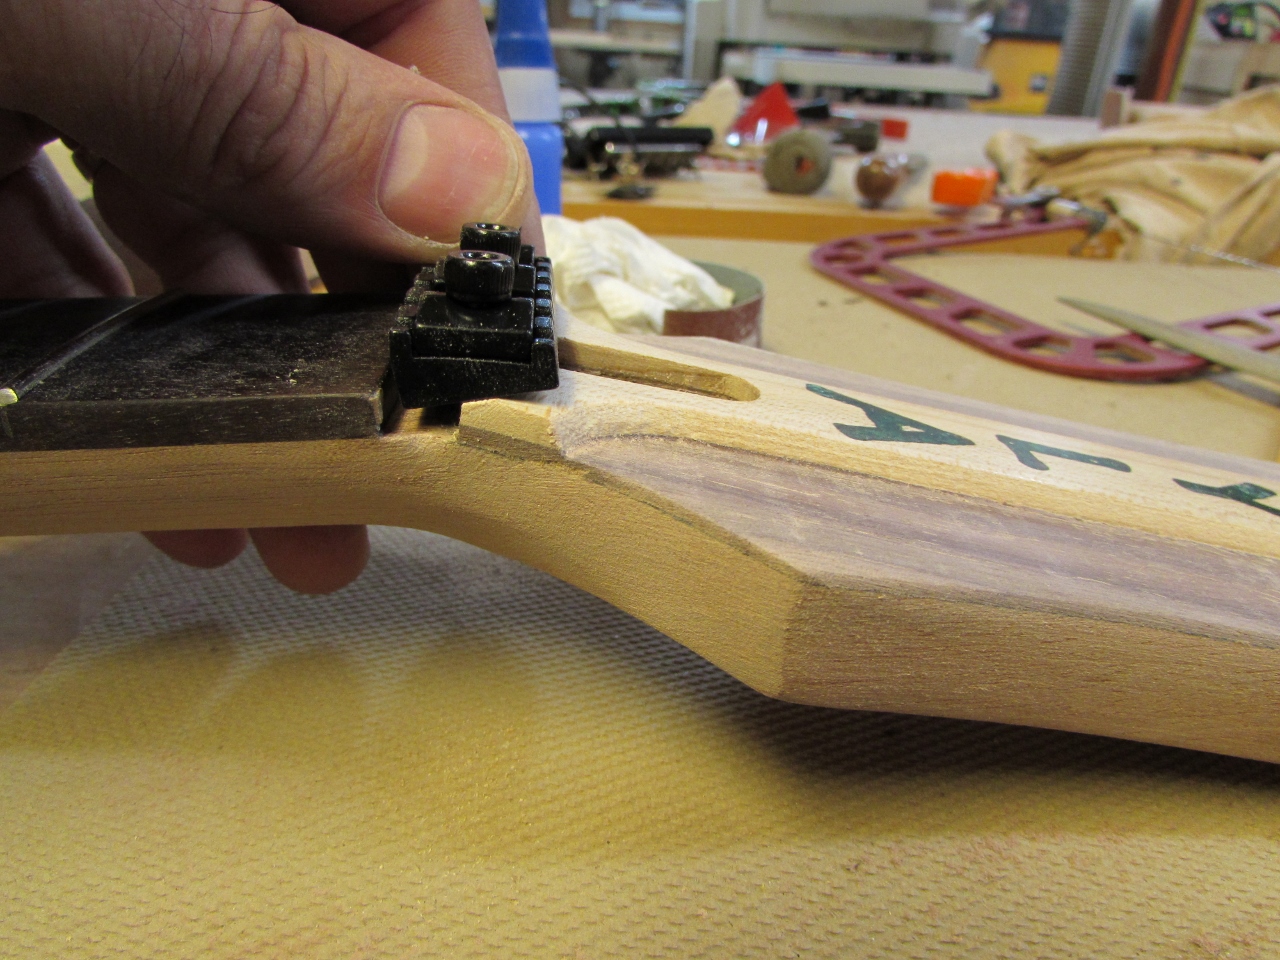
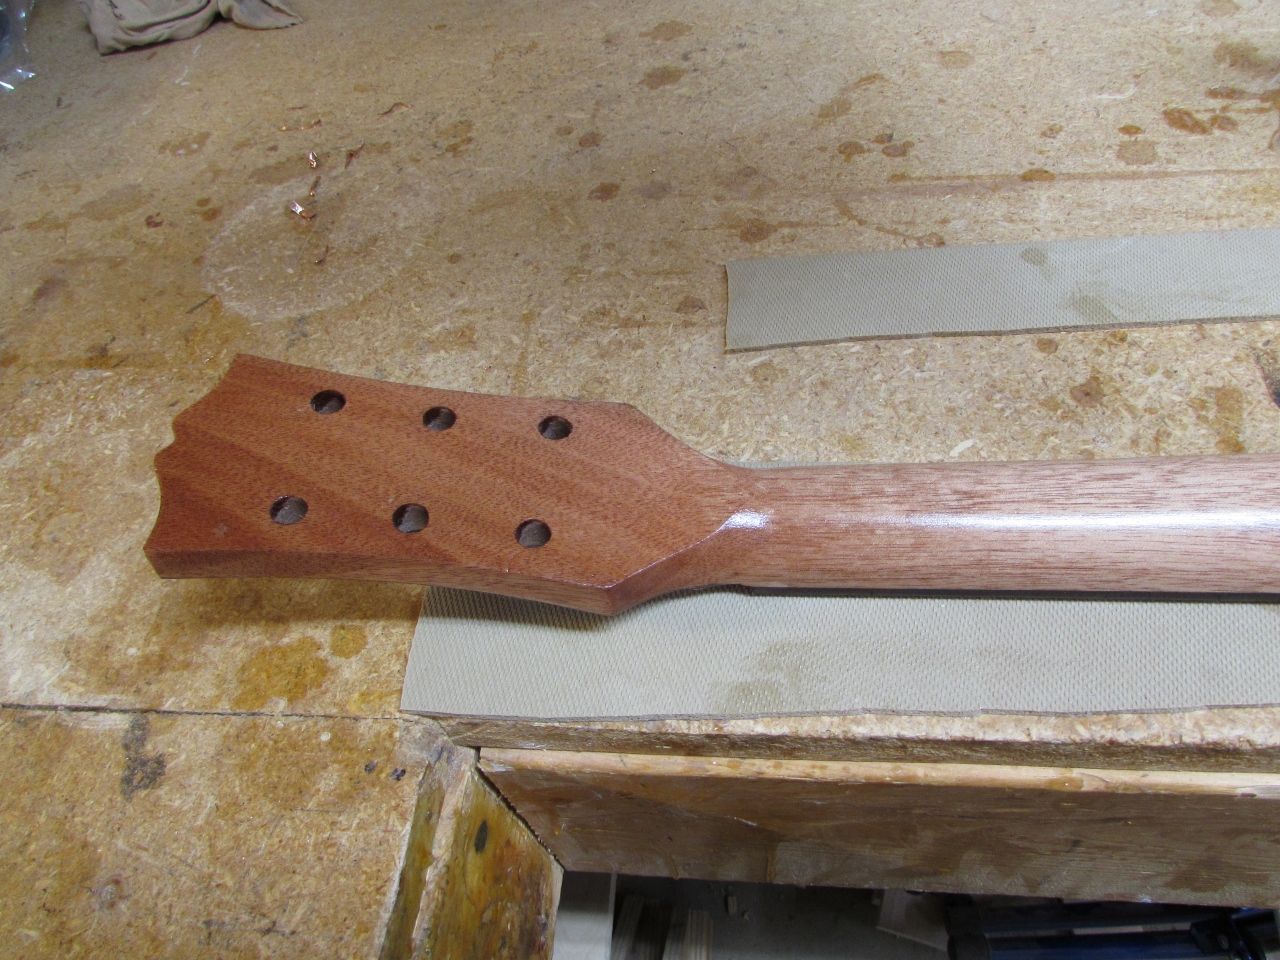
This neck came with a standard nut at the top, but I removed it so we can install a Floyd Rose style locking nut.

This actually inspired the headstock veneer, because we needed more wood to support the much larger nut. I used a rasp to file down the area and achieve a flat location.

Success! The nut fits, and the truss-rod is still accessible.


To open up the tuner holes, I flipped the head over onto a backer board, and drilled some 10mm holes through the veneer.
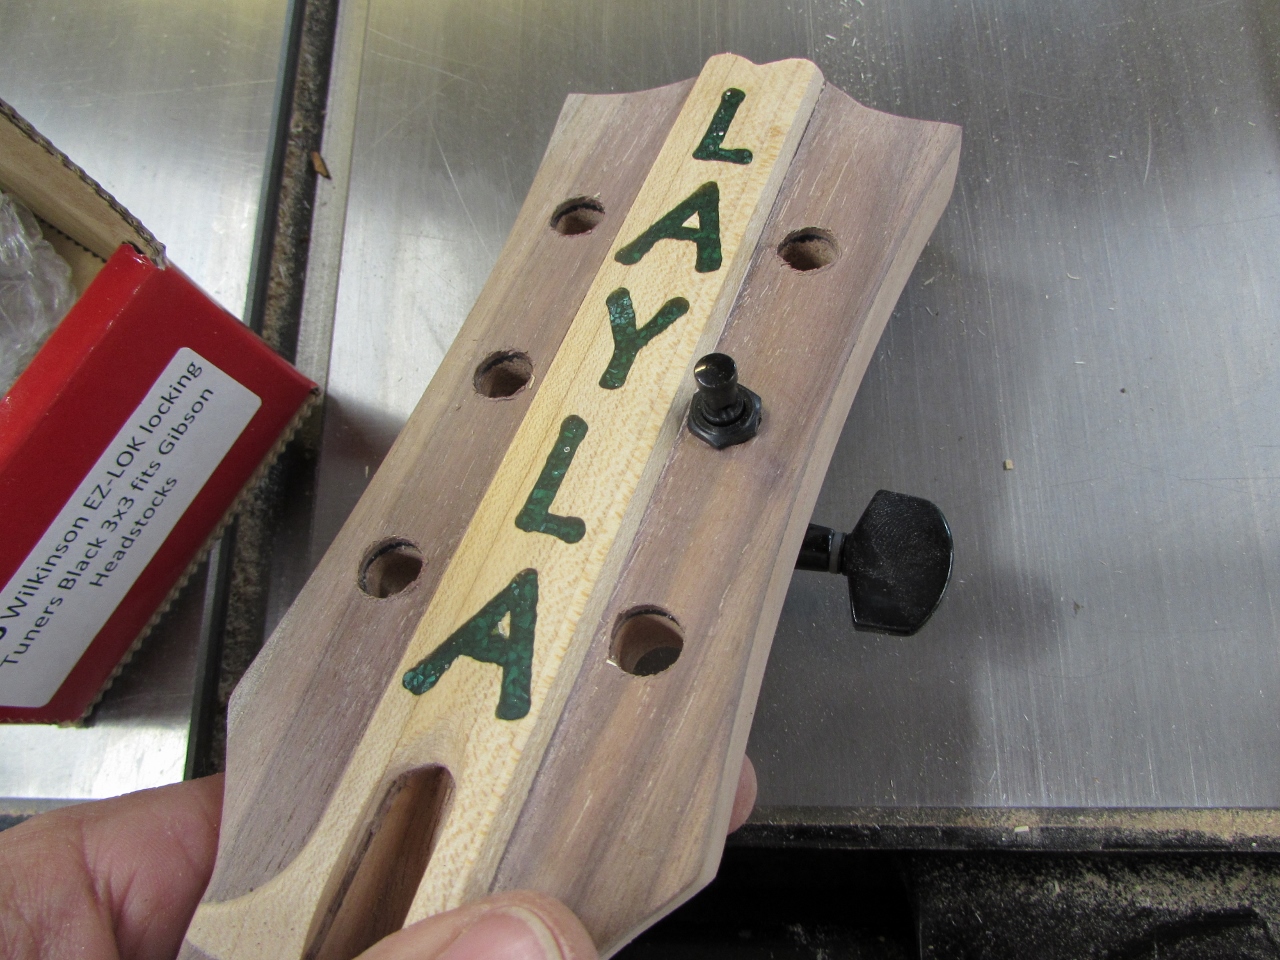
Everything is slightly shifted to the right. There was enough room for the attachment nut, but not the washer. I had to drill a small recess area into the side of the center strip to allow for the washer.

Then it was time to apply some finish to the head and neck.
The neck also turned out very pretty with some oil applied.

So that is it for today, three or four more coats and I can attach all the hardware and send this guitar home to Barcelona with Vicenç. Less that a week before he leaves, so I will be back finishing tomorrow…

Lawrence,
You are an awesome person in helping Vicenc have something he will probably cherish for the rest of his life. Bet he tells his grandchildren about a special person in the Maryland, United States….
Thanks Mike, I do my best. It is fun teaching others, and helping them make things for themselves.