Lectern Day 3
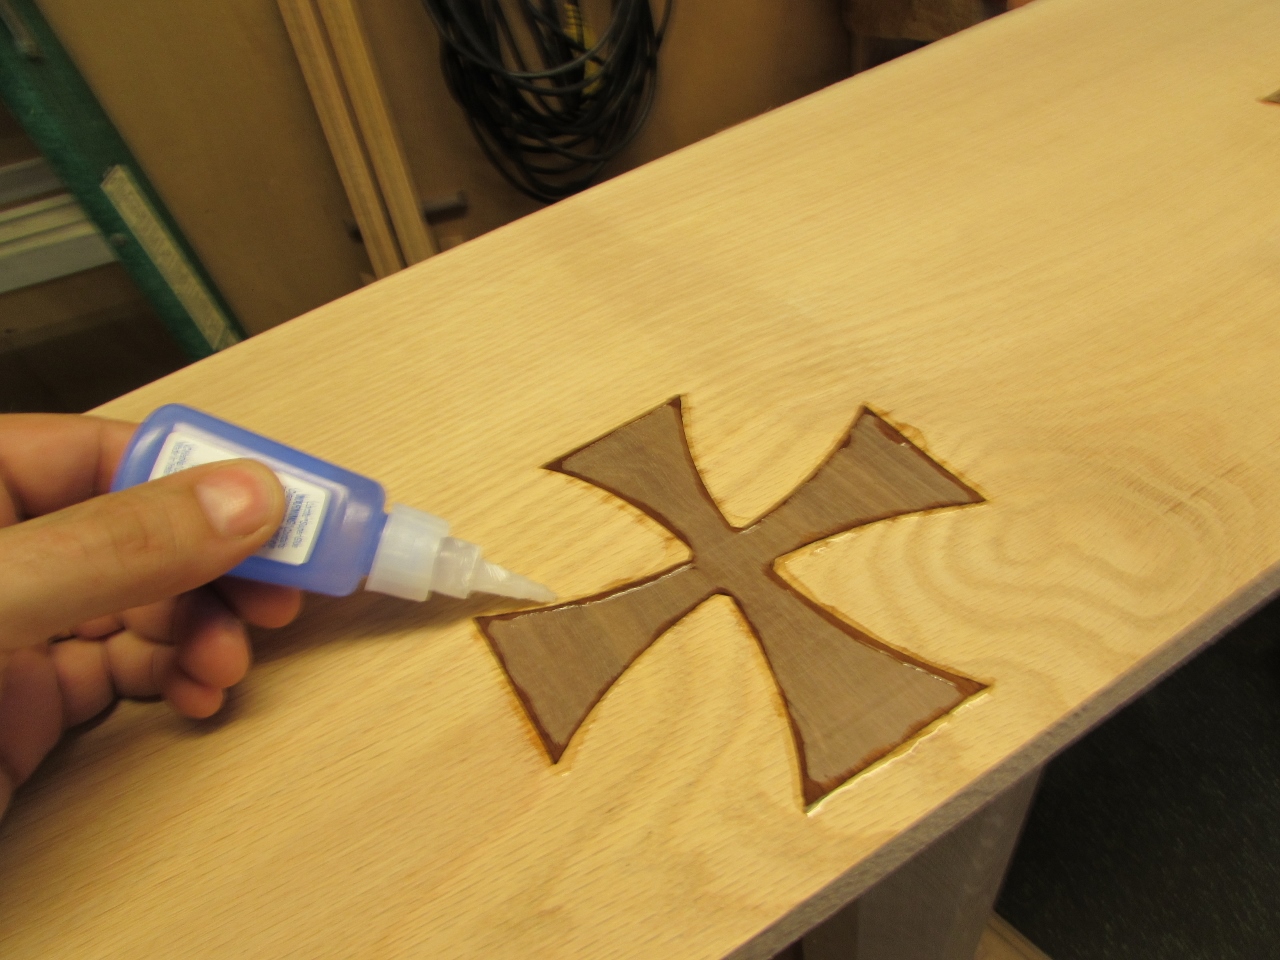
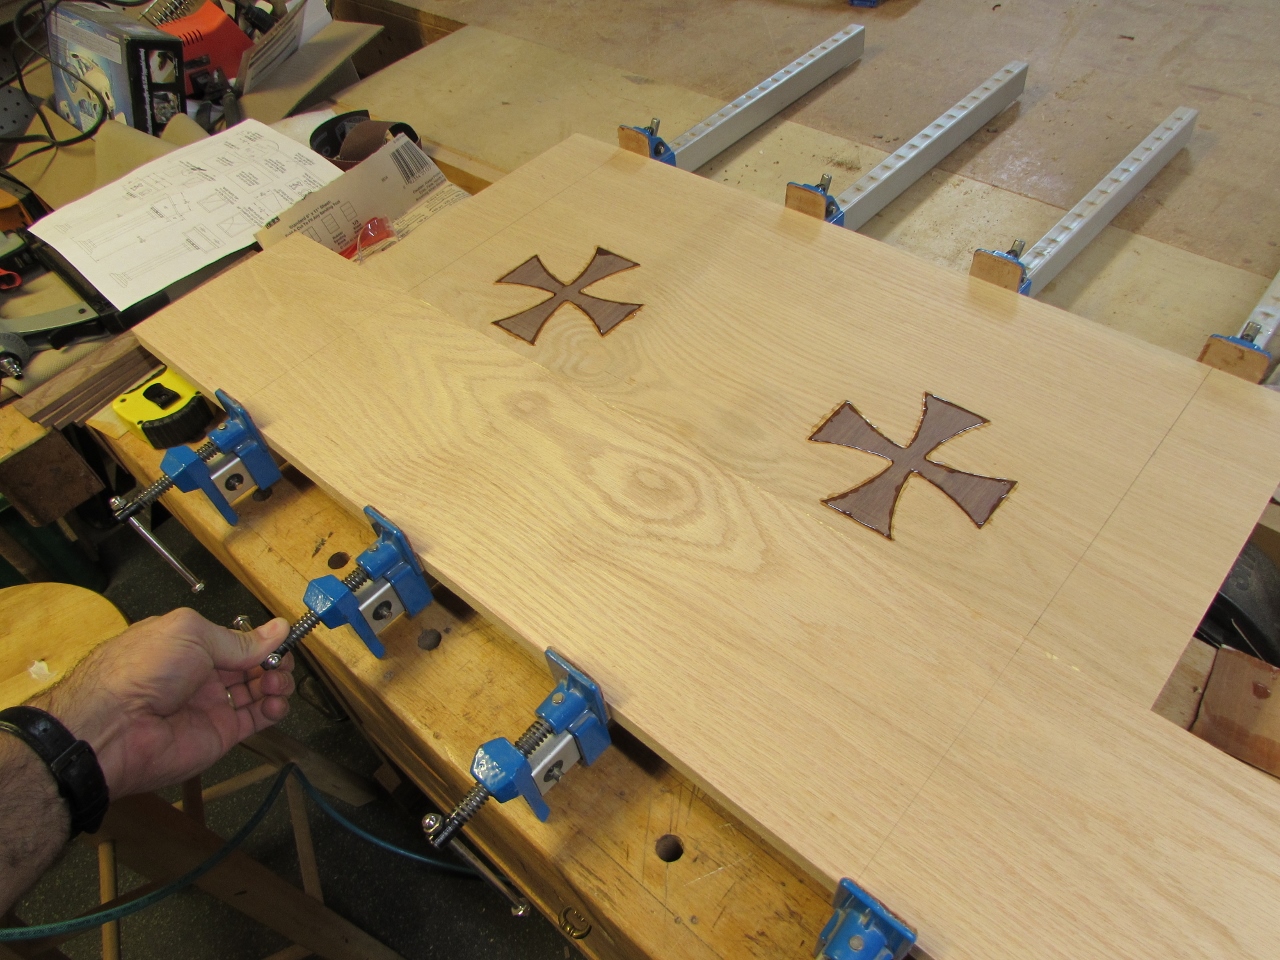
I noticed a few gaps around the inlay still so I applied a line of CA glue around both crosses and allowed it to dry.
I had intended to have the crosses cut into the other side of the board, but I never know which end is up when I load a board into my CNC (something I should write down somewhere…). The other side had very straight grain that would have been easy to match when I joined the second board to it.
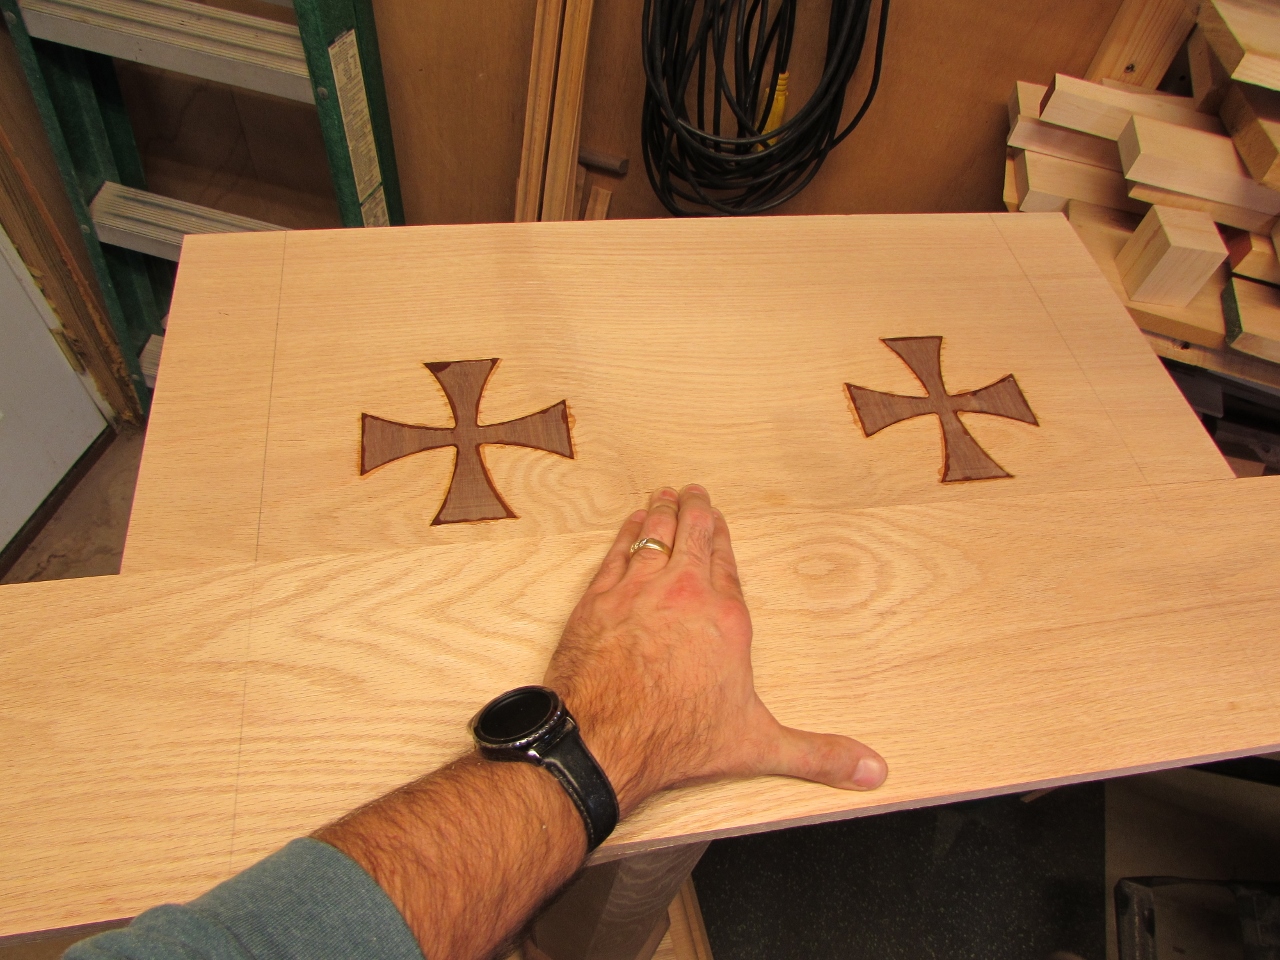
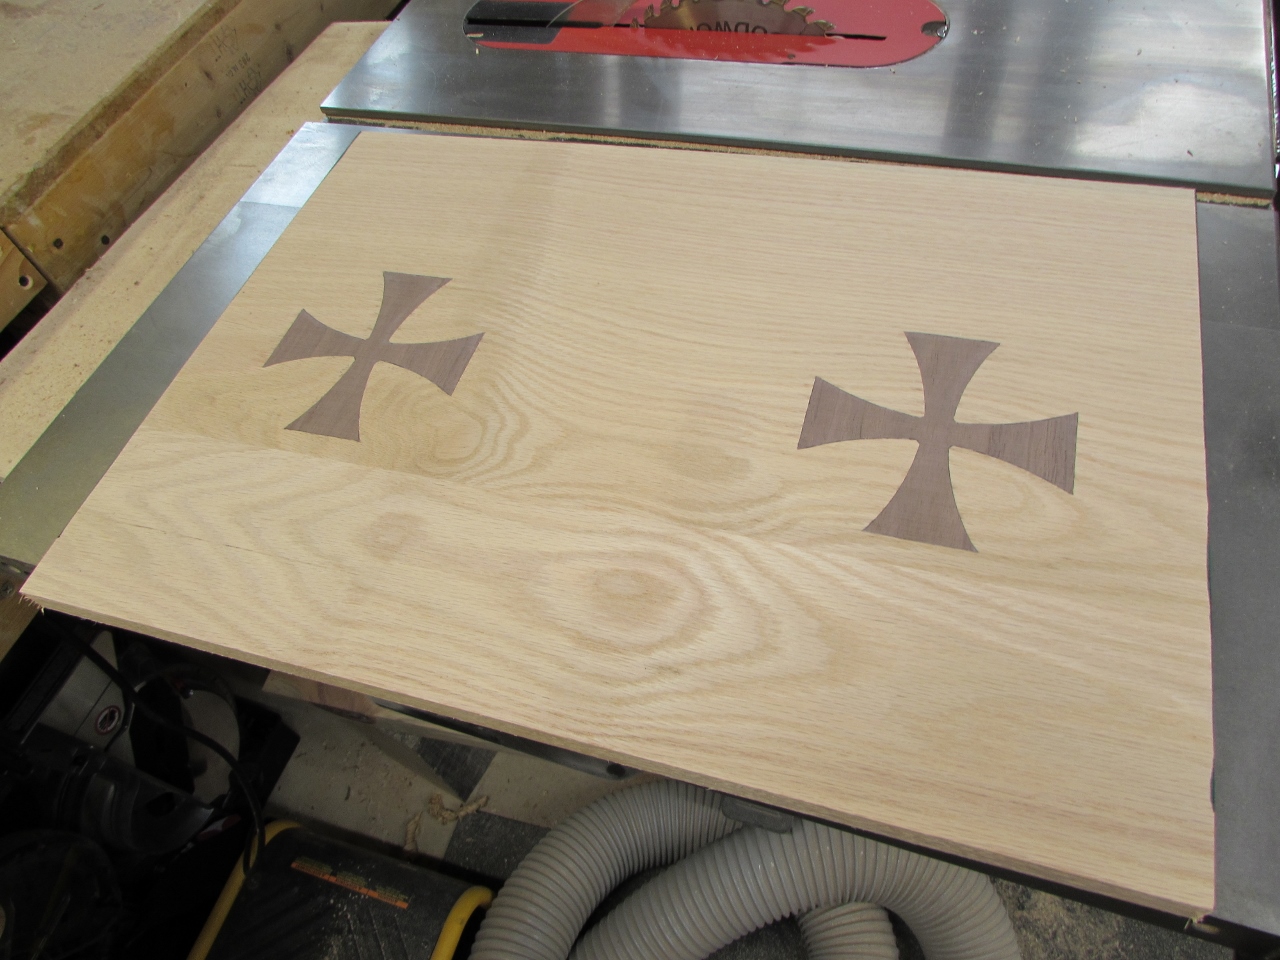
Instead, I had to find a piece with a more curvy grain that looked more natural when joined together.
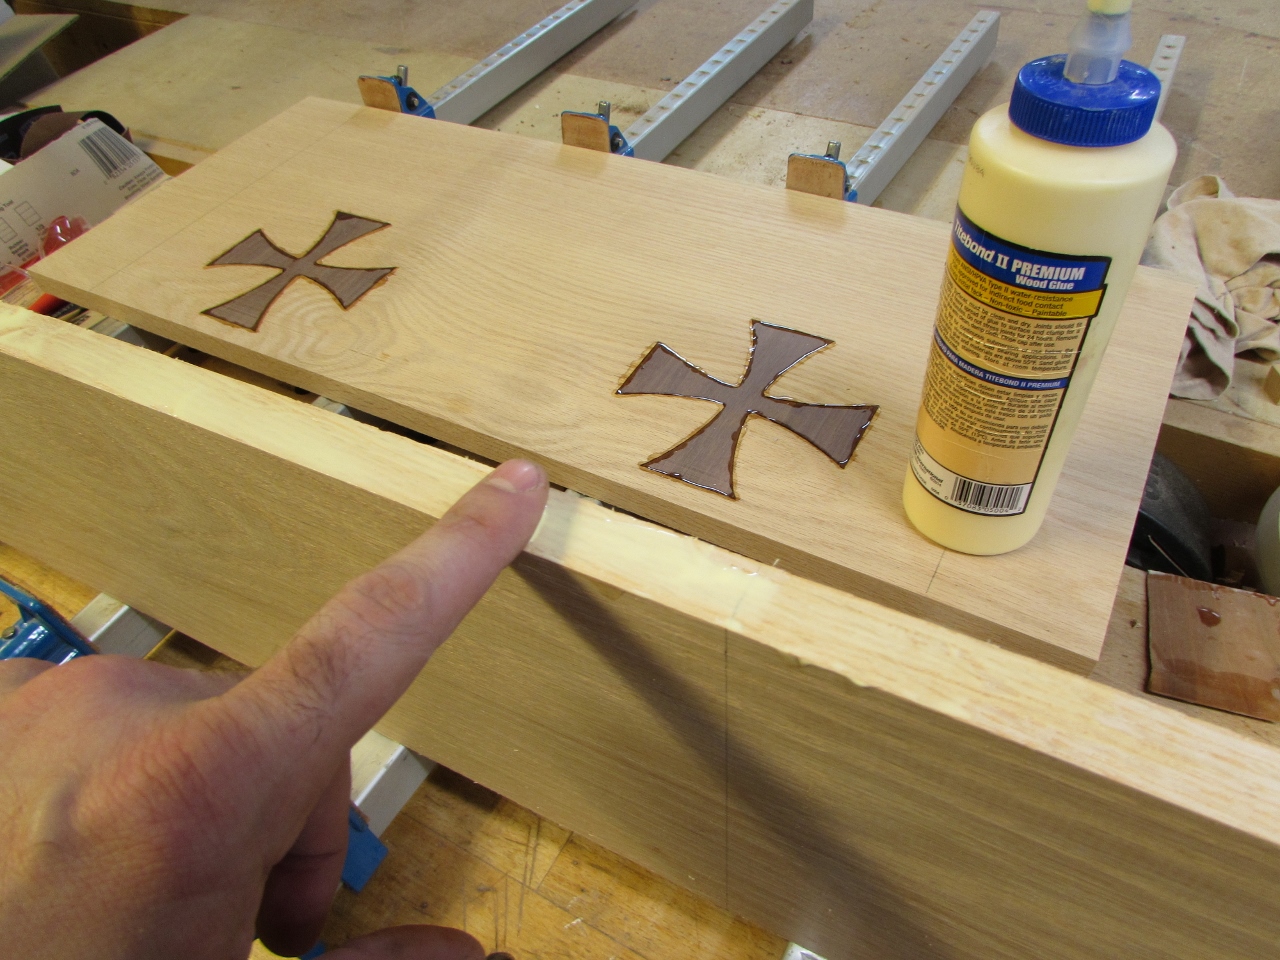
I applied some wood glue to the joint and clamped the two boards together. There is a slight color difference, but I will be staining the boards so they will blend together eventually.
When the glue had dried, I cut the board down to its final dimensions and ran it through the drum sander again to clean up the glue joint and the extra CA glue.
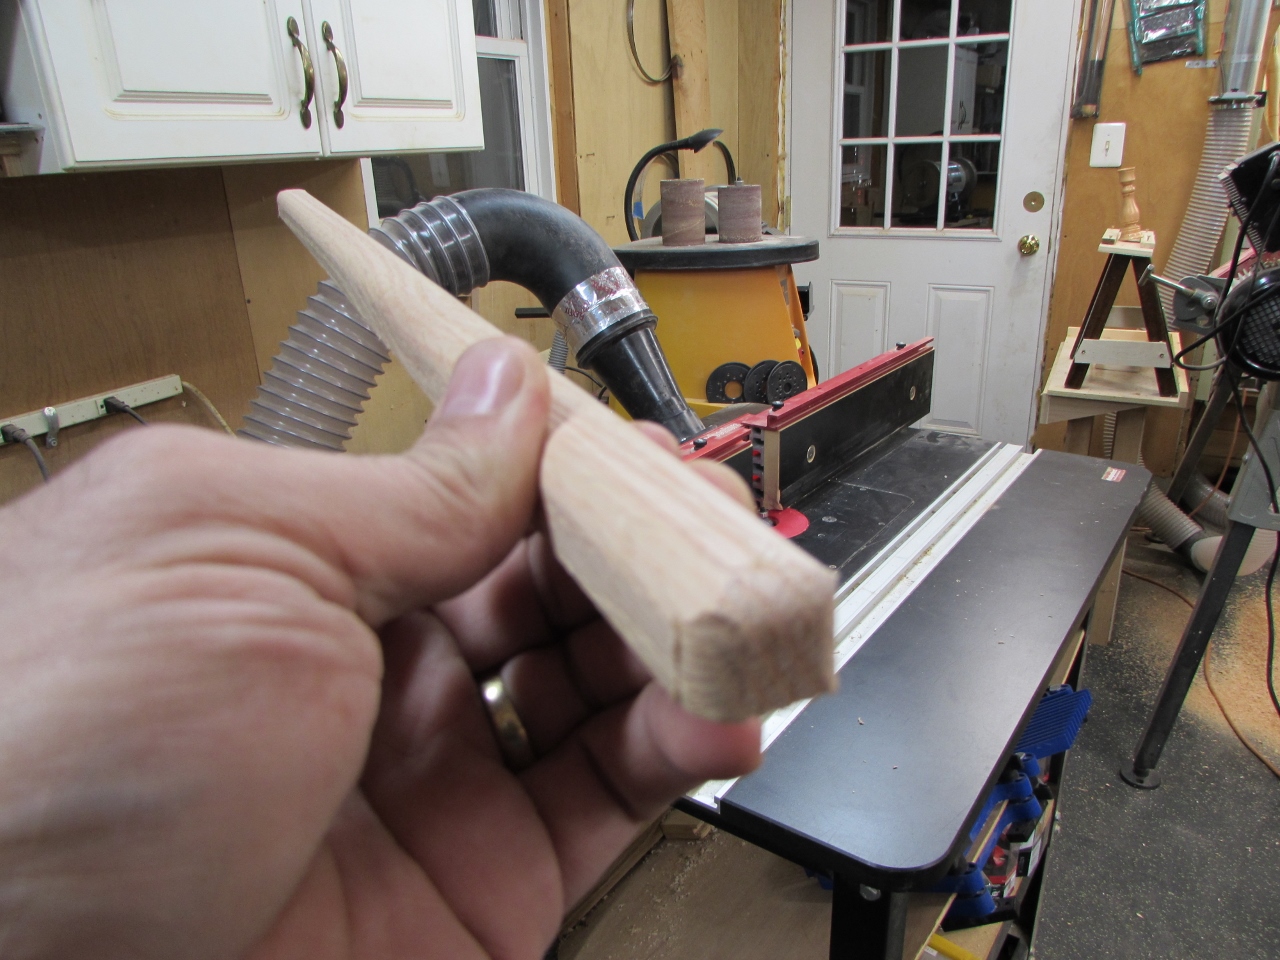
I also cut a strip to act as a ledge, to prevent papers and books from sliding off the top, when mounted at an angle. I want to put a radius around the entire top and bottom of this board, but I need to remember not to cut a radius where the two pieces will be joined, so I marked the edges with a marker, to remind myself.
I loaded a 1/4″ round-over bit into my router table and cut the lip first, leaving the bottom face flat.

It looks a bit crude for now, but that will all be smoothed out with sanding.

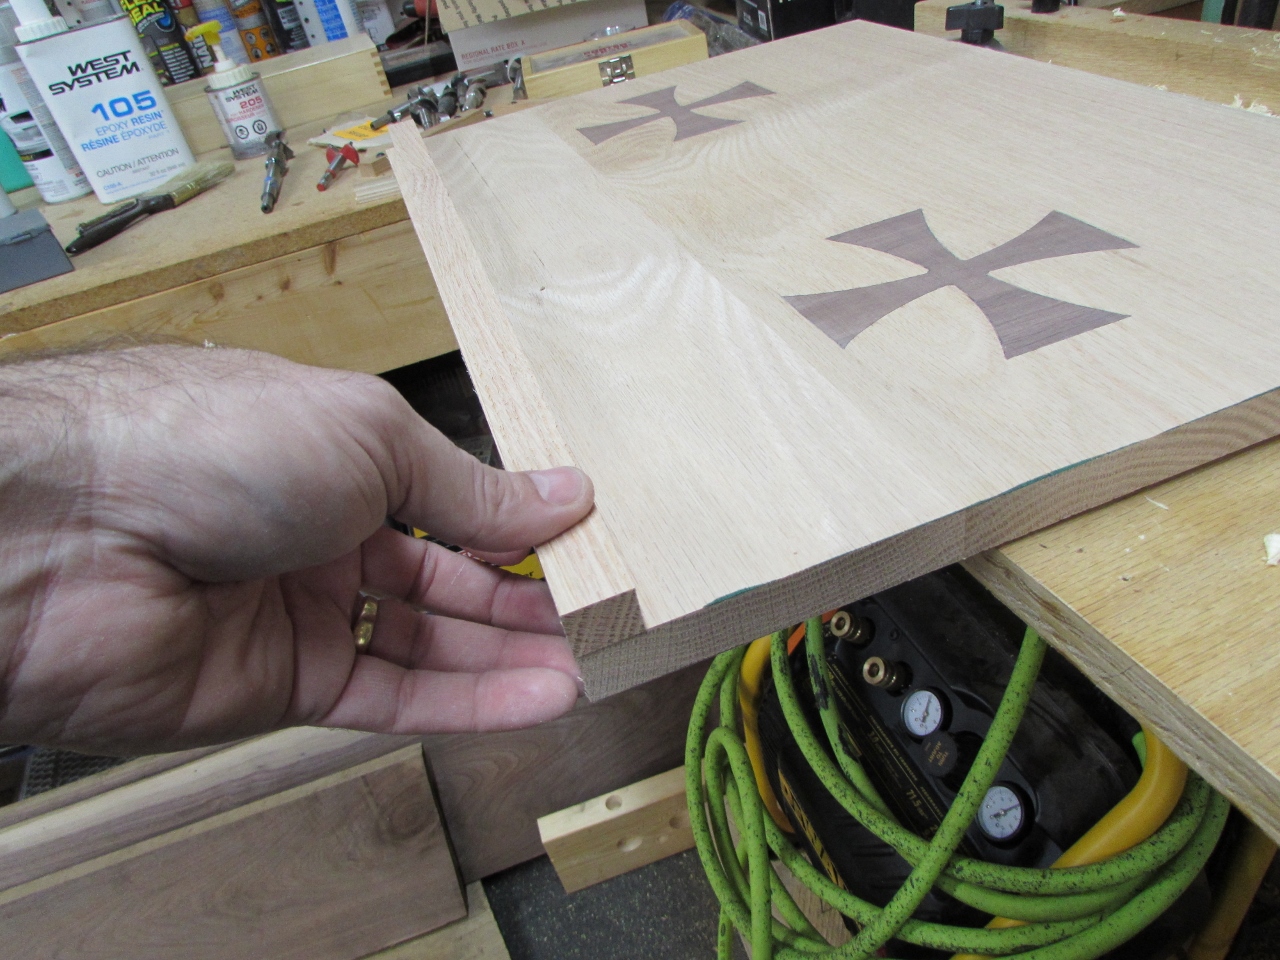
Next, I proceeded to radius the edges of the larger board, making sure to leave the bottom edge and sides untrimmed for the time being.
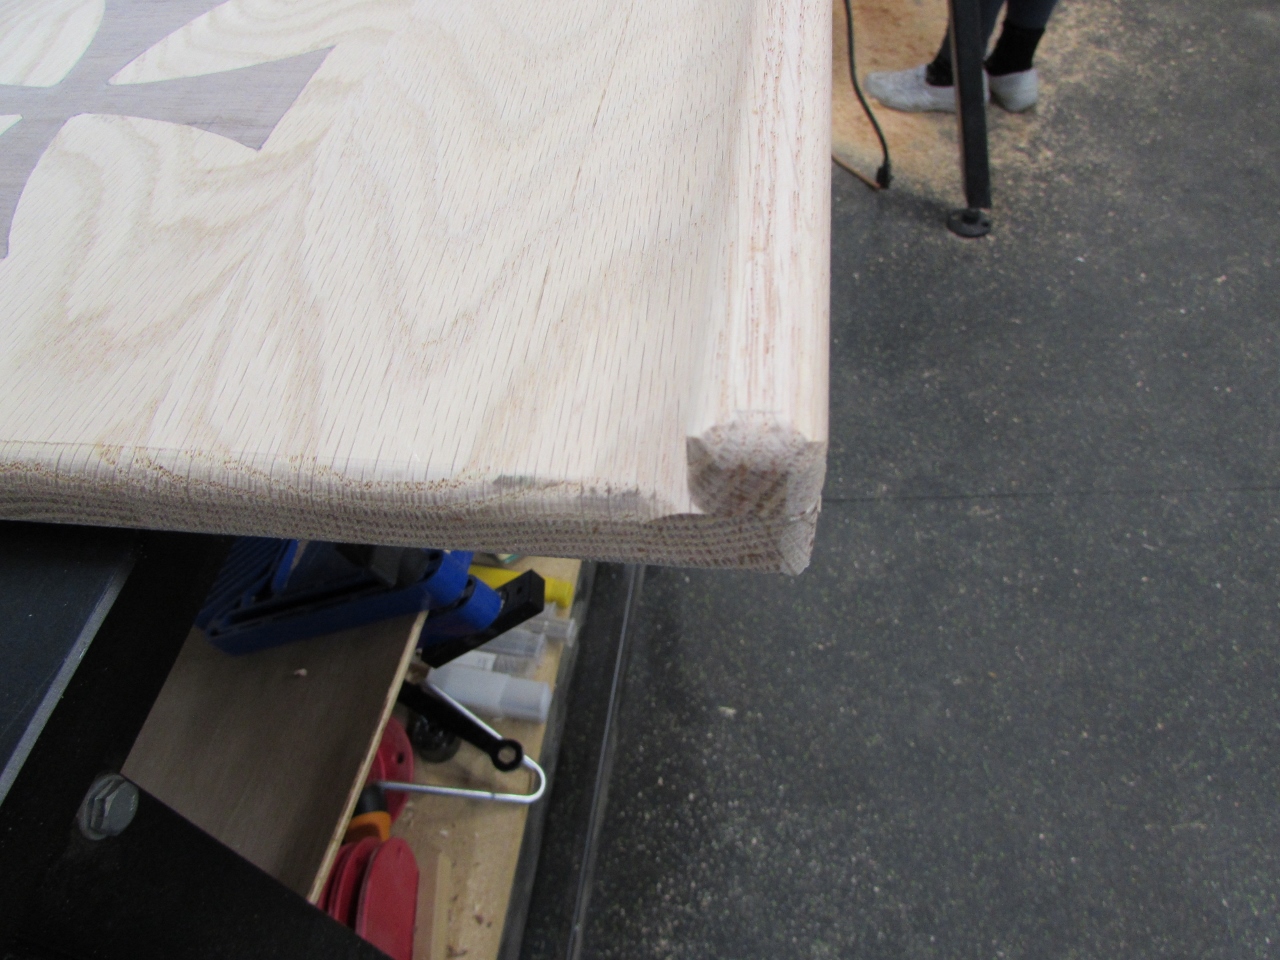
Here you can see that I left just enough so that the joint can be blended together manually.


I glued and clamped on the bottom lip, then started sanding everything down when it was dry.
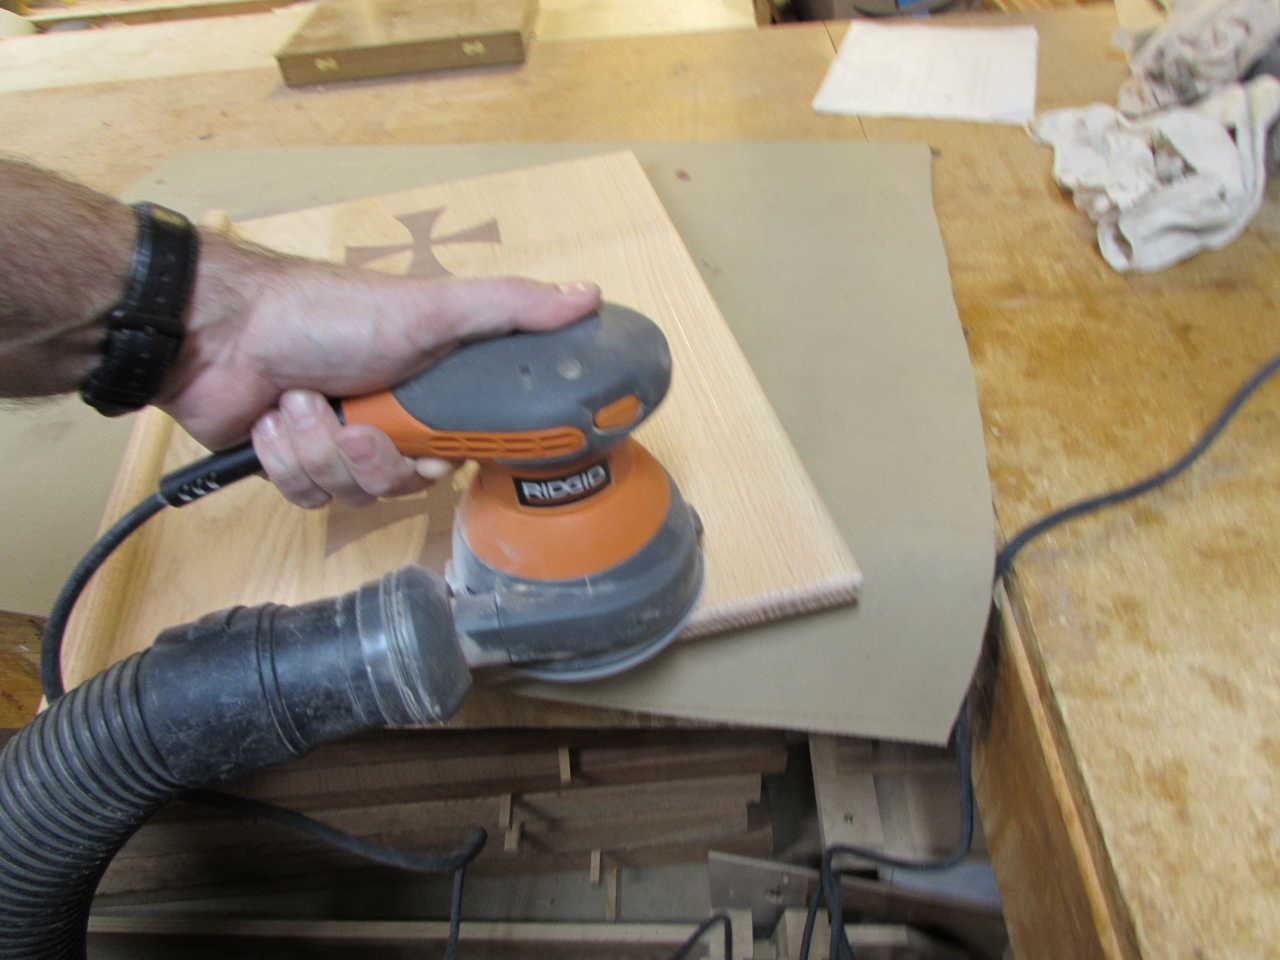
I took a lot of time rounding all of the corners and blending the lip joint together with a small foam sanding block. In the end, all of the edges blend smoothly together. I used 120 grit paper to do the blending and shaping, then 220 grit paper to finish sand everything when done.

Not bad for one evenings work, just five more pieces to cut, then I can fully assemble the entire lectern.