
Lectern Day 4
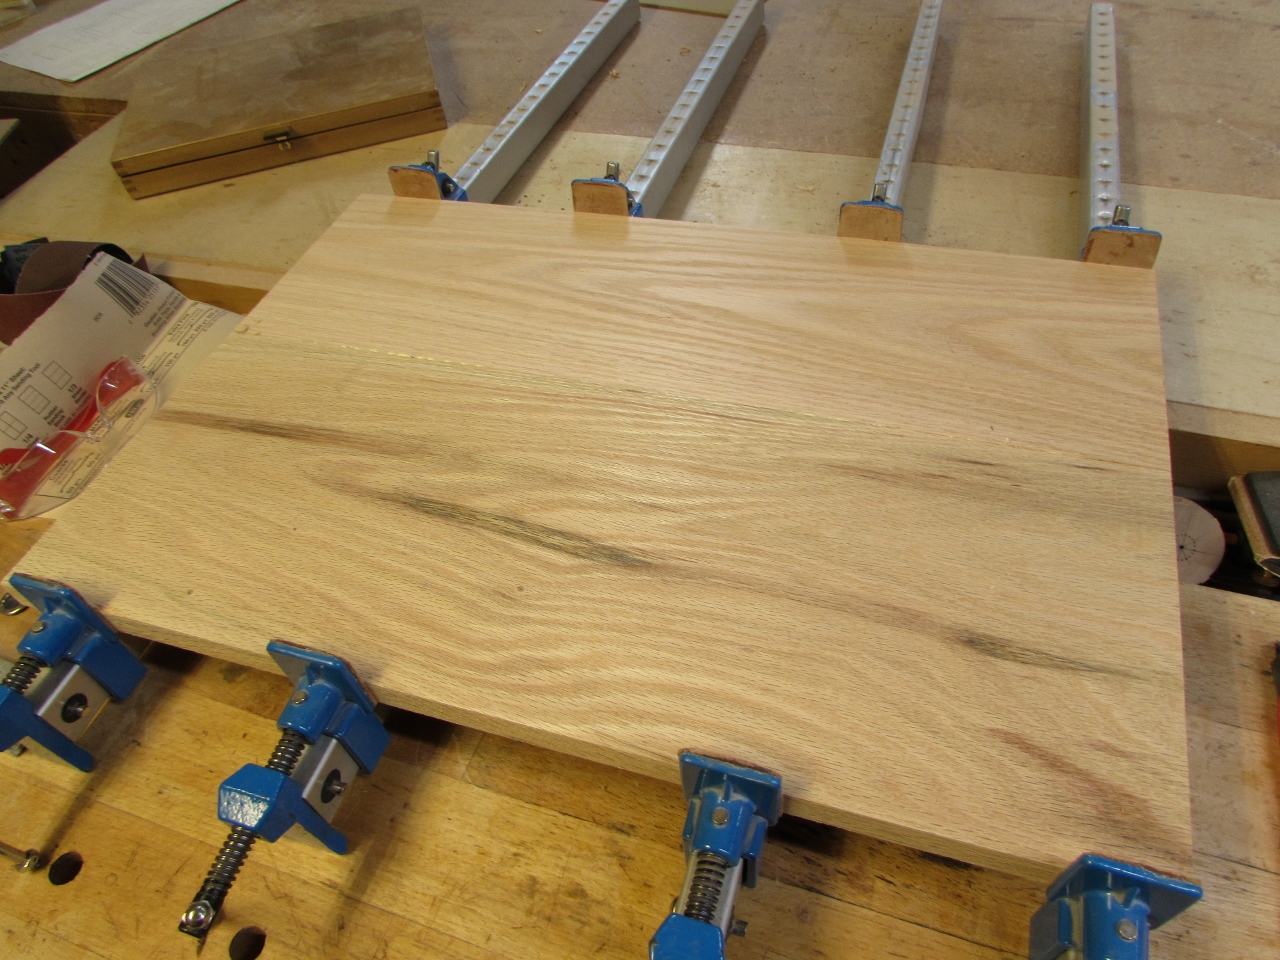
The column is complete so it is time to make the top part. I joined up two pieces, to make the bottom, and left them to dry.
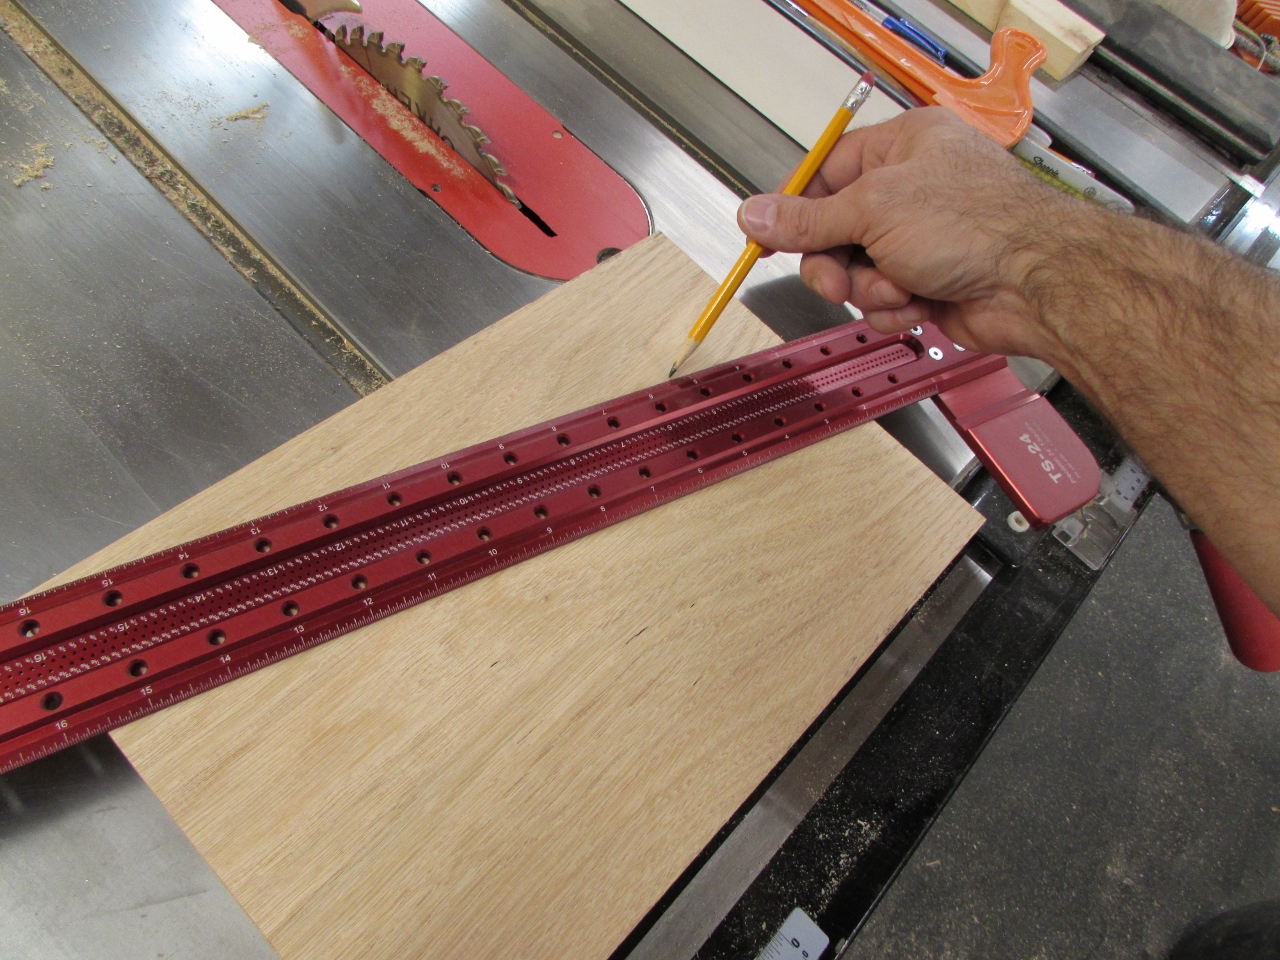
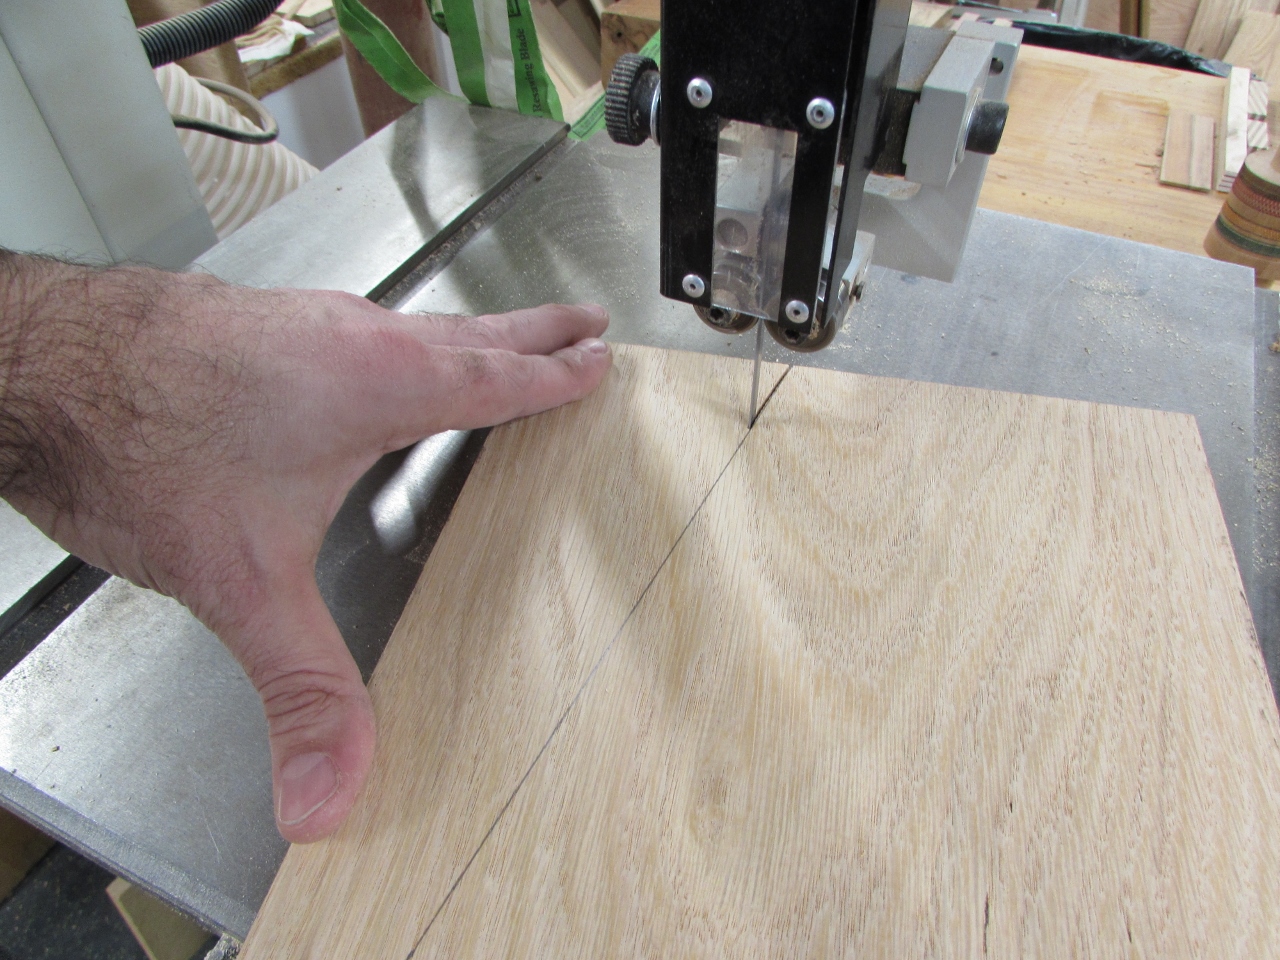
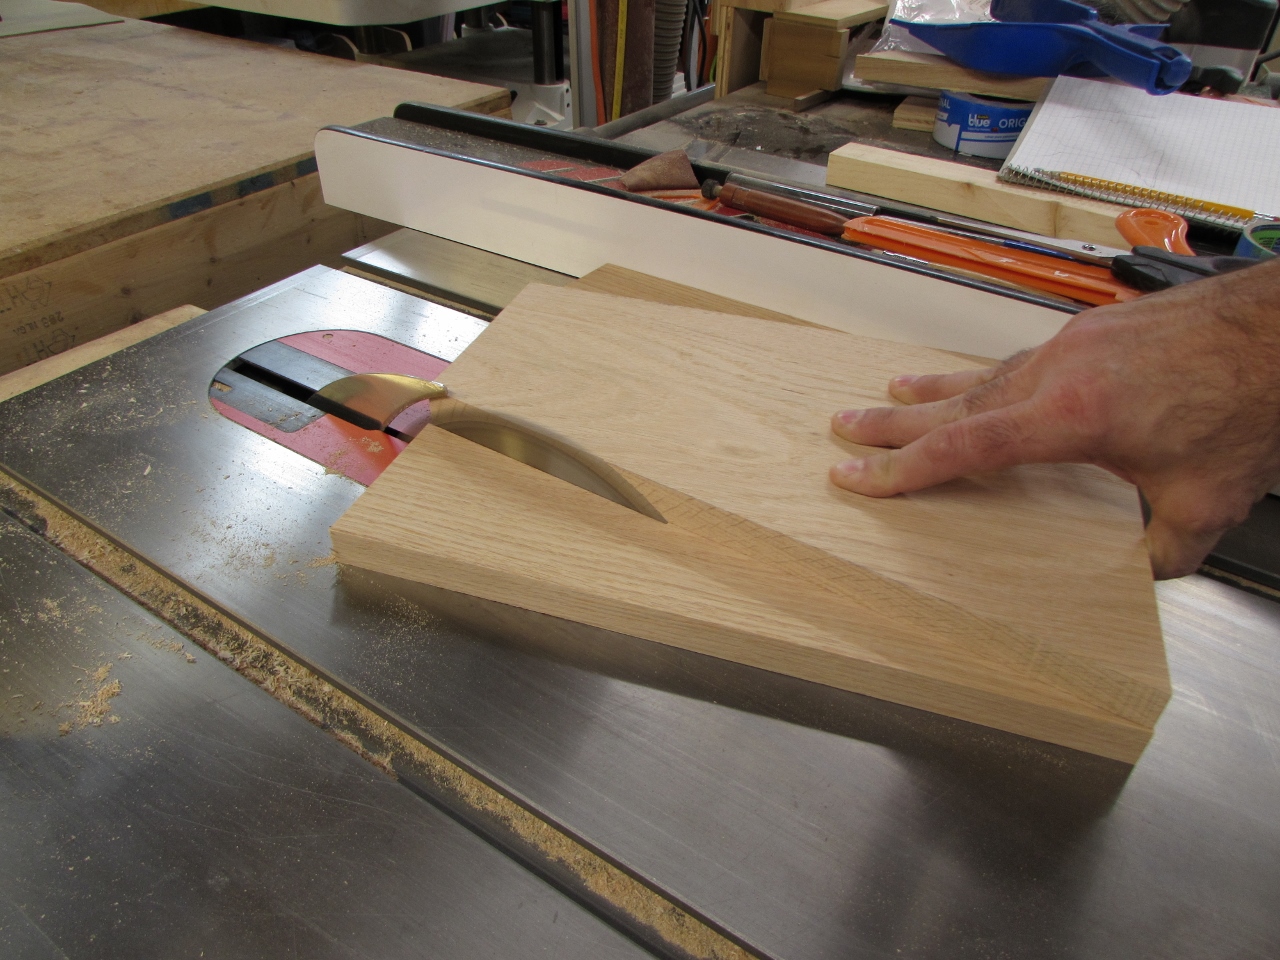
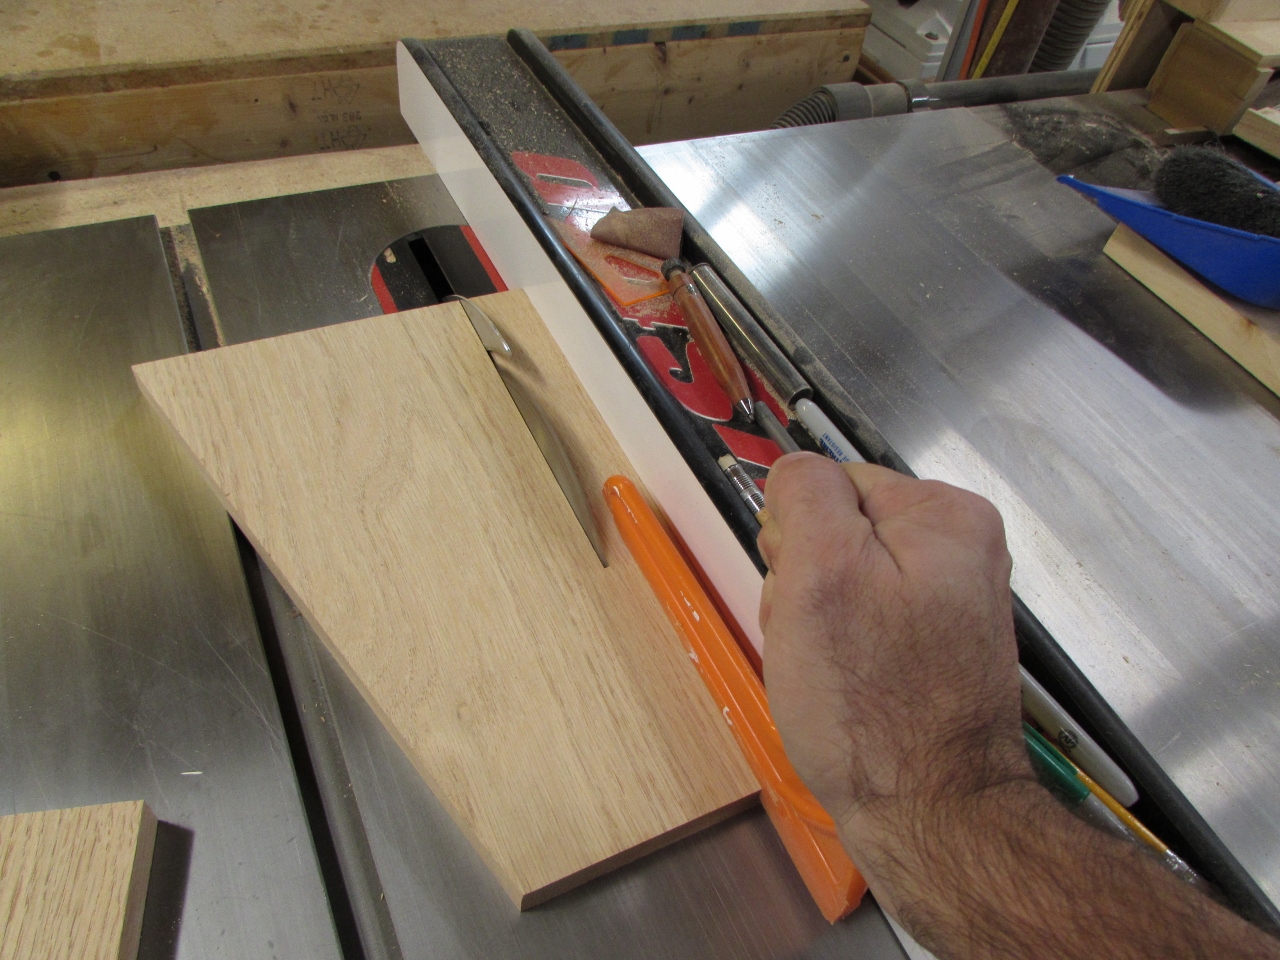
I laid out the angle on both of the side pieces and took one of them to the band saw to carefully cut it as straight as I could.
The edge is always a little rough off of the band saw, so I used the off-cut from the angle as a shim to hold the cut edge parallel to the table saw fence.
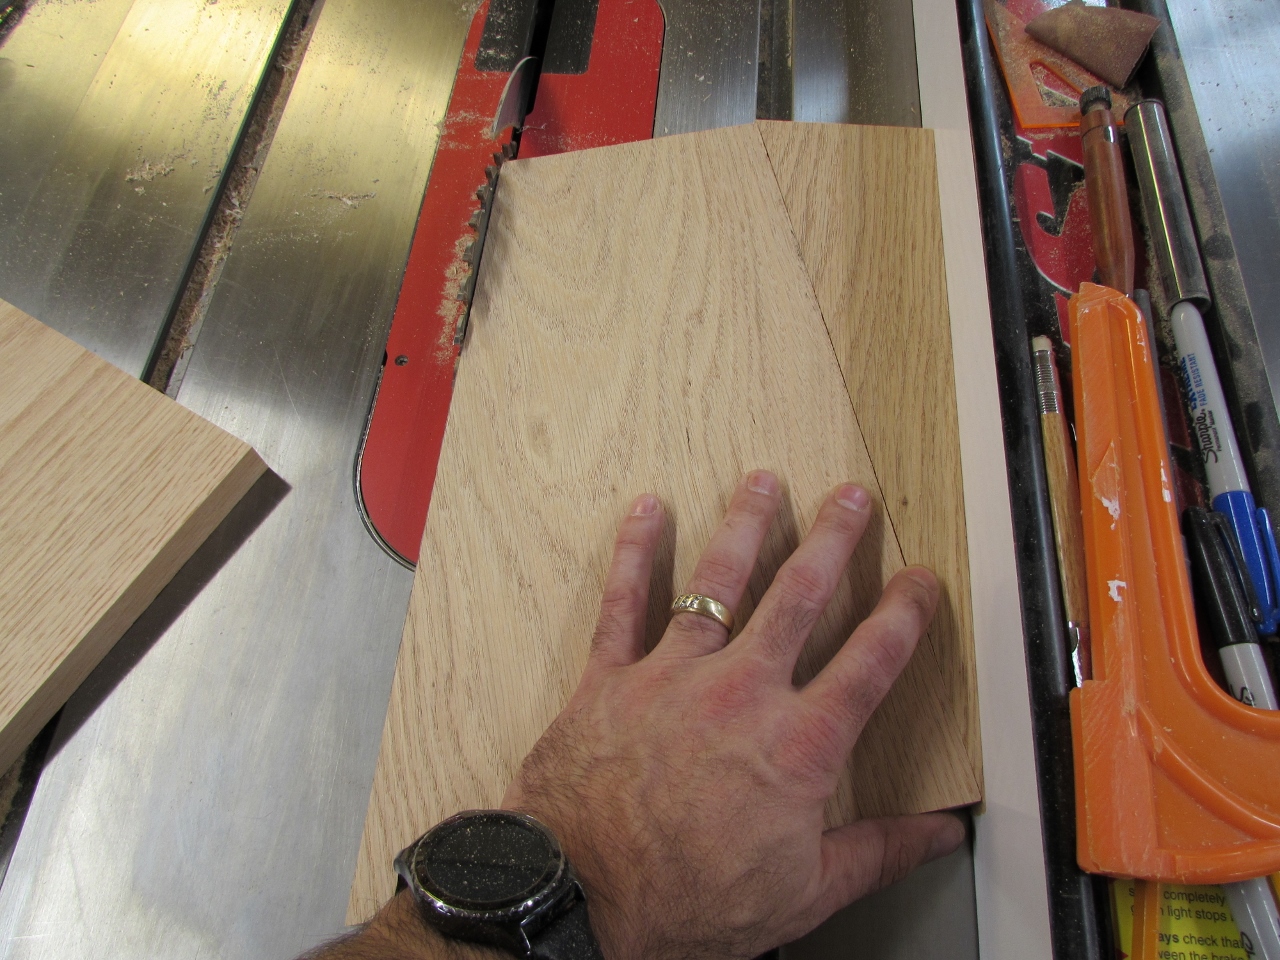
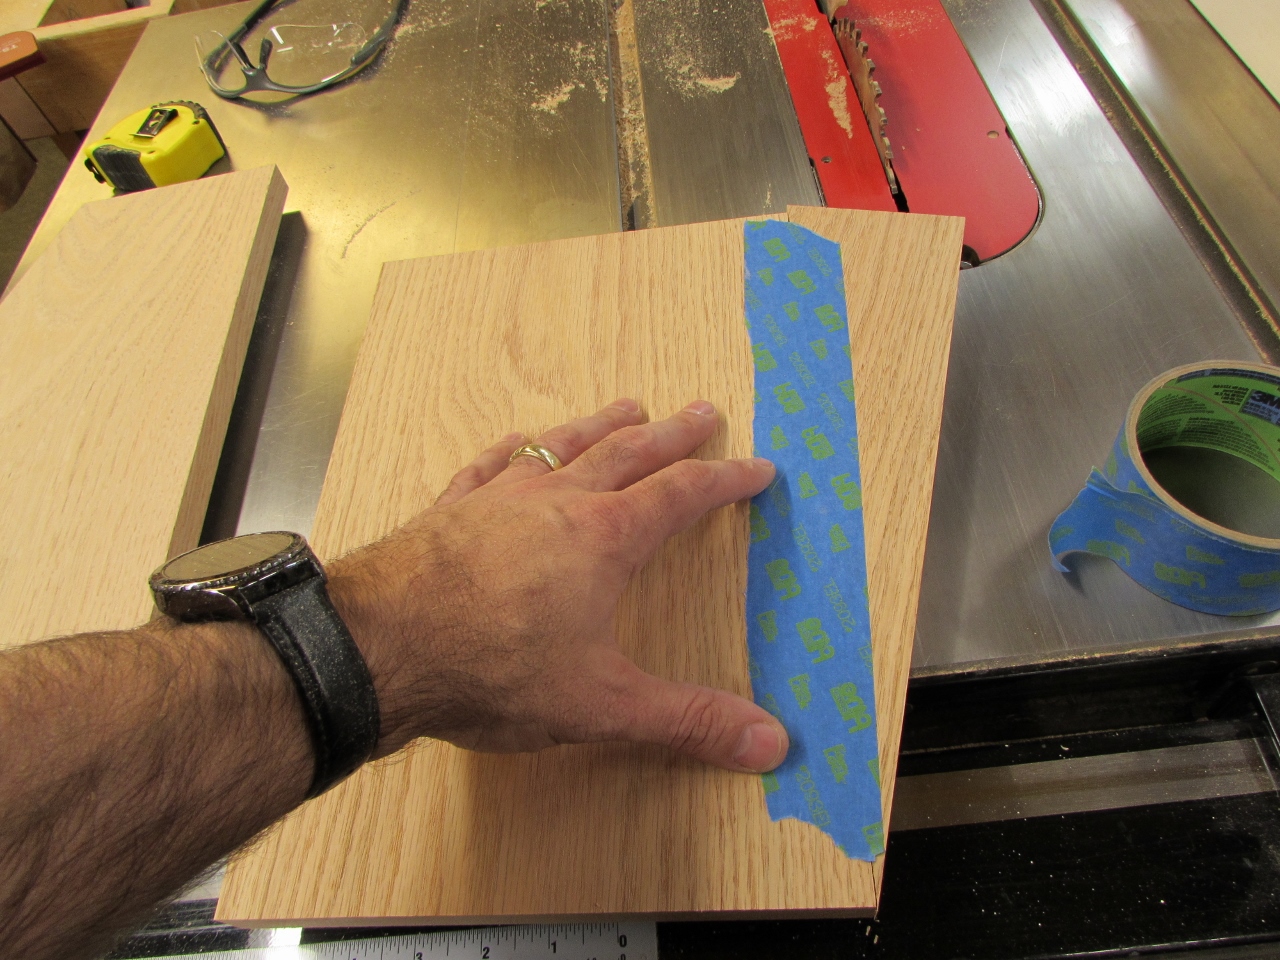
I taped the wedge and the uncut side piece together then added a piece of double-sided tape.
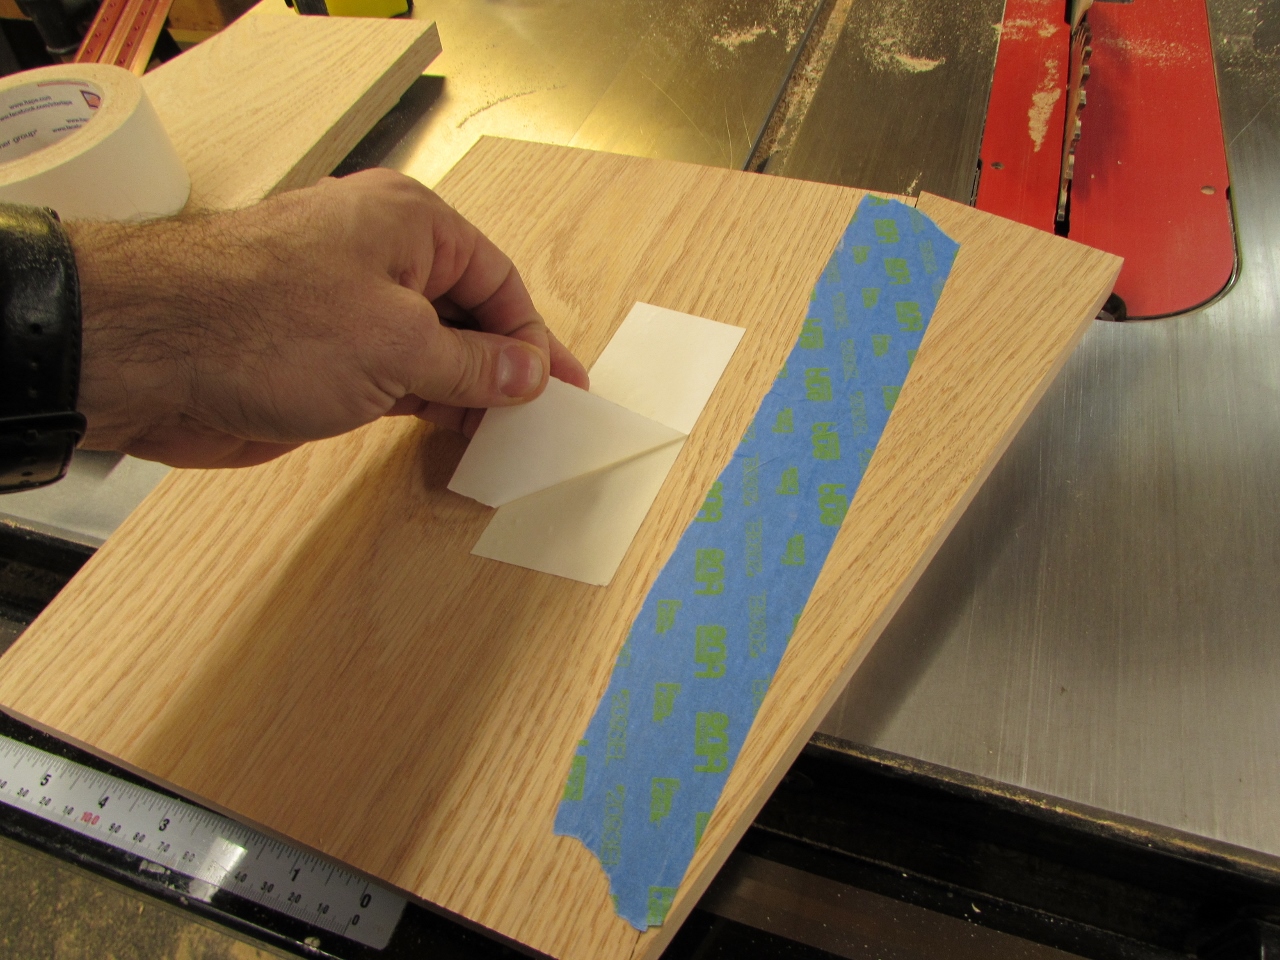
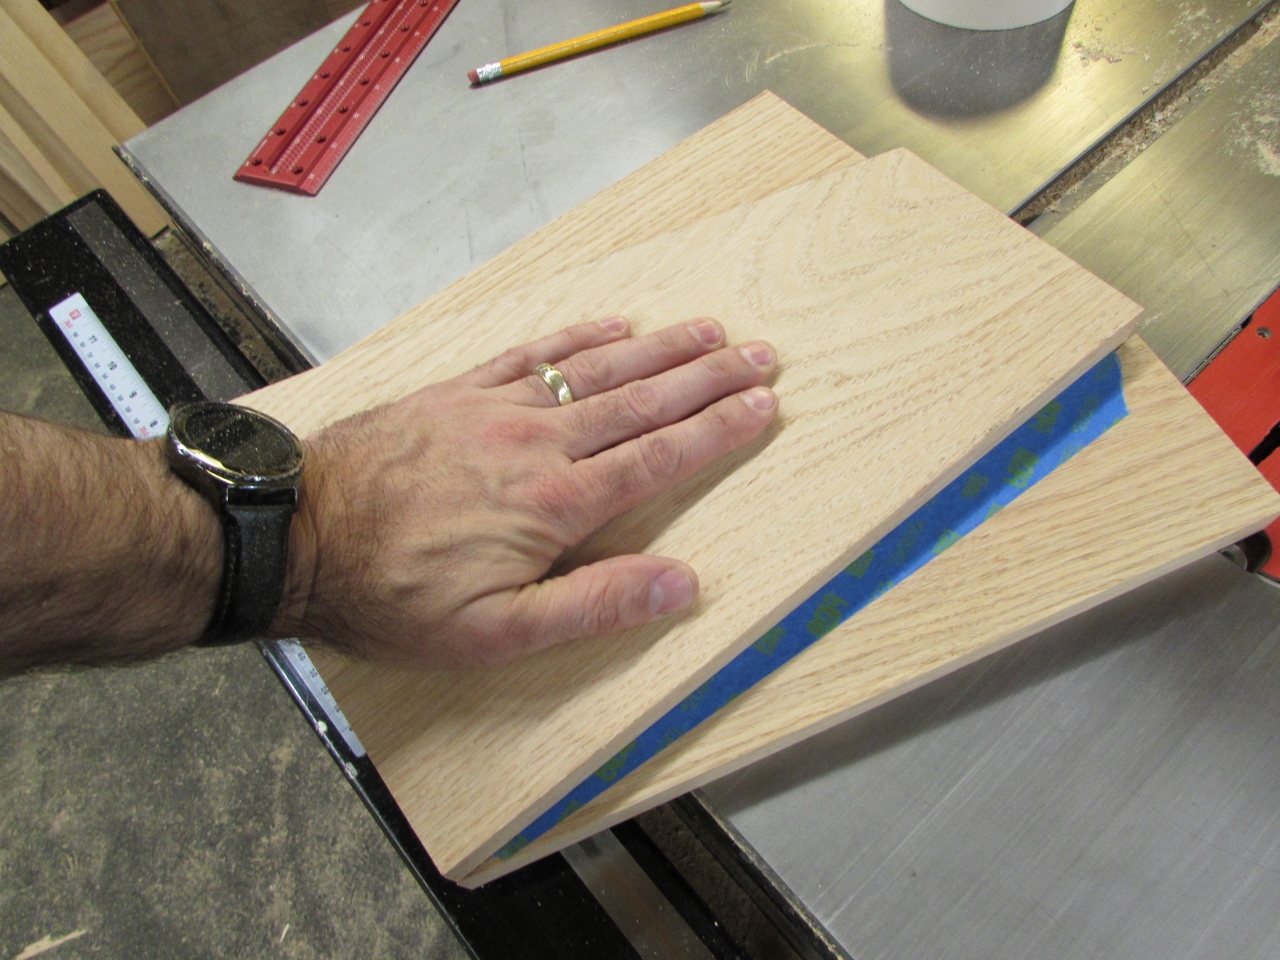
I carefully lined up the cut side with the uncut one and pressed it onto the tape.
With it held firmly in place, I ran both pieces through the table saw, cutting the angled edge perfectly smooth and straight.

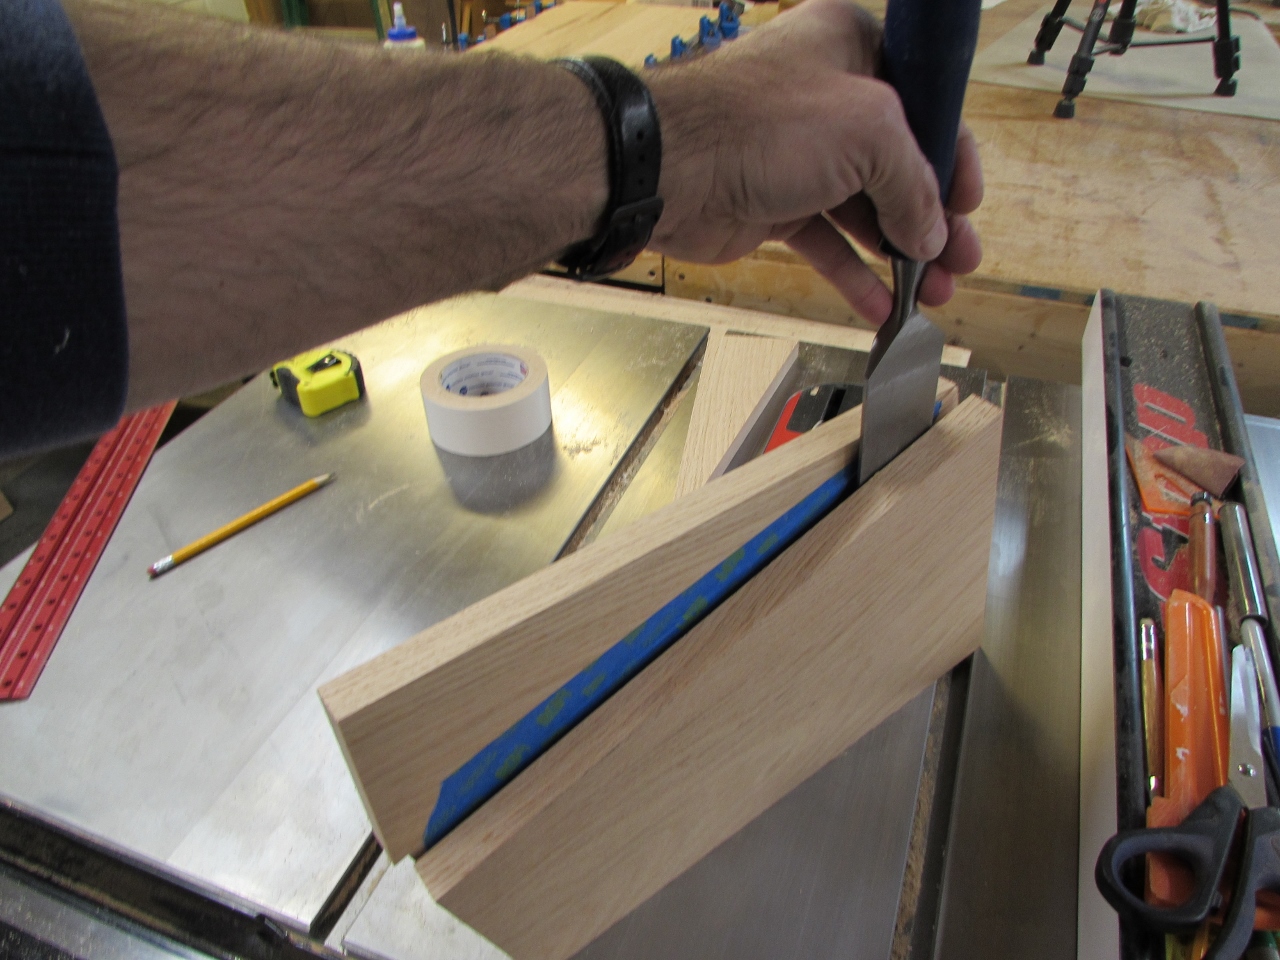
I separated the two pieces with my wide chisel, taking care not to dent or cut the side boards.

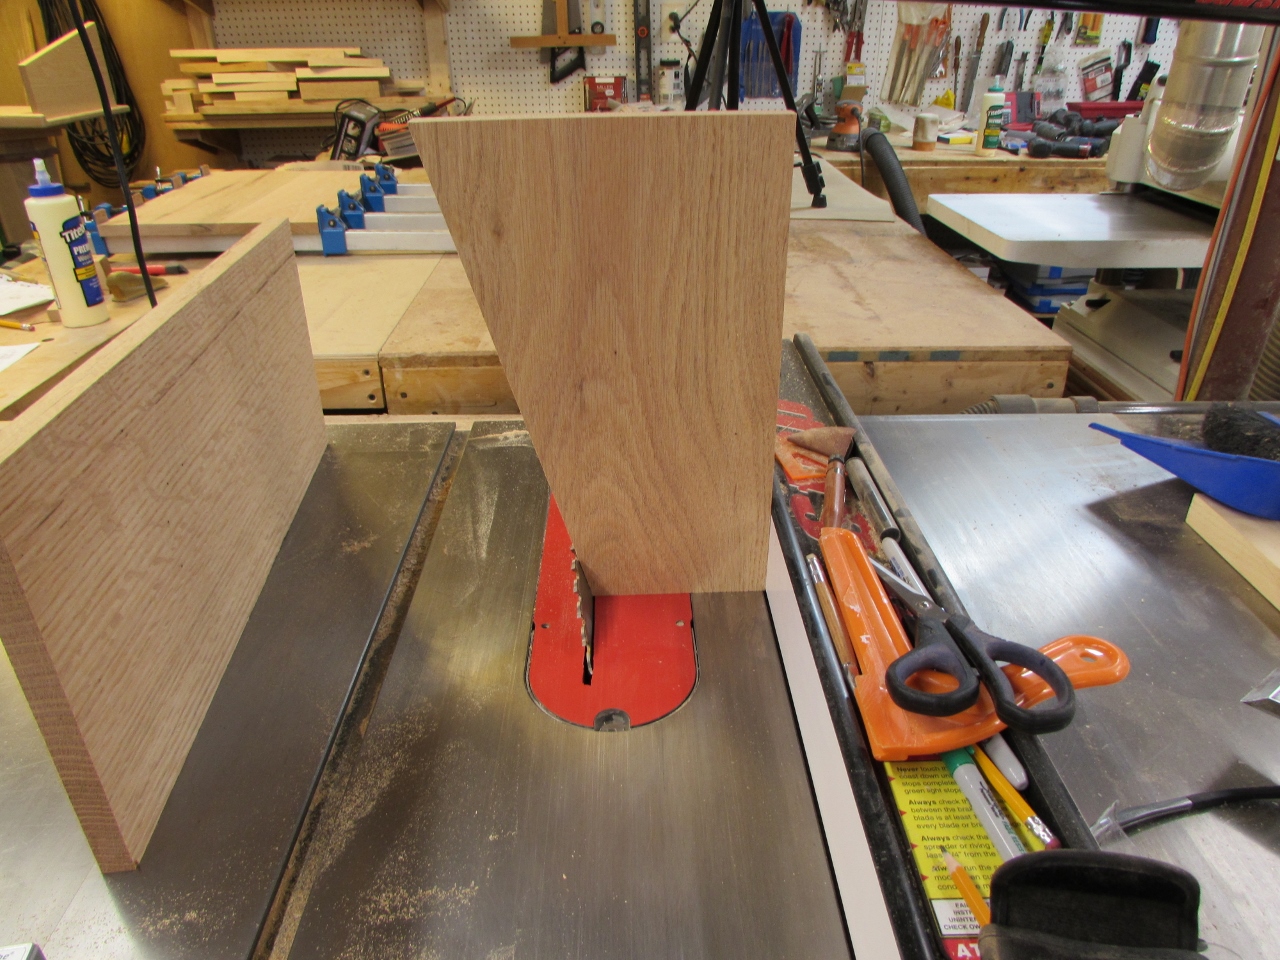
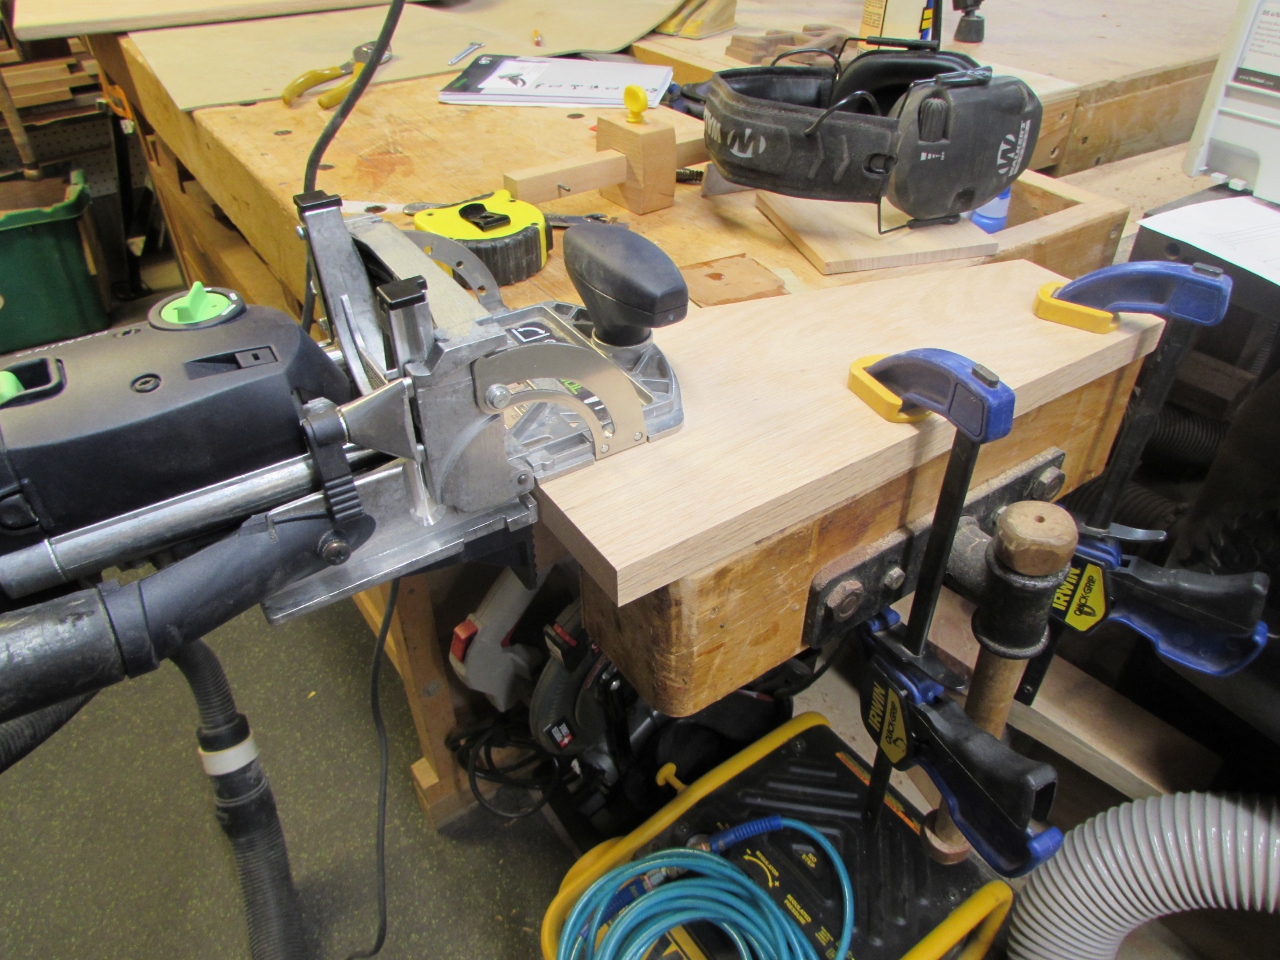
To cut a matching angle on the front plate, I used one of the sides to set the blade angle.
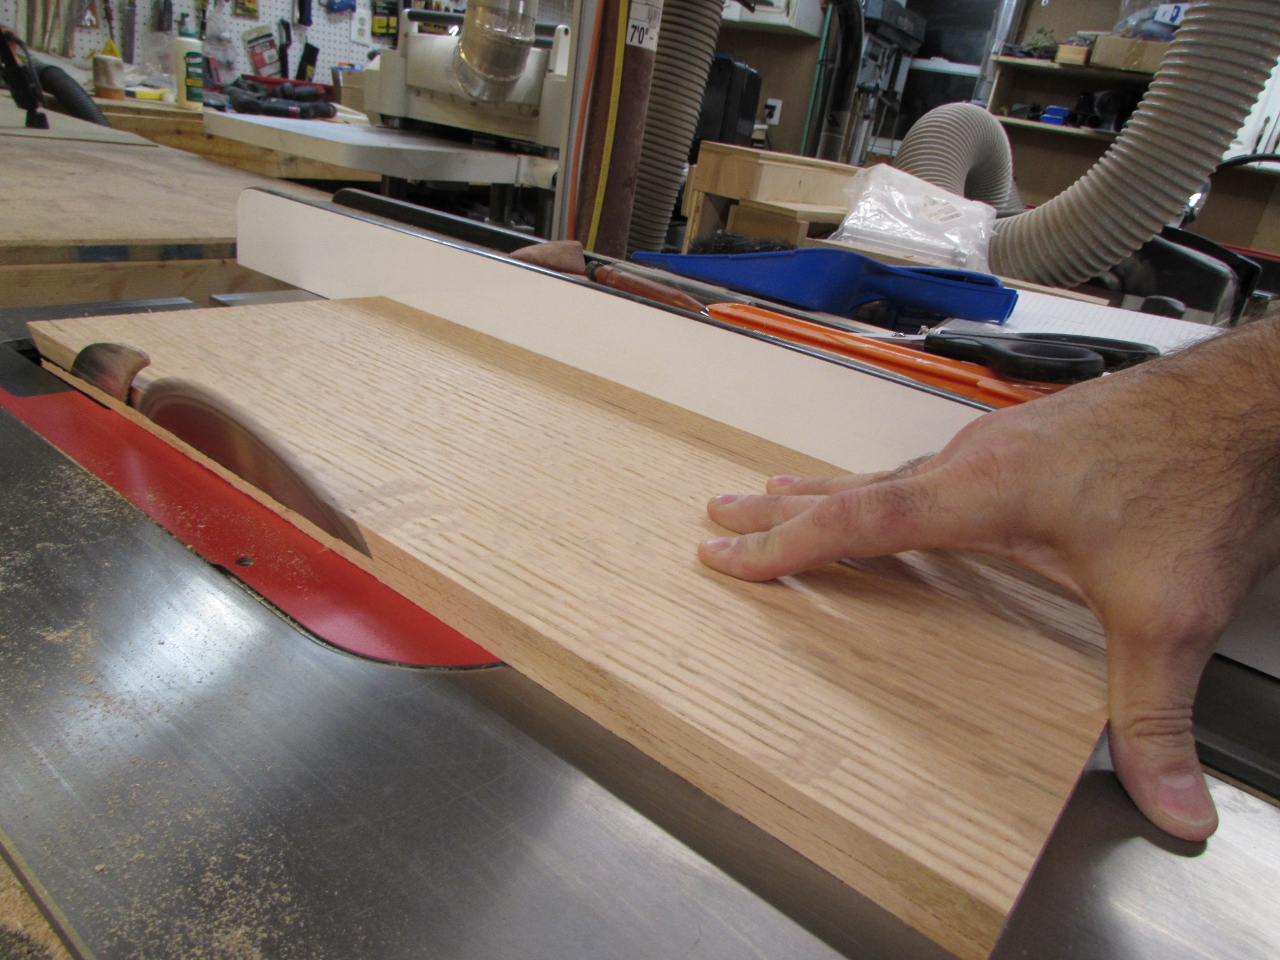
Then I cut the front plate. Perfect match!
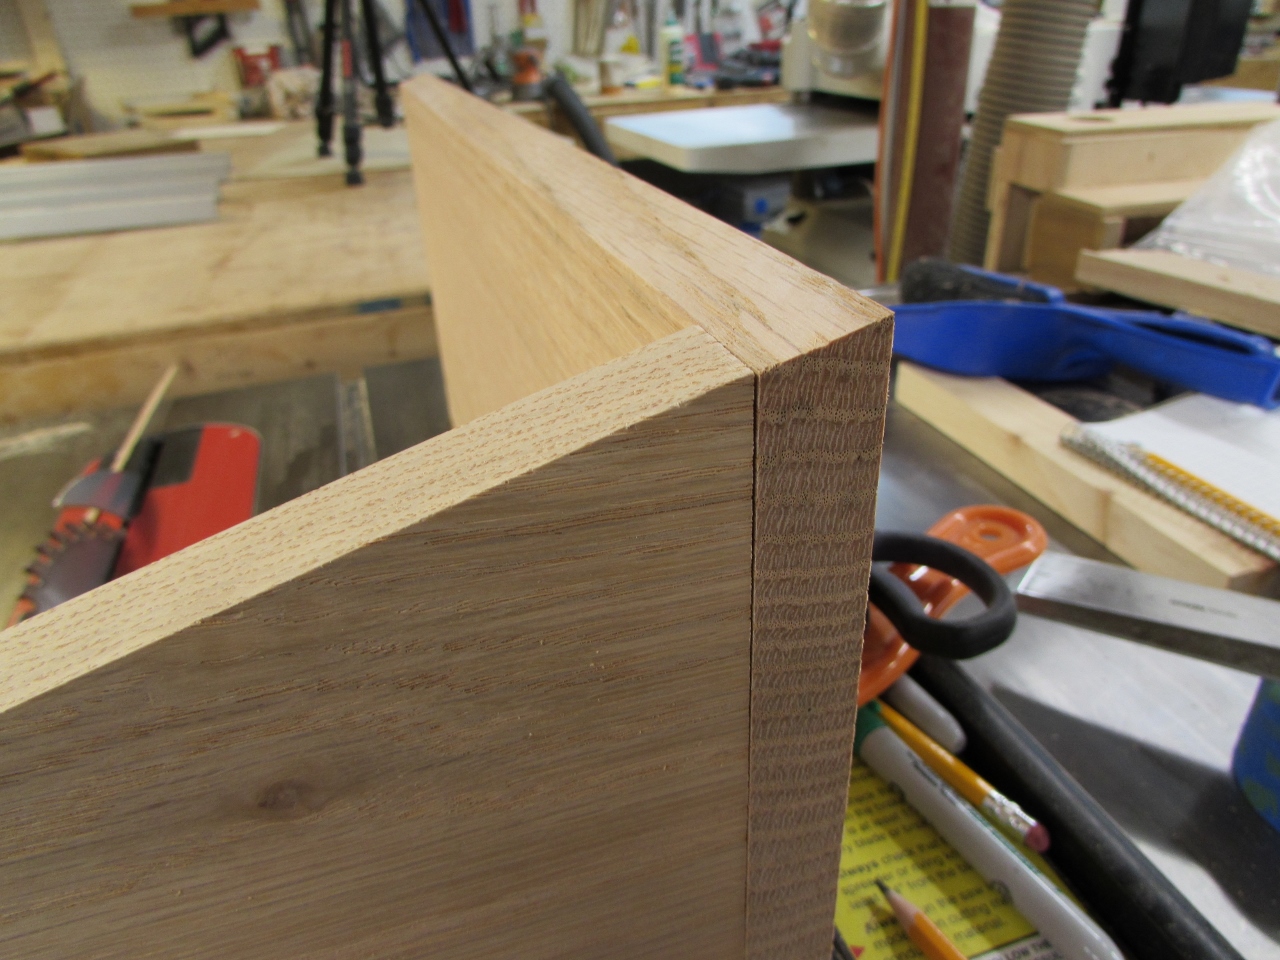
This will be the surface that the top will attach to later.
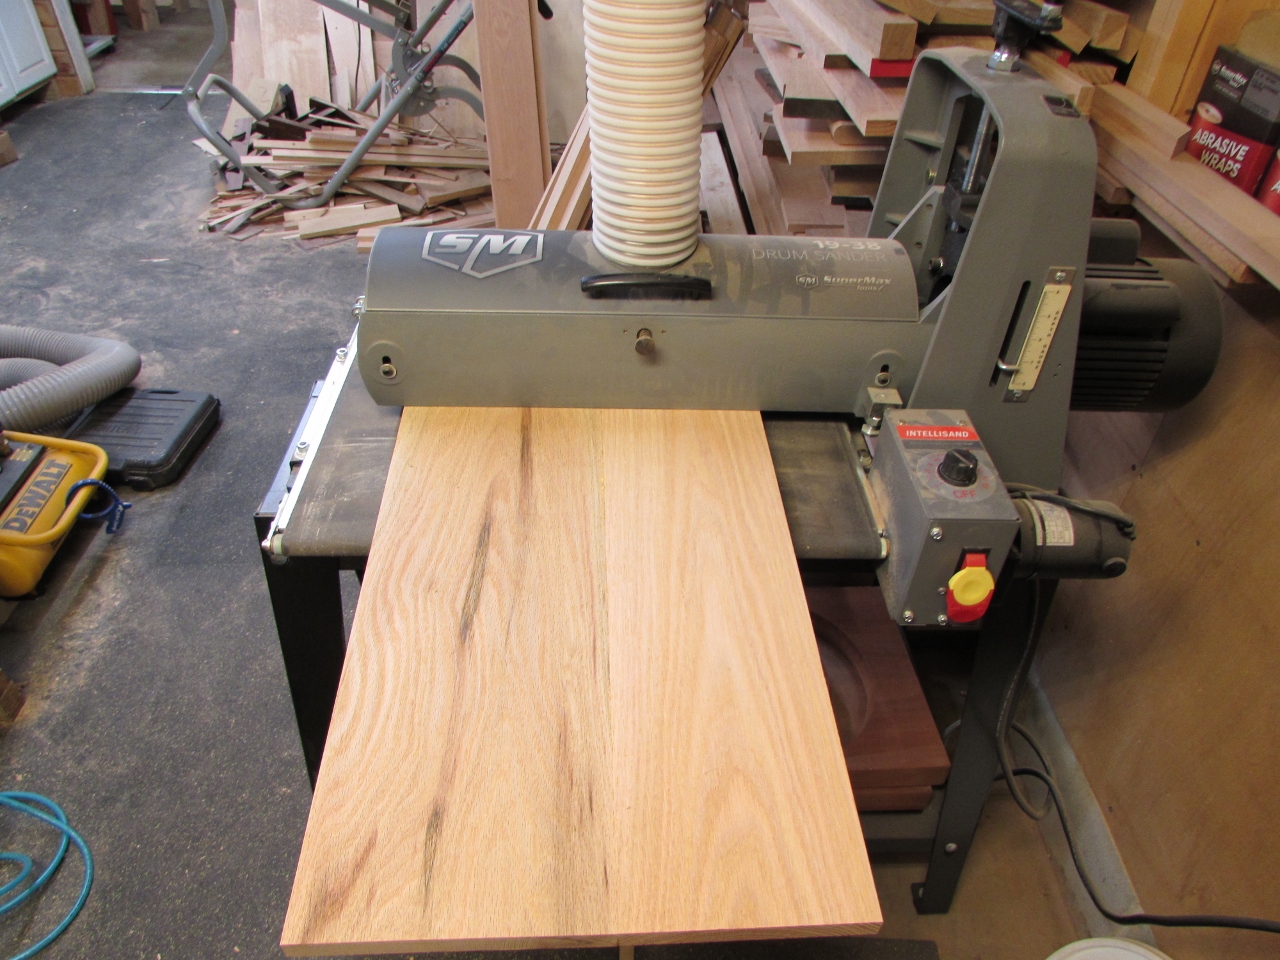
I pulled the clamps off of the bottom panel after it had dried and ran it through my wide drum sander to smooth the joint.

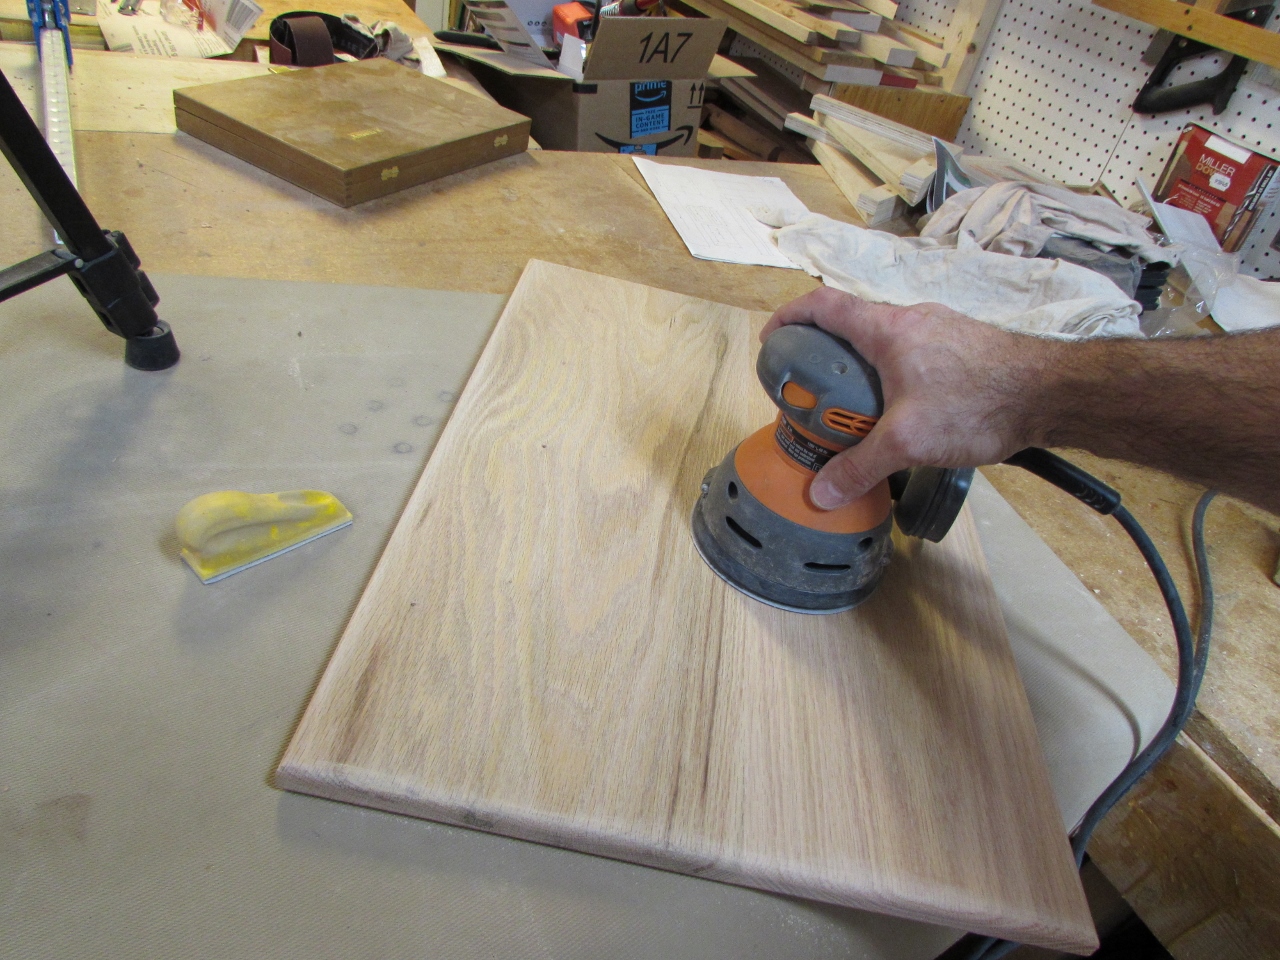
I rounded over all of the edges with a 1/4″ bit, then sanded the entire board.
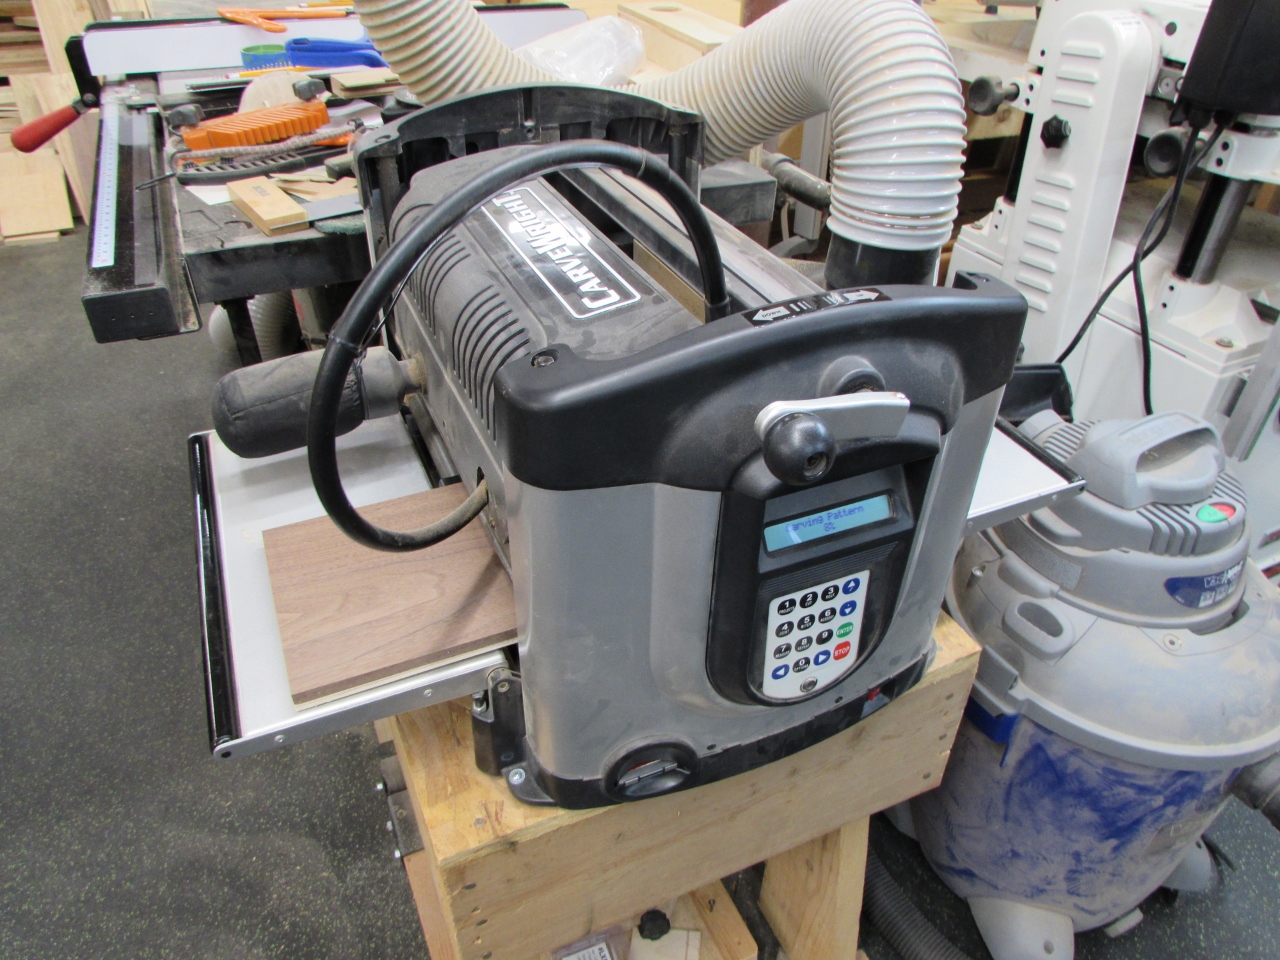
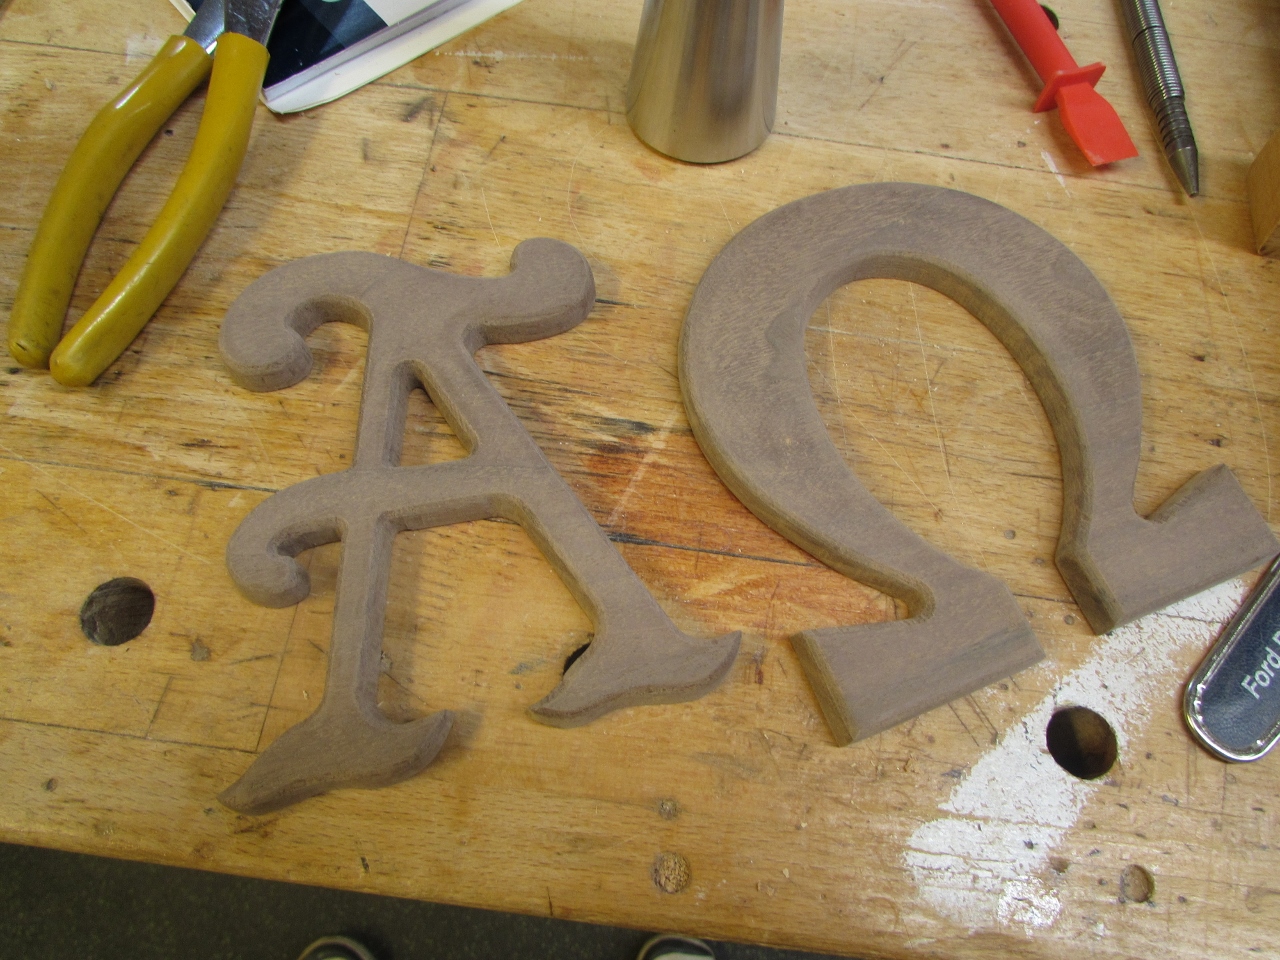
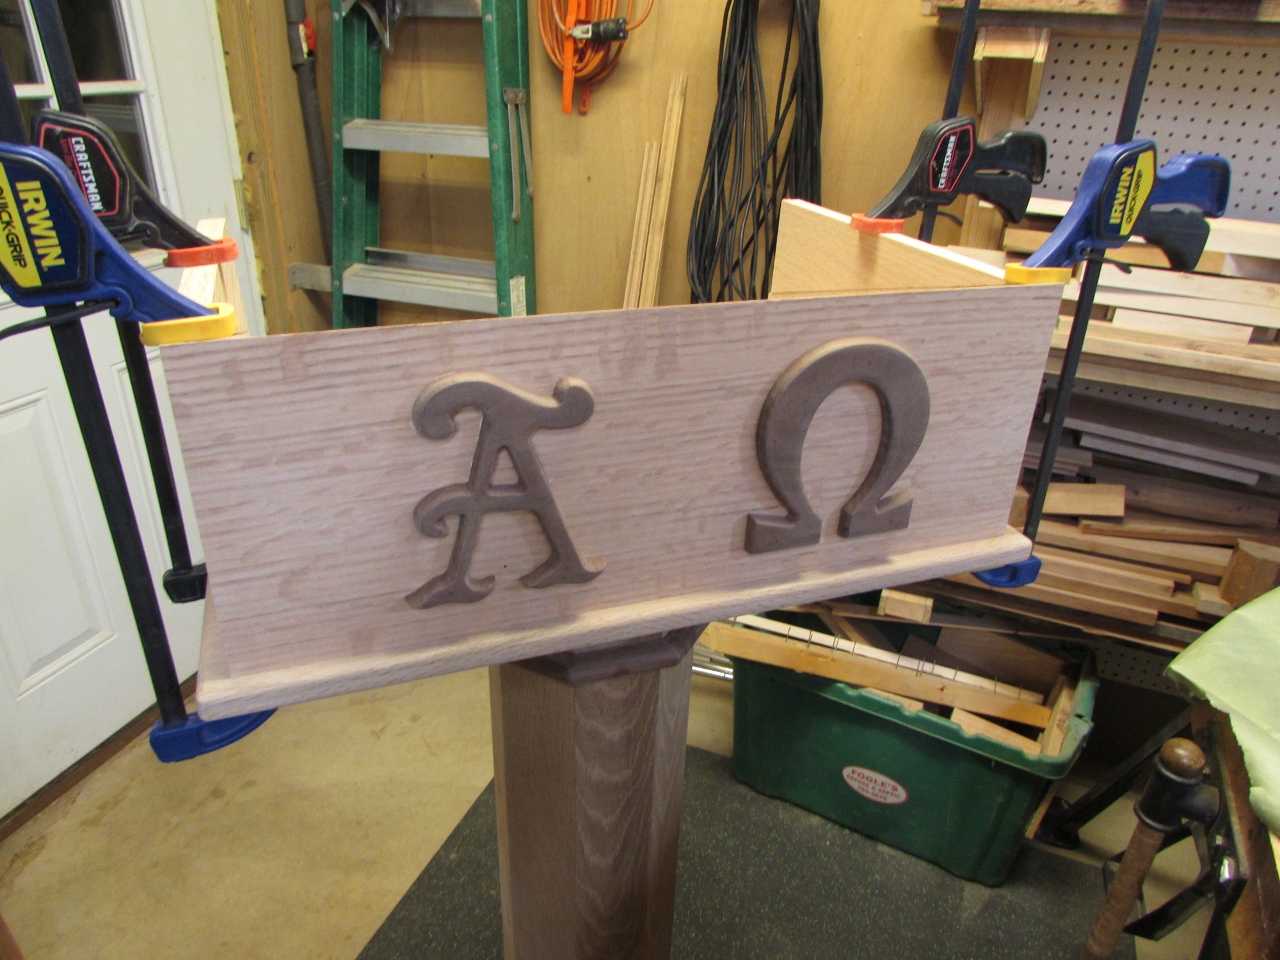
I took a few moments to prep a board for my CNC to start carving out the Alpha & Omega symbols from a piece of walnut. This can run for an hour or so, while I construct the top.
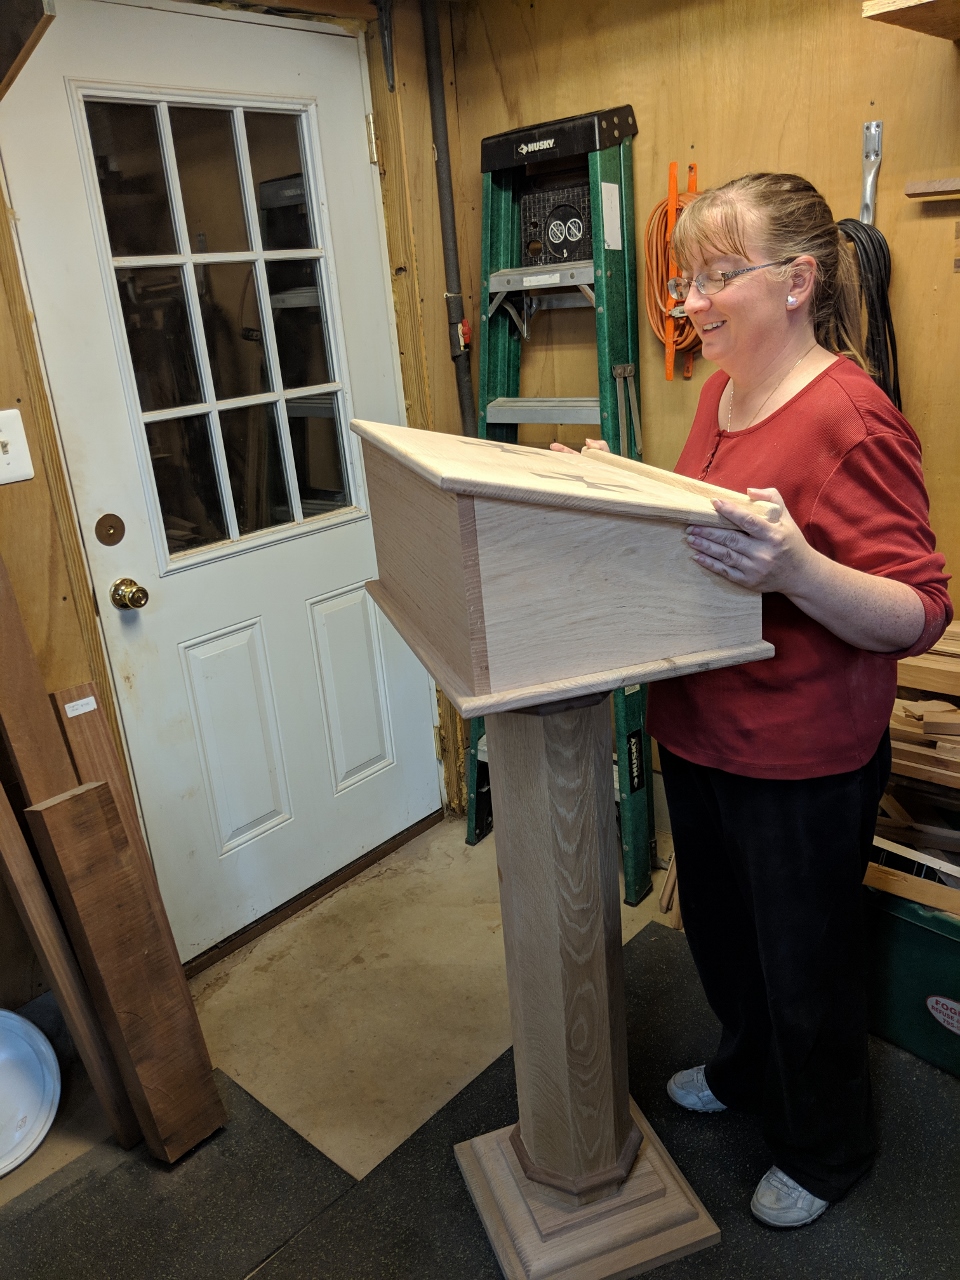
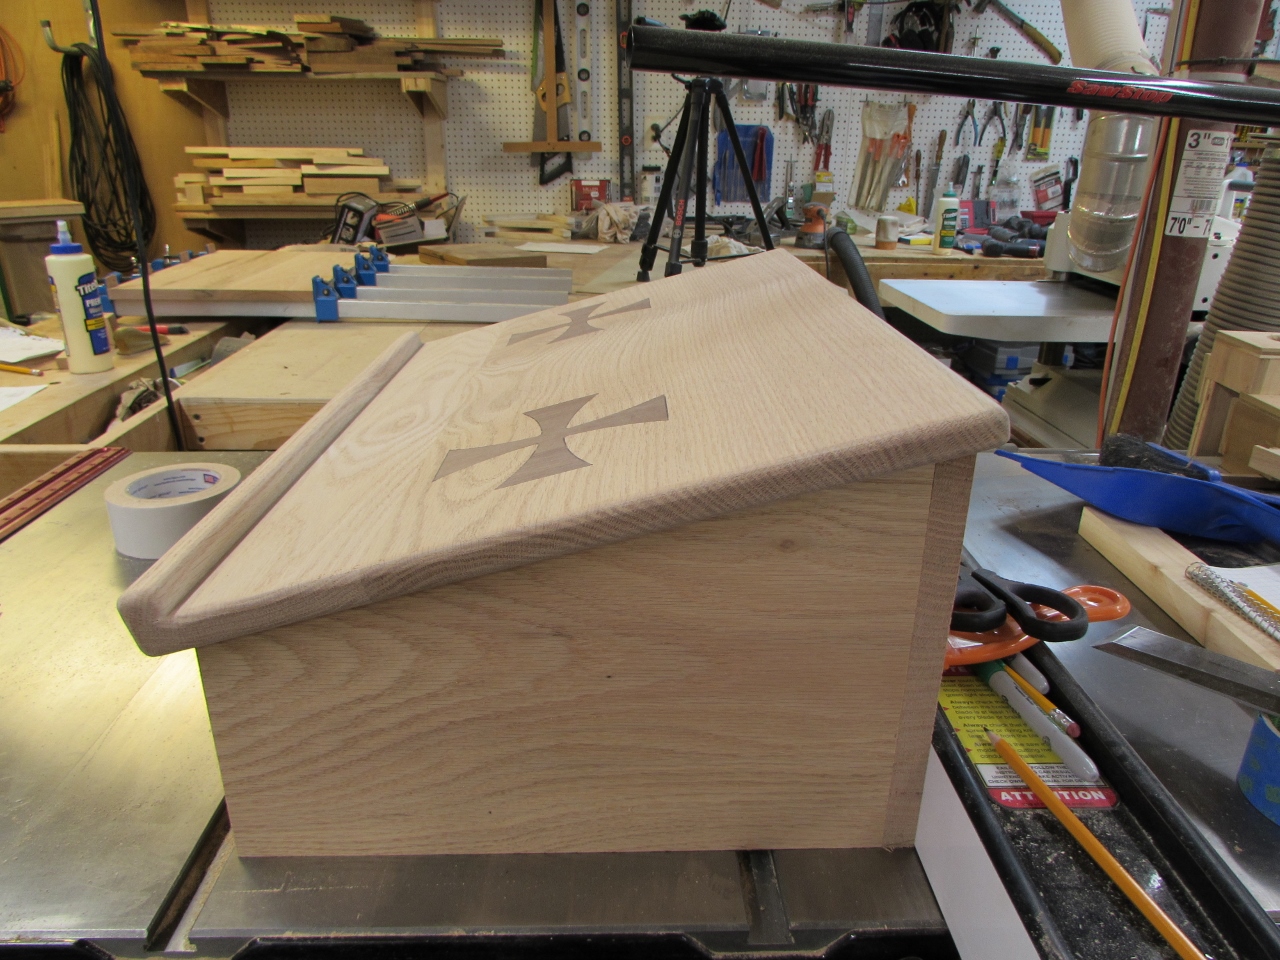
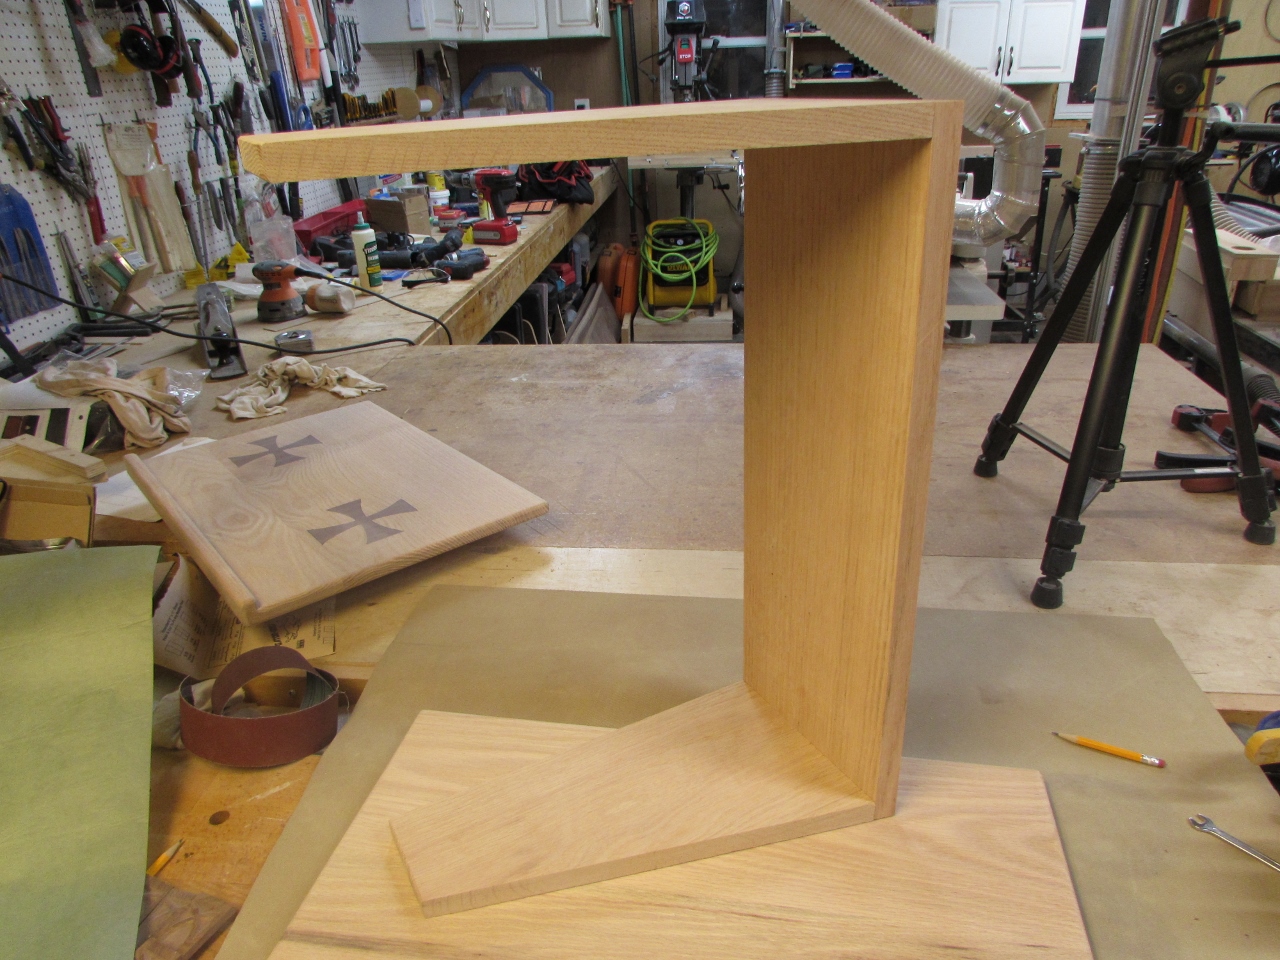
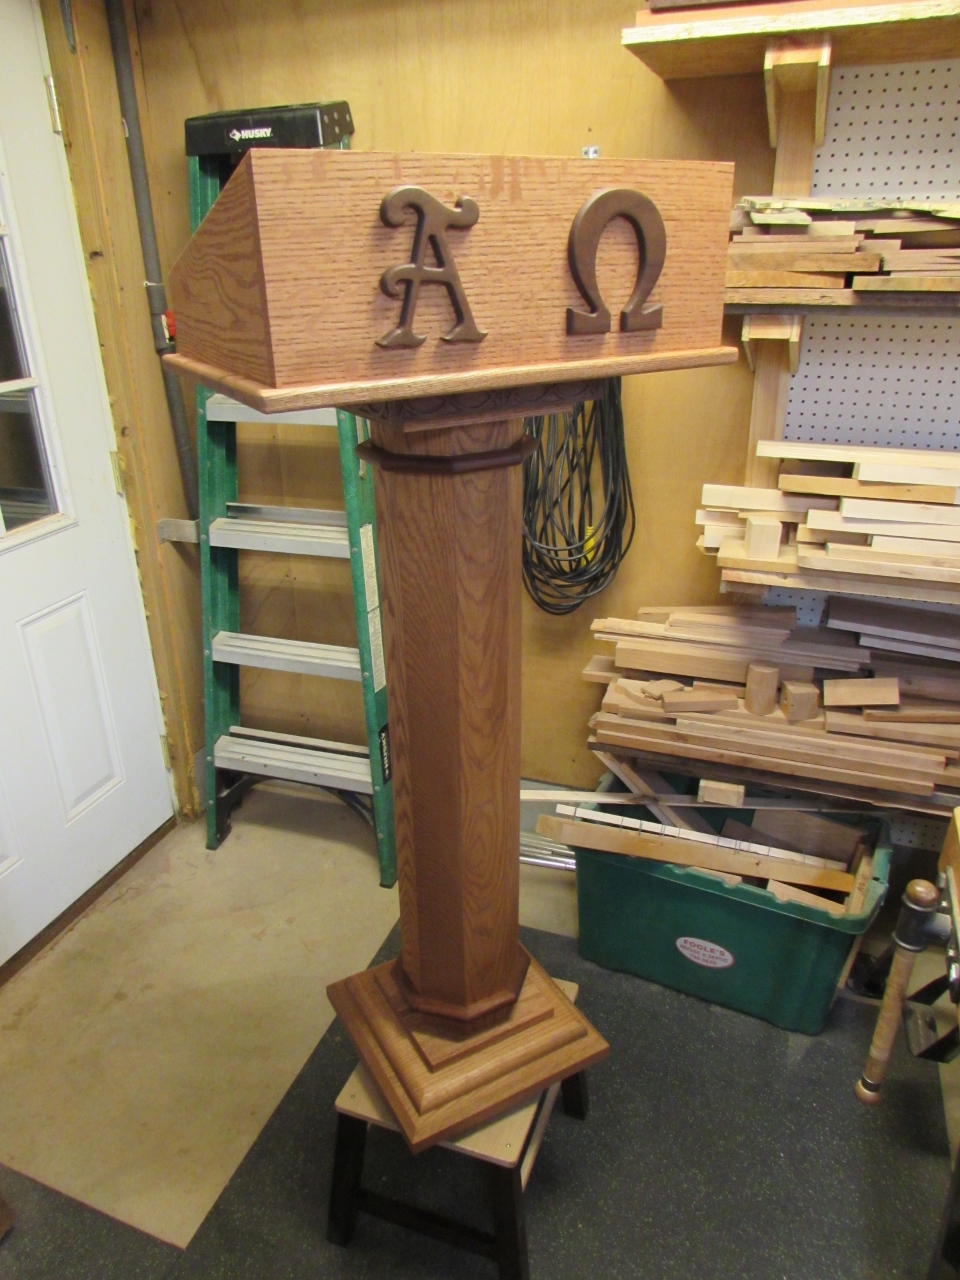
After I dry-assembled the top, it looked a little tall to me so I asked my wife to stand beside it. She is closer to the average size of most of the readers that will be using this stand, and she definitely thought it was too tall. The best way to reduce the size would have been to have a shorter column, but it is a little to late for that correction. I discussed the problem with Father Chuck and he agreed to allow me to cut down the height of the top from a 5″ opening down to a 3-1/2″ opening. Since the top is 19″ wide inside, there is room for two books to lay side-by-side removing the need for the extra height.
I placed the straight edge of the top pieces, up against my table saw fence and cut off 1-1/2″ from the front and sides.
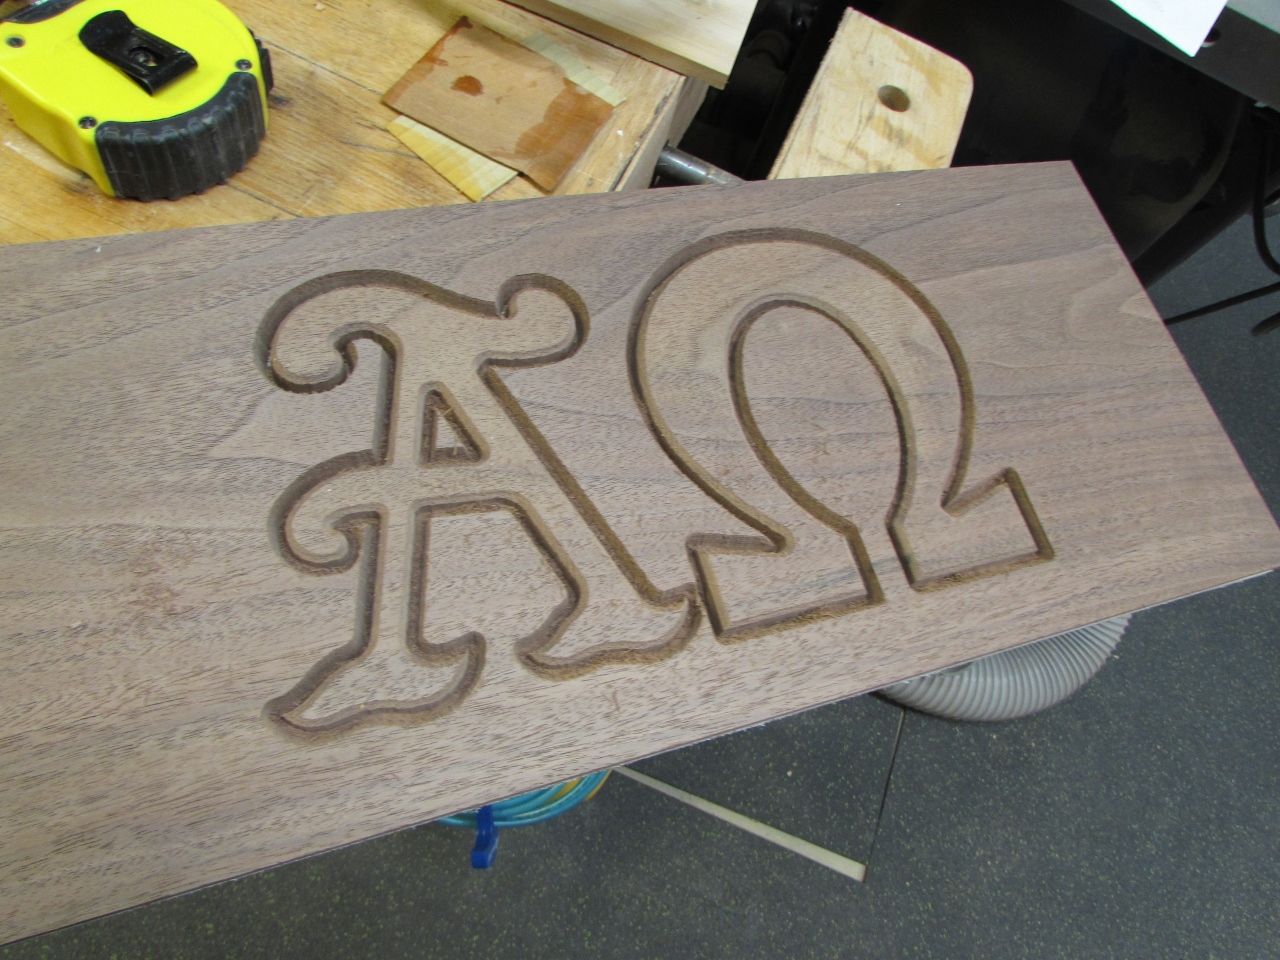
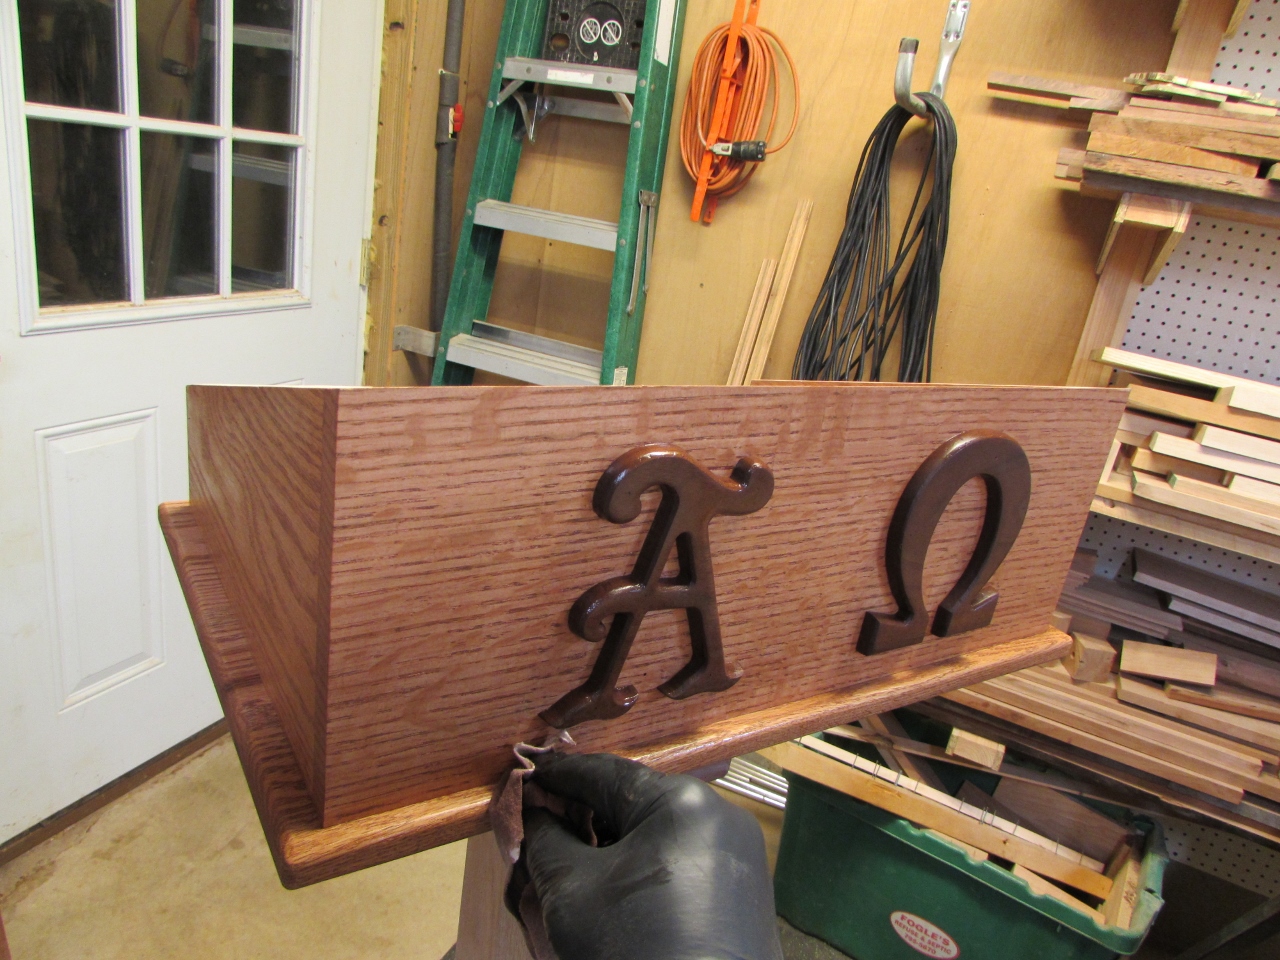
As I was finishing that up, the CNC finished as well. I pulled out the two symbols and did a fit check on the downsized front. Not bad, 1″ of space above and below.
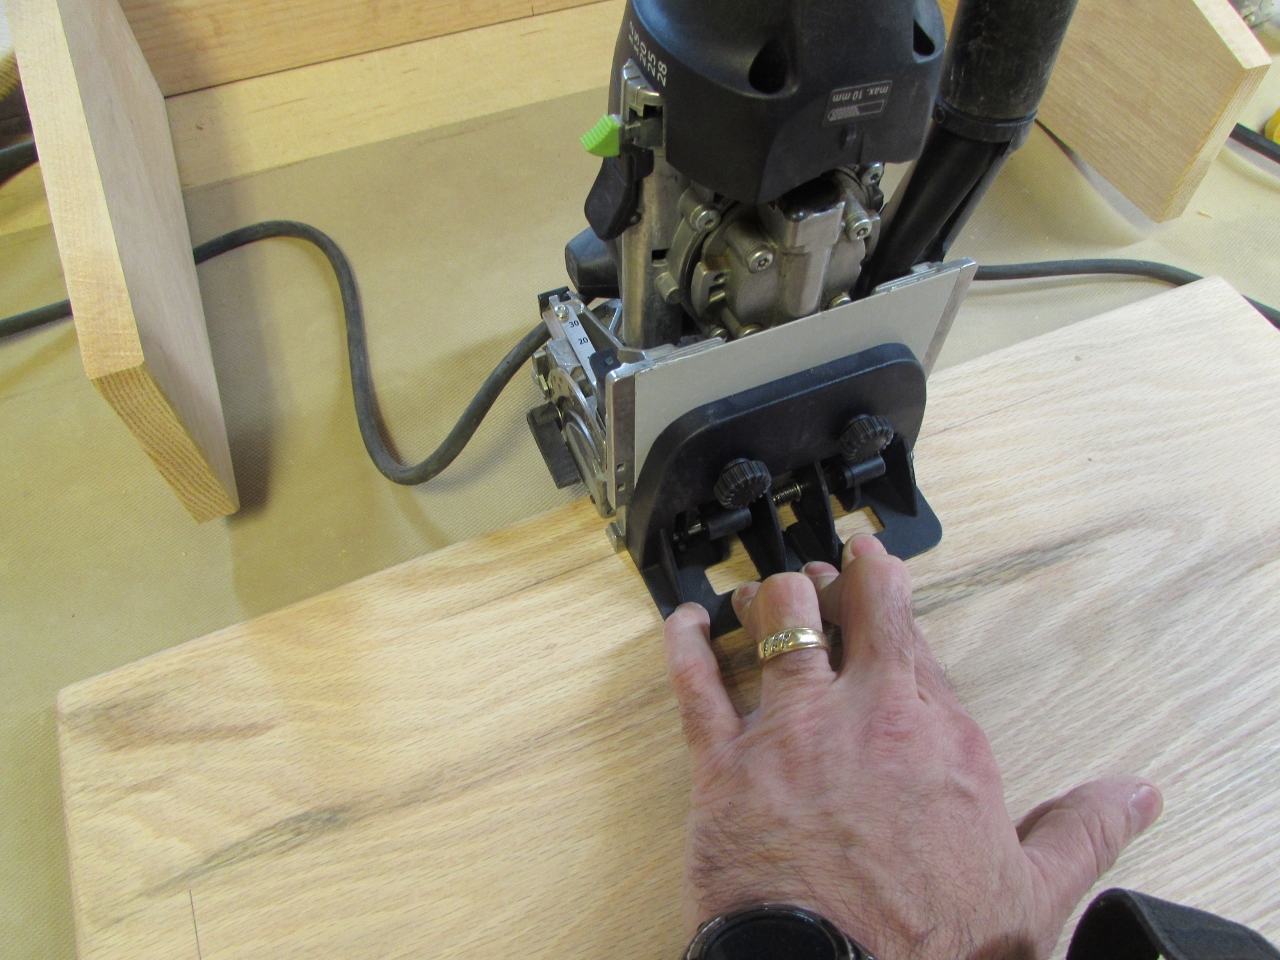
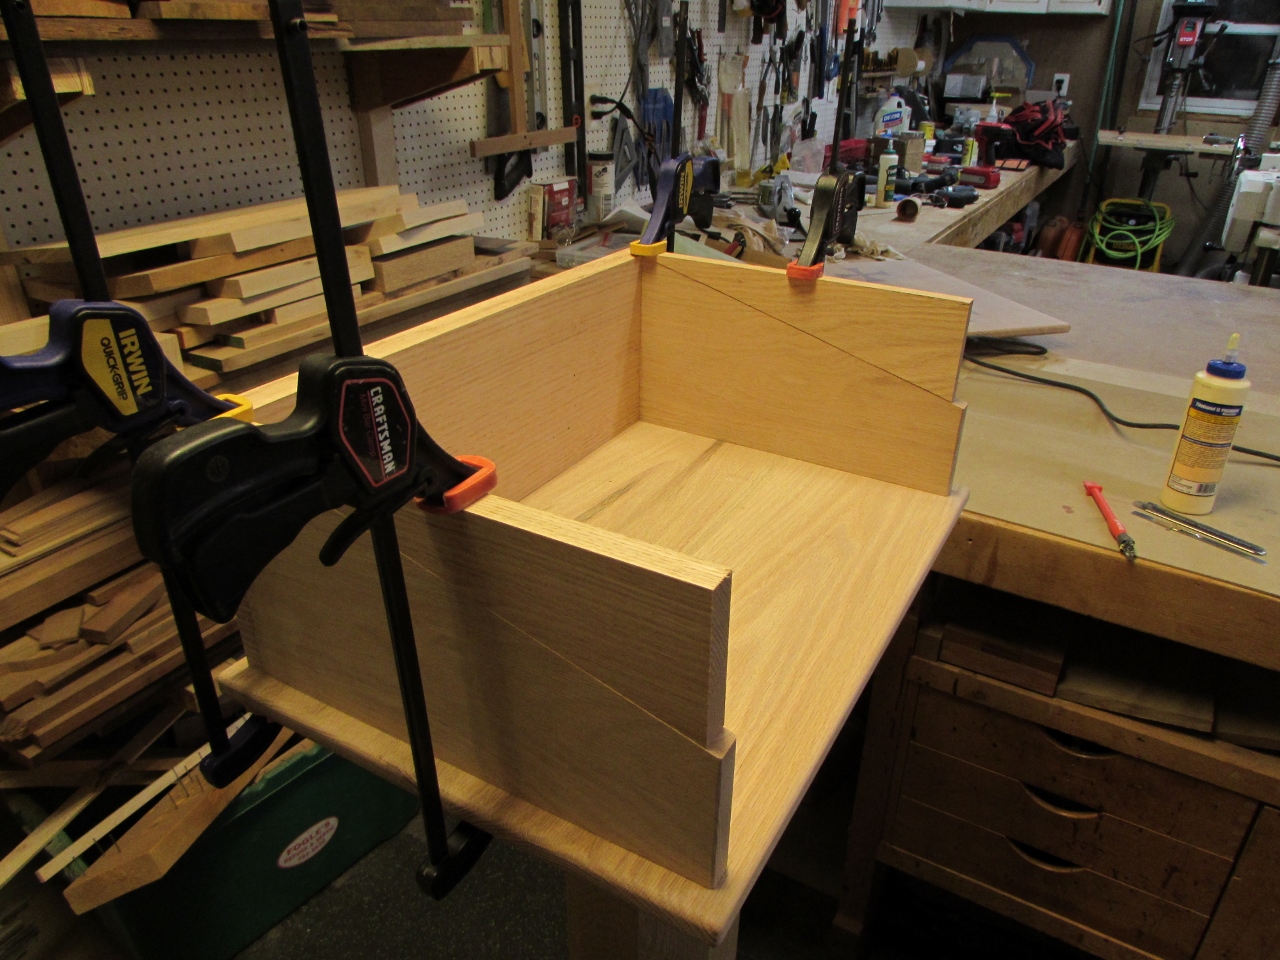
I decided to use my Festool Domino to join the sides and front together. Being an end-grain glue-up, I did not trust that it would be strong enough on its own. I marked where I wanted to cut, then clamped the front piece to my bench and took some cuts.

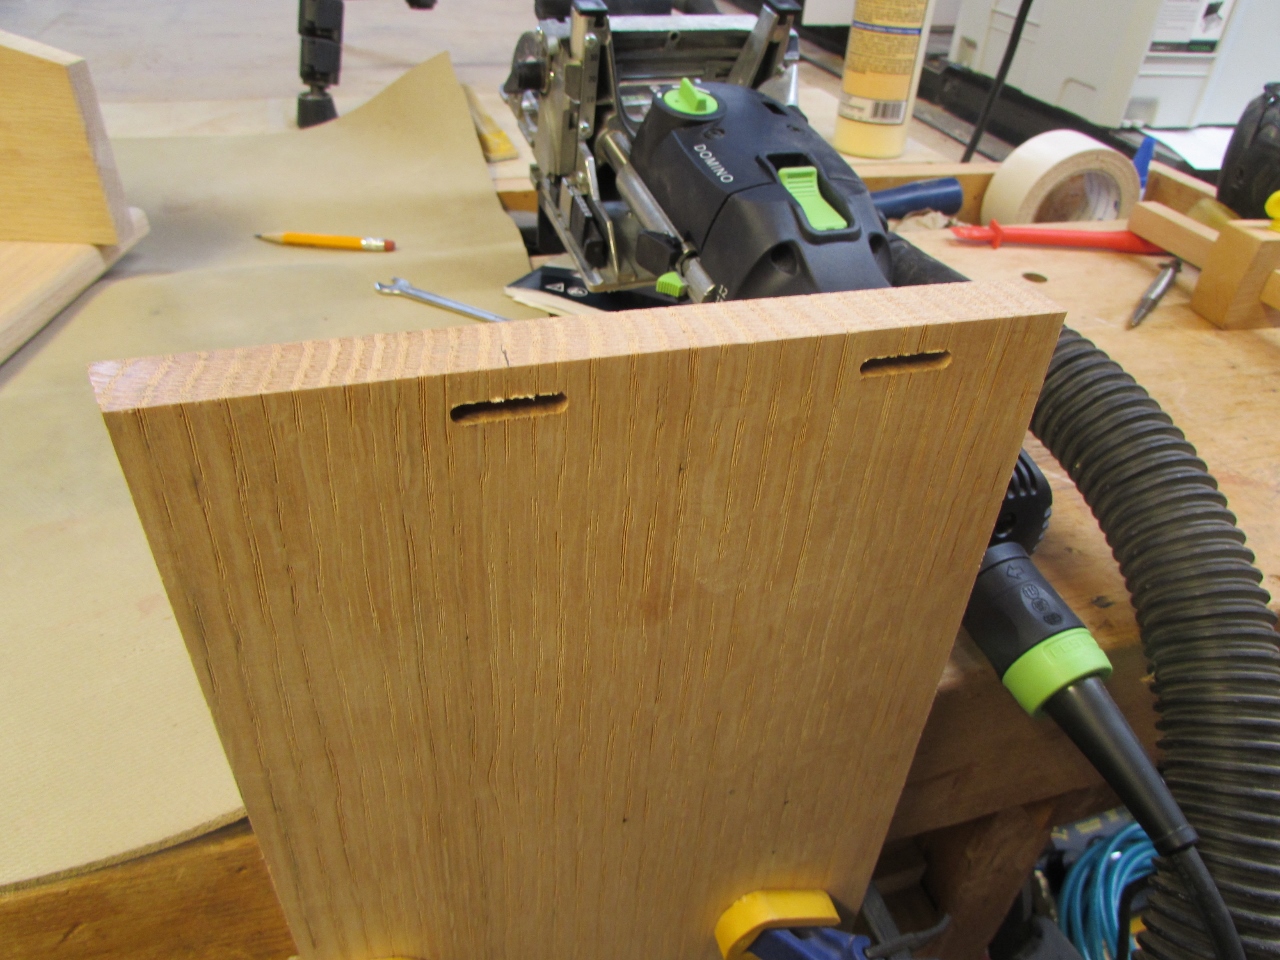
The front worked well, so I did the sides too.
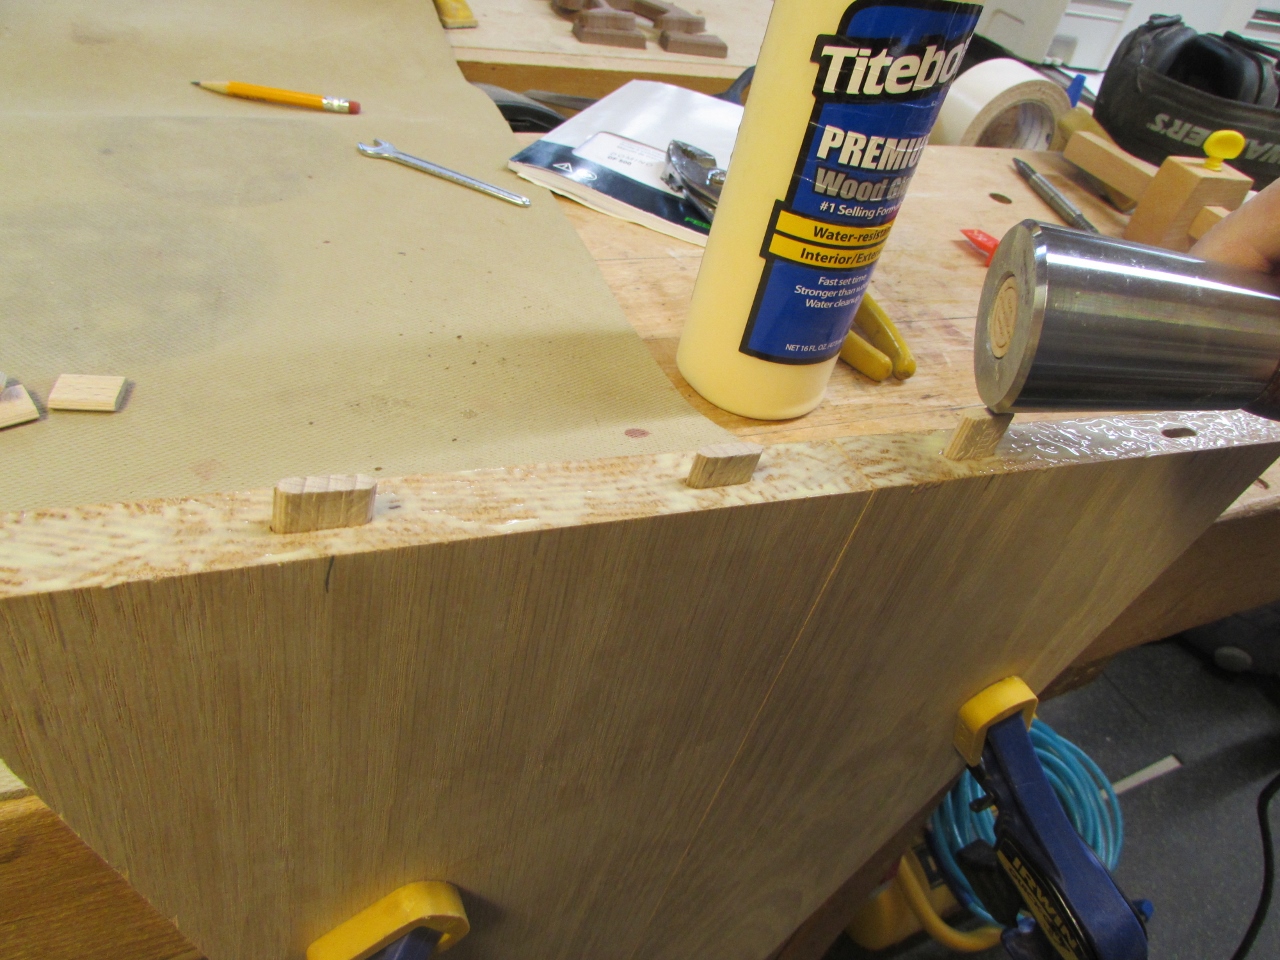
I tapped the Dominos in place and applied some glue to the joints.

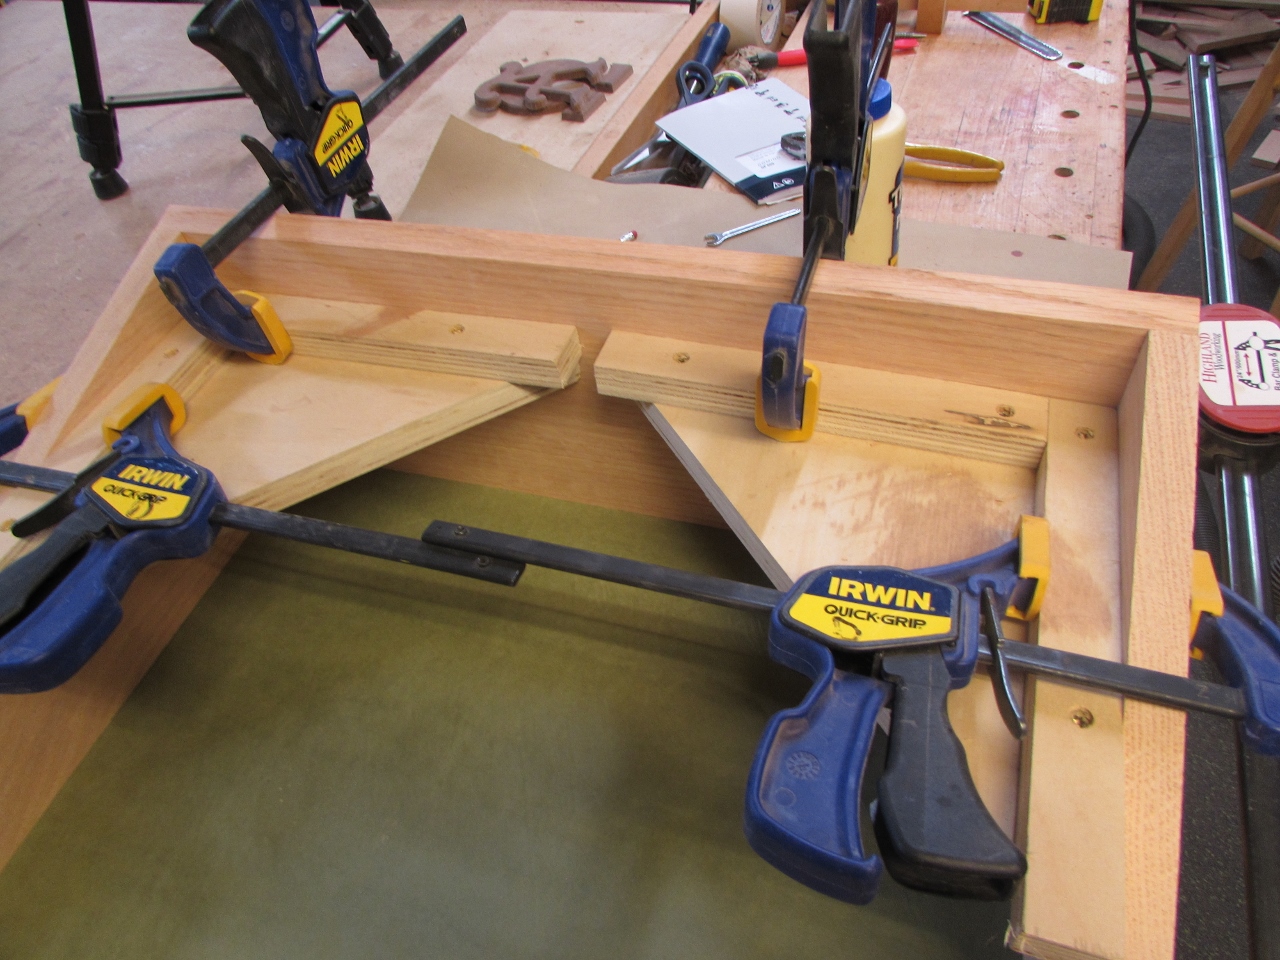
I used my homemade 90 degree corner braces to square up the sides, then used my longer clamps to hold the front to the sides, all the while making sure it stayed dead flat.
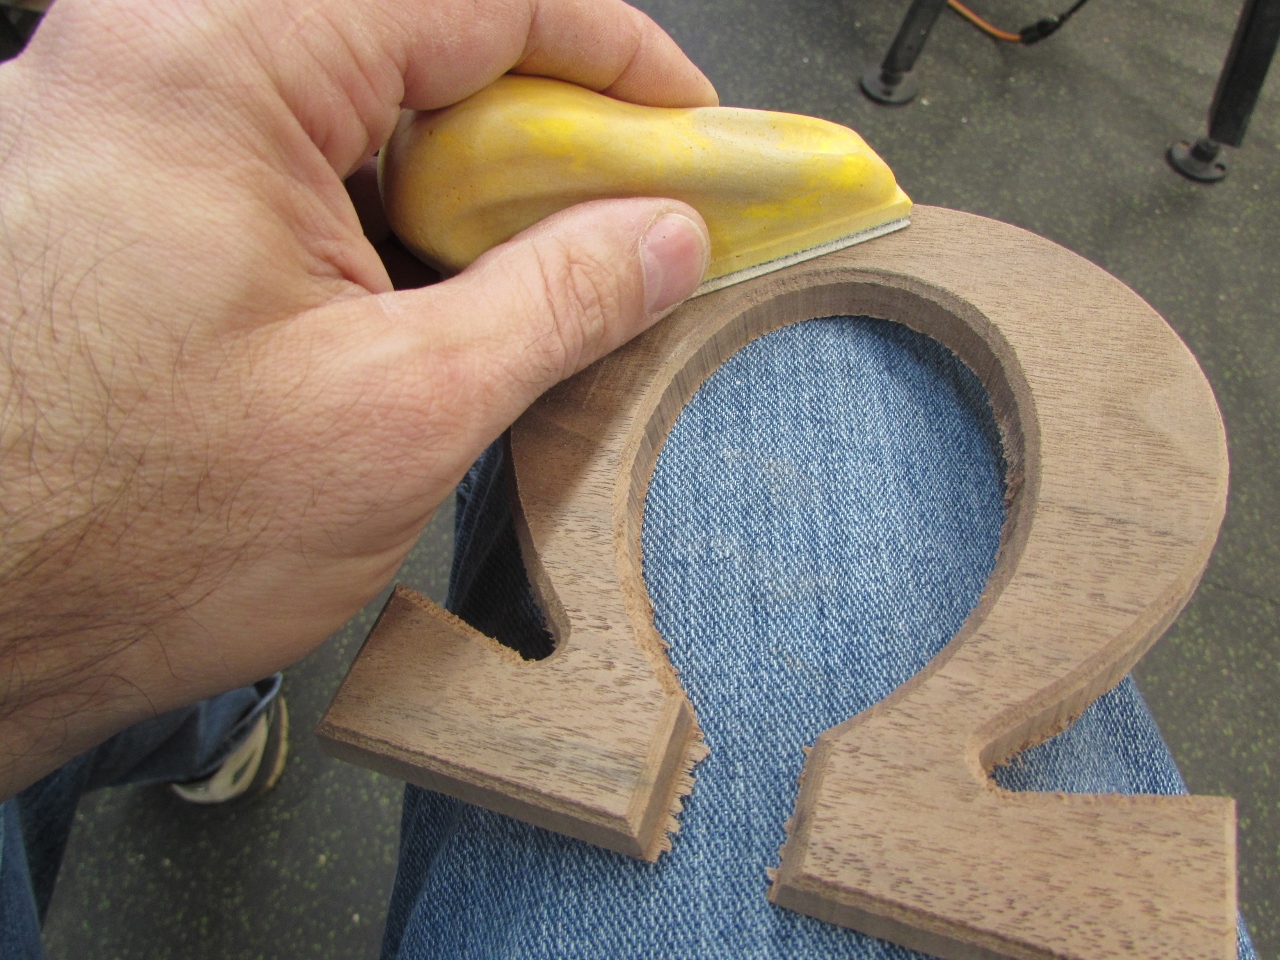
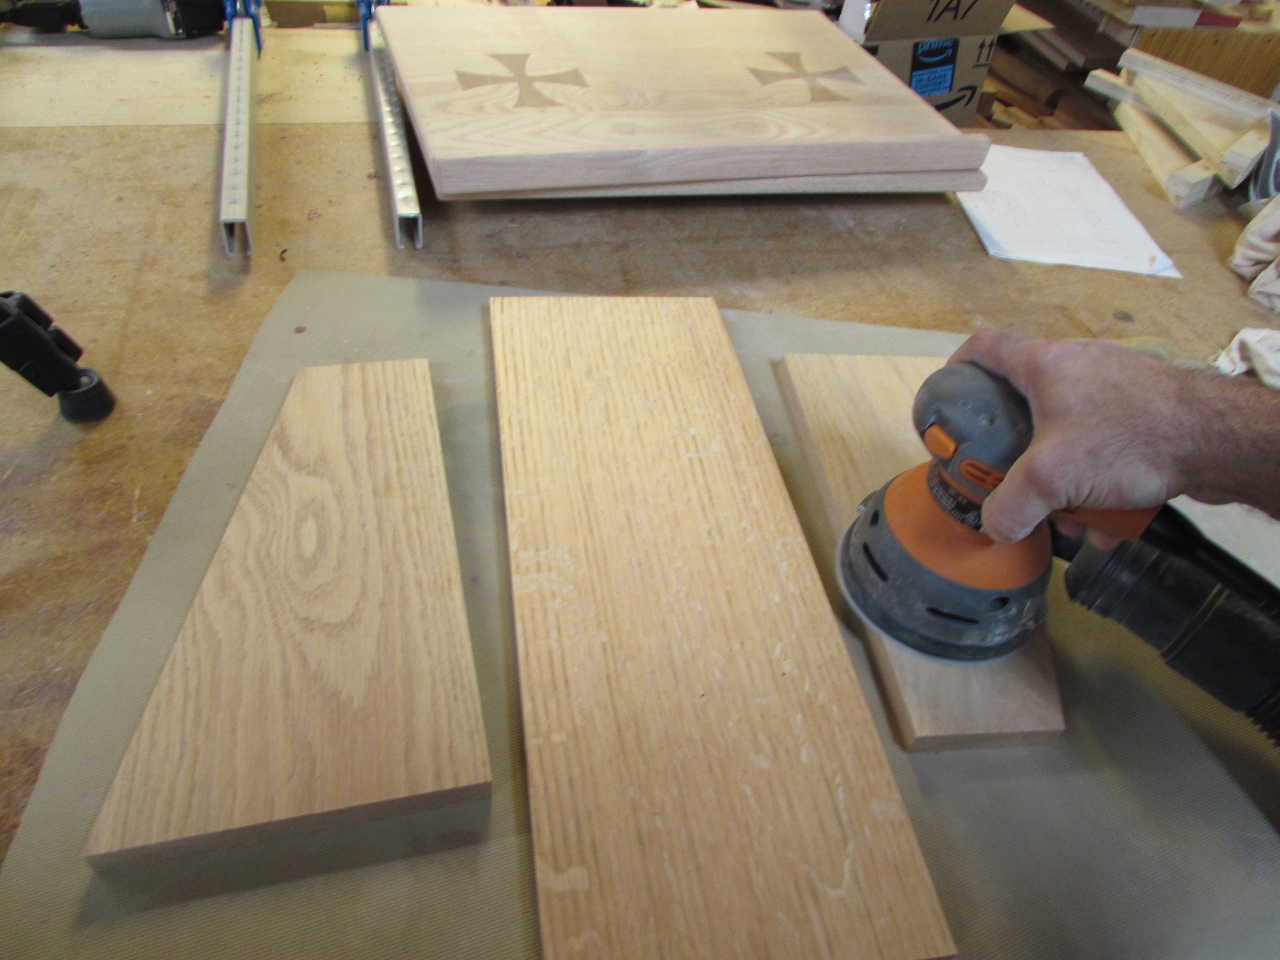
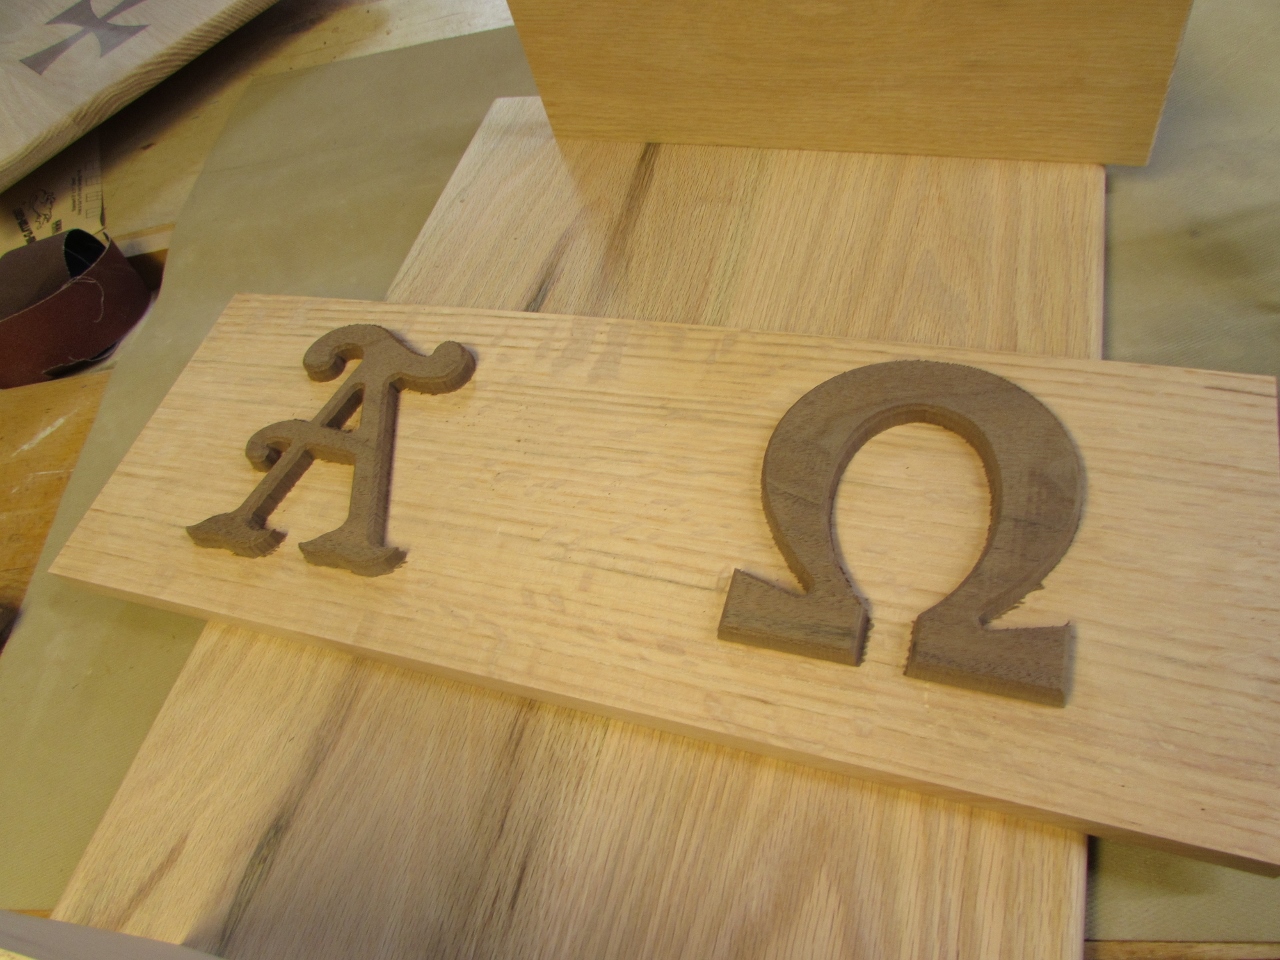
While that was drying, I sat down and started sanding my carve.
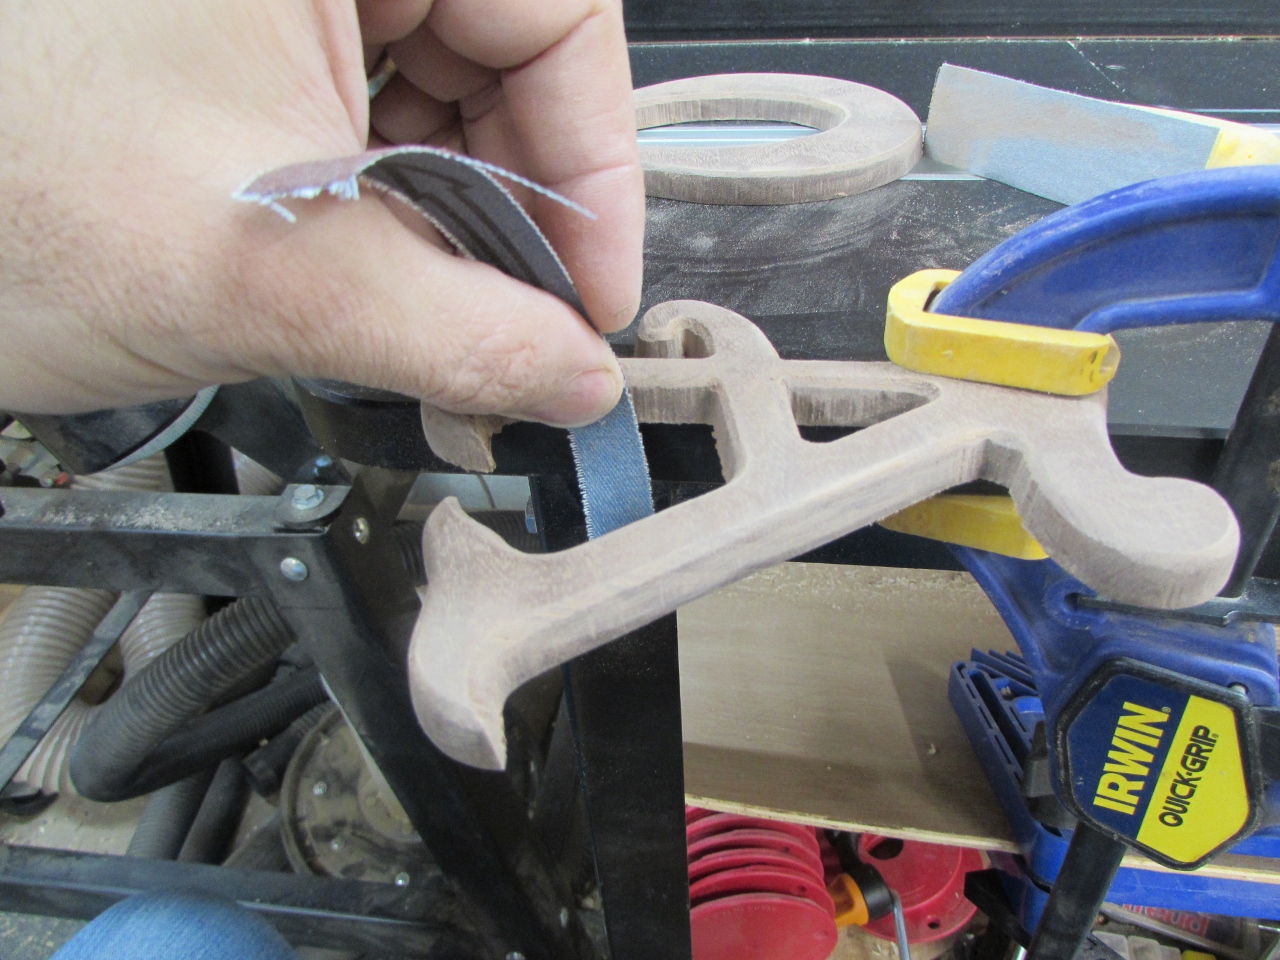
Lots of tight spots on these that needed a lot of work.
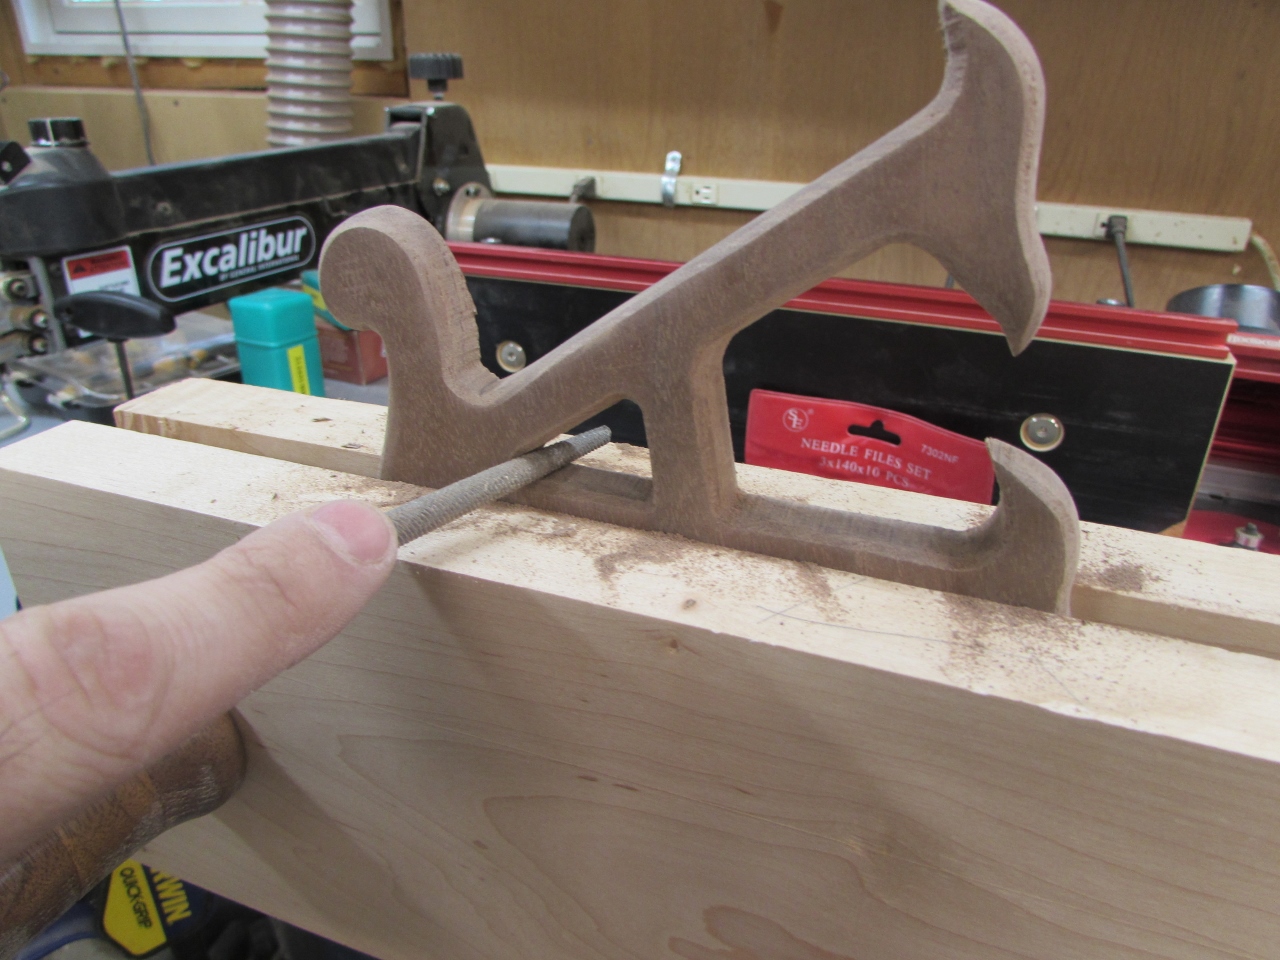
But after an hour or so, they were acceptable.
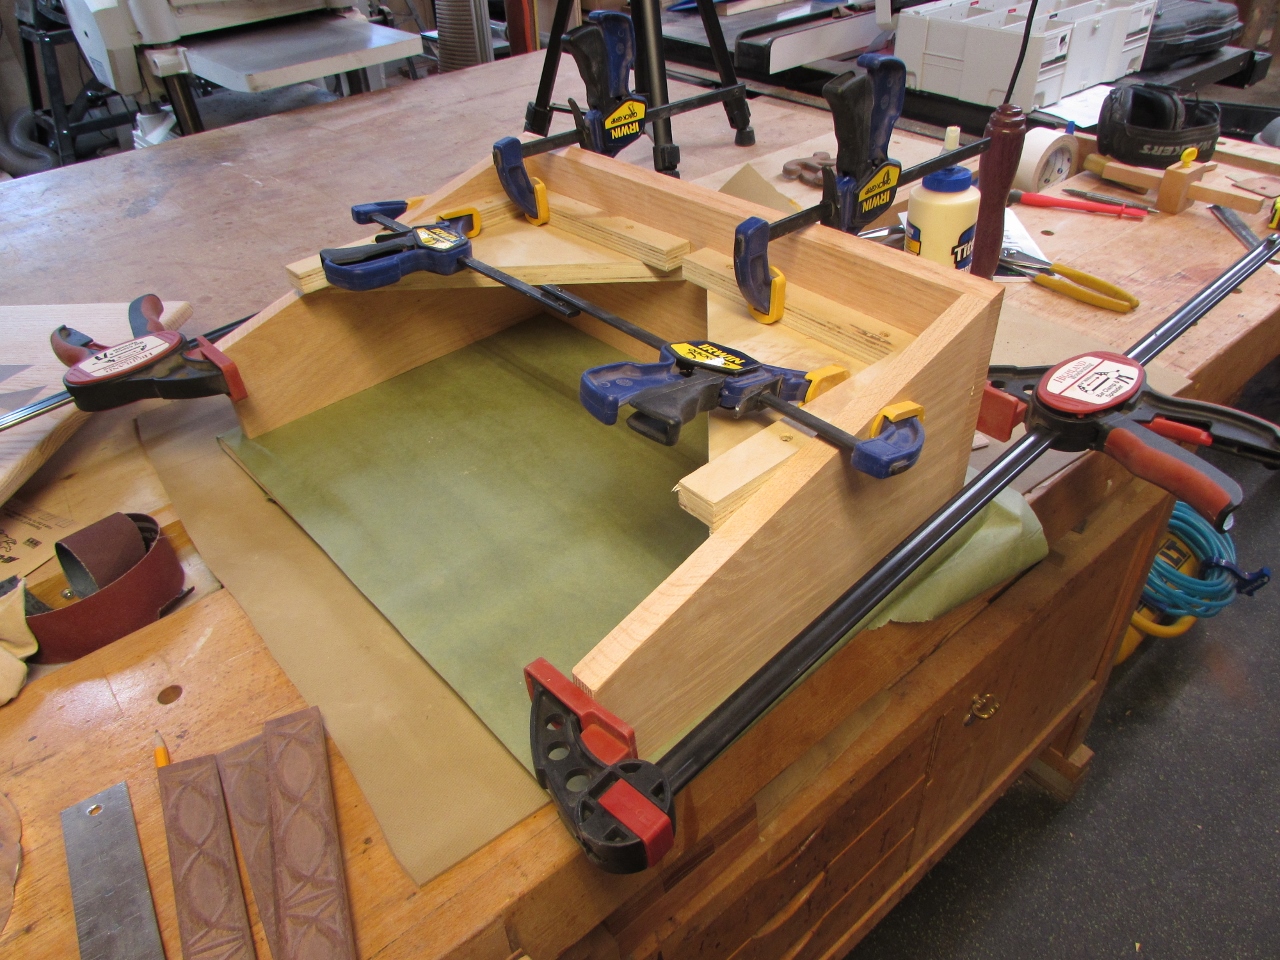
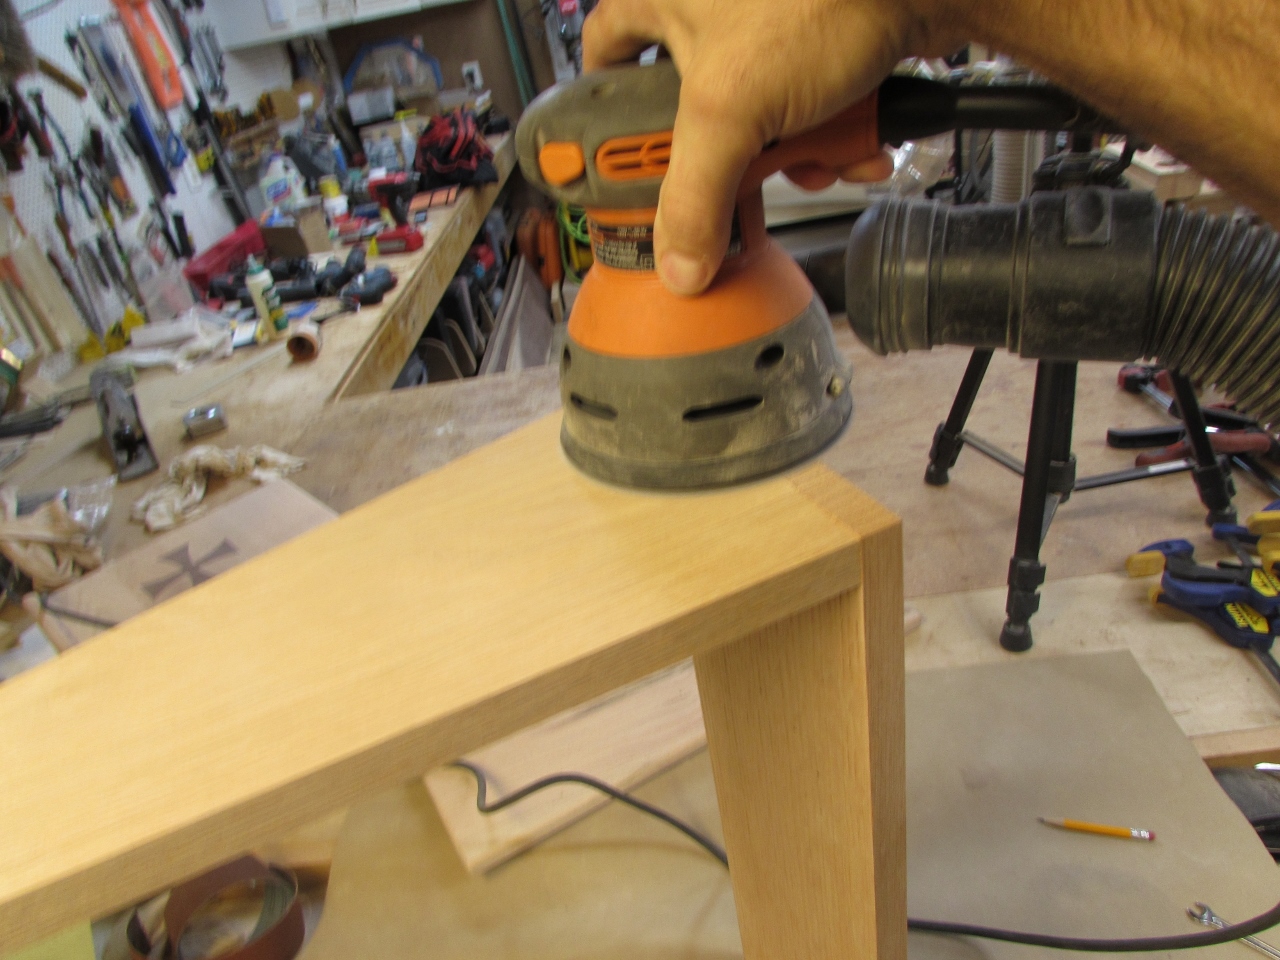
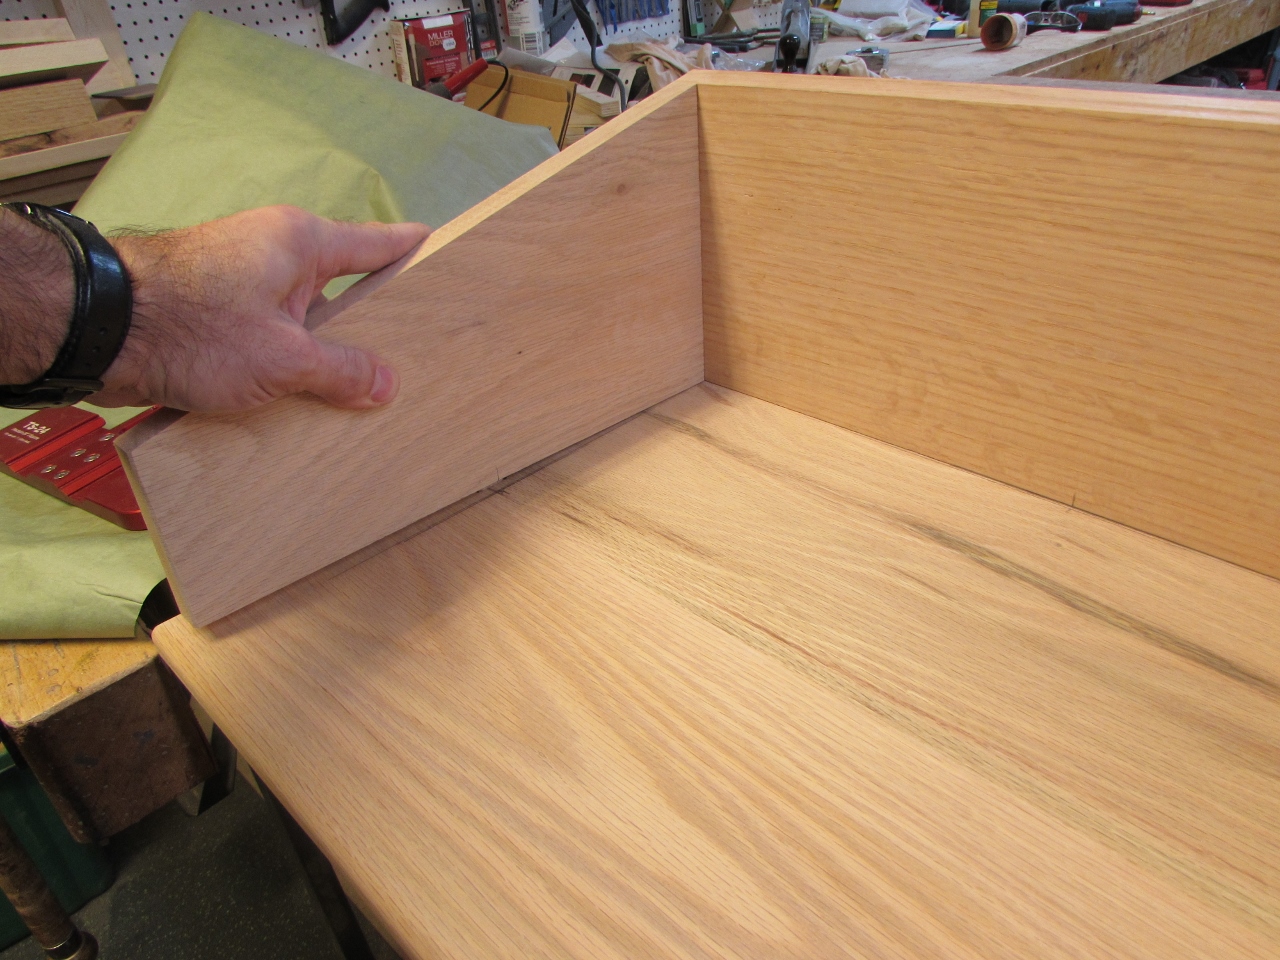
I pulled the clamps from the sides and it looked good, so I sanded the glue joints to make sure it was smooth.
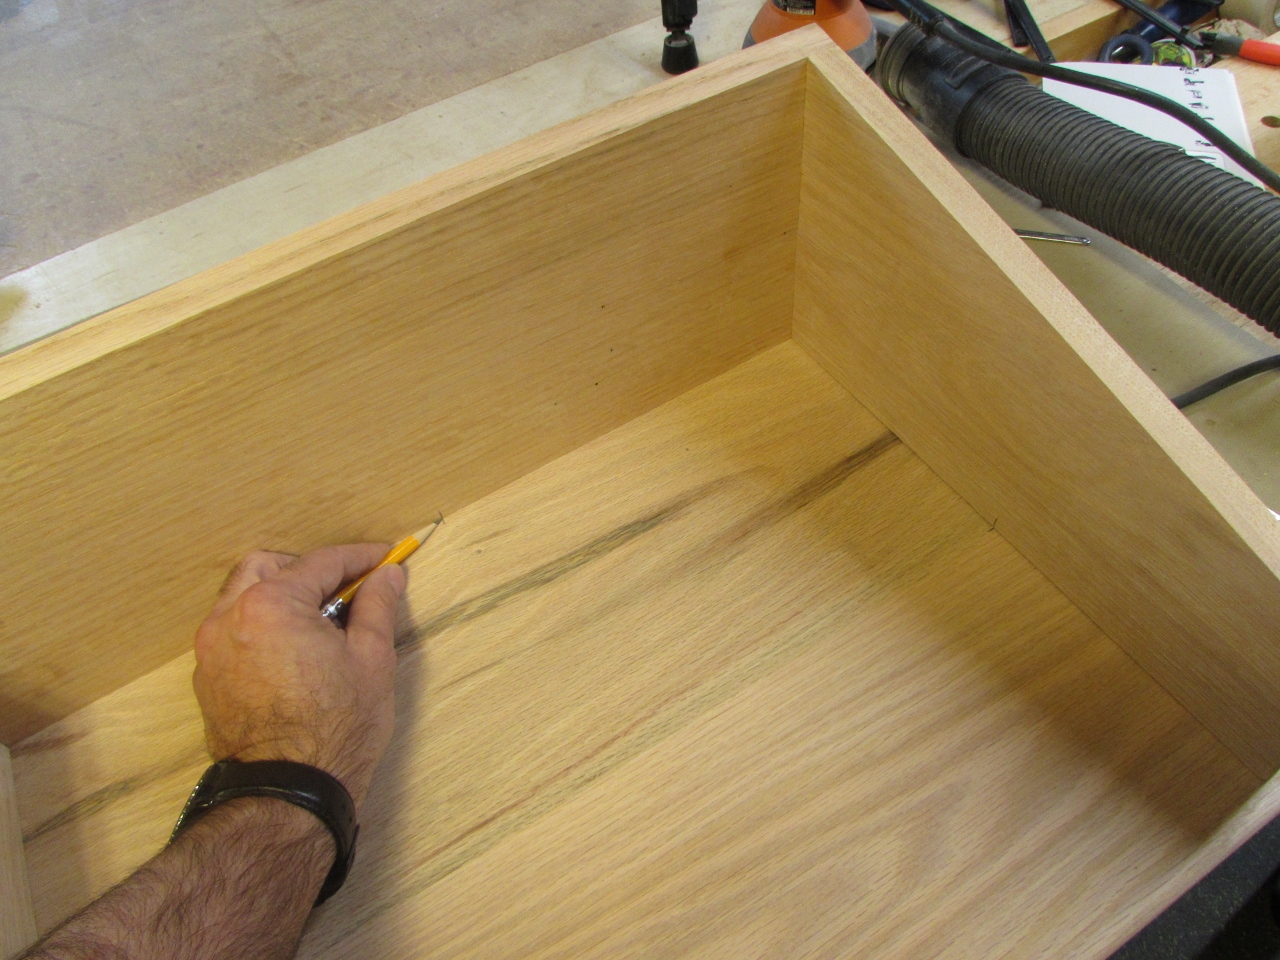
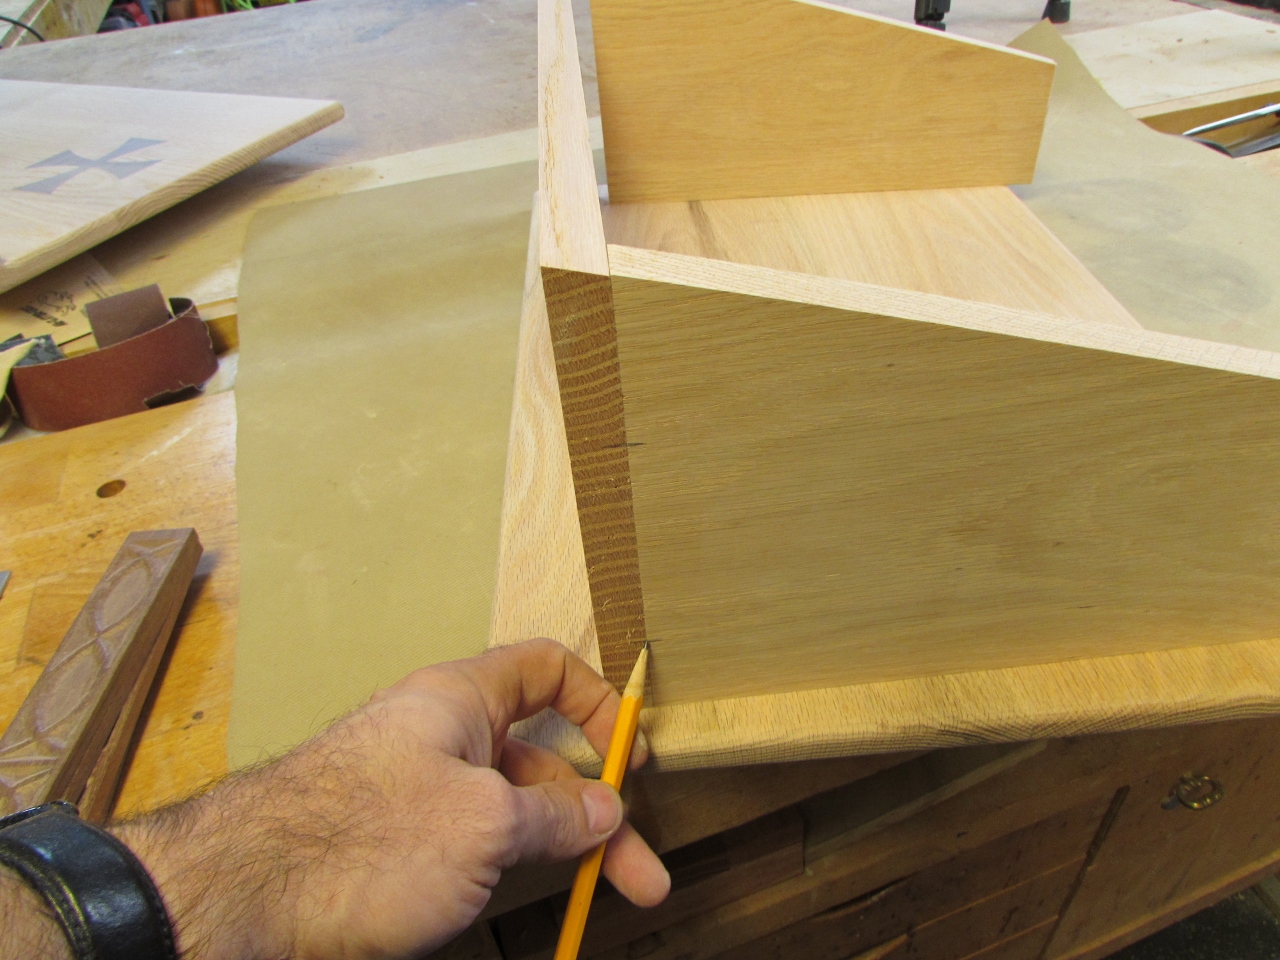
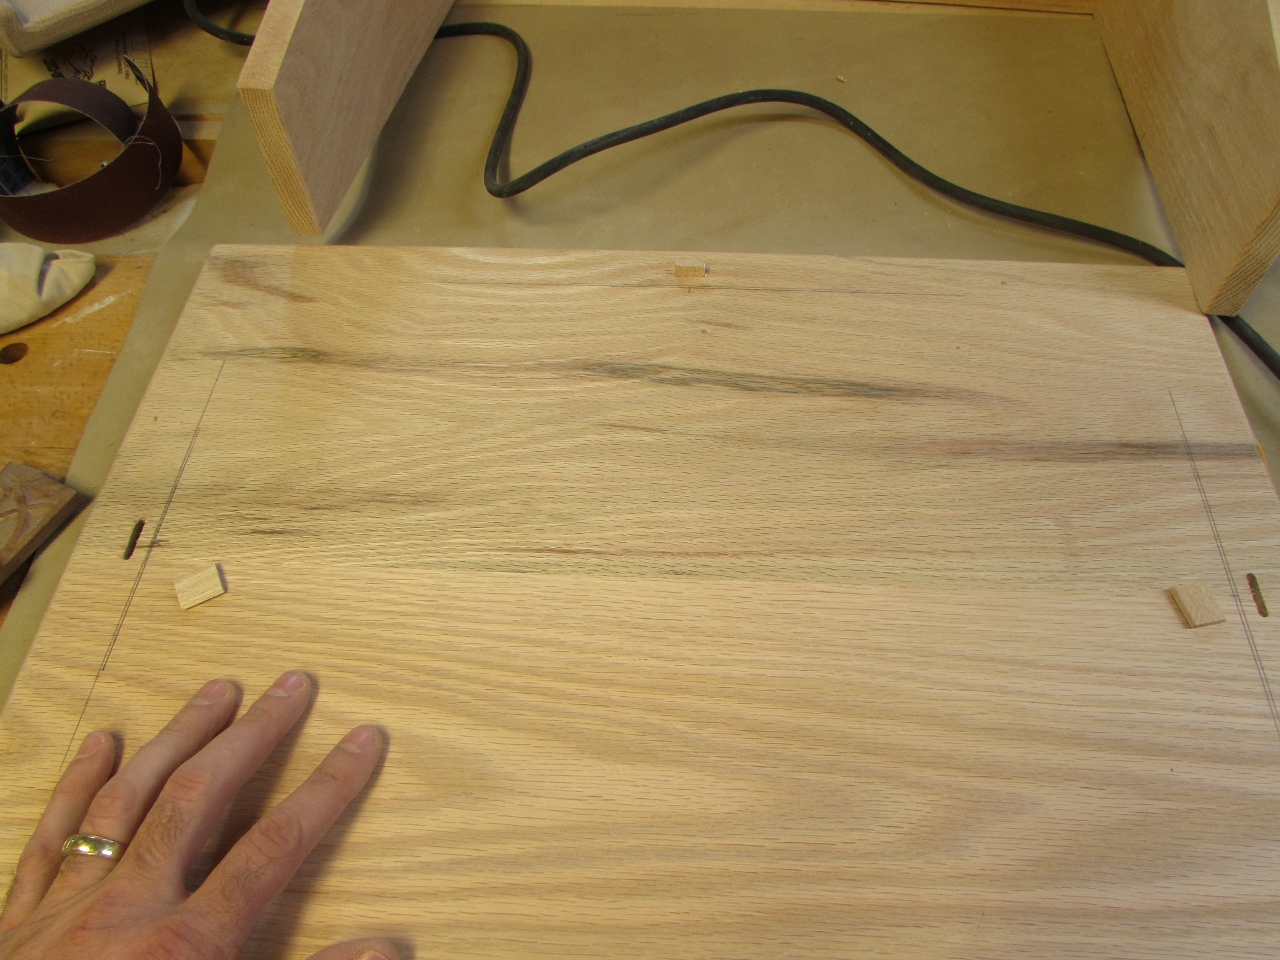
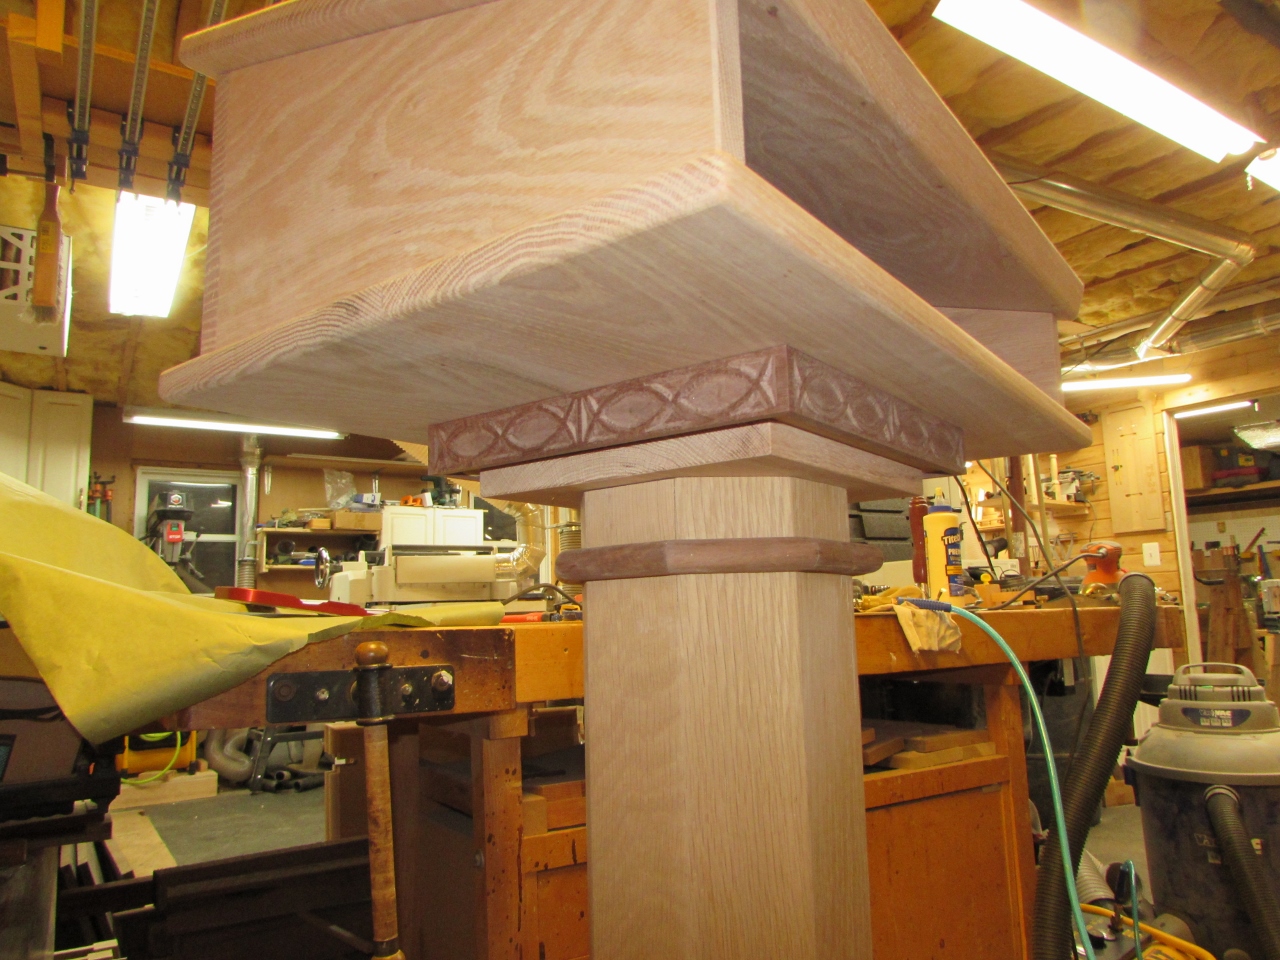
Next, I located the assembly on the bottom plate, and marked the location.

I used the Domino to cut three more spots in the bottom of the front and side assembly.

Then set the Domino to plunge downward, to cut the opposing holes in the bottom plate.
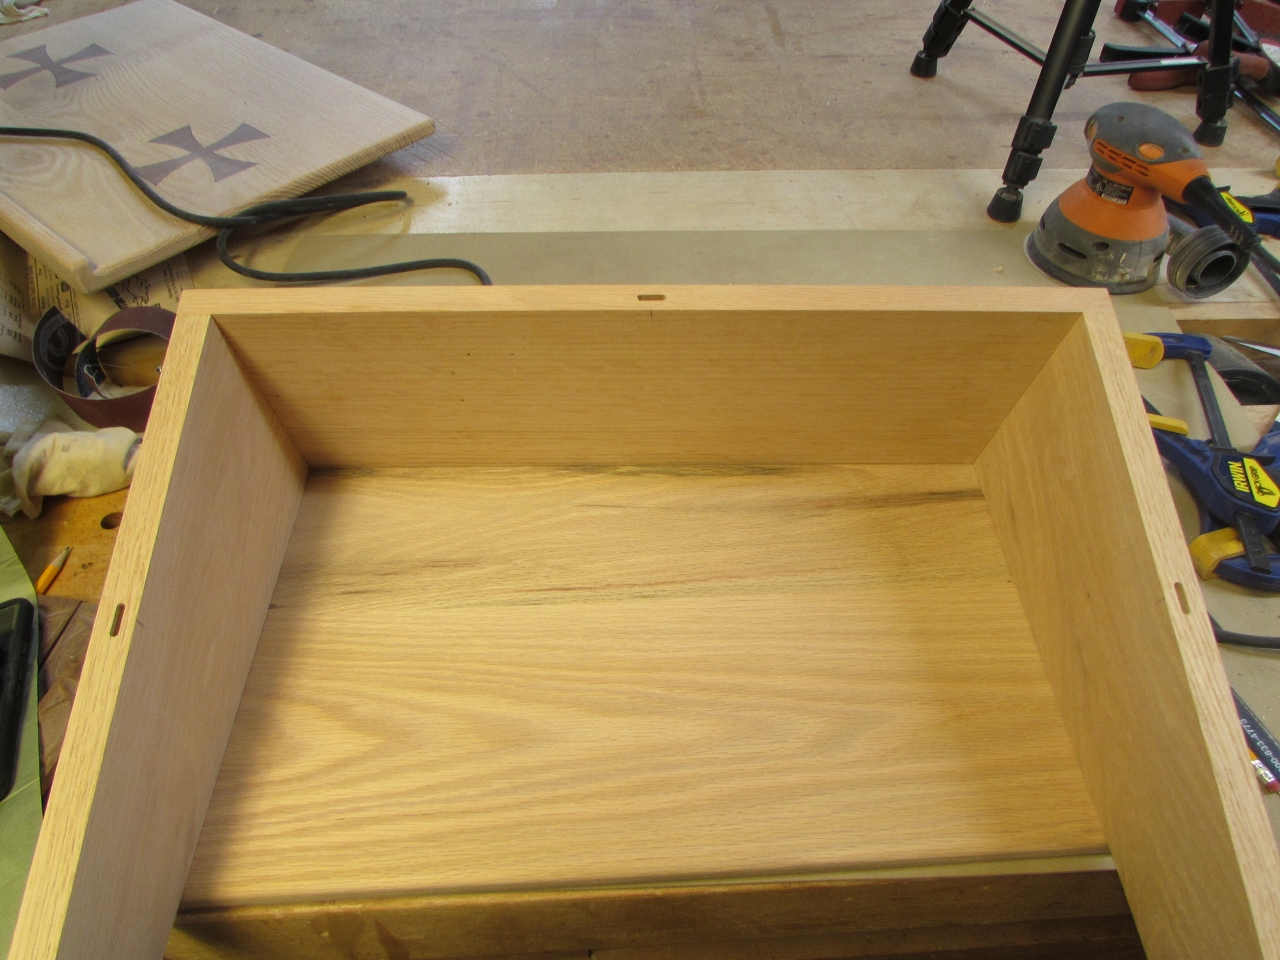
I did a quick dry-fit to verify my locations.
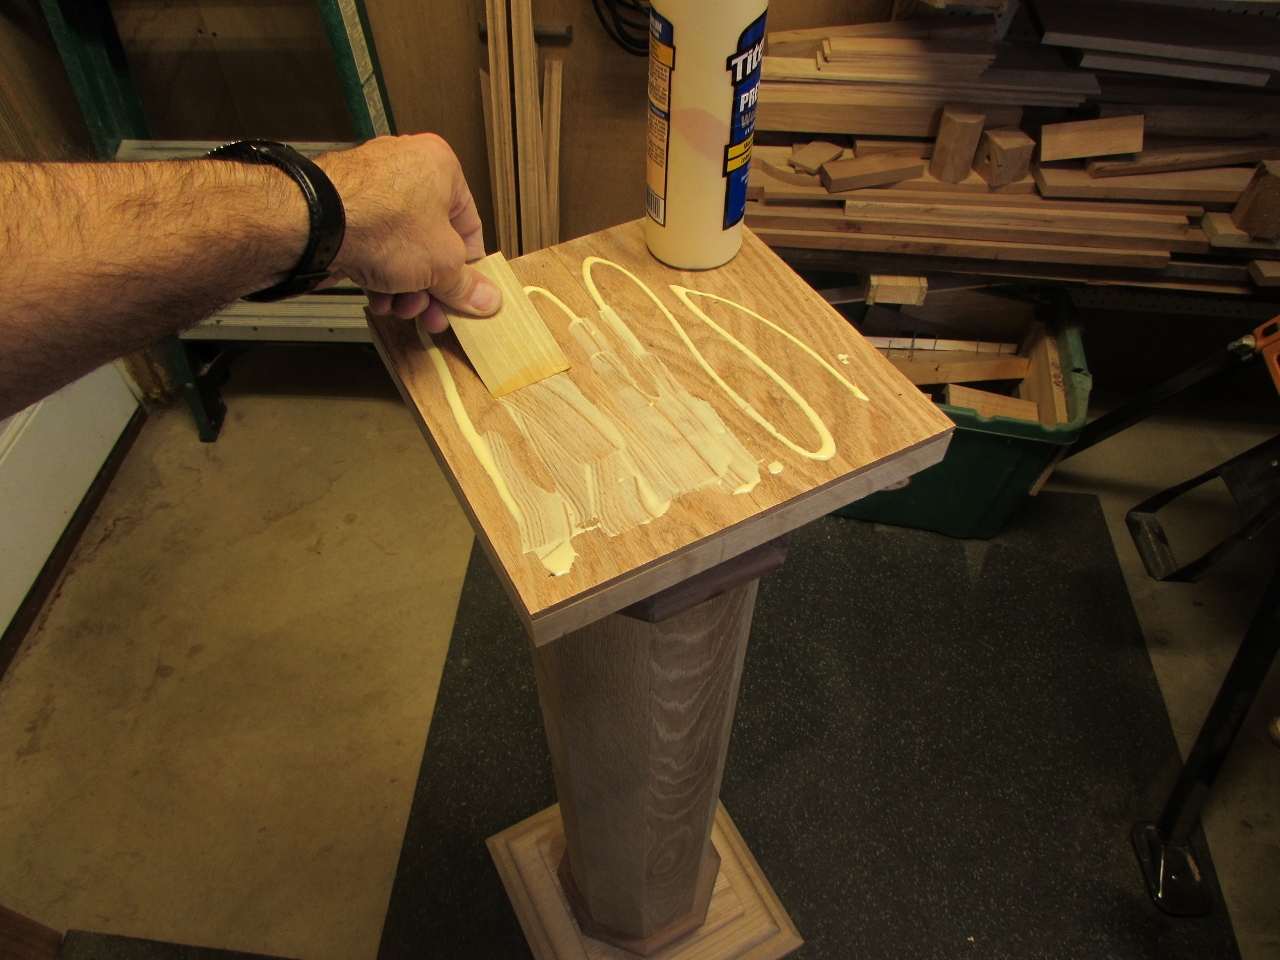
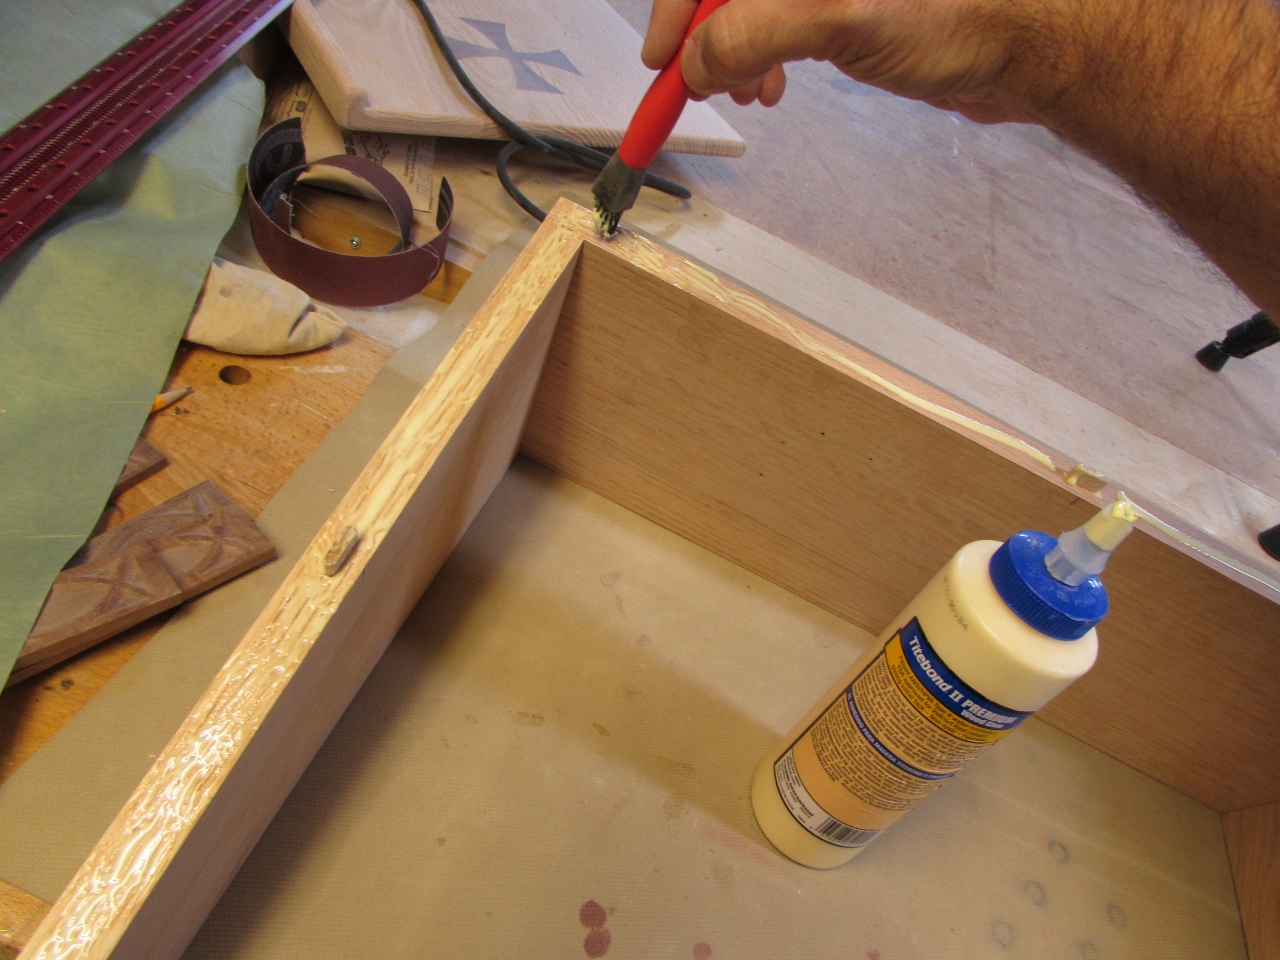
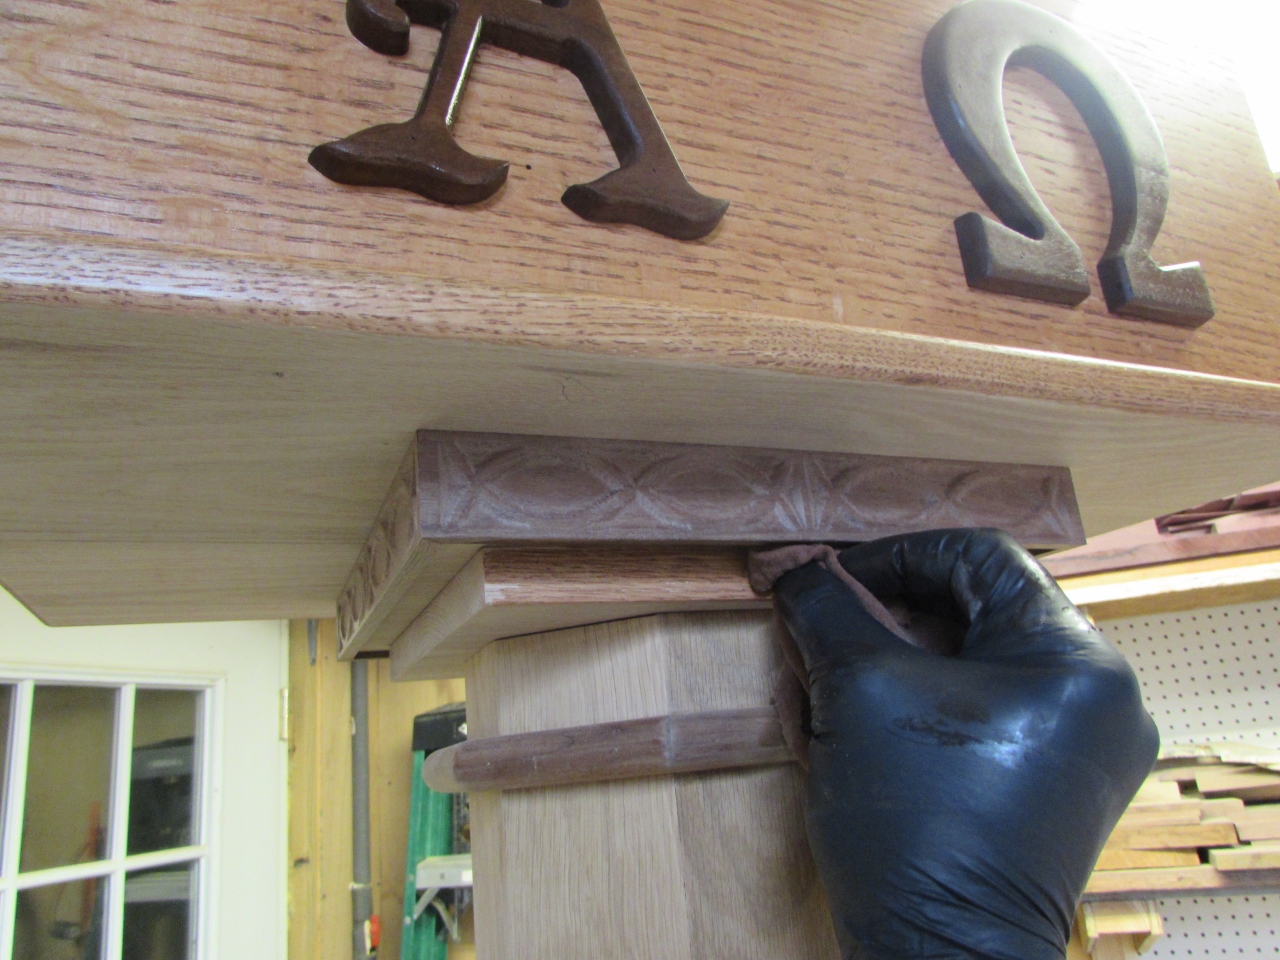
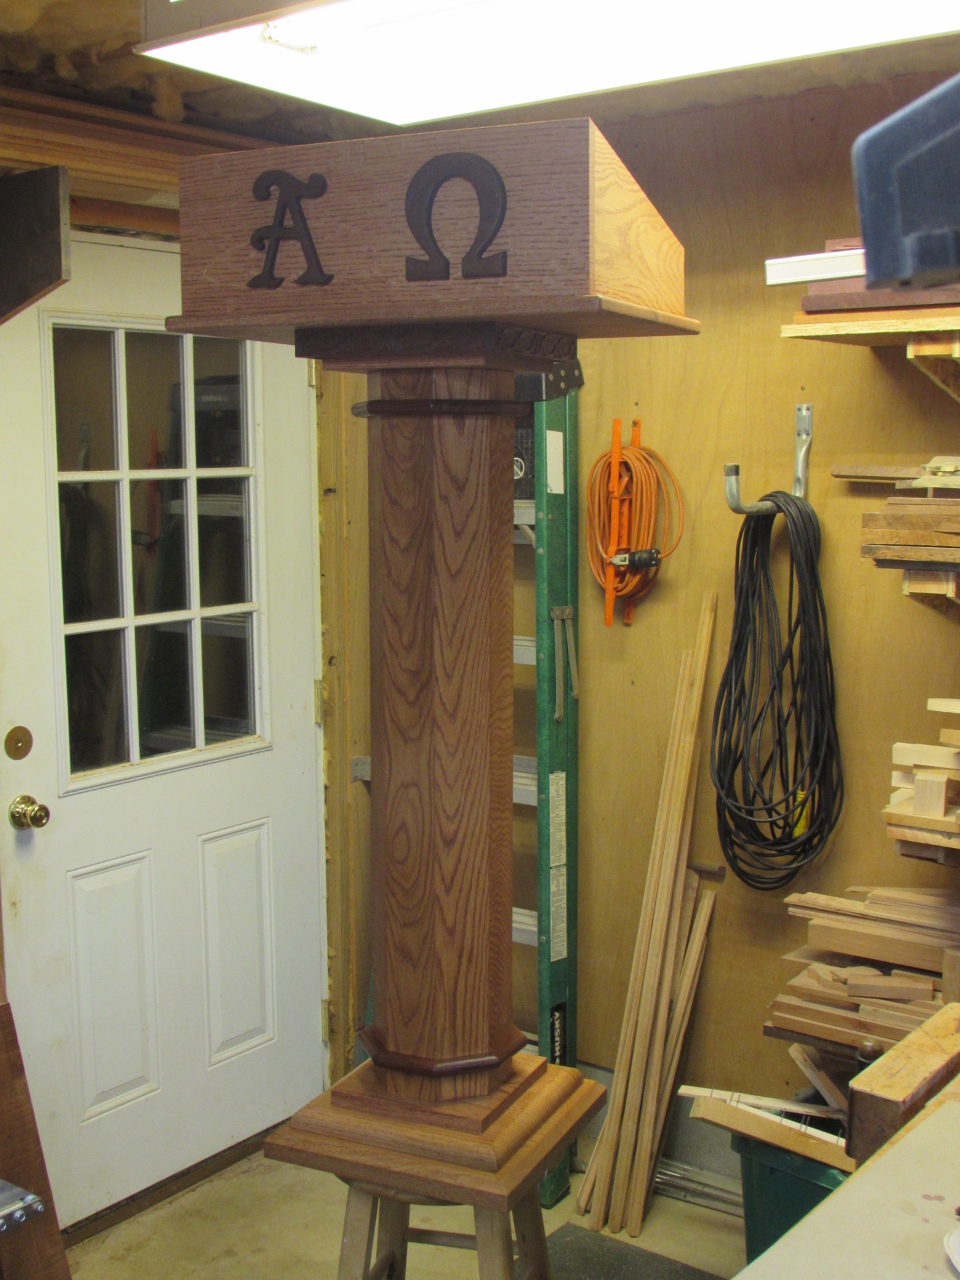
Then I applied glue to the top of the column and centered the bottom plate on top of it and used my brad nailer to hold it firmly in place while the glue dried.

Now I can apply the glue and clamp the sides down to the plate using my off-cut angles again as clamping cauls to hold it while it dries.
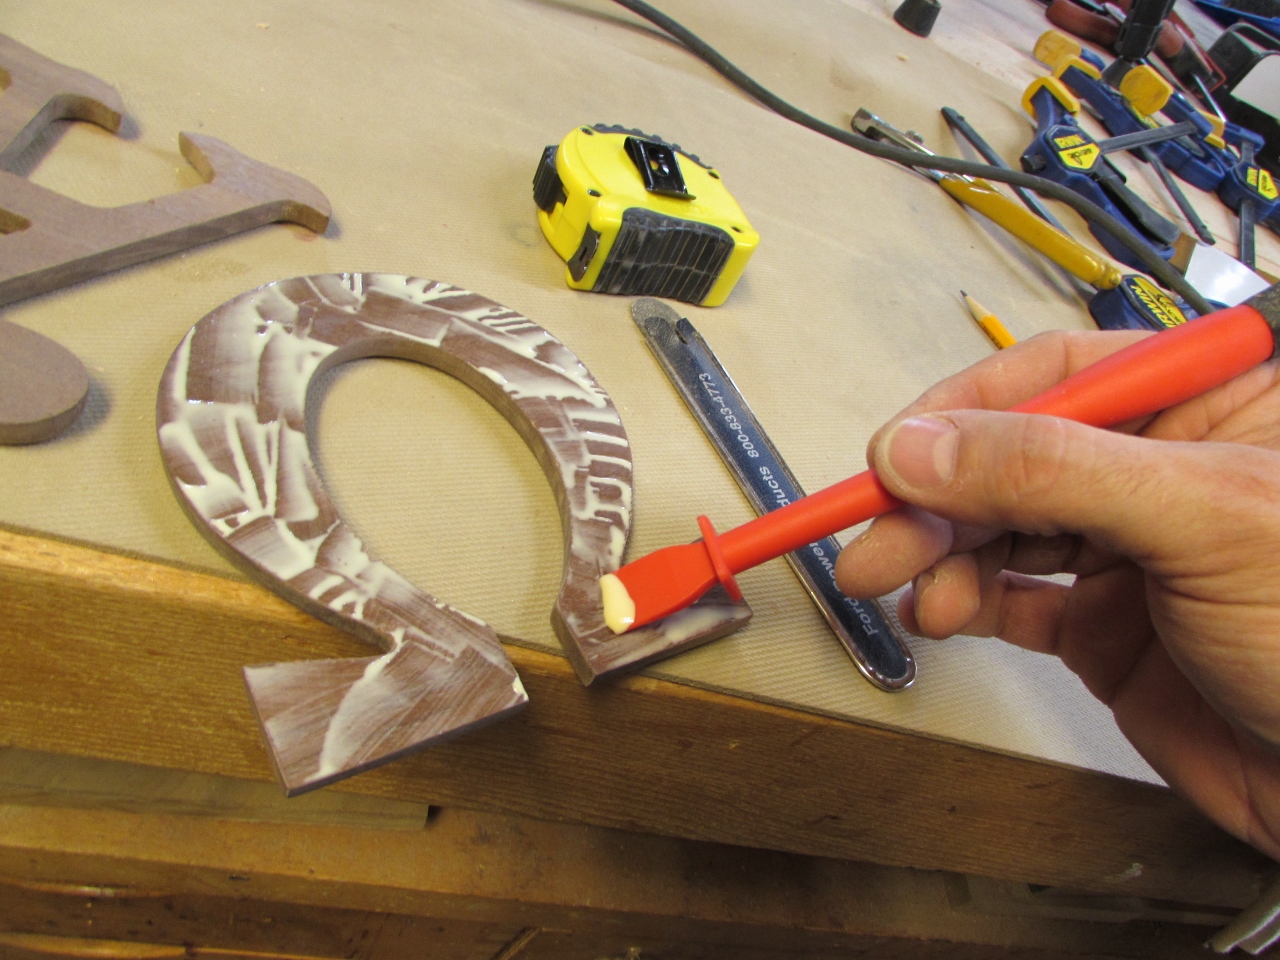
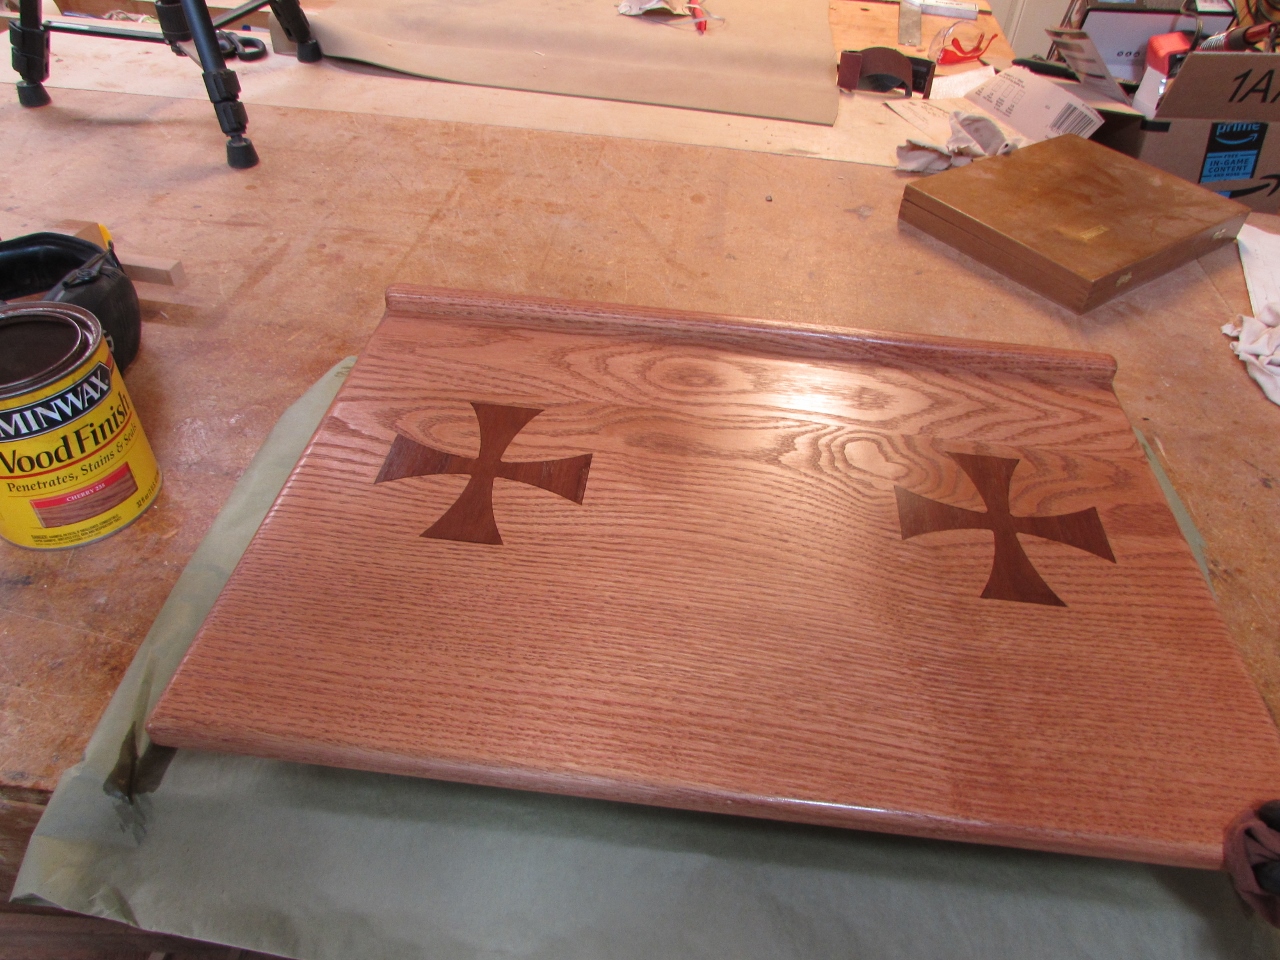
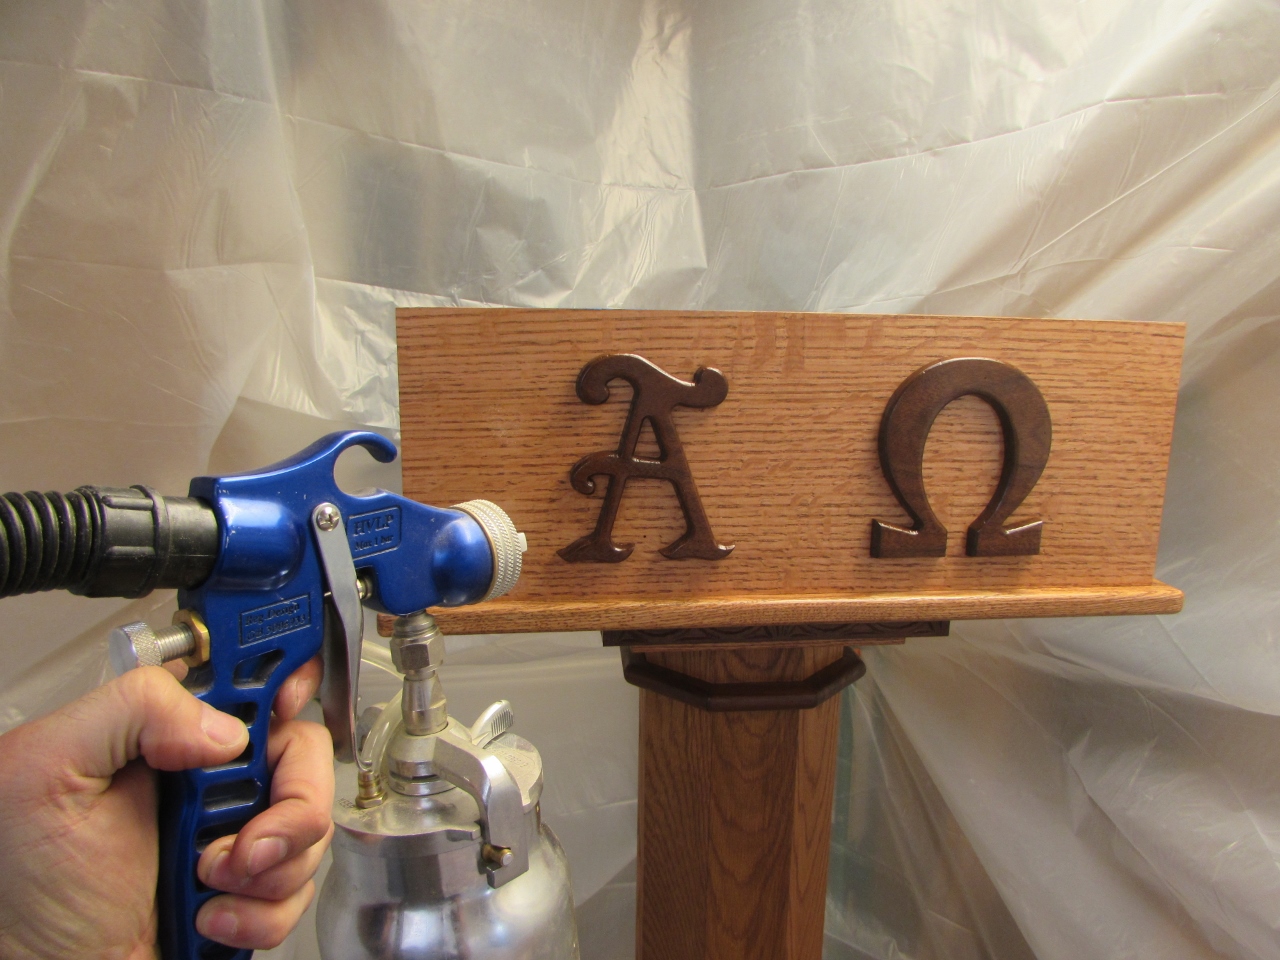
While that is drying, I applied glue to my symbols and used a 1″ spacer strip to hold them at the correct location so I could add a few pins to hold them while they dried as well.
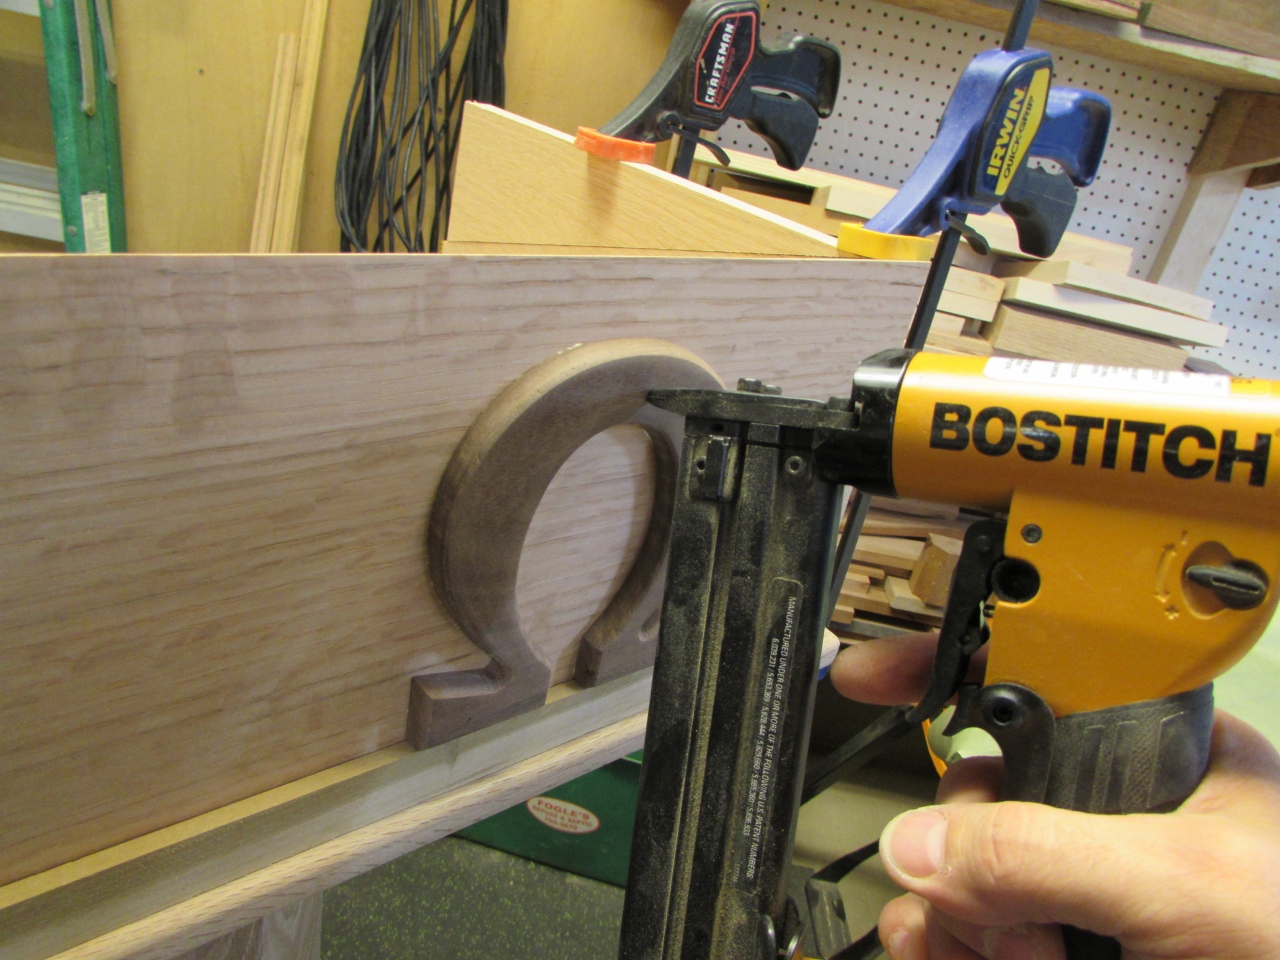
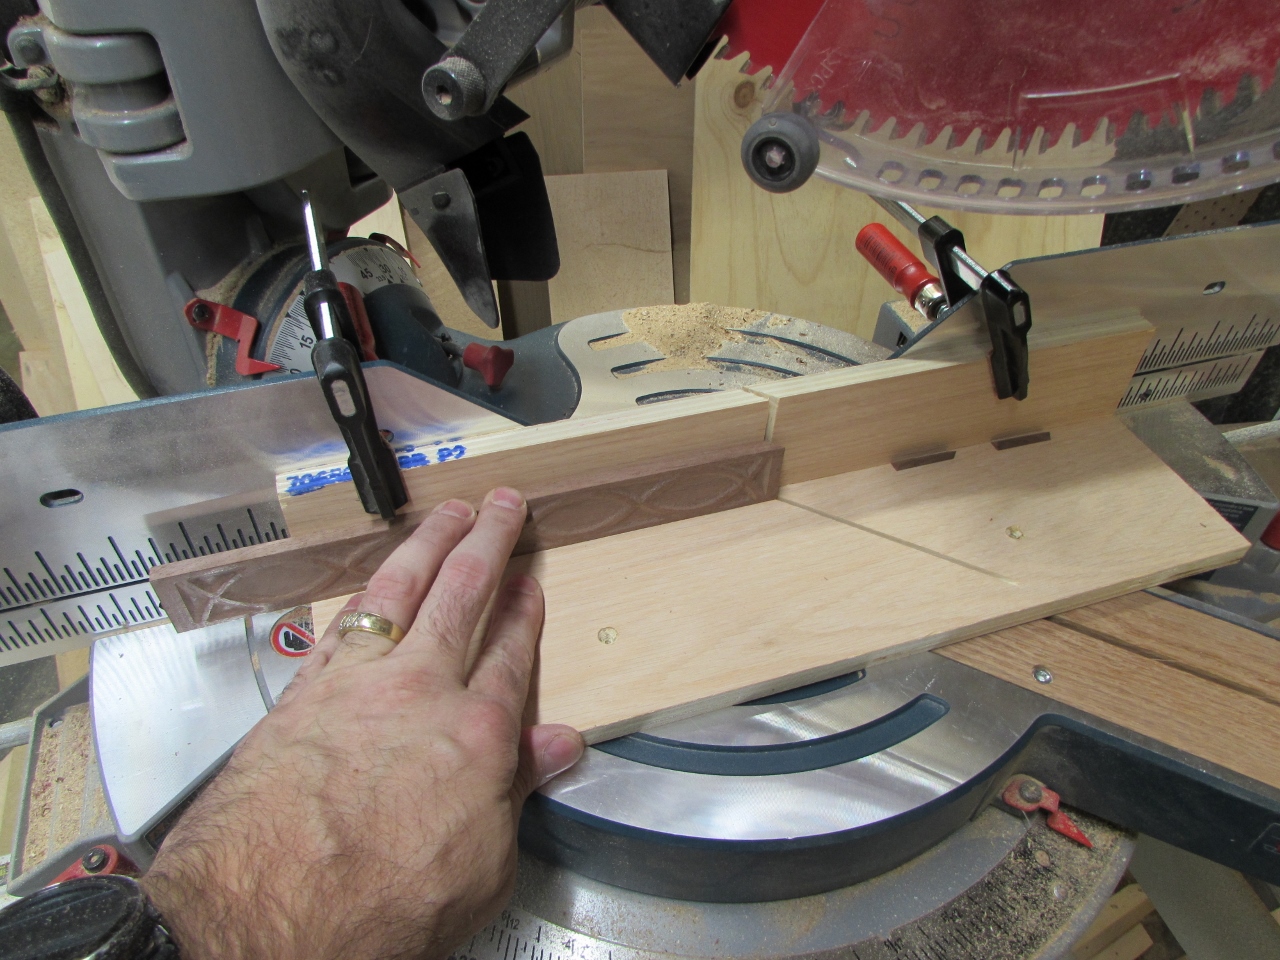
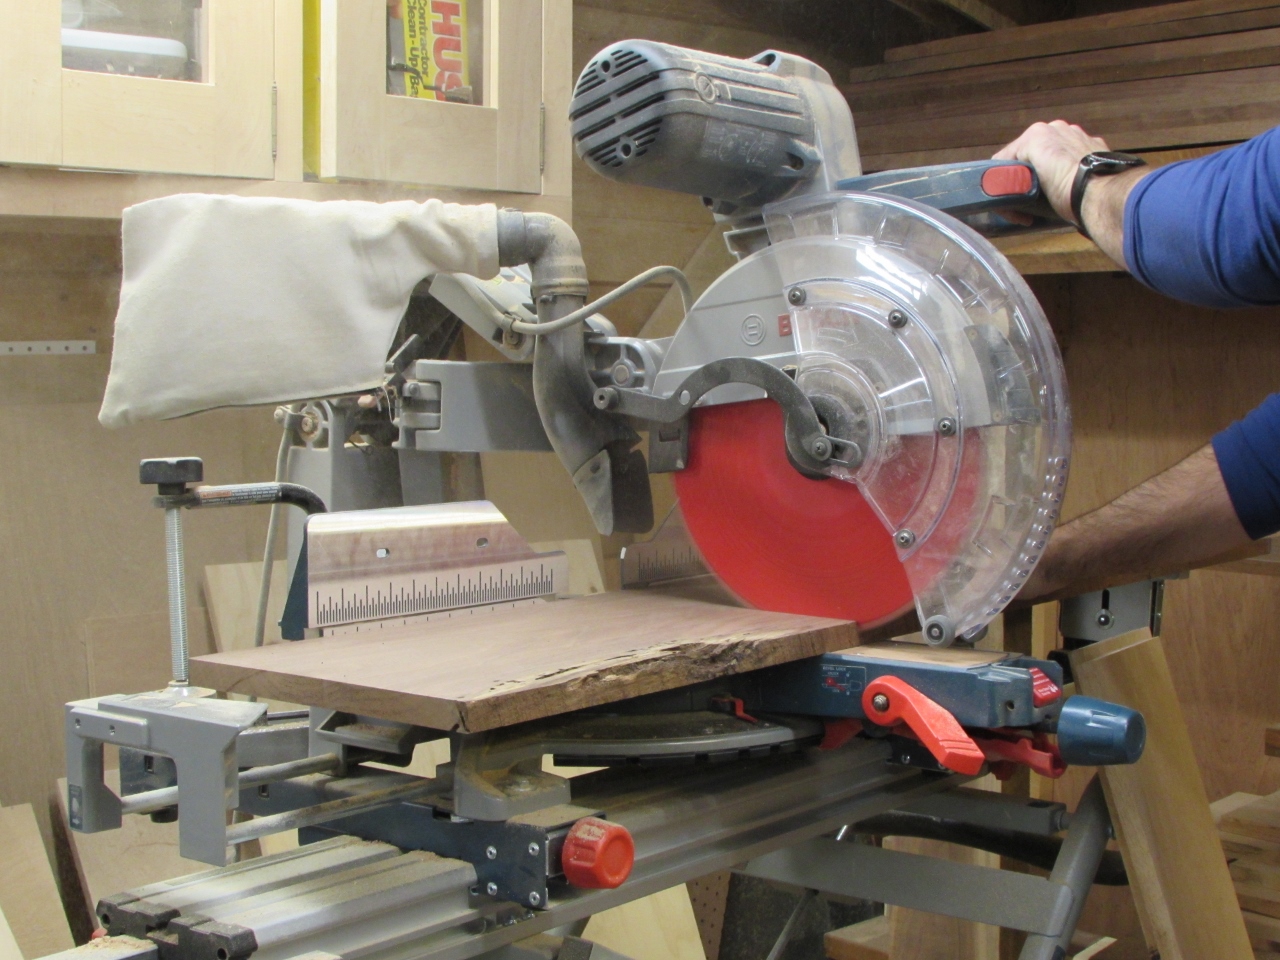
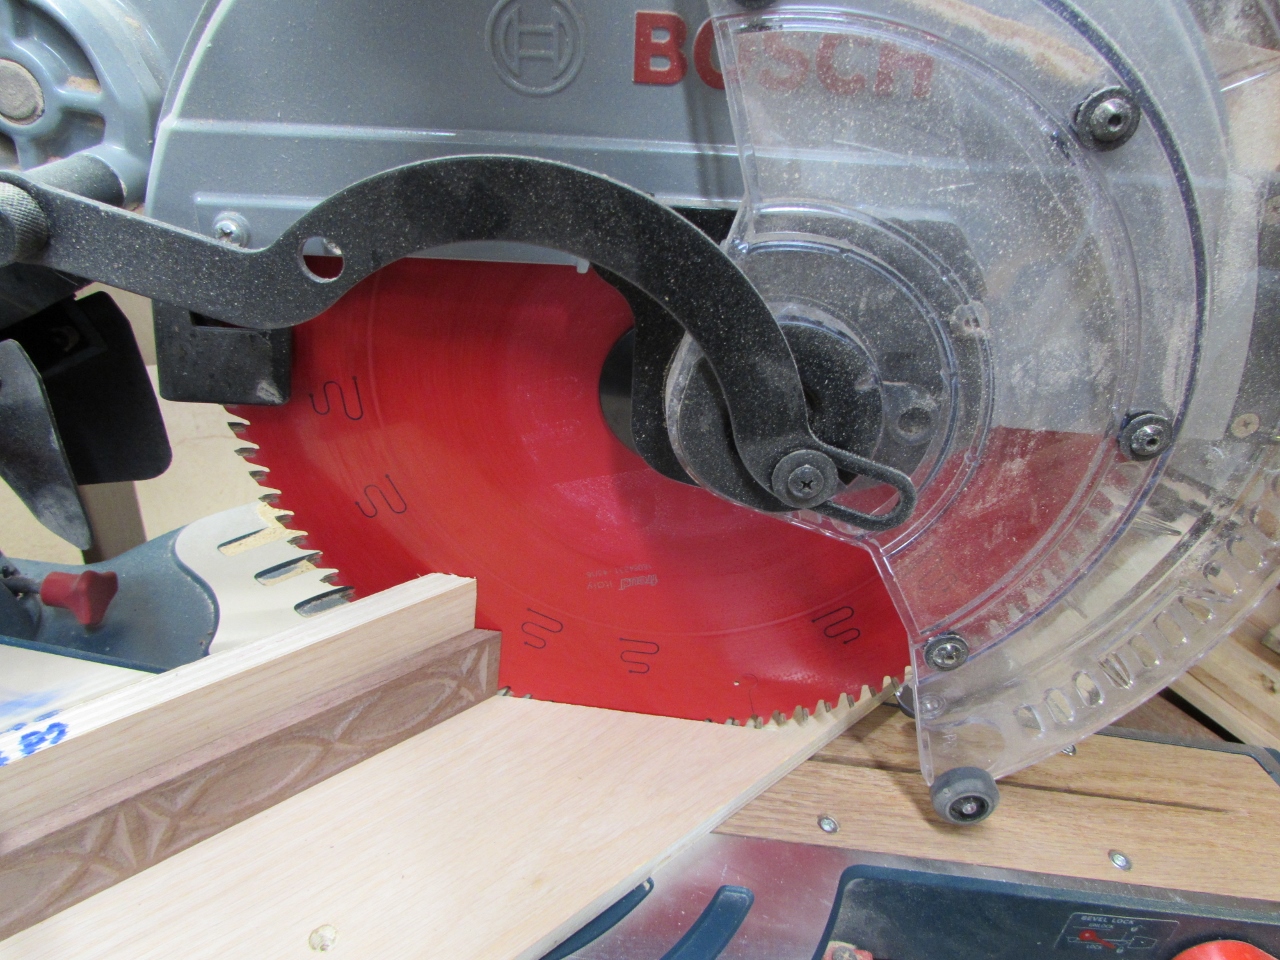
With the top in place, I can now attach the little fish plates that I carved on day one. I set up a sacrificial fence on my miter saw, to safely cut them down.
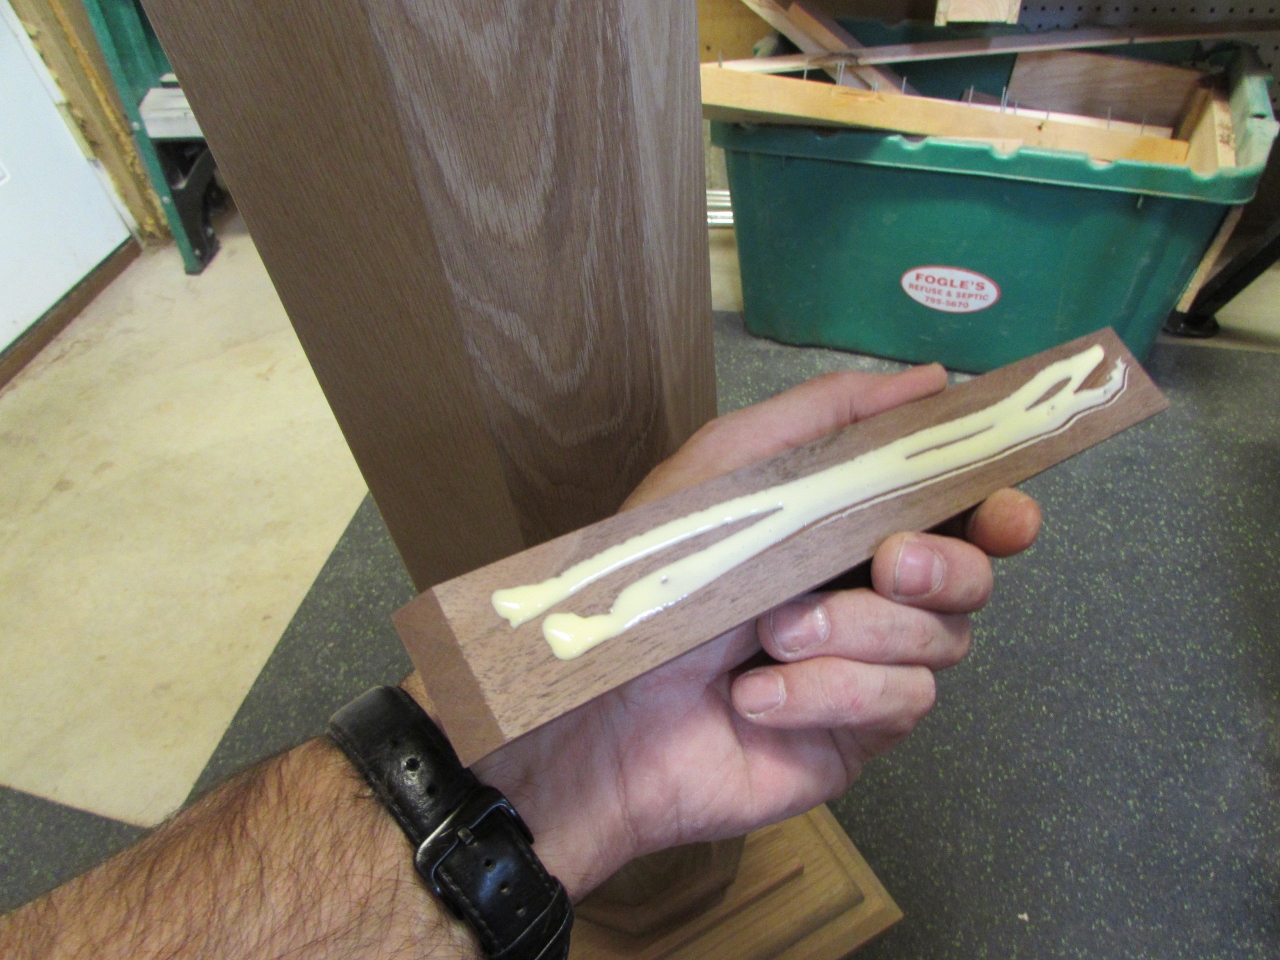
Then I applied some glue and a couple of pin nails for attachment.
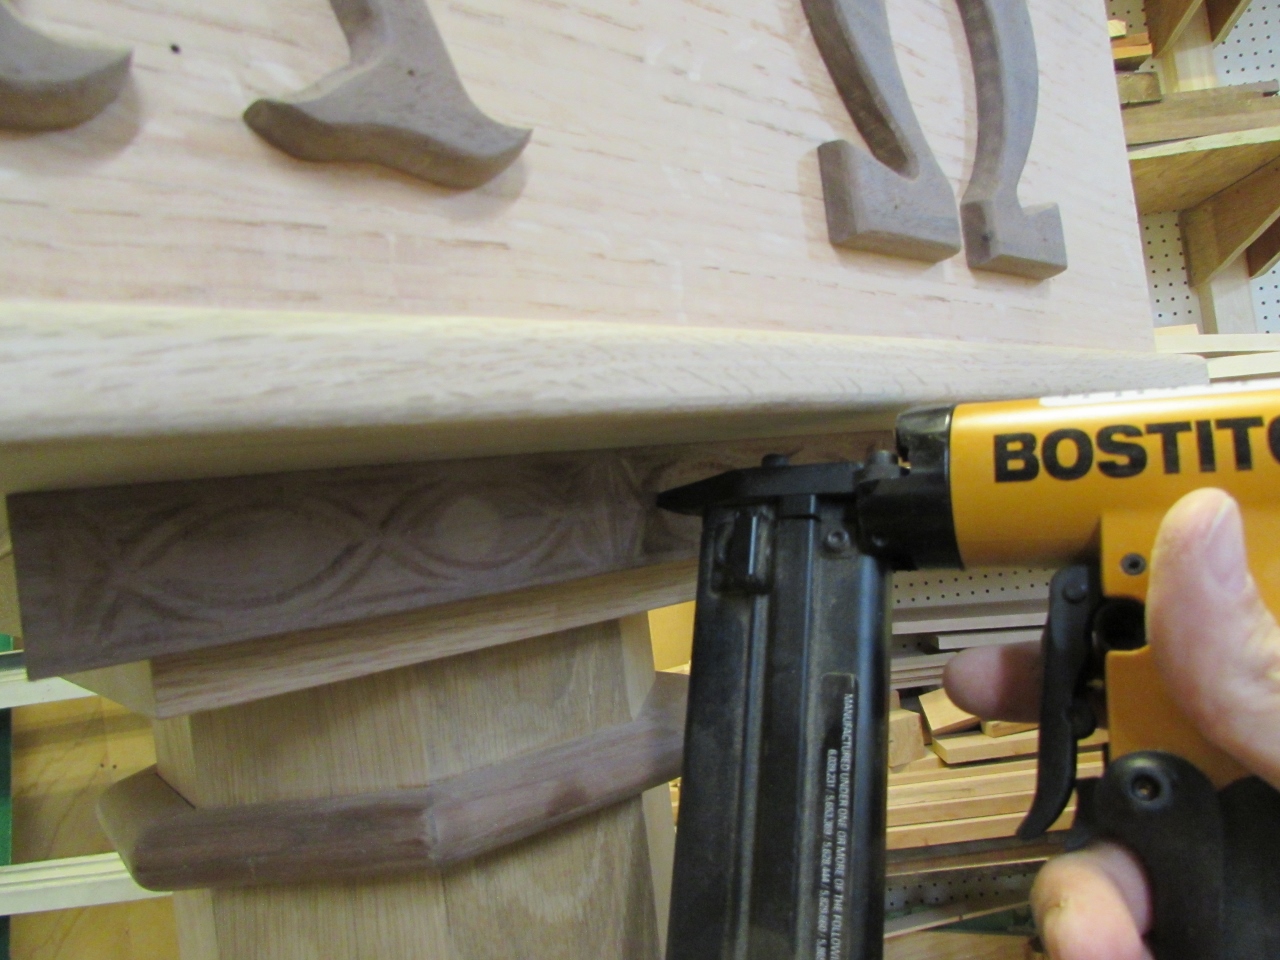
Rinse and repeat three more times and the fish were in place.
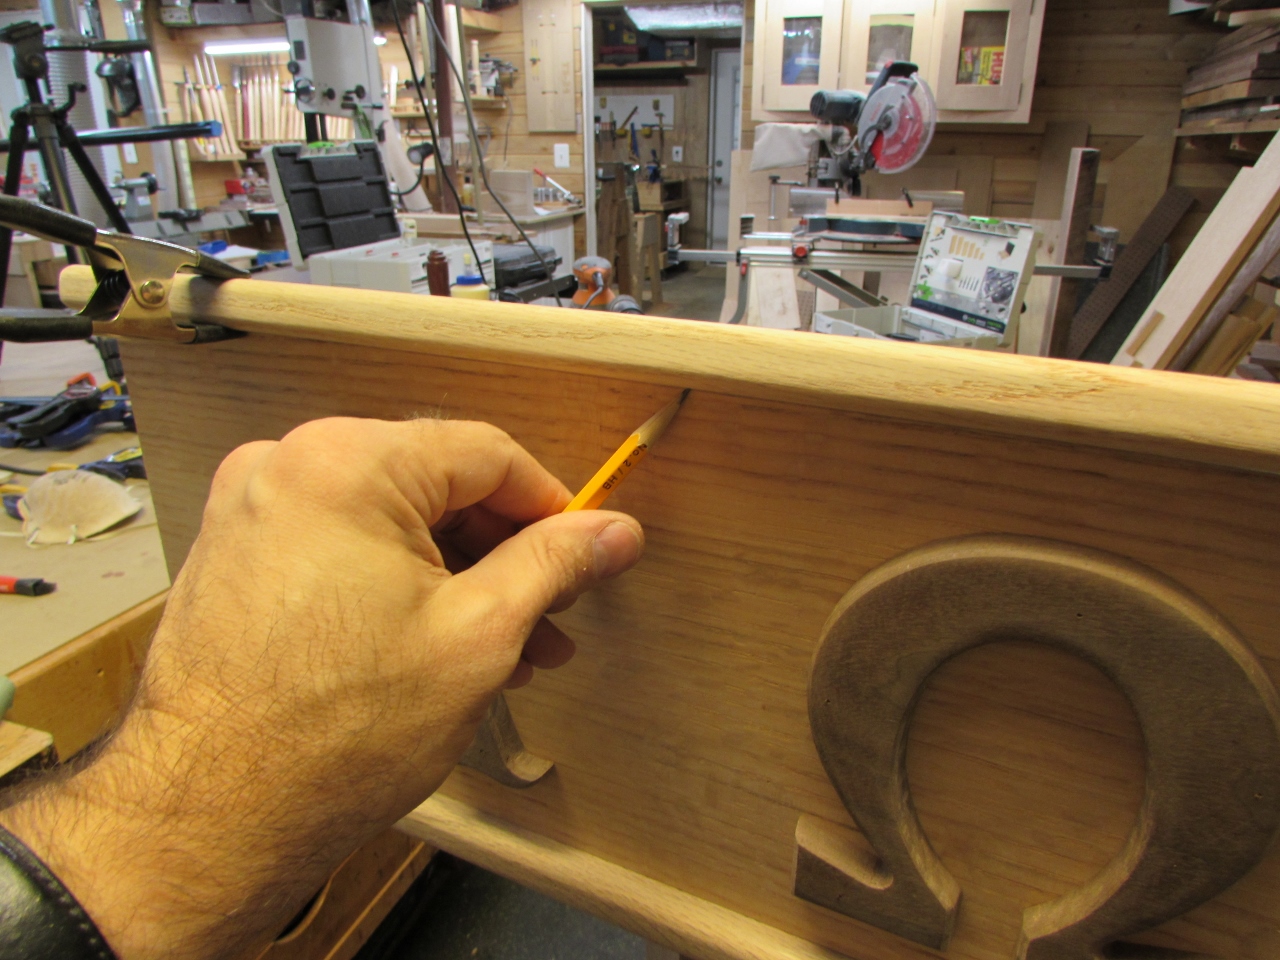
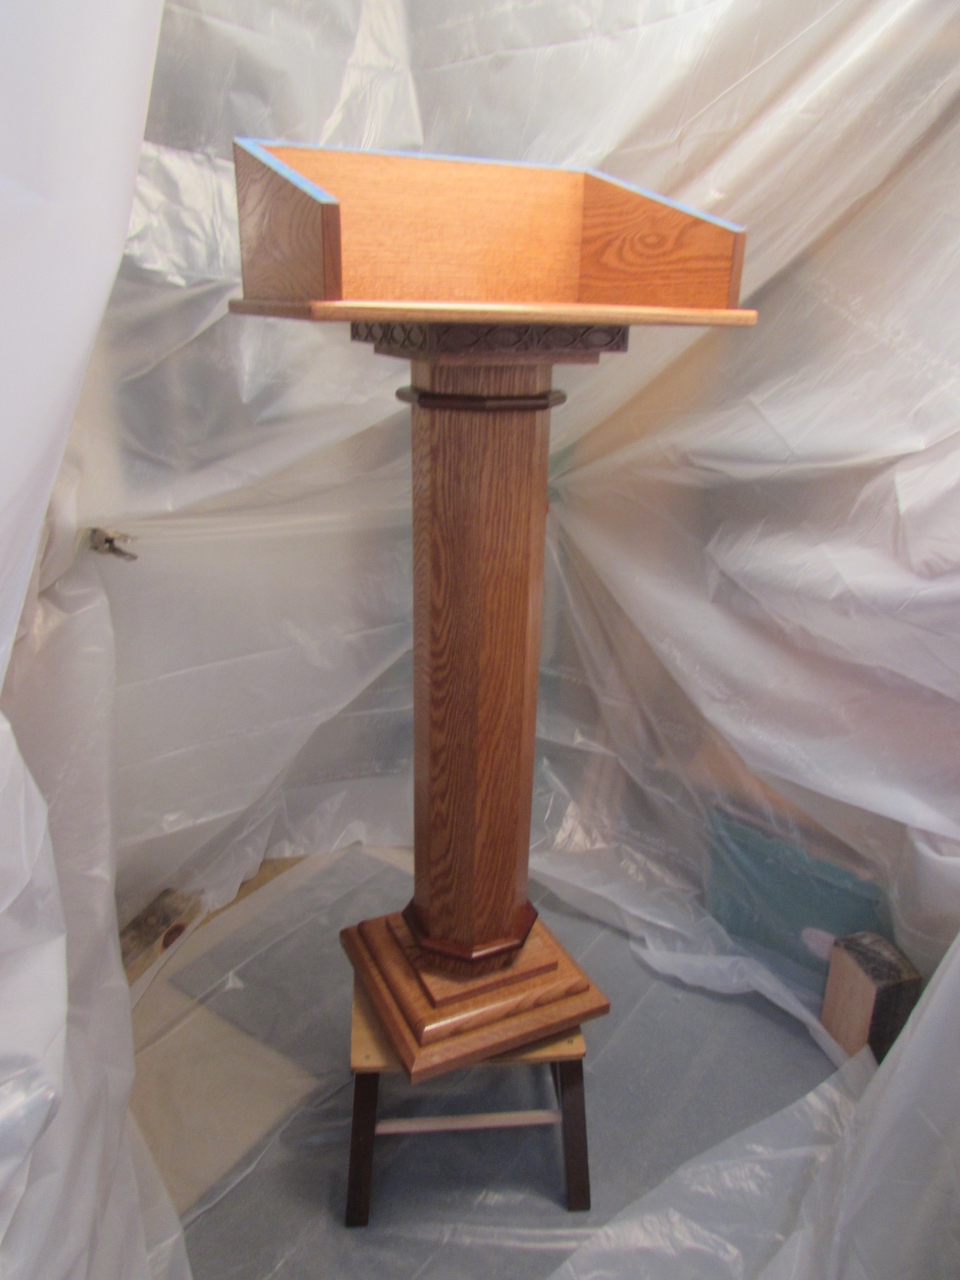
The last piece to go on will be the top but I cannot easily finish the inside of the box with the top mounted in place, so I marked the location, and applied painter’s tape to the spot.
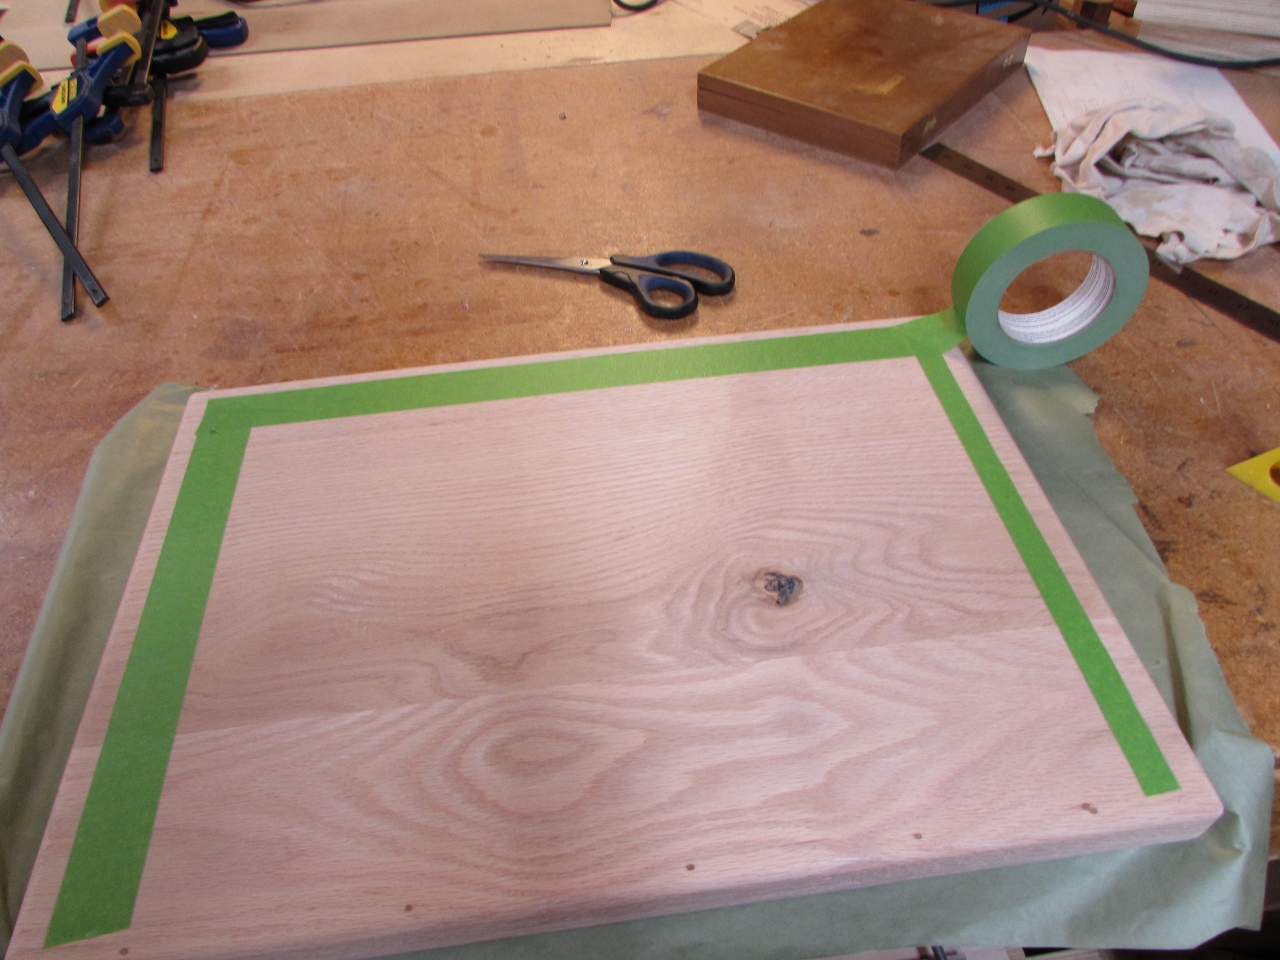
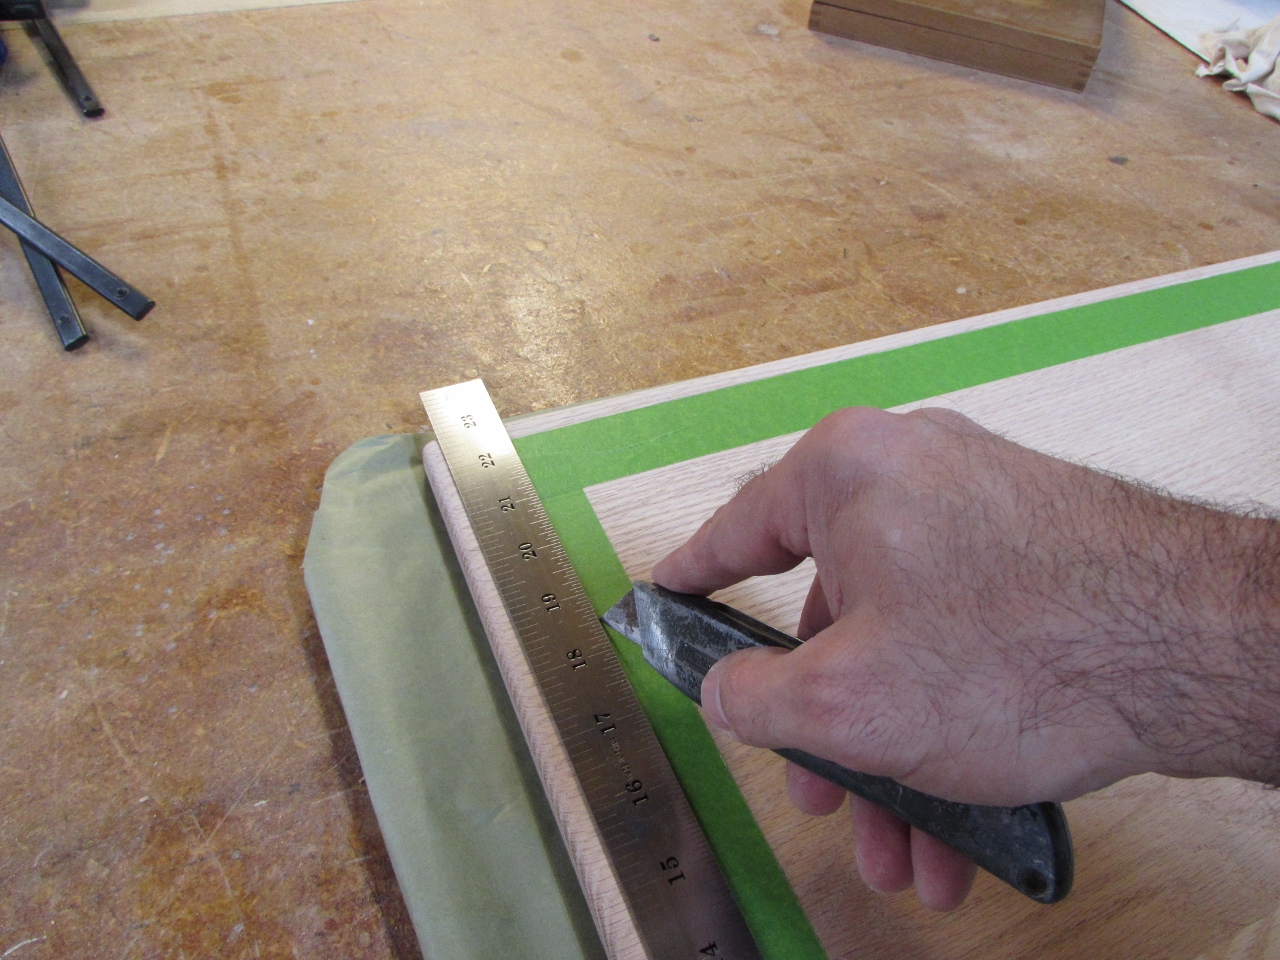
I used a utility knife and a straight edge to cut the tape to only cover the future glue joint. Glue will stick better to bare wood than a finished surface.

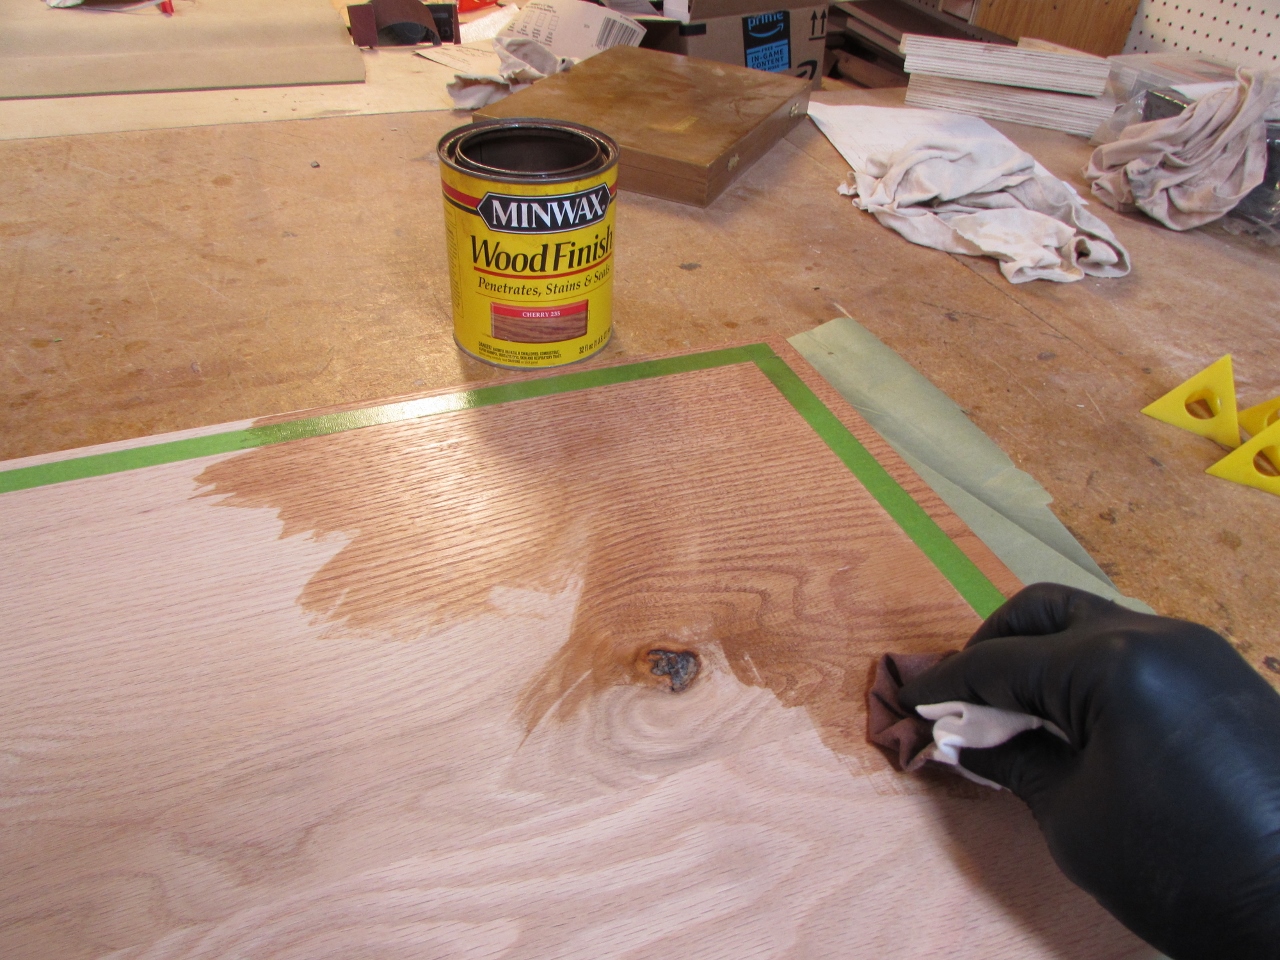
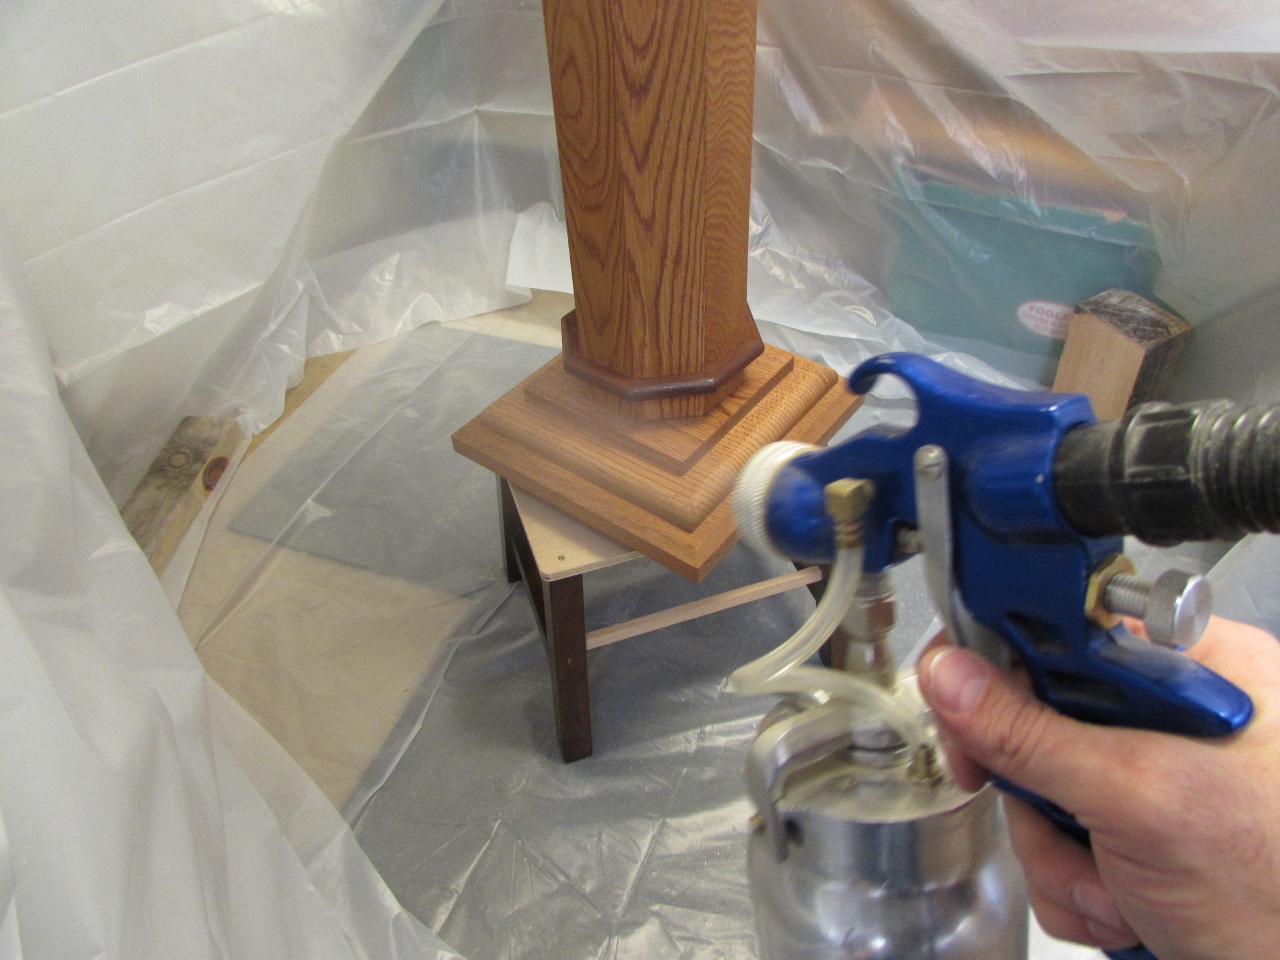
With the masking in place, it was time to start staining. I did the bottom first and then flipped it over on some painting pyramids to do the other side.
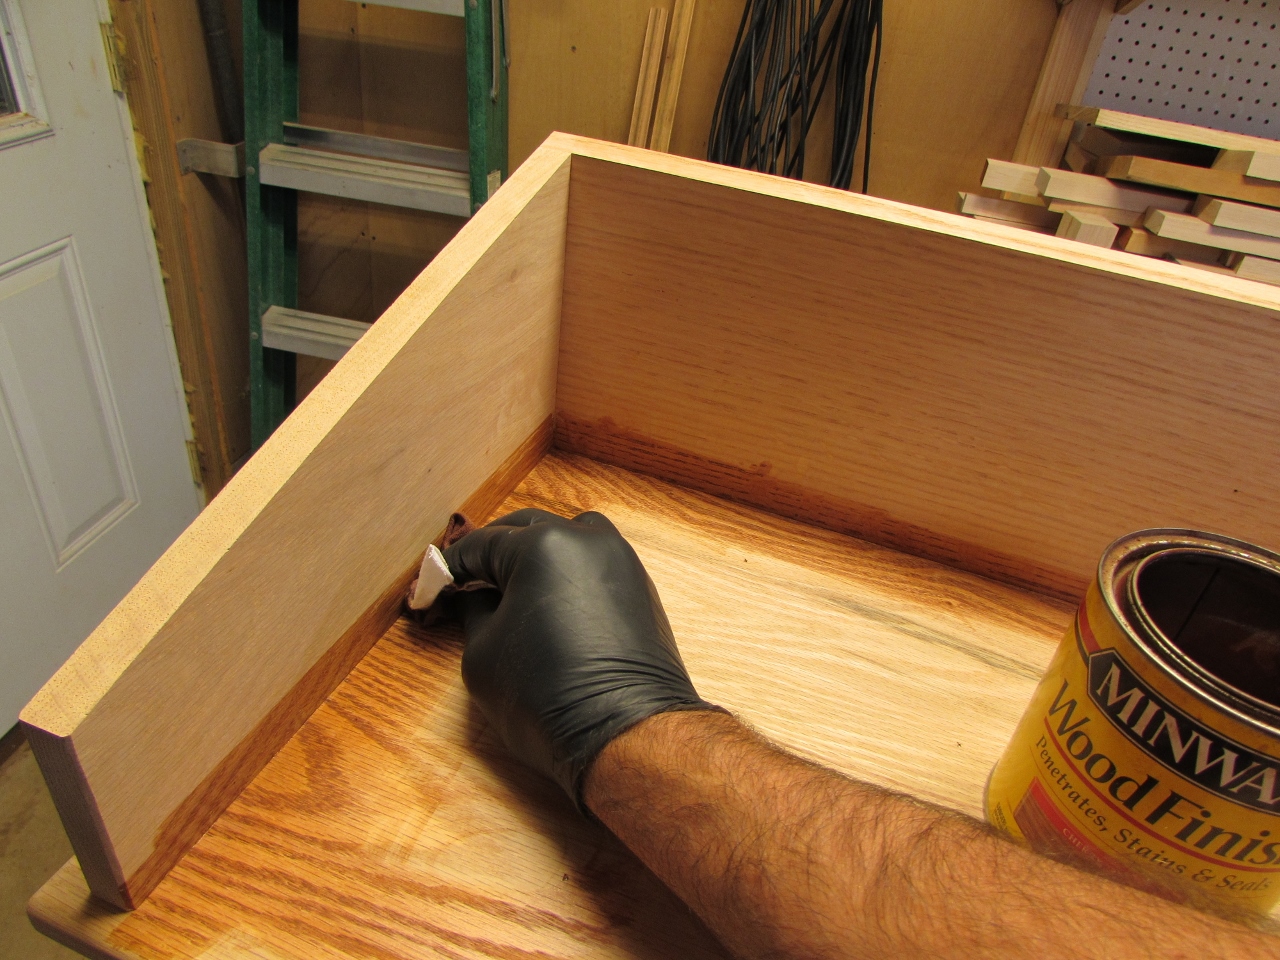
Then I moved on to staining the assembled part of the lectern.
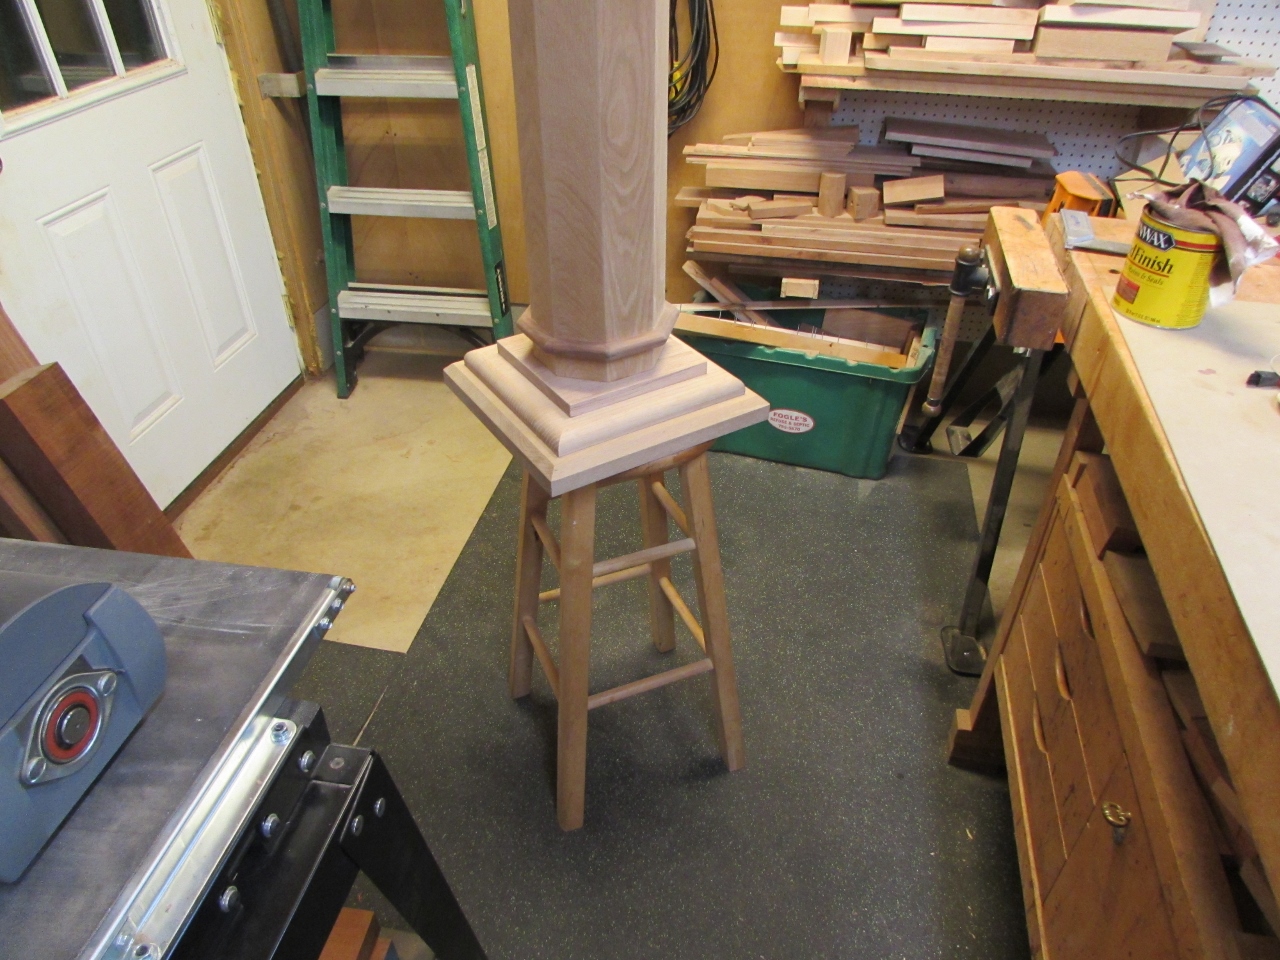
I am getting too old to be crawling around on the floor, so I put the column up onto my shop stool to get those hard to reach spots.
When the column was done, I left it over night to dry.
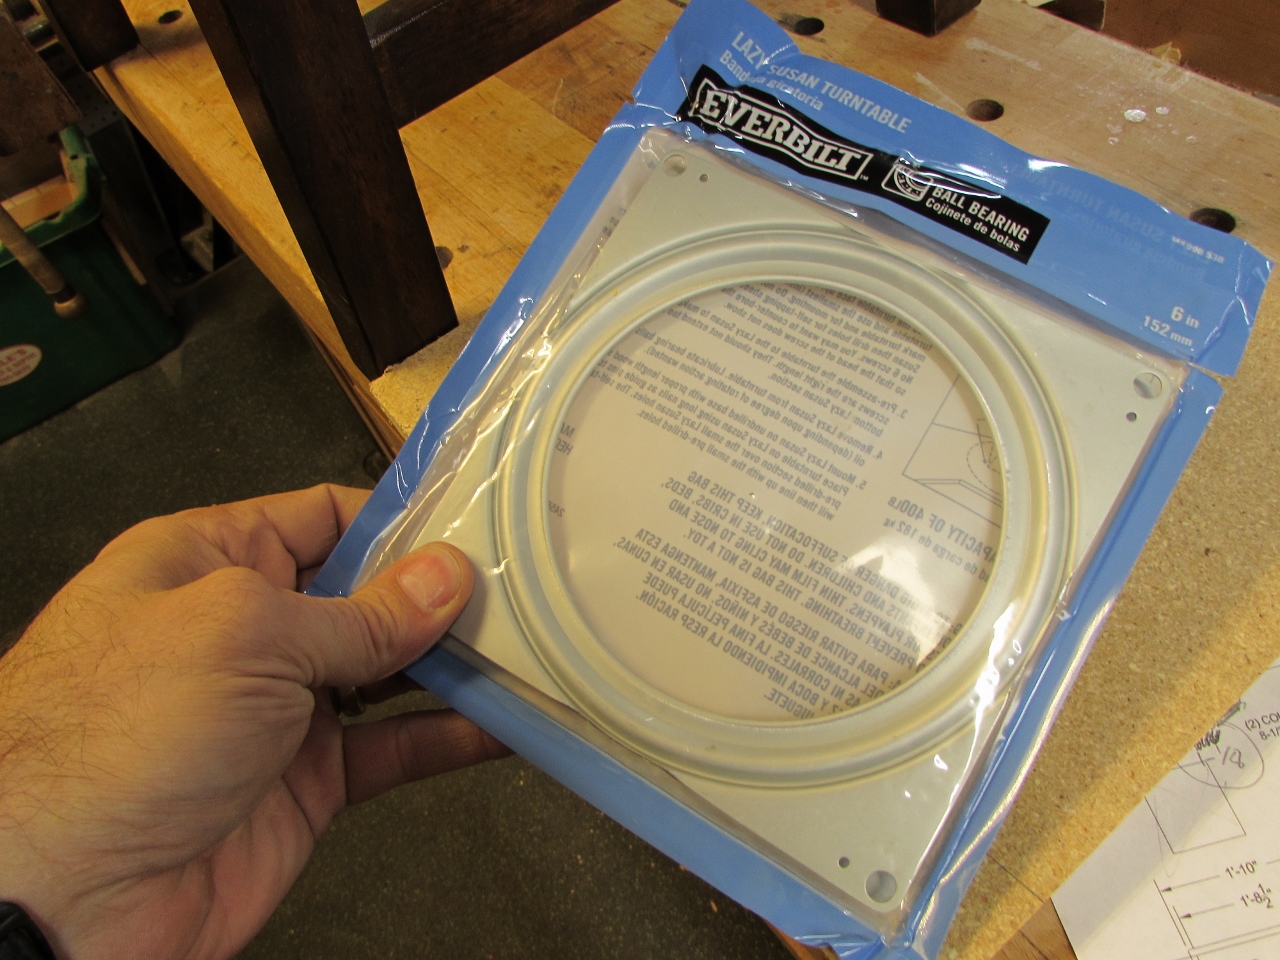
While that was drying, I built a quick stool from come legs I had cut off a stool for a friend (May as well put them to use). I also picked up some hardware for a lazy Susan.
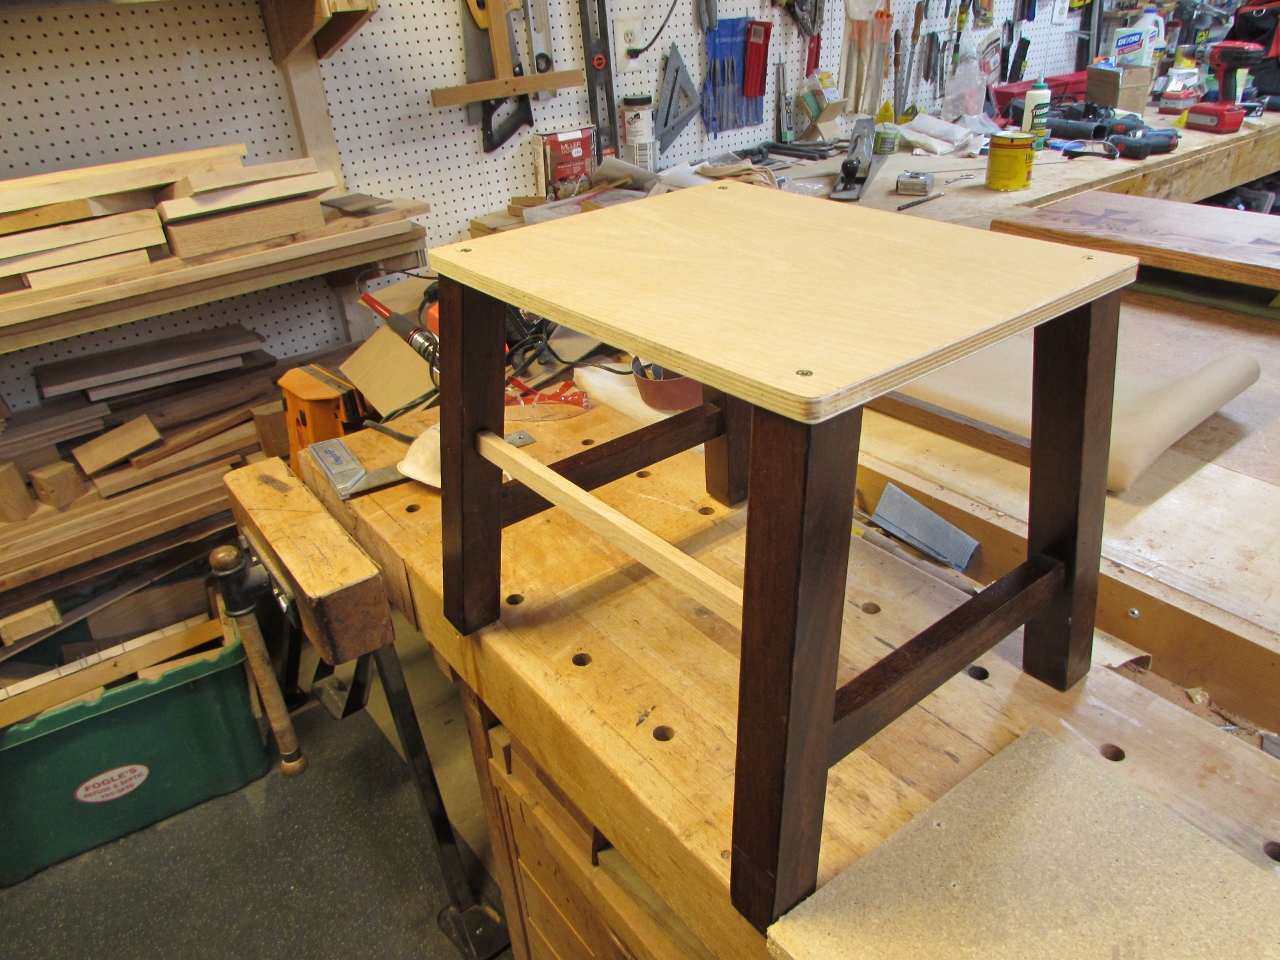
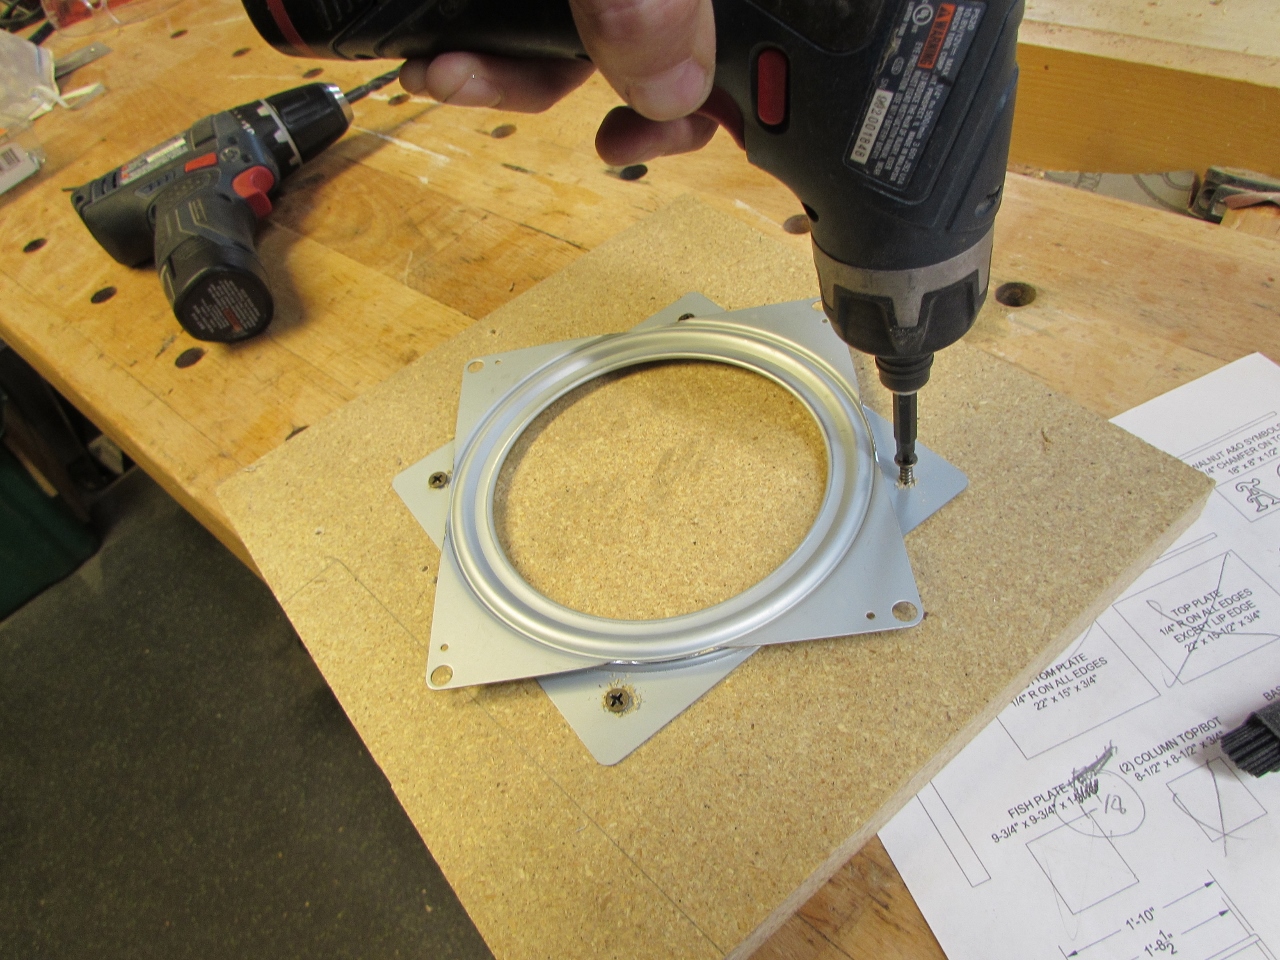
I attached it to a piece of scrap, then the top of the new stool.
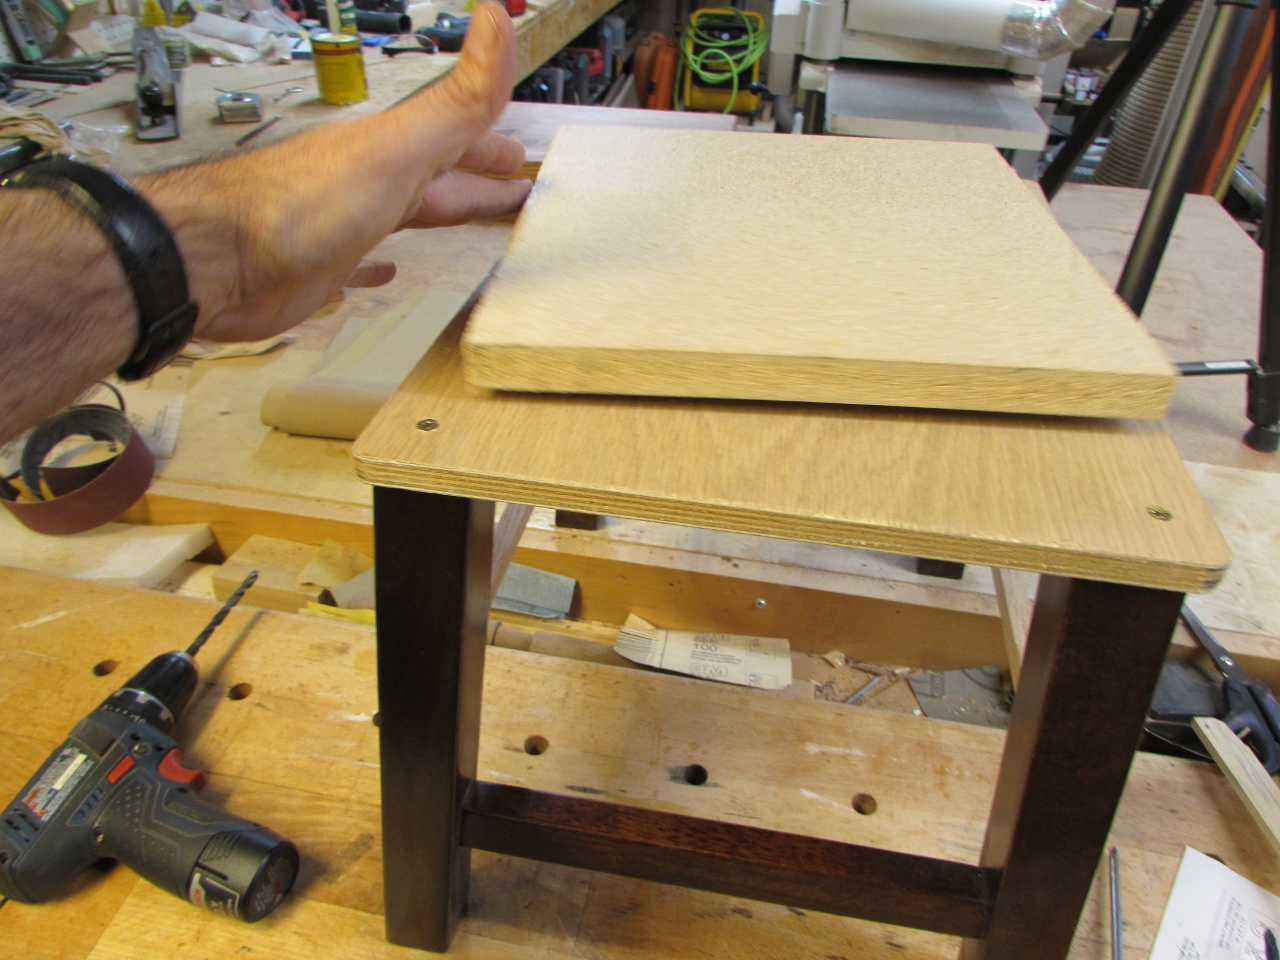
This will be the spinning base for my column to stand on when I finish it.

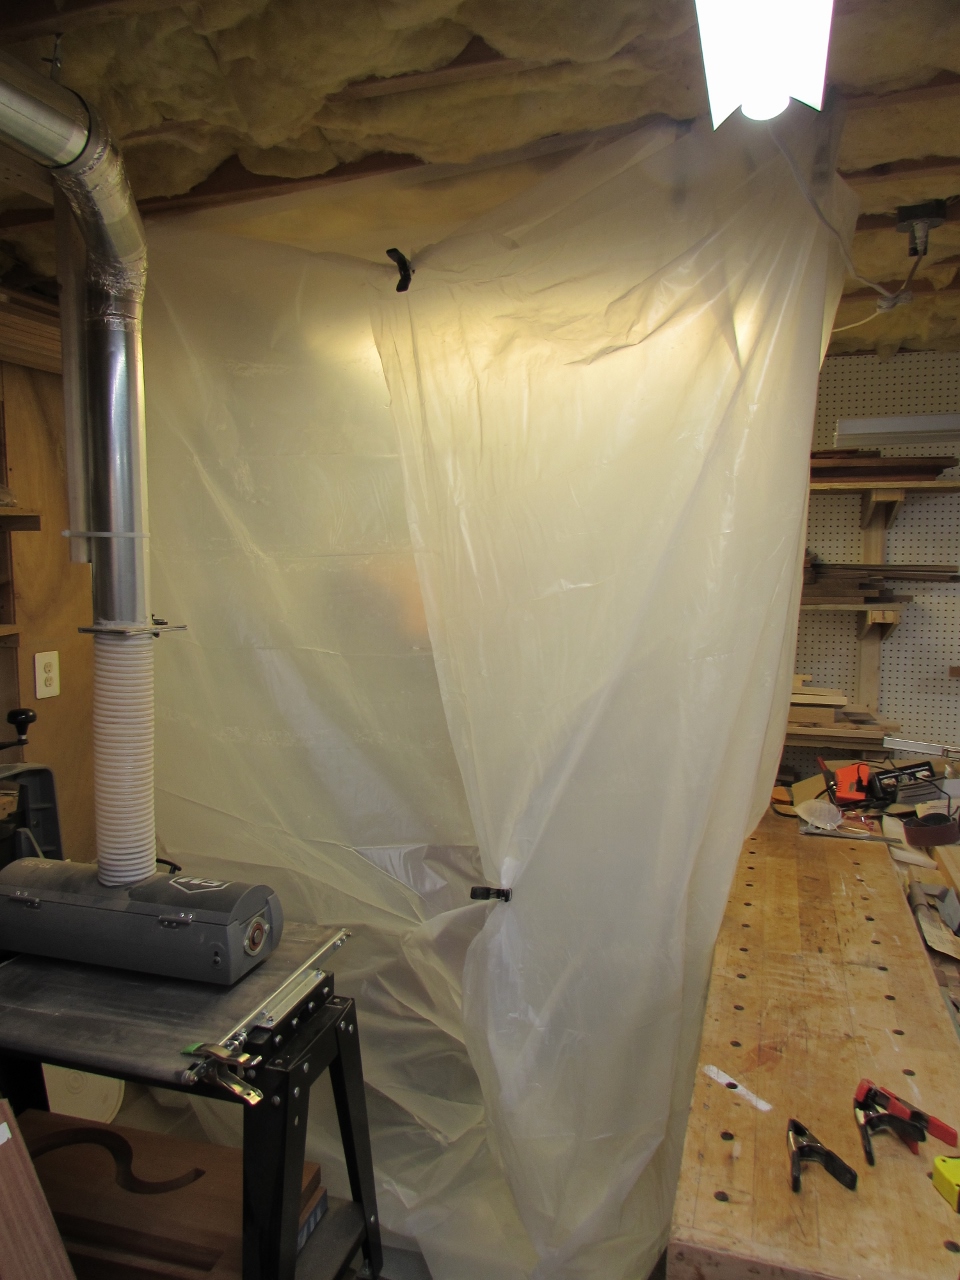
I picked up a roll of plastic to use to construct a temporary spray booth in the corner of my shop. I used large spring clamps to attach the plastic to the ceiling joists, creating a 5’x5′ booth.
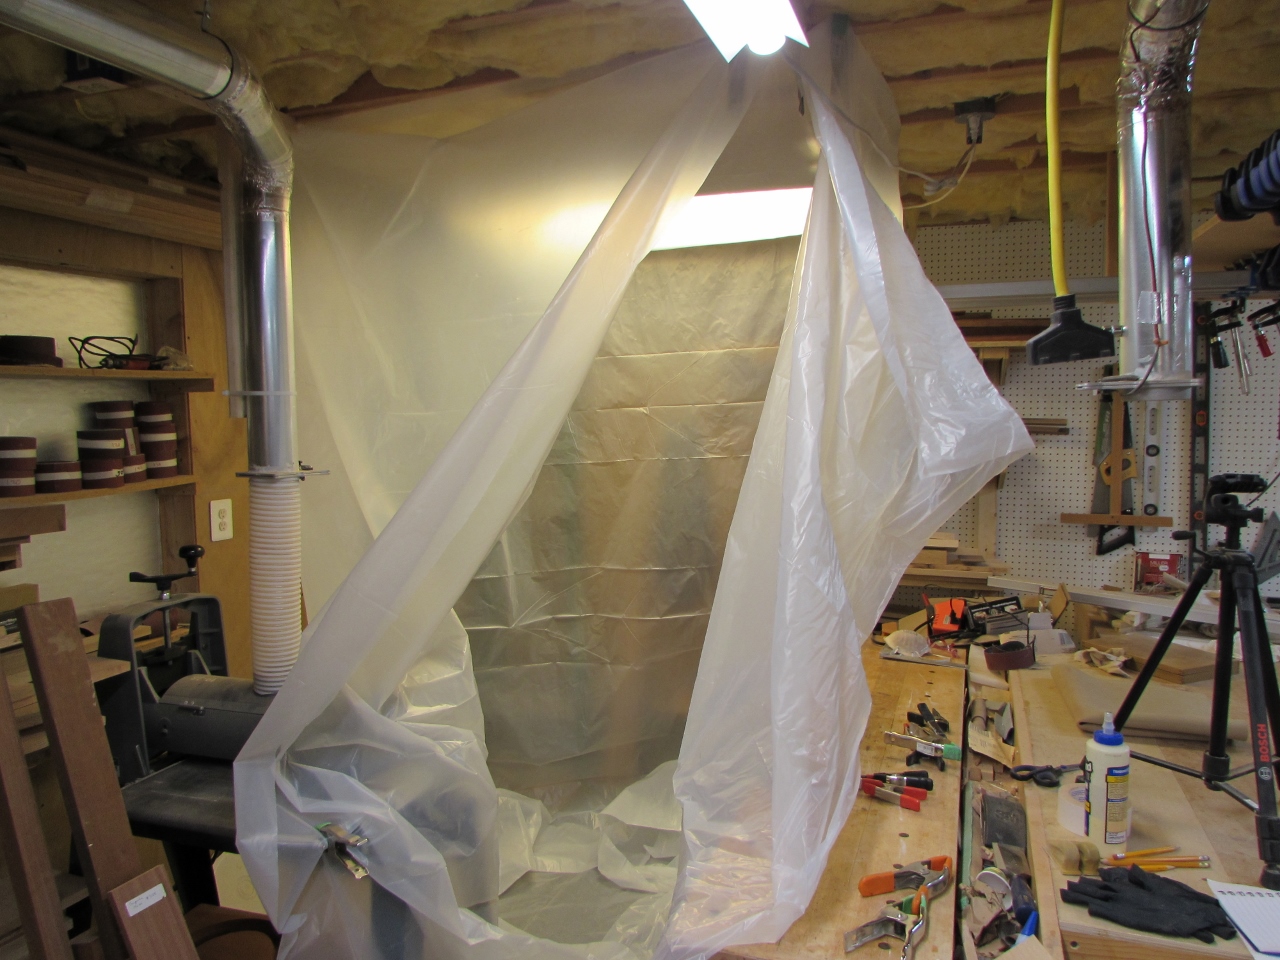
Just the right size for this small project.
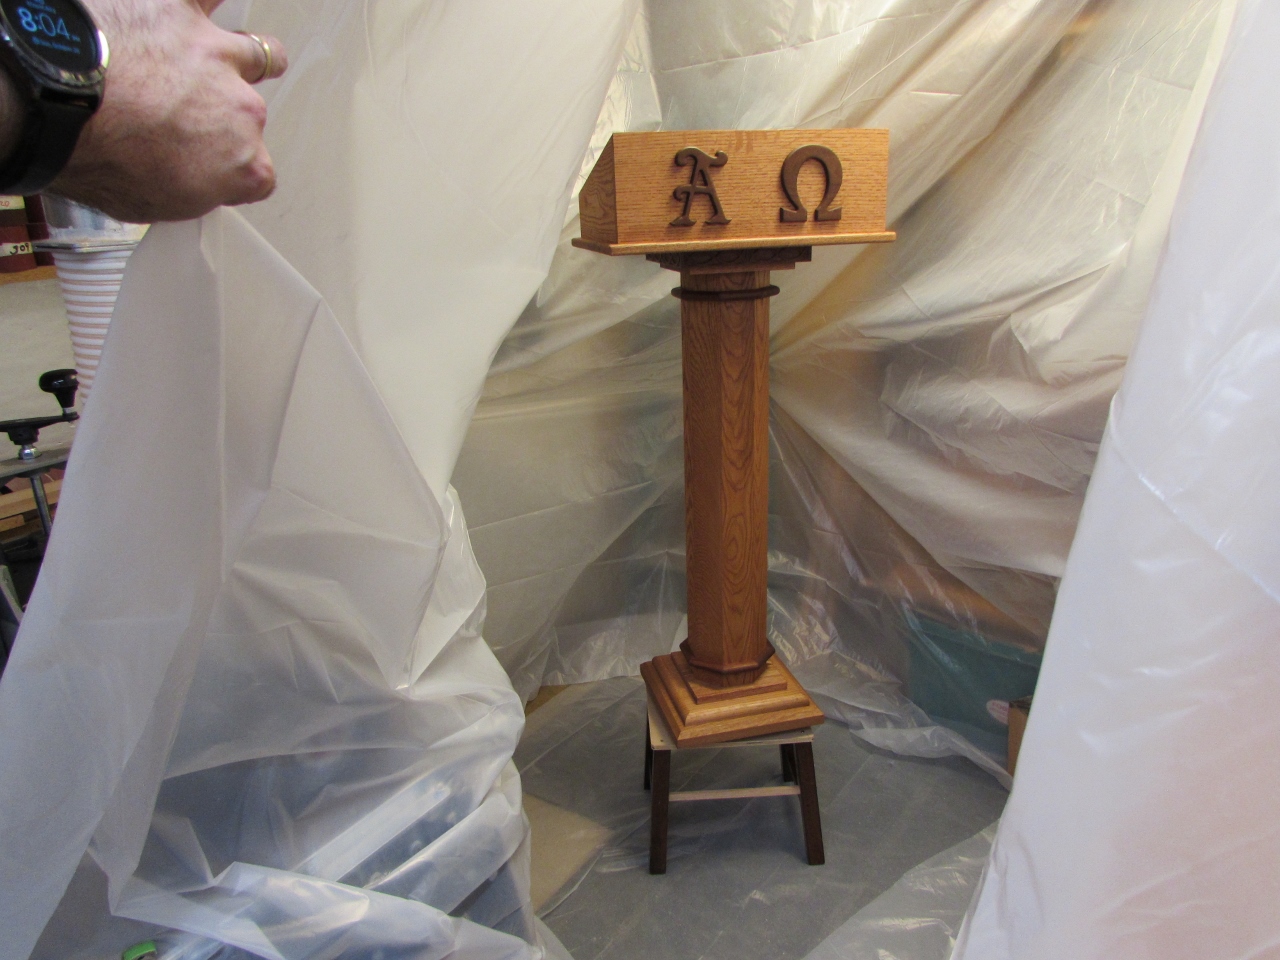
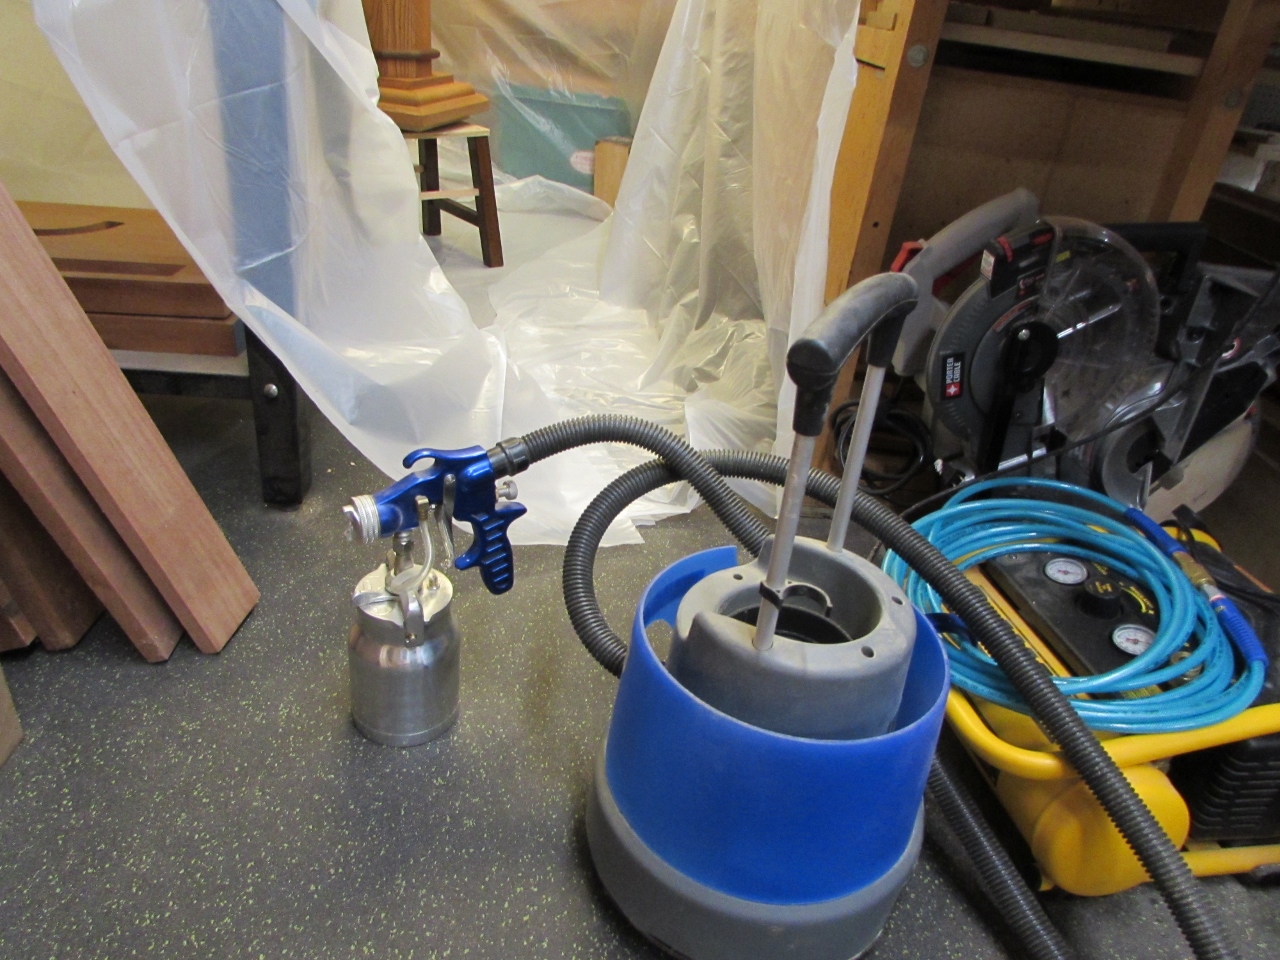
After I gave the stain 24 hours to dry, I put some polyurethane in my HVLP sprayer and worked my way from top to bottom.
With no room to move, the spinning base worked great.
I love this sprayer, the entire thing took less than 5 minutes to spray. A careful job with a brush would have taken an hour and I would still have had a run or two.
When the spraying was done, I clamped shut the opening for the night.
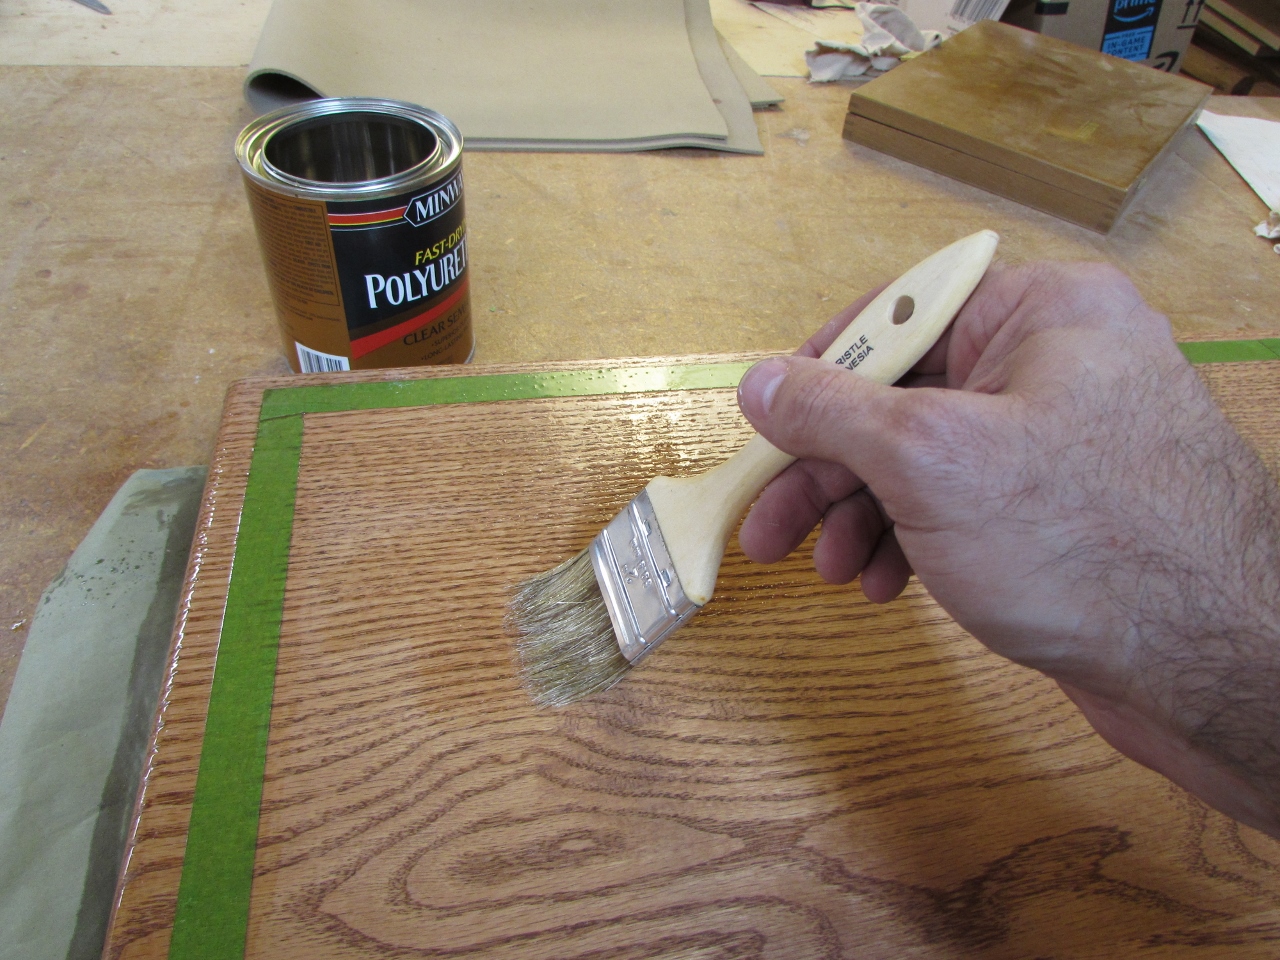
Last thing to do was to apply a brush coat to the top, over at my bench.
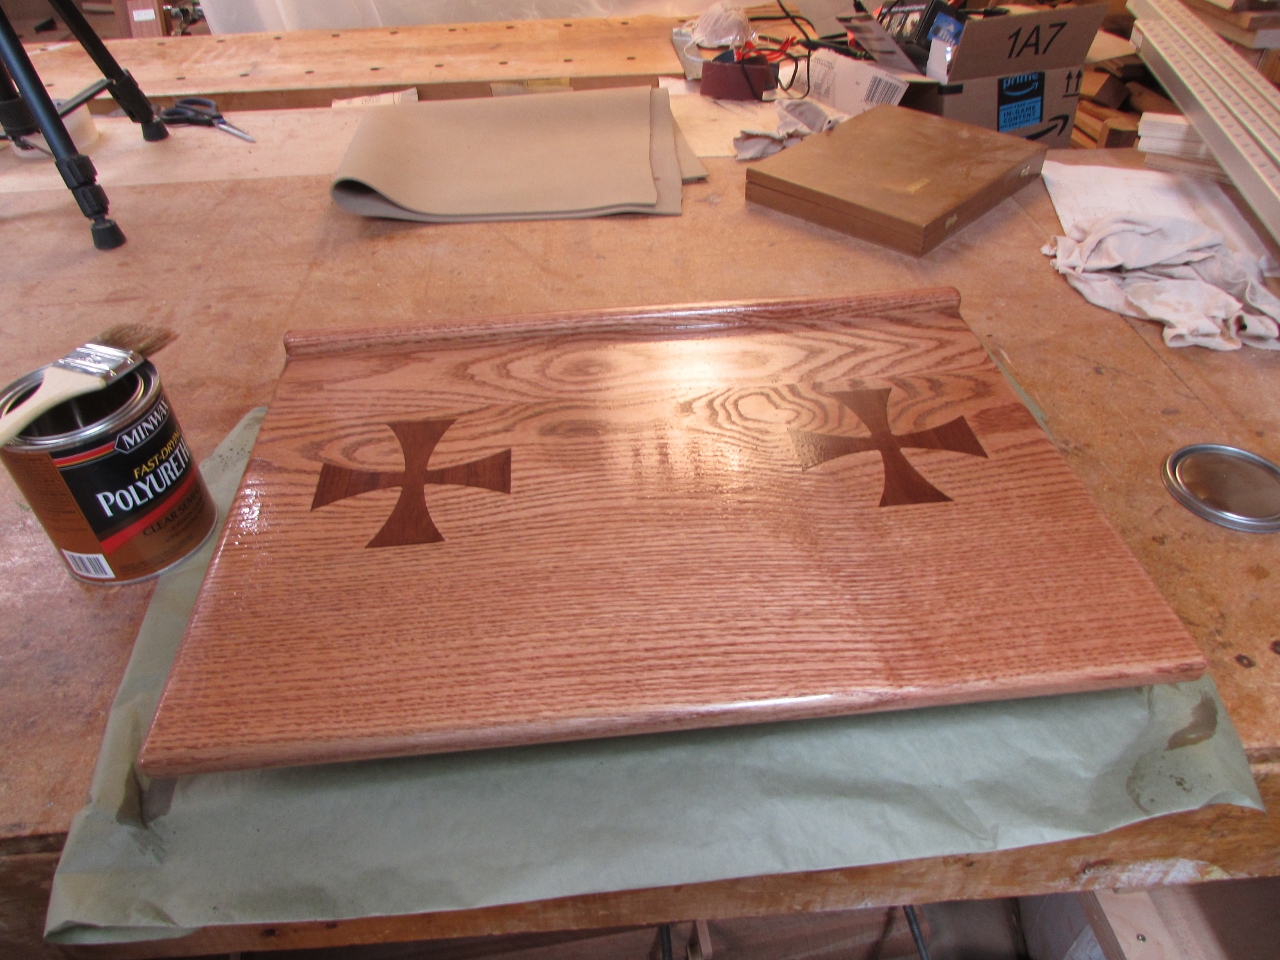
All done for the weekend. Just one more coat tomorrow, and I will be able to attach the top and be done.
