
Walnut counter – day 2
I got a little prep work done before Erin came over today. I will require some thicker oak for the supports, so I cut some quarter-sawn red oak boards.


After cleaning up the edges, on the table saw, I planed them flat.
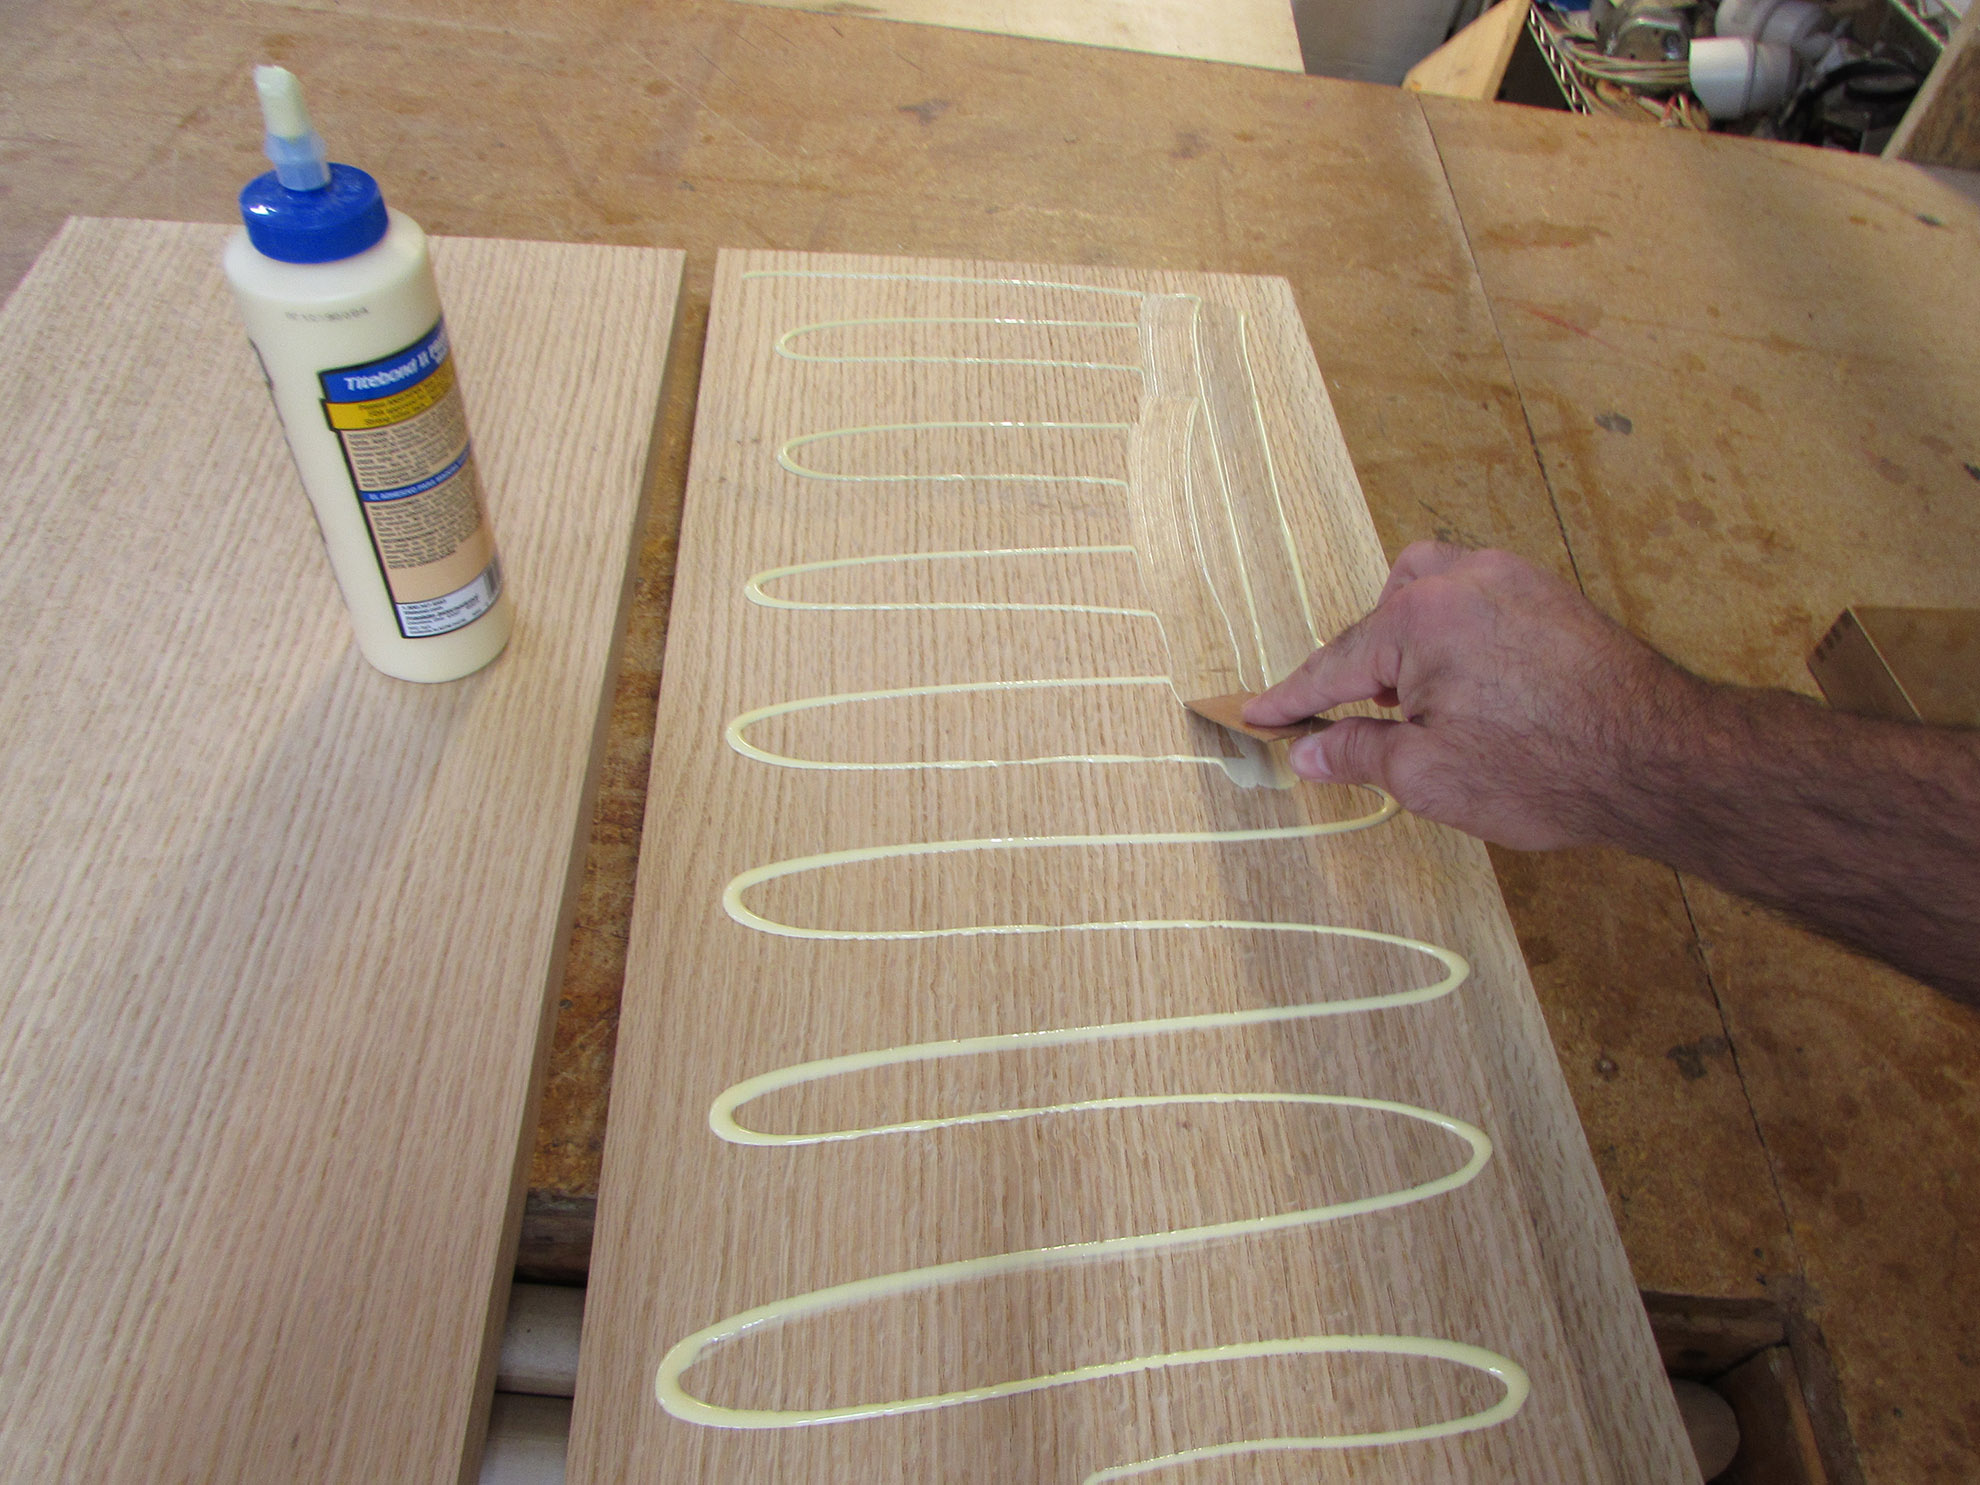
I spread a thin layer of wood glue and clamped the two boards together. I placed a caul across the top and bottom with a piece of leather, in the center, then clamped them tight. I am hoping that the leather, in the center will apply most of the pressure there, where my clamps cannot reach.

I left that to dry, and got the counter top unclamped for Erin.

When Erin arrived, I handed her the router, still loaded with the flush-trim bit, and she trimmed up the edges, all the way around.

While she was sanding the edges smooth, I tried to find a router that could hold my 3/4″ round-over bit. It was harder than I expected.
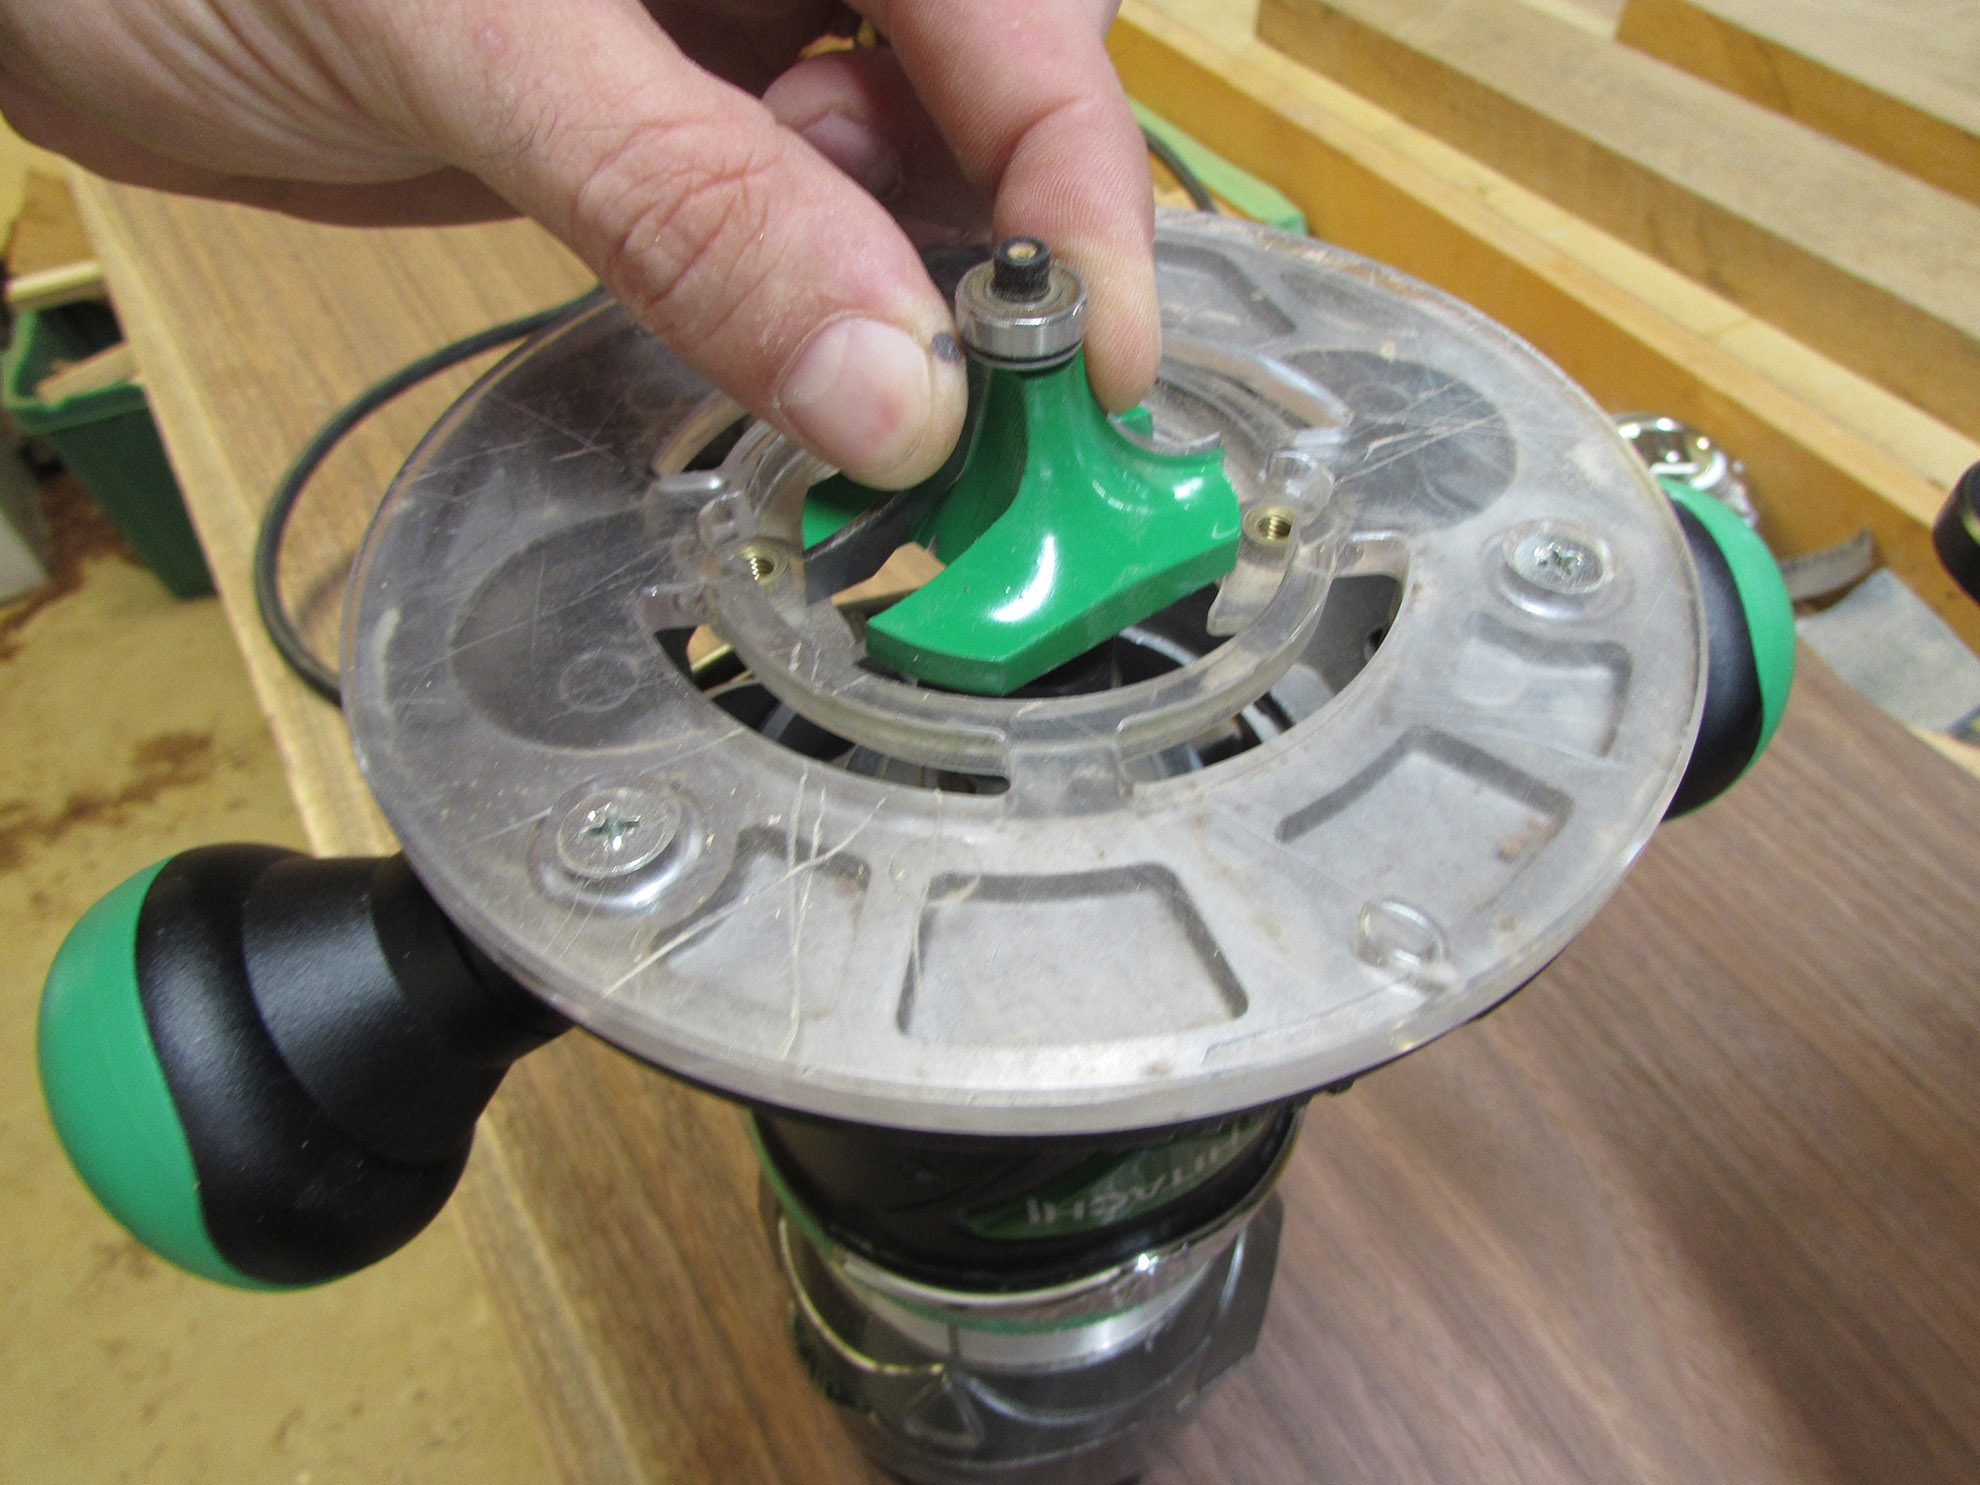
I finally resorted to using my Dewalt that was setup for the router table. I could replace the center insert to reduce the open space, around the bit.

We are going to use the 3/4″ round-over for the top radius, and a 1/2″ one for the bottom, so I set that one up as well.

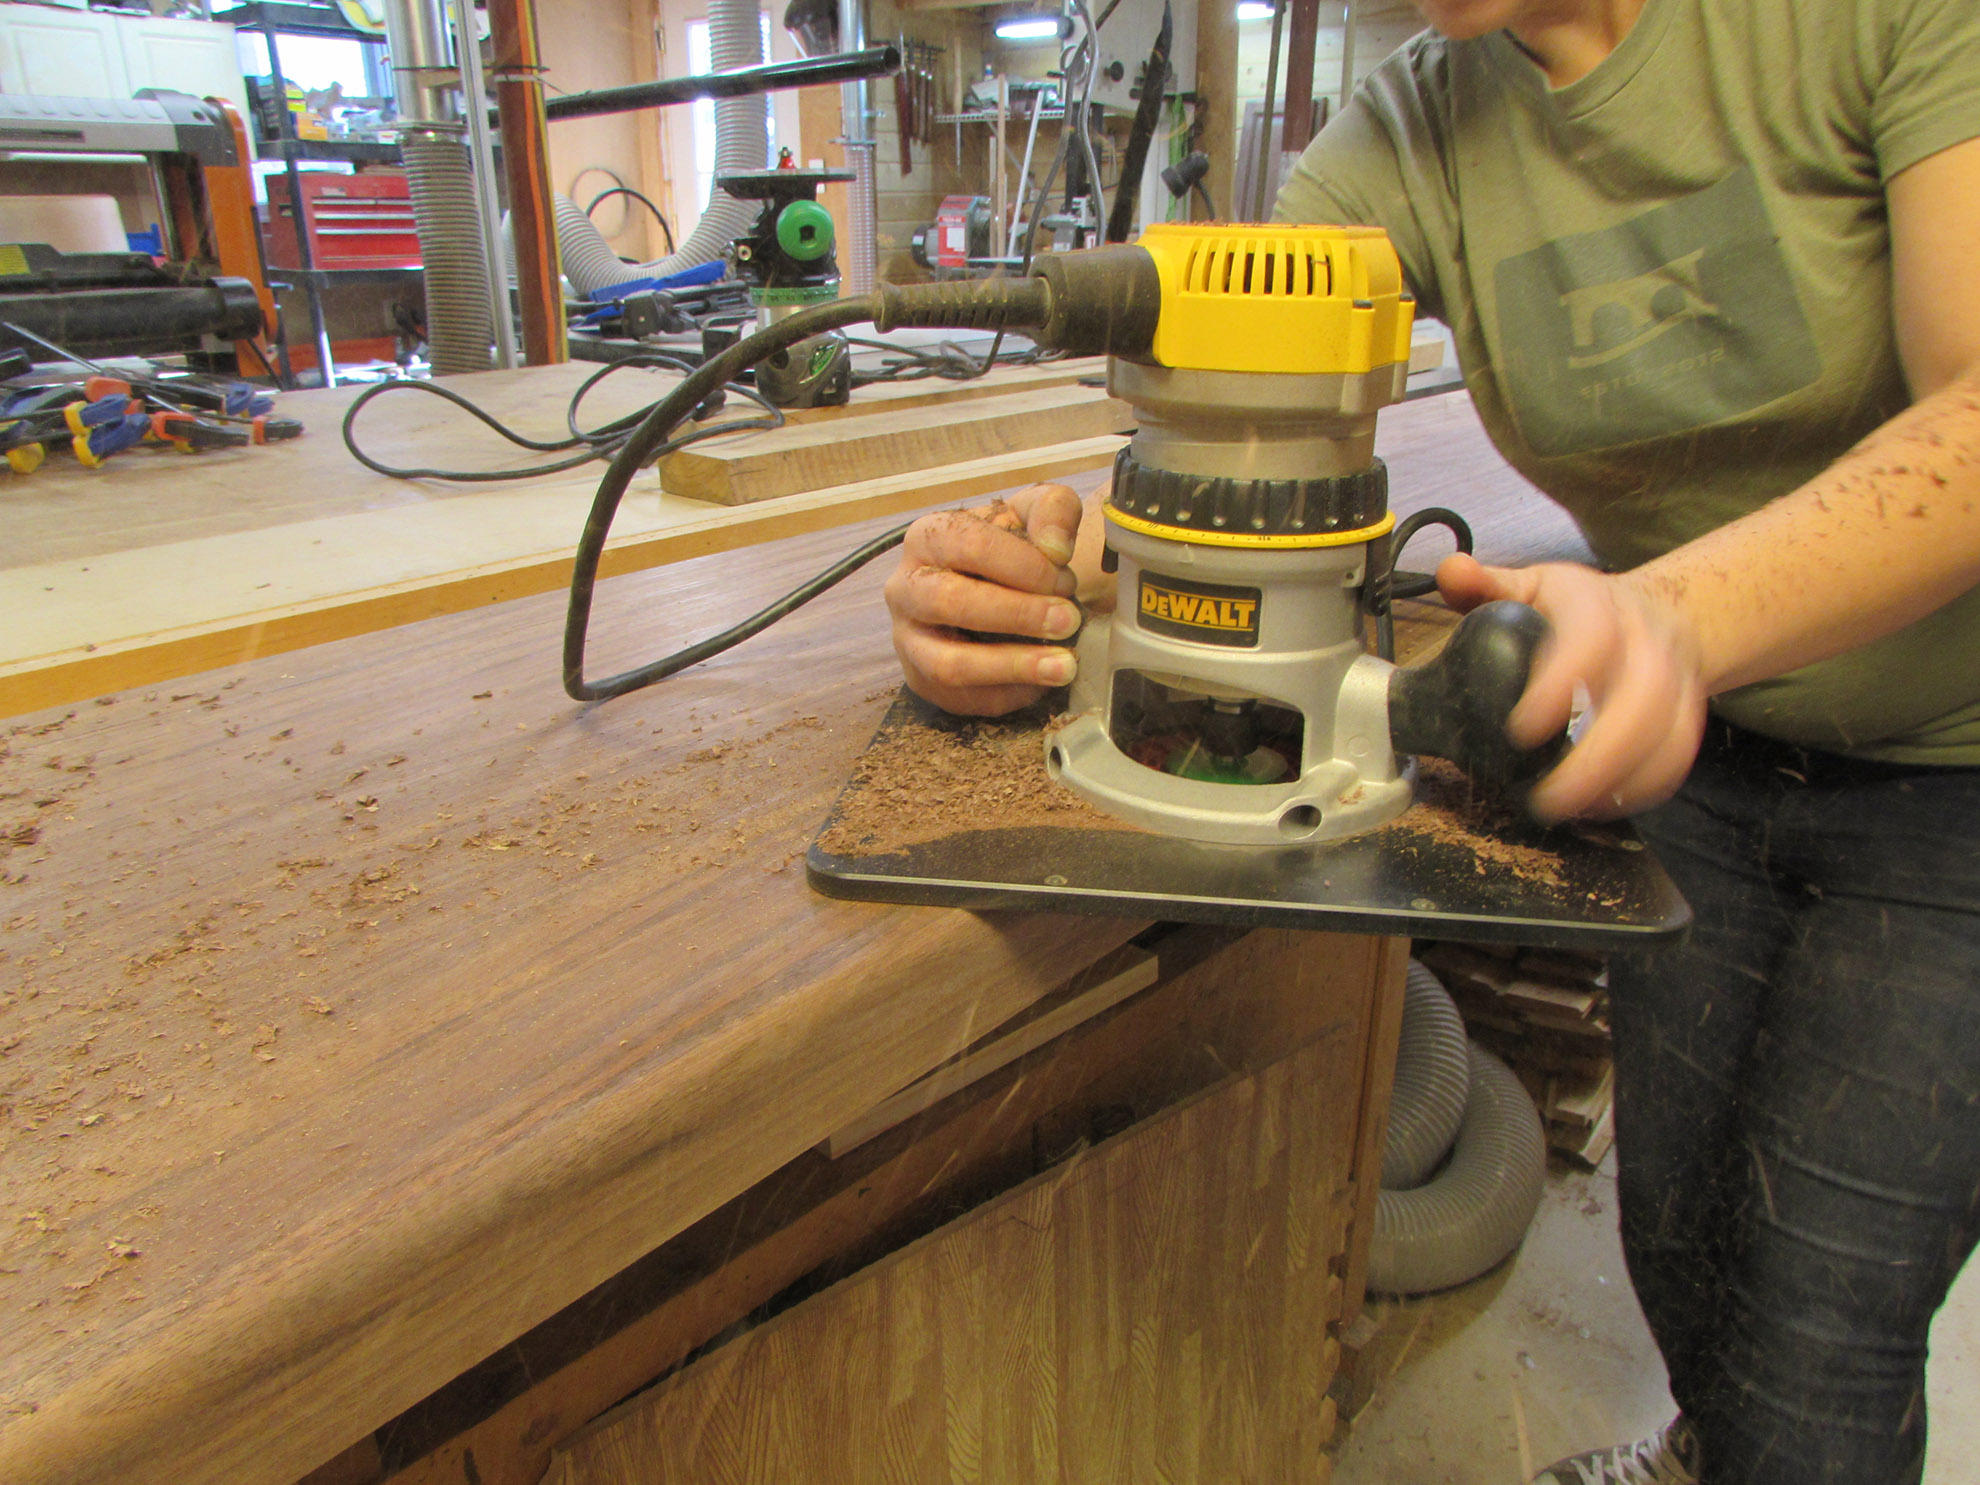
The much larger base, on the Dewalt, proved to be very useful. It made stabilizing the router very easy. Erin made the cut in two passes, lowering the bit each time. It would have been a very heavy cut to try in one shot.

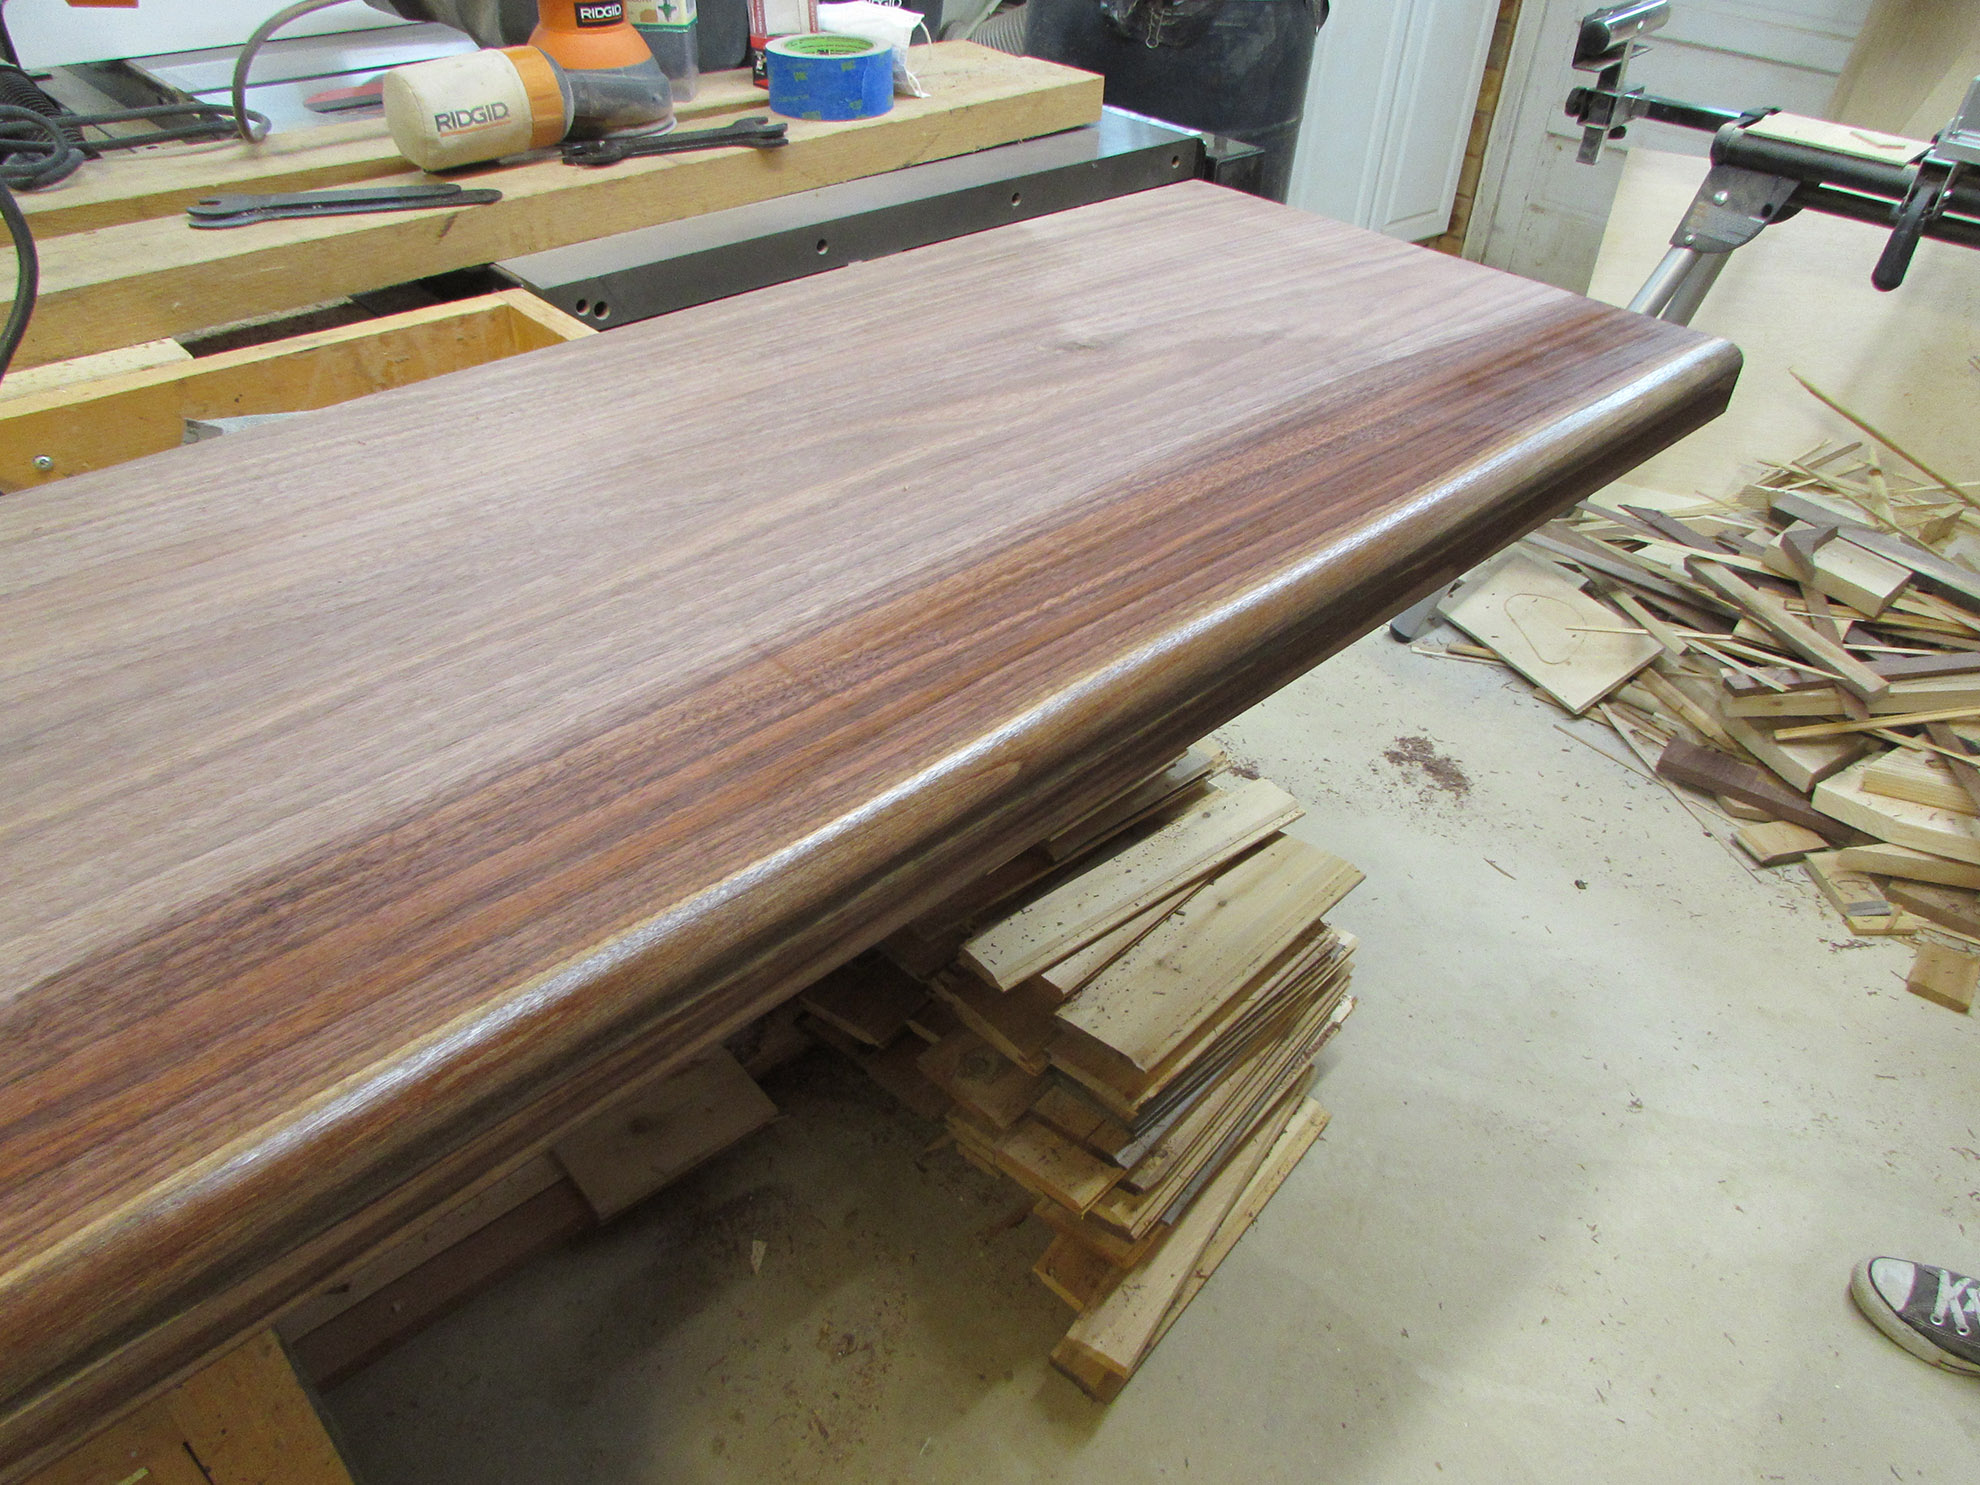
It turned out really nice and Erin wanted to clean it up with Naphtha, to see what it was going to look like. It is a beautiful piece of wood.
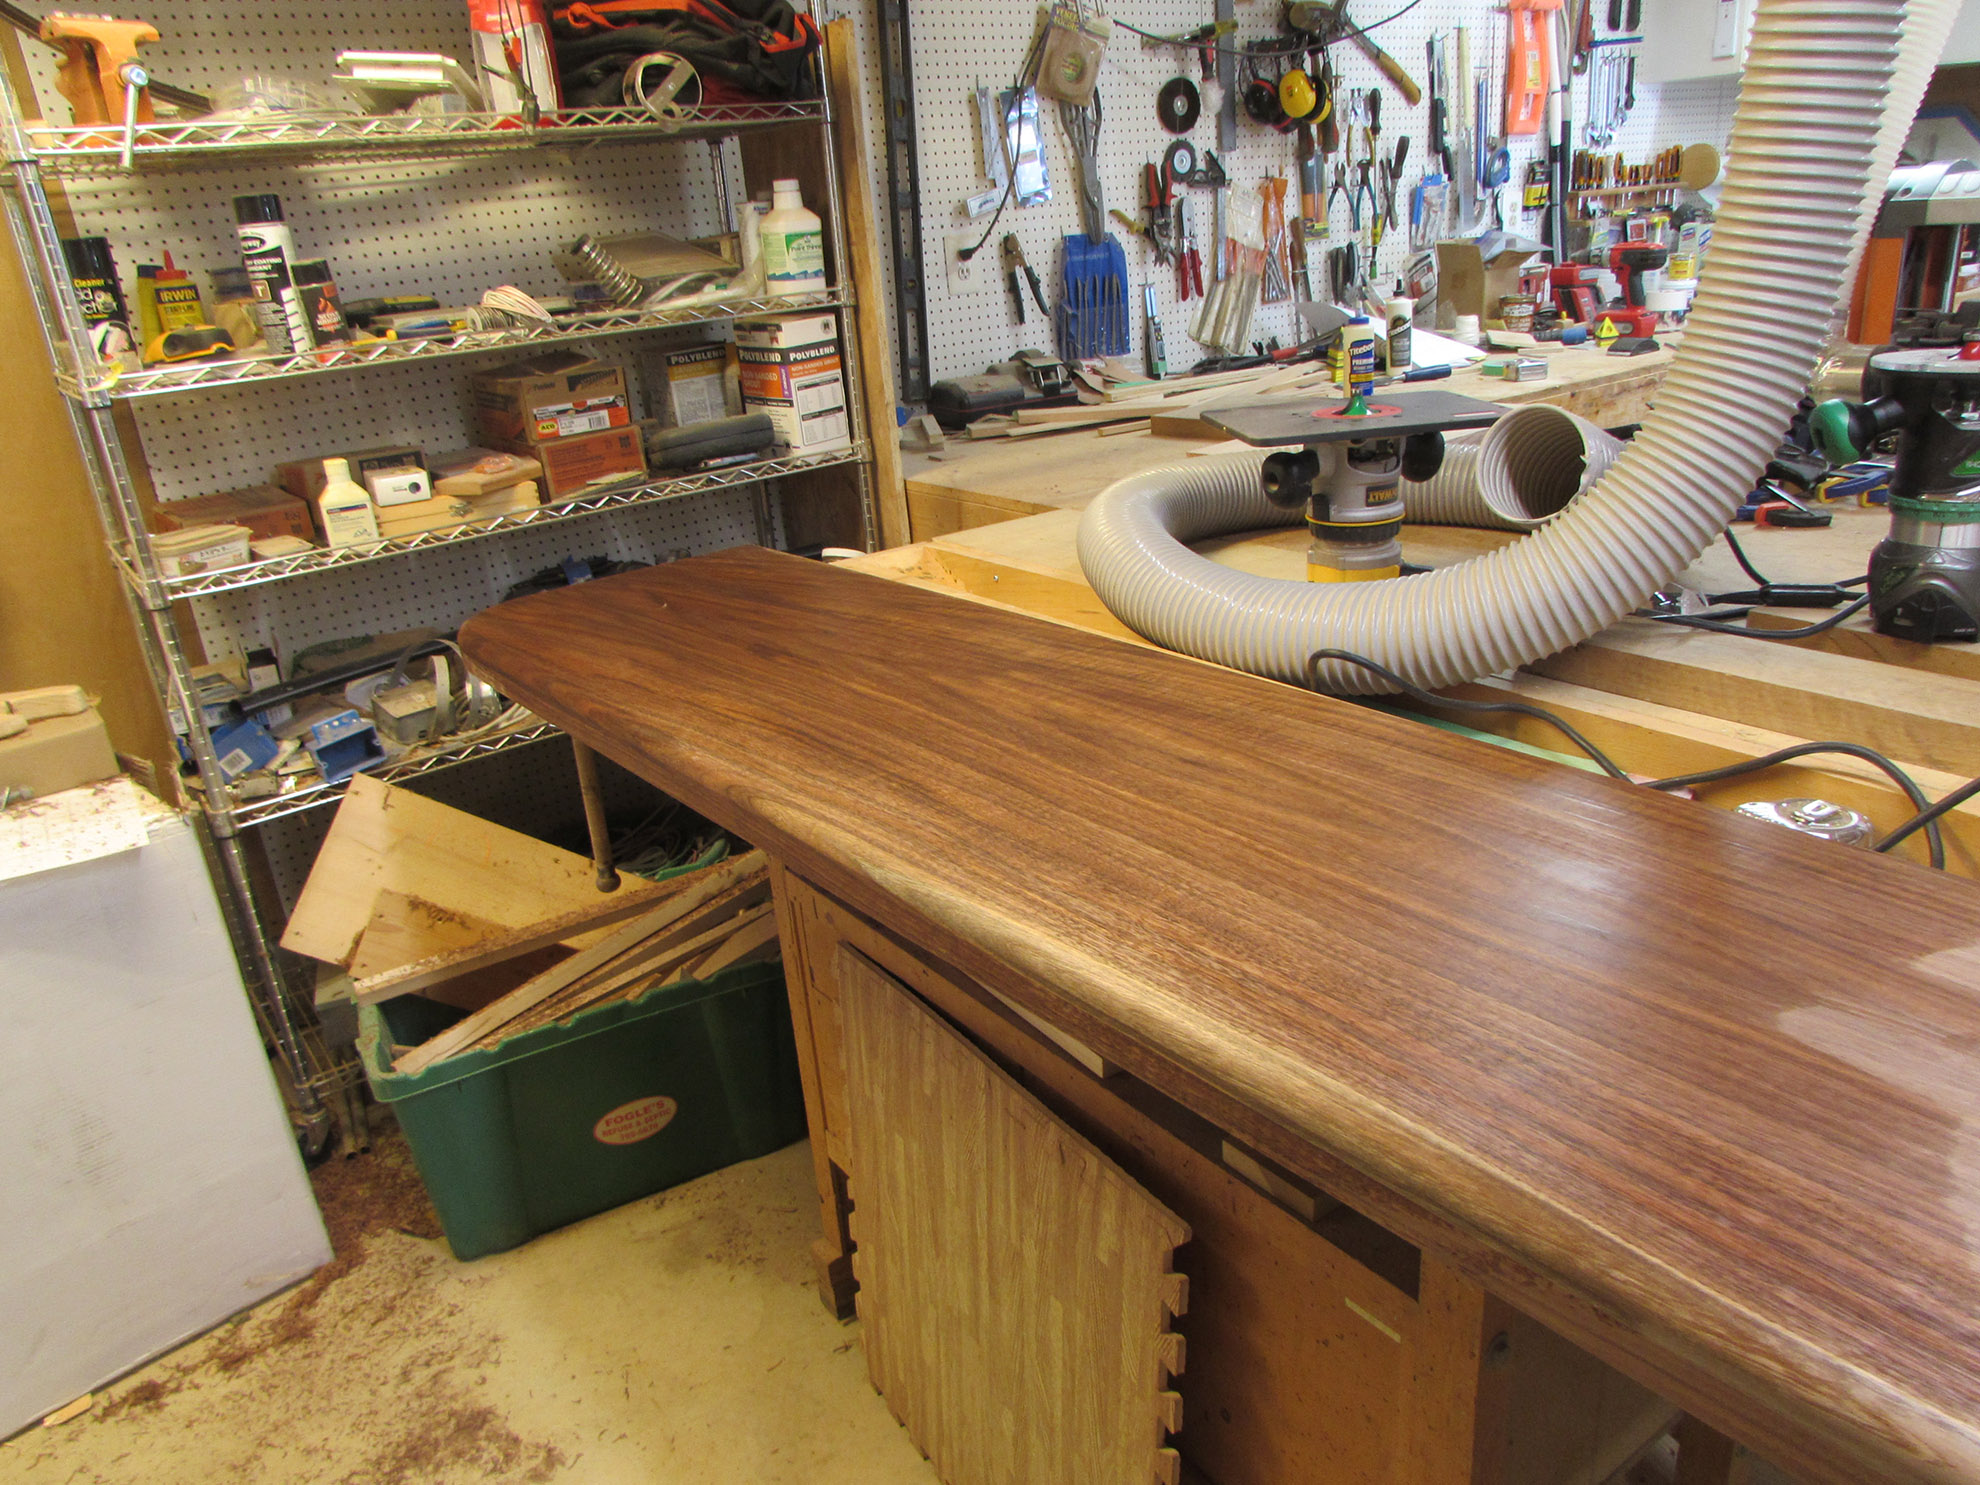

After the Naphtha evaporated away, we flipped the counter over and rounded the inside and outside edges of the bottom lip.


Then it was time for sanding, lots of sanding… We started with 80 grit, and worked our way down to 220 grit. Erin took her time and sanded the bottom as well.

Once we finished with the counter, Erin had a little time left so we got started on the supports. The glue had set by now, so I pulled the clamps and we laid out some arcs.


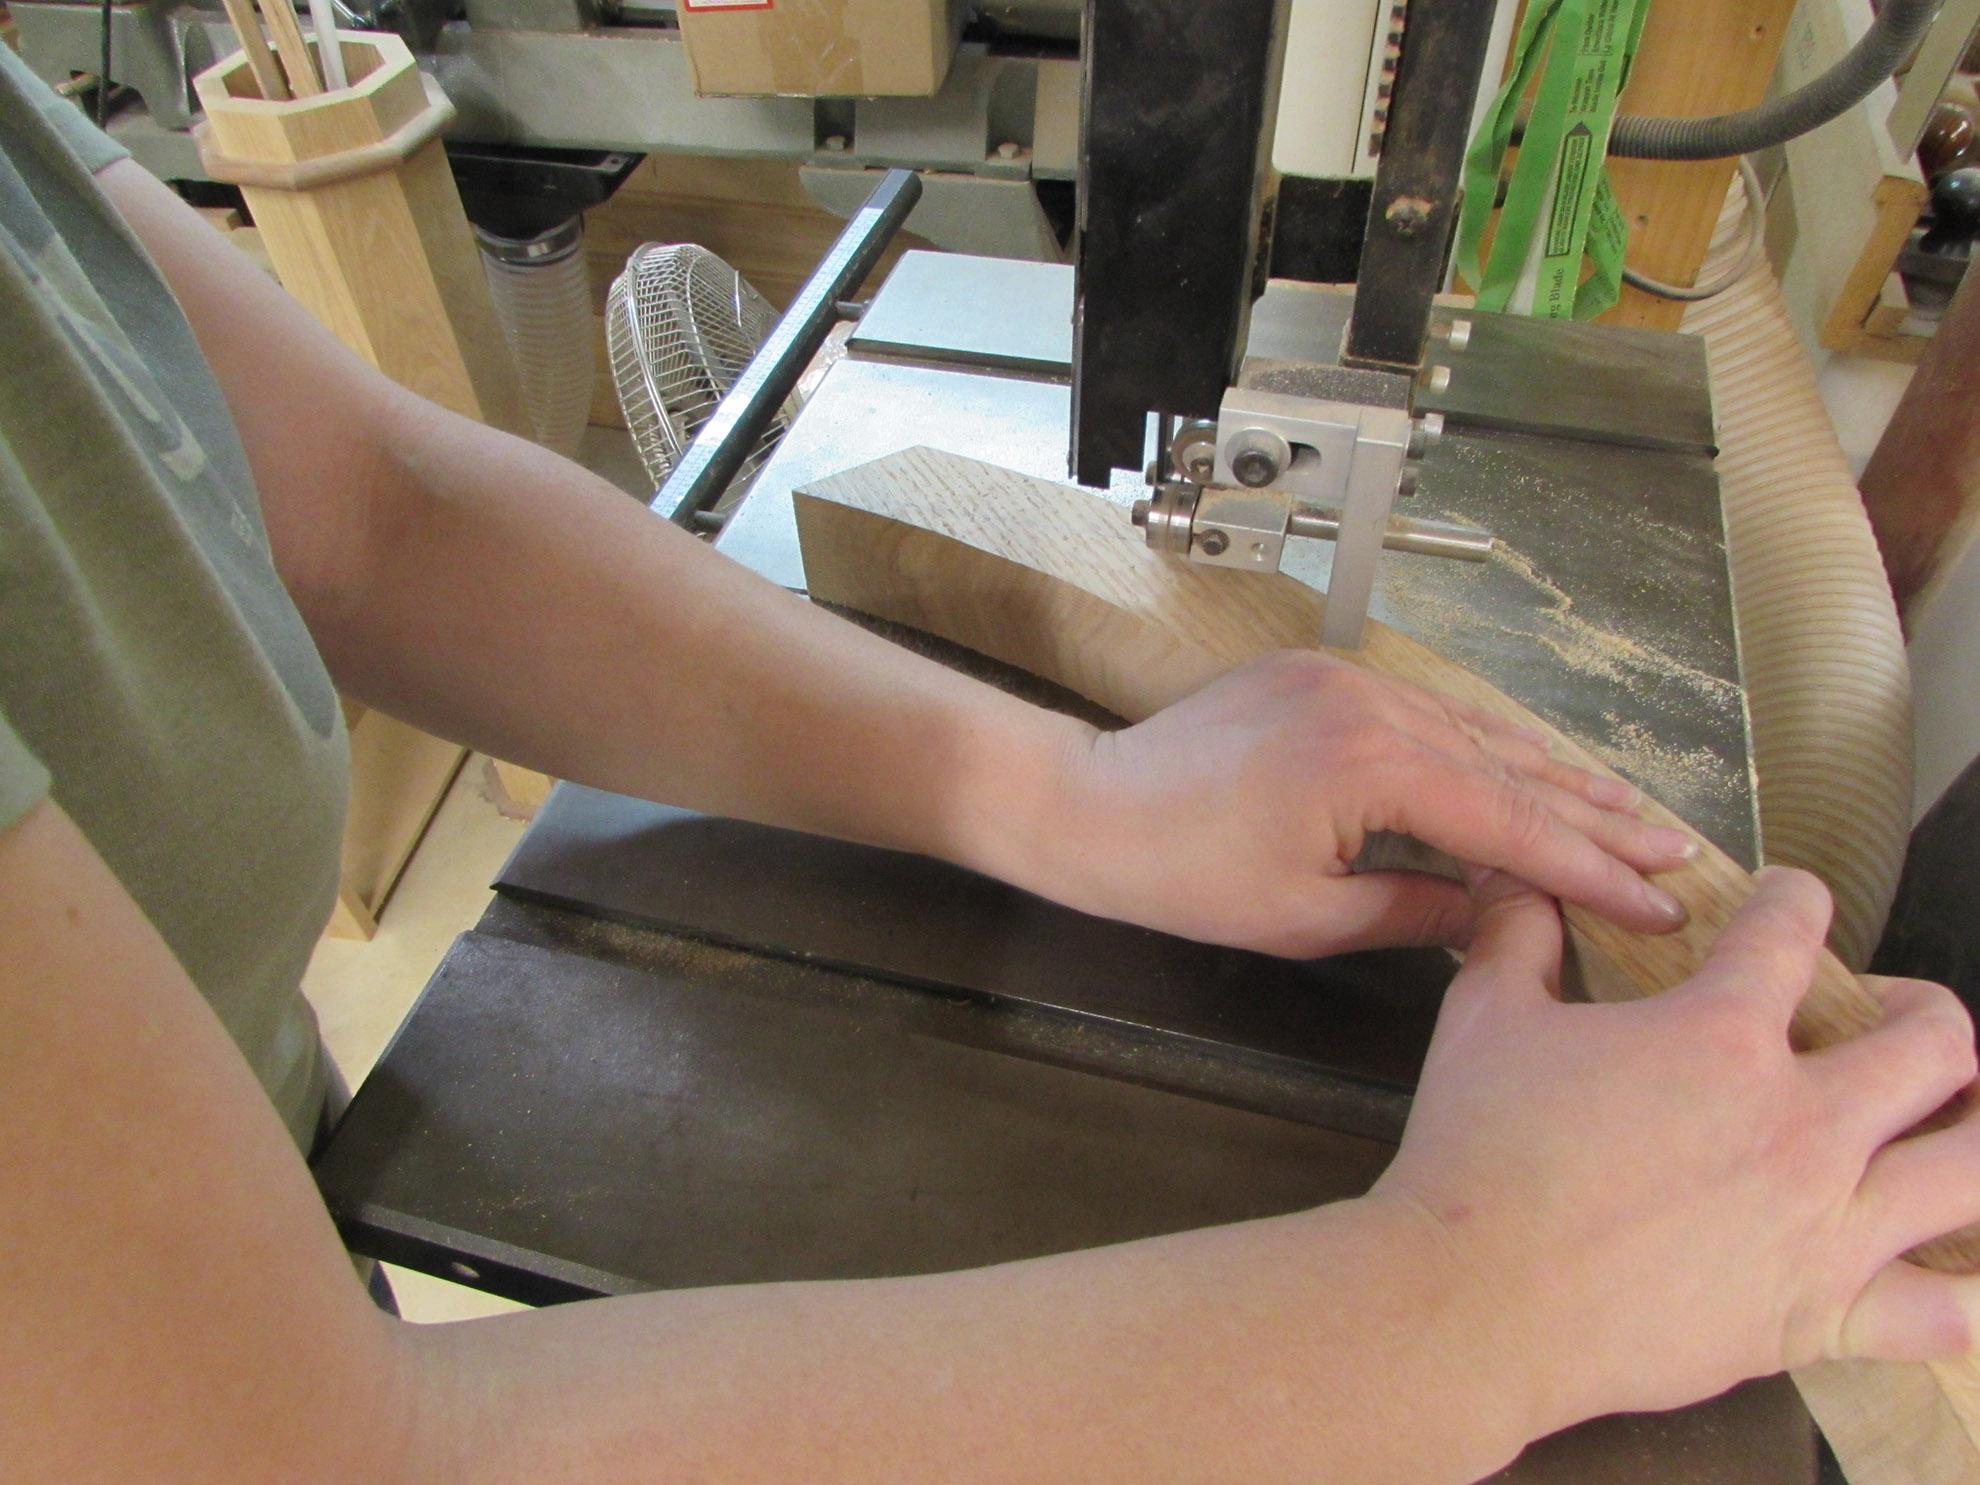
These supports are about 2″ thick and 2-1/2″ deep. Erin cut them roughly out on the band saw.
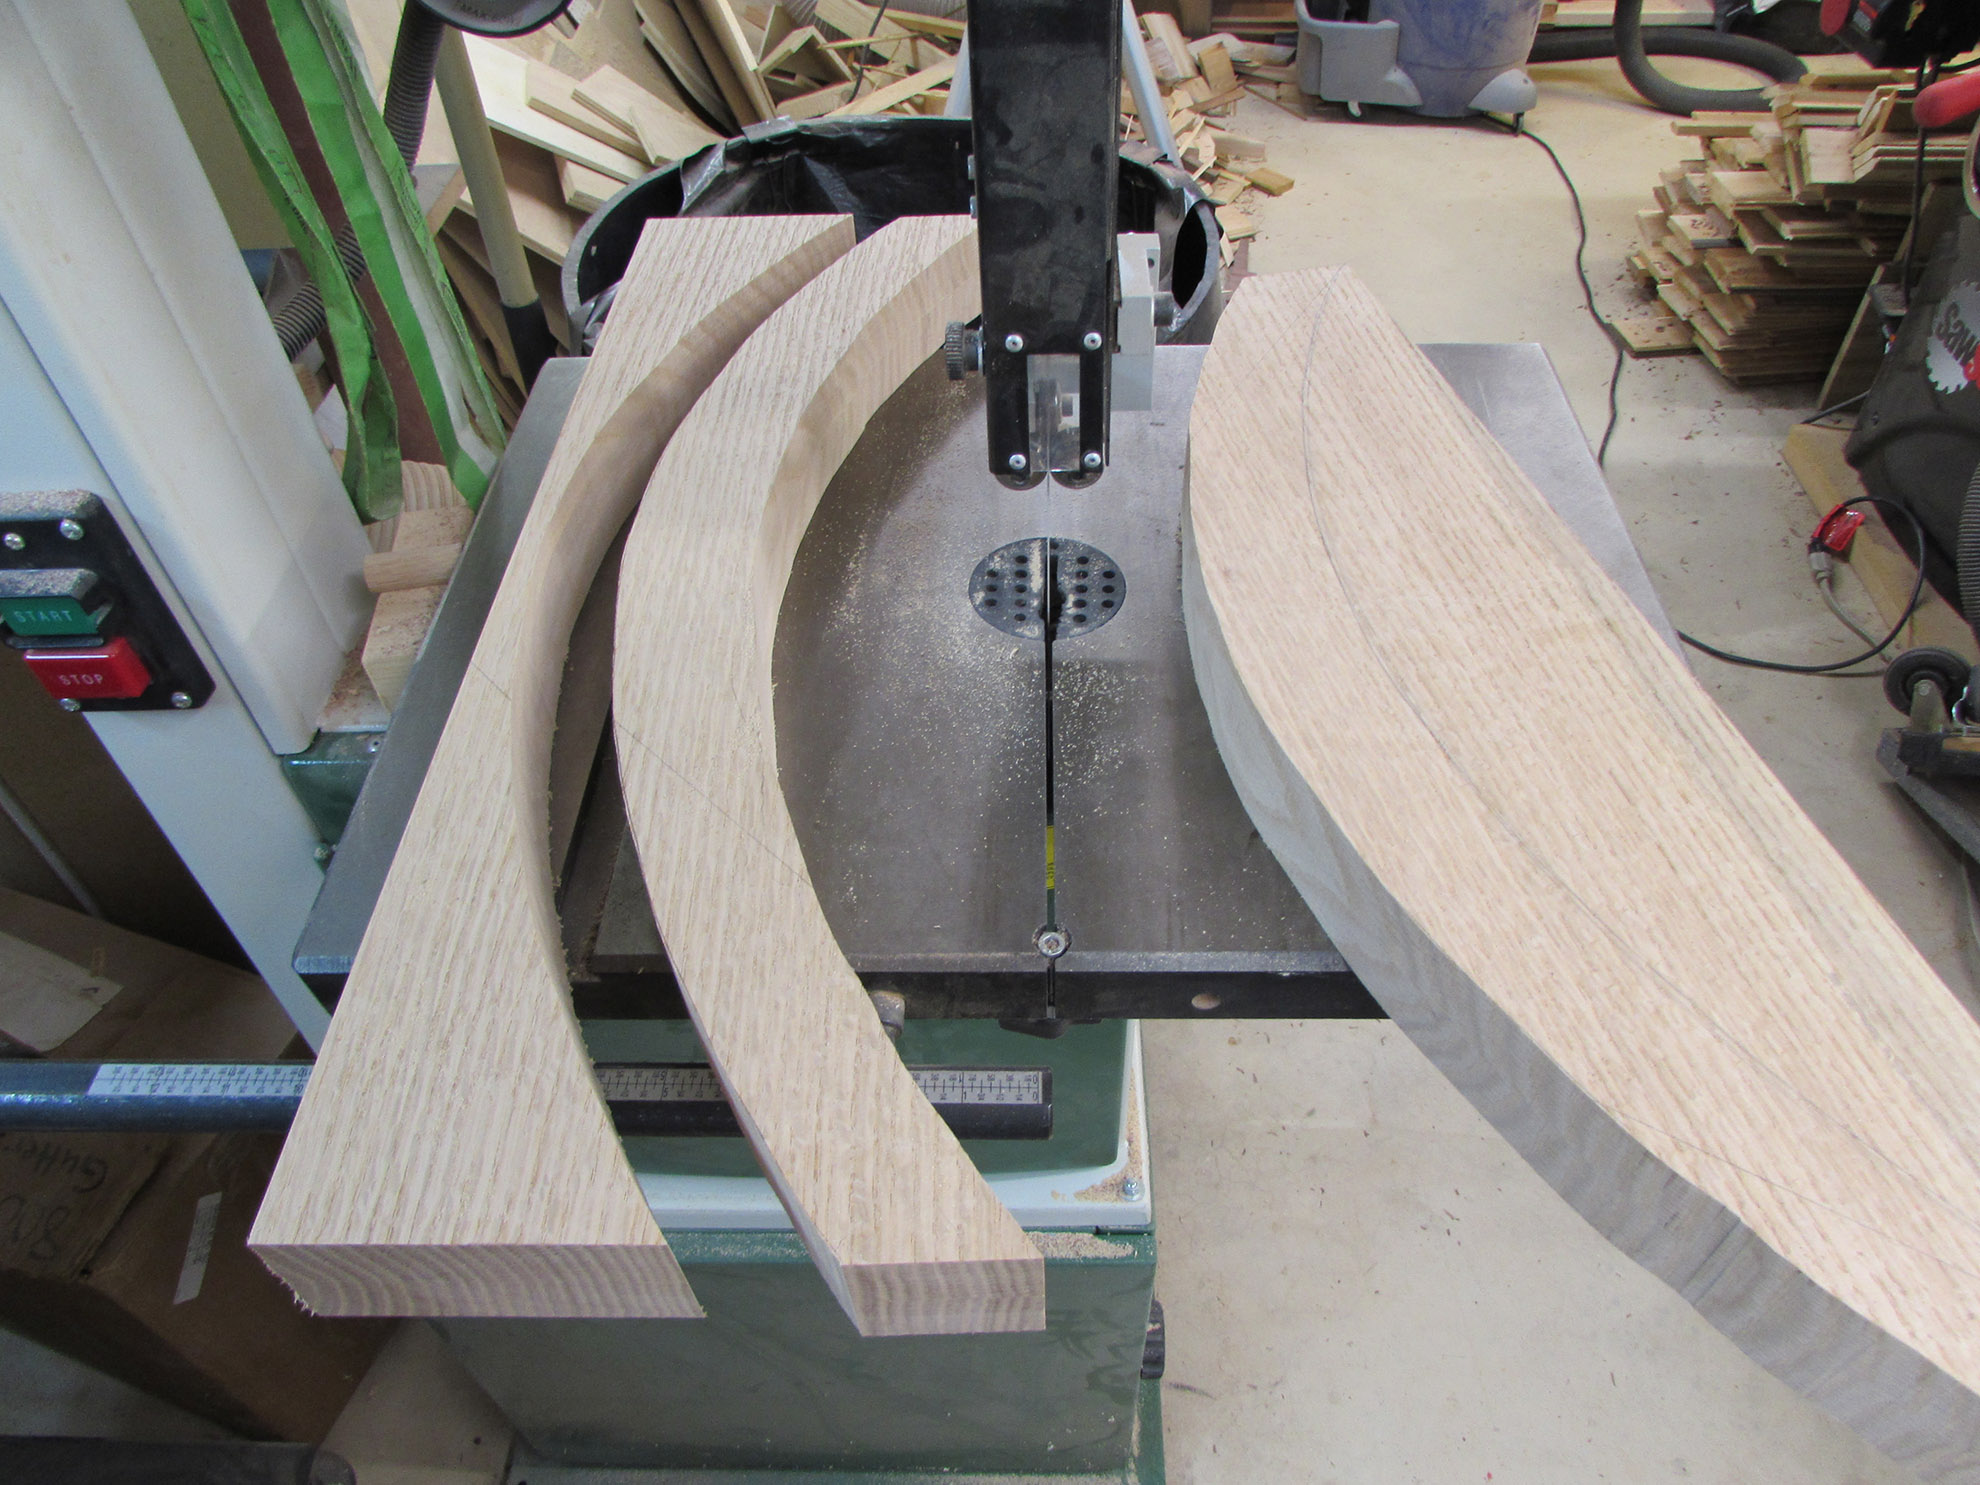
We are going to make supports, very similar to the ones I made on Adam’s desk.
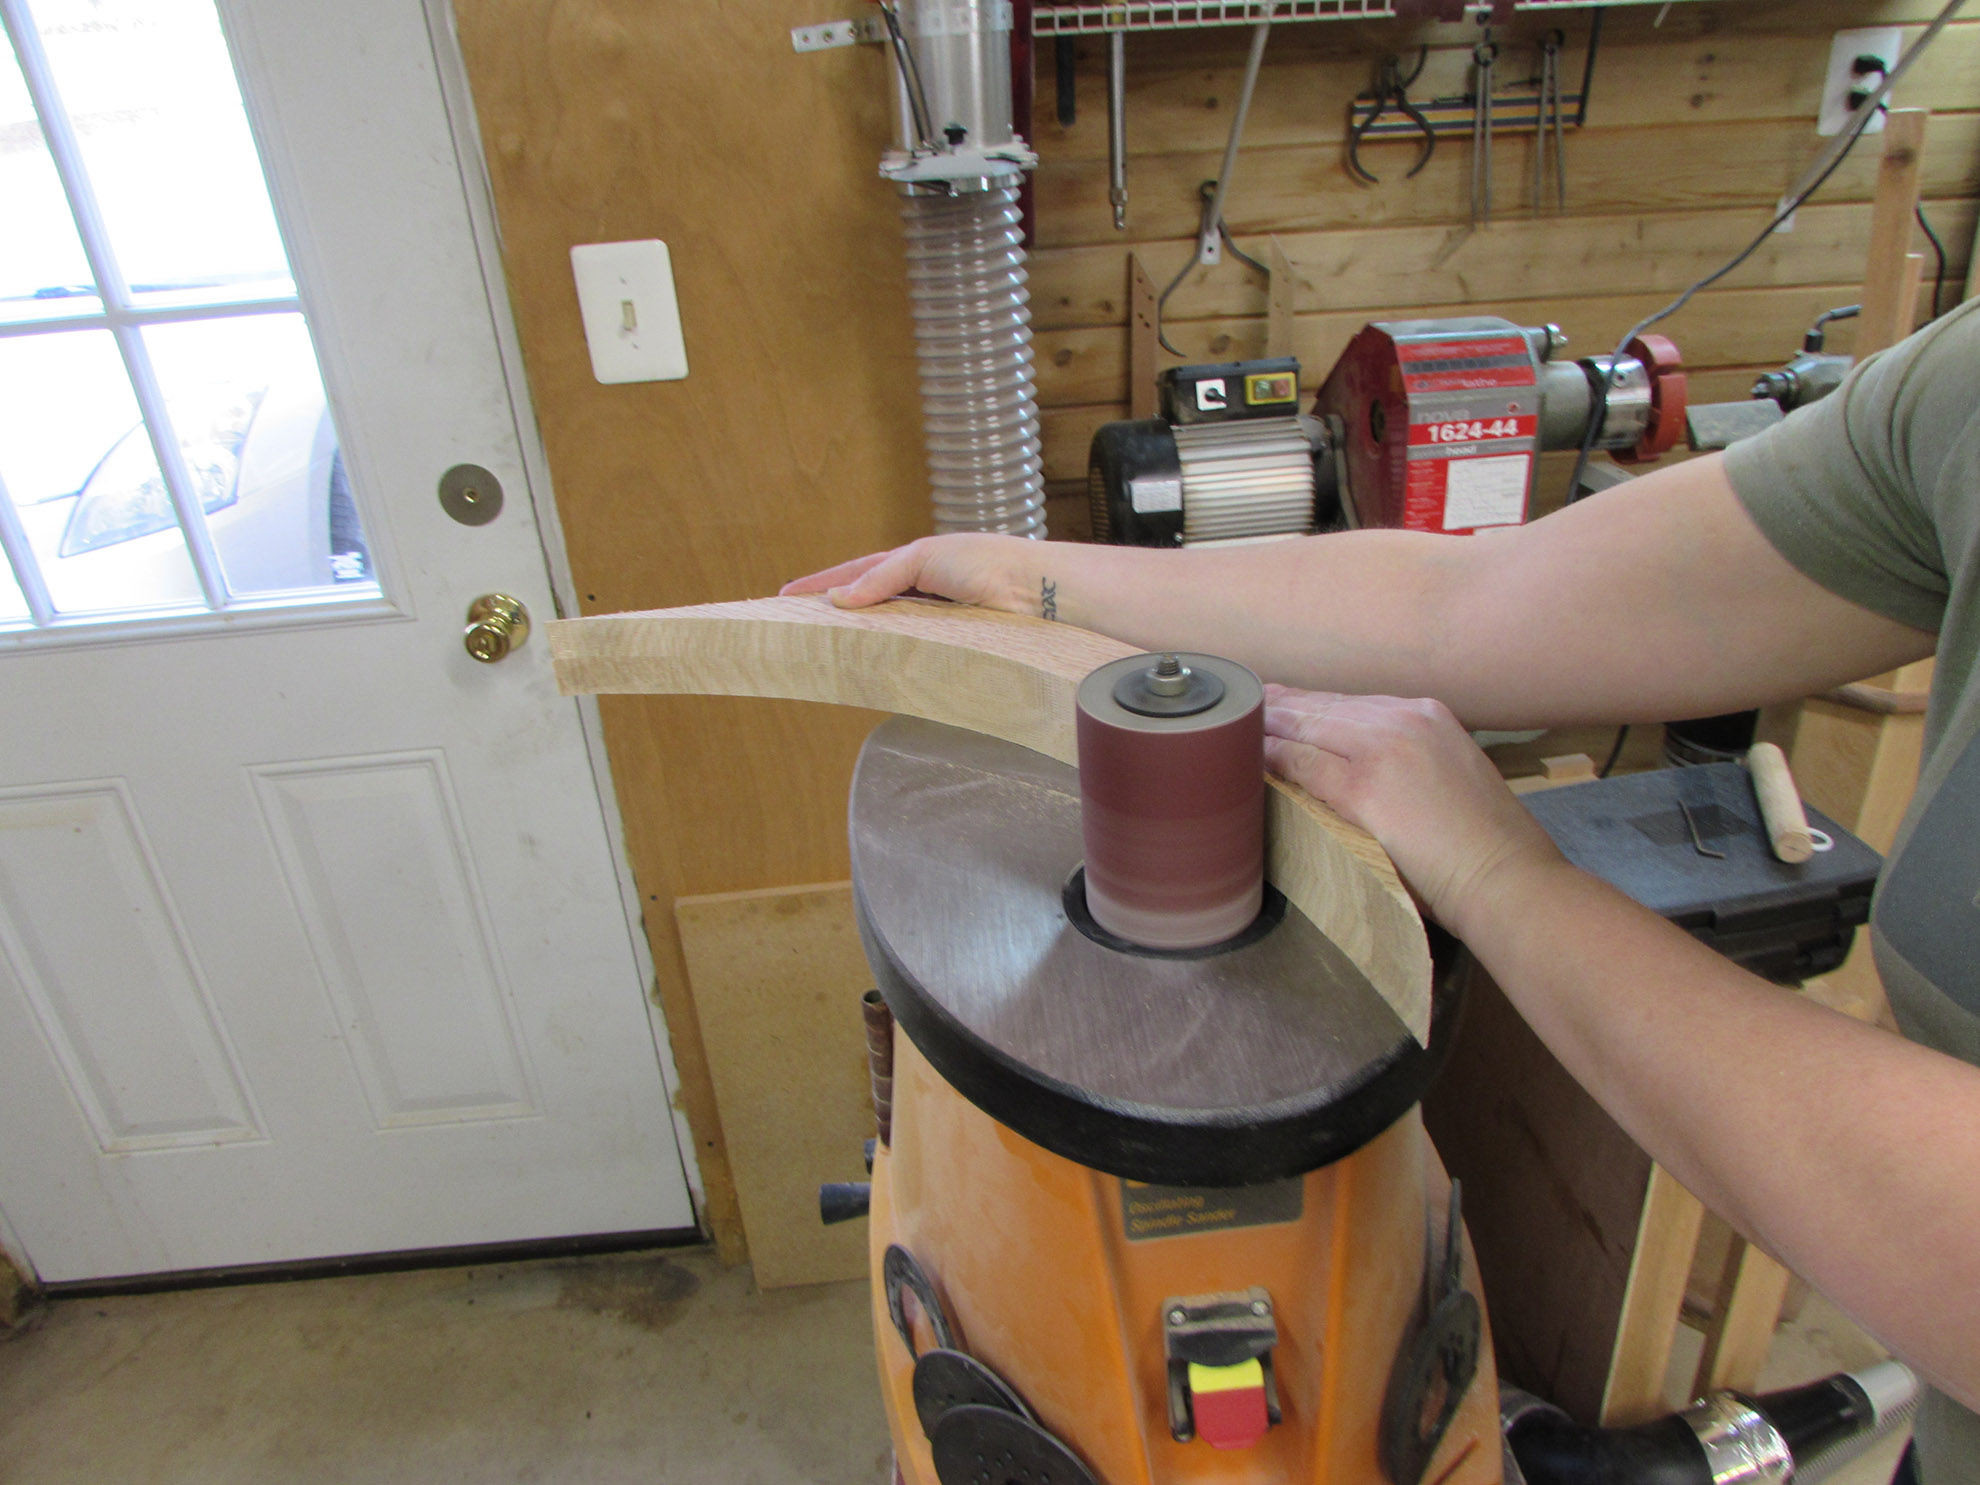
Once they were roughly shaped, Erin started cleaning up the edges on the spindle sander.
Not bad progress today, the counter top is done and ready for finish and the supports are started. Hopefully we will have the time to wrap them up this week.
