
Adam’s desk top – day 3
The first coat of poly has dried, so now I have to knock back all of the raised grain. I used a piece of 400 grit paper to sand back the rough stuff.
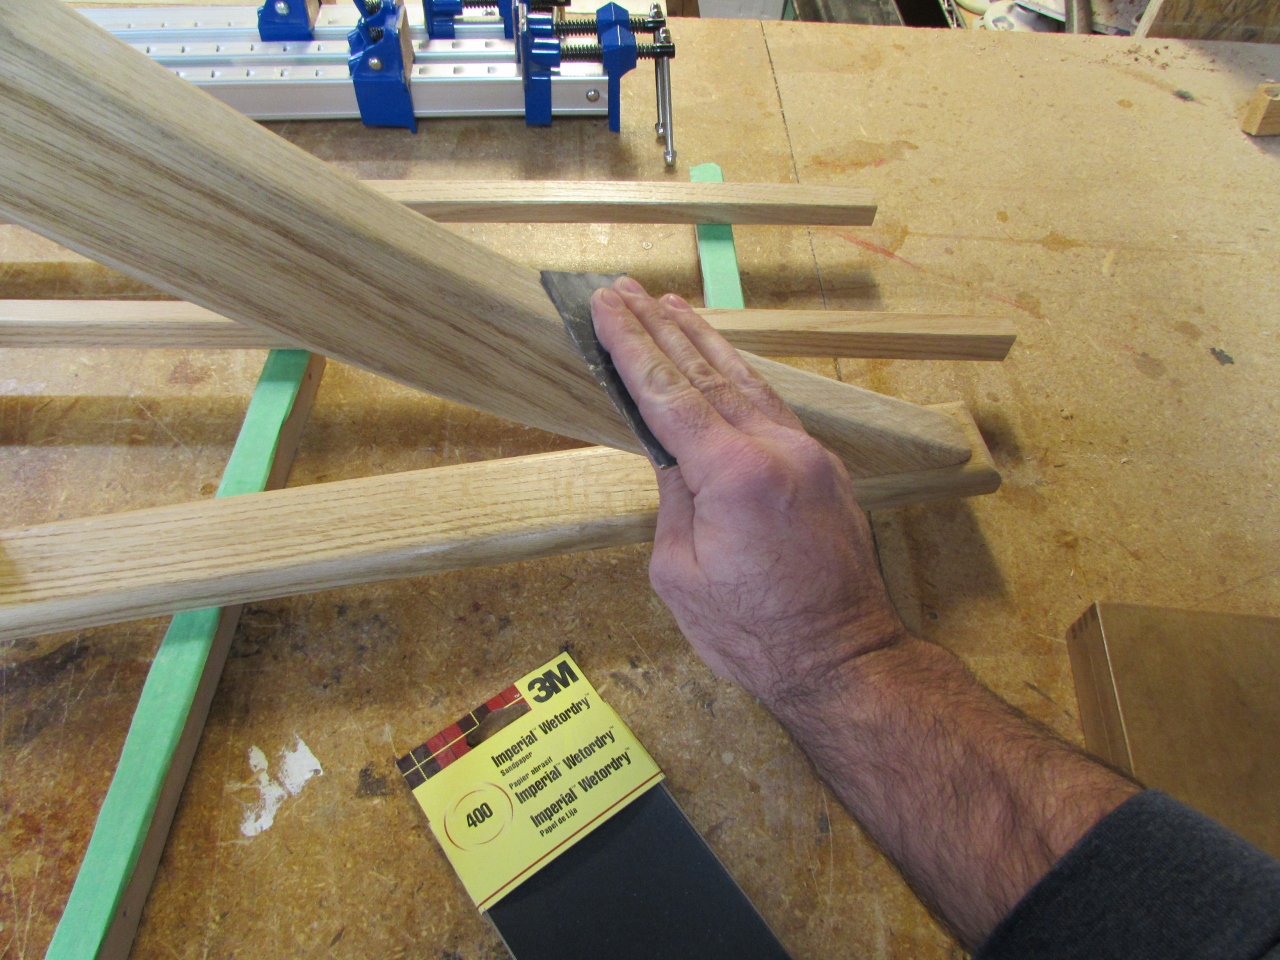
The solid wood had a lot more raised grain than the plywood.

I had to flip the desk on end to do the bottom.
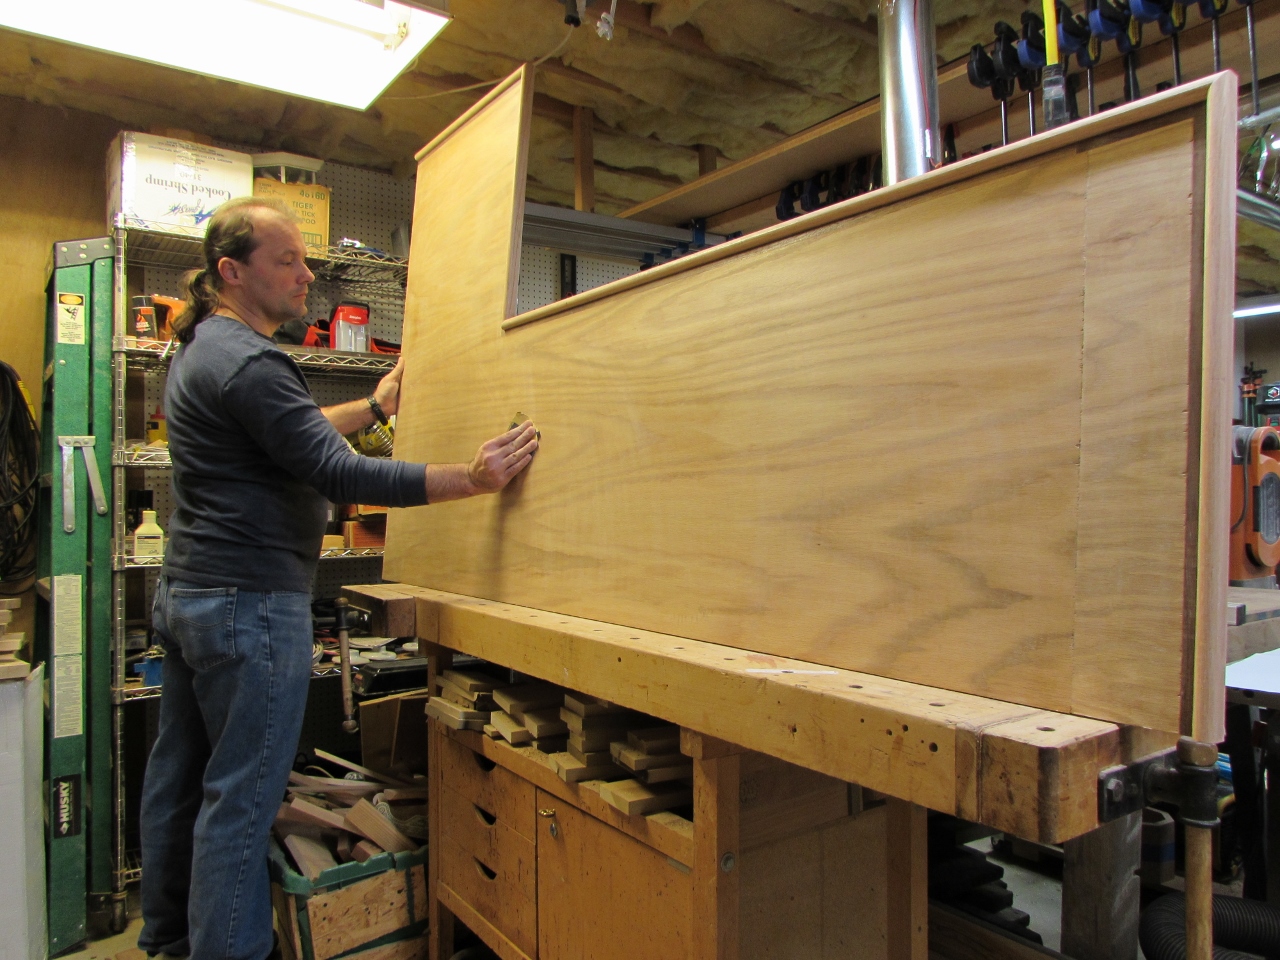
While it was up, I went ahead and applied the second coat of poly to the bottom.

After carefully laying the desk down, on painter’s pyramids, I applied a coat to the top and the corbel as well.
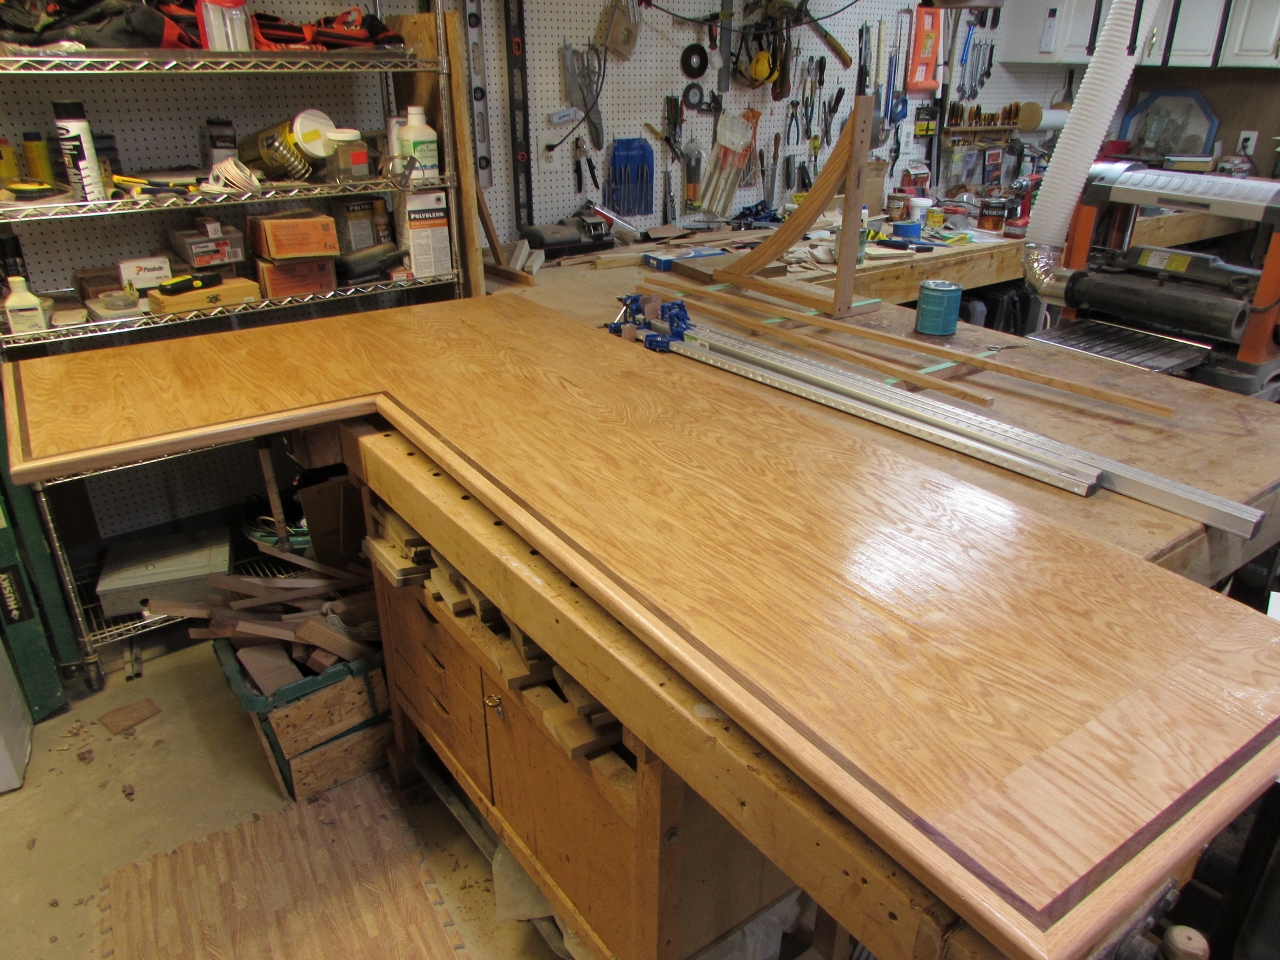
I let the desk top dry over night, and I picked up some desktop wire grommets, on my way home from work.

The grommets are sized so they can fit into a 2″ diameter hole. I dug out my hole saw set, and marked the desk top where the receptacles were located below. I marked a location 2-1/2″ off the back, and drilled halfway through the top. Next, I flipped the board on end again and drilled the bottom half, starting through the pilot hole from the other side. This gives me a clean cut through both faces, with no tear-out.
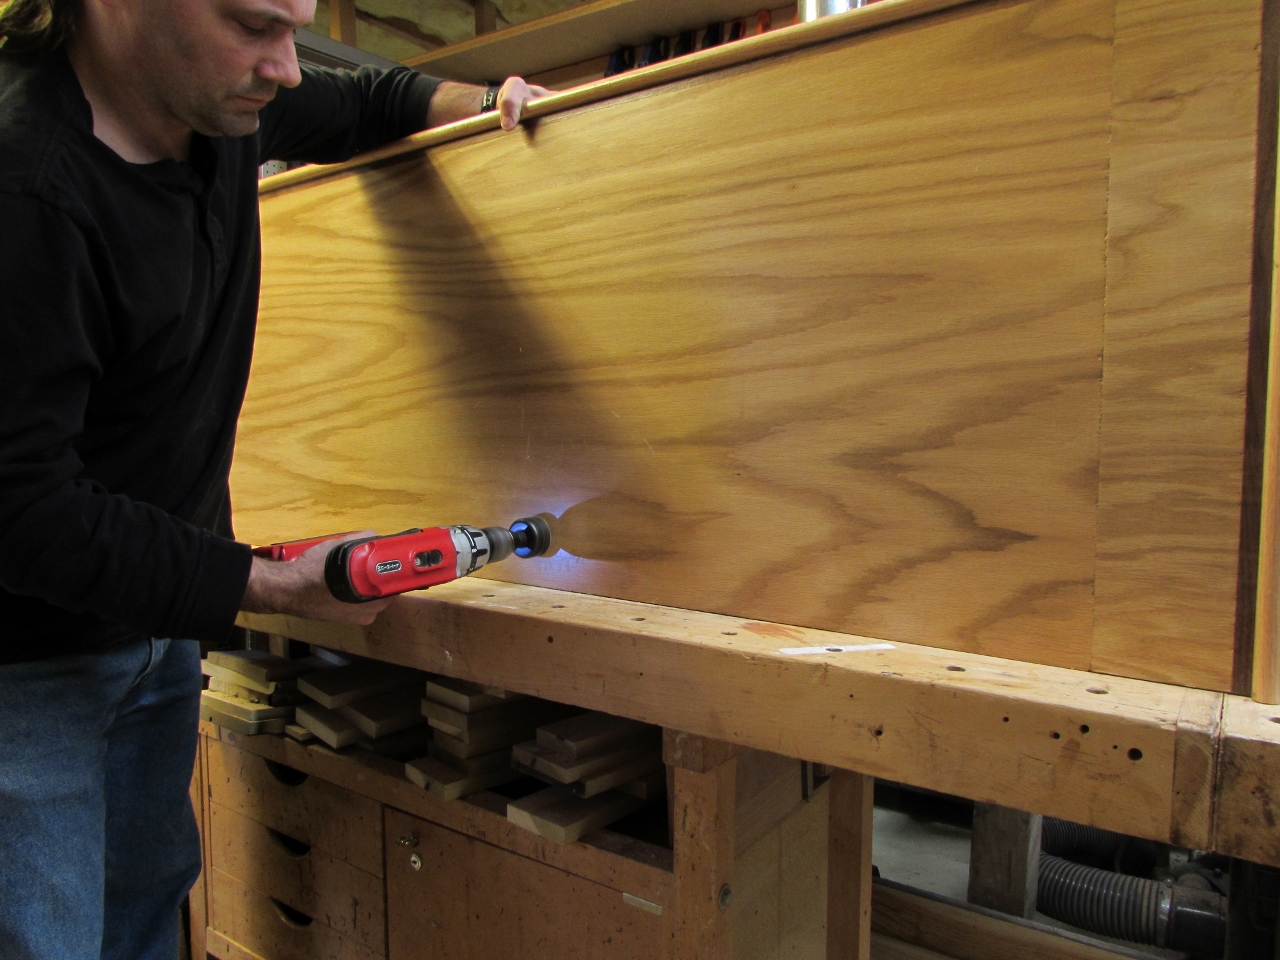
Then the grommets just drop into place. There is even a cap that covers most of the hole with just a bit, open, to let the wires pass through.

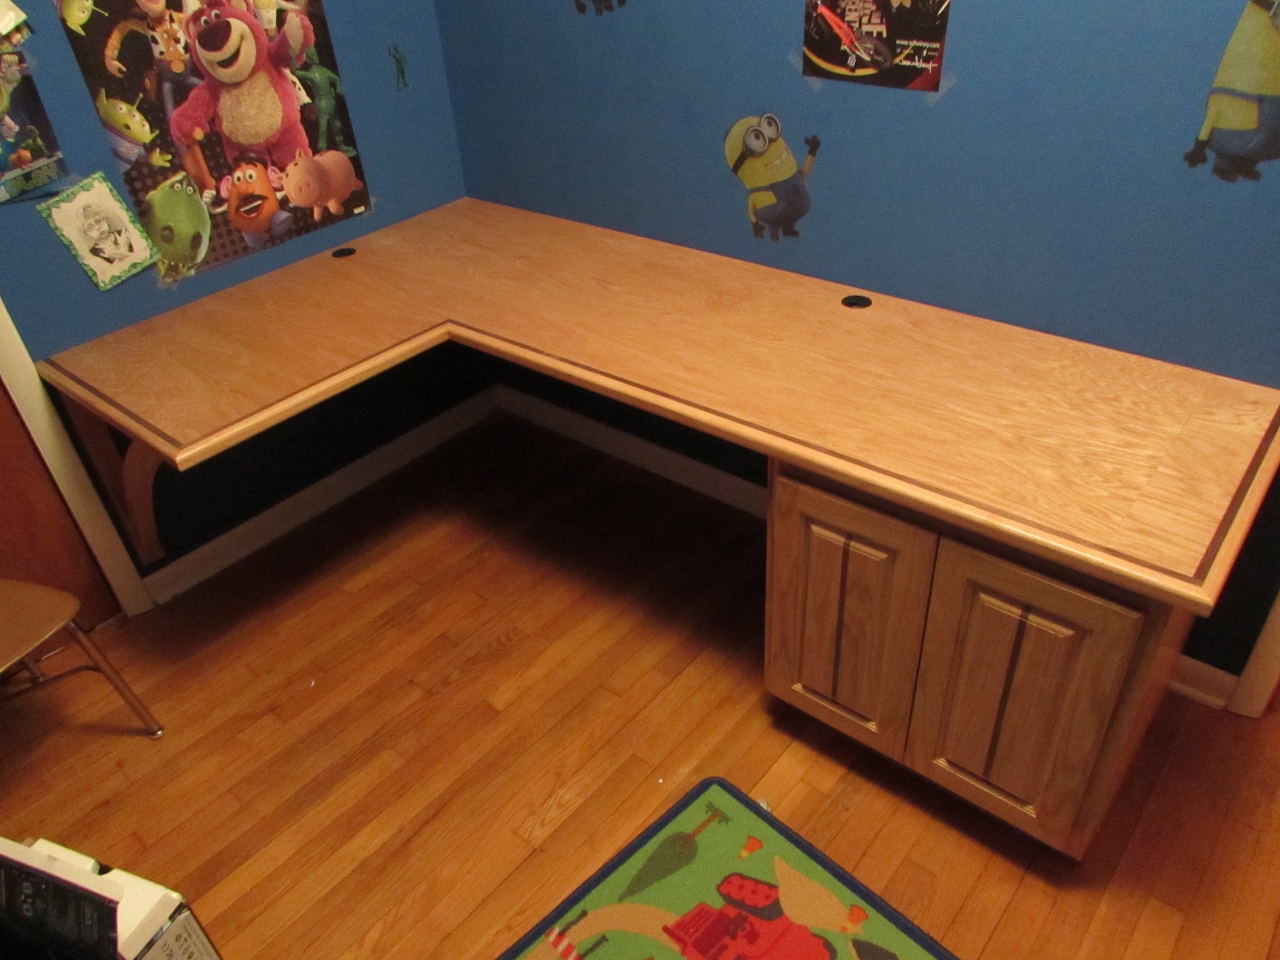
Time to install. I marked the location for the sliding dovetail mount piece and attached it with four screws. Then I slid the corbel down till it stopped. It fit snugly and required a couple of bumps from my fist to seat it all the way on. It looks great with no hardware showing, and it seems really strong.

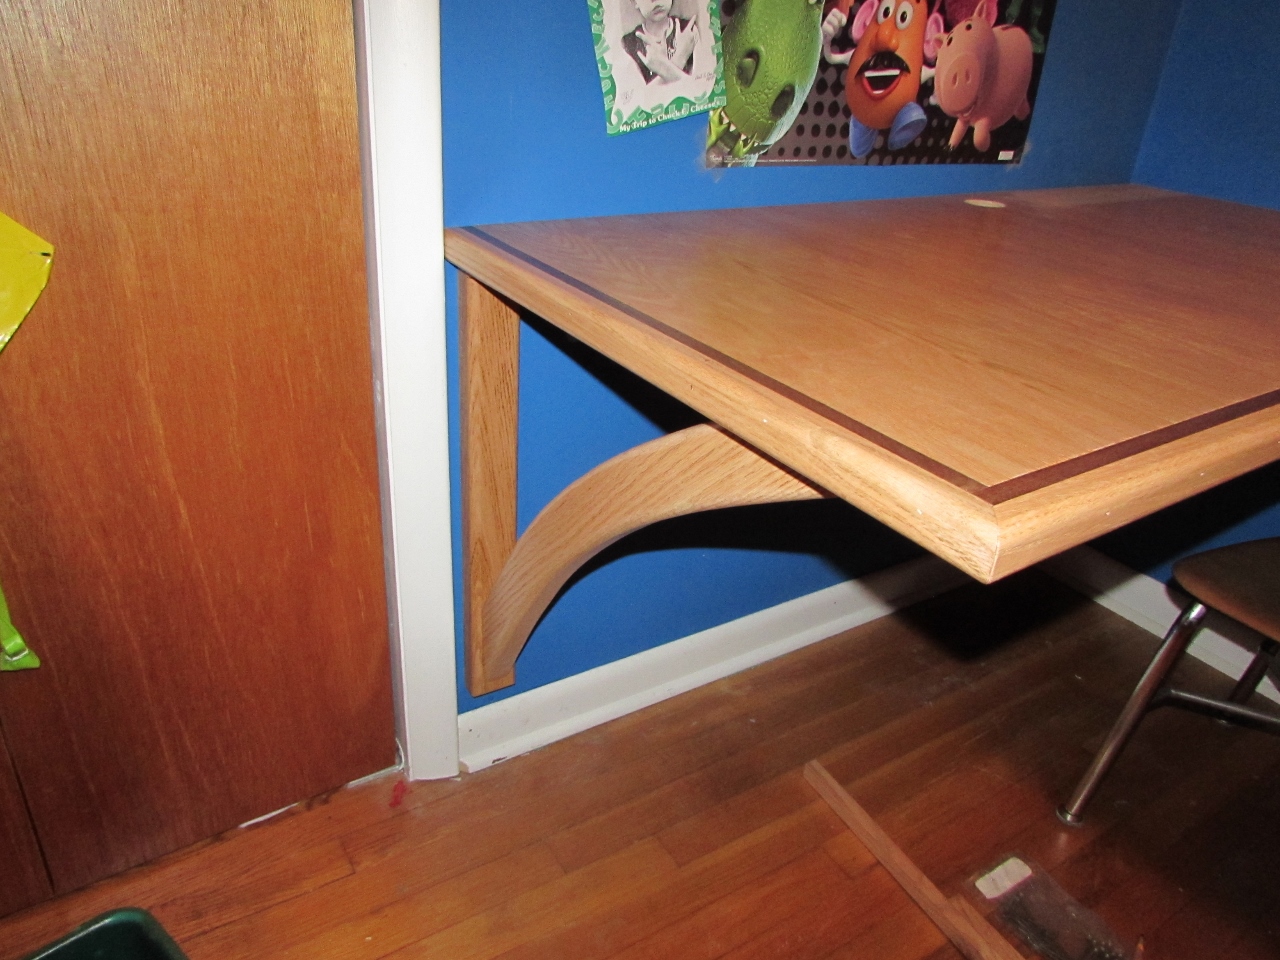
I installed the desk next and it was a perfect fit.

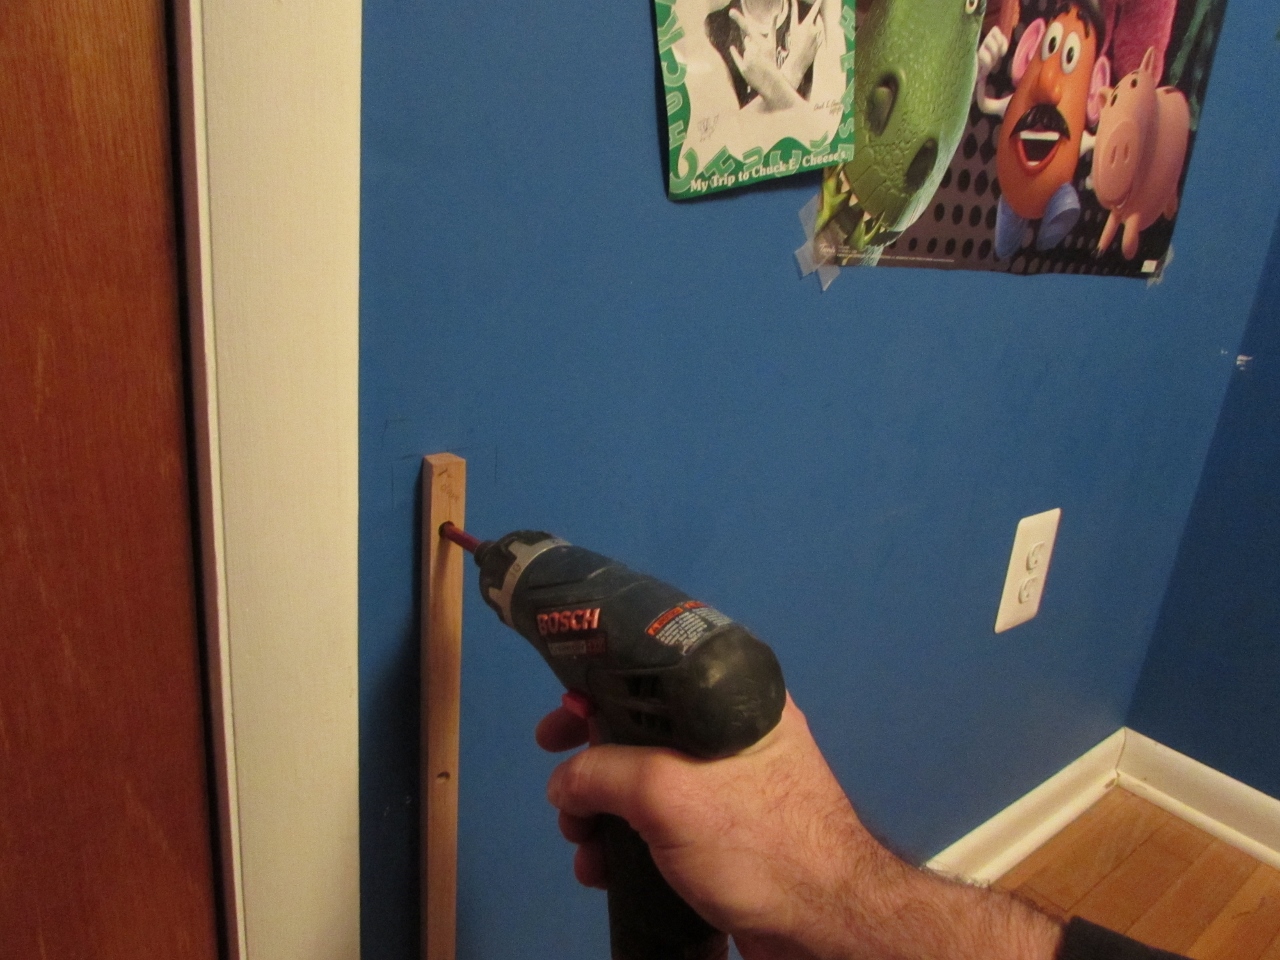
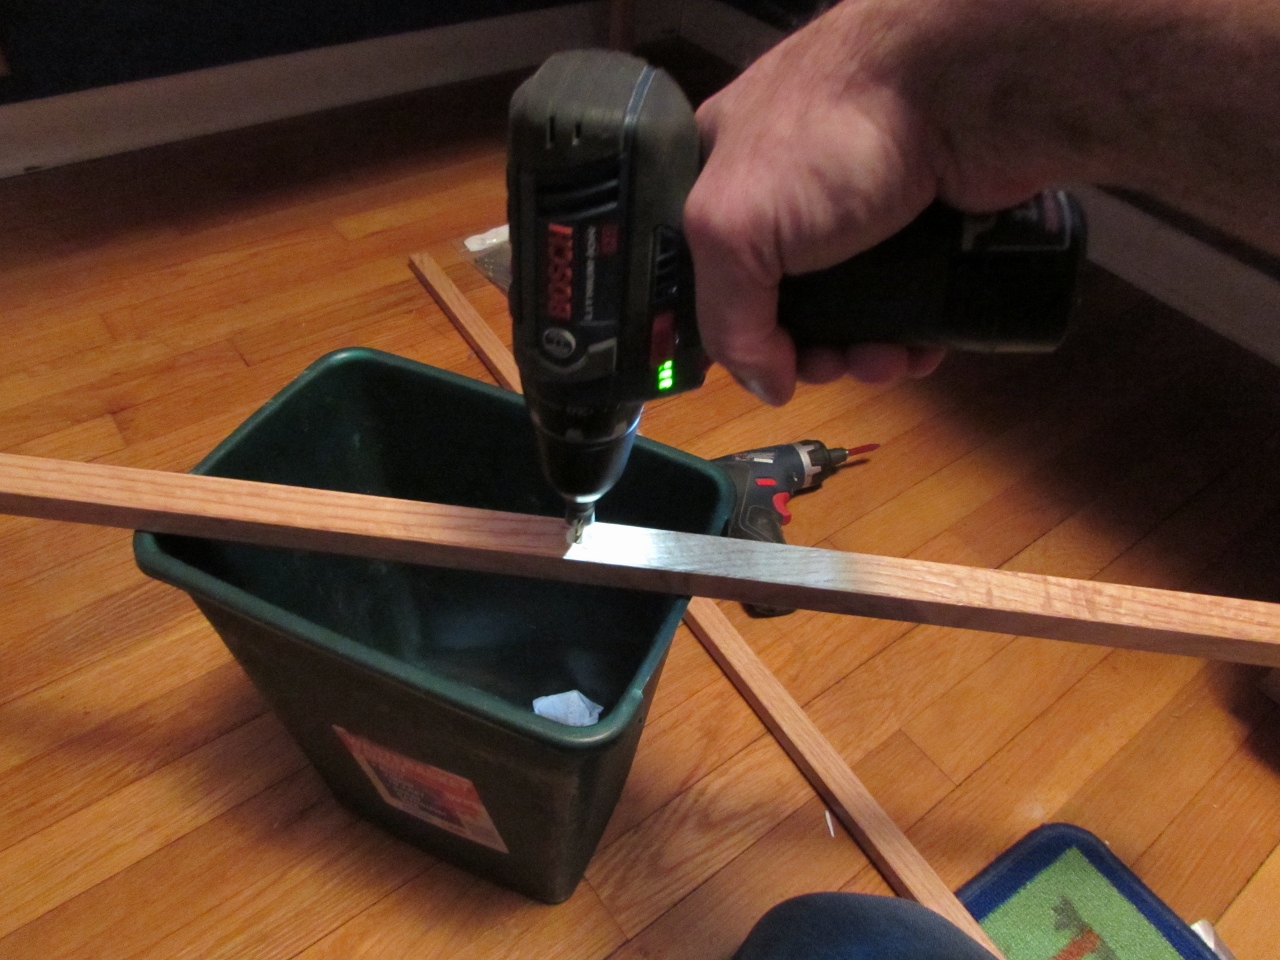
I cut a stick to support the back side of the desk while I got the support strips cut down and counter-sunk.

With the desk level, I attached the support strips to the wall, just below the desk top. I put one screw into each stud that the strip crossed.
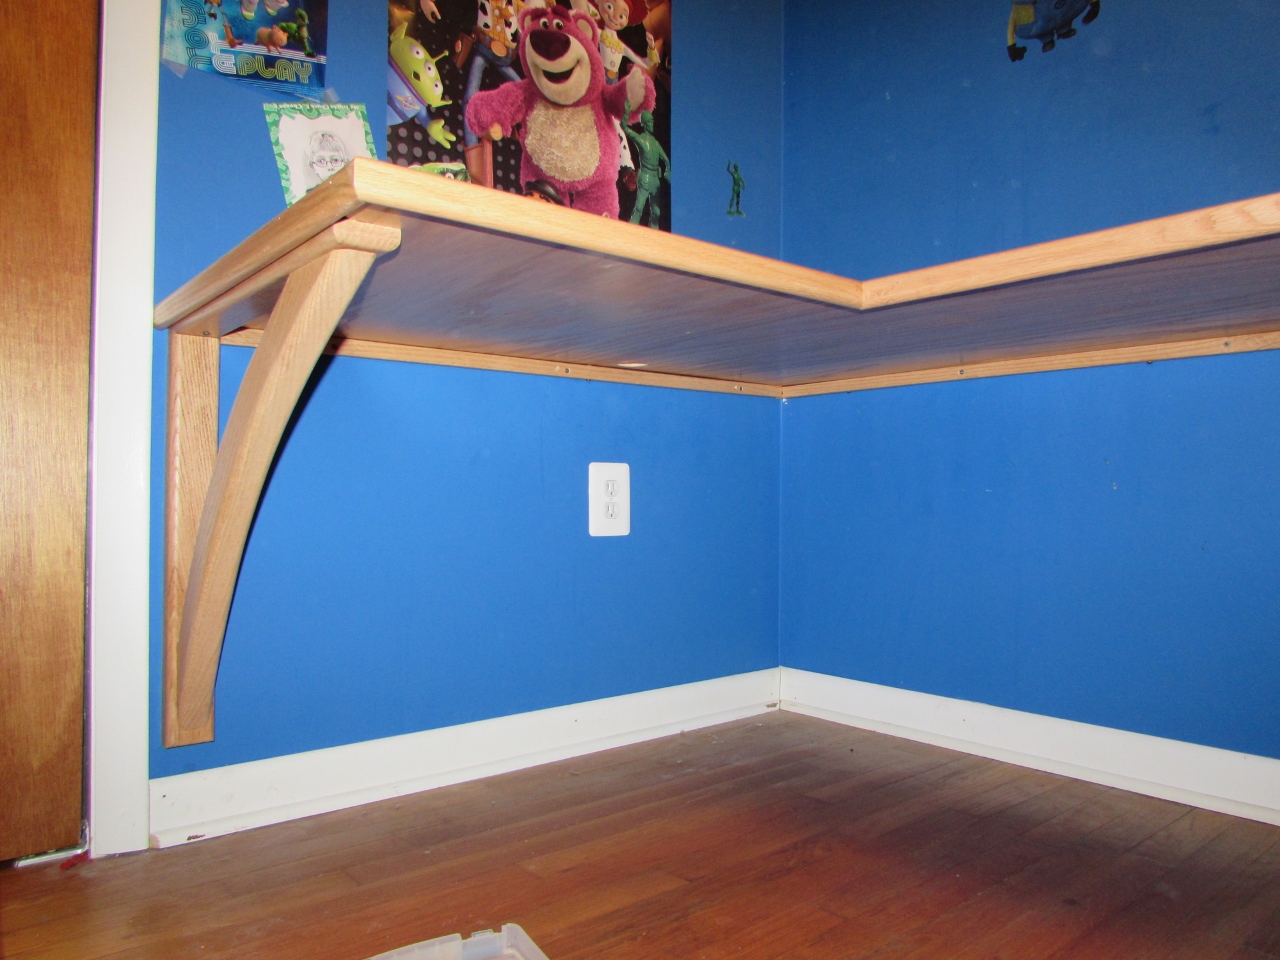
The desk looks good, unfortunately it will soon be covered with Adam’s stuff…

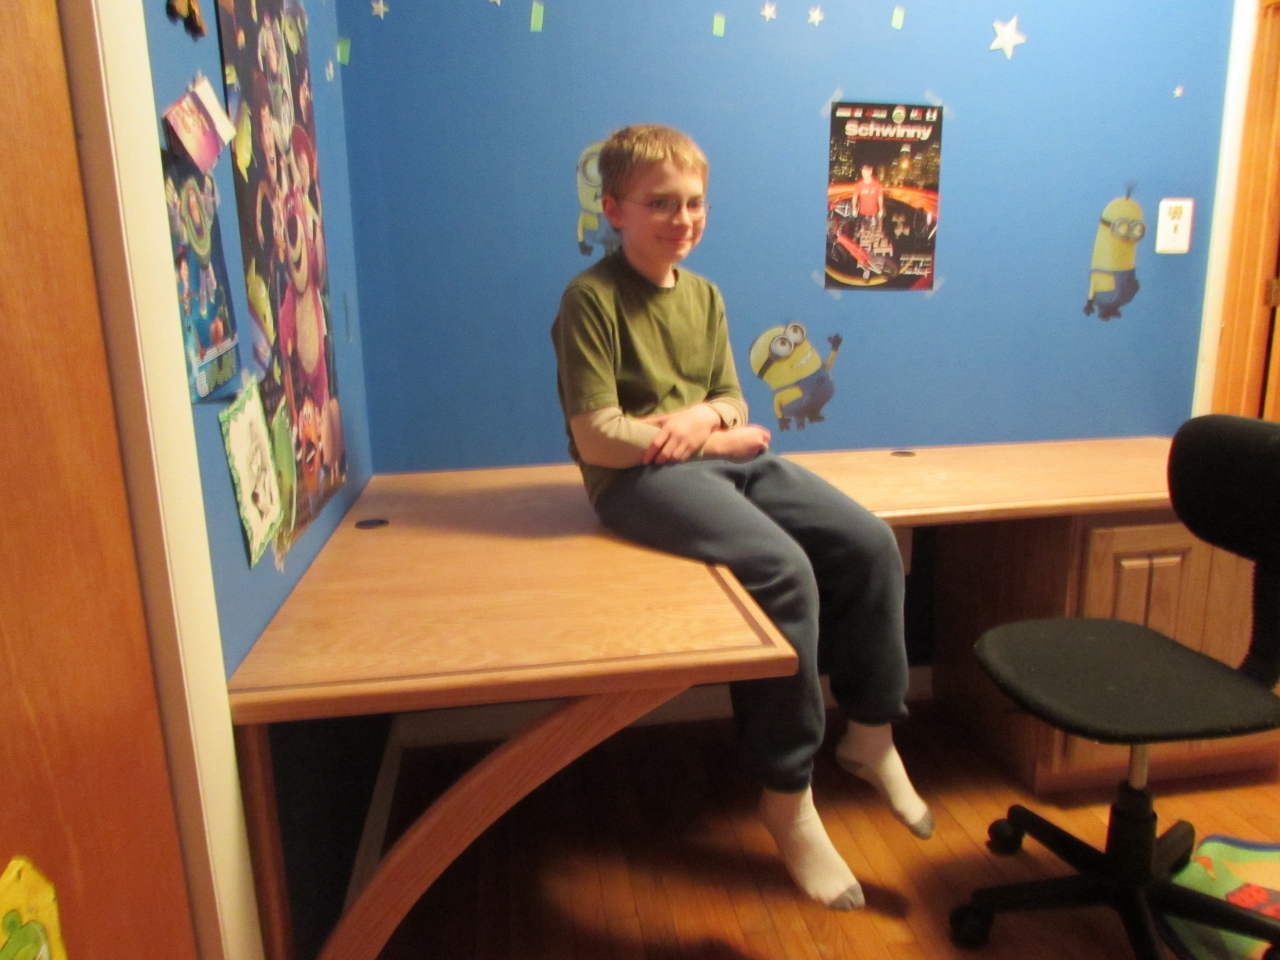
I had Adam do a little testing for me. It appears the corbel works well, Adam can spin around without banging his knees. He also load tested the center of the desk. It barely deflected, so it looks like I am done until I start on the overhead shelves and cabinets.
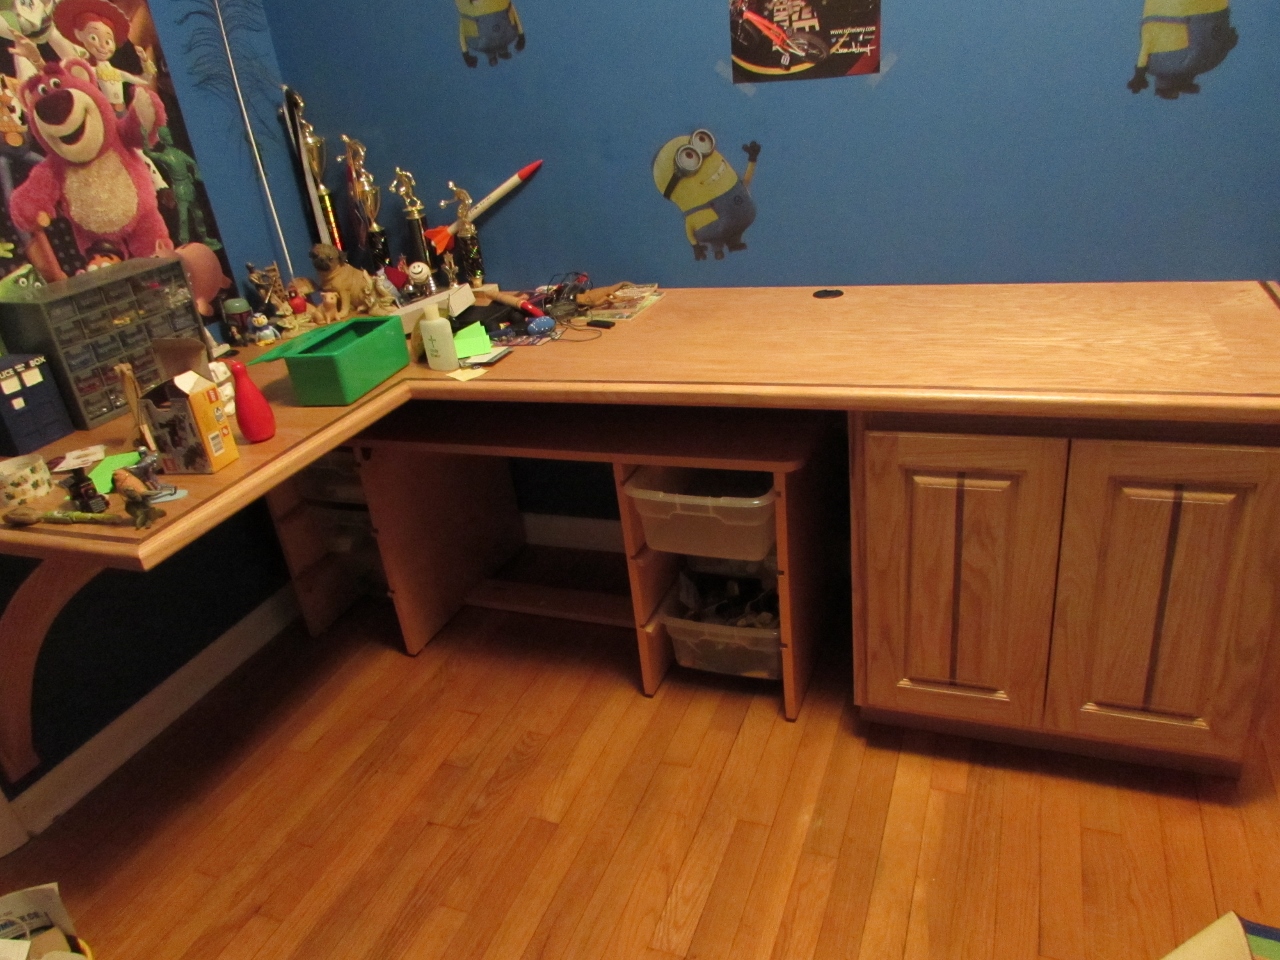
And Adam’s stuff is back! That didn’t take long… He is still cleaning his room, so he just moved the stuff that was cluttering up his old desk, over to the new one. There is actually room enough to store his old one below the new one, until he can finish emptying it, then it will be moving on.

Beautiful desk Lawrence! I love the “no leg” design that makes it float. Nice job, and I’m sure Adam is super happy!
Pingback: Walnut counter – day 2 | Midnight Woodworking