Adam’s desk top – day 2
The next challenge to this project is how to support the desk. I can mount a thin strip, of wood to both of the walls, that the desk will butt up to, and the base cabinet will support the right side. The left side will not have a cabinet under it, and I want Adam to have some leg room, so I decided to build some type of corbel to support it. It will need to be supportive, without being a knee-buster.
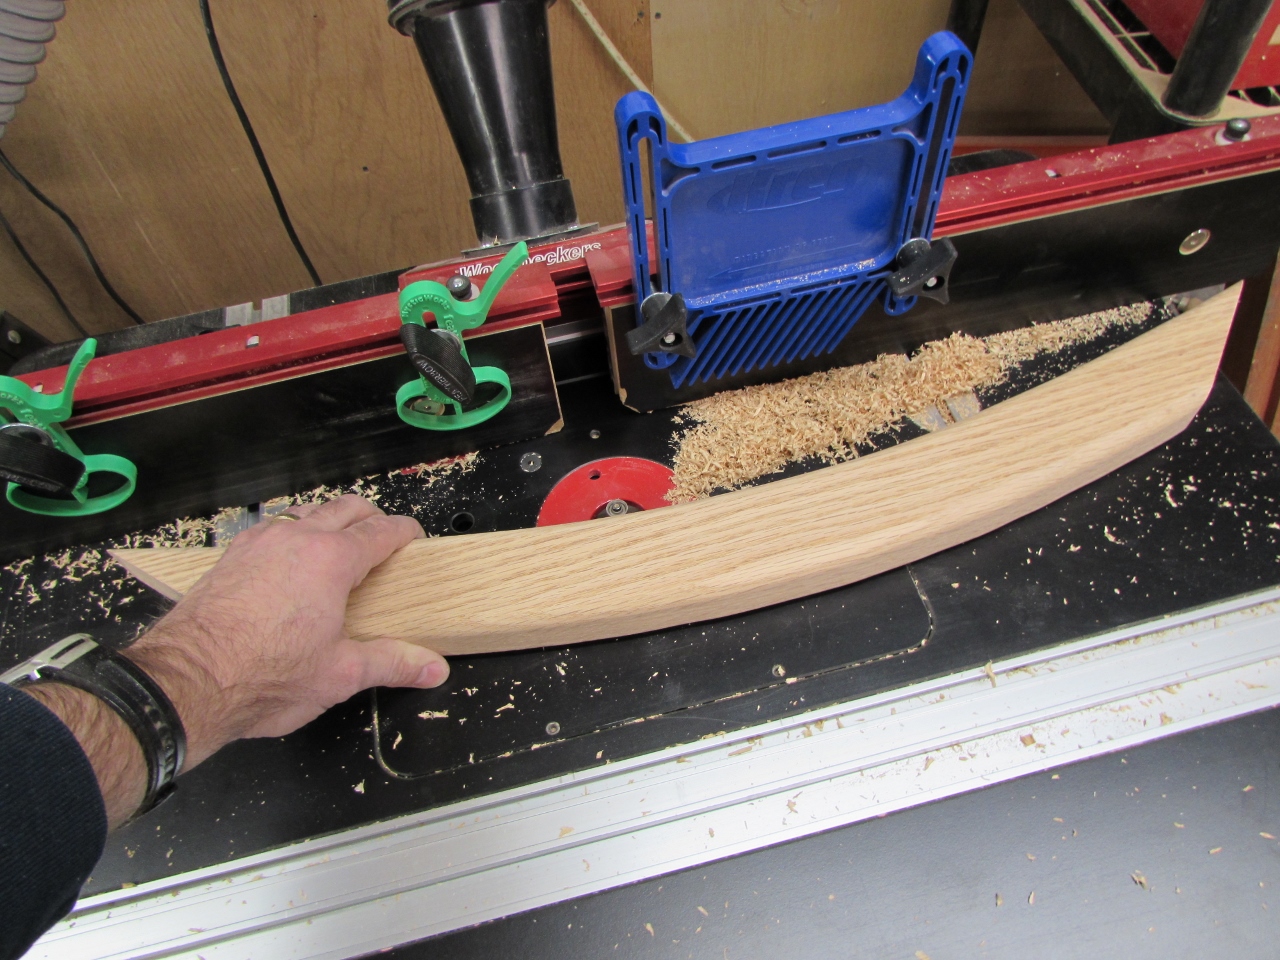
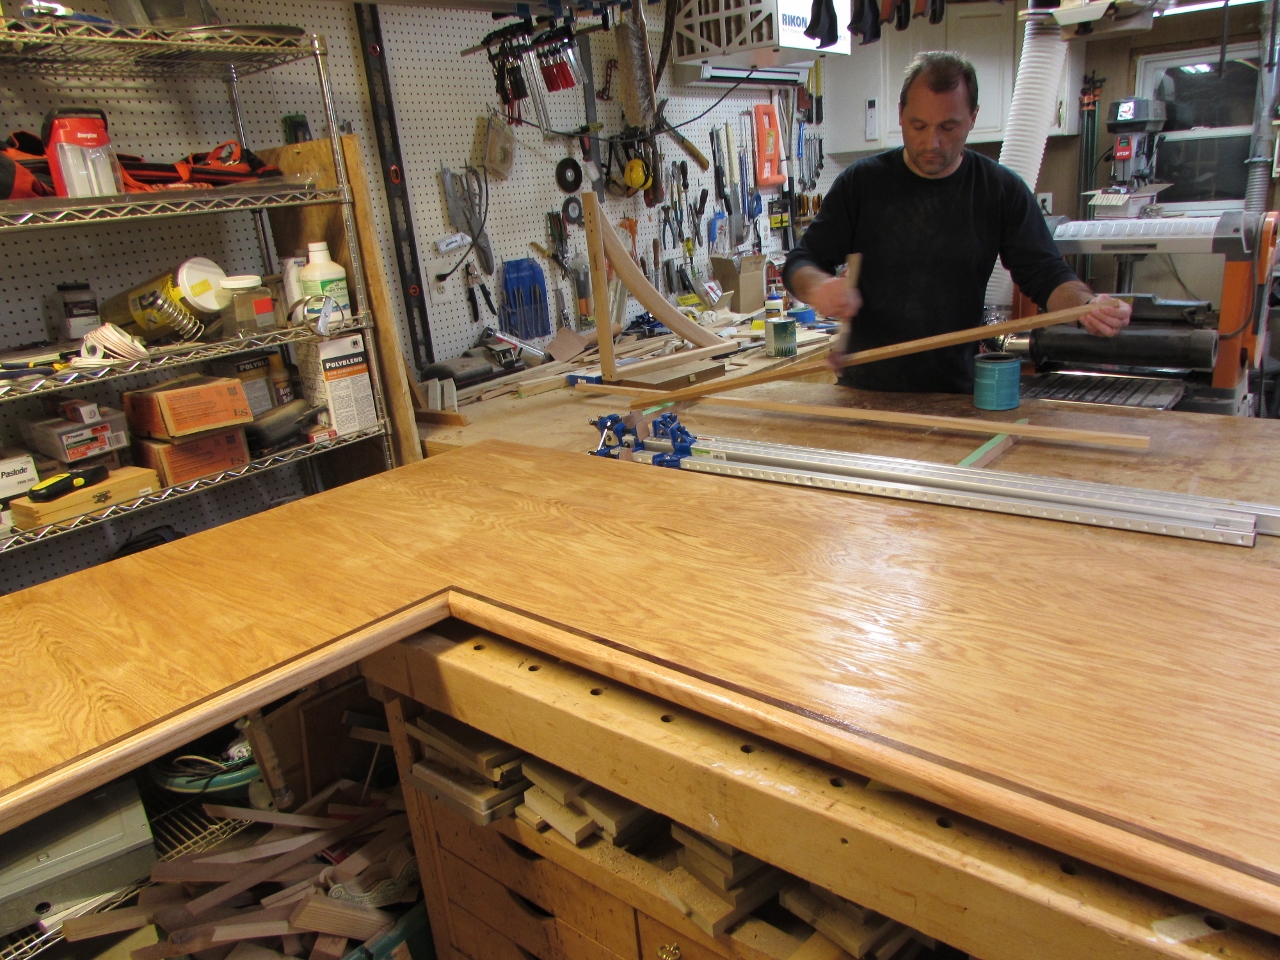
I have a short piece of 6/4 oak that might just be what I need. I cleaned up the edges and planed it down smooth. I am going to use this piece as the main support gusset, and I want it to look nice. I also want it out of the way of his knees, so I am going to curve it. To lay out the curve, I grabbed an off-cut piece of maple, that is about 1/8″ thick. I inserted the strip into the jaws of one of my longer clamps, and started tightening the clamp till I had a gentle curve at the radius I wanted.
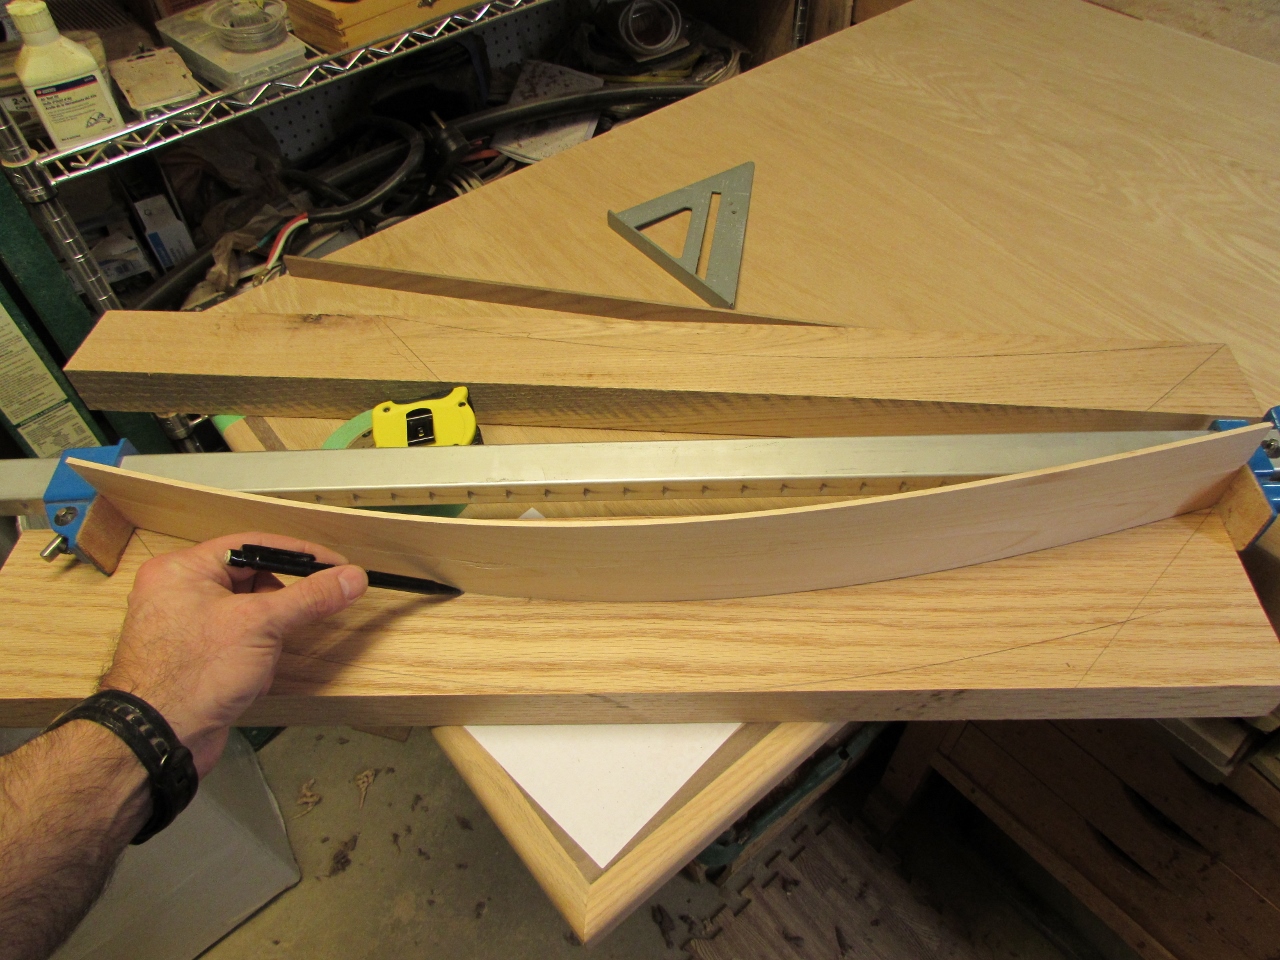
I laid out the two parallel curves, then cut the 45 degree angles on the ends.
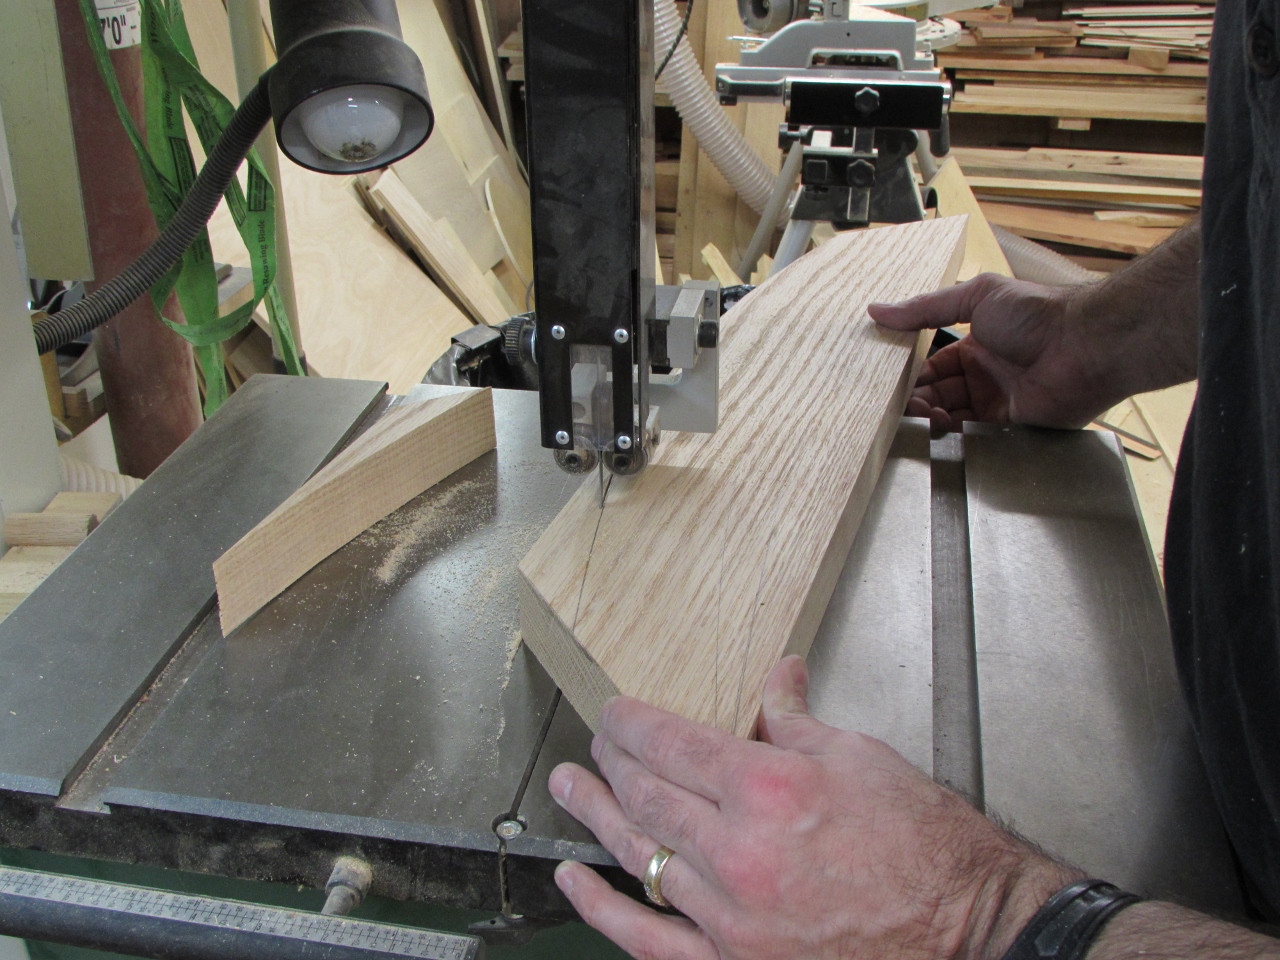
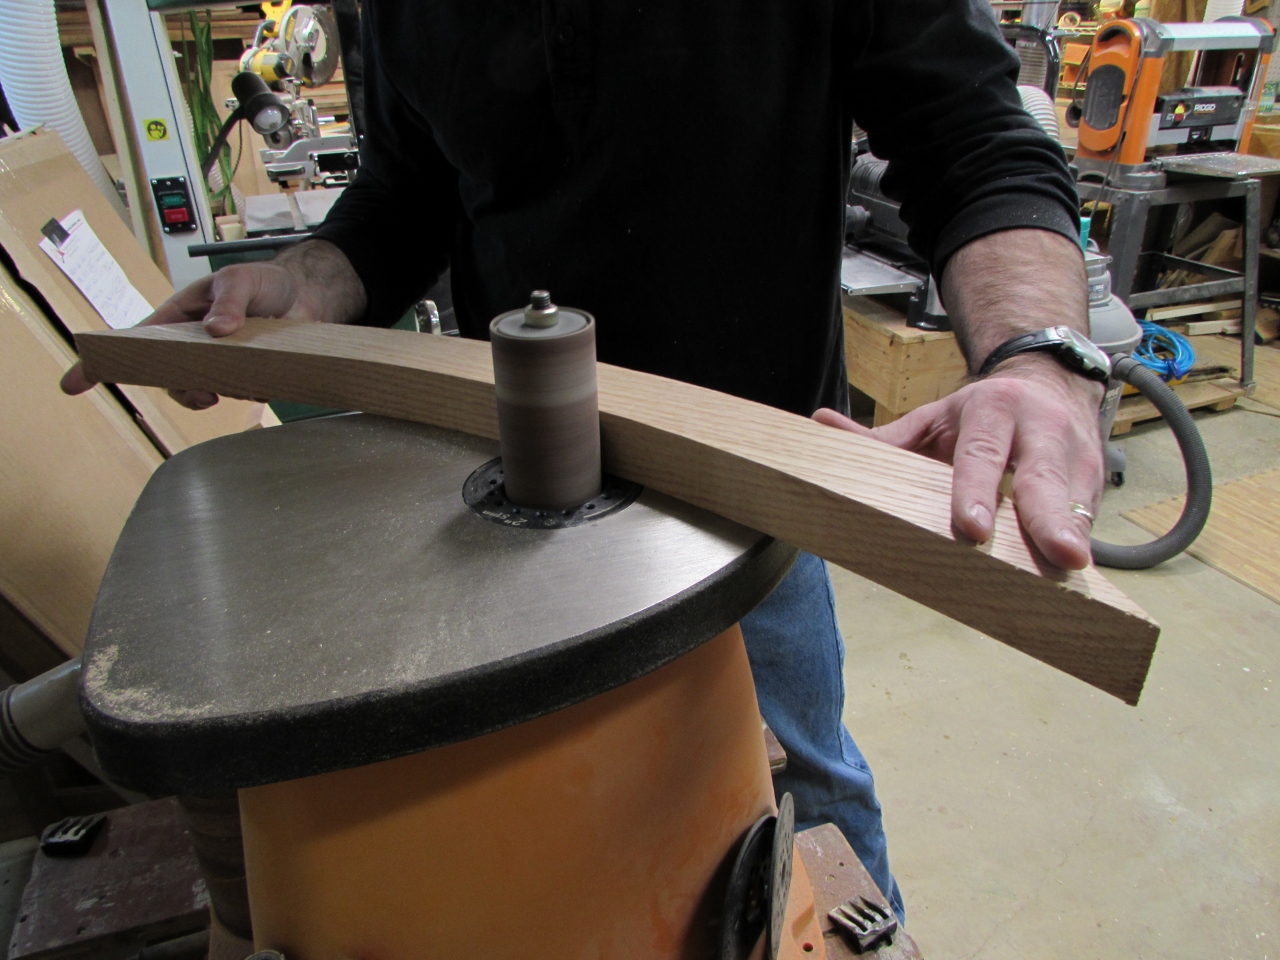
I cut out the curves on my band saw, then cleaned up the cuts, on my spindle sander.
Setting that aside for the time being, I had an idea that I wanted to explore. I was trying to figure out how to mount the corbel without leaving any of the hardware visible. It will also be difficult to attach screws through the plate, behind the curve of the corbel. I thought maybe a sliding dovetail, of some sort, might work.

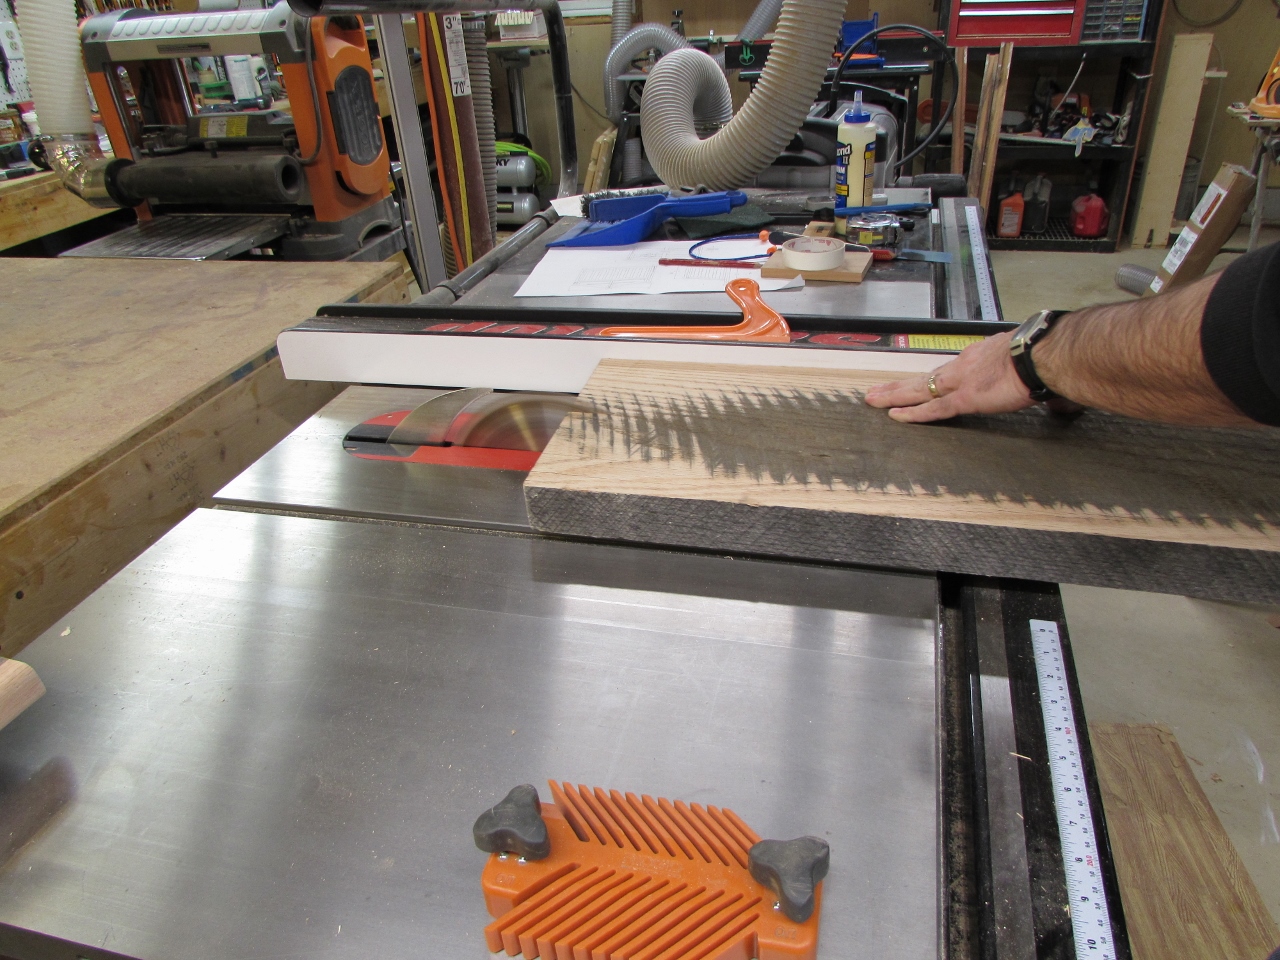
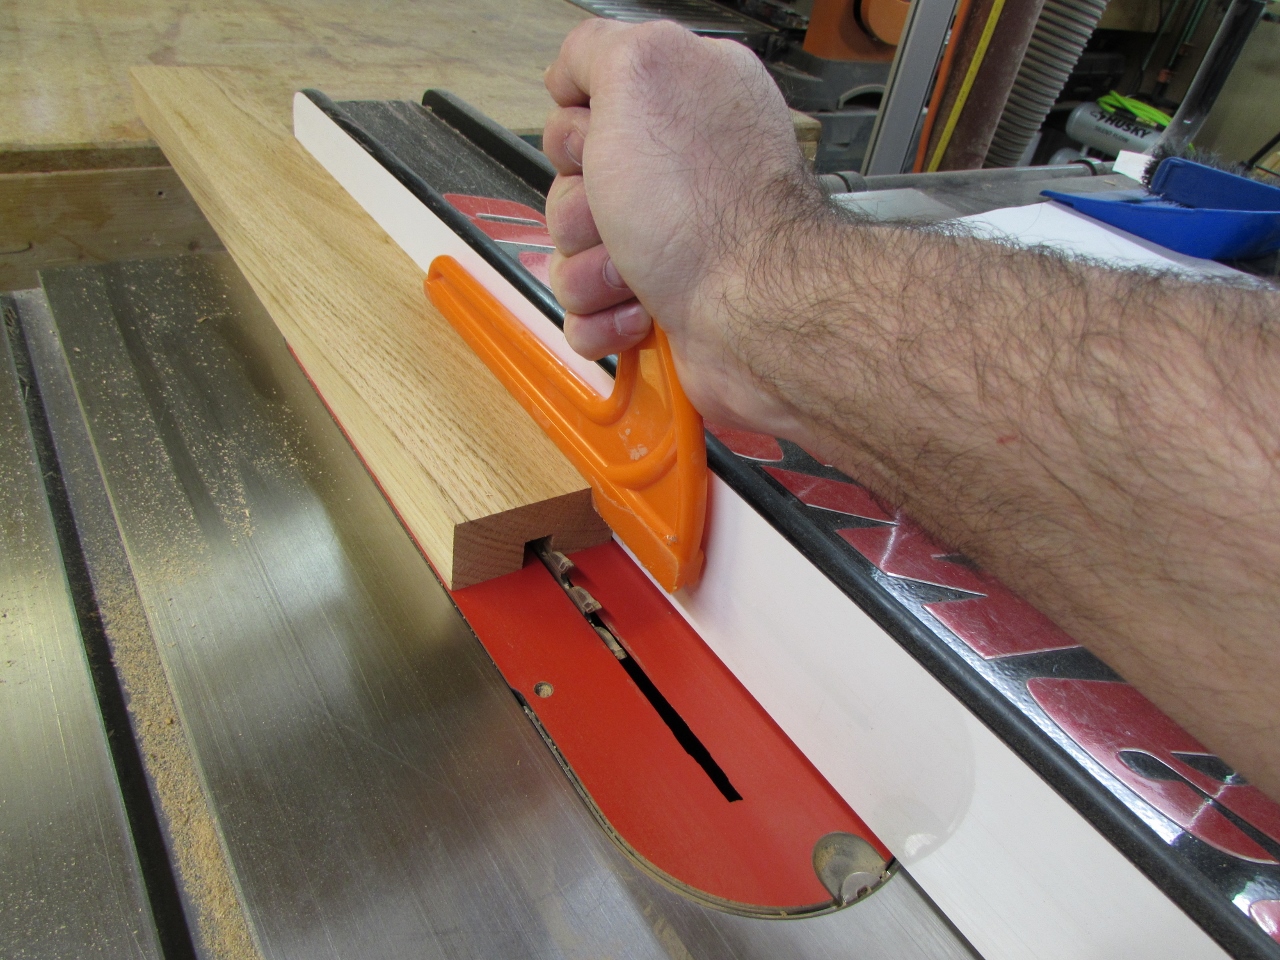
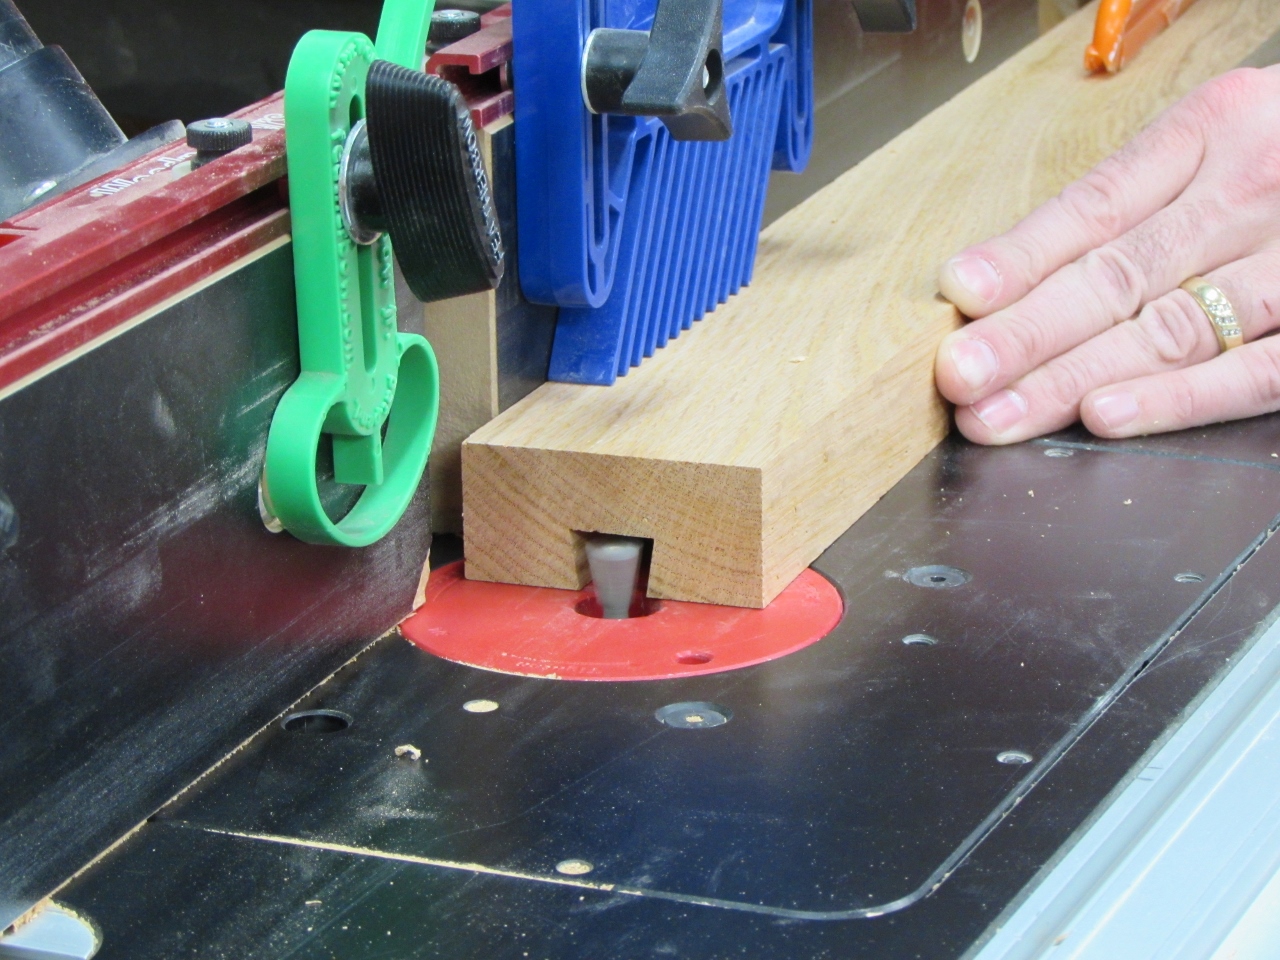
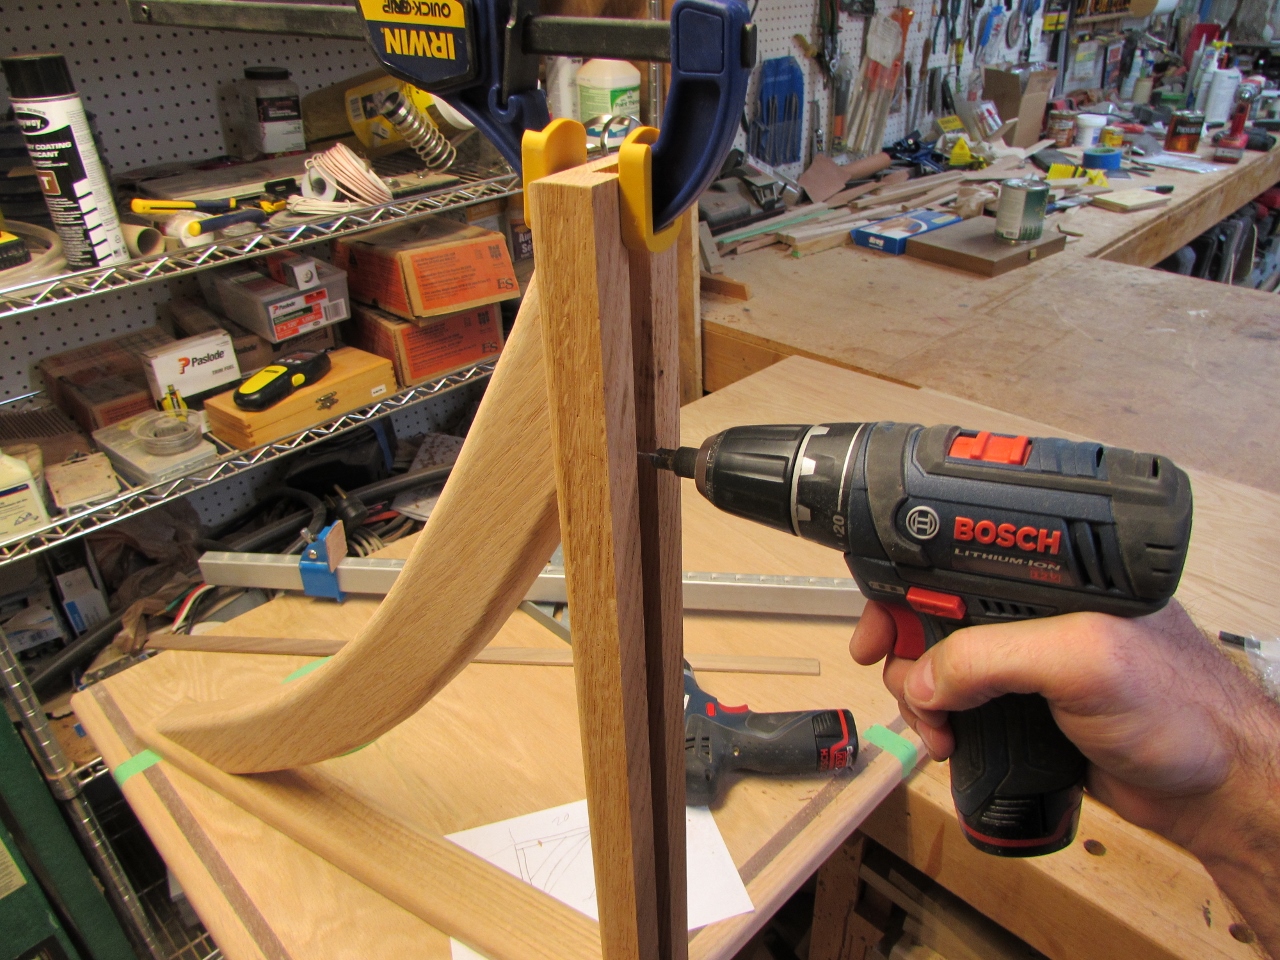
I set a dovetail bit in my router table and cut each side of a dense piece of 3/4″ oak. Next, I cut a piece that was about 2-1/4″ wide and 1-1/4″ thick. I cut a 1/2″ wide dado, down the center.
Then I carefully cut a dovetail into each side of the dado, being careful to match the width of the male piece, that I cut earlier.
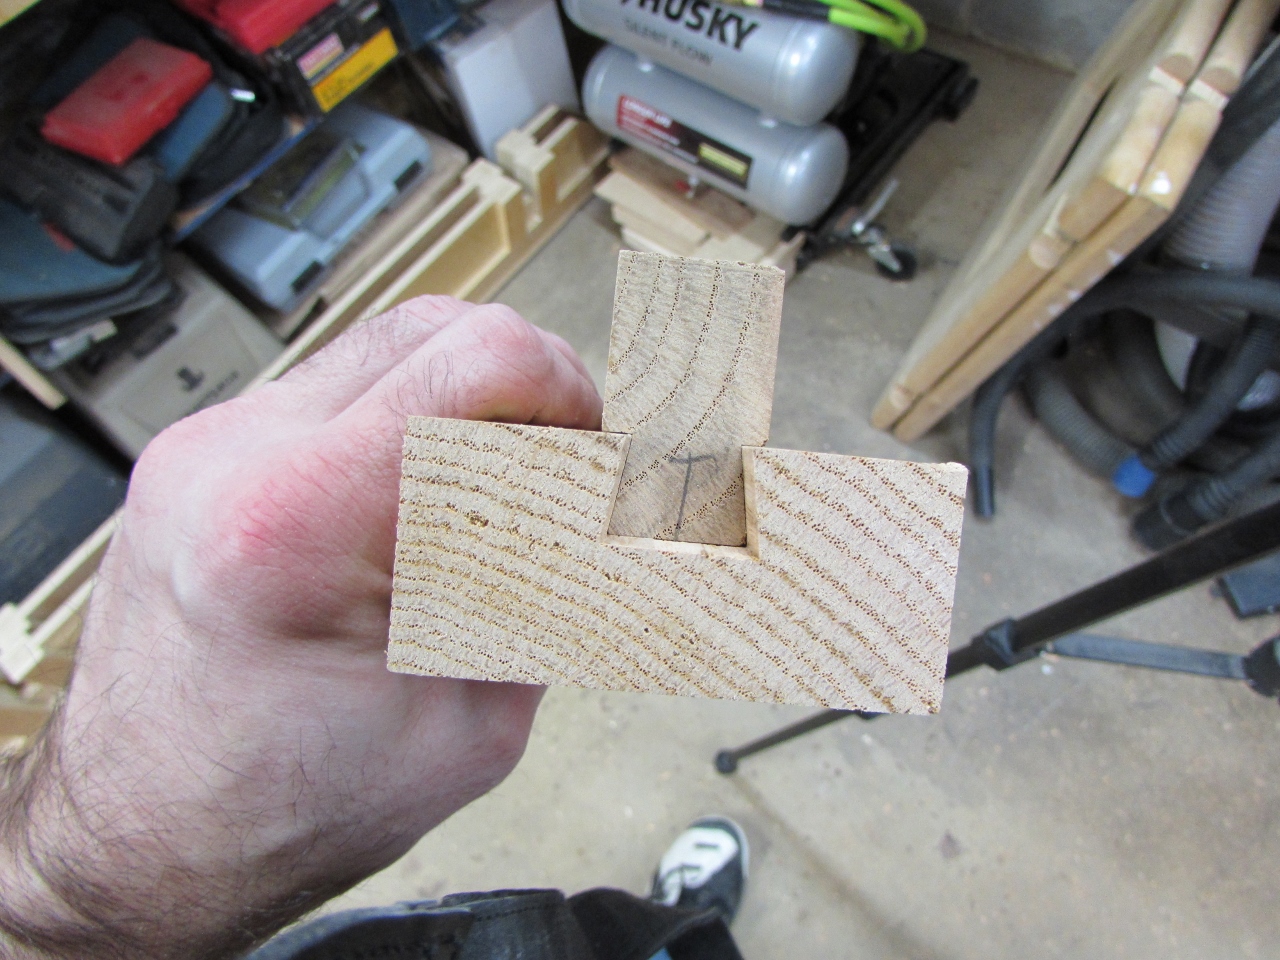
When I got the fit perfect, I cut away the waste side of the male part. The plan is to screw that piece to the wall, and slide the corbel down on top of it, leaving no visible hardware. I hope it works…
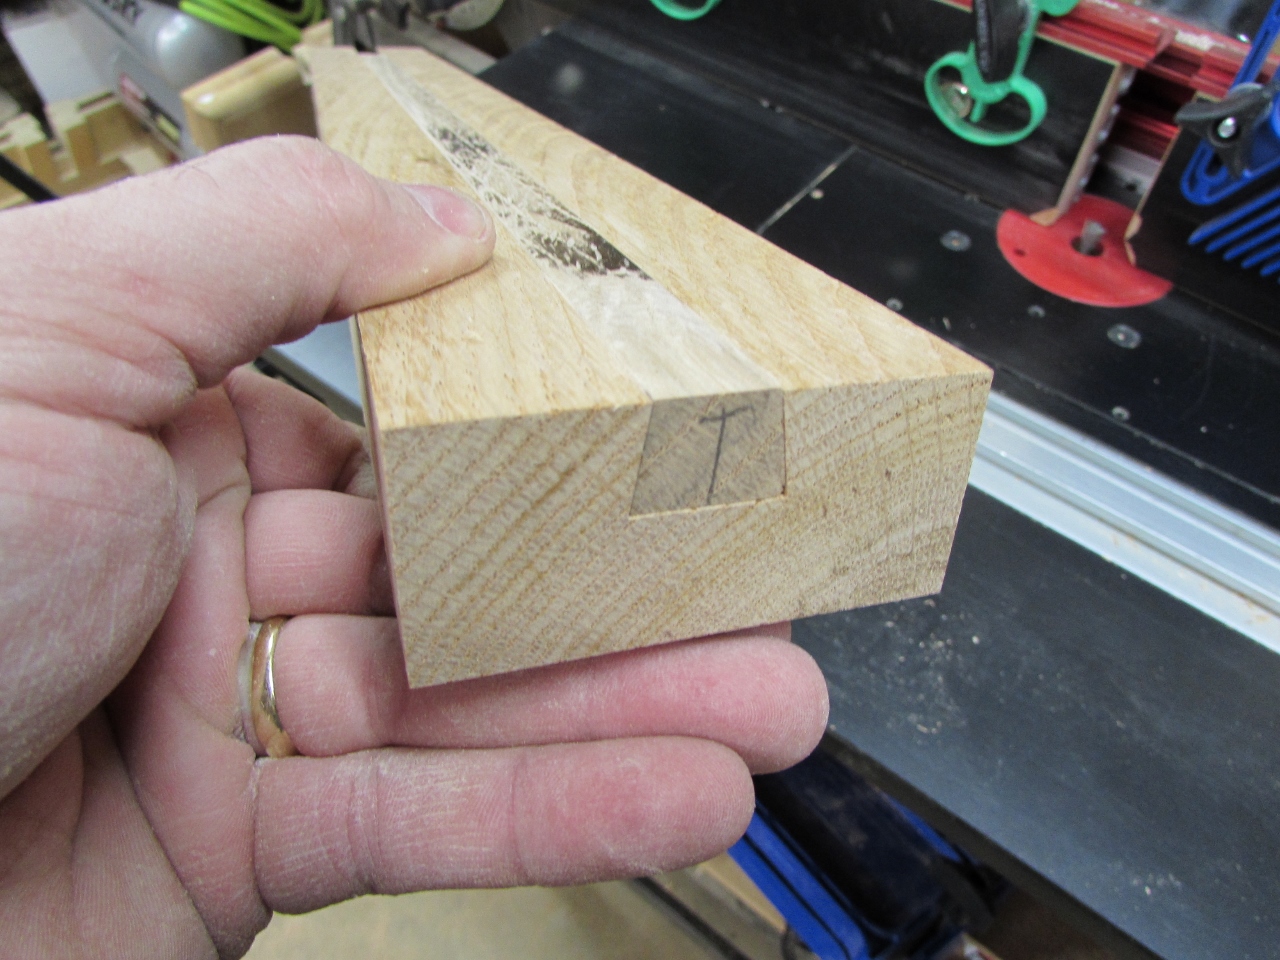
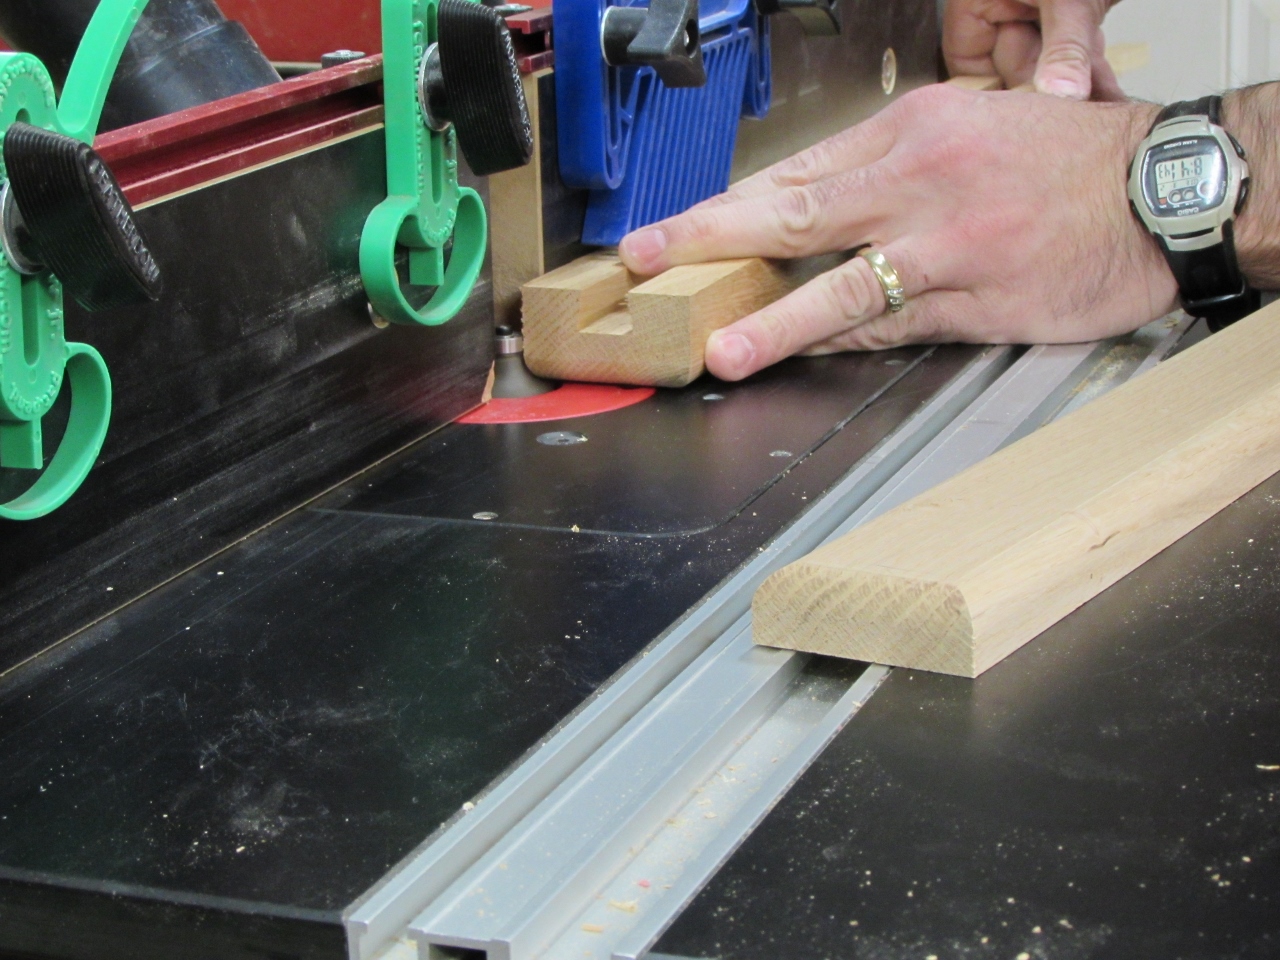
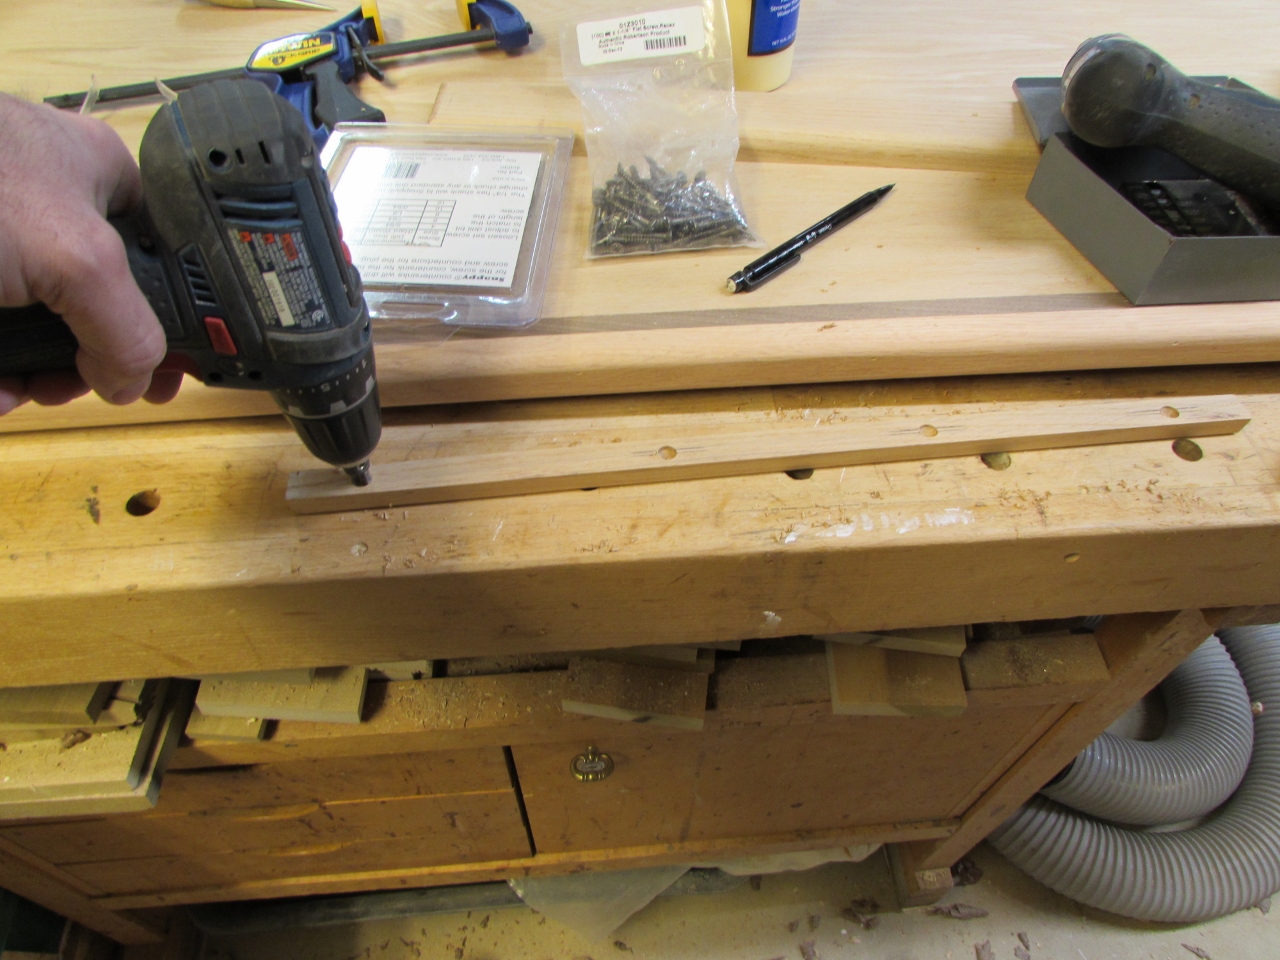
I cleaned up the edges of the female side, then cut an additional plate for the top of the corbel and radiused the edges of it as well.
I glued and screwed those two pieces together, then added a radius to the edges of the curved part.
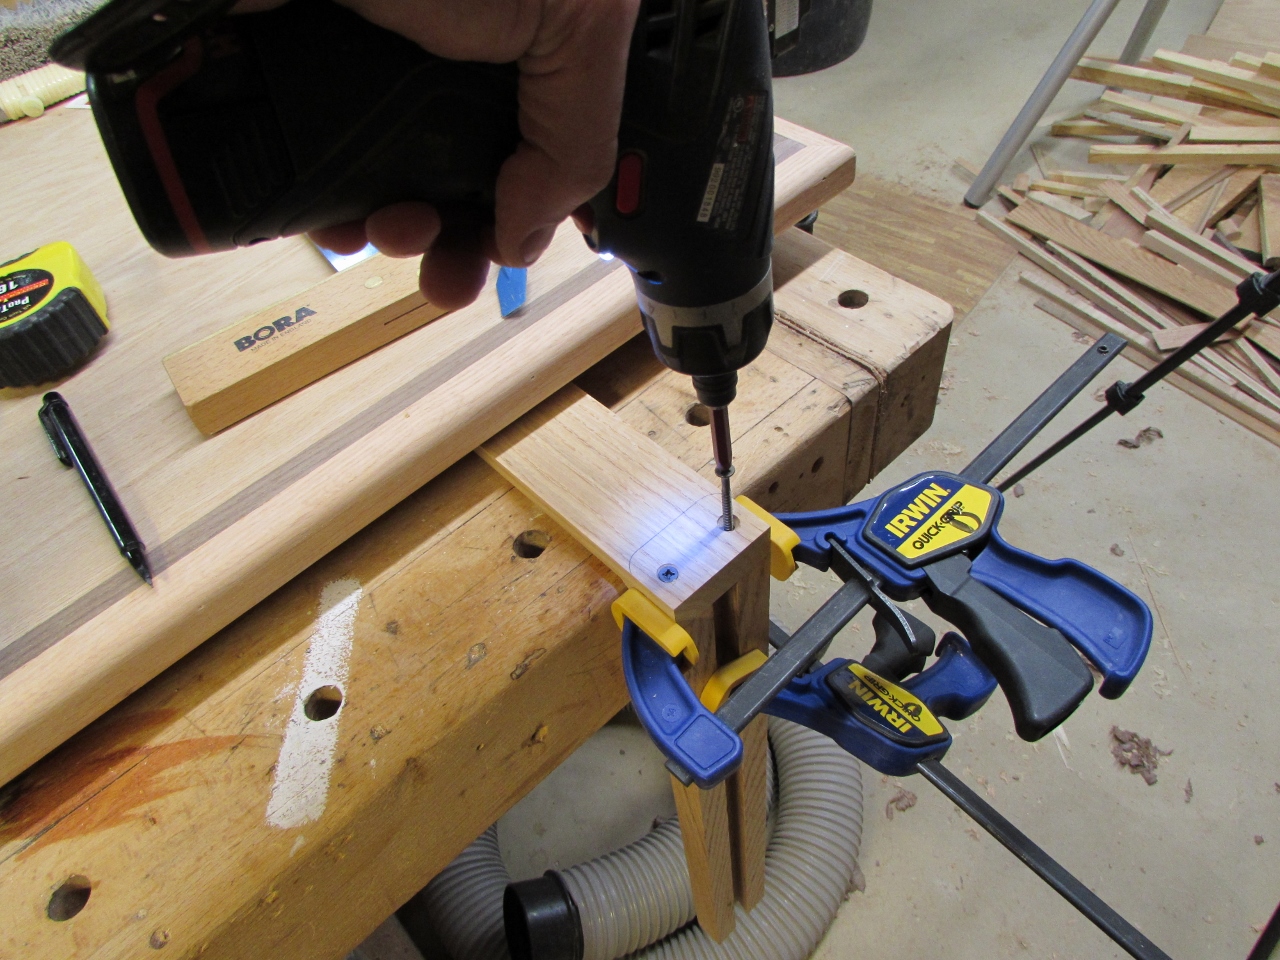
I counter-sunk some pilot holes and screwed and glued that in place as well.
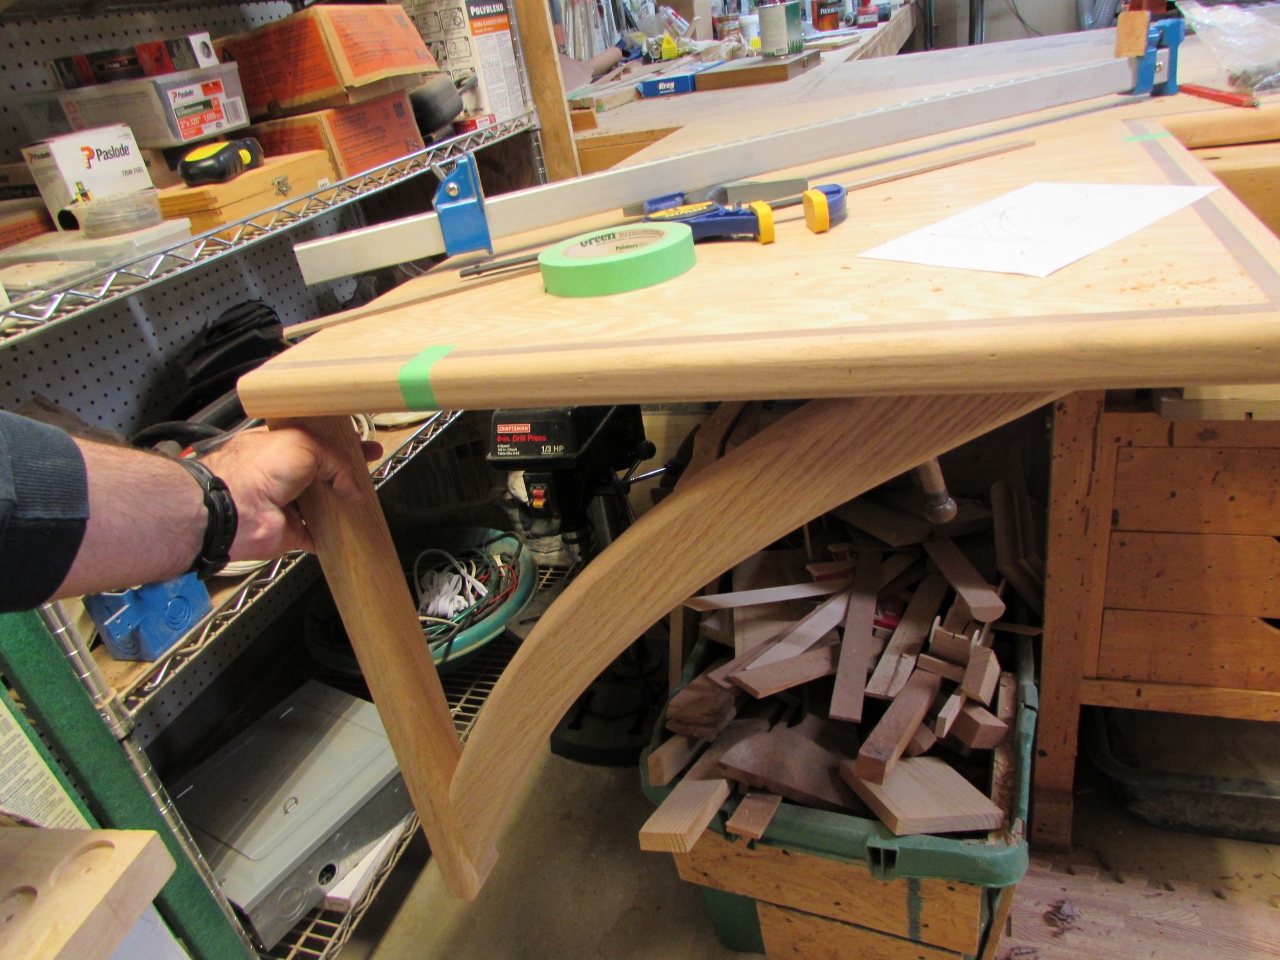
Not bad, I think it might just work.
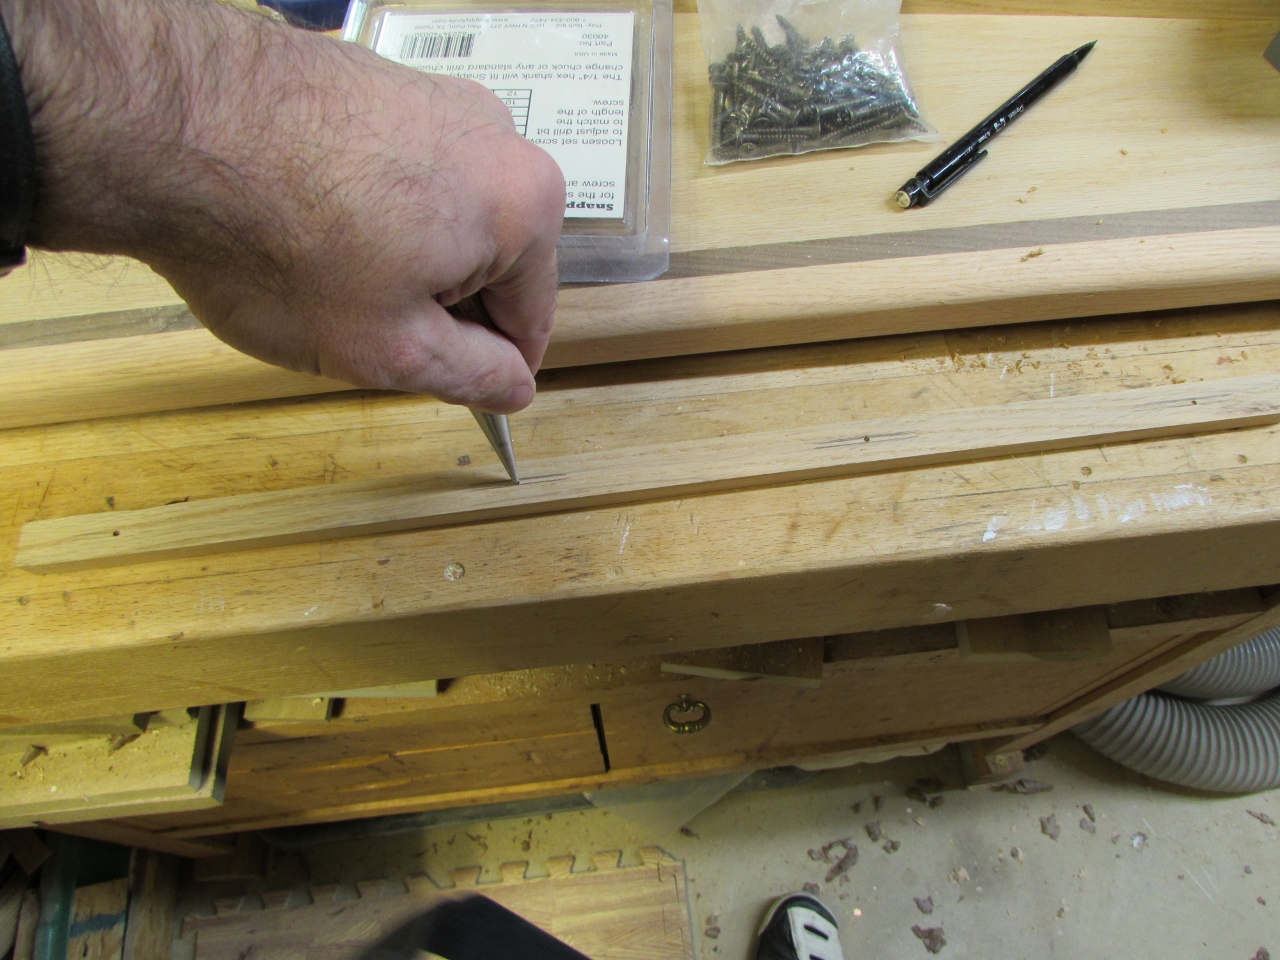
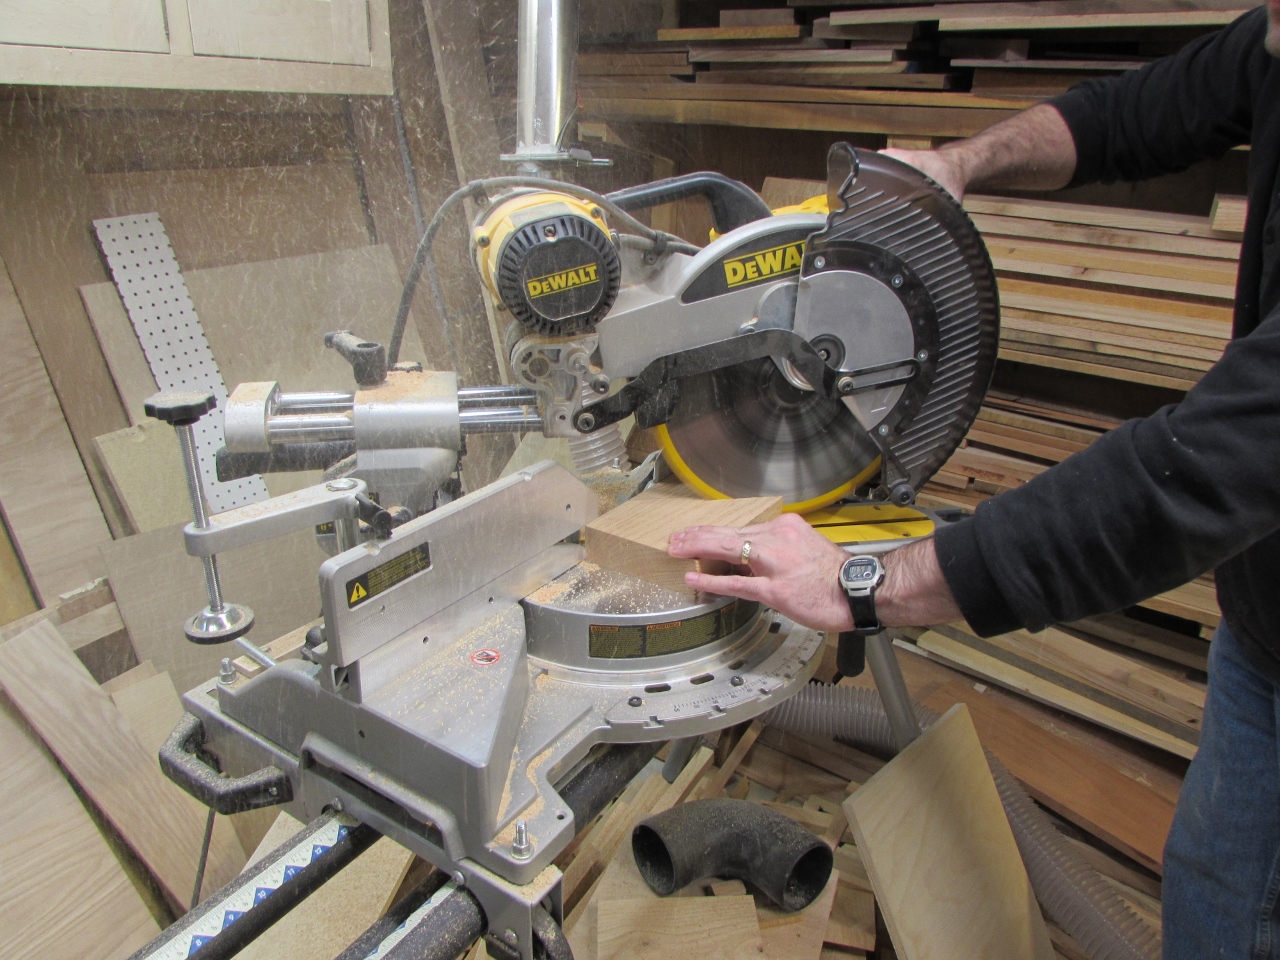
I also marked and counter-sunk the male dovetail strip, so it could be mounted to the wall as well.
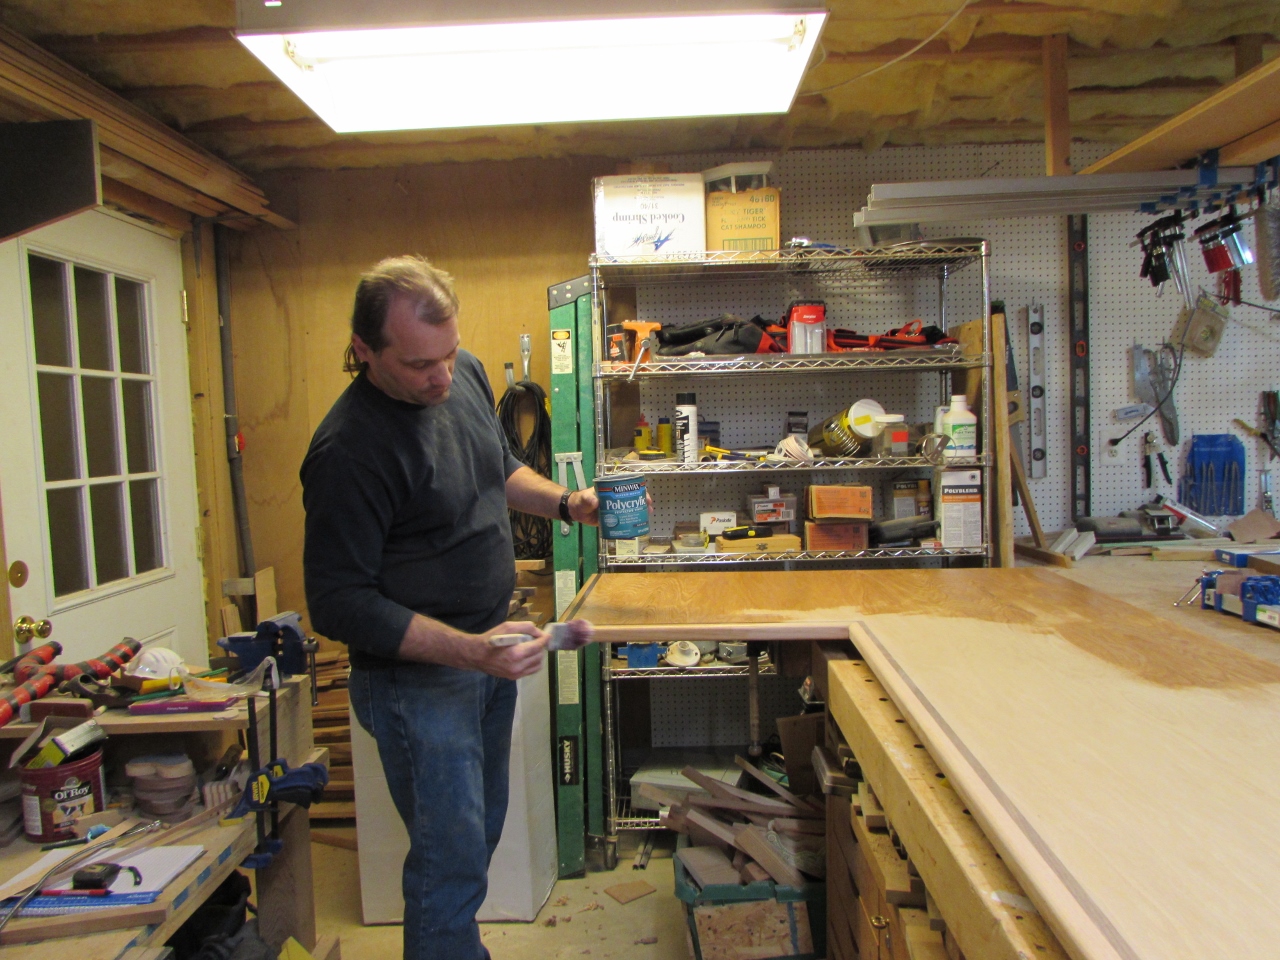
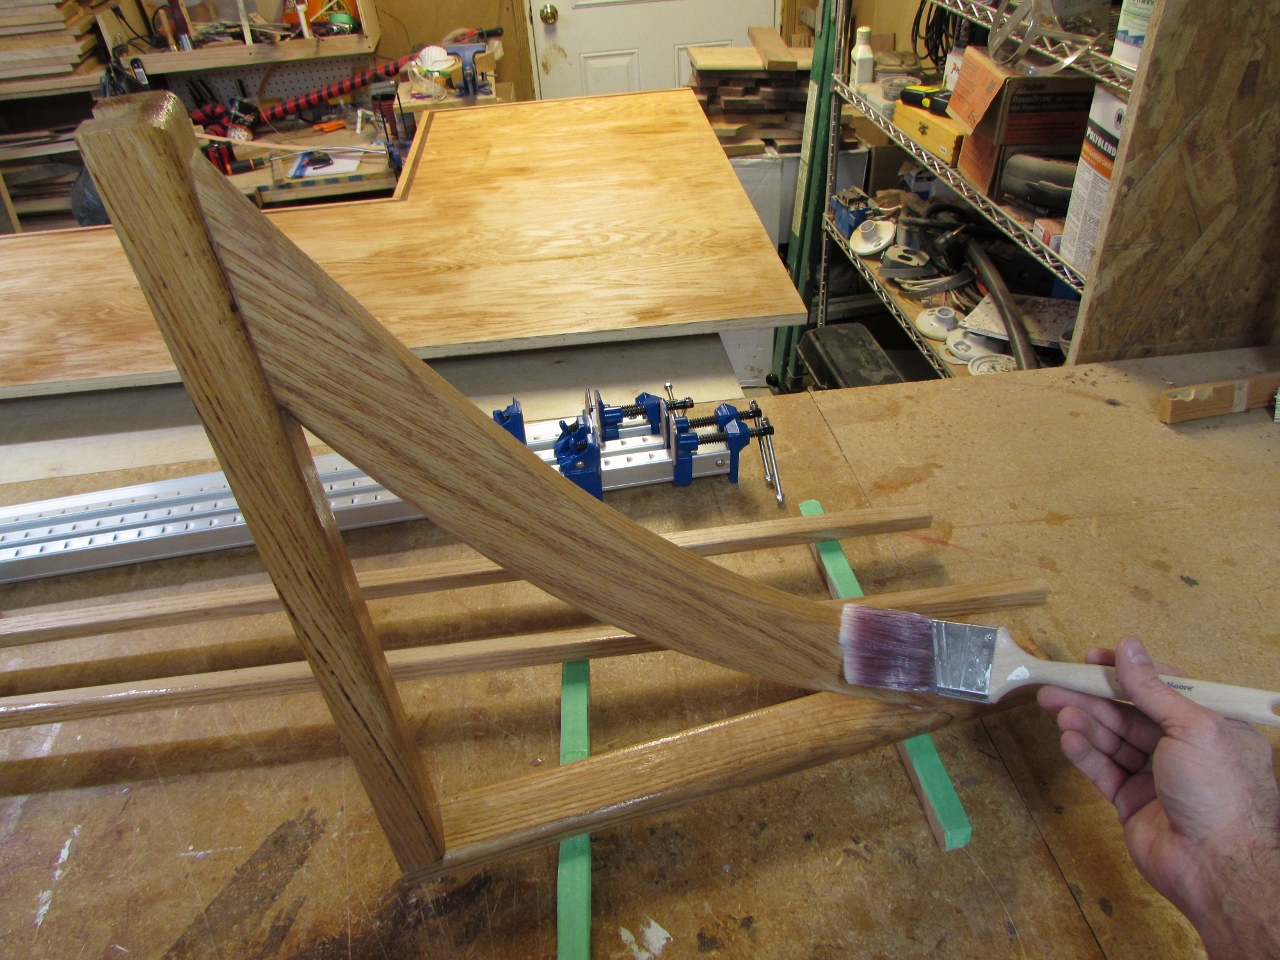
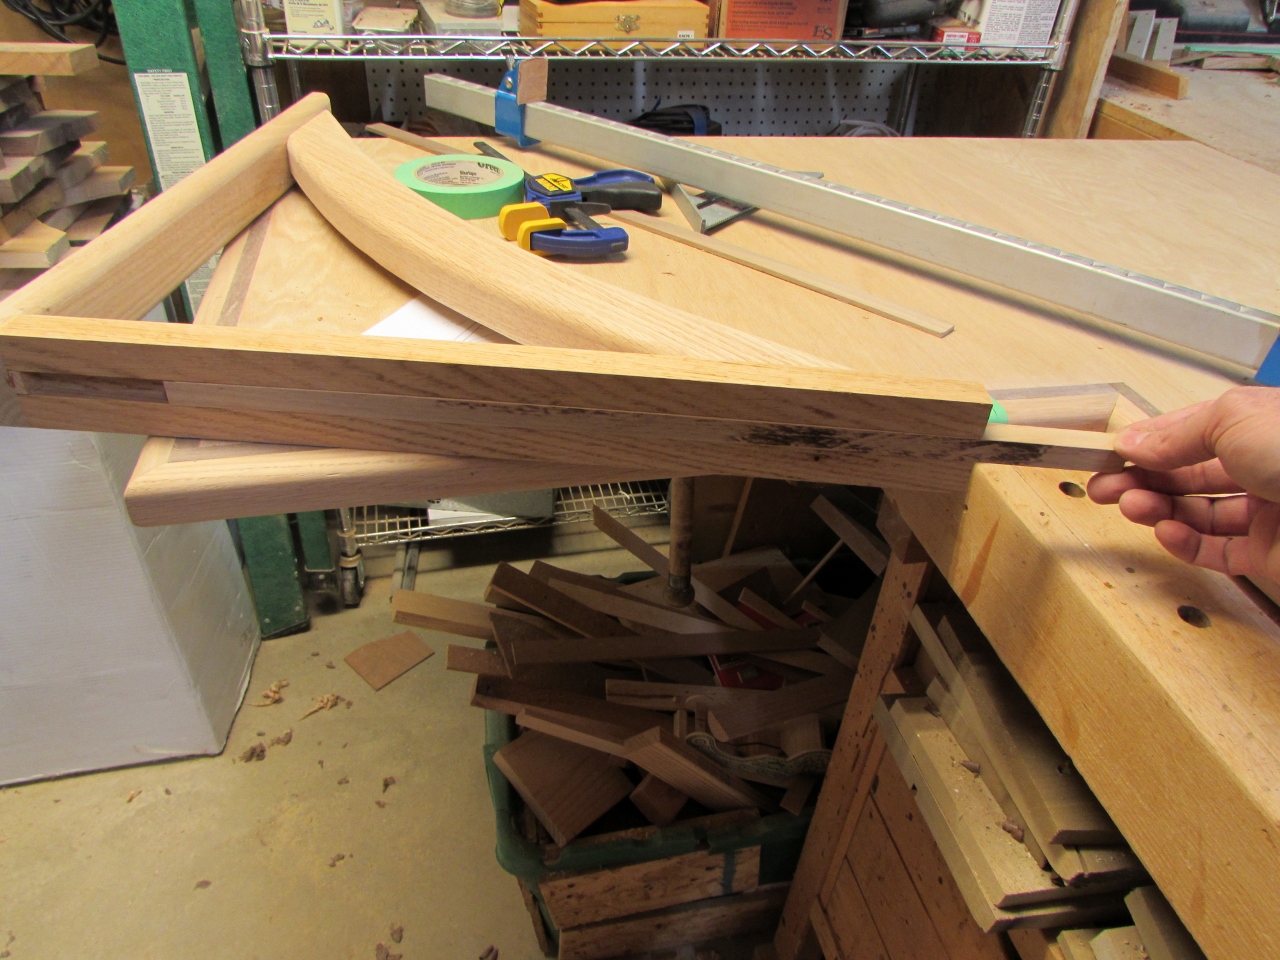
I still want to place some holes in the desk for wires to pass through, but I am eager to get this installed, so I am going to get the first coat of poly on tonight as well.
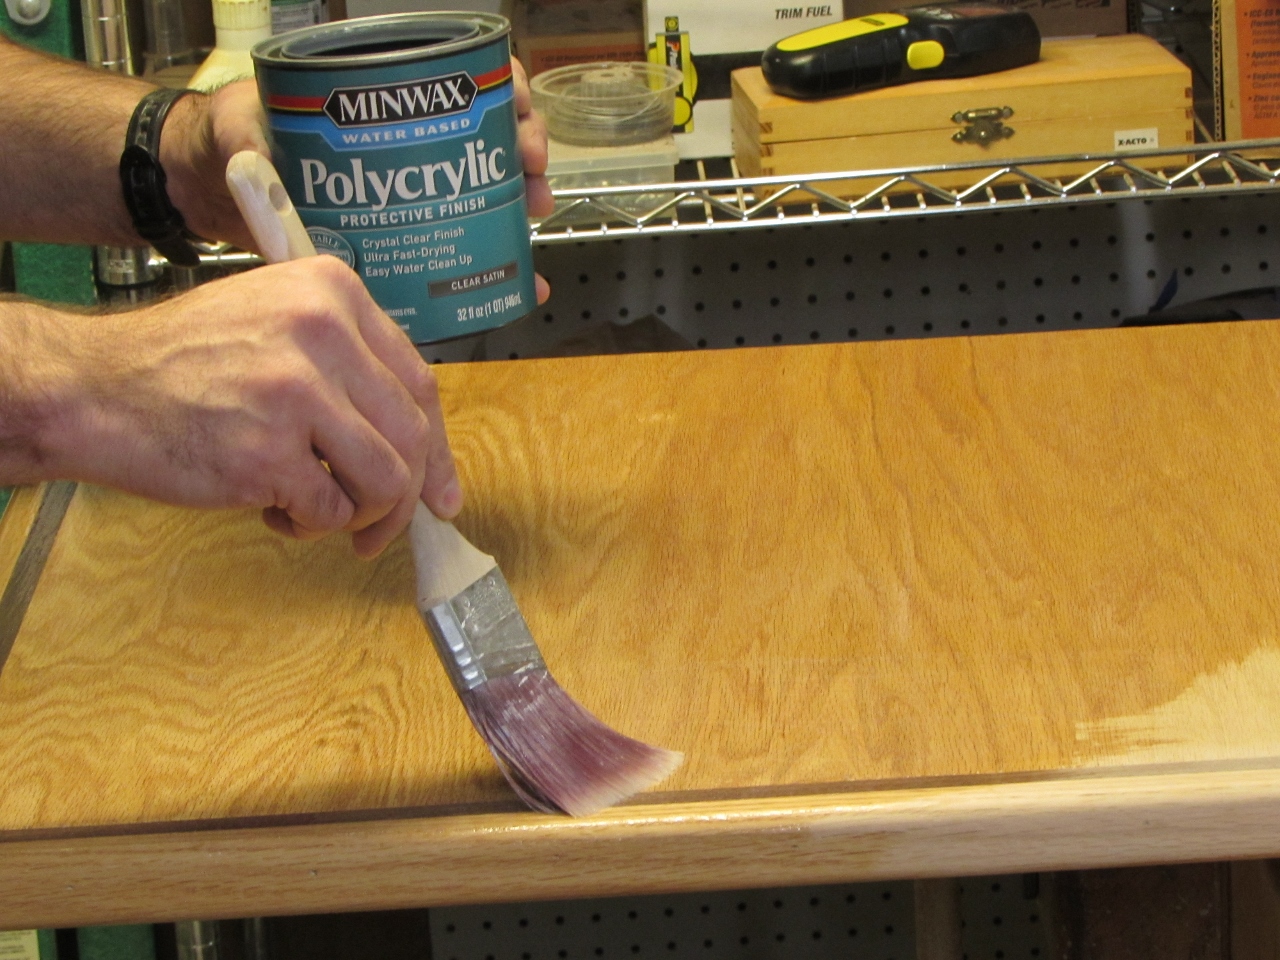
I am using a water-based poly, just like the base cabinet.
Hopefully I will be able to wrap this all up by the end of the week and I can install it.