
Adam’s desk top – day 1
The base cabinet is done and installed in Adam’s room, now it is time to start on the desk top.

Just like the cabinet, I am pulling all of the parts from my scrap pile. The top will be from a sheet of plywood that had about 16″ cut off one end, and a large notch out of the side. I was careful when cutting the pieces away from the sheet because I had Adam’s desk in mind. I deliberately did not cut through the corner, when I removed the old project pieces. That just left a small chunk, in the corner for me to remove.

Unfortunately, the long side is 4″ too short. Adam’s cabinet is right up against an outlet, so I can’t move it in that extra 4″. I am going to have to add a small piece. Rooting through my scrap pile, I uncovered this piece. The grain is close, so I will try to use it.

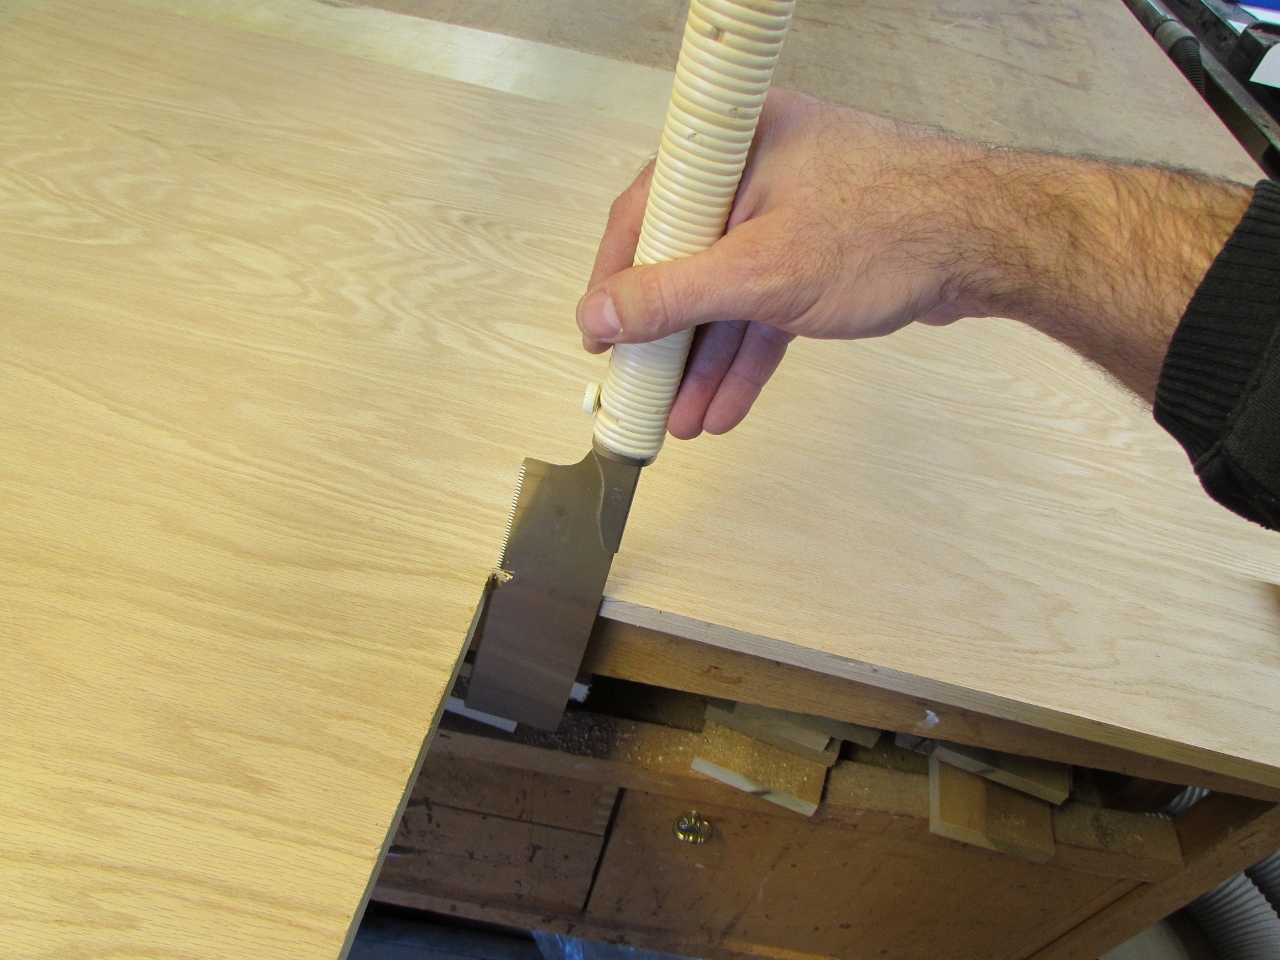
When this piece was cut before, there was a lot of tear-out, on the bottom, from the cross-cutting on the table saw.

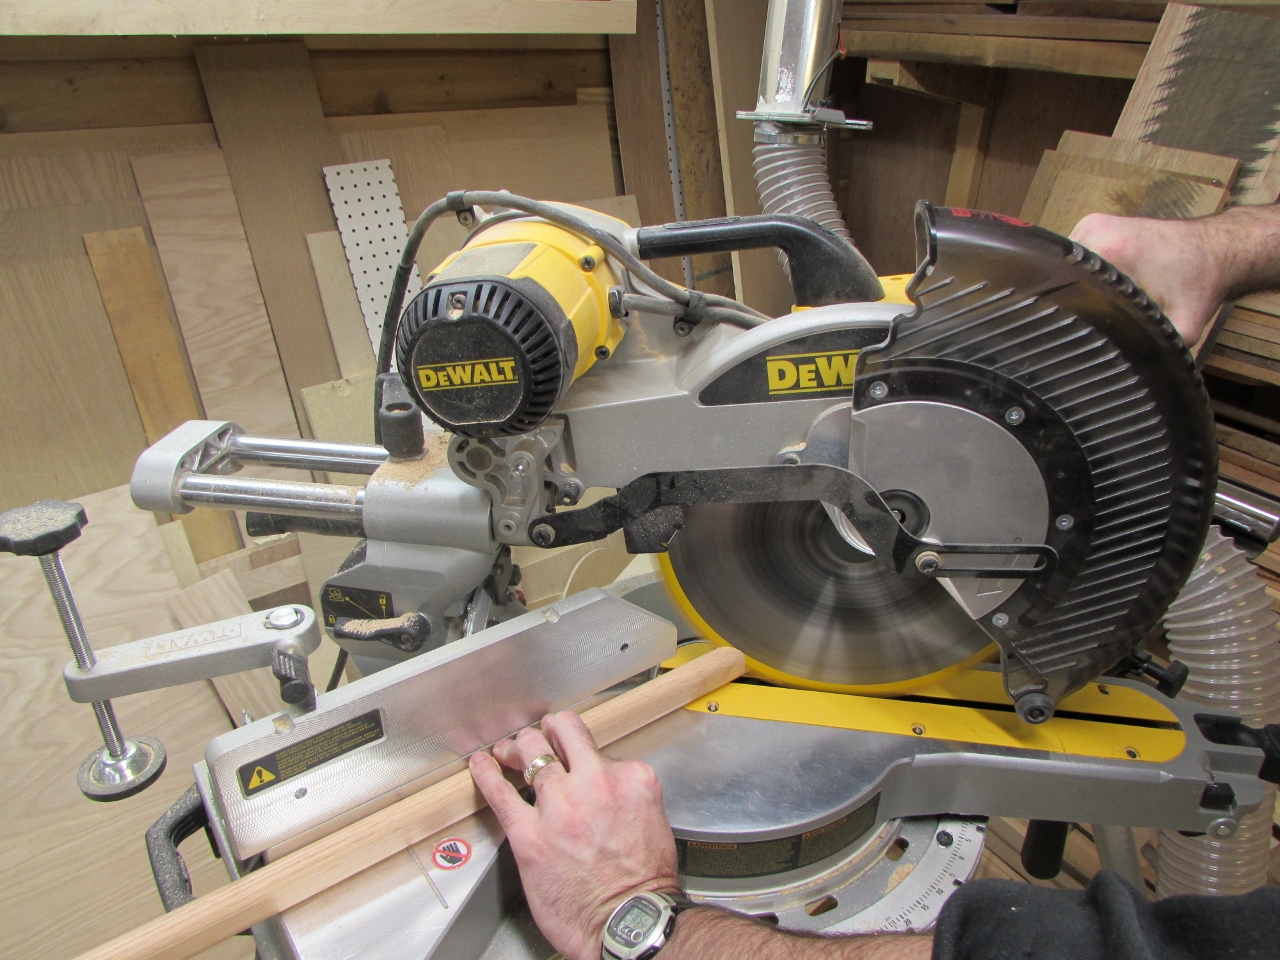
To avoid this, I added a second piece of plywood below, and pressed them tightly together as I cut.
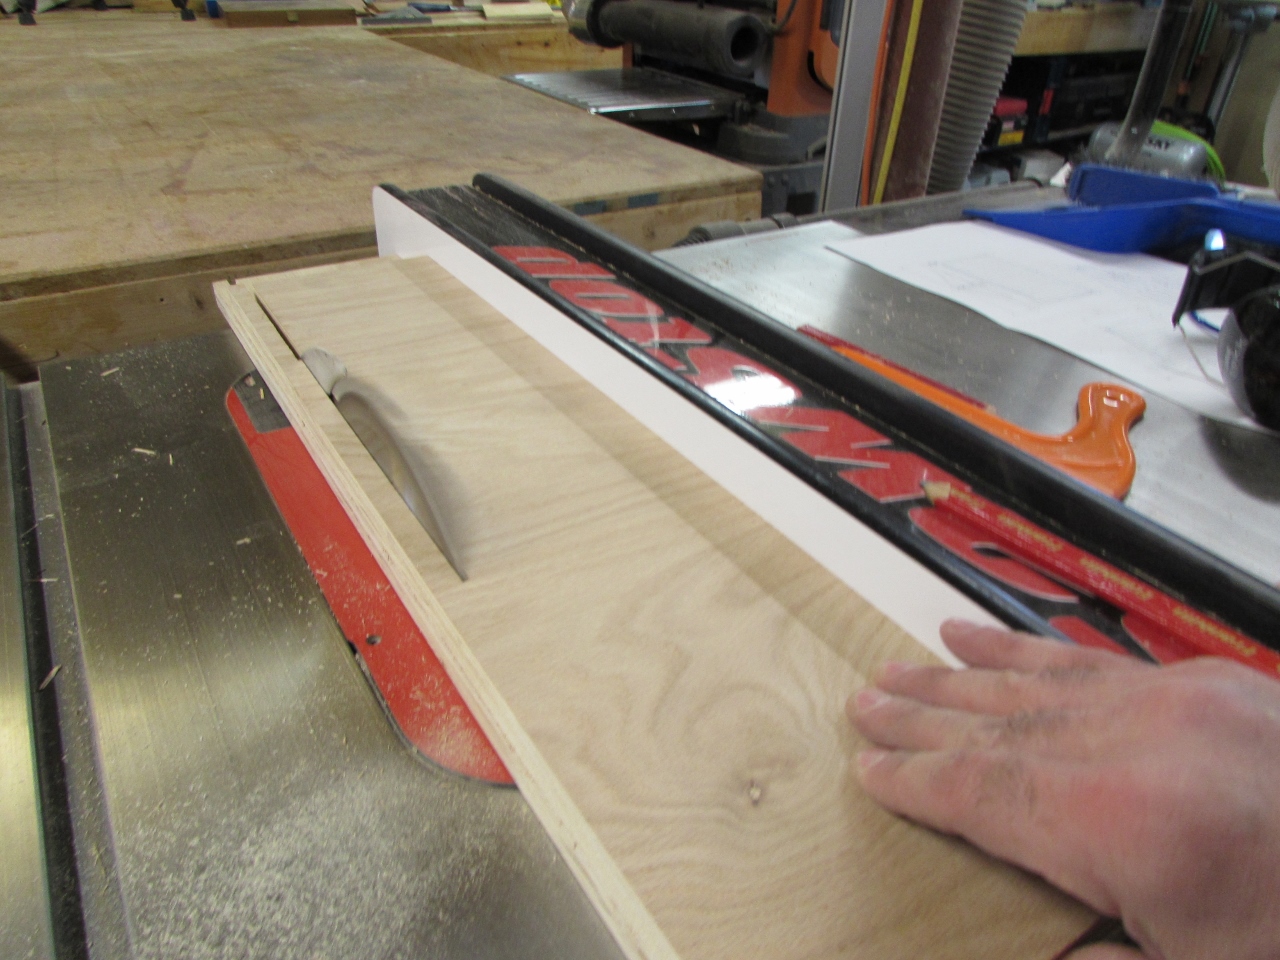
It seemed to help a lot, no bottom tear-out.
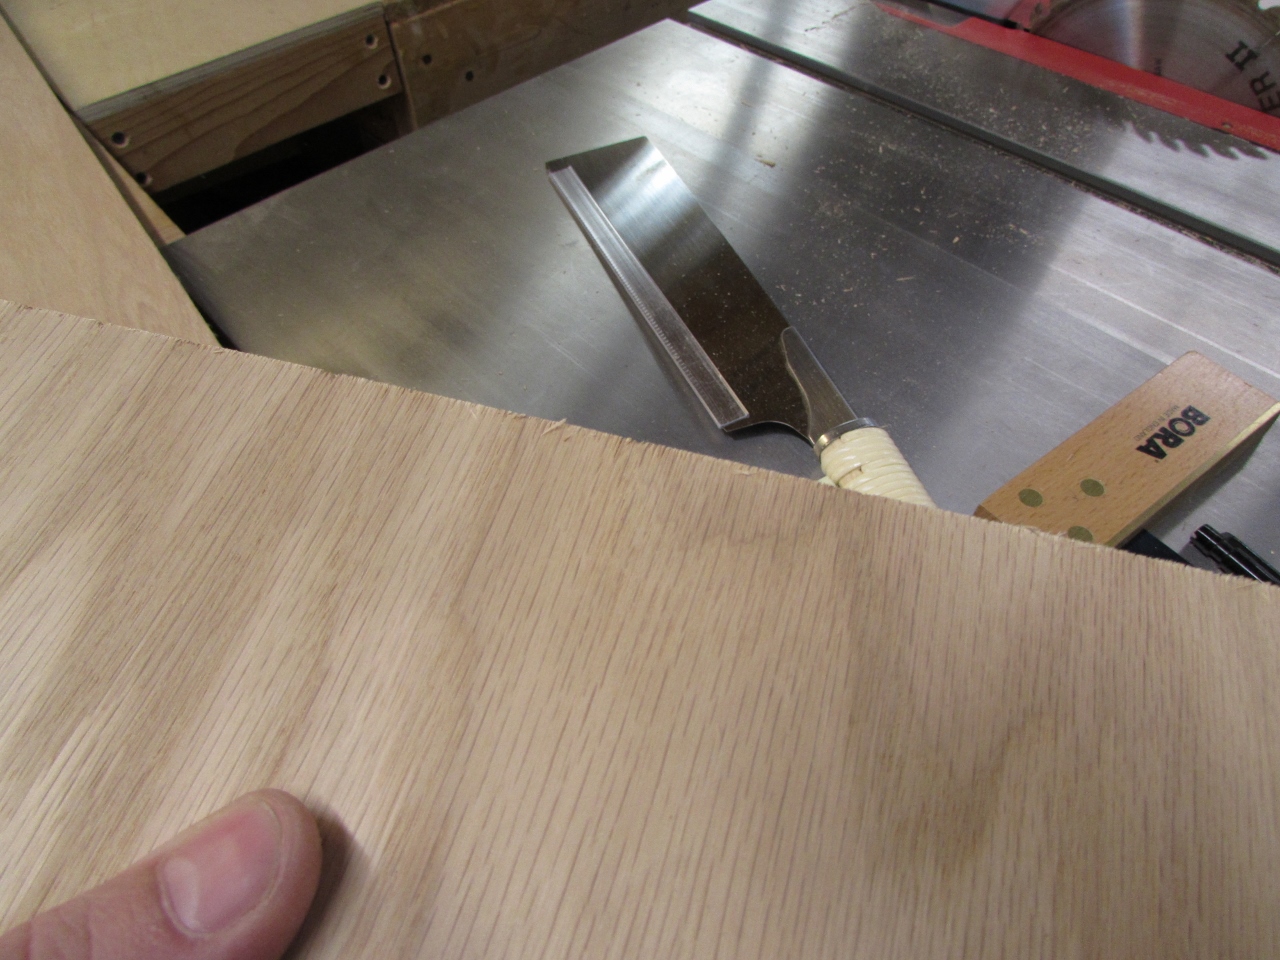
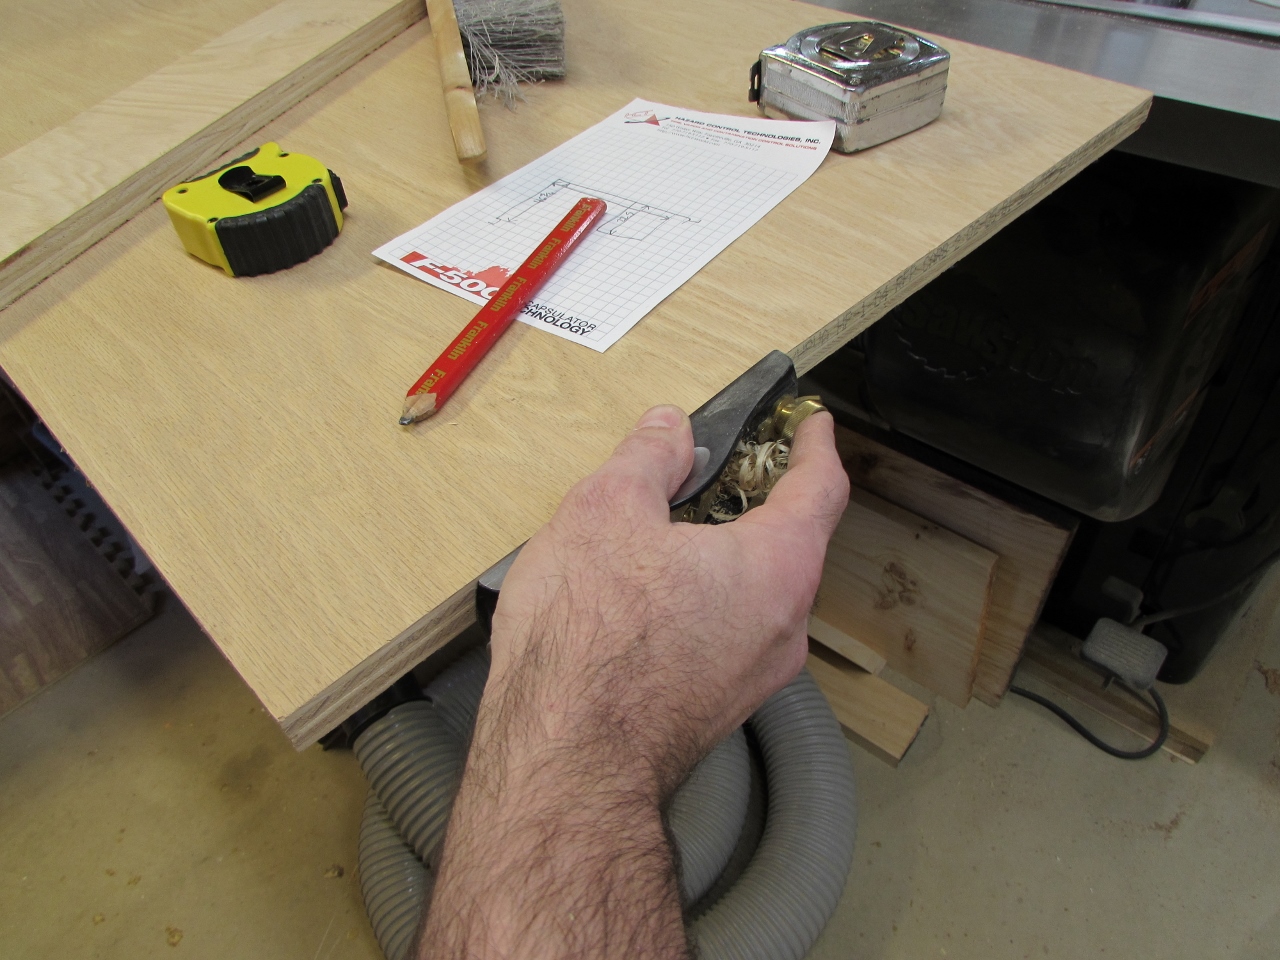
I determined that the factory edge on the sheet of plywood was not very straight, so I cleaned that up with my block plane.

After cutting down the smaller piece, the grain no longer matches very well. I will get over it…
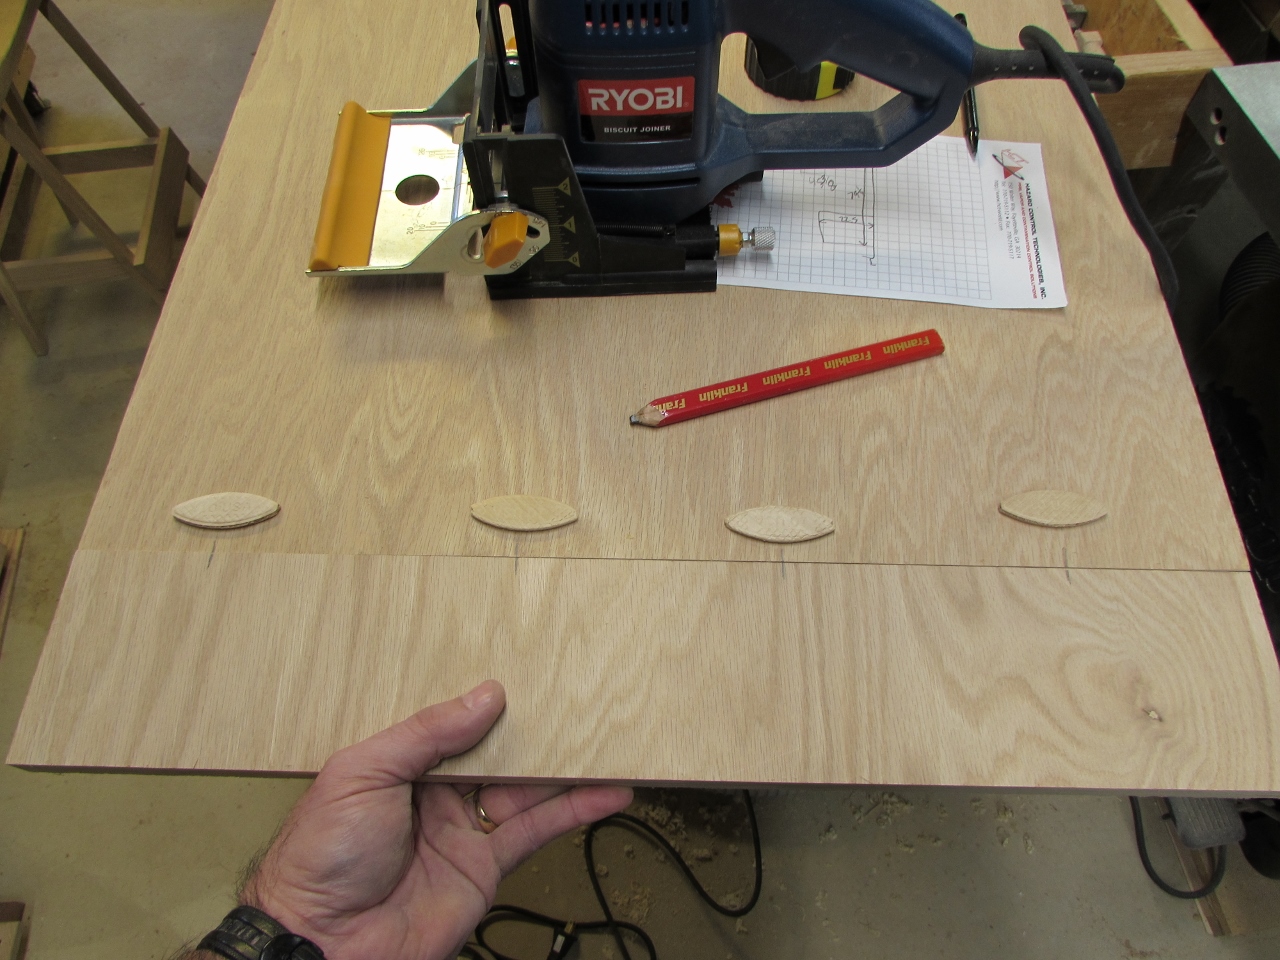
I decided that I wanted a little extra help aligning these two pieces, so I turned to a tool that I seldom use, my biscuit jointer.

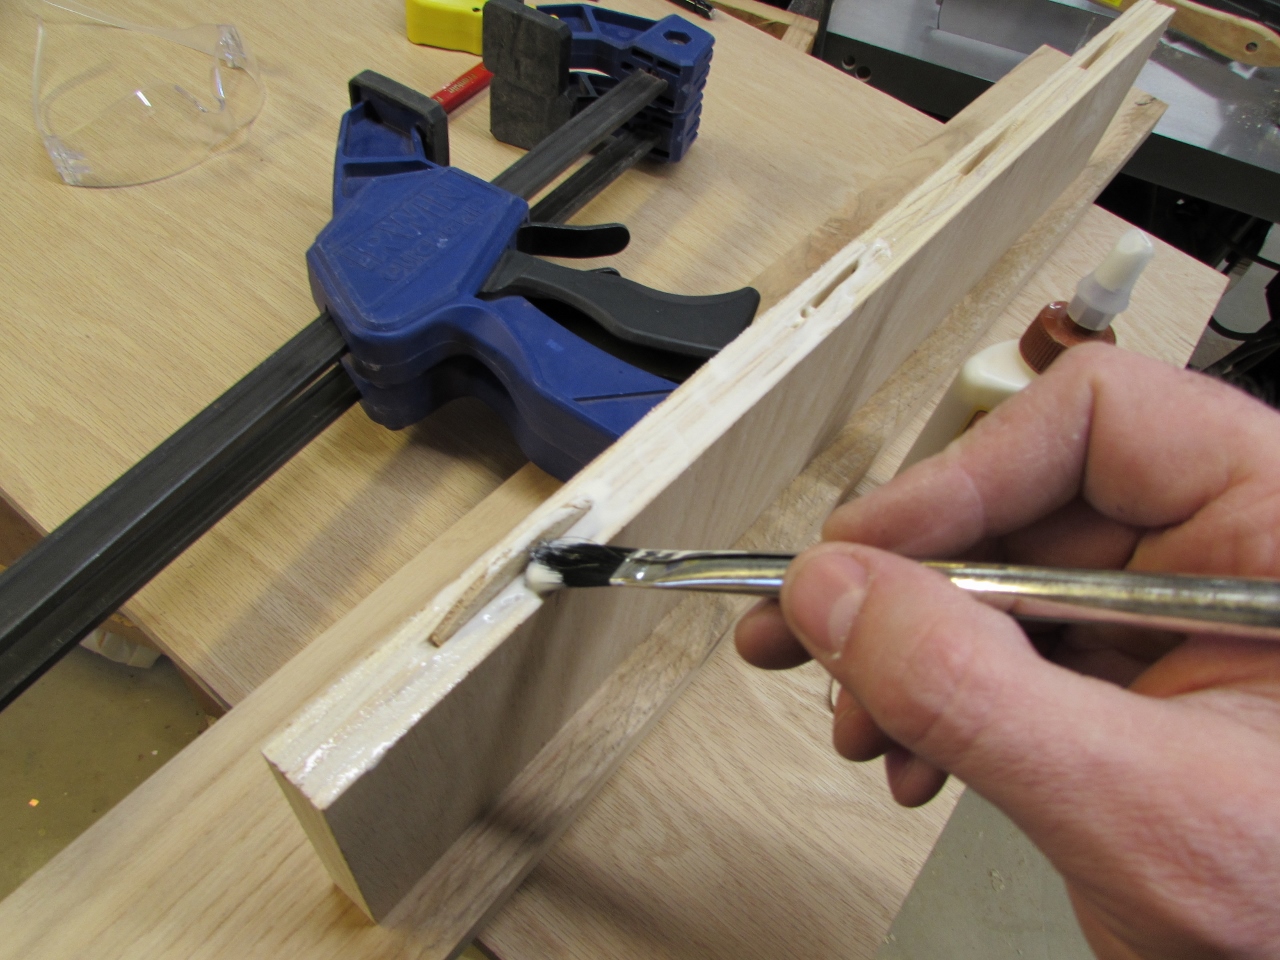
I cut four biscuit slots on each side of the joint, then added a bunch of glue, and the biscuits.
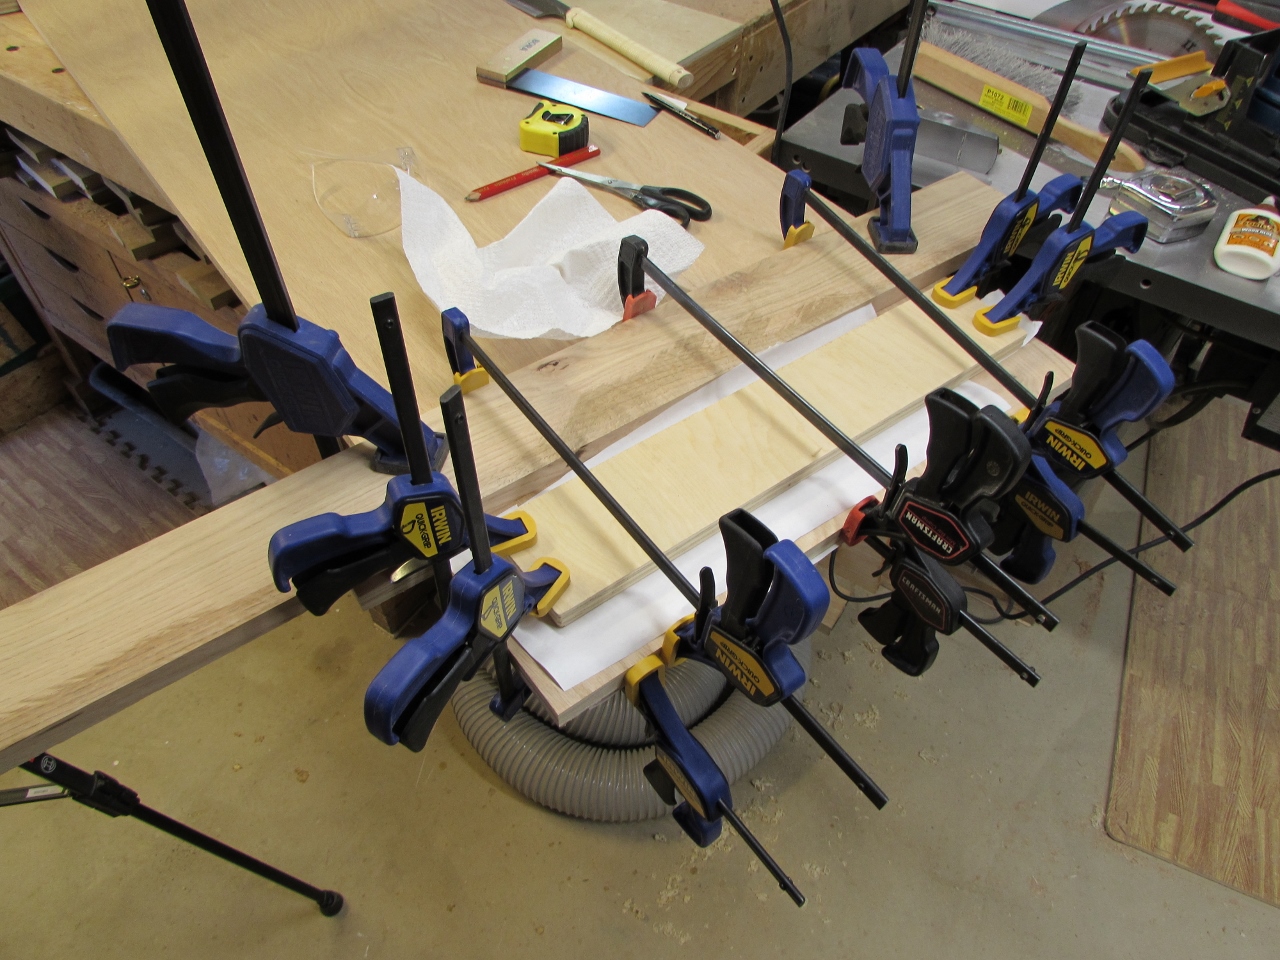
Since I don’t have 7′ long clamps, I had to get very creative with my clamping.


I whipped away the glue squeeze-out with a wet paper towel, then added a few pieces of wax paper and a few wide strips of plywood to straddle the joint and clamp it flat, while clamping over and under to an additional set of boards that I clamped parallel to the joint. Weird, but it worked.
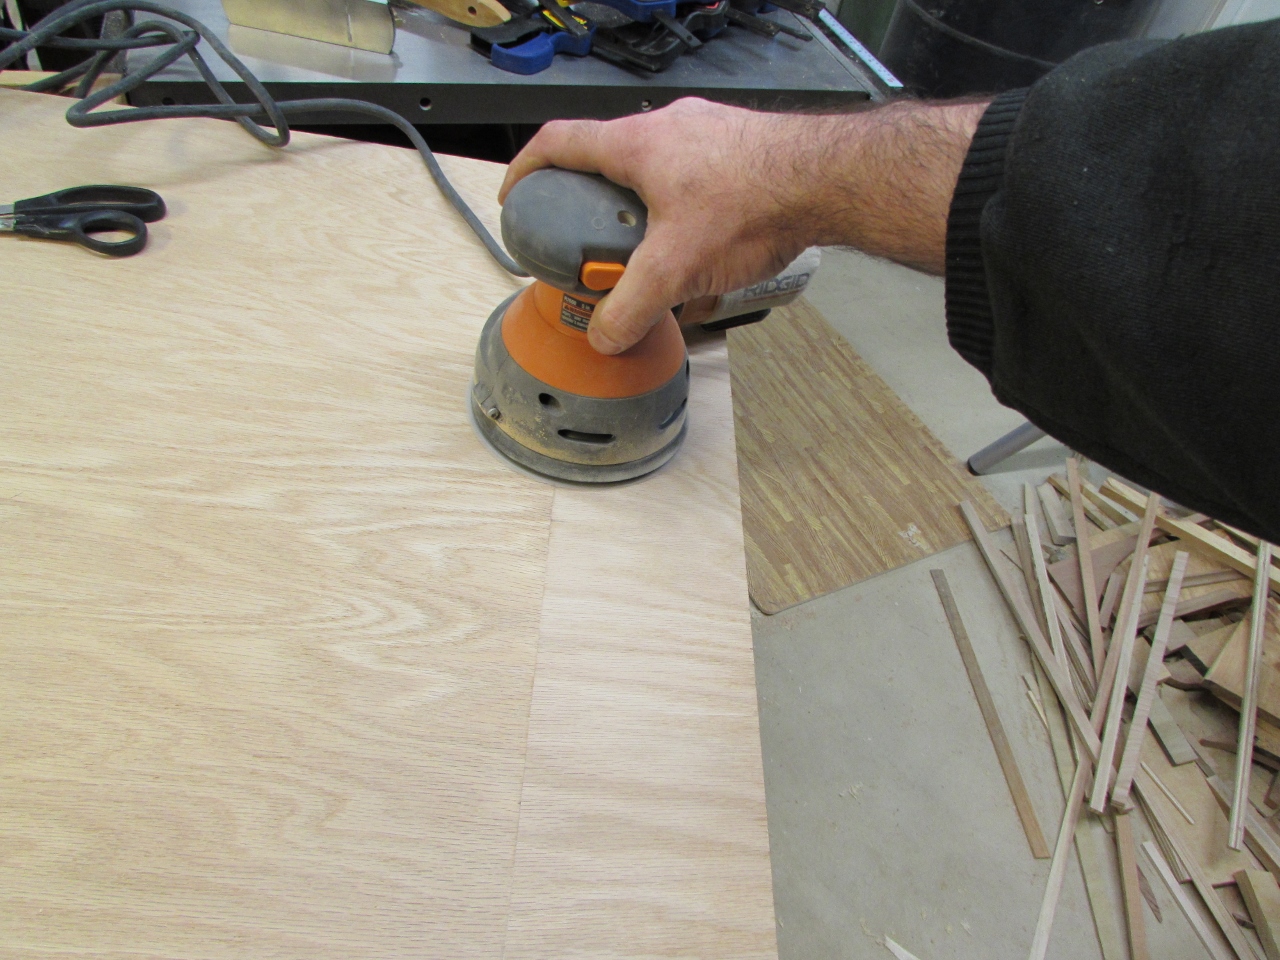
The joint looked pretty good, once I sanded it down. You won’t even notice the seam when Adam starts piling his collection of mess onto it…
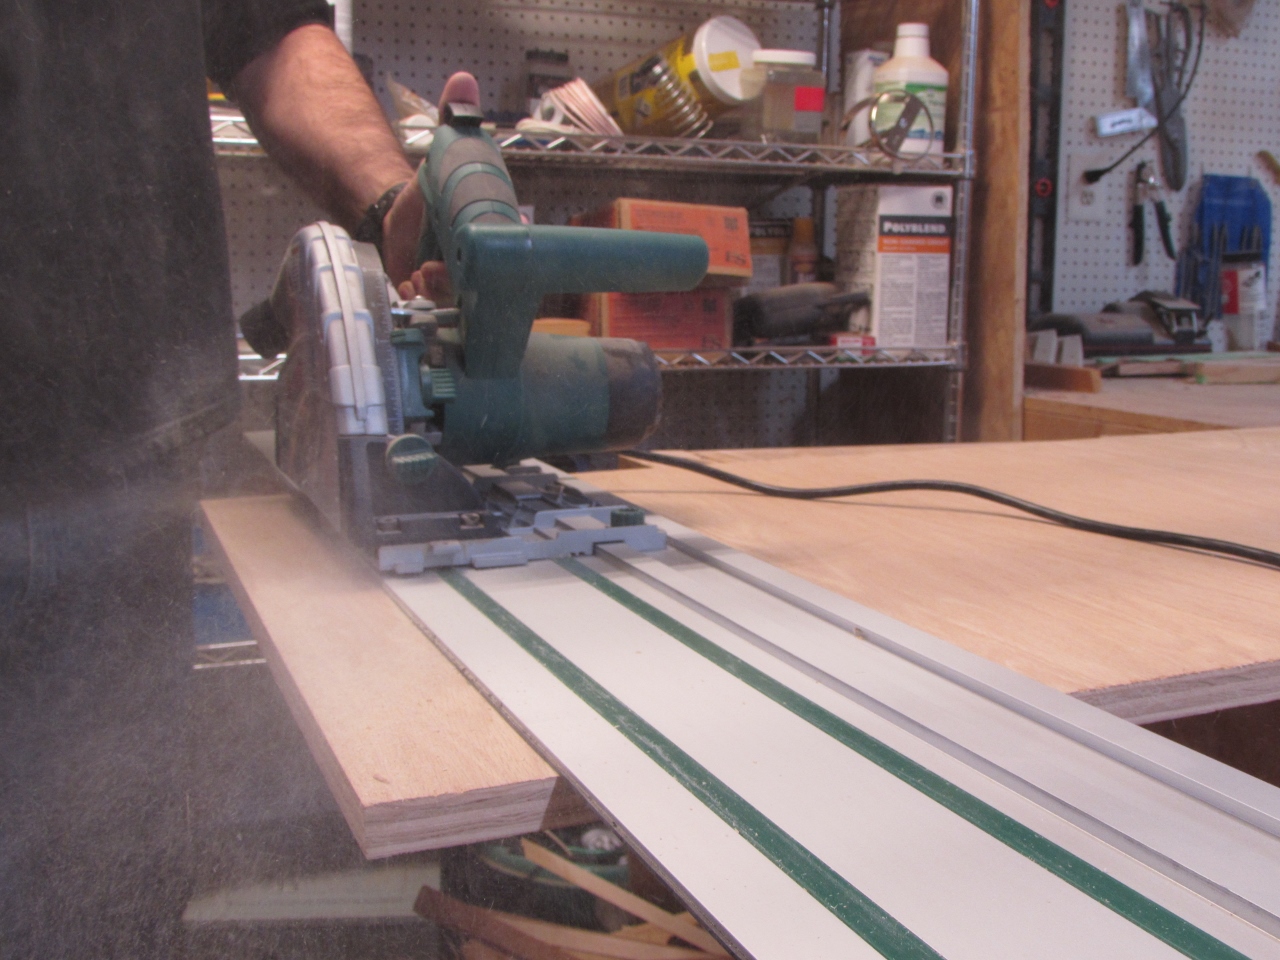
Ironically, the short end of the “L” shape, was about 3″ too long, so I clamped down the saw guide, and cut the excess off. Since this cut was with the grain, it cut well, with no tear-out.
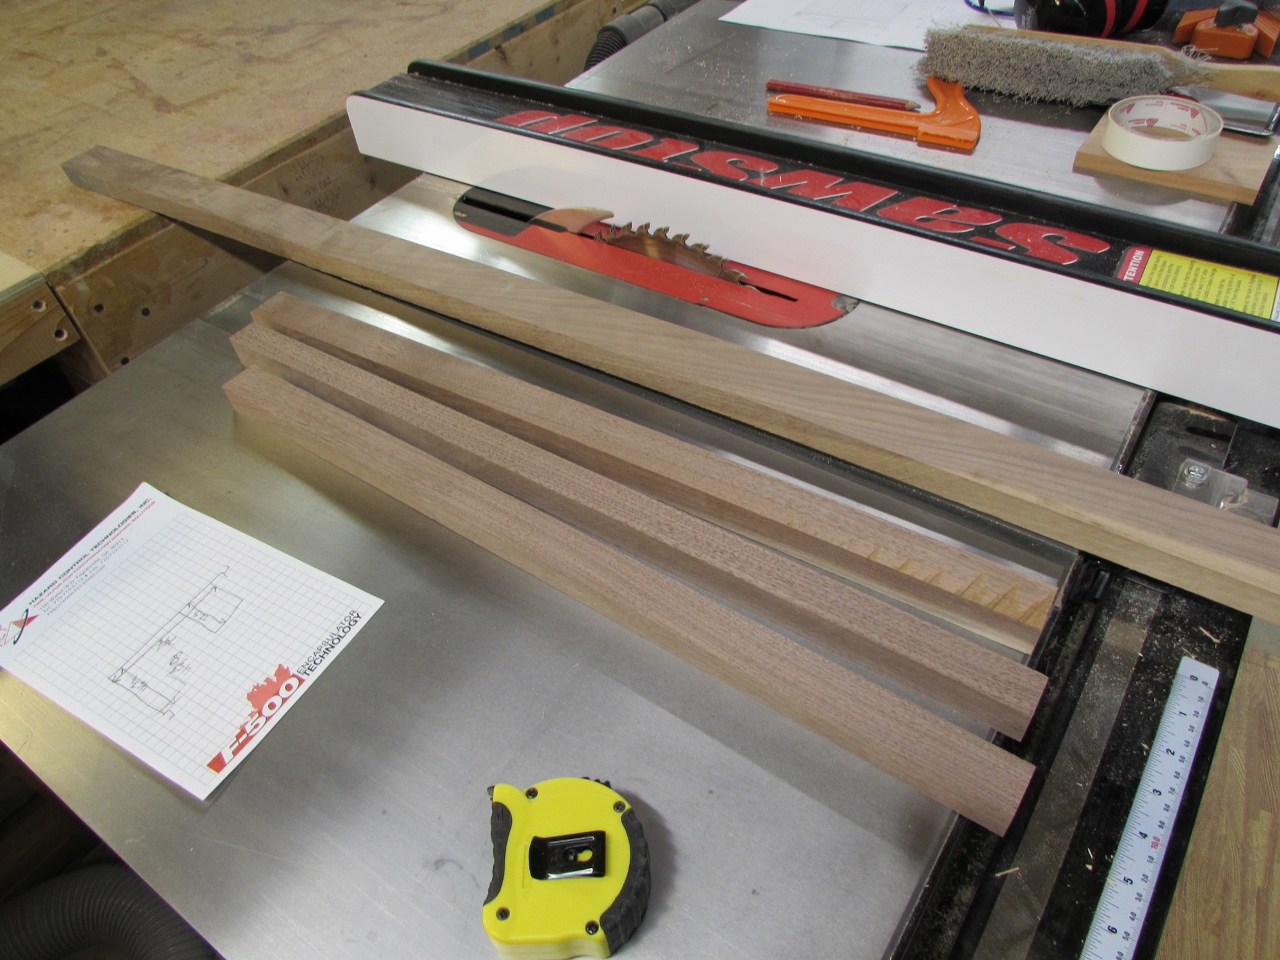
In an effort to match the walnut stripe, on the cabinet doors, I am cutting some 3/4″ x 1/2″ strips of walnut to go around the front edge of the desk.
I cut them a bit over-sized, then finished them up in the planer.


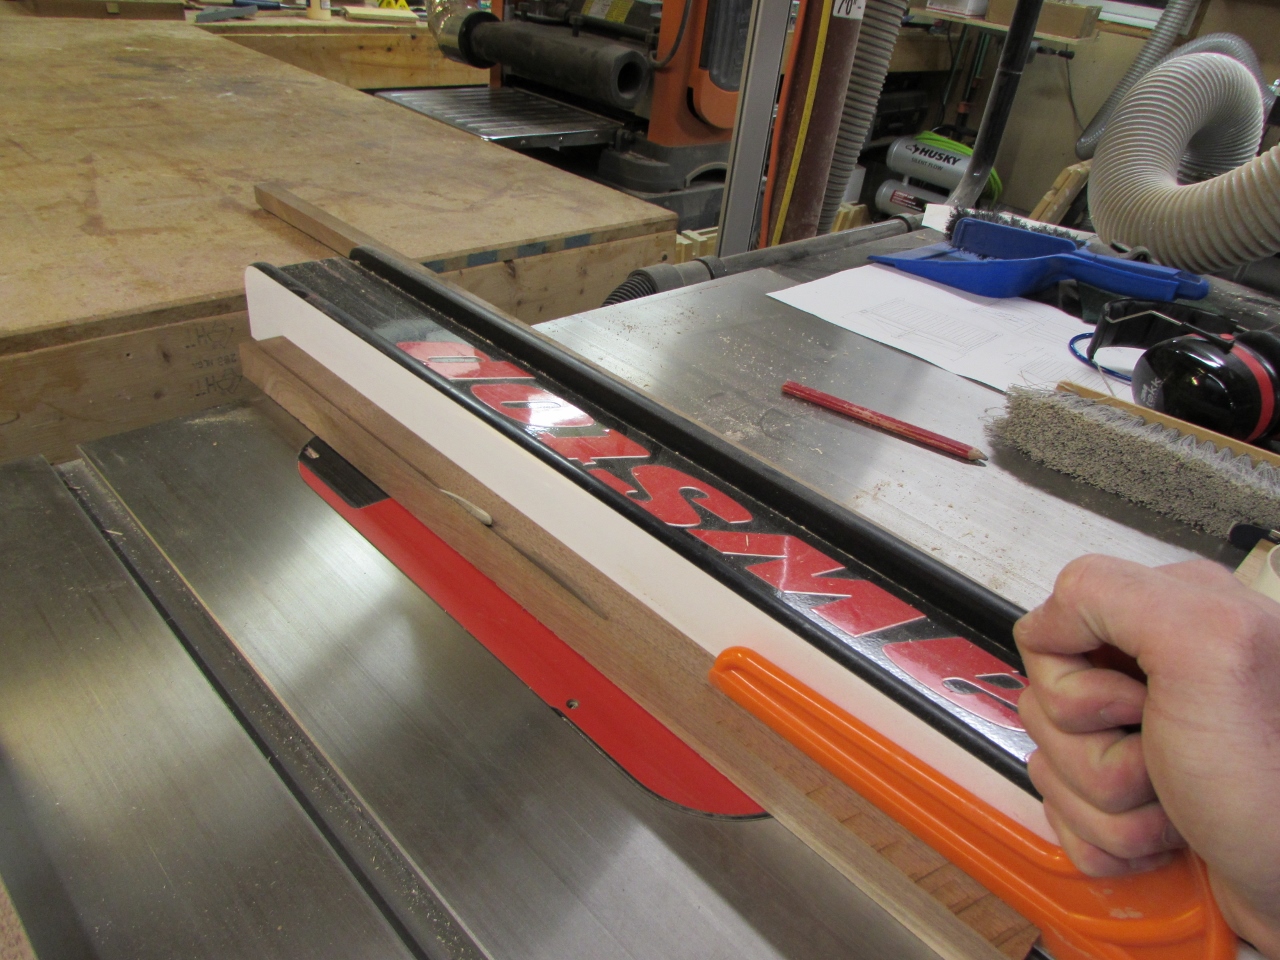
I marked them and cut them to length, Then drilled and counter-bored some screw holes. One about every 6″.


I applied glue to the back, then screwed them into place.

I used my block plane to make sure the surface was flush to the top.

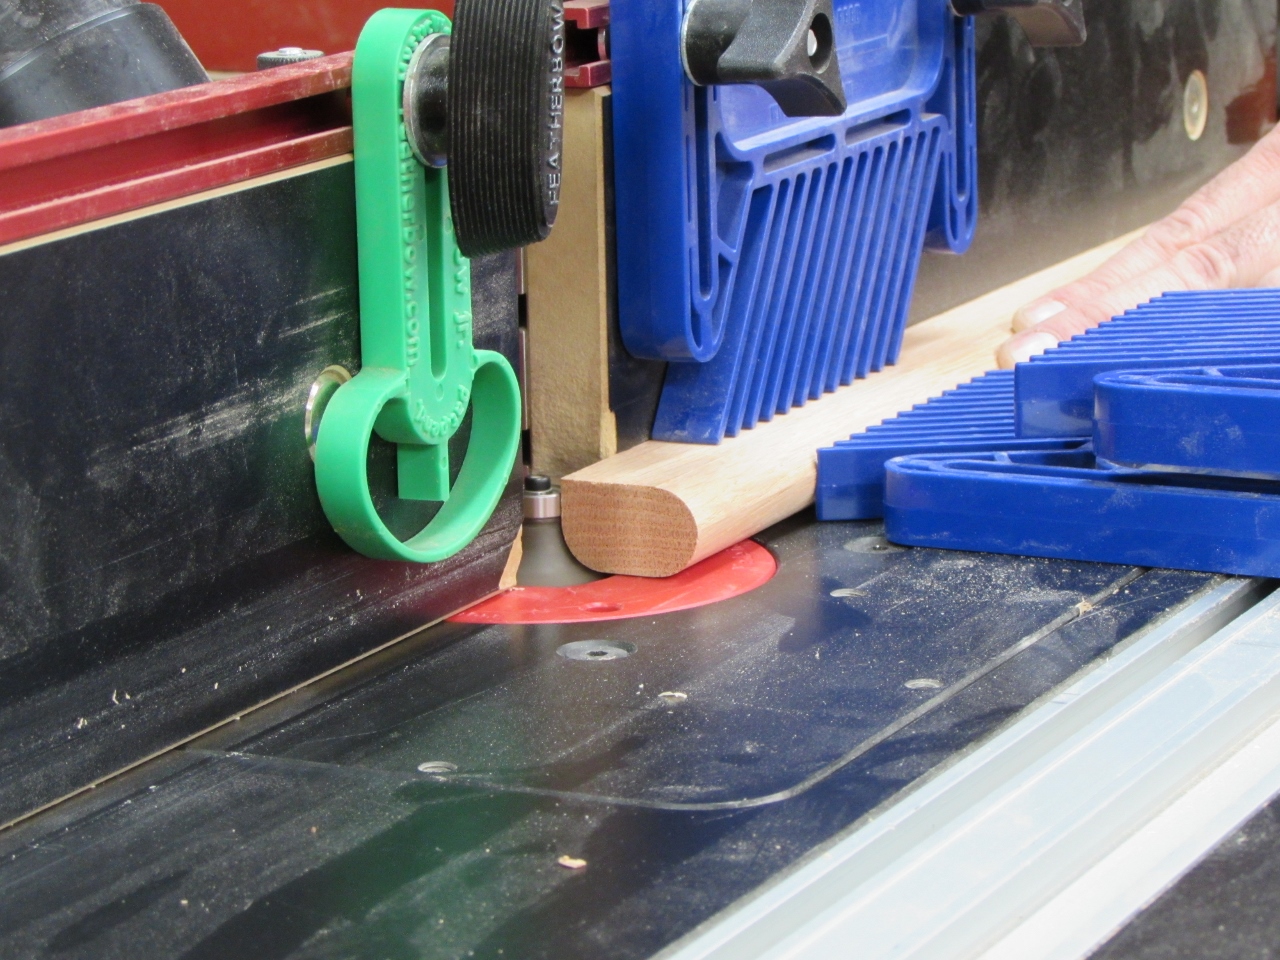
Next, I cut a few 1-1/4″ x 3/4″ strips of oak, the rounded over 3 sides.
I measured and mitered the corners, then applied glue, and attached the strips with 2″ brad nails. This will give Adam a nice lip to grab and pull in his chair. I screwed the walnut to the plywood, because I wasn’t sure the glue joint, at the plywood would hold up to pulling. I knew the oak glued to the face of the walnut would be more than strong enough though. I made sure I marked the screw locations with tape so my brad nails would not get shot into one. Those brad nails do weird things when they hit something they can’t penetrate.


It needs a little sanding before I move on to the next step, but it’s getting late, so I am going to wrap it up for the night. I think it looks pretty good. I checked with the boss, and Adam really likes it too.

