
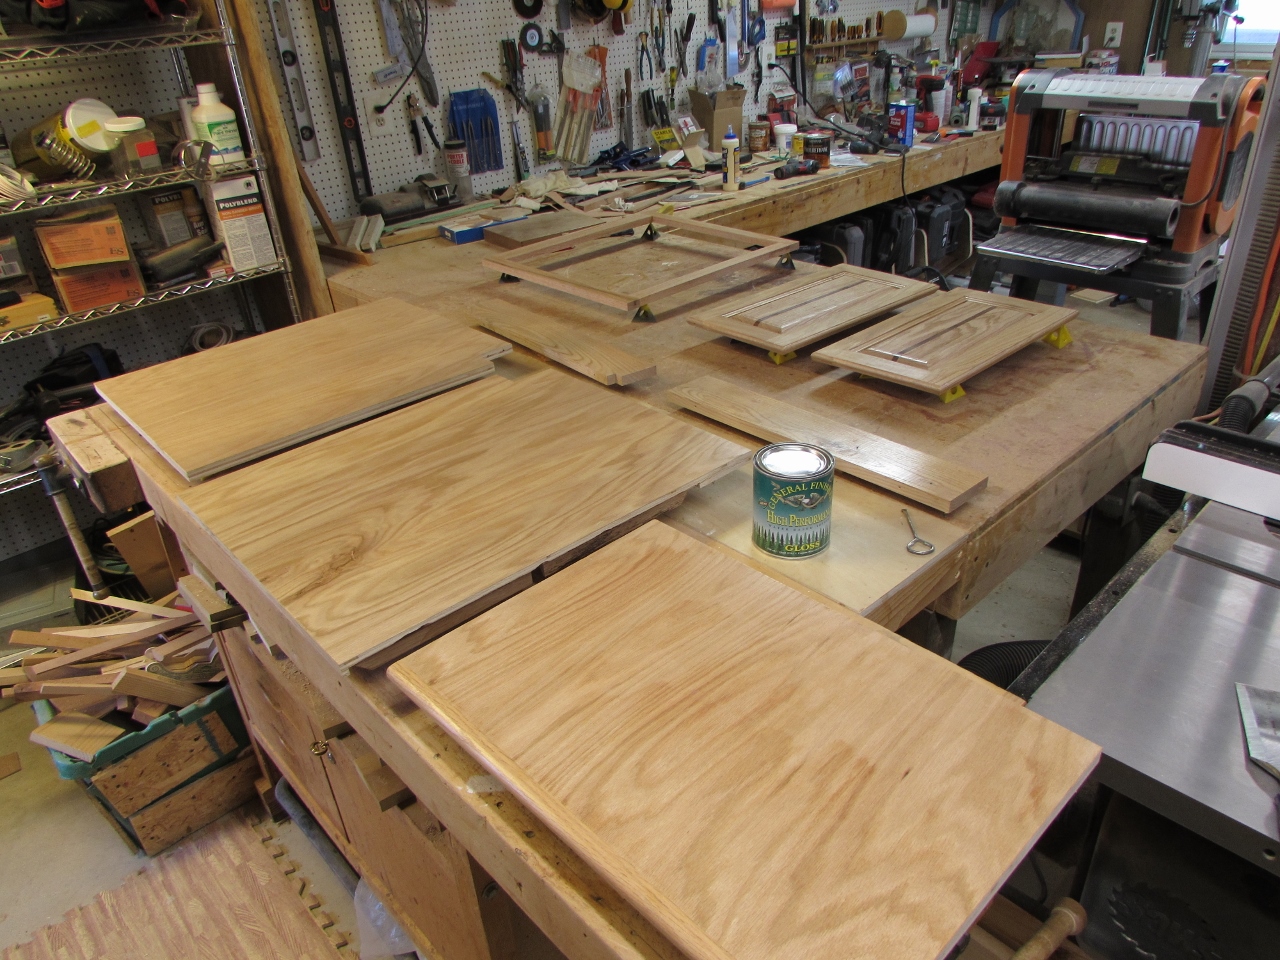
Adam’s desk cabinet – day 3
The finish, that I am using on this project, is water-based. Water based finishes contain a lot of water, and it really soaks into the grain. That causes a lot of swelling of the wood fibers, after the first coat. Before you apply the second coat, you have to sand down every surface with a fine grit sand paper. I used 400 grit paper to knock down all the swollen fibers and leave a smooth surface behind to prep for my second coat.

The second coat went on smooth and only used half as much poly as the first coat. That means the first coat did its job of sealing the surface. If you don’t sand away the entire first coat, it should protect against any more swelling of fibers.
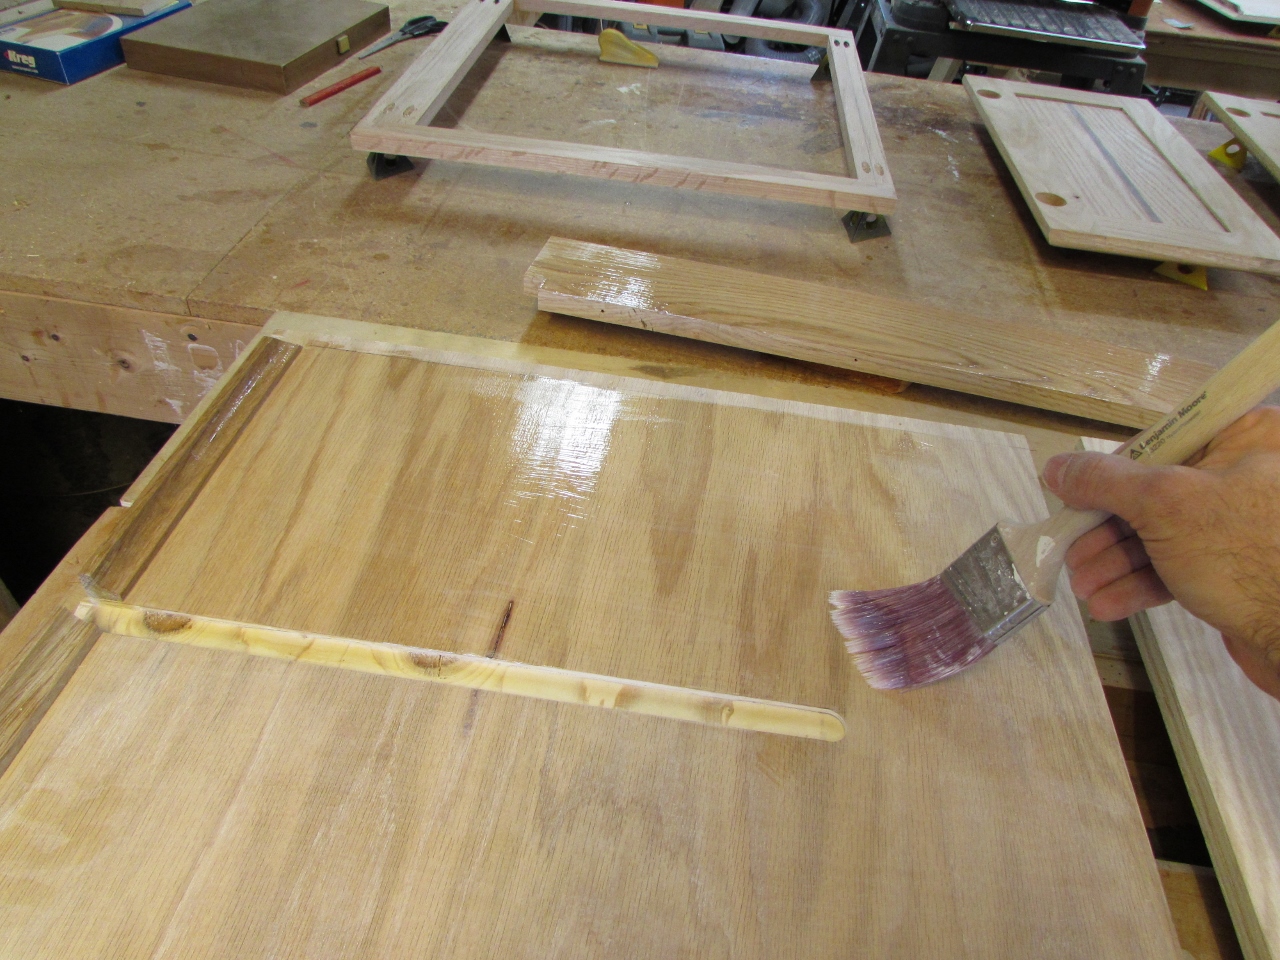
I had the second coat applied in about an hour. Not bad especially since there are almost no fumes from the water-based. If I had the space to set up a spray booth, it would have only taken five minutes to apply each coat. Oh well, I will make some more room eventually…
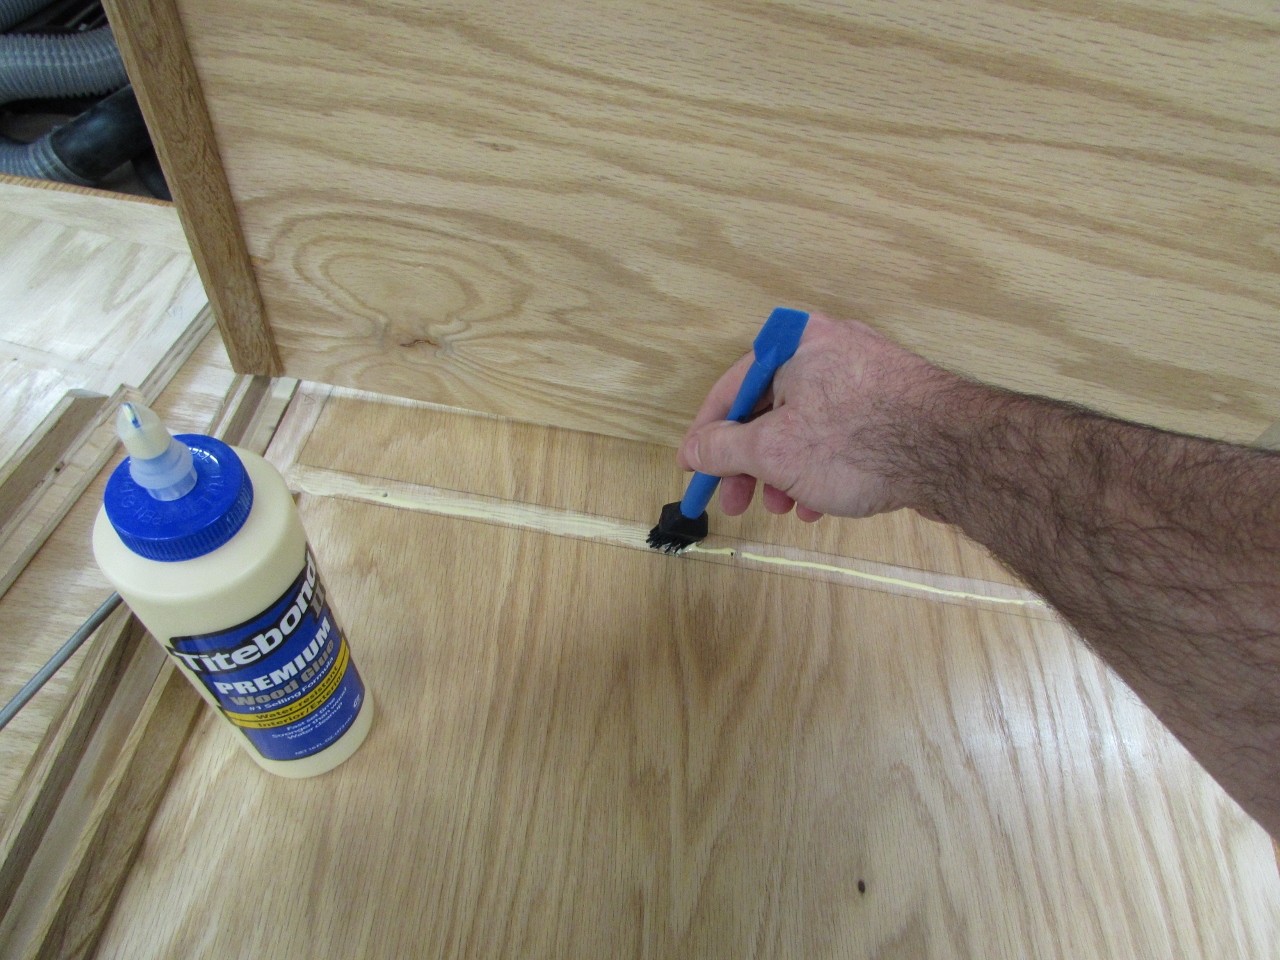
The pocket hole screws are enough to hold this cabinet together, but to make my joints extra-strong, I applied a bit of wood glue at every joint. Remember that I marked the joints before finishing, and tried to leave them mostly unfinished.
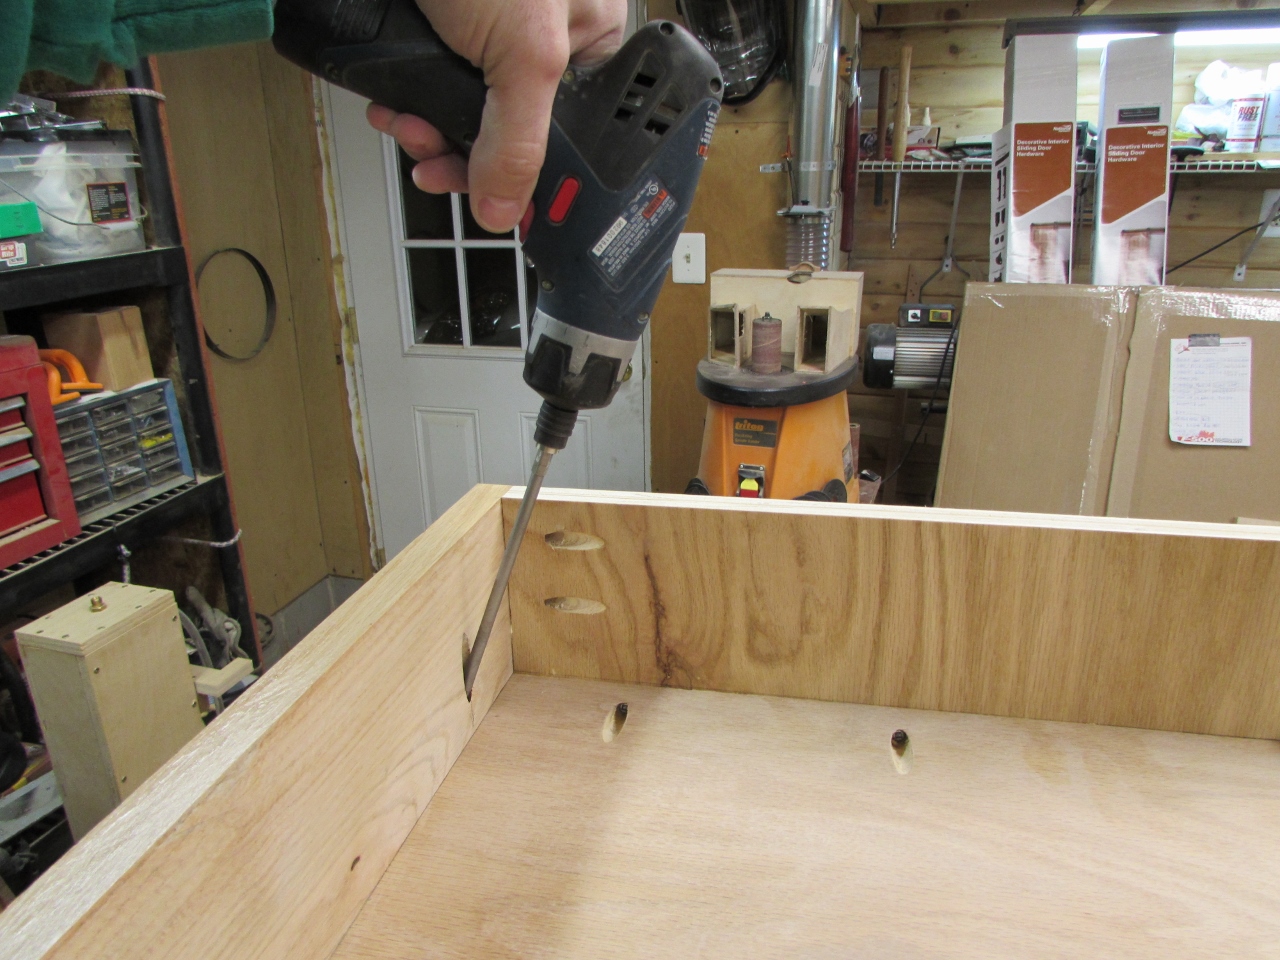
I reassembled the panels with the glue and screws, then applied a bead of glue all the way around the recess in the back, as well as along the back of the shelf. Next, I inserted the rear panel, and held it in place with a few brad nails. I set the panel in far enough that I could use screws, if, for some reason the rear panel ever gets separated from over-stuffing the cabinet. For now though, glue and nails should be perfectly fine.


Last step is to install the doors. To do this, I placed the hinges in the pockets, that I drilled yesterday. I lined them up straight, then used an awl to mark the centers. I drilled a small pilot hole for the screws at the marked locations, and inserted the screws.

With the hinges installed, I clamped a board to the bottom of the cabinet face, to along the bottom of the doors, at the correct height. I marked the center of the mounting holes on the jamb with the awl as well, and drilled the appropriate size mounting holes there as well.

After installing the final screw into each hinge, the doors lined up surprisingly well. I only had to tweak the setting on one of them to get a perfect fit. I attached a small, clear nylon bumper to the top corner of each door to prevent the doors from being able to bang into the frame if closed to abruptly. They are soft-closing hinges, but kids can be rough sometimes.

It is definitely a unique look, by itself, but Adam really likes it. I think I will have to add a walnut stripe to the desktop, as well, to match the cabinets. They kind of remind me of lizard eyes all by themselves…

Next up will be a simple plywood desktop (with matching walnut stripe)…
