
Adam’s desk cabinet – day 2
It has taken me a week to get back into the shop. Been a busy winter.
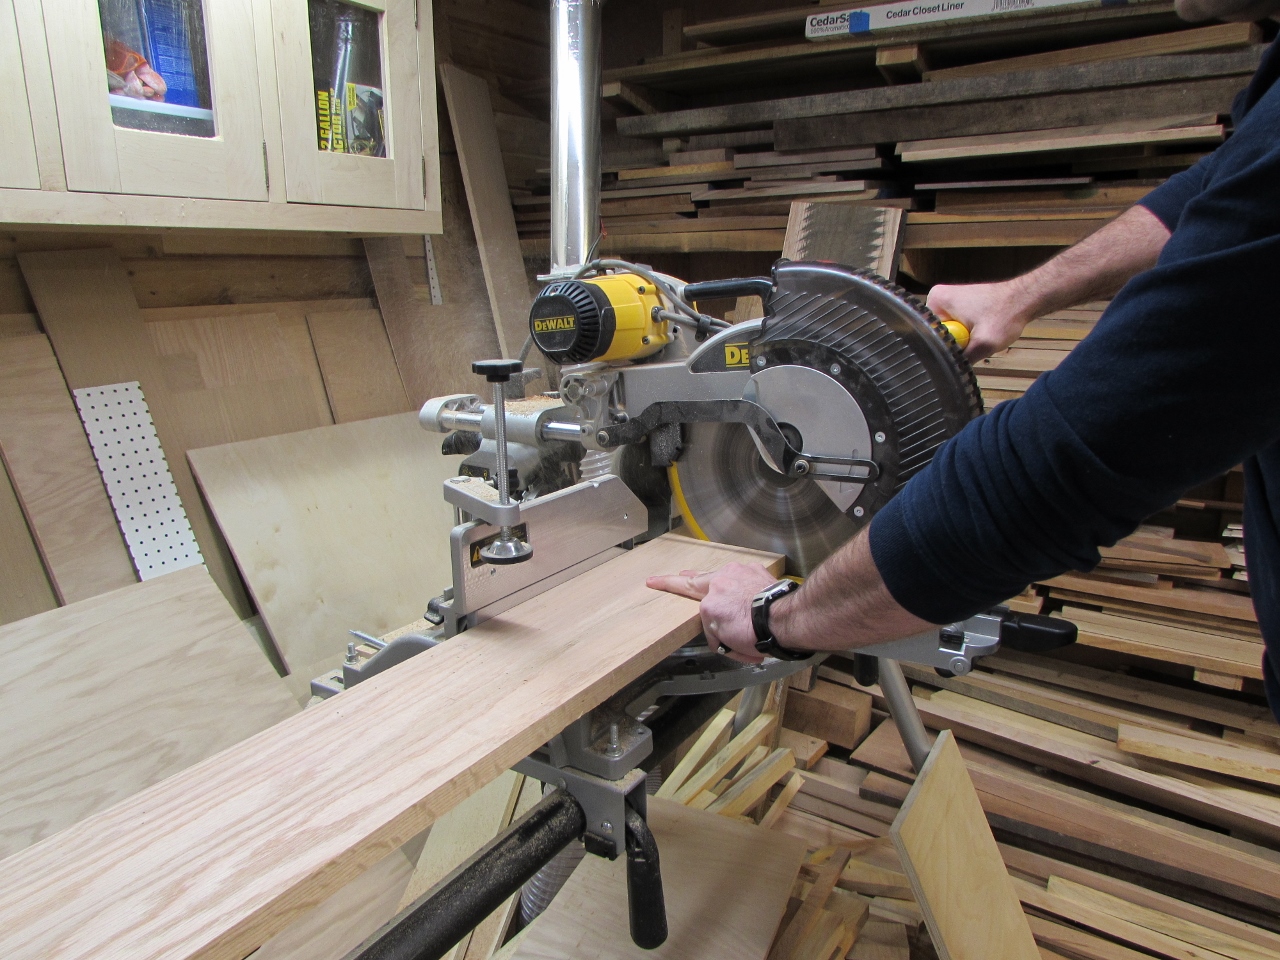
With the main body of the cabinet done, I just need to make the doors. I started by cutting some oak down, roughly to length, then ripping it to width on the table saw.
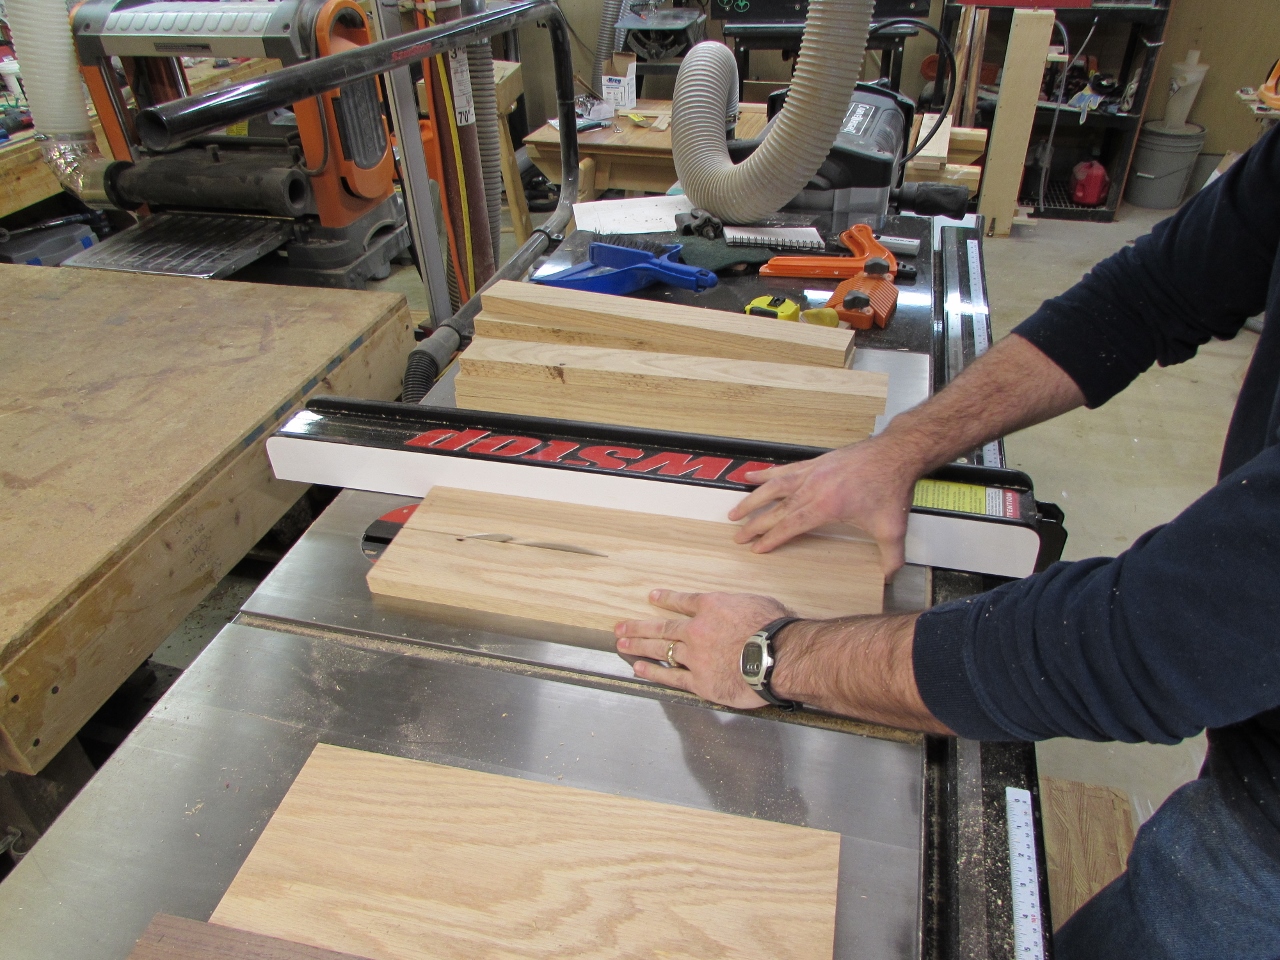
I plan to split the raised door panel with a 1/2″ wide piece of walnut, so I ripped that down as well.

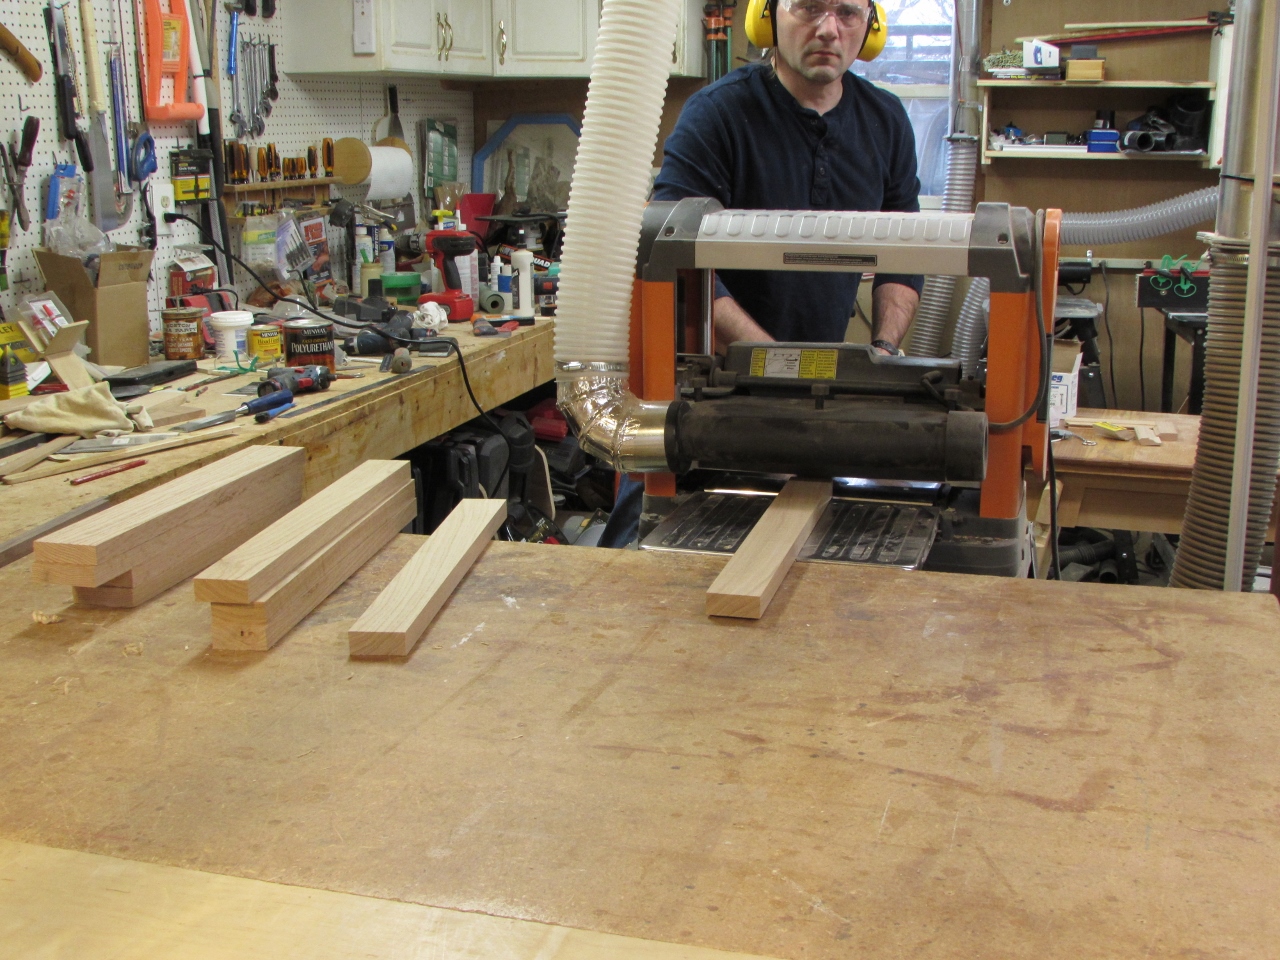
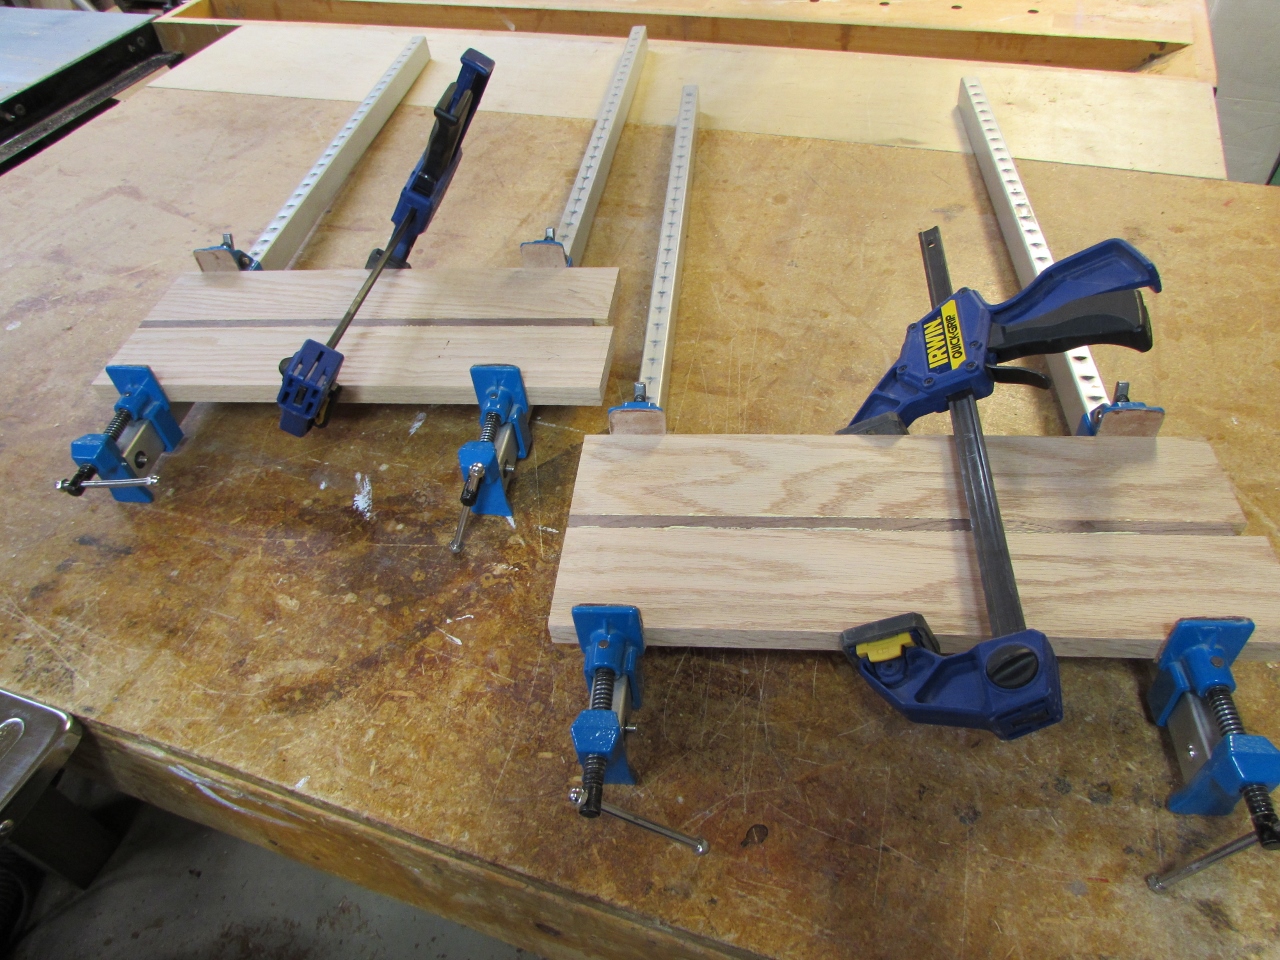
After planing down the panel pieces, as well as the door frames, I glued up the panels.

I have never tried making raised panels with a stripe down the center before, but Adam thought it would look nice, so we are giving it a try.
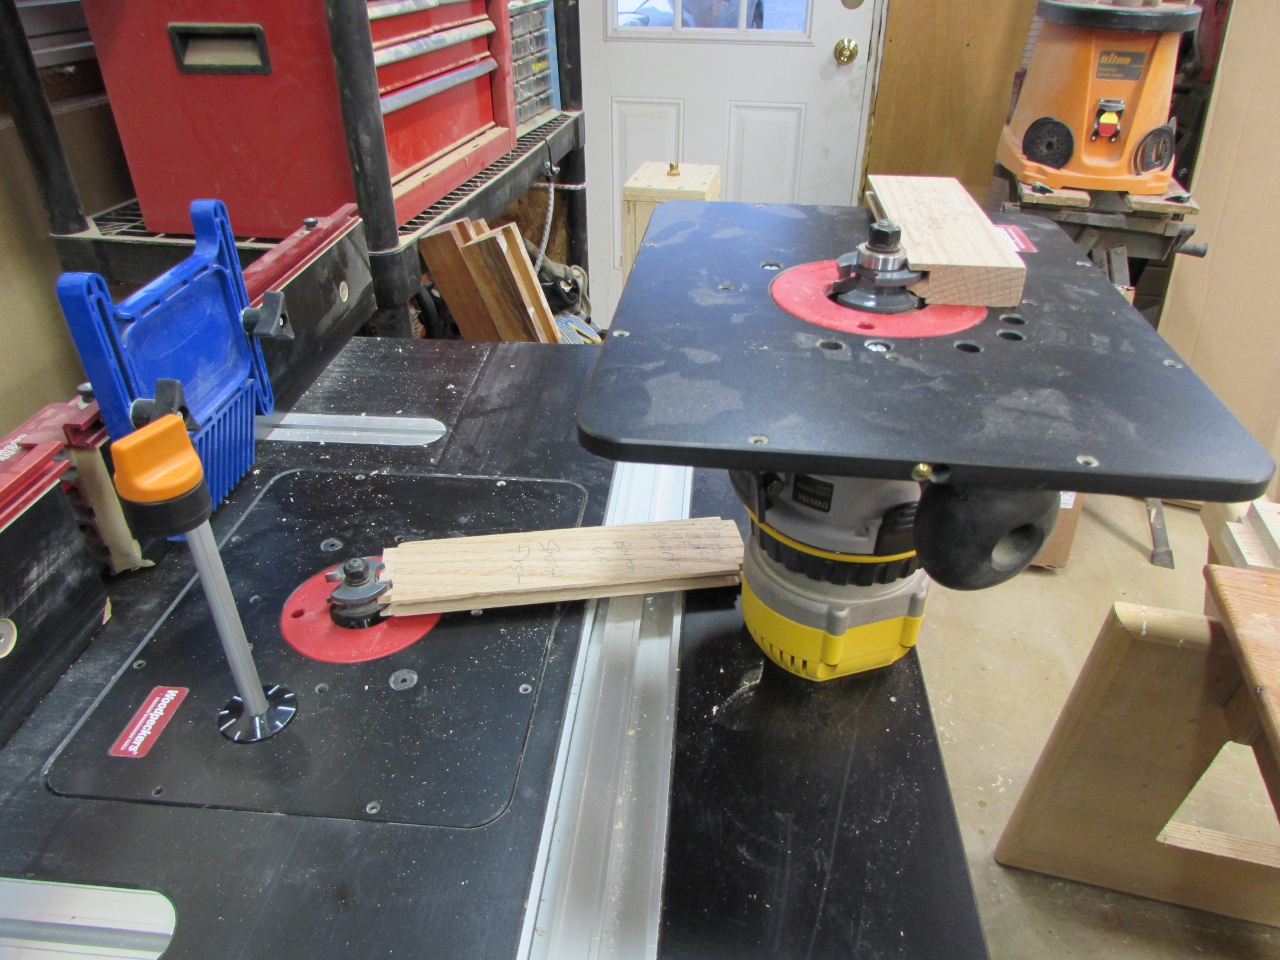
While those were drying, I set up my rail and style bits in my two big routers. I have some set-up blocks, that I made a while back. I have instructions written on them so I don’t have to remember how to set everything up. I don’t do raised panel doors that often, so leaving notes, on the blocks really helps.

I did the end cuts first. That way, if there is tear-out, it may be cut away, when I cut the groove in the long side. I also clamped all the end cut boards together so there would be less chance for tear-out.

Then I cut all the long, inside grooves.
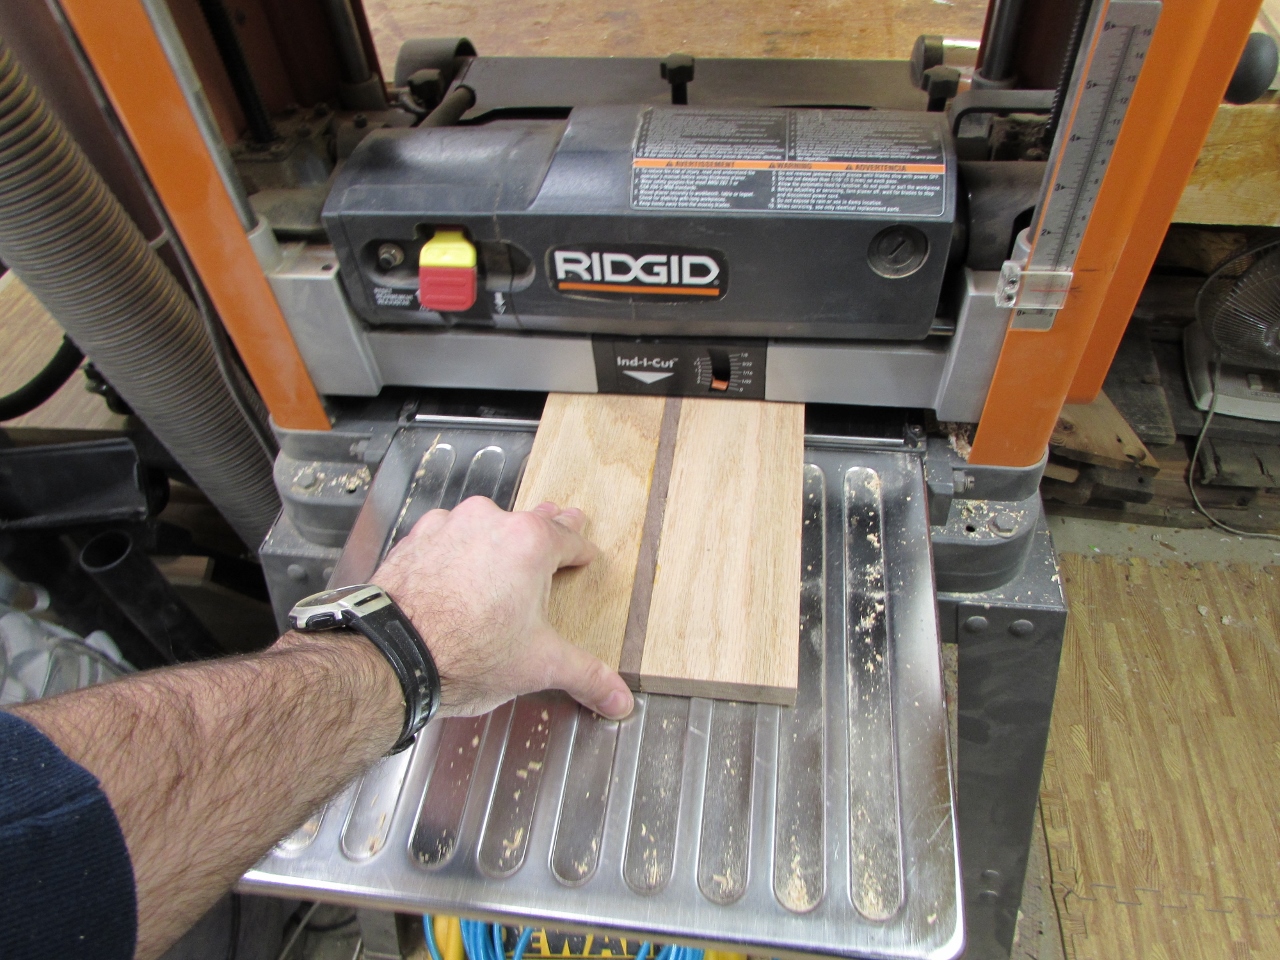
By now, the glue on the panels was dry enough to plane the boards flat and smooth.
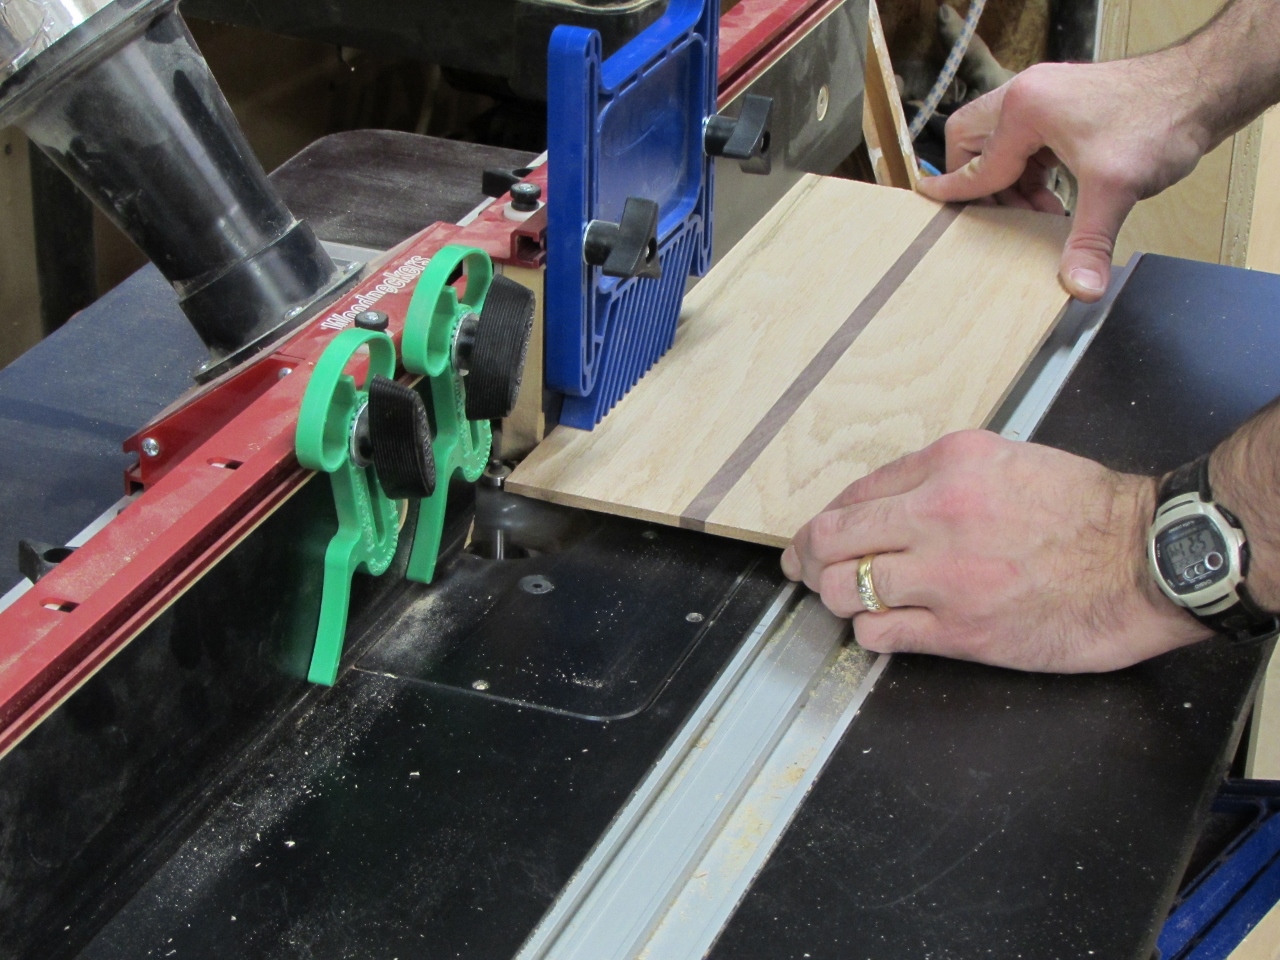
I also set up the raised panel bit and cut all four sides of the panel, then sanded them smooth.


I applied glue to the ends of the short, horizontal pieces.
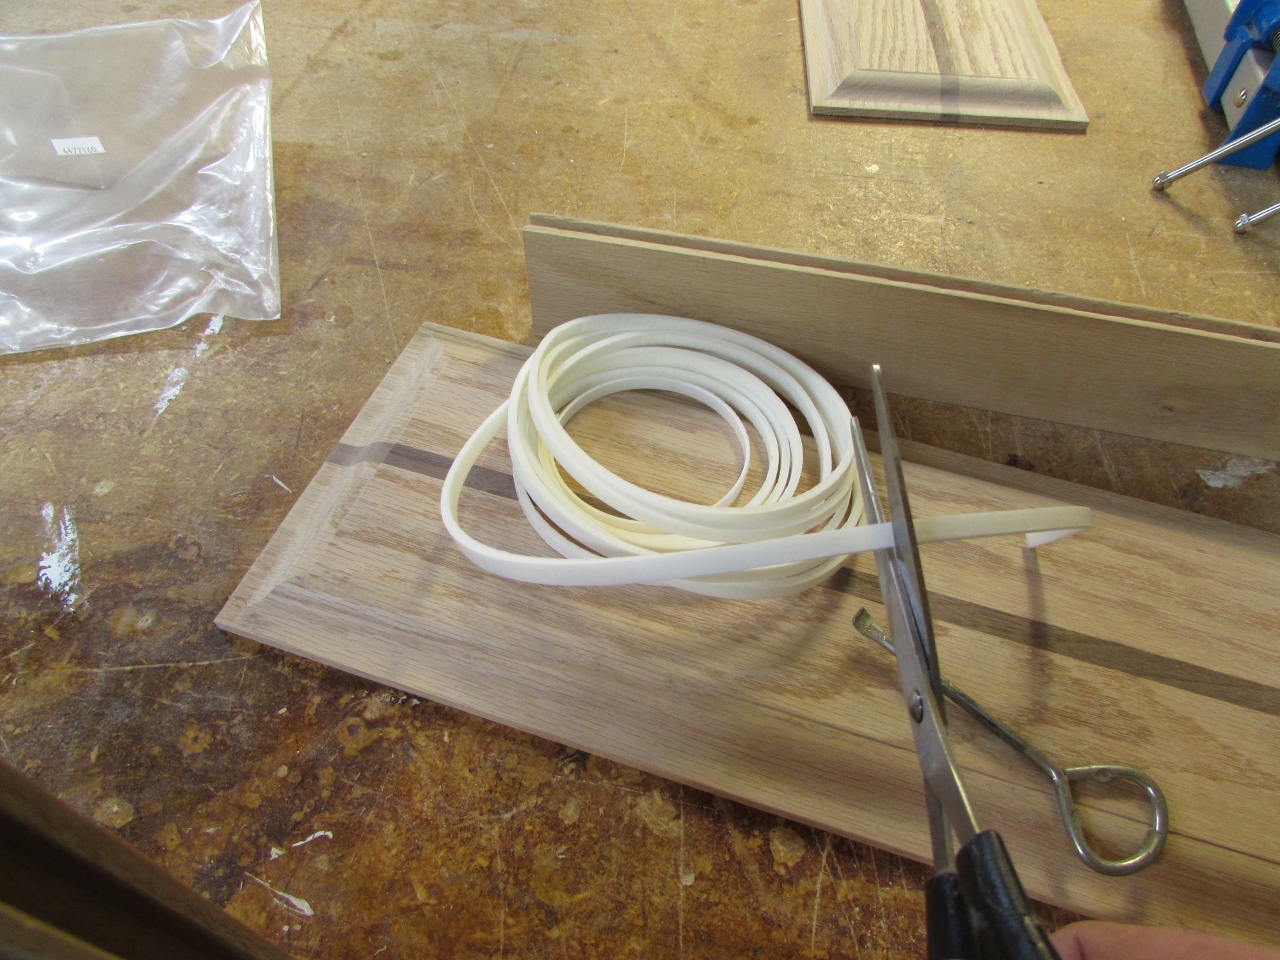
Then I cut some spacer foam to install in the groove that the panel will go into.

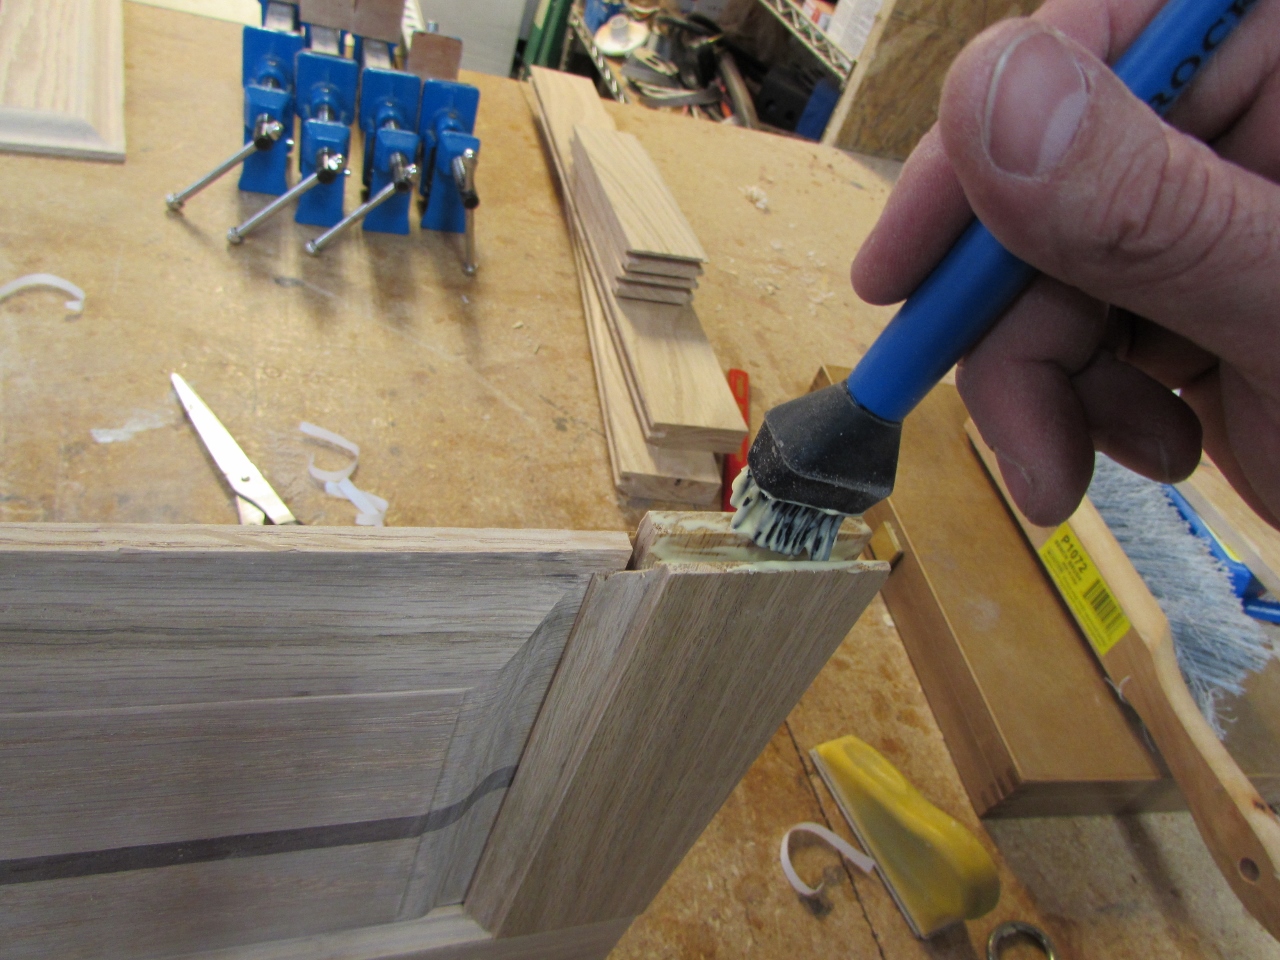
After I inserted the panel, I applied more glue and clamped it up.

Both panels are done and drying.

After about an hour, I pulled the clamps and sanded the faces at the joints.


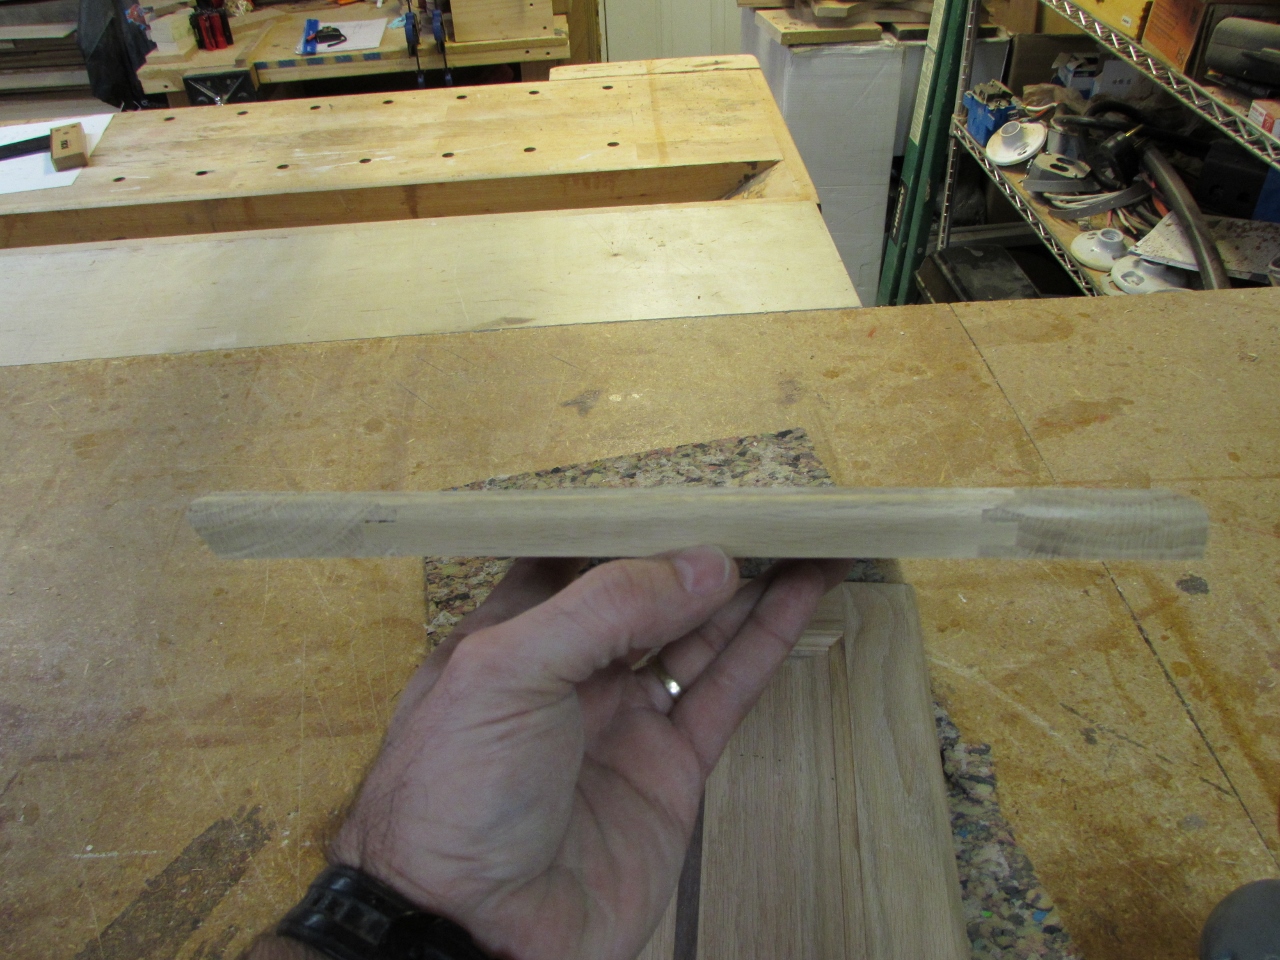
I set up my door lip bit, in the router table, and cut three sides of the door. This bit under-cuts the side, to give you a place to grab, to open the doors. On the hinge side, I just did a 3/8″ round-over to match the radius of the other sides. This side is not under-cut, to leave room for the hinges.

As you can see in the picture below, the left is under-cut and the right is not.
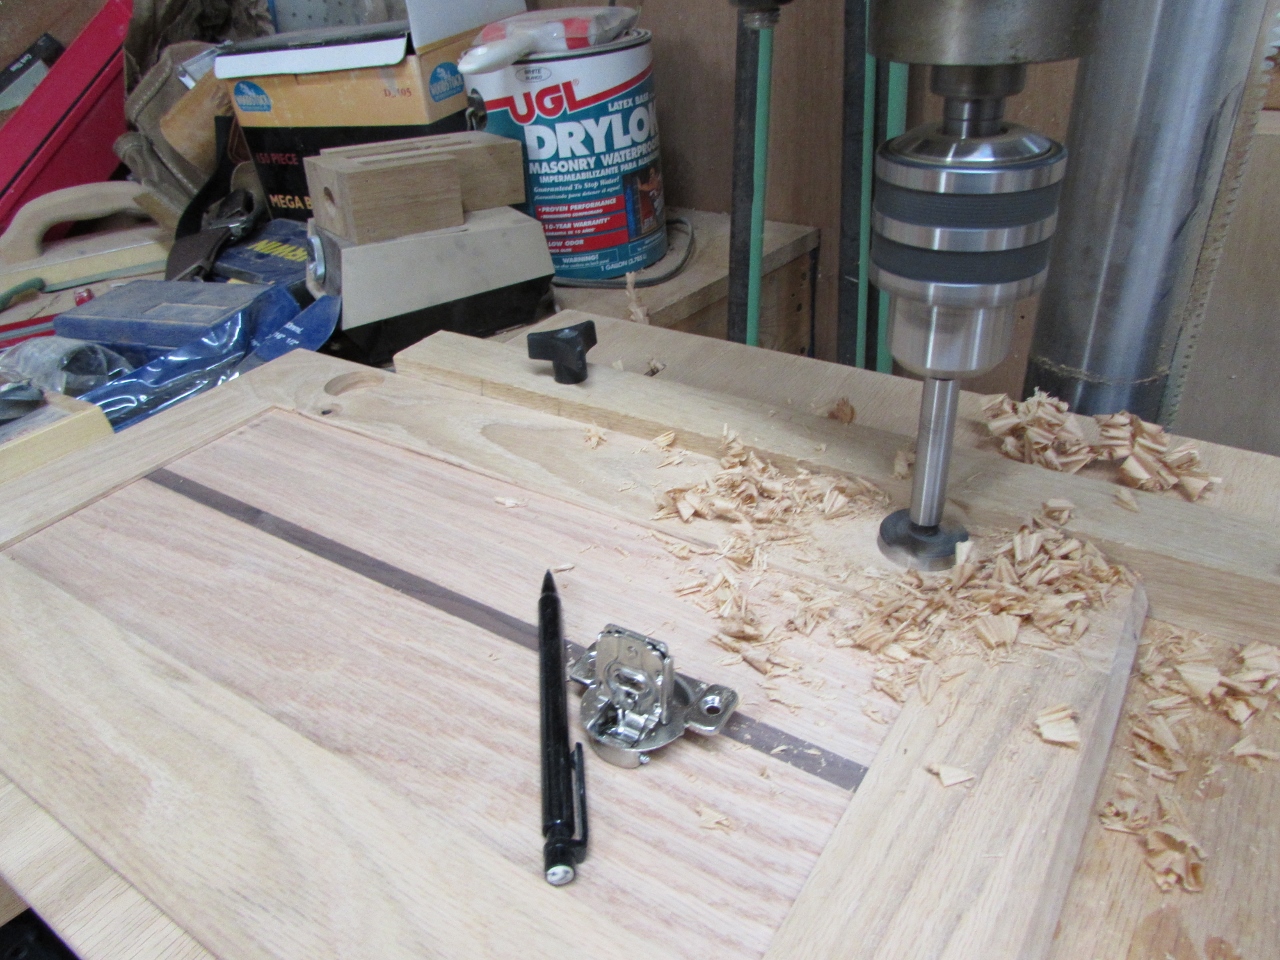
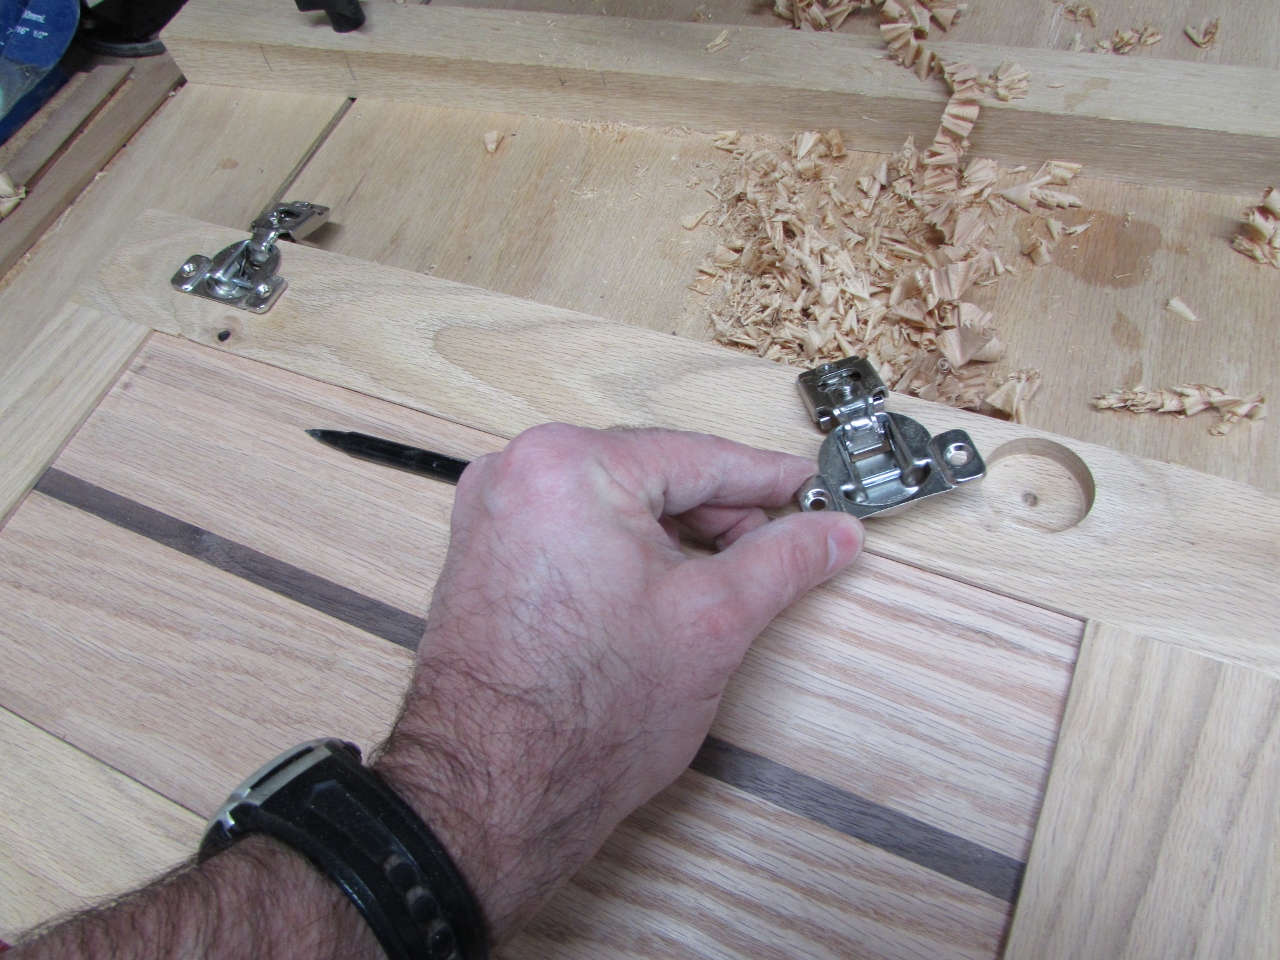
Last step in construction is to drill out the hinge pockets.

Adam likes the natural tone of the wood, so we are trying some water-based polyacrylic finish from General Finishes. I haven’t used it on a project before, so we will see how it goes. I disassembled the entire cabinet to try pre-finishing the project before the final glue-up. My shop is too cluttered, at the moment to set up a spray booth, so this should make brushing easier. I made sure to mark the areas where glue would need to be applied, and tried to avoid finishing them.
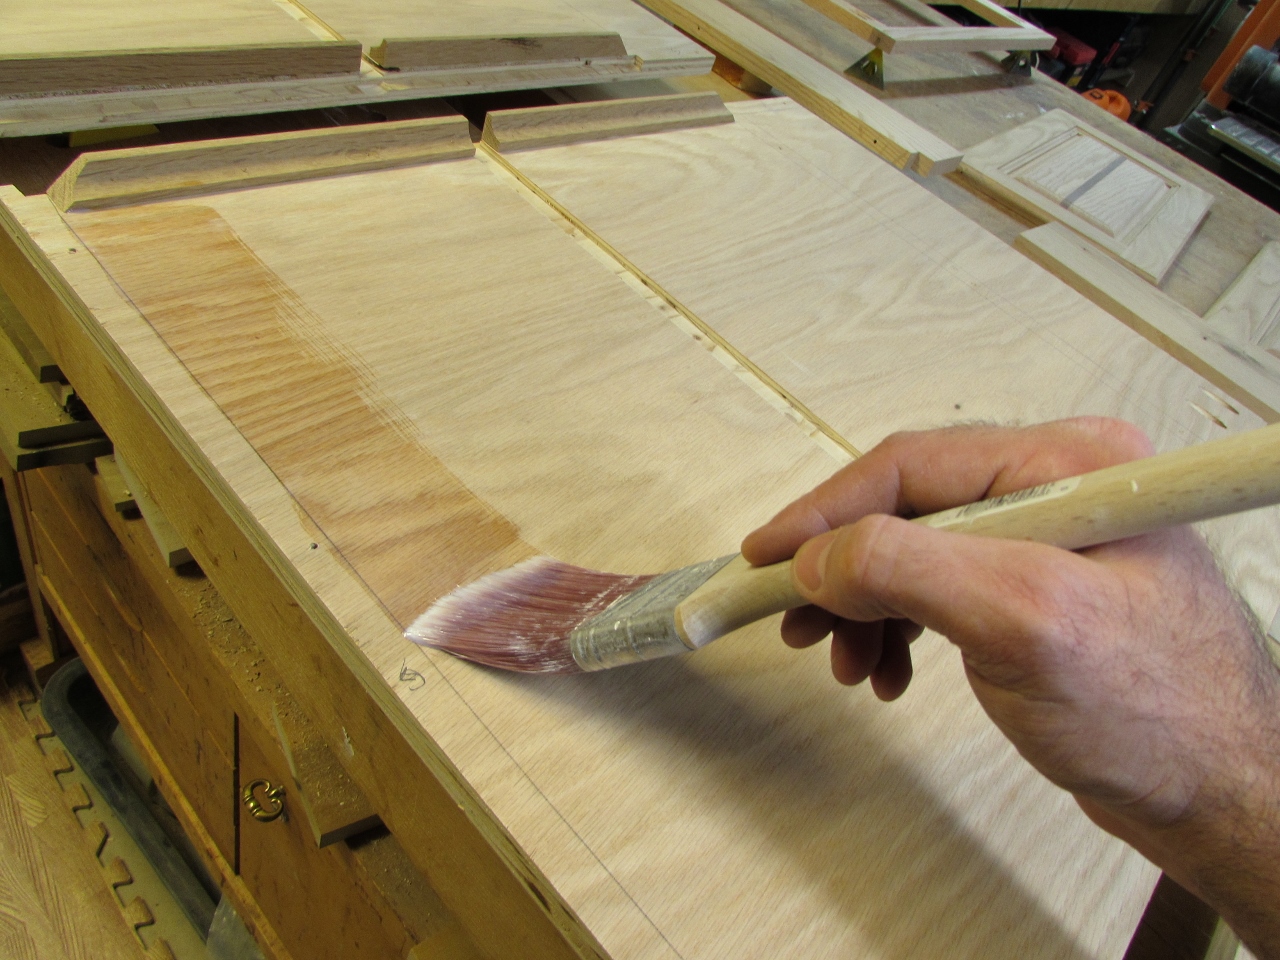
Well, the first coat is on, and the first few boards were nearly dry, by the time I finished the last piece. Hopefully, I will get a chance to finish the second coat tomorrow.

