
Adam’s desk cabinet – day 1
I don’t know about everybody else’s kids, but mine tend to be pack-rats. It doesn’t really matter what it is, my kids will keep it forever! I have gotten to a point with each of my kids, where they decide it is time to get rid of the kid furniture and get bigger stuff, more capable of hiding all the junk. My youngest is 12 now and finally to the point where his room can no longer contain the mess. He has started relocating small piles of it everywhere else in the house. In an effort to forestall the growing colonies of “kid crap”, I am upgrading Adam’s furniture. He has a small desk with plastic tubs for holding toys, and a small book shelf or two. Our plan is to build a much larger desk, with a cabinet below and wall-mounted shelves and cabinets above. I am going to start with the base cabinet that will go under the desk. This will give me something to set the desk top on.
After we came up with the optimal height, I designed a base cabinet that will have about 8 cubic feet of storage space. Here are the plans if anyone wants them: CABINET.pdf
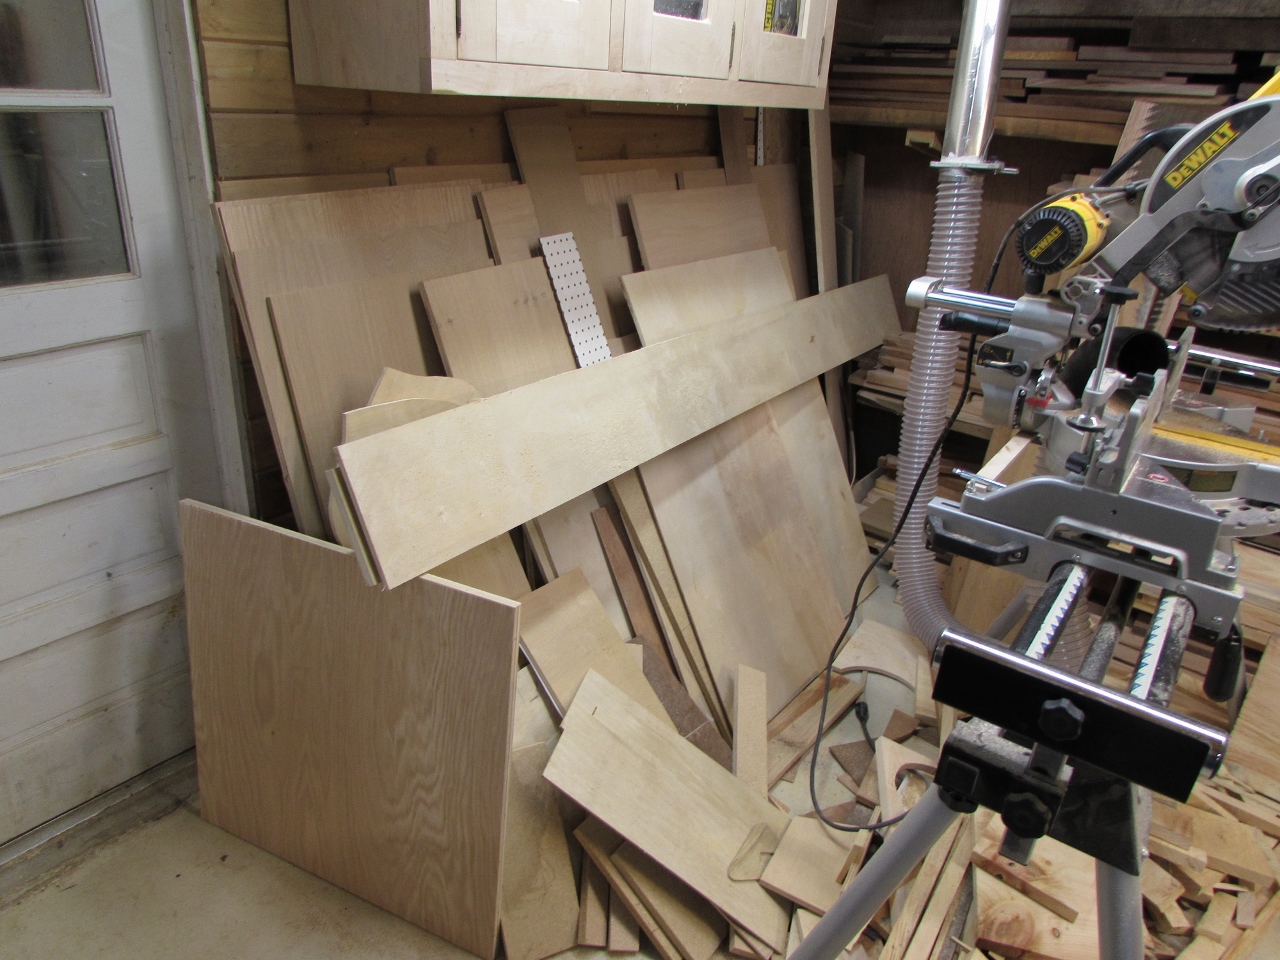
One good thing about people always wanting you to build stuff for them, is the scrap pile. I have a bunch of sheets of good, oak plywood, left over from several projects. They always seem to be too small for the larger projects, but I think this cabinet and desk will be able to use nearly all of it.

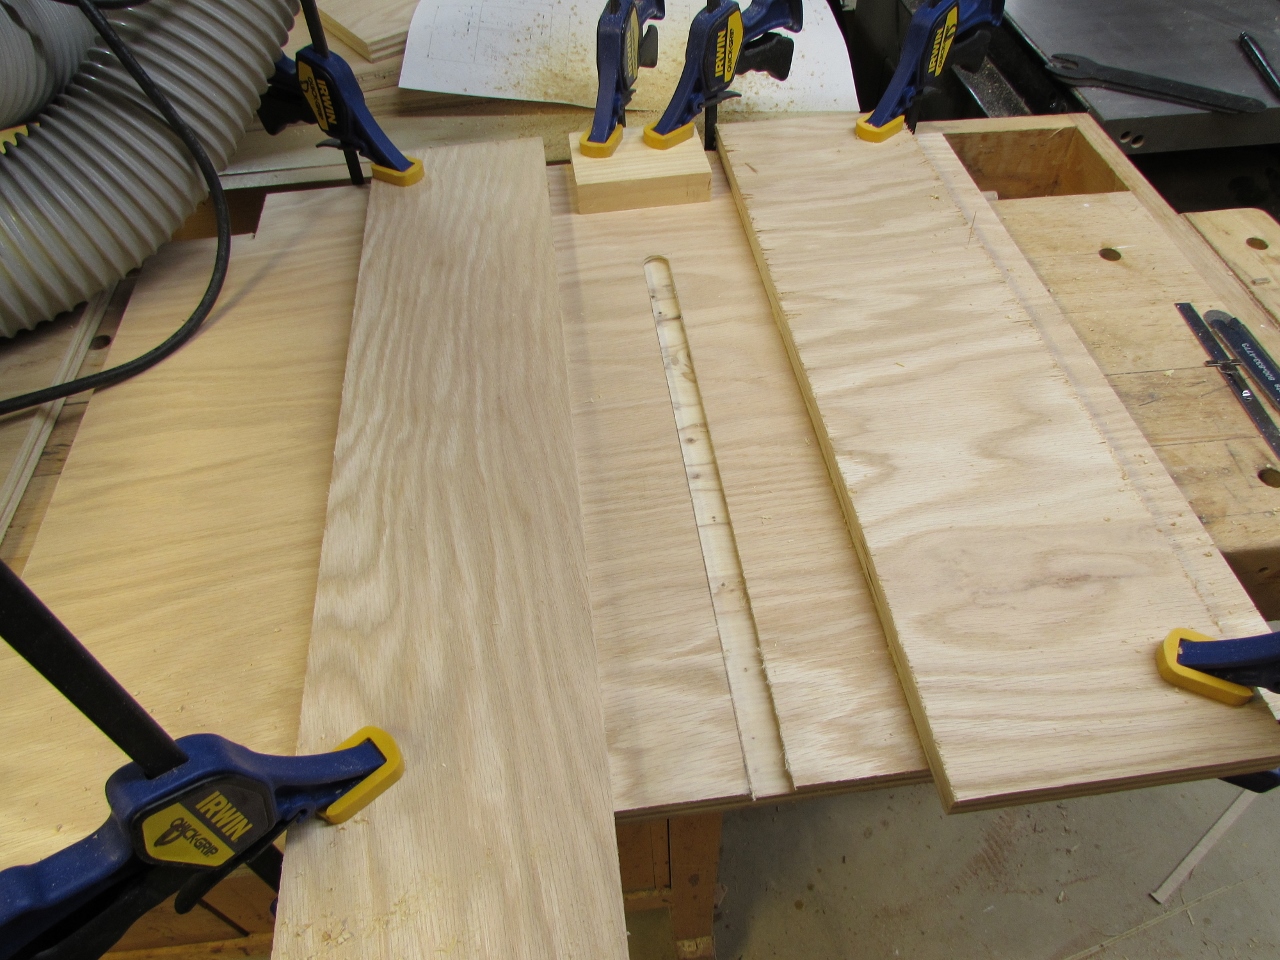
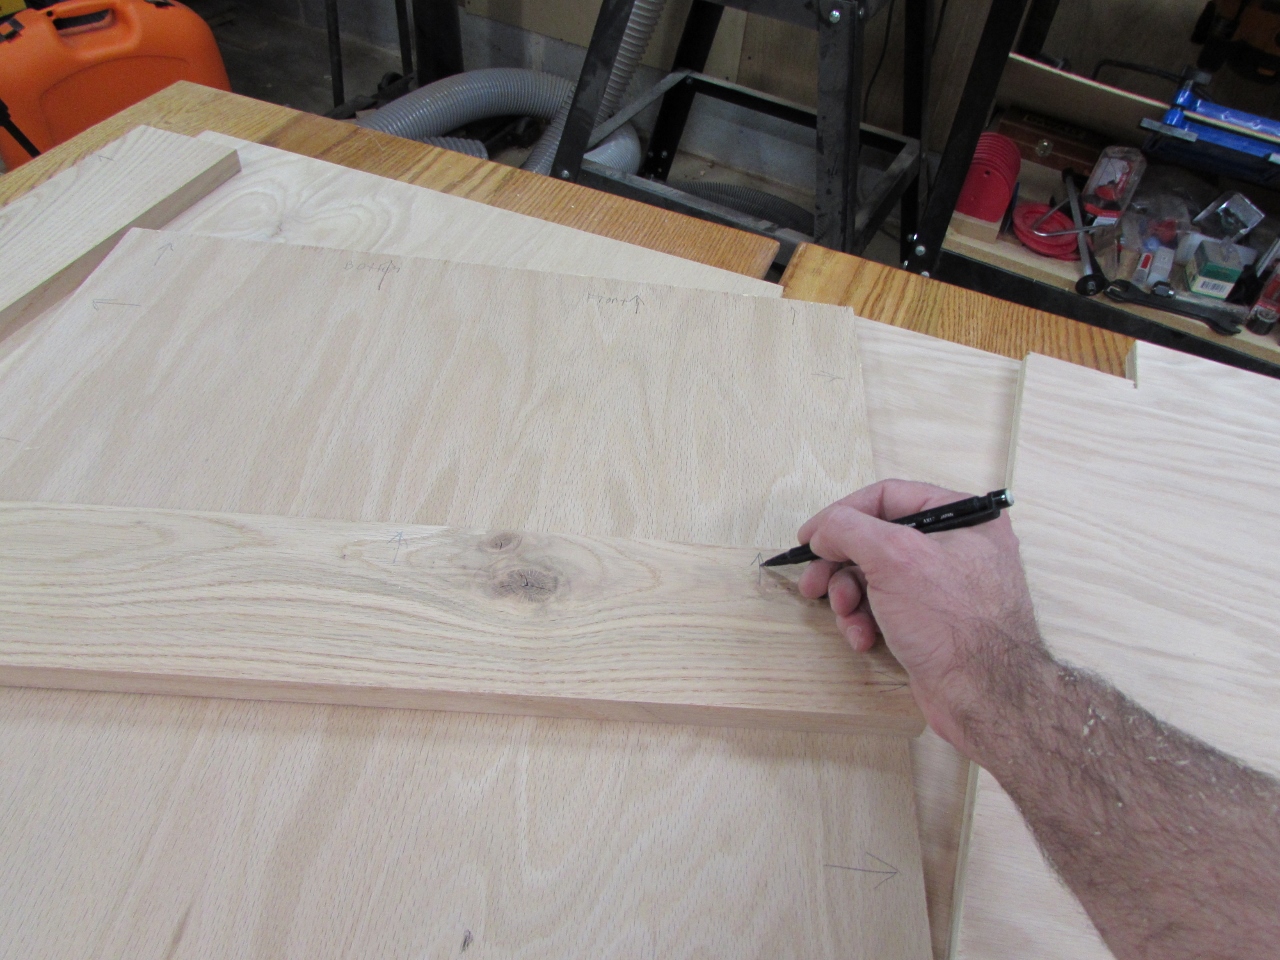
Since most of the sheets are roughly 2’x4′ or smaller, I can easily cut them down on the table saw. I laid out the sides and the shelf, and got cutting.

I used my pull saw to remove the small notches for the toe-kick.


When the sides were cut, I laid out the groove for the shelf onto the sides. I am stopping the shelf about 5″ back from the front to give Adam room to store taller stuff in front. I will cap the front with a piece of oak, so I can round a bullnose onto it. I laid that out as well.
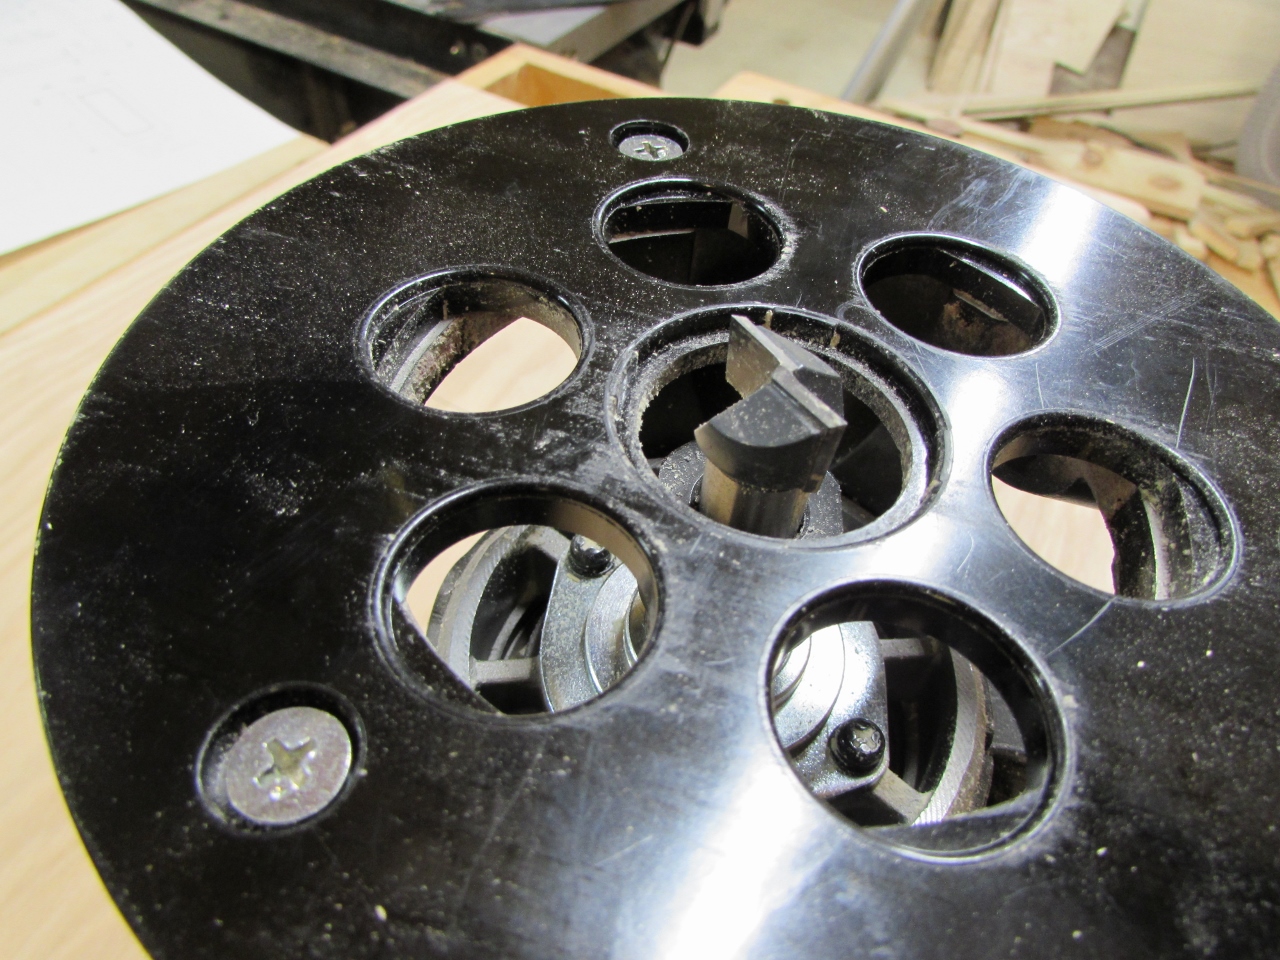
I am going to cut 1/4″ deep dados into the sides to retain the shelf. I really like the 3/4″ bottom-cleaning bit that I bought for the job. It is exactly the right size for 3/4″ plywood.
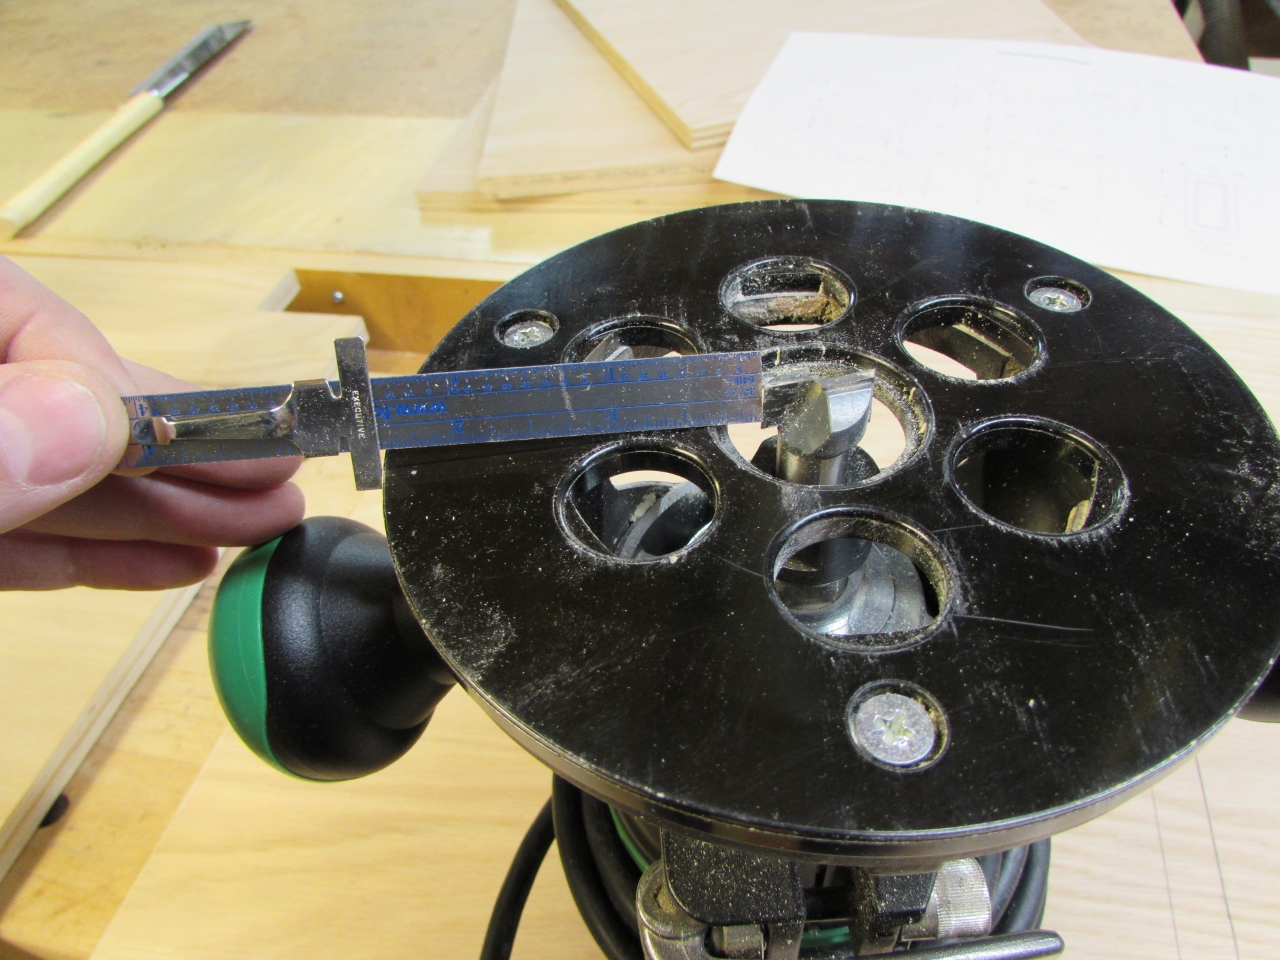
I measured the distance from the bit to the edge of the router base, then transferred the dimension to the plywood sides.
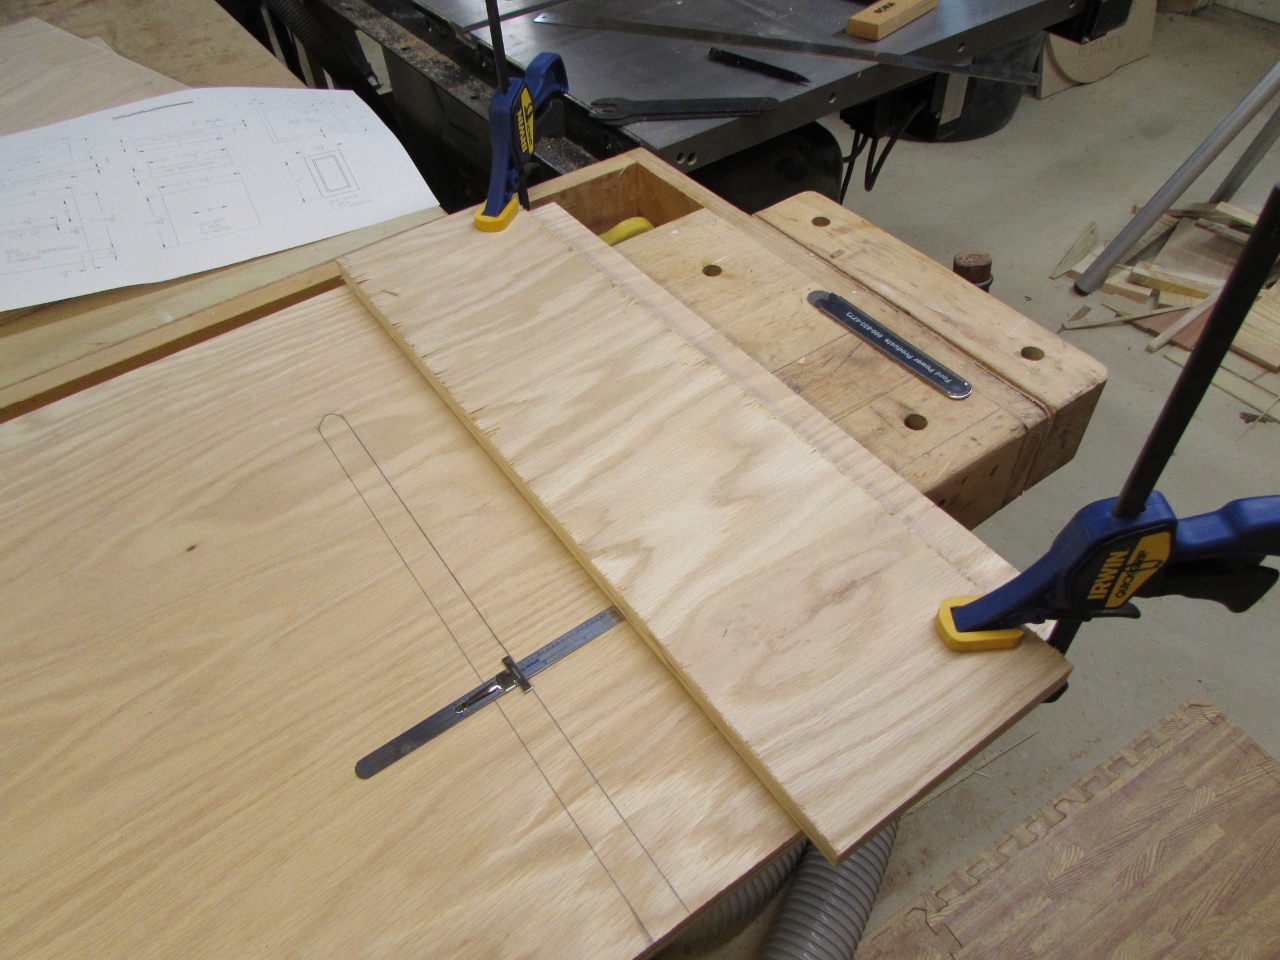
I used some of my plywood off-cuts to clamp a straight-edge along the marks. Then I set the router against the edge and clamped a second piece of plywood against the other side of the router. This will effectively restrain the router to only be able to move in a straight line.

I clamped a stop block at the front edge to prevent the router from cutting too far forward. I also clamped a sacrificial block along the back edge to prevent tear-out.


I did have to clear the trough of sawdust once or twice to prevent the router from jamming, but it worked really well otherwise.
I test-fitted the shelf and it fit perfectly.


I cut a 3/4″x3/4″ length of oak to use for the bullnose, on the shelf.

I applied a bit of glue and clamped it up.

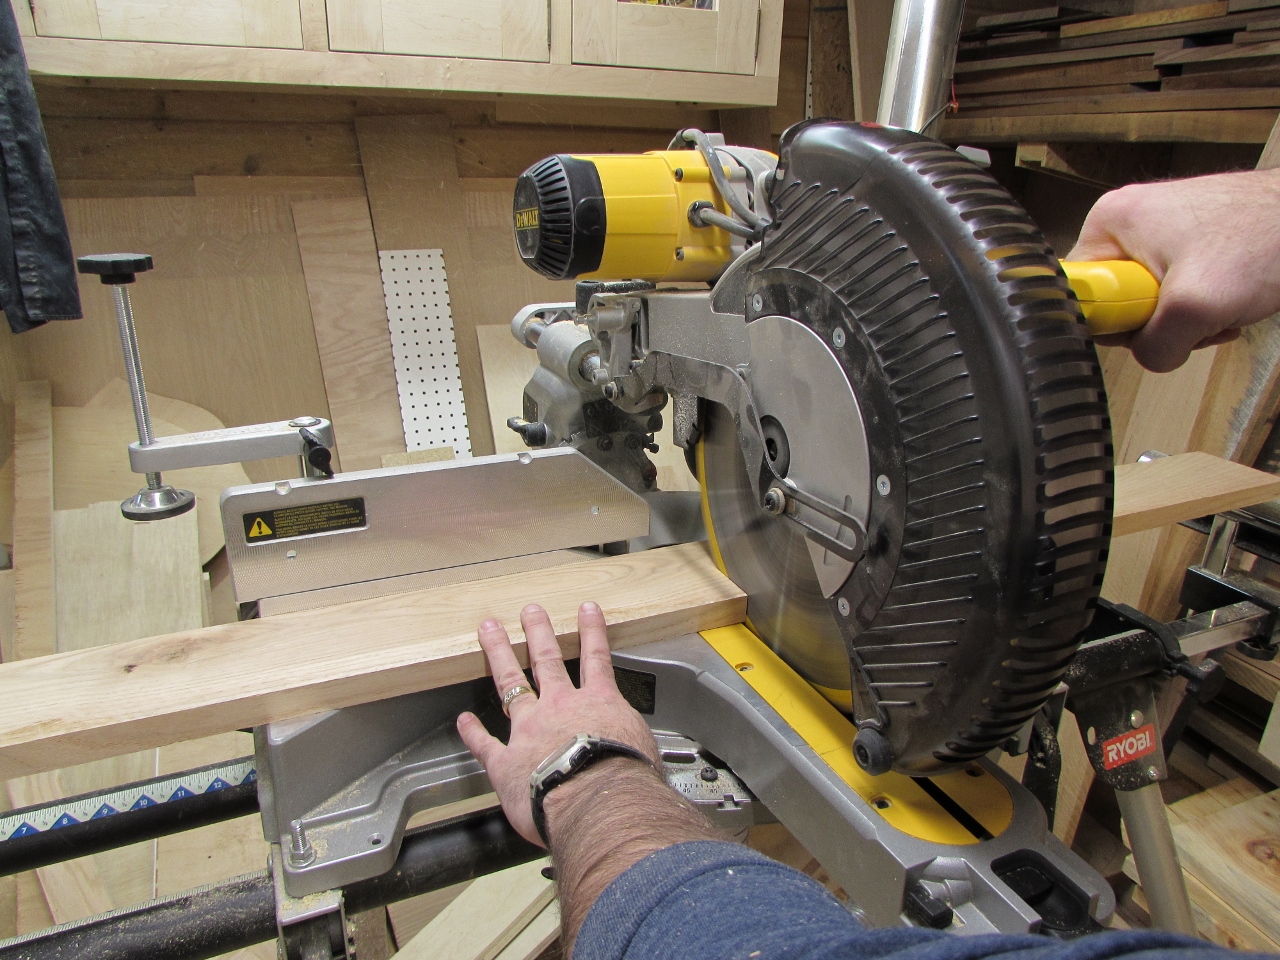
While that was drying, I started cutting the two pieces to complete the base.
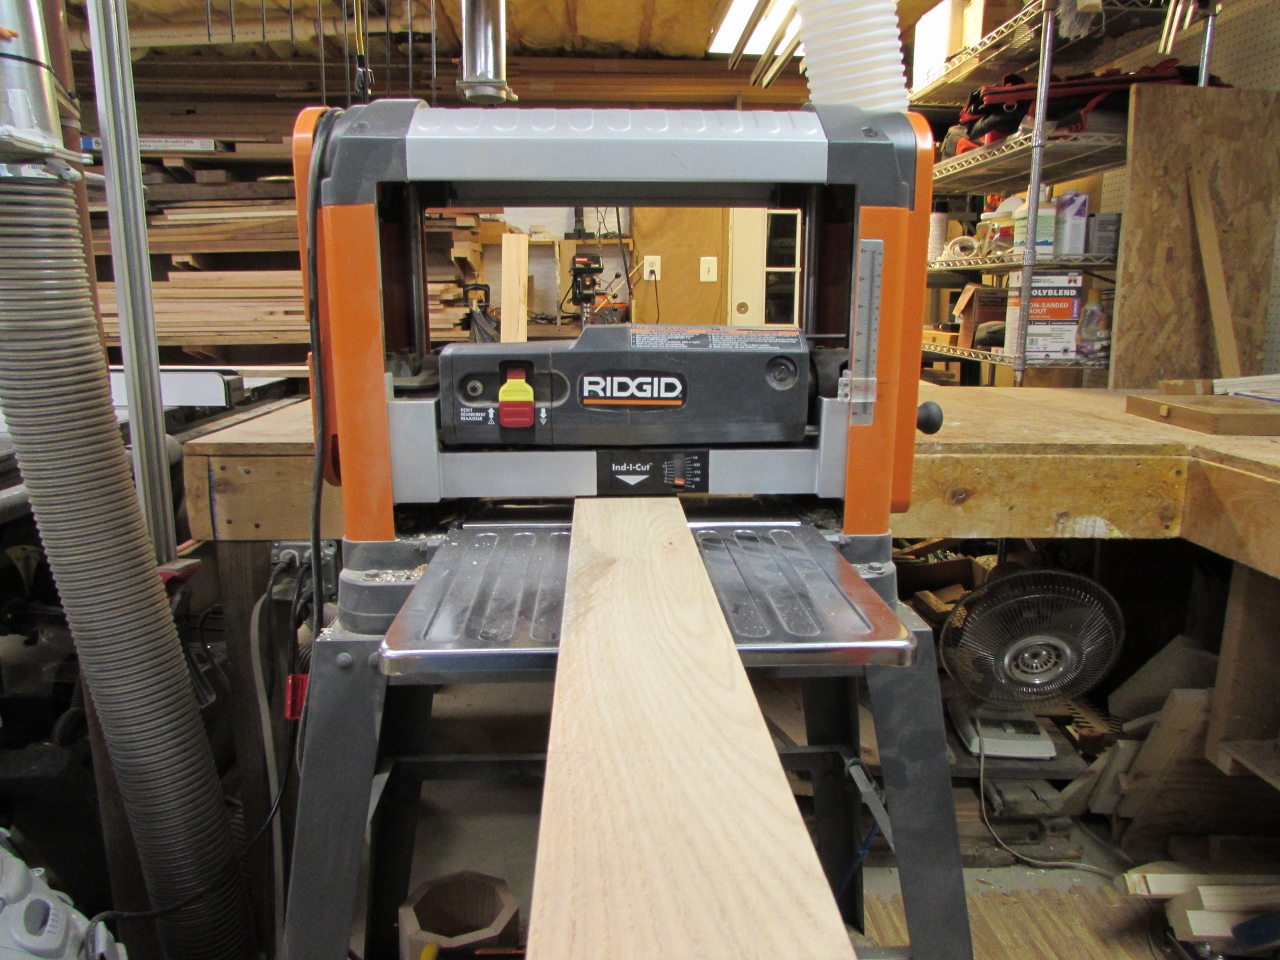
After they were cut and planed, I marked the notches for the front piece and cut them out on the band saw.


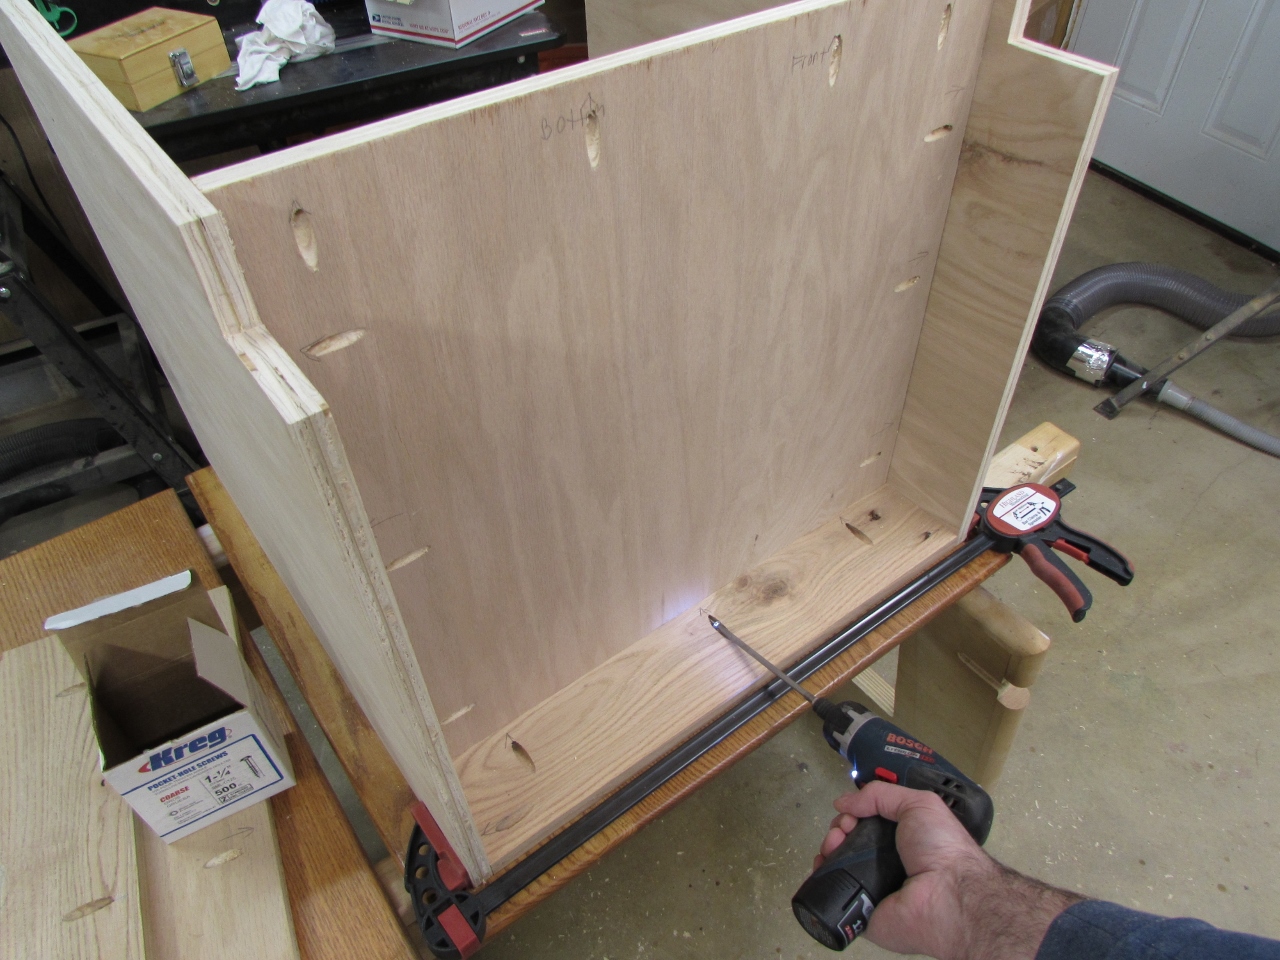
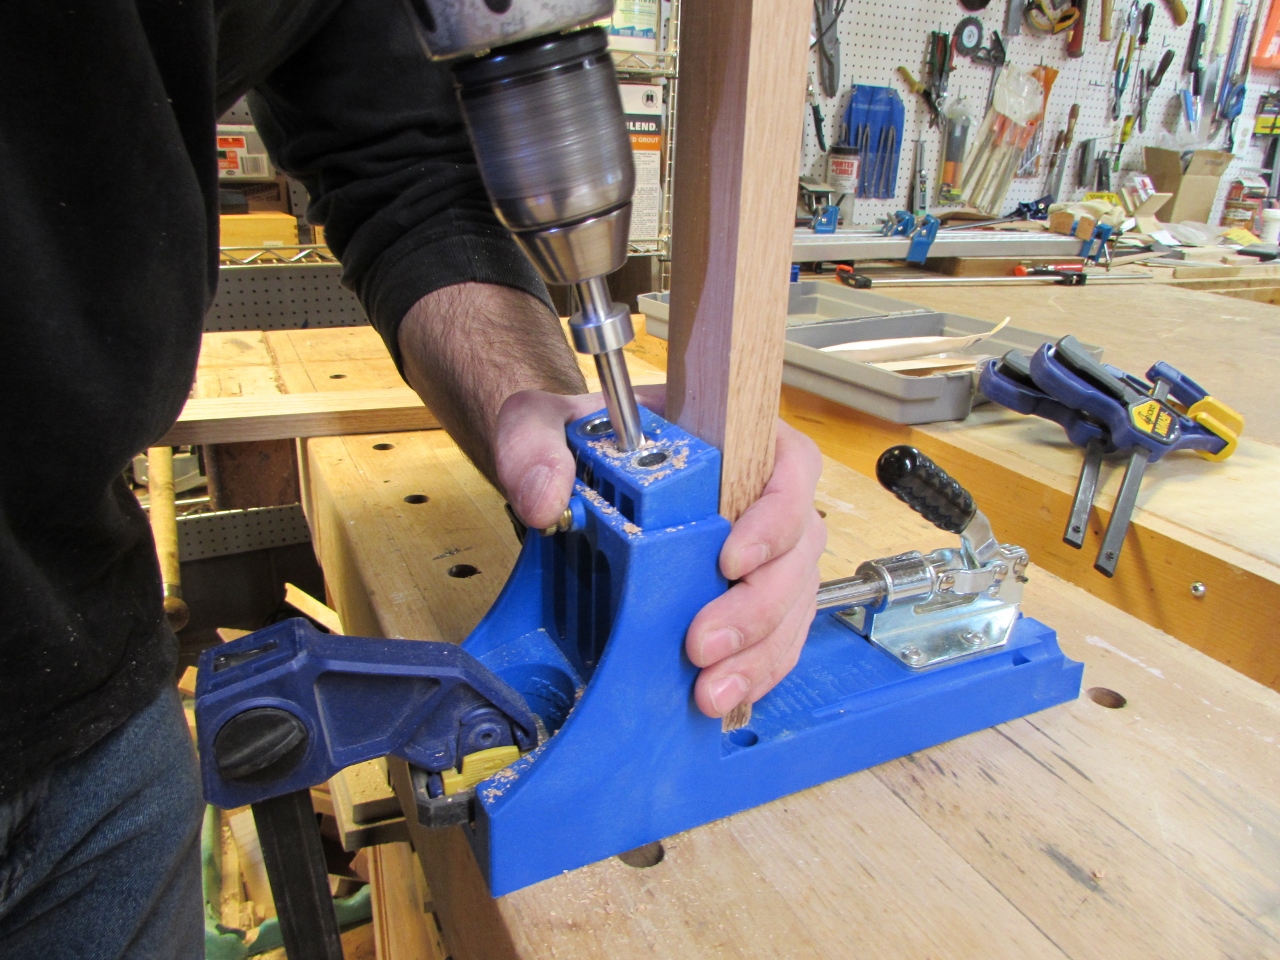
I marked all the locations for pocket holes on the base boards as well as the plywood.

I held it all together with a clamp or two until I could get all the screws installed.

When the cabinet was assembled, I pulled the clamps of the shelf and sanded the edge flush to the plywood. Next, I set a 3/8″ round-over bit in the router table and made two passes to create the bullnose.
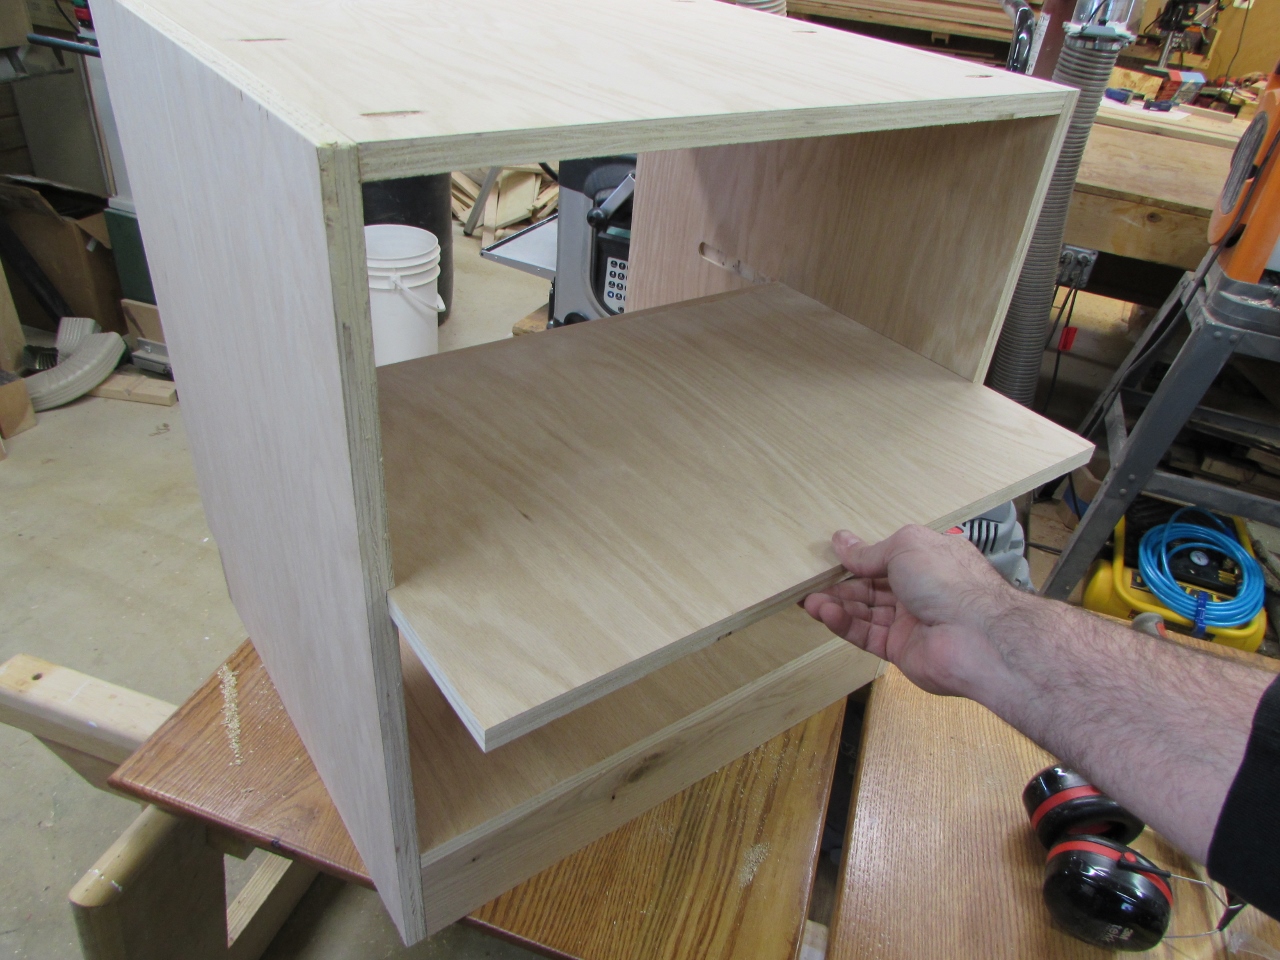
The shelf slid snugly into place with a few taps.


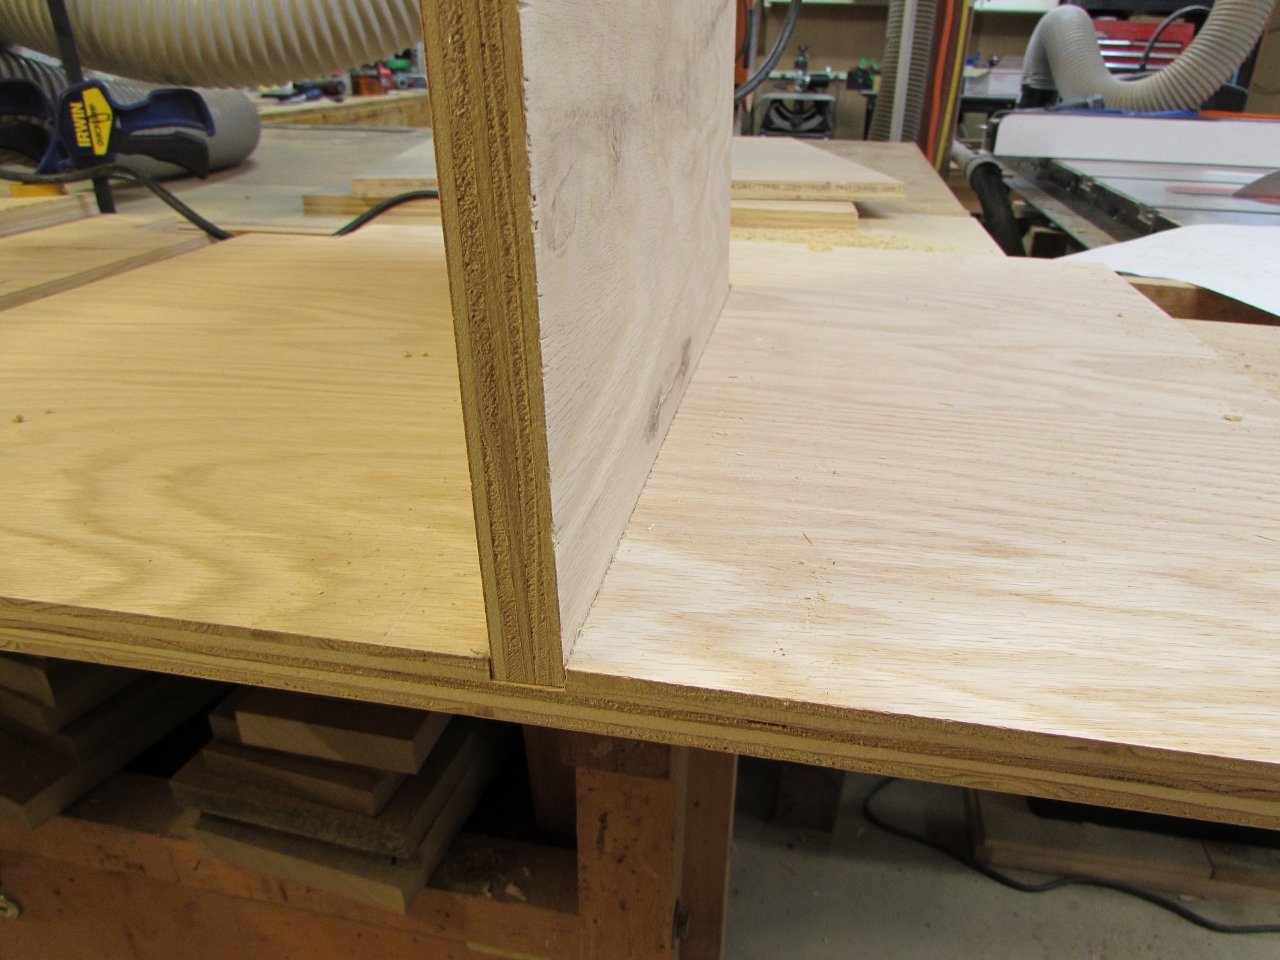
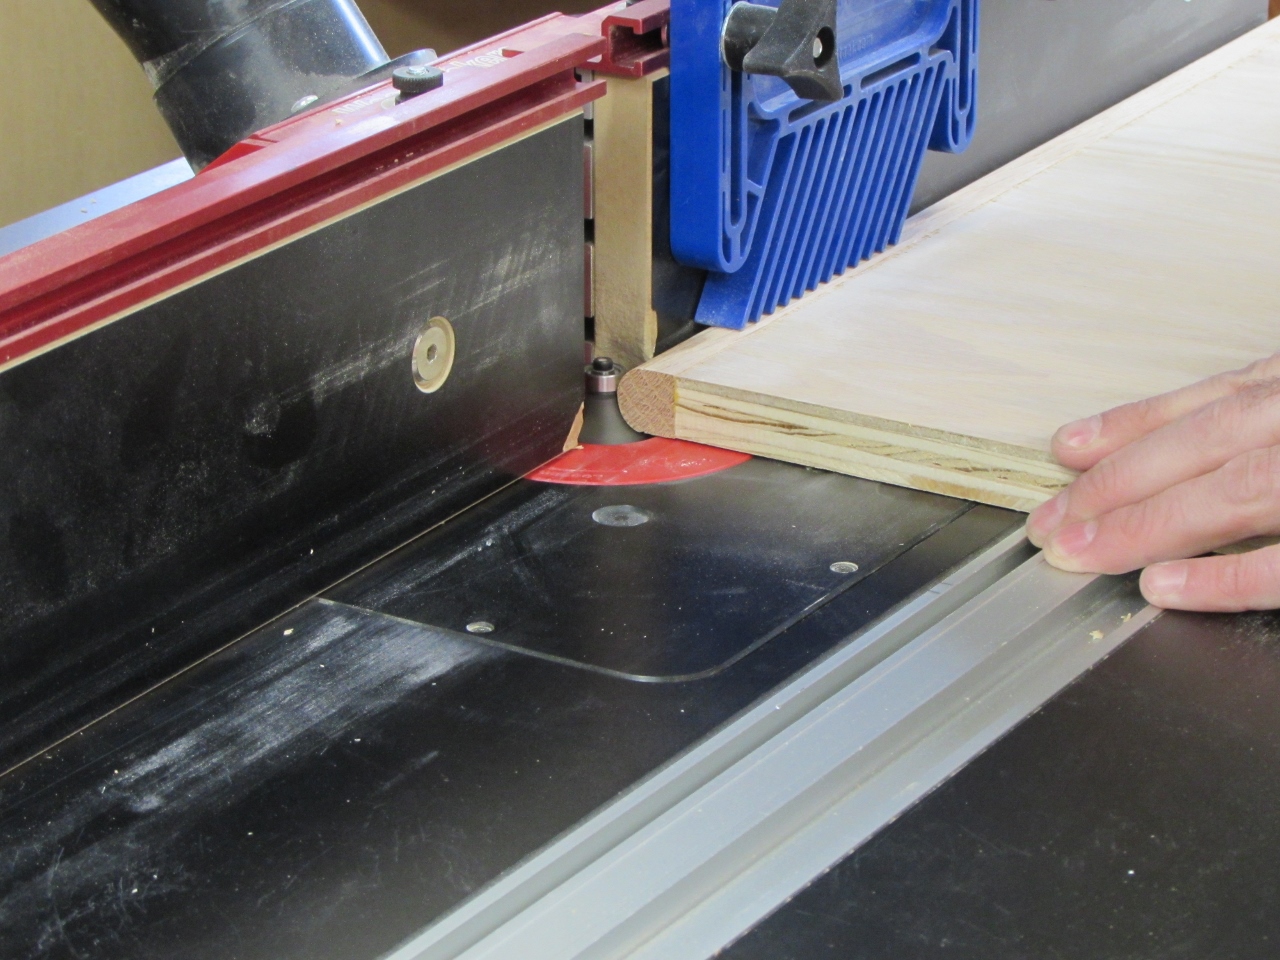
I intentionally set the back in about 3/8″ to receive the rear panel. I clamped extra plywood around the edges to give me more support for my router.

My plan was to cut the groove around the rest of the cabinet, to receive the rear panel. I have a rabbeting bit, so I decided to cut it once everything was assembled.

Boy was that a dumb idea. Tear-out everywhere!


I tried to stop the tear-out by pre-cutting with a knife, and that helped, but the damage was extensive. This wasn’t cheap plywood, but that veneer is so thin…

I cleaned out the corners with a chisel, and cut down a piece of 1/4″ plywood to make the rear panel.


Luckily I had some left-over cove molding from a previous project.


I marked it, and cut it down to fit. It was just wide enough to cover most of the tear-out.

I applied a little glue and pin nailed it into place.

It actually gives me more of a base to mount the back panel to, but I will definitely cut those rabbets on the table saw, before I assemble, next time…

Adam liked it , so I guess it is good enough. Luckily all the damage was inside the cabinet, in the very back.

I set the cabinet aside for a while and started on the face frame.


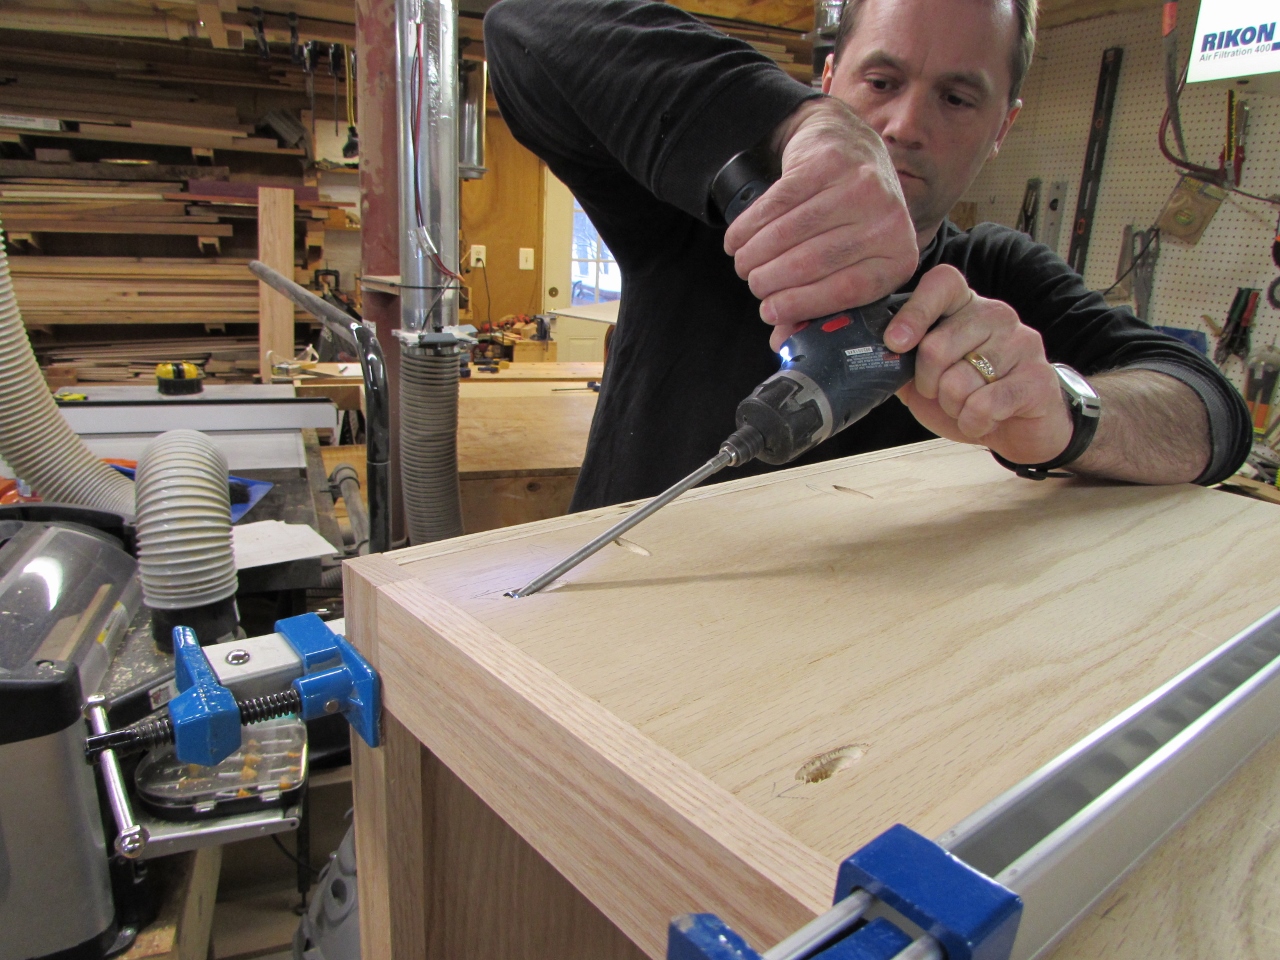
After cutting and planing, I clamped my pieces down and drilled a few pocket holes.


I used my longer clamps to hold the frame in place, while I ran the screws in. If you are wondering why I have pocket holes on the top as opposed to the inside, It is because I will be covering the cabinet with a desk top. The top will be completely concealed.
Well, the main cabinet is done. The next step is to make the doors.

