
Maple & Purpleheart crib – day 1
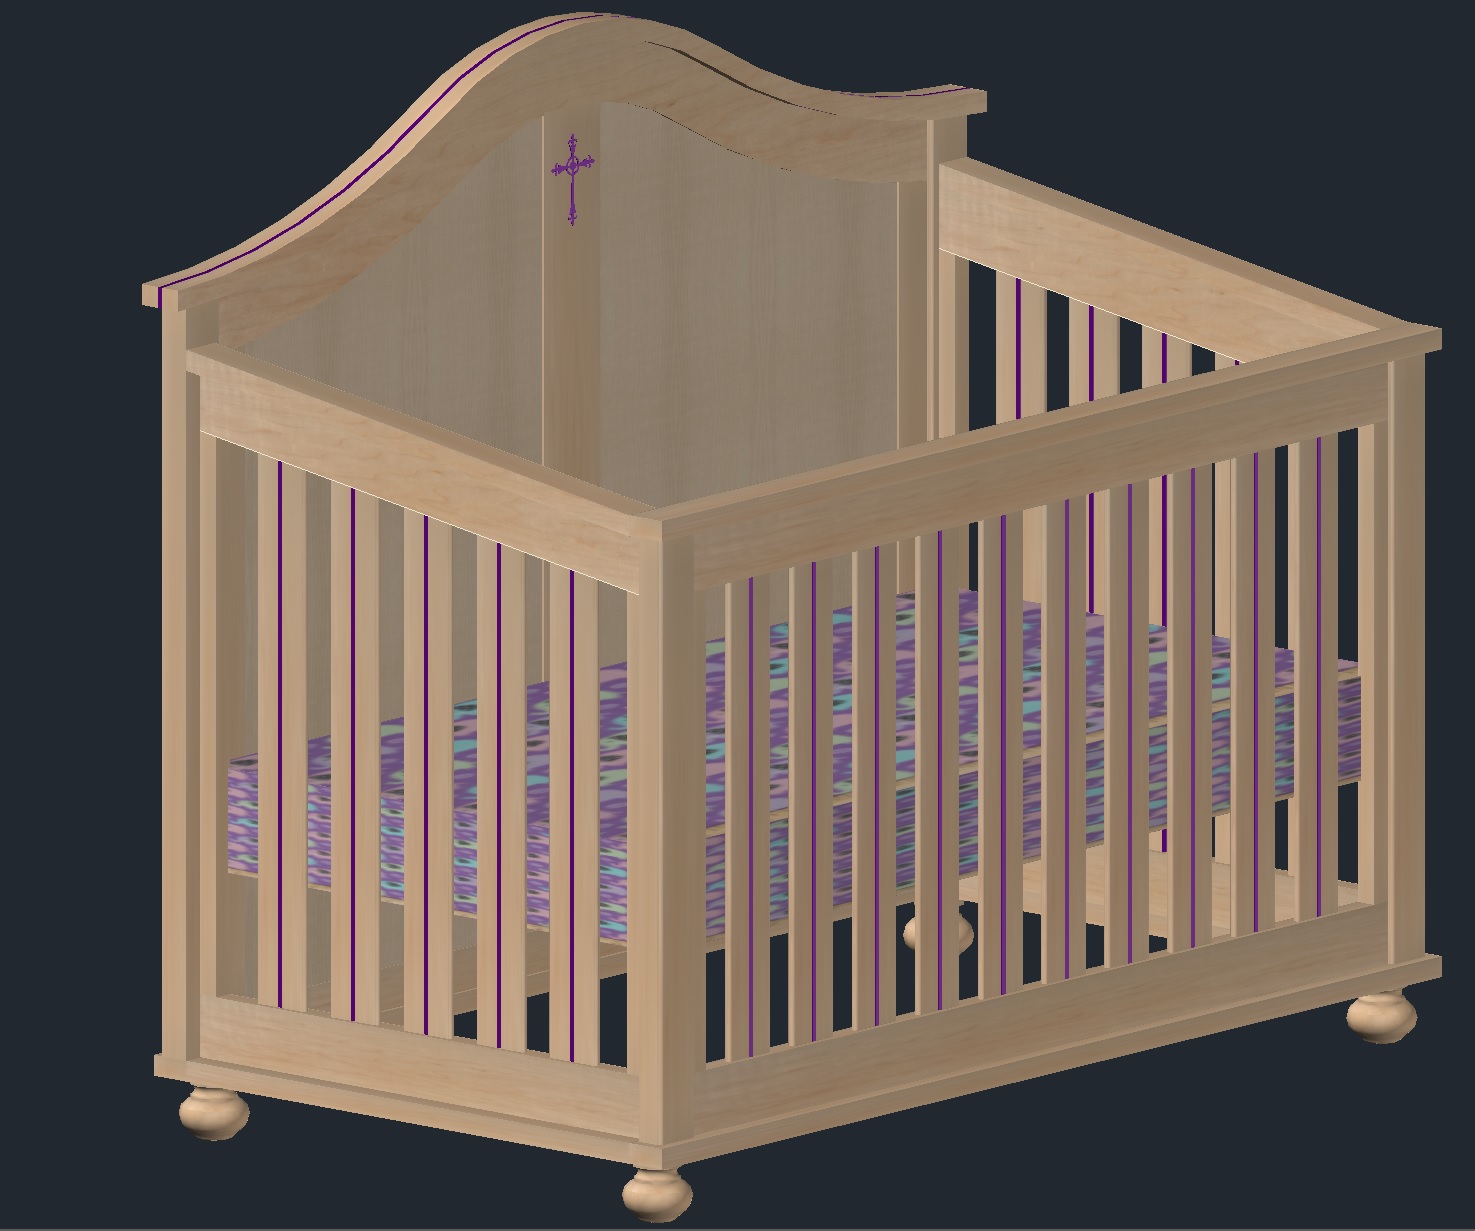
My friends are having a baby in a couple of weeks, and they asked me to build them a crib. They sent me a picture of a crib that they liked, and I came up with a design that was close, but unique. We picked maple for the main body of the crib, and purpleheart as an accent. It took a while for me to come up with a design, I am still working out some of the details, but I am ready to get started. This is the 3d model of what I am planning on building.
I am going to break this into several different assemblies , because it will be easier to build, one side at a time. I am starting with the front first. I drew up a plan for it, breaking out each individual part. Here is a PDF of the plan: front.PDF. I usually link to the full plan on the first post of a project, but since I haven’t drawn the rest up yet, I decided one page at a time would be just fine…
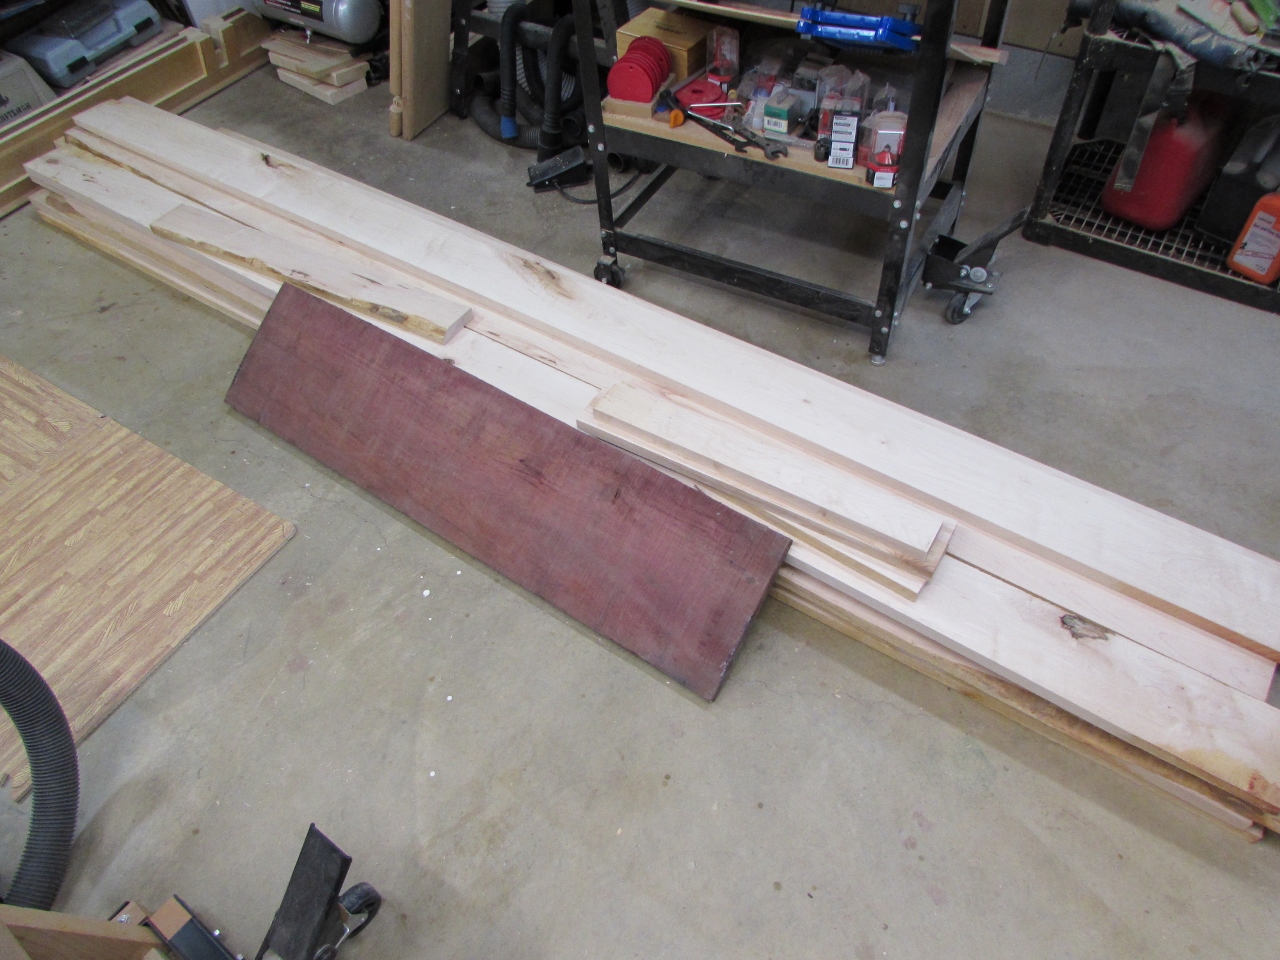
Here are the materials that I have to start with. I have some hard maple that is planed down to 1-1/16″ thick, and is 10′ long. I will be planing most of it down to 1″ for the majority of the components. The maple is not clear, there are a fair bit of knots throughout the pile. That is not really a problem because the longest piece I will need is under 5′ long. I also have a 4′ long piece of purpleheart that is also about 1-1/16″ thick. It has a bit of a crown to it, but I will be cutting a lot of narrow strips for this project, so the curve shouldn’t be a problem. The main thing I was looking for when selecting the purpleheart, was that the grain was straight. It is tough, dense wood, and a swirly grain would have a lot of tear-out on the planer.

I got started breaking down some maple. I cut it a few inches longer that my final dimension so I can cut it to the proper size after it is planed. Sometimes the planer gets hungry and snipes the end a bit…

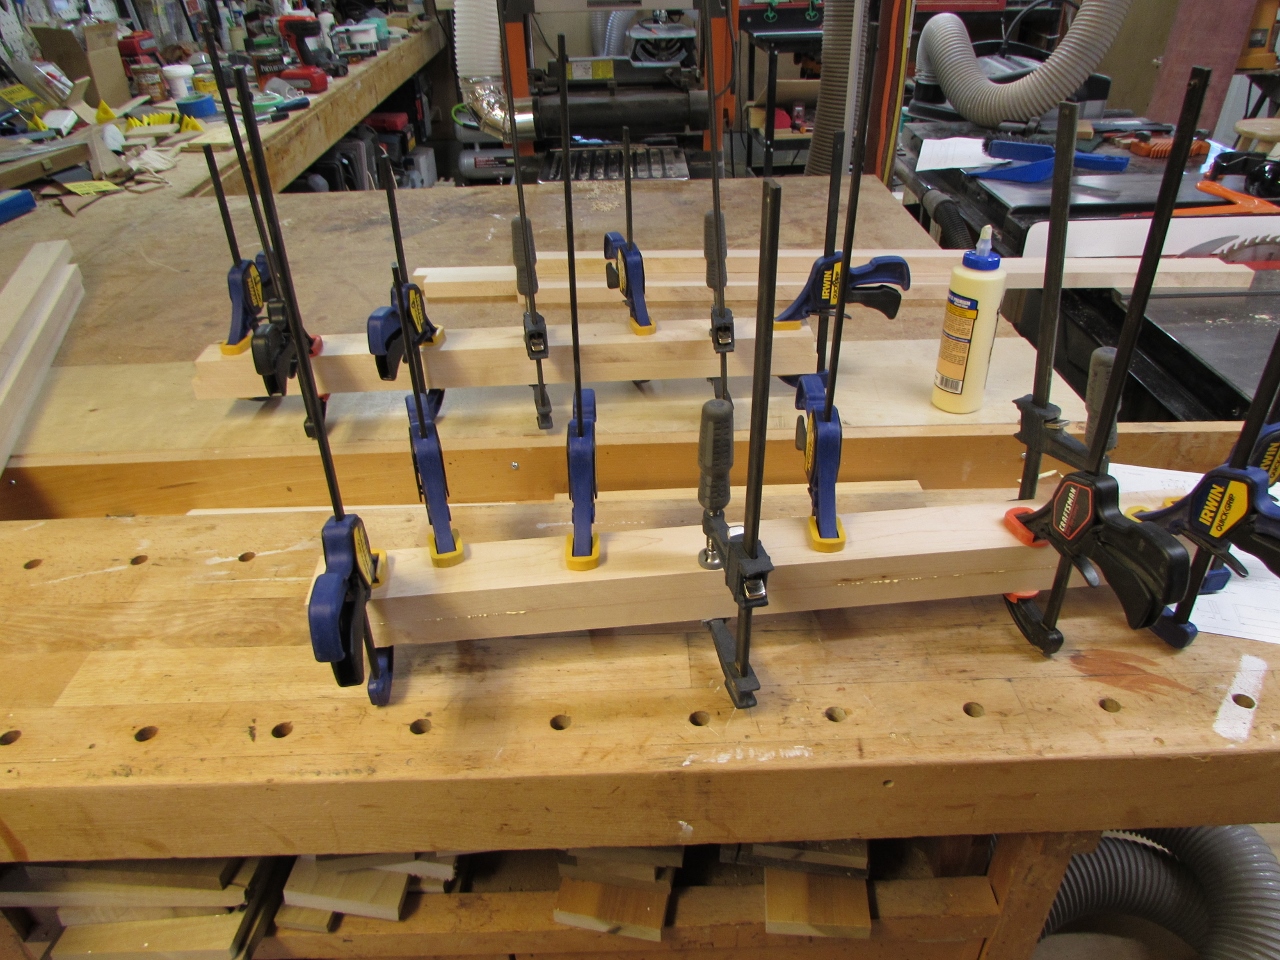
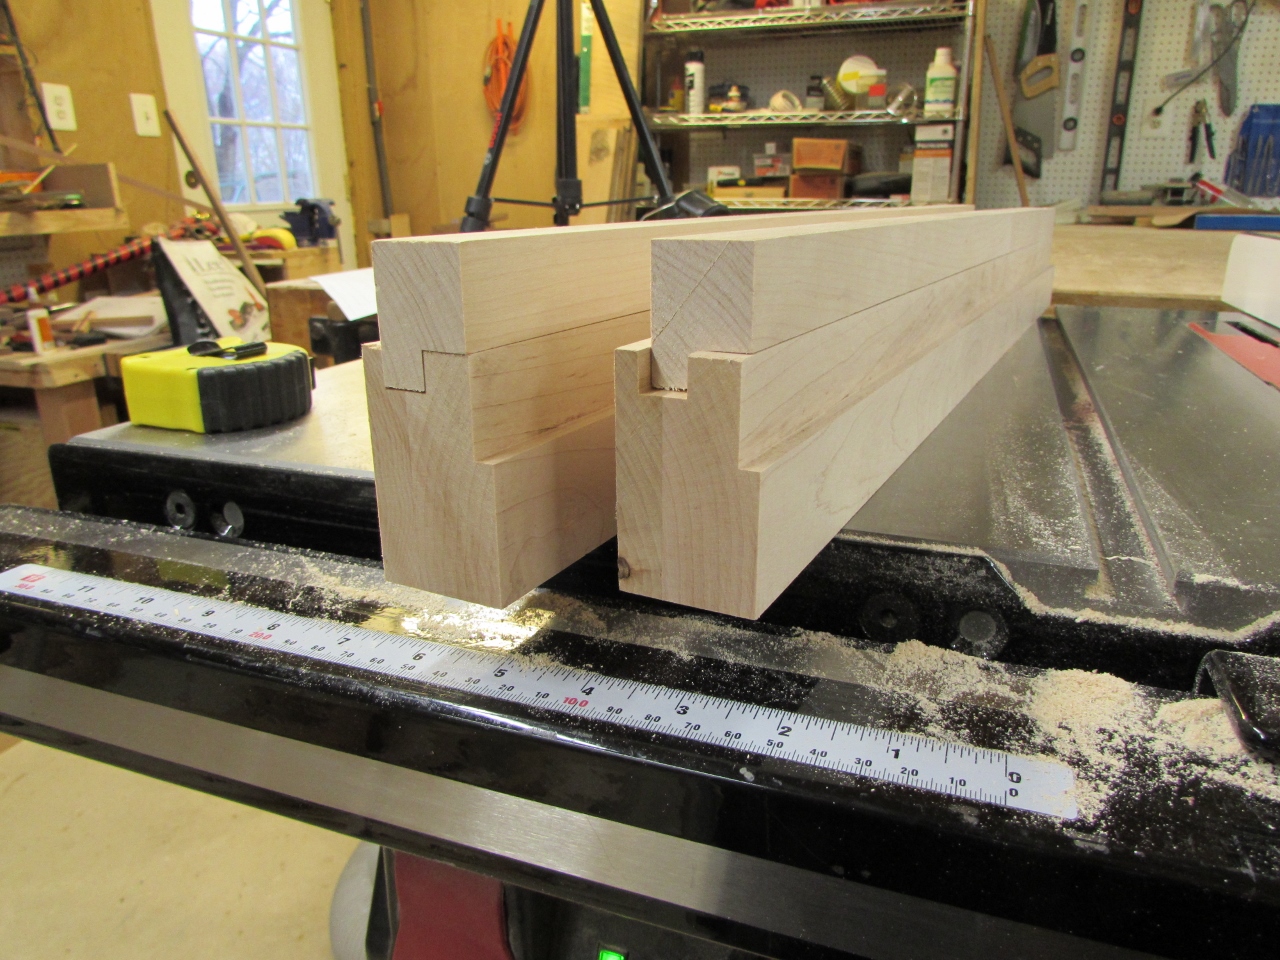
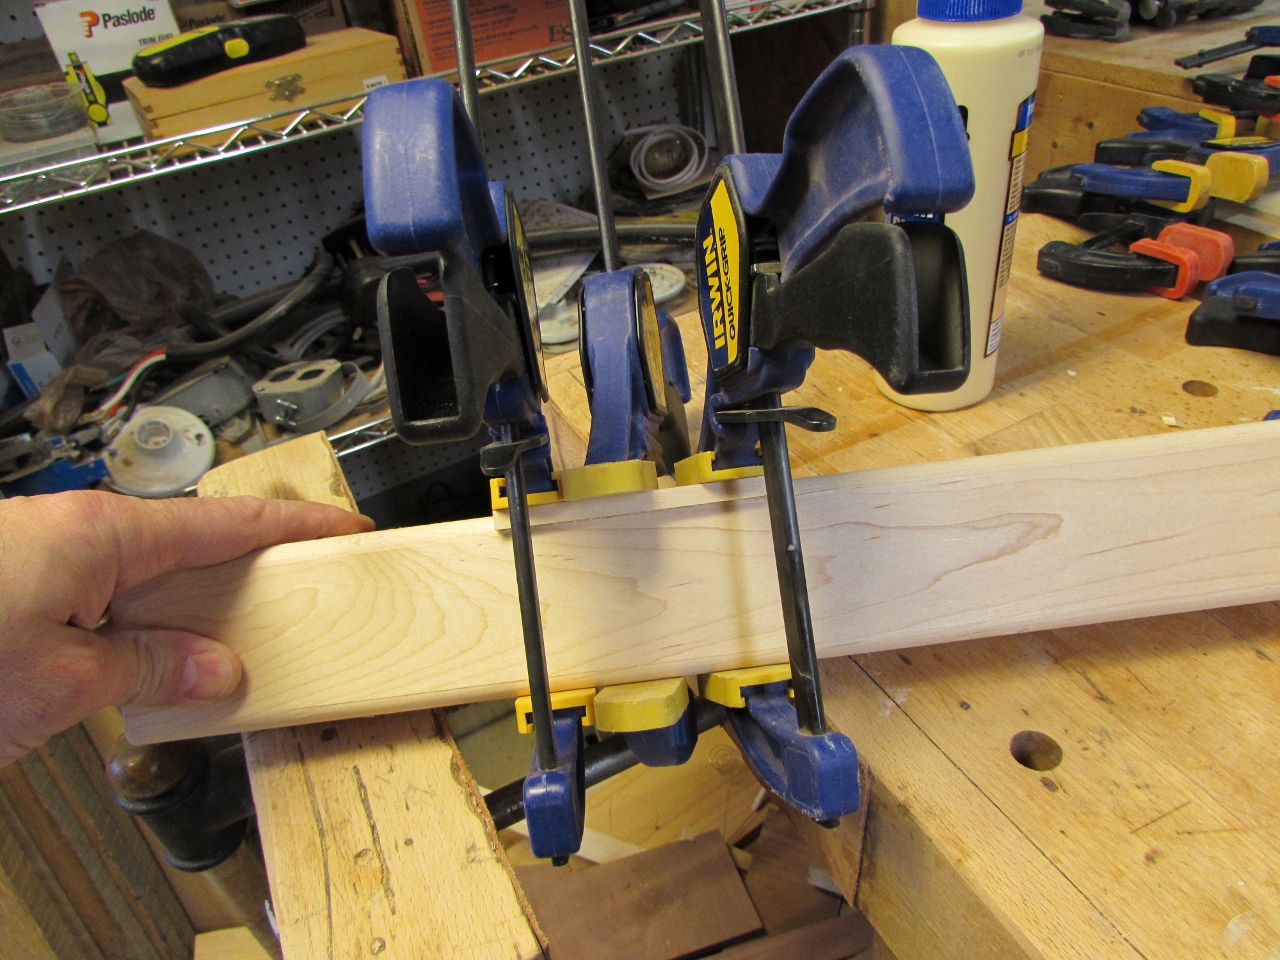
The end posts need to be 1-1/2″ thick, so I cut an extra set of boards, the same size so I could laminate two together.

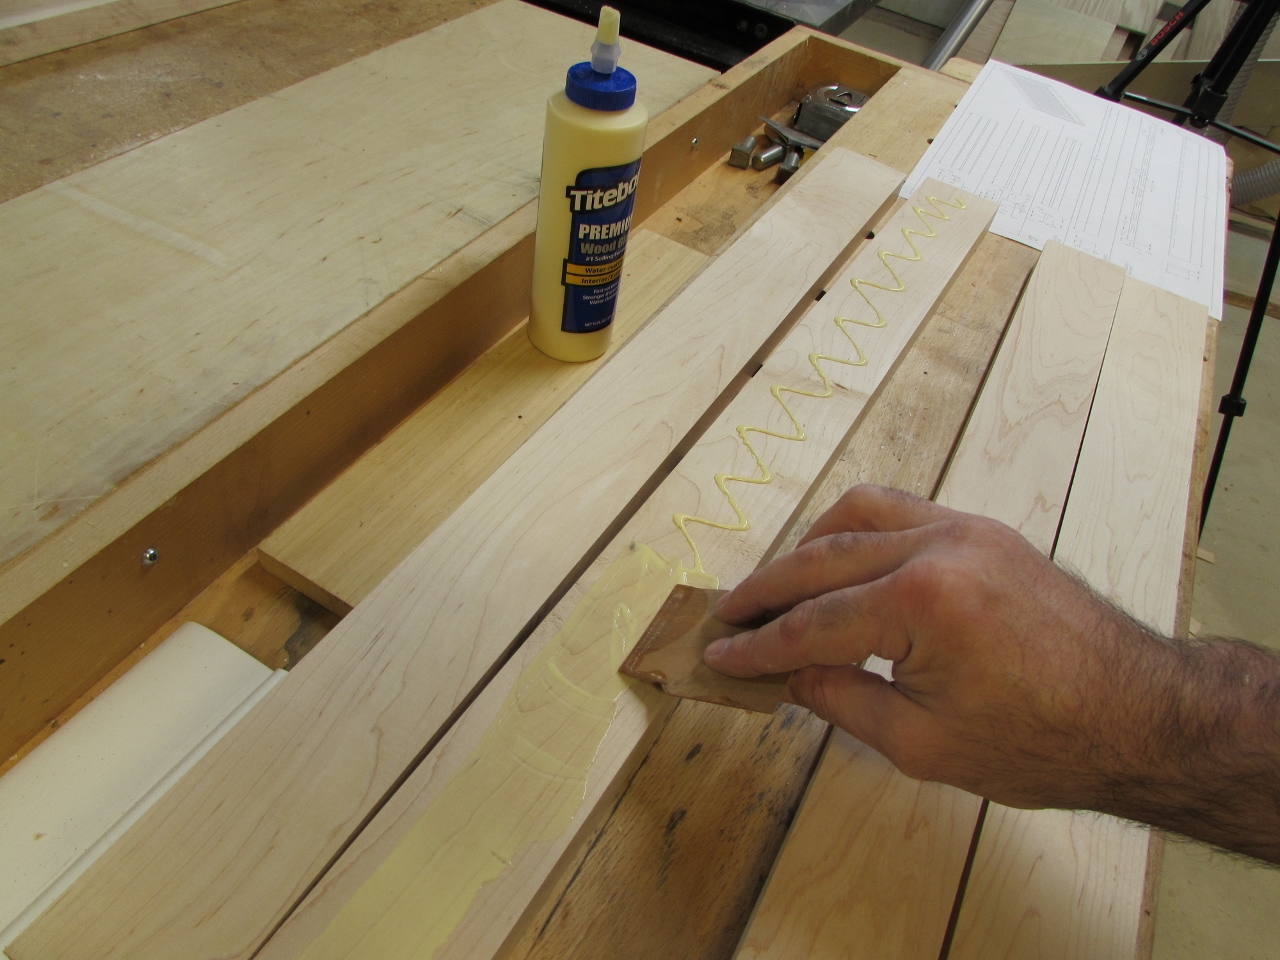
I spread wood glue evenly across one face, then clamped the two boards together.
While they are drying, I cut and planed the two frame side pieces.
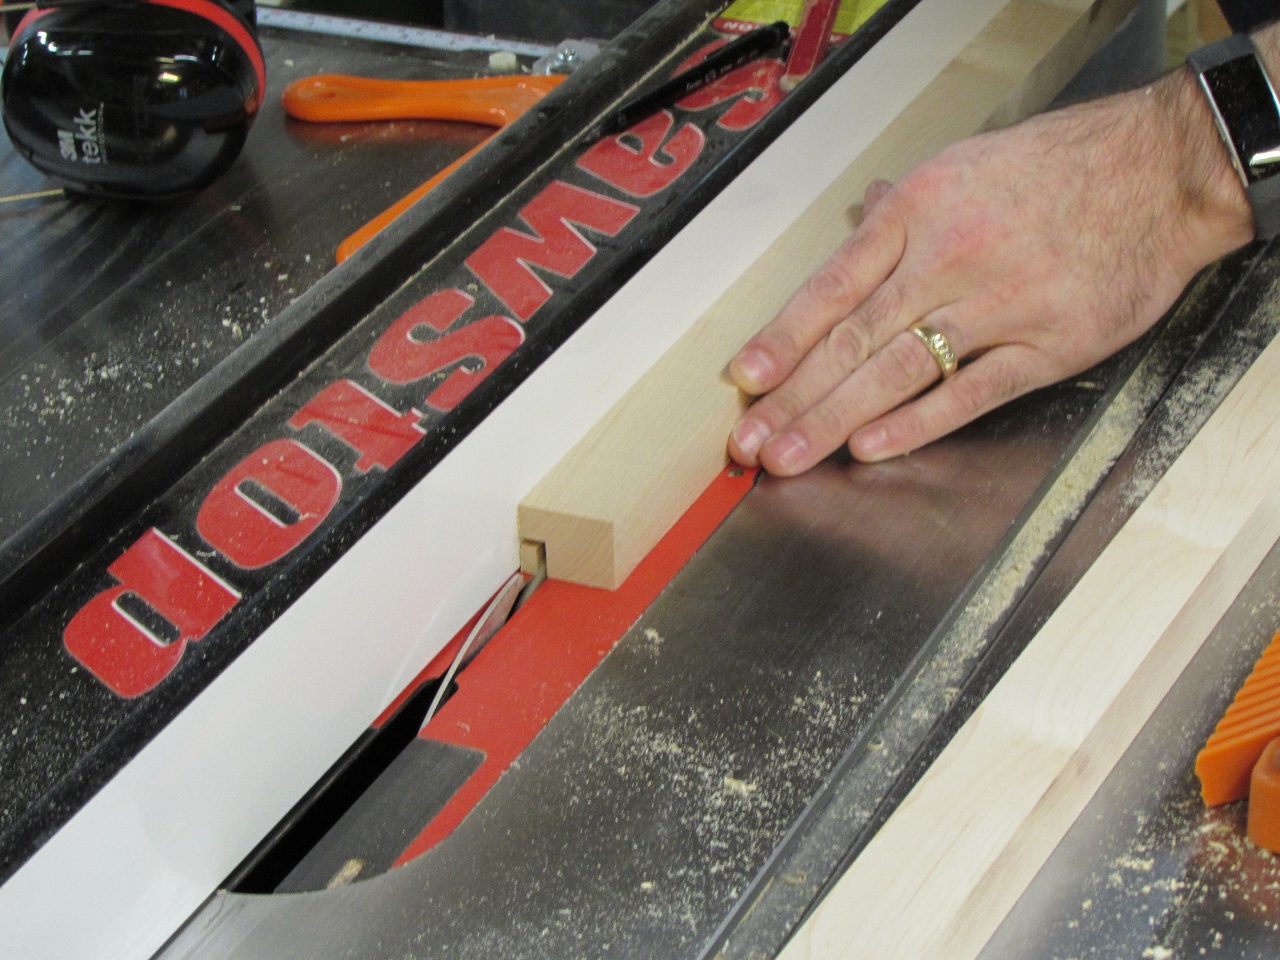
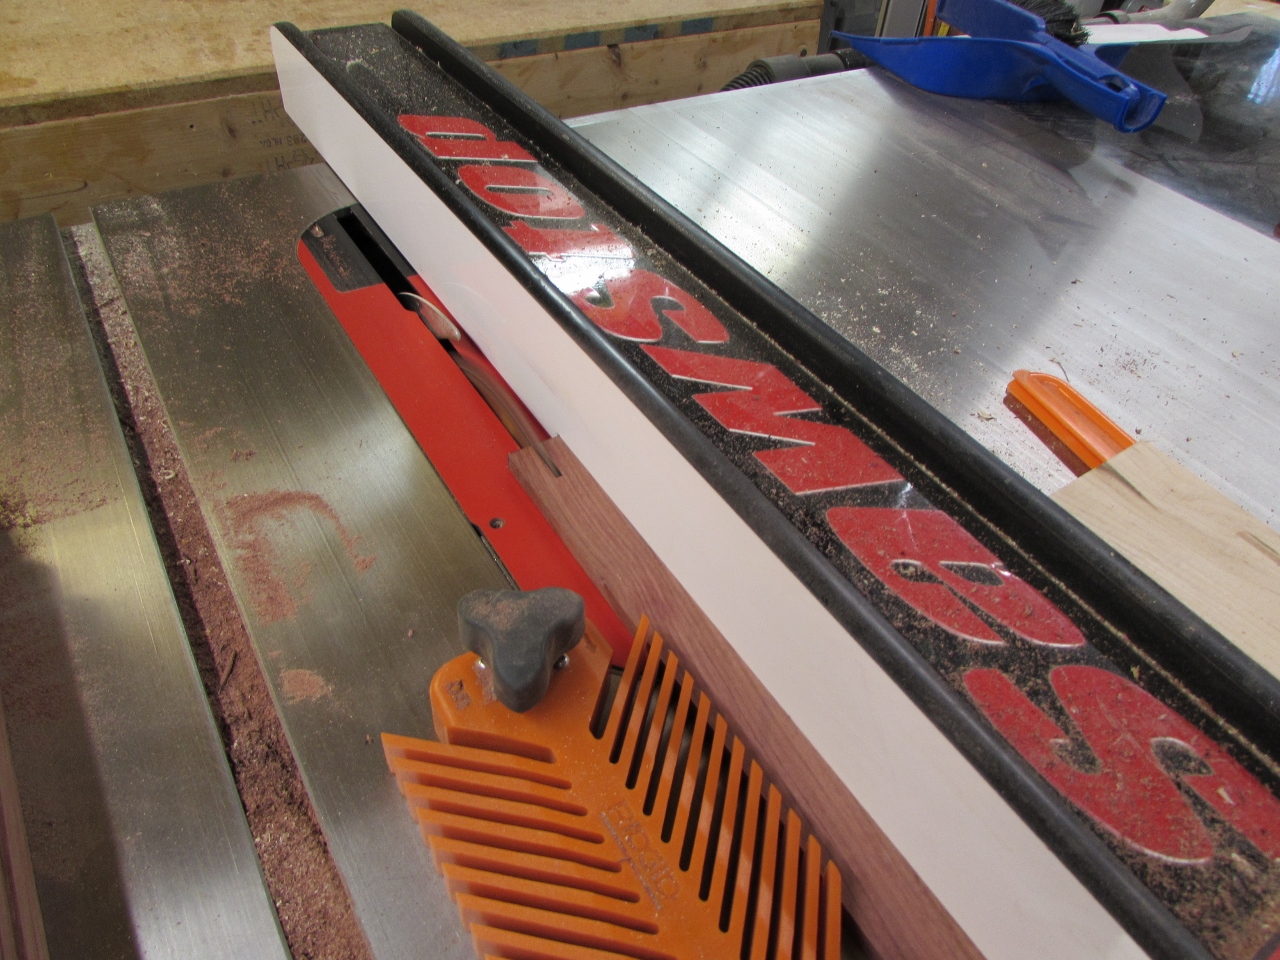
Next, I cut out their notches, on the table saw.

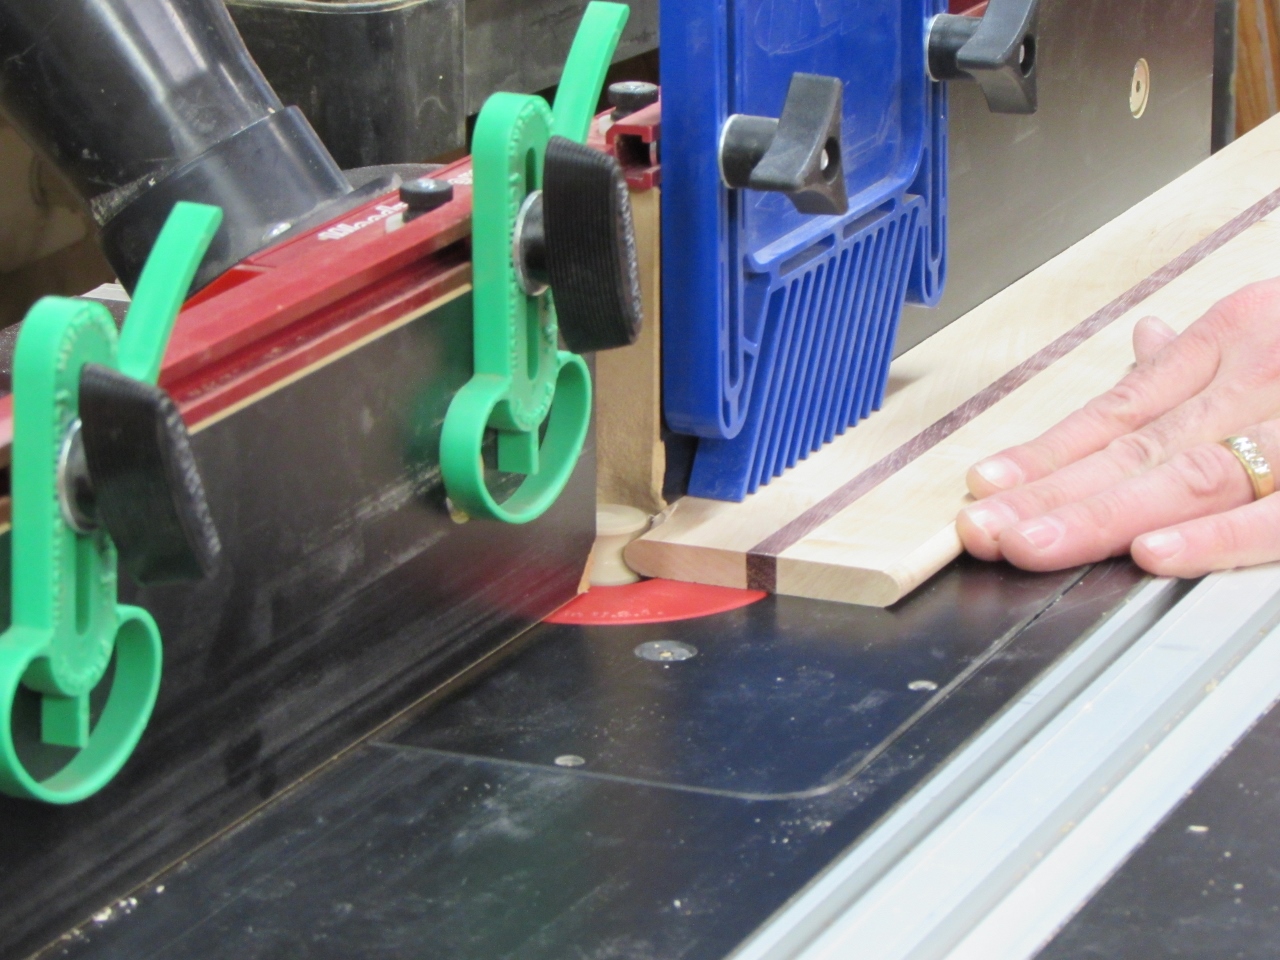
After cutting out the rest of the pieces, I went through my off-cuts and pulled out any boards that were at least 2′ long and 1-1/2″ wide. These will become the sides of the slats. I really like the appearance of the purple stripe running through the center of the slat. I came up with the idea originally to use the scrap wood. Maple is hard and re-sawing maple can be difficult. Since most of my off-cuts are thinner, I figured It would be way easier to resaw 1-1/2″ thick wood, rather than 3″ wide wood. It also saves wood since the thinner off-cuts would probably have gone on the burn-pile instead.

Since my slats will be 3/8″ thick, I can get two pieces easily, out of a 1″ thick piece. I set the fence and cut all my slat pieces in half. They got a little burned by the saw blade, but the clean up easy enough when you run them through the planer.

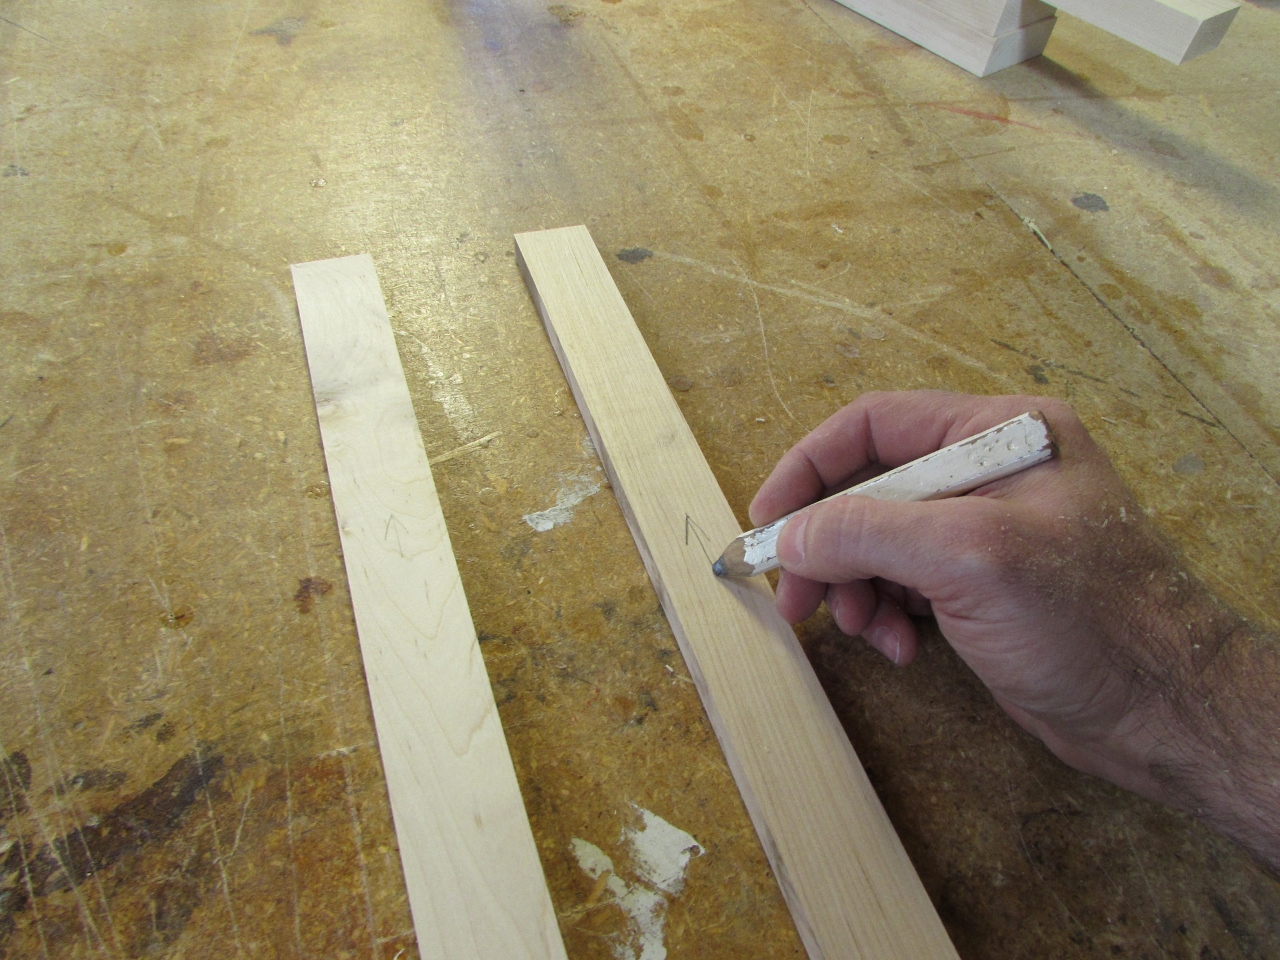
I didn’t plane them all the way down to 3/8″, I just made one or two passes to determine the grain direction. Once determined, I marked the direction, with an arrow, on each side. I will want the purpleheart to have its grain lined up in the same direction. Otherwise the joined slat would be a nightmare to plane down to size.

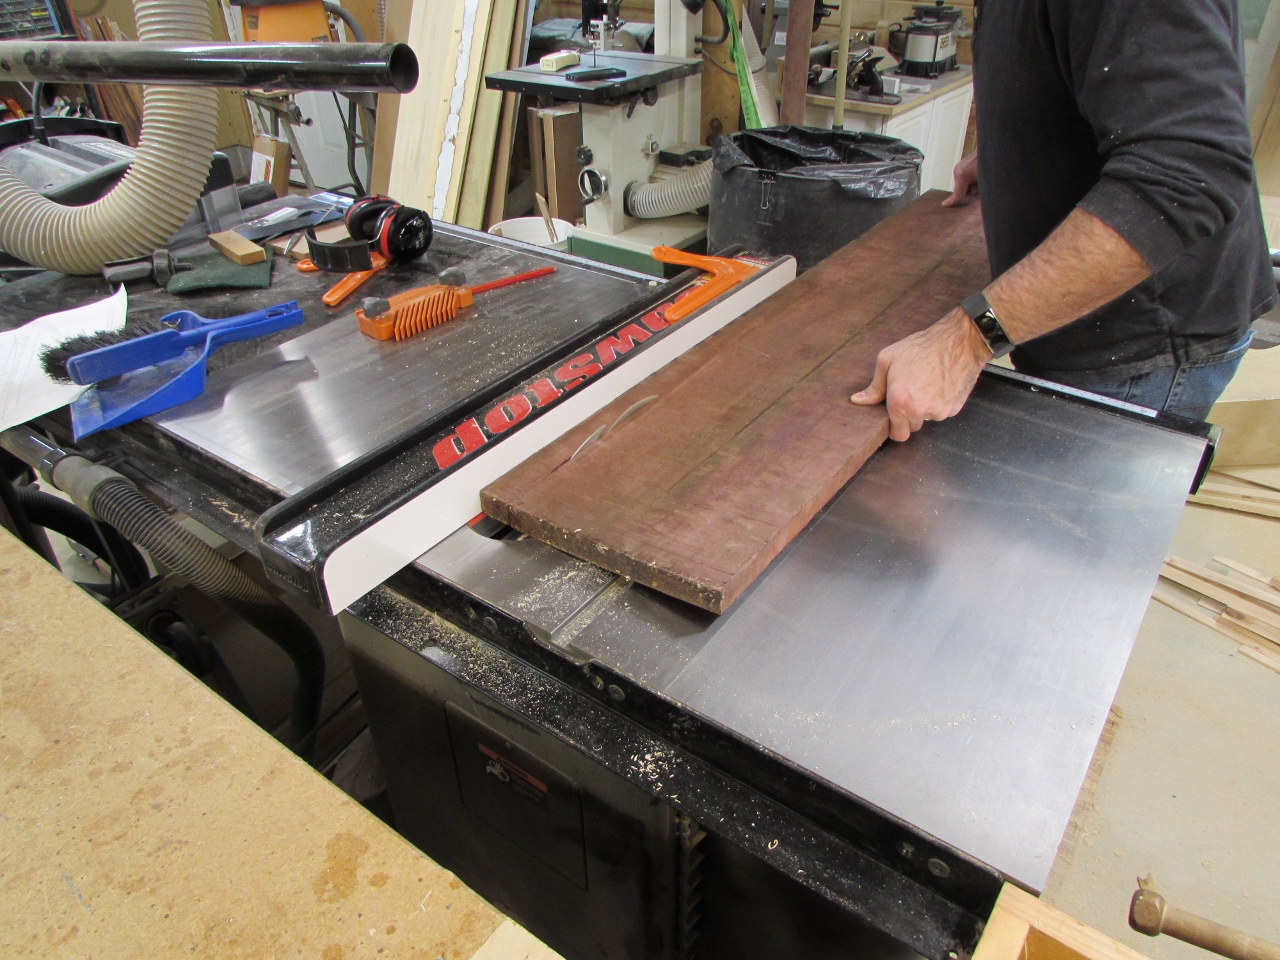
With the maple parts done, I cut off a piece of purpleheart, that I ripped into 1/2″ wide strips.

I think the purpleheart is even denser than the maple, it really burns if it rests against the saw blade too long.
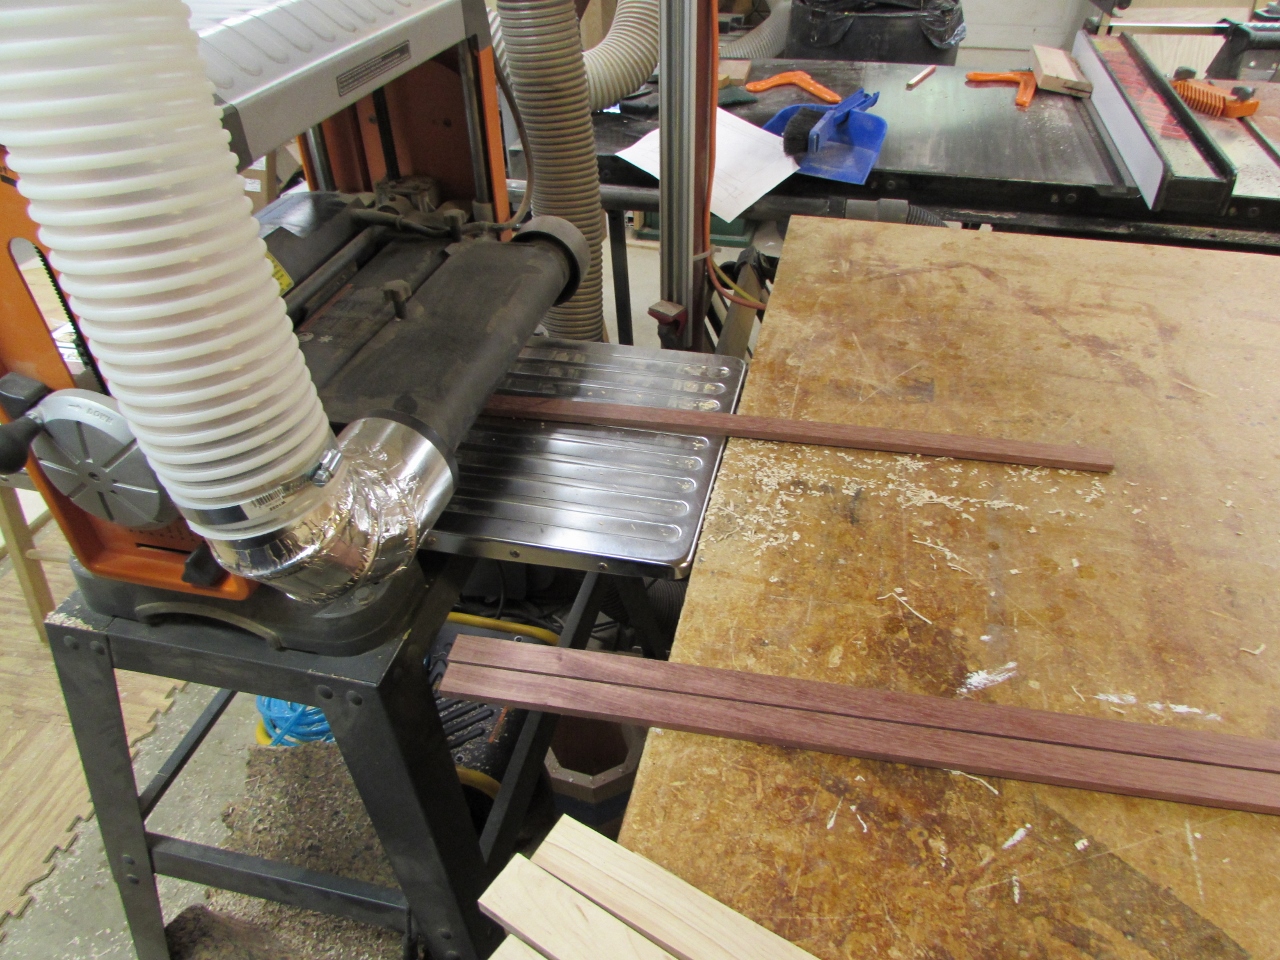
I planed those strips down to clean them up, then I ripped them in half on the table saw.

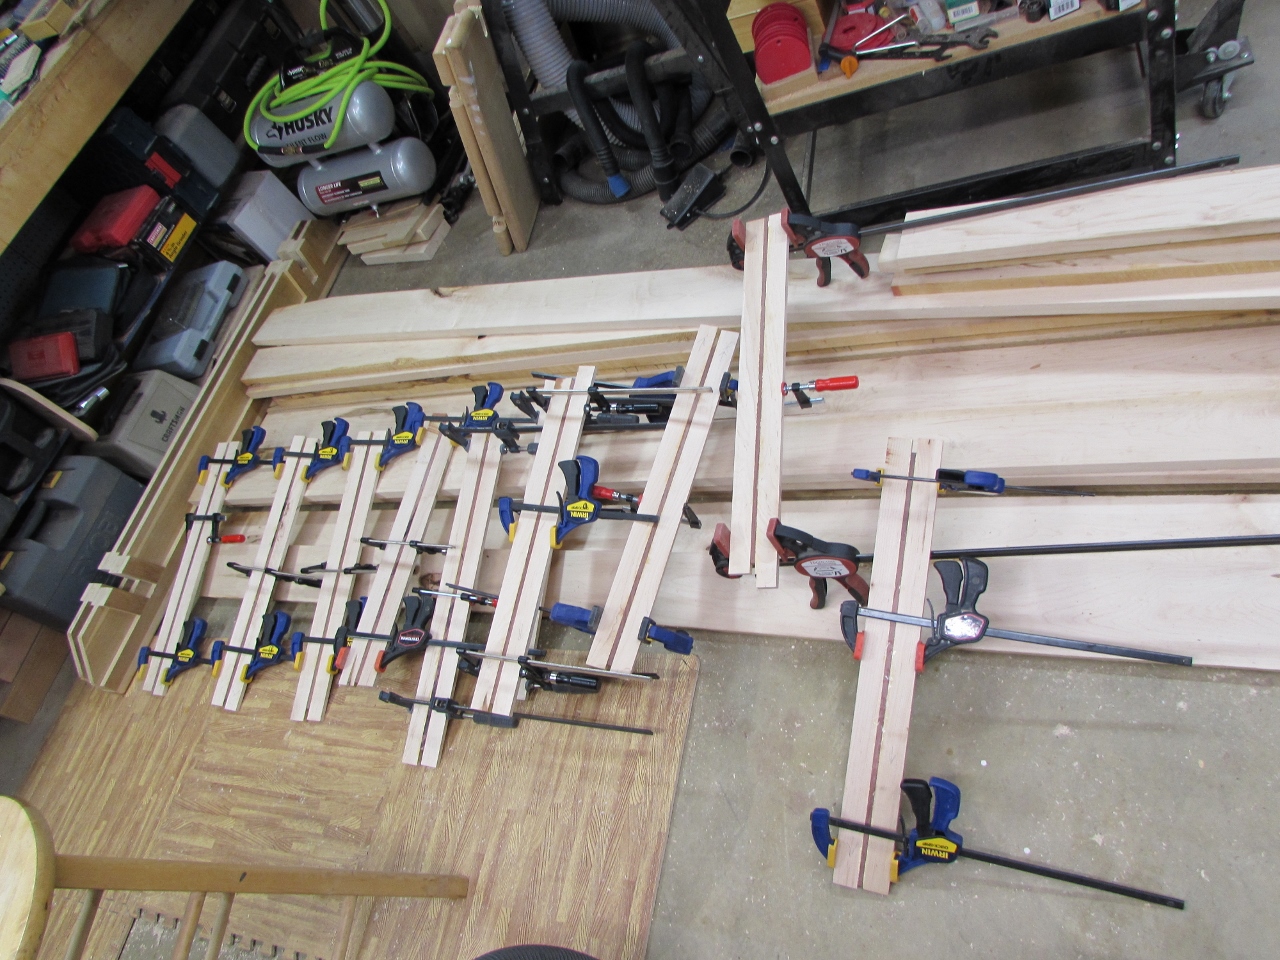
I painted the maple with wood glue, then laid it on some freezer paper and clamped it up. The paper catches all of the excess glue. I will be planing both sides of the slats so I don’t really care if the glue gets smeared around on the paper.

I even had enough clamps to clamp up all ten slats.
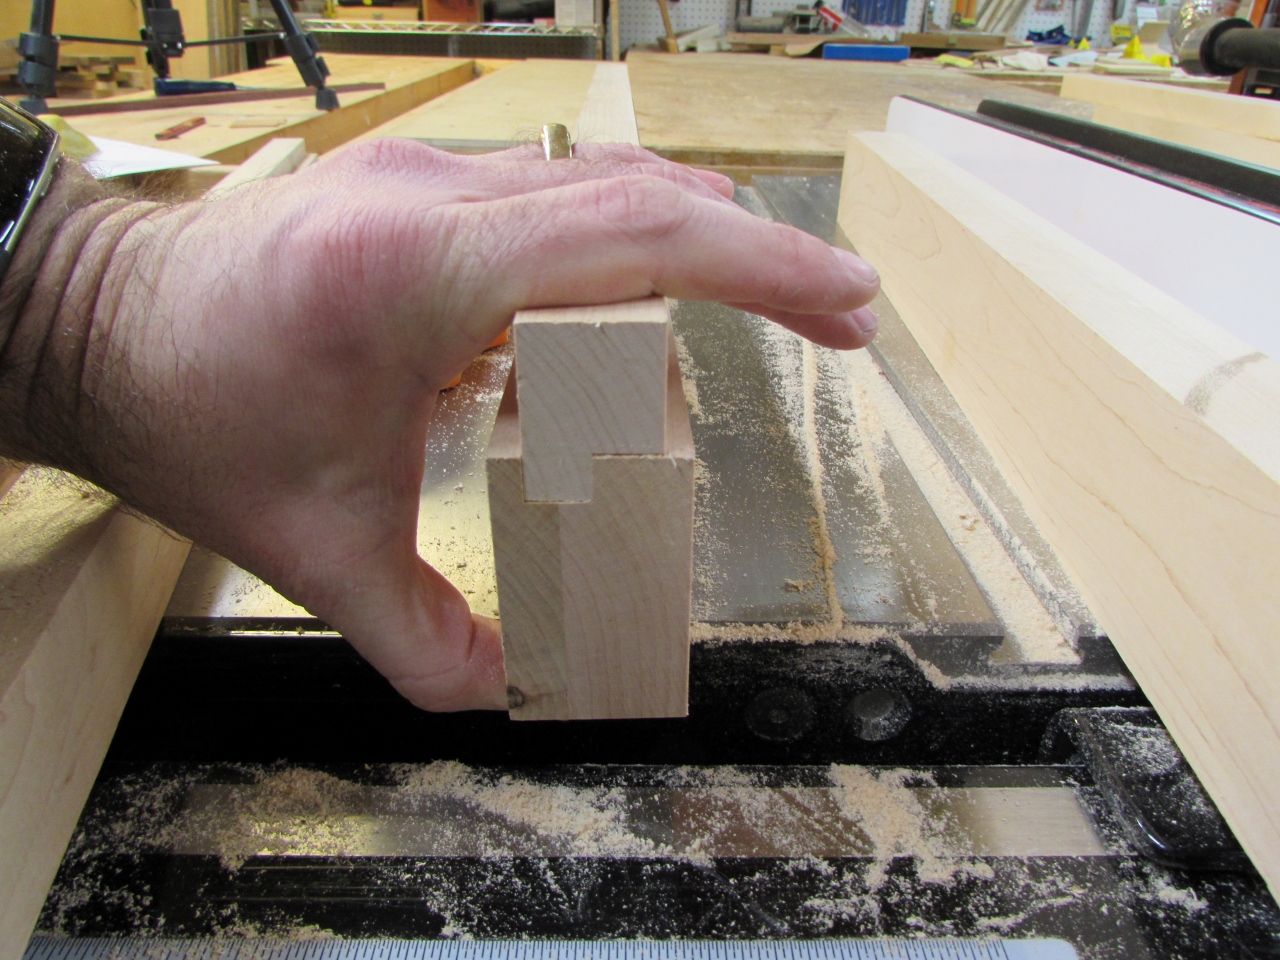
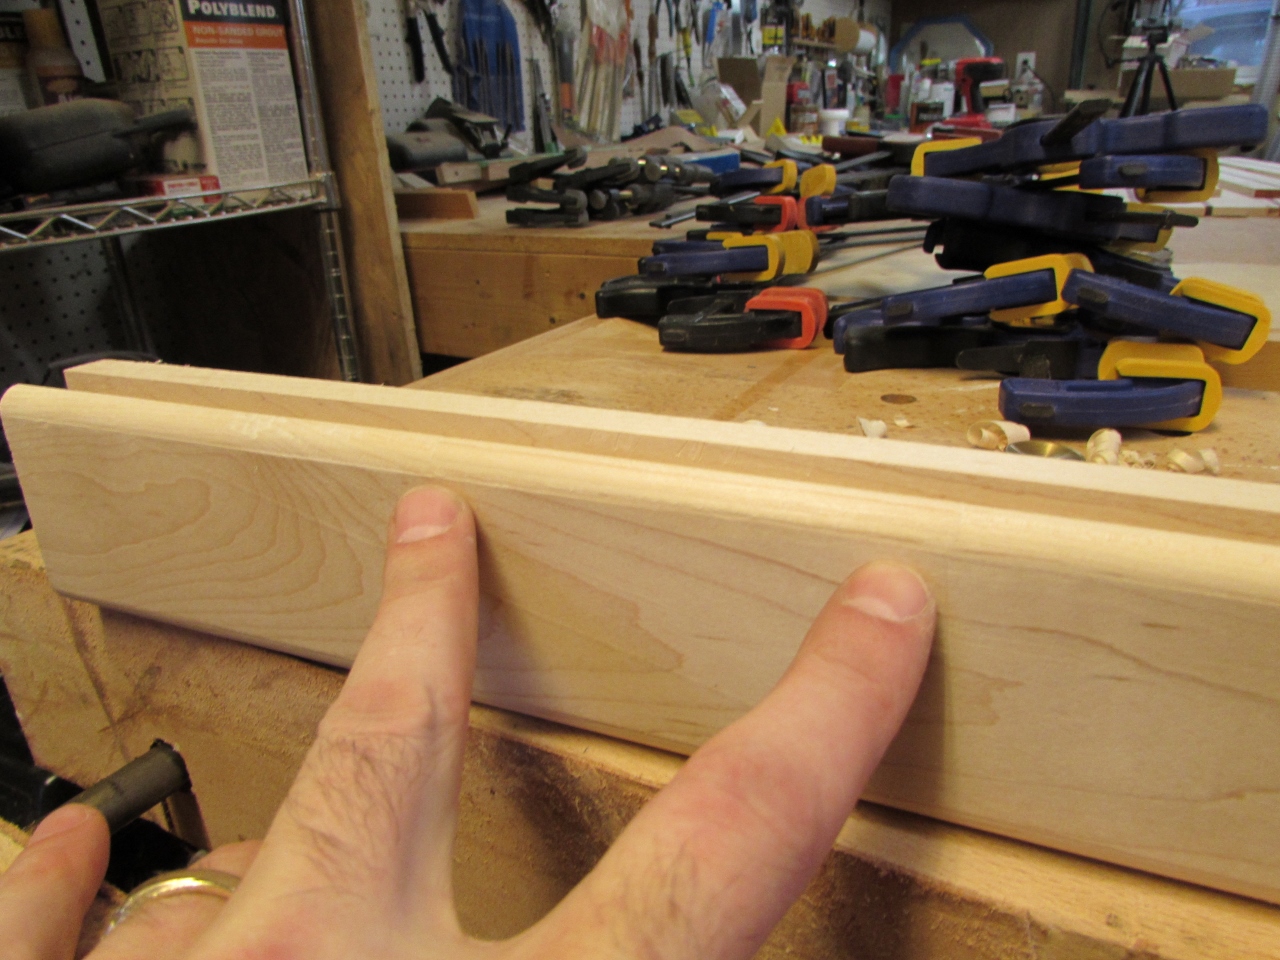
While those are drying, I pulled the clamps off of the end posts, and cut them down to 1-1/2″ thick.

I cut out the dado with a few passes on the table saw, then test-fitted the frame piece. Looks good.

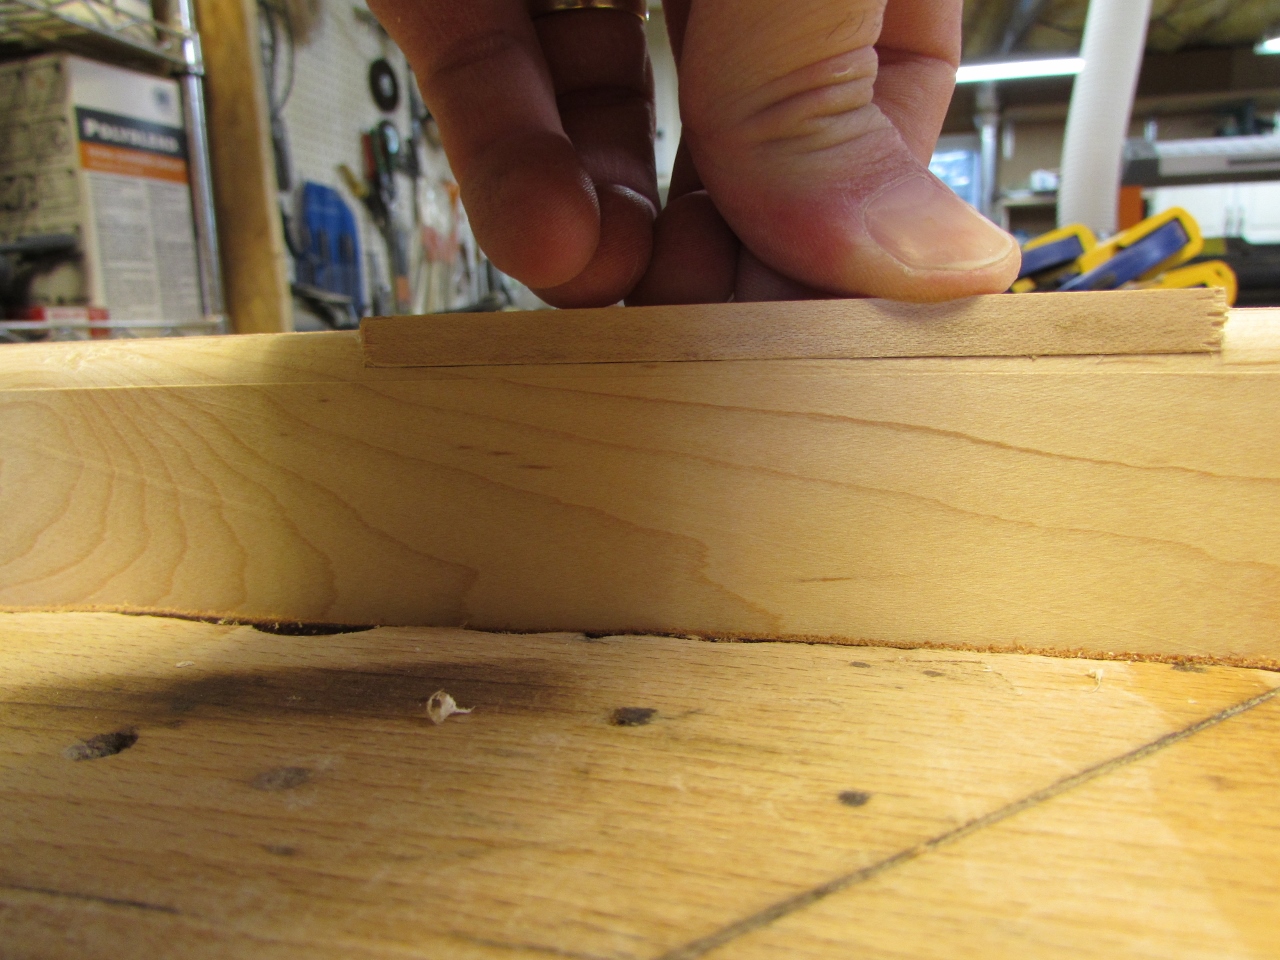
Next, I rolled the boards onto their sides and cut away the wider notch. A test fit showed the piece match up perfectly.
The inside edge of that notch will be on the inside of the crib, so I knocked down the sharp edge with my block plane.

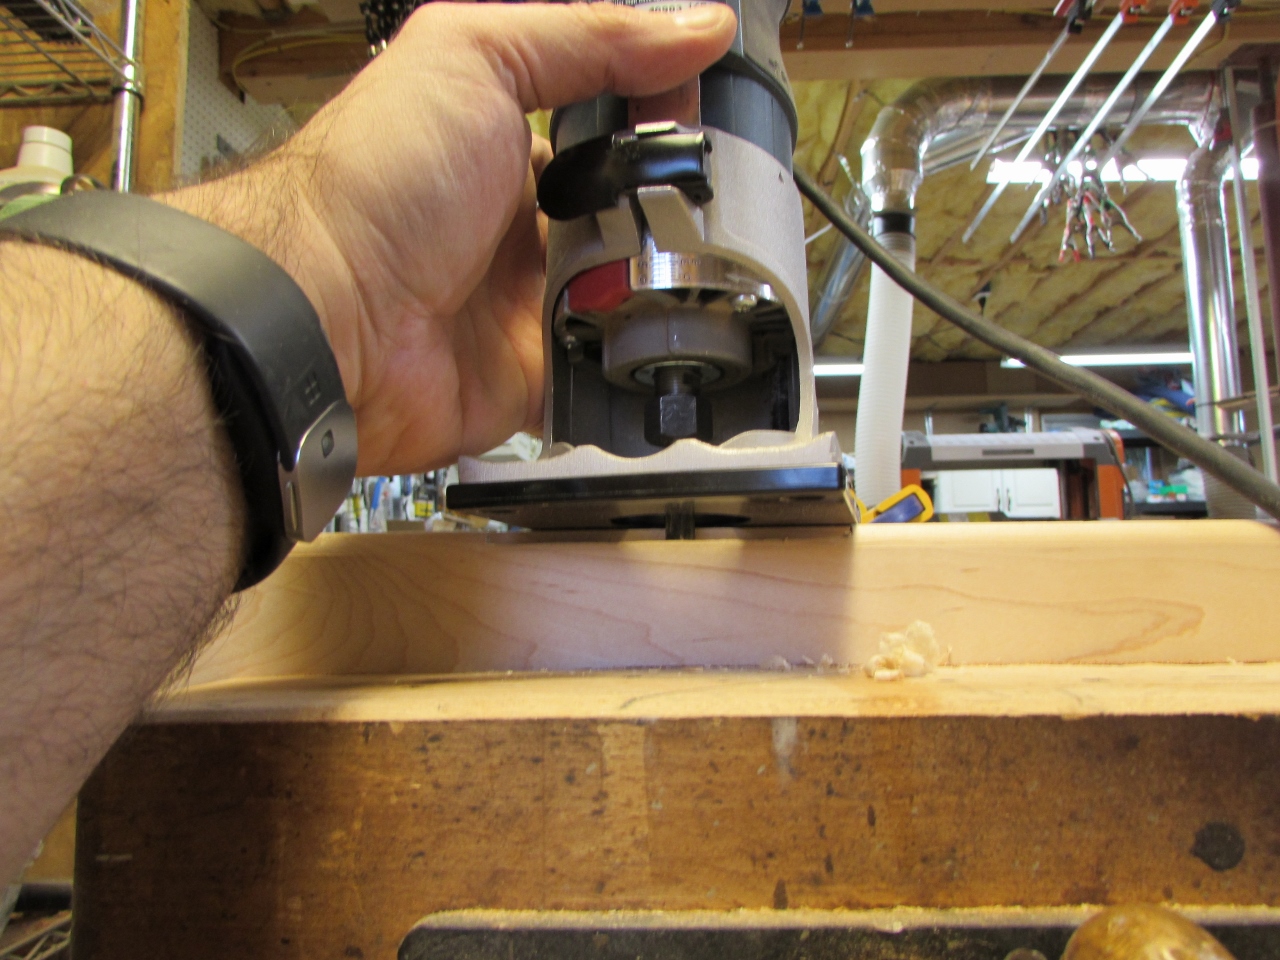
Then I added a 1/4″ radius to each remaining corner, on the router table.
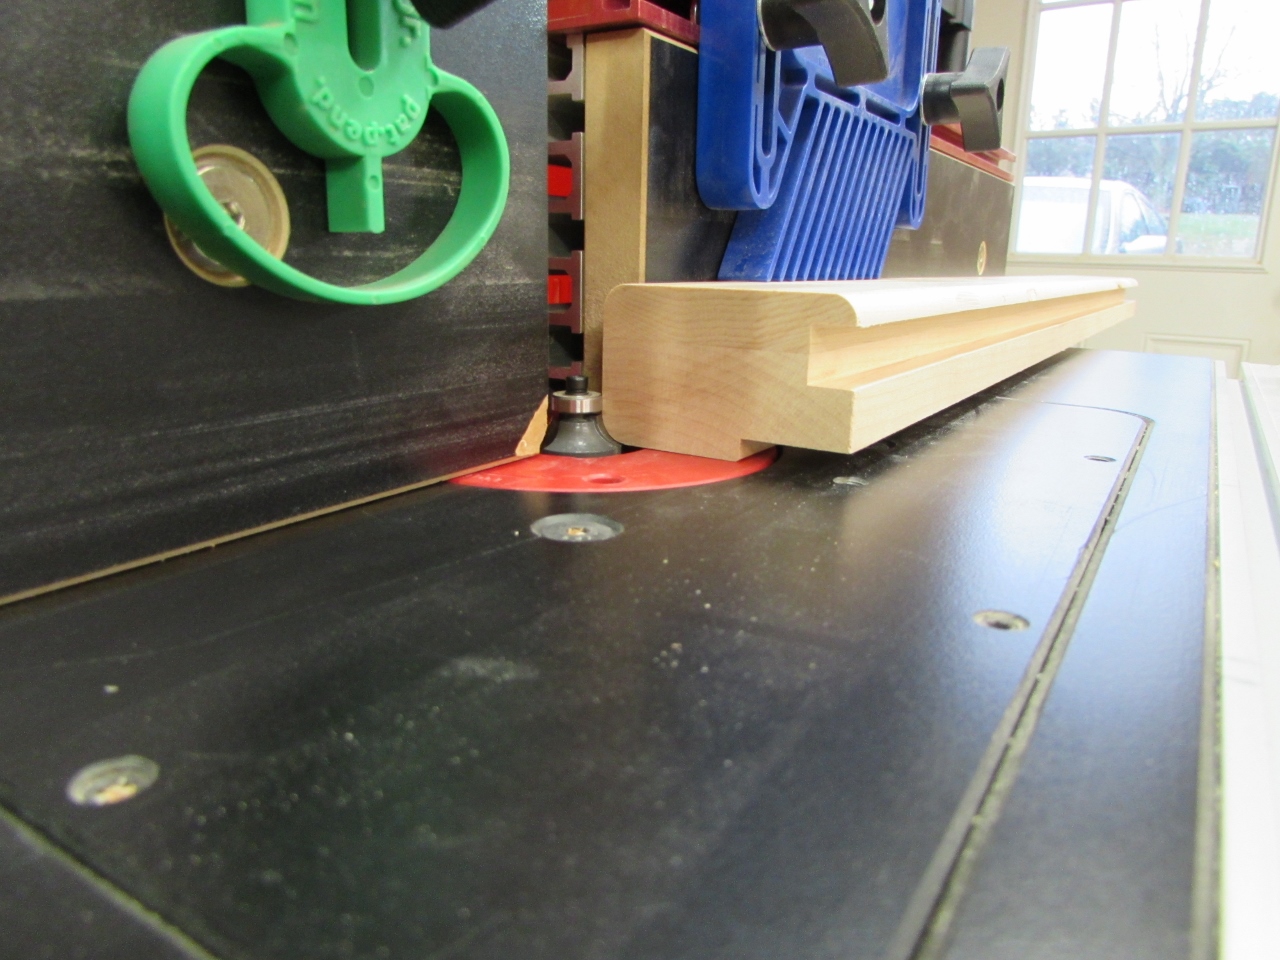
Looks pretty good, except for a big chunk that was torn out by the router.

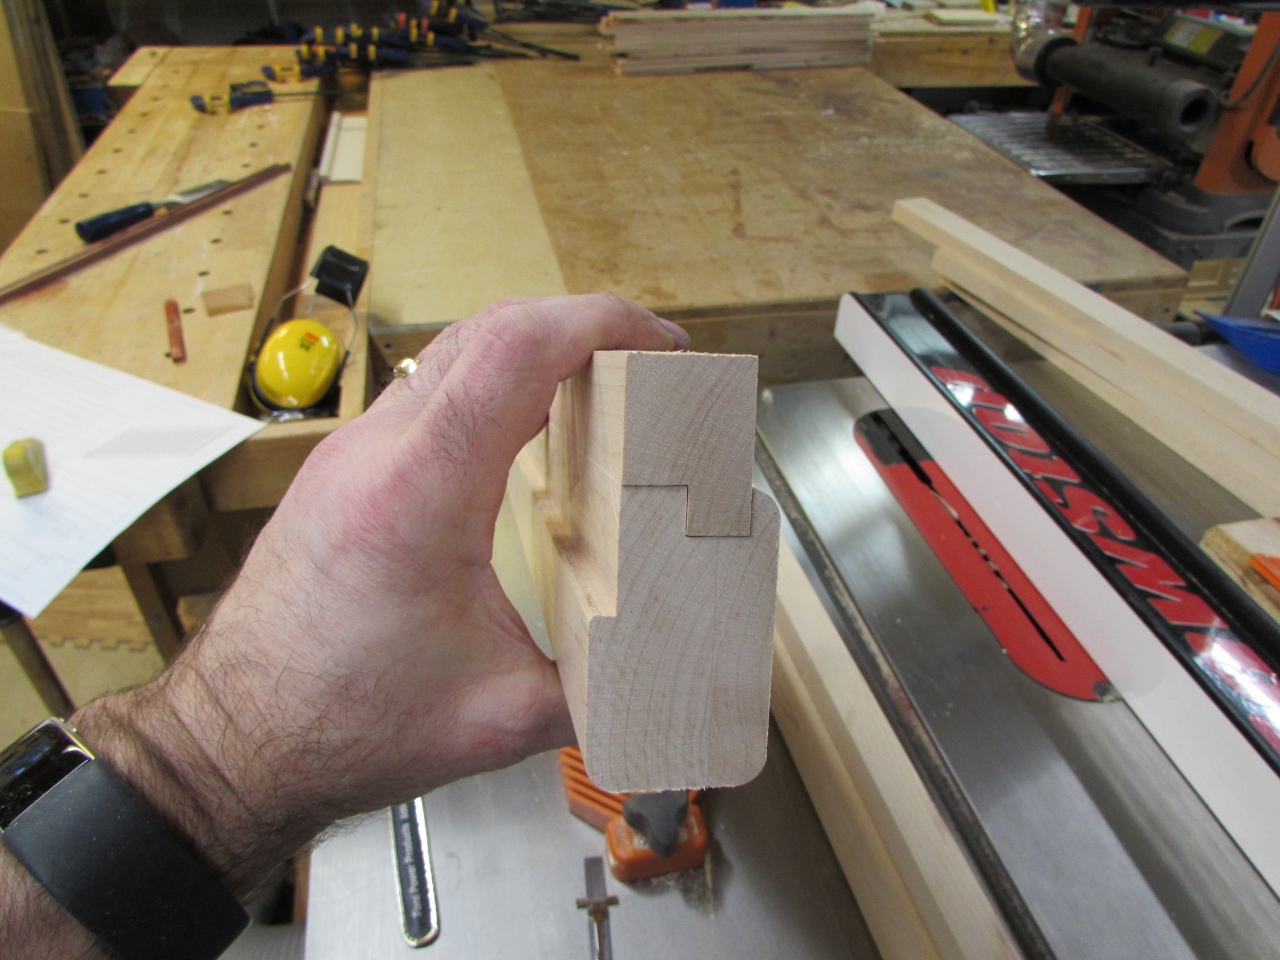
I decided it was to big of a notch to be sanded away. I tried to cut away the area with a chisel, so I could add in a patch.

The chisel did not do so well, so I broke out the router to clean up the notch.
That is a much better fit.
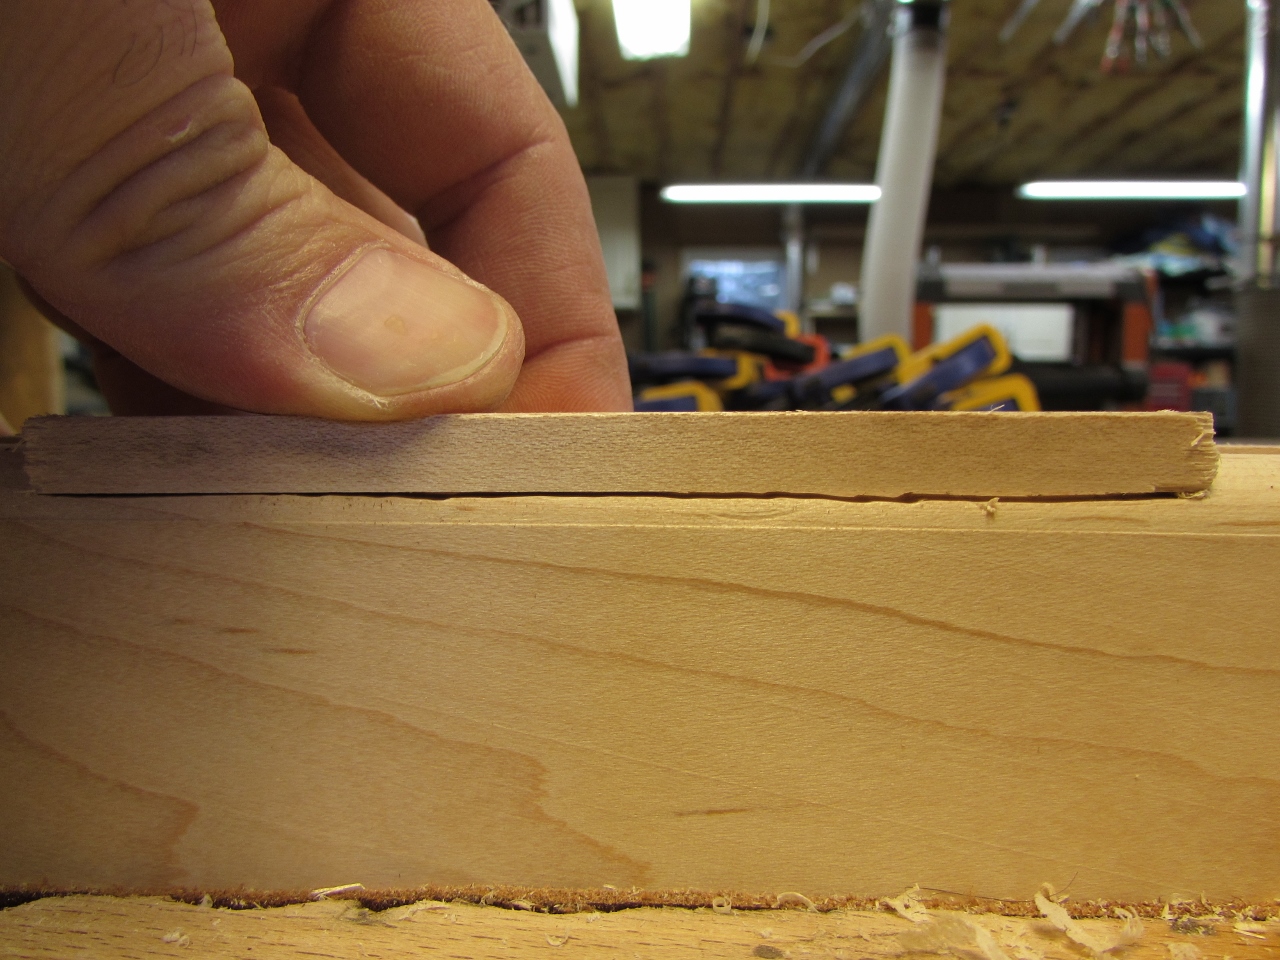
I glued and clamped the patch in place. When it was dry, I planed the two protruding surfaces down flush, and ran the 1/4″ round-over bit across the spot again.

Success! You can barely see the patch. It will blend even better when it gets sanded down.
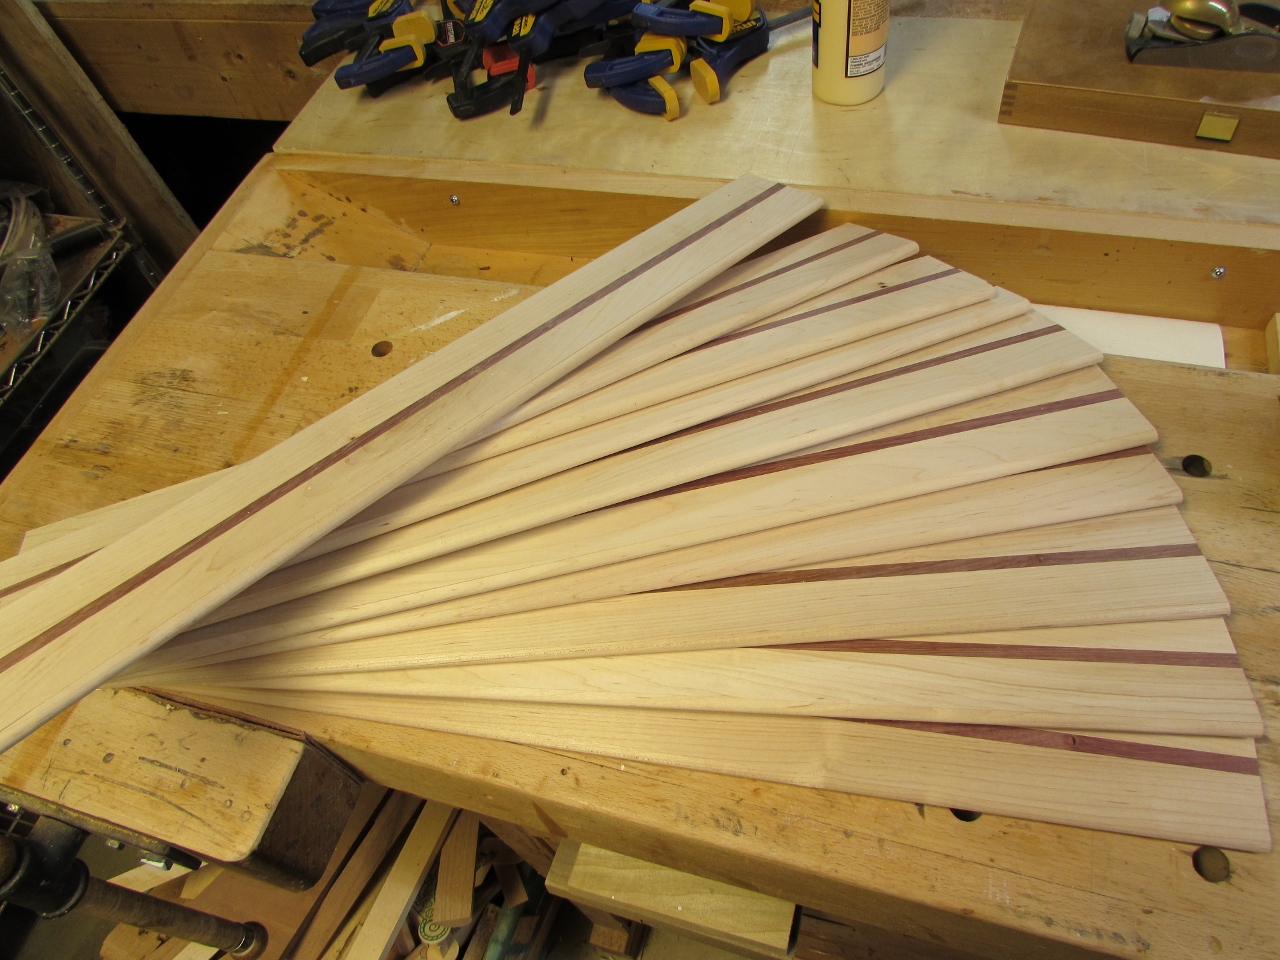
By now the slats are dry, so I pulled their clamps and fed them through the planer.

I bought a 3/16″ bullnose bit for putting a full round on the sides of the slats. It left a little bead on the top and bottom. I wanted a smooth bullnose, but the little step is growing on me. I was going to sand it away, but I might just leave it.

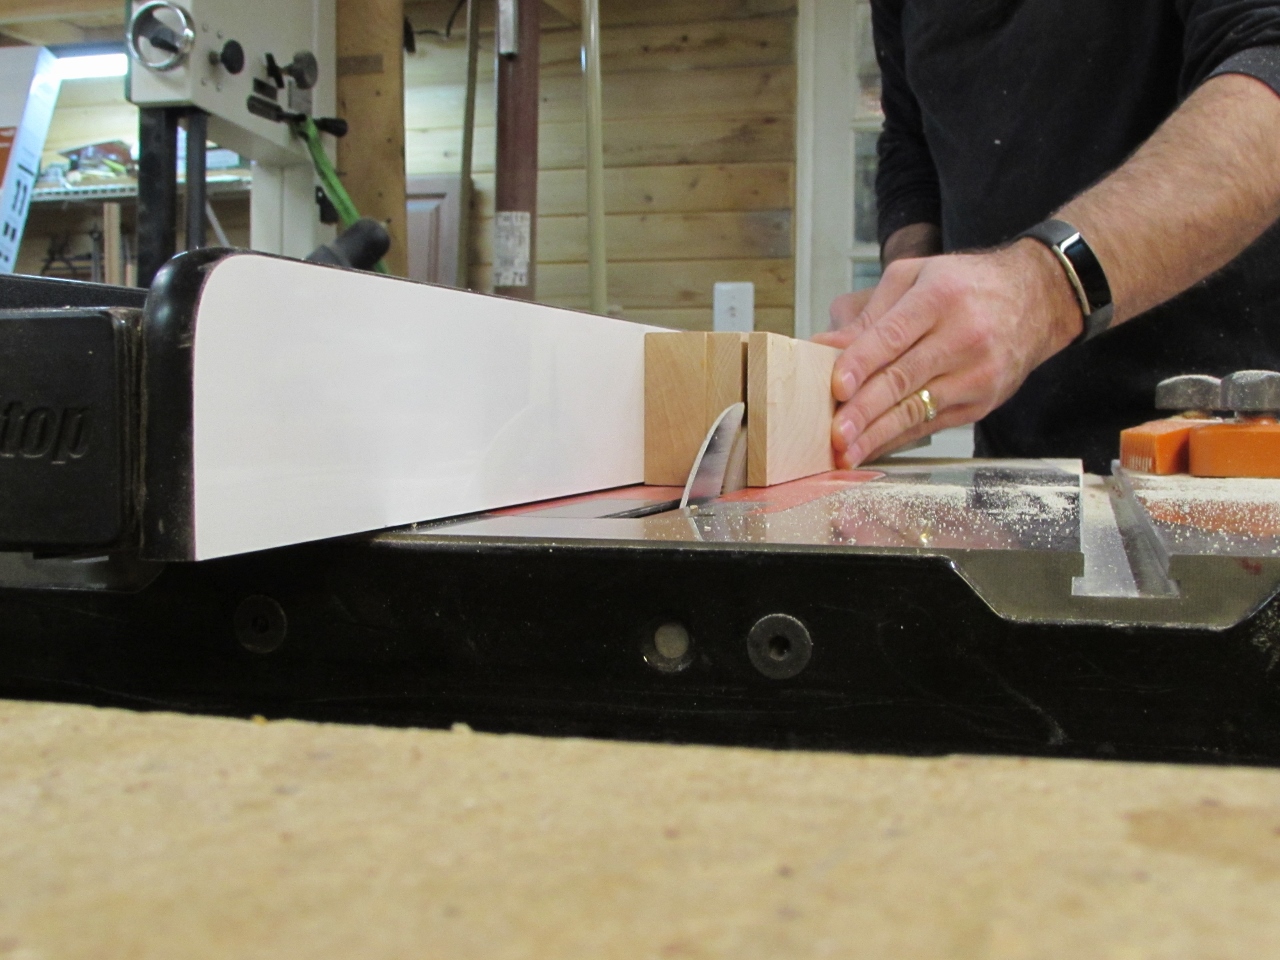
I lined up all the finished slats and clamped them together, so I could cut them all to their exact lengths.
Next challenge is to cut the 20 slots for the slats. I am still working out the best approach for this, so I started building a jig.

It sets like a saddle on the side of the rail. I added stops on all four sides to only allow the router to cut the slot to the correct length.
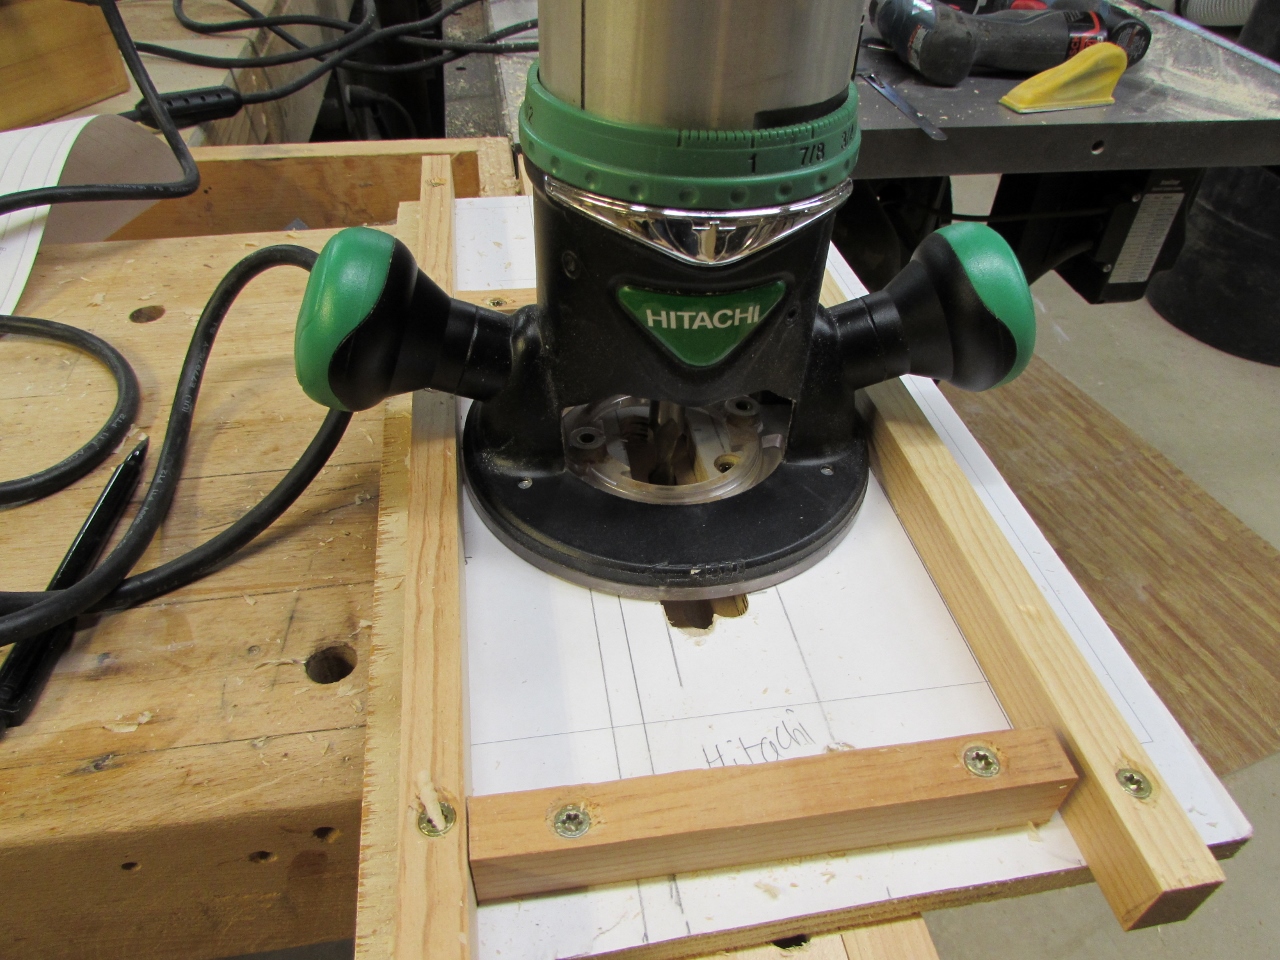
The first slot was successful, but tomorrow I will have to figure out how to line it up for the second slot… Ten hours in the shop was enough for today.

