
Maple & Purpleheart crib – day 2
I racked my brains last night, trying to come up with a clever way to repeat the spacing for the slots. Then I realized that it wasn’t necessary. If I was making a dozen cribs, then repeatability would make sense, But this is just one crib. I only needed to take the time and lay out the slots. I clamped both boards together and Laid out the marks as exactly as I could, using my digital calipers.
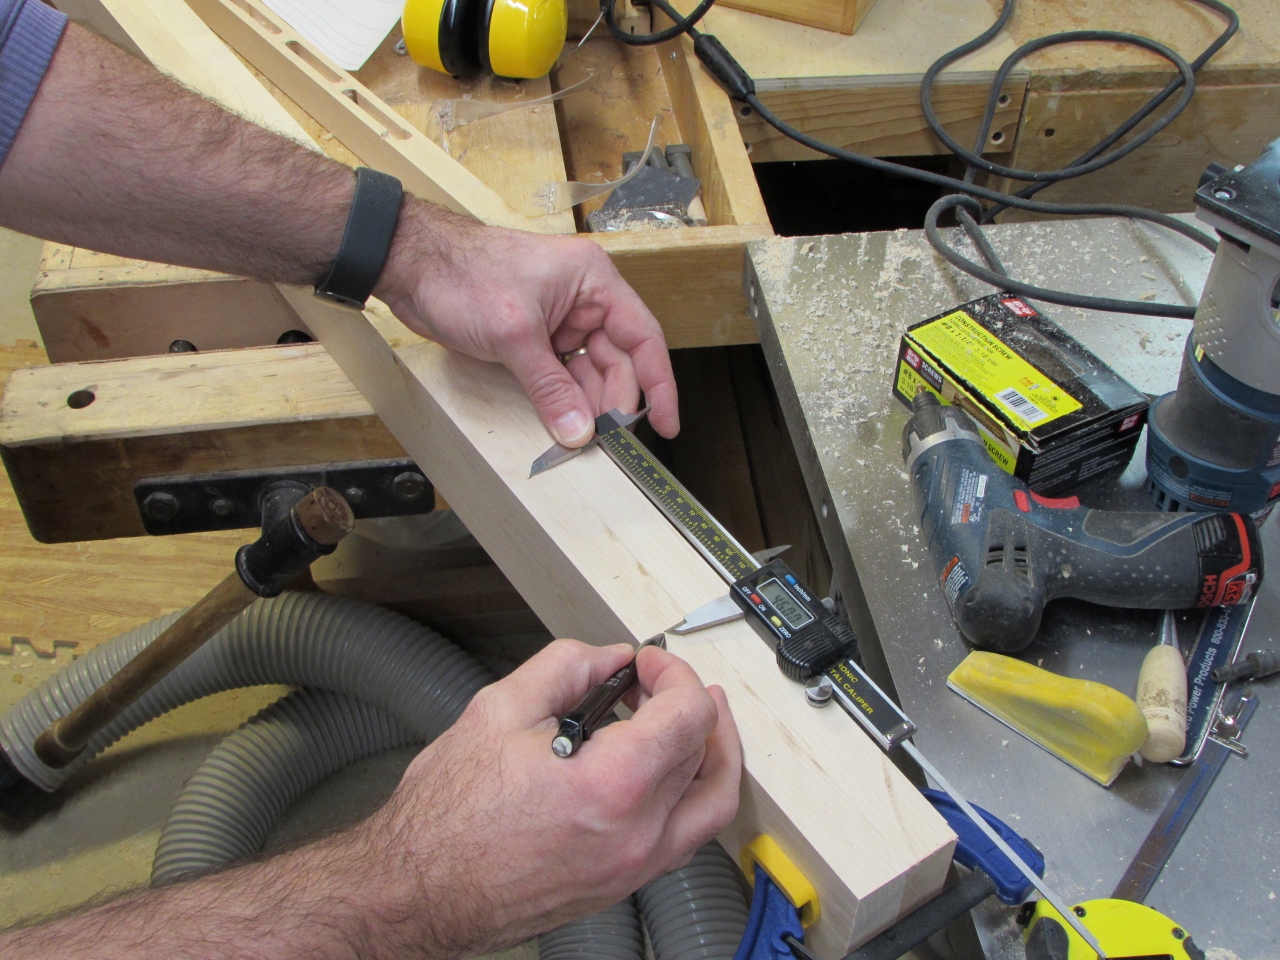
Then I transferred the mark over to the other rail with a square.

In order to line up on my marks, I needed a slot where I had a large hole. I used a bit of double-sided tape to attach a thin piece of hardboard to the back side of the jig. Then I dropped the router into the jig and cut out the slot.
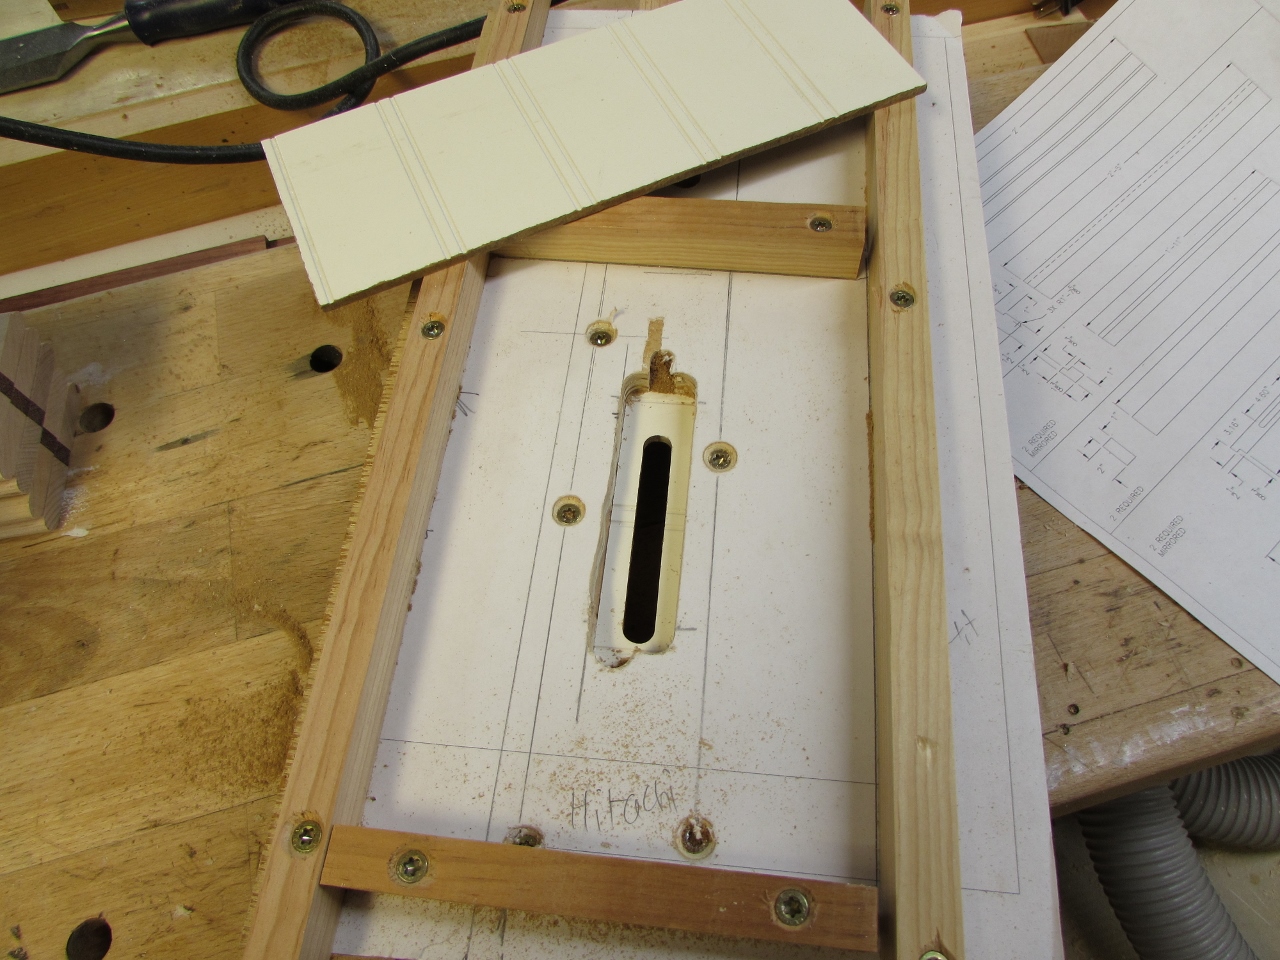

Now, all I had to do was find my marks at the edges of the slot and clamp the jig in place. Sometimes I just over-think things.

I remembered to adjust the cutter to compensate for adding the hardboard, and cut the slots of my bottom rail. I noticed that the slot wasn’t quite large enough when I tested the first couple. That was when I realized that my own saw dust was getting jammed between the router base and the sides of the jig. I simply cleaned it out and ran the router around again.
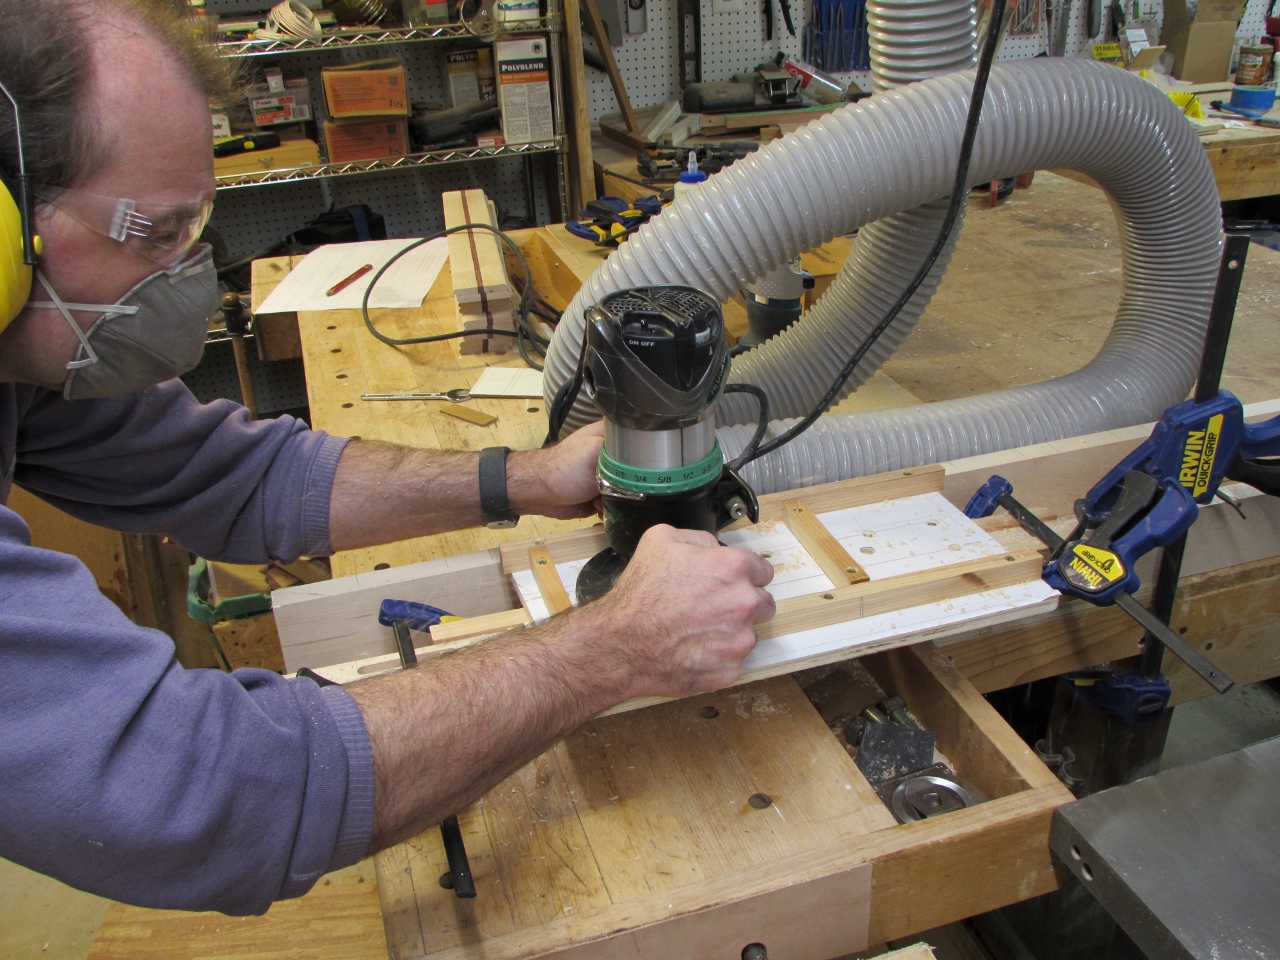
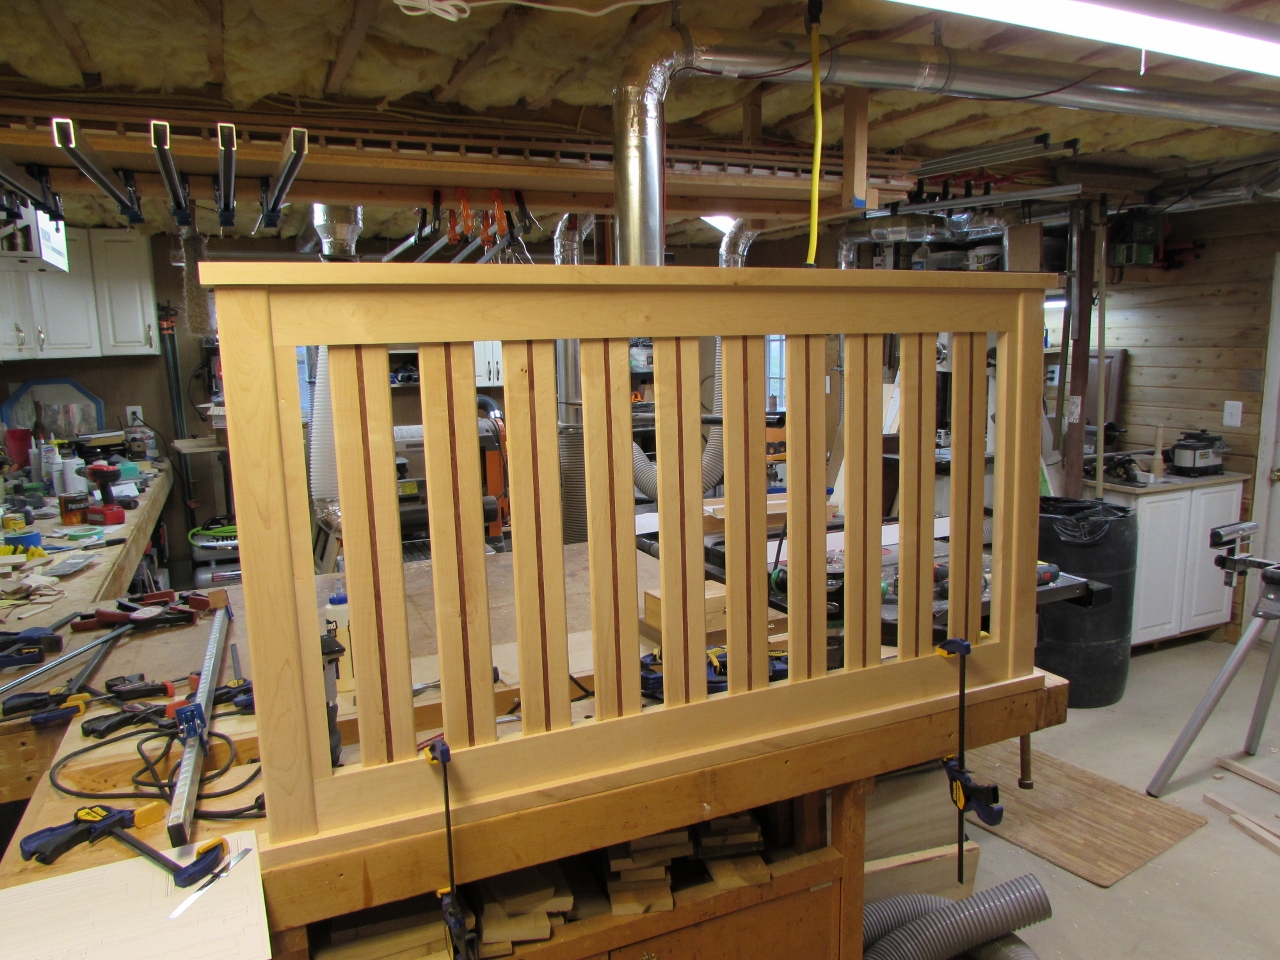
The first rail worked pretty good. All the slats were evenly spaced.
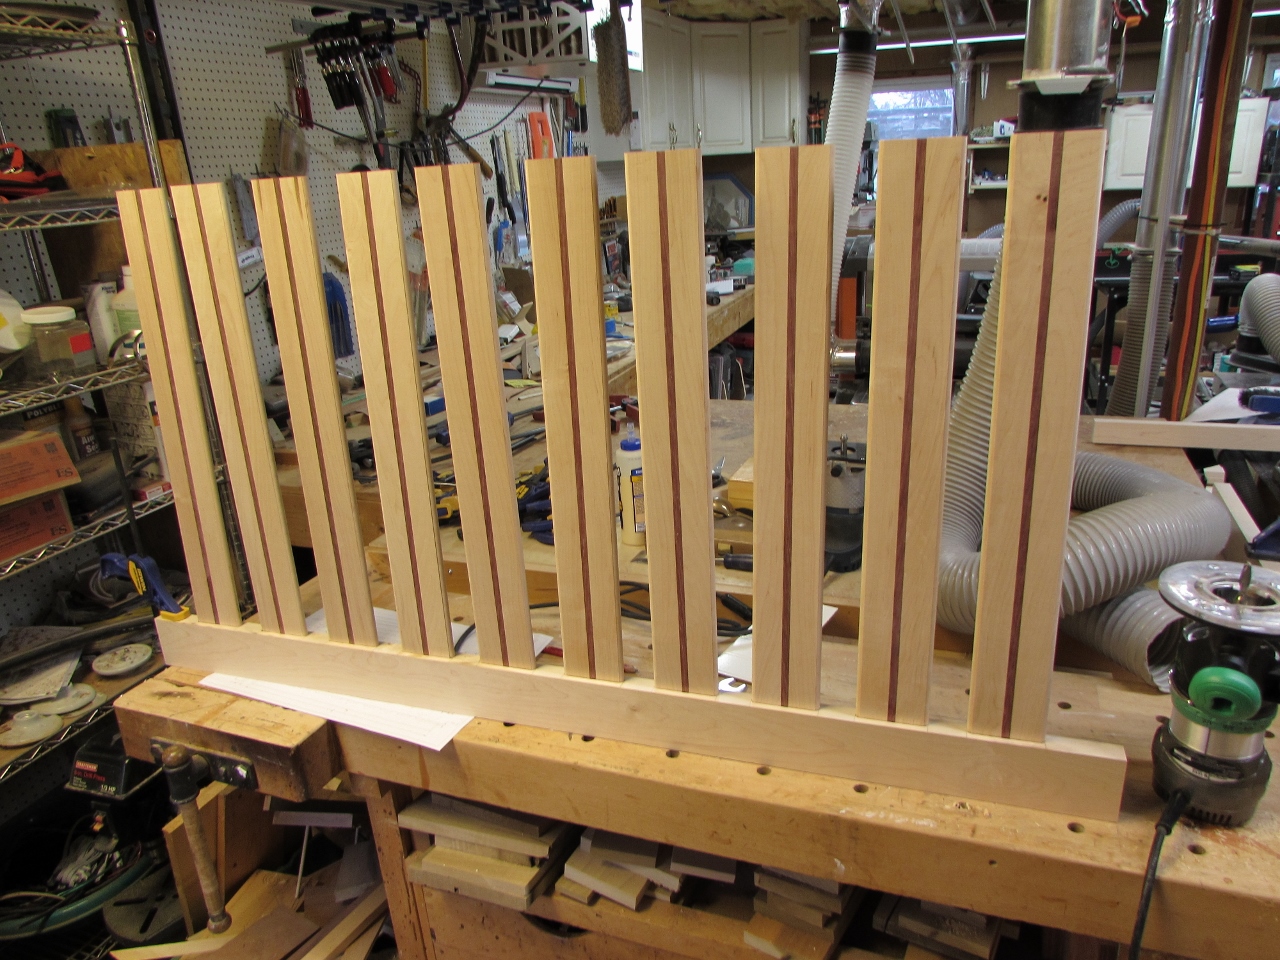
I cut the second rail and did a test fit. Everything lined up good.


Before I could fit all the pieces together, I needed to cut the notch on each end of the rails. Since the piece is too long to do that on the table saw, I set up a straight edge, parallel to the end of the rails and cut it with a 3/4″ dado bit, in my router.

I did a quick dry-fit and the ends pressed on, nice and snug.

While it was together, I marked the ends and cut them down flush to the top rail.
I also cut the top and bottom plate to length and fit it all together. Perfect!
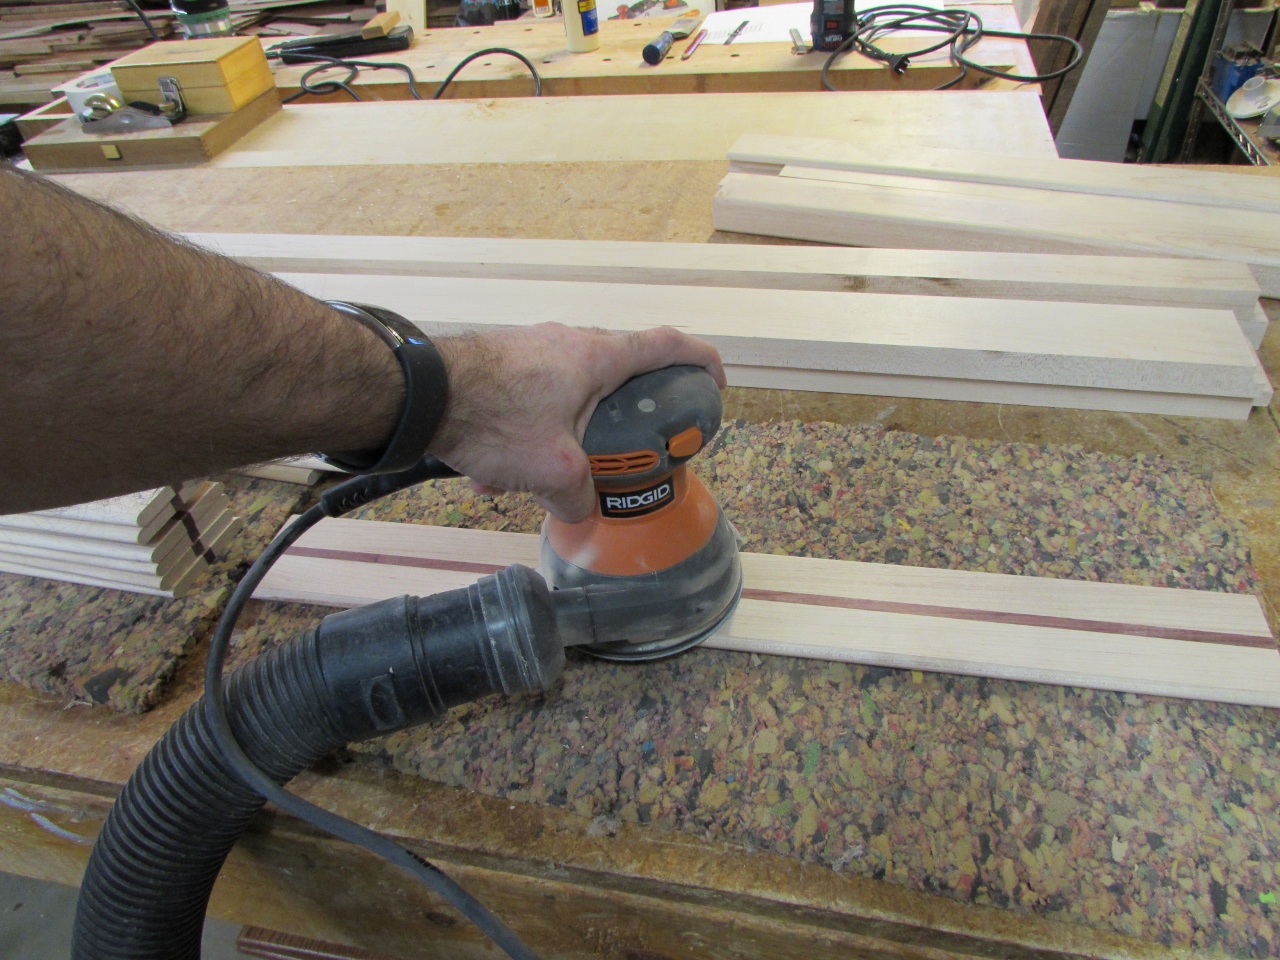
Pulling it all apart again, I took everything over to the other side of my bench and started sanding.

In a few short months, a very tiny set of hands are going to be grabbing at these rails. I carefully sanded each and every piece breaking every sharp edge and smoothing every rough spot. I tested each piece by closing my eyes and running my fingers over every surface and edge. I don’t know why, but it works better with your eyes closed, and if I get surprised by a splinter, then I didn’t do it right…

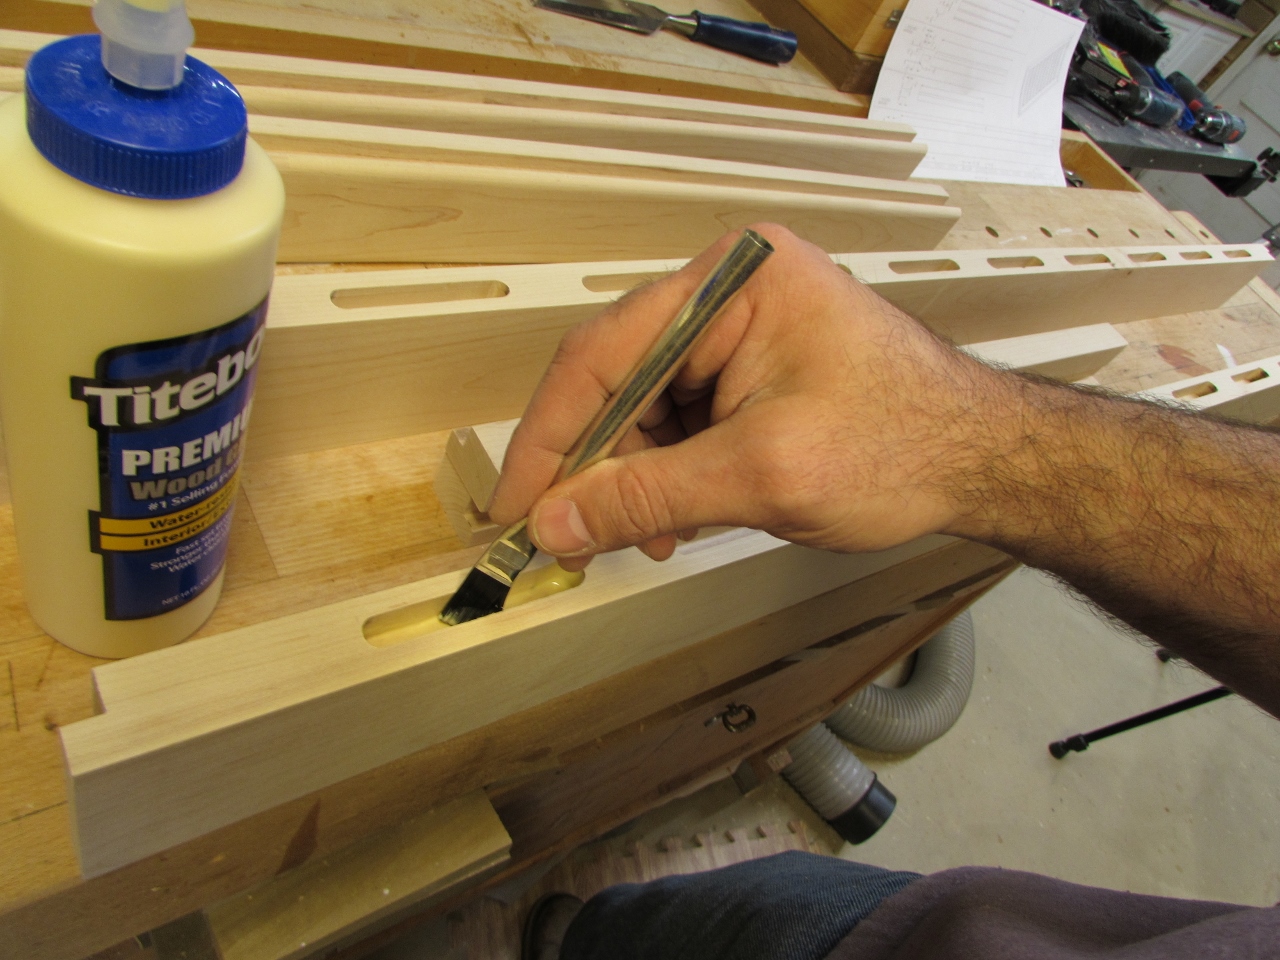
With a brush, I applied a thin layer of glue to all of the slots on the top and bottom rails, as well as in the dados on the side pieces.

I worked quickly to re-assemble everything before the glue set.

I had to break out the 4′ and 5′ clamps to make sure everything was pulled together tightly.
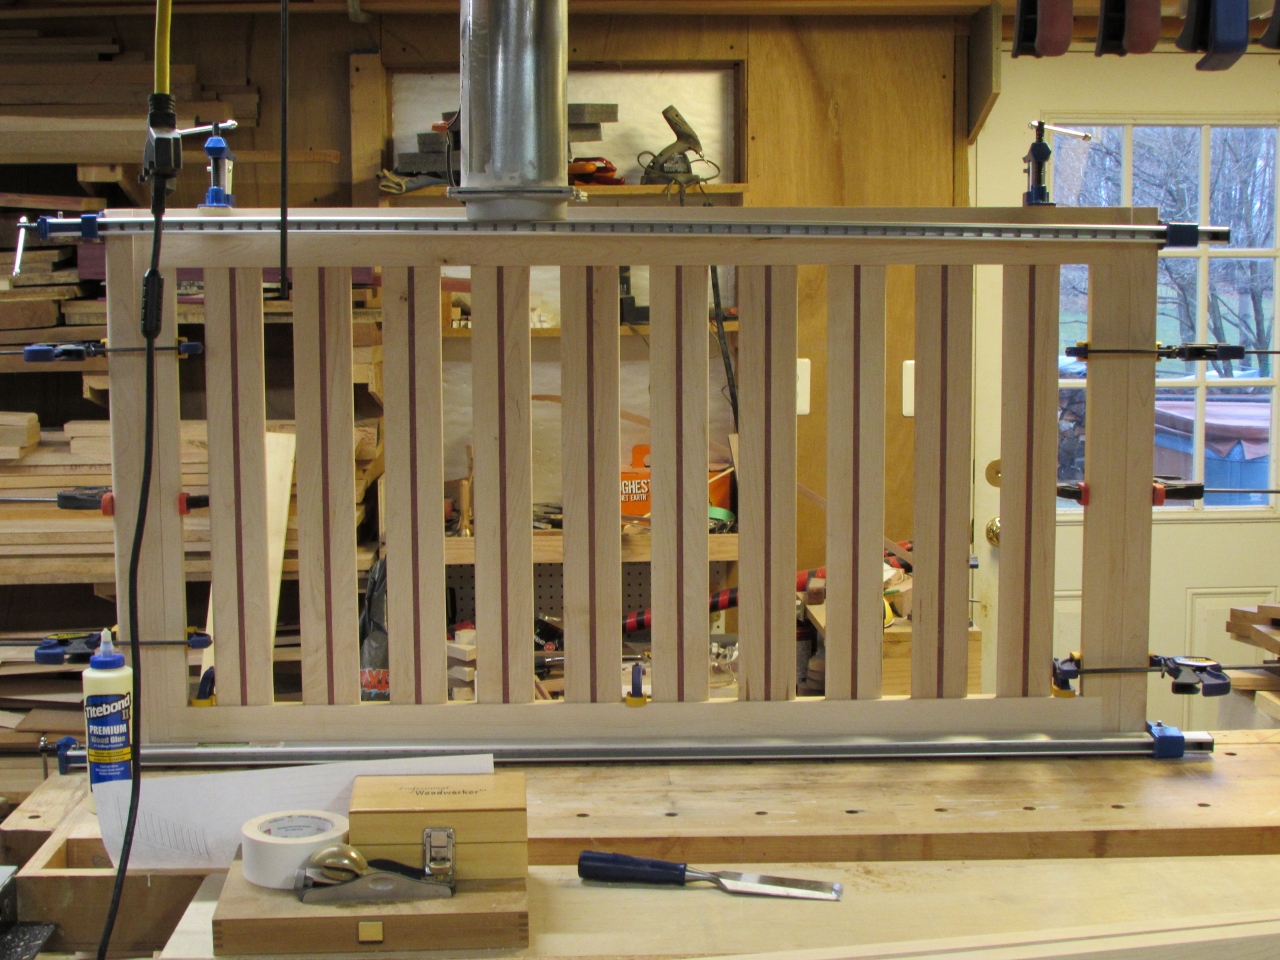
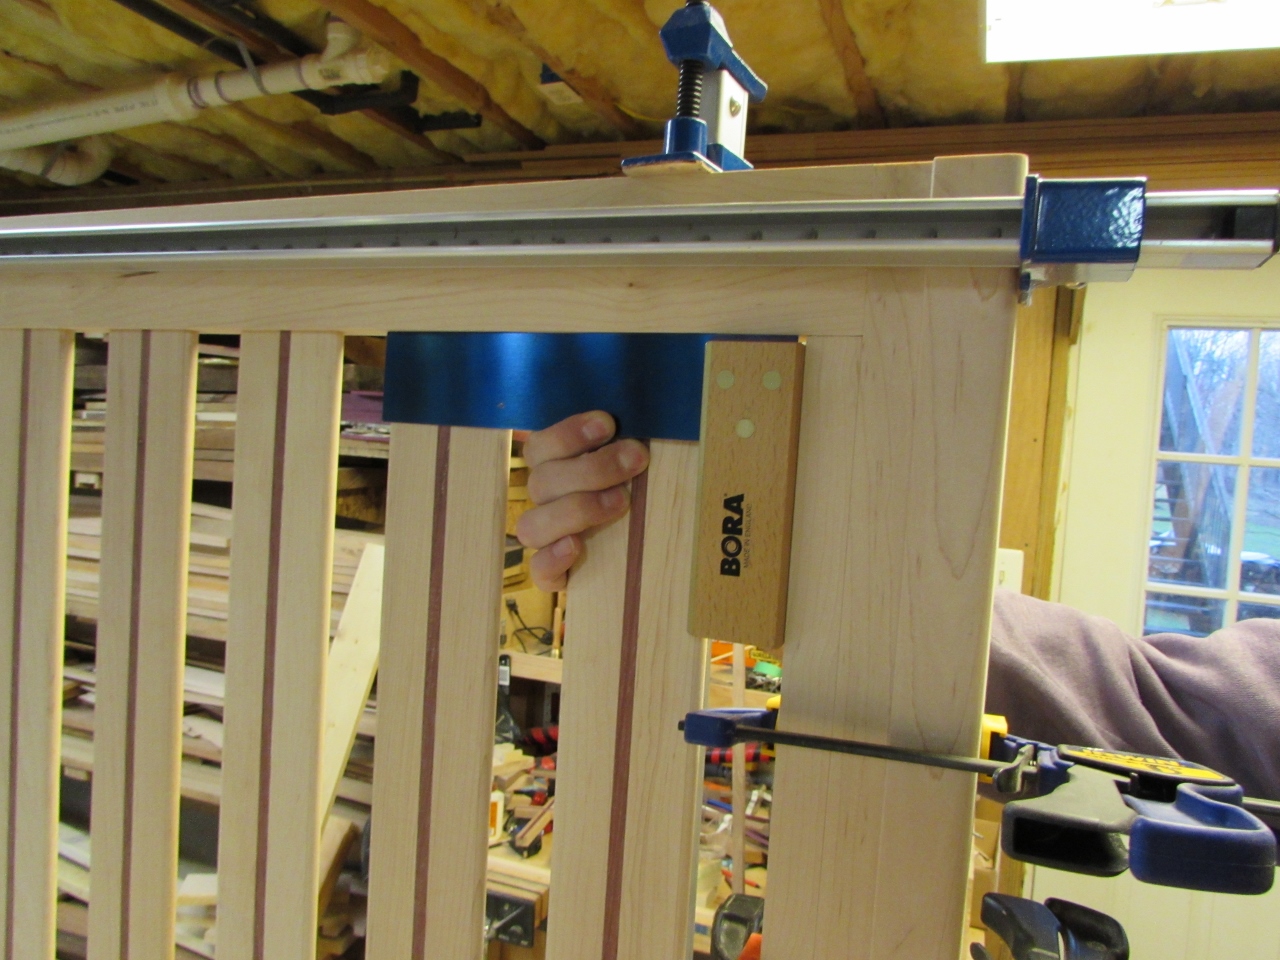
I even remembered to make sure the whole thing was square…

When the main body was dry enough, I pulled the clamps and applied a layer of glue on the top and bottom of the rails. Next I clamped a couple of long, flat strips to the inside face so the top and bottom caps would set flush to the inside. Then I clamped the caps in place.

I am sure the glue will hold the caps on, but to be on the safe side, I am screwing them on as well. I pre-drilled and counter-sunk five evenly spaced holes along the top and bottom surfaces.

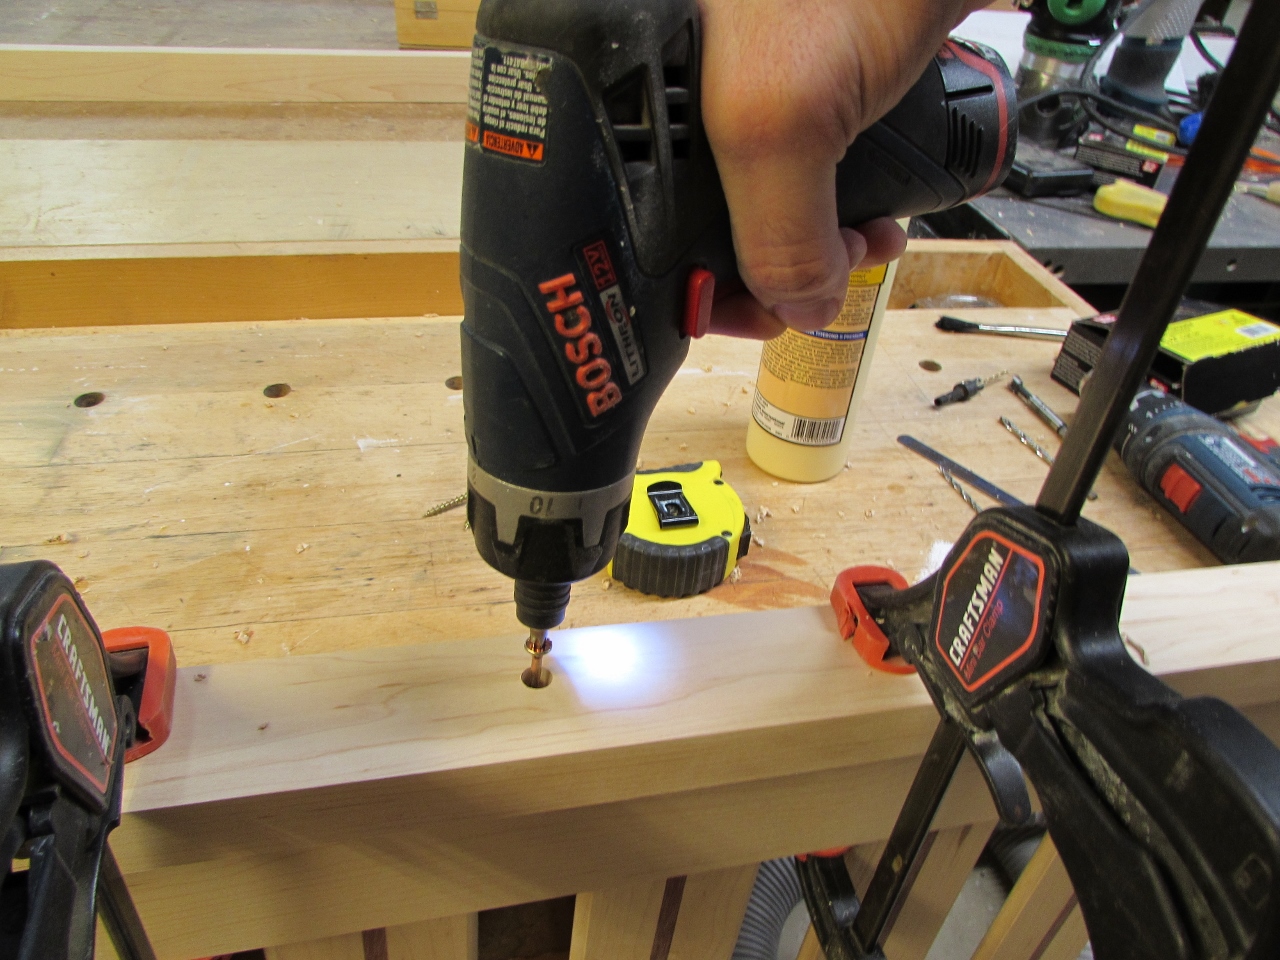
I used 2″ long construction screws to make sure those caps were there for good.

To fill those holes, I grabbed an off-cut with a similar grain to the caps. I set up my 3/8″ plug cutter in the drill press and made a dozen or so plugs. I cut the plugs free with a single cut on the band saw.


I used a thin stick to apply glue to the sides of the holes, then drove all the plugs firmly in with my hammer.

I used my flush-cut pull saw to slice off the excess plug material.
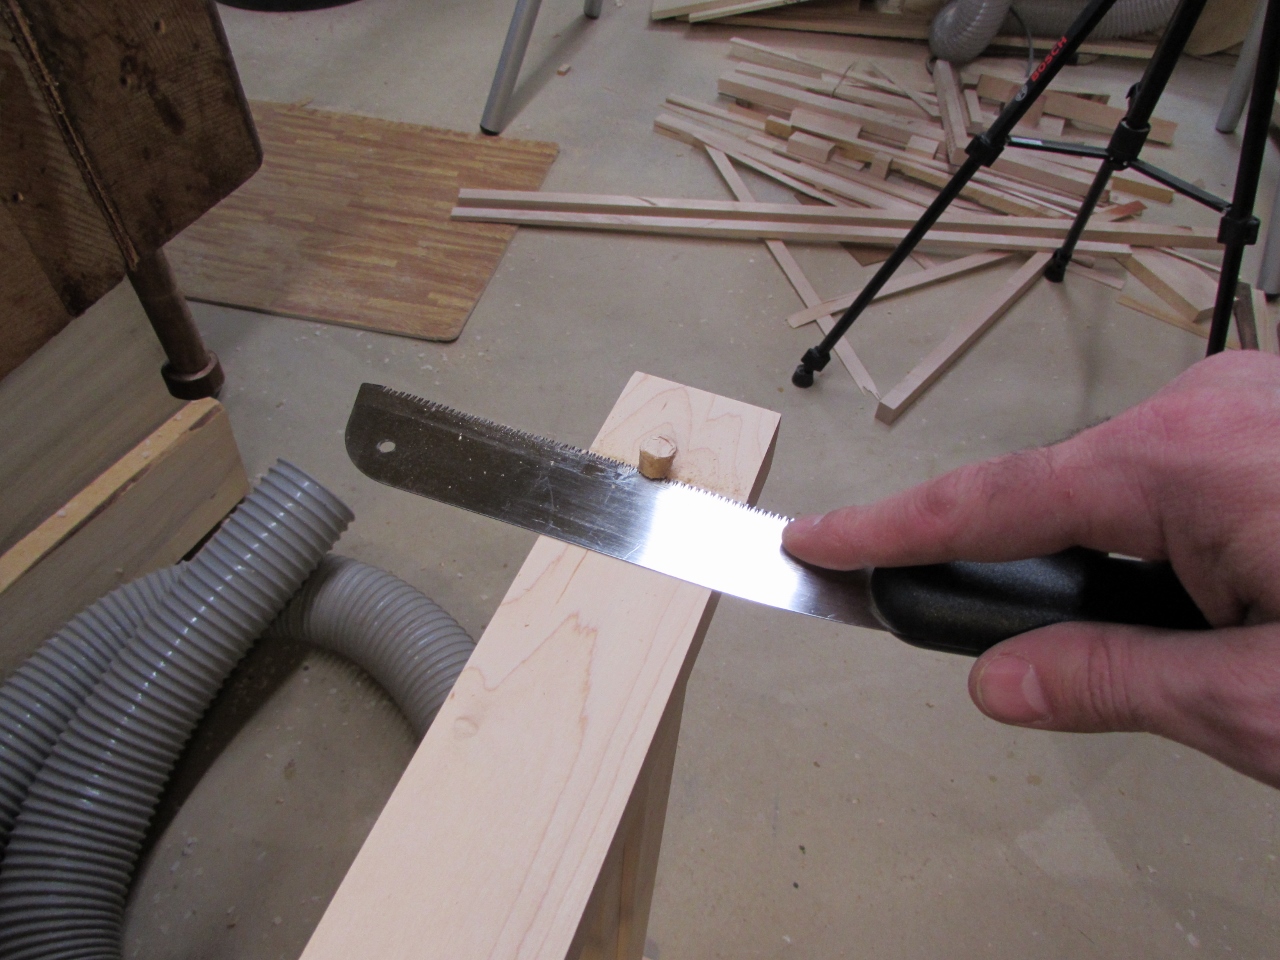
The little bit that was left was easily sanded away.

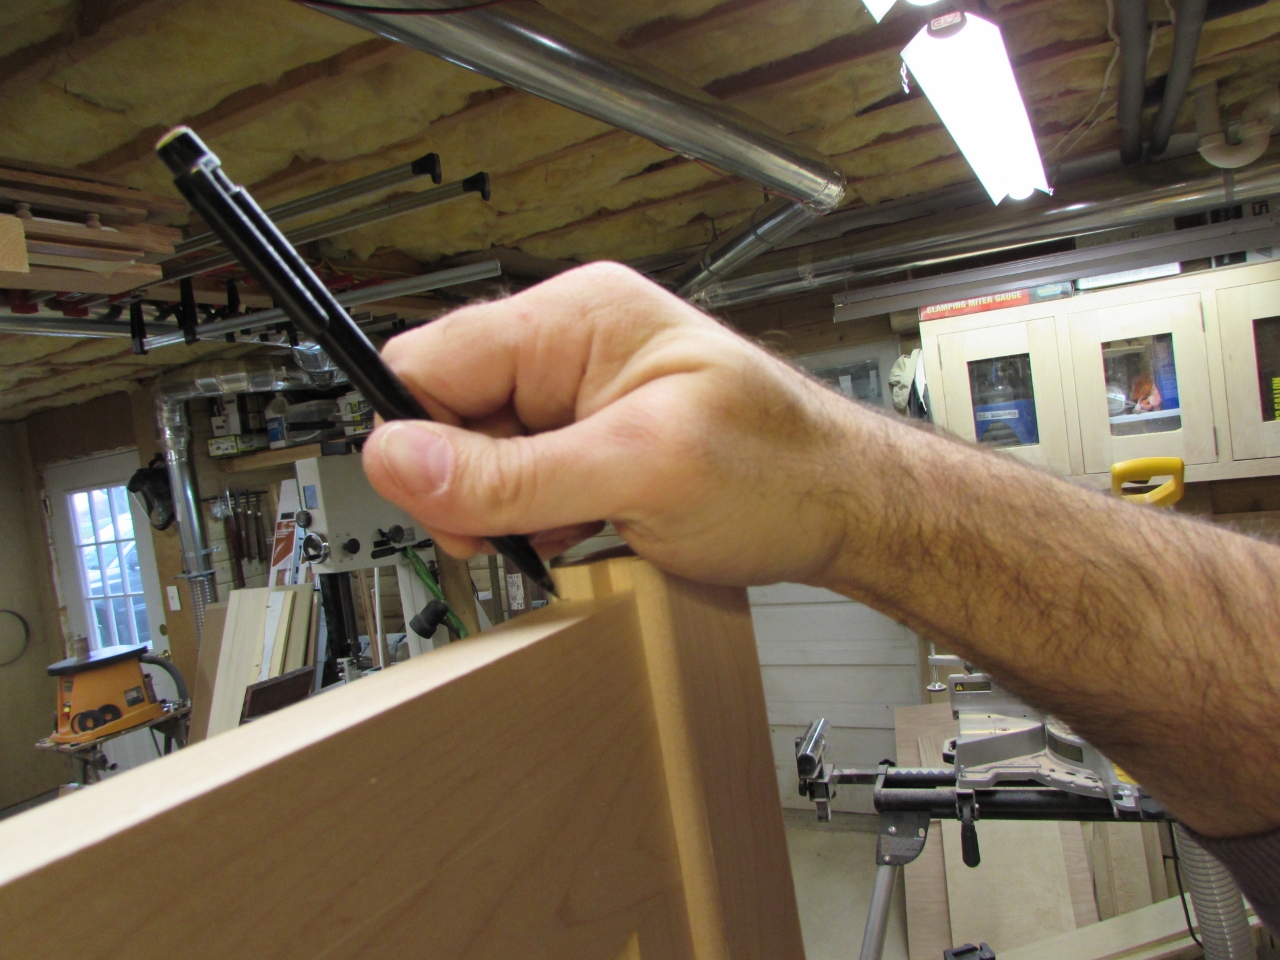
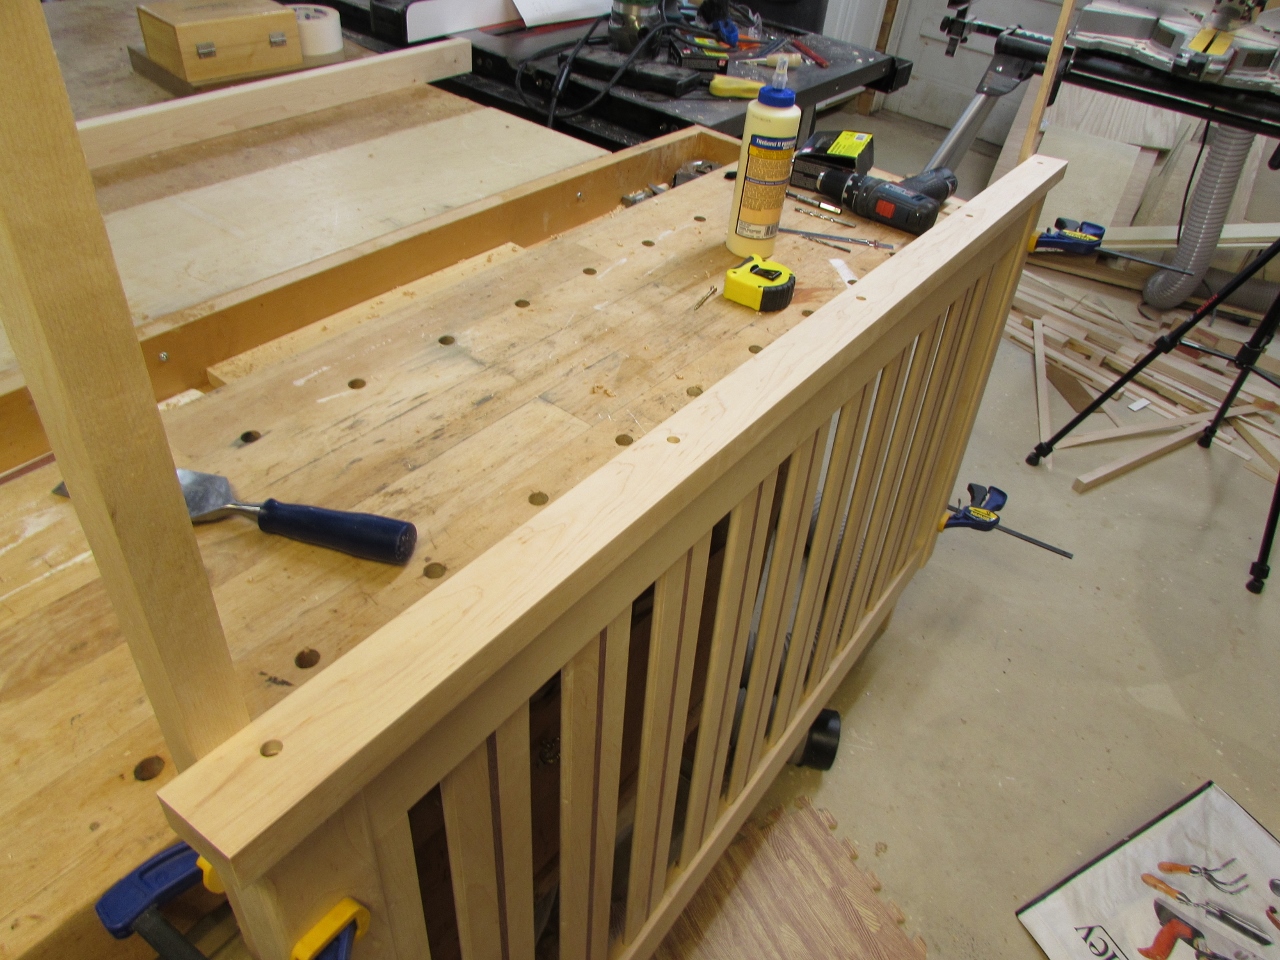
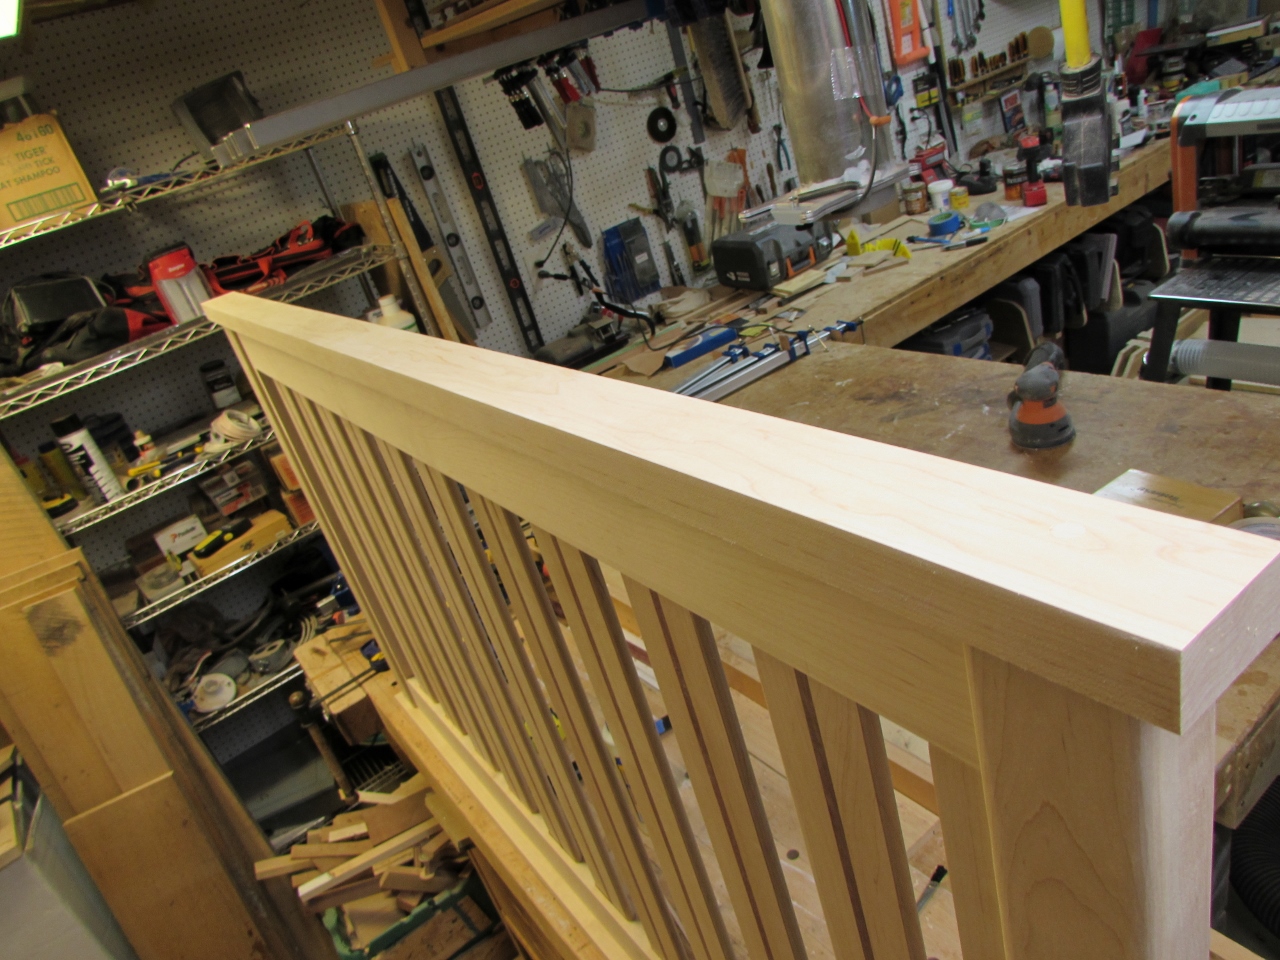
The front rail is complete. I left the top and bottom cap’s edges sharp for the moment. I will determine how I want to ease those edges after I join up the other sides. If I round or chamfer them now, It could make a gap where I don’t want it later.
That is enough for today. Tomorrow, I will need to work on the plans for the sides tomorrow…

