
Maple & Purpleheart crib – day 3
I have had a few hours over the last two evenings to get started on the sides of the crib. I haven’t had much time to put a lot of effort into the plans. Here is a copy of what I am using: SIDE2.PDF Hopefully, I will have time to clean them up after this project is done.

I am starting with the frame of the sides. What makes the sides a bit more difficult than the front, is the fact that the top rail will be at an 8 degree angle. The majority of this post will be trying to figure out how to deal with that angle.
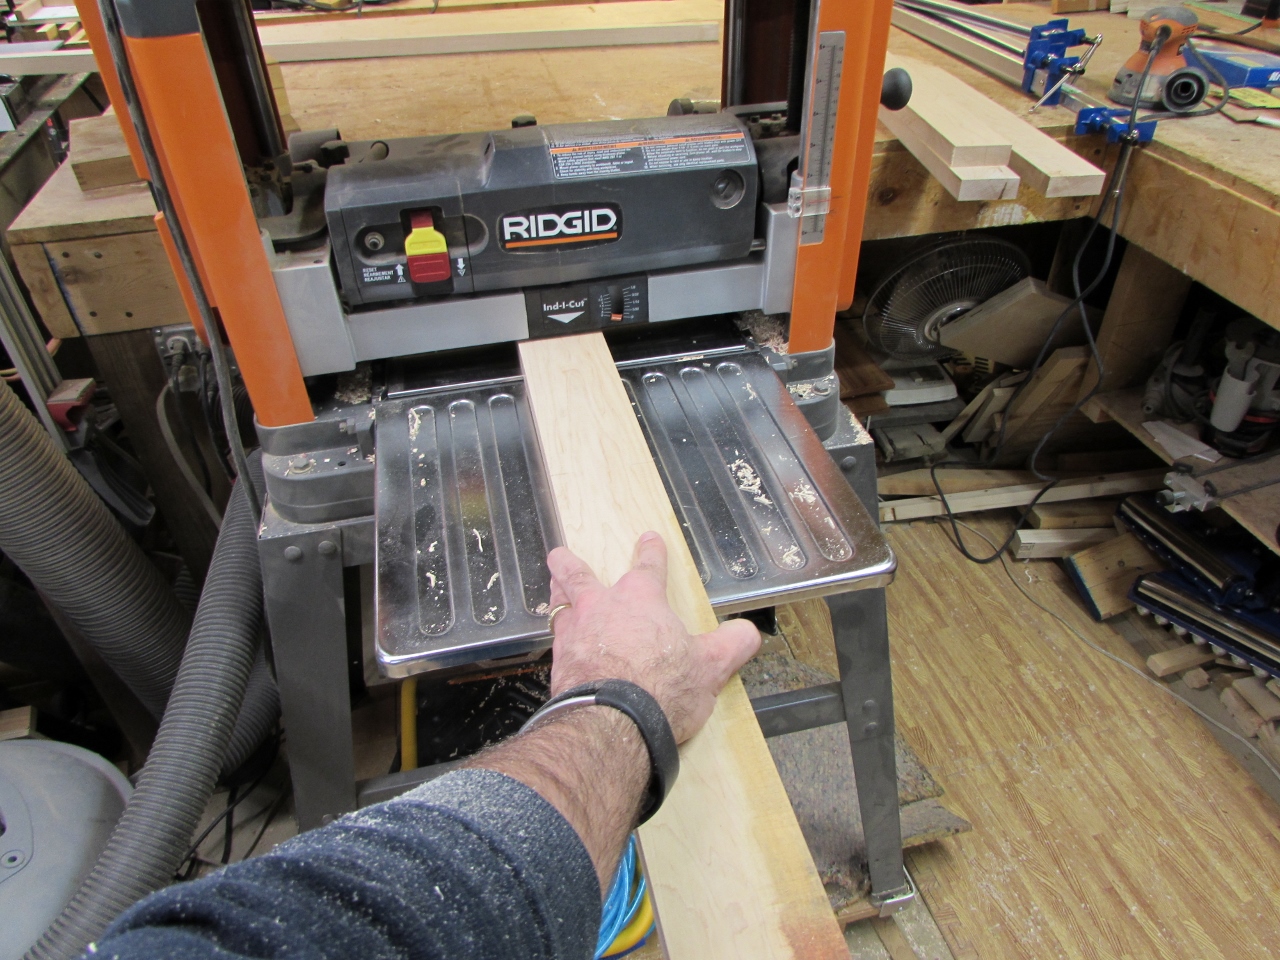
I started with the top and bottom frame pieces. I cut and planed them down, then stopped to think of the best way to route the 1/2″ deep slots, on the top frame piece, at that 8 degree angle. Doing my drawings on the computer makes it easy to figure out angles. I need to create a triangle, at an 8 degree angle, with the bottom, the same length as the bottom frame piece. Basically, I need a right triangle that is 27-3/8″ long x 4″ tall. Next problem, how do I safely cut that angle?
I have a simple board, with a stop at the end, that I use for a planing sled. I laid my 27-3/8″ long x 4″ tall rectangle against the stop, and rotated it till the opposite corner was even with the edge of the board. Then I screwed on a couple of stops to prevent the board from moving. Since I don’t have any surface-mounted clamps, I just used double-sided tape to hold the board in place.


I set the fence, on my table saw to place the sled right up against the blade. This allowed me to cut only the piece of maple, right where I wanted. This wedge will be important for starting the slots, on my angled pieces.


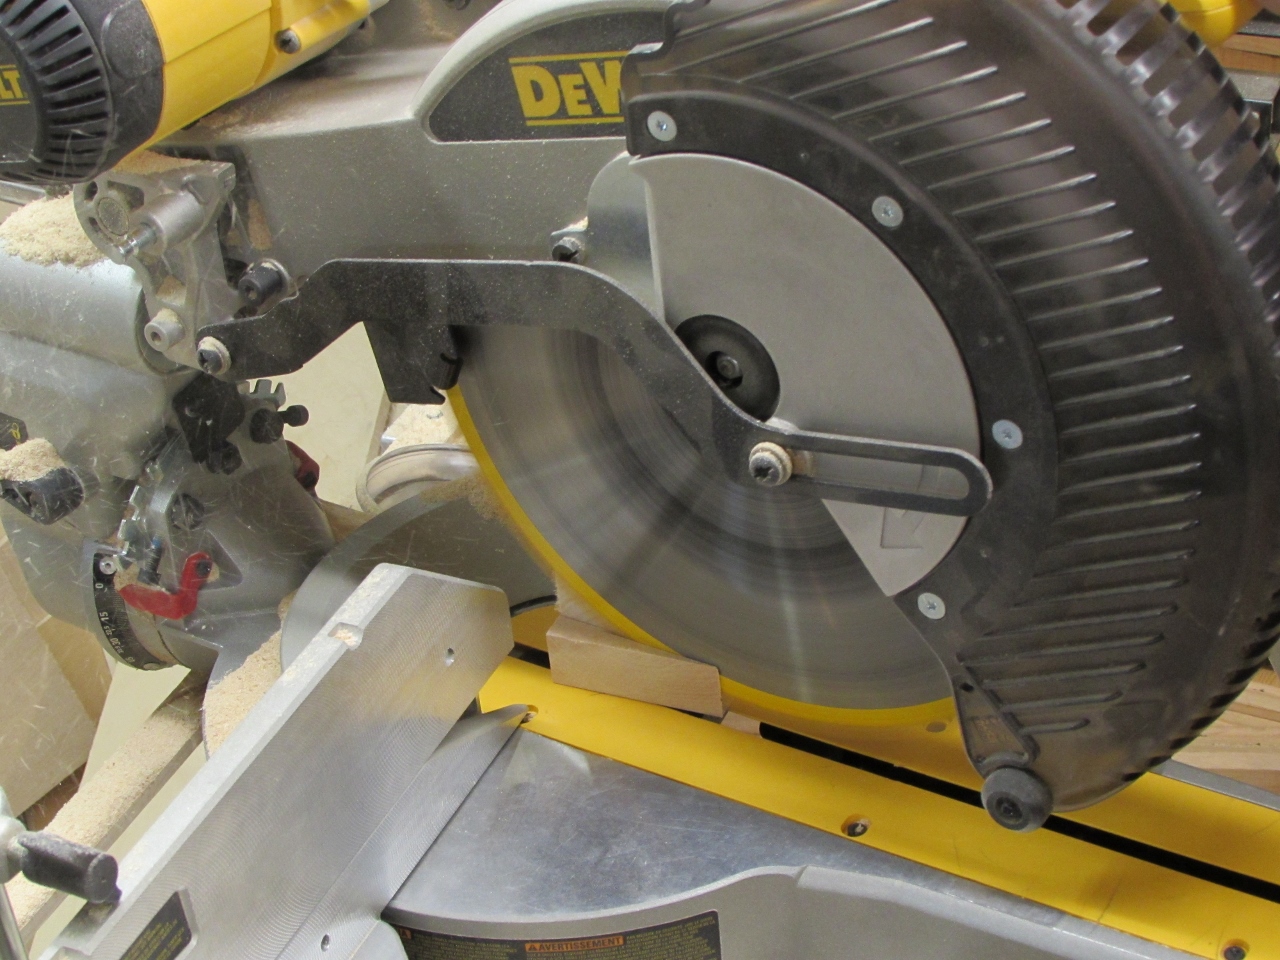
To cut the angle on my frame tops, I set my miter saw to 8 degrees. To verify that my angle is correct, I simply laid the board onto my new triangle and set a square up against the side. I tweaked the miter saw until the angle was perfect.


To cut the second frame top, I started by tracing the first one that I had already cut, then I just decided to stack them up and cut them exactly the same.
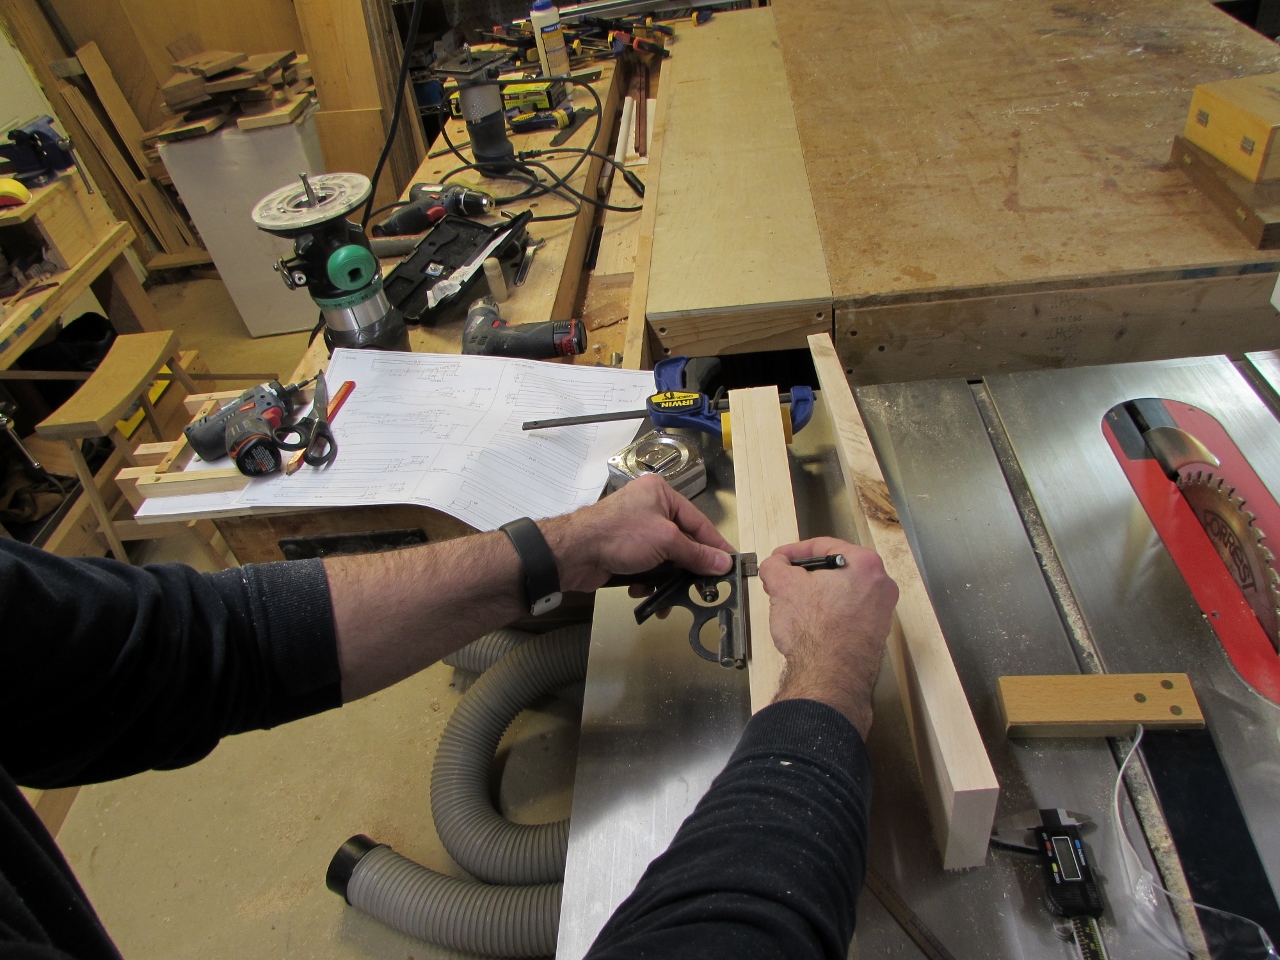
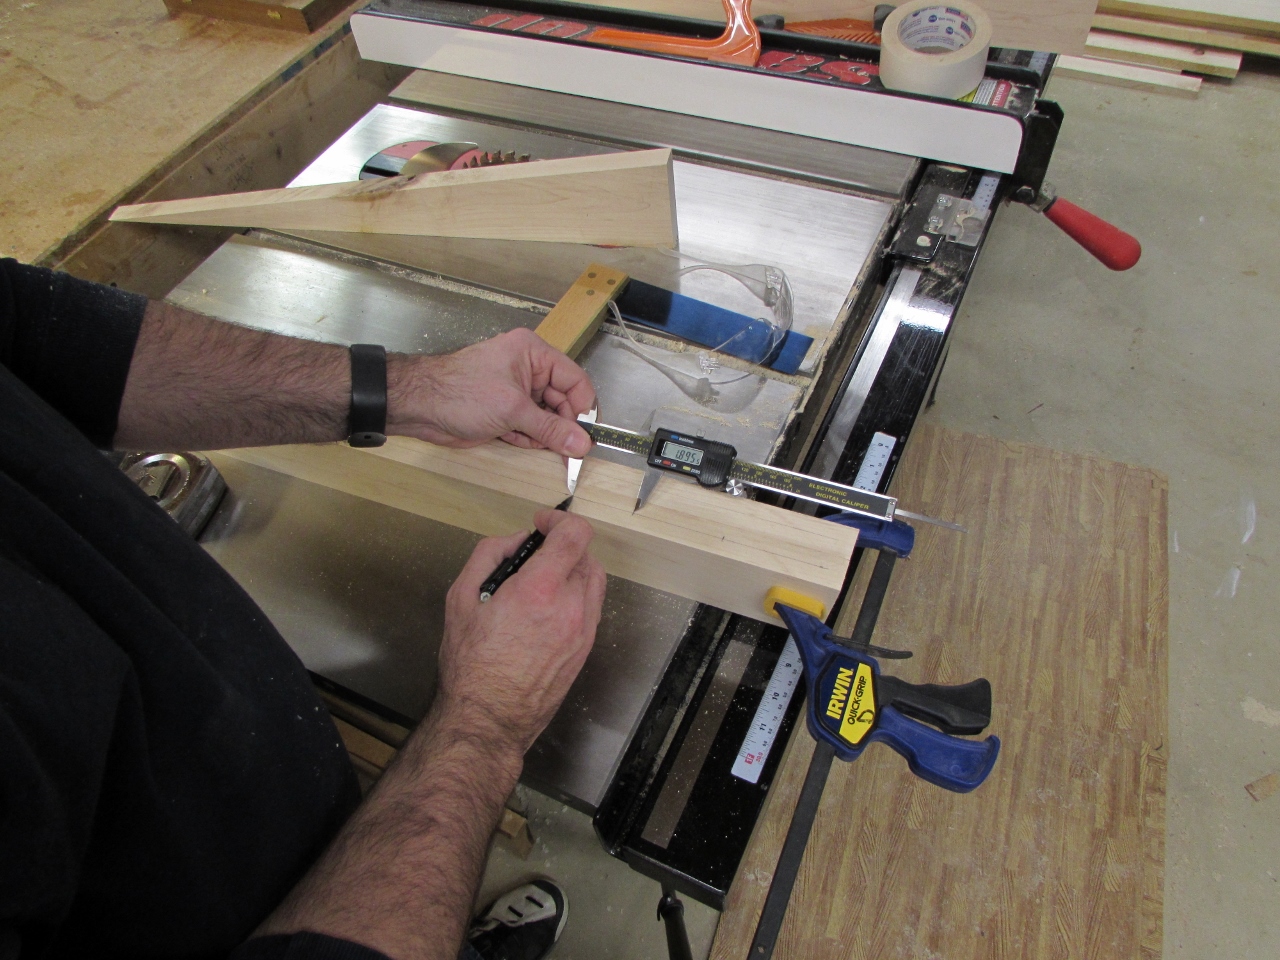
I laid out the angled slots a bit differently from the front section. I am not able to use my router to cut the slots at an angle, because it is designed specifically for 90 degrees. But I realized that I could drill the angled ends of the slots on my drill press, then come back and route out the middle of the slots. On my drawing, I dimensioned the slots from end to end, like the last plans, but I also added the center point locations for the radius at the ends of the slots. I used my combination square to trace a center line down each of the two boards, then used the calipers to mark out each center point.

I used my awl to create a pilot hole for locating the drill bit.
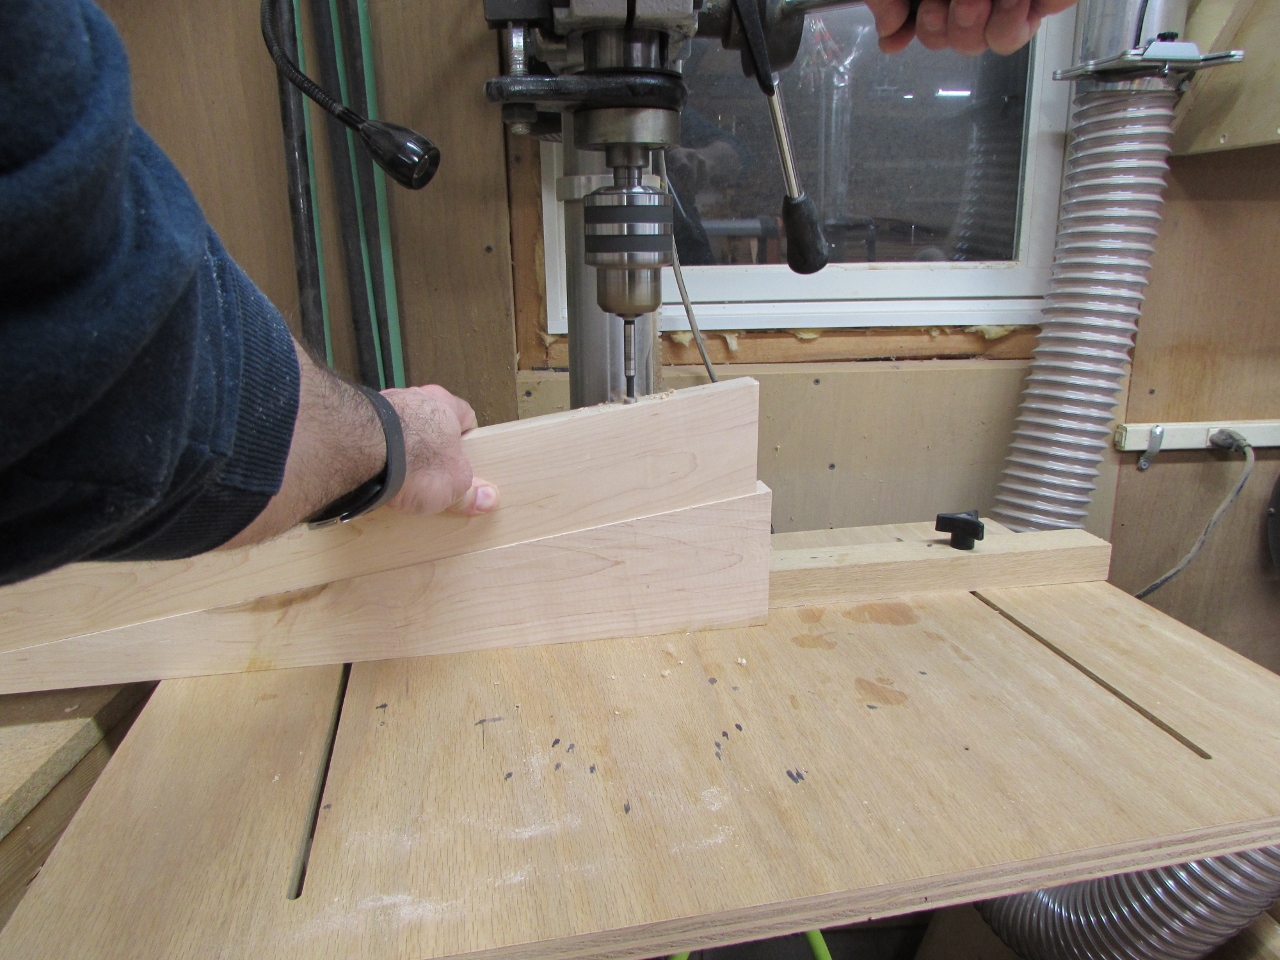
I placed the frame board on my 8 degree triangle and that gave me a stable base, at the perfect angle. Most drill bits will flex and wander if you drill at an angle so I decided to use a forstner bit. They are a lot stiffer, so they will work very well in this application. I lined each hole up carefully and set my depth stop to create a 1/2″ deep hole, then I drilled each end of every slot.


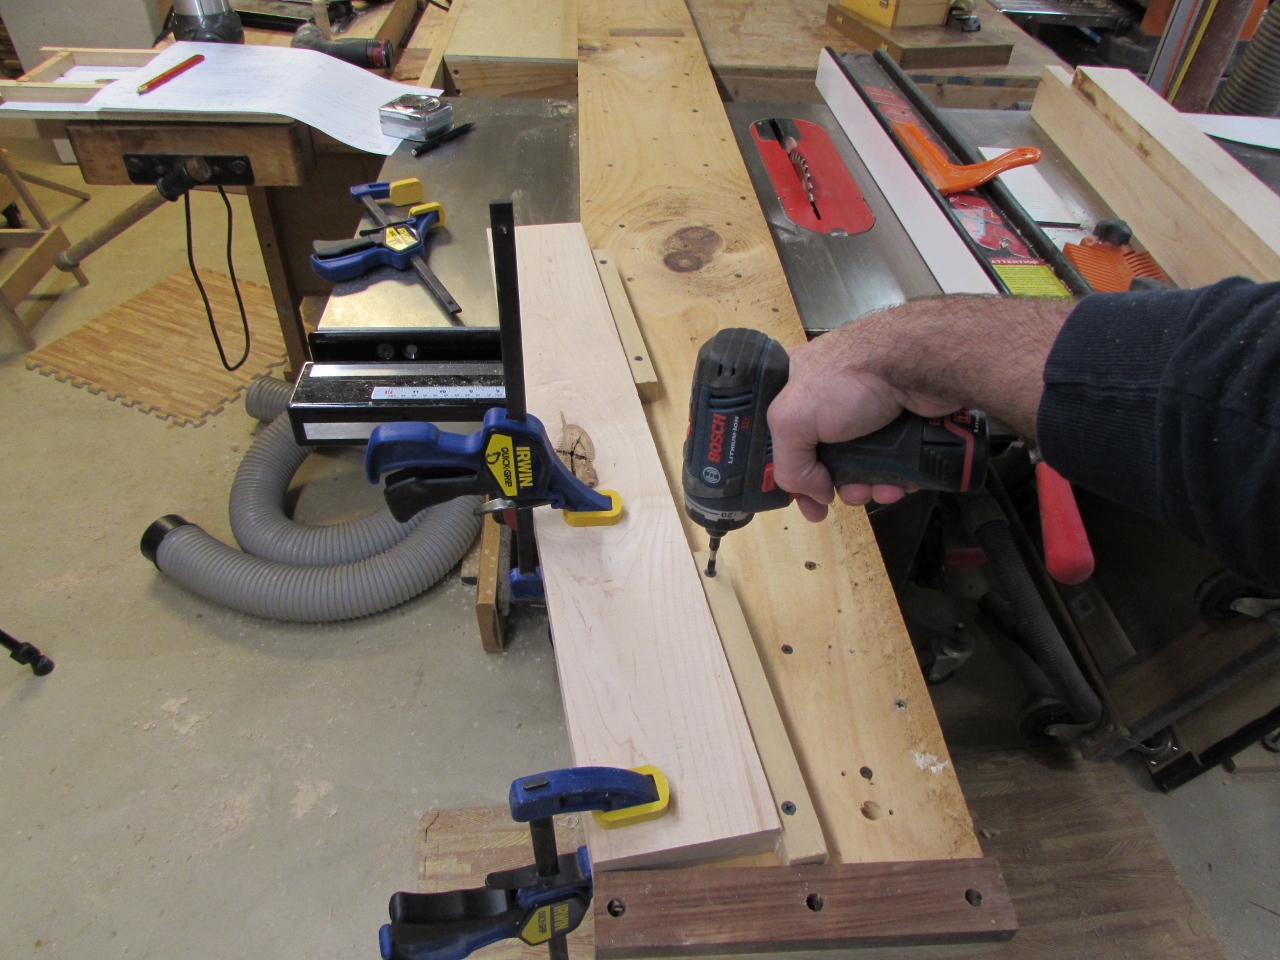
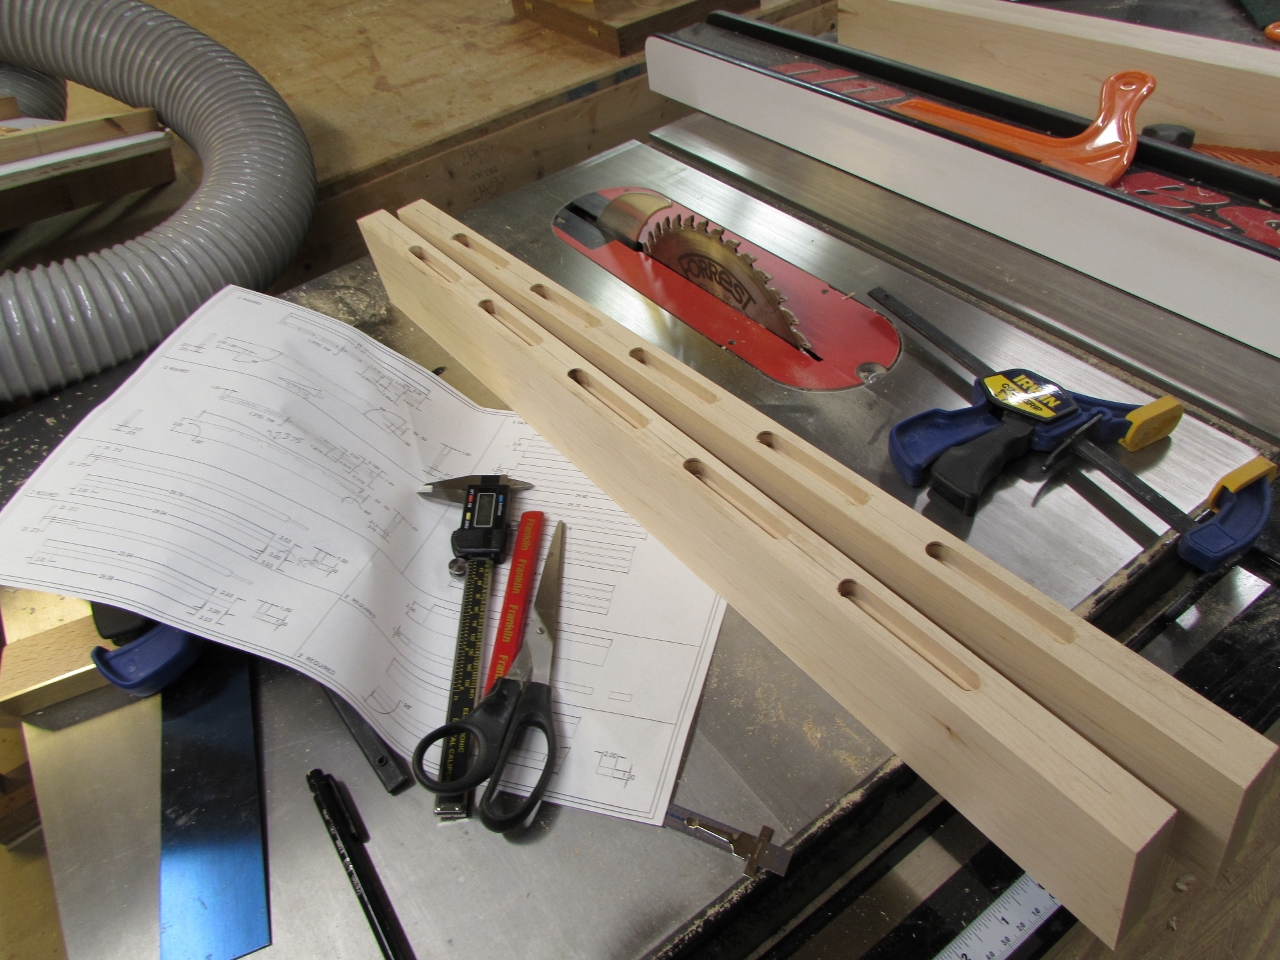
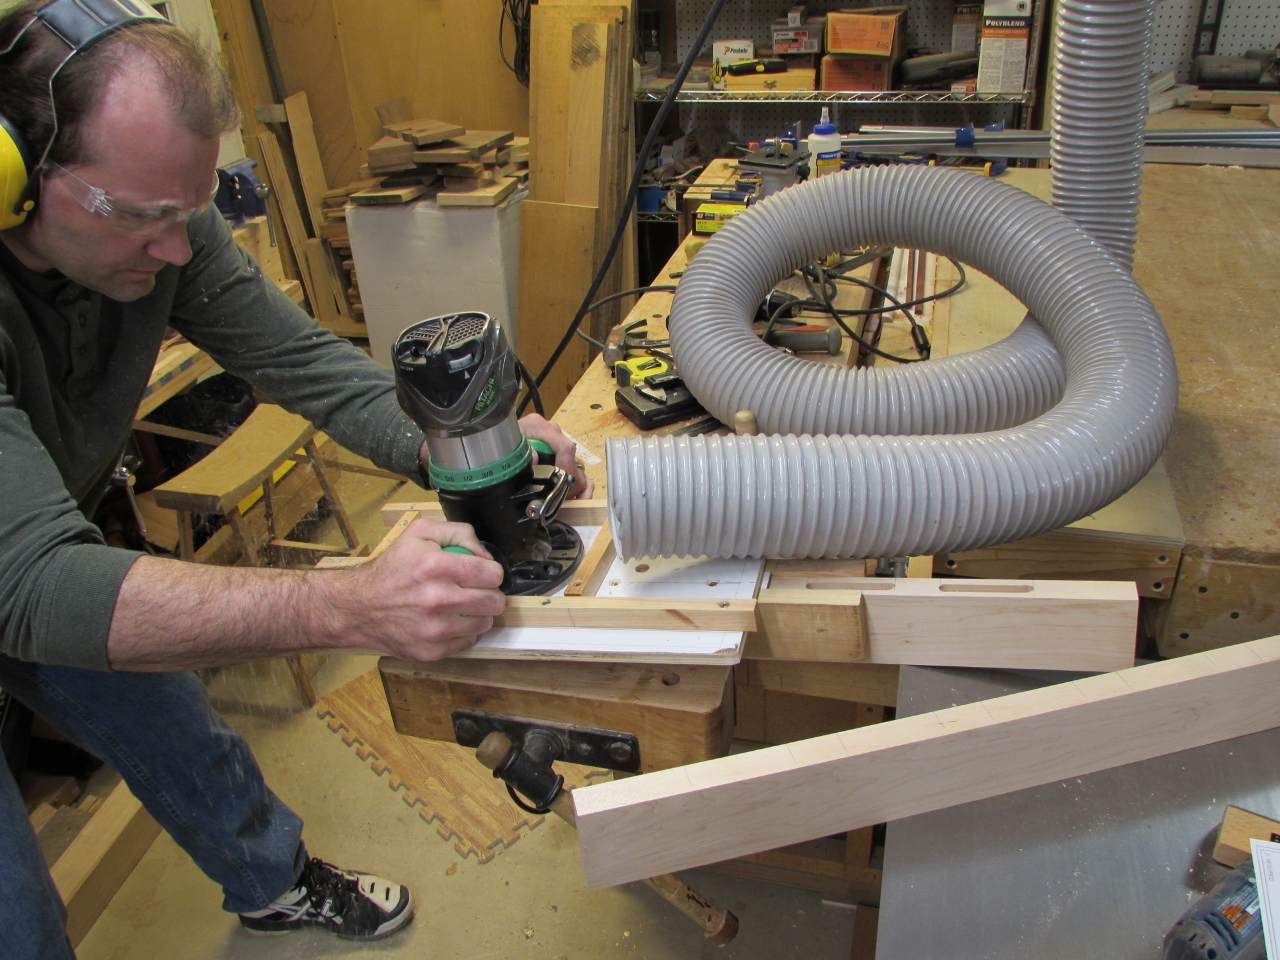
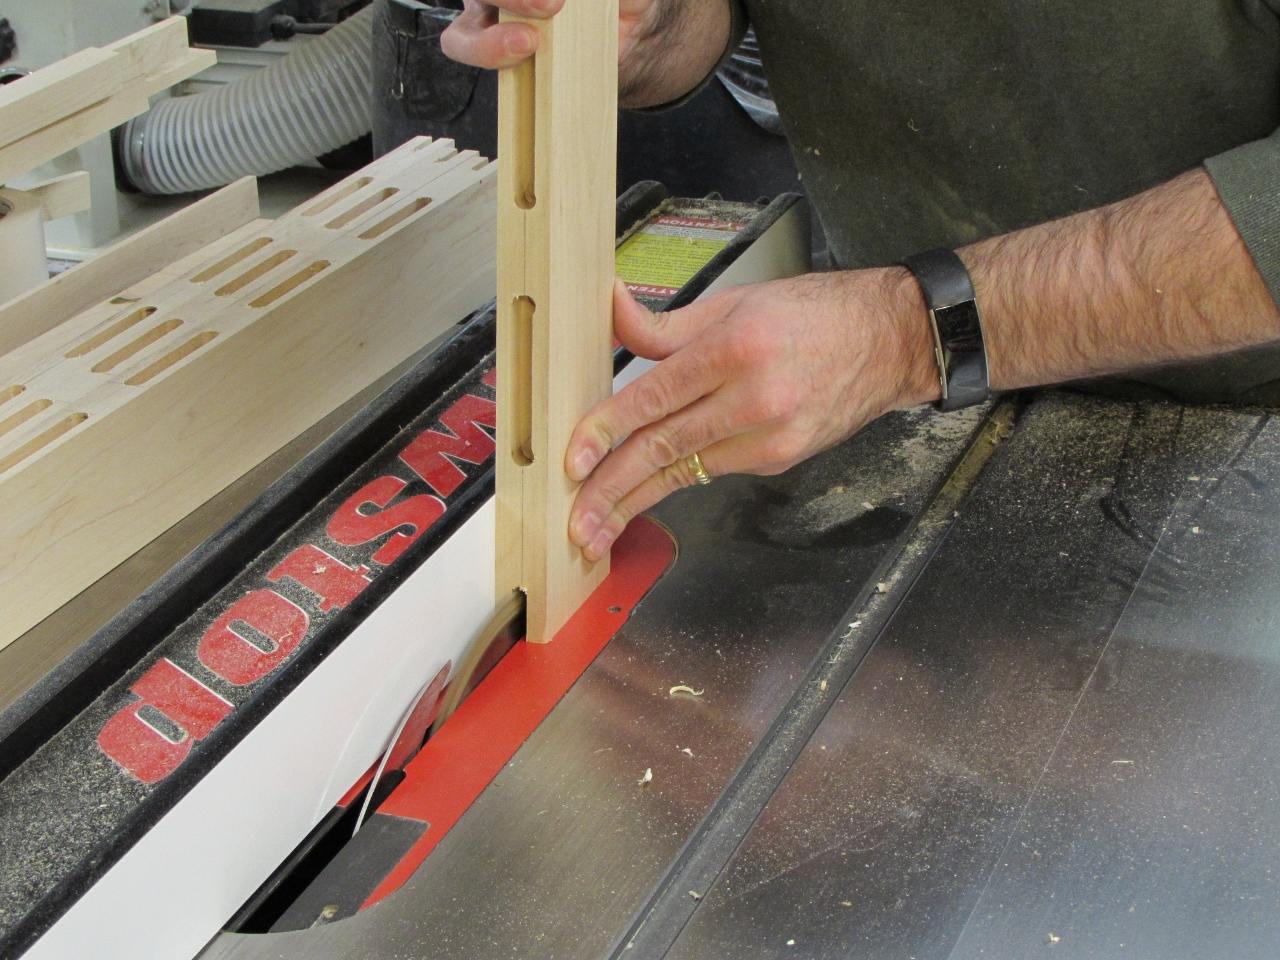
It was easy enough to line up my jig at that point, and route the rest of the slots.

It may be hard to see, in the picture, but there is a slight angle to one side of the slot. This will allow the slats to be inserted tightly without hardly any slop.

When those two were done, I laid out the bottom frame pieces that same way I did the front ones, then cut them out as well.


Onto the next challenge, the vertical sides for the frames. These are 1″x1″, so by waiting till I cut out the top and bottom, I was able to pull all my stock from the off-cut pile. I cut and planed down enough scrap to create the four vertical posts.

To make my corner joints as strong as possible, I decided on 3″ long x 1″ wide mortise and tenon joints. This will, of course, be a pain in the butt! I went through several test pieces to determine the best way for my to cut these. I wound up setting my fence so I could run the boards through vertically and cut right up against the 3/8″ tenon in the center of each, then flip them around and repeat. Not a terribly safe approach to do freehand, so I clamped all four pieces together to create a larger base to hold flat to the table. I also made the 3″ deep cut in three passes, raising the blade 1″ each time.
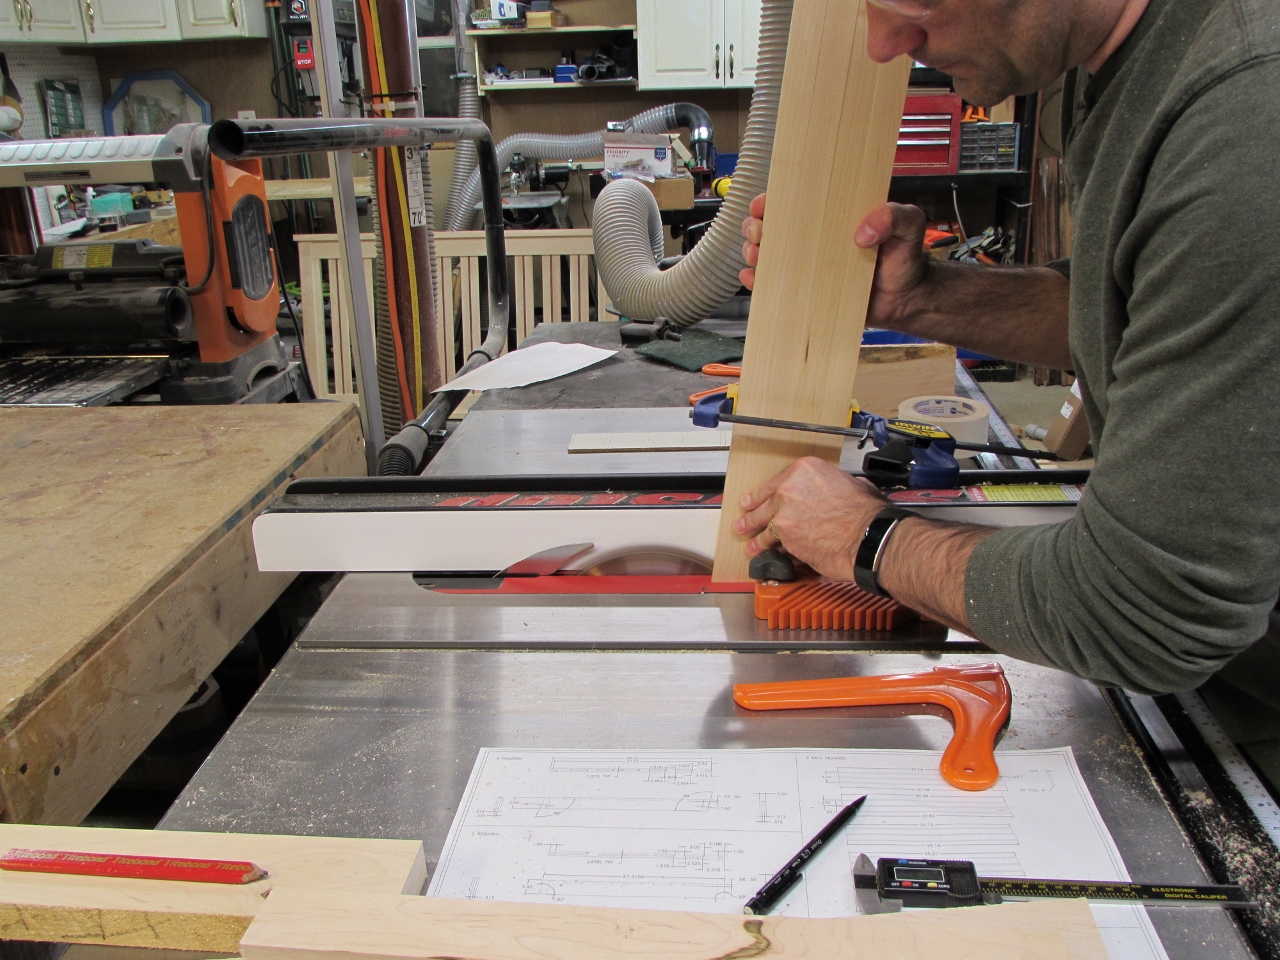

To cut the rest away, I taped a strip to my fence that stopped before the blade, to prevent binding and kickback, when I used the miter gauge (set at 8 degrees for the angled side).

This was fairly successful and all of my fingers are still intact. All I needed was to clean up the shoulder a tiny bit with a chisel.

Cutting the mortise, on the ends of the top and bottom, was a bit easier. The slot was only 1″ deep, and in the center. I just kept making passes, flipping the board back and forth, slowly moving the fence in, until I had the width of the slot just right.

They fit together surprisingly well, with just a little tweaking with a chisel or sander.

The next step will be to create the rails and slats. They should be a lot less challenging, but it is almost midnight, so that is enough for today.

Sounds like a PITA!
Yes, but I am a bit of a masochist. The project needs to be a challenge for it to be any fun…