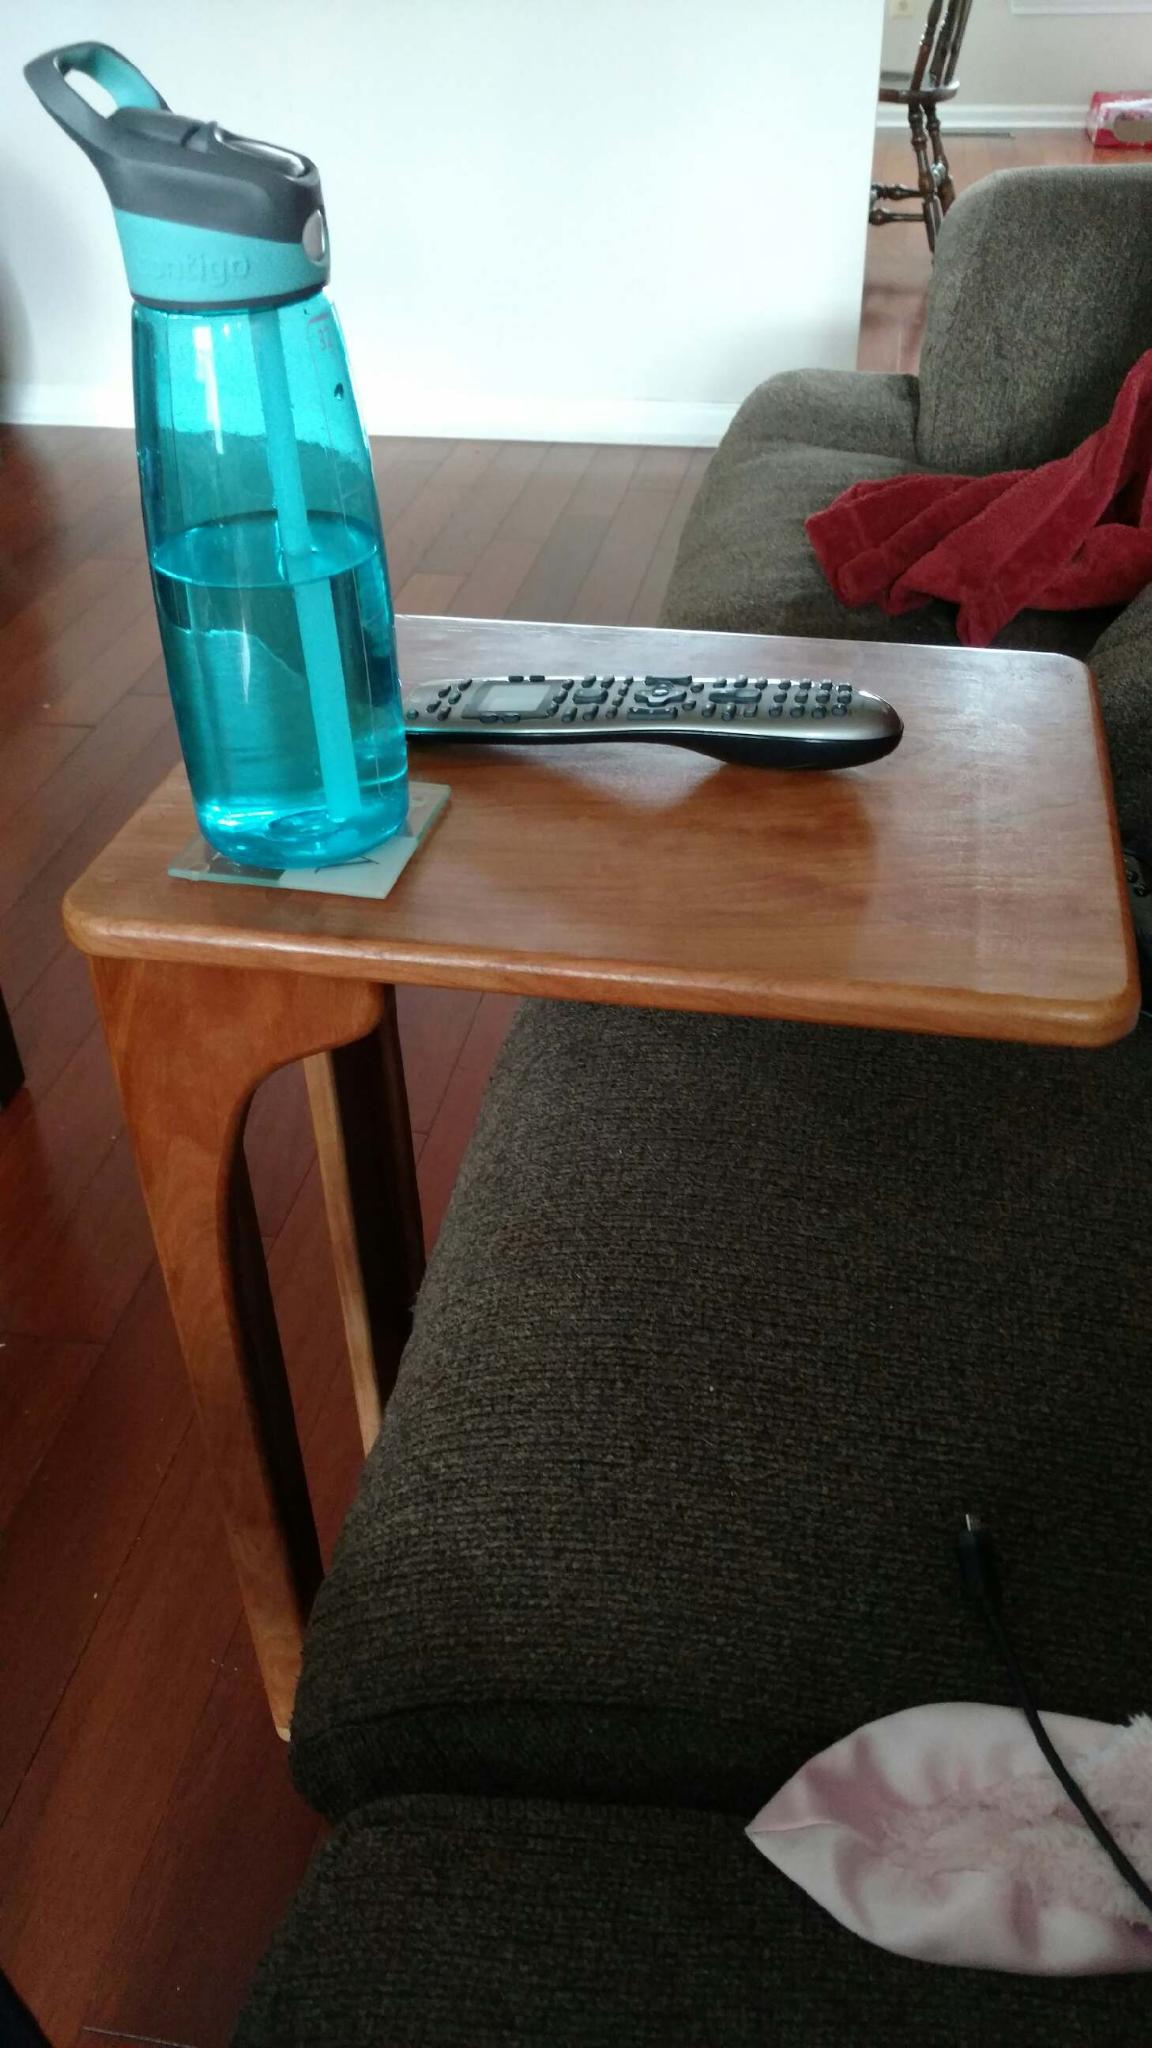
Cherry sofa snack table
Hey, remember my buddy Rob? He came over and worked on a few projects, then disappeared…

Well, over the last year and a half (or so) Rob got married to Jen, they bought a house, and now they just had a little baby girl. Being new parents, they now have even less time. It is a challenge to get all the baby gifts and furniture, unpacked and assembled, before little Audrey is requesting attention.

When we were visiting them last week, it occurred to me that a small sofa snack table could be very useful to two new parents, who suddenly realized that they only had two hands. Having three or four things to juggle, when it came to feeding time, a place to sit bottles, cell phones, remotes, etc, within reach of whoever was feeding the baby, could save a little frustration.
I spent a few minutes, on the internet, looking at different designs, then just decided to wing it. I know Rob likes Cherry, and his sofa table is in the living room, so I decided to build it from my cherry scraps. I didn’t have much more of a plan then making it about 24″ tall, 12″ wide, and 18″ deep.
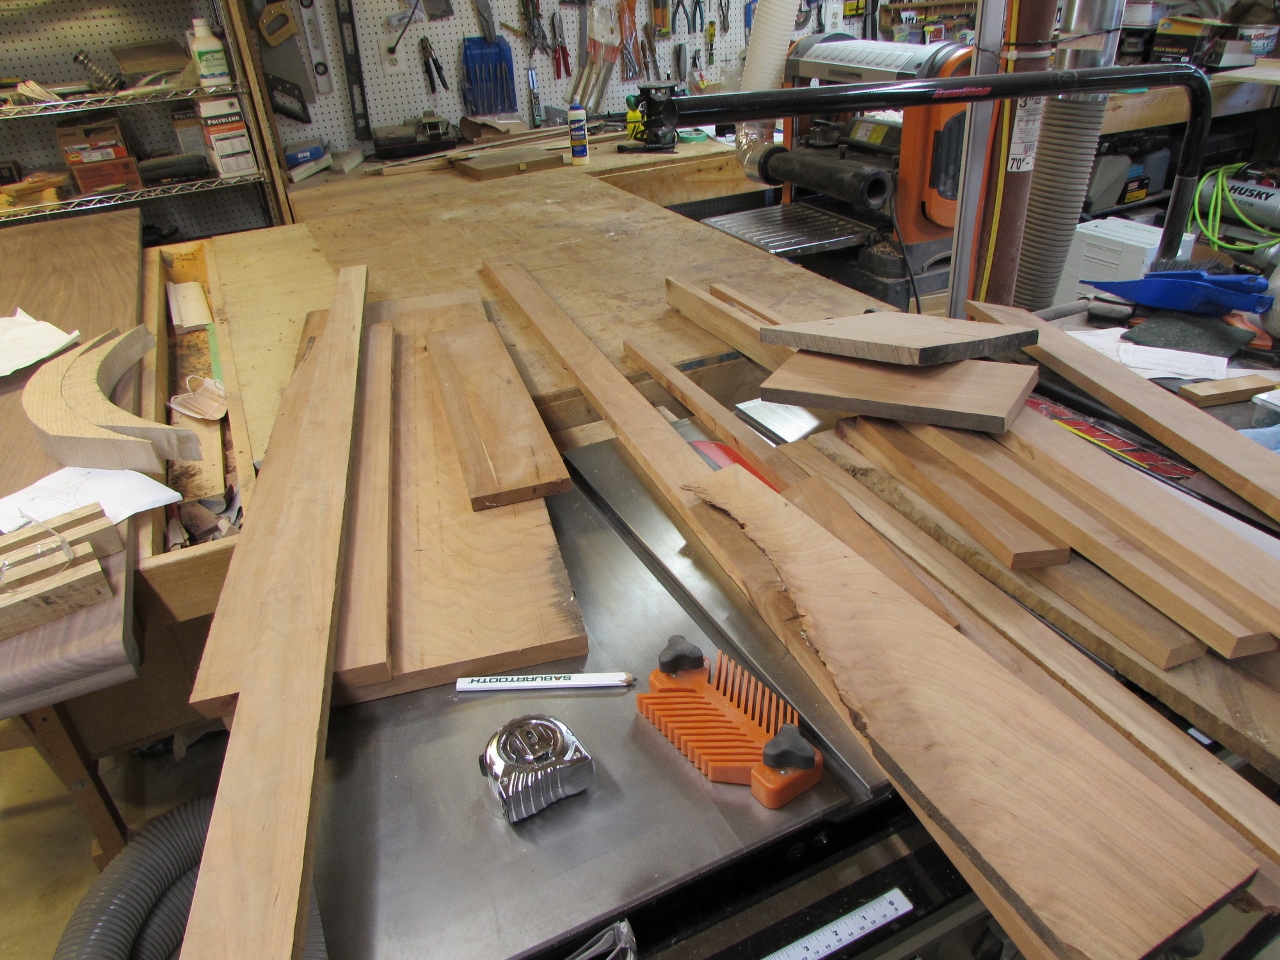
With these numbers in mind, I started milling down blanks and glueing up some 5″ wide panels.

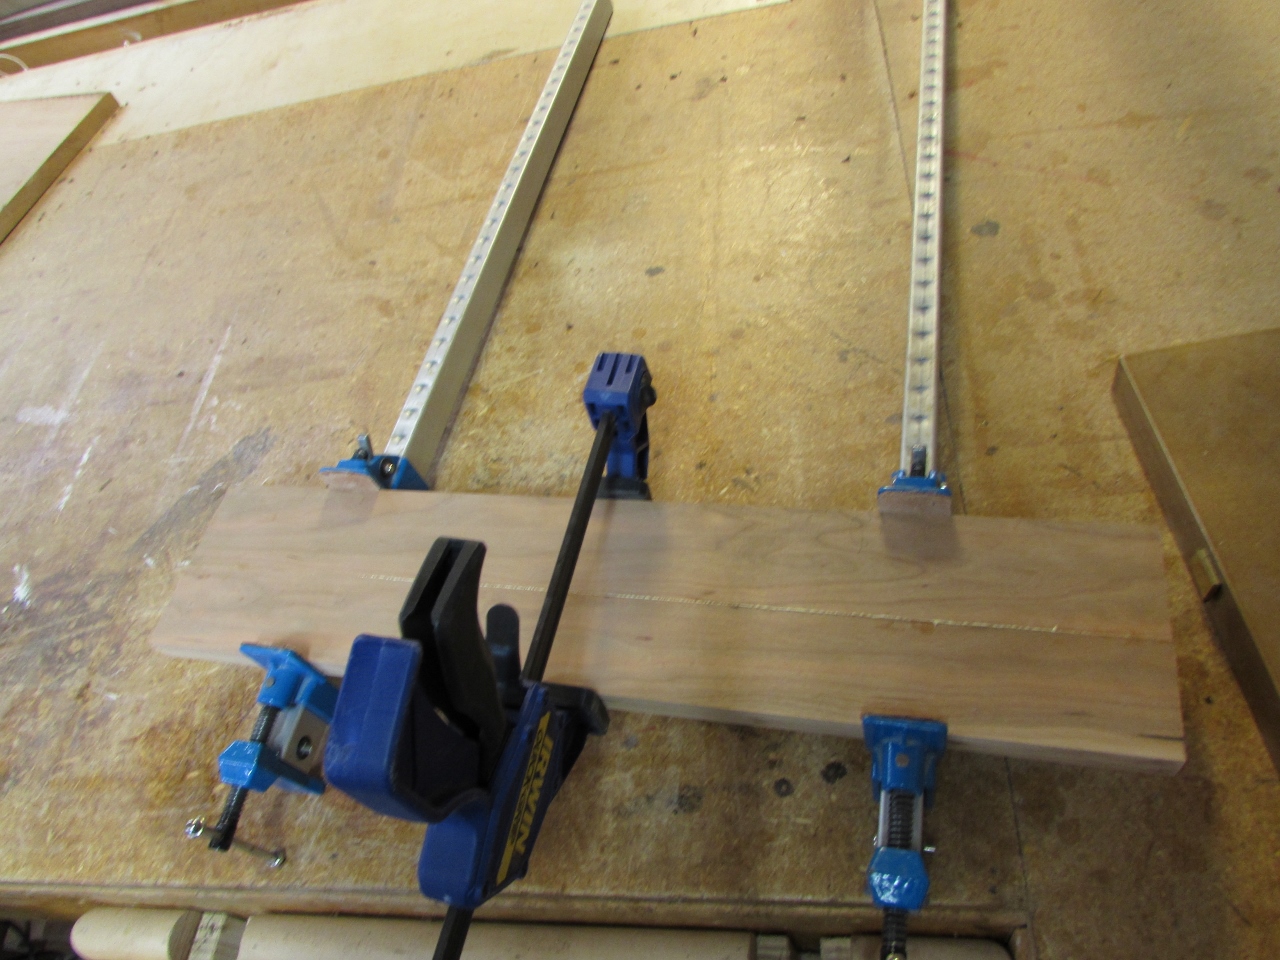
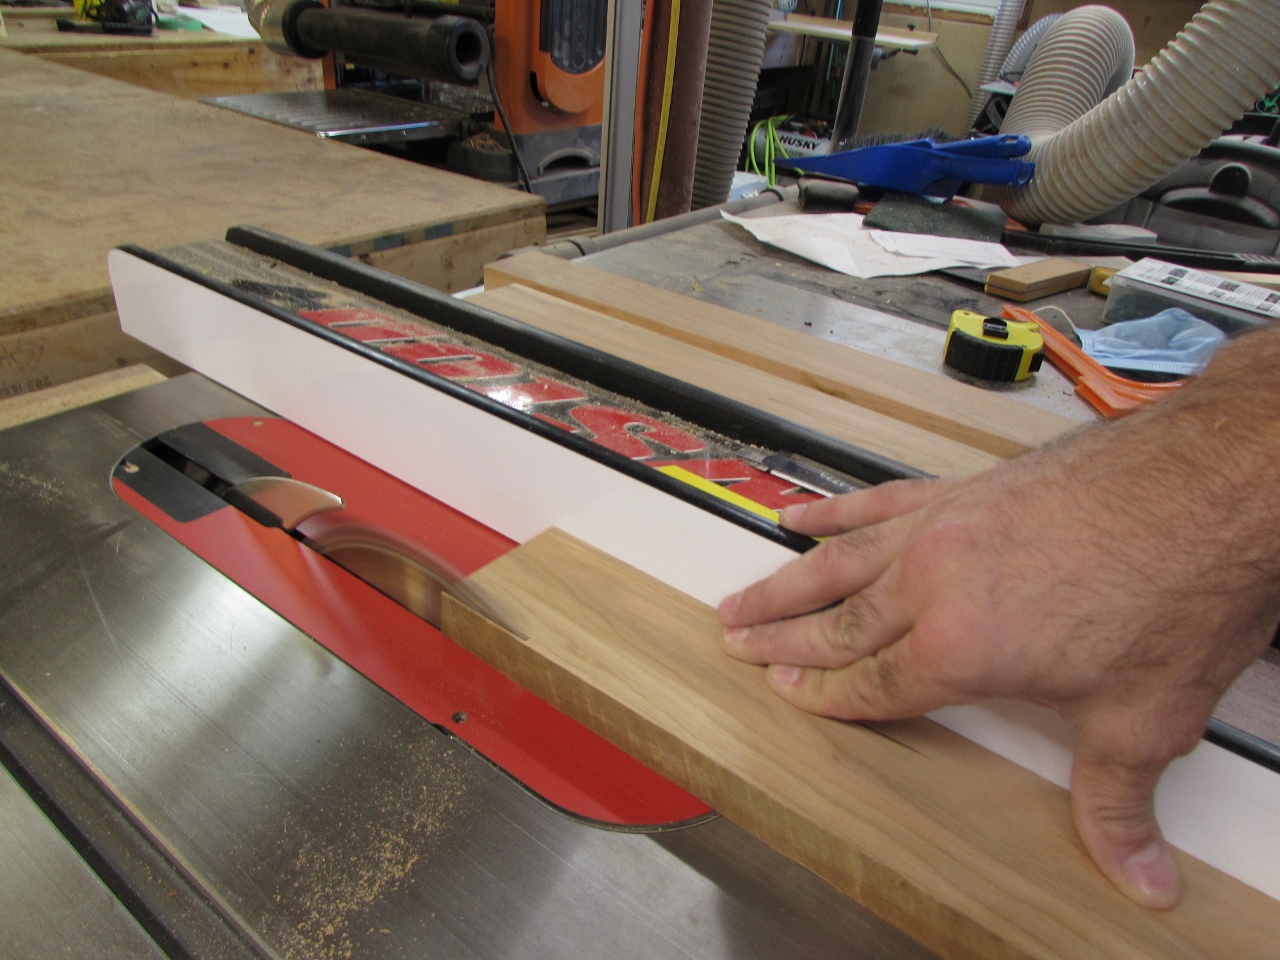
The 5″ wide ones will be for the sides, and I had a 13″ wide panel, that I cut down for the top.

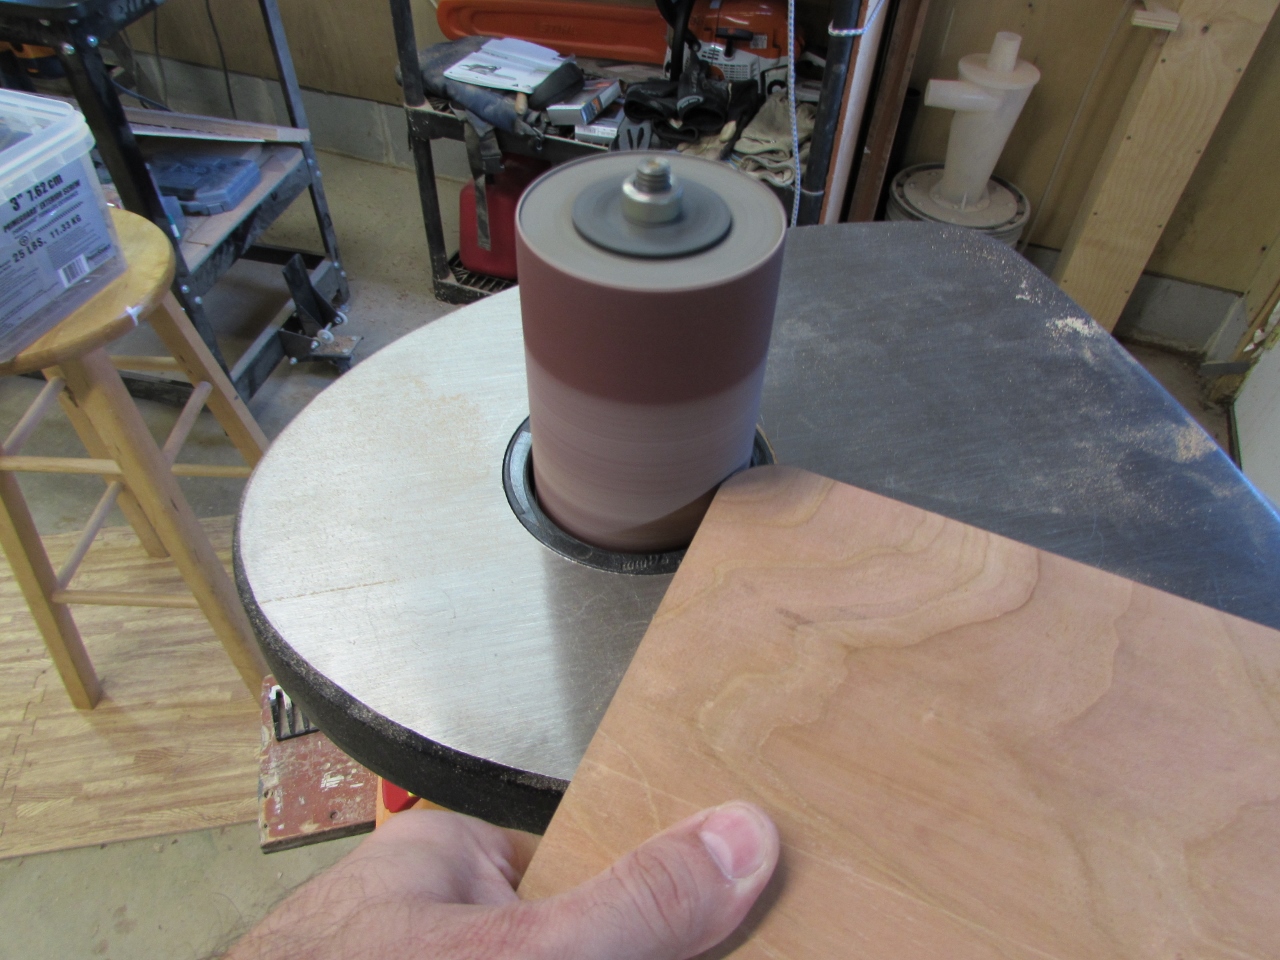
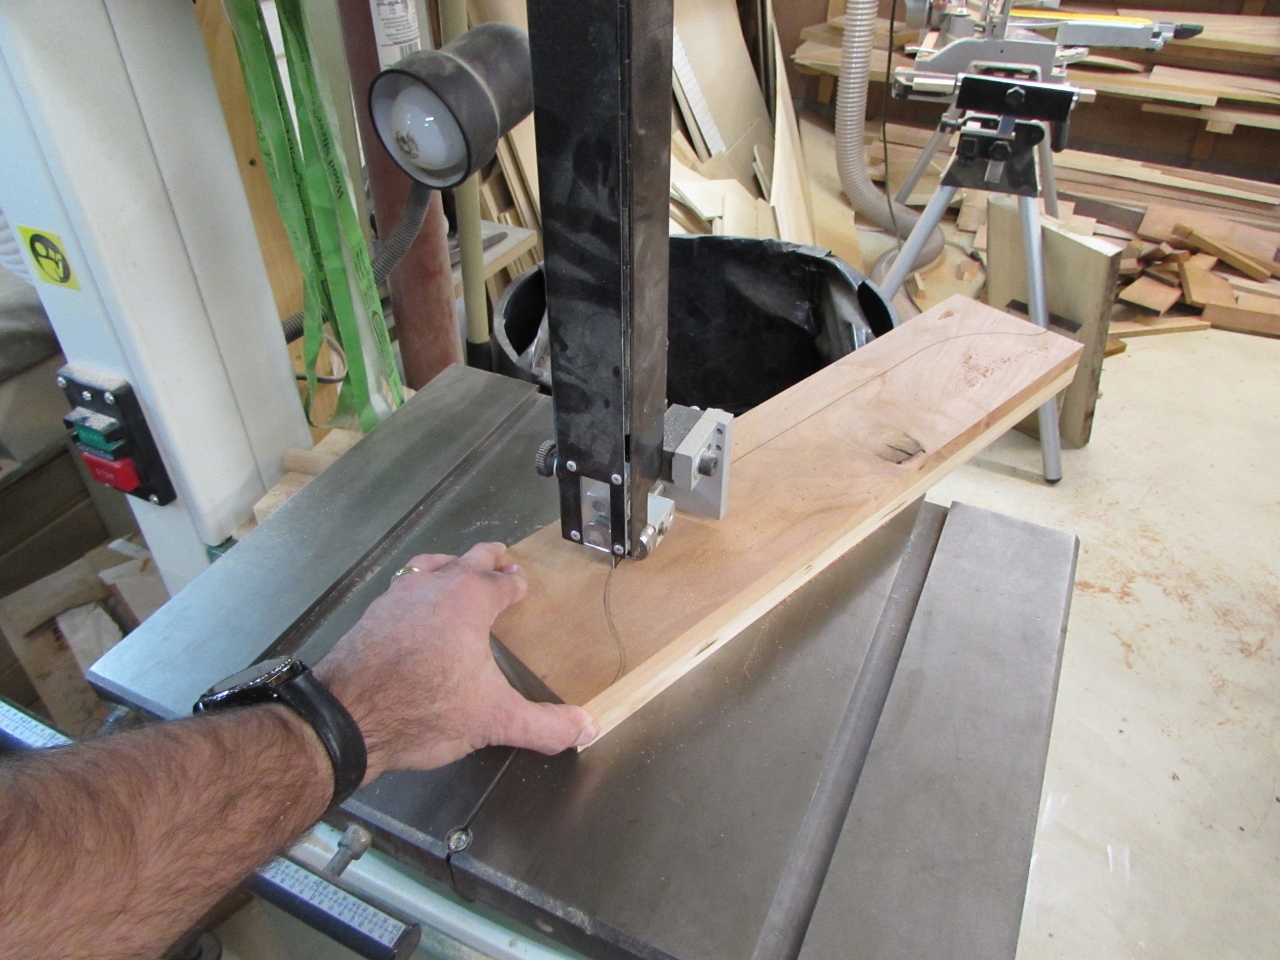
After planing the top down, I marked a radius on each corner.
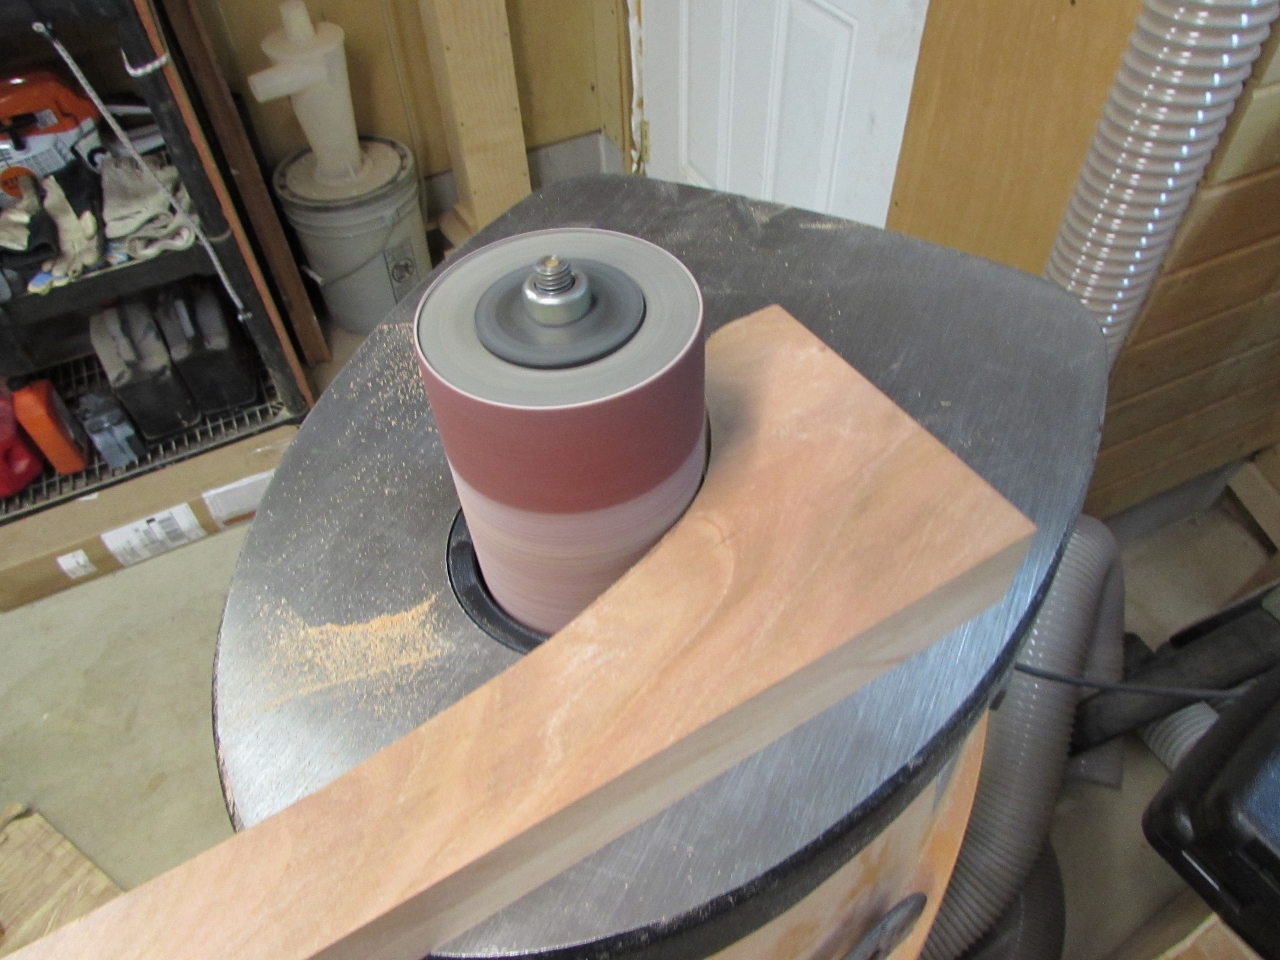
I cut those on the band saw, then cleaned them up on the spindle sander.
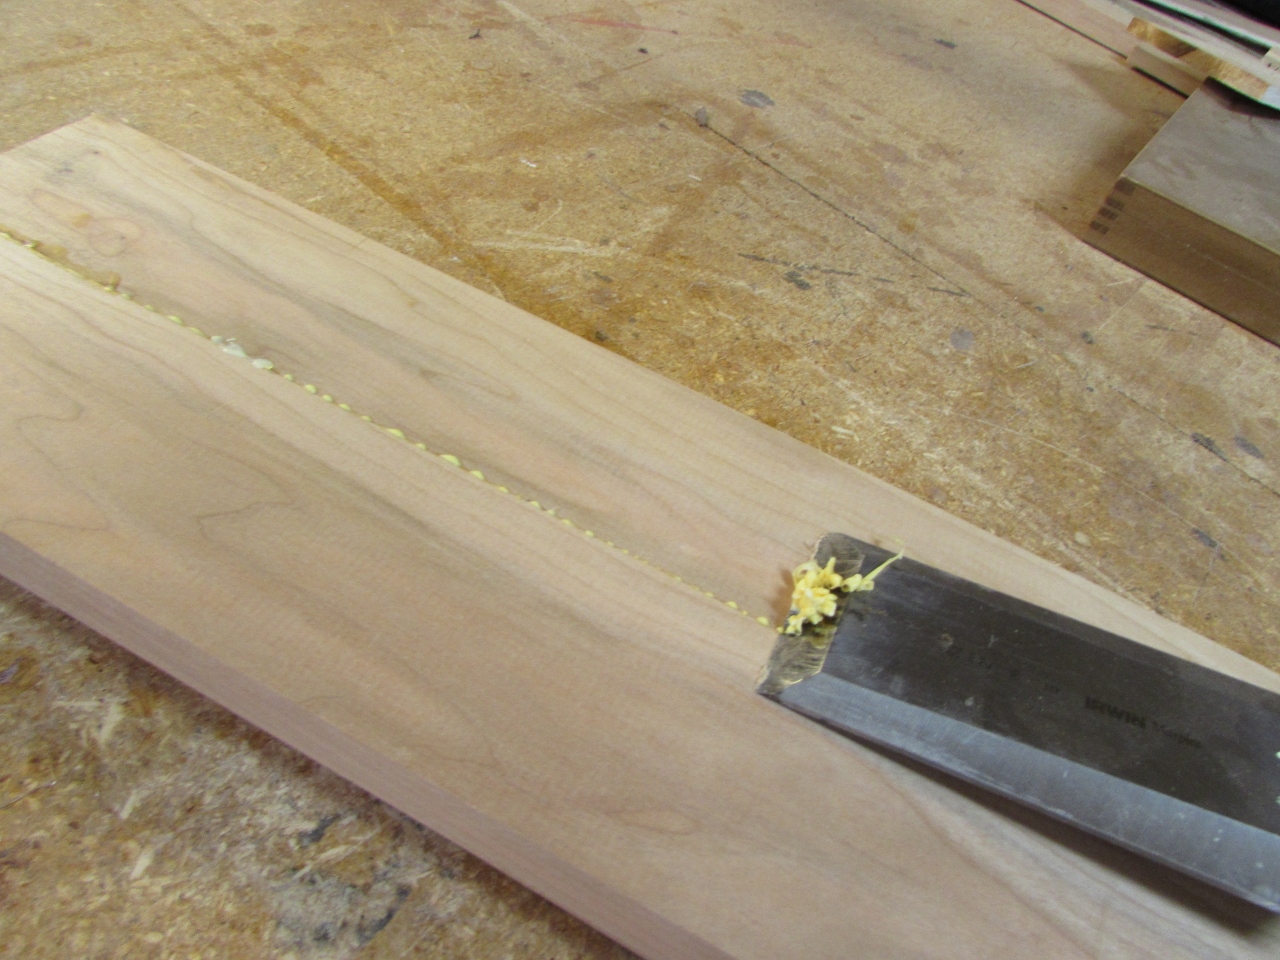
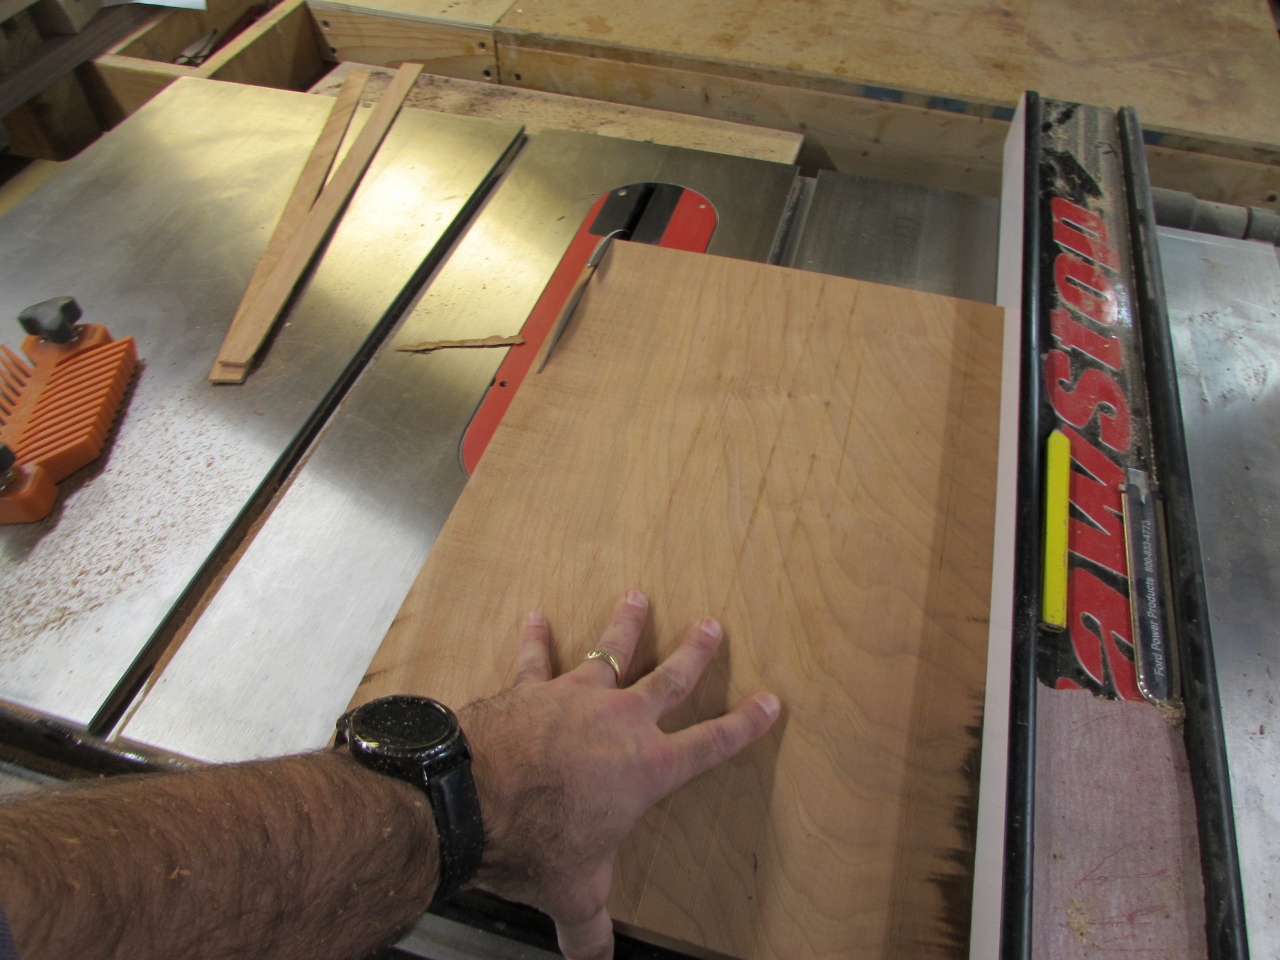
After the glued up panels had set long enough, I pulled the clamps and scraped away the squeeze-out.
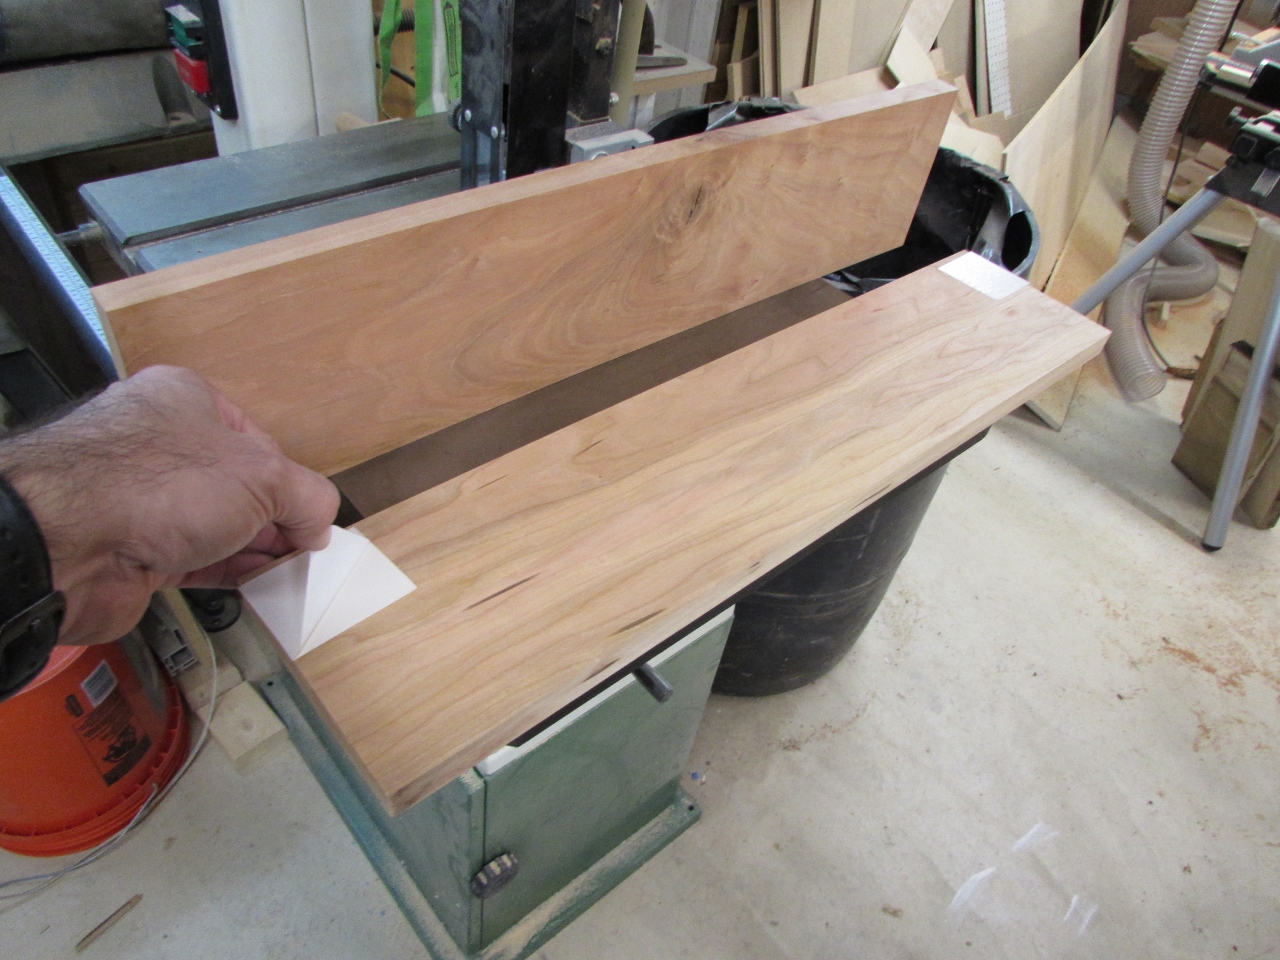
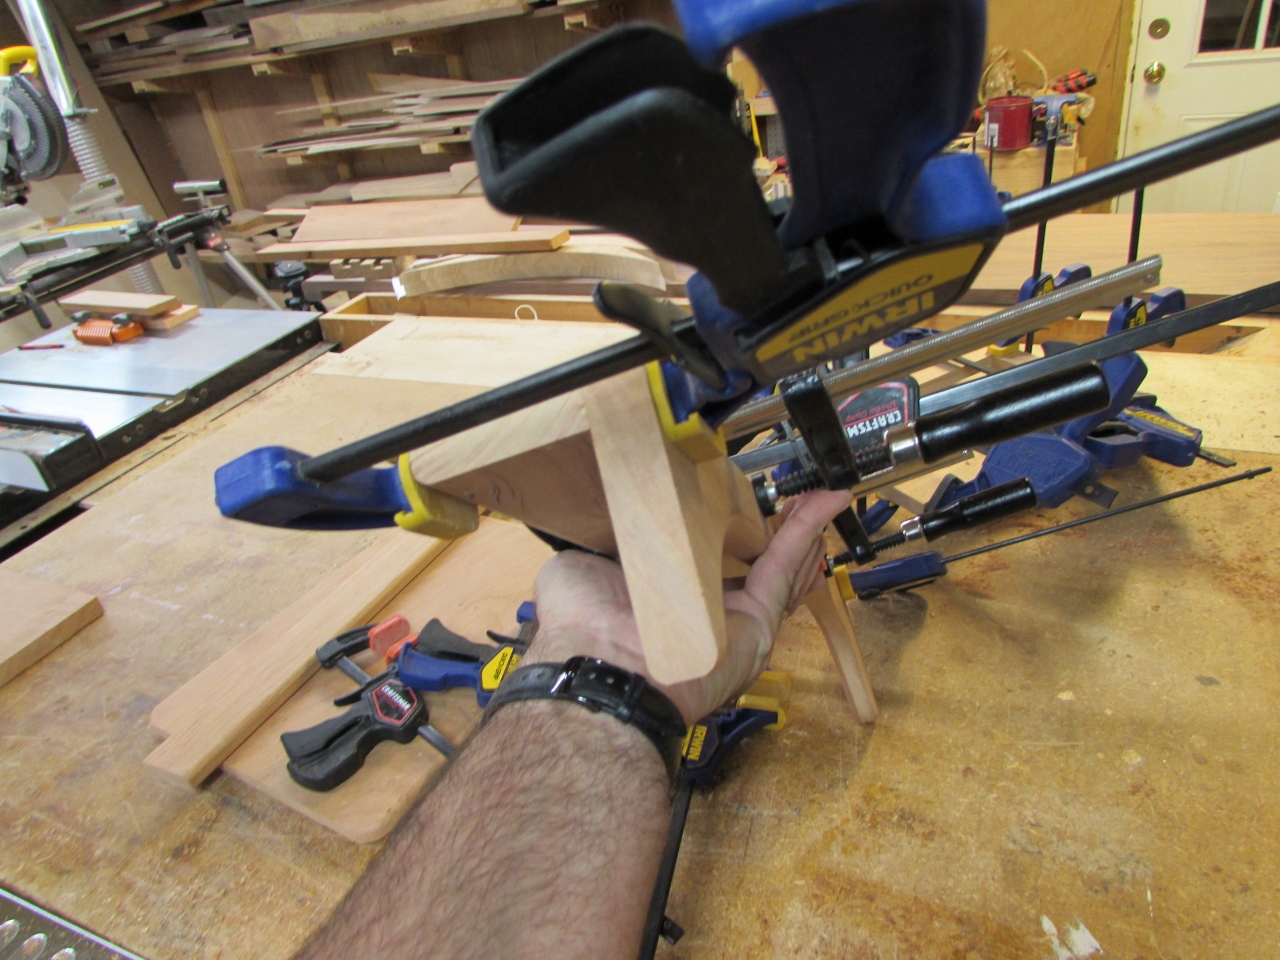
I used double-sided tape to hold the two side pieces together, then sketched out the curves of the side.
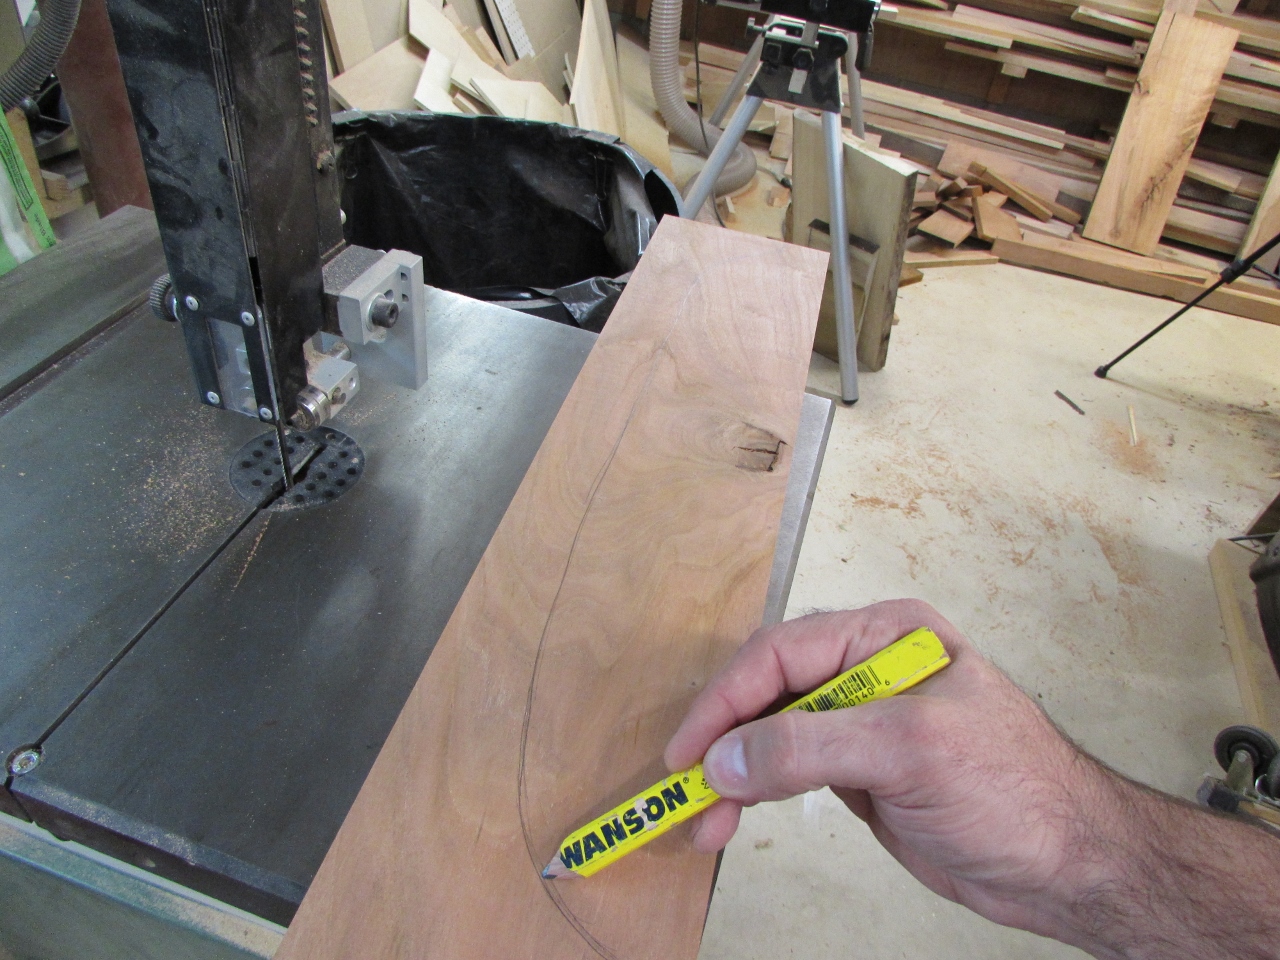
Band saw and sander again, then I separated the two pieces, and set them aside.
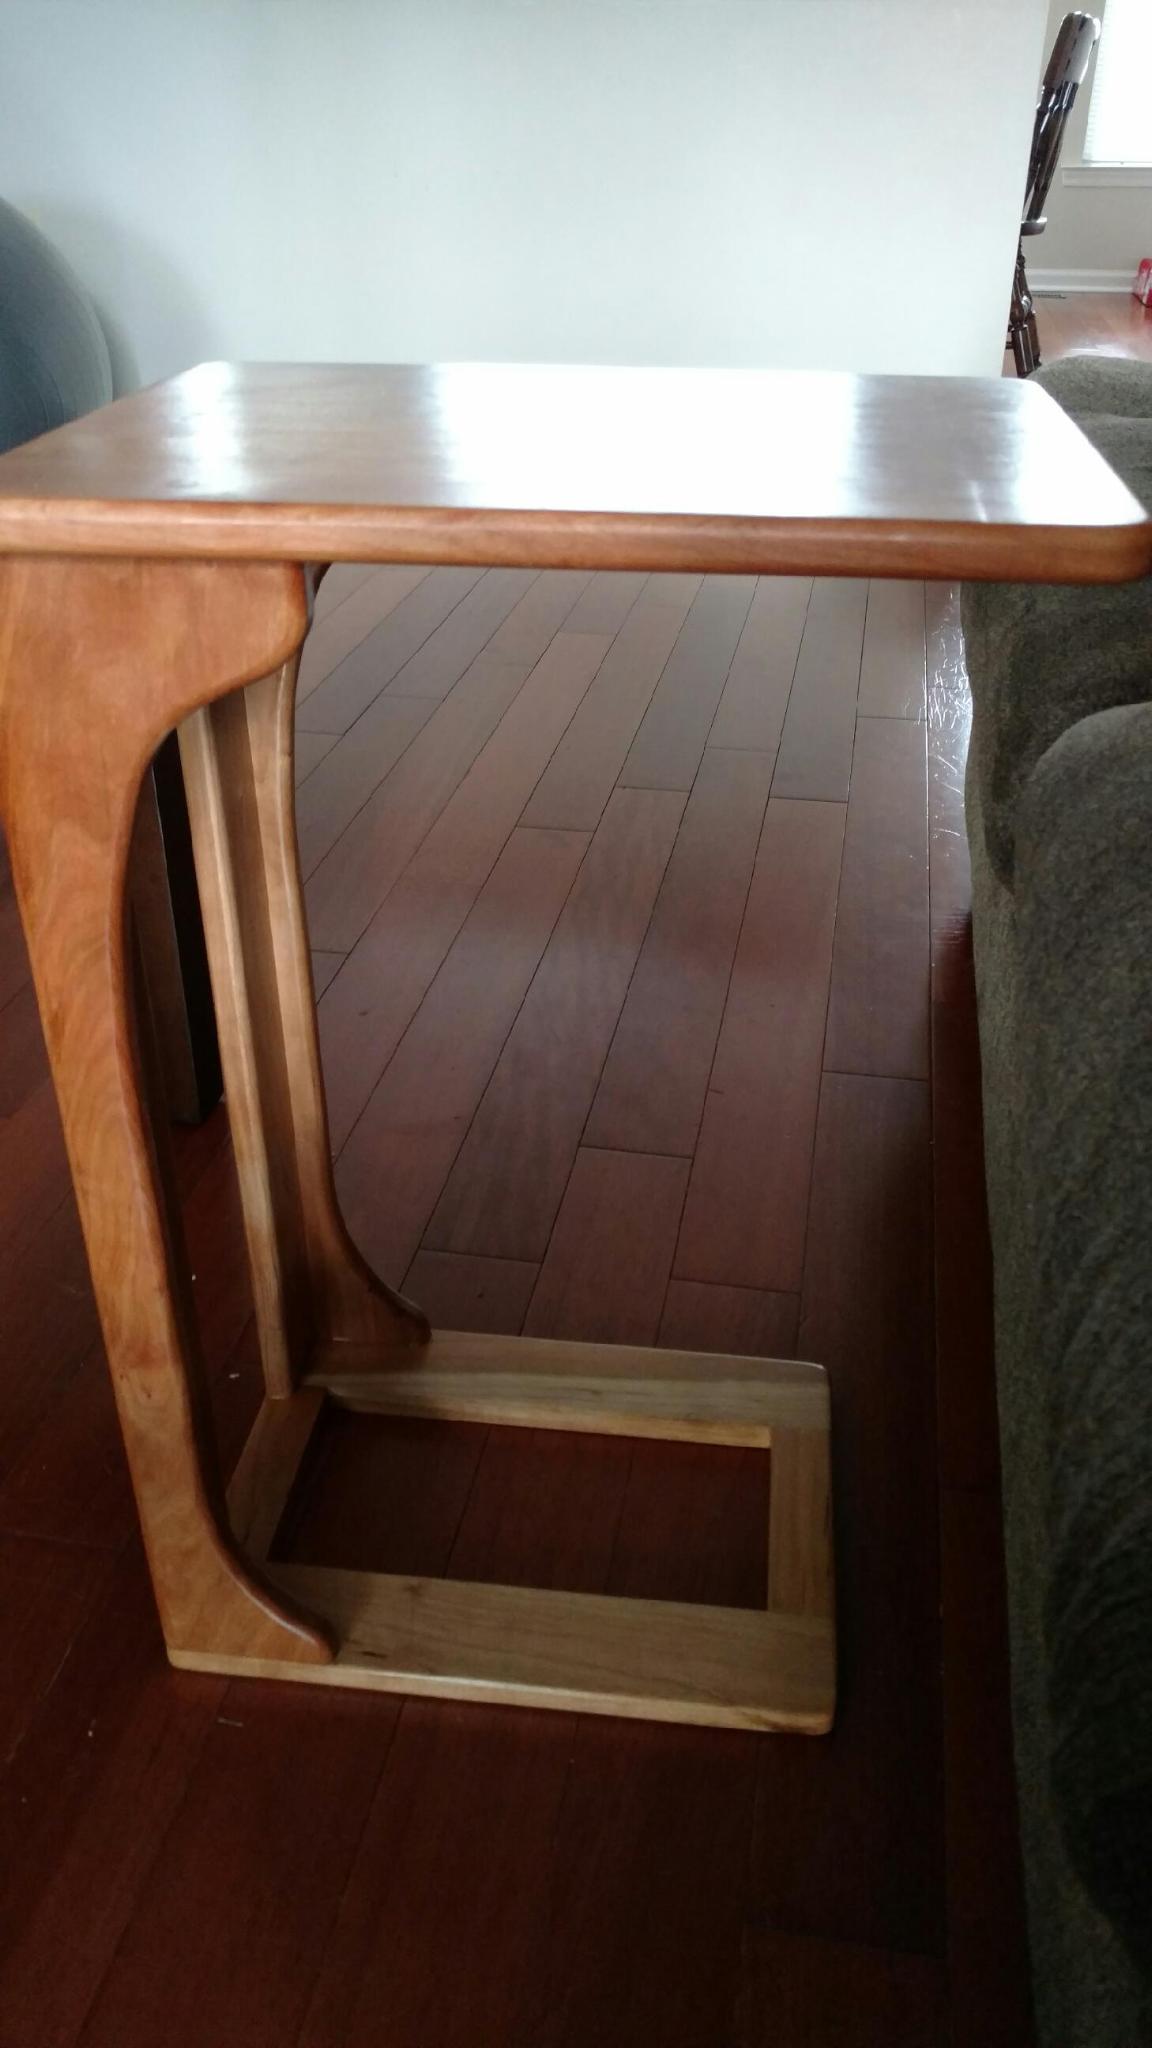
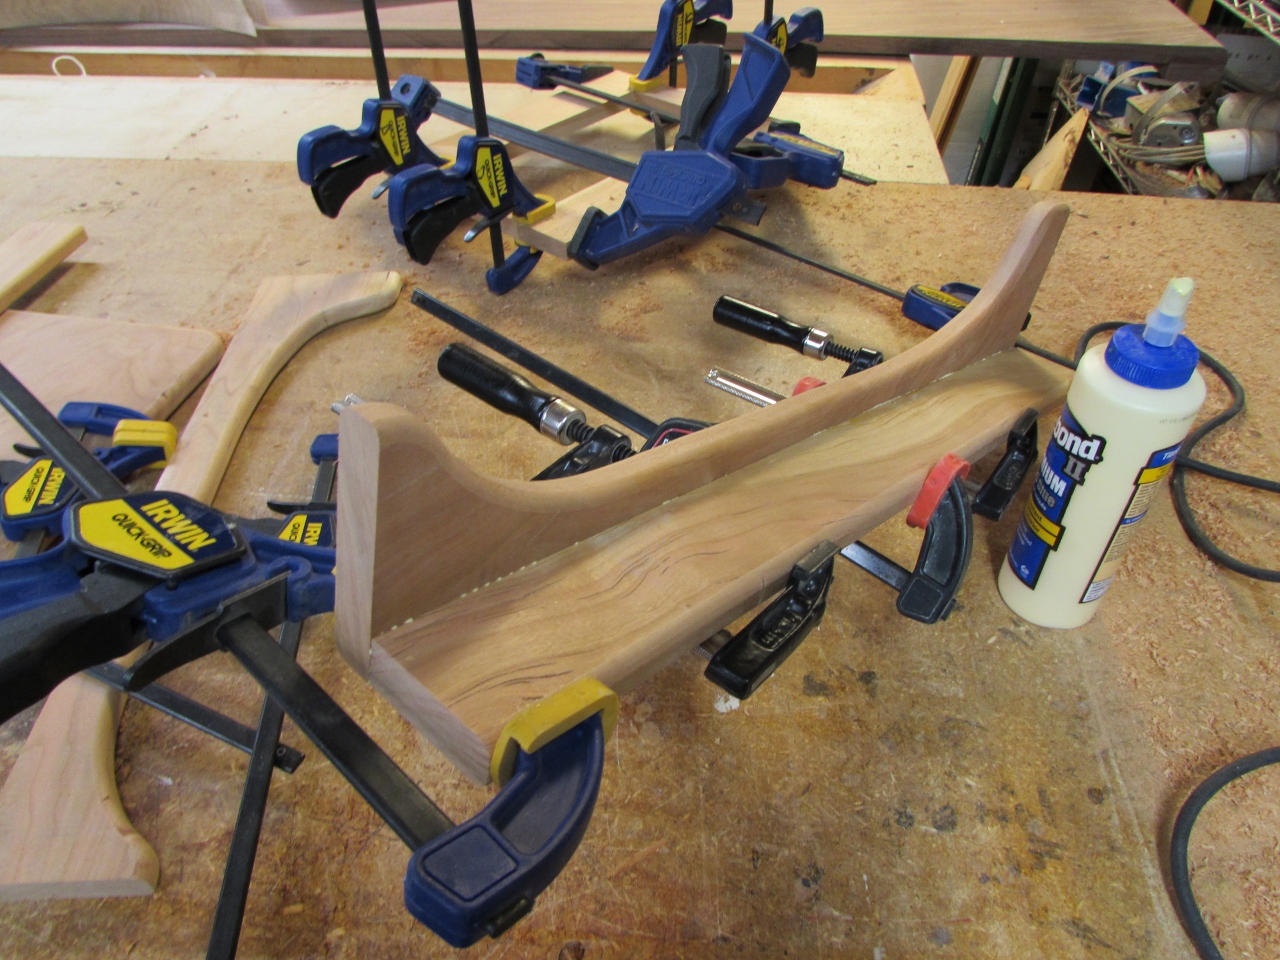
I laid out the bottom to be a bit smaller than the top, so the top would overhang the sides and the front.
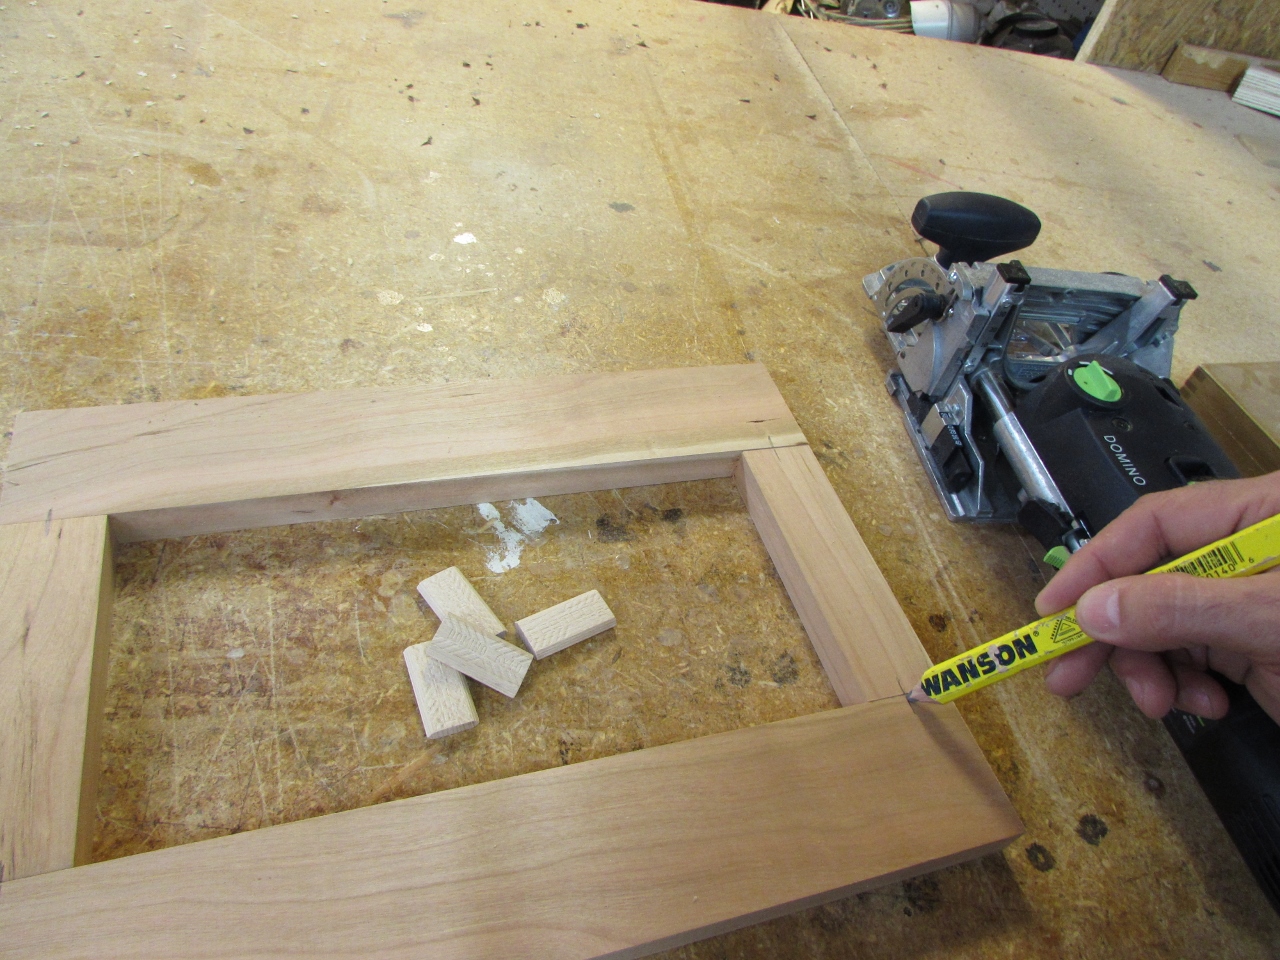
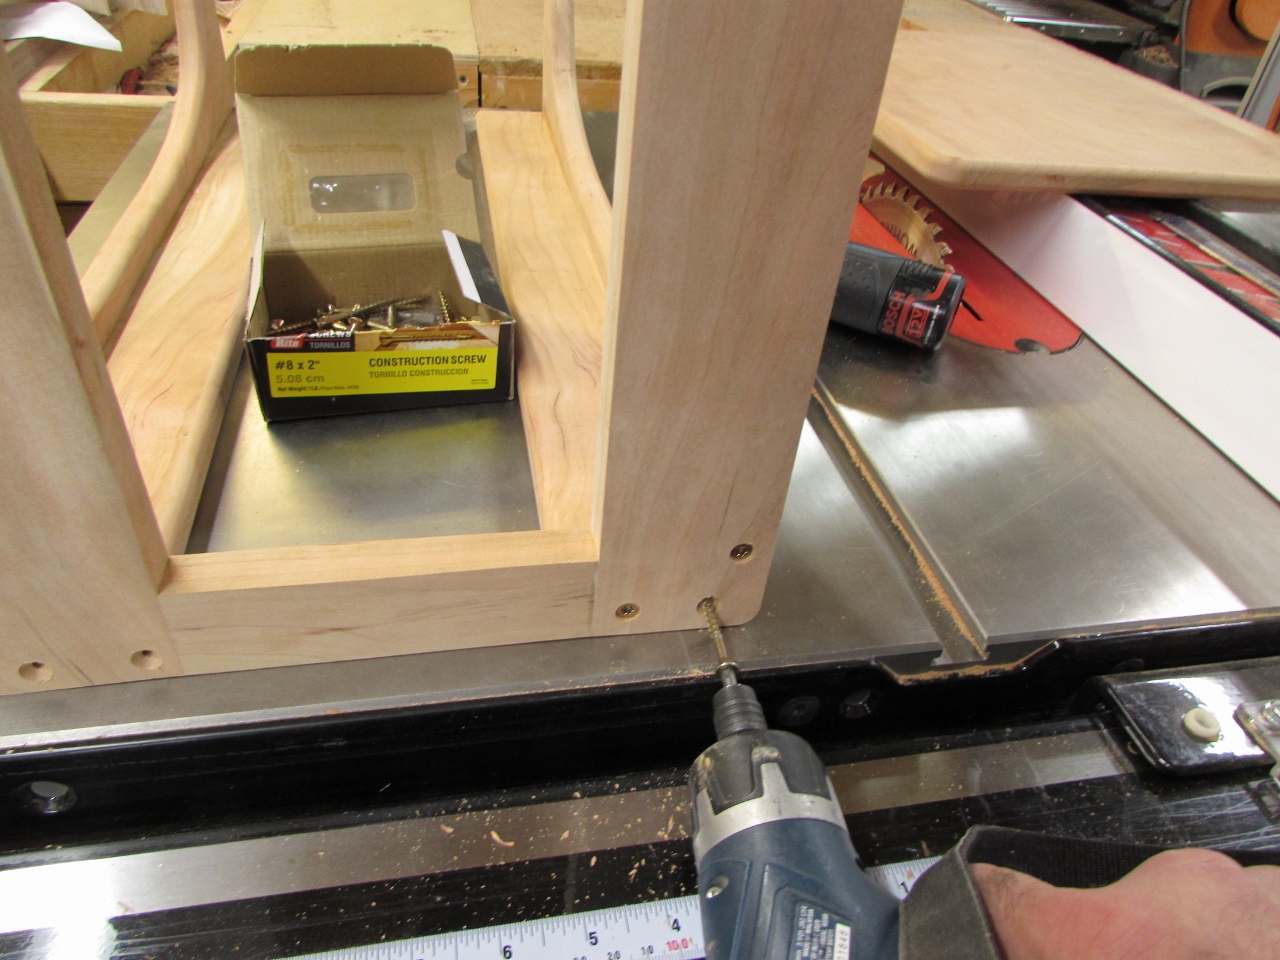
Since I only gave myself a day to complete this entire project, I decided on Dominos to join the base. It was the quickest joinery method I could think of that would give me adequate strength.
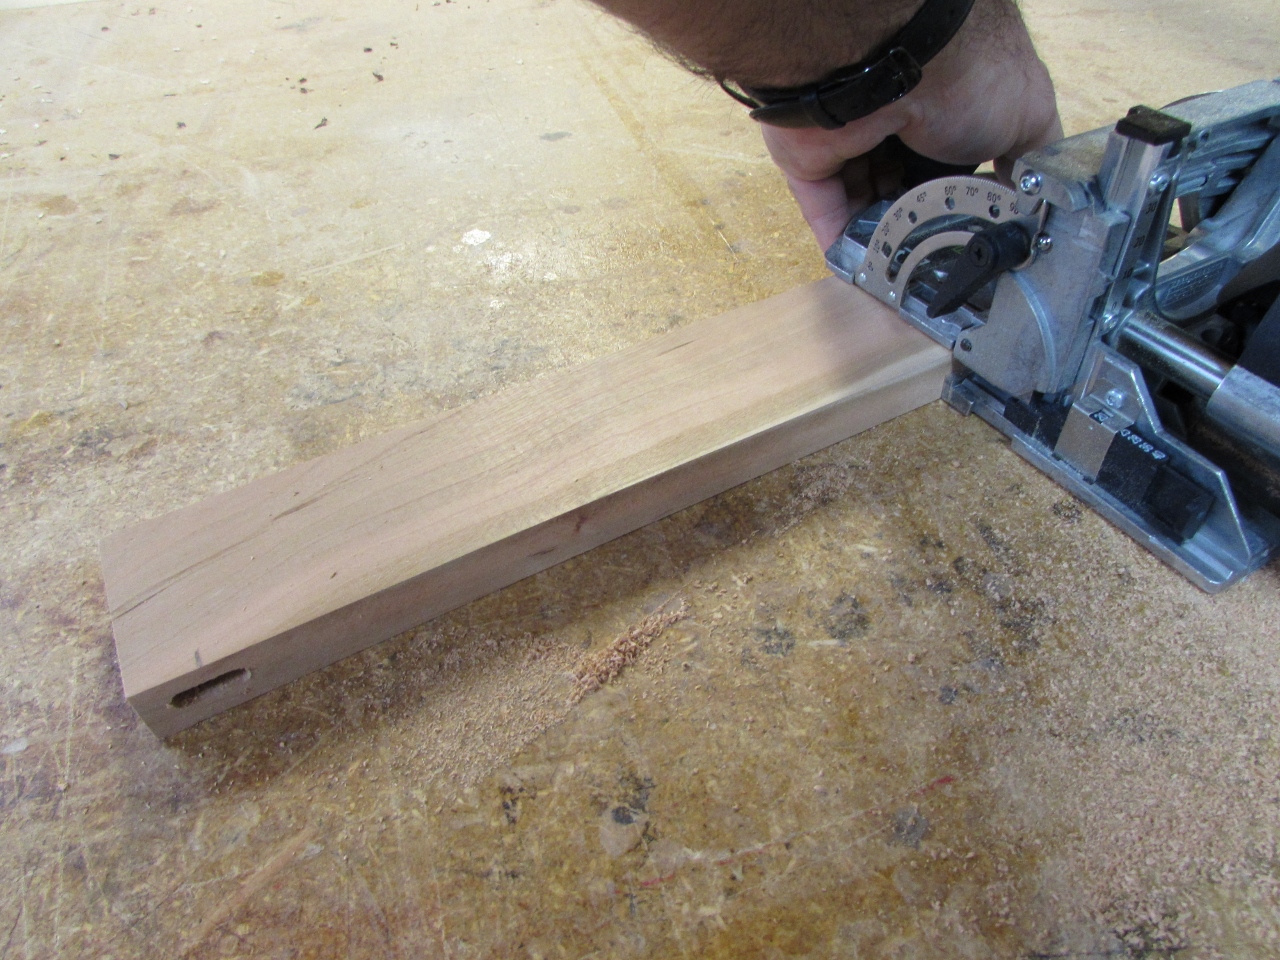
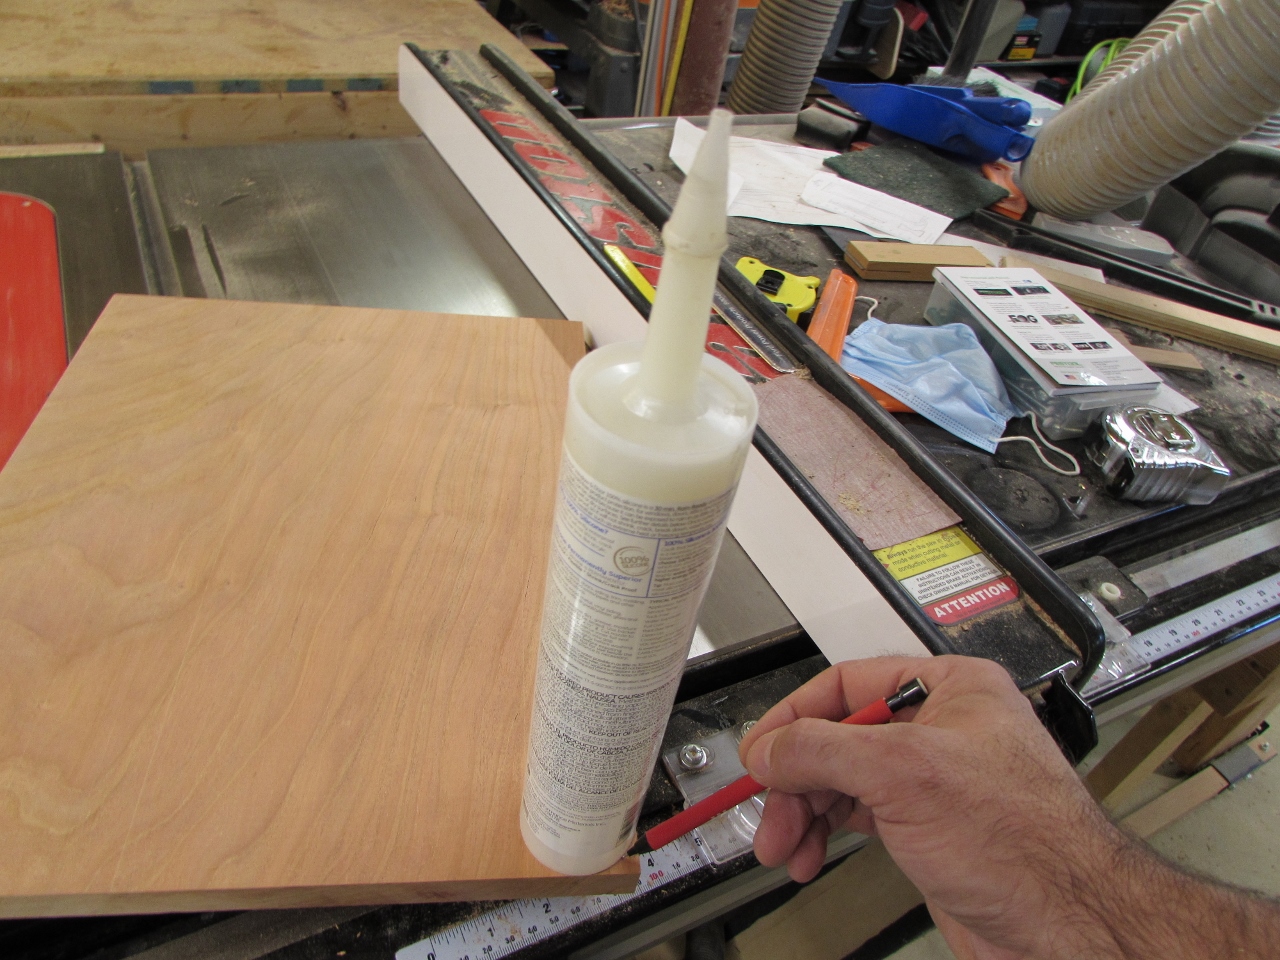
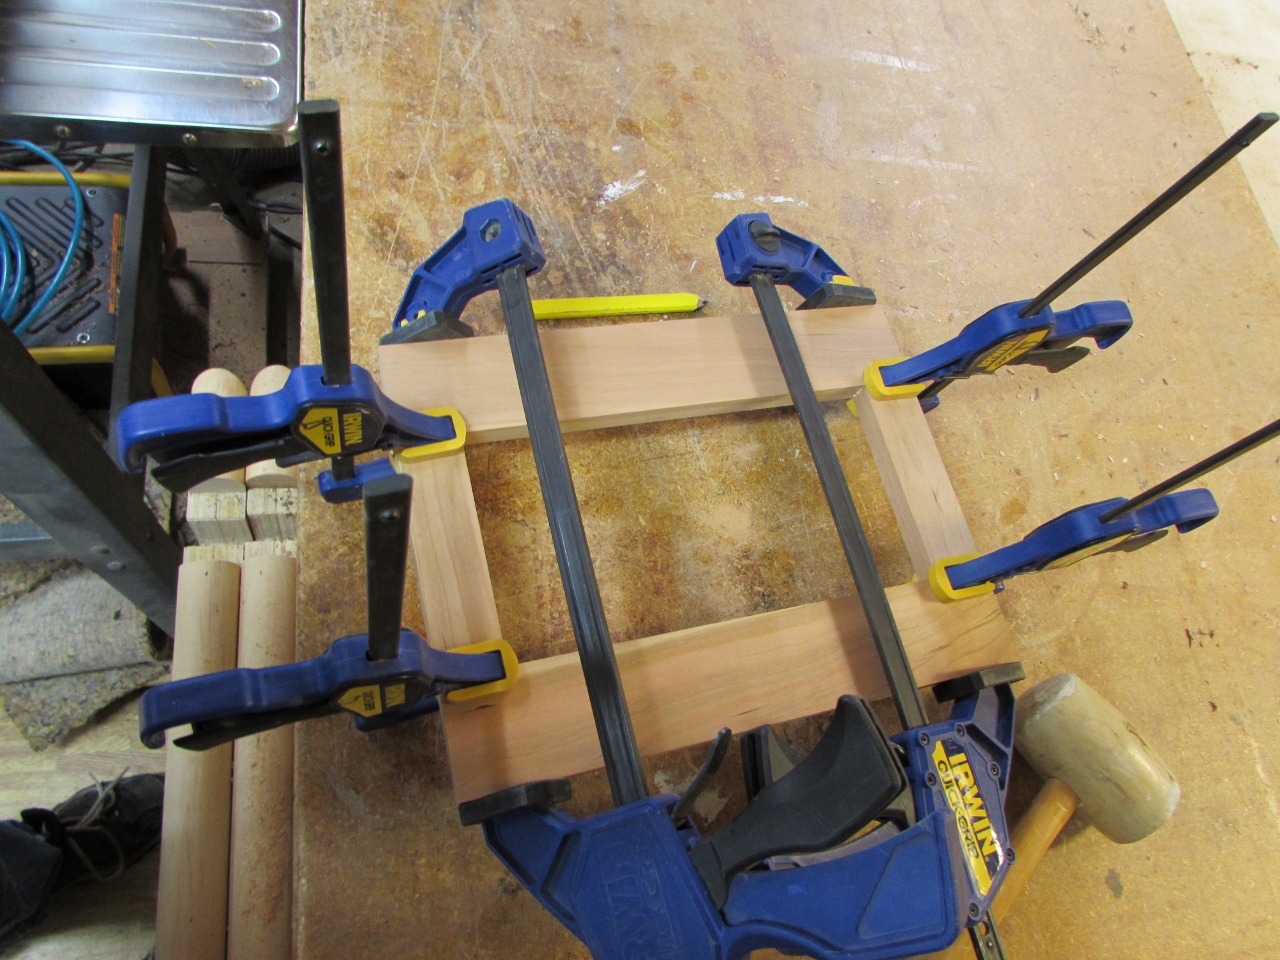
Once cut, I applied glue with a thin strip of wood, then clamped it all up.
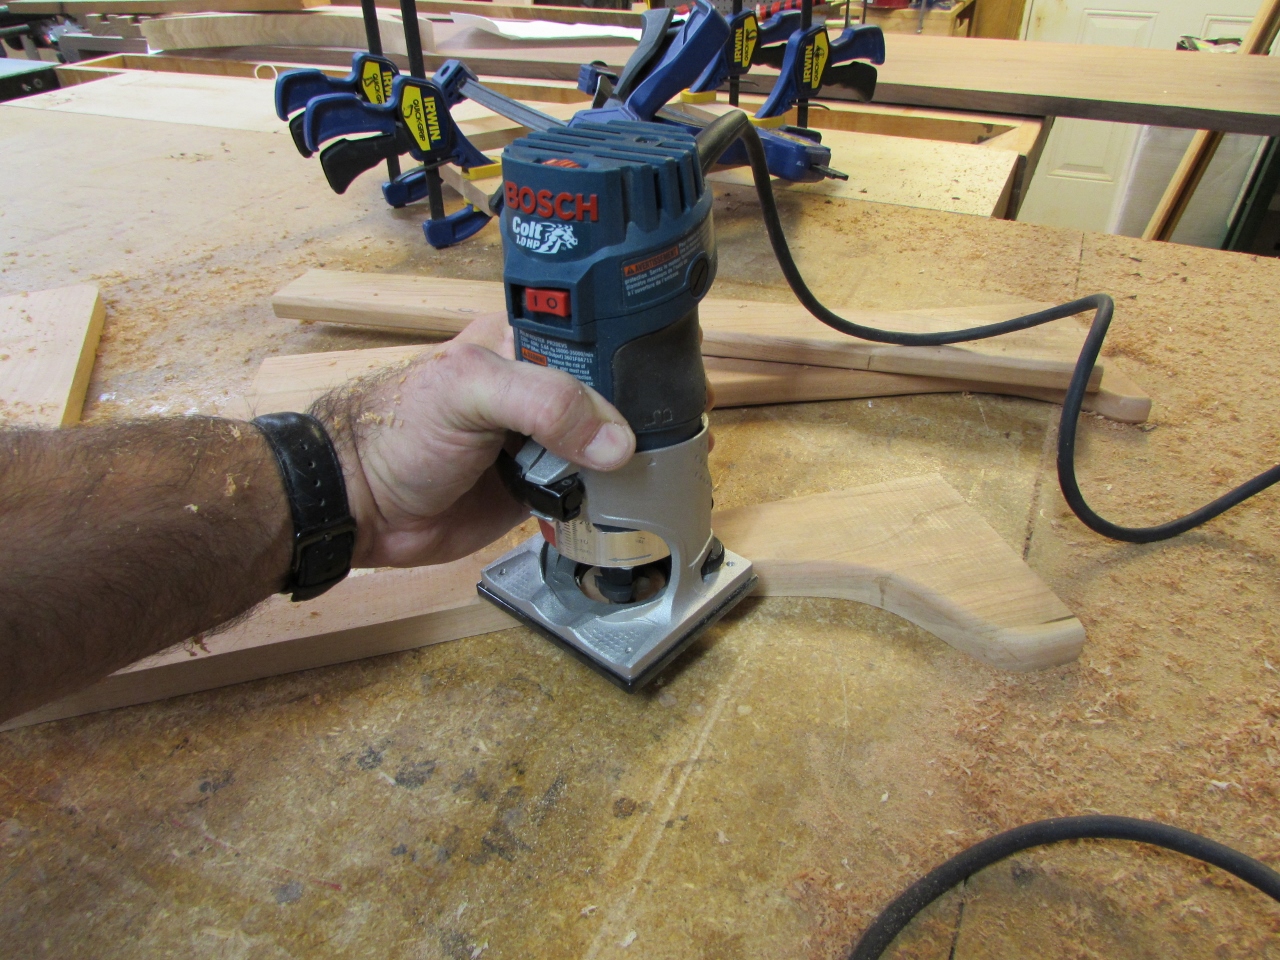
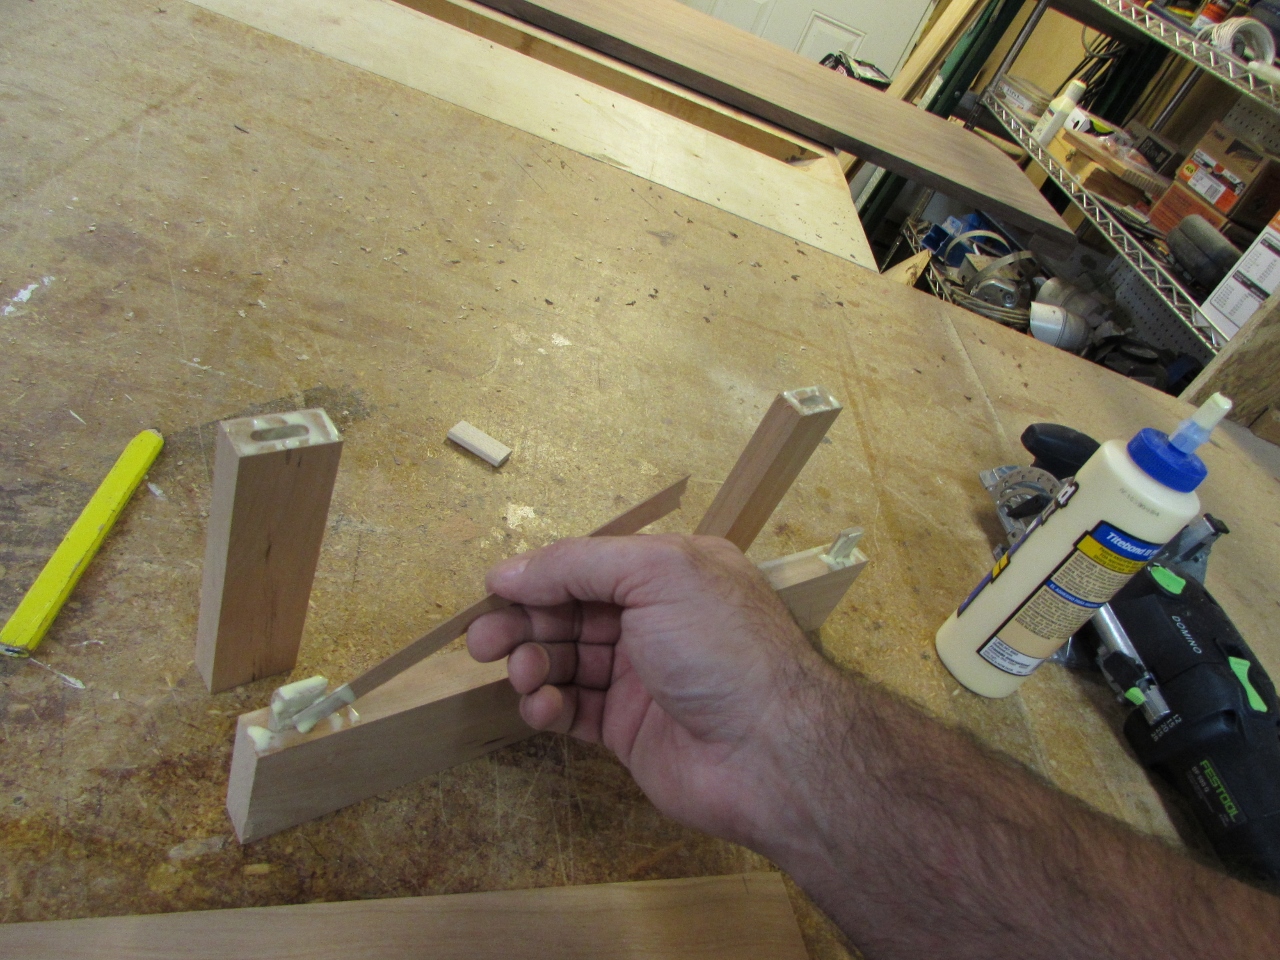
I set my 1/4″ round-over bit up, in my smaller trim router, then applied a radius to all of the exposed edges on my sides and top.

I left an unrounded section on the bottom/back of the top piece for mounting the legs to.
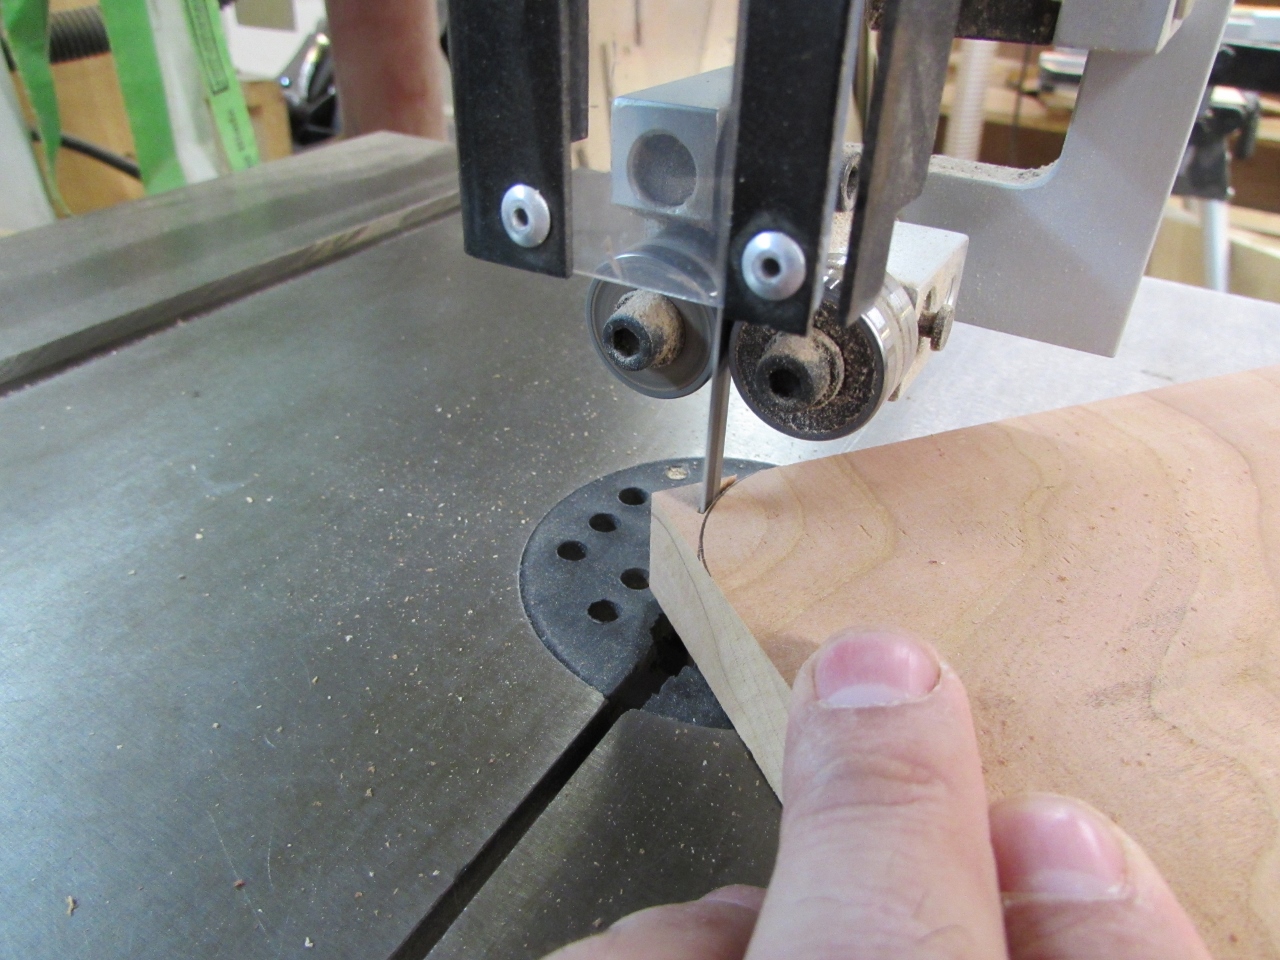
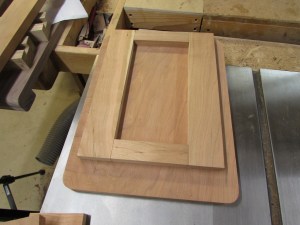
Once rounded, I glued the leg pieces together.
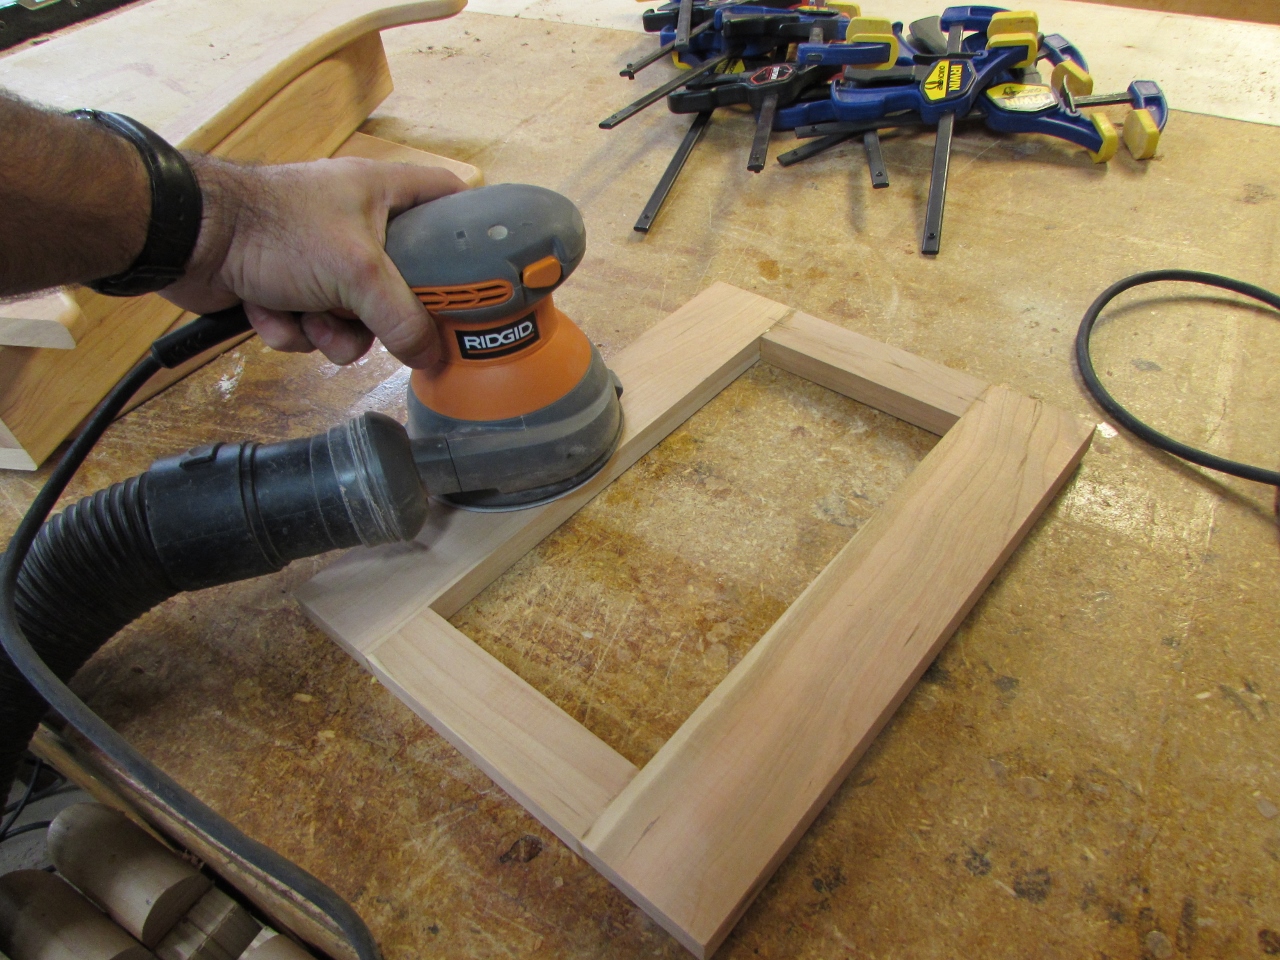
When the bottom frame was dry, I gave everything a thorough sanding.
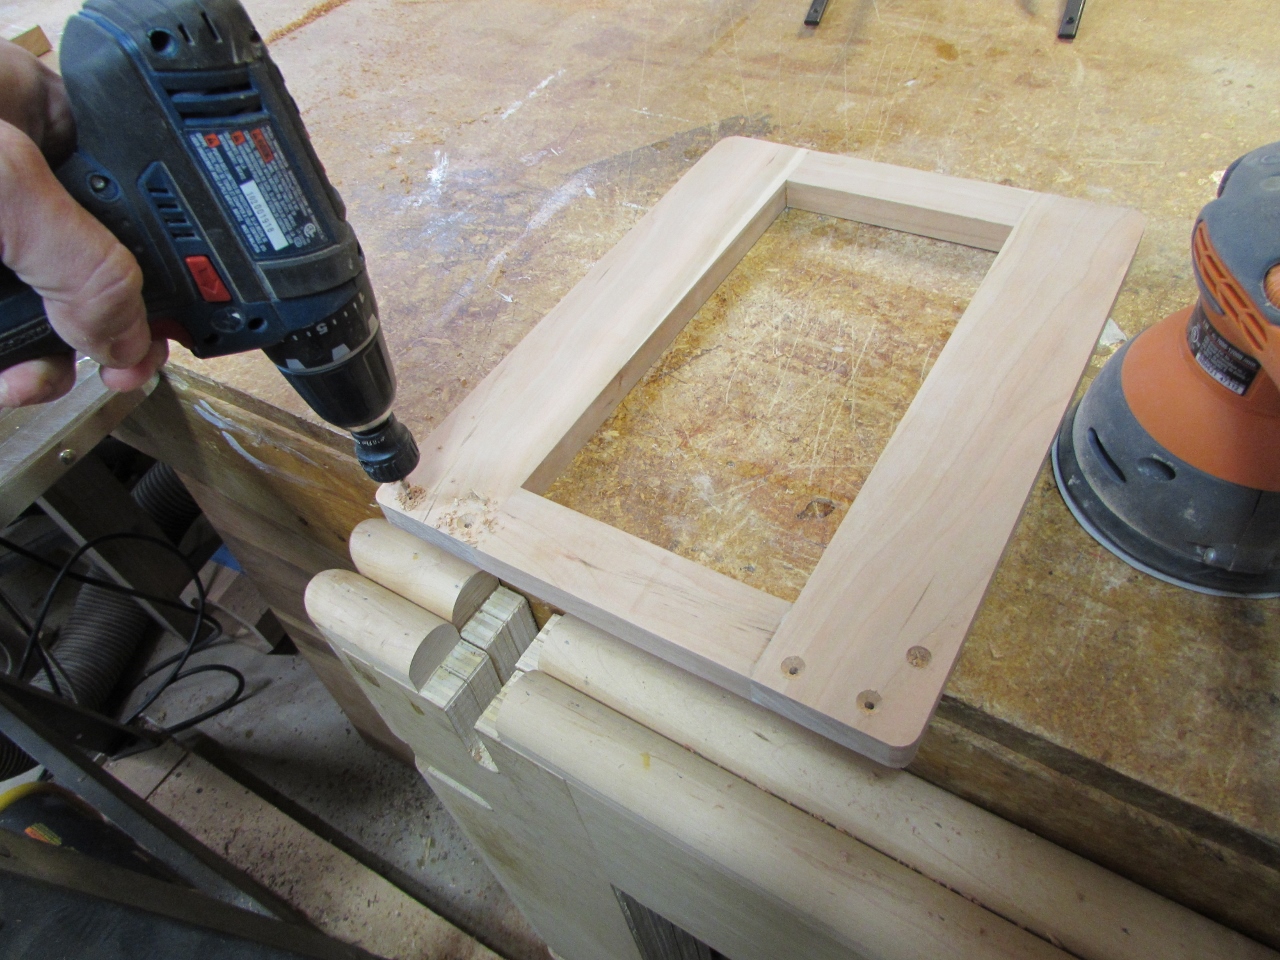
I drilled and countersunk the bottom, to attach it with glue and screws. Since it will face the floor, I didn’t worry about plugging the screw holes.
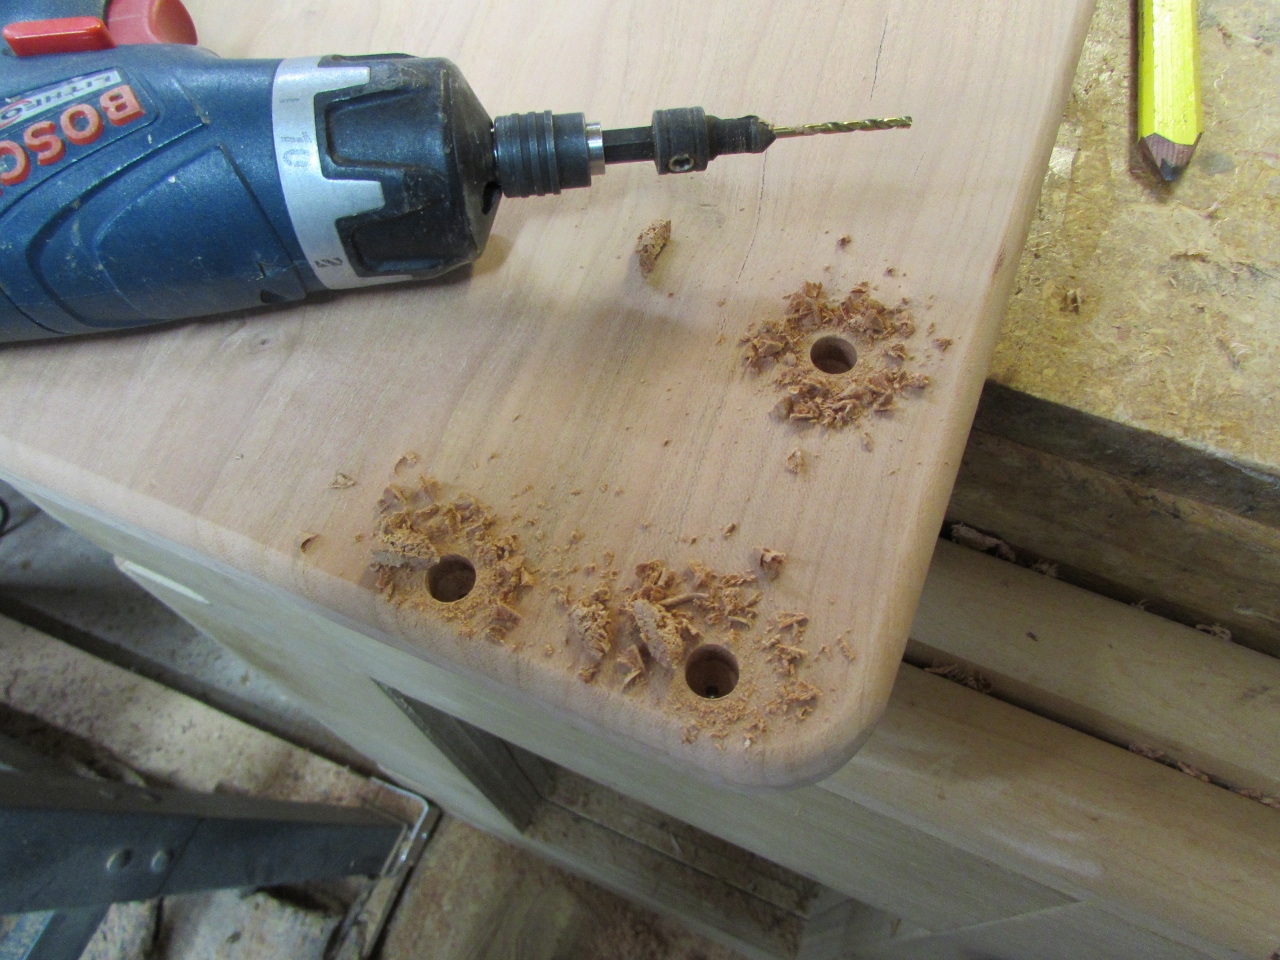
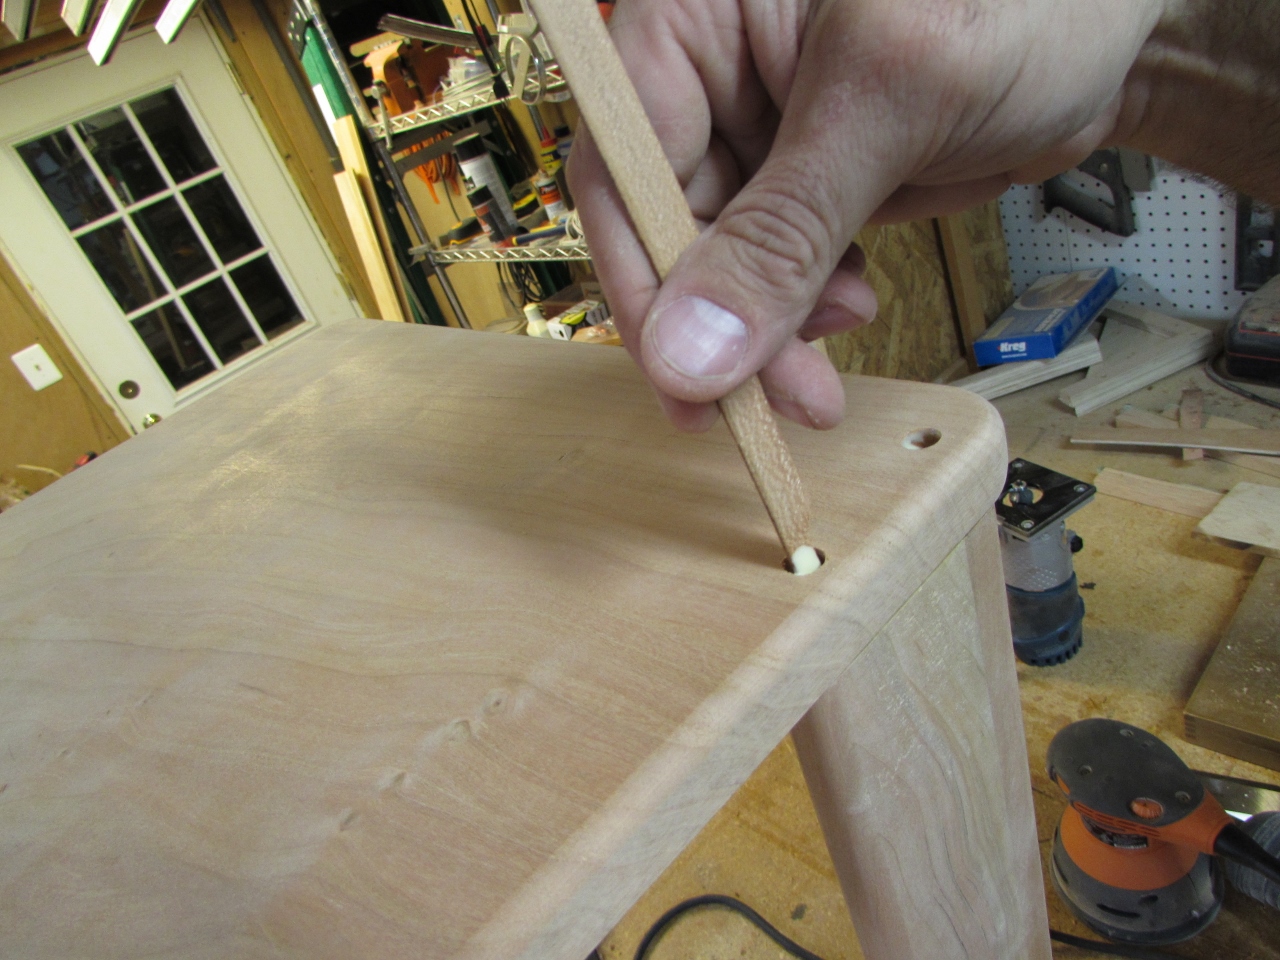
The top was a different story. I counter-sunk those holes deeper so that they could be plugged.

After attaching with screws and glue, I used my plug cutting bit to create several plugs with different grain patterns.
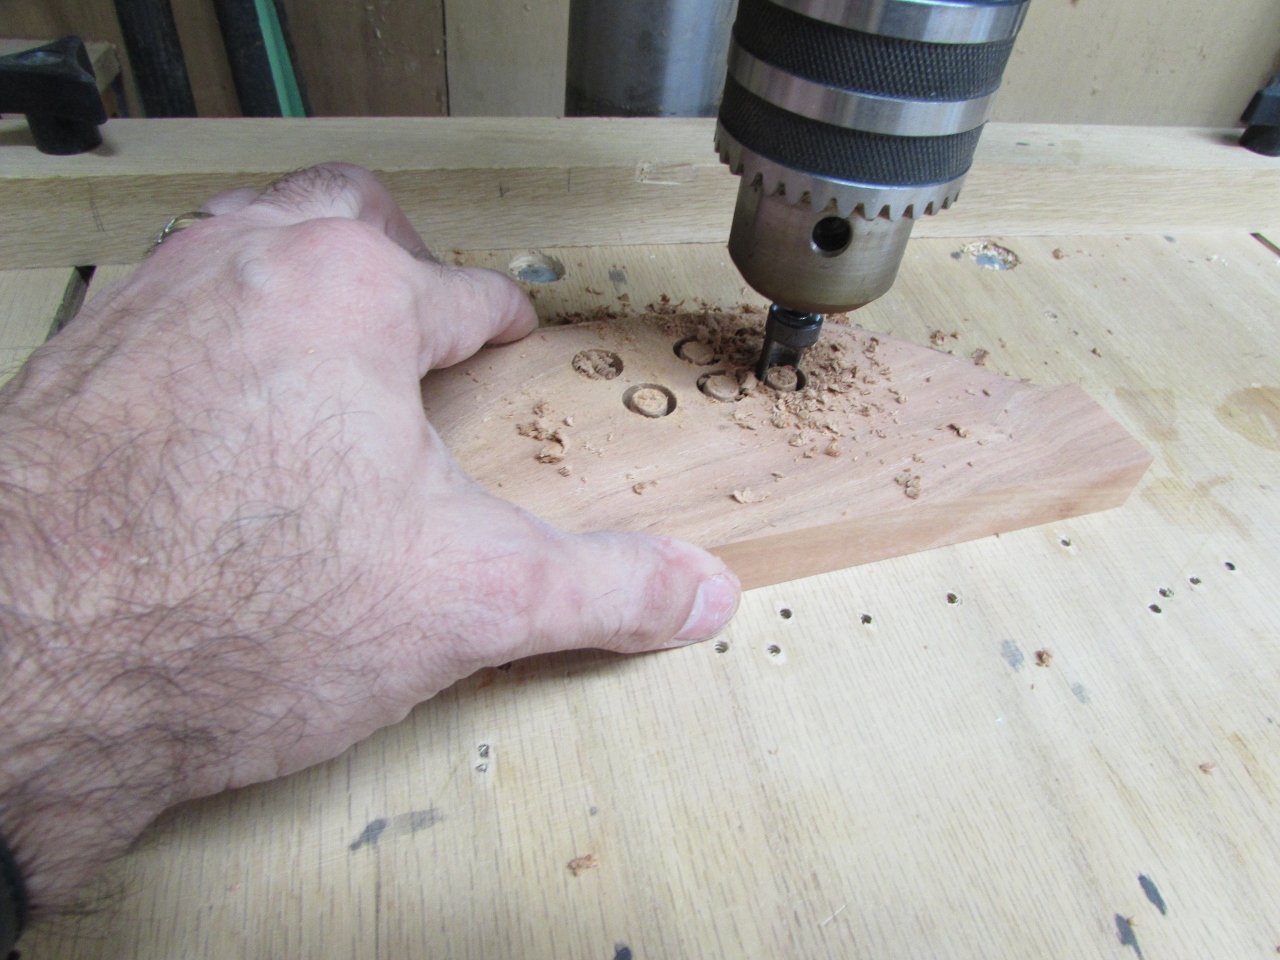
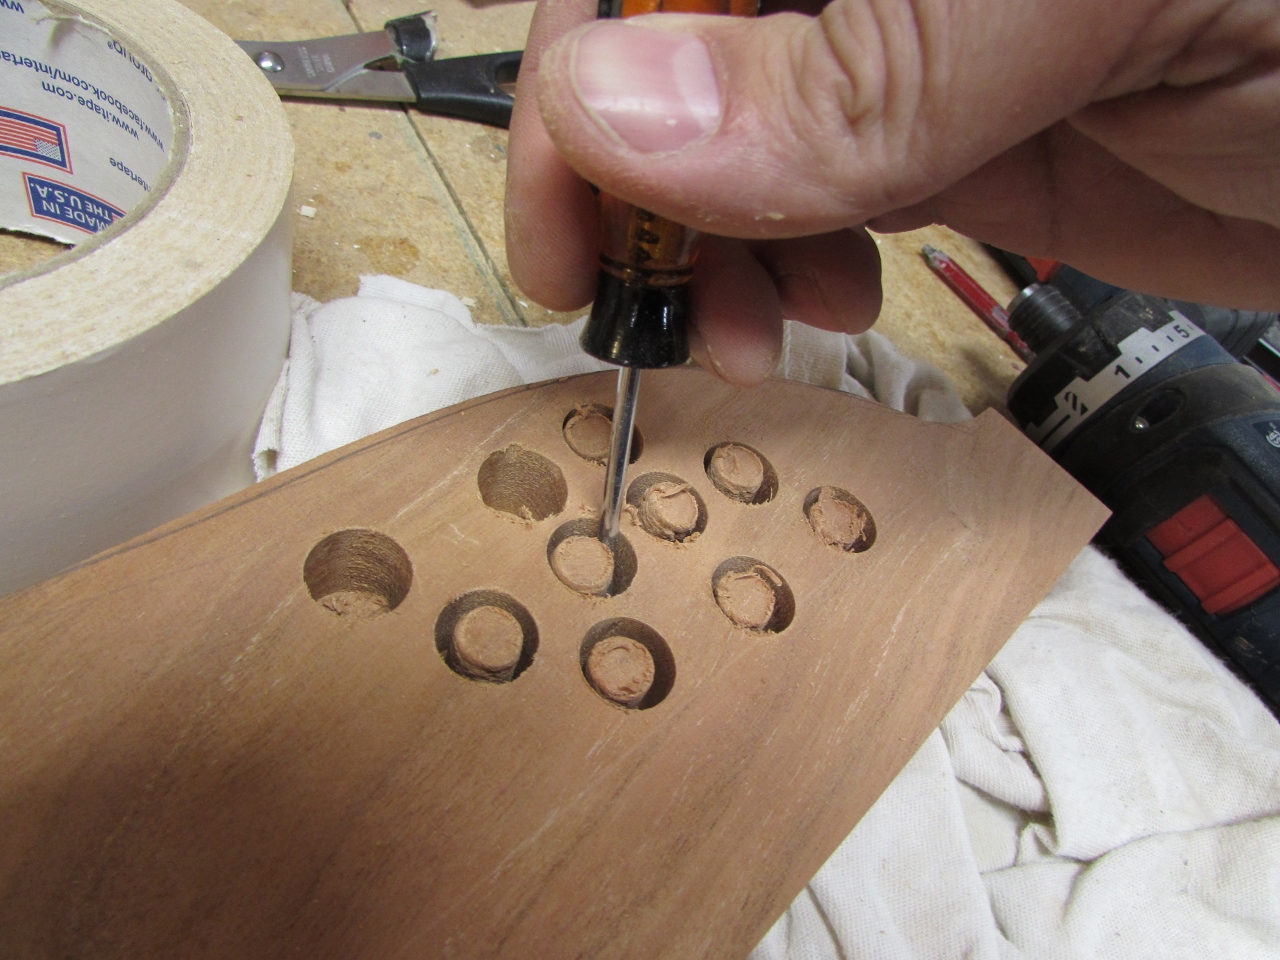
I used a small screw driver to break them free, then used my small strip of wood to line the holes with glue.
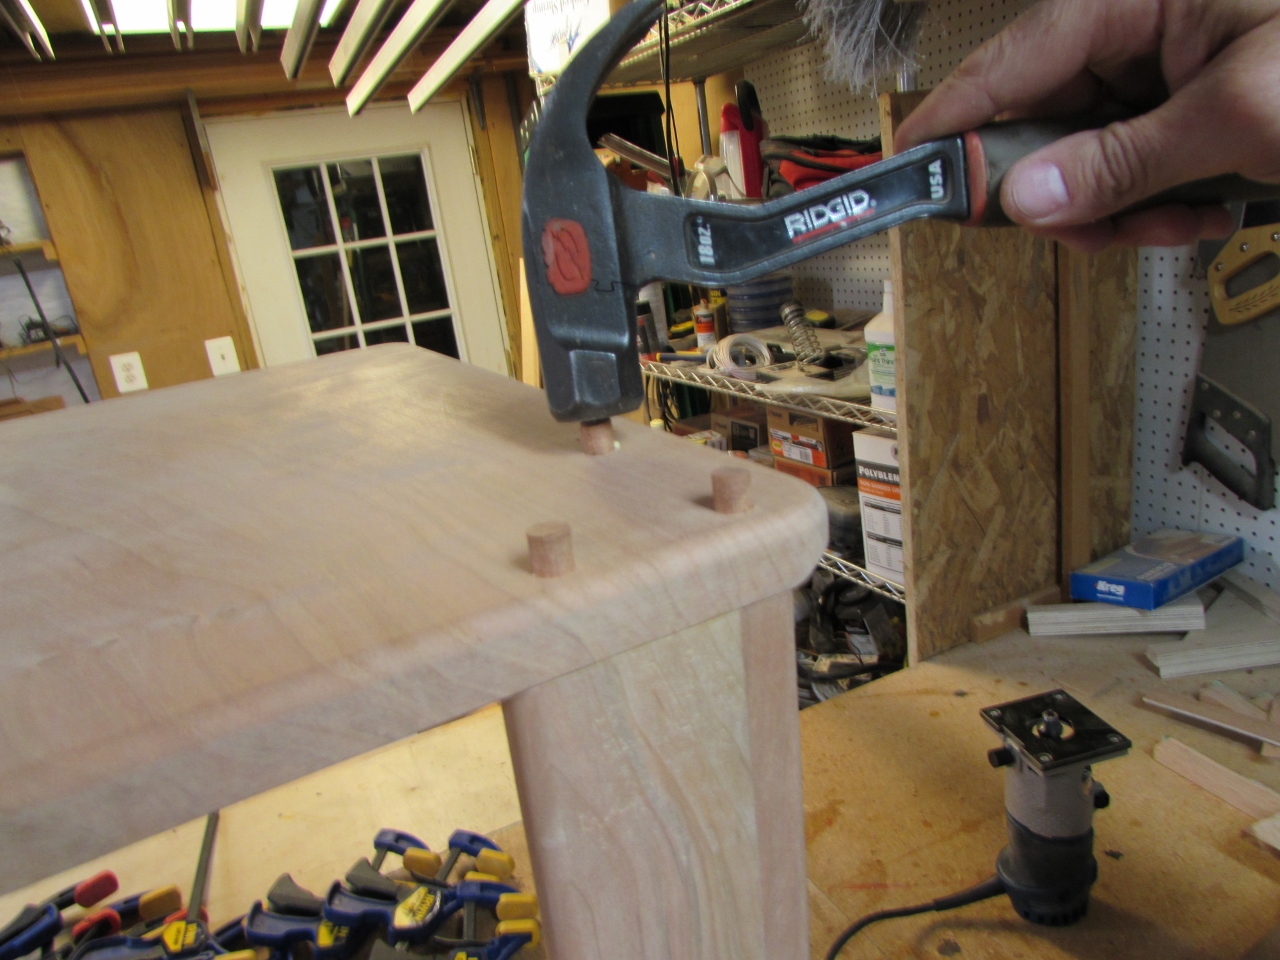
I hammered the plugs in place, then removed the excess with my razor saw.
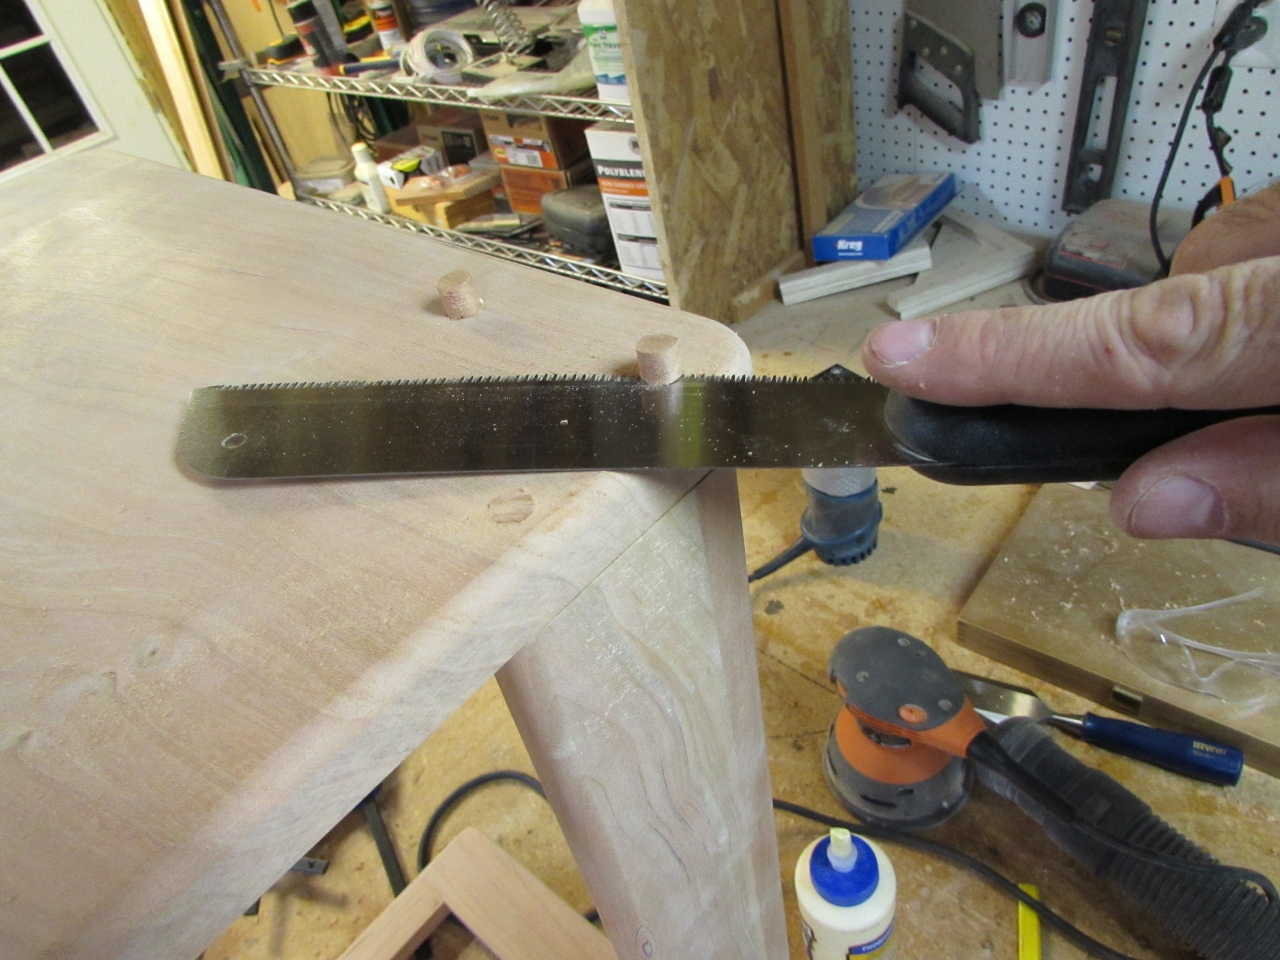
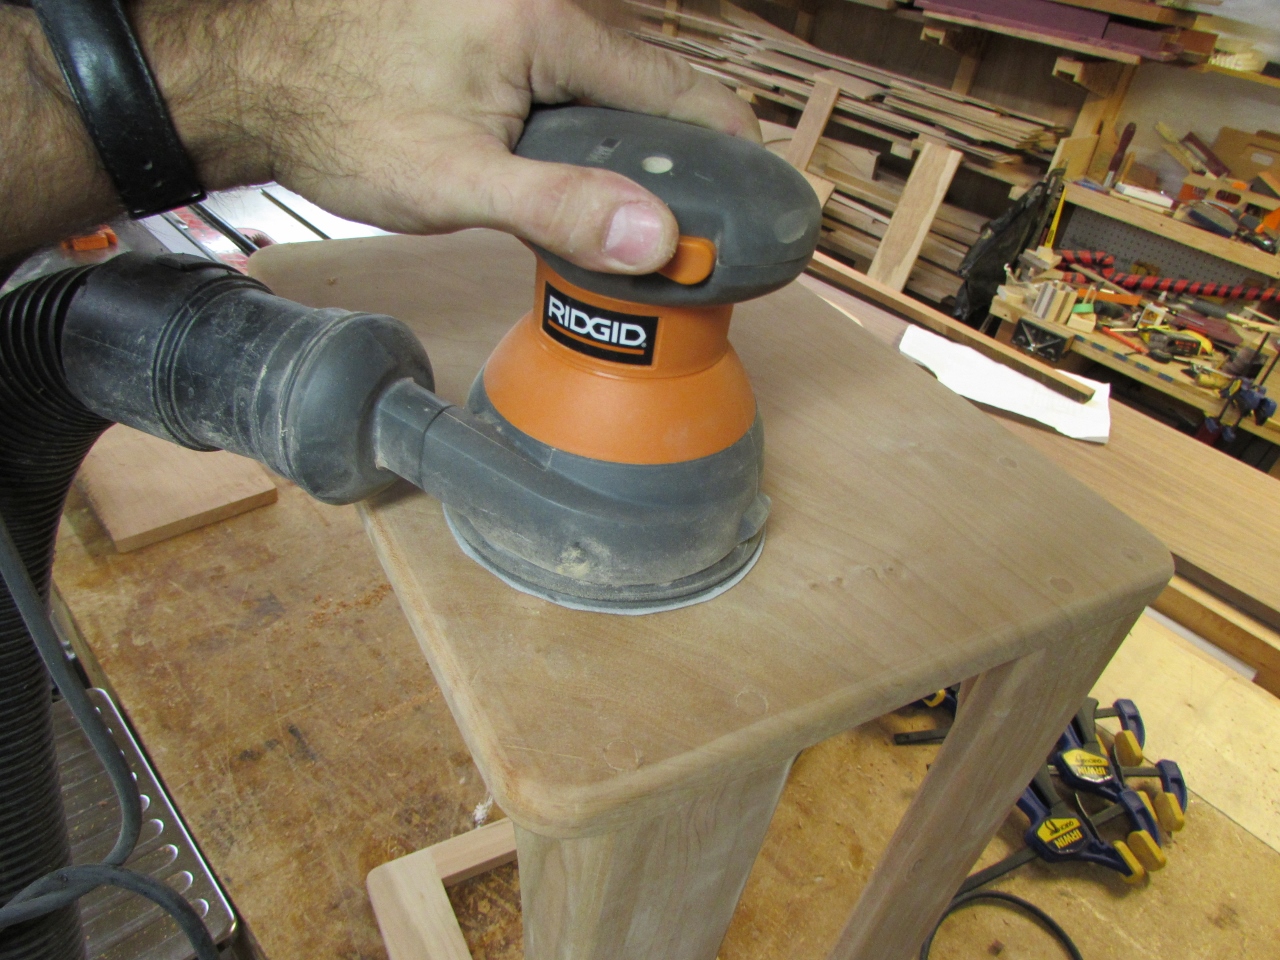
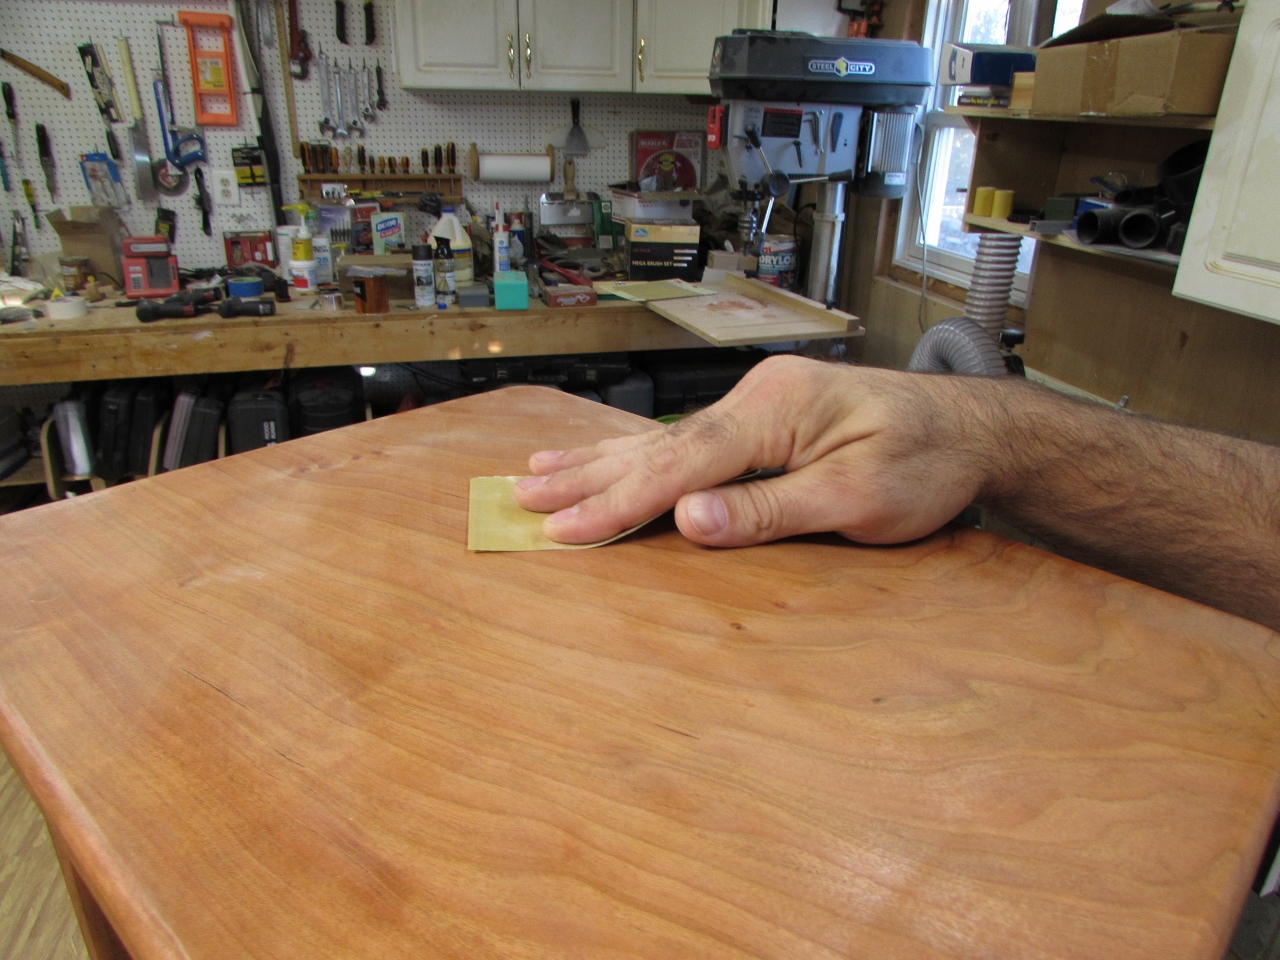
A little more sanding to smooth the plugs and ease any other sharp edges, and I was ready for finishing.
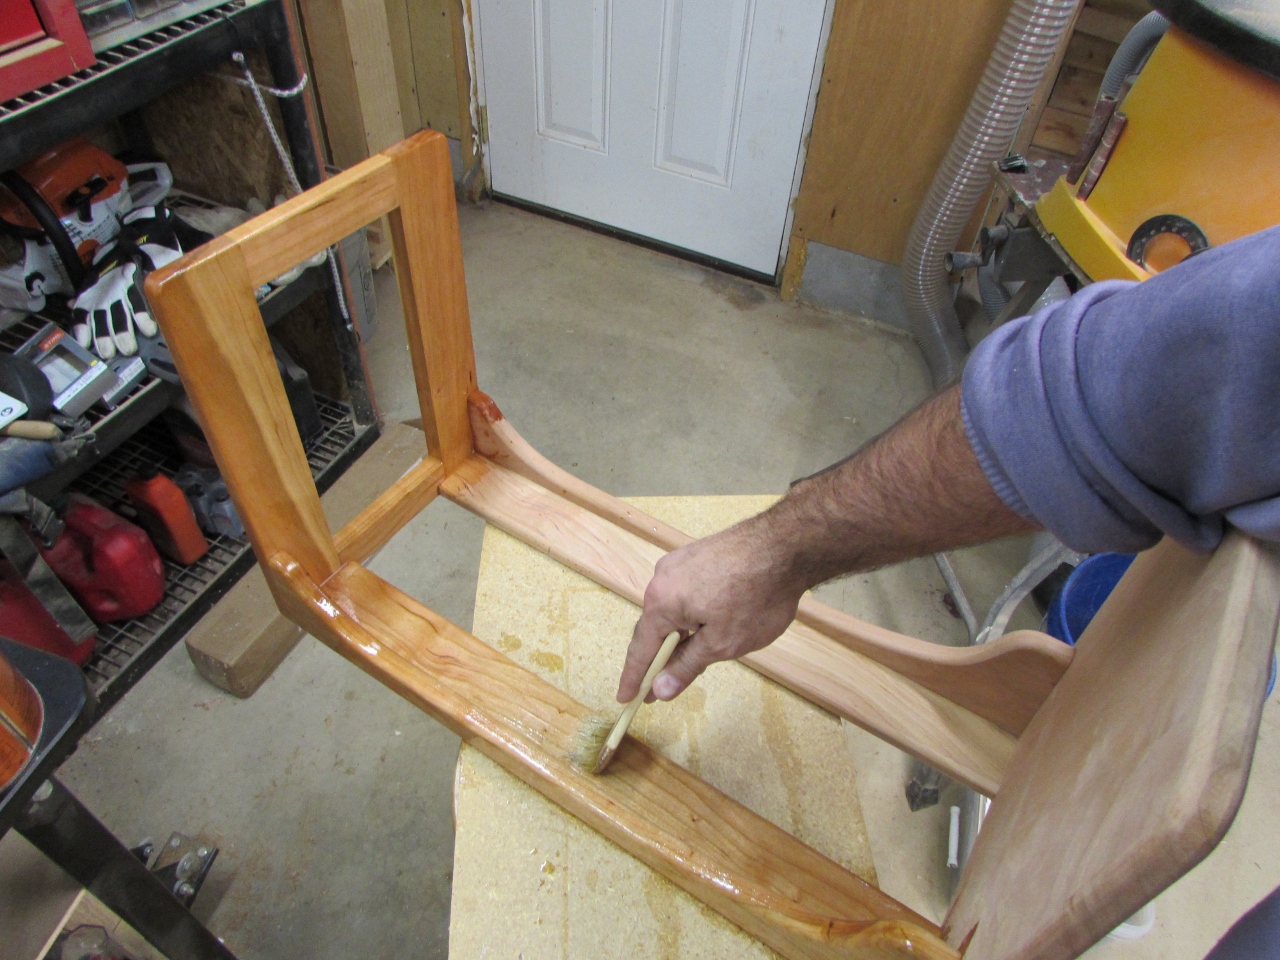
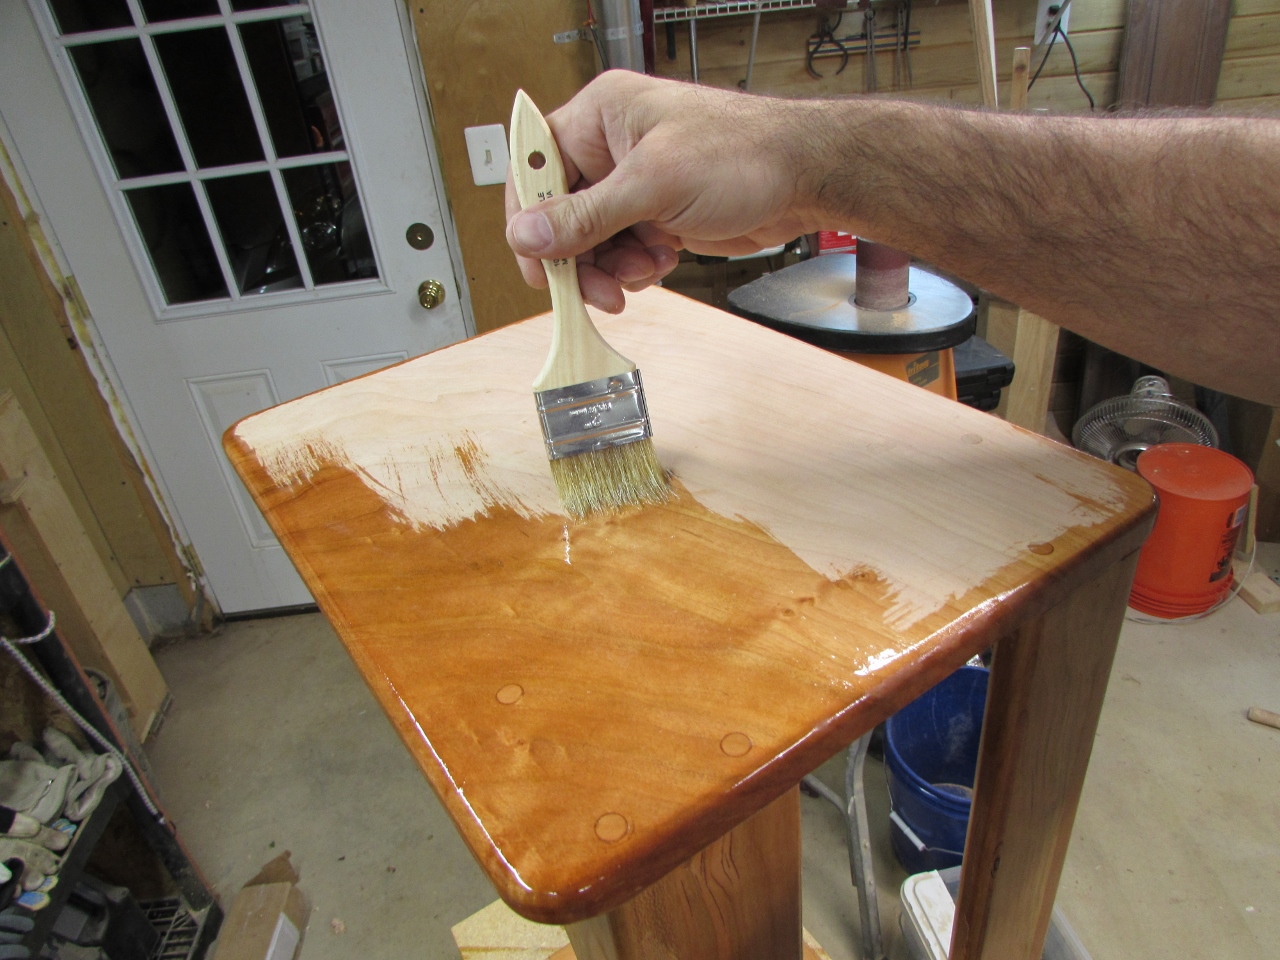
I used Minwax semi-gloss finish to match what we used on the sofa table. One coat before bed, then the next morning, I sanded it all down with 400 grit paper and applied a second coat.
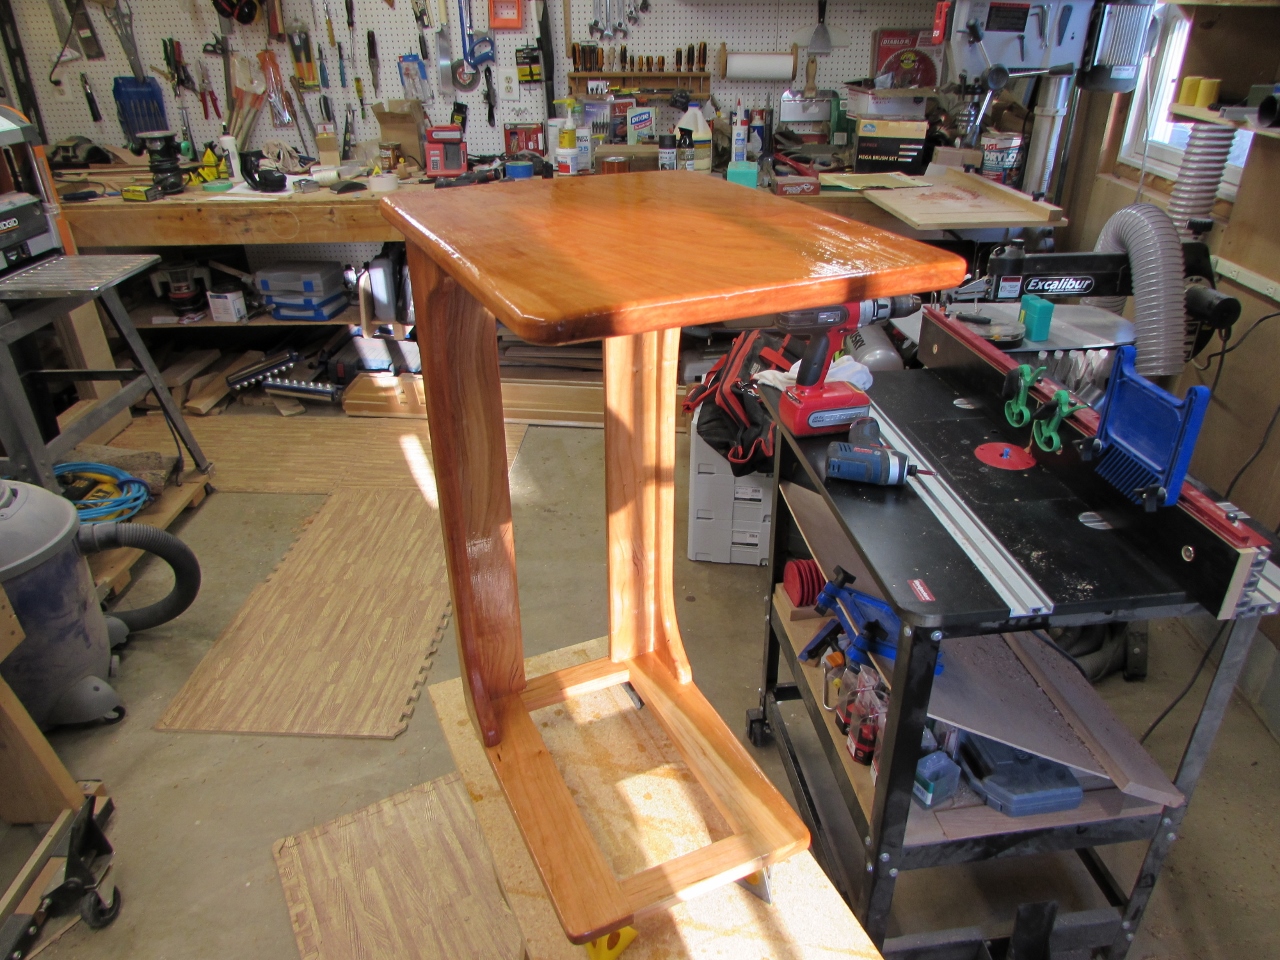
After having most of the day to cure, we took it over to Rob and Jen’s when we met them for dinner. It was immediately put to use. They both loved it, But Audrey couldn’t have cared less…