
Walnut counter – day 3
Erin came over for a few hours yesterday, so we got back to work on the corbels.
I had a nice thick piece of white oak that we are going to use for the vertical back piece that mounts to the wall.

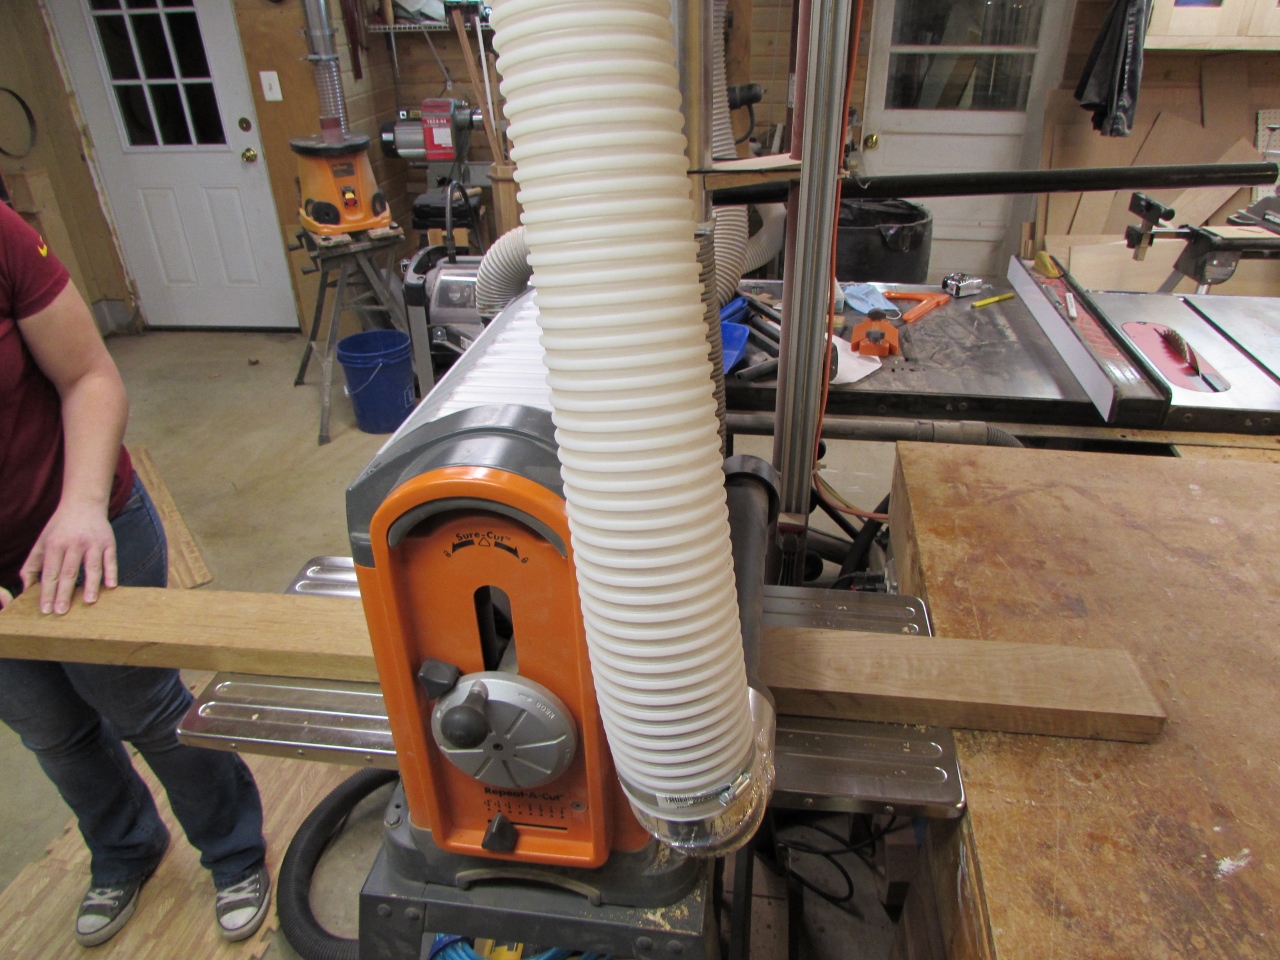
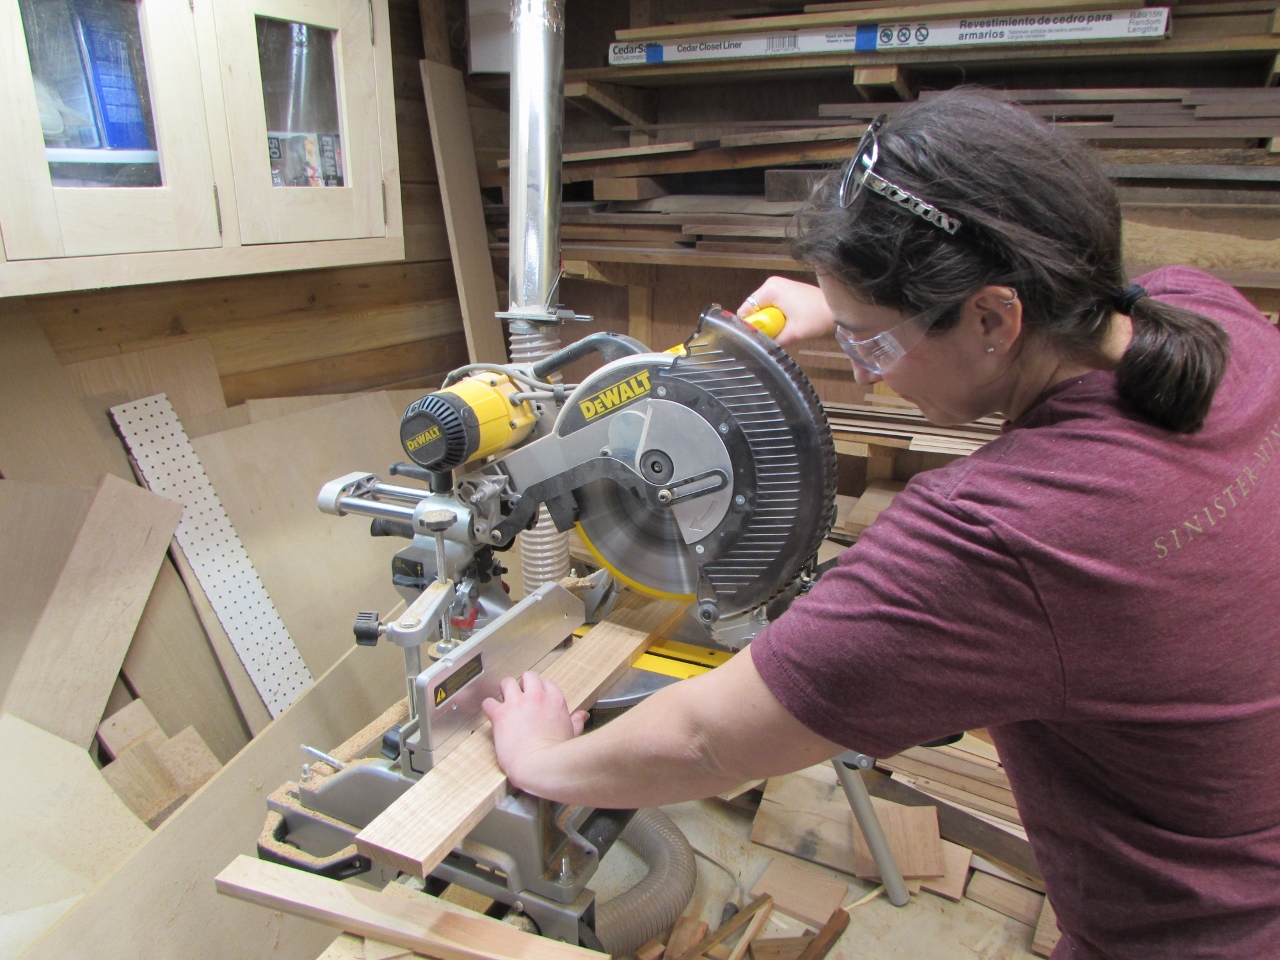
She cut two equal length pieces, then ripped them down to 3″ wide.
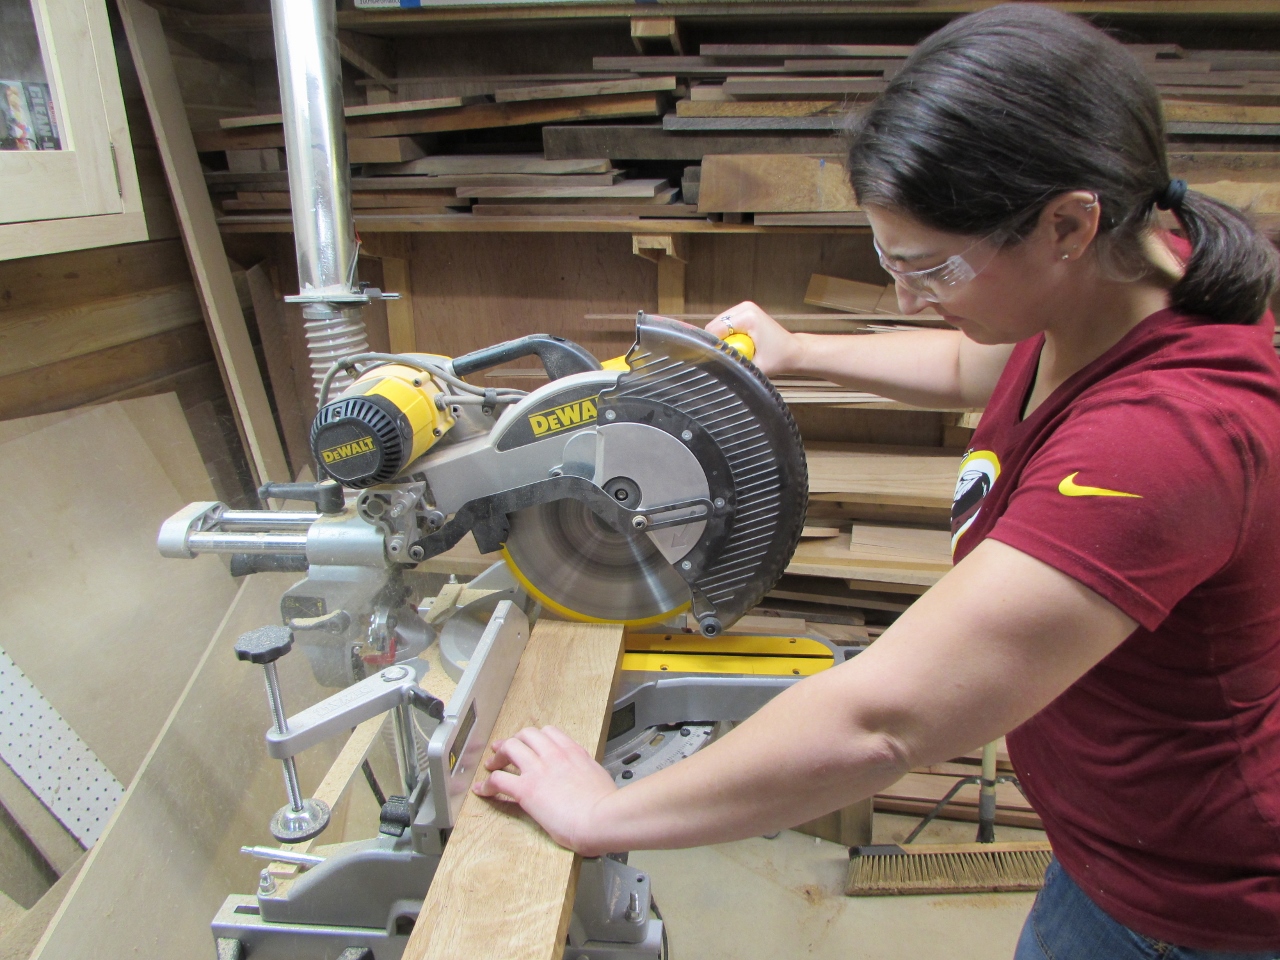
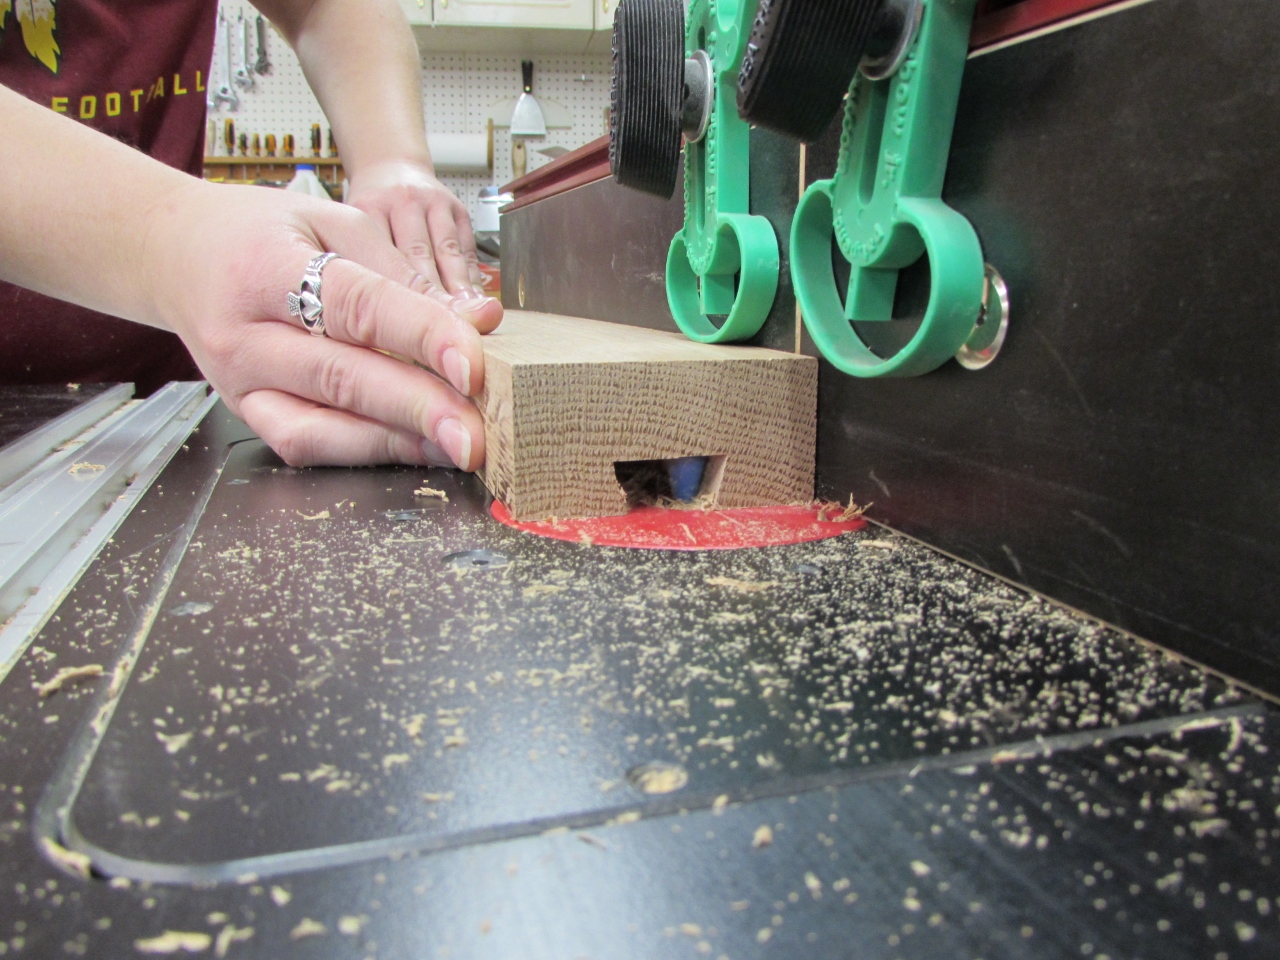
The intention is to mount the corbels on sliding dovetails so that they can be installed and removed without any visible mounting hardware. To create the dovetail, we cut a large dado down the center, then ran the board along the router fence, with the dovetail bit cutting along the inside walls of the dado. Due to the rotation of the bit, we had to run the piece from left to right. Typically, when you cut on the router table, you need to go from right to left because the bit cuts on the outside. For safety, we created a small test piece to check the direction of cut.

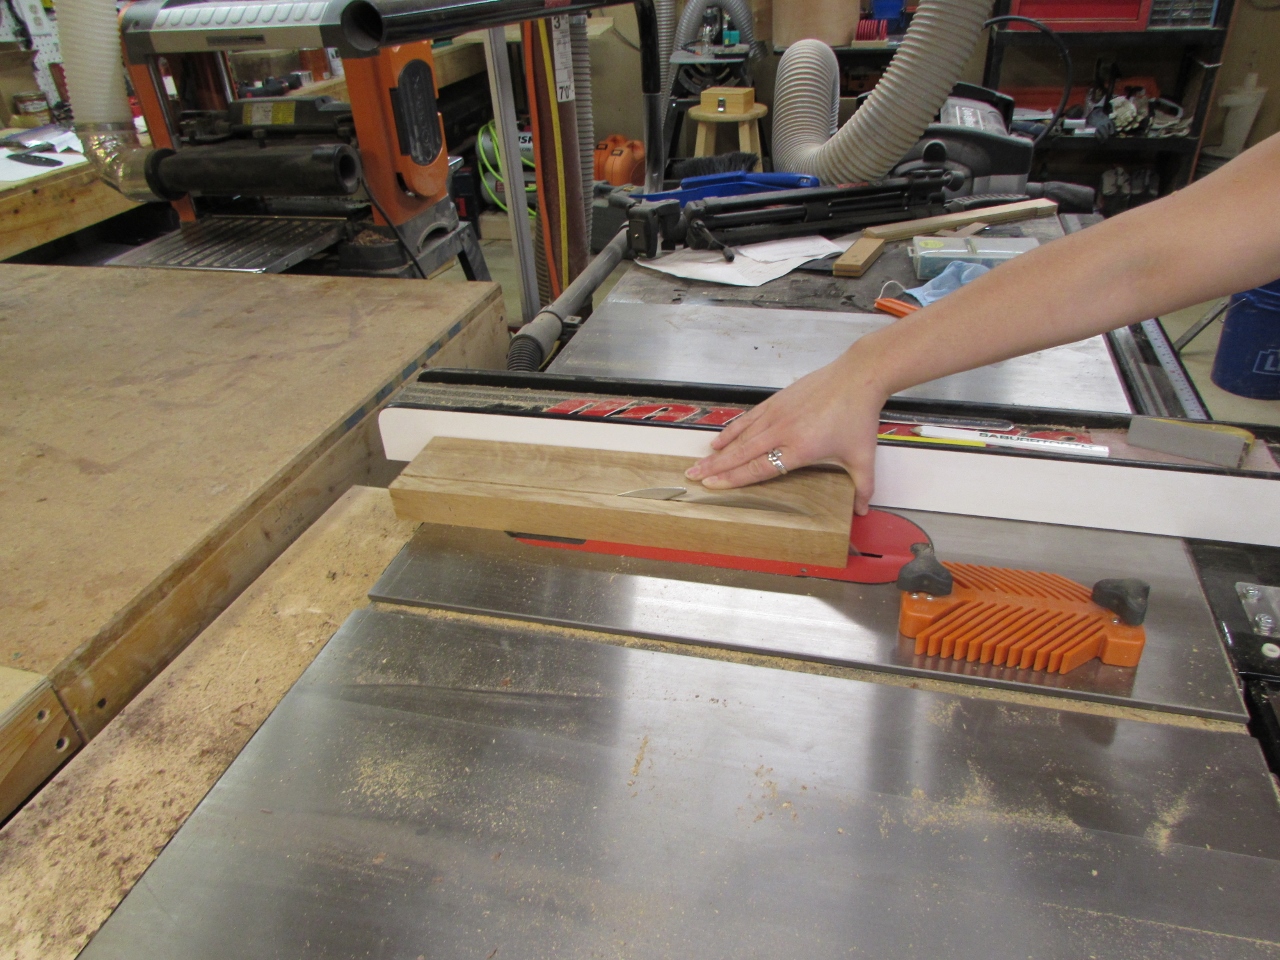
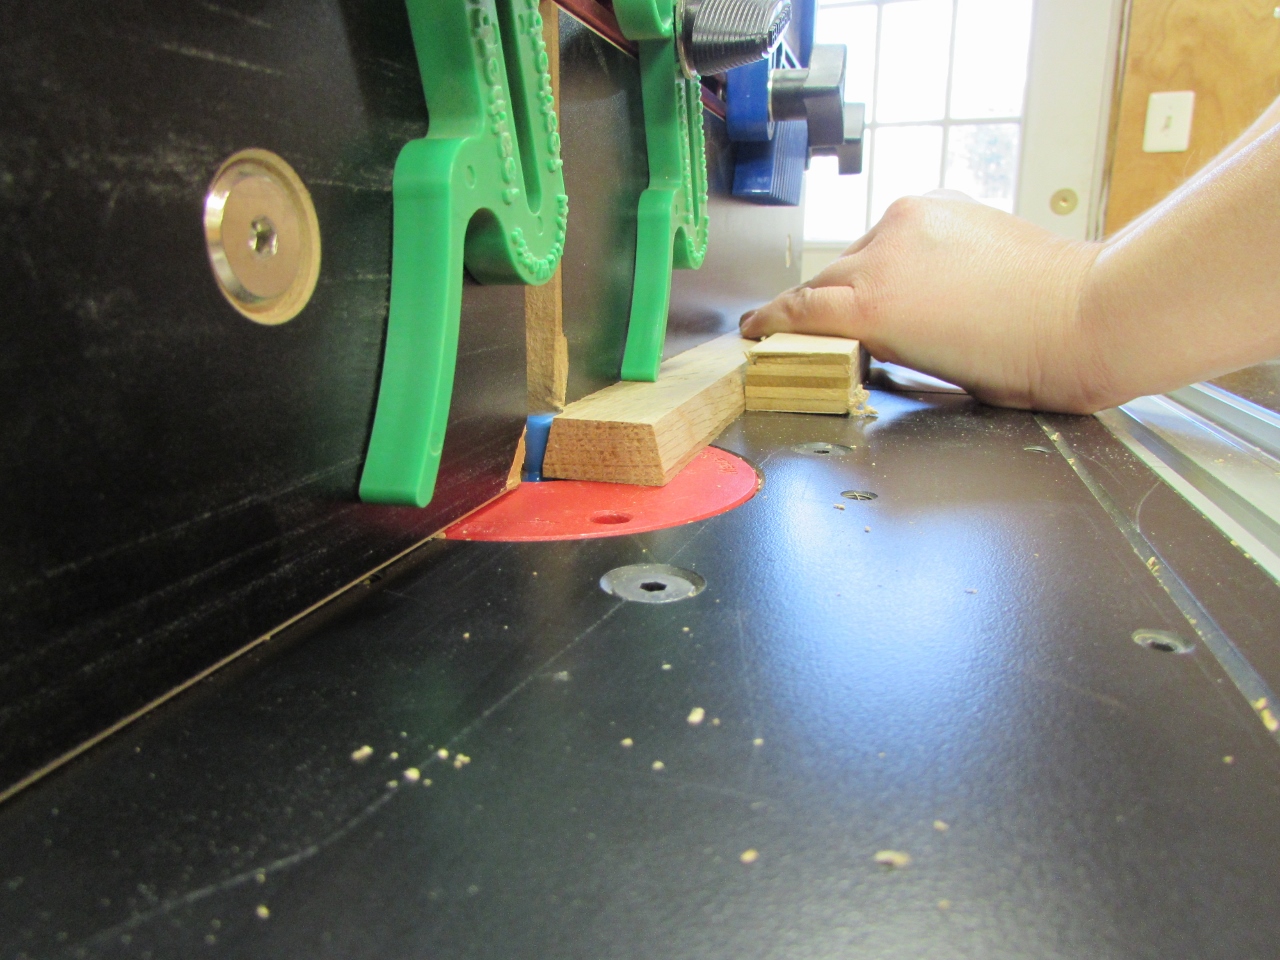
That created the channel. To create the dovetail piece, that will be bolted to the wall, we cut a piece that was just slightly narrower than the widest point on the channel, then cut the dovetail down each side.
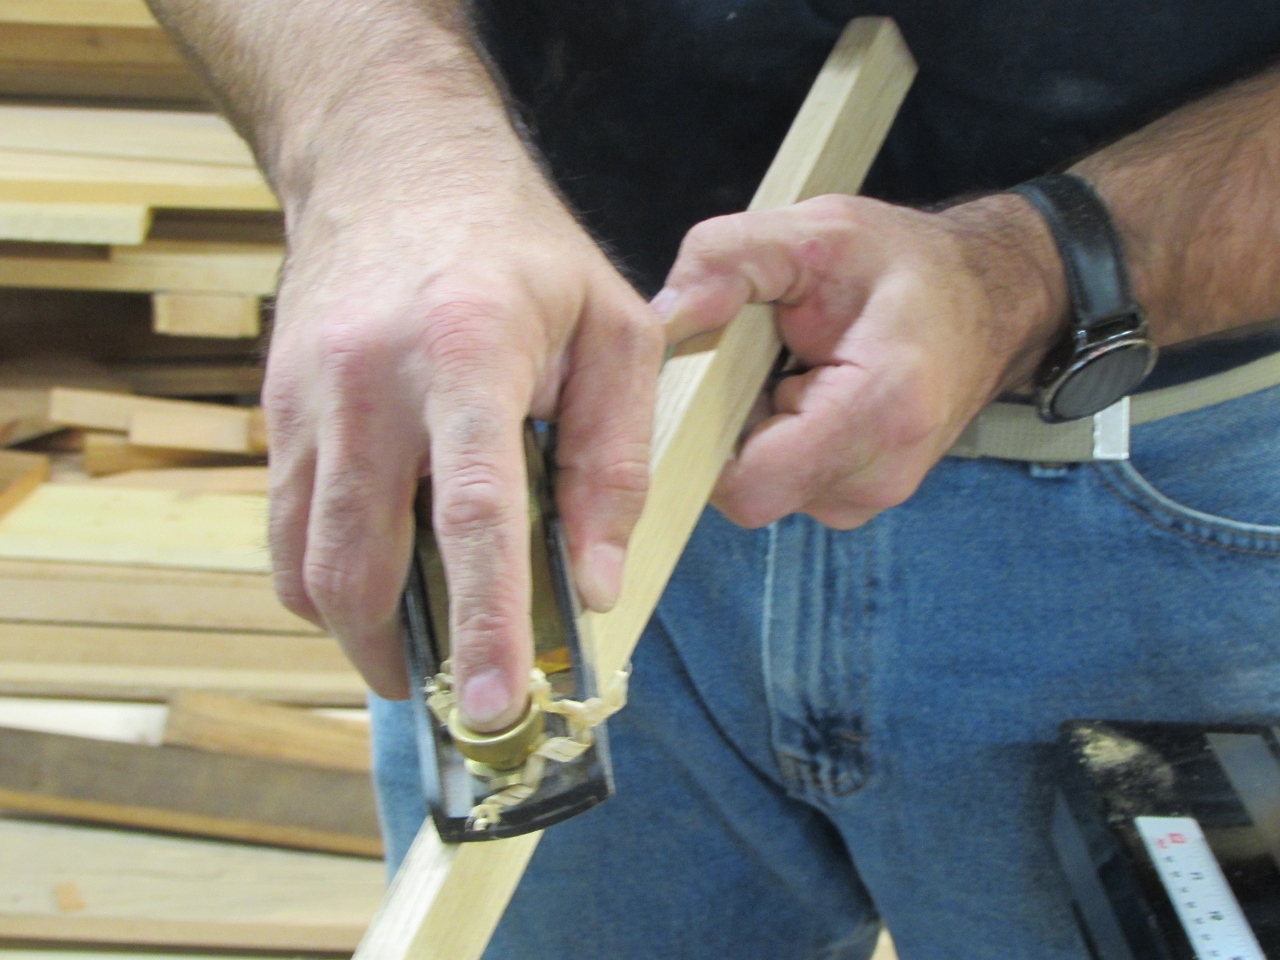
It fit tightly so I used a block plane to finesse the width down enough that it fit smoothly, but tightly. Too loose and the corbels would wiggle. That would lead to loosening or cracking in the future.
All said and done, they fit nearly perfectly.

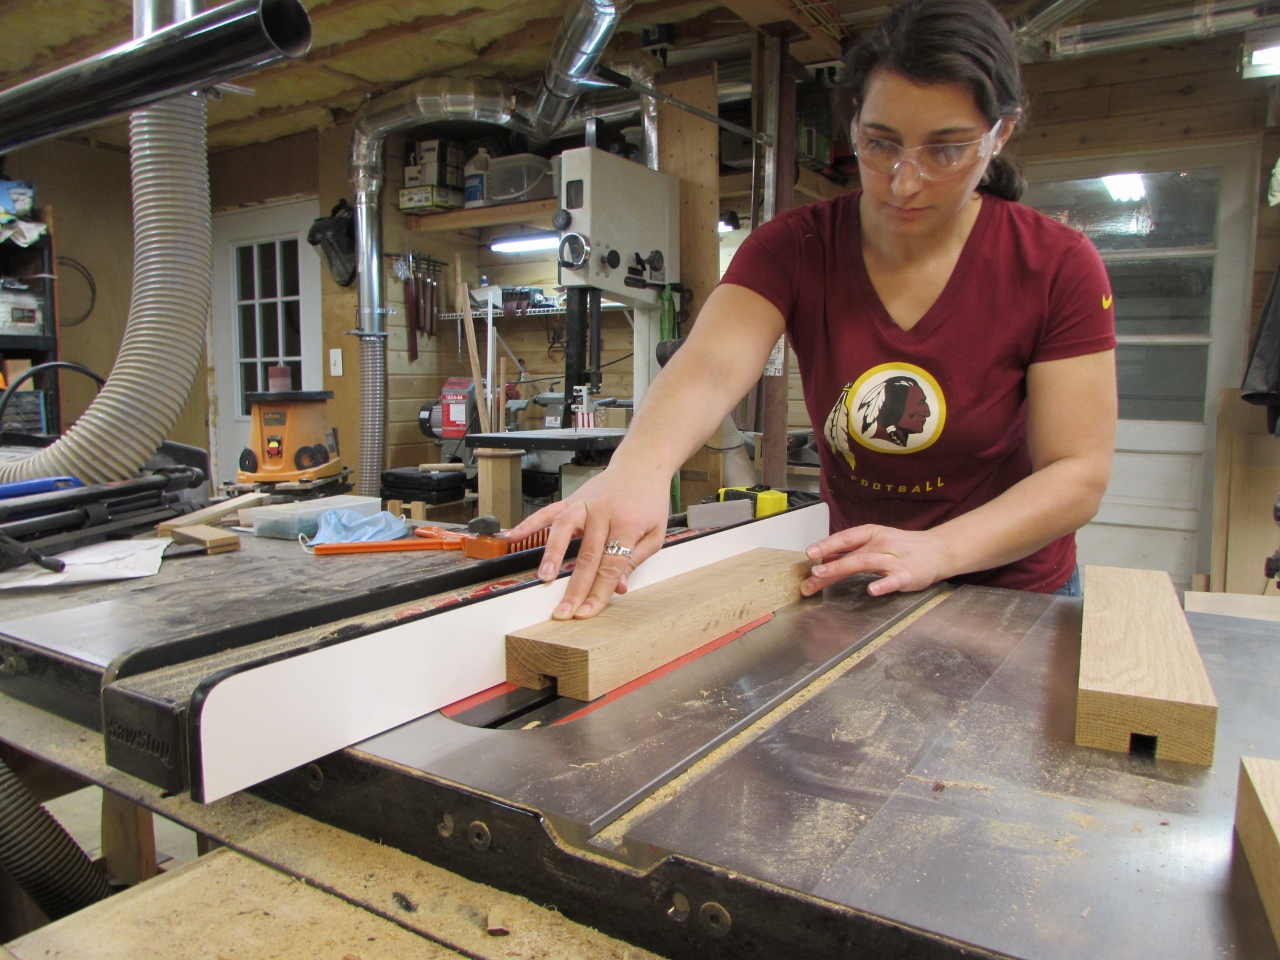
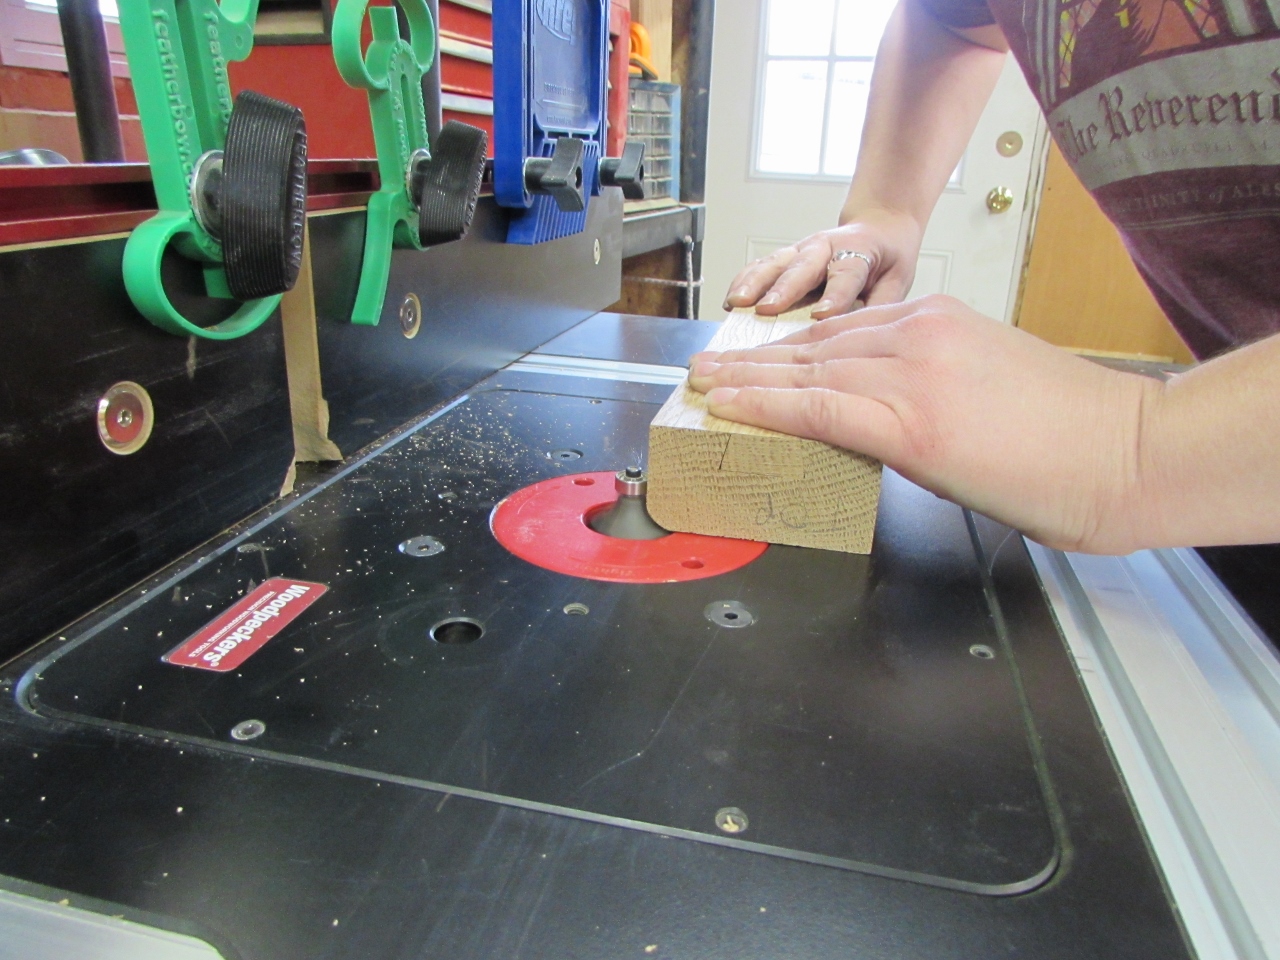
Erin switched out the dovetail bit for the 3/8″ round-over bit and rounded three of the four face sides of the back piece.
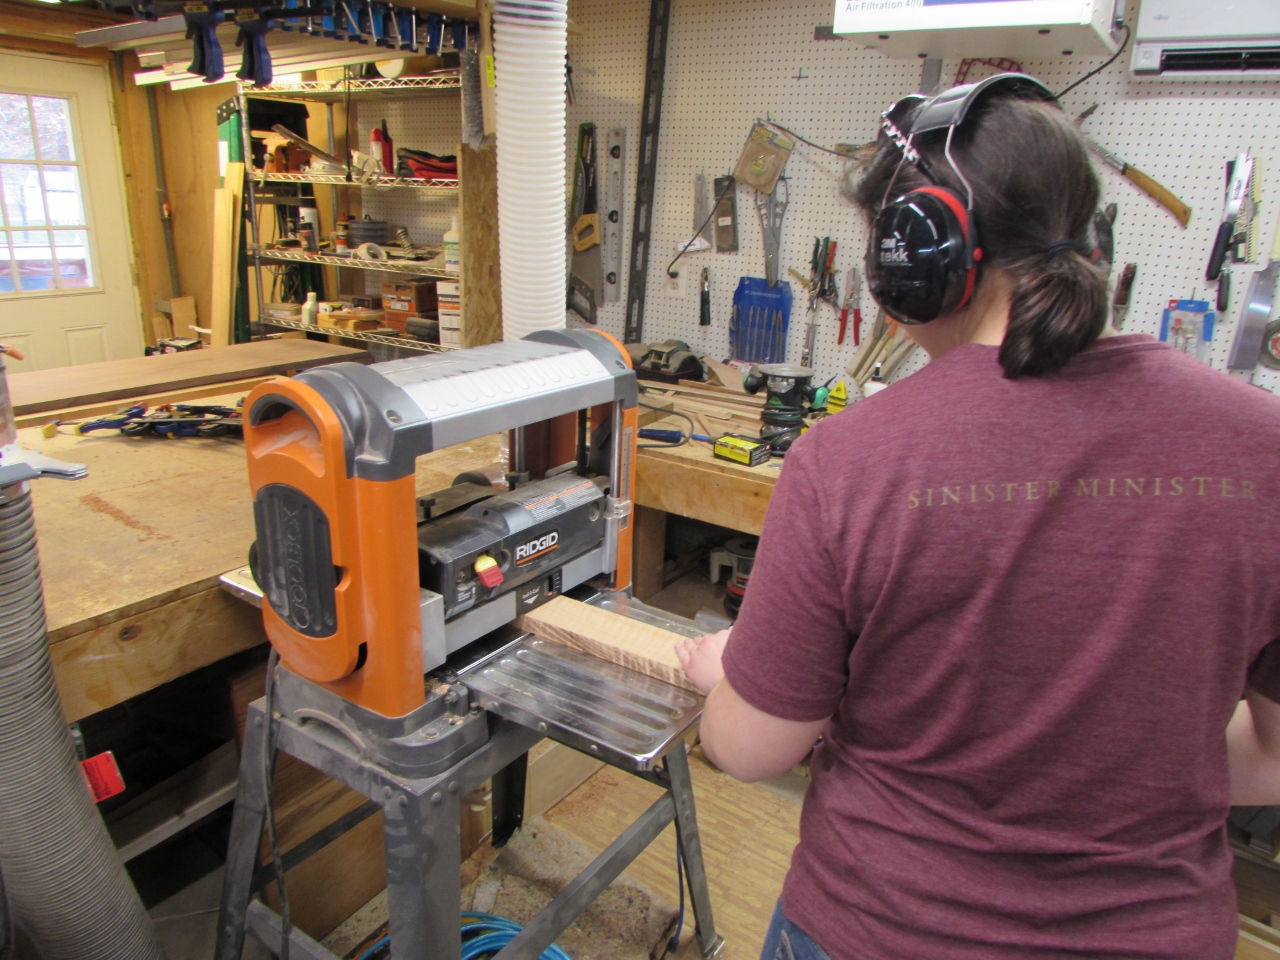
Next we moved on to the top pieces. She cut two pieces 3″ wide and 15-3/4″ long, and we planed them down to 3/4″ thick.
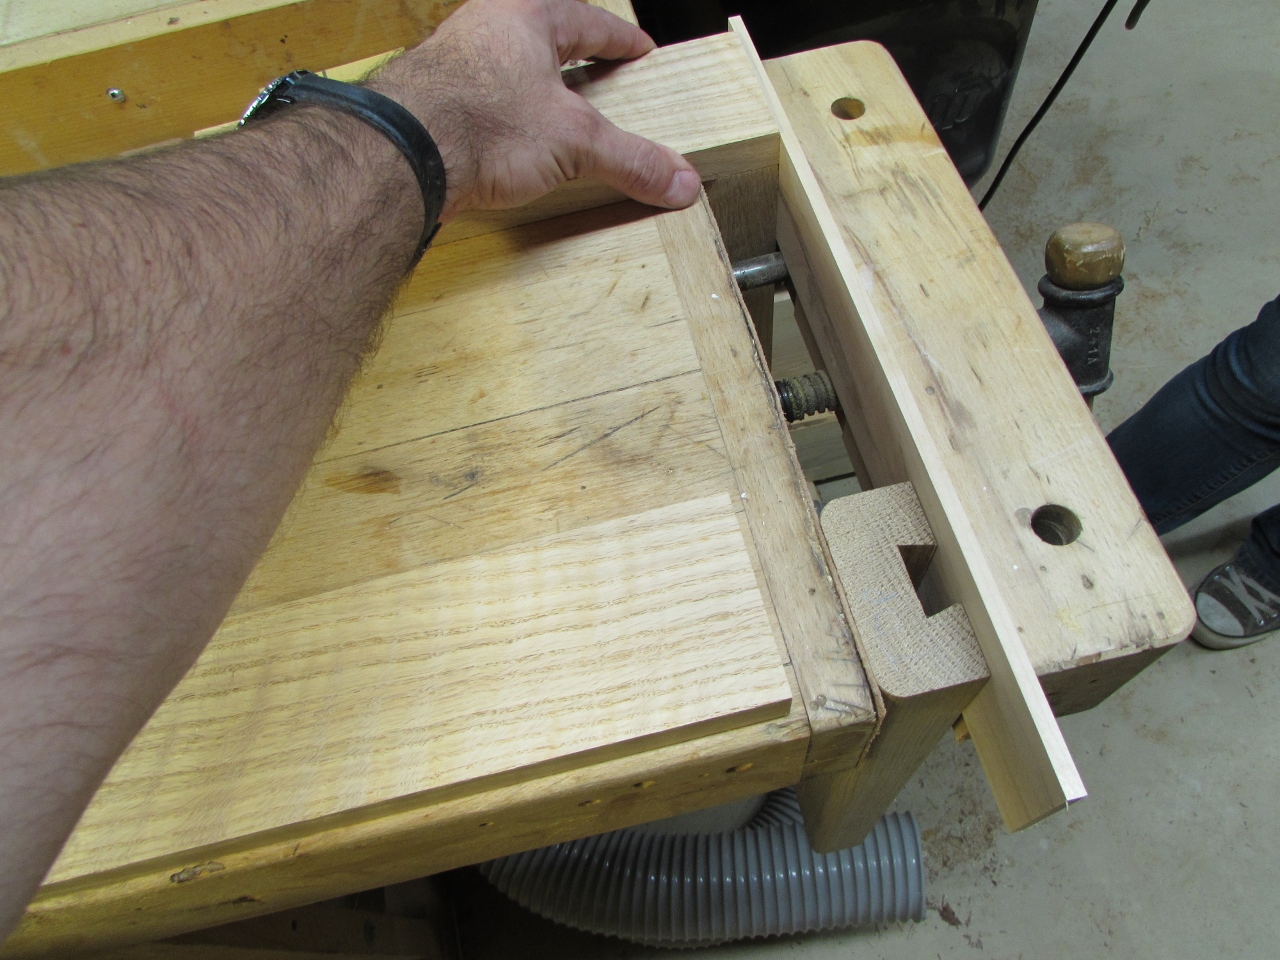
I set both back pieces up in a vise with a backer piece so we had a hard edge to square the top pieces up to.

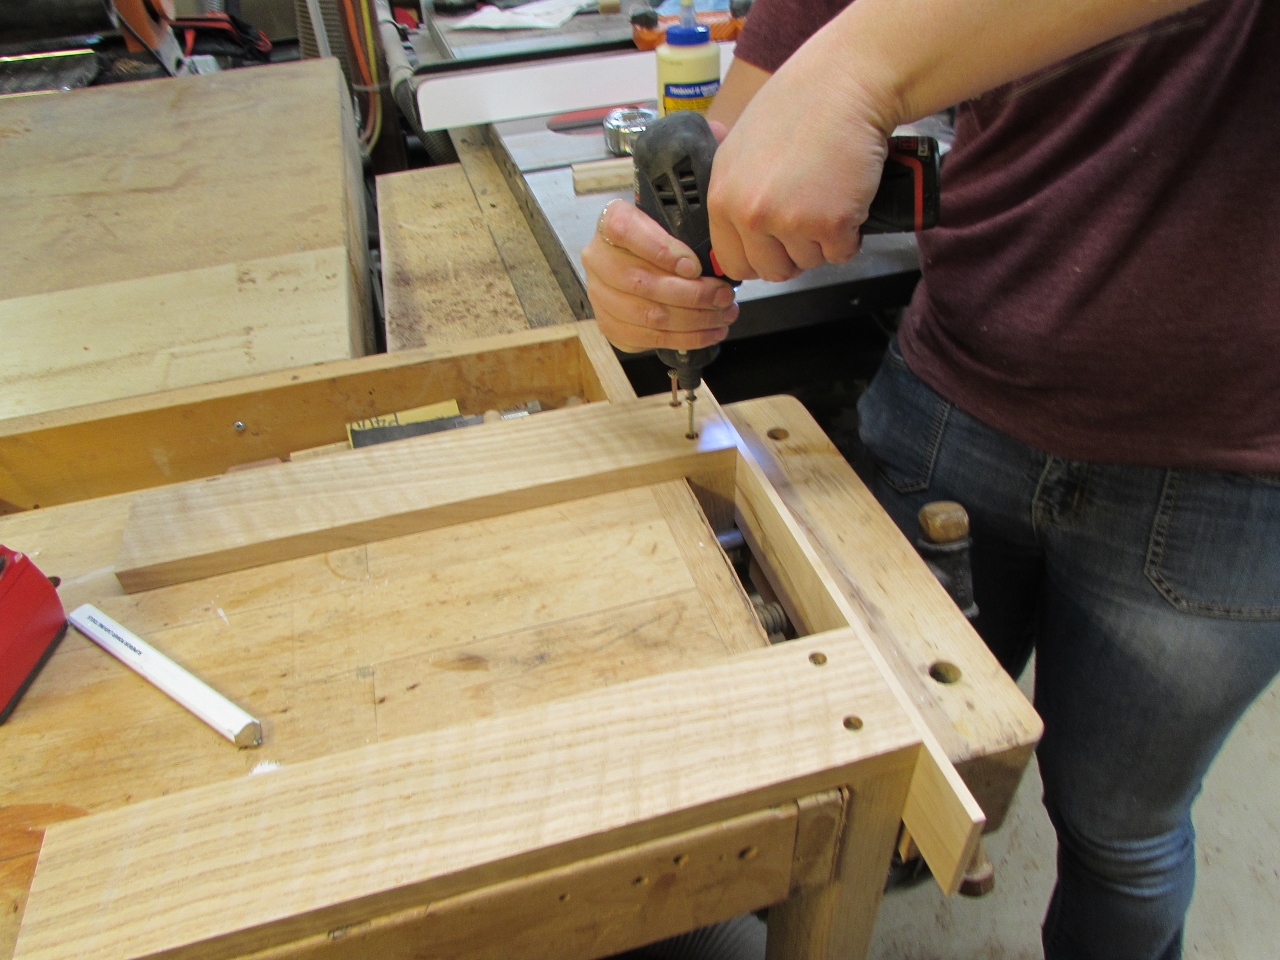
Next, Erin pre-drilled and I applied glue to the joint.

She ran in two 3″ construction screws through each side.
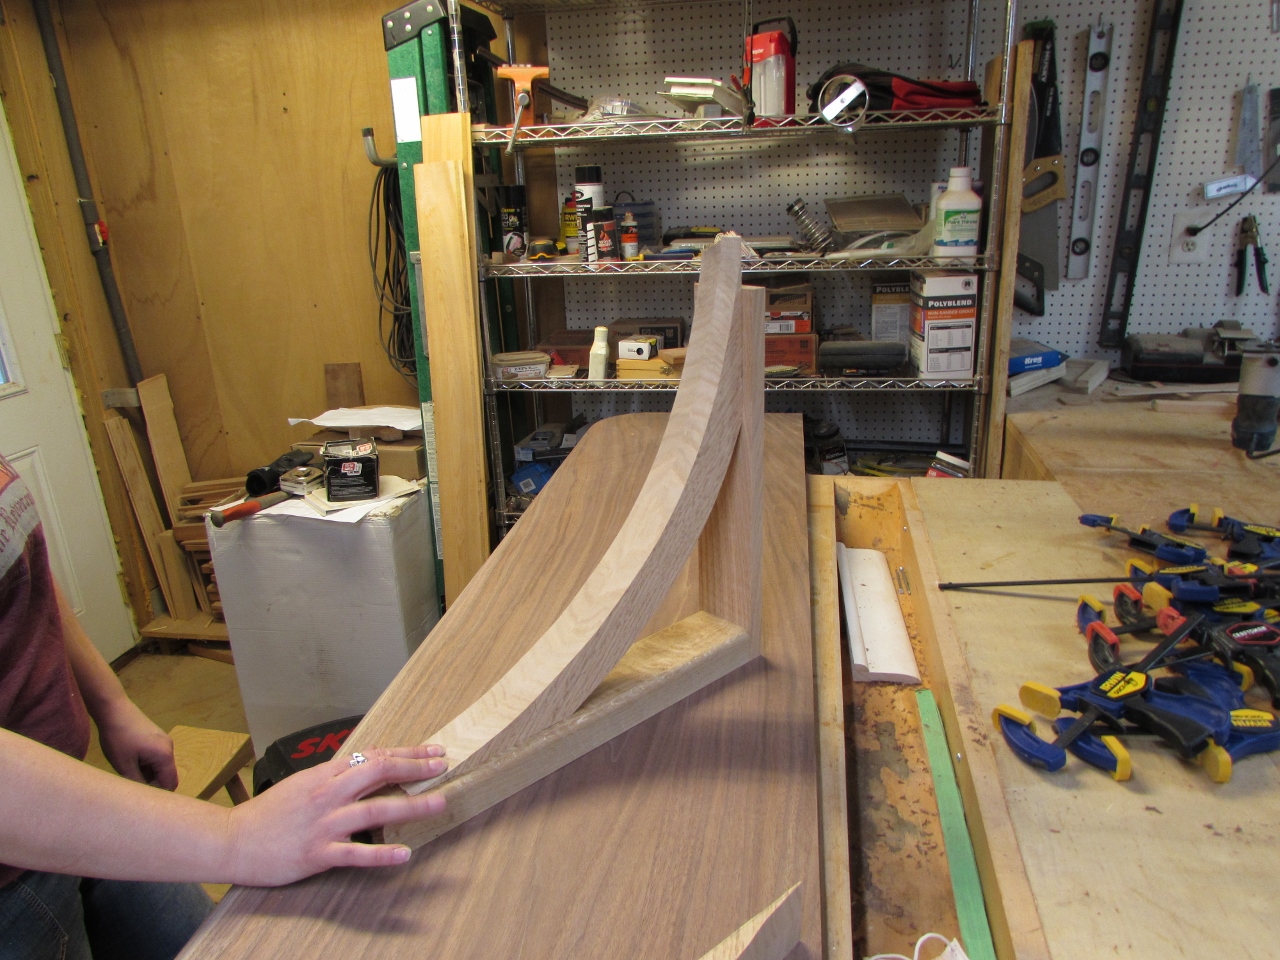
The curved support that we started last week is a bit over-sized. We correct that by laying the 90 degree bracket on its side and marking new lines on the curved piece, when we were happy with the location.

I cut off the ends, and Erin finished sanding out the curves.

We ran out of time, but the next step will be to radius the edges, then attach the curves to the support brackets, then we will be done the corbels. Erin has to do a bit of demo to the wall, where this will be mounted, so we are not in a big hurry to finish. She decided that she wants to experiment with a bit of inlay on the surface of the counter top. She is refining her design choices now, so stay tuned.
